Below is a walkthrough for the Ancient Powers (Part 4) side quest in Tiny Tina’s Wonderlands. To obtain this quest, speak with Dryxxl after completing the Ancient Powers (Part 3) side quest.
Summon Dread Lord
Speak with Dryxxl when you’re ready to begin the fight. Defeat him.
Sacrifice life essence
Yet again interact with the object in the middle of the room.
Below is a walkthrough for the Ancient Powers (Part 3) side quest in Tiny Tina’s Wonderlands. To obtain this quest, speak with Dryxxl after completing the Ancient Powers (Part 2) side quest.
Begin the ritual
Speak with Dryxxl when you’re ready to begin then fight off the enemies.
Donate life essence
Interact with the object in the middle of the room.
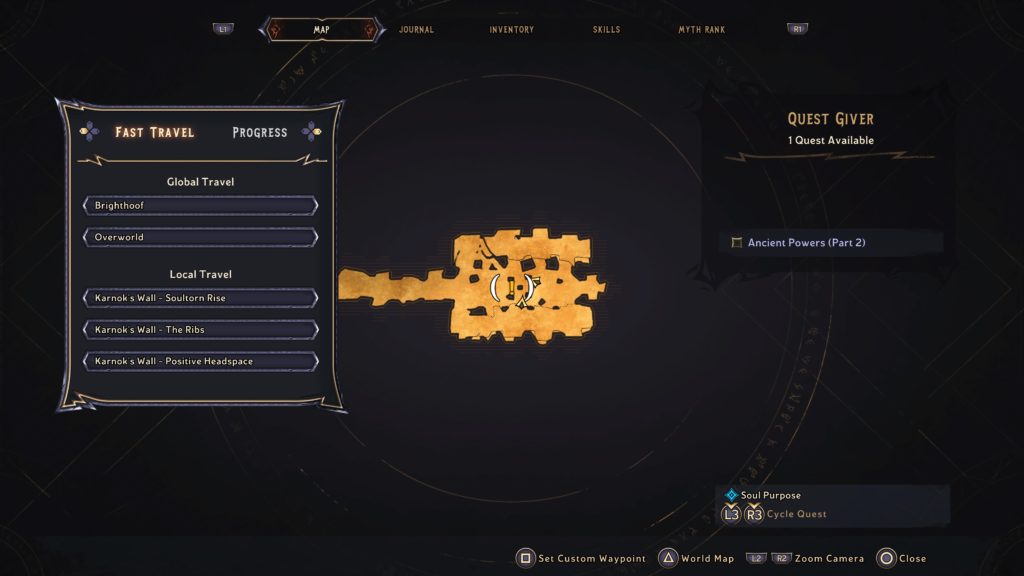
Below is a walkthrough for the Ancient Powers (Part 2) side quest in Tiny Tina’s Wonderlands. To obtain this quest, speak with Dryxxl after completing the Ancient Powers side quest.
Initiate the ritual
When you’re ready to begin the fight interact with Dryxxl.
Offer life essence
Interact with the thing in the middle of the room.
Take spell
Grab the spell from the ground near the object in the middle of the room. This will complete the quest.
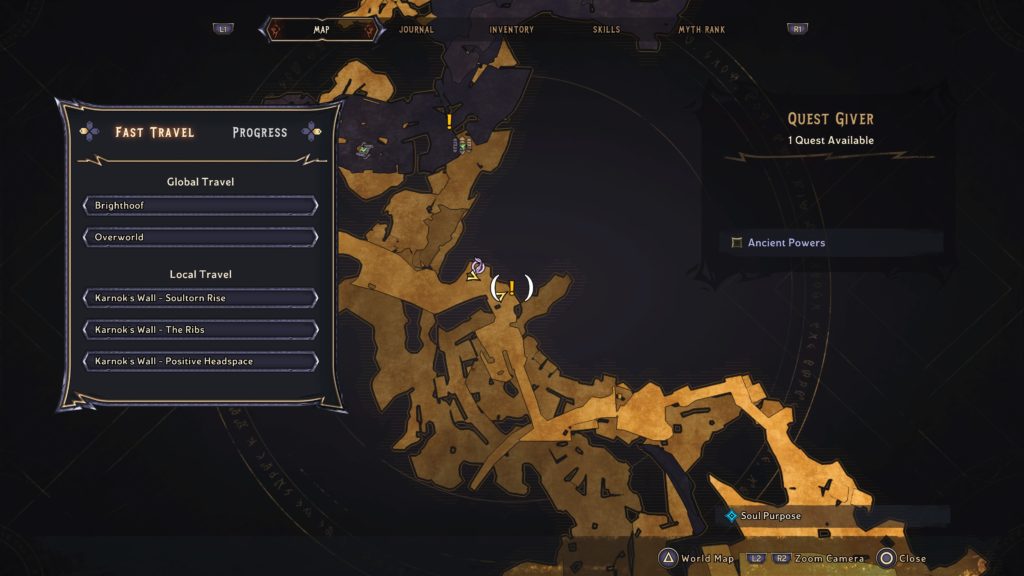
Below is a walkthrough for the Ancient Powers side quest in Tiny Tina’s Wonderlands. To obtain this quest, interact with the poster near Karnok’s Wall – The Ribs fast travel point.
Meet up with Dryxxl
Travel to the objective to find Dryxxl. Speak with him then follow him.
Solve puzzle
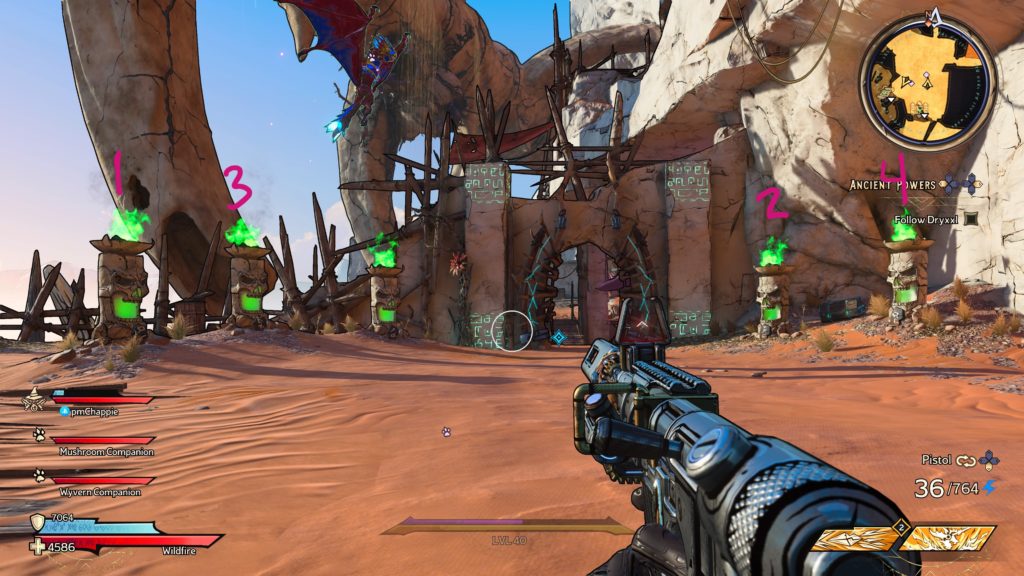
The solution to the puzzle can be found behind a breakable wall next to the puzzle. You’ll be able to break this wall after you melee one of the statues. Melee the statues in the following order:
Follow Dryxxl
Follow behind him!
Defeat the enemies
Kill all the enemies that attack.
Explore without Dryxxl
Head up the steps to find Dryxxl near a sealed door. Approach him!
Find 2 Keys
Head to each objective and slay the enemies there. One enemy will drop the key in each area.
Insert Keys
Return to Dryxxl and insert the keys.
Locate Inner Sanctum
Head through the newly opened door and follow the path. Enter the portal at the end.
Follow Dryxxl
Once through the portal, follow Dryxxl.
Have Dryxxl start ritual
When he stops, interact with Dryxxl to have him begin. You’ll have to fight off the enemies that spawn immediately after.
Invest life essence
Interact with the object next to Dryxxl then take the spell. Afterwards, the quest will complete.
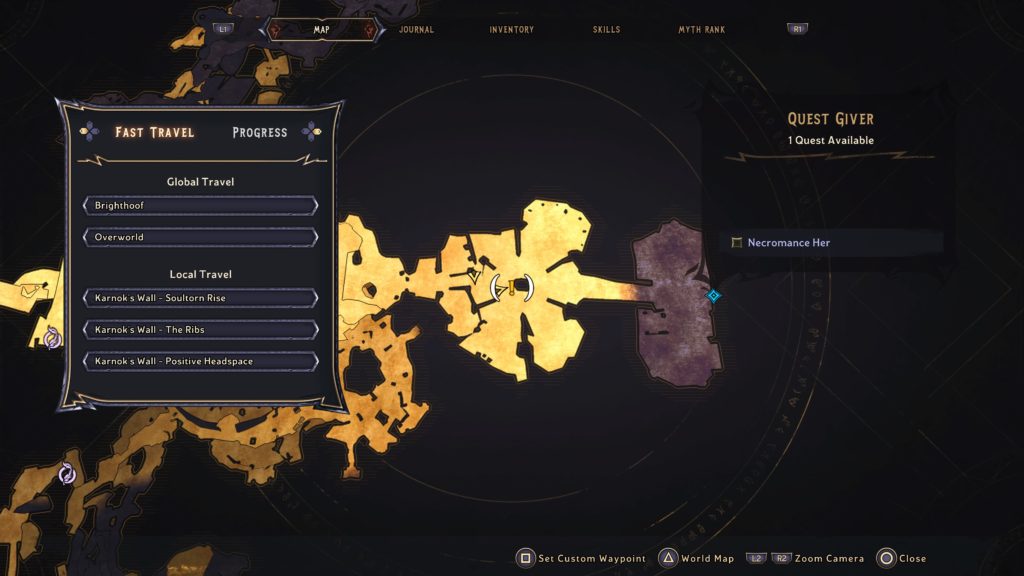
Below is a walkthrough for the Necromance Her side quest in Tiny Tina’s Wonderlands. To obtain this quest, speak with Wastard after the boss fight in Karnok’s Wall.
Take sewing pattern
Grab the scroll from Wastard.
Go to skeleton hot spot
Take the portal Wastard opened.
Collect bones
After defeating the skeletons, collect their request body parts. Keep doing this until he’s satisfied!
Collect hide of winged beast
Kill the wyverns until you have collected 8 leathers.
Find a tailor
Follow the objective to find Taylor and speak with him.
Hand over materials
Give your materials to this crafty tailor then wait for his masterpiece.
Take…fedora?
Grab the hat.
Go to Wastard’s lady’s place
Ring the doorbell by pulling the lever.
Destroy Cheddar’s minions
Head inside and defeat all the enemies.
Kill Cheddar
Defeat him!
Give fedora to Wastard
Head to Wastard to hand over the fedora. Watch the events unfold. Afterwards, take back the fedora to complete the quest.
Below is a walkthrough for the Spell to Pay side quest in Tiny Tina’s Wonderlands. To obtain this quest, return to Brighthoof after reaching Karnok’s Wall. Interact with the poster on the bulletin board to accept the quest.
Meet Dryxxl in Karnok’s Wall
Follow the objective to find Dryxxl and approach him.
Obtain 5 eggs
Look in the wyverns’ nests to find the eggs. While you’re doing that, defeat the enemies attacking you!
Meet with Dryxxl
Continue forward down the path and speak with Dryxxl.
Gather 20 bones
Defeat the enemies that spawn and collect their bones.
Gather 5 badass bones
Defeat the badasses at the next objective and collect their bones.
Return to Dryxxl
Head back to him.
Place reagents
Interact with the pot to place the items then melee the piles. Afterwards, watch the spell.
Defeat Ashthorn’s Bones
Defeat the giant enemy.
Check on Dryxxl
Speak with Dryxxl and take your reward to complete the quest.
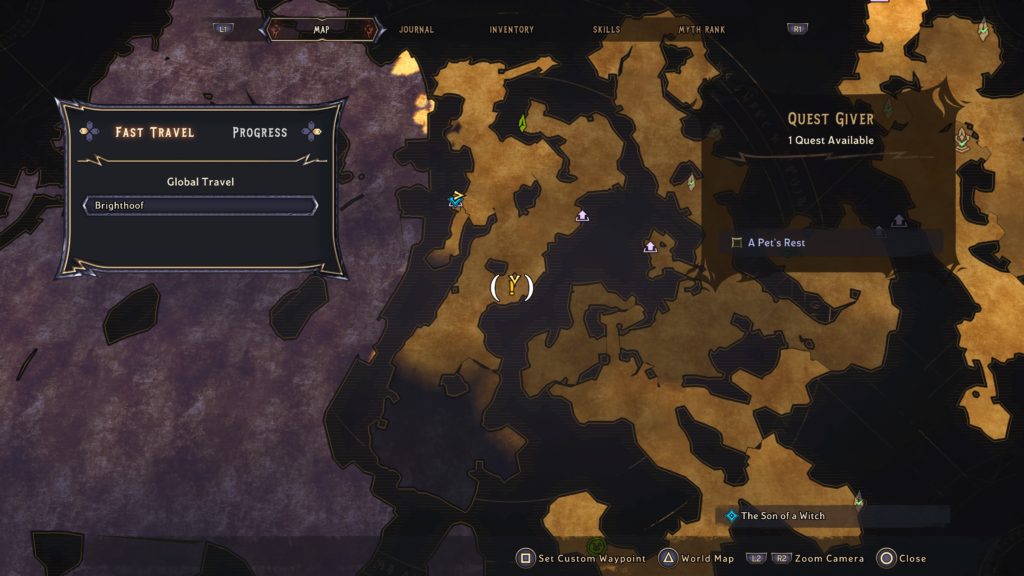
Below is a walkthrough for A Pet’s Rest side quest in Tiny Tina’s Wonderlands. To obtain this quest, speak with Lisha in the Overworld after completing The Godswell area.
Reach cave
Head to the objective in the north and enter the dungeon. Complete 2 encounters then loot the chest that spawns at the end. Exit the dungeon via the portal.
Talk to Lisha
Return to Lisha and speak with her to complete the quest.
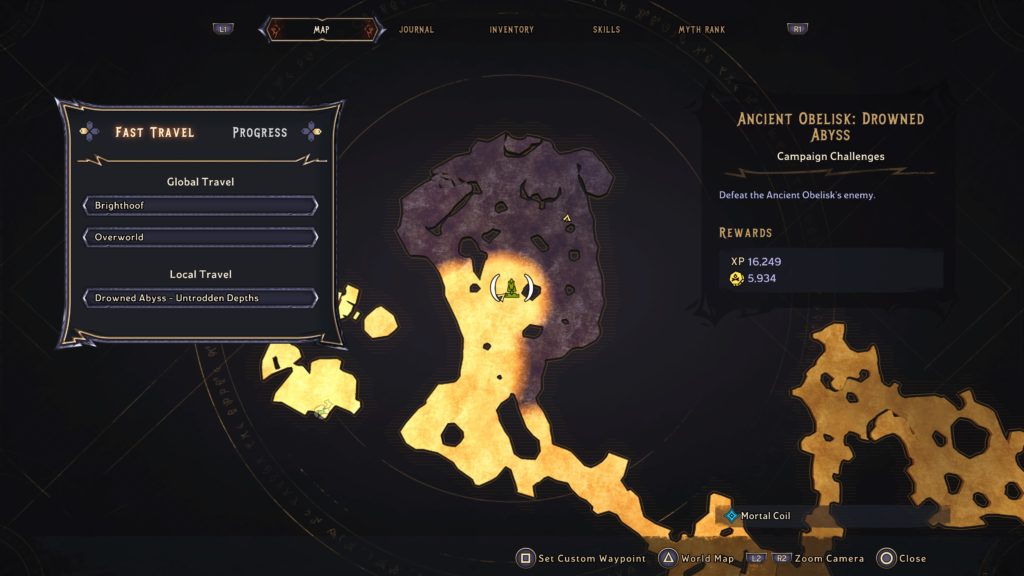
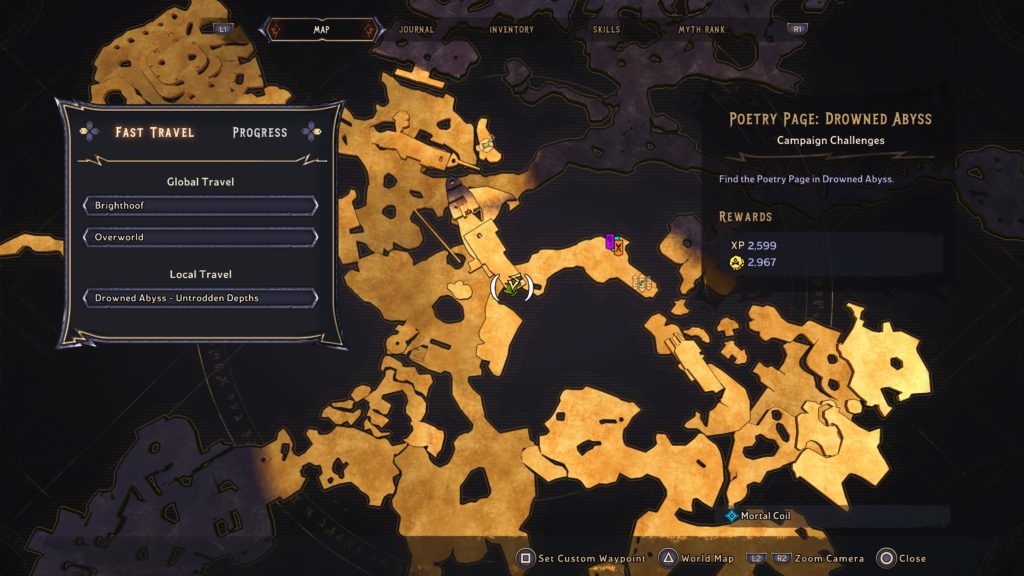
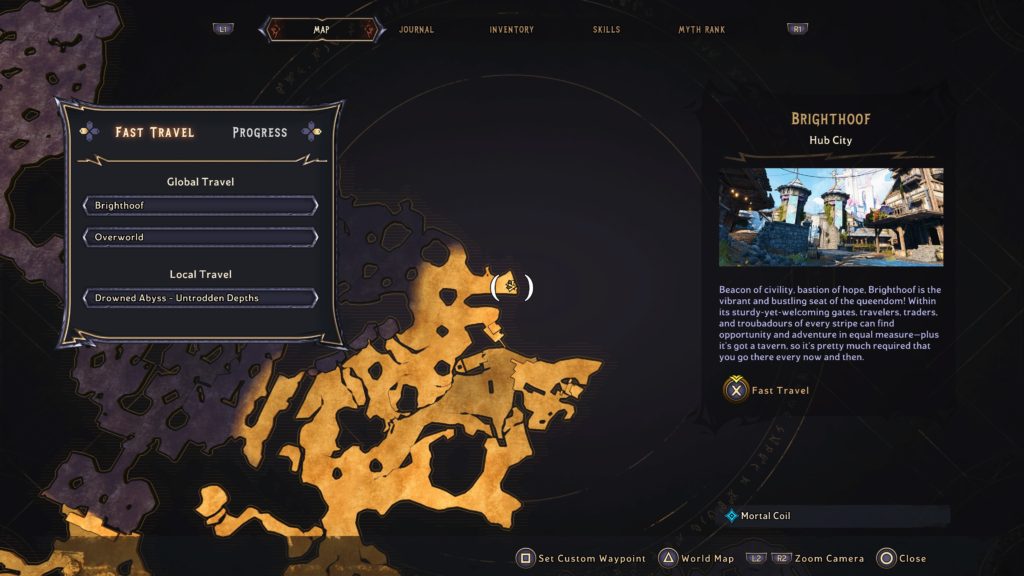
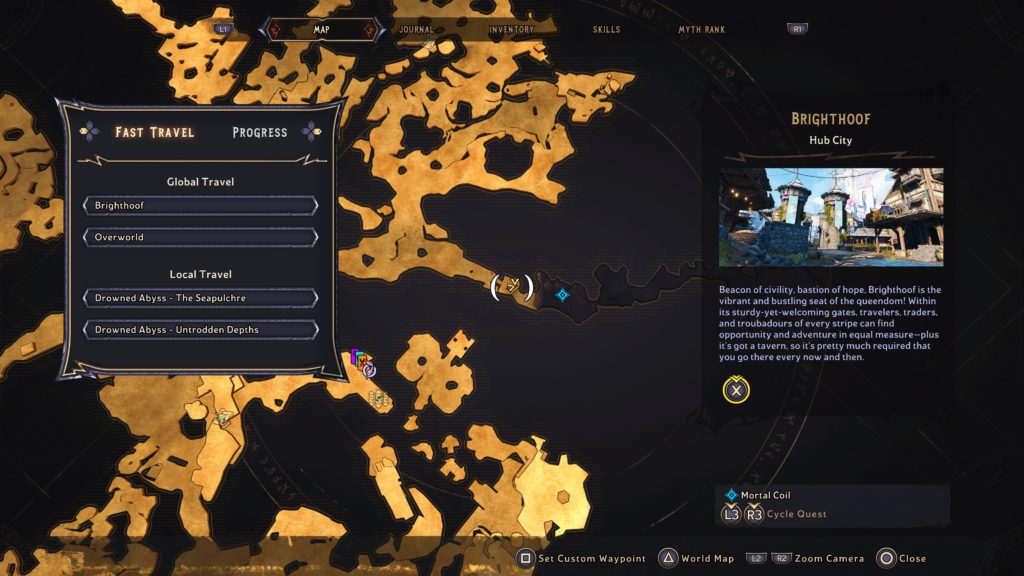
Below are the collectibles and campaign challenges found at Drowned Abyss in Tiny Tina’s Wonderlands.
Ancient Obelisk: 1
Lost Marbles: 2
Lucky Dice: 20
Poetry Pages: 2
Rune Switch: 1
Scrolls: 3
Ancient Obelisk
Ancient Obelisk 1
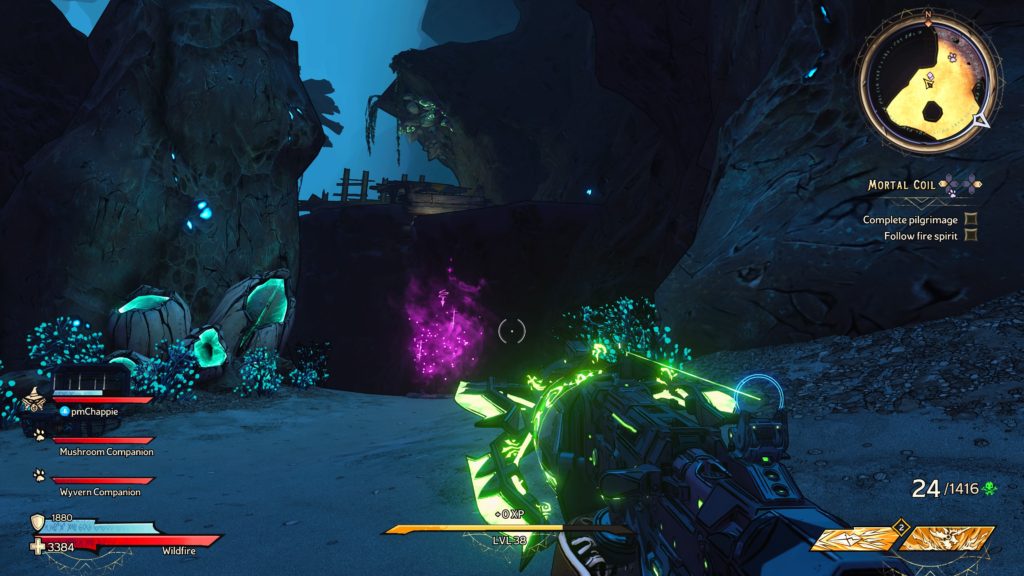
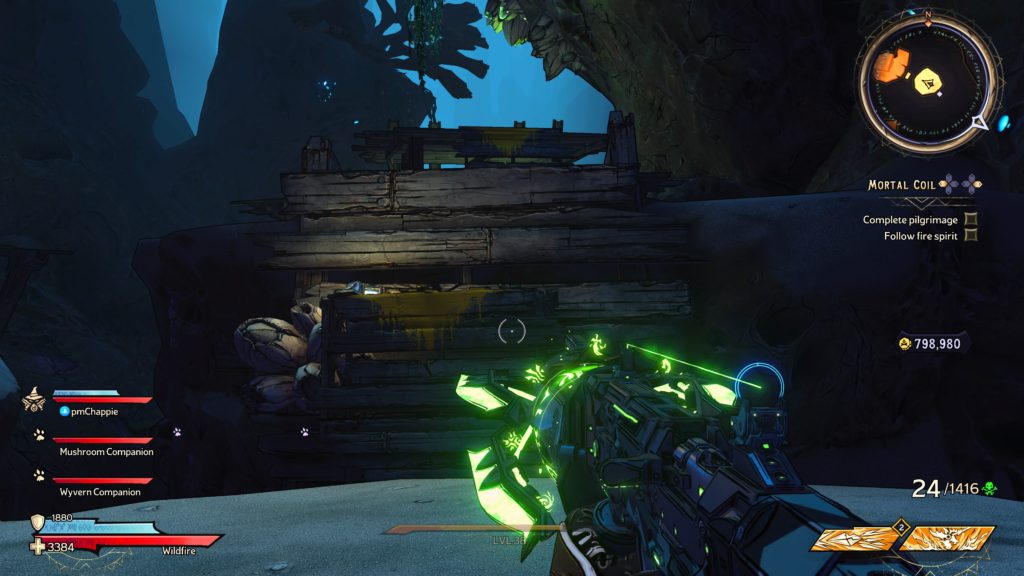
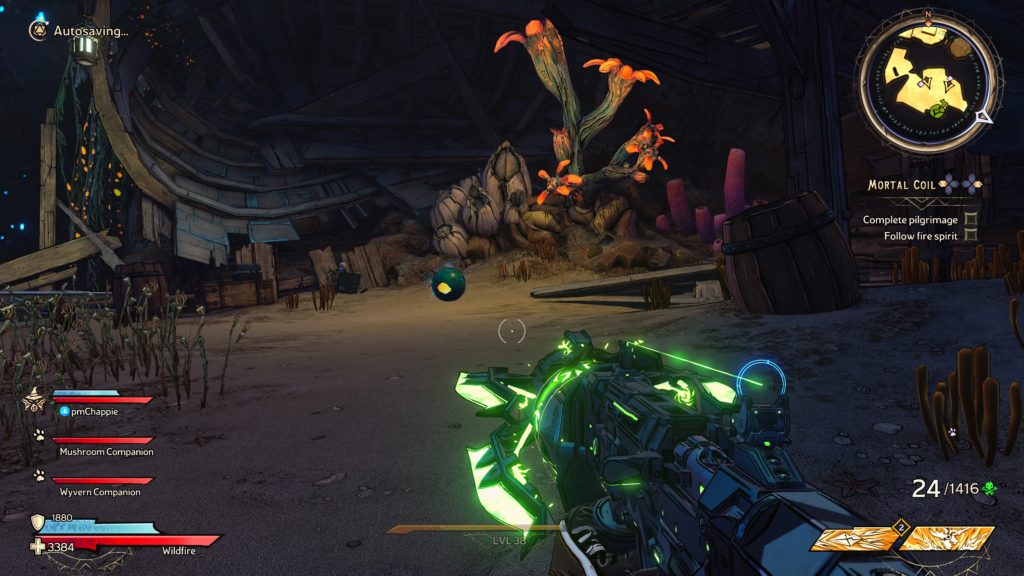
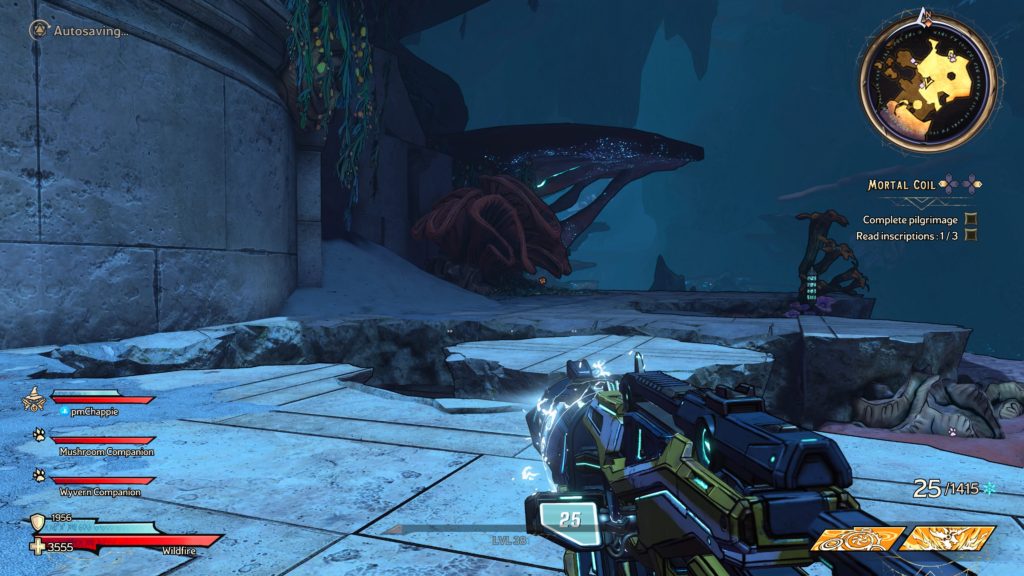
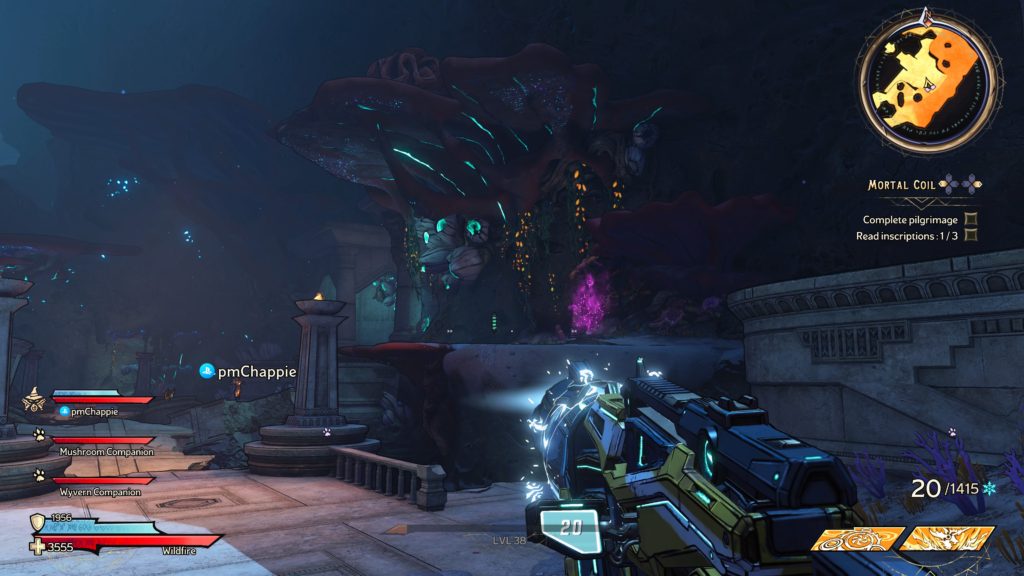
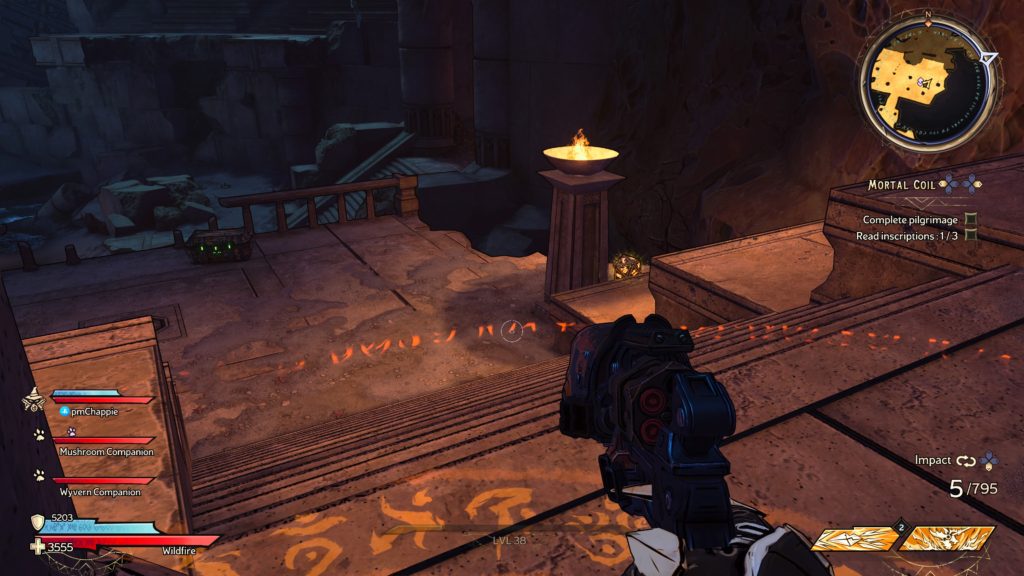
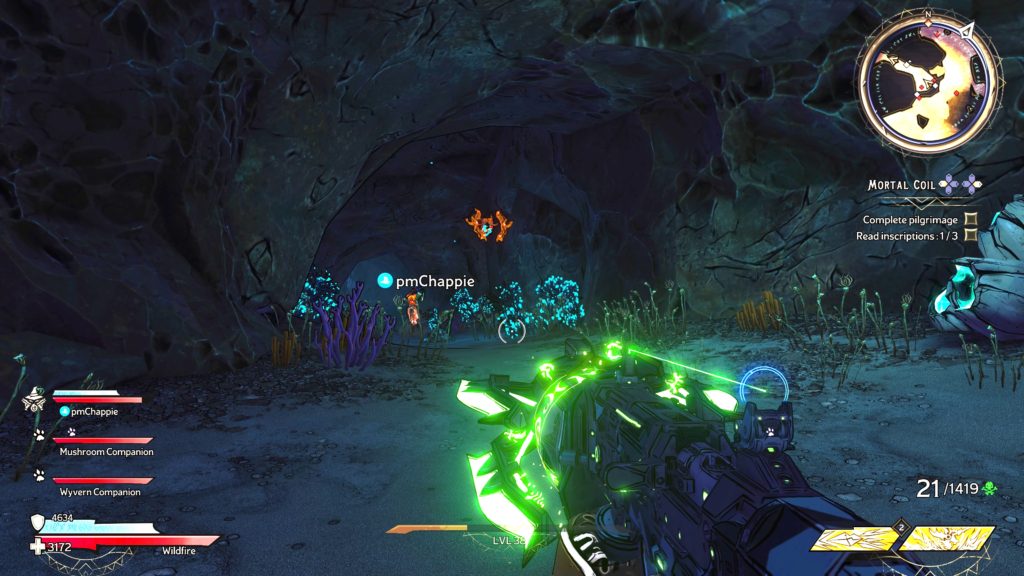
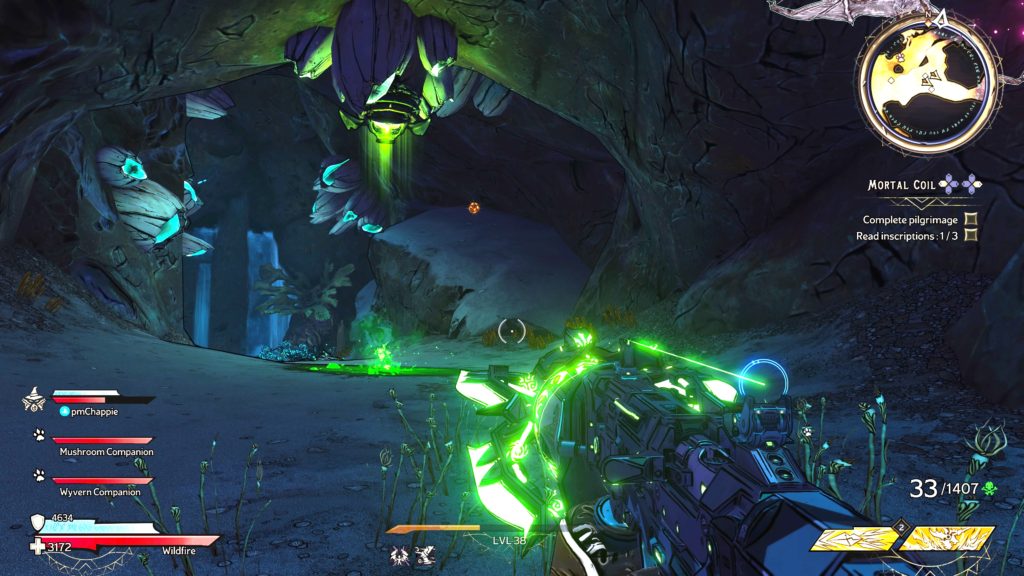
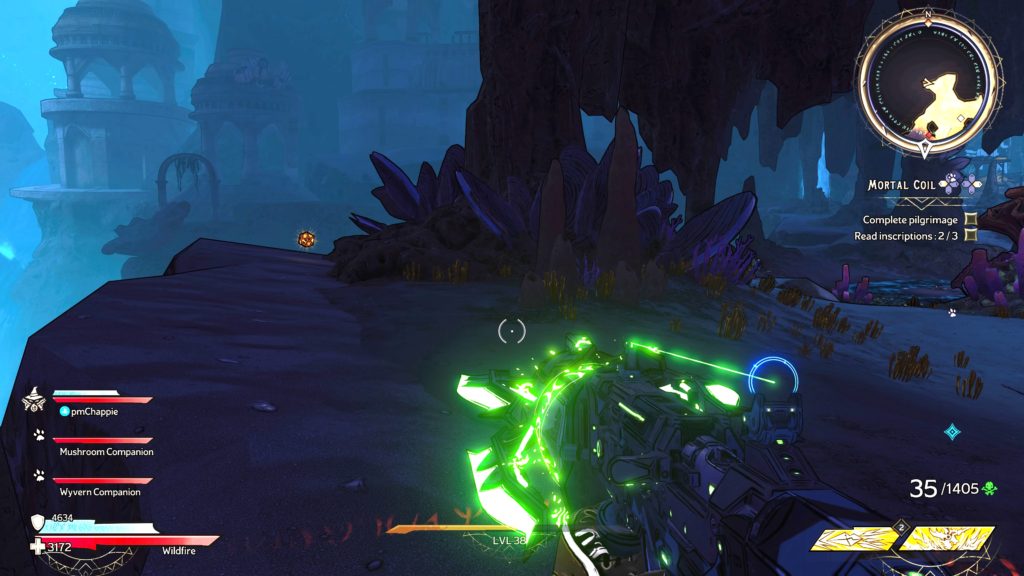
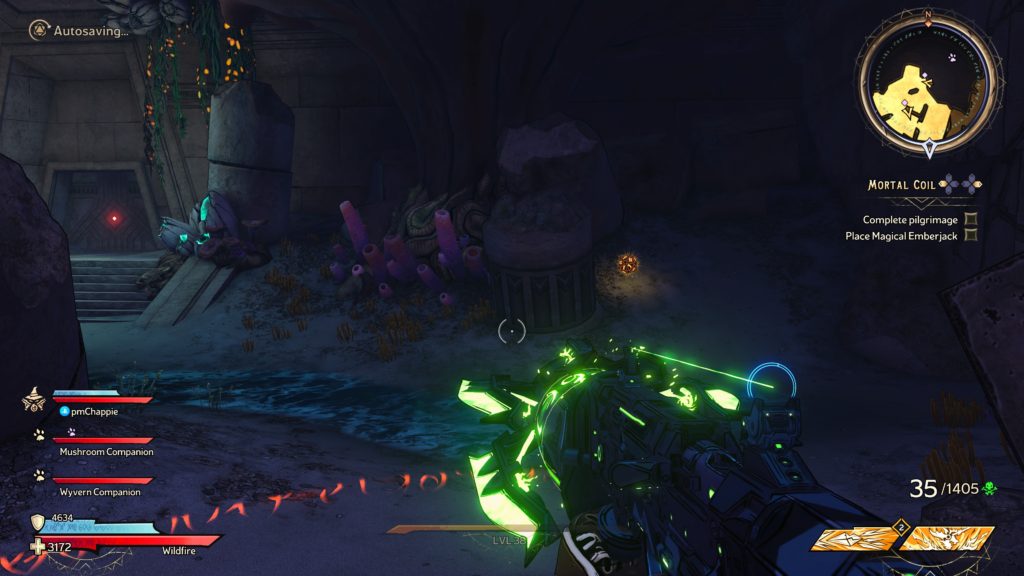
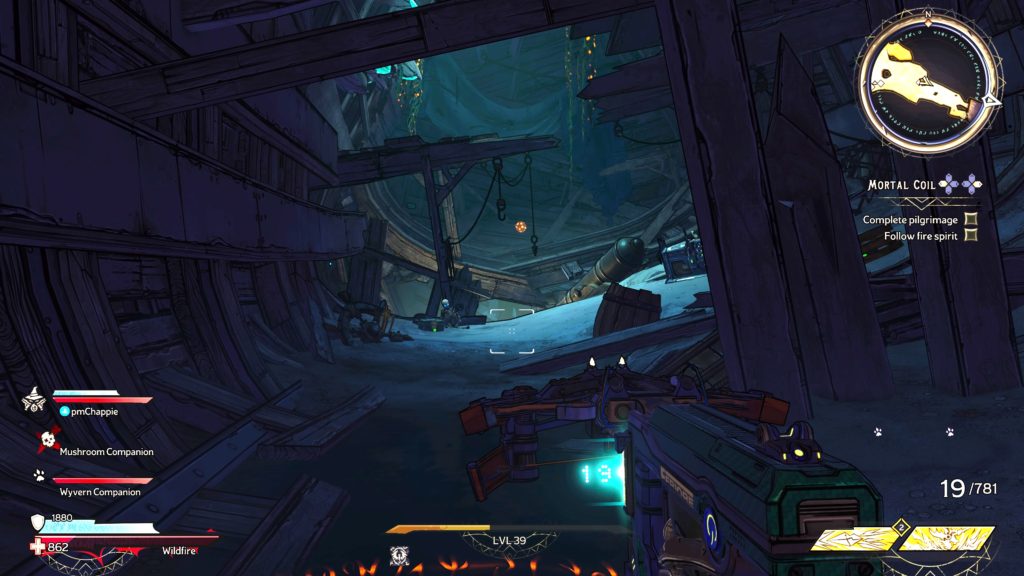
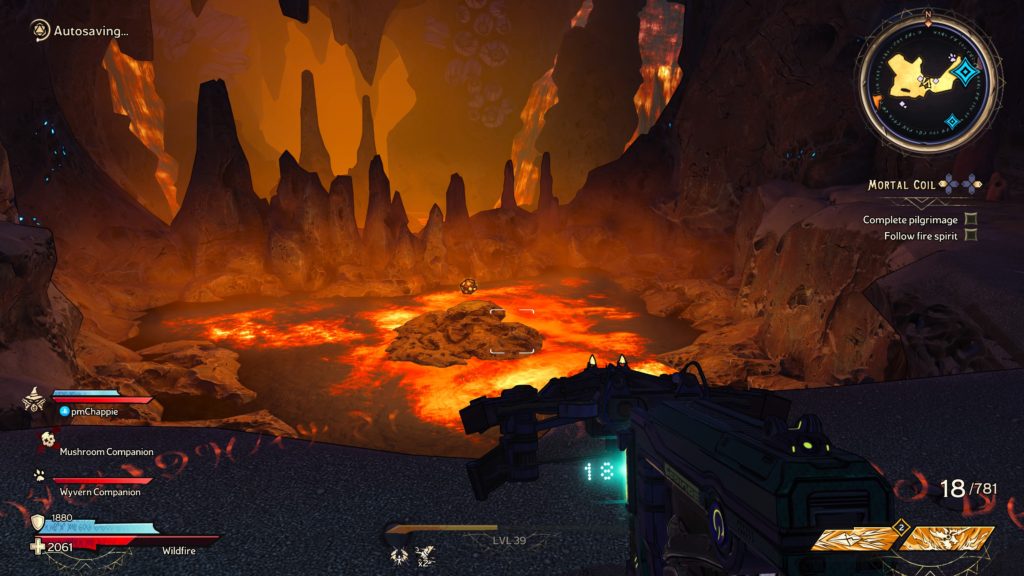
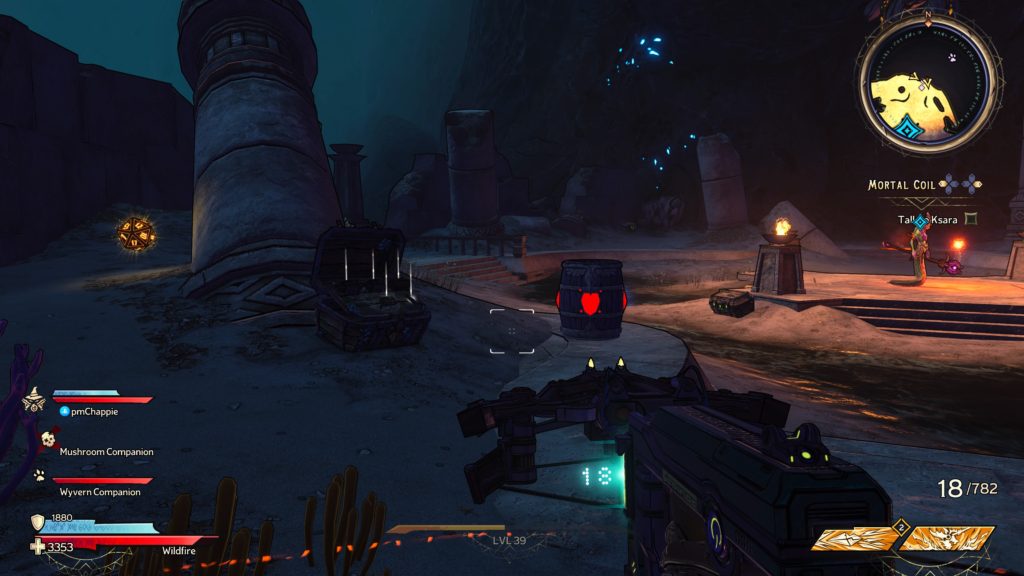
This obelisk can be found in the northwestern part of the map. You’ll be able to head through this door during the Mortal Coil main quest after you’re tasked with following the fire spirit.
Lost Marbles
Lost Marble 1
To reach this marble, climb up the broken ship. Once on the plank jetting out from the front of the ship, jump to the coral ledge to find the marble.
Lost Marble 2
This marble can be found in the northwestern part of the map. You’ll be able to head through this door during the Mortal Coil main quest after you’re tasked with following the fire spirit. Once through the door, follow the path to a purple jump path then keep heading along the path to reach the marble.
Lucky Dice
For a detailed guide on the locations of the Lucky Dice at Drowned Abyss, click here!
Poetry Pages
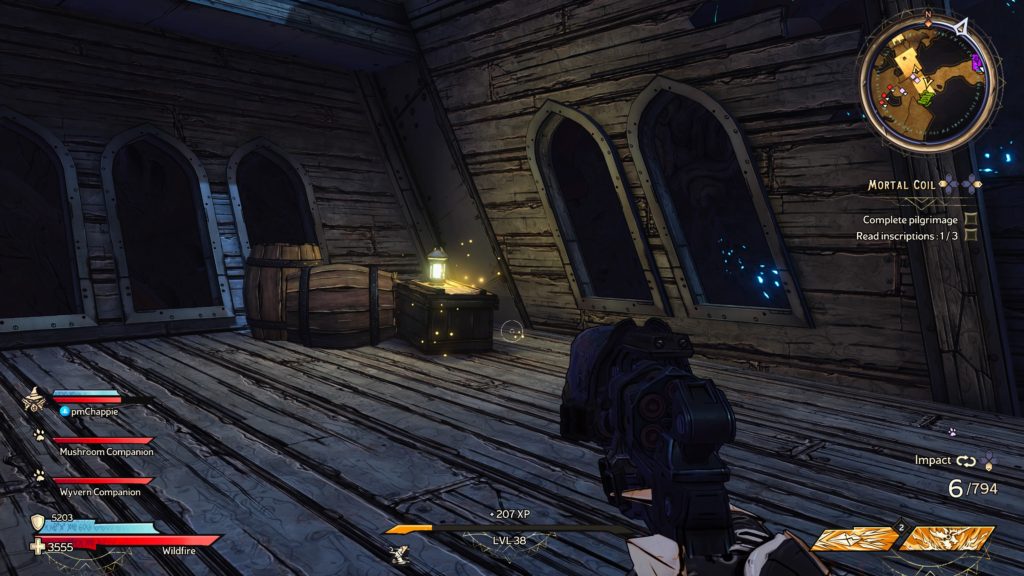
Poetry Page 1
This poetry page can be found on the ship hanging in the air near the central vending machines. To reach the ship, use the nearby purple jump pad.
Poetry Page 2
This poetry page can be found on a coral ledge. This will be available when the door opens during the Mortal Coil main quest after you are tasked with following the fire spirit.
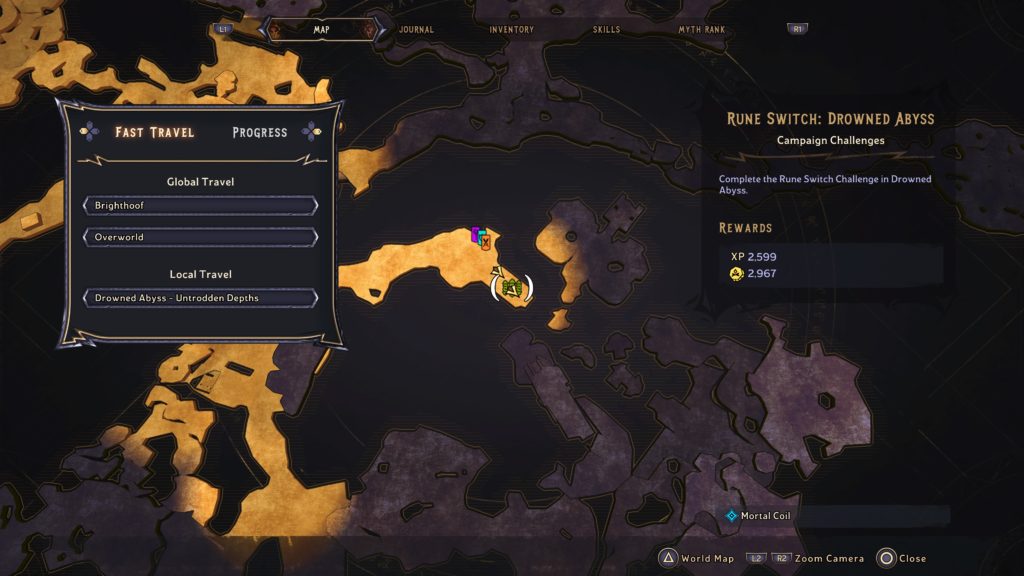
Rune Switch
Rune Switch 1
This Rune Switch can be found in the center of the map next to some vending machines.
Scrolls
Unheeded
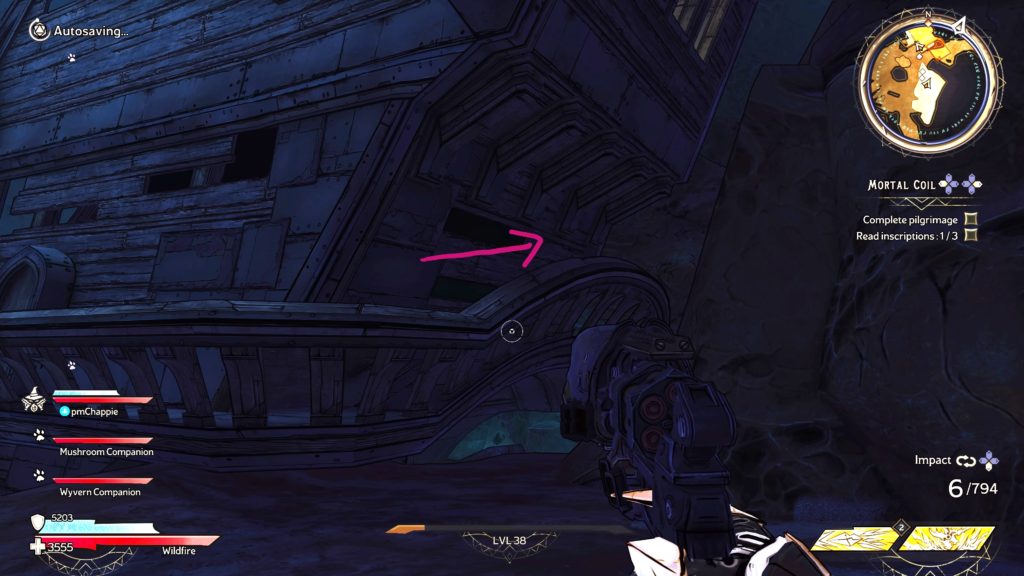
From the Drowned Abyss – Untrodden Depths fast travel point, proceed forward and look on your left to find a wall you can melee.
Do so then proceed forward. This scroll can be found behind a waterfall.
Climbing the Ladder
This side quest can be found on the balcony overlooking the temple where you fought the Slither Sisters during the Of Curse and Claw side quest. To reach this area, you’ll have to go through the door that was previously sealed along the path from the Drowned Abyss – Untrodden Depths fast travel point.
Consequences
This scroll can be found behind a statue in front of 2 waterfalls in an area accessible during the Diplomatic Relations side quest.
There are 20 total Lucky Dice that can be found at Drowned Abyss in Tiny Tina’s Wonderland. Below are the locations of these Lucky Dice. For a guide on all the collectibles in this area, click here!
Lucky Dice 1
This dice can be found on a mound of coral at the waterfall near the Drowned Abyss – Untrodden Depths fast travel point.
Lucky Dice 2
This dice can be found near the above dice behind a breakable wall. Melee the wall then head inside the room to find the dice.
Lucky Dice 3
This dice can be found behind a column in the room where you first talked with the Coiled priestess.
Lucky Dice 4
This dice can be found on a ledge where the Rune Switch campaign challenge takes you. Use the purple jump pad to reach it.
Lucky Dice 5
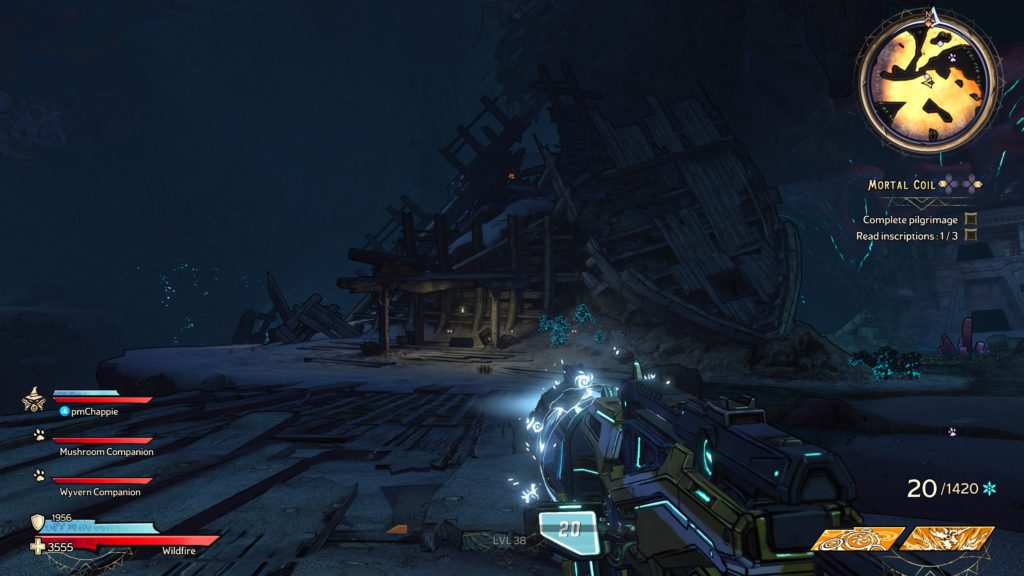
This dice can be found in a broken ship south of the central vending machines.
Lucky Dice 6
This dice can be found beneath a boat. To reach it, shoot the anchor above the boat.
It will fall into the boat, revealing the hidden area containing the dice.
Lucky Dice 7
This dice can be found on top of a large rock reachable via a purple jump pad.
Lucky Dice 8
After jumping onto a purple jump pad, you’ll reach a ledge with a ship next to it. This dice can be found around the back walkway of the ship.
Lucky Dice 9
This dice can be found on the balcony overlooking the temple where you fought the Slither Sisters during the Of Curse and Claw side quest. To reach this area, you’ll have to go through the door that was previously sealed along the path from the Drowned Abyss – Untrodden Depths fast travel point.
Lucky Dice 10
This dice can be found on top of a waterfall on the very southwestern tip of the map. You’ll have to melee the wall to reach it.
Lucky Dice 11
This dice can be found in a hidden area north of the central vending machines. To reach it, you’ll have to melee the wall.
Lucky Dice 12
This dice can be found near a poison spitter.
Lucky Dice 13
This dice can be found in the upper portion of a ruined ship.
Lucky Dice 14
This dice can be found at the base of a waterfall in the northeastern part of the map.
Lucky Dice 15
This dice can be found behind a column.
Lucky Dice 16
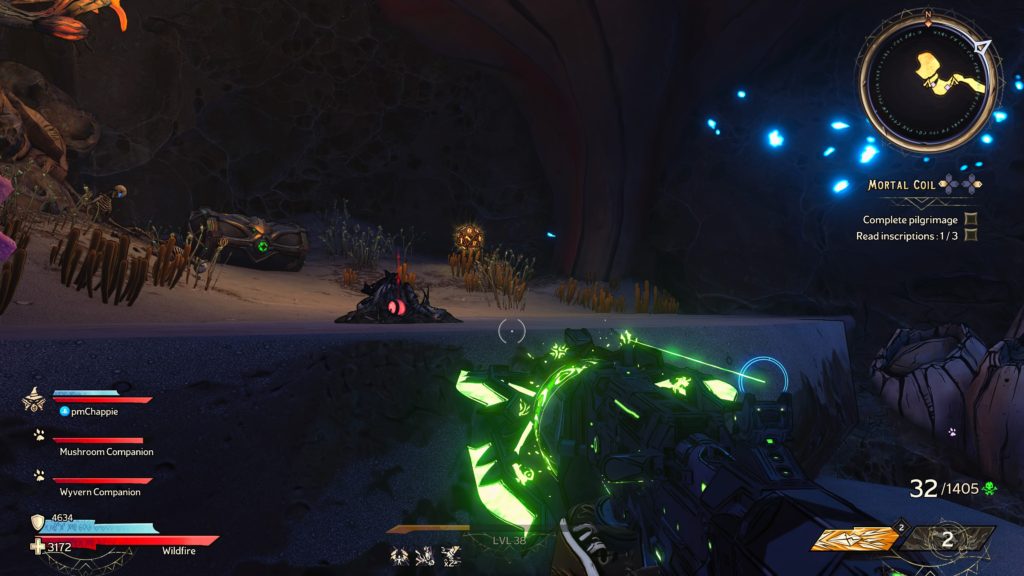
This dice can be found near a sealed door on the northern side of the map. You’ll come here during the Mortal Coil main quest.
Lucky Dice 17
This dice can be found in the northwestern part of the map near the Ancient Obelisk. You’ll be able to head through this door during the Mortal Coil main quest after you’re tasked with following the fire spirit.
Lucky Dice 18
This dice can be found in a ship. You’ll come here during the Mortal Coil main quest just before the vending machines at Drowned Abyss – Dry’l’s Gallery fast travel point. It’s EXTREMELY hard to miss as you’ll have to pass under it!
Lucky Dice 19
This dice can be found on a small island surrounded by lava directly east of the Drowned Abyss – Dry’l’s Gallery fast travel point.
Lucky Dice 20
This dice can be found in the large area east of the Drowned Abyss – Dry’l’s Gallery fast travel point behind a column.
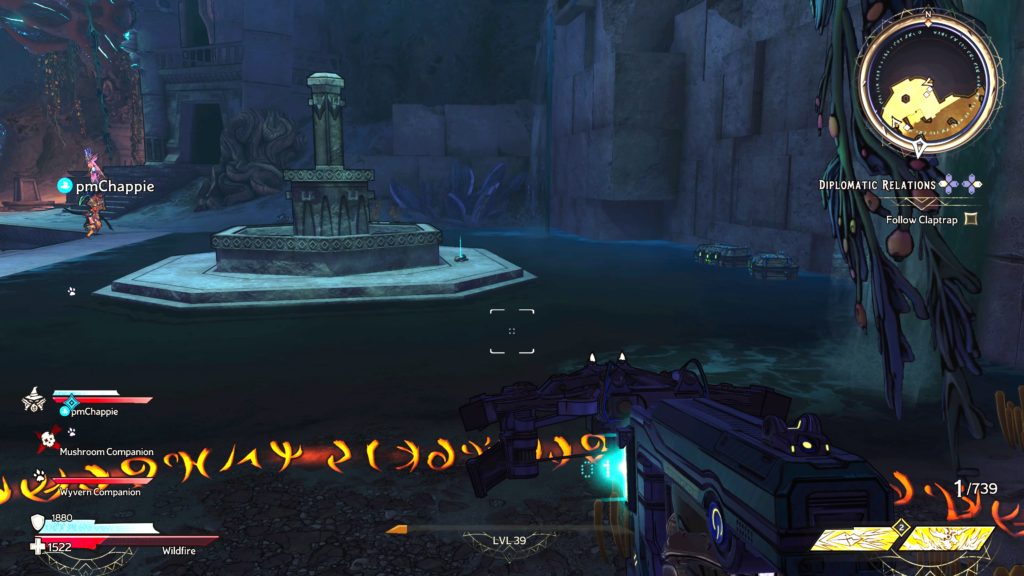
Below is a walkthrough for the Diplomatic Relations side quest in Tiny Tina’s Wonderlands. To obtain this quest, interact with the poster in Drowned Abyss.
Talk to Quimble in Drowned Abyss
Make your way to Quimble in the southern part of the area.
Repel Coiled assault
Defeat all the enemies.
Report back to Quimble
Head back to Quimble and speak with him.
Catch up to Claptrap
Follow the objective to reach the missile spewing green stuff.
Explode 3 barrels
Shoot the barrels next to the rocket.
Talk to Claptrap
Speak with him.
Kill Coiled
Defeat the enemies as they did not like Claptrap’s speech.
Meet Claptrap near peaceful flowers
Follow the objective to find Claptrap.
Frolic and jump around the flowers
Jump in circles!
Talk to Claptrap
Speak with Claptrap to watch his peace attempt.
Kill some more Coiled
Defeat the enemies!
Meet Claptrap near pirate ship
Head nearby to the pirate ship.
Hit 3 someones
Melee Claptrap 3 times!
Smack that booty
Melee the chest behind Claptrap.
Talk to Claptrap
Speak with Claptrap to watch his negotiation attempt.
Follow Claptrap
Follow Claptrap to a new area and listen to him negotiate.
Kill Coiled
When the negotiations fall through again, defeat the enemies!
Find Claptrap
Follow the objective through the newly opened door to find Claptrap. Defeat all the crabs around him.
Dislodge Claptrap
Melee him!
Talk to Quimble
Return to Quimble and speak with him to complete the quest.
Search
This site uses cookies. By continuing to use this website, you are giving consent to cookies being used. For more information on cookies, view our Privacy Policy.OkPrivacy Policy