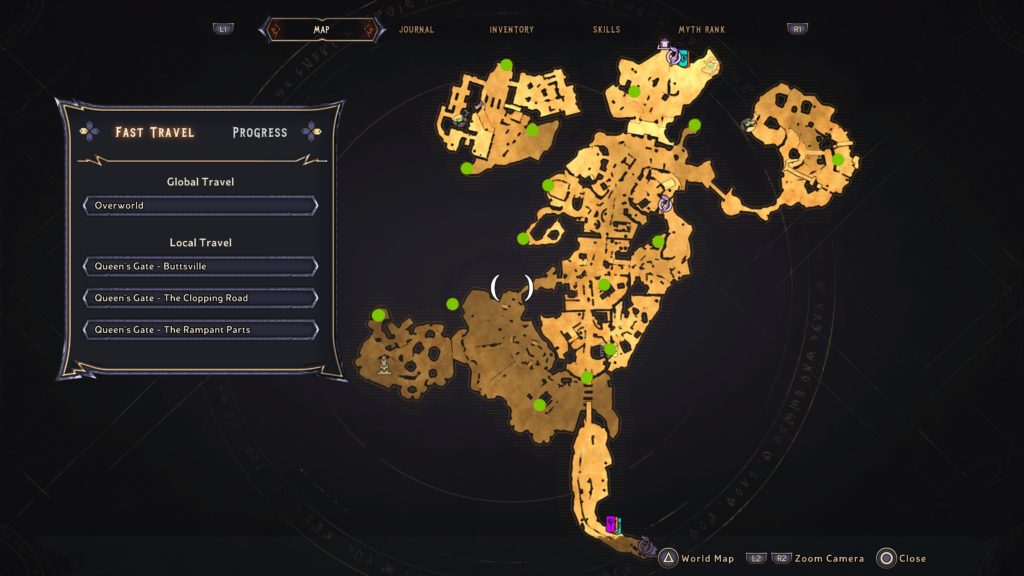
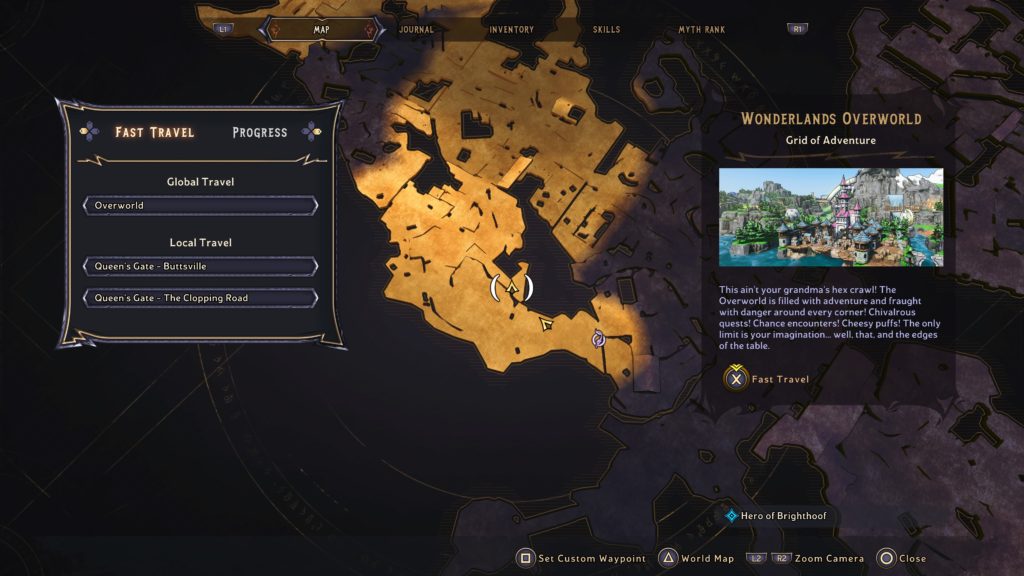
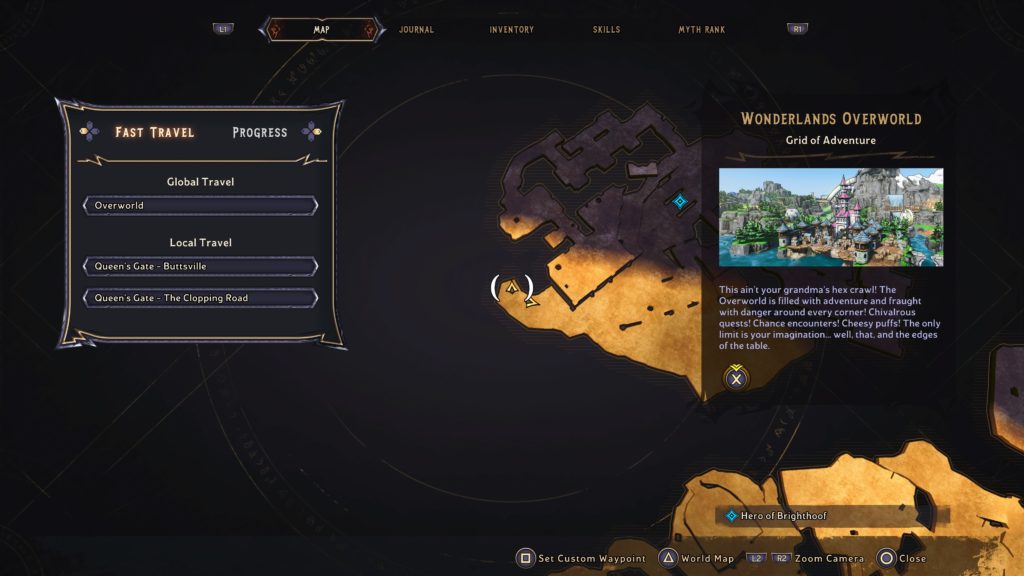
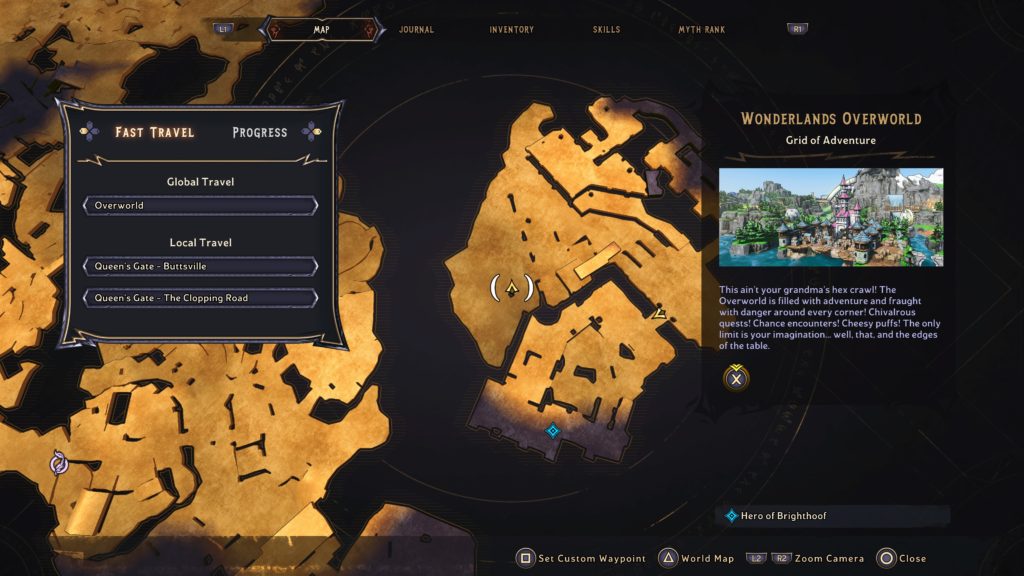
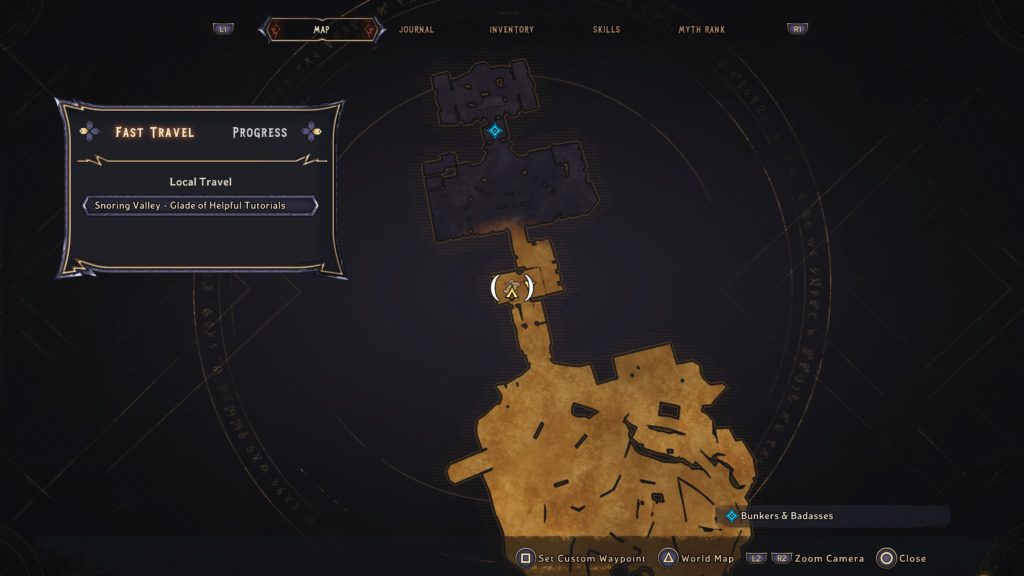
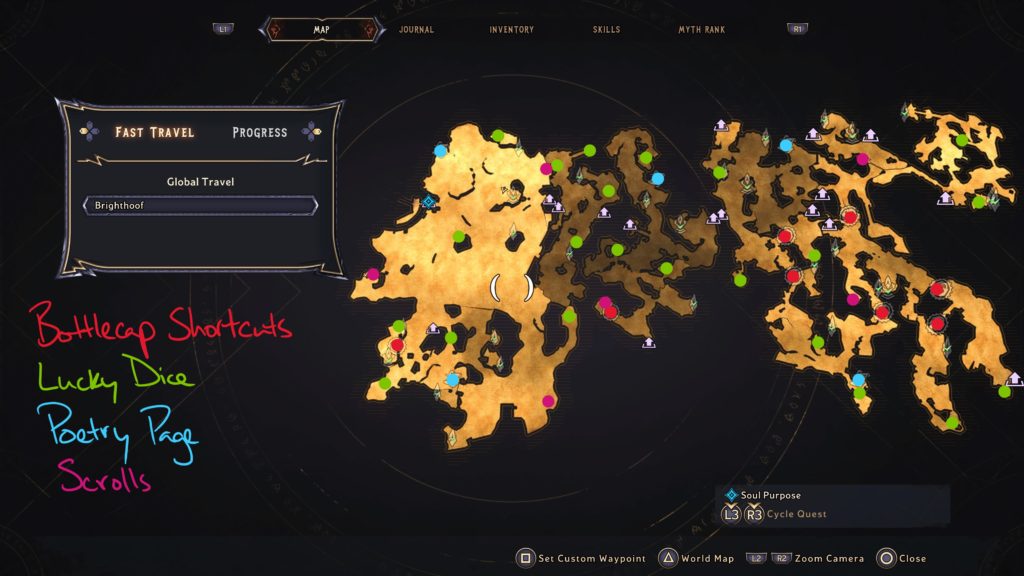
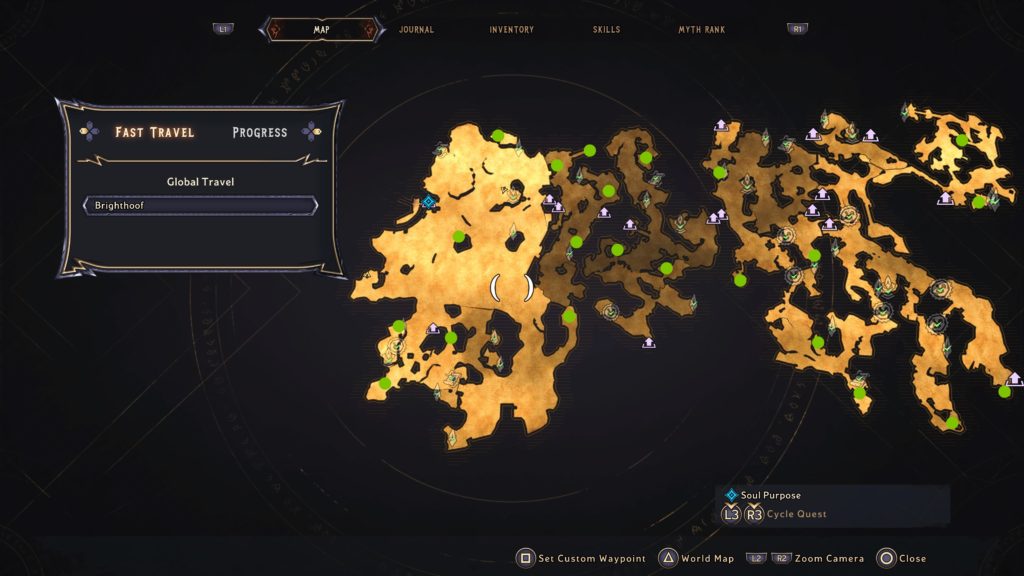
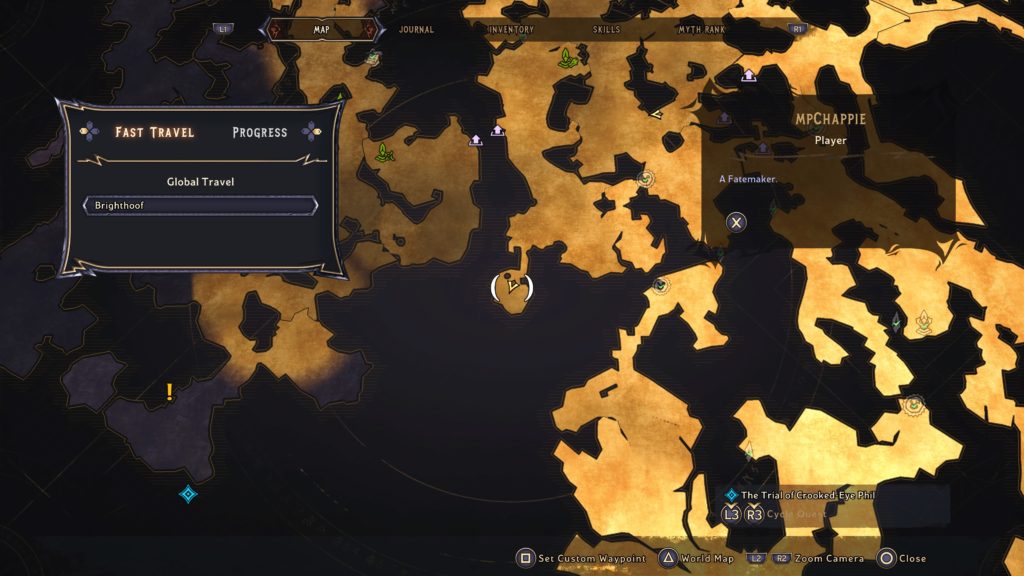
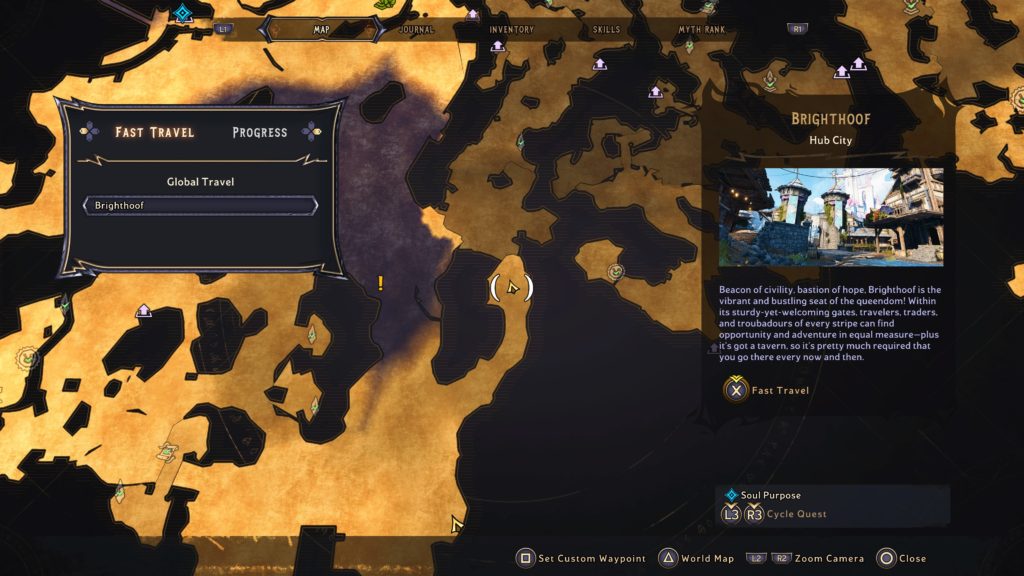
There are 15 total Lucky Dice that can be found at the Queen’s Gate in Tiny Tina’s Wonderland. Below are the locations of these Lucky Dice. For a guide on all the collectibles in this area, click here!
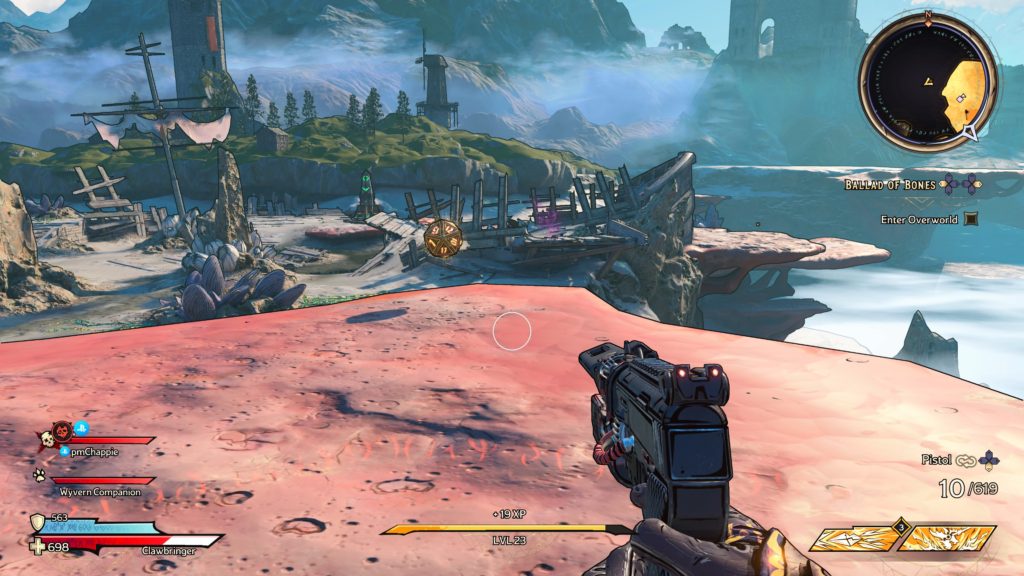
Lucky Dice 1
This dice can be found on the dock behind a building on the western side of Queen’s Gate.
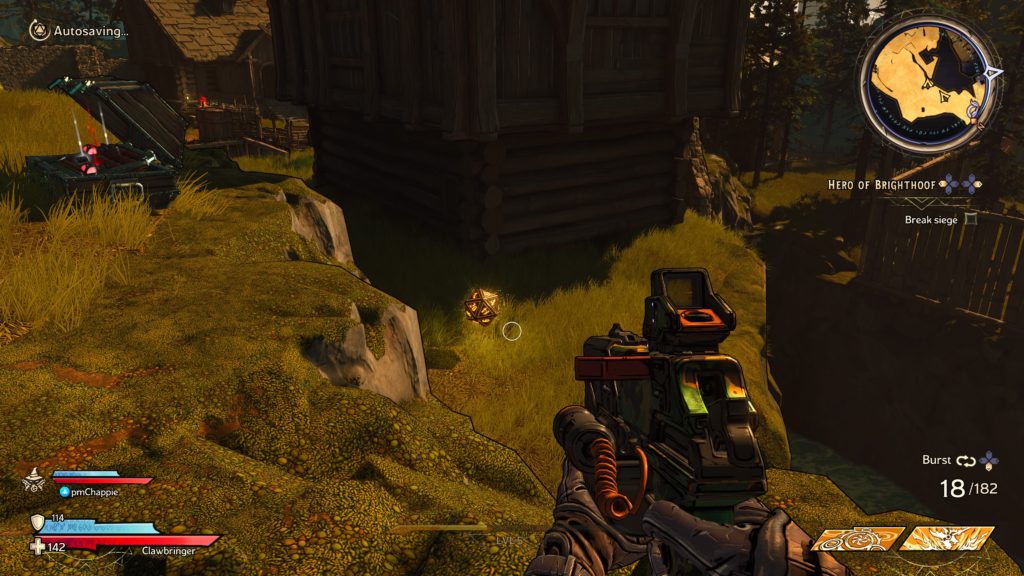
Lucky Dice 2
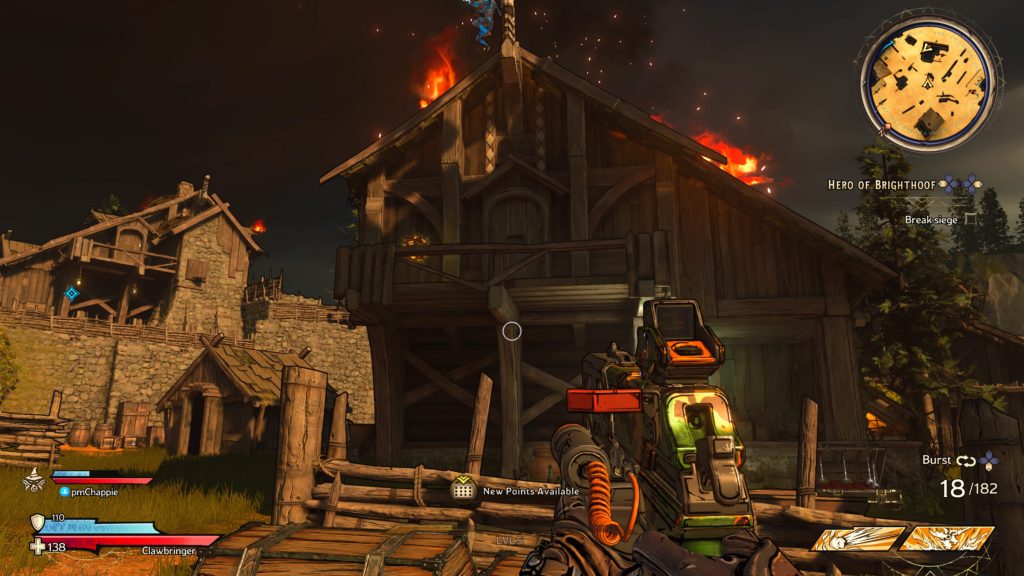
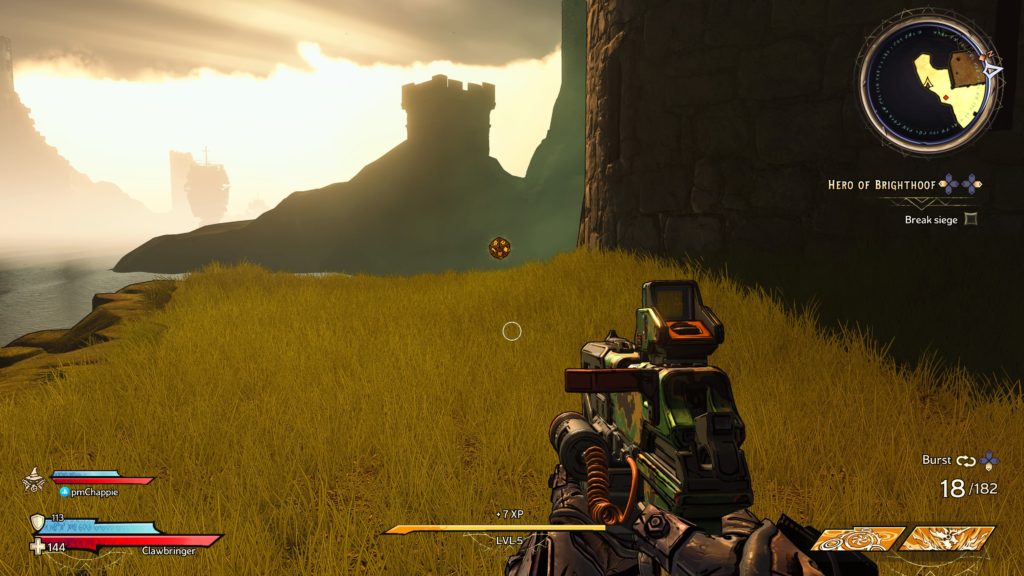
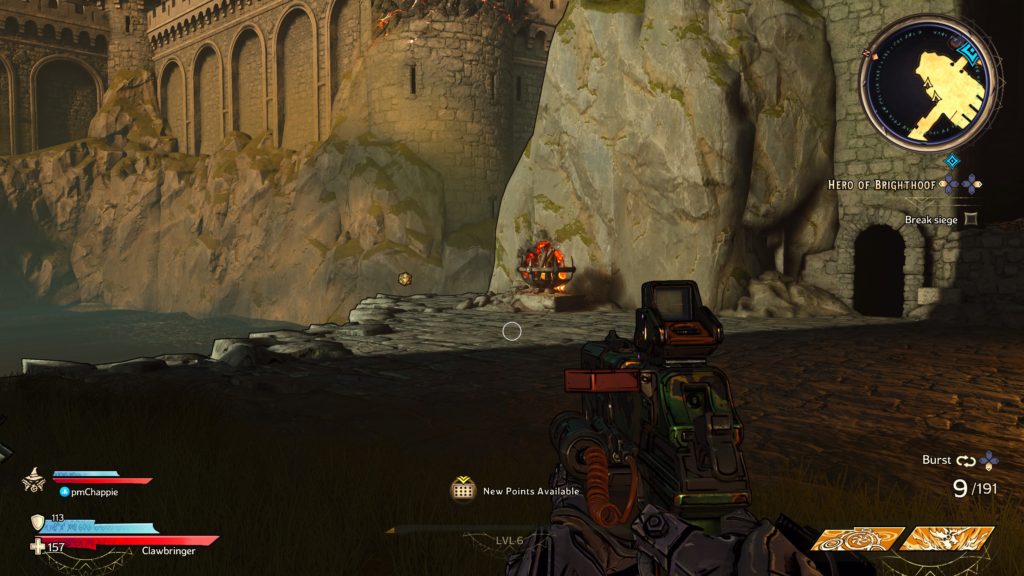
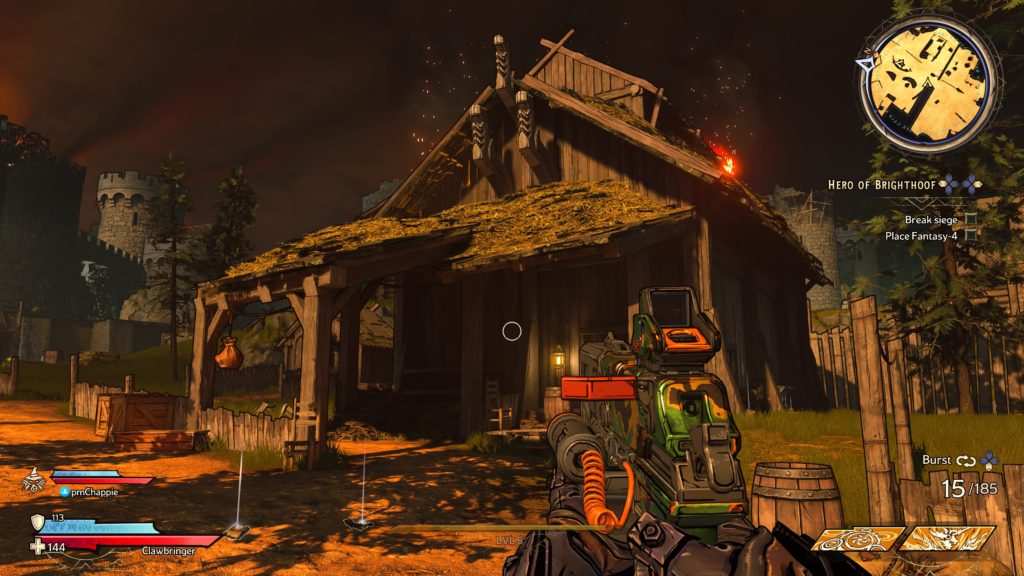
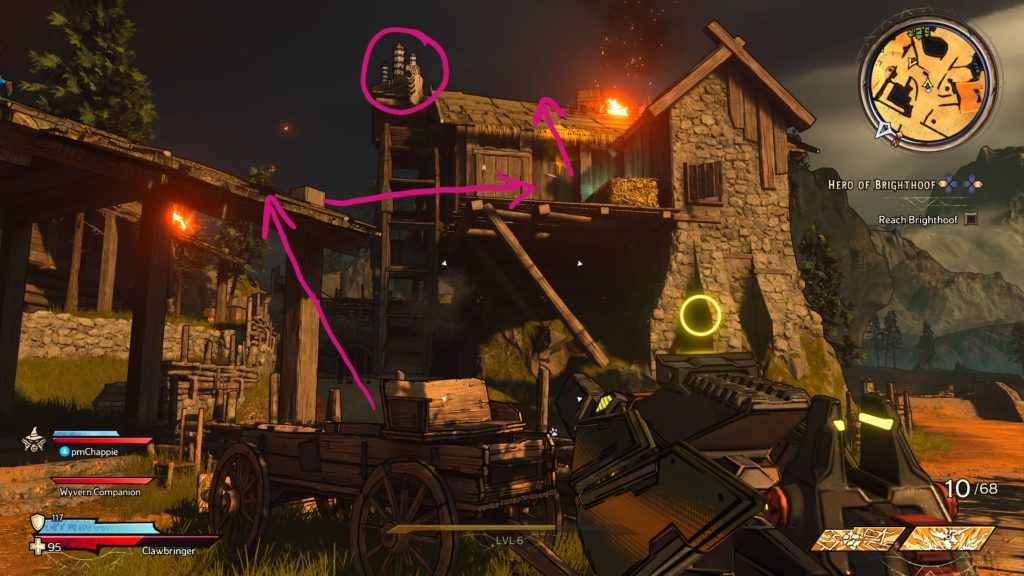
This dice can be found on the 2nd floor balcony of a burning building in Buttsville just before the part where you have to break siege.
Lucky Dice 3
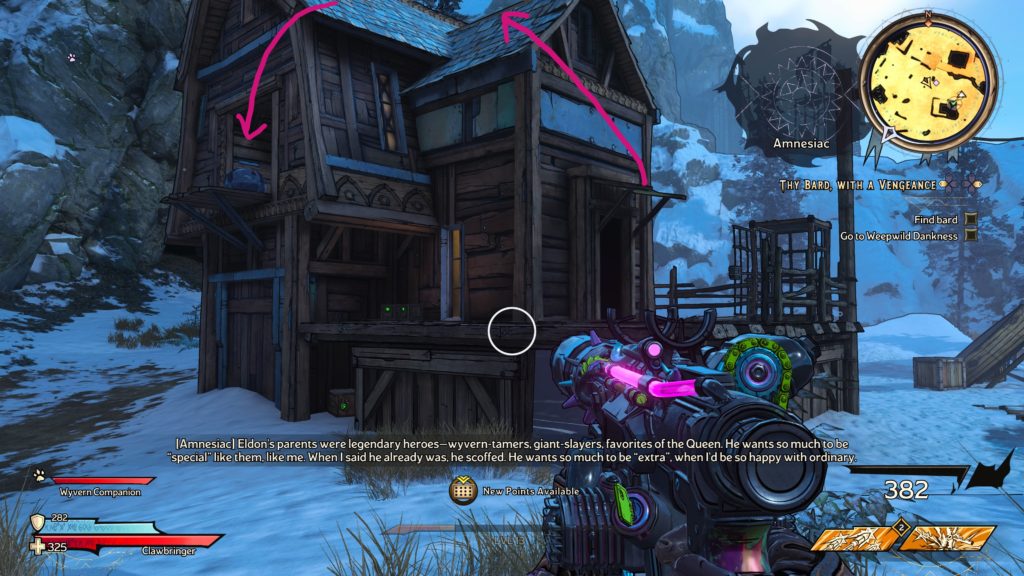
This dice can be found on a lower cliff ledge behind a house just before the Queen’s Gate – Buttsville fast travel point.
Lucky Dice 4
This dice can be found in a garden to the far south of Queen’s Gate – Buttsville fast travel point.
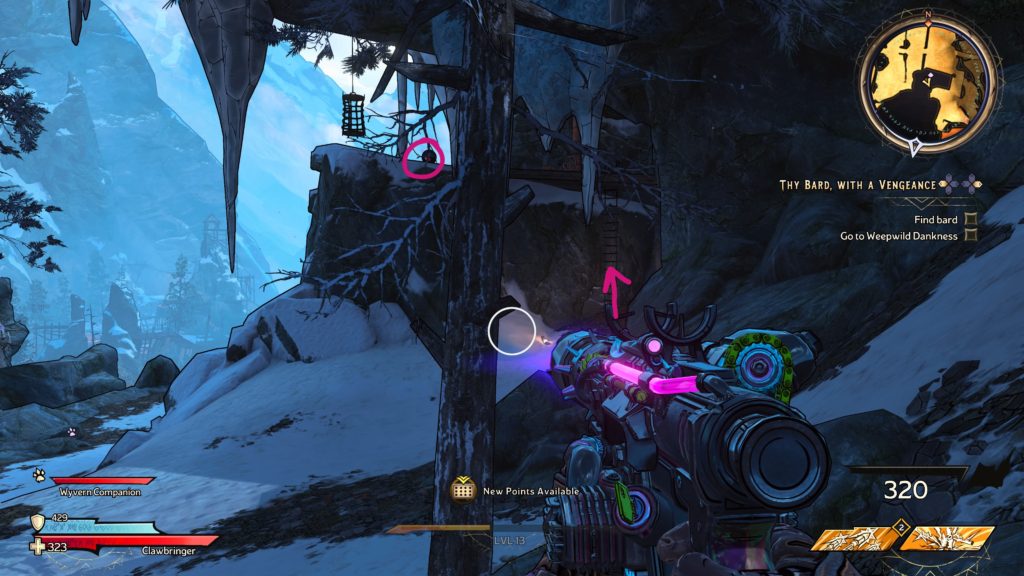
Lucky Dice 5
When facing the above dice, look to your left to find some boards you can melee against the cliffside. Break them then head inside to find the dice!
Lucky Dice 6
Just after you catapult across the expanse using the catapult, head to the left side of the castle to find the dice on a ledge.
Lucky Dice 7
After the above dice, proceed forward a short way to find this dice overlooking the water near a fire.
Lucky Dice 8
After the above dice, proceed forward toward the objective. When the map opens up, take an immediate right and look across the way to find the dice atop a column. Jump to it to collect the dice.
Lucky Dice 9
This dice can be found on the balcony of a house near the Queen’s Gate – The Rampant Parts fast travel point!
Lucky Dice 10
This dice can be found on a broken stone bridge just south of Queen’s Gate starting area. To reach it, you’ll have to unlock the gate across from the Queen’s Gate – The Rampant Parts fast travel point then backtrack through the areas you’ve already been.
Lucky Dice 11
This dice can be found near the above dice in the water next to the mill.
Lucky Dice 12
This dice can be found on a tall wooden crate in the area east of the Queen’s Gate – The Rampant Parts fast travel point.
Lucky Dice 13
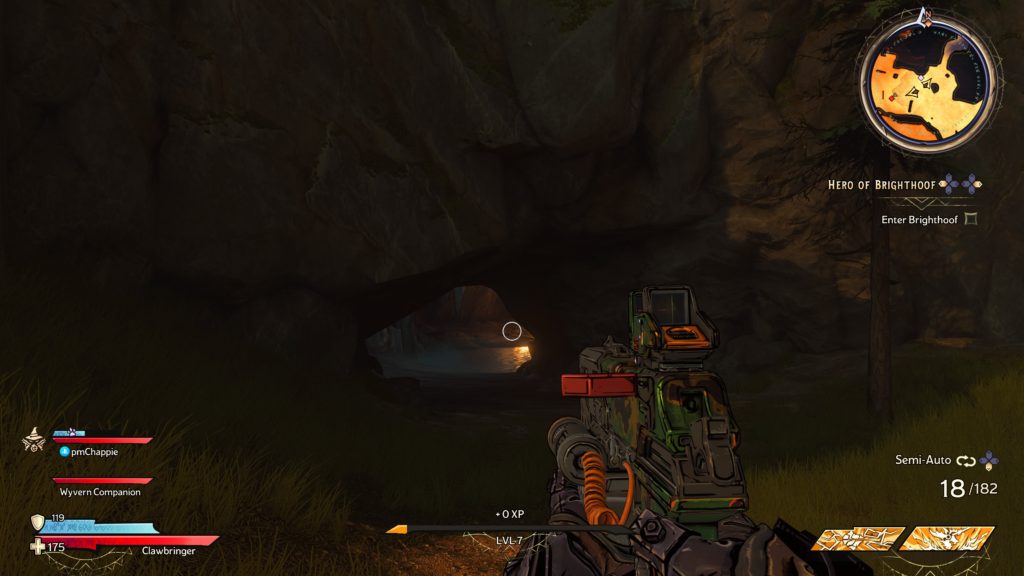
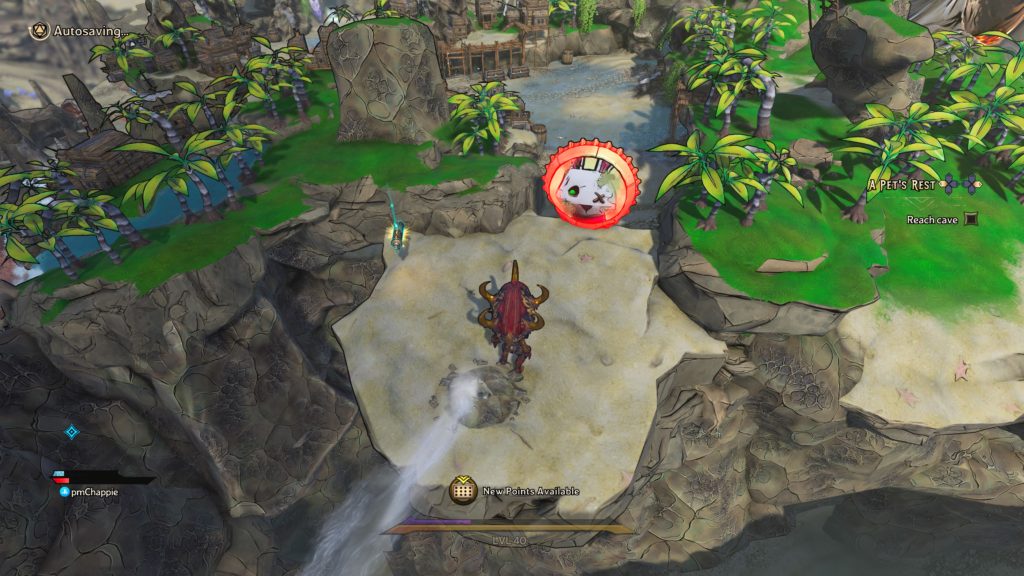
This dice can be found in a cave southeast of the Queen’s Gate – The Rampant Parts fast travel point.
Lucky Dice 14
After blowing up the ocean as part of the story, this dice can be found where the water used to be on the western seabed.
Lucky Dice 15
After blowing up the ocean as part of the story, this dice can be found just north of the Ancient Obelisk.
Below are the locations of the Lost Marbles in Tiny Tina’s Wonderlands.
Queen’s Gate
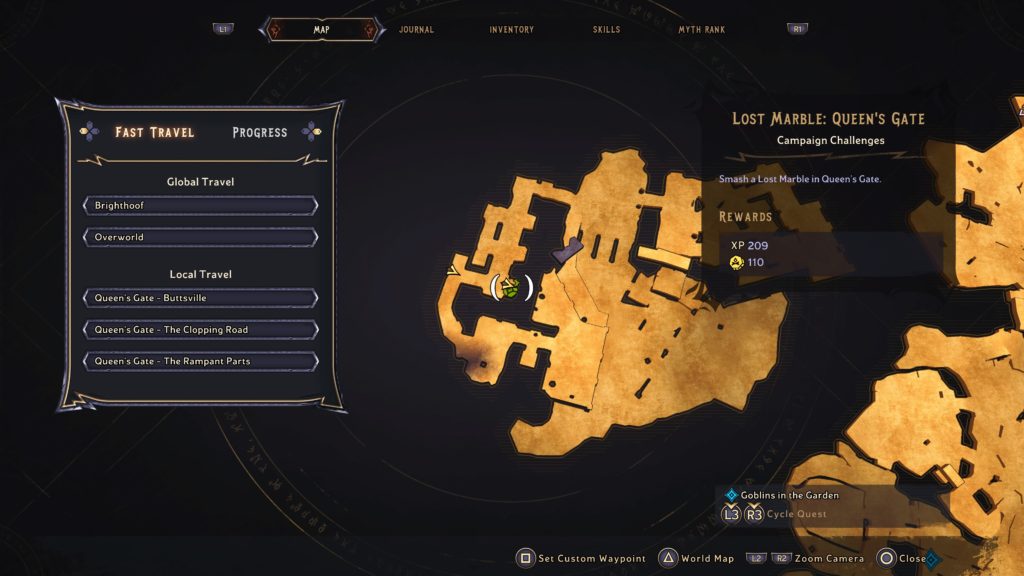
Lost Marble 1
The marble can be found next to a broken tower in the area east of the Queen’s Gate – The Rampant Ramparts.
Lost Marble 2
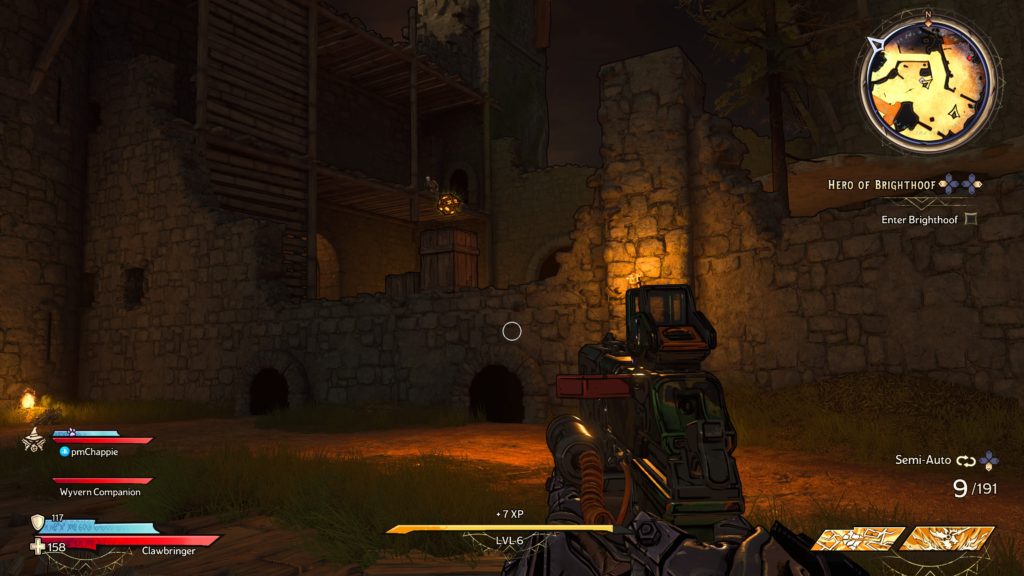
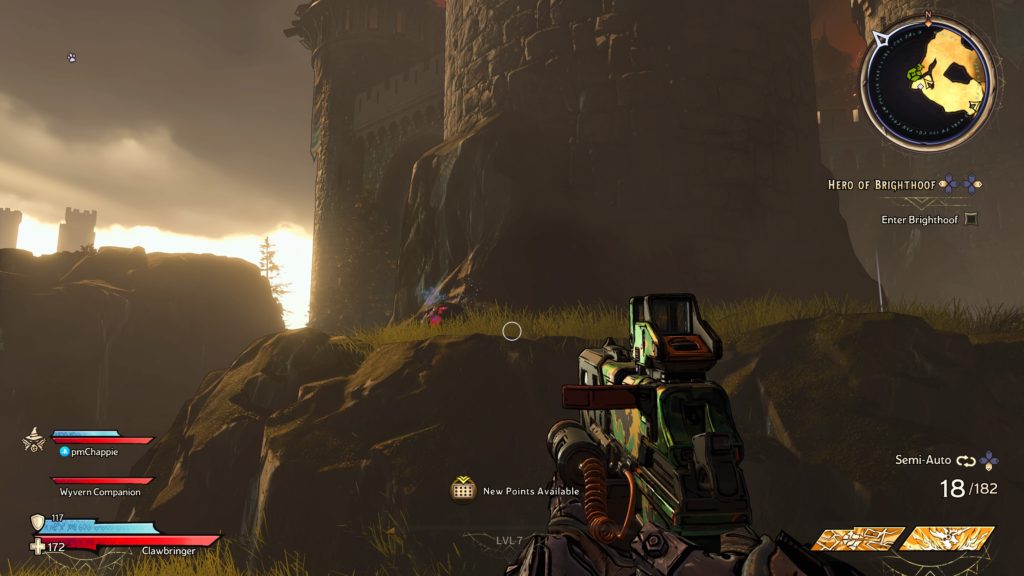
This marble is accessible after completing the Hero of Brighthoof main quest. The castle gate to the far northwestern part of the area will now be open. Head inside to find the marble next to a trap.
Brighthoof
Lost Marble 1
To reach this marble hanging in a rope net, make your way to the second level of Izzy’s Fizzies then head out to a balcony to find a wooden plank. From the plank, jump to the adjacent roof. From there, you’ll be able to jump onto the marble.
Lost Marble 2
This marble can be found after blowing up the ocean as part of the story. Head to the large building directly east of the portal then take the stairs next to the portal to go underneath the stone archway where you’ll find a hole in the grate.
Enter the hole and slide down the take the ladder up to find the marble. To get out of this area, pull the lever near the gate.
Mount Craw
Lost Marble 1
This marble can be found on a second level of a house. To reach it, climb up the awning on the house then use that to reach the roof. Drop down onto the wooden ledge jutting out in front of the marble.
Lost Marble 2
This marble can be found on a cliff ledge directly north of the Mount Craw – Craw’s Craw. To reach it, climb up the nearby ladder then watch out for the air blower as you make your way to the marble.
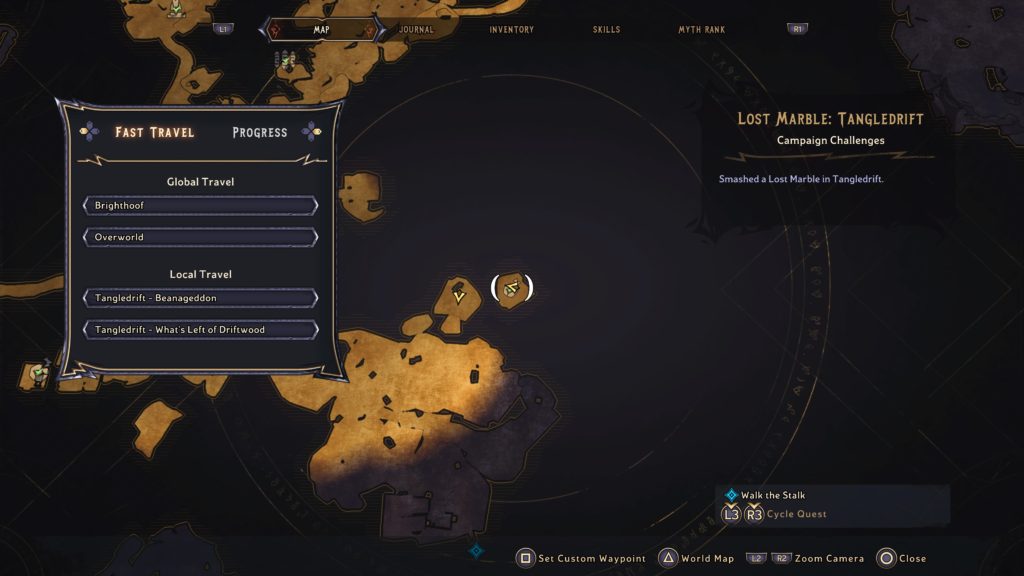
Tangledrift
Lost Marble 1
This marble can be found in a tower on the southern side of the first town you come across. To reach it, look for a portal suspended in the air below the western side of the cliff.
Jump down into it to be teleported to the tower.
Lost Marble 2
This marble can be found on a little island off the main path on the eastern side of the area.
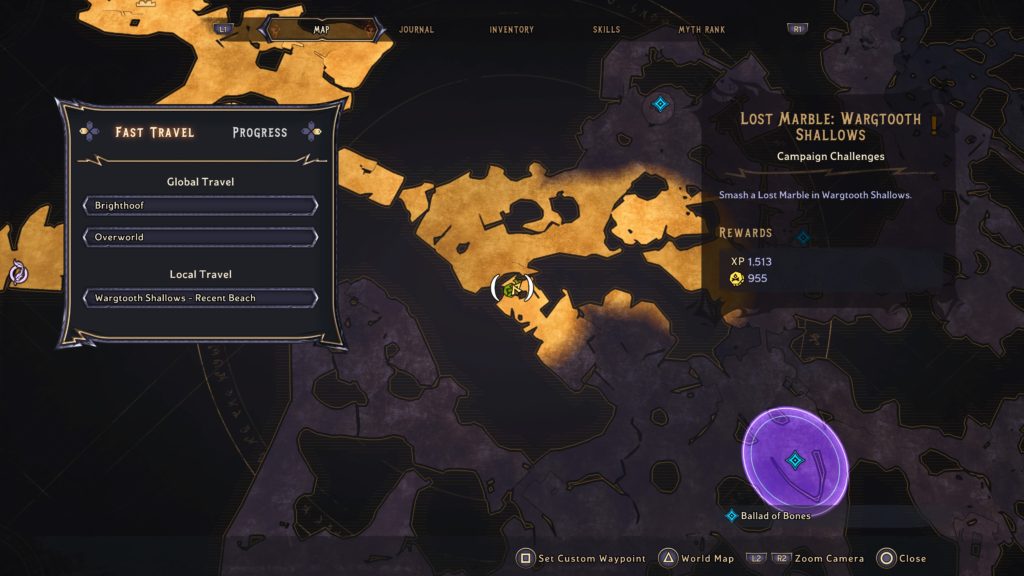
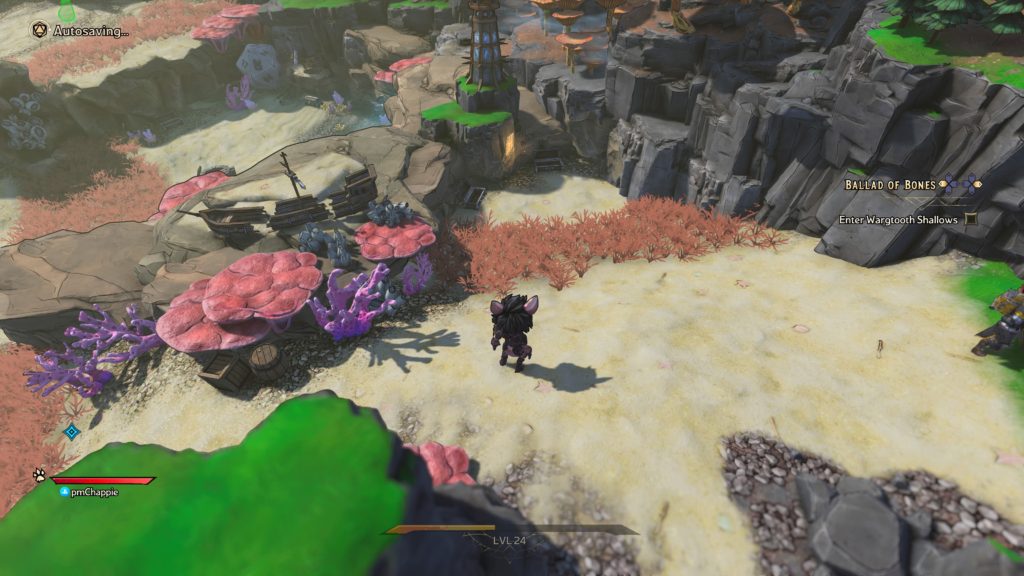
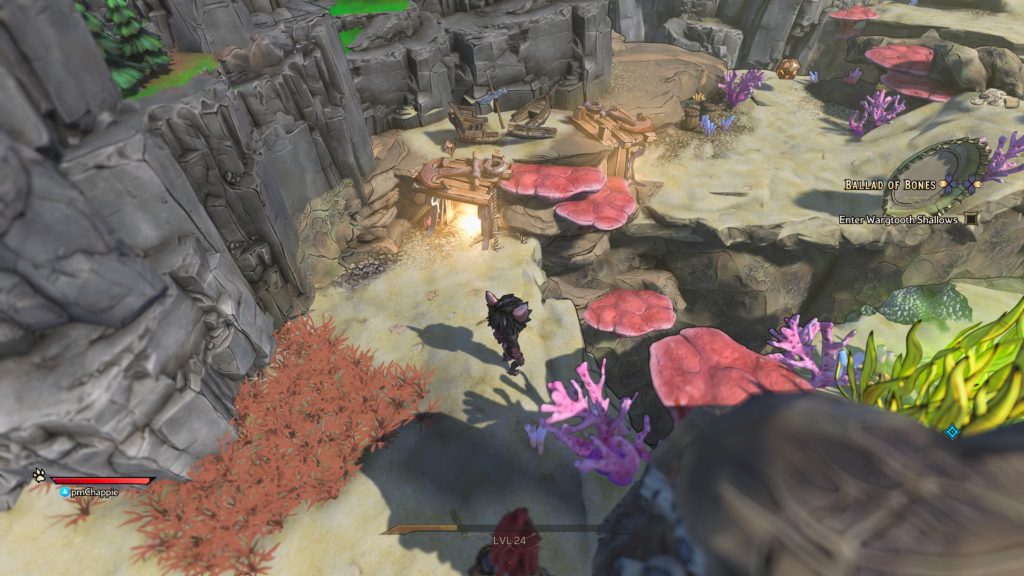
Wargtooth Shallows
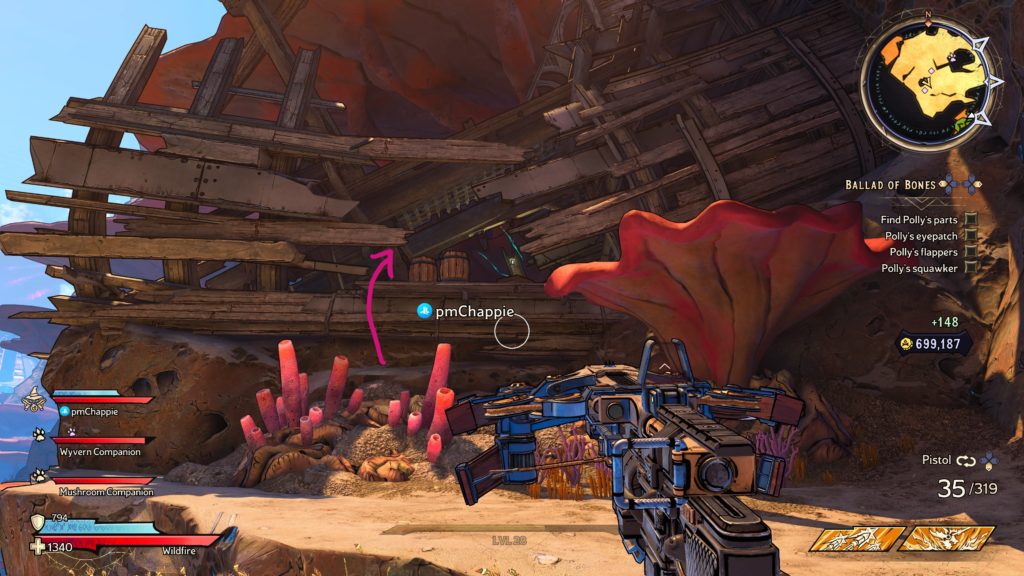
Lost Marble: 1
This marble can be found in a wrecked ship. To reach it, jump on the purple coral then to the ship.
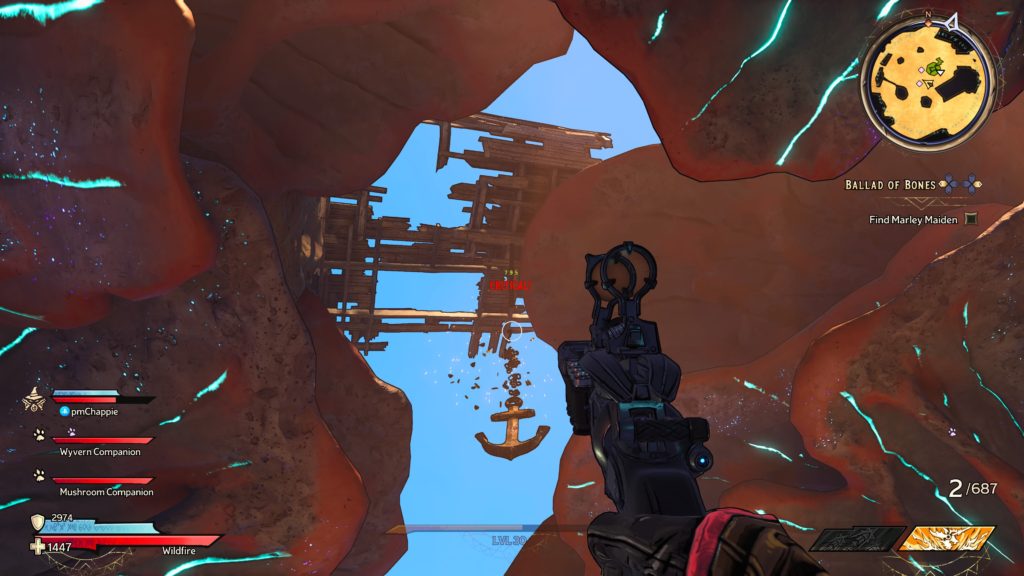
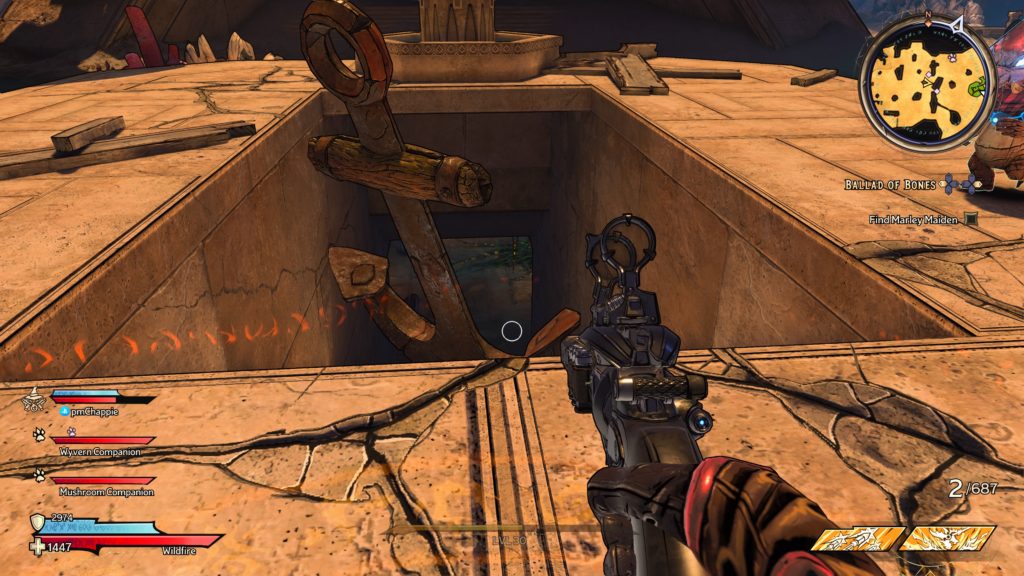
Lost Marble 2
This marble can be found at the temple during the Twenty Thousand Years Under the Sea side quest. To reach it, locate it on the map then look up. You’ll find an anchor hanging.
Shoot it causing it to drop and create a hole in the floor.
Head into it to find the lost marble!
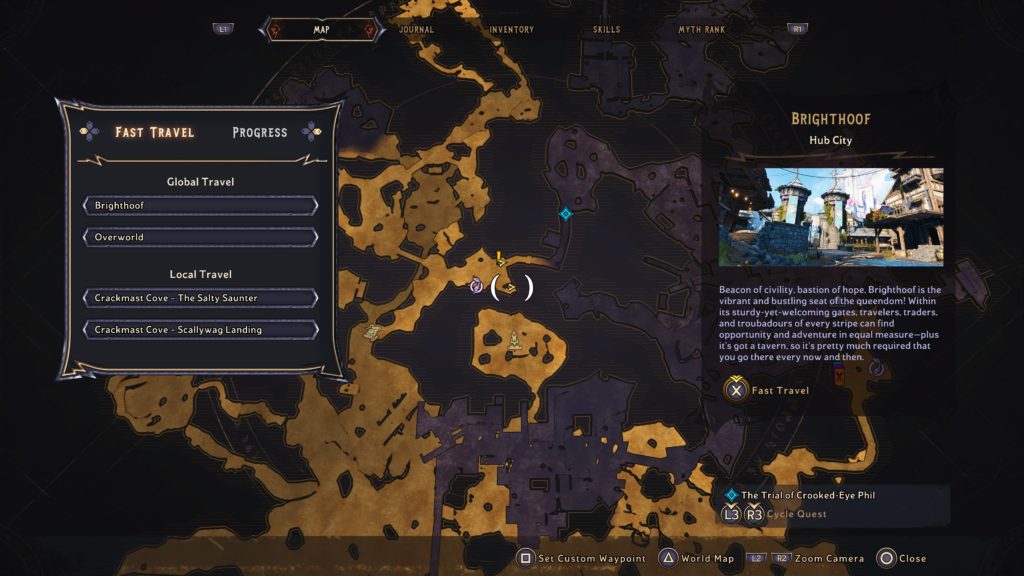
Crackmast Cove
Lost Marble 1
This marble can be found in a wrecked ship in the south central part of the area.
Lost Marble 2
This marble can be found on a higher ledge on a tall rock. To reach it, take the ladder up.
Once at the top, head forward a short ways then look on your left for a lower platform. Jump to it as this platform contains the marble.
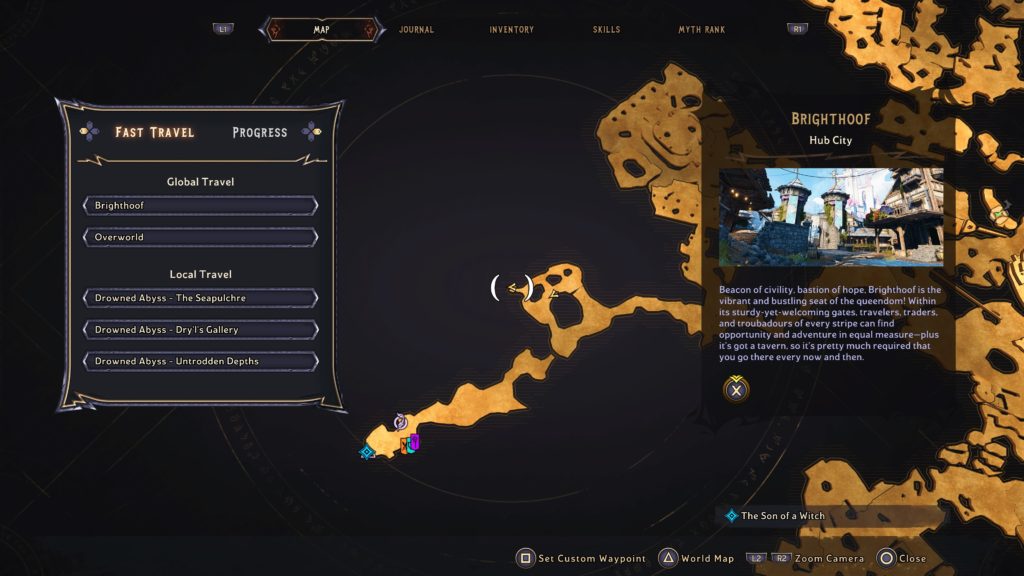
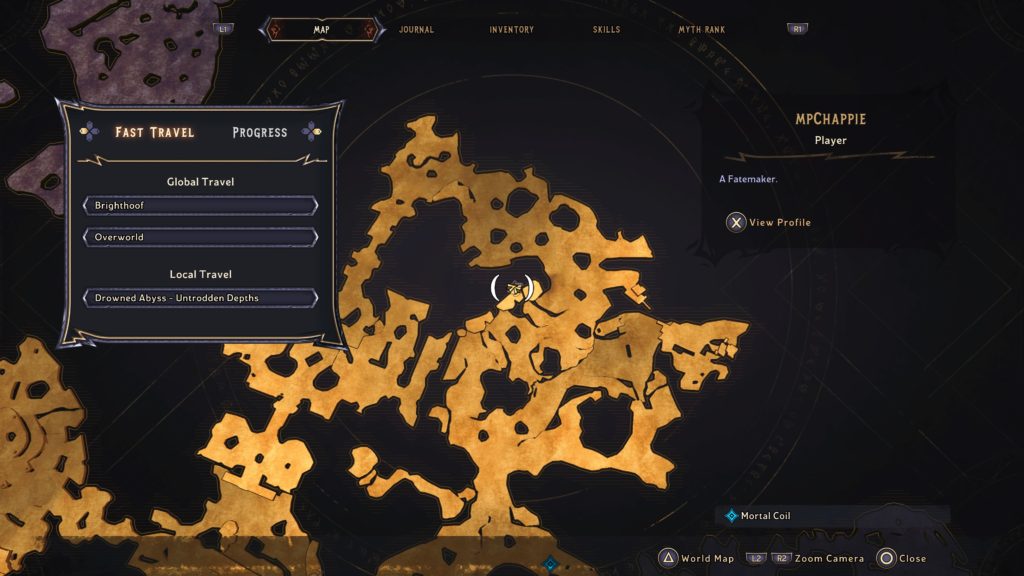
Drowned Abyss
Lost Marble 1
To reach this marble, climb up the broken ship. Once on the plank jetting out from the front of the ship, jump to the coral ledge to find the marble.
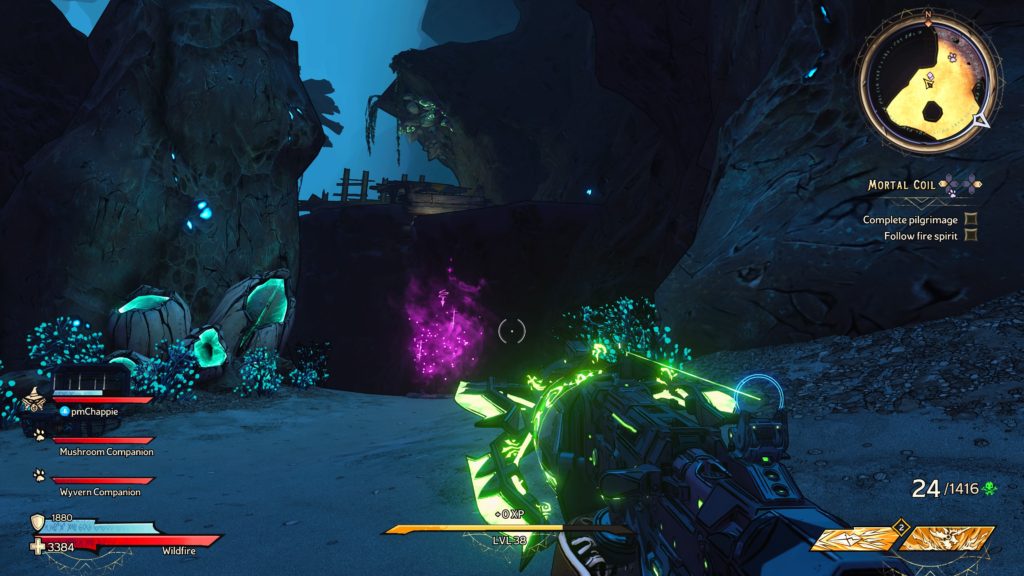
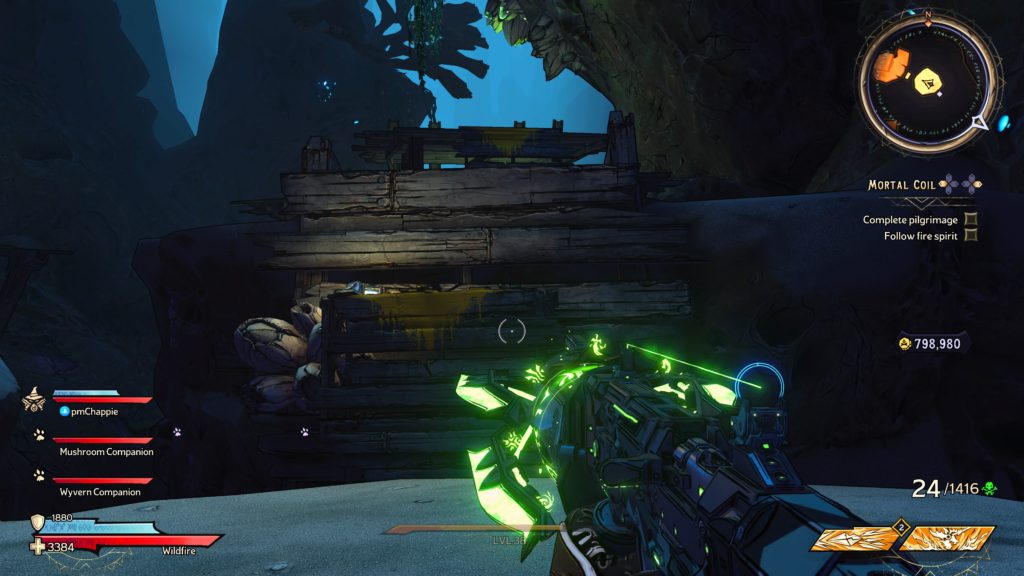
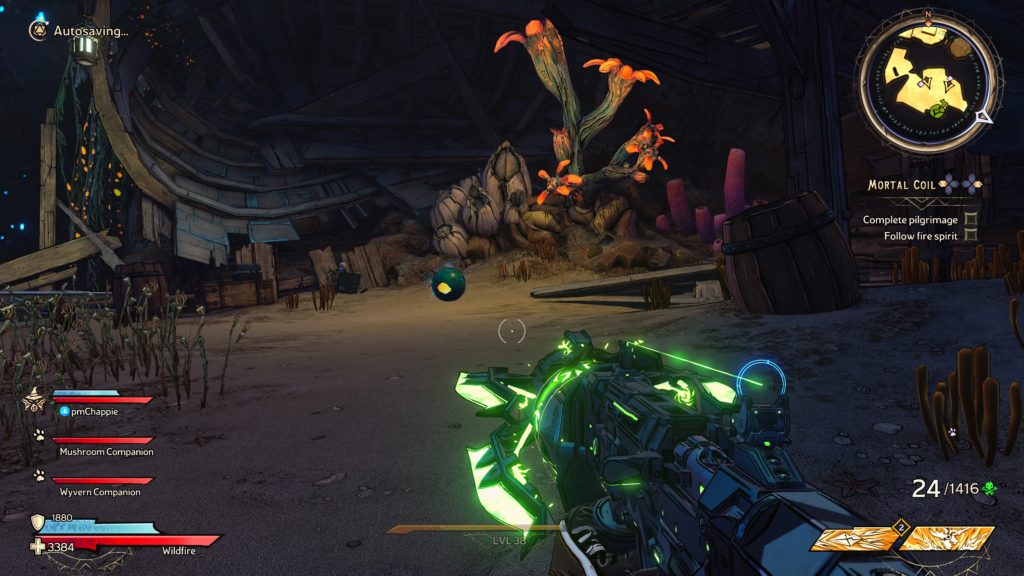
Lost Marble 2
This marble can be found in the northwestern part of the map. You’ll be able to head through this door during the Mortal Coil main quest after you’re tasked with following the fire spirit. Once through the door, follow the path to a purple jump path then keep heading along the path to reach the marble.
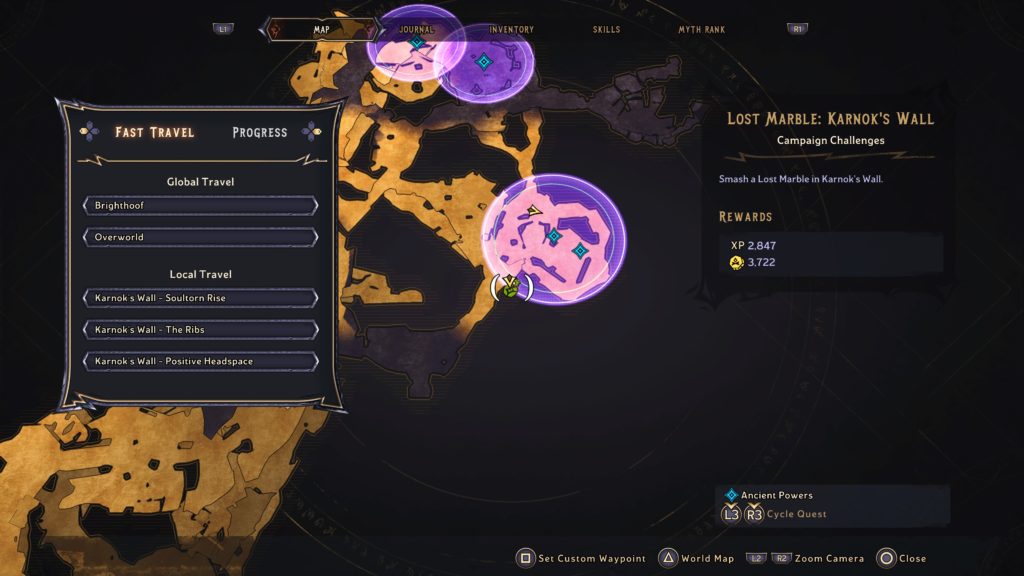
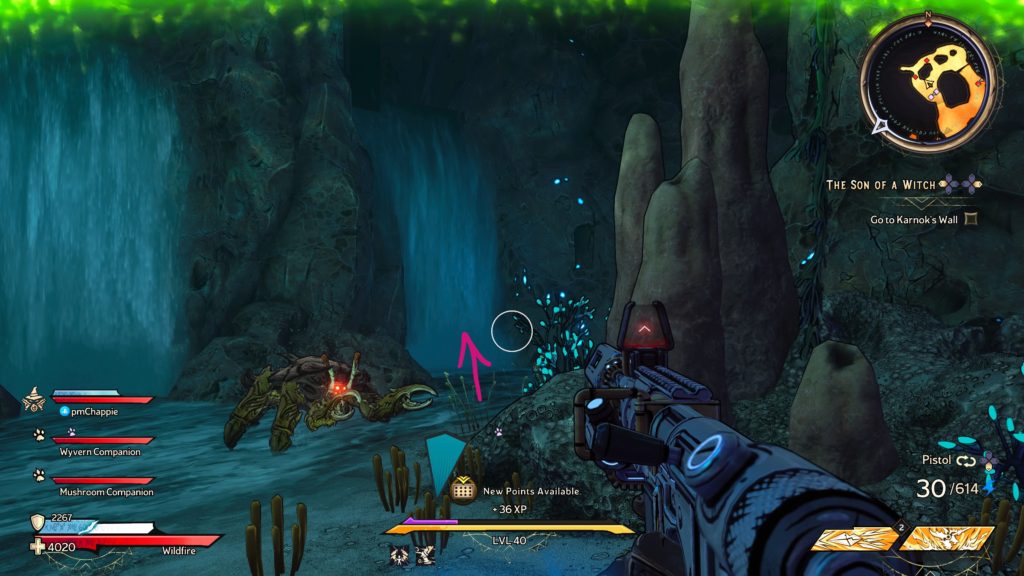
Karnok’s Wall
Lost Marble 1
This marble is reachable after completing the main story in this area. You’ll come here during the Ancient Powers side quest. Interact with the console to drop the barrier allowing you to access the marble.
Lost Marble 2
This marble can be found behind a barrier. You’ll be able to interact with the console to release the barrier after completing the main boss of this area.
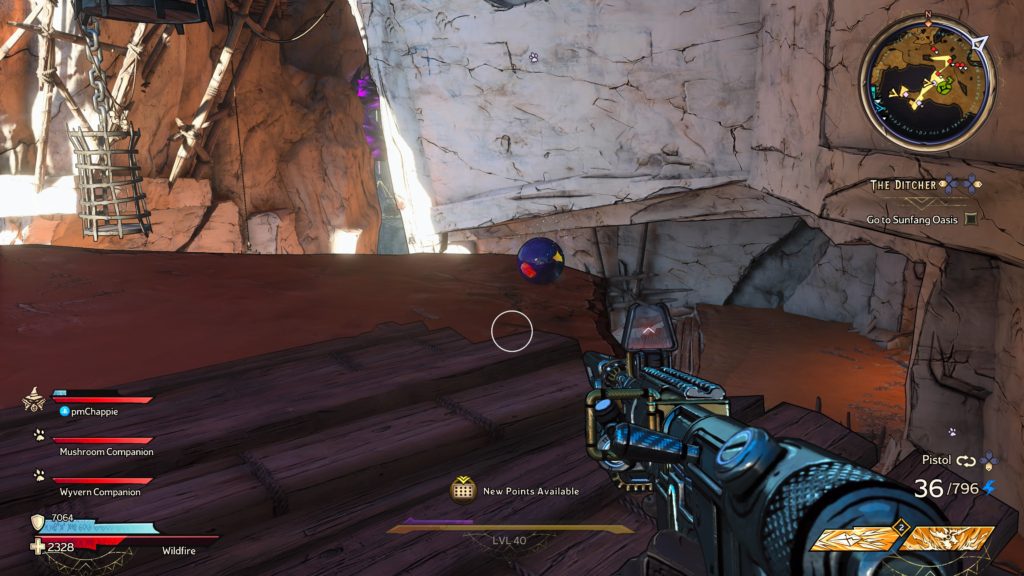
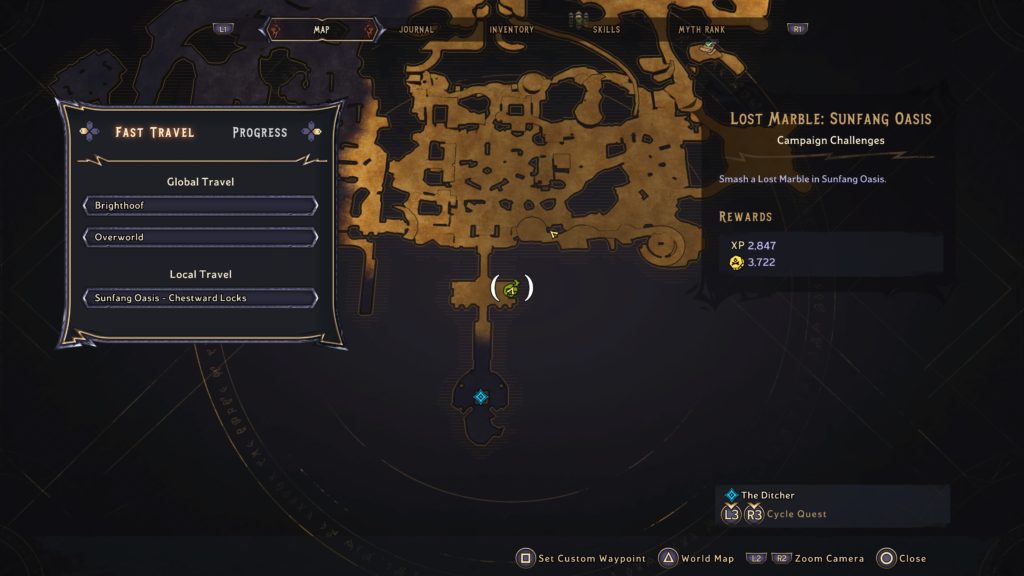
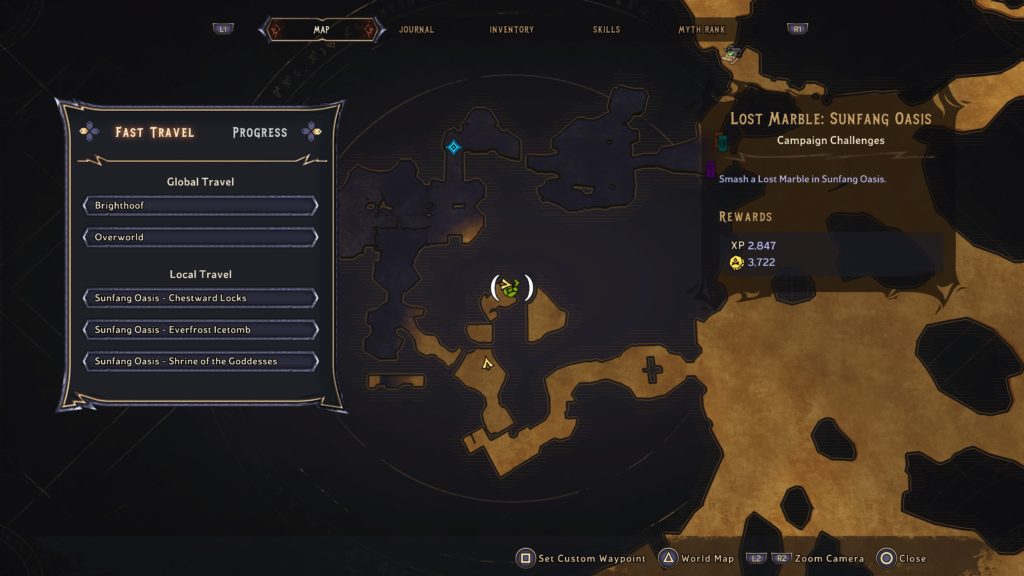
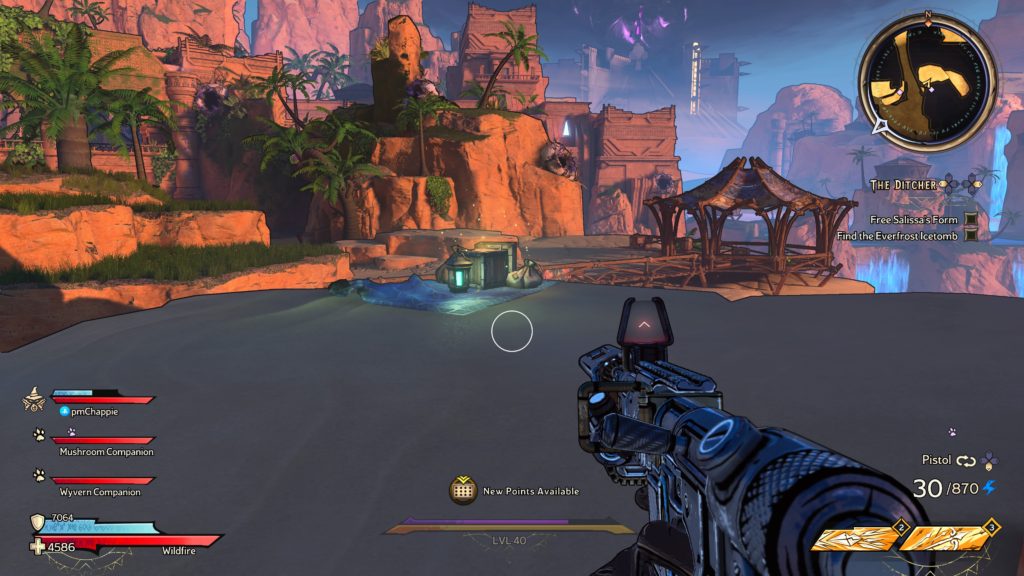
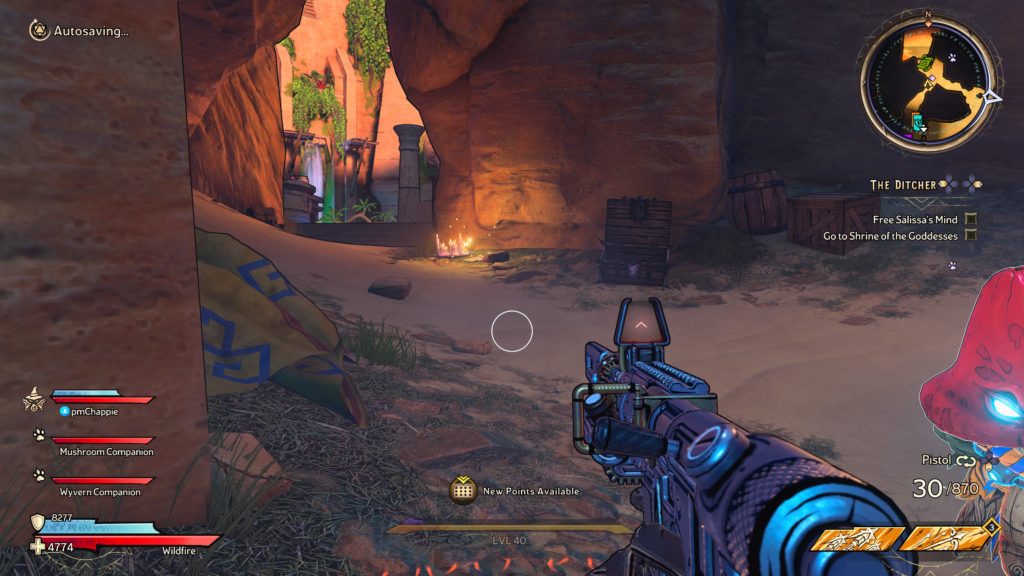
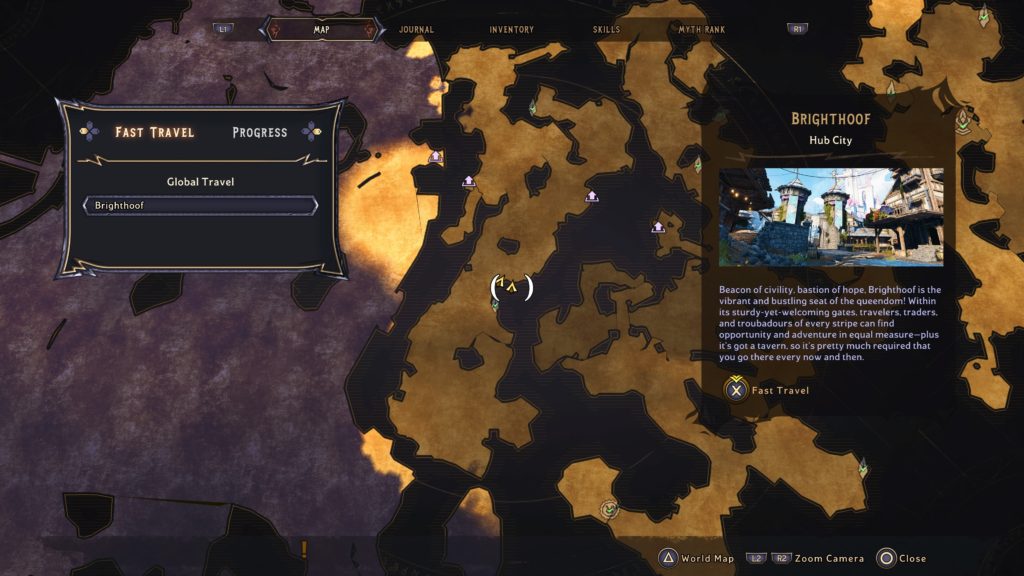
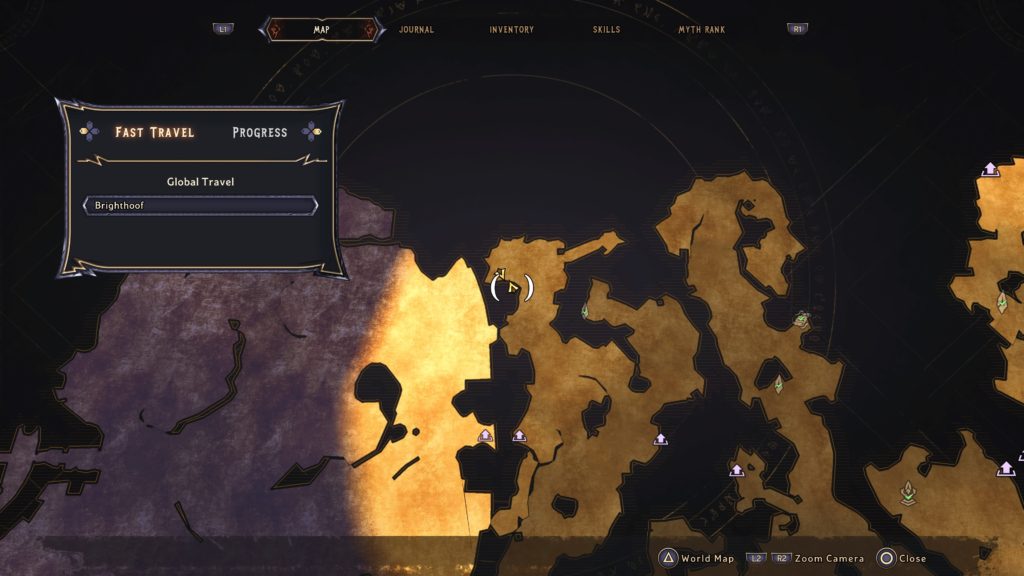
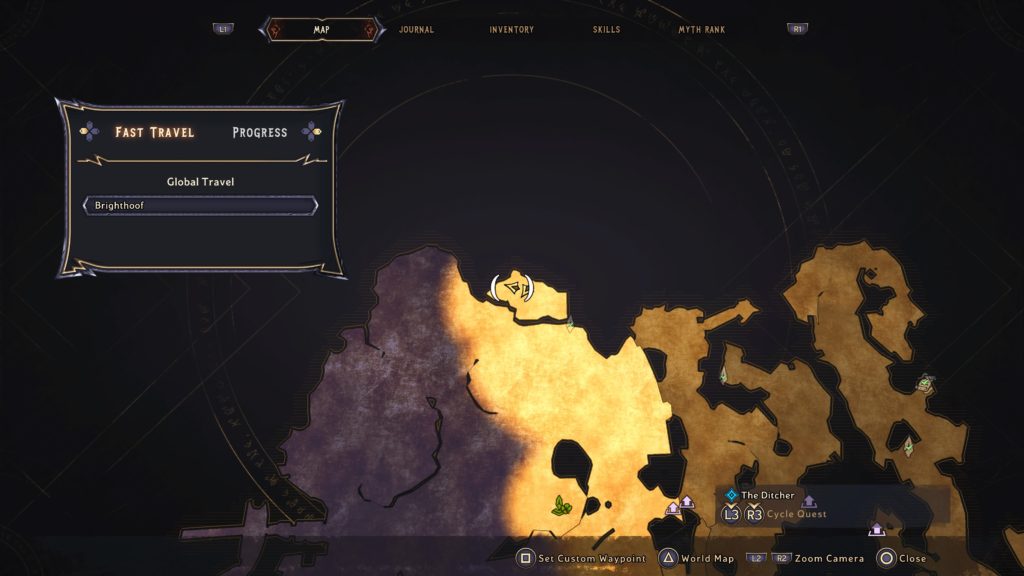
Sunfang Oasis
Lost Marble 1
This marble can be found on a statue in the very southern part of the map.
Lost Marble 2
This marble can be found on the western side of the map. You’ll come here during The Ditcher side quest.
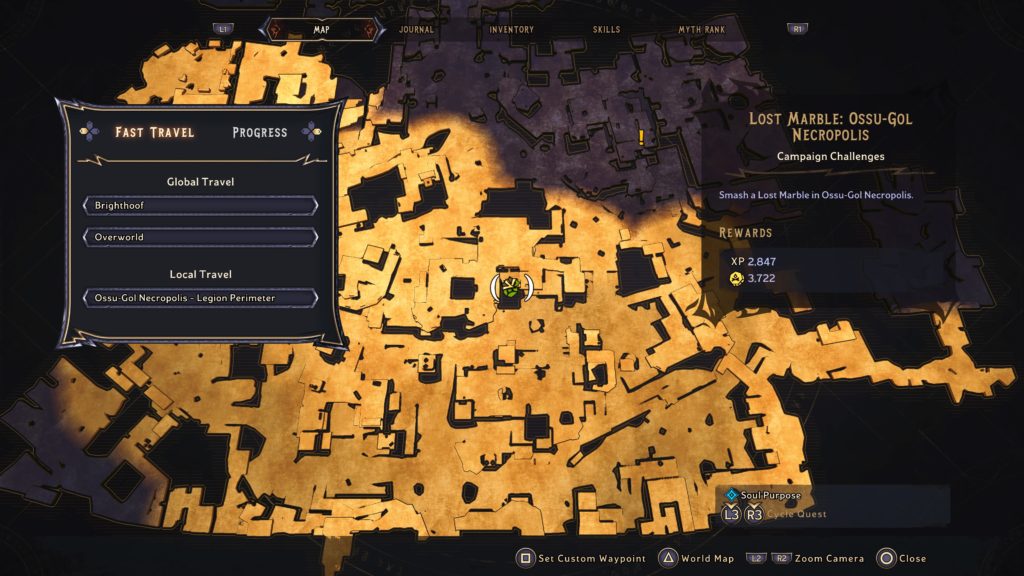
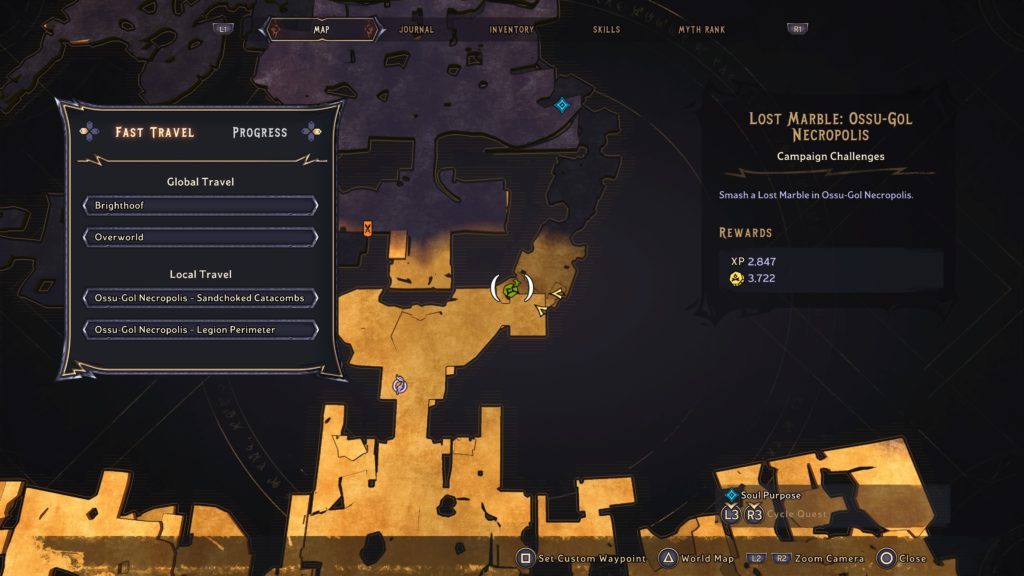
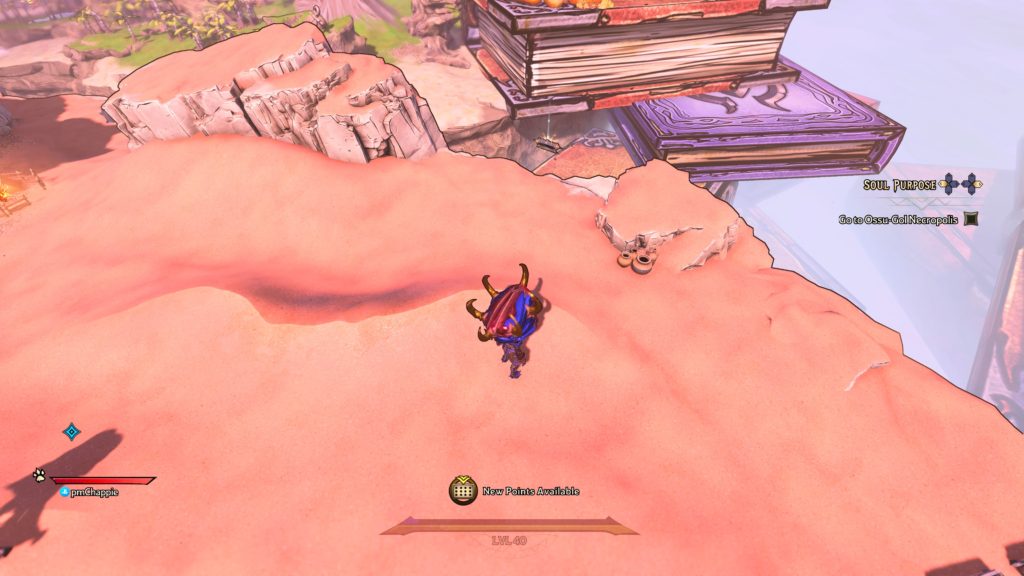
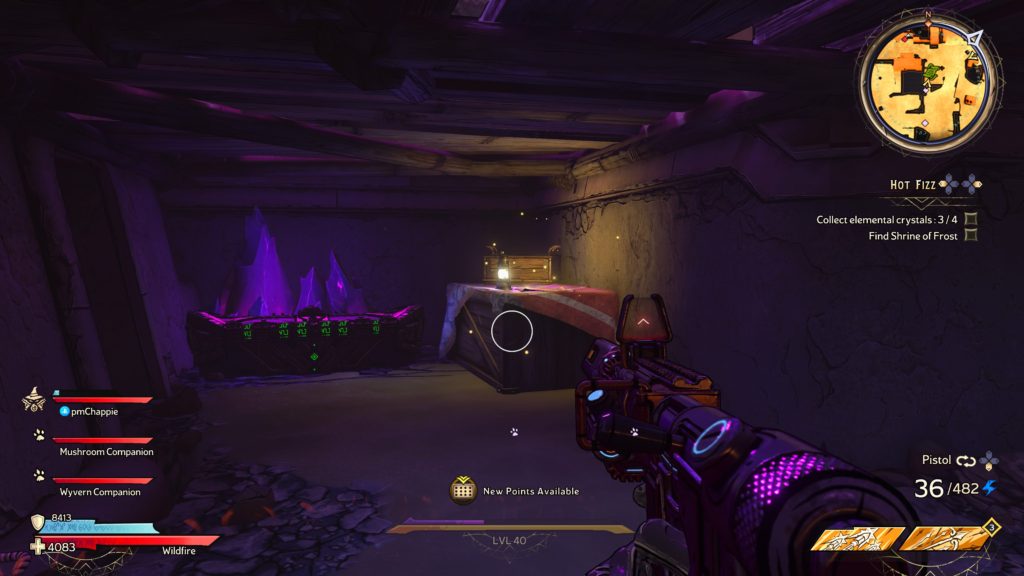
Ossu-Gol Necropolis
Lost Marble 1
This marble can be found next to a fire in the tower of a house.
Lost Marble 2
This marble can be found in the middle of the slide in the catacombs.
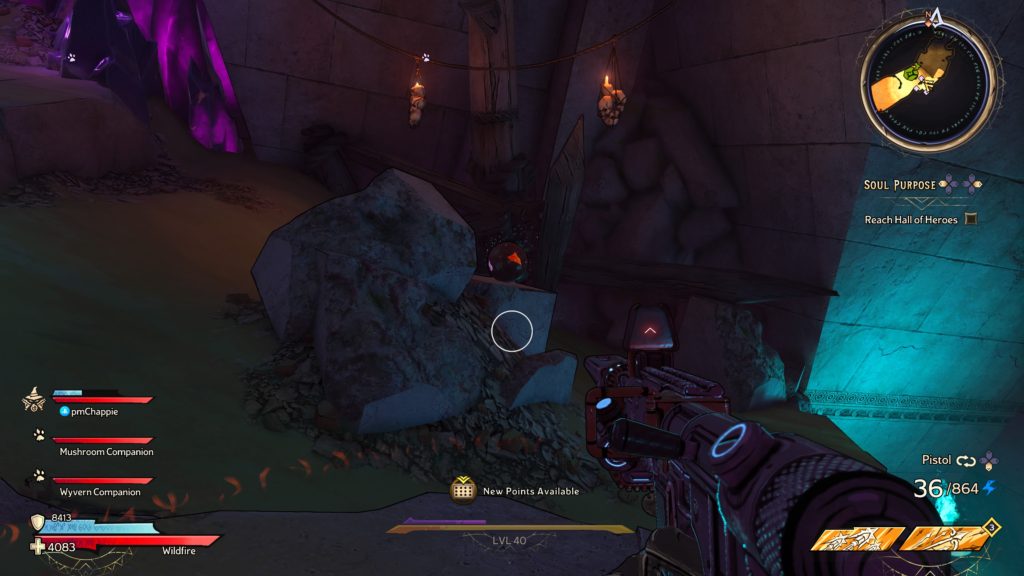
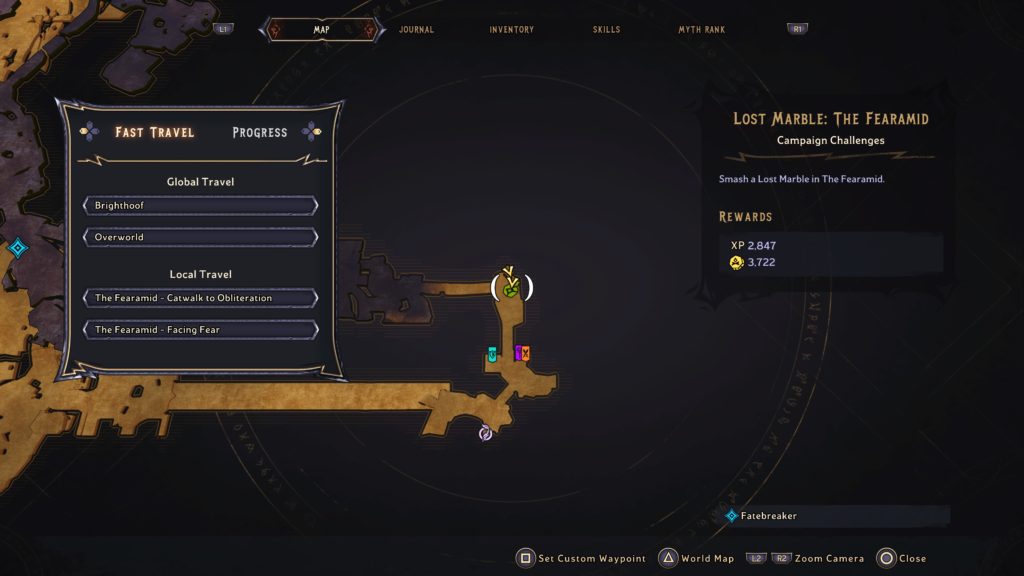
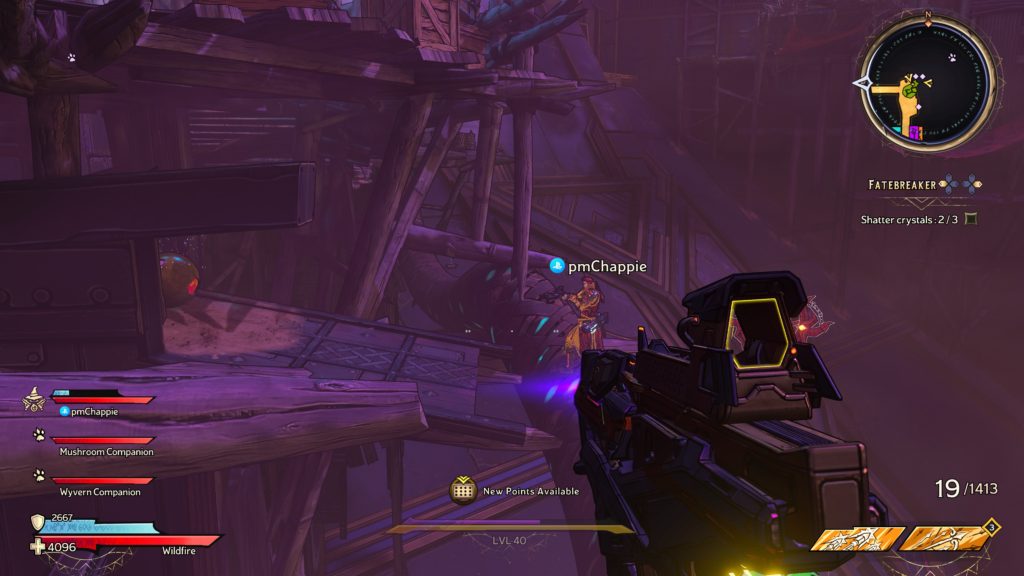
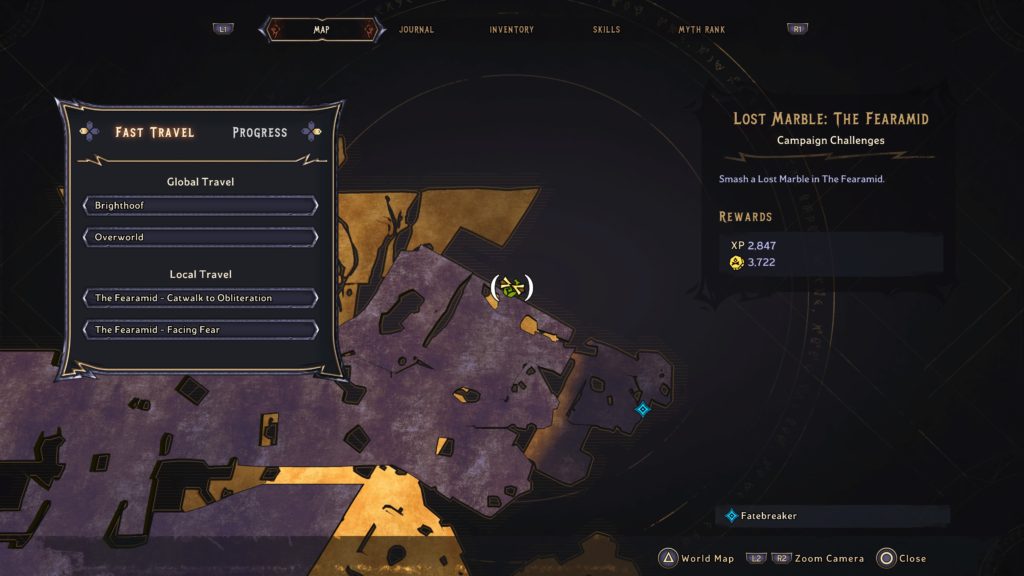
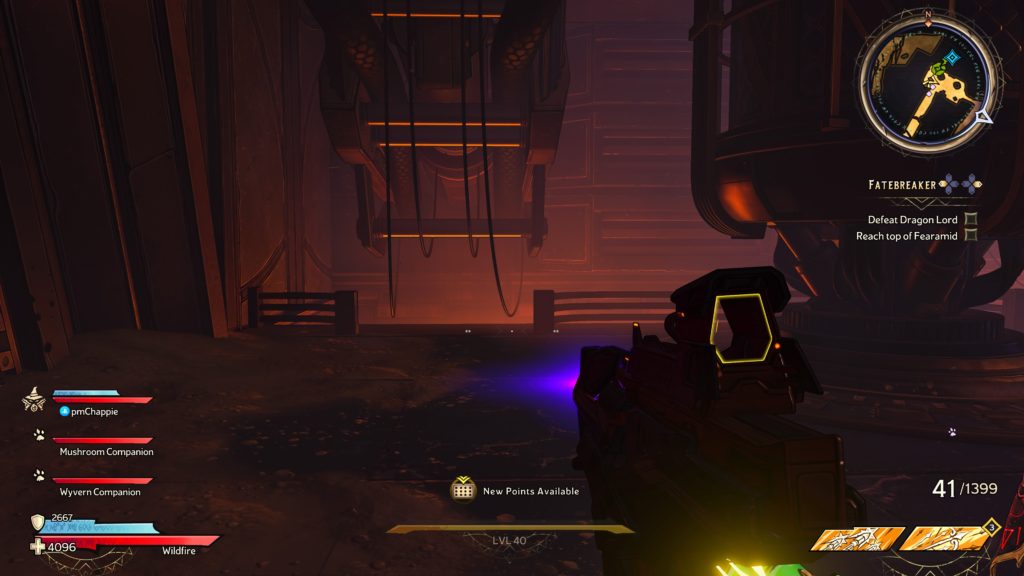
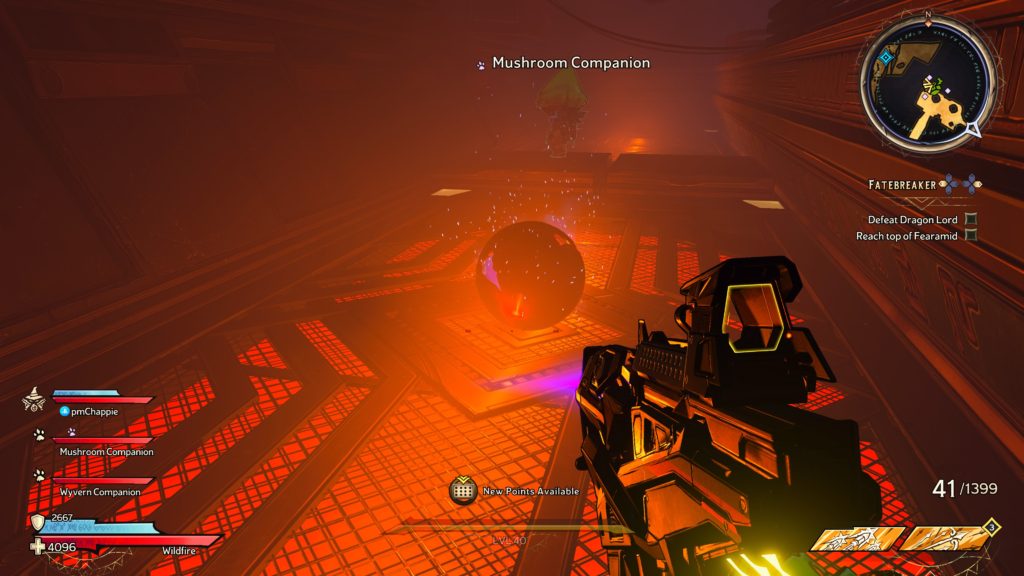
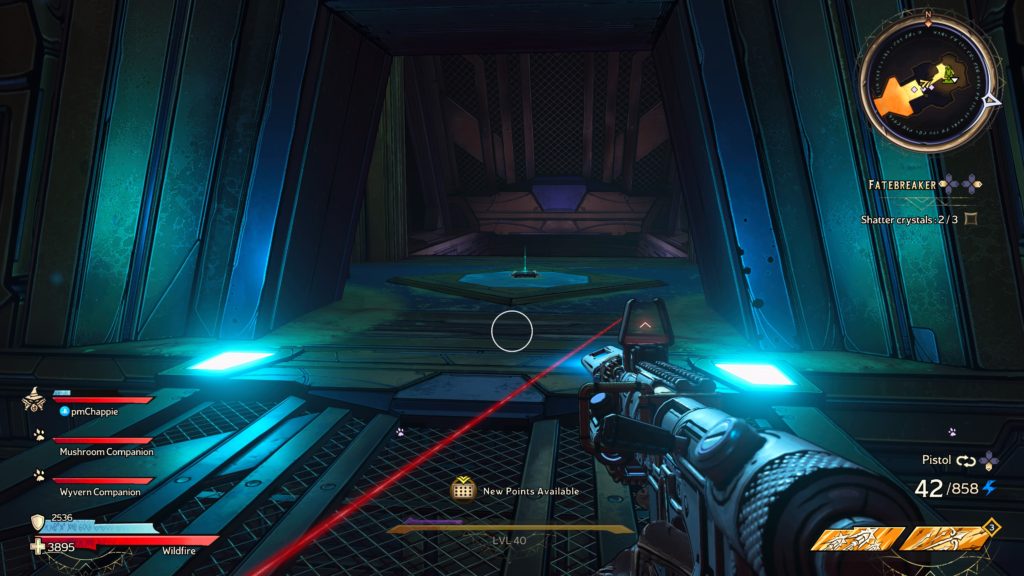
The Fearamid
Lost Marble 1
This marble can be found underneath the walkway near the eastern vending machines.
Lost Marble 2
This marble can be found on the lower metal grate.
Below are the lore scrolls that can be found in Tiny Tina’s Wonderlands.
Snoring Valley
Diary of Garrifex
This scroll can be found in a house in the village at Snoring Valley.
Harrowfast
This scroll can be found in the castle when you drop down into the hole in the floor as part of the story.
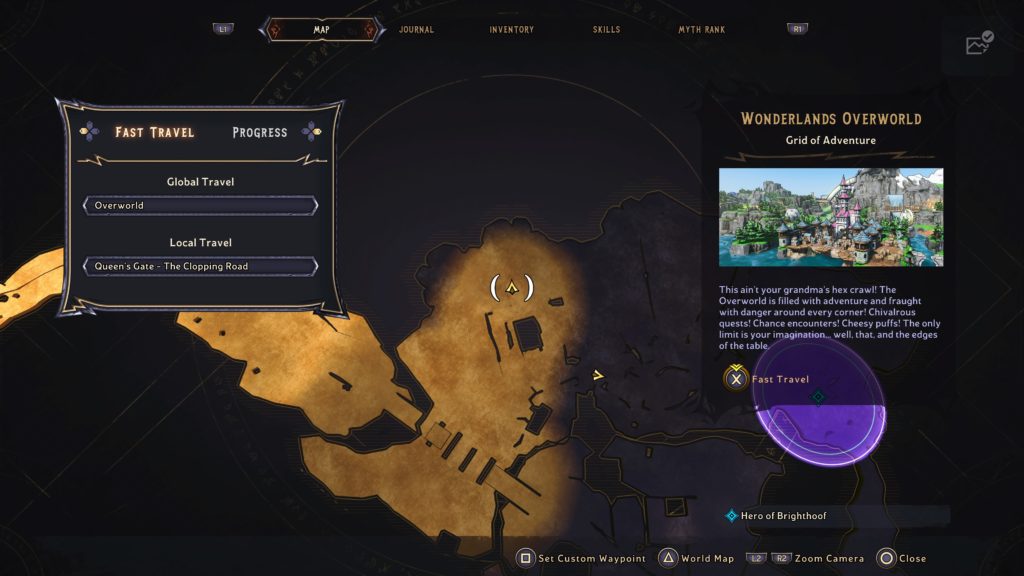
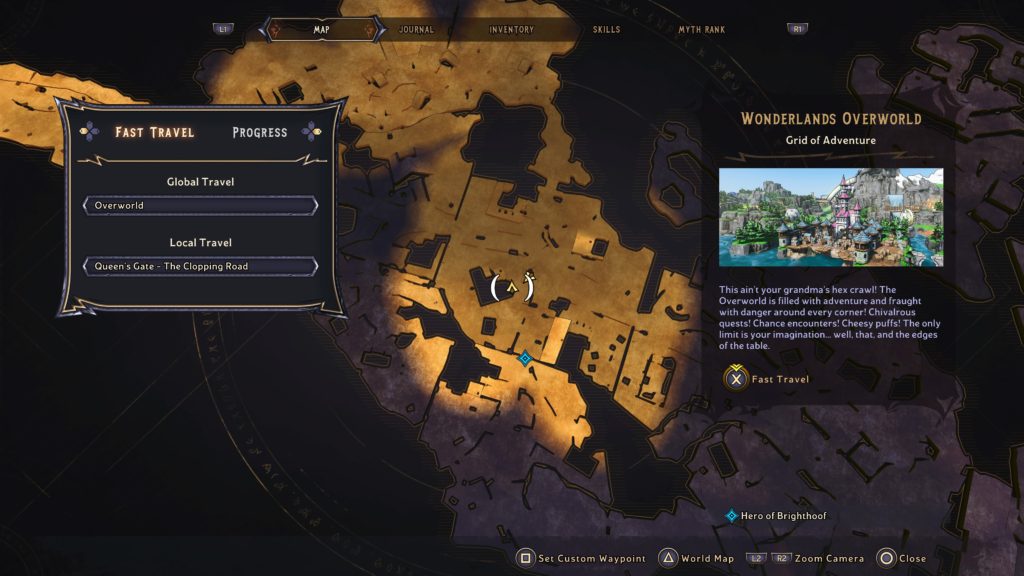
Overworld
The Adamant Throne
This scroll can be obtained in the Overworld. Melee the logs blocking the way to reach it.
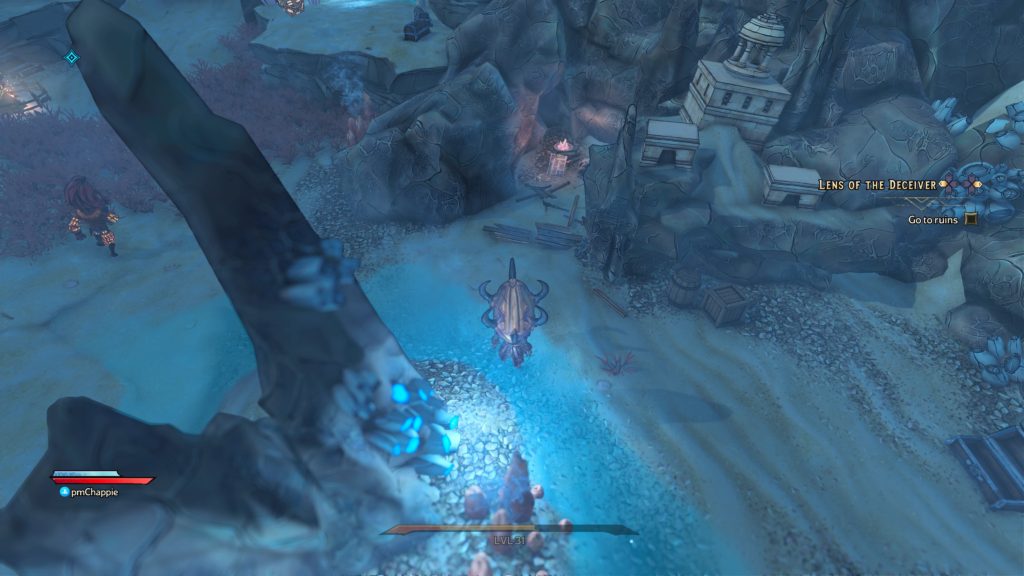
Face of Evil
This scroll can be obtained after completing the Lens of the Deceiver side quest.
Privateers
This scroll can be obtained after completing The Godswell area. It is right next to a Bottlecap Shortcut campaign challenge.
Continents
This scroll can be obtained after completing the Karnok’s Wall area in the sandy area.
Sands
This scroll can be obtained after completing the Karnok’s Wall area in the sandy area.
Icons of Darkness
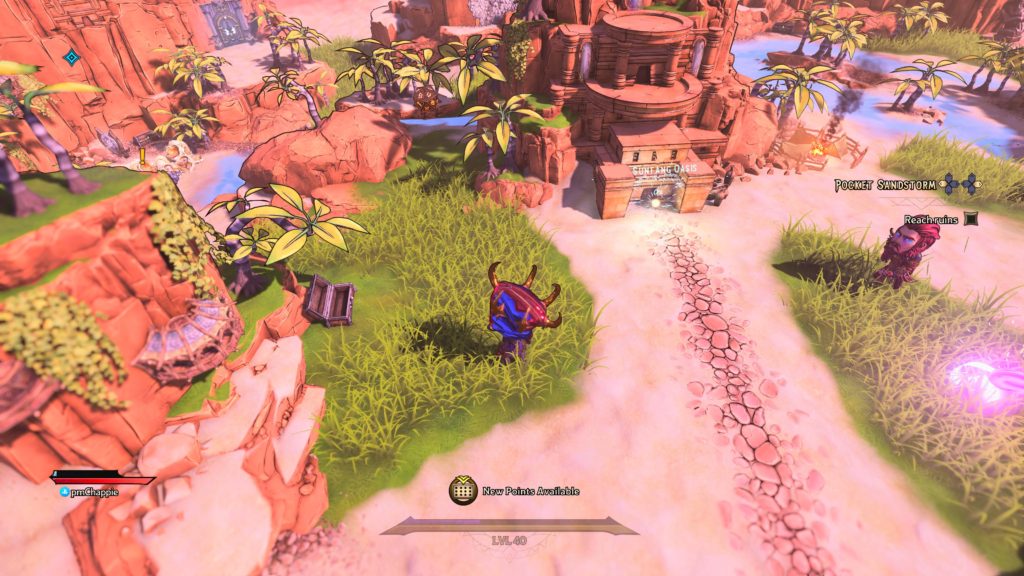
This scroll is accessible after completing the Pocket Sandstorm side quest.
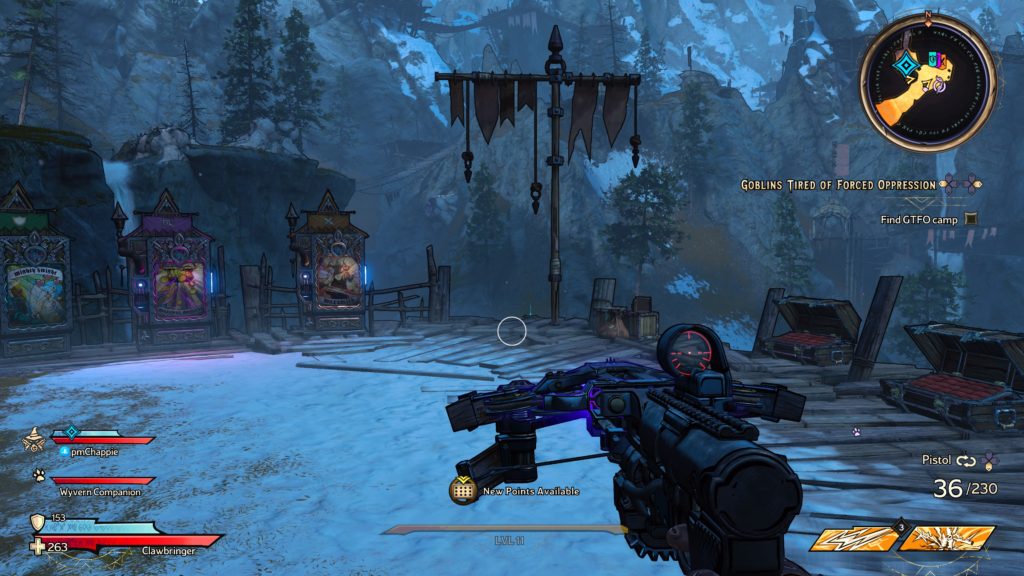
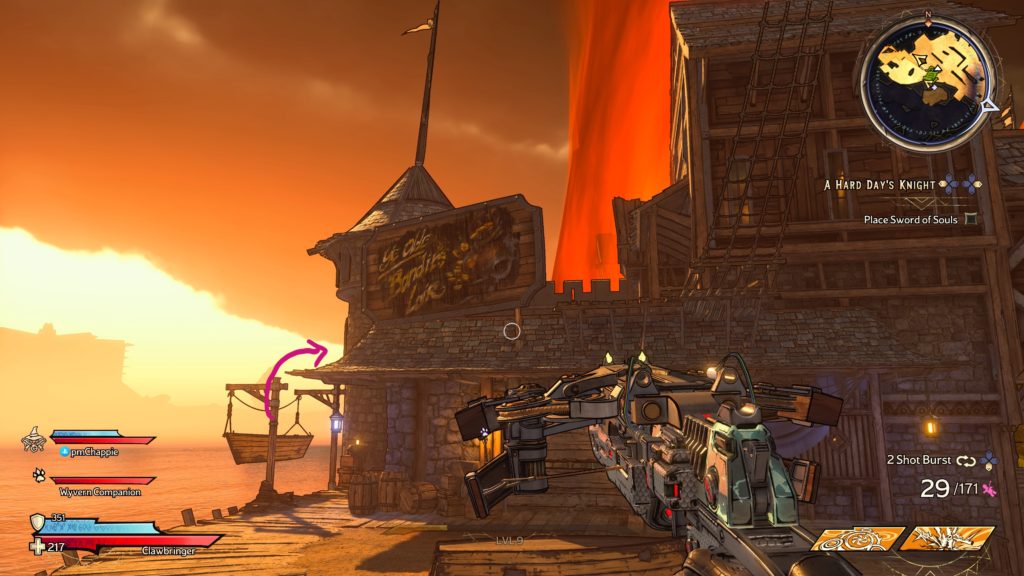
Queen’s Gate
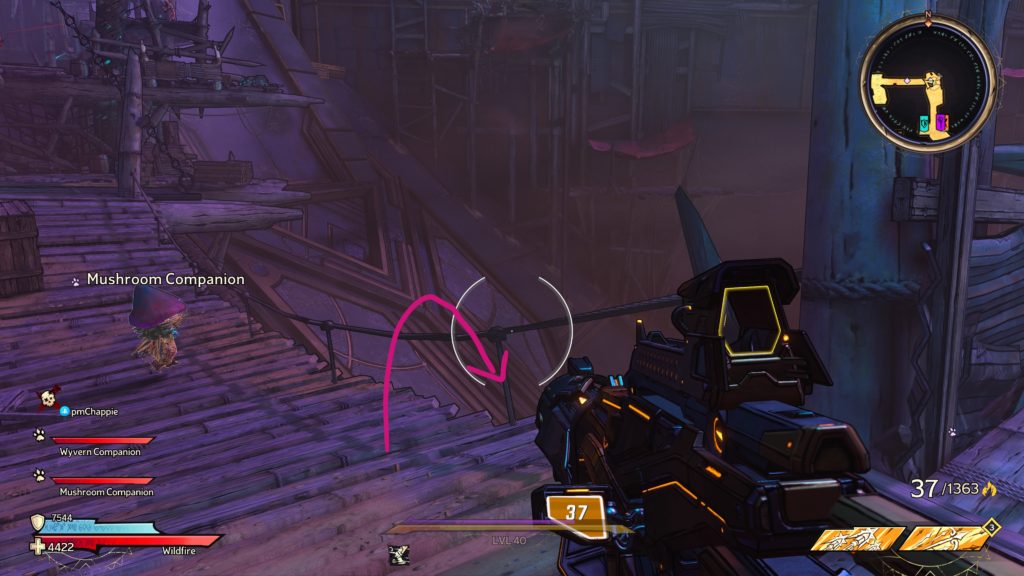
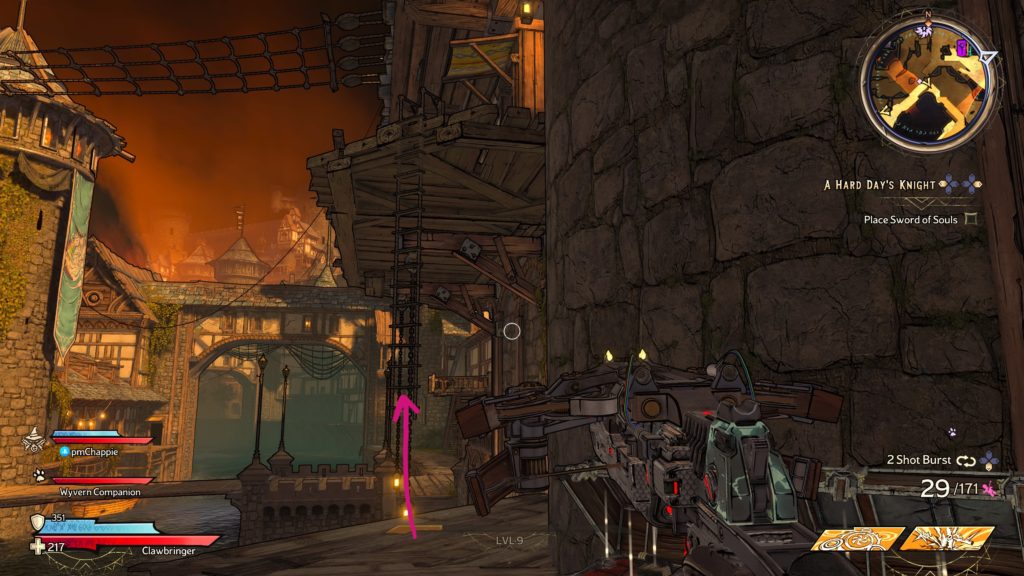
Rebellions are Hard Work
This scroll can be found in a building on fire slightly southwest of the Queen’s Gate – Buttsville fast travel point.
Thief Thoughts
This scroll can be found after you catapult across the expanse in the Queen’s Gate using the catapult. It’ll be located on the higher level of the castle near a fire.
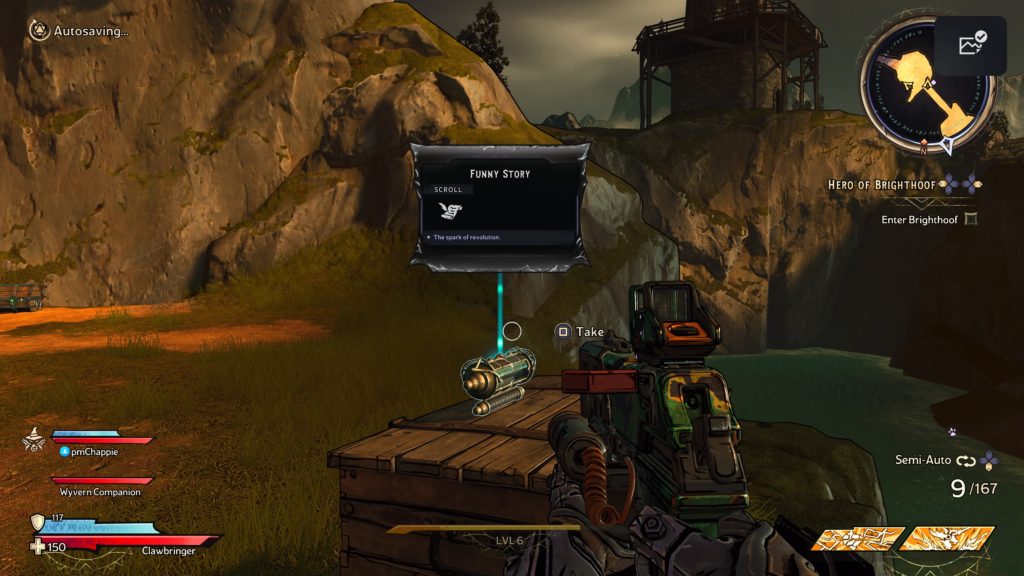
Funny Story
This scroll can be found west of the Queen’s Gate – Butt’s Ville fast travel point. To reach it, head to the Queen’s Gate – The Rampant Parts fast travel point then proceed under the wall with cannons above it. Swing left then head across the wooden bridge to find the scroll on a wooden crate.
Brighthoof
Is He?
This scroll can be found on the second level of Izzy’s Fizzies in a small room.
Submission Denied
This scroll can be found on the captain’s desk on the second level of the large building directly west of the vending machines south of Brighthoof – Chestnut Gate.
The Yumming
After blowing up the ocean as part of the story, look for a little barrel in the sand with rope coming out of it leading up to the deck above where it’s attached to a cannon.
Shoot the barrel to cause the cannon to fire, opening a room across the way. Head on over to this room and defeat the Brigands then claim the scroll.
Mount Craw
A Jar
This scroll can be found on the right side of the vending machines at the Mount Craw – Craw’s Craw fast travel point.
Fleedom
This scroll can be found inside a house with a basement on the south side of the large frozen lake.
Get the Freak Out
This scroll can be found on a wooden platform overlooking the frozen lake in the central part of the area. It is across from Baaldaar the Ghaastly’s tower with a windmill on top.
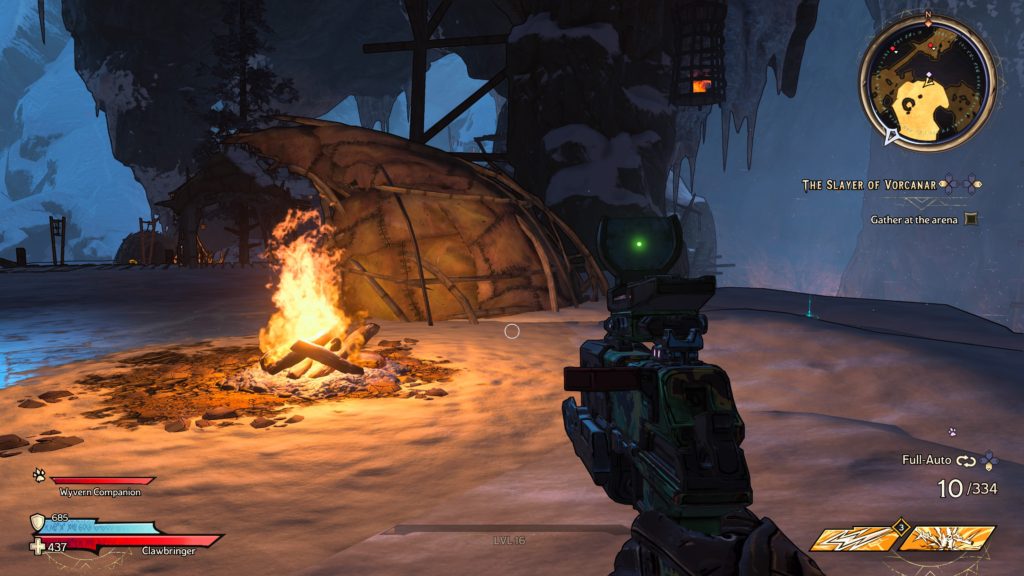
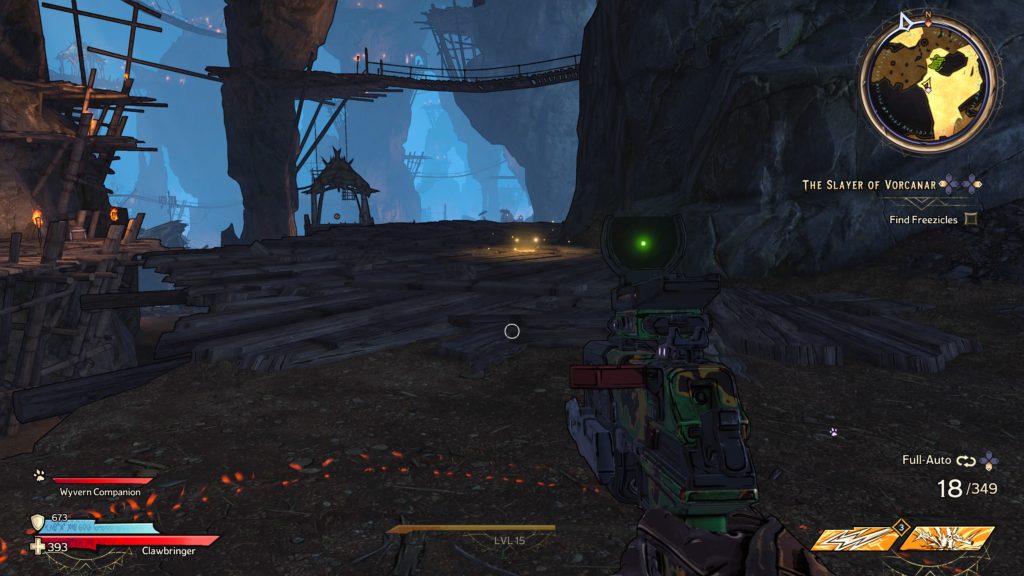
It’s a Nose Ring Thing
This scroll can be found behind a small forge near where Freezicles was during The Slayer of Vorcanar side quest. It’ll be located on a landing between 2 bridges.
Expeditious Entreat
This scroll can be found behind a hut next to a campfire in Tribute Way on the southwestern side of the map.
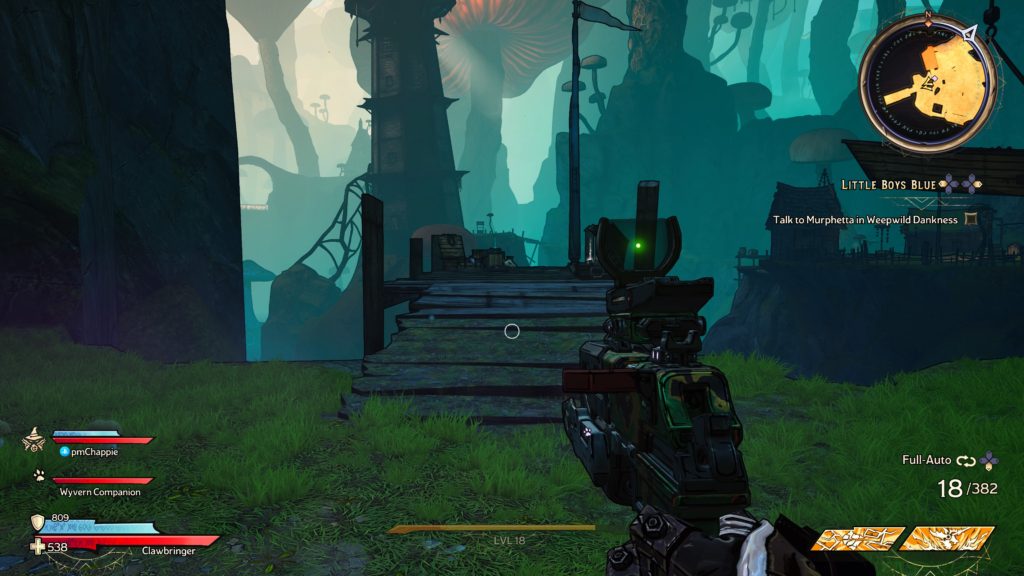
Weepwild Dankness
Mara’s Lament
This scroll can be found at the end of a dock in the area just north of the Weepwild Dankness – Dank Encroachment fast travel point.
Fungal Fun Times
This scroll can be found on the deck of a house in the refugee camp on the eastern side of the map.
Watching You
This scroll can be found on a wooden platform with a Lost Marble in the northeastern part of the area.
Tangledrift
Misfortune Teller
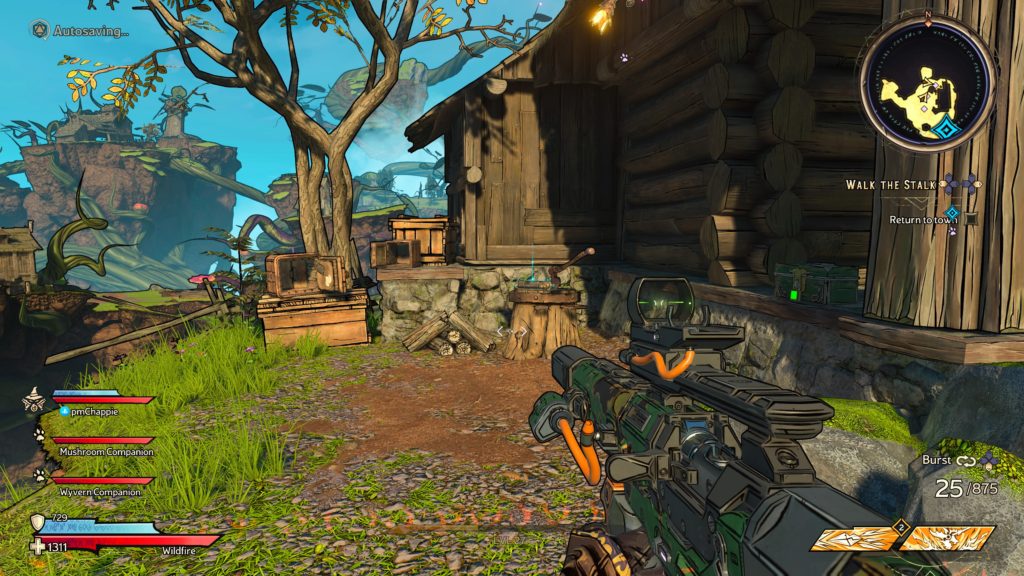
This scroll can be found in a planter filled with dirt next to the house where you first find Punchfather.
Sonny Disposition
This scroll can be found on a dock on the second level of a building.
A One-Blacksmith Town
This scroll can be found in the courtyard to the right of the cathedral near the vending machines.
Sonny Skies
This scroll can be found on a wooden box on the balcony of the castle.
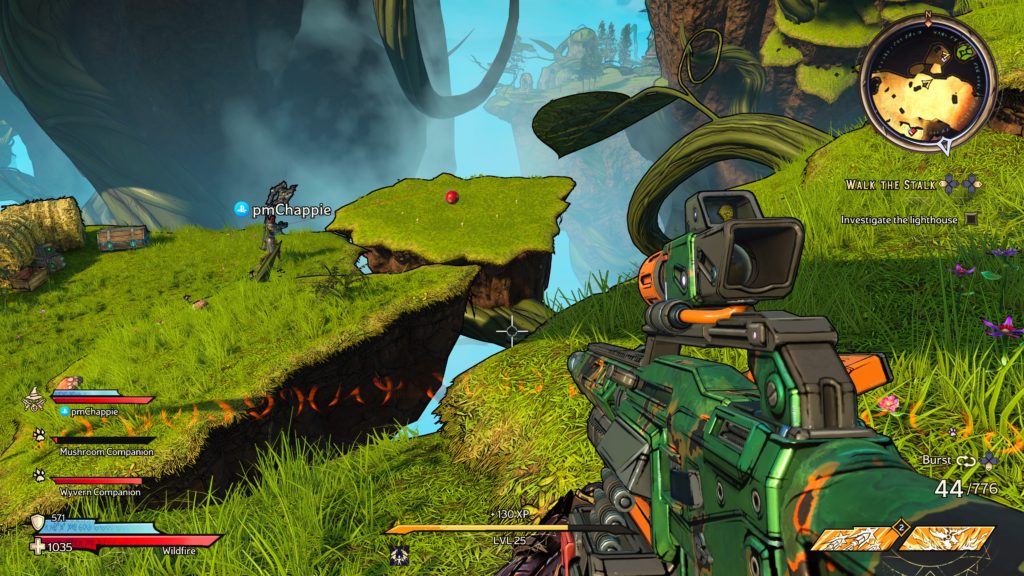
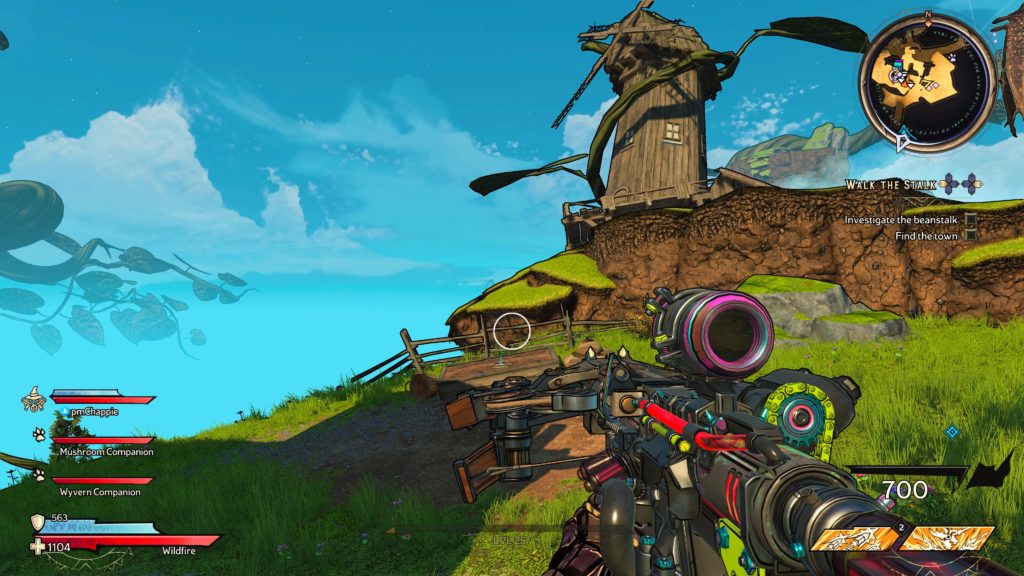
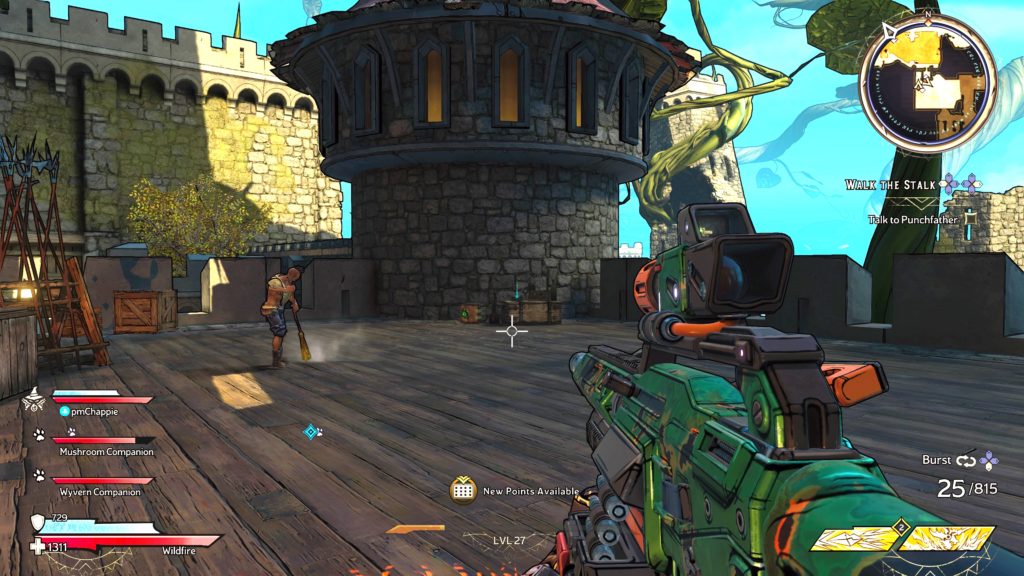
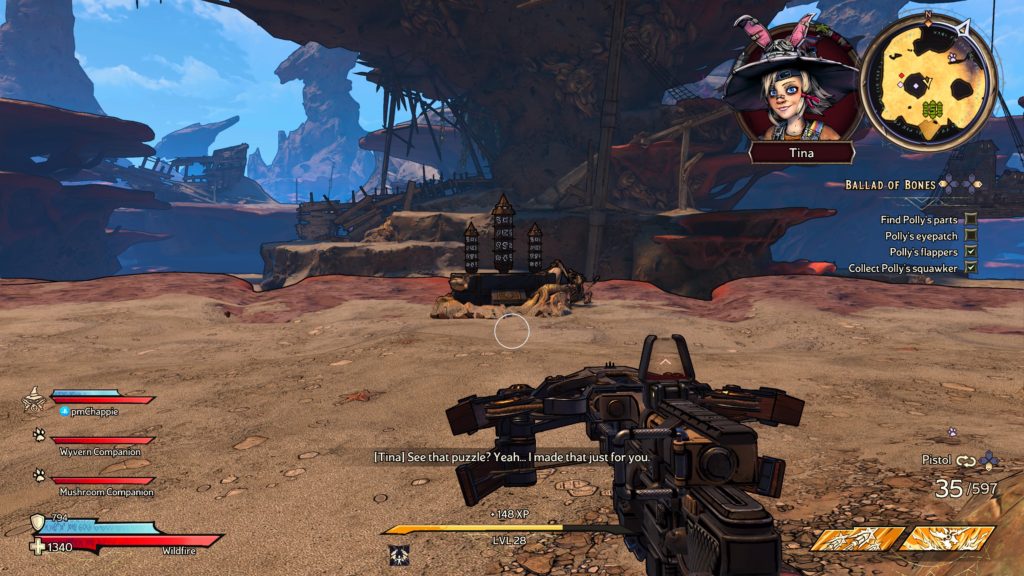
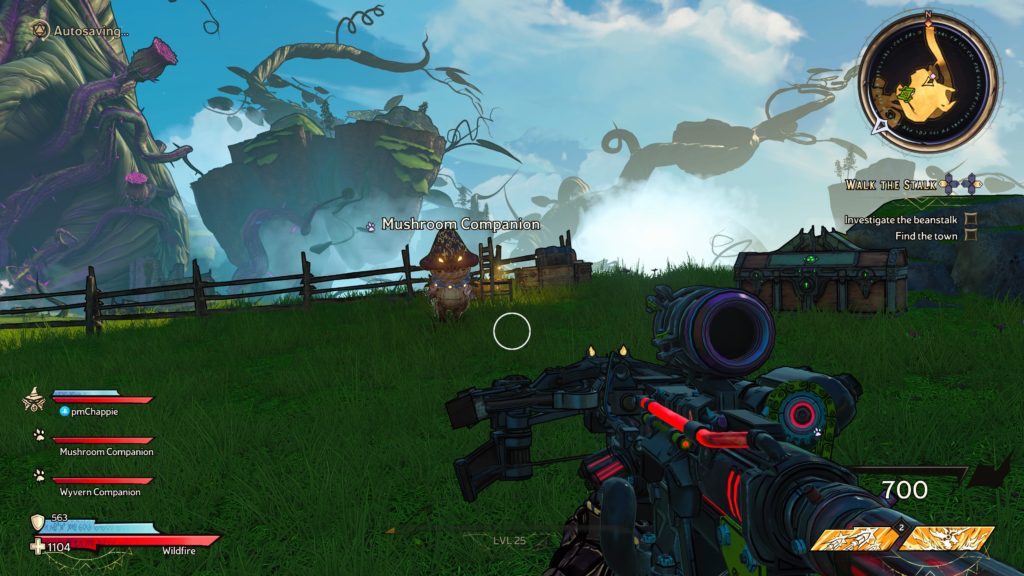
Kastor the Caster
This scroll can be found on a stump with an axe sticking out of it on the small island to the west. You’ll come here after defeating the boss during the Walk the Stalk side quest.
Crackmast Cove
A No-Twin Scenario
This scroll can be found next to a hammock south of the Crackmast Cove – The Salty Saunter fast travel point.
Misjudgment
This scroll can be found on the edge of a cliff behind a building.
This scroll can be found on a dock near some tents on the southwestern part of the map.
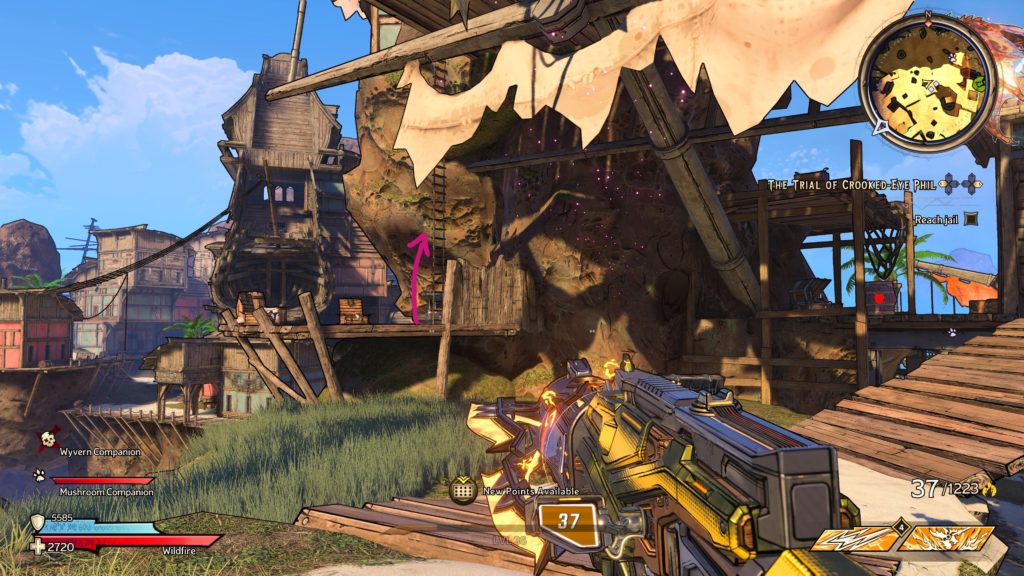
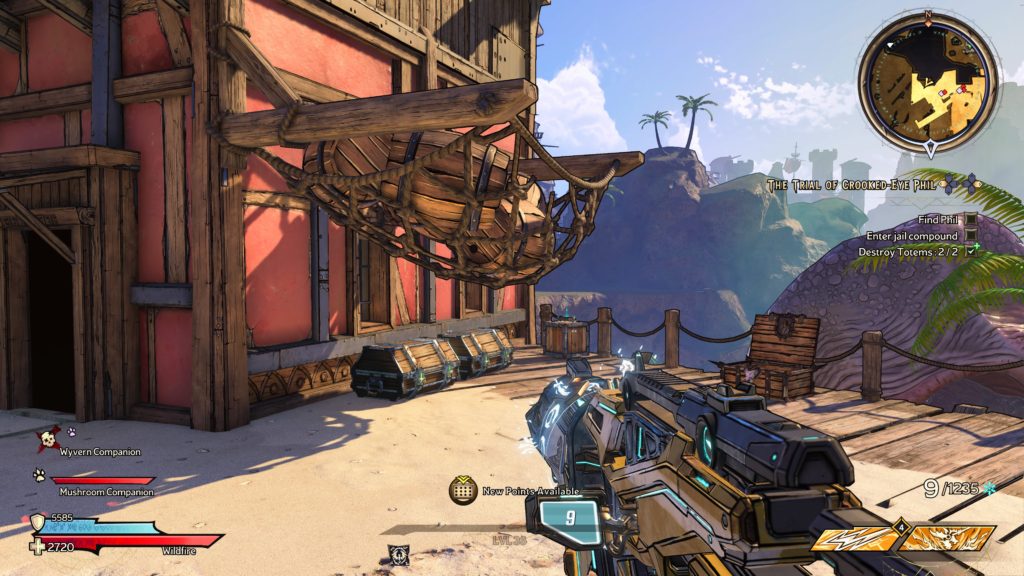
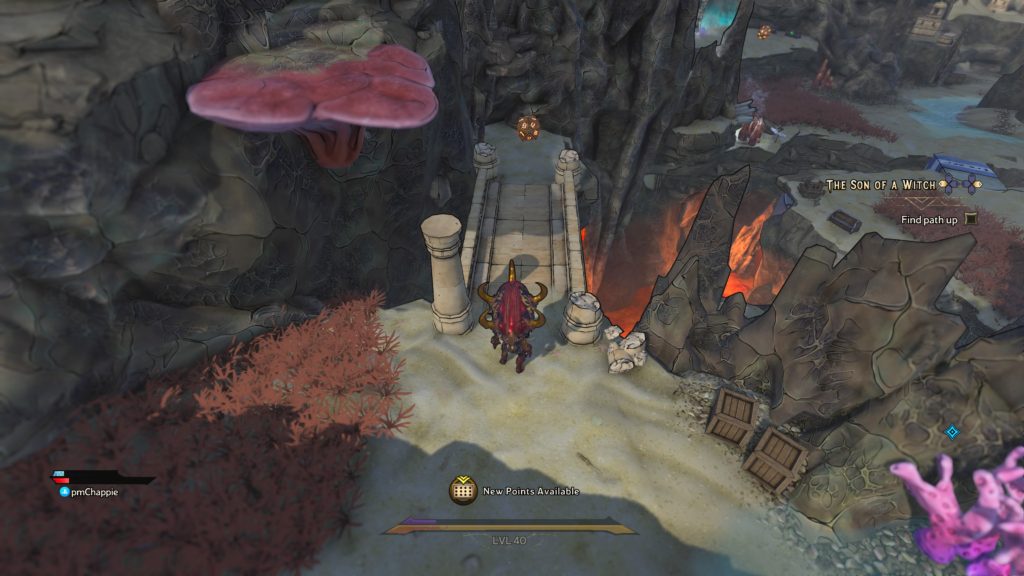
Gilbert Rapport
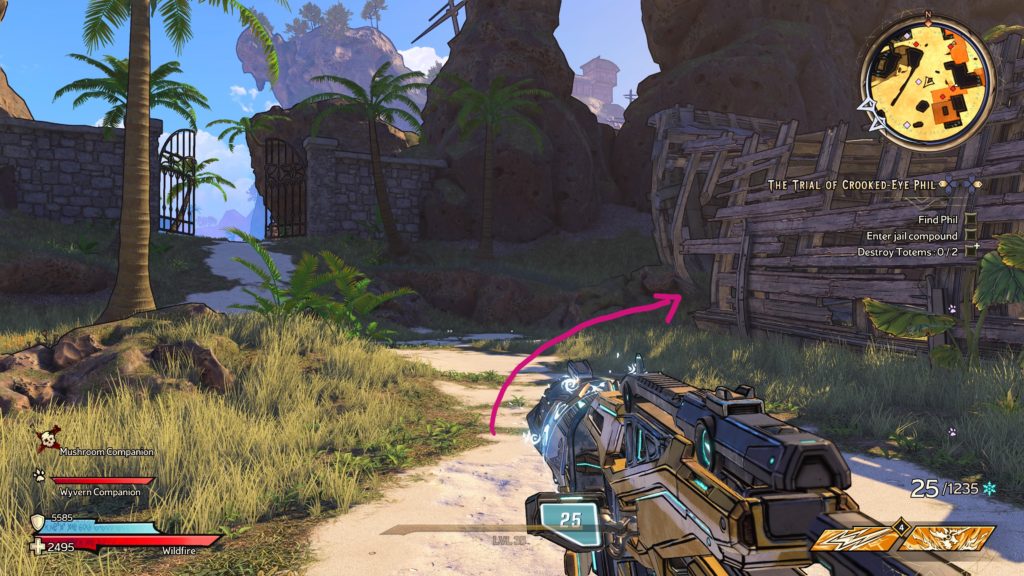
This scroll can be found on a wooden crate behind a building near a totem you destroyed during The Trial of Crooked-Eye Phil side quest.
Drowned Abyss
Unheeded
From the Drowned Abyss – Untrodden Depths fast travel point, proceed forward and look on your left to find a wall you can melee.
Do so then proceed forward. This scroll can be found behind a waterfall.
Climbing the Ladder
This side quest can be found on the balcony overlooking the temple where you fought the Slither Sisters during the Of Curse and Claw side quest. To reach this area, you’ll have to go through the door that was previously sealed along the path from the Drowned Abyss – Untrodden Depths fast travel point.
Consequences
This scroll can be found behind a statue in front of 2 waterfalls in an area accessible during the Diplomatic Relations side quest.
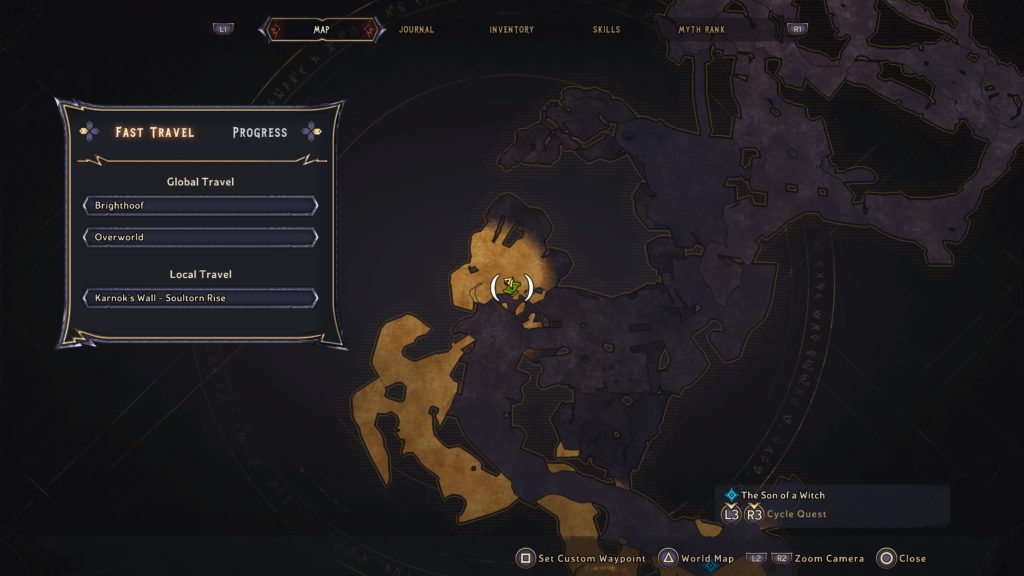
Karnok’s Wall
History of Kwartz
This scroll can be found underneath the walkway southeast of The Ribs fast travel point.
Cinder
This scroll can be found on the side of a cliff during the Ancient Powers side quest.
Bitter and Happy
This scroll can be found just after the boss fight with Wastard.
Miner Dispute
To reach this scroll, take a crystal platform up then jumping to a suspended wooden platform. From here, you’ll reach the ledge containing this scroll.
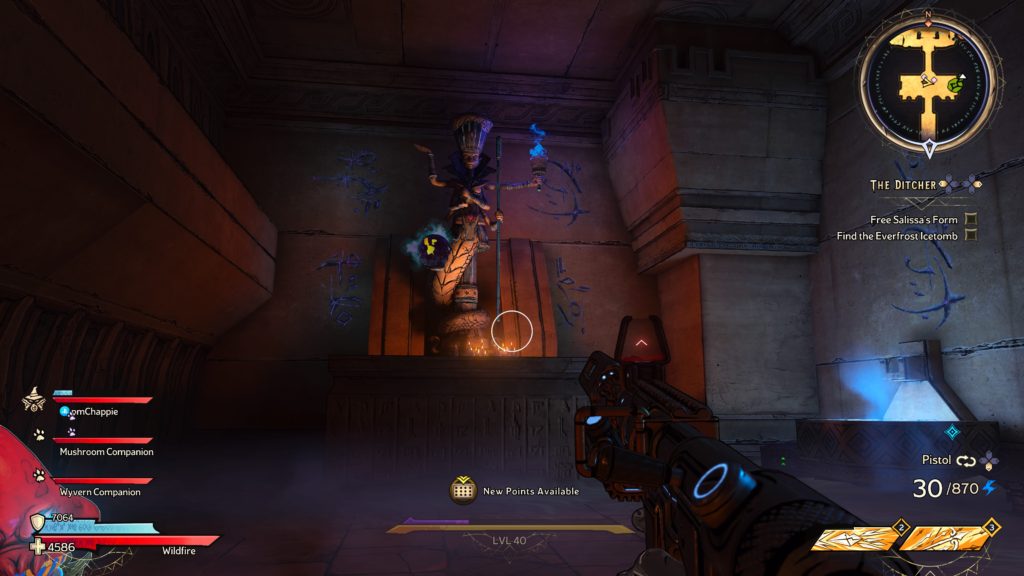
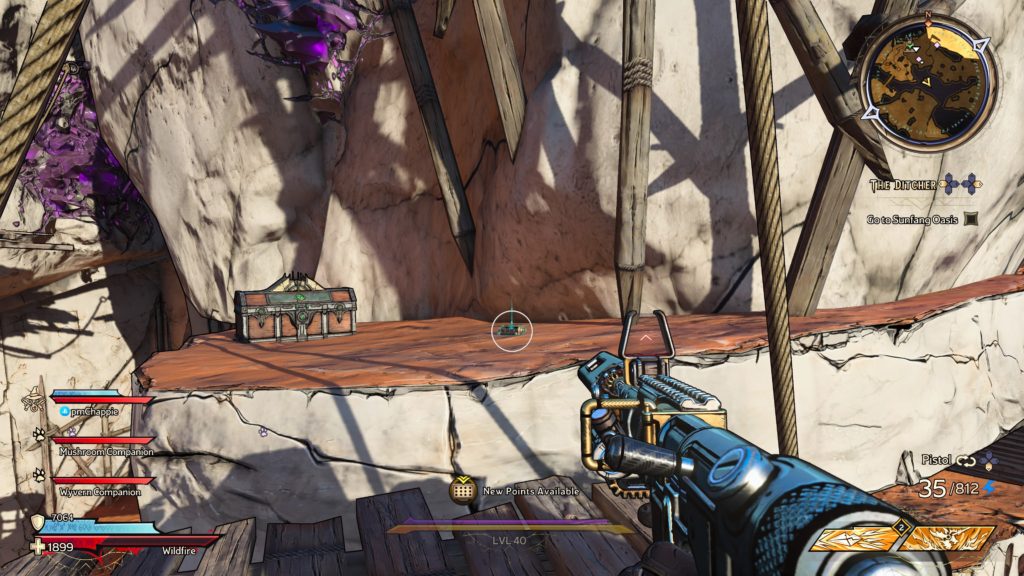
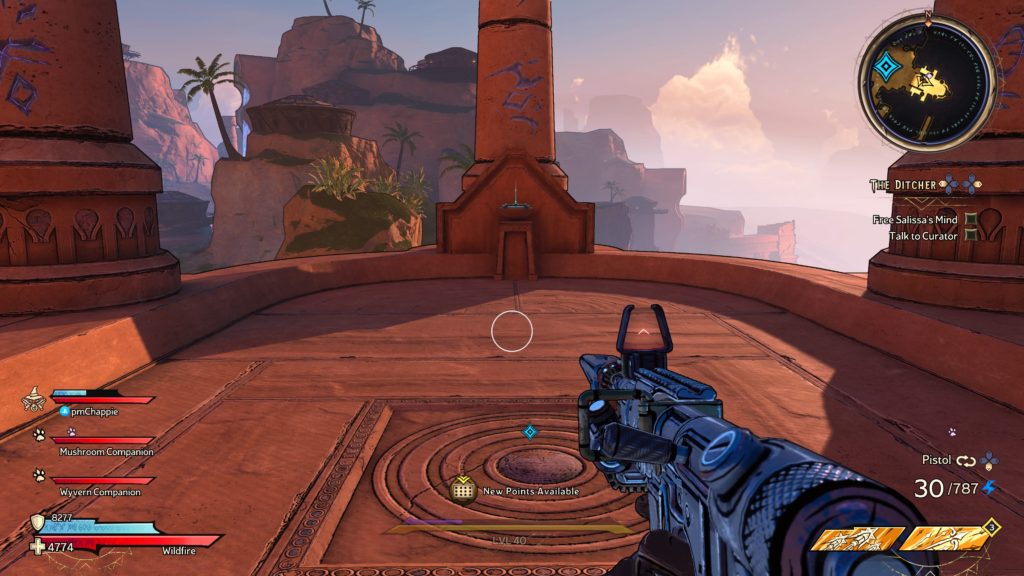
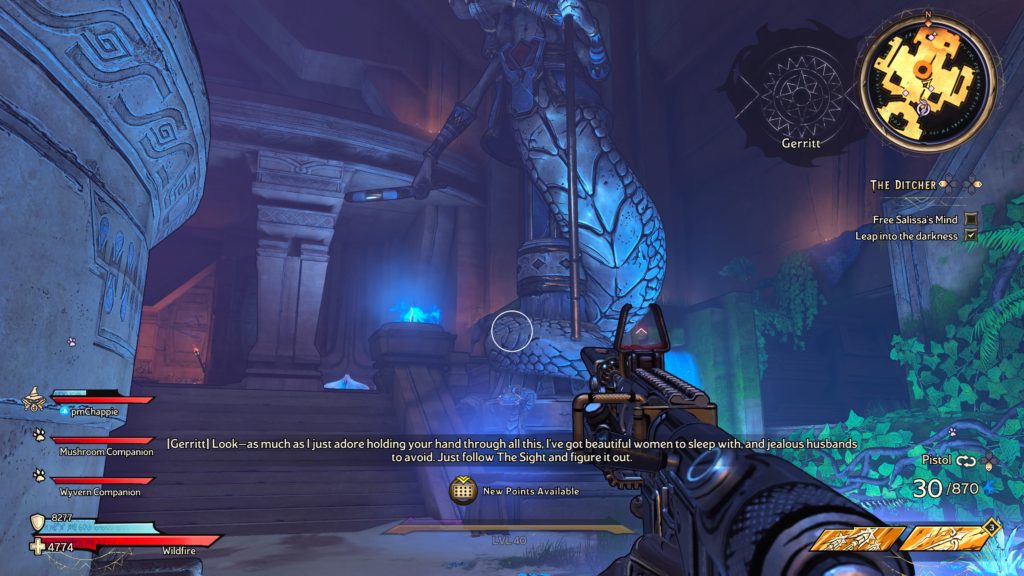
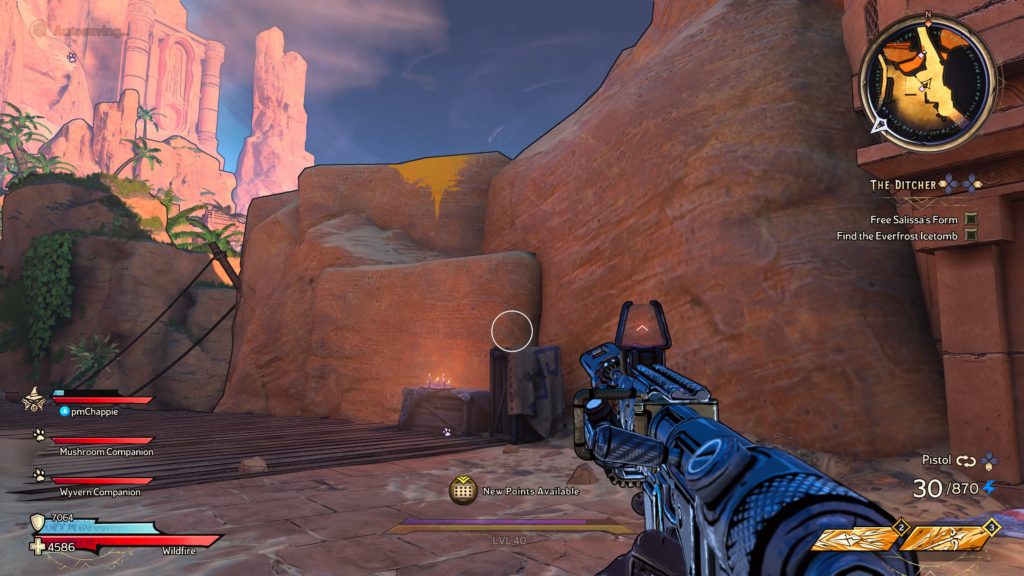
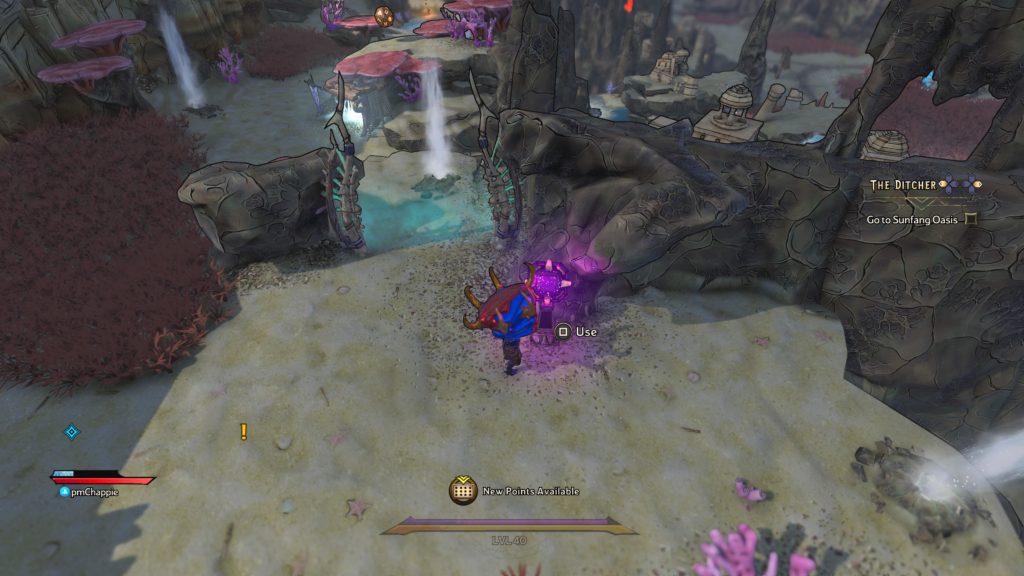
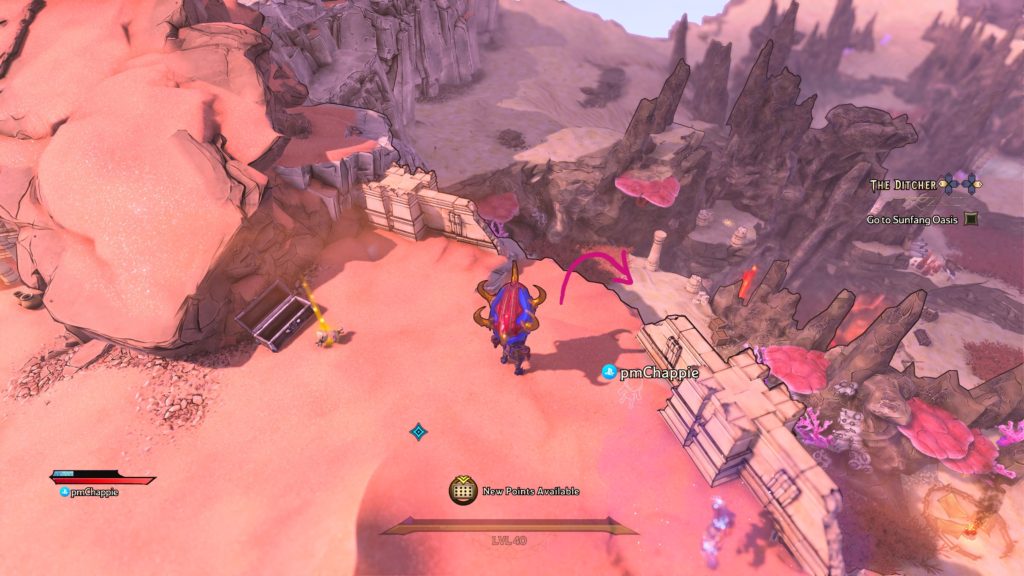
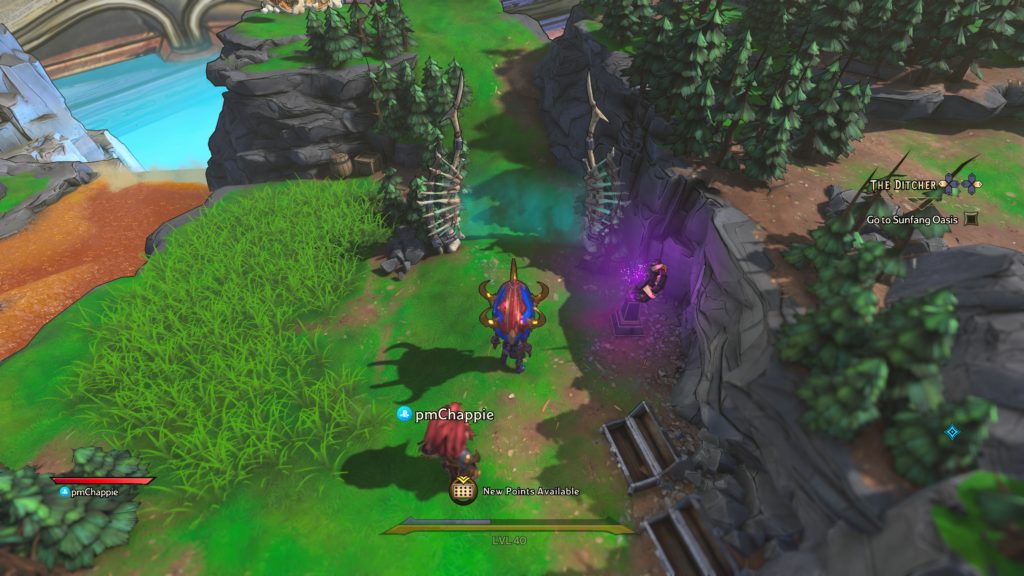
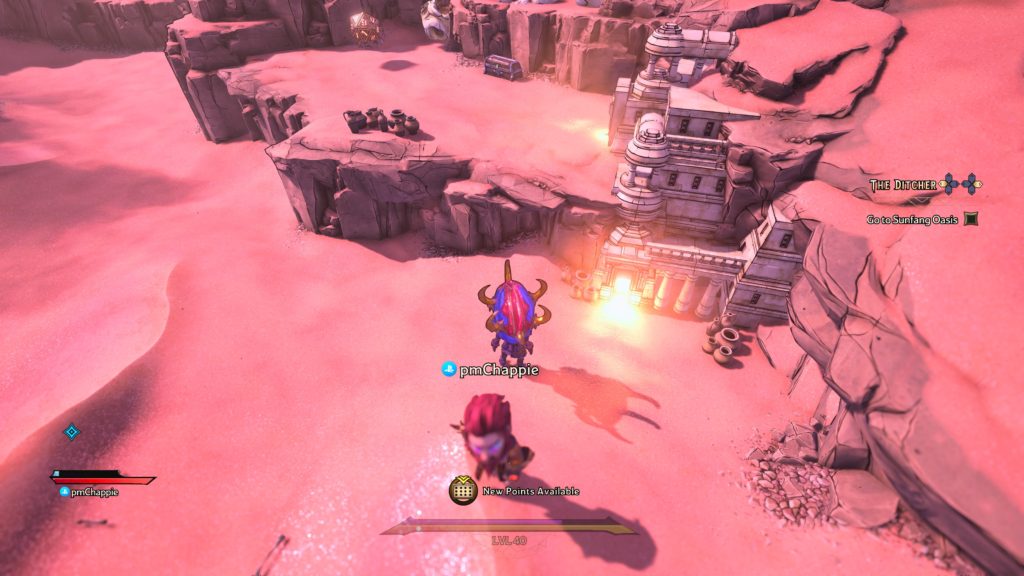
Sunfang Oasis
Eternal Wellspring
This scroll can be found in the northern part of the map.
The Shattering
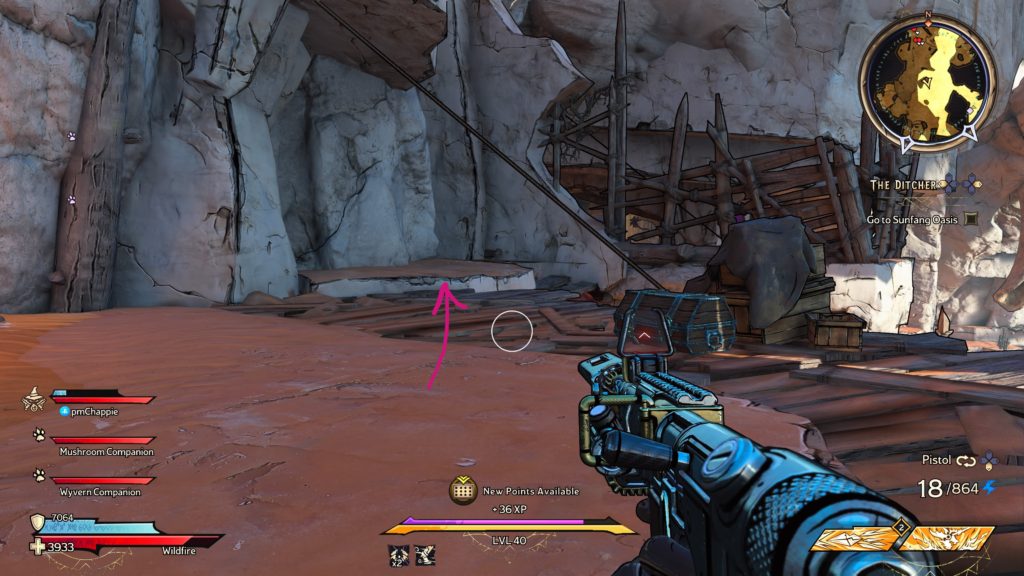
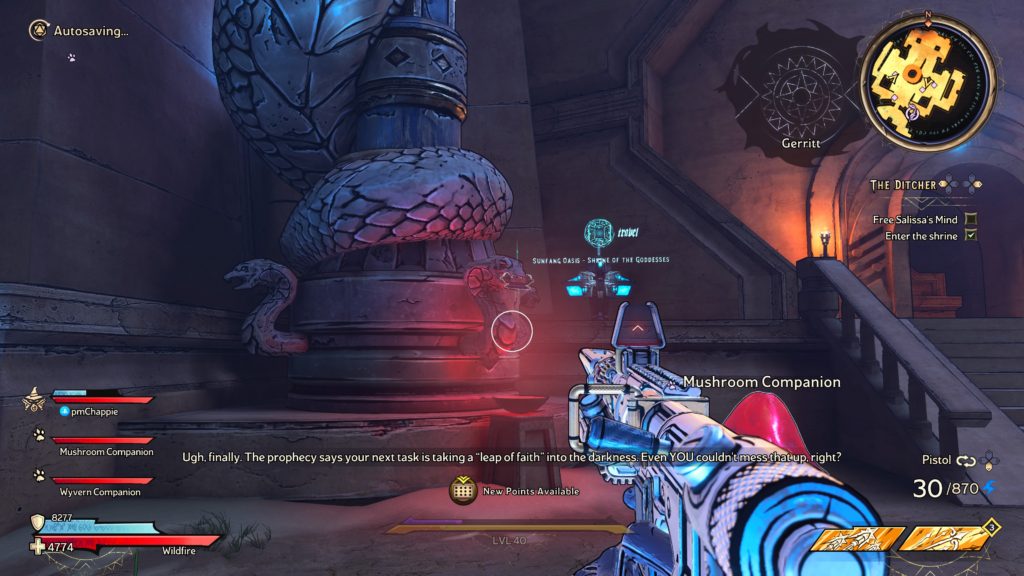
This scroll can be found just before the Shrine of the Goddesses. You’ll come here during The Ditcher side quest.
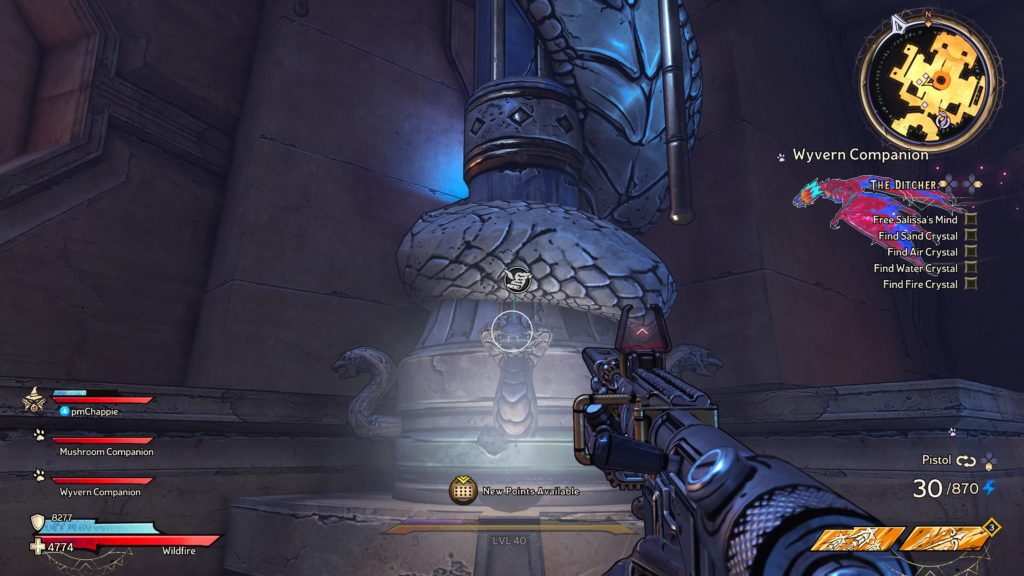
Goddess of Fire
This scroll is in a snake’s mouth on a statue in the Shrine of the Goddess.
Goddess of Water
This scroll is in a snake’s mouth on a statue in the Shrine of the Goddess.
Goddess of Sand
This scroll is in a snake’s mouth on a statue in the Shrine of the Goddess.
Goddess of Air
This scroll is in a snake’s mouth on a statue in the Shrine of the Goddess.
Twists and Turns
This scroll can be found at the bottom of the well in the Shrine of the Goddess.
The Damned Queen
This scroll can be found on the western side of the area. You’ll come here during The Ditcher side quest.
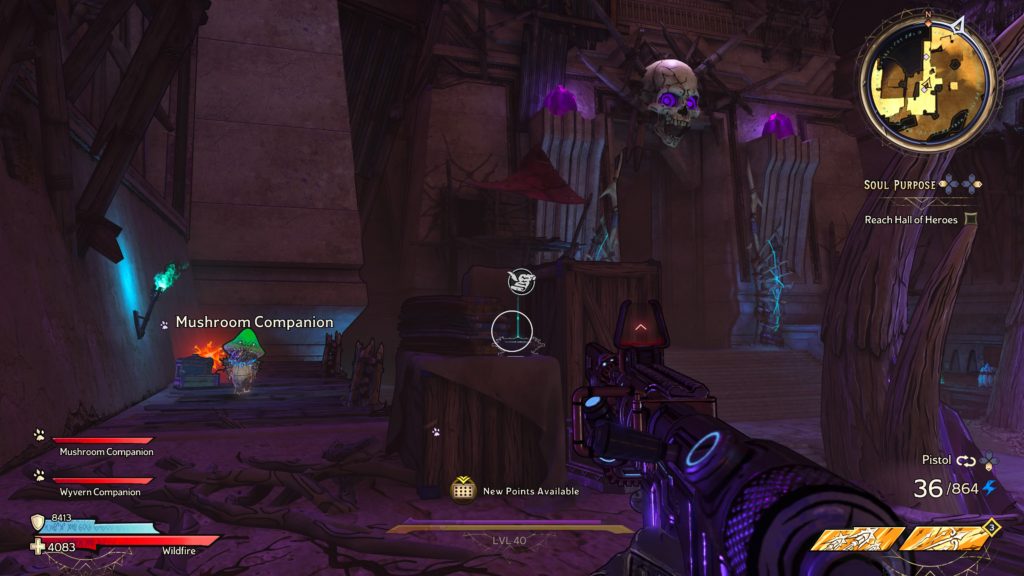
Ossu-Gol Necropolis
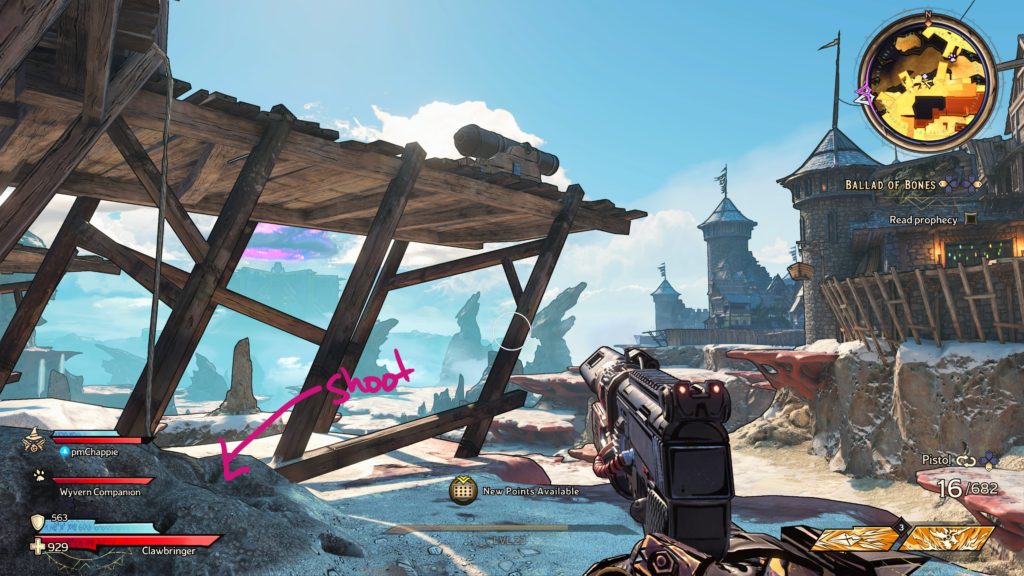
Pests in the Patrols
This scroll can be found on the ledge overlooking the door with a skull above it.
The Dark Master
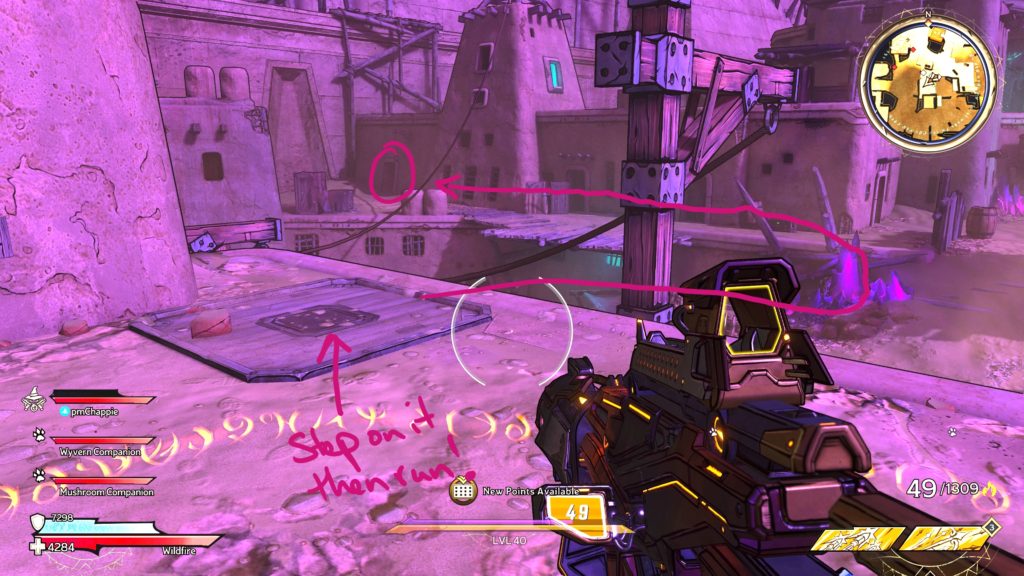
This scroll can be found in the room just past the hallway of axe death! 🙂
No Bones About It
This scroll can be found at the above location.
To raise the gate blocking it, step on the pressure point on the building across the way as shown in the picture below then make a mad dash for the window as it’s timed.
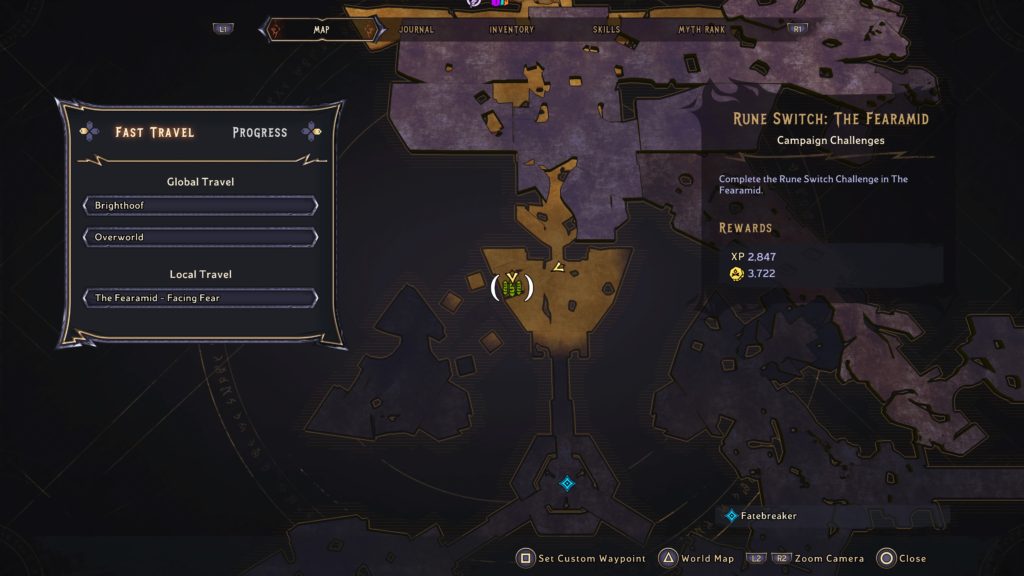
The Fearamid
Left Behind
This scroll can be found southwest of the Rune Switch.
Cristunity
This scroll can be found on the way to the Ancient Obelisk.
My Own Story
This scroll rests on the cable next to a wooden bridge.
Below are the locations of the Rune Switches in Tiny Tina’s Wonderland.
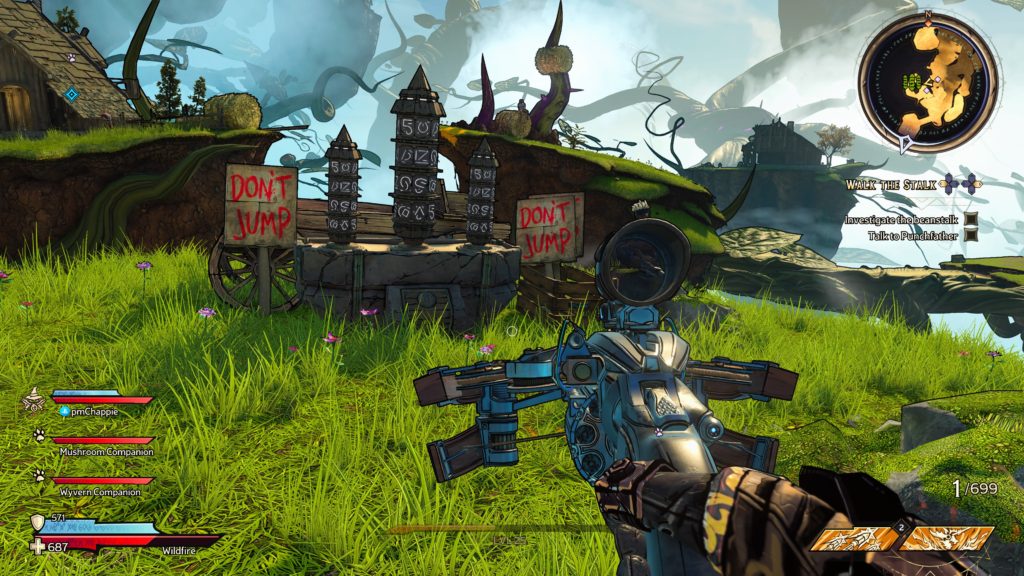
Rune Switch: Queen’s Gate
To reach this puzzle, jump onto the wooden cart and use it to reach the roof of a building. From there, jump to the roof of the building containing the puzzle.
Once you’re ready, start the race! You’ll have to run to all the 3 runes with green beacons shooting out the top of them before time runs out to complete the challenge.
Rune Switch: Brighthoof
This rune switch can be found on the roof of Izzy’s Fizzies.
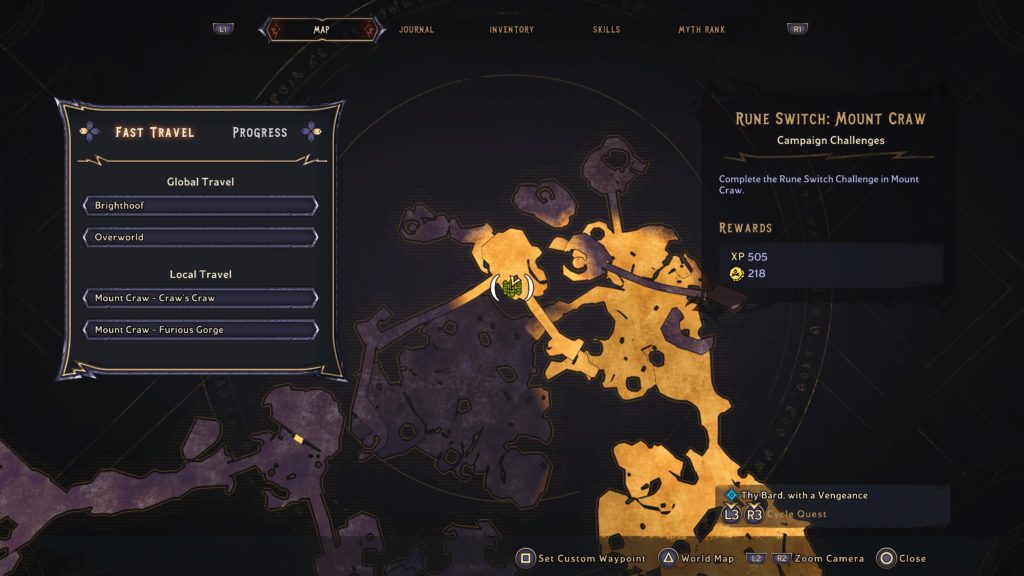
Rune Switch: Mount Craw
This rune switch can be found on a high up perch northwest of the Mount Craw – Furious Gorge fast travel point.
Rune Switch: Weepwild Dankness
This rune switch can be found in the far northeastern corner of the area in Murphshire. To reach it on the upper platform, use the ladder on the south side of the platform.
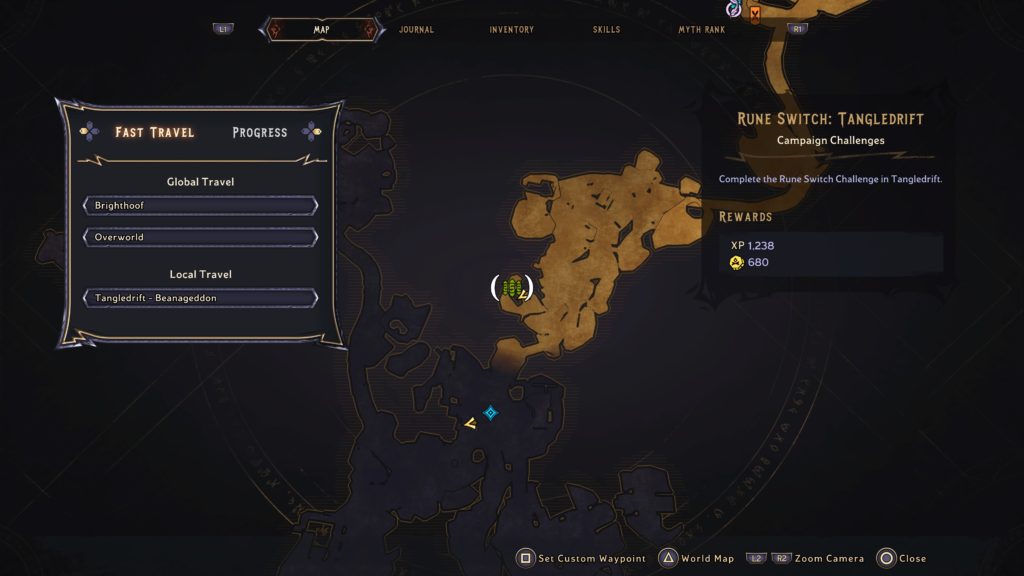
Rune Switch: Tangledrift
This rune switch can be found just after sliding down the first stalk on the way to the village. It is off to the right side.
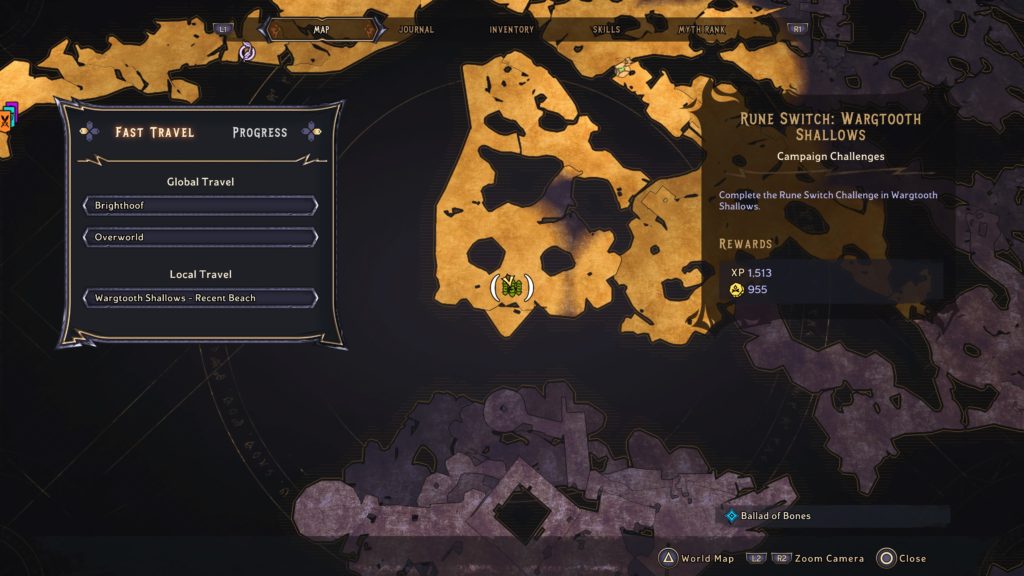
Rune Switch: Wargtooth Shallows
This rune switch can be found when you emerge from a cave.
Rune Switch: Crackmast Cove
This Rune Switch can be found on the western side of the Scallywag Landing’s village. To reach it, head through town from the vending machines and just before the gate, look to your right to see a ship broken in two.
Take this path to the end to find the Rune Switch at the end.
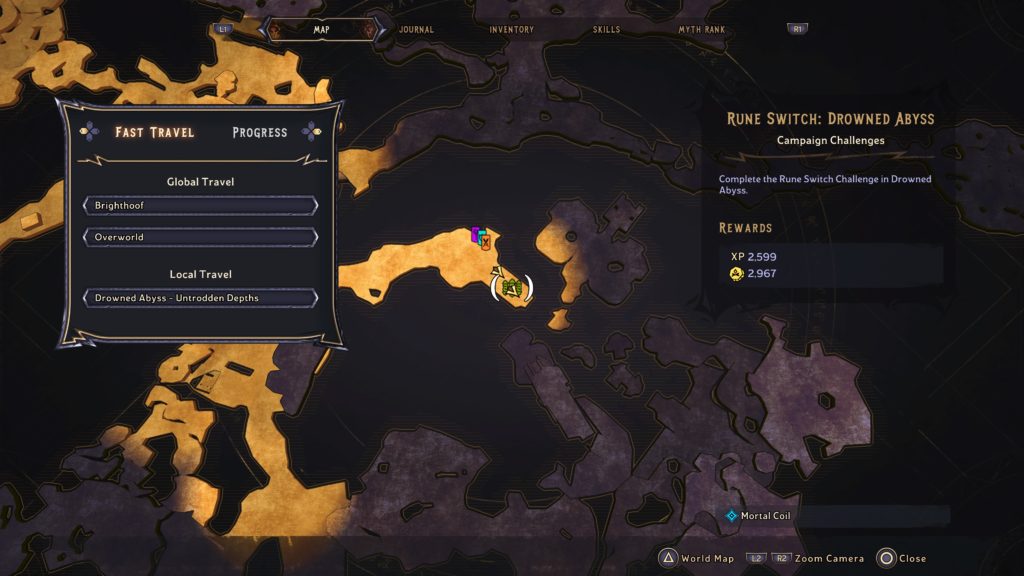
Rune Switch: Drowned Abyss
This Rune Switch can be found in the center of the map next to some vending machines.
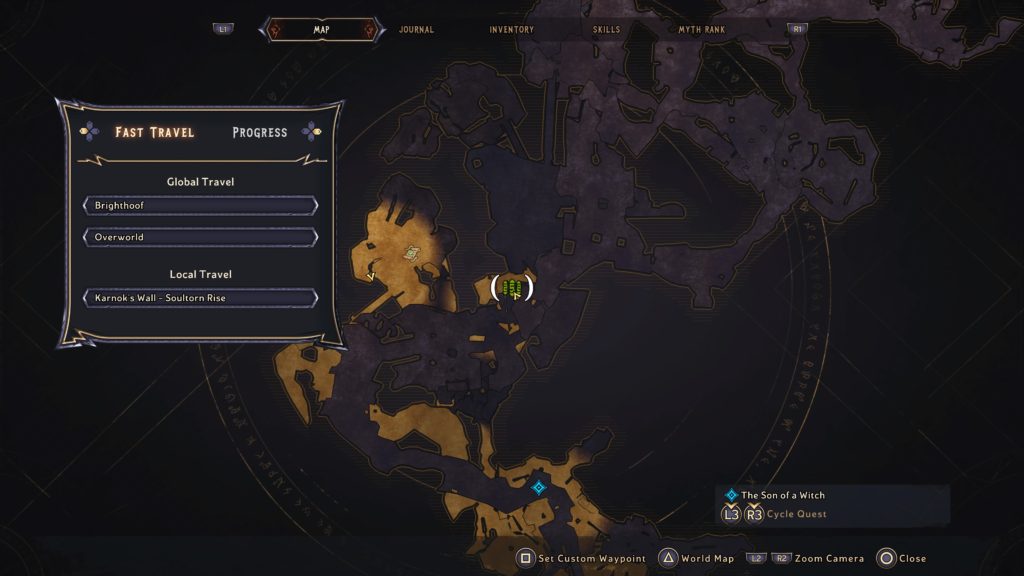
Rune Switch: Karnok’s Wall
This rune switch can be found in the central part of the area.
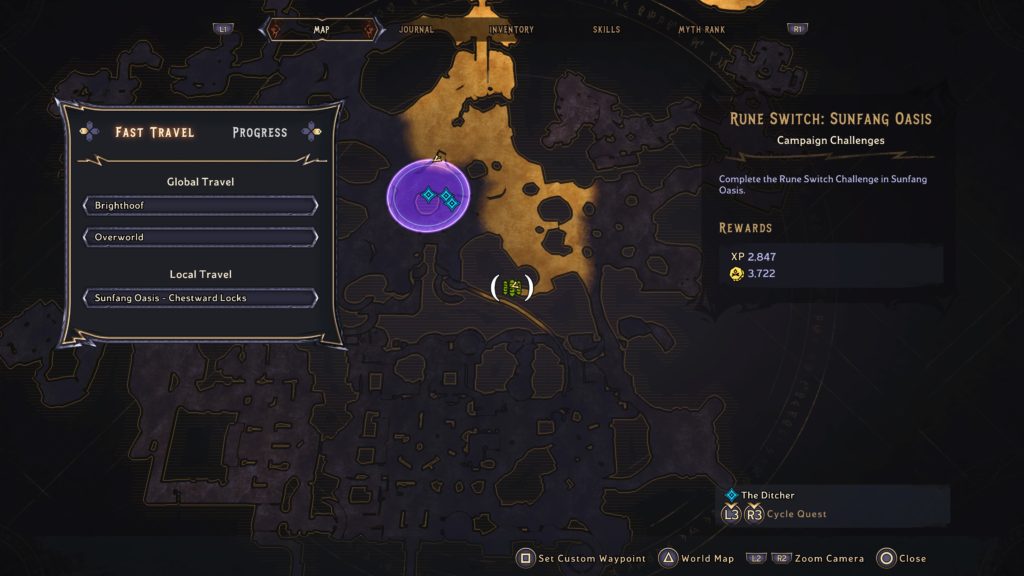
Rune Switch: Sunfang Oasis
This Rune Switch can be found near the central part of the map.
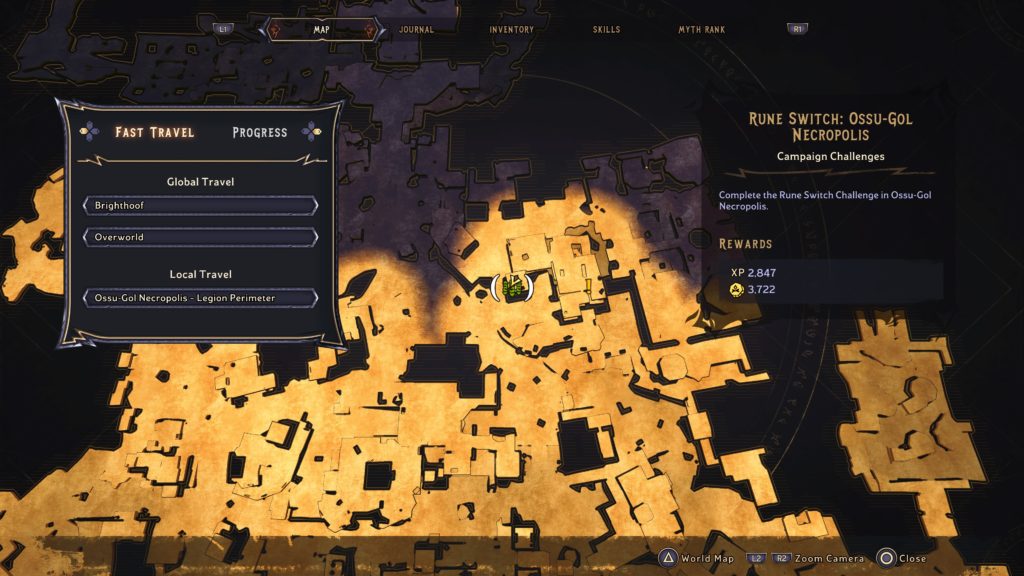
Rune Switch: Ossu-Gol Necropolis
This Rune Switch can be found by jumping across small islands to reach it.
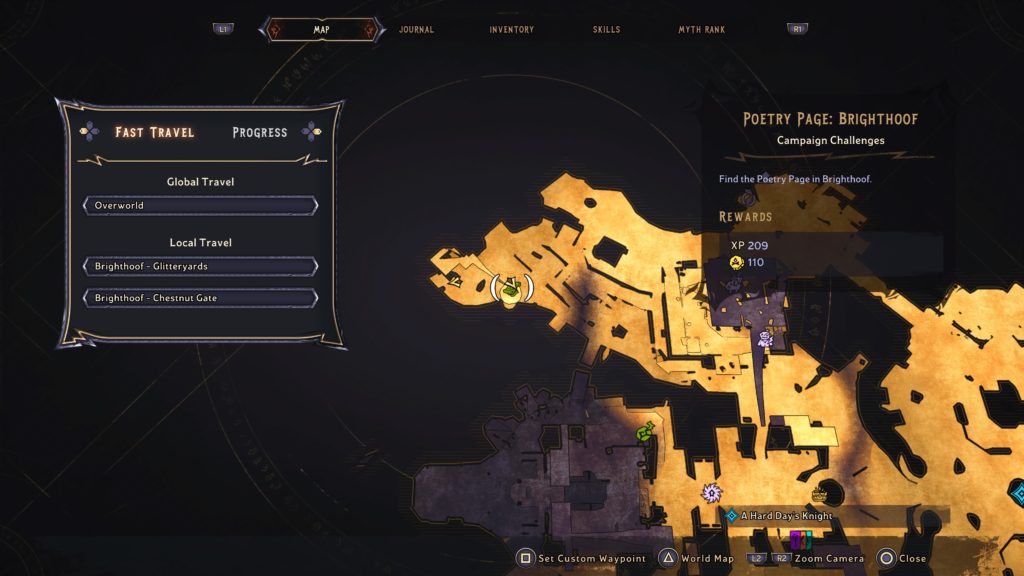
Below are the Poetry Pages that can be found in Tiny Tina’s Wonderlands.
Snoring Valley
Poetry Page 1
This poetry page can be found on a wooden crate just after entering the castle in Snoring Valley.
Queen’s Gate
Poetry Page 1
This poetry page can be found on a wooden crate next to a siege tower just north of the vending machines near Queen’s Gate l- The Rampant Parts fast travel point.
Brighthoof
Poetry Page 1
This poetry page can be found after defeating the Shattergrave Barrow boss and being teleported back to Brighthoof. It’s located on a balcony south of the vending machines south of Brighthoof – Chestnut Gate.
Poetry Page 2
This poetry page can be found directly west of the Brighthoof – Chestnut Gate on the mast of a ship. To reach it, head to the small boat suspended in the air to the west of the building then jump to the roof of the building.
From there, walk across the rope bridge to reach the mast!
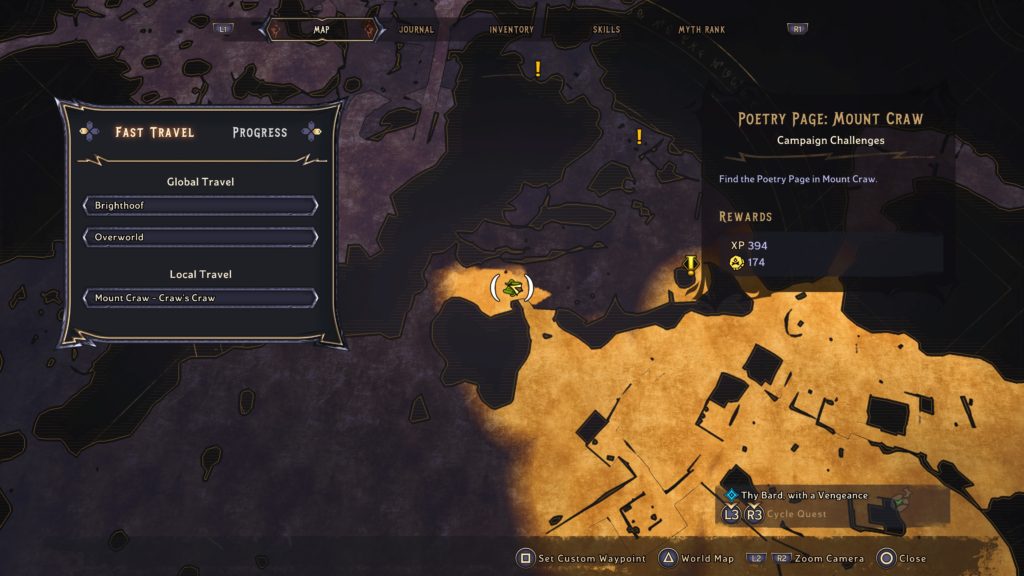
Mount Craw
Poetry Page 1
This page can be found on a wooden crate inside of a shallow cave in the center of the map.
Poetry Page 2
This page can be found slightly southwest of the Mount Craw – Furious Gorge fast travel point.
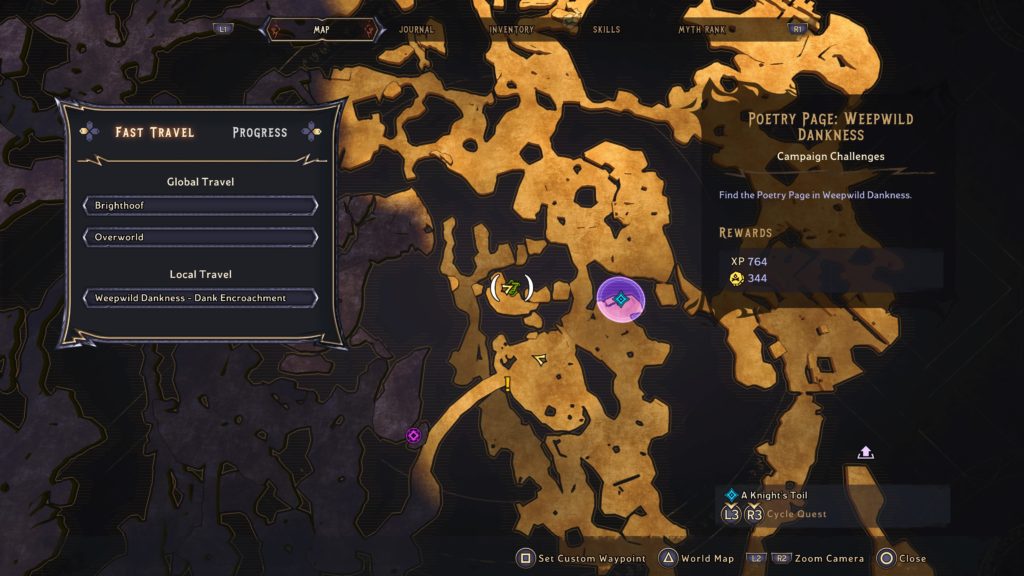
Weepwild Dankness
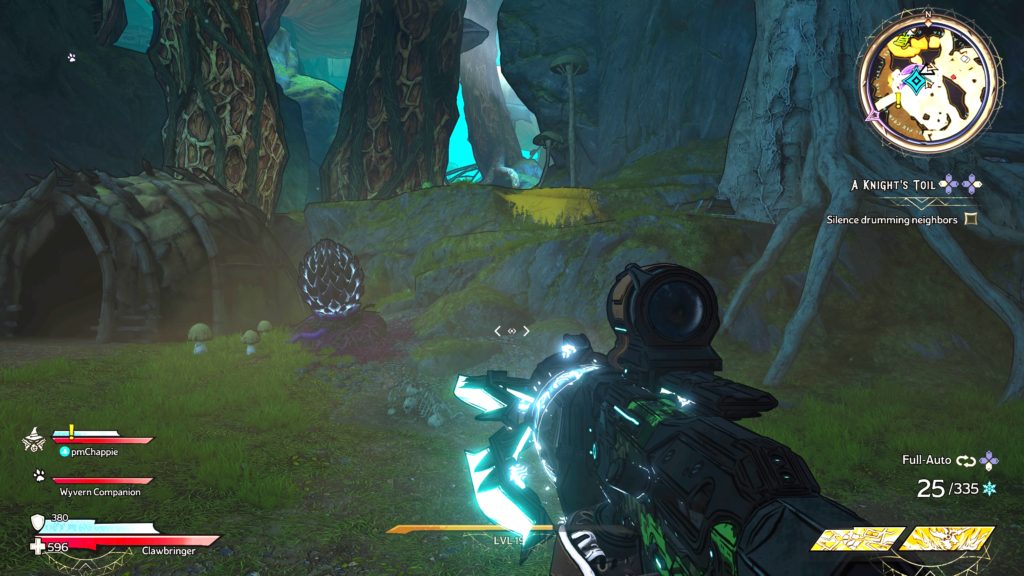
Poetry Page 1
This page can be found on the ledge behind where the goblin drummers are during A Knight’s Toil side quest.
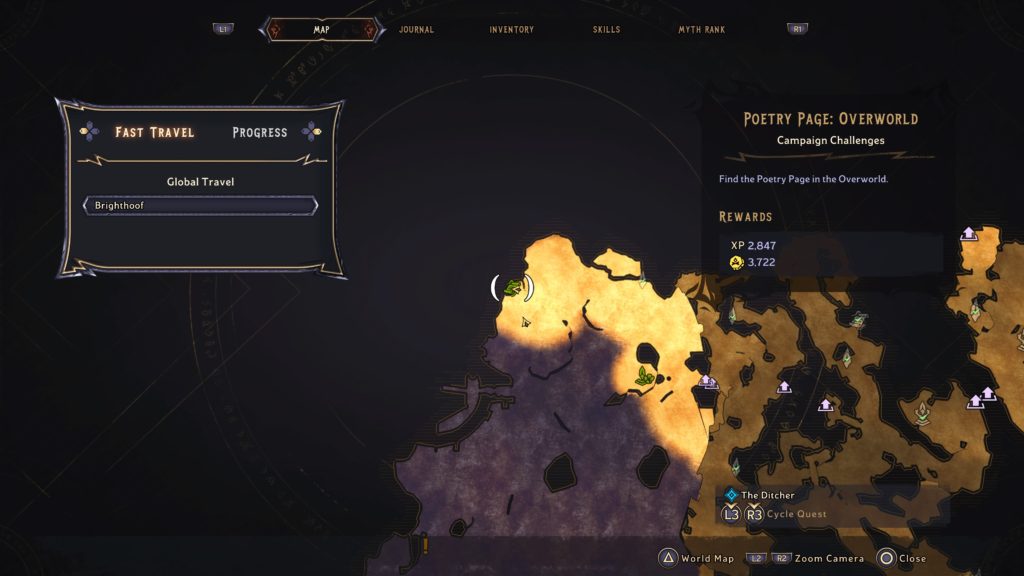
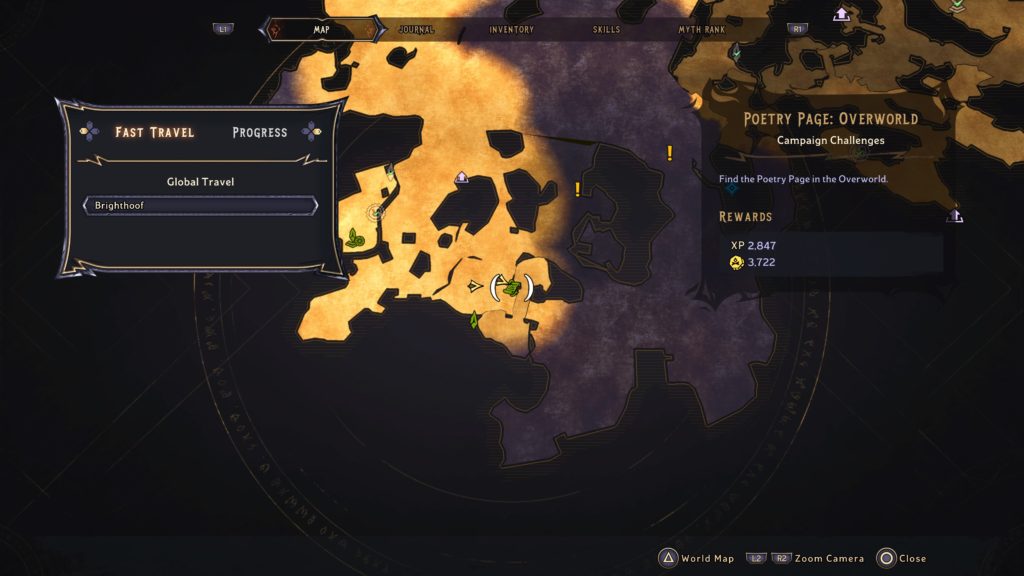
Overworld
Poetry Page 1
This poetry page is obtainable after you blow up the ocean as part of the story!
Poetry Page 2
This poetry page is obtainable after completing the main story at Wargtooth Shallows.
Poetry Page 3
This poetry page can be obtained after completing the Lens of the Deceiver side quest.
Poetry Page 4
This poetry page can be obtained after completing the Karnok’s Wall area.
Poetry Page 5
This poetry page can be obtained after completing the Karnok’s Wall area.
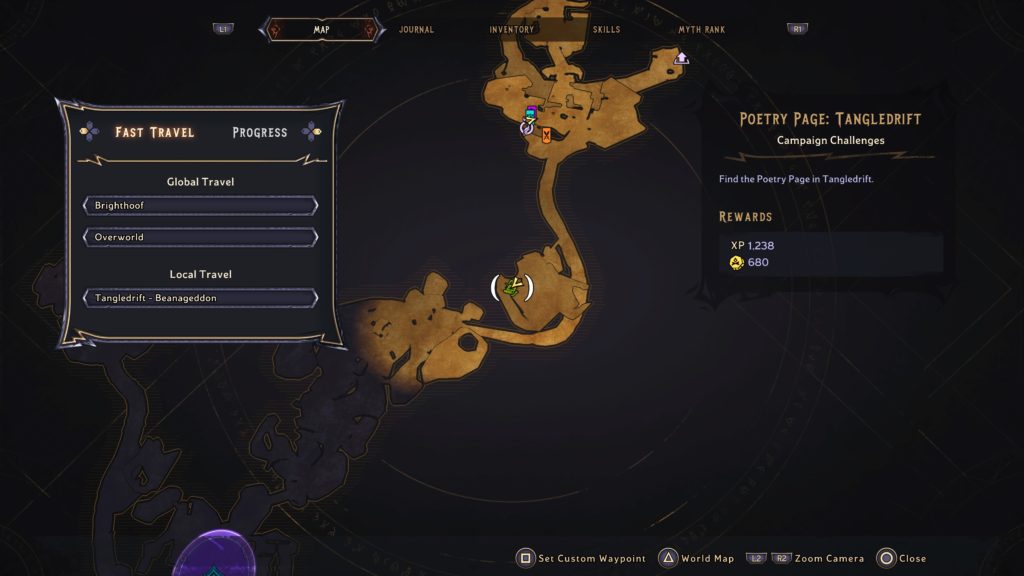
Tangledrift
Poetry Page 1
This poetry page can be found on a small island reachable via the first slide. Right after you meet the Punchfather in the house with all the fallen mushrooms, head outside then slide down the stalk. About halfway, look on the right side then jump towards the island.
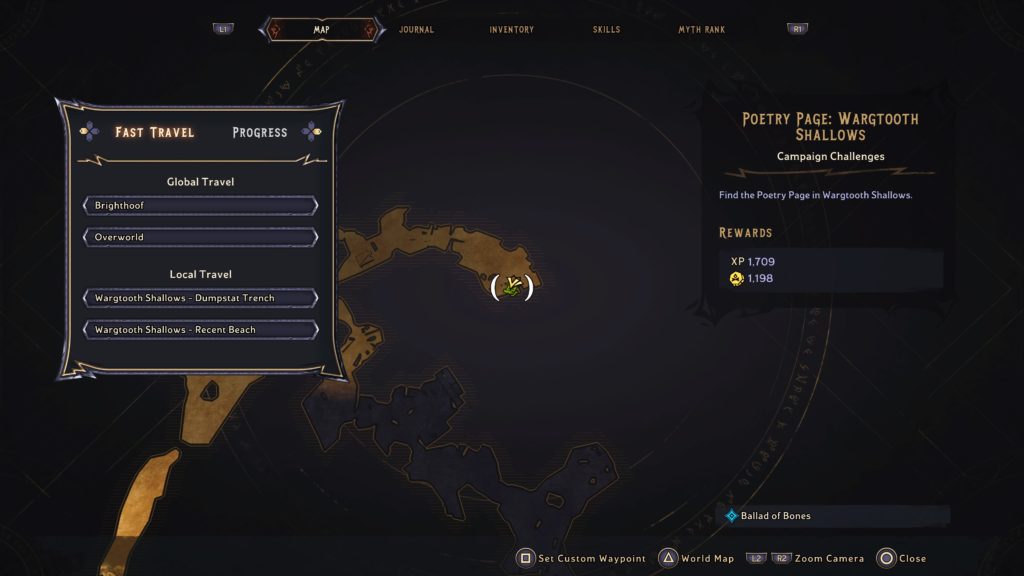
Wargtooth Shallows
Poetry Page 1
This poetry page can be found in a broken ship.
Poetry Page 2
This page can be found in a building on the northeastern side of the area.
Crackmast Cove
Poetry Page 1
This page can be found on a ledge down the path from a gate in a cavern.
Poetry Page 2
This page can be found atop a piano on a circular platform, which is suspended in the air. To reach it, walk across the bridge then pass under the hanging shark.
Skirt the edge of the cliff then jump to the platform!
Drowned Abyss
Poetry Page 1
This poetry page can be found on the ship hanging in the air near the central vending machines. To reach the ship, use the nearby purple jump pad.
Poetry Page 2
This poetry page can be found on a coral ledge. This will be available when the door opens during the Mortal Coil main quest after you are tasked with following the fire spirit.
Karnok’s Wall
Poetry Page 1
This page can be found along the western part of the area, northwest of the Soultorn Rise fast travel point. To reach it, cross a wooden bridge then look down under the bridge. There will be a floating platform. Shoot the crystal in the middle (might have to shoot the bottom of it) to cause it to move. Jump on the crystal platform then ride it to a nearby wooden platform. Follow the path to reach the page.
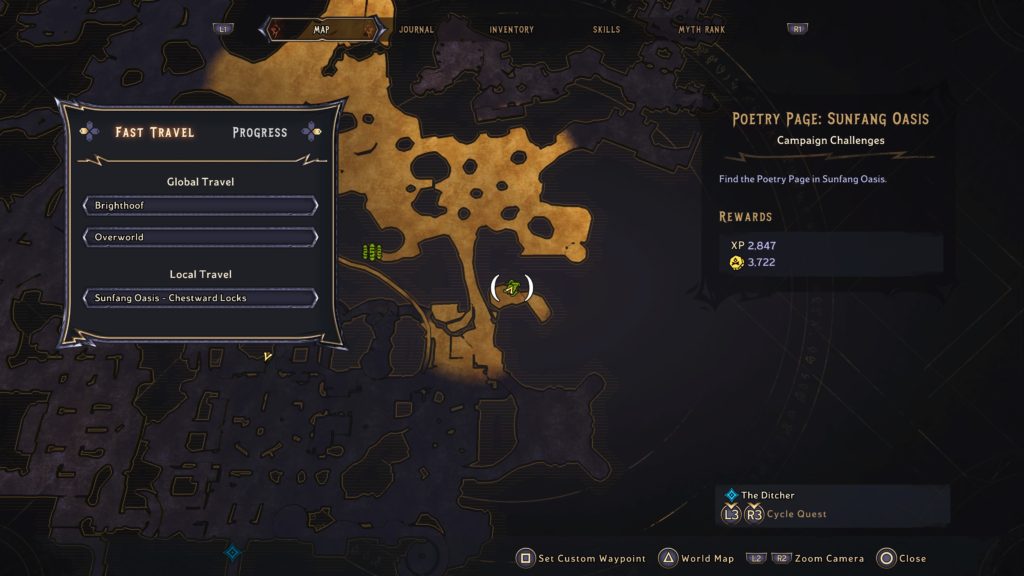
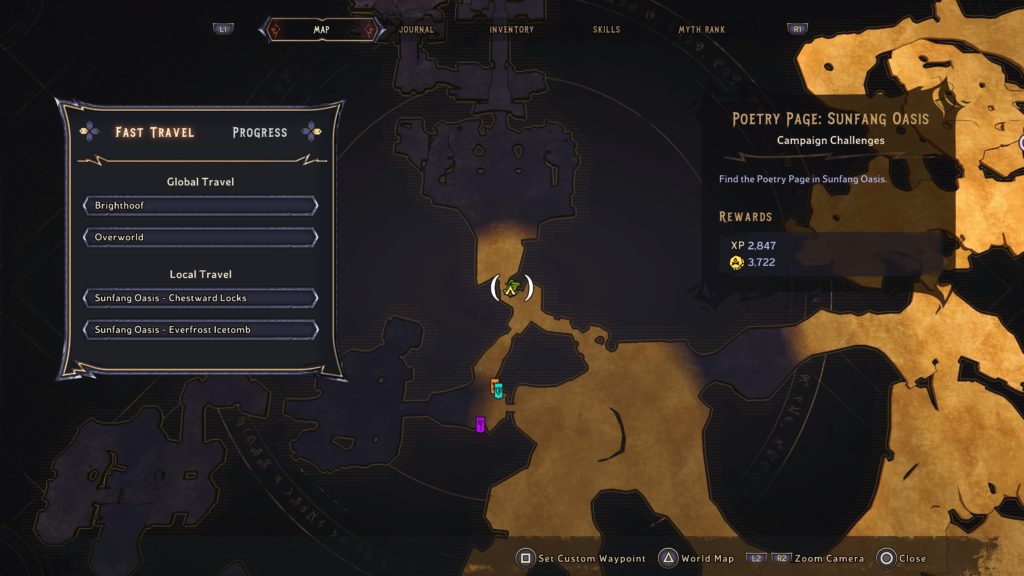
Sunfang Oasis
Poetry Page 1
This poetry page can be found on top of a cliff.
Poetry Page 2
This page can be found in a cave.
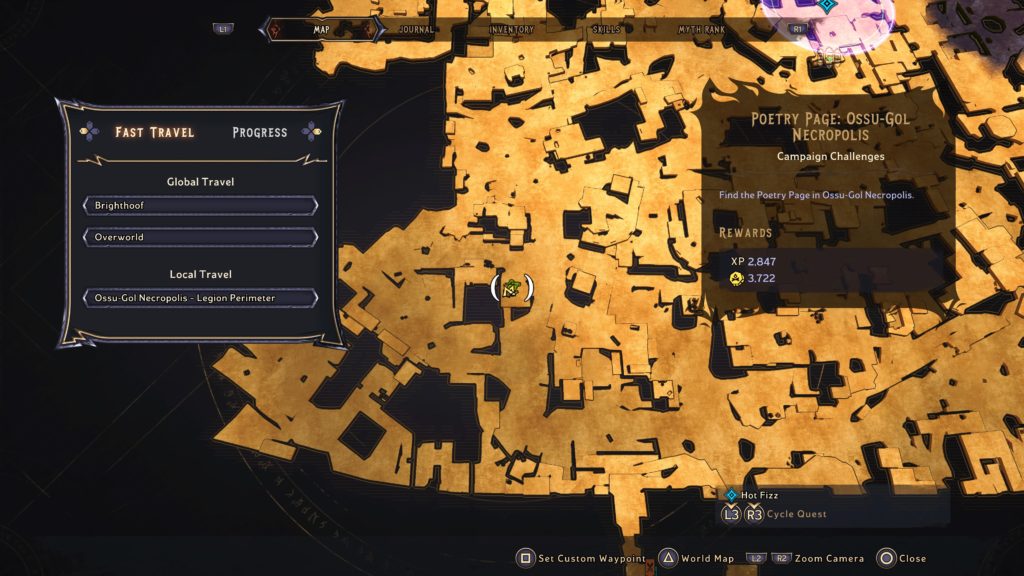
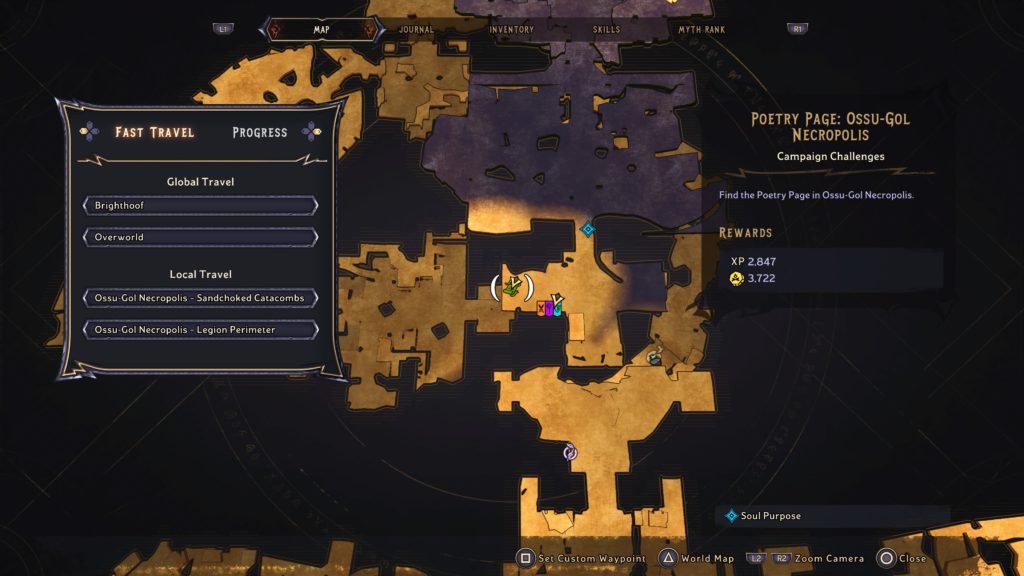
Ossu-Gol Necropolis
Poetry Page 1
This page can be found on a wooden crate next to a weapon chest underneath a wooden walkway.
Poetry Page 2
This page can be found in the elevator shaft north of the Sandchoked Catacombs fast travel point near the vending machines. To reach it, take the elevator then jump about half way up to this page.
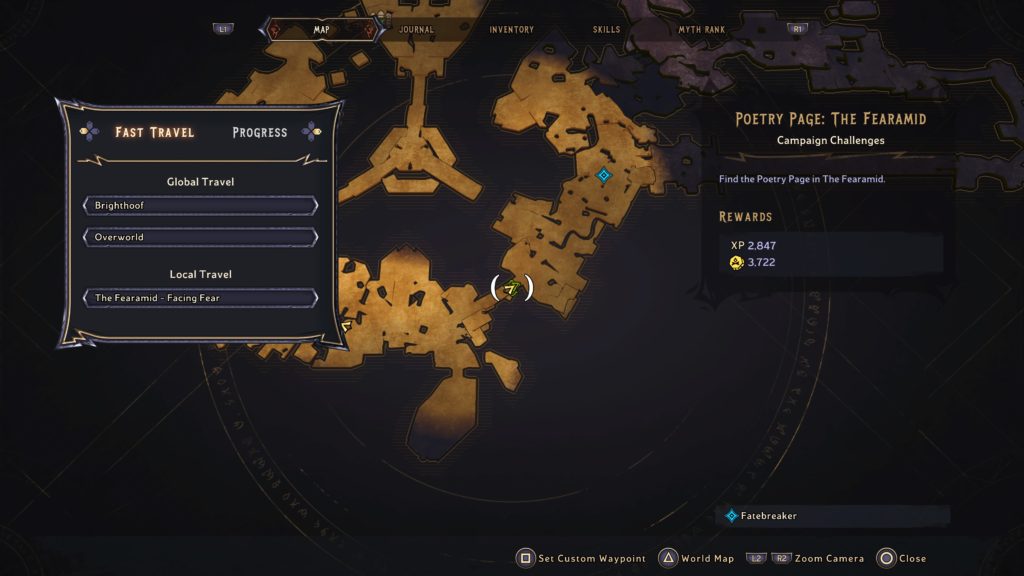
The Fearamid
Poetry Page 1
This page can be found on a hanging wooden platform underneath a wooden bridge.
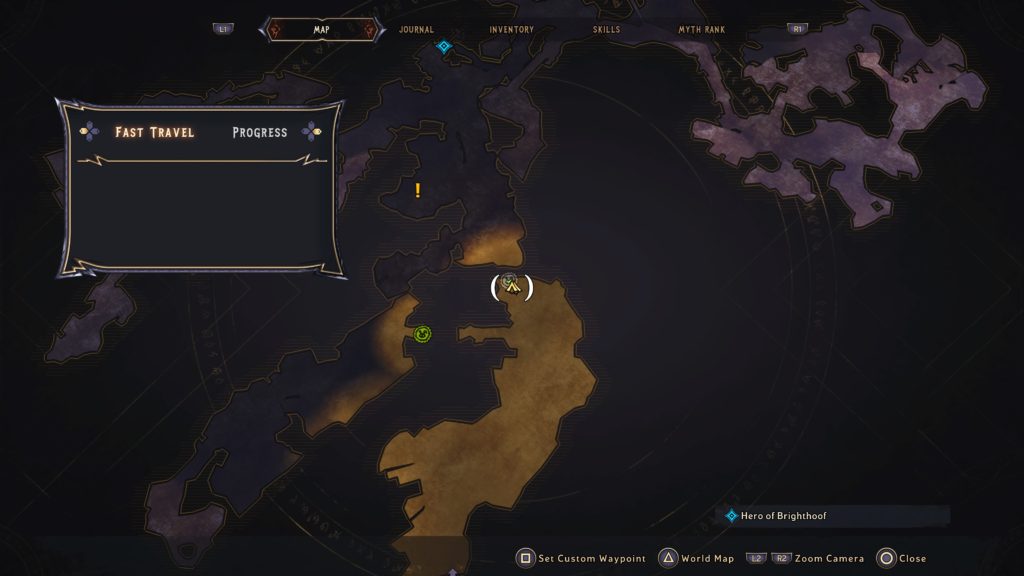
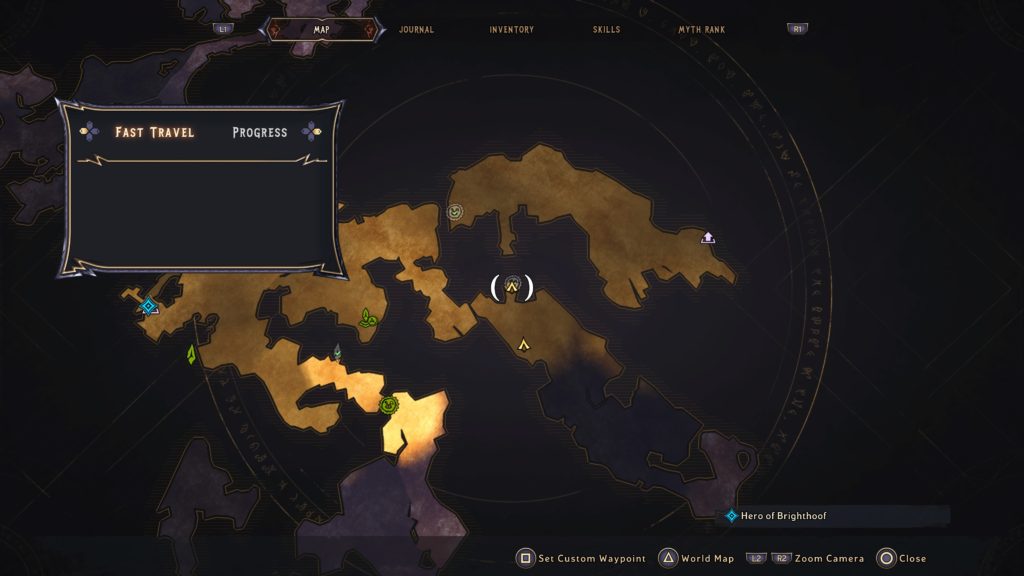
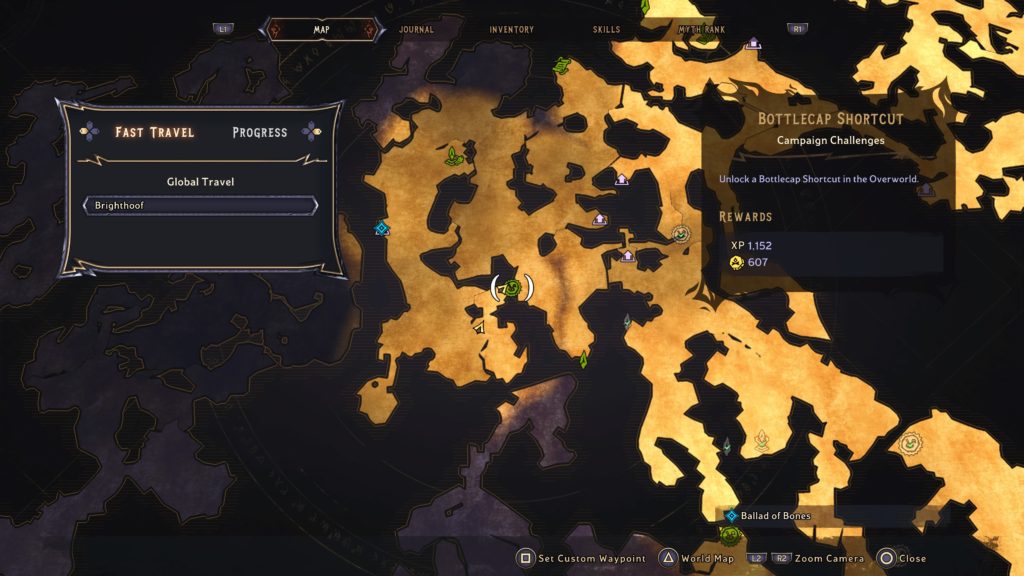
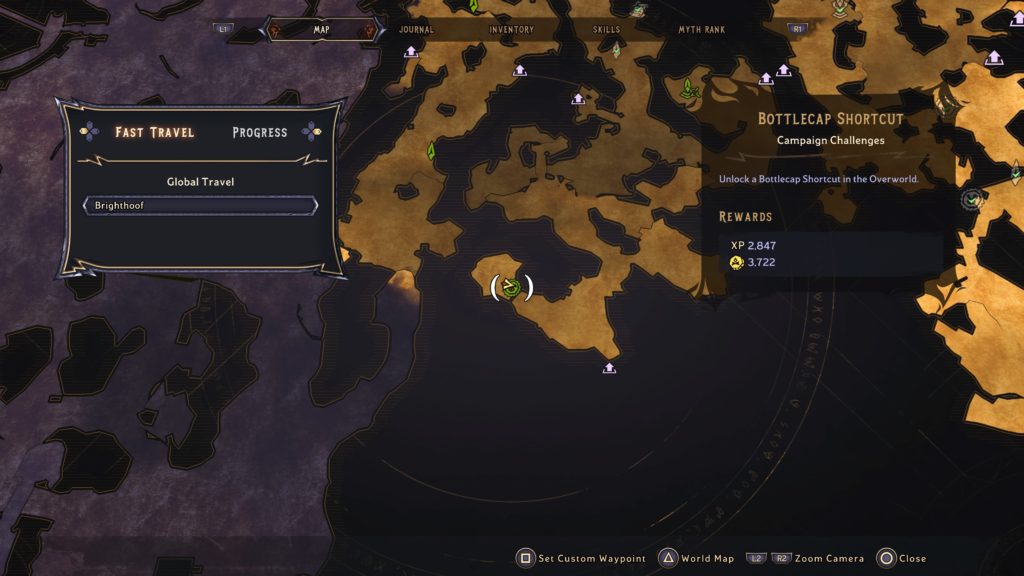
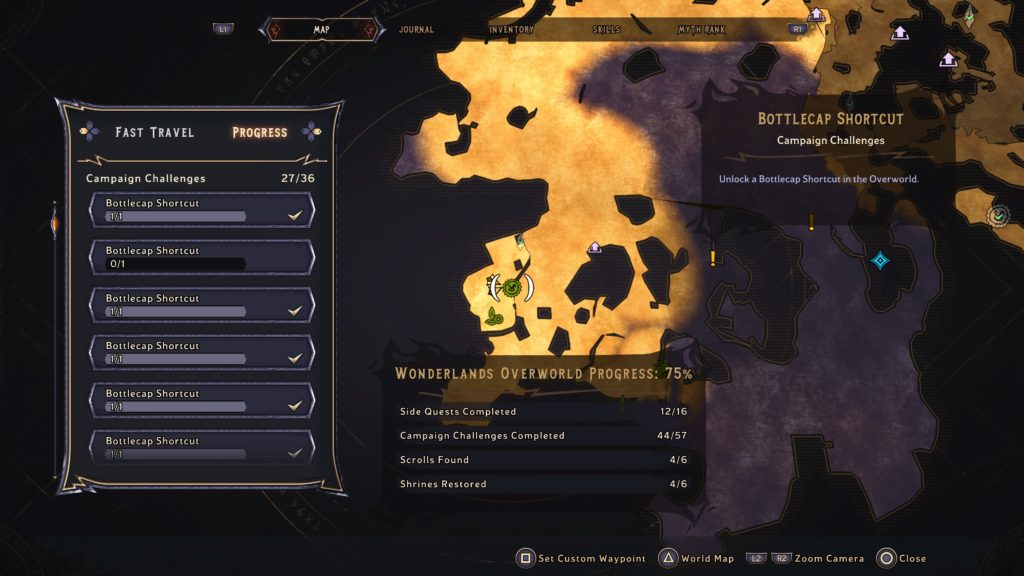
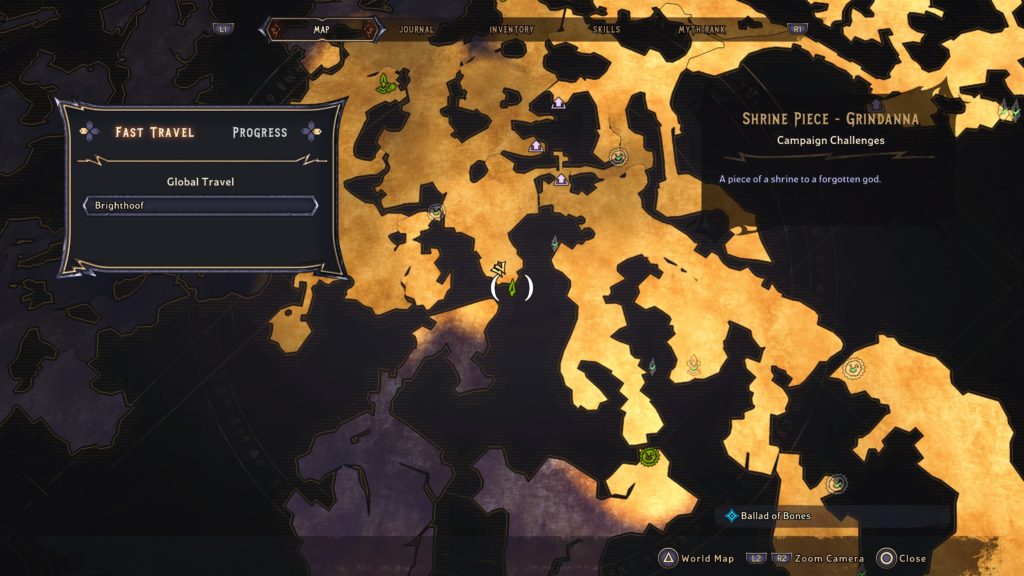
There are 22 total Lucky Dice that can be found in the Overworld in Tiny Tina’s Wonderland. Below are the locations of these Lucky Dice. For a guide on all the collectibles in this area, click here!
Lucky Dice 1
This dice can be found in the very beginning of the Overworld. When you first see it on your left, you won’t be able to grab it until you go forward a short ways and defeat your first Random Encounter as part of the story. Afterwards, you’ll proceed forward to find your path blocked by another log. The game will then have you melee the log. At this point, return to the beginning of the area to melee the log blocking the dice.
Lucky Dice 2
This dice can be found just after you complete an encounter.
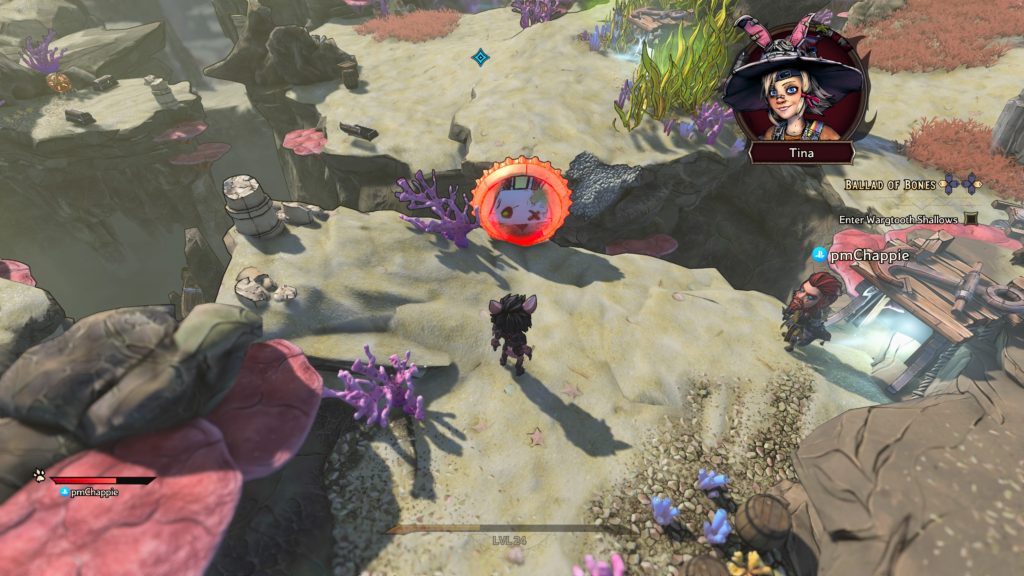
Lucky Dice 3
This dice can be found after you blow up the ocean as part of the main story. Head to the encounter shown below and complete the waves until you emerge victorious. On the other side of the encounter, you’ll find the dice.
This dice can be obtained after completing The Godswell area. It is located just north of The Godswell map transition.
Lucky Dice 9
This dice can be obtained after completing The Godswell area. It is along the map’s northern edge.
Lucky Dice 10
This dice can be obtained after completing the Karnok’s Wall area. Use the console to remove the barrier then take the air jet to reach it.
Lucky Dice 11
This dice can be obtained after completing the Karnok’s Wall area. Take two air jets to reach the sandy area. Head to the ledge to the right then drop down onto the dice.
Lucky Dice 12
This dice can be obtained after completing the Karnok’s Wall area.
Lucky Dice 13
This dice can be obtained after completing the Karnok’s Wall area.
Lucky Dice 14
This dice can be obtained after completing the Karnok’s Wall area.
Lucky Dice 15
This dice can be obtained after completing the encounter.
Lucky Dice 16
This dice can be found next to the Sunfang Oasis map transition.
Lucky Dice 17
This dice can be obtained after completing the dungeon.
Lucky Dice 18
This dice can be obtained after completing the Karnok’s Wall area on the side of a cliff in the sandy area.
Lucky Dice 19
This dice can be found on a soda can after completing the Karnok’s Wall area.
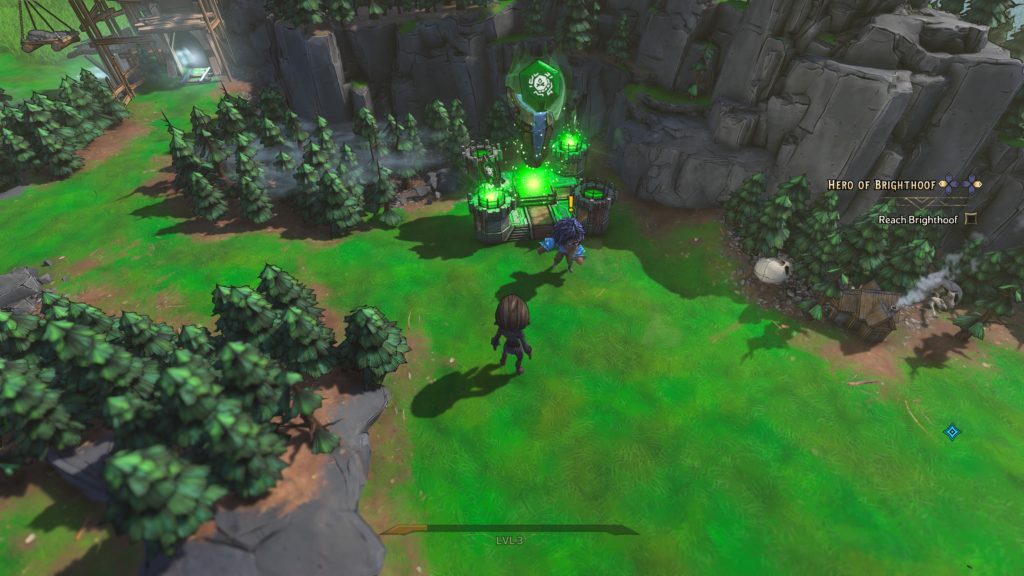
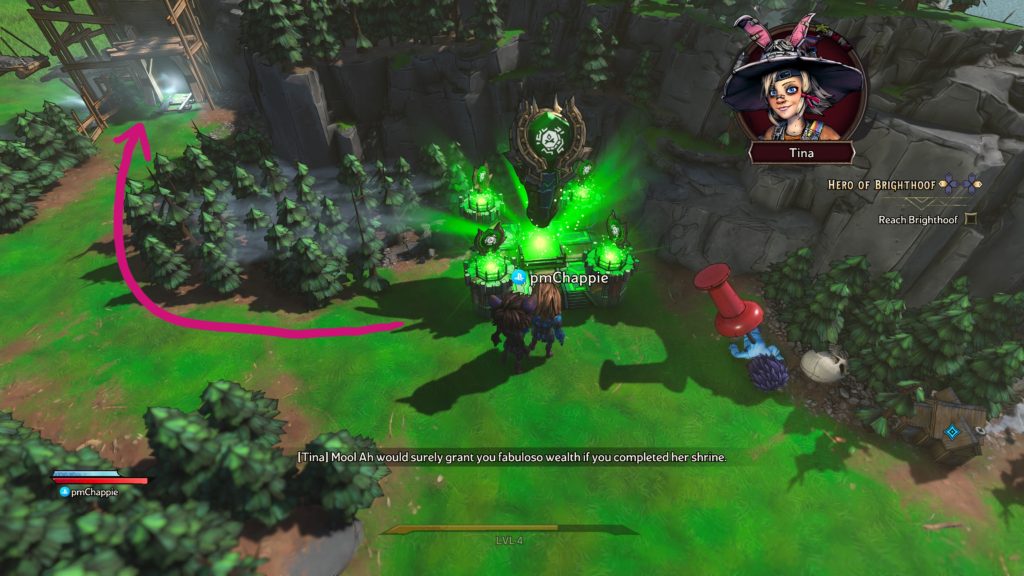
The Shrine of Mool Ah in Tiny Tina’s Wonderlands is located in the Overworld near the beginning of the area.
The shrine pieces for the Shrine of Mool Ah can be found below. Once you collect both of them, return to the shrine to hand them over thus completing the challenge.
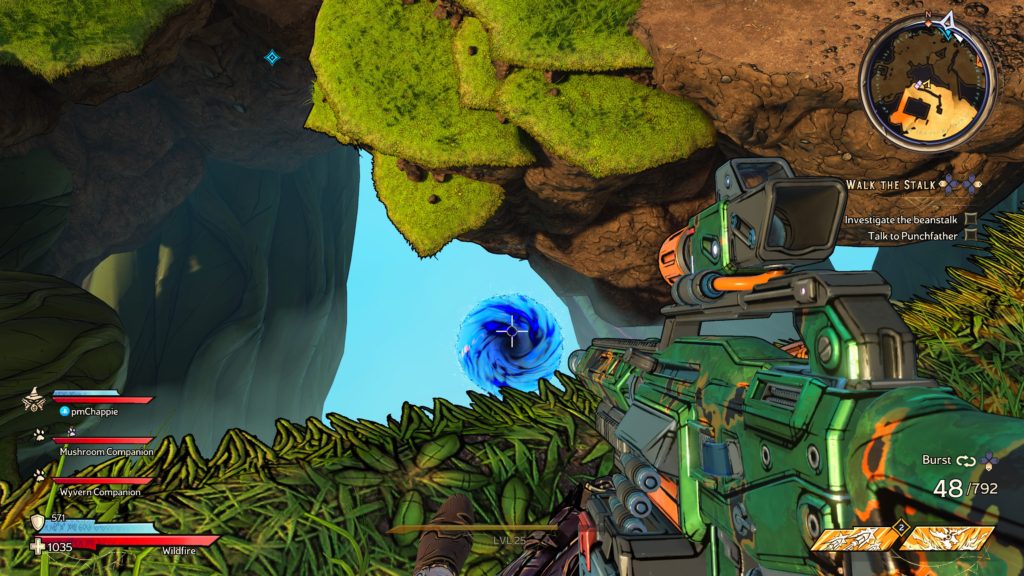
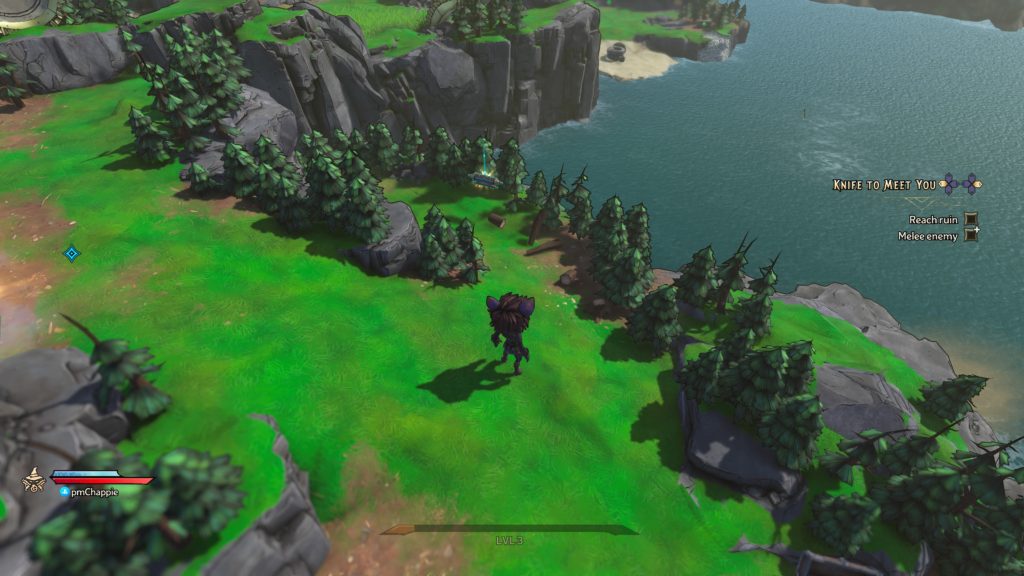
Below is a walkthrough for the Knife to Meet You side quest in Tiny Tina’s Wonderlands. To obtain this quest, speak with Bach Stahb in the Overworld.
Reach ruin
When facing Bach Stahb, follow the path to the right then swing north to find the ruins. Fight through two encounters (making sure to melee an enemy) then retrieve the shrine piece for Mool Ah.
Return to Mool Ah and interact with him to complete the quest.
Search
This site uses cookies. By continuing to use this website, you are giving consent to cookies being used. For more information on cookies, view our Privacy Policy.OkPrivacy Policy