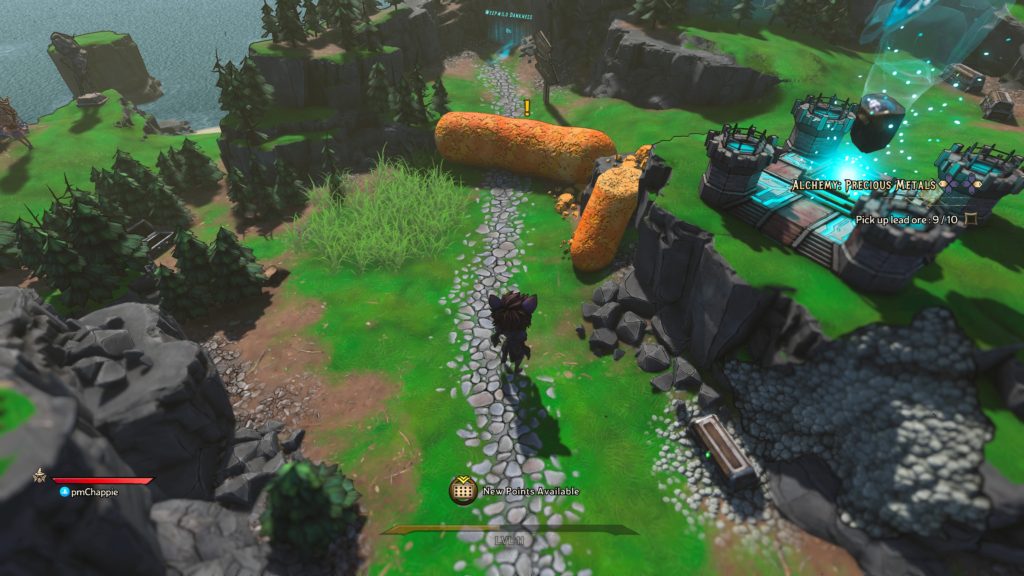
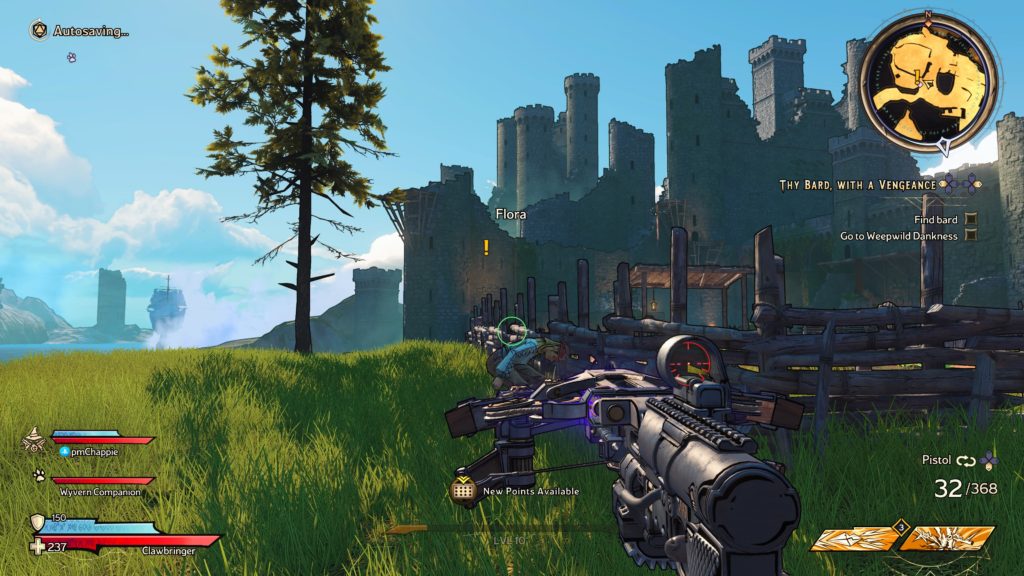
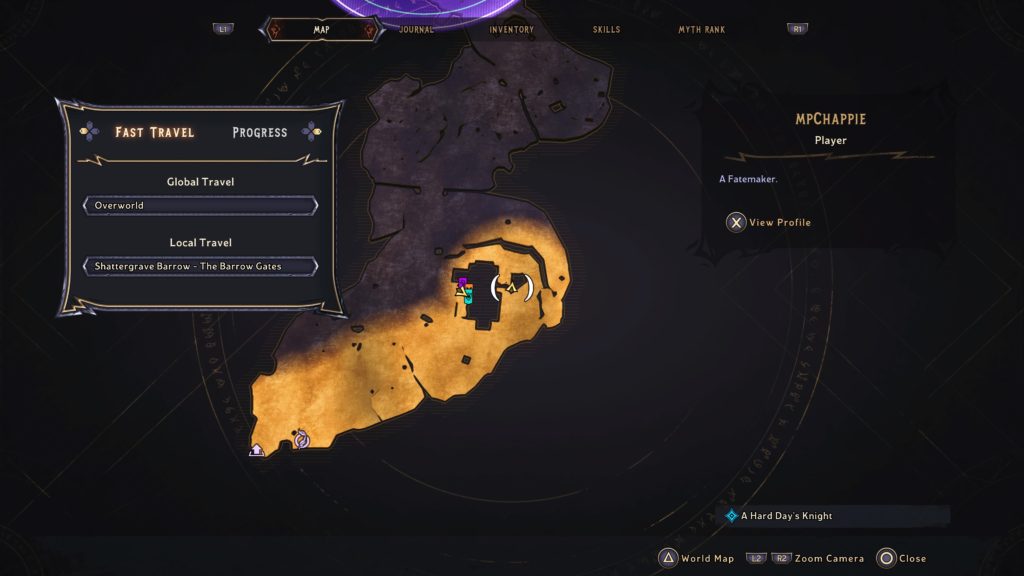
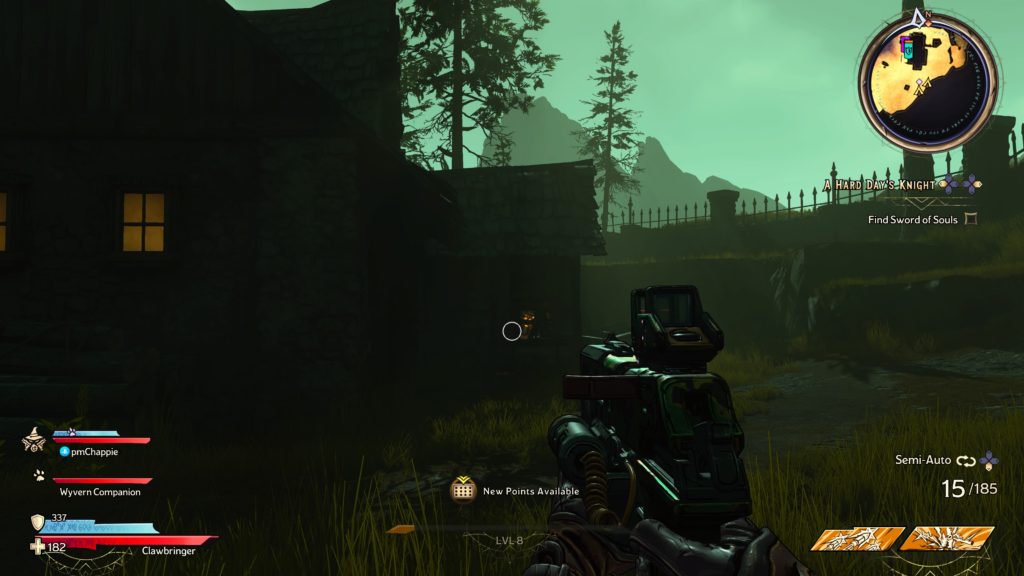
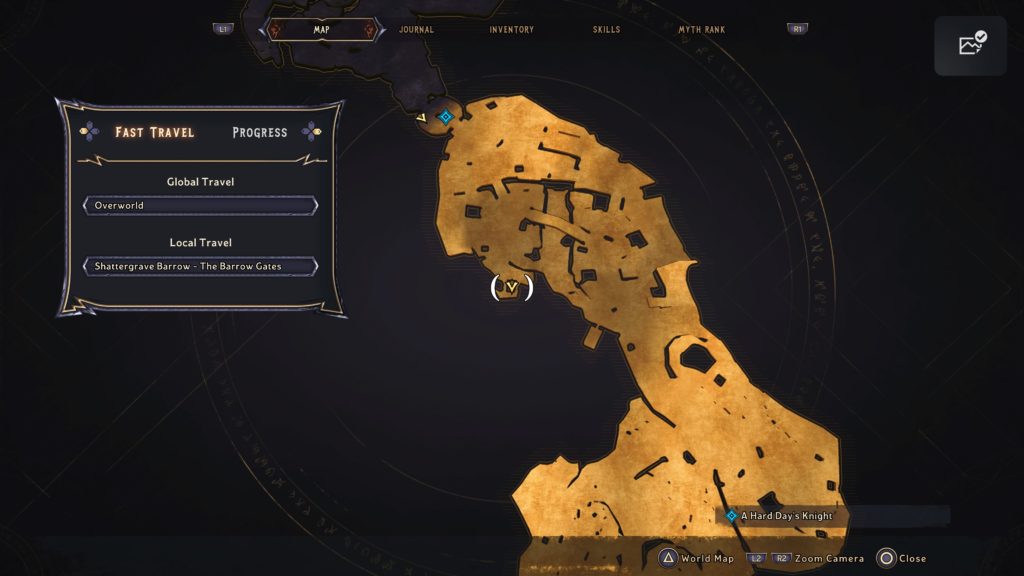
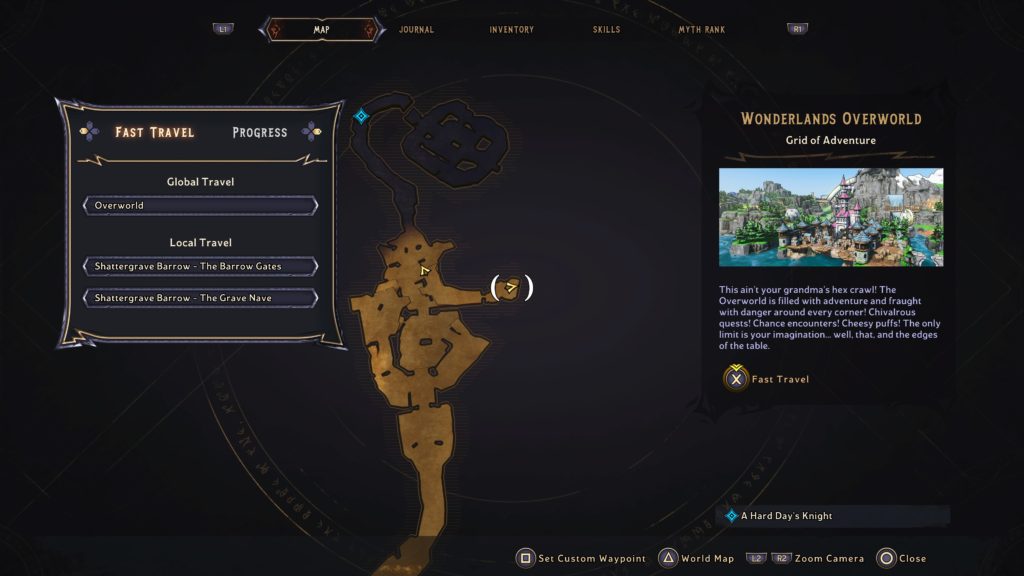
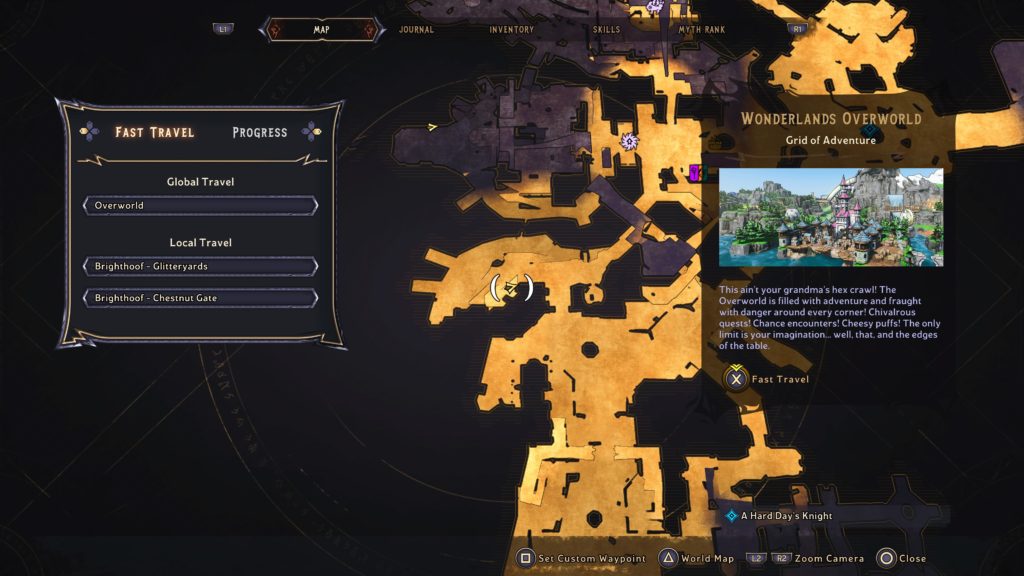
Below is a walkthrough for the Working Blueprint side quest in Tiny Tina’s Wonderlands. To obtain this quest, speak with Borpo near the Shattergrave Barrow map transition in Overworld after starting the Thy Bard, with a Vengeance main quest.
Go to cave
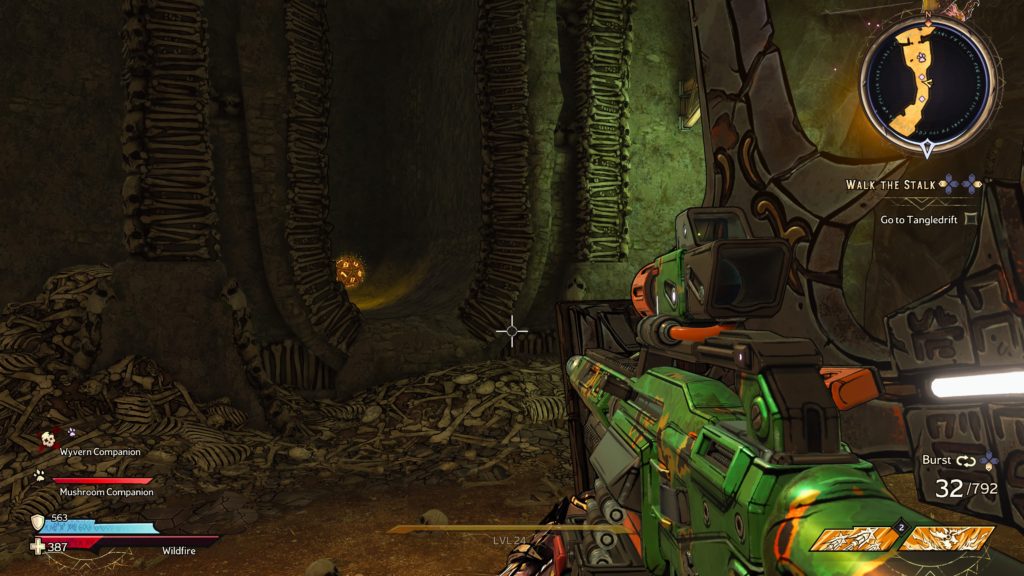
Travel to the cave east of the Shrine of Mooh Al and deal with the random encounters. There will be 2 total. Loot the blueprint from the chest that spawns after the second encounter completes.
Talk to Borpo
Return to Borpo and speak with him to complete the quest.
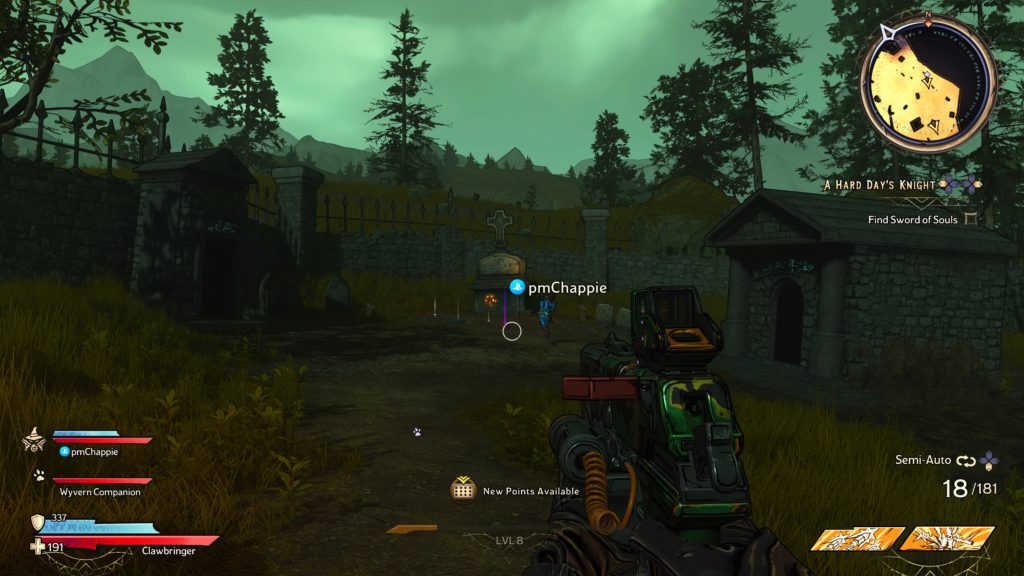
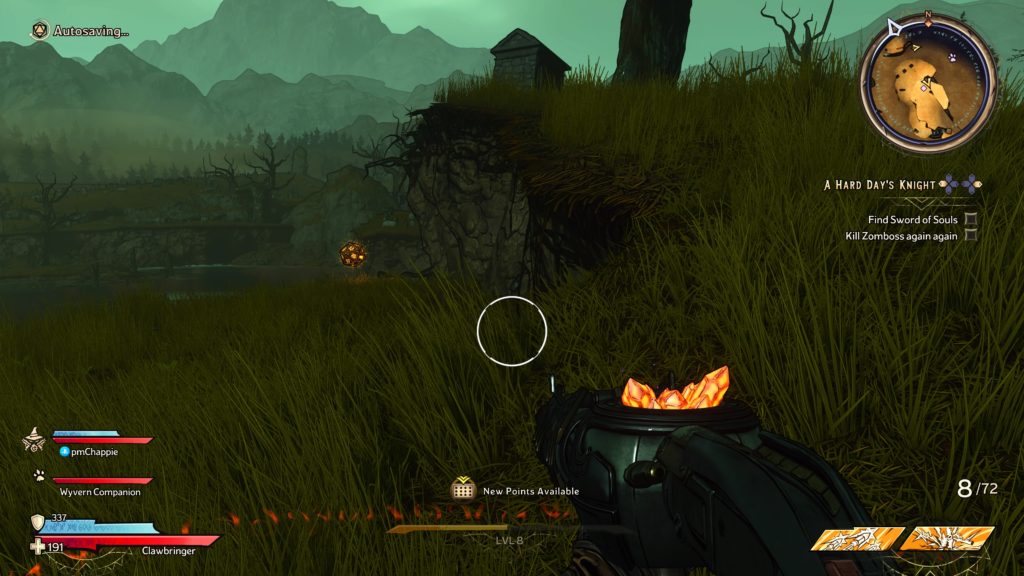
Below is a walkthrough for the Cheesy Pick-Up side quest in Tiny Tina’s Wonderlands. To obtain this quest, interact with the Cheeto near the Shattergrave Barrow map transition after starting the Thy Bard, with a Vengeance main quest.
Reach made up dungeon
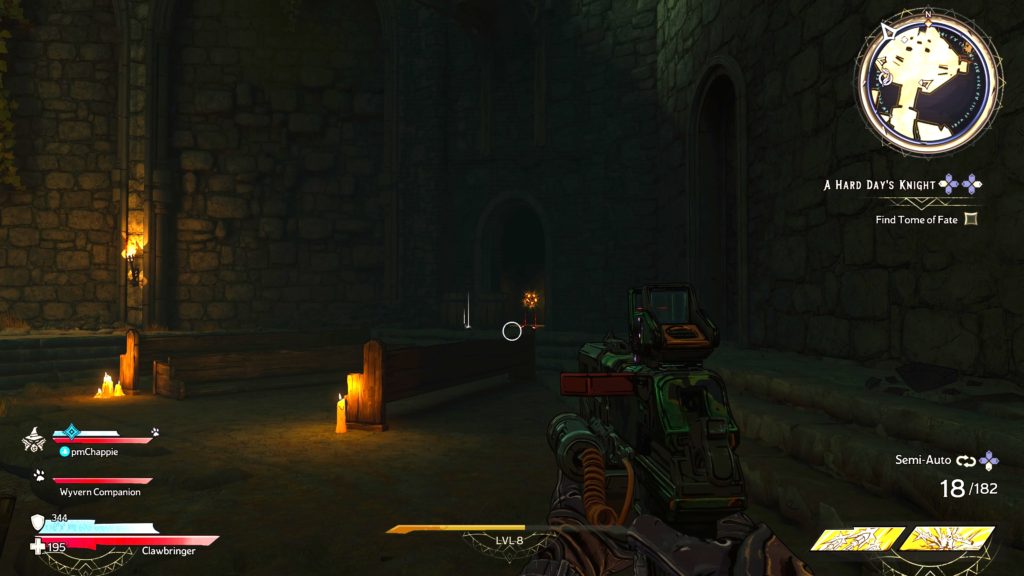
Head to the dungeon that appears across from the Cheeto after accepting the quest. Complete the 2 encounters. After defeating the second encounter, loot the chest to receive the Key then enter the portal.
Unlock the path
Head to the Cheeto and use the key to unlock the Cheeto. Afterwards, the quest will complete.
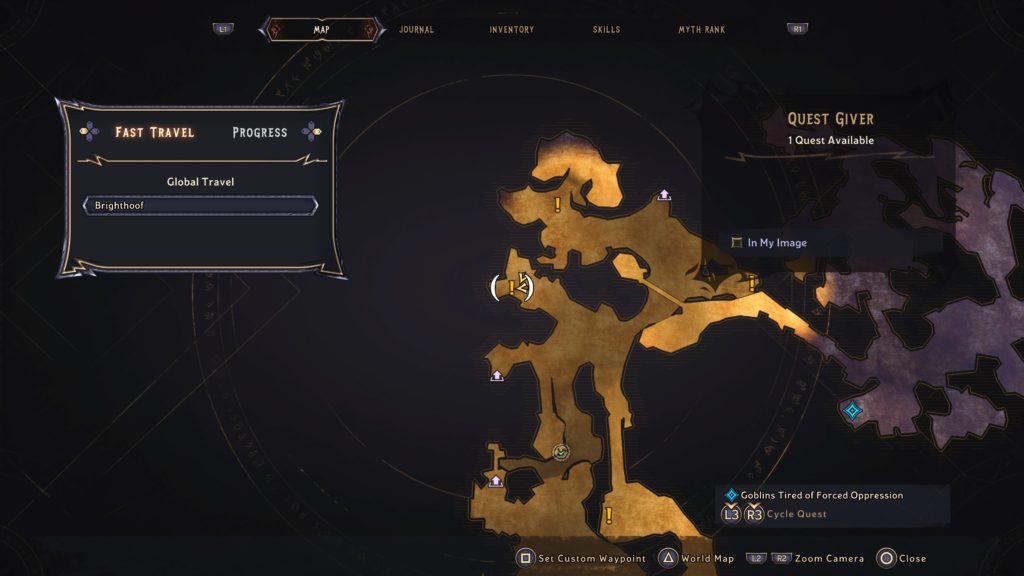
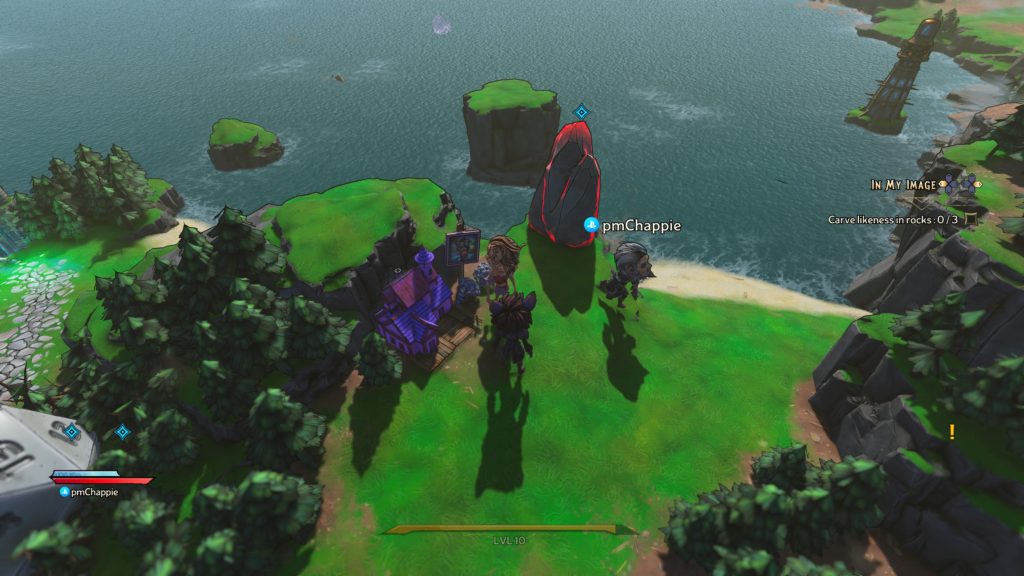
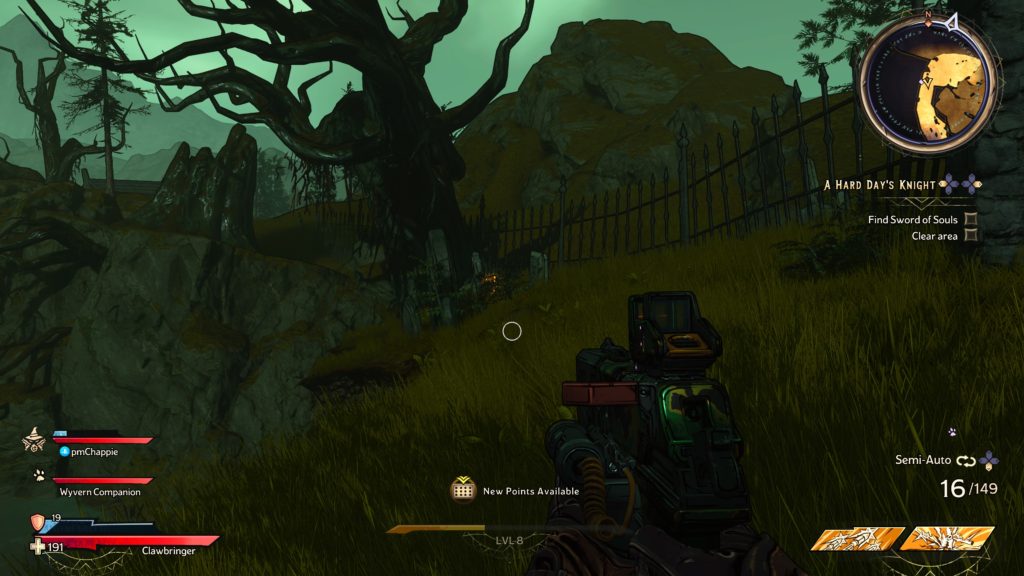
Below is a walkthrough for the In My Image side quest in Tiny Tina’s Wonderlands. To obtain this quest, speak with Belvedance in Overworld near Brighthoof after starting the Thy Bard, with a Vengeance main quest.
Carve likeness in 3 rocks
The first rock can be found next to her.
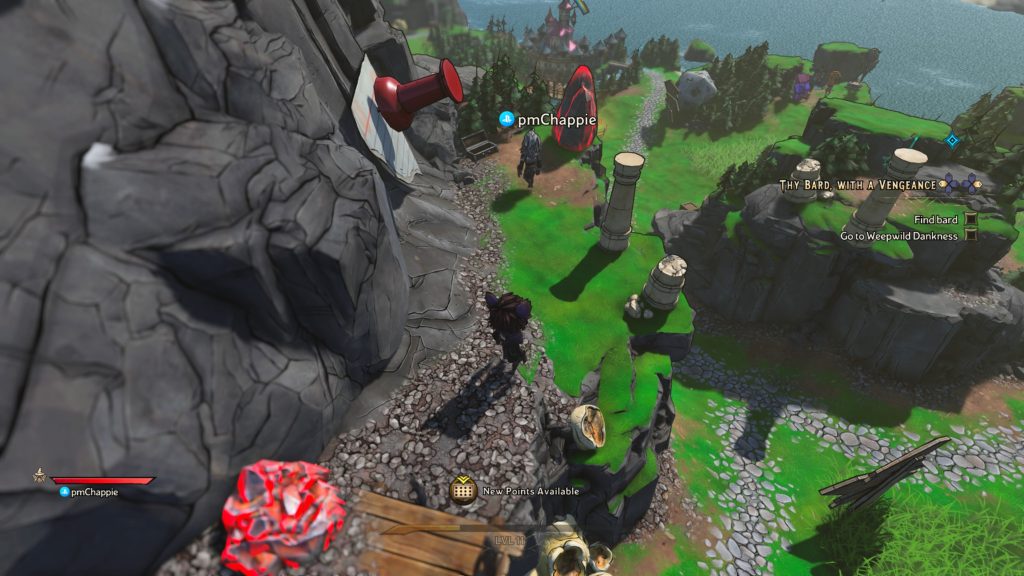
The second rock can be found on a ledge overlooking the Shrine of Mooh Al.
To reach the third rock, you’ll have to finish the Working Blueprint side quest in order for the rainbow bridge to be crafted. Head across the bridge and enter the snow portion of the map to find the third rock across a bridge.
Talk to Belvedance
Return to Belvedance and speak with her to complete the quest.
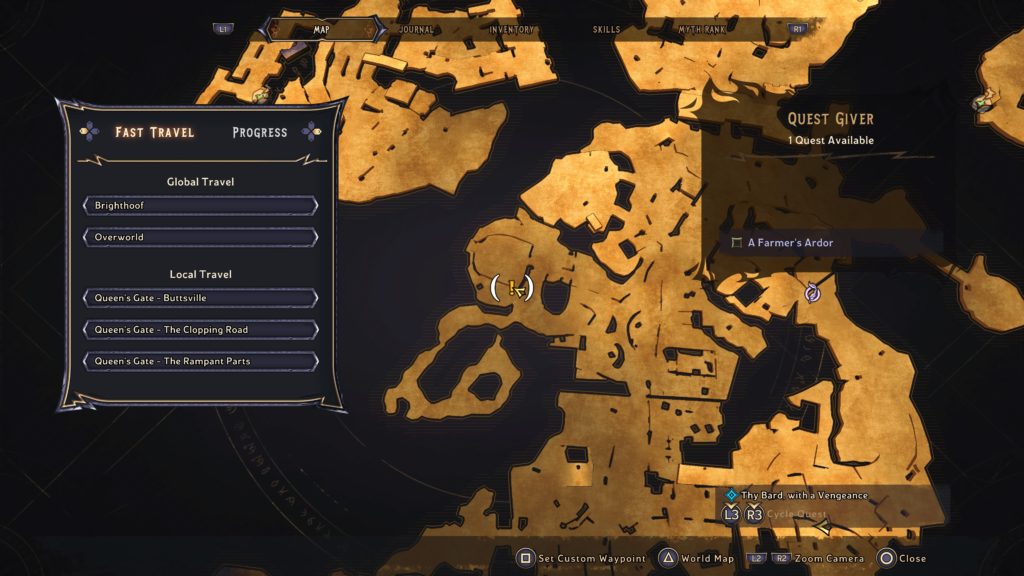
Below is a walkthrough for A Farmer’s Ardor side quest in Tiny Tina’s Wonderlands. To obtain this quest, you’ll have to first complete the Goblins in the Garden side quest. Afterwards, speak with Flora near the garden in Queen’s Gate.
Take Flowers
Grab the flowers from Flora.
Return to Alma
Interact with the skull by the front door of the building near Flora to cause Alma to come outside.
Give flowers
Hand over the flowers to Alma.
Find goblin loincloth
Head to the objective up the road to the northeast. When you reach the wooden crate, the objective will move to the small path to the west. Take the path and head over the wooden bridge and into the cave. Defeat the goblins on the other side. Pick up their loincloths until the objective updates.
Kill Grimble
Defeat Grimble the Stinkiest then retrieve his Dank Goblin Loincloth.
Give loincloth to Flora
Return to Flora near the garden and hand over the loincloth.
Watch Flora work
Follow Flora to the tank.
Obtain polka dot dye
Head north to the objective to reach the catapult and launch yourself to Honor’s Tower. Enter the tower and watch out for the lightning arrows shooting horizontally. When you reach their source on a wall, take a right. You’ll come to 2 jets of wind being blown out from the wall. Jump over the first (or wait for it to stop) then crouch under the second. Head inside the tower again and grab the Polka Dot Dye from the pedestal.
Give dye to Flora
Return to Flora and hand over the dye.
Collect 5 bard tongues
Head into the cave to the south and defeat the horde of Zombie Bards inside. If you haven’t been here already, you can get inside by meleeing the breakable part of the cliff wall.
Give tongues to Flora
Return to Flora and watch her work.
Return to Alma
Ring Alma’s doorbell and follow her to the garden.
Talk to Flora
Speak with Flora in the garden. Afterwards, the quest will complete.
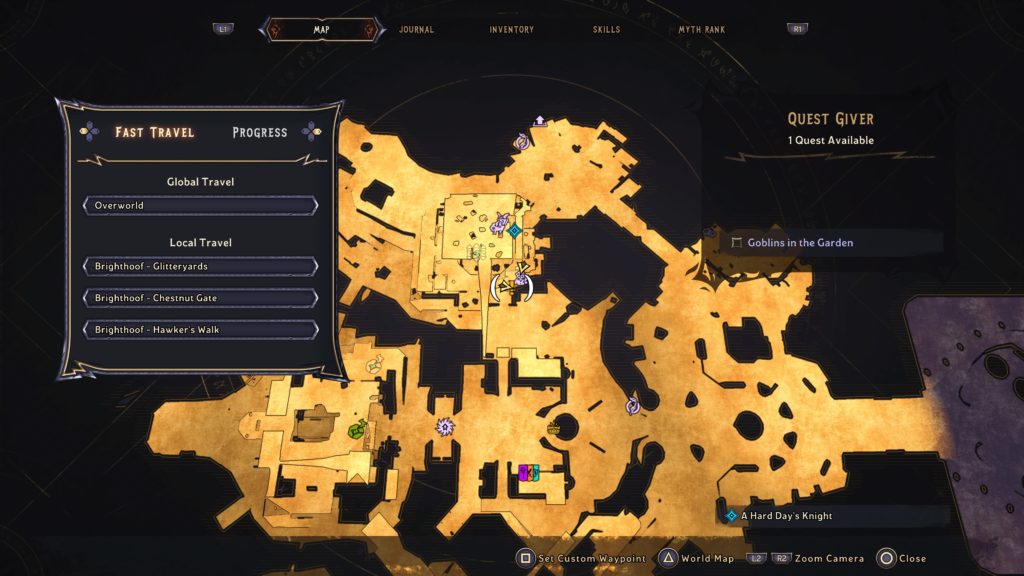
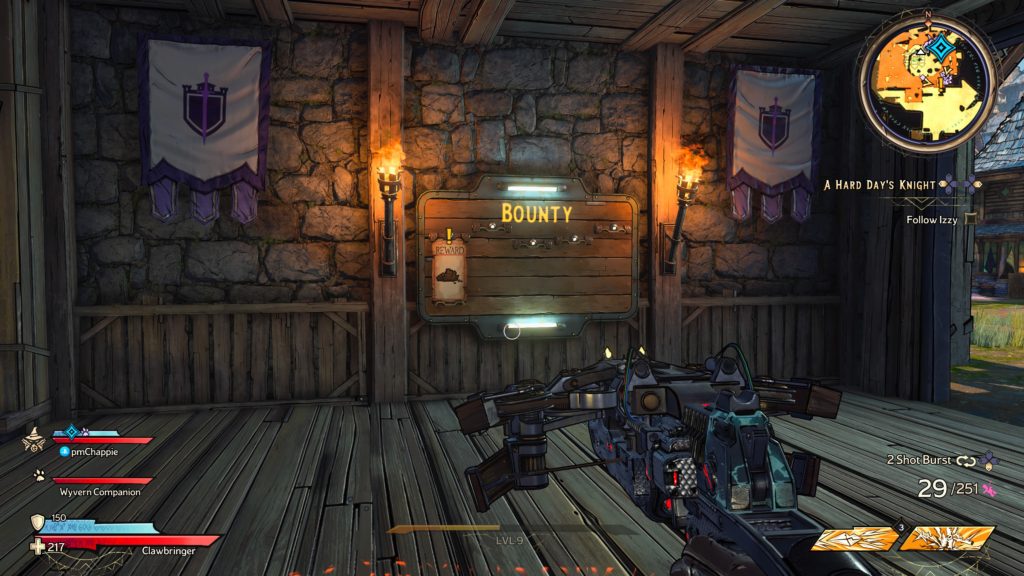
Below is a walkthrough for the Goblins in the Garden side quest in Tiny Tina’s Wonderlands. To obtain this quest, interact with the bounty board at Izzy’s Fizzies in Brighthoof.
Meet Alma in Queen’s Gate
Fast travel to Buttsville in Queen’s Gate then make your way to the objective in the west.
Kill goblins
Defeat the goblins in the nearby garden and collect their teeth for some fun dialog.
Talk to Alma
Return to Alma and speak with her.
Hand over teeth
Interact with Alma to hand over the teeth. Speaking with Alma will complete the quest!
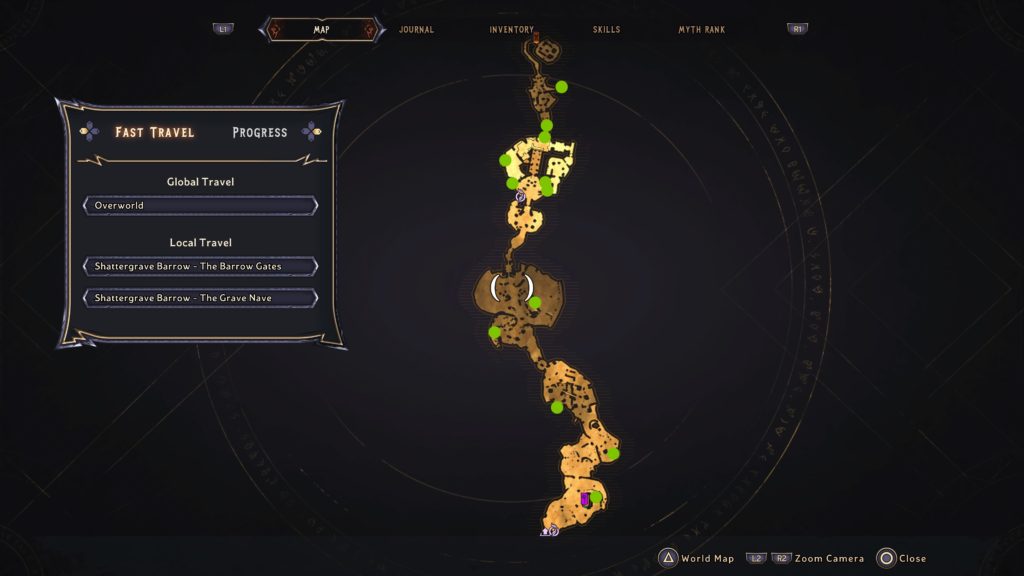
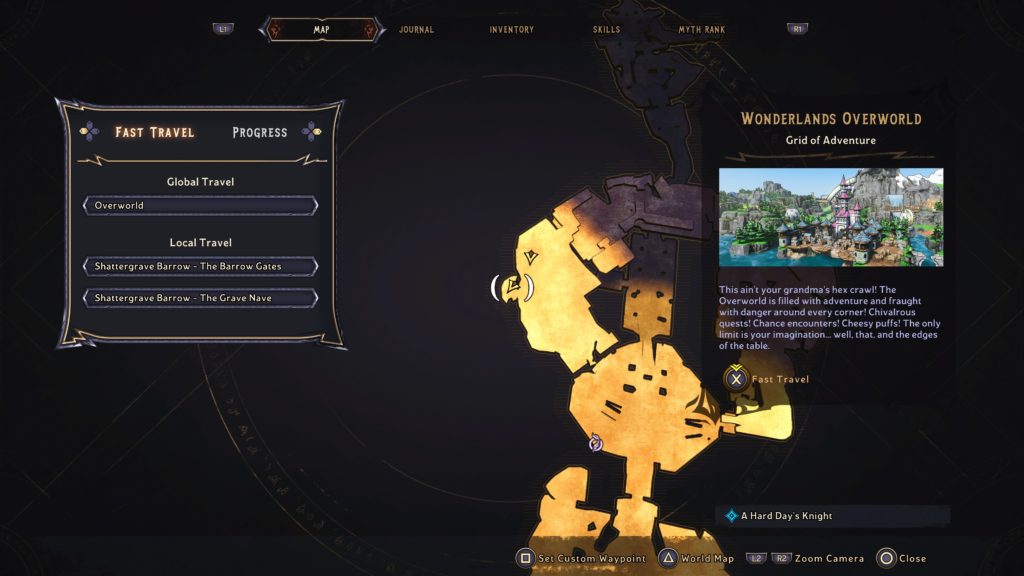
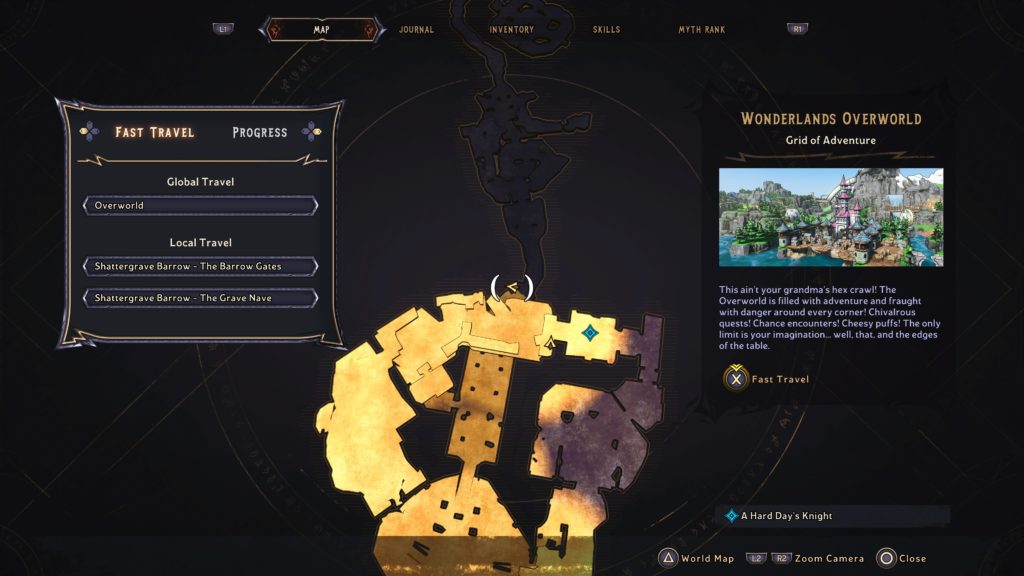
There are 12 total Lucky Dice that can be found at Shattergrave Barrow in Tiny Tina’s Wonderland. Below are the locations of these Lucky Dice. For a guide on all the collectibles in this area, click here!
Lucky Dice 1
This dice is located inside the house with the vending machines near the start of the area. To reach the room, hit the wall on the north side of the house next to the dice.
Lucky Dice 2
This dice can be found in the graveyard.
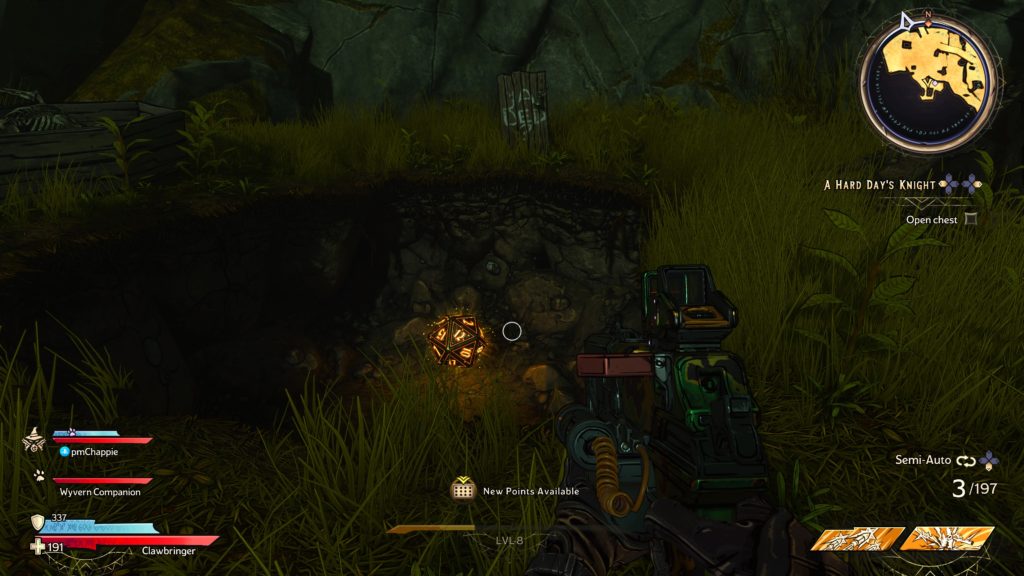
Lucky Dice 3
This dice can be found in an open grave on the western side of the Shattergrave Barrow – The Barrow Gates area.
Lucky Dice 4
After opening the chest in the mausoleum as part of the story, head through the mausoleum and make your way to the ledge on the west side to find this dice behind a tombstone.
Lucky Dice 5
This dice can be found on a hill in the middle of the Shattergrave Barrow.
Lucky Dice 6
This dice can be found along the outside of the western wall of the ruined church.
Lucky Dice 7
This dice can be found in a side room on the eastern side of the church.
Lucky Dice 8
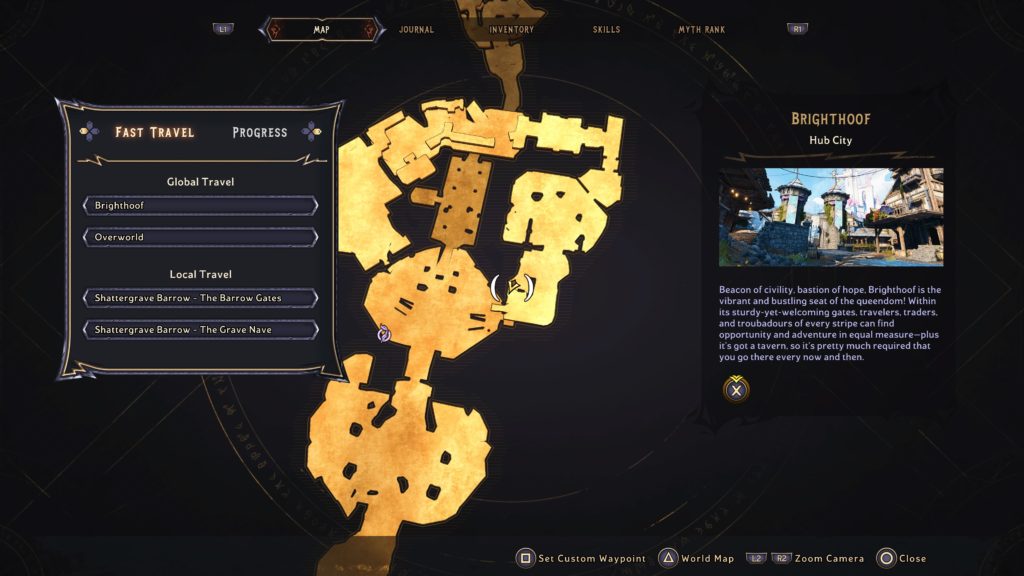
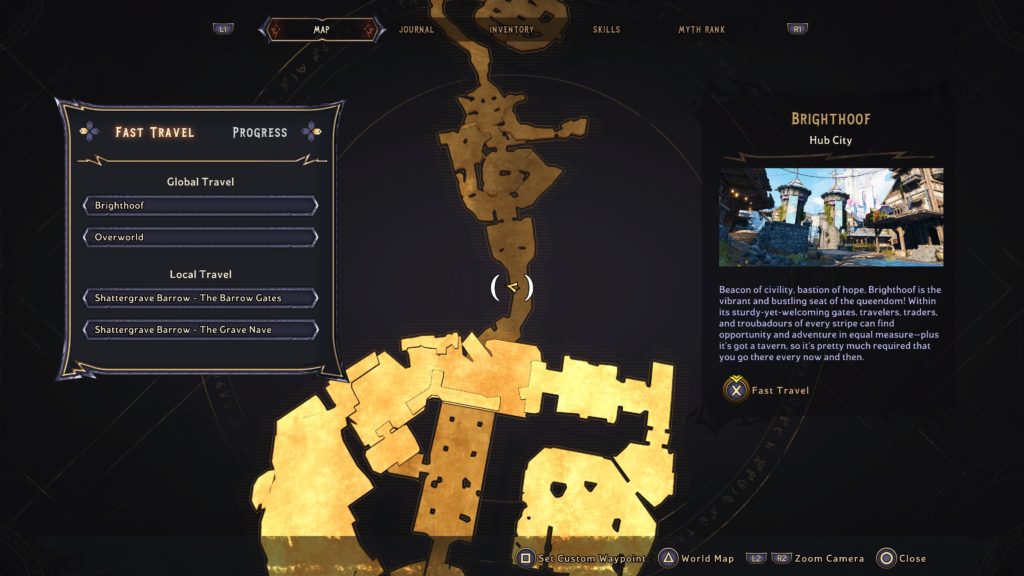
This dice can be found on a small ledge beneath a chest northwest of the Shattergrave Barrow – The Grave Nave fast travel point.
Lucky Dice 9
This dice can be found on a high platform. In the room with the crab spiders, you’ll have to jump along the edges of the room to proceed forward. Instead of heading to the next area, turn around and look up to your right to find the dice.
Lucky Dice 10
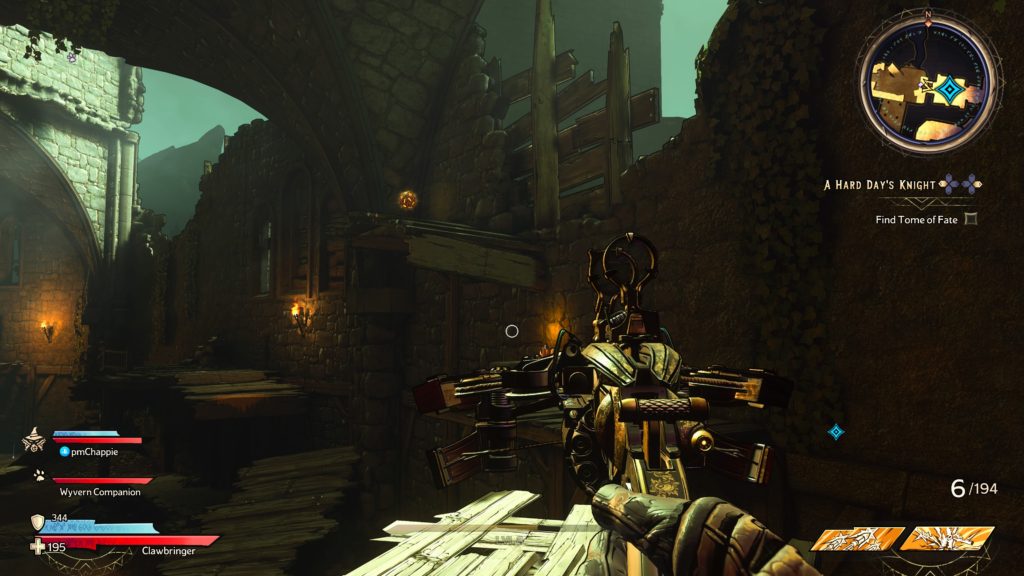
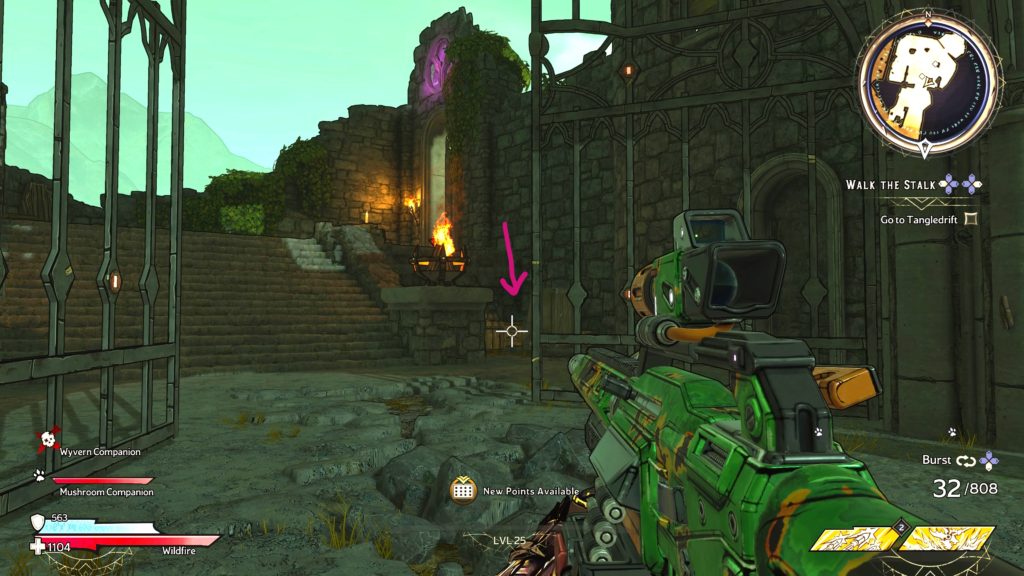
From the above dice, continue following the path until you reach a set of stone stairs leading up to a building with a purple emblem above the door. The dice will be found on the right side of the stairs behind some barrels.
Lucky Dice 11
This dice can be found in the room with the swinging axe. It is actually located in the nook the axe swings into.
Lucky Dice 12
This dice can be found in a side room on the east side after dropping down into the area below just after an altar.
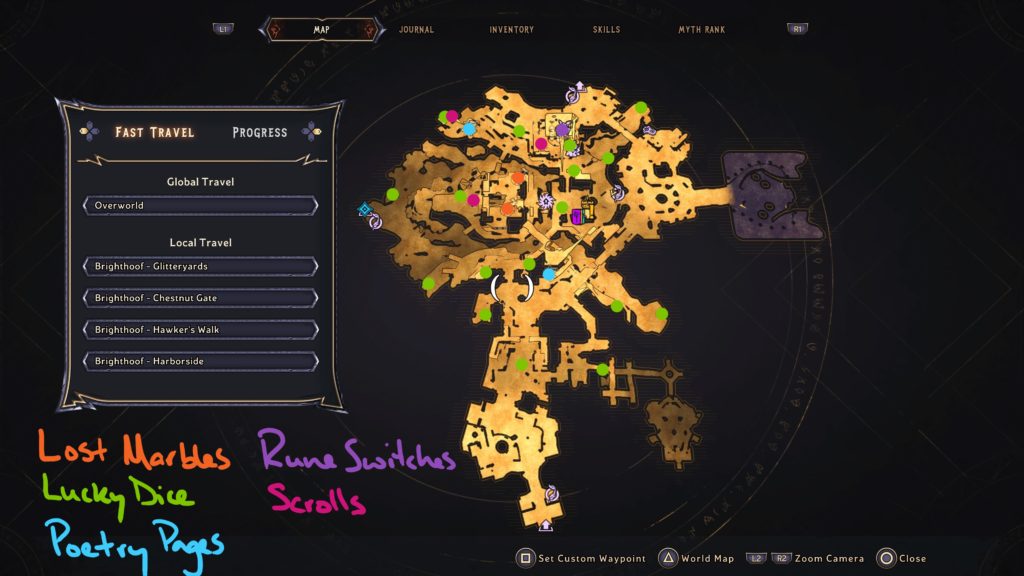
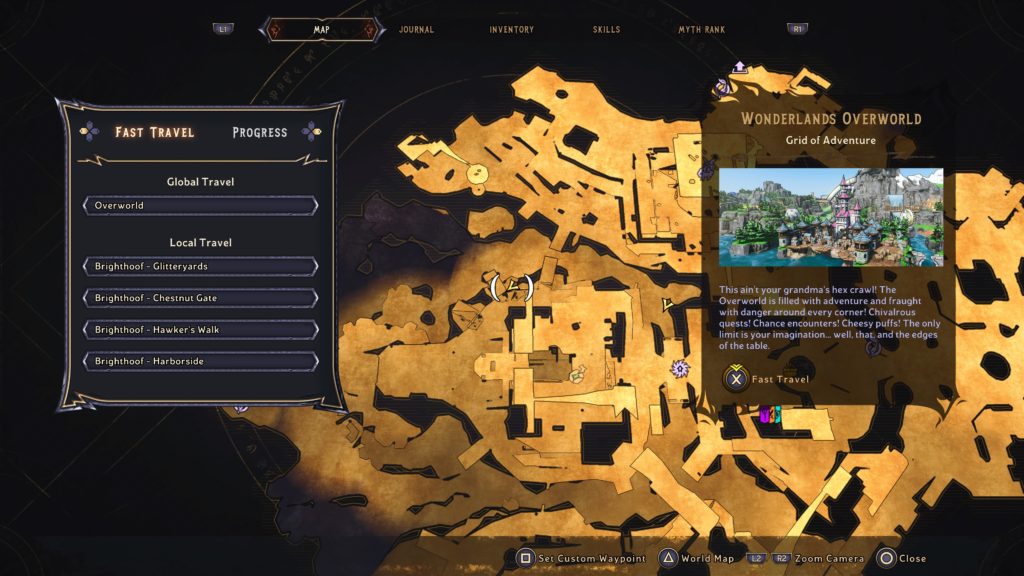
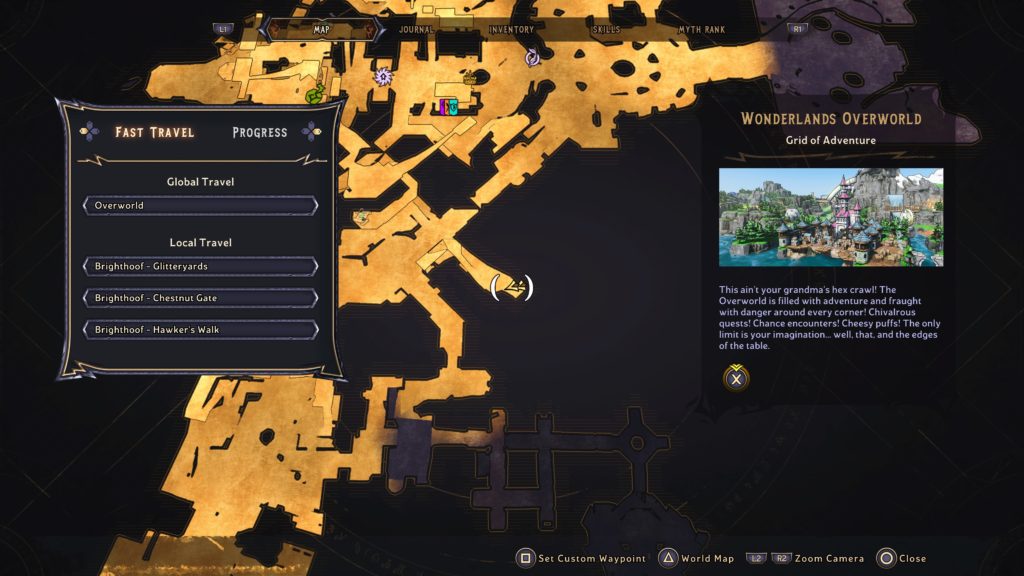
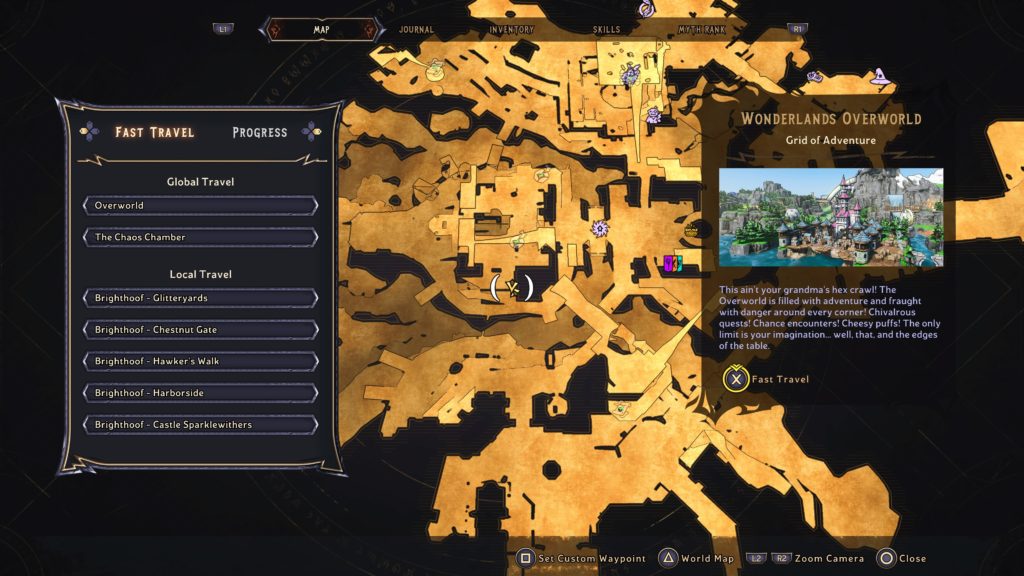
Below are the collectibles and campaign challenges found at Brighthoof in Tiny Tina’s Wonderlands. Please note this guide is a work in progress. As we find more, we’ll add them!
Lost Marbles: 2
Lucky Dice: 20
Poetry Pages: 2
Rune Switches: 1
Scrolls: 3
Lost Marbles
Lost Marble 1
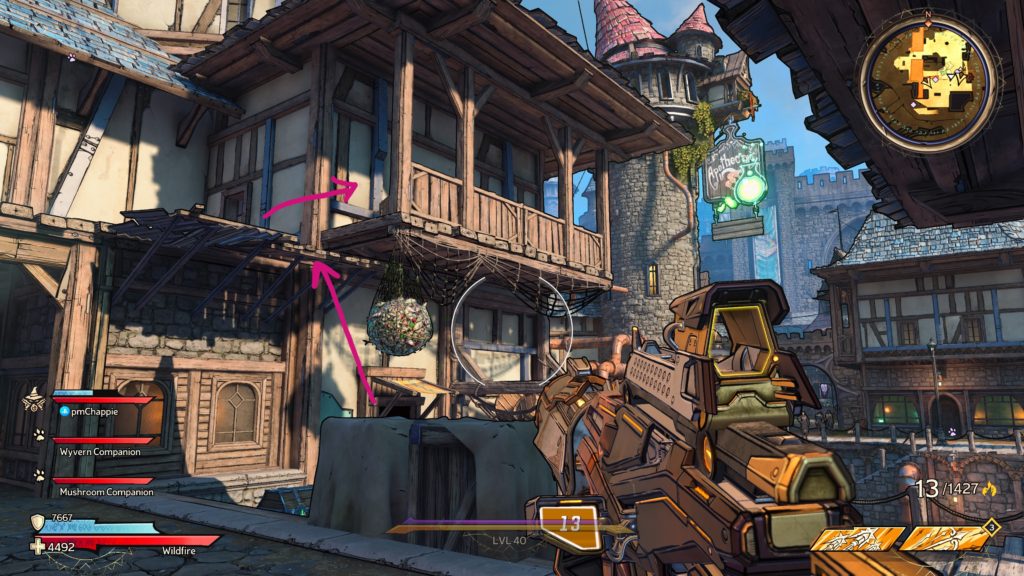
To reach this marble hanging in a rope net, make your way to the second level of Izzy’s Fizzies then head out to a balcony to find a wooden plank. From the plank, jump to the adjacent roof. From there, you’ll be able to jump onto the marble.
Lost Marble 2
This marble can be found after blowing up the ocean as part of the story. Head to the large building directly east of the portal then take the stairs next to the portal to go underneath the stone archway where you’ll find a hole in the grate.
Enter the hole and slide down the take the ladder up to find the marble. To get out of this area, pull the lever near the gate.
Lucky Dice
For a guide on the Lucky Dice found at Brighthoof, click here!
Poetry Pages
Poetry Page 1
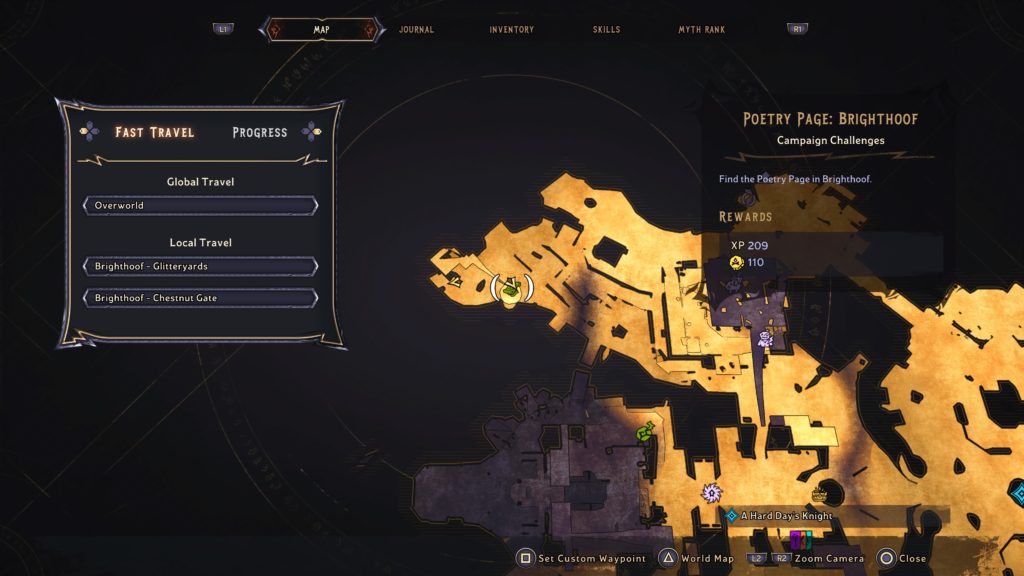
This poetry page can be found after defeating the Shattergrave Barrow boss and being teleported back to Brighthoof. It’s located on a balcony south of the vending machines south of Brighthoof – Chestnut Gate.
Poetry Page 2
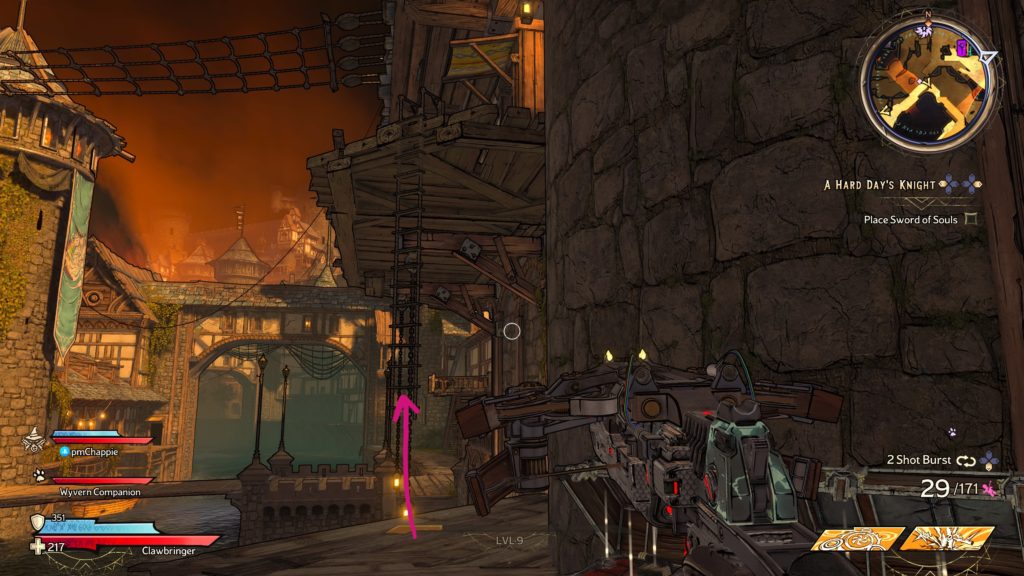
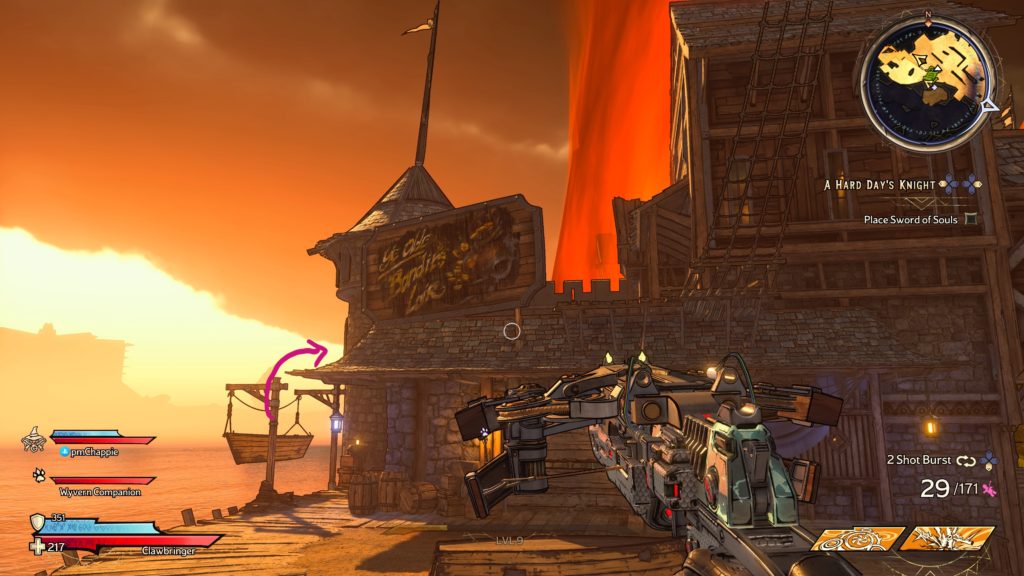
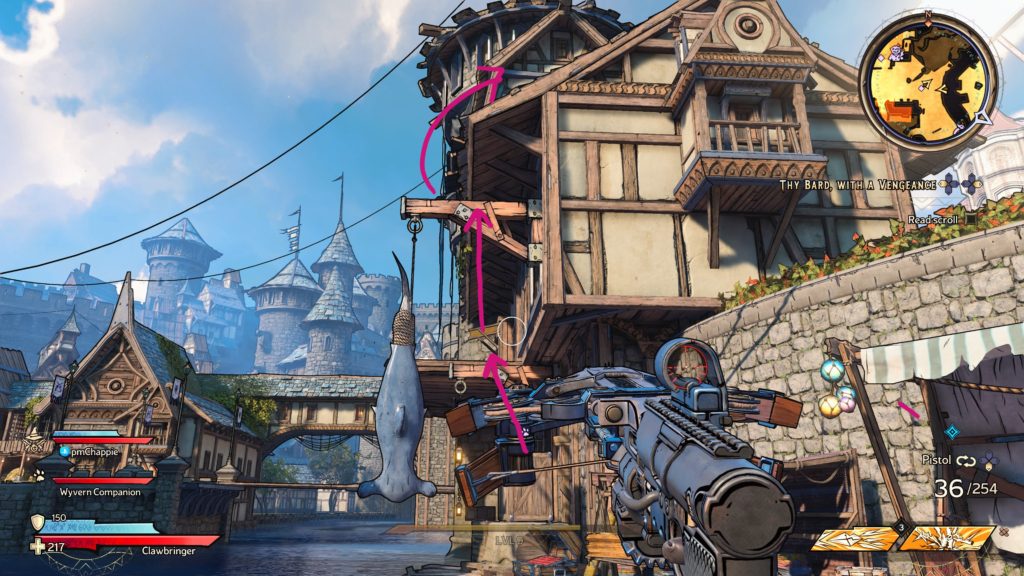
This poetry page can be found directly west of the Brighthoof – Chestnut Gate on the mast of a ship. To reach it, head to the small boat suspended in the air to the west of the building then jump to the roof of the building.
From there, walk across the rope bridge to reach the mast!
Rune Switches
Rune Switch: Brighthoof
This rune switch can be found on the roof of Izzy’s Fizzies.
Scrolls
Is He?
This scroll can be found on the second level of Izzy’s Fizzies in a small room.
Submission Denied
This scroll can be found on the captain’s desk on the second level of the large building directly west of the vending machines south of Brighthoof – Chestnut Gate.
The Yumming
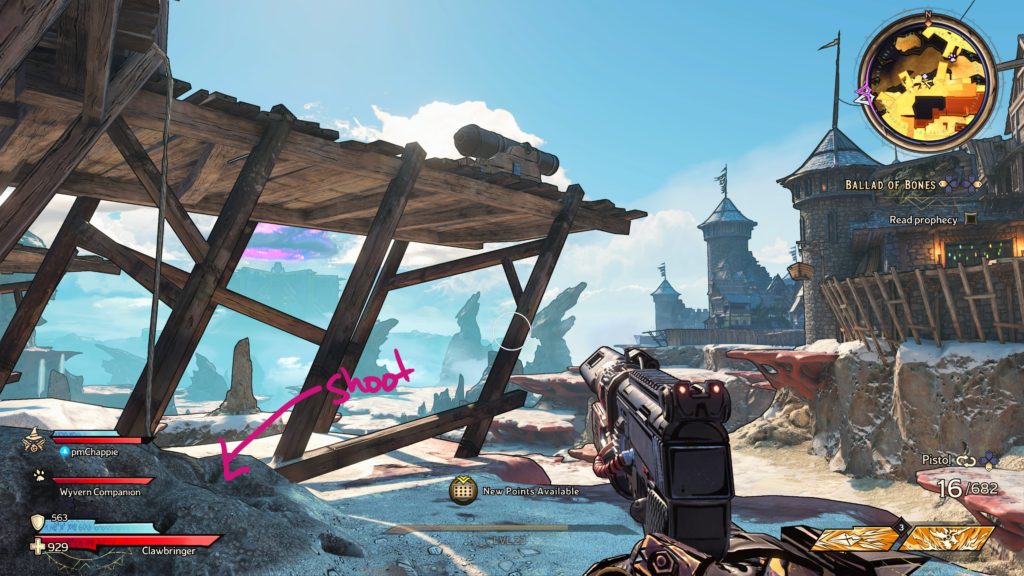
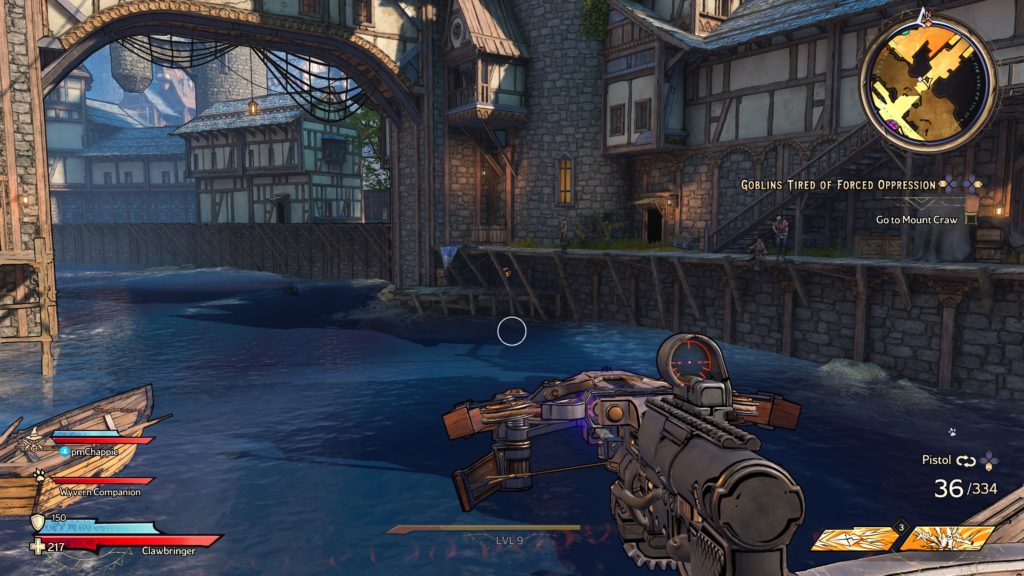
After blowing up the ocean as part of the story, look for a little barrel in the sand with rope coming out of it leading up to the deck above where it’s attached to a cannon.
Shoot the barrel to cause the cannon to fire, opening a room across the way. Head on over to this room and defeat the Brigands then claim the scroll.
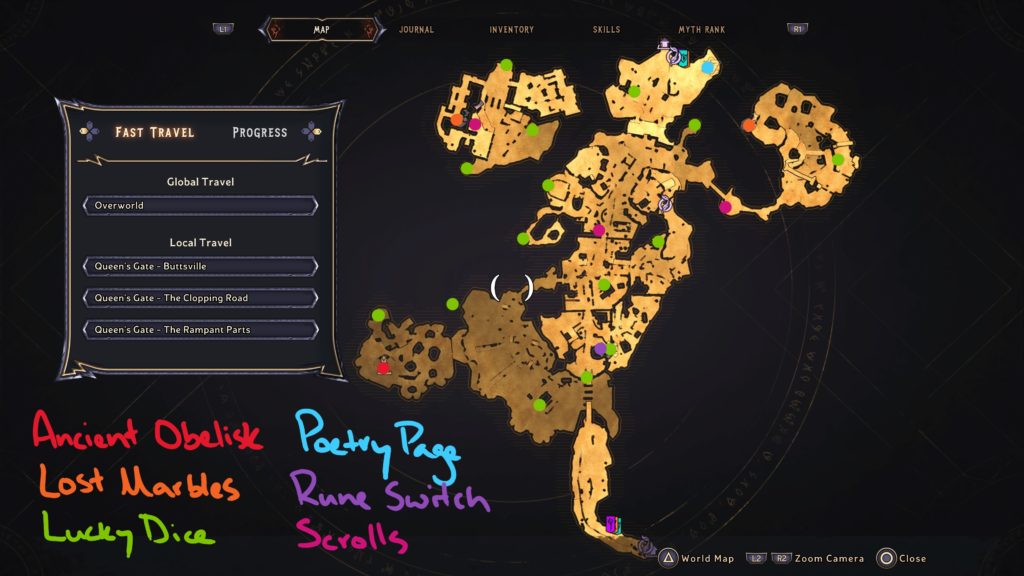
Below are the collectibles and campaign challenges found at the Queen’s Gate in Tiny Tina’s Wonderlands. Please note that this guide is a work in progress. As we find more items, we’ll add them!
Ancient Obelisk:1
Lost Marble: 2
Lucky Dice: 15
Poetry Page: 1
Rune Switch: 1
Scrolls: 3
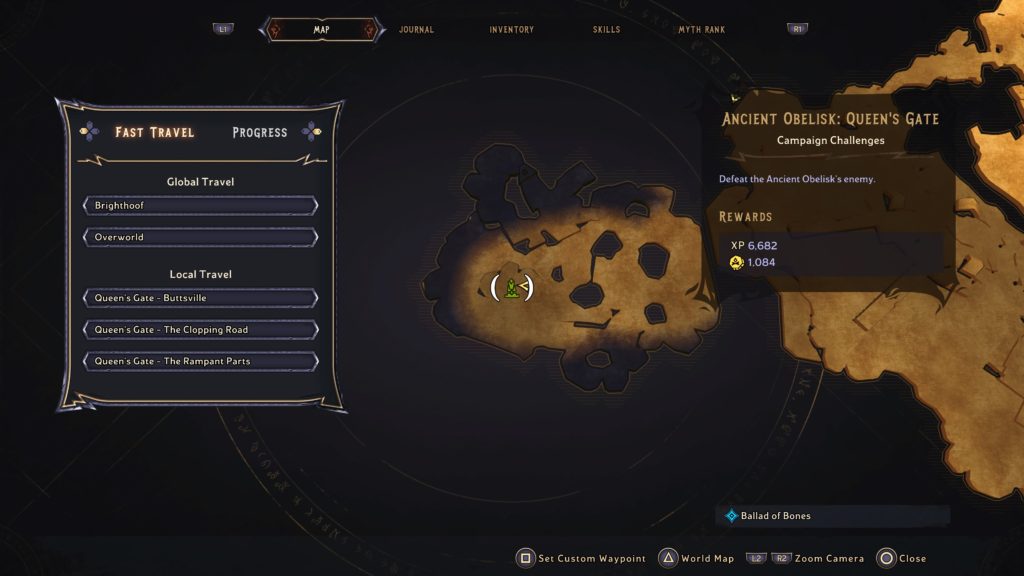
Ancient Obelisk
Ancient Obelisk: Queen’s Gate
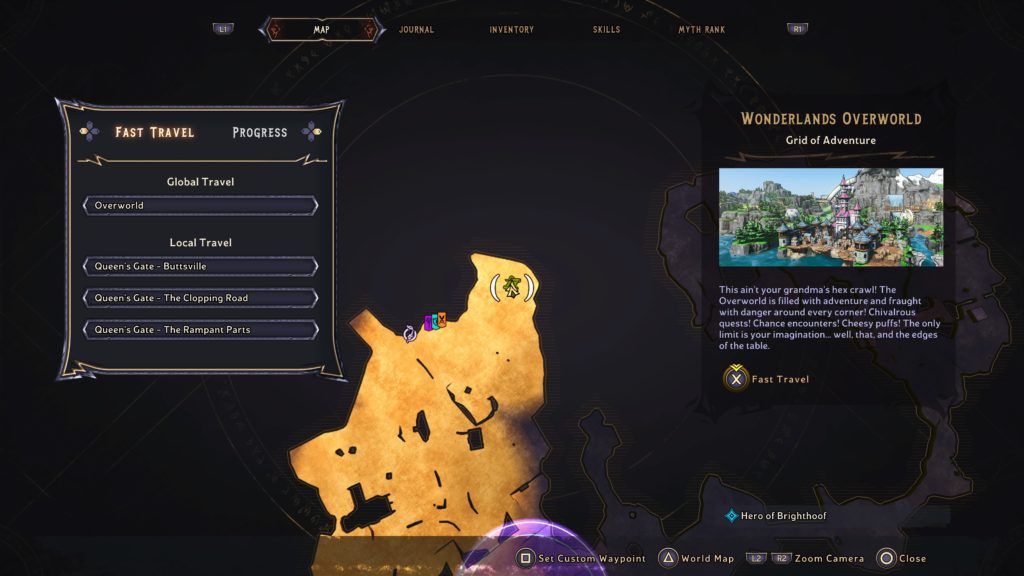
After blowing up the ocean as part of the story, this obelisk can be found on the western side of the map in the newly exposed seafloor.
Lost Marbles
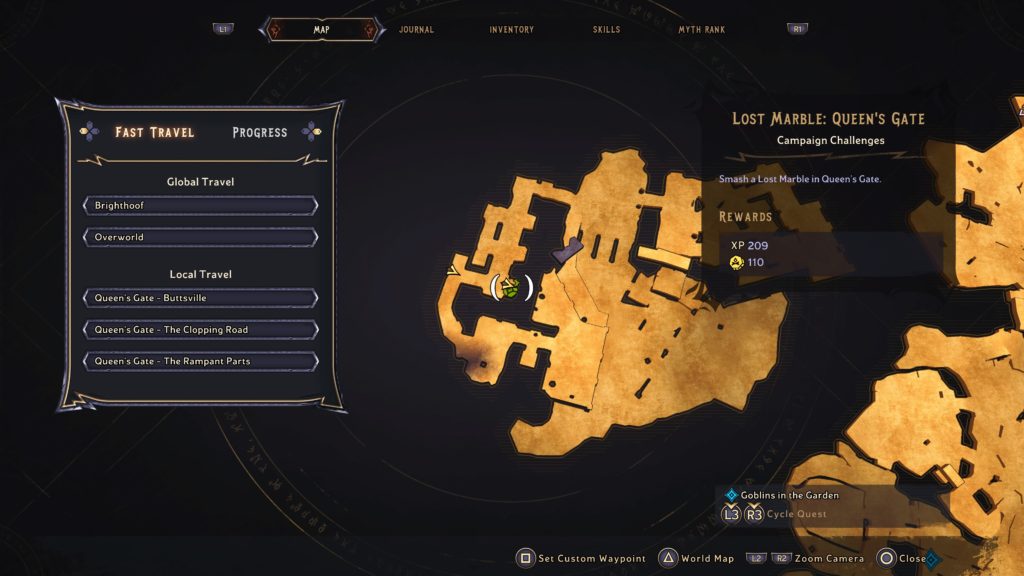
Lost Marble: Queen’s Gate 1
The marble can be found next to a broken tower in the area east of the Queen’s Gate – The Rampant Ramparts.
Lost Marble: Queen’s Gate 2
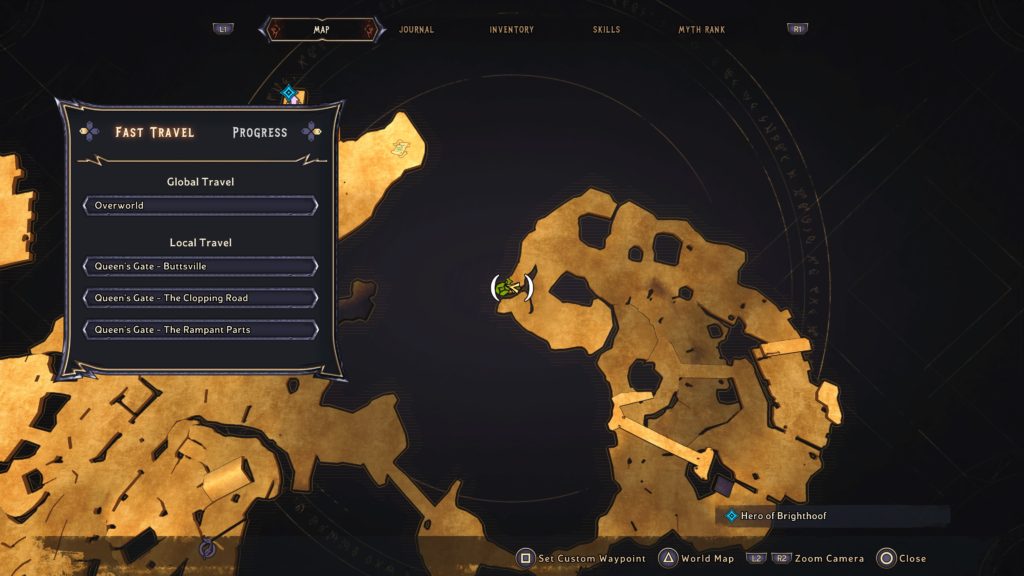
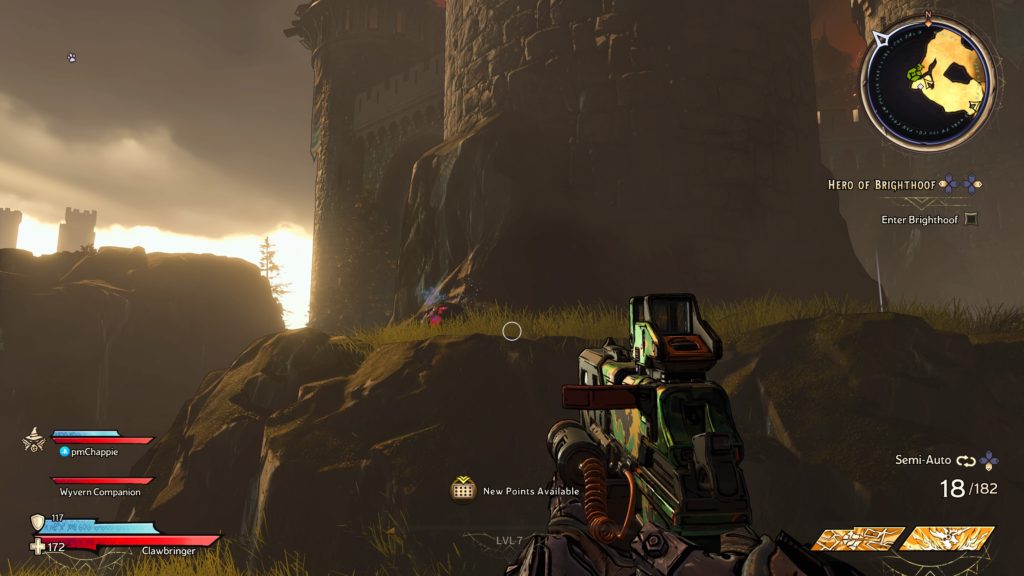
This marble is accessible after completing the Hero of Brighthoof main quest. The castle gate to the far northwestern part of the area will now be open. Head inside to find the marble next to a trap.
Lucky Dice
For a guide on all the Lucky Dice found at Queen’s Gate, click here!
Poetry Page
Poetry Page 1
This poetry page can be found on a wooden crate next to a siege tower just north of the vending machines near Queen’s Gate l- The Rampant Parts fast travel point.
Rune Switch
Rune Switch: Queen’s Gate
To reach this puzzle, jump onto the wooden cart and use it to reach the roof of a building. From there, jump to the roof of the building containing the puzzle.
Once you’re ready, start the race! You’ll have to run to all the 3 runes with green beacons shooting out the top of them before time runs out to complete the challenge.
Scrolls
Rebellions are Hard Work
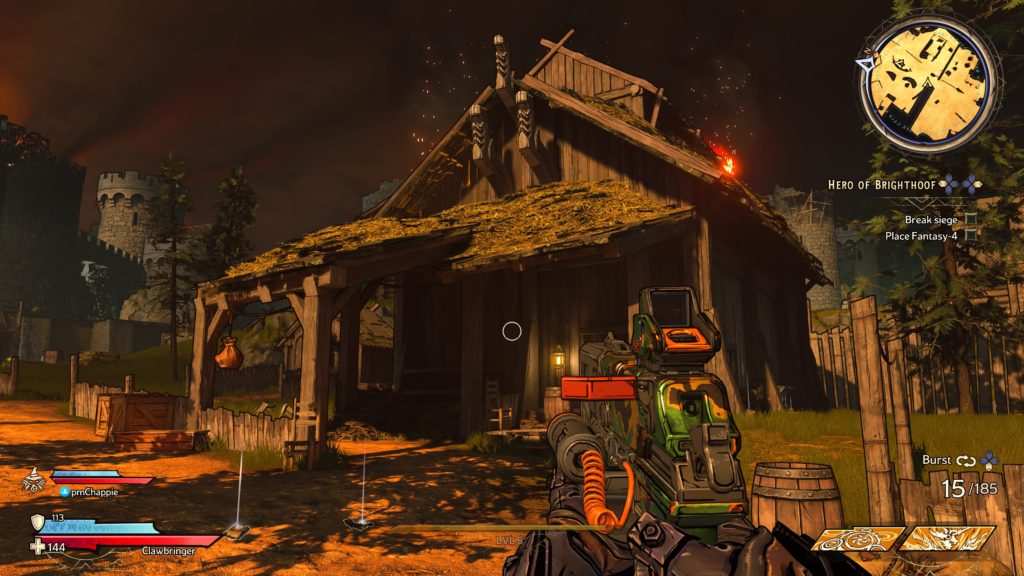
This scroll can be found in a building on fire slightly southwest of the Queen’s Gate – Buttsville fast travel point.
Thief Thoughts
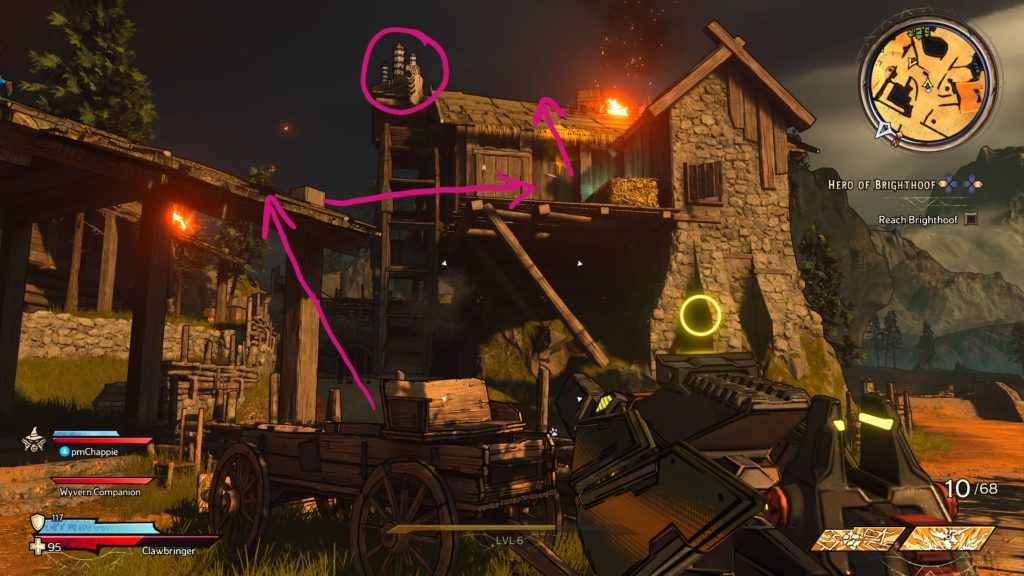
This scroll can be found after you catapult across the expanse in the Queen’s Gate using the catapult. It’ll be located on the higher level of the castle near a fire.
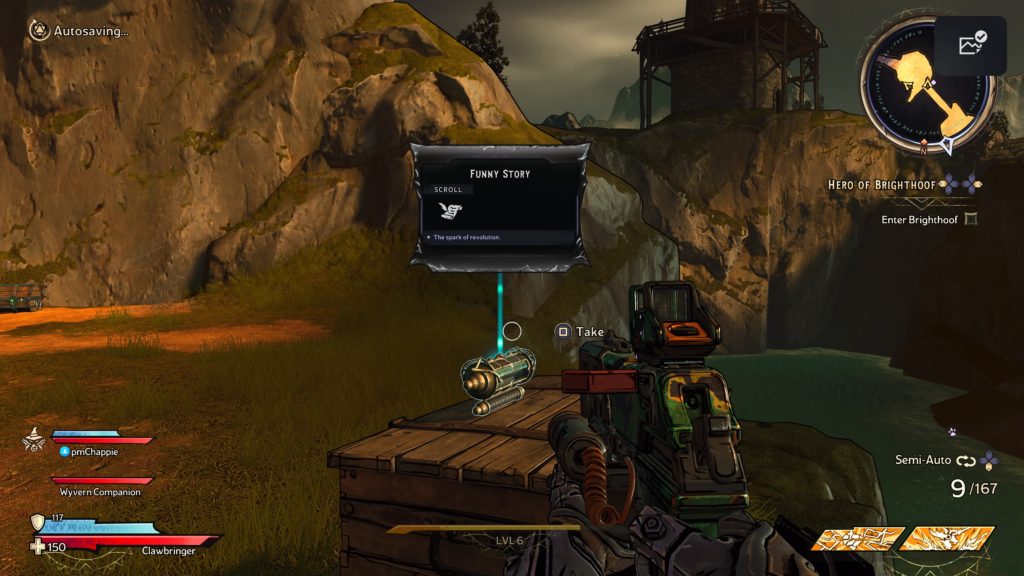
Funny Story
This scroll can be found west of the Queen’s Gate – Butt’s Ville fast travel point. To reach it, head to the Queen’s Gate – The Rampant Parts fast travel point then proceed under the wall with cannons above it. Swing left then head across the wooden bridge to find the scroll on a wooden crate.
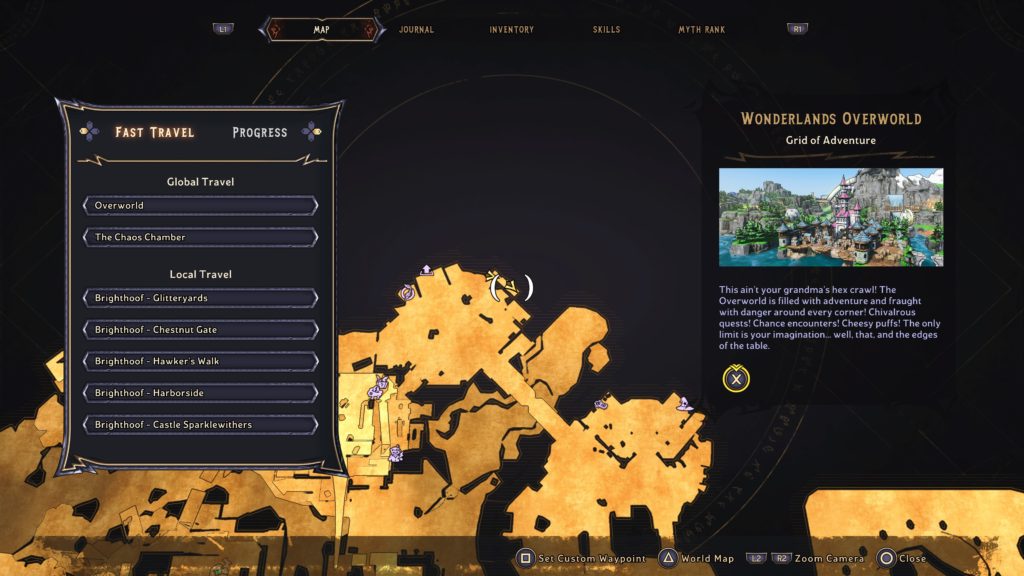
There are 20 total Lucky Dice that can be found at Brighthoof in Tiny Tina’s Wonderland. Below are the locations of these Lucky Dice. For a guide on all the collectibles in this area, click here!
Lucky Dice 1
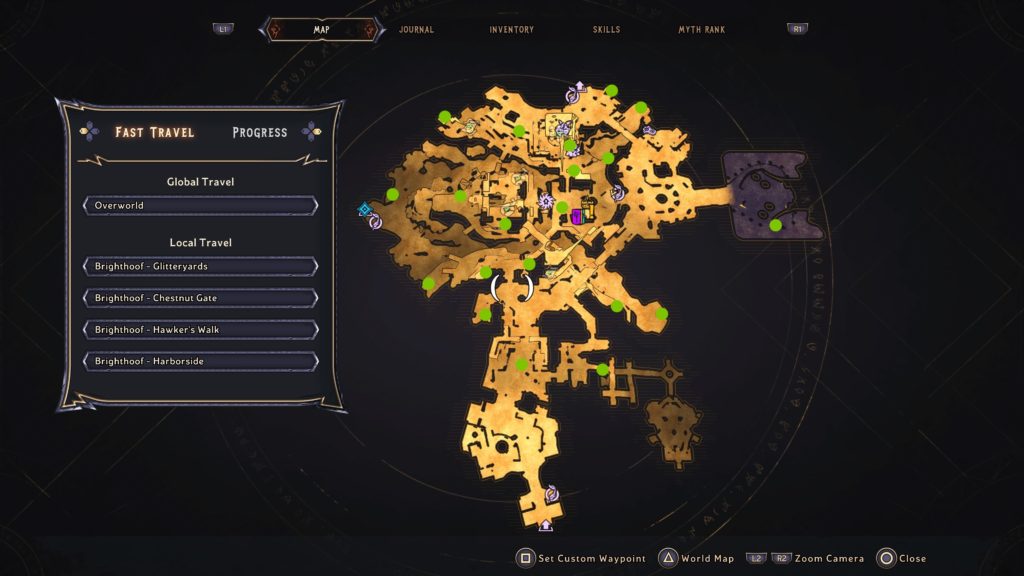
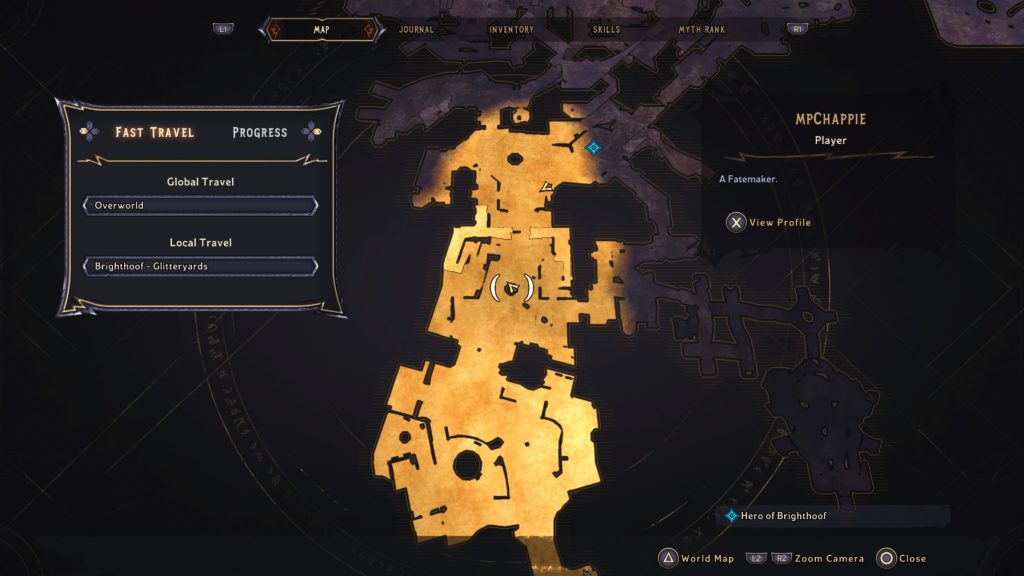
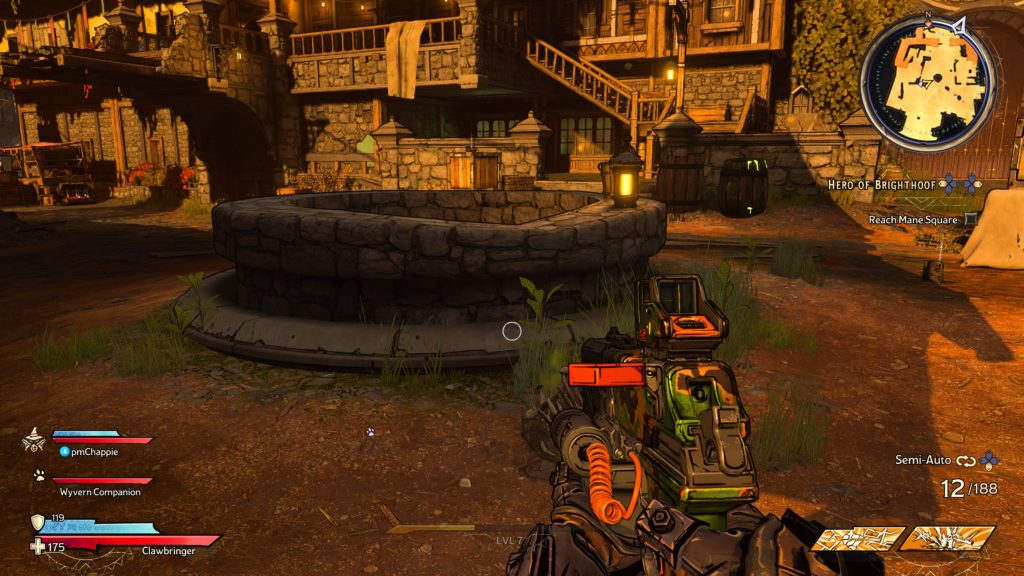
This dice can be found in a shallow well north of the Brighthoof – Glitteryards fast travel point.
Lucky Dice 2
This dice can be found in an overhang behind some crates down the alleyway south of the well nearest the drawbridge.
Lucky Dice 3
This dice can be found after defeating the Shattergrave Barrow boss and being teleported back to Brighthoof. It’s located on a 2nd floor balcony on the central western side of Brighthoof.
Lucky Dice 4
This dice can be found on a pipe atop a roof just east of the previous dice. You’ll have to climb up some crates to reach a red cloth roof then jump to the roof containing the pipe. To get to the dice we went to the left side of the pipe on the roof to jump over it.
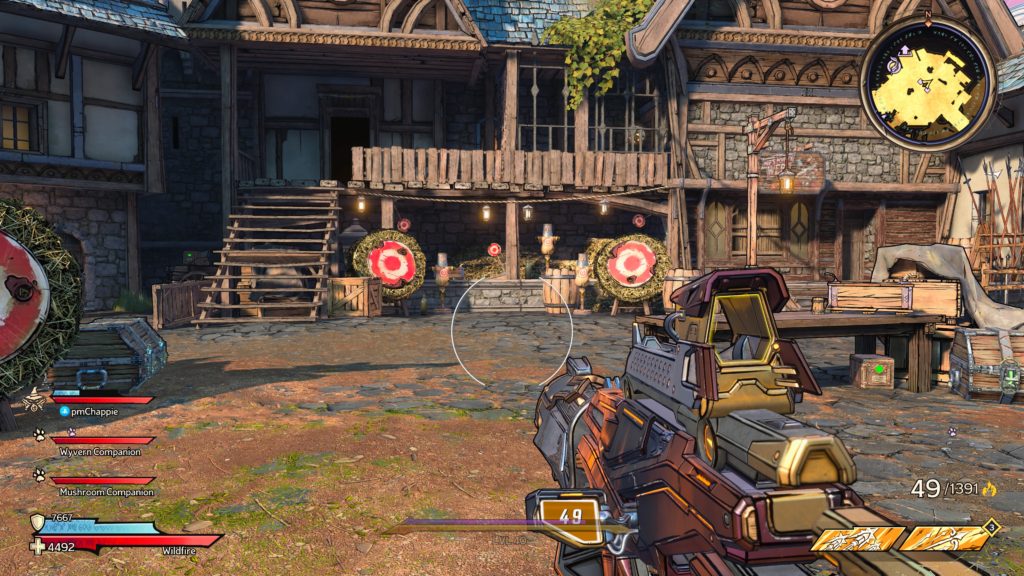
Lucky Dice 5
This dice can be found behind a cage above the target shop just east of the Chestnut Gate fast travel point. Shoot the 3 little targets to open the gate.
Lucky Dice 6
This dice can be found behind some wooden crates slightly southwest of the Brighthoof – Chestnut Gate fast travel point.
Lucky Dice 7
This dice can be found on the second level of Izzy’s Fizzies behind a set of stairs.
Lucky Dice 8
This dice can be found on the wooden beam jutting out from the roof of the large building with a large captain’s desk directly west of the vending machines in the central part of Brighthoof.
Lucky Dice 9
This dice can be found on a roof slightly west of the central vending machines.
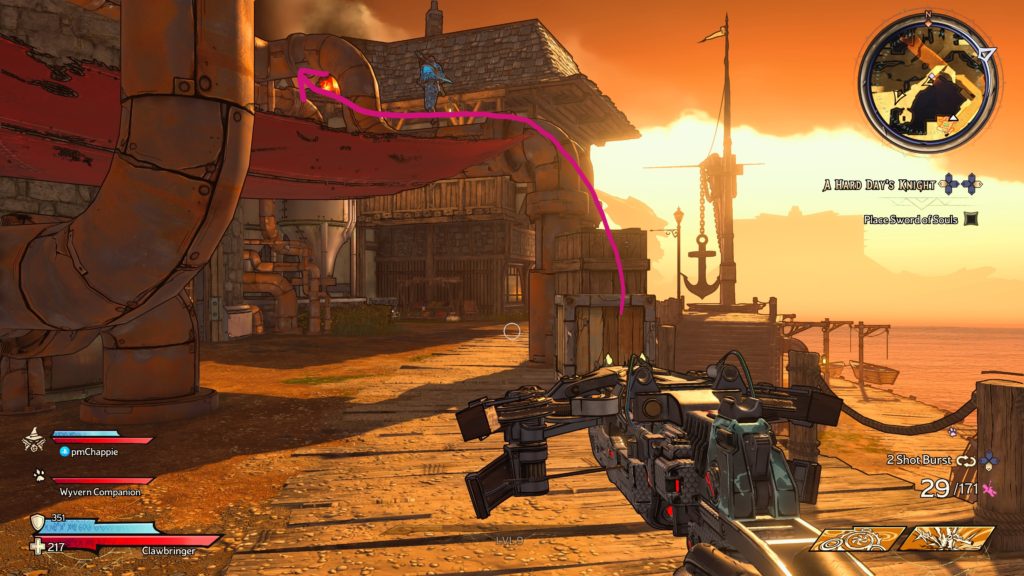
Lucky Dice 10
This dice can be found on a roof. To reach it, use the crates to jump to the second floor balcony. Turn around and jump to the wooden beam supporting the shark. Next, jump on the roof to reach the dice!
Lucky Dice 11
This dice can be found on a wooden platform on the water south of the central vending machines.
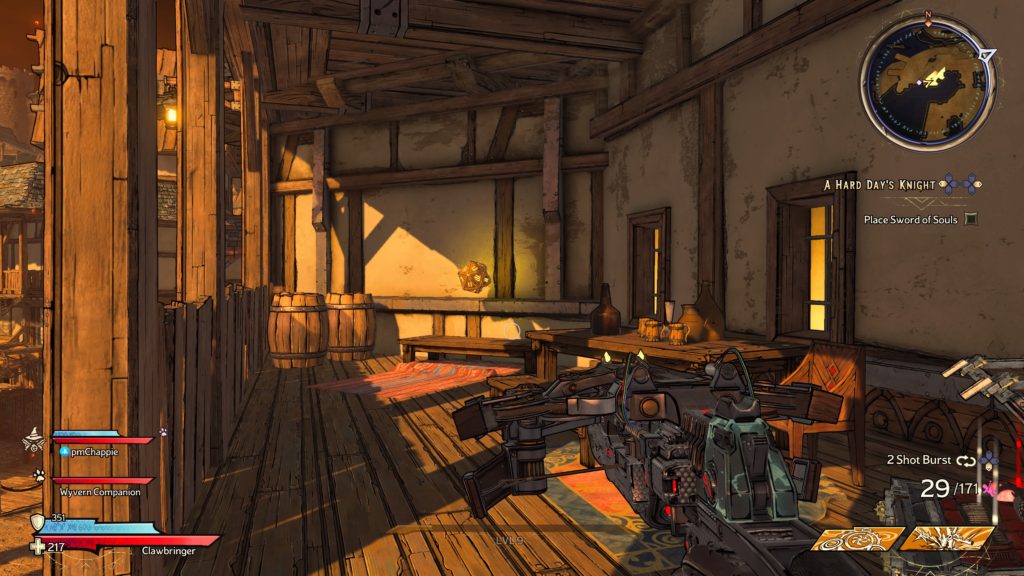
Lucky Dice 12
This dice can be found on a balcony behind some crates.
Lucky Dice 13
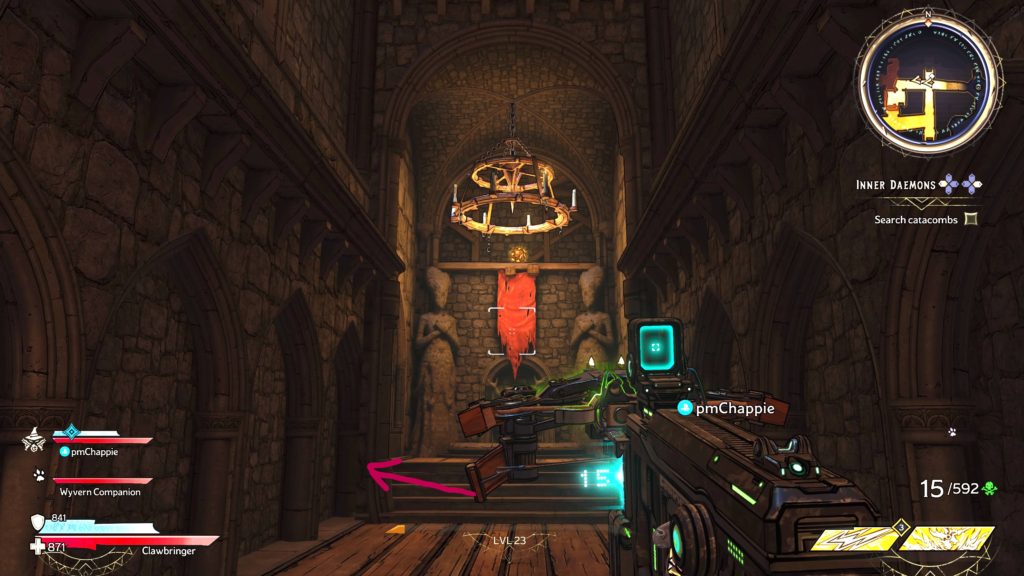
This dice can be found in the catacombs. This area will be accessible during the Inner Daemons side quest. To reach the dice, head into the room to the left of it then climb up the ladder.
Lucky Dice 14
After blowing up the ocean as part of the story, this dice can be found at the dead end southeast of the vending machines next to a sewer drain.
Lucky Dice 15
After blowing up the ocean as part of the story, look for a little barrel in the sand with rope coming out of it leading up to the deck above where it’s attached to a cannon.
Shoot the barrel to cause the cannon to fire, opening a room across the way. Head on over to this room and defeat the Brigands then claim the dice.
Lucky Dice 16
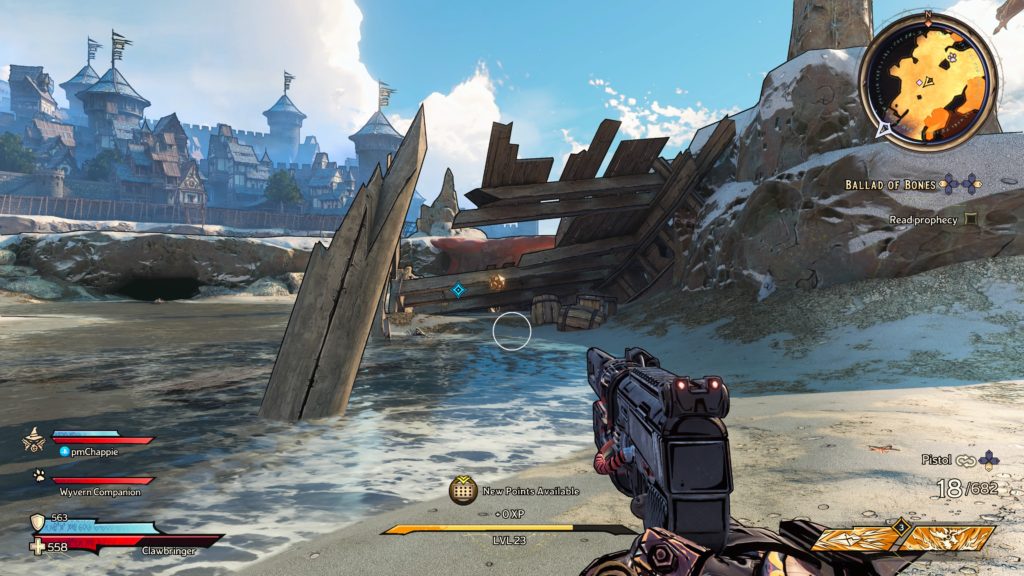
After blowing up the ocean as part of the story, this dice can be found in the wreckage of a ship on the far western side of the seafloor.
Lucky Dice 17
After blowing up the ocean as part of the story, this dice can be found slightly southeast of the Brighthoof – Harborside fast travel point along the map’s edge.
Lucky Dice 18
After blowing up the ocean as part of the story, this dice can be found in a sewer drain just north of the portal.
Lucky Dice 19
After blowing up the ocean as part of the story, this dice can be found where the water used to be in the northeastern corner of town.
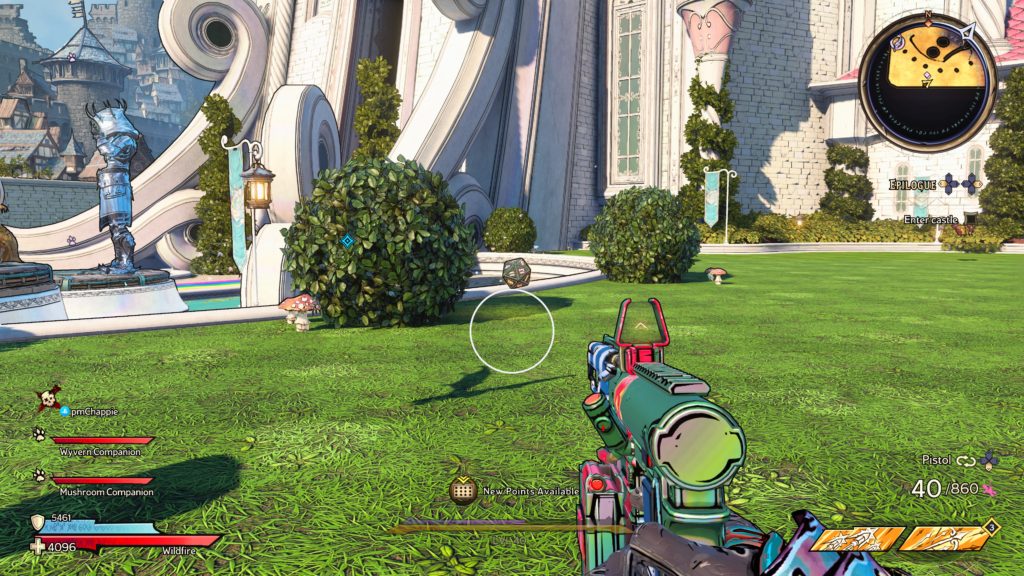
Lucky Dice 20
This dice can be found during the epilogue in the courtyard before the castle.
Search
This site uses cookies. By continuing to use this website, you are giving consent to cookies being used. For more information on cookies, view our Privacy Policy.OkPrivacy Policy