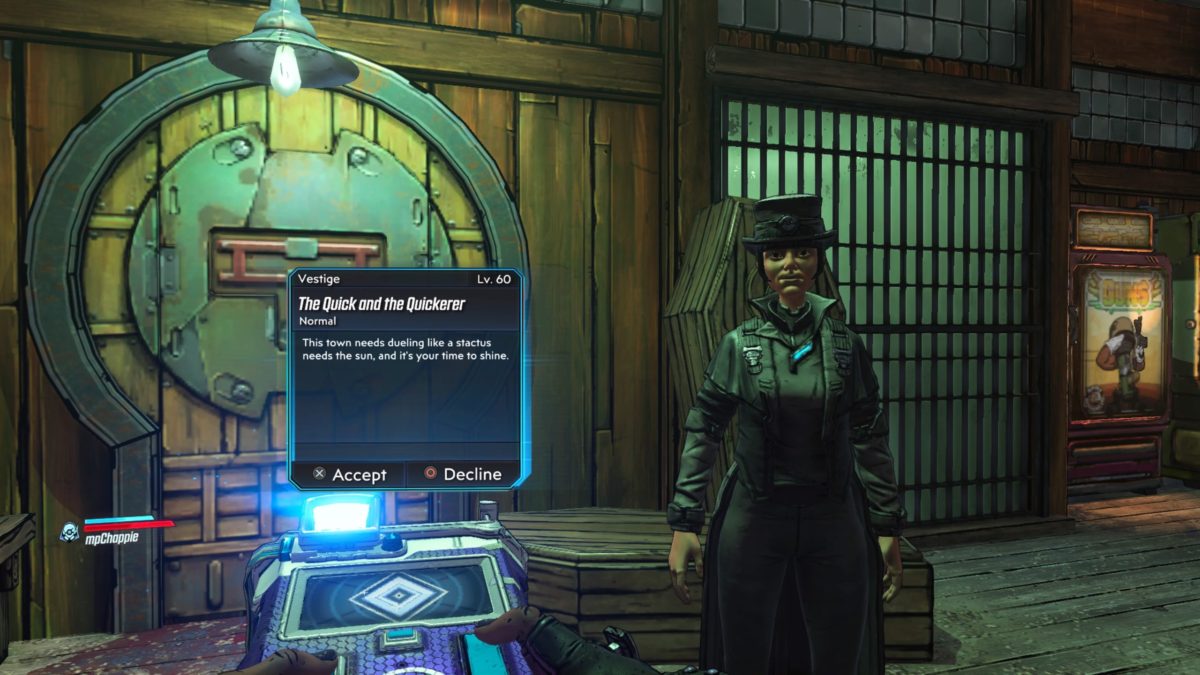
Obtained: Speak with Josey at Josey’s Fine Pine store after reaching Off the Rails main story mission
Follow the objective to find Slim then resurrect him. Afterwards, follow behind Slim a short distance. Shoot 5 bottles in the water then wait for Slim to try. Once he’s done, speak with him to encourage him then he’ll want you to find some armor. Collect the safety first sign on the saloon then give it to Slim. Now that we’re ready for the fight, go get Drunk William to begin the dual then head on back to Slim to give him a pep-talk. Slim realizes he needs a helmet so head behind him to find a bucket. When Drunk William arrives, ring the bell to start the fight then revive Slim. After he runs off, speak with Josey, who is now standing near the bell to complete the quest.
Obtained: Interact with a message in a bottle at Pilfertown
To rescue Nettle, head to Kormash the Decapitator’s Resort and Spa in Caldera Stronghold. Push the button to open Nettle’s cell. You will then need to find Soapy Steve and lock him in his bath using a mop. Afterwards, search for the bath salts, which are in the bath to the right of Steve. Next, put the salts into the water using the machine. To find Steve’s secret stash, head to the locker room through a door in the main room then use the jump pad to reach the vents. Jump across the rafters to enter the room then steal all the soaps and return to Soapy Steve. Dump all the soaps into the machine then defeat Soapy Steve. Return to Nettle to complete the quest.
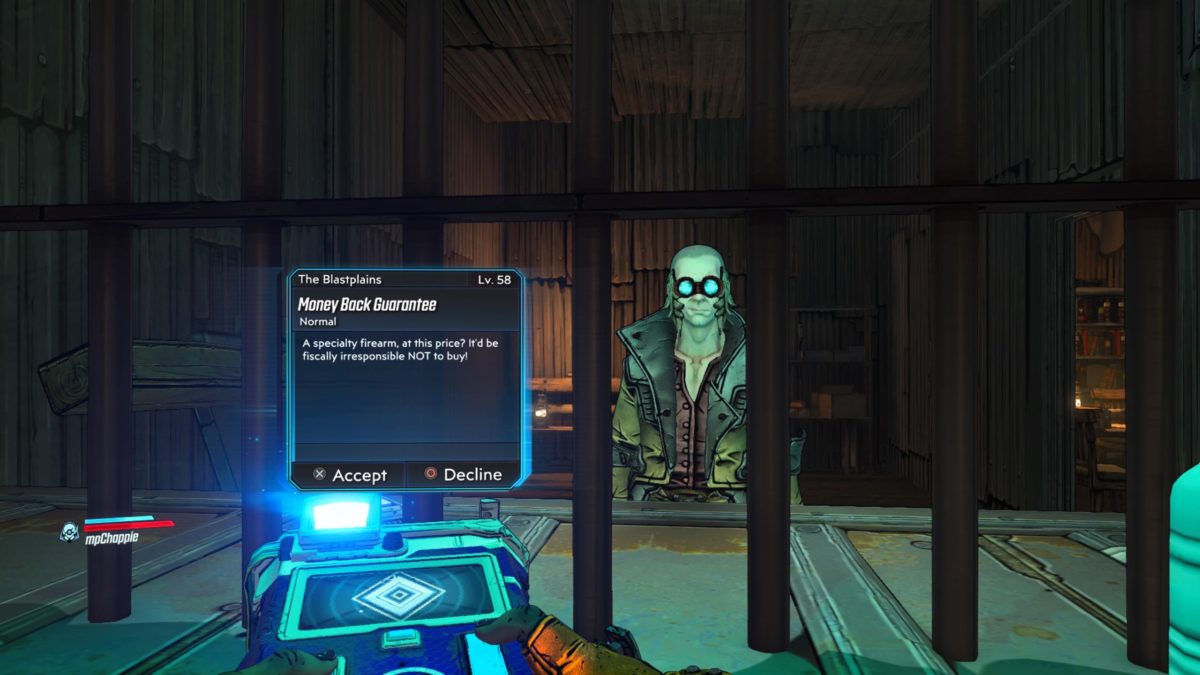
Obtained: Speak with Stickly behind the barred counter in a building in the center of the map
Pay for your new favorite weapon
Interact with the object on the counter to pay $15,000.
Find your new favorite weapon
Follow the objective deeper into the area to find a building with a red curtain. Interact with the curtain to find your new weapon!
Confront that turd farmer Stickly
Head back to where you first encountered Stickly then listen to his message. For the clue to where Stickly is located, search his desk to find his notes.
Find fort
Head to the fort near the Fort Kickwater fast travel station. Once there, defeat all the enemies!
Talk to prisoner
After you shoot down the cage, talk to General Marks.
Go to the abandoned mine
Head to the abandoned mine at Amplecore Veins. Work your way through the area following the objective to reach Stickly and punch him.
Defeat ambush
Kill all the enemies that spawn!
Return to fort
Return to the fort and collect the artillery shell. Afterwards, head to the cannon. Load and fire it for some sweet vengeance!
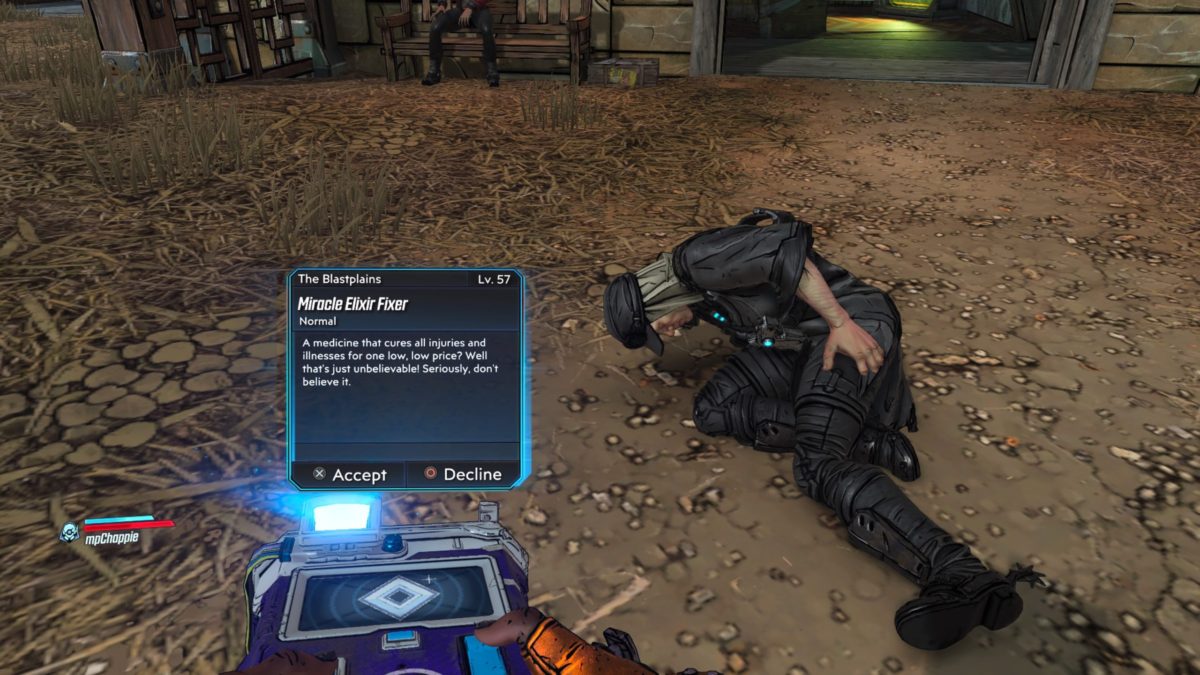
Obtained: Speak with Eli outside of the first building you come across when you get access to your stead.
Get Doc Stanley’s Miracle Elixir
This elixir can be found in the shed to the right of the house in a medical crate. Retrieve it then head back to Eli to inject him.
Sabotage Oil Well
Follow the objective to Frack Mesa then use the wheel in the camp to increase the oil well pressure. Afterwards, you’ll need to shoot the tower to cause the main gate to open. Head deeper into the camp and destroy the two more oil wells.
Go to Elixir Refinery
Follow the objective to The Hasty Retreat!
Destroy Elixir Inventory
Head into The Hasty Retreat and locate the elixir in the very back. You will then need to place the elixir vial into the elixir barrels. Shoot the vial to make it explode. Make sure you stand back otherwise you’ll get blown up!
Destroy Refinery Equipment
Continue deeper into the area to destroy the equipment.
Terminate Executive Sales Team
Defeat all the enemies that spawn!
Attend Business Meeting with Doc Stanley
Follow the objective into the conference room then defeat the doc.
Talk to Hina
Return to Hina at Hina’s Hacienda to complete the quest.
Obtained: Speak with Ms. Folia near the Children’s Secret Hideout in the Sector 5 Slums
Objective: Find the children
Head to the Slum Public Cemetery northeast of Center District in the Sector 5 Slums to find Oates and speak with him. Defeat the Phantoms that spawn to find the children and complete the quest.
Chocobo Search
Obtained: Speak with the Stablehand in Center District of the Sector 5 Slums near the path leading to Wall Market
Objective: Find the 3 Chocobos
If you head to Wall Market, you can speak to Sam at his Delivery Station to find out that the Chocobos were spotted in Sector 5 Back Alleys, Collapsed Expressway and Old Church.
1. Chocobo
One Chocobo is located in the Collapsed Expressway – Old Bypass. To reach this Chocobo, enter the expressway from Evergreen Park in the Sector 6 Slums and work your way through the expressway until you come across the Chocobo. Defeat the group of enemies that spawn then interact with the Chocobo.
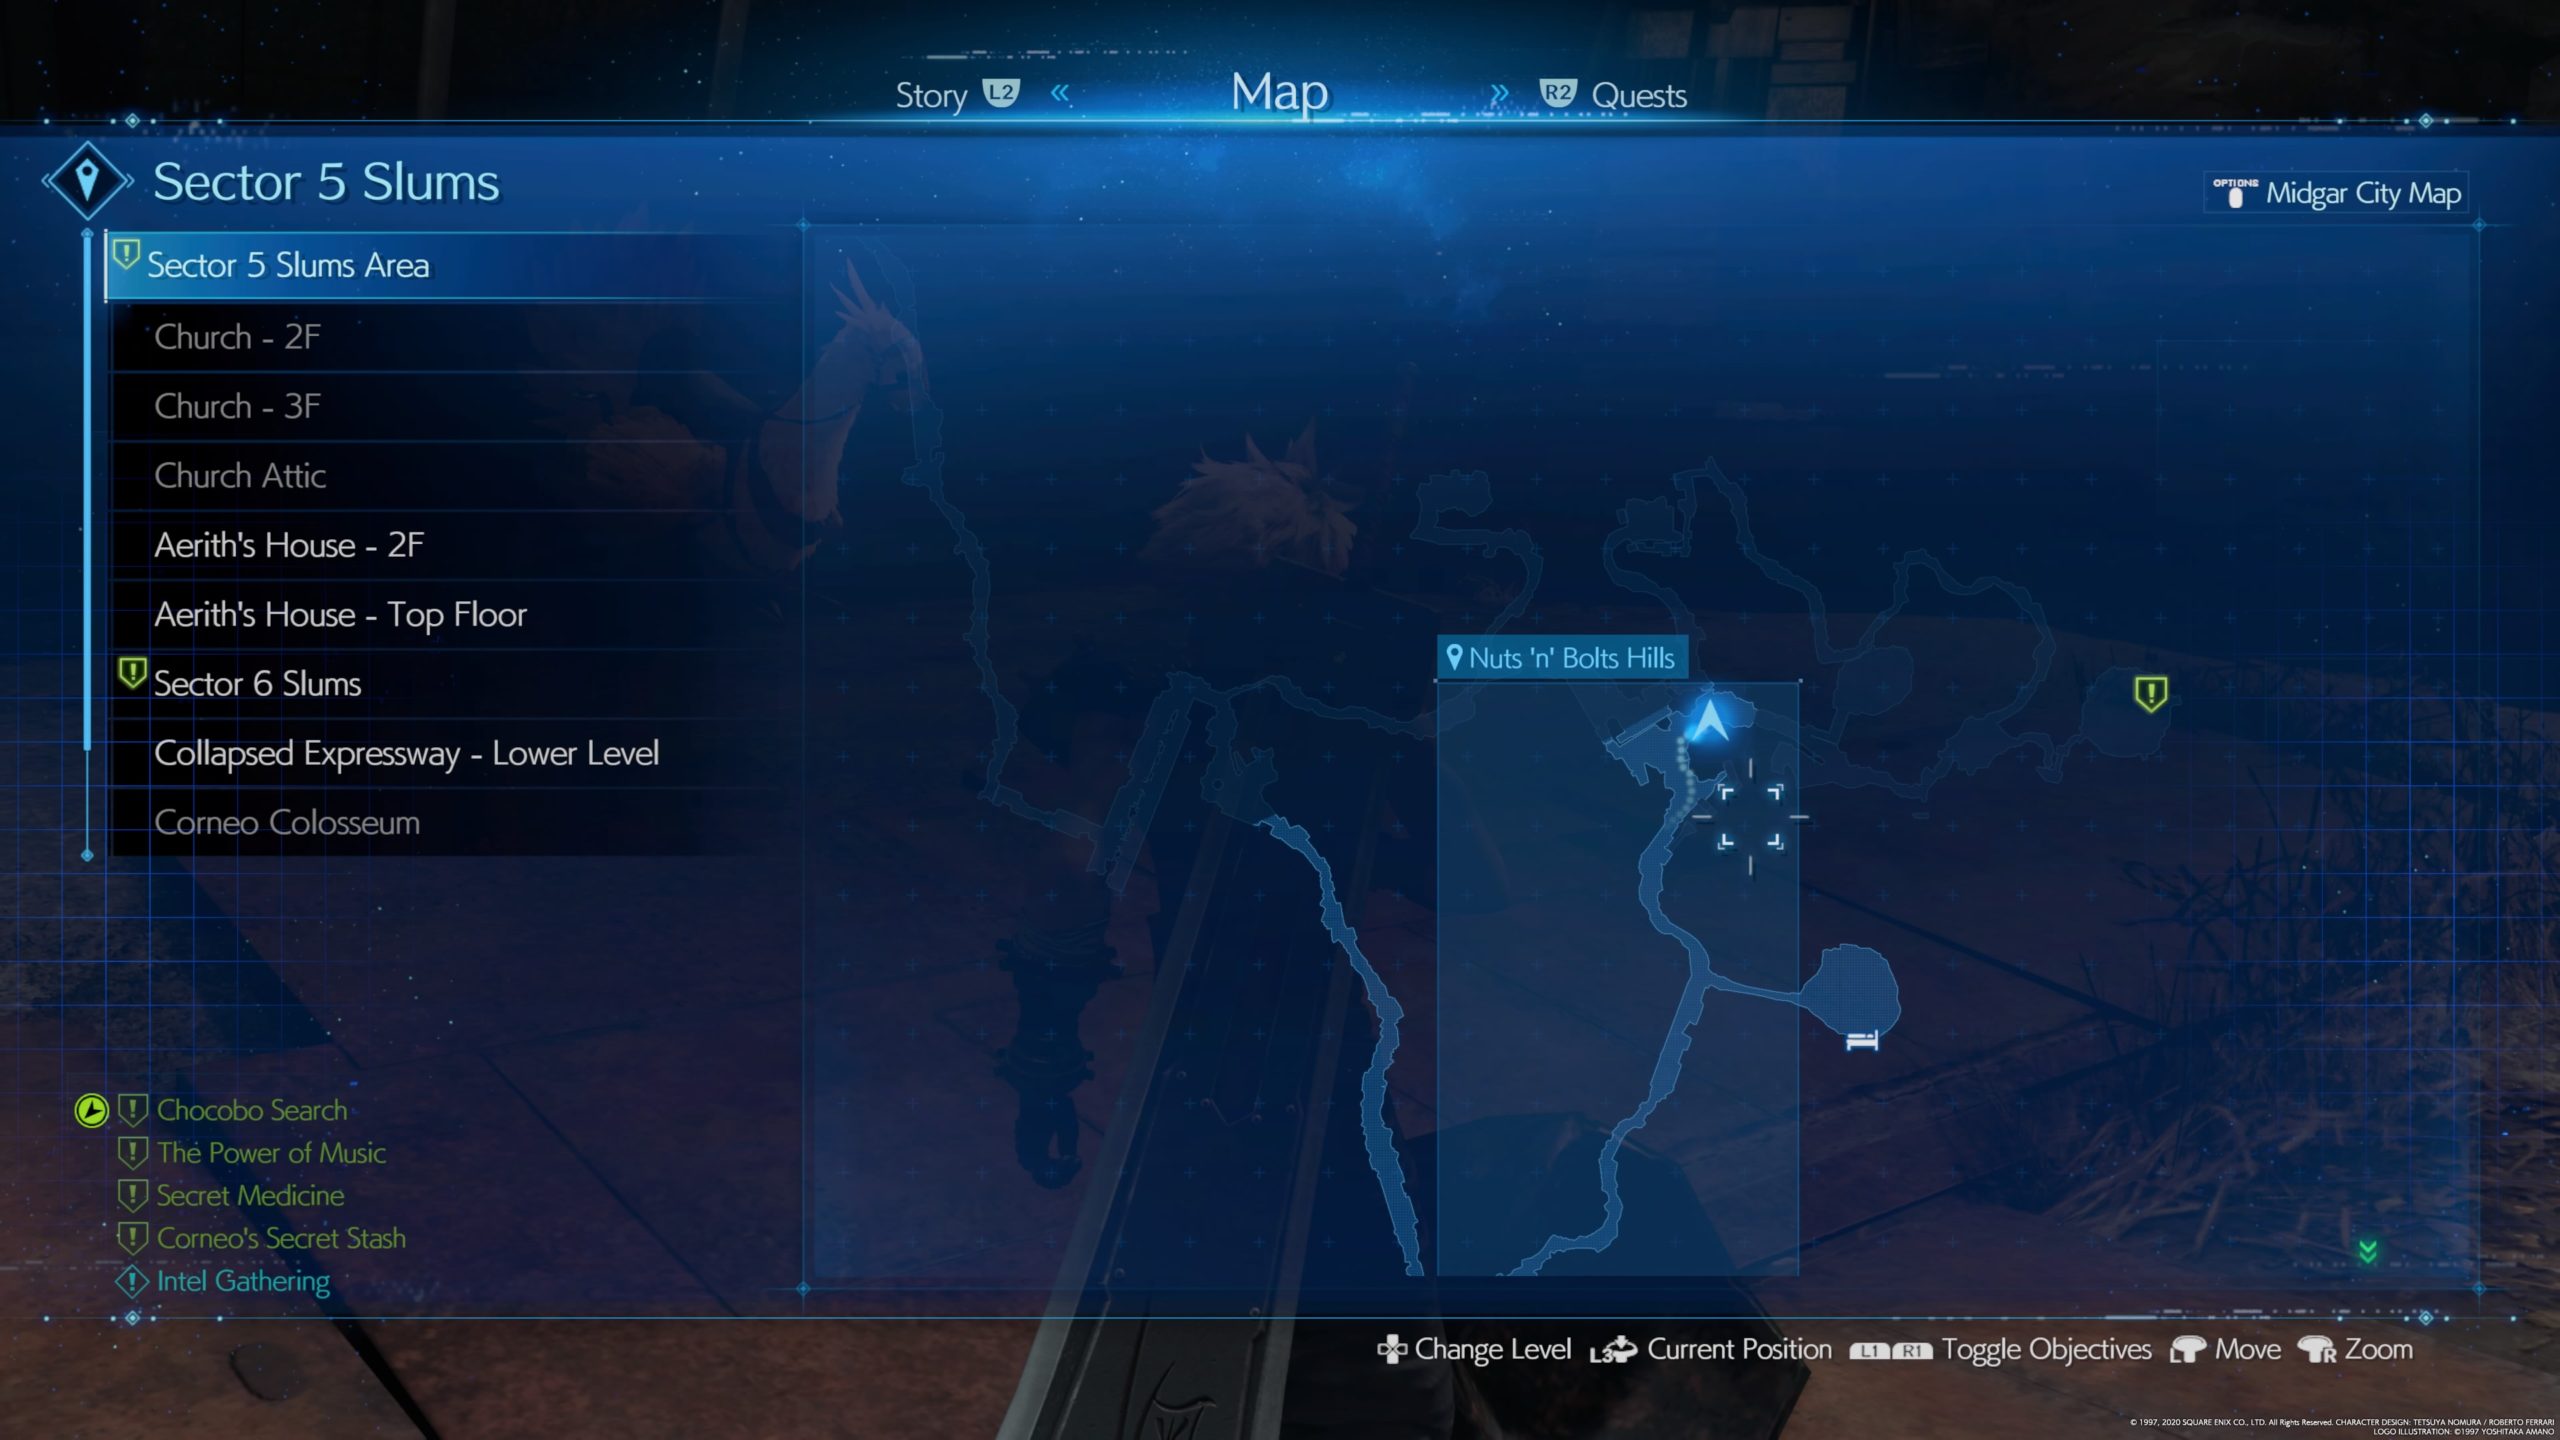
2. Chocobo
Another Chocobo is located along Nuts ‘n’ Bolts Hills north of the Center District in the Sector 5 Slums. Interact with it then defeat the Rust Drake that spawns. After you defeat the drake, interact with the Chocobo again.
3. Chocobo
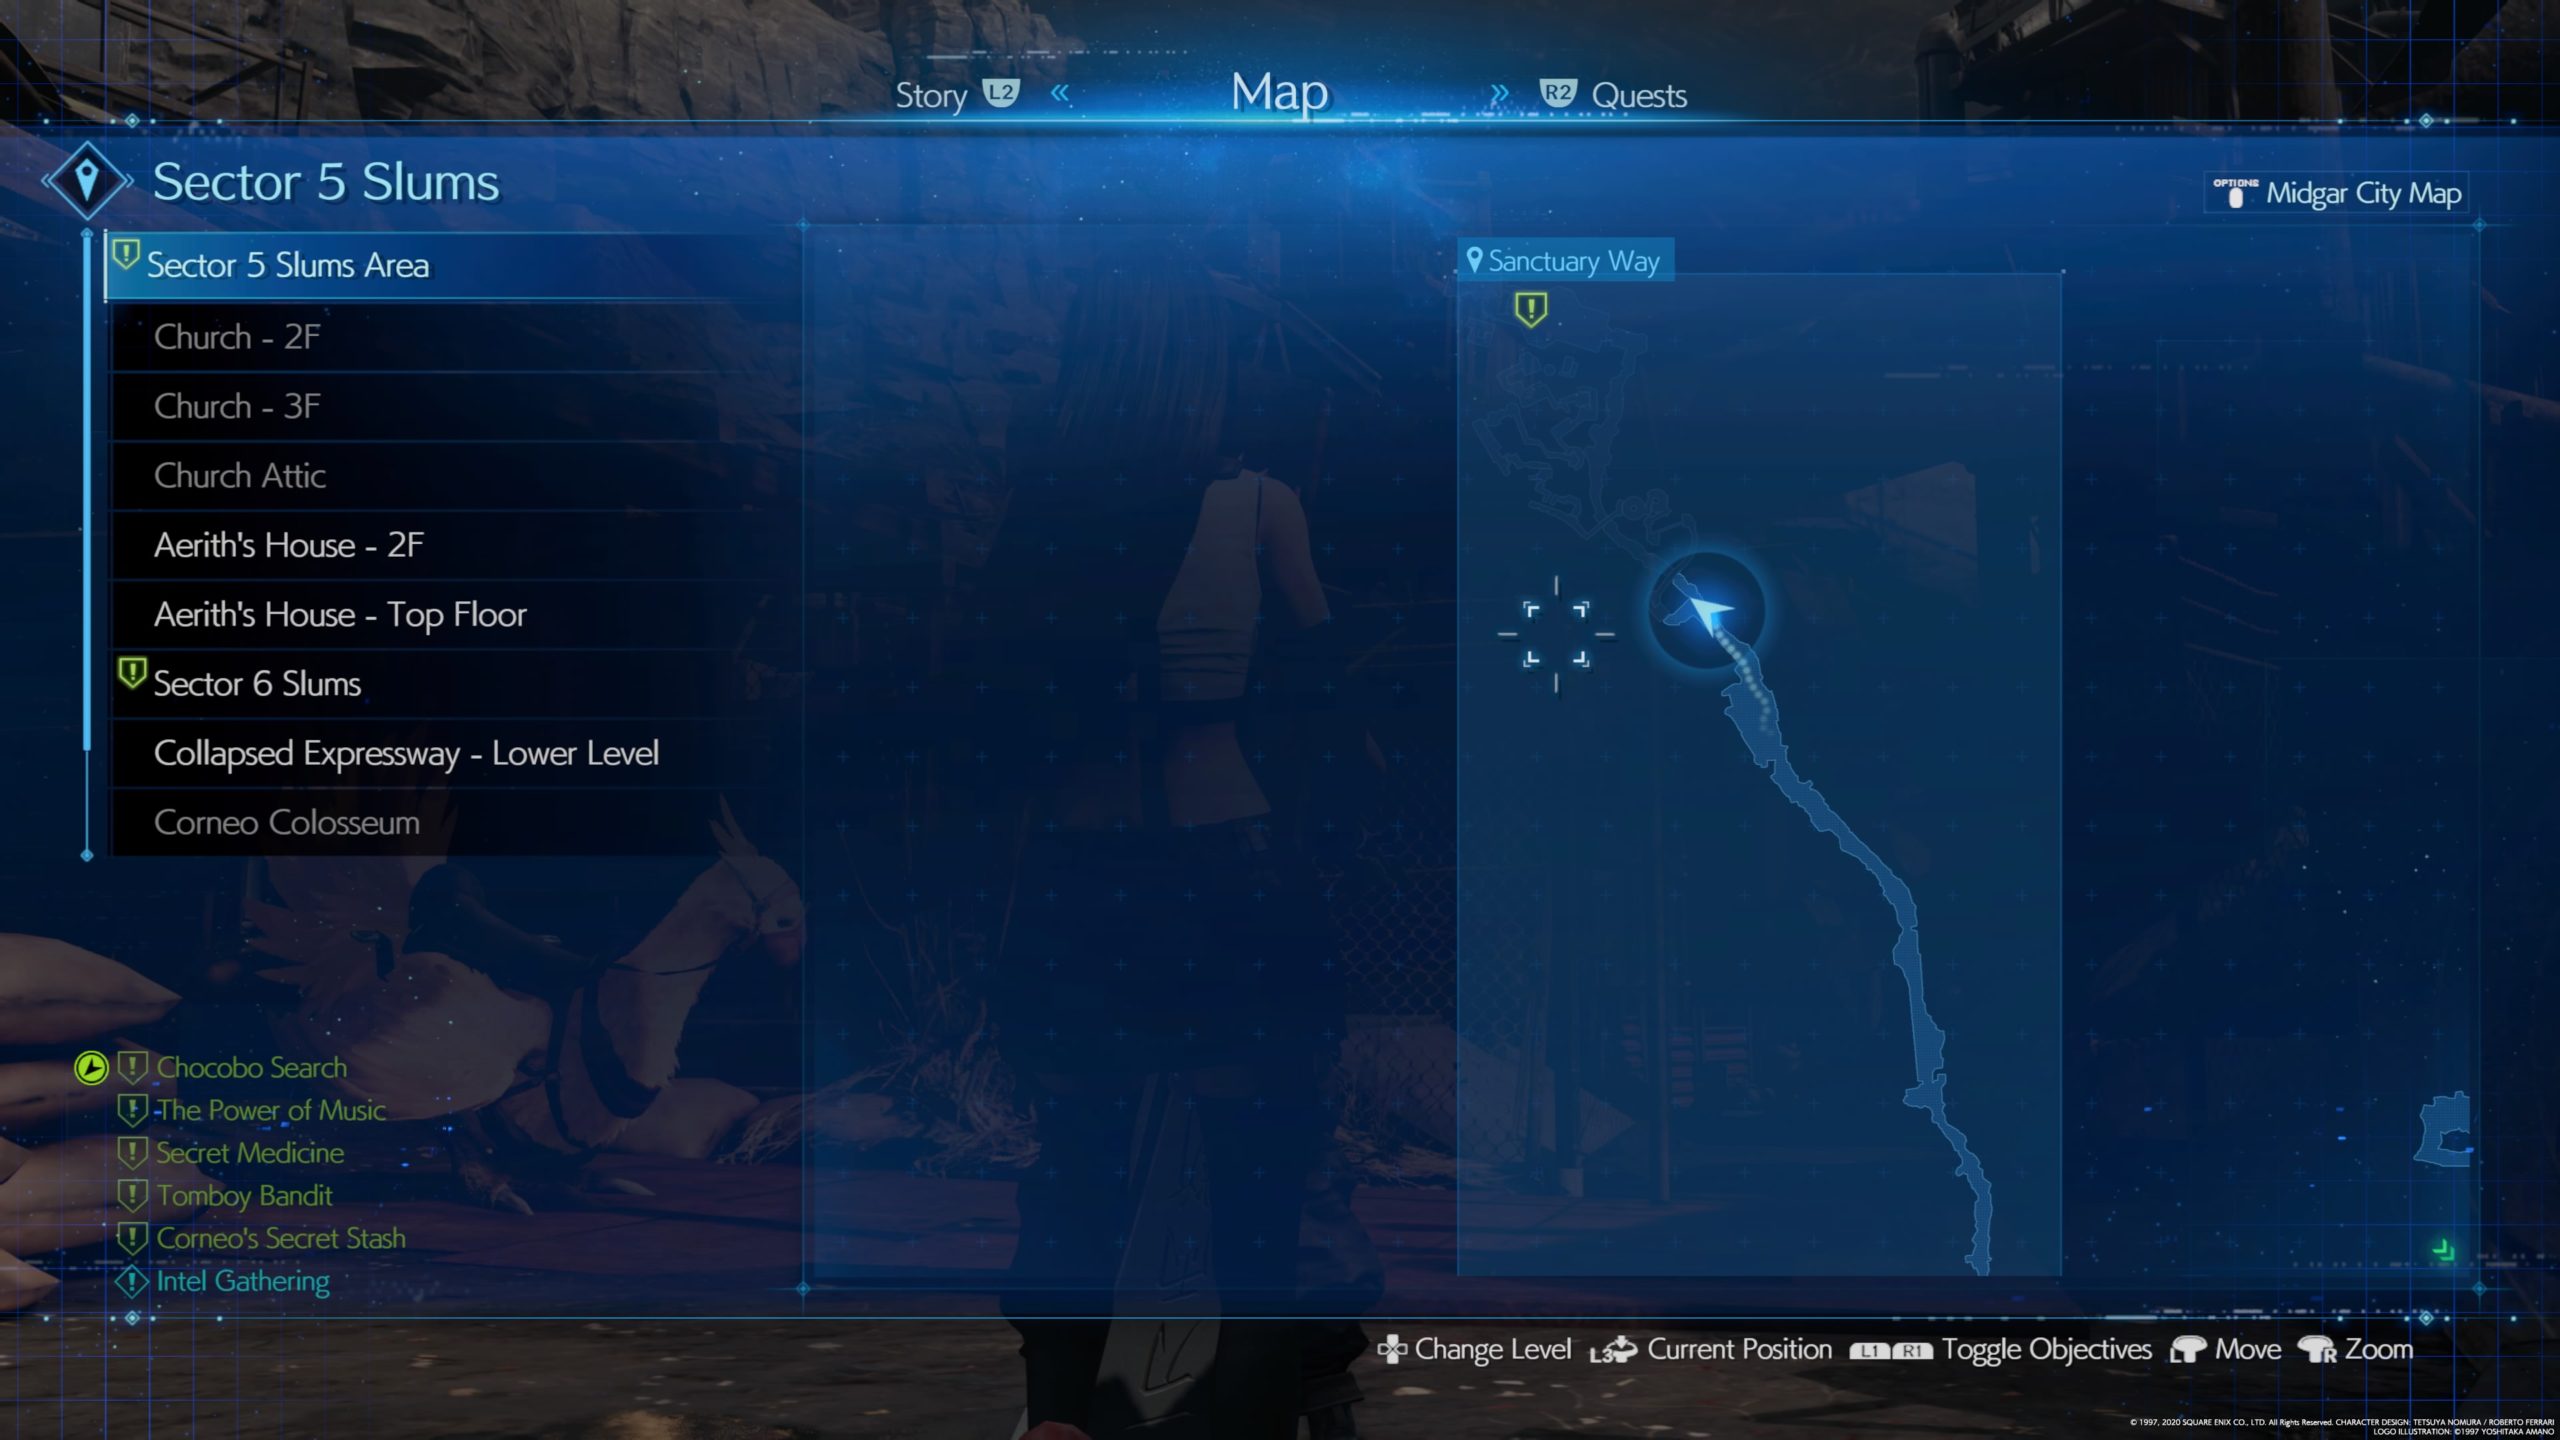
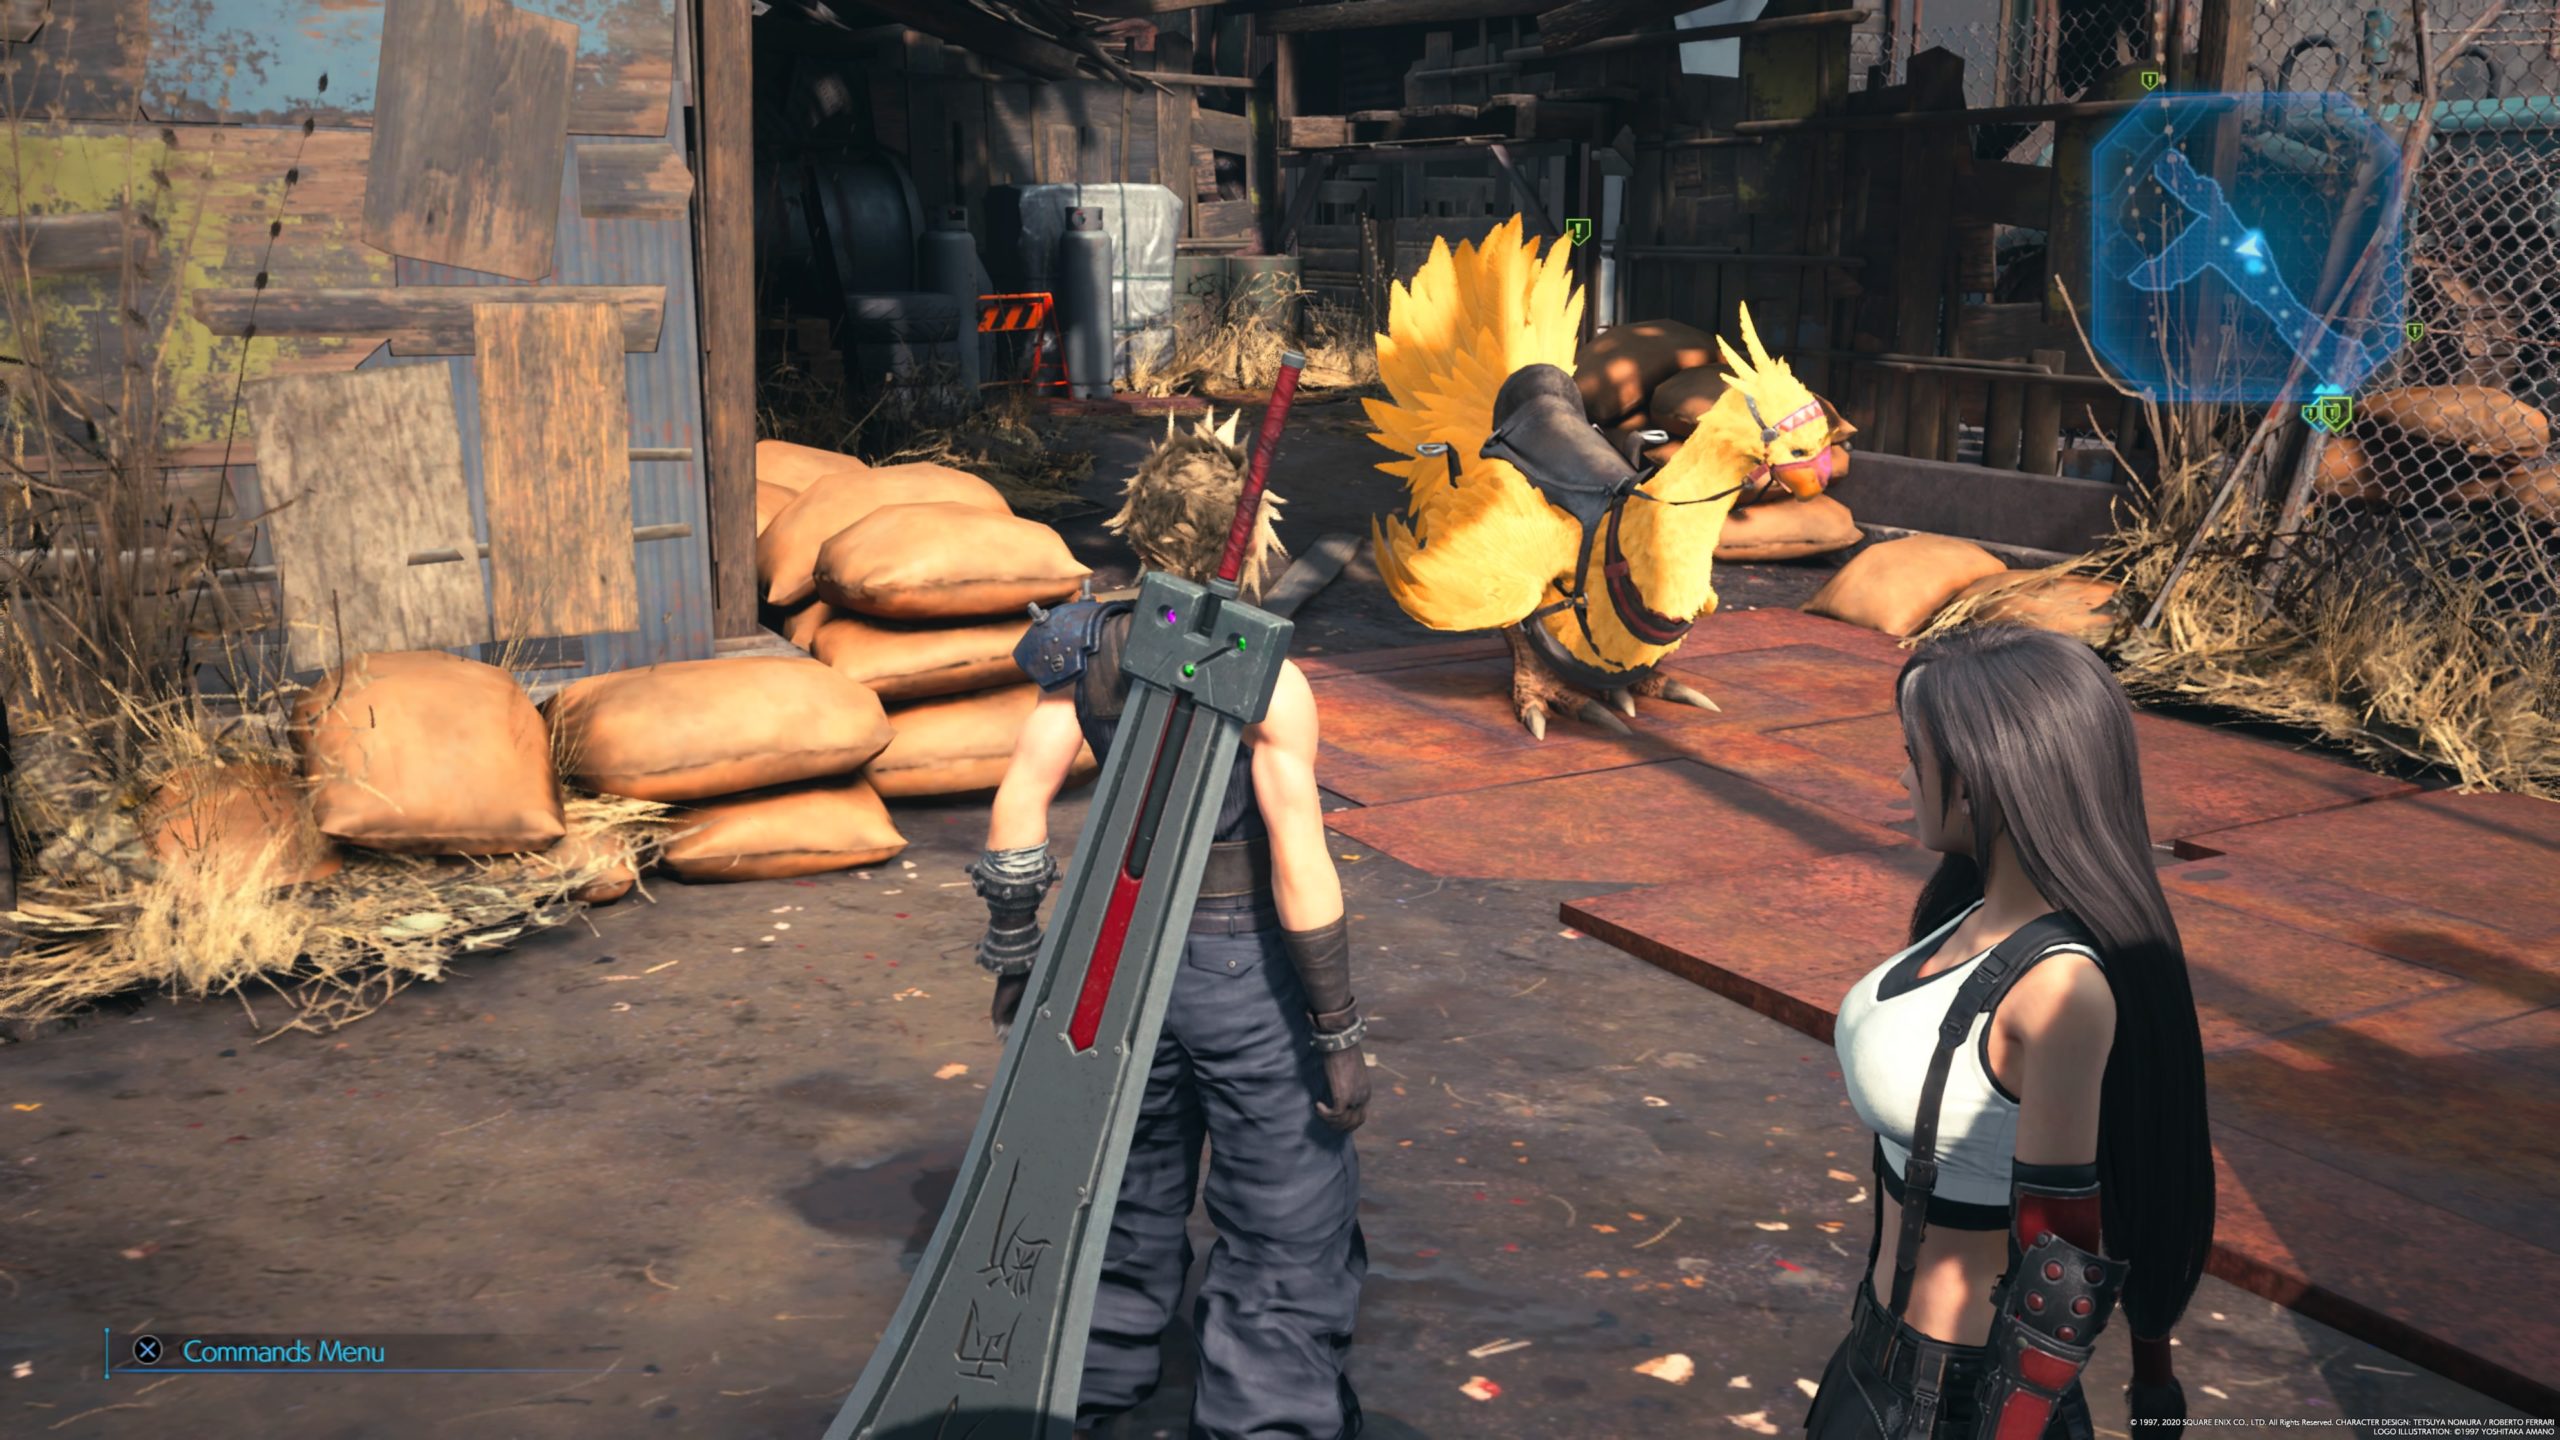
The last Chocobo is located on Sanctuary Way in the Sector 5 Slums, which is northwest of Undercity Station. Interact with the Chocobo.
After you find all the Chocobos, return to Sam at his Delivery Station in Wall Market and speak with him to complete the quest.
Malicious Goons
Obtained: Speak with Madam M by her massage parlor in Wall Market
Objective: Stop the goons
Travel to the battle arena near Aerith’s house in the Sector 5 Slums to stop the goons! Defeat the Tonberry to make the Hoodlums submit, thus completing the quest.
Wavering Heart
Obtained: Speak with Andrea in the Wall Market Gym
Objective: Defeat Andrea in a pull-up contest!
Interact with Andrea to begin the challenge. Defeat him to complete the quest! *NOTE: In order to obtain the Peeress of Pull-Ups trophy, you will need to beat Andrea, Ronnie, Jay and Jules in the pull-up challenges.
The Power of Music
Obtained: Speak with Betty in Wall Market near the Jukebox behind the Family Hotel
Objective: Give her 3 music discs
Betty only accepts certain music discs. After you obtain each of the below discs (click the link on the discs to find the exact locations), interact with the Jukebox then select the following music discs:
After you play all the music discs, a cutscene will trigger and the quest will complete.
Secret Medicine
Obtained: Speak with the Doctor in the Center District of Sector 5 Slums
Objective: Obtain items on the Doctor’s list
Behemoth Horn – Complete the Subterranean Menace side quest
Moogle’s Mortar – Purchase from Moggie for 1 Moogle Medal in the Sector 5 Slums Children’s Secret Hideout
Medicinal Flowers – Located in the church north of Sanctuary Way in the Sector 5 Slums
Once you collect all the items, return to the Doctor in the Center District of Sector 5 Slums and speak with him to complete the quest.
Tomboy Bandit
Obtained: Speak with Johnny at the Undercity Station in the Sector 5 Slums
Objective: Retrieve Johnny’s wallet
*NOTE: This quest will be done concurrently with the Corneo’s Secret Stash side quest.
Travel to the church north of Sanctuary Way in the Sector 5 Slums to find Kyrie. Speak with her then head to the Colosseum in Wall Market. Speak with the Gatekeeper to begin the special match then defeat the two enemies. Once you defeat the enemies, return to Kyrie and speak with her to obtain Johnny’s wallet and complete the quest. For the trophy, head back to Johnny at the Undercity Station in the Sector 5 Slums and speak with him to hand over his wallet.
Corneo’s Secret Stash
Obtained: Speak with Damon in Sector 5 Slums
Objective: Reveal the identity of the Guardian Angel
*NOTE: This quest will be done concurrently with the Tomboy Bandit side quest.
Travel to Lookout Point in the Sector 5 Slums and loot the Corneo’s Vault Note on the blue tarp behind Mireille then speak with her. Head to the church north of Sanctuary Way in the Sector 5 Slums to find Kyrie. Speak with her then head to the Colosseum in Wall Market. Speak with the Gatekeeper to begin the special match then defeat the two enemies. Once you defeat the enemies, return to Kyrie and speak with her again to obtain the key. Once you obtain the key, speak with Mireille to obtain clues on the locations of the secret doors in the Collapsed Expressway, near Angel’s Hideout and in the Sewers.
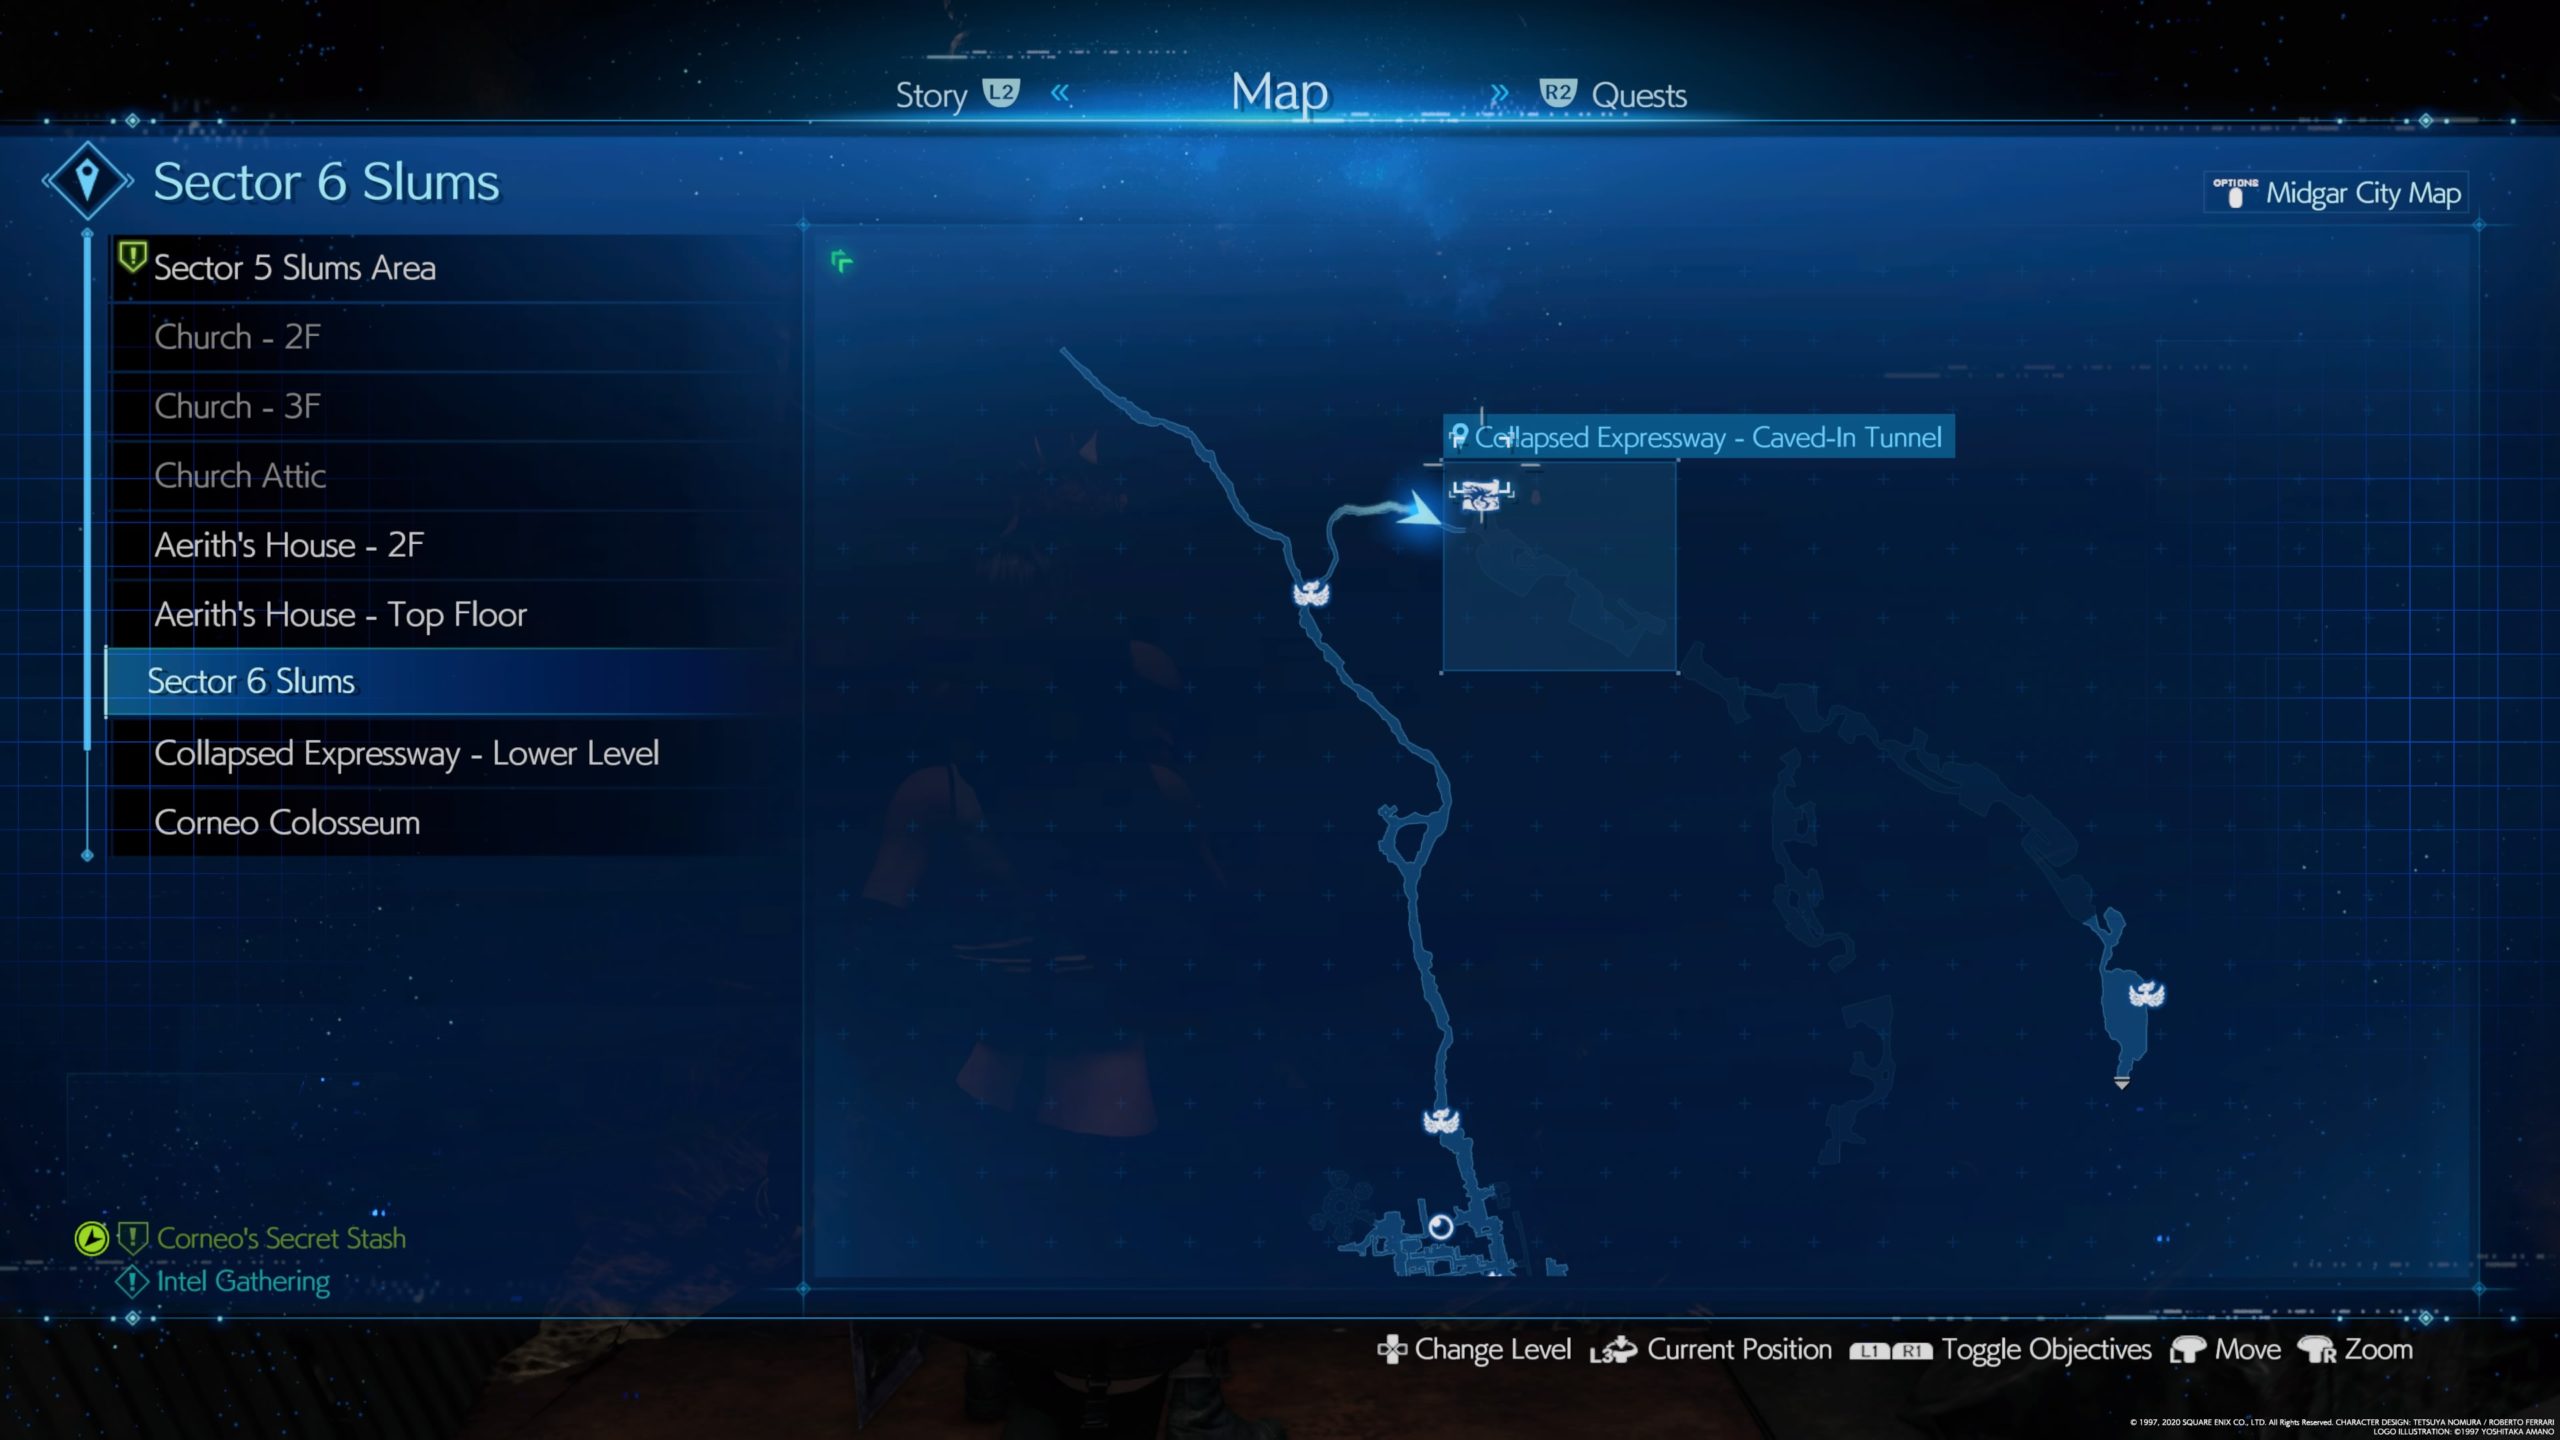
1. Treasure Trove
For the first bunch of treasure, make your way to the Collapsed Expressway Caved-In Tunnel in the Sector 6 Slums near the northern Sam’s Delivery Station and look for the fancy gate. Open it to loot the treasure!
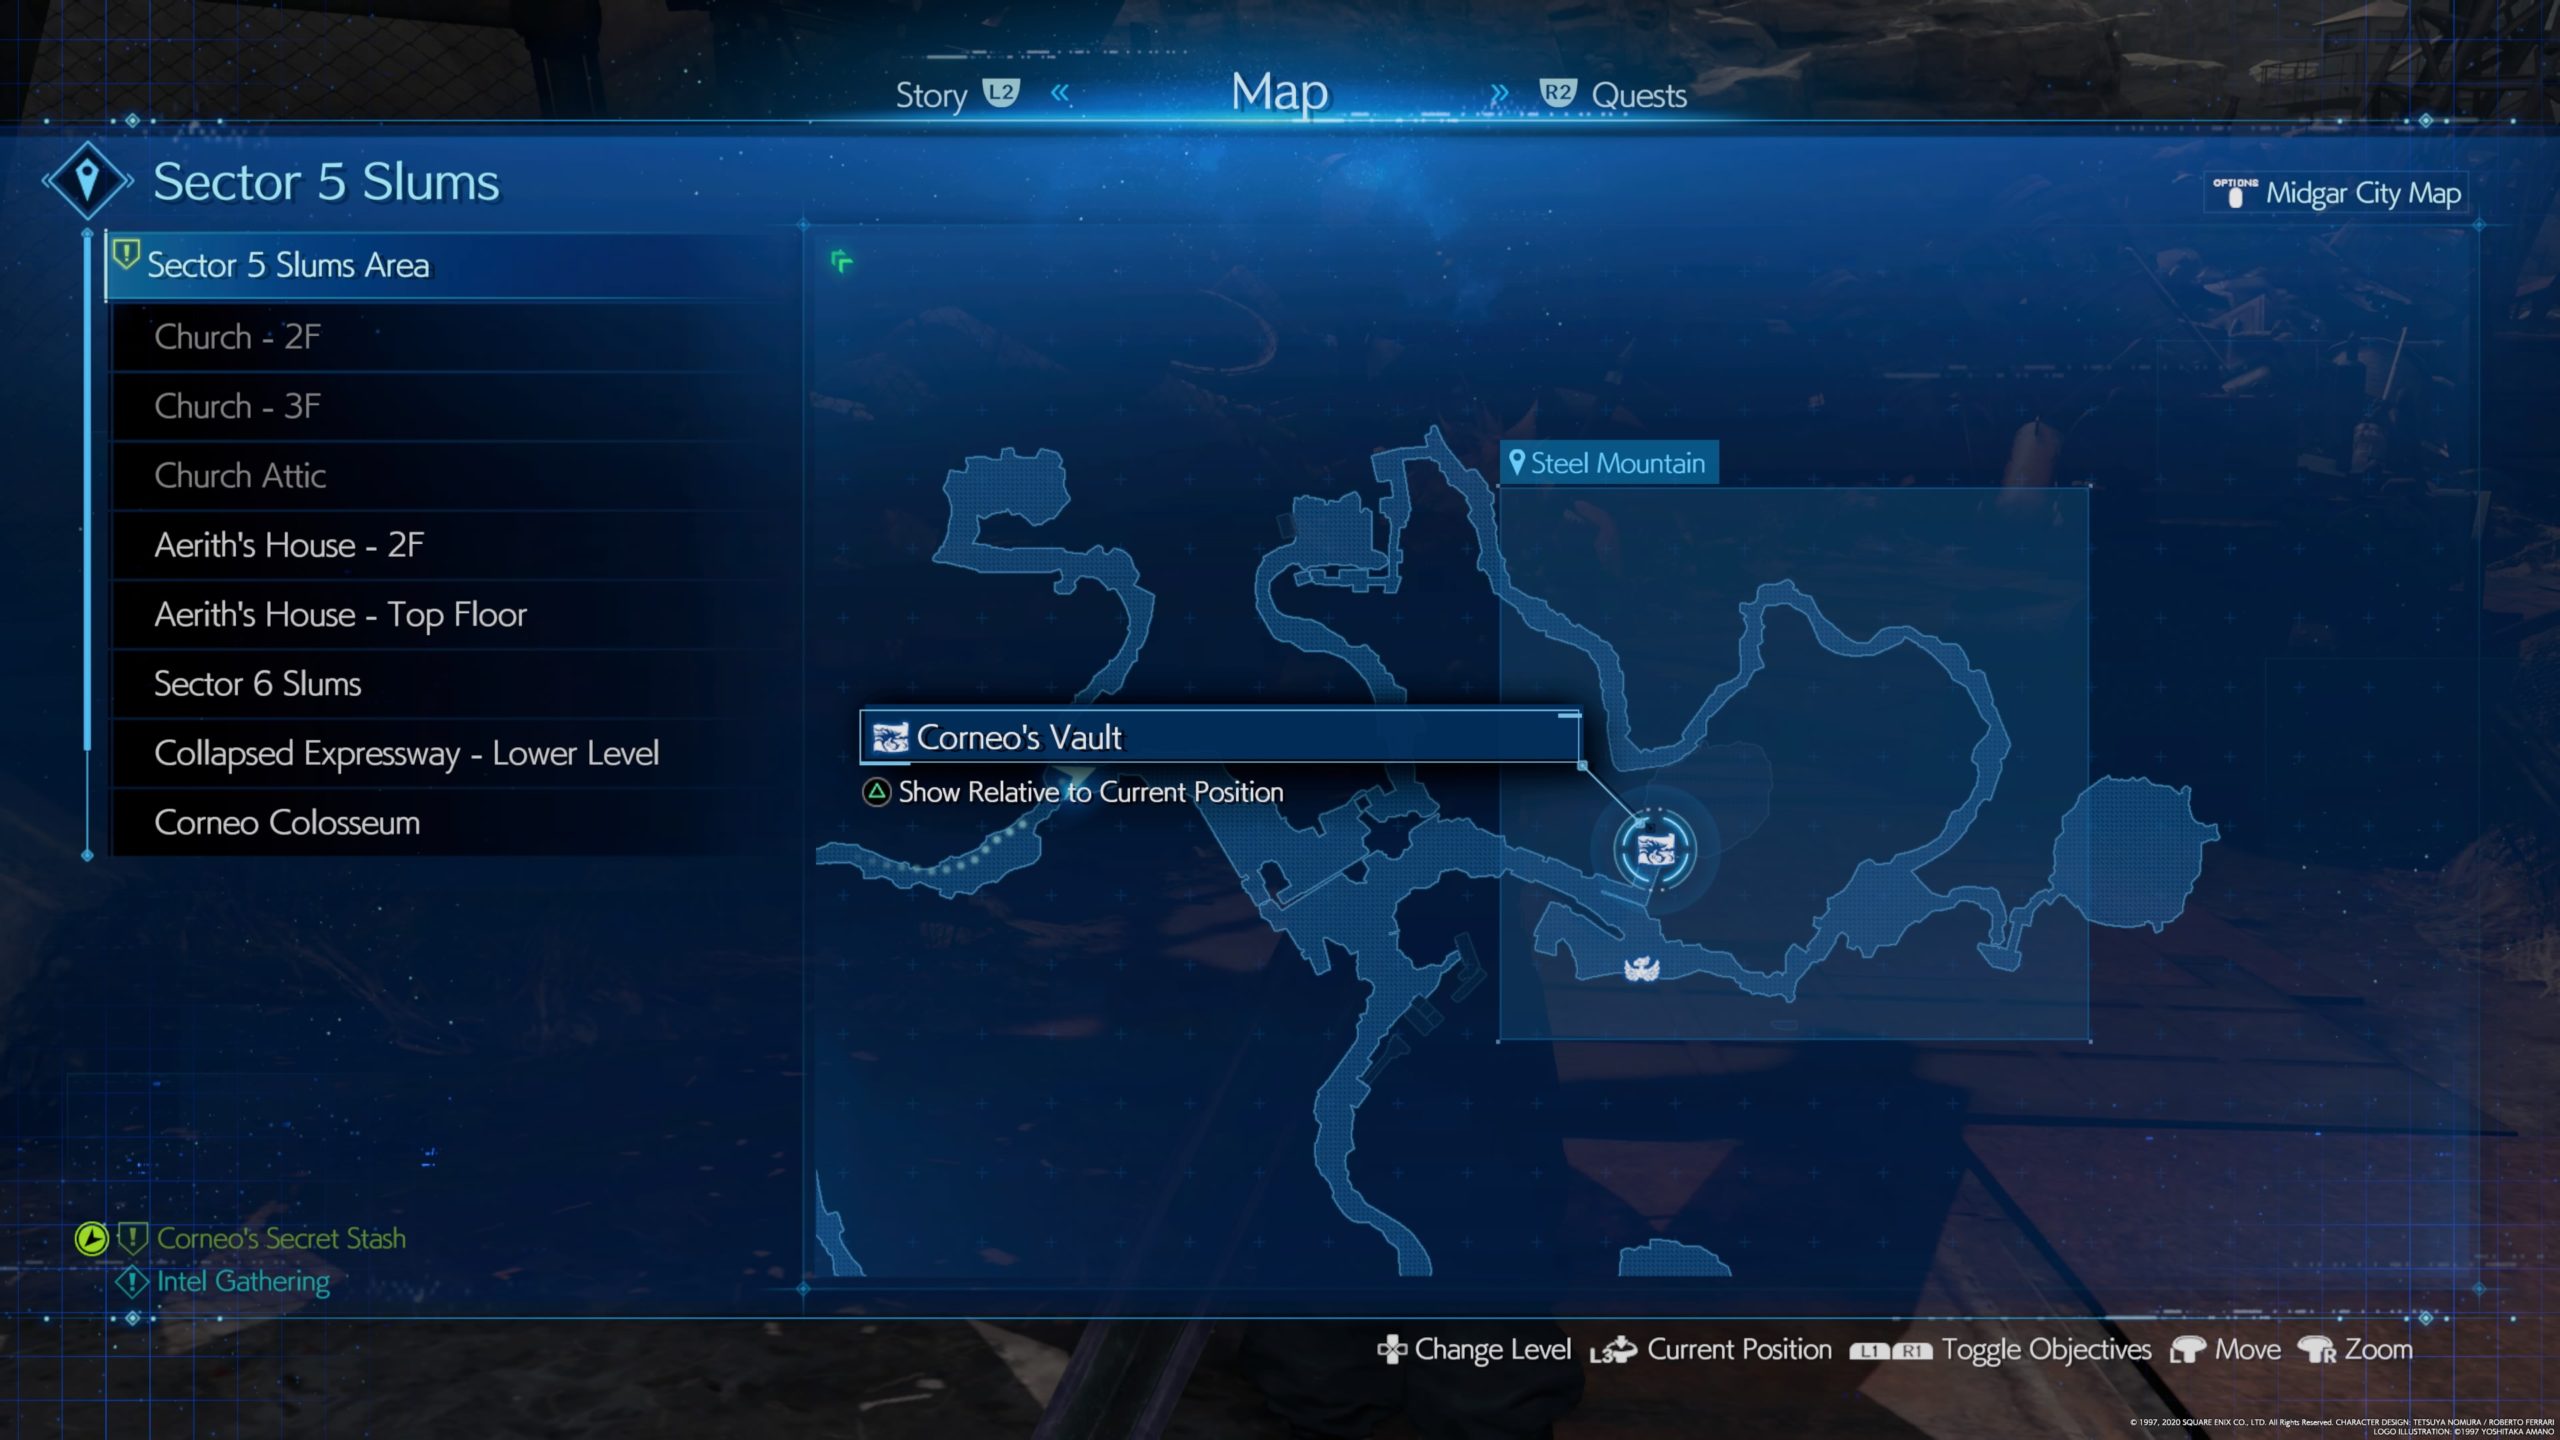
2. Treasure Trove
For the second bunch of treasure, head directly north of the Sam’s Delivery Station in Steel Mountain, which is in the Sector 6 Slums, and look for the fancy gate. Open it to loot the treasure!
3. Treasure Trove
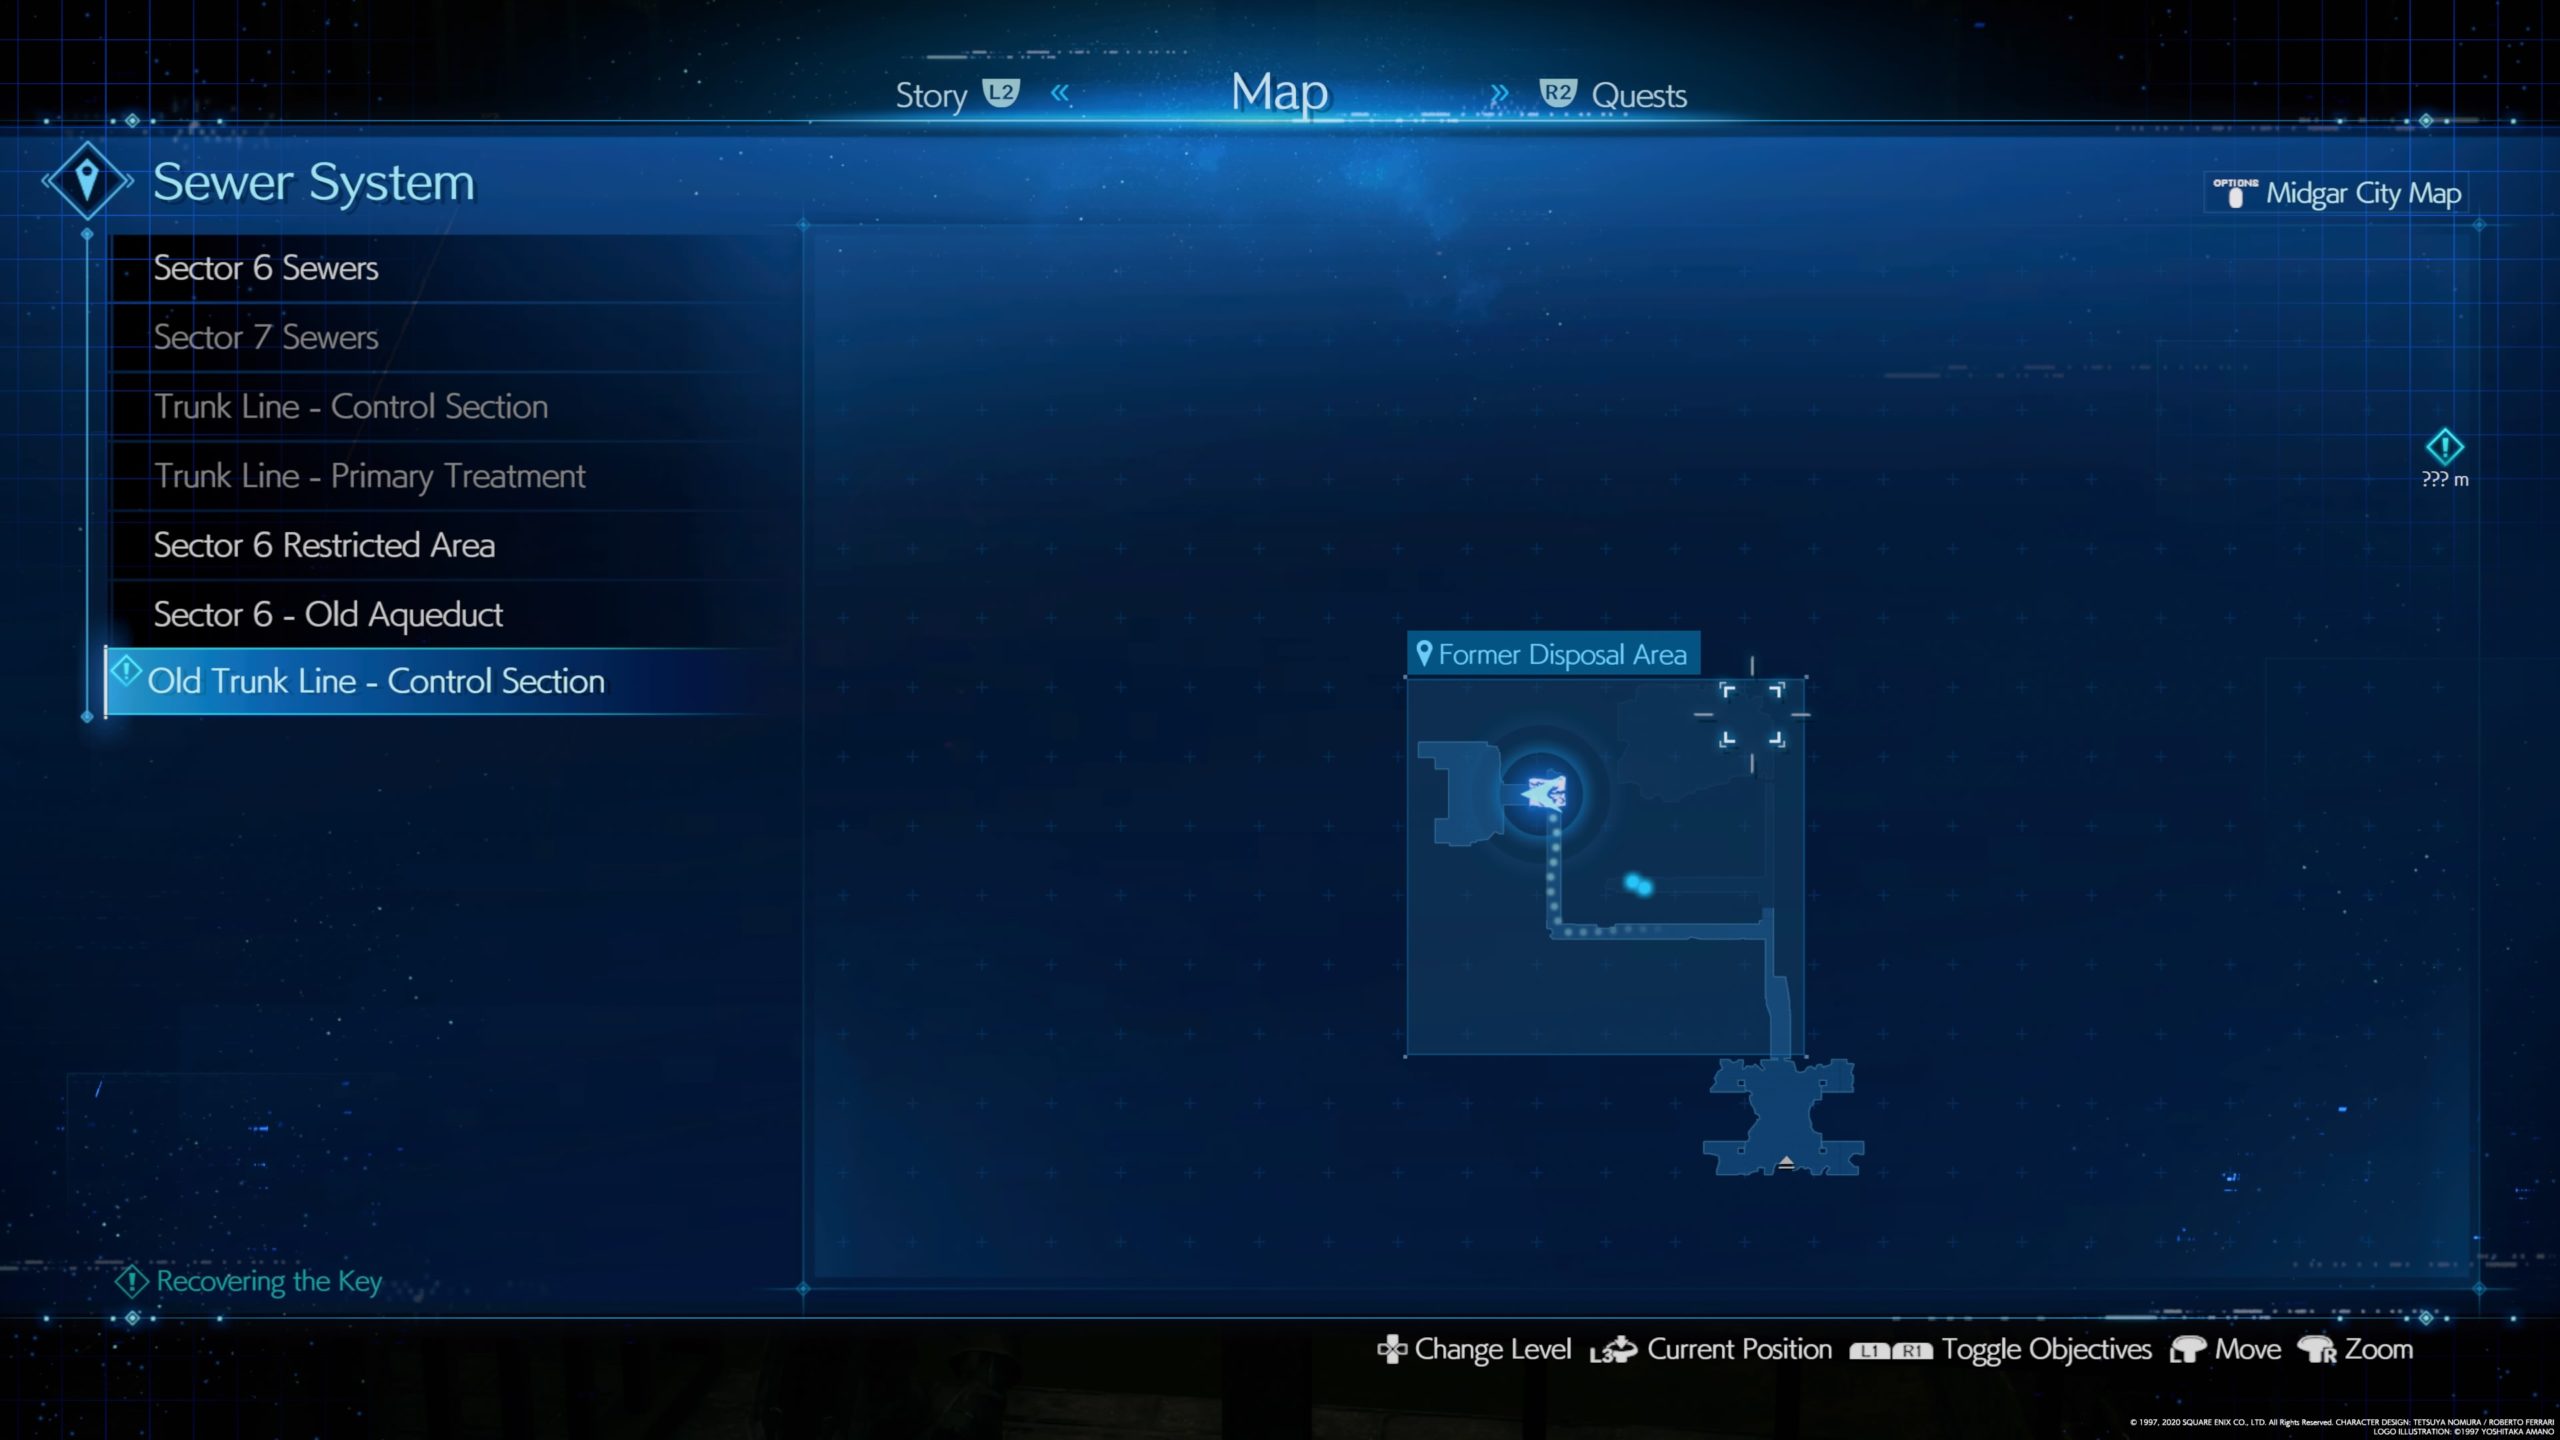
For the last bunch of treasure, you will gain access to the Sewers after meeting up with Leslie again. Once inside the Sewers, make your way to Former Disposal Area in the Old Trunk Line – Control Section of the Sewer System. The way beyond the fancy gate will be flooded so you’ll have to first drain the water before you can loot the treasure. In a room just past the Abzu’s lair (deeper in the Sewers), there will be a lever that you can use to drain the water. Head back to the treasure trove and grab all of the items.
After looting all the treasure troves, talk to Marle who is in the Evergreen Park in the Sector 6 Slums.
Subterranean Menace
Obtained: Speak with Wymer in Evergreen Park in the Sector 6 Slums
Objective: Defeat the monsters in Shinra’s Underground Test Site
From Evergreen Park in the Sector 6 Slums, head to the Power Substation by using the entrance next to Wymer. Follow the tunnel to the end to reach the Underground Test Site where you’ll hear a faint roar in the distance. Make your way through the test site until you reach the Type-B Specimens – Isolation Zone on Underground Lab B5 where the Type-0 Behemoth awaits. Defeat the monster then return to Wymer and speak with him to complete the quest.
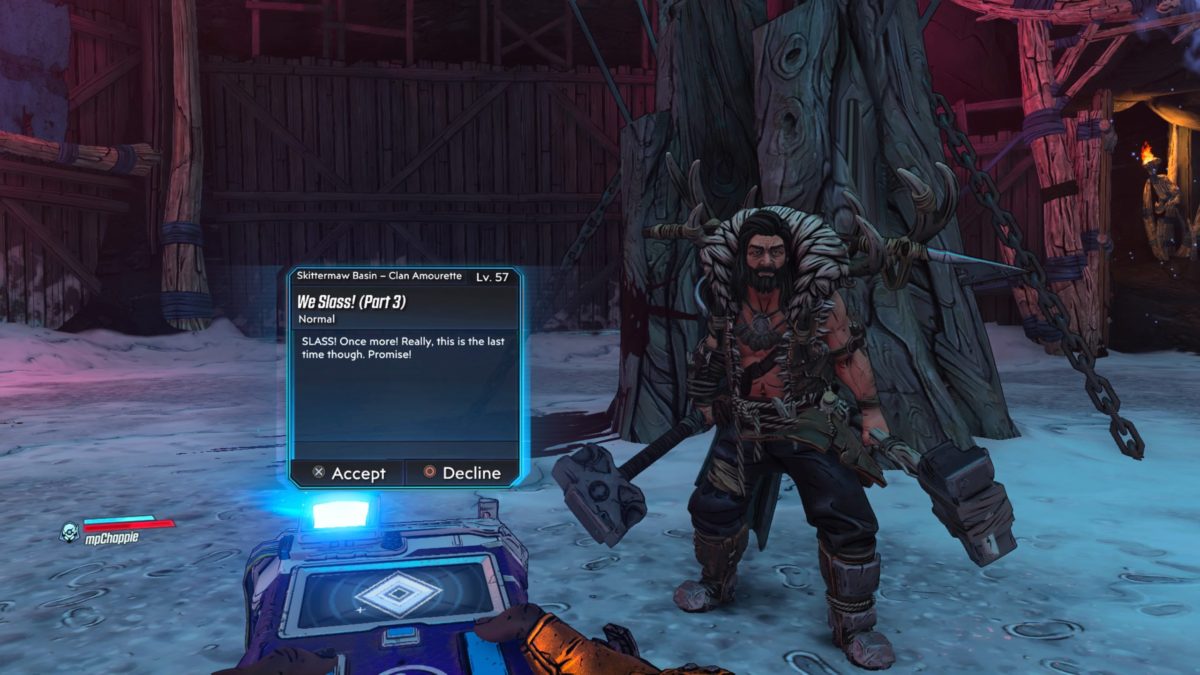
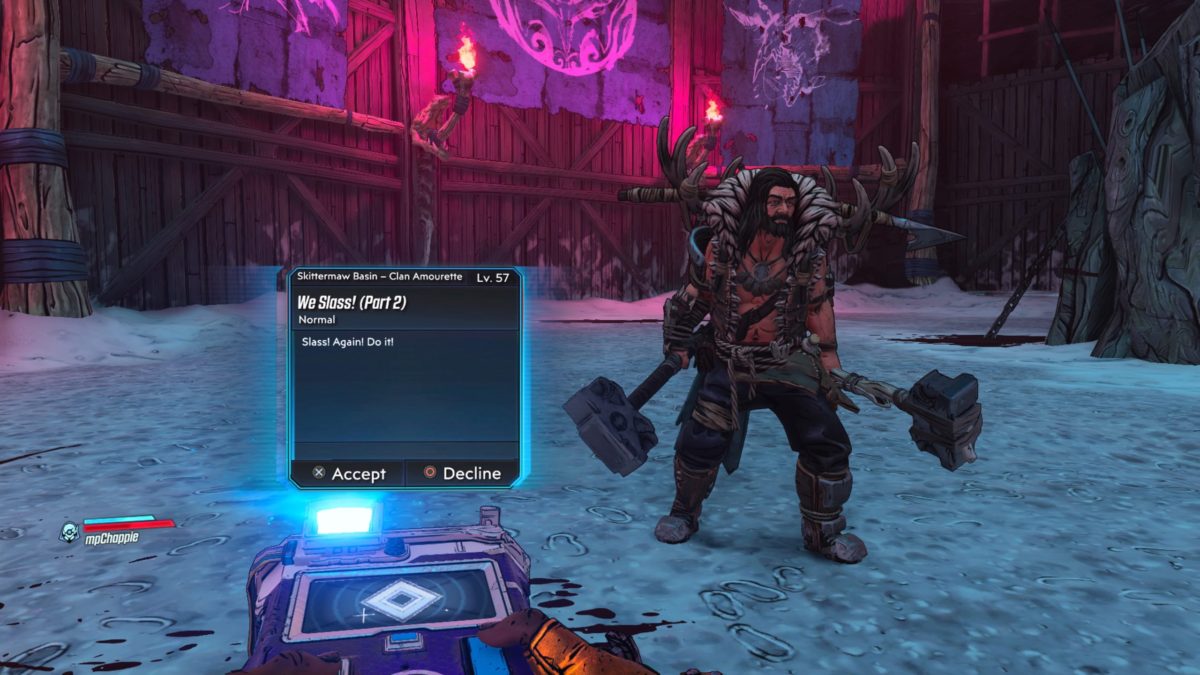
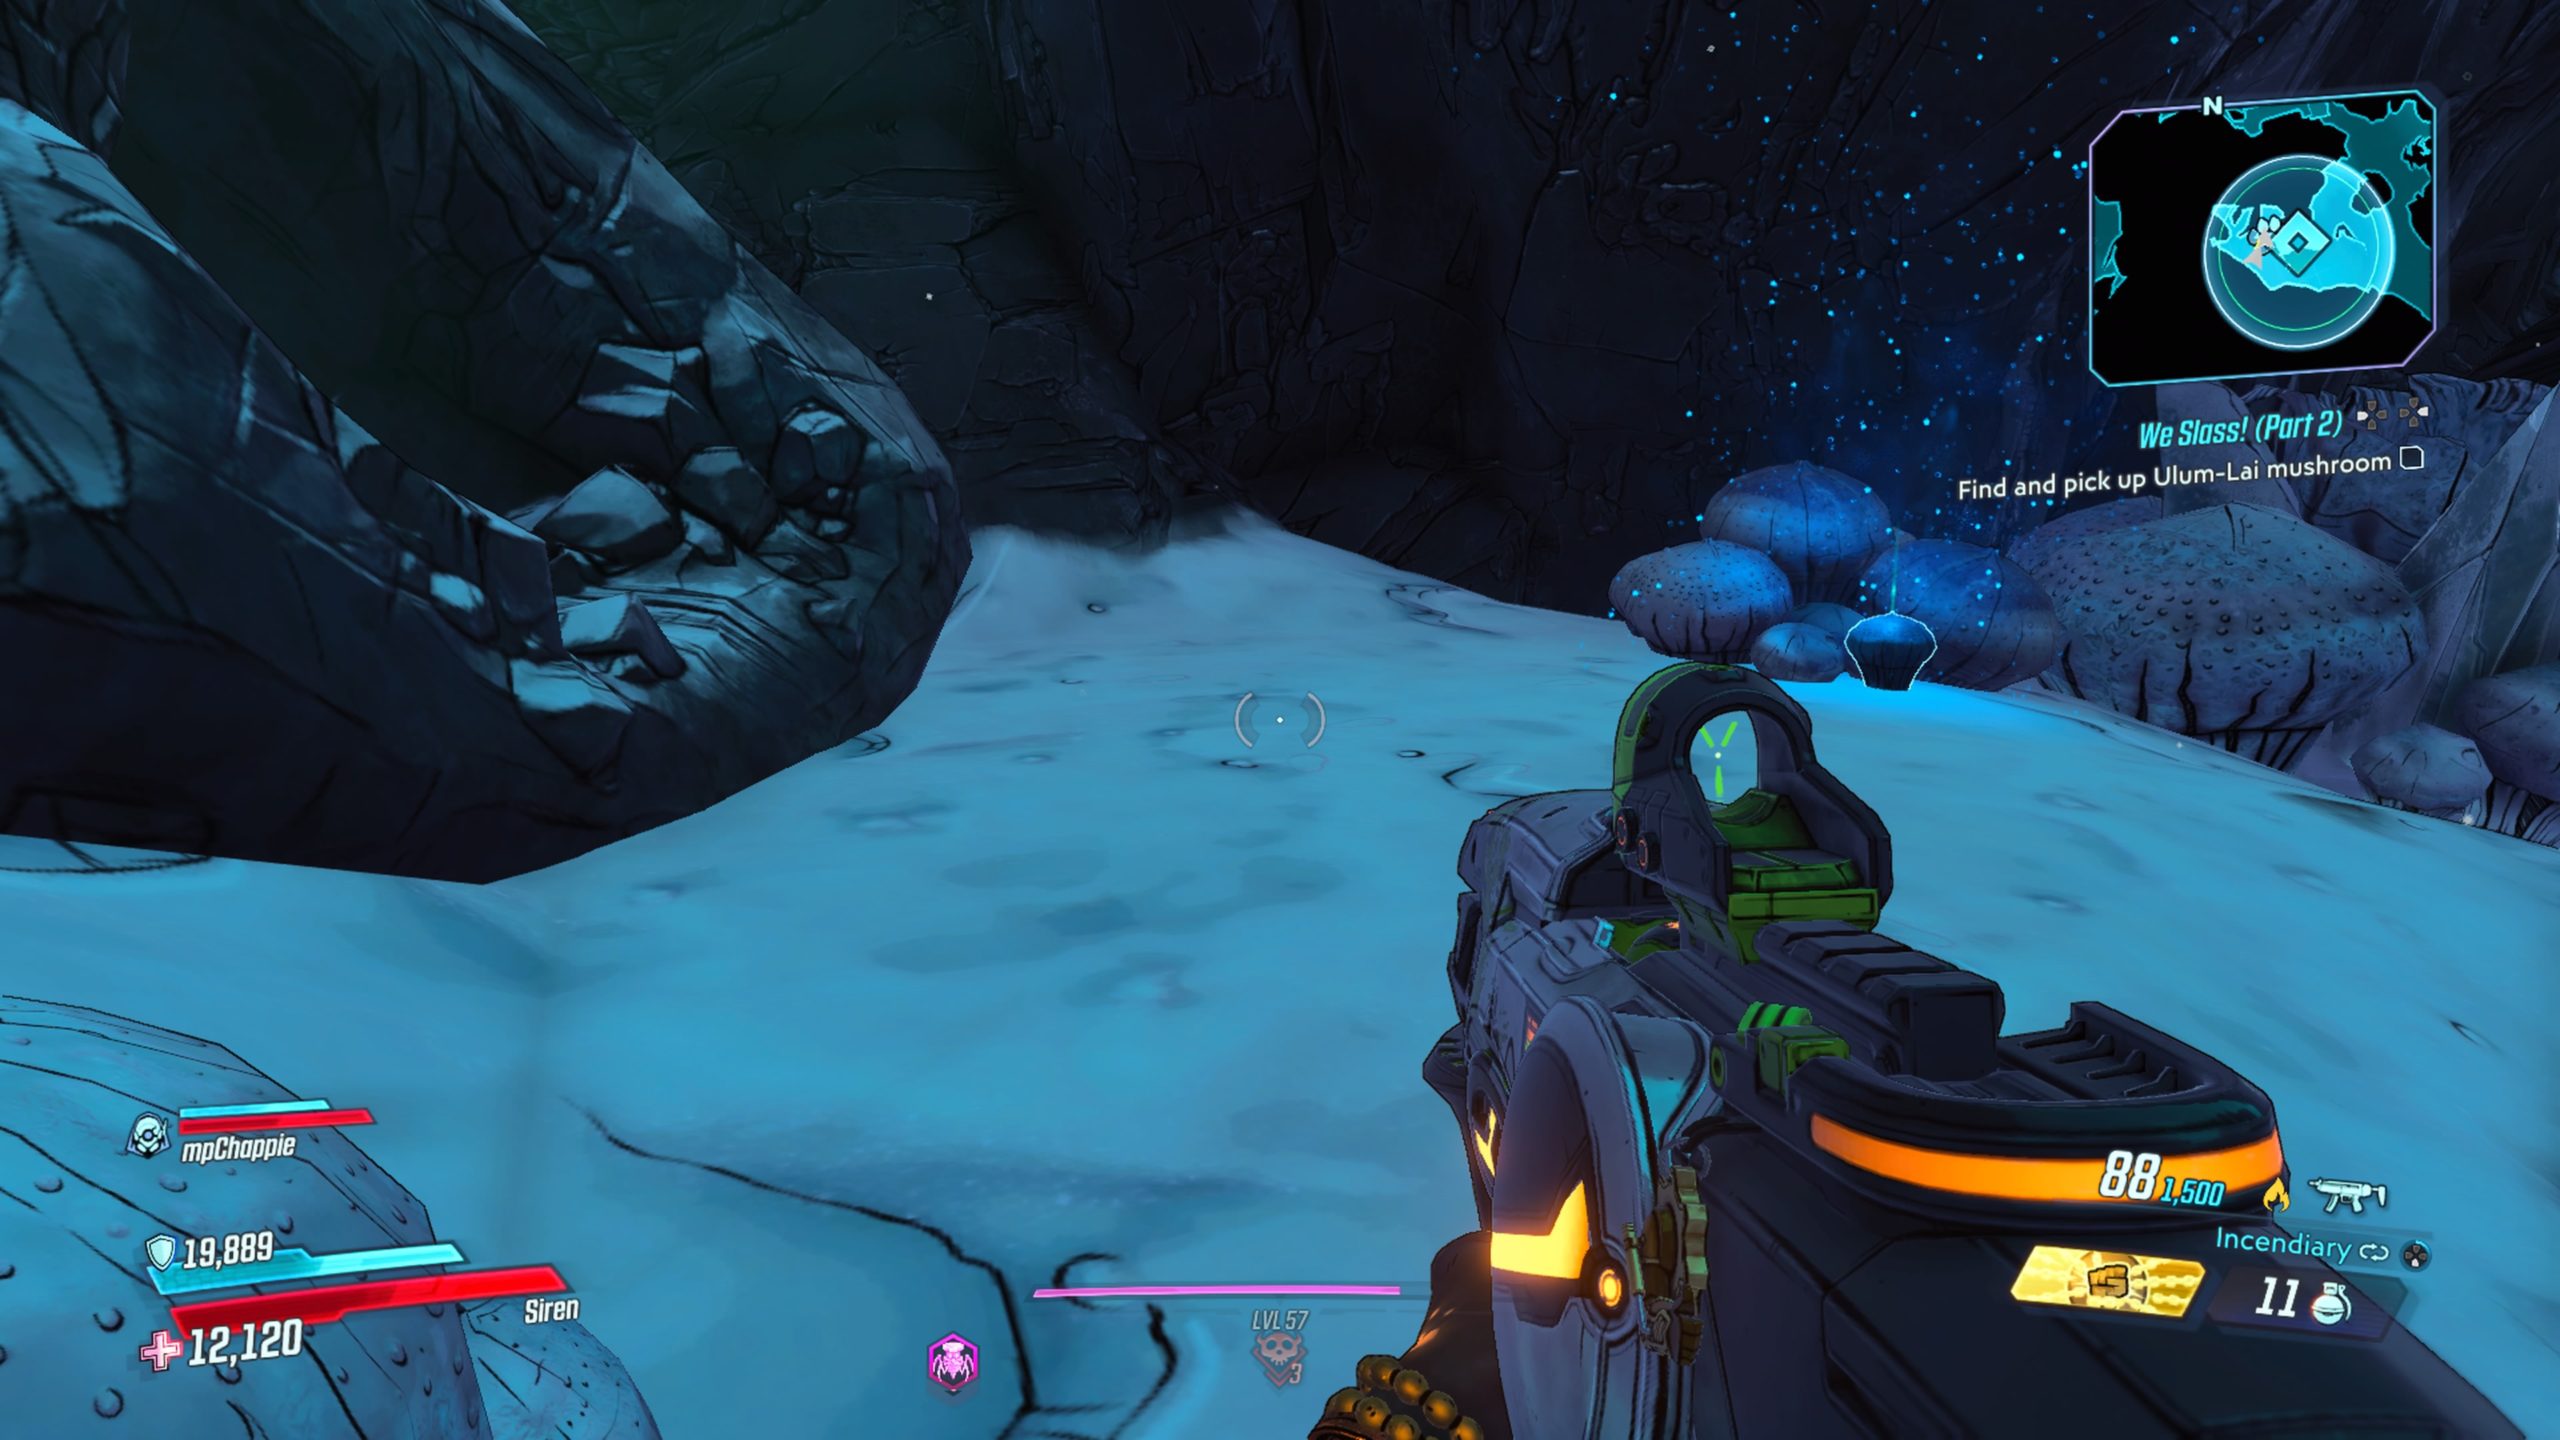
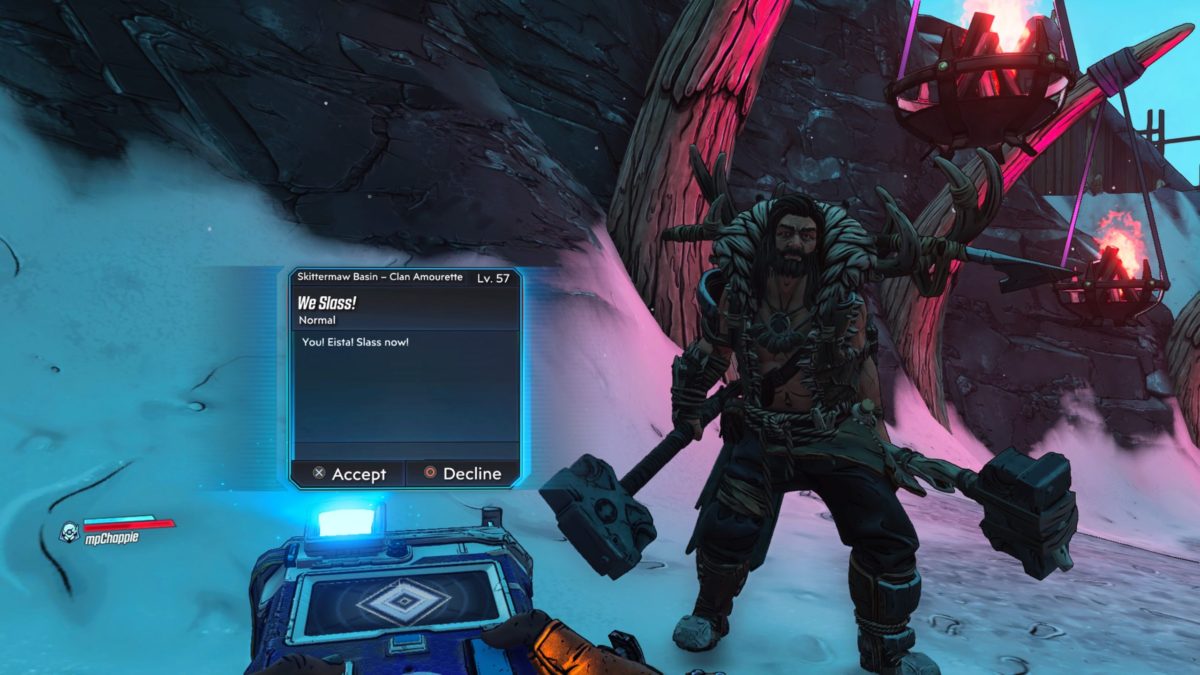
Obtained: Speak with Eista after completing We Slass! (Part 2) and defeating Eleanor and the Heart.
Pick up Kormathi-Kusai Eggs
Head to the Heart’s Desire – What Beats Beneath fast travel point and follow the objective through The Carrion Tunnels and into Gythian’s Chancel. Pick up 12 eggs laying around.
Obtained: Interact with the arm sticking out of the snow during the On the Mountain of Mayhem main mission.
Take AI Chip
Take the AI Chip from the arm.
Pick Up Dynamite
Follow the objective south to obtain the dynamite. To reach it, you will need to use the rubble on the side of the cliff.
Place Dynamite
Place the dynamite at the entrance of the sealed cave.
Shoot Dynamite
Well just shoot it already!
Discover Source of Madness
Head into the cave and defeat the Shot-Goths. Pick up the Captain Dyer ECHO Log 1 dropped by the enemies. Afterwards, head to higher ground to slam down on the breakable wooden planks. At the bottom of the shaft, work your way forward until you reach the dead end. Melee the frozen guy’s arm to obtain the second ECHO Log. After the dialog, break the barricade to continue forward.
Kill Shot-Goths
Defeat the enemies.
Pick up ECHO Log
Pick up the third ECHO Log at the base of the crystal in the center of the room.
Destroy Crystal
Place the chip in the console then kill Captain Dyer. Next you’ll have to overcharge the laser by pressing the button on the console to complete the quest.
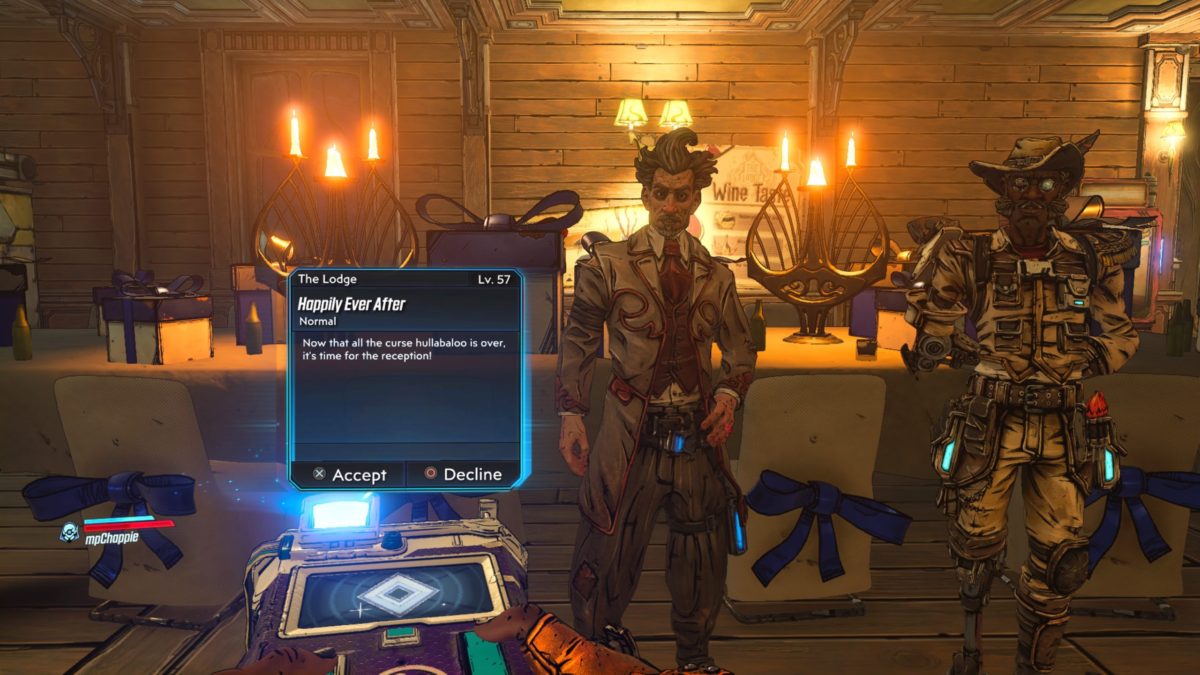
Obtained: Speak with Eista after completing The Horror in the Woods main mission
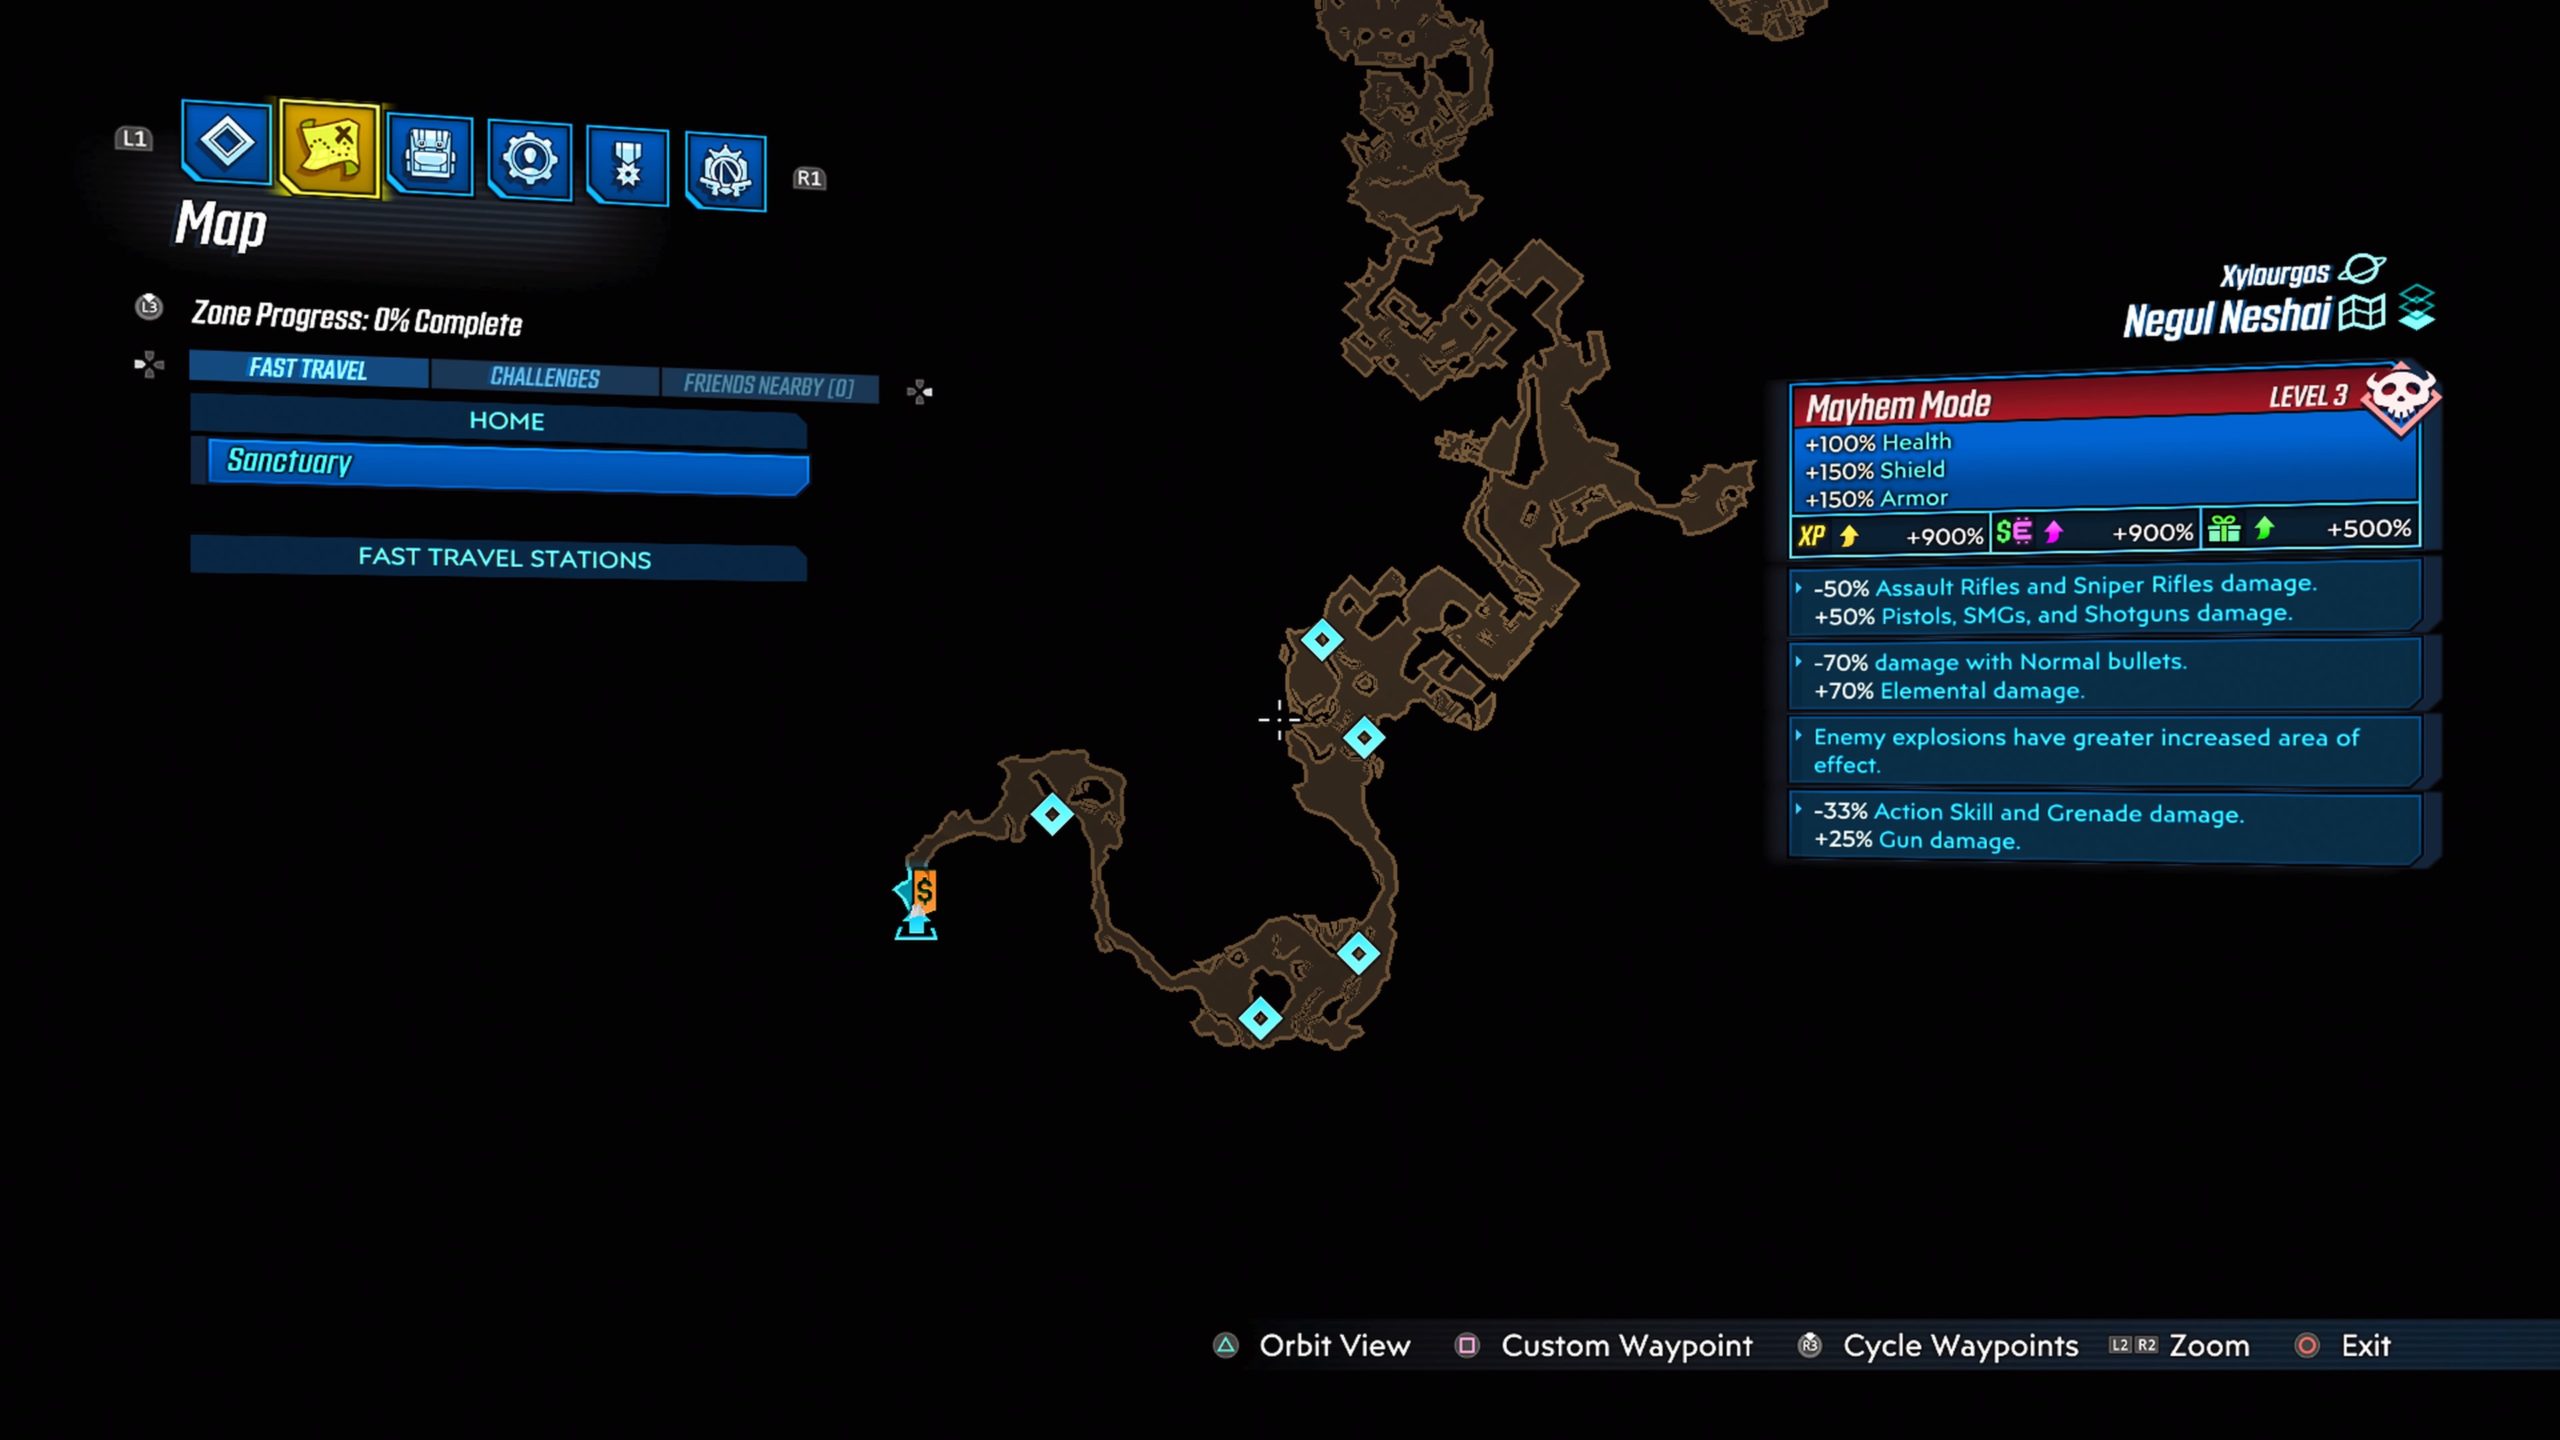
Pick up Flowers
Head to Negul Neshai to collect 5 flowers.
Return to Eista
Head back to Skittermaw Basin and speak with Eista.
Follow Eista
Follow Eista into a newly opened door.
Give Flowers
Once you drop down the hole, Eista will ask for the flowers. Hand over the bouquet.
Fight Eista
Defeat a powered up Eista!
Revive Eista
Help your friend up!
Go to Armory
Head to the armory and check out all the goodies to complete the quest.
Search
This site uses cookies. By continuing to use this website, you are giving consent to cookies being used. For more information on cookies, view our Privacy Policy.OkPrivacy Policy