Obtained: Speak with Mancubus (obtainable anytime after getting The Horror in the Woods main mission)
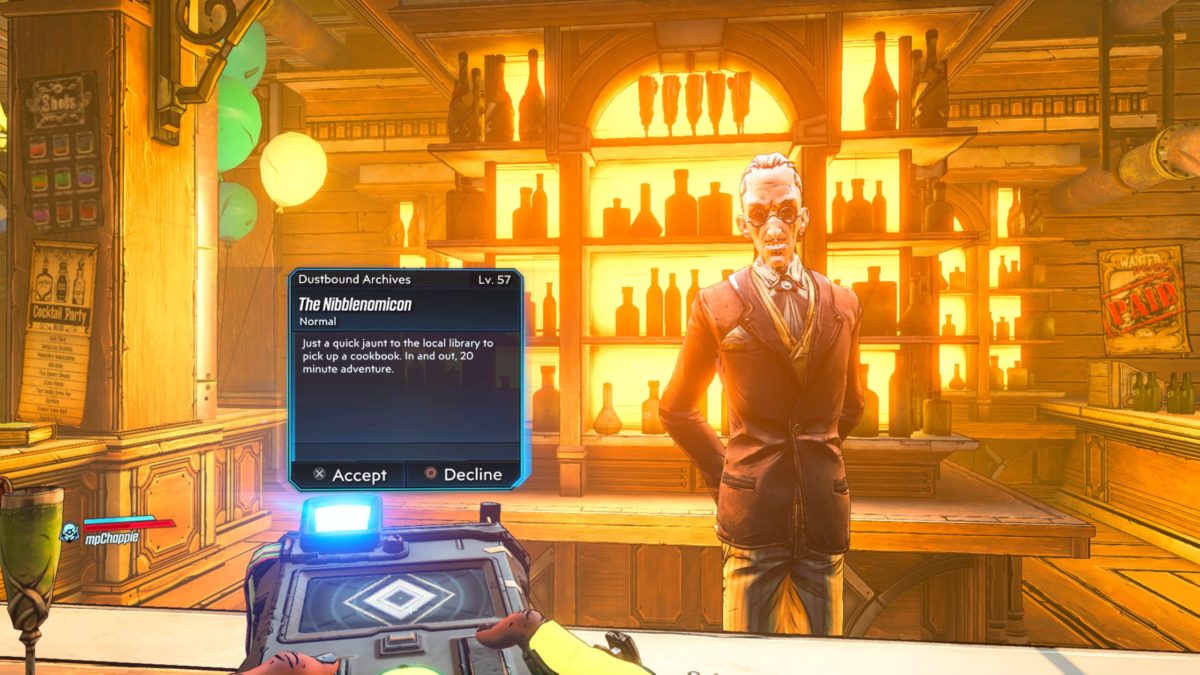
Talk to Harriet
Head to the Dustbound Archives and speak with Harriet at her desk.
Silence the Book Club
Head upstairs to the right of Harriet and follow the walkway around to defeat the brothers.
Pick up Library Card
Retrieve the library card dropped by one of the brothers.
Reach the Forbidden Stacks
According to Harriet, the book we are searching for is in the Forbidden Stacks so head north towards the objective. When you reach the objective, use the library card next to the gated door. Enter through the newly opened door.
Destroy Frozen Bodies
Melee the 5 frozen bodies clustered together.
Take Valve
Pick up the valve.
Place Valve
Place the valve in the barred room on the second floor. To reach this room, you will need to head through the red lit vent shaft on the second floor.
Shoot Pipe
Shoot the pipe above where the frozen bodies were multiple times to release a stream of fire.
Protect the Nibblenomicon
Defeat the enemies that spawn.
Pick up the Nibblenomicon
Pick up the book from the pedestal.
Talk to Harriet
Head back and speak with Harriet then hand over the book.
Kill What Was Once Harriet
Defeat Harriet.
Pick up the Nibblenomicon
Retrieve the book.
Return to Mancubus
Head back to the Lodge and talk with Mancubus.
Place the Nibblenomicon
Place the book on the bar.
Pick up Cilantro
Pick up the cilantro off the floor.
Add a Tbsp of Cilantro
Place the cilantro in the cauldron hanging over the fire.
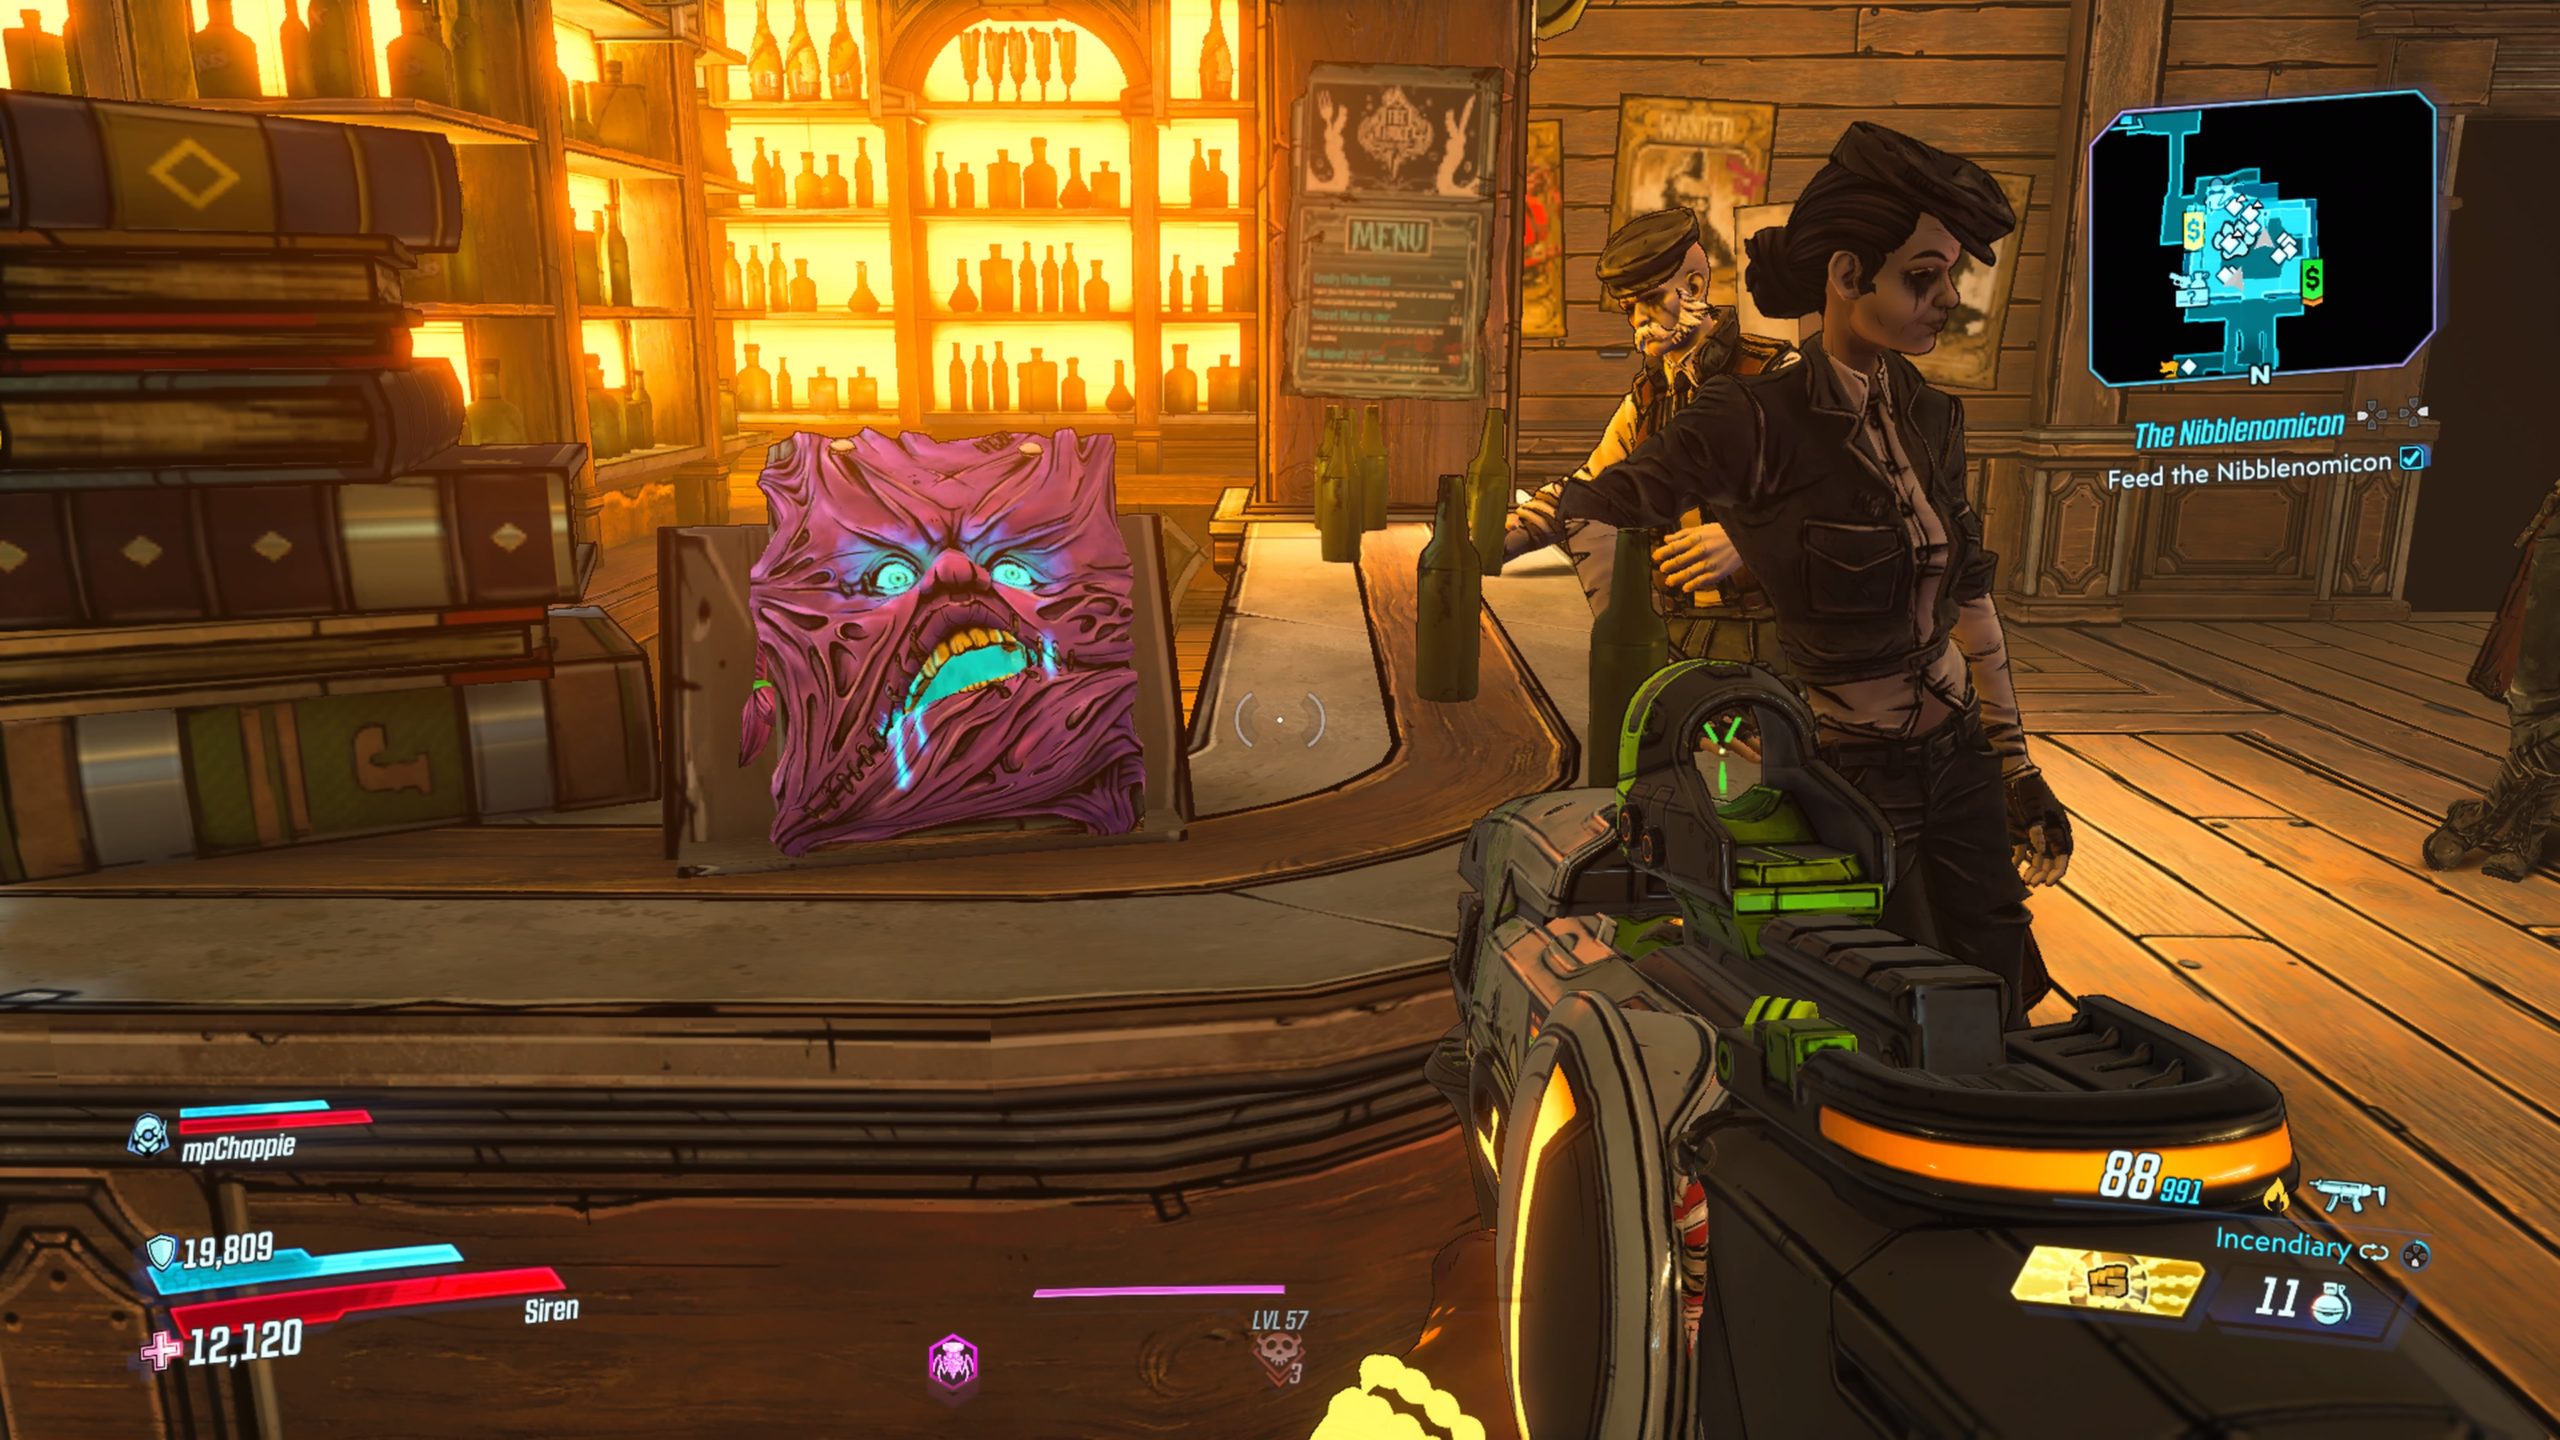
Sample the Xylourgos Queso
Pick up the cheese from the cauldron and feed it to the book to complete the quest.
Obtained: Speak with Burton after completing the Cold Case: Buried Questions side mission
Enter Gunsmith Shop
Head into Hartford’s shop.
Place Box on Table
Place the box where indicated on the table and wait for him to inspect it.
Take Seventh Sense
Grab the gun from Burton.
Look at the Corner through Seventh Sense
Look at the corner of the room through the scope of the gun.
Go to Dustbound Archives
Travel to the Dustbound Archives!
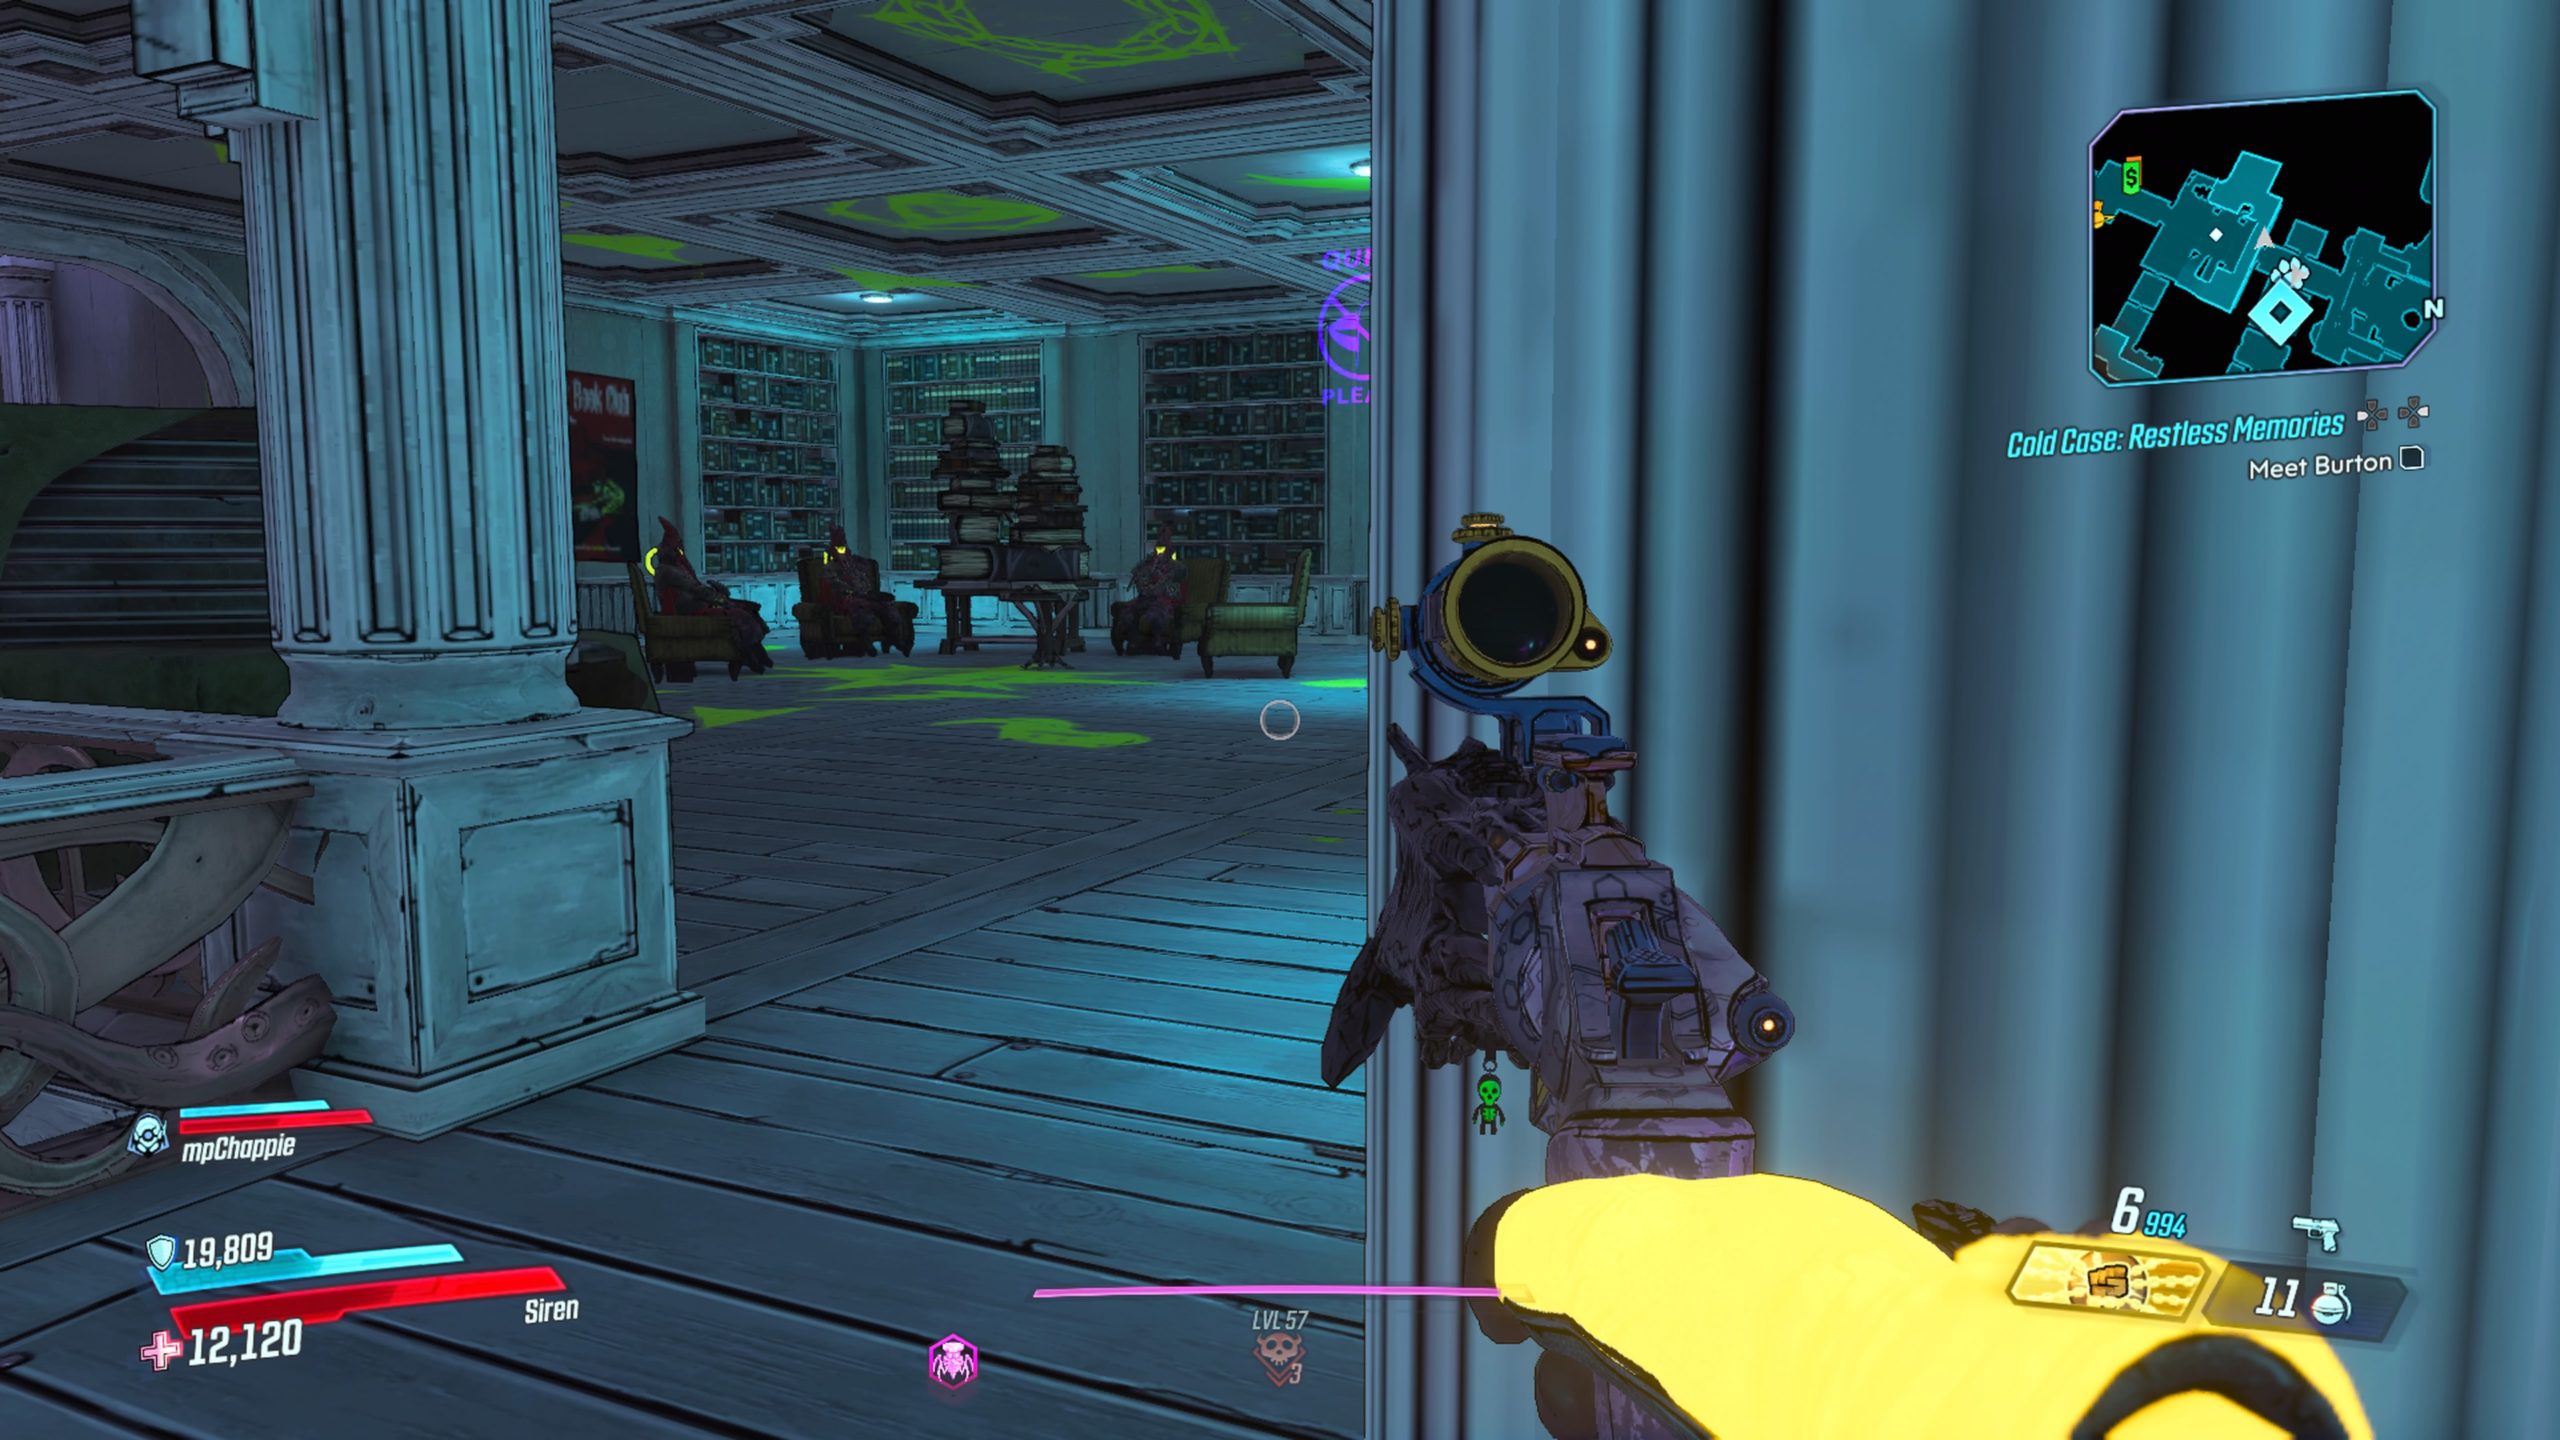
Meet Burton
Head into the library and follow the path straight past Harriet. Go into the next room to find Burton on the right side.
Kill the Bonded
Defeat all the enemies in the room Burton unlocks.
Get through the Door
Use the Seventh Sense’s scope to see glowing, spinning orbs. Shoot the orbs with the gun to open the door.
Find the Art Gallery
Use the pistol’s scope to maneuver around the room with invisible barriers. Once you make it out of the room, proceed down the long hallway to find the art gallery at the end.
Defend the Girl
Defeat all the enemies in the art gallery. These enemies will be invisible to the naked eye, so you will need to use the Seventh Sense’s scope to see them.
Approach the Girl
Once the enemies have been defeated, speak with the girl.
Approach Painting
To clear away the black fog in front of the painting, you will need to use the scope to shoot the glowing orbs.
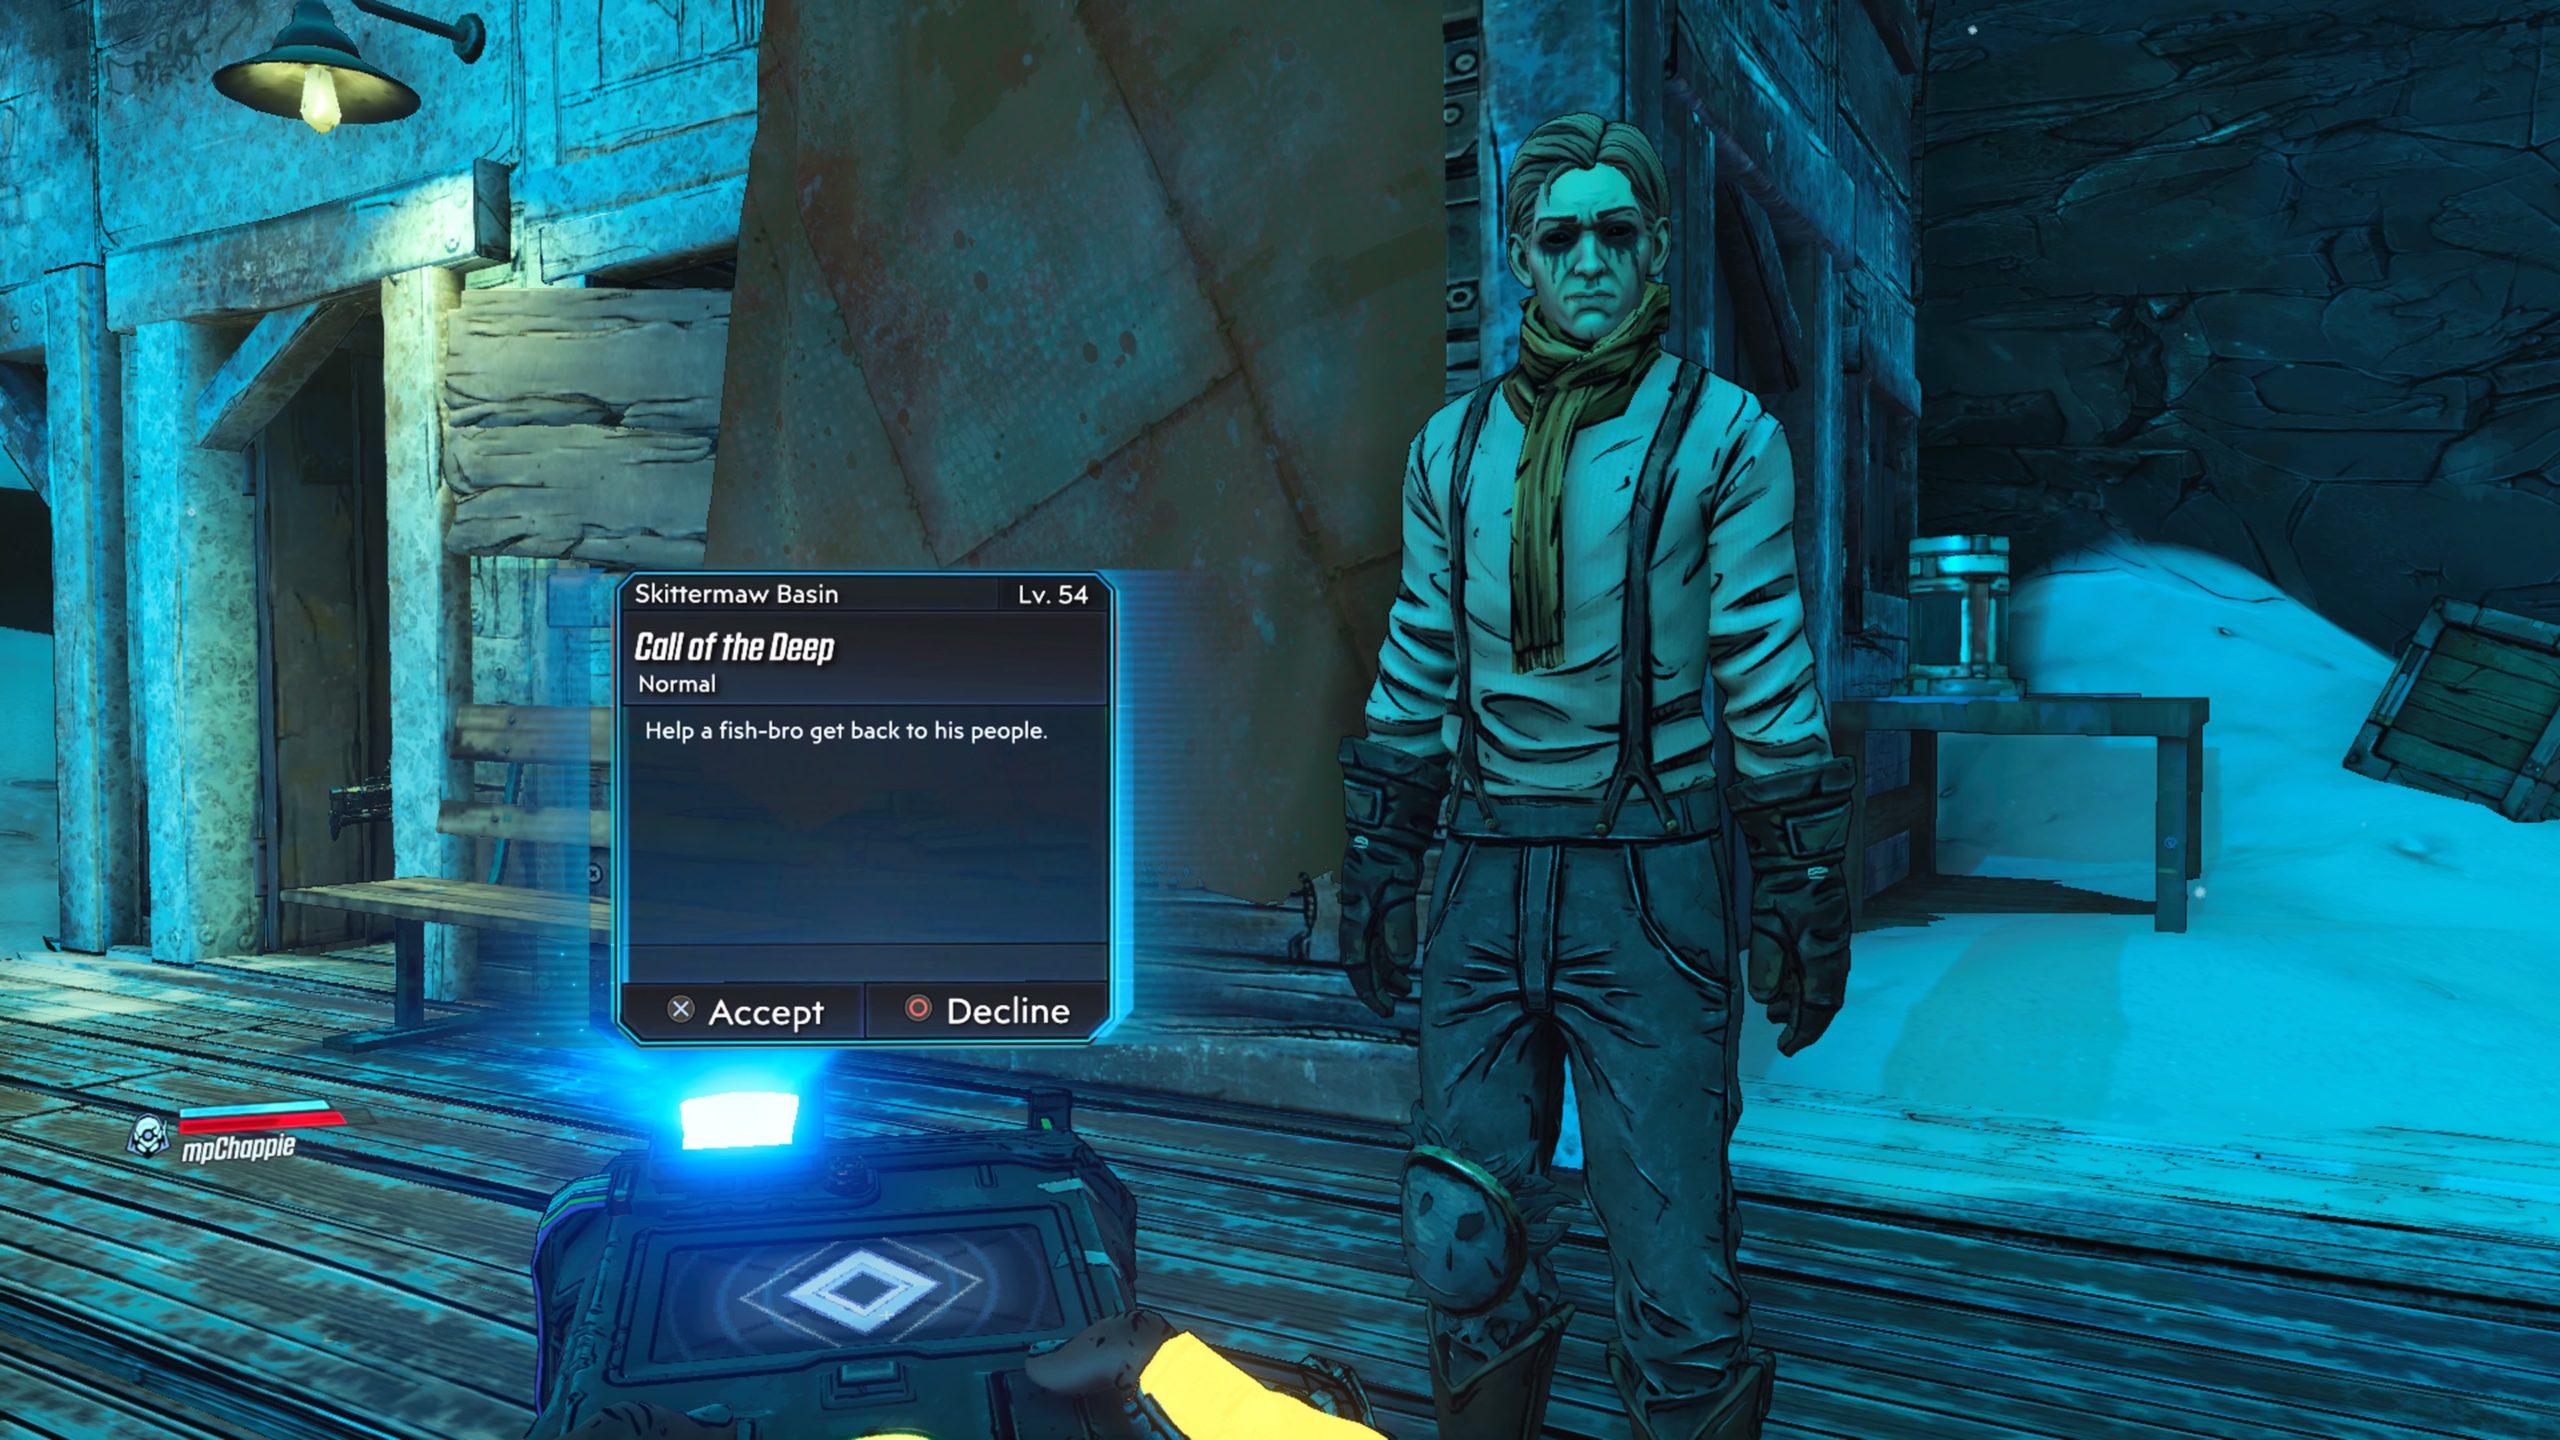
Obtained: Speak with Omen in the northwestern region (obtainable anytime after getting The Case of Wainwright Jakobs main mission)
Get Power Coil
Head to Nethes Mines in western Skittermaw Basin. Near the entrance to the mine, look for a long ladder on the side of a building. Climb up to the top and follow the pipes to reach a conveyor belt. Follow the belt to the end to find a generator with the power coil.
Return to Crane
Head back to the crane located near Omen in the northwest.
Place Power Coil
Once there, put the power coil in the crane.
Take Empty Blood Jar
Grab the jar from the table near Omen.
Kill all Kriches in Cave
Defeat all the enemies in the cave!
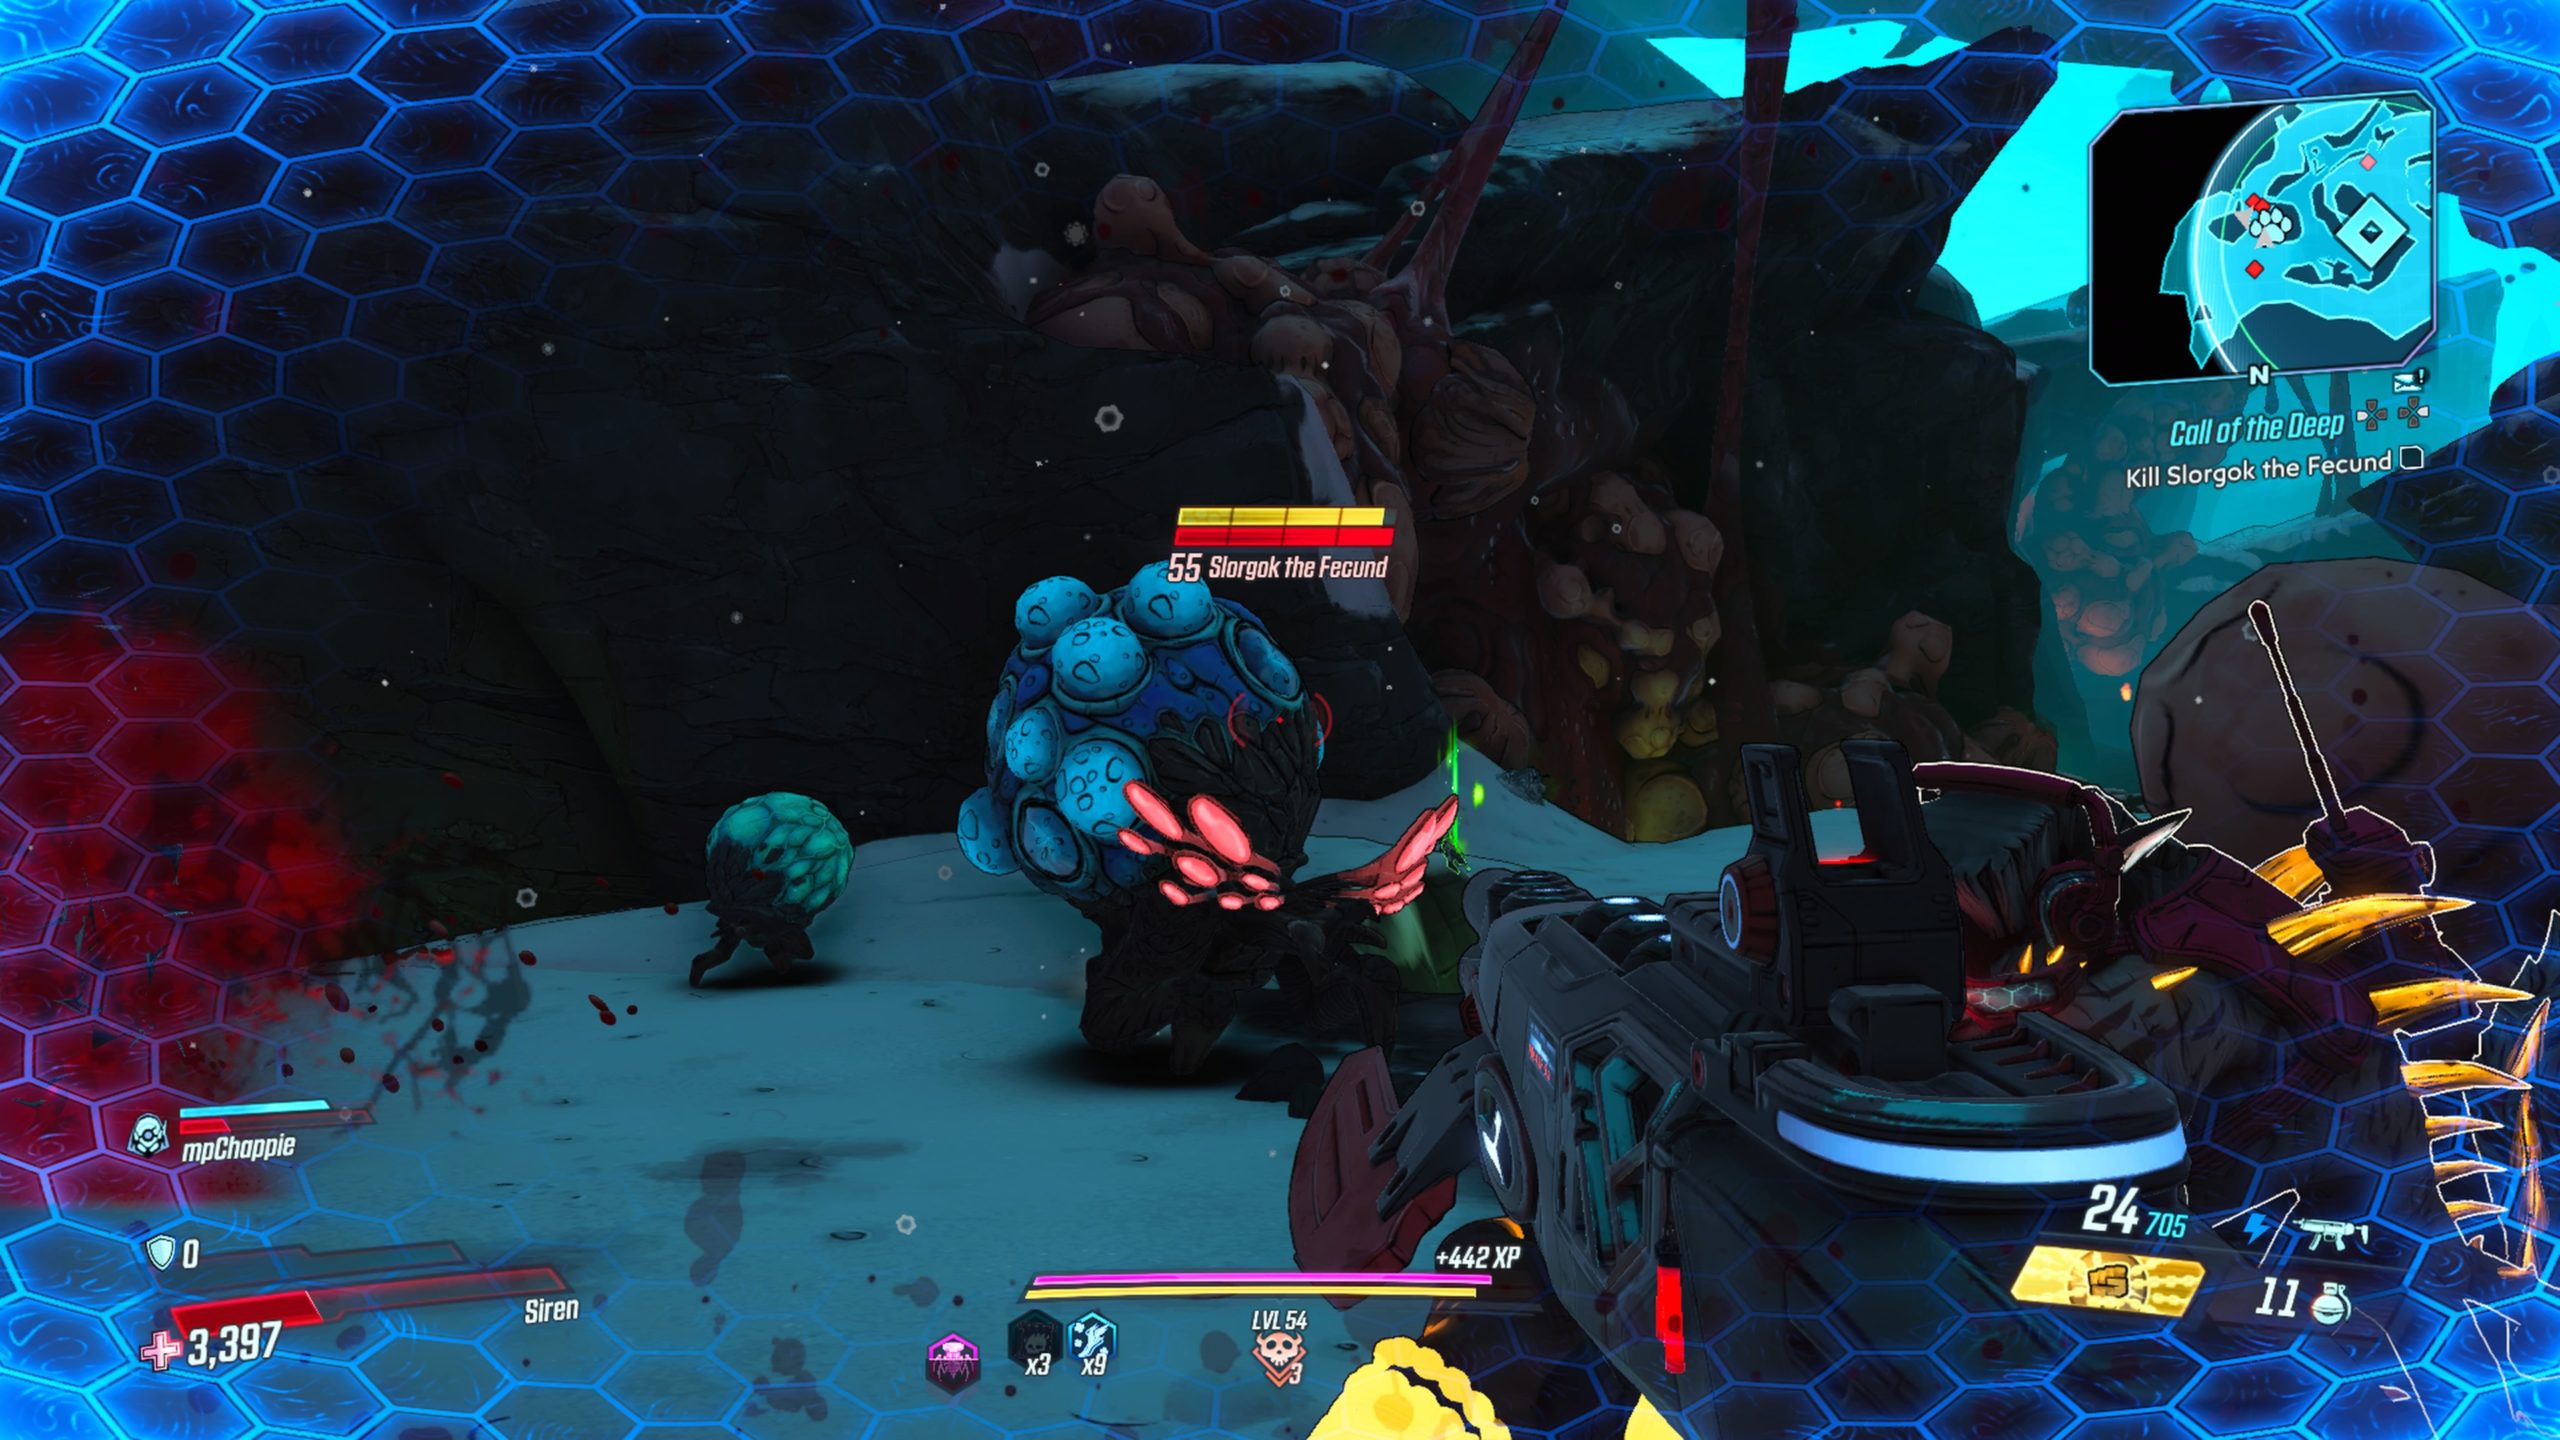
Kill Slorgok the Fecund
Defeat Slorgok the Fecund!
Get Krich Flesh
Pick up the meet dropped from Slorgok the Fecund.
Get Gythian Blood
Place the jar where indicated to fill the empty blood jar then retrieve it when it’s full.
Meet Omen at Fishing Hole
Return to Omen in the northwest and speak with him.
Place Flesh on Hook
Do as he says!
Place Gythian Blood
Place the blood jar where indicated on the ice.
Back Away from Blood
Move a safe distance away then shoot the jar.
Defend Omen
Defeat all the enemies!
Give Omen a Hand
Head back and interact with Omen to help him.
Defend Omen
Defend him once again as more enemies spawn.
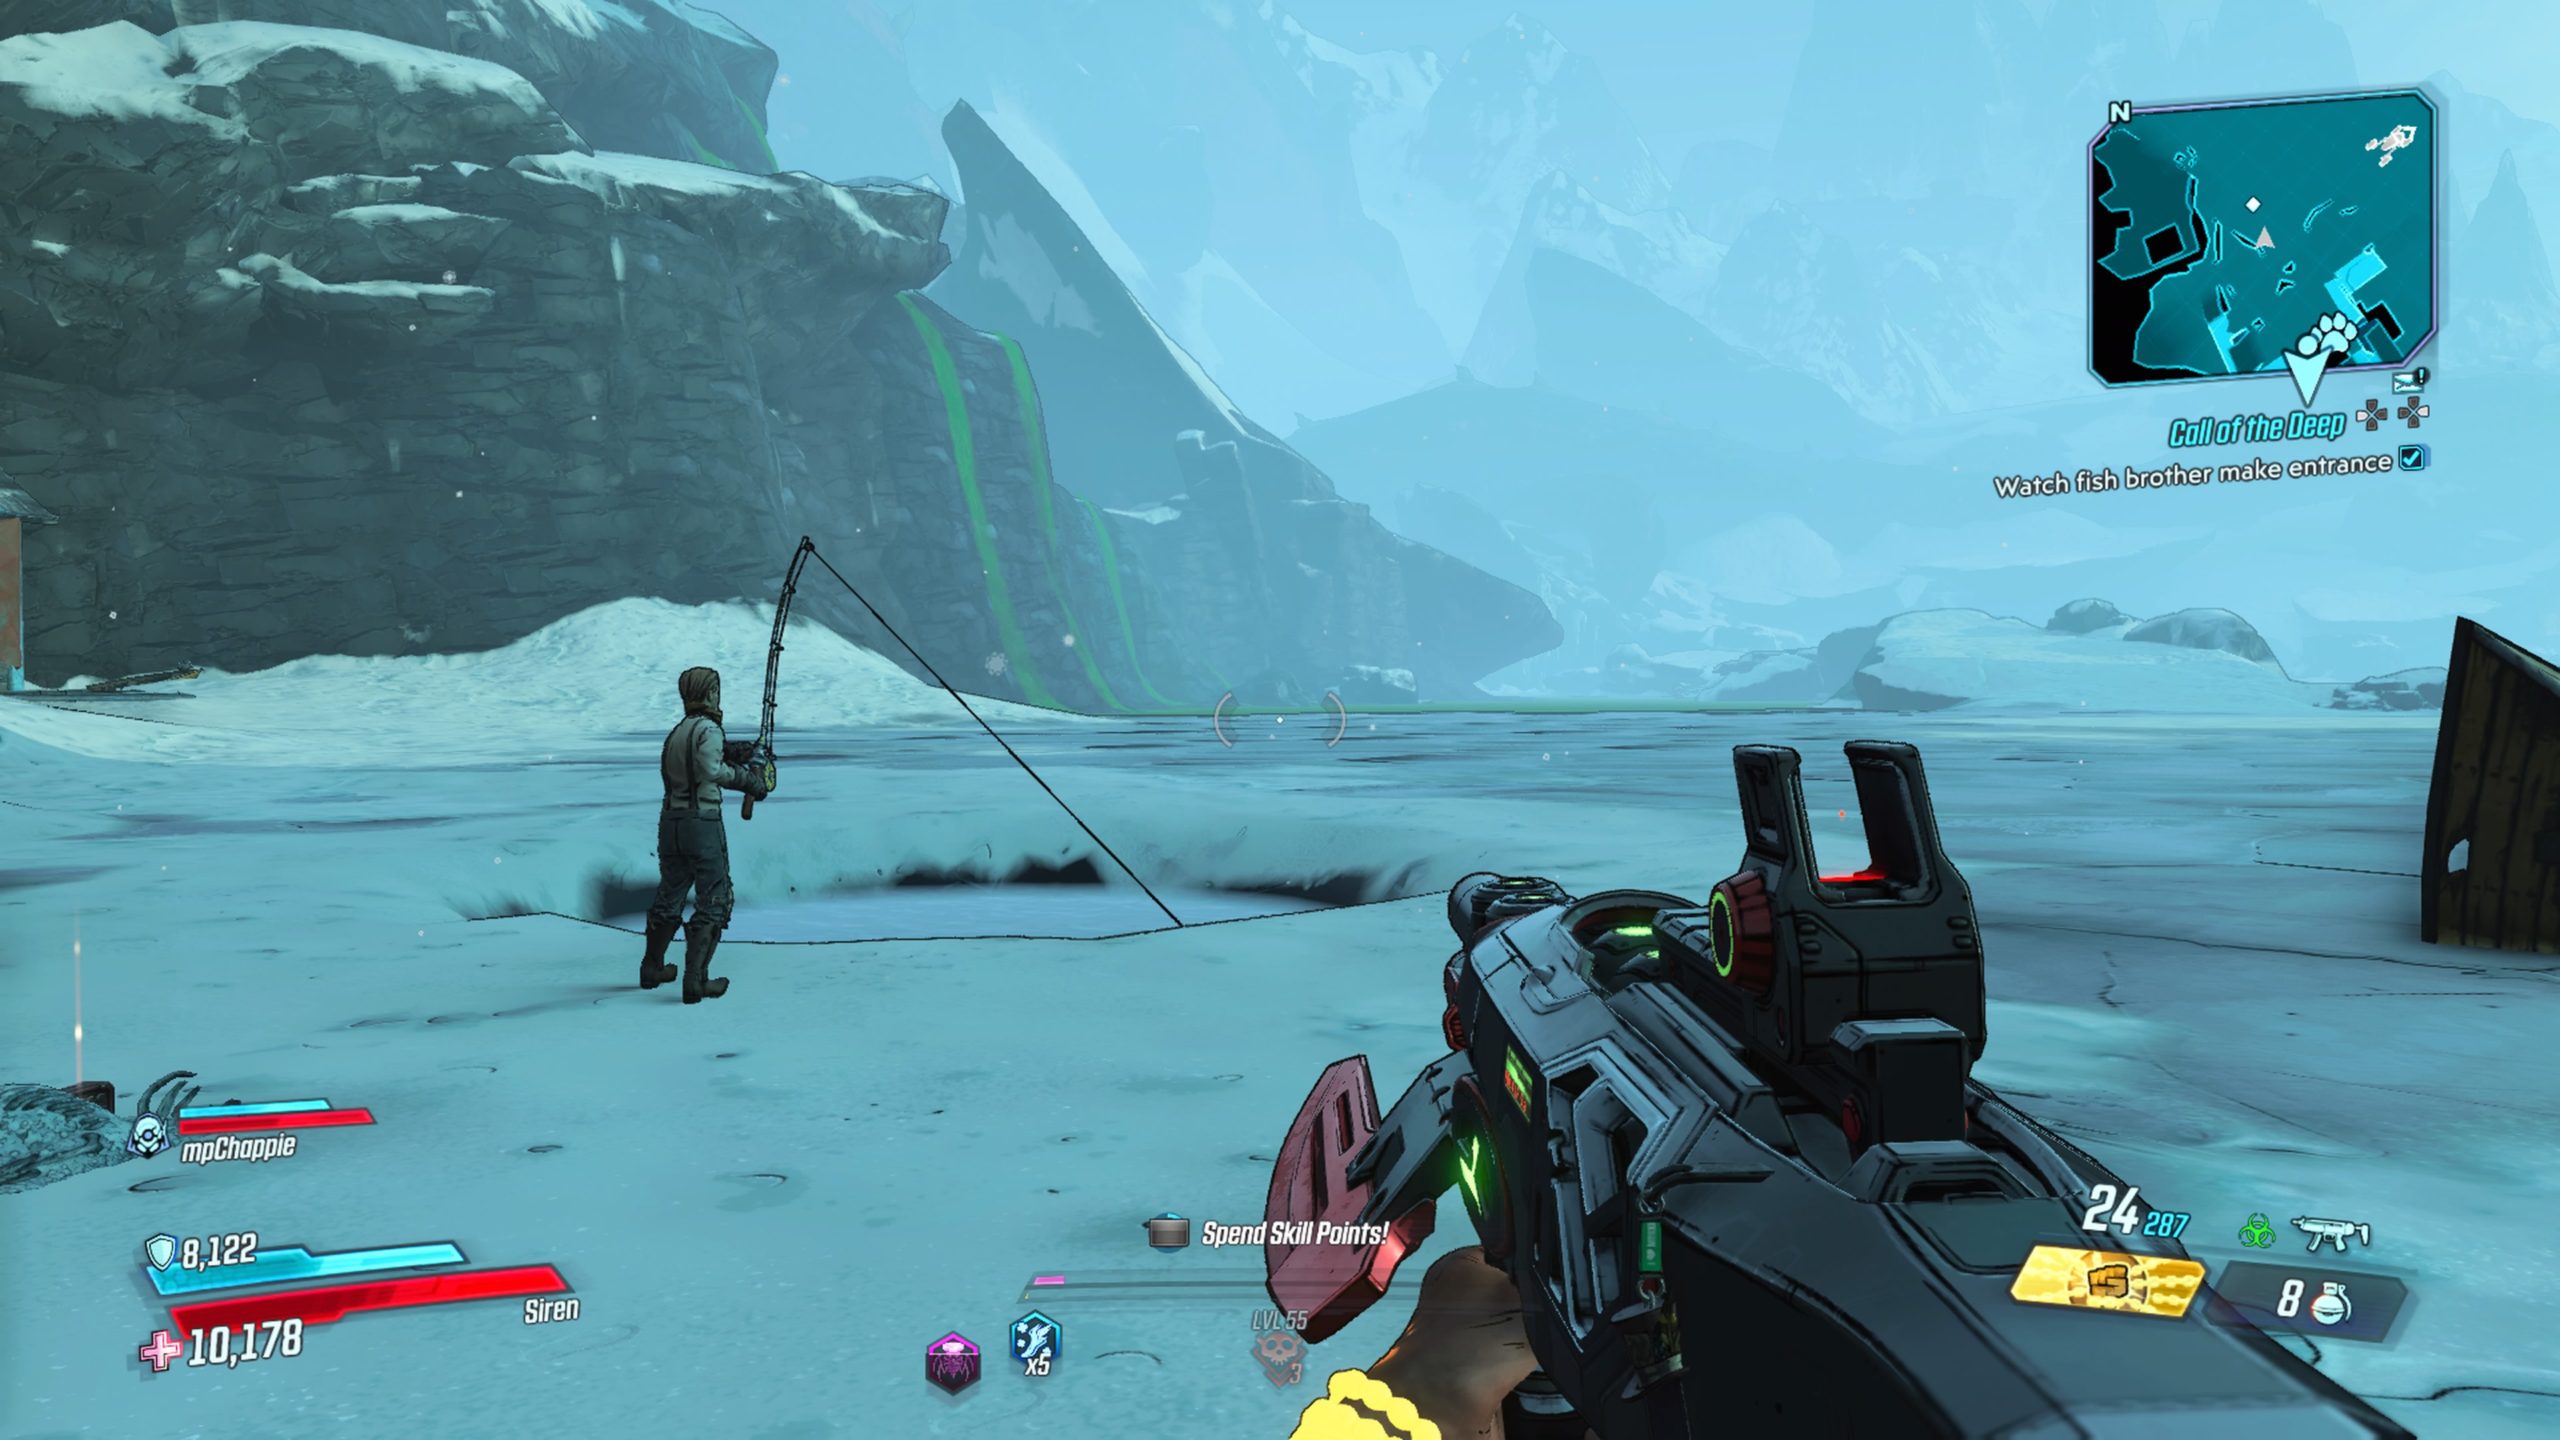
Watch Fish Brother Make Entrance
Stand back and watch the show!
Get Fish
Follow the fish up the mountain to retrieve it.
Place Fish in Omen’s Hut
Return to Omen’s hut and place the fish where indicated on the table.
Exit Hut
Leave the hut so Omen can prepare then wait.
Get Headlights
Retrieve the two headlights from Omen’s fishing boat.
Attach Headlights
Attach both headlights to the fish’s eyes.
Escort Omen to Cage
Walk with Omen up the slight hill then close the cage to trap him in it.
Lower Omen to his Destiny
Activate the crane to lower the cage into the lake.
*NOTE: Before leaving, wait for the crane to return from the depths. It will contain a chest!
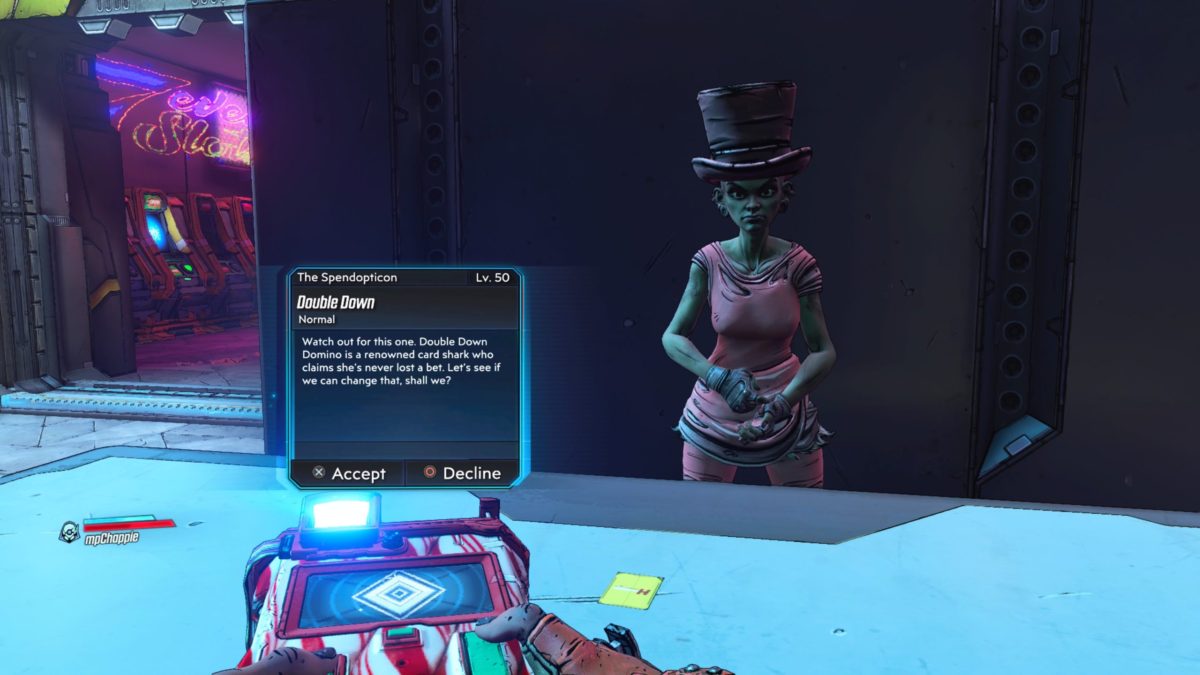
Obtained: Talk to the lady behind the desk in Swindler’s Green near Casa de Timothy
Objective(s):
Watch the Trick
Find the King of Hearts
Shoot the King of Clubs
Shoot the King of Spades
Shoot the King of Diamonds
Go to Impound Deluxe
Jump 100 Meters
Go to Spa
Find Replacement
Melee Jack Statue’s Head
Replace Head
Deface Jack Statue
Clear the Spa Patrol
Return to Double Down Domino
Kill Double Down Domino
Pick up ECHO Log
Go to Trashlantis
Find Shark
Kill Shark
Pick up ECHO Log
Watch the Trick
Watch what she does.
Find the King of Hearts
The king of hearts is hidden behind the lady’s hat.
Shoot the King of Clubs
The card is located in the leaves next to the Market District sign.
Shoot the King of Spades
The card is located on the wall behind the lady in a grate.
Shoot the King of Diamonds
The card is located across from the lady at the heel of the Jack statue.
Go to Impound Deluxe
Fast travel to the Impound Deluxe.
Jump 100 Meters
Follow the objective to the north central part of Impound Deluxe. Once there, shoot the cap on the metal tube to release a stream of air. Use this to jump the gap to the platform in the distance.
Go to Spa
Head to Silky’s Soak in the far north area of The Spendopticon.
Find Replacement
Head to the eastern side of Silky’s Soak to locate a toilet.
Melee Jack Statue’s Head
Head to the spa and melee Jack’s head. The statue is soaking in the middle of the pool.
Replace Head
Put the toilet on Jack’s head.
Deface Jack Statue
Putting the toilet on Jack’s head will automatically deface the statue.
Clear the Spa Patrol
Defeat the loaders.
Return to Double Down Domino
Head back to the lady to settle the score.
Kill Double Down Domino
Kill her!!
Pick up ECHO Log
Pick up the item she drops.
Go to Trashlantis
Head to Trashlantis in The Compactor.
Find Shark
Follow the objective to the southwest (The Bordel-o).
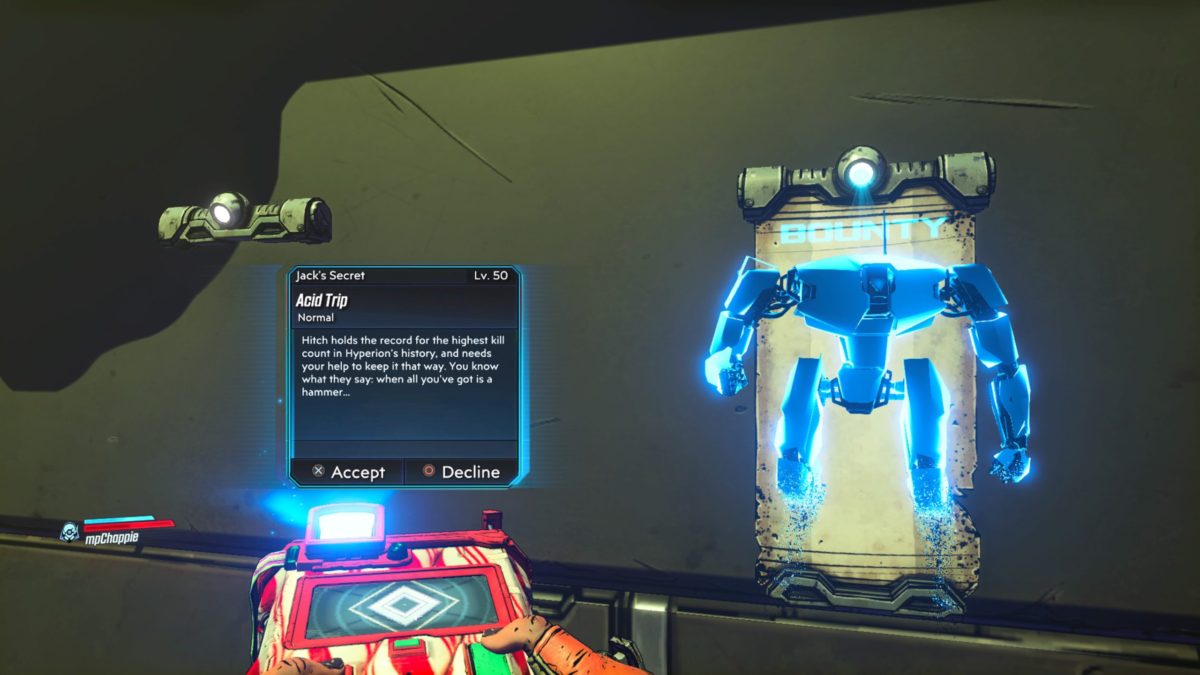
Obtained:Interact with the poster on the wall in Casa de Timothy (accessible during Jack’s Wild main story mission)
Objective(s):
Find R&D Lab
Clear R&D Lab
Activate Supercomputer
Free Prototypes
Destroy Prototypes
Free Facemelt
Destroy Facemelt
Find R&D Lab
Head to Tricksy Nick Slick Ditch then fast travel to Jack’s Secret (have to first unlock Jack’s Secret during the Jack’s Wild main story mission). The lab is in the Awesome Expensive Reactor area.
Clear R&D Lab
Defeat all the loaders in the lab.
Activate Supercomputer
Interact with the keyboard in the middle of the room.
Free Prototypes
Activate the two switches near the supercomputer.
Destroy Prototypes
Kill the two loaders.
Free Facemelt
Use the supercomputer to unleash the “Melter of Faces”.
Destroy Facemelt
Kill the loader. As Hitch says, the loader is immune to corrosive so use something else.
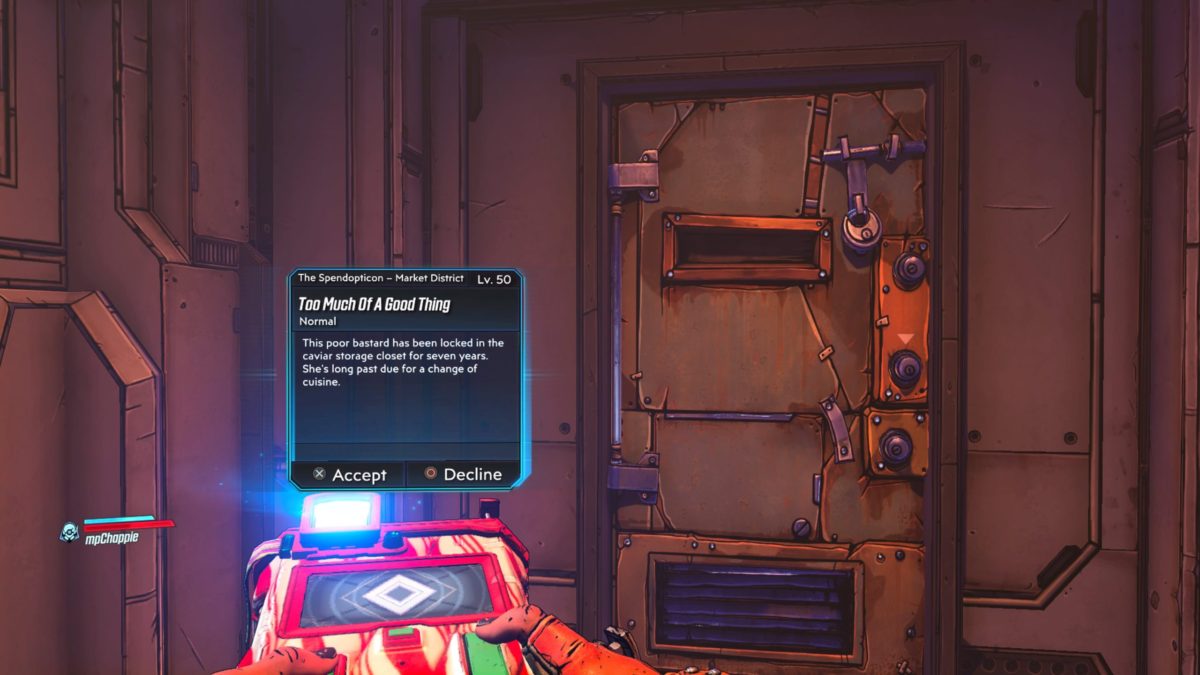
Location:The Handsome Jackpot – The Spendopticon (Market District)
Obtained: Talk to Tanya through the door of the Golden Lobster
Objective(s):
Find Bread
Find Peanut Butter
Find Jelly
Give PB&J to Tanya
Find Durian Ice Cream
Give Ice Cream to Tanya
Find the J-Spot
Kill the Fat Jackass
Pick up Human Spleen
Give Spleen to Tanya
Find Bread
The bread is located in the Golden Trough behind the counter on a cabinet of the Broken Wiener food stall.
Find Peanut Butter
The peanut butter is located in the Golden Trough behind the counter on a cabinet in the food stall with yellow neon lights.
Find Jelly
The jelly is located in the Golden Trough on the counter of the food stall with yellow neon lights.
Give PB&J to Tanya
Head back to Tanya and give her the most delicious sandwich ever!!! 🙂
Find Durian Ice Cream
Head back down to the Golden Trough and collect the ice cream from the ice chest in the drinks stall.
Give Ice Cream to Tanya
Head back up and give the yummy, yummy ice cream to Tanya.
Find the J-Spot
Head to the objective located in the western part of the Market District.
Kill the Fat Jackass
Better do as the lady says…kill the jackass!
Pick up Human Spleen
Pick up the item dropped by the Fat Jackass.
Give Spleen to Tanya
Head back to Tanya (the cannibal) and give her what she wants.
Search
This site uses cookies. By continuing to use this website, you are giving consent to cookies being used. For more information on cookies, view our Privacy Policy.OkPrivacy Policy