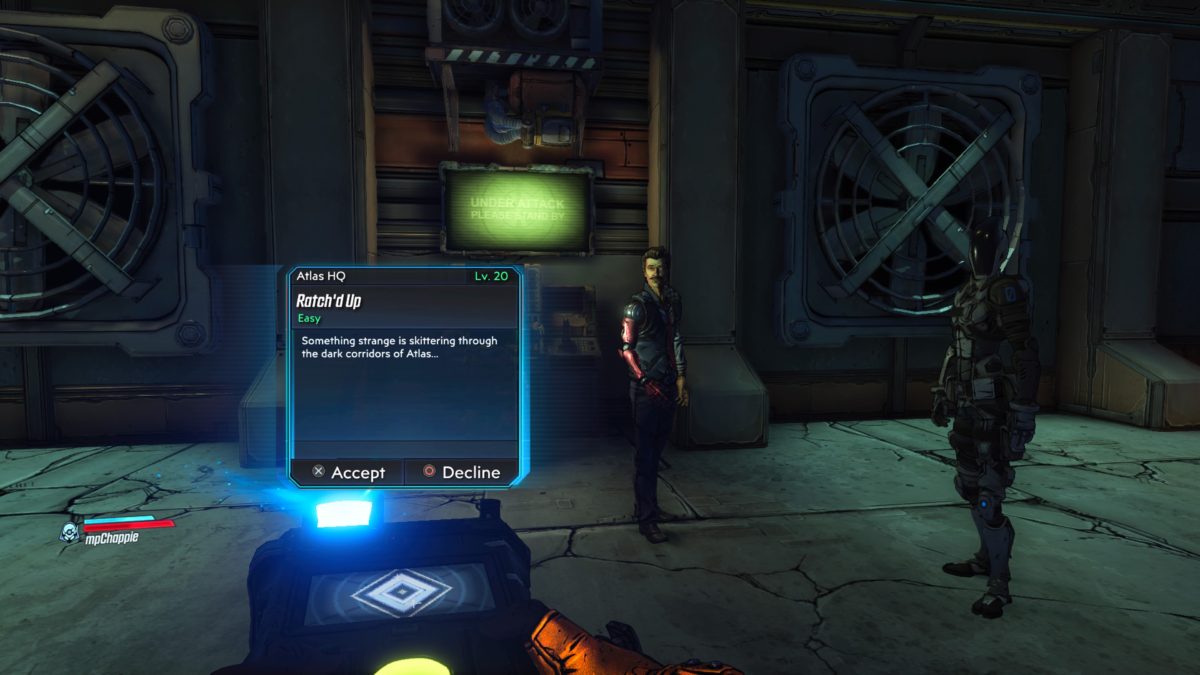
Obtained:Talk to Rhys in Atlas HQ after completing the Atlas, at Last main mission.
Objective(s):
Find Terry
Search for Clues
Search Secret Area
Investigate Voice
Open Glenn’s Cell
Eliminate Ratch Threat
Talk to Glenn
Pick Up Terry’s Brain
Lower Cage
Kill Gary
Place Terry’s Brain
Resurrect Terry
Talk to Terry
Talk to Glenn
Find Terry
Head to the second level of Lobby of Self-Actualization and enter Terry’s Office.
Search for Clues
Press the green button behind the XXX jug next to the stereo on the table.
Search Secret Area
Enter the super secret area via the secret entrance.
Investigate Voice
Head deeper into the lab until you hear a voice. Walk over to the locked red door.
Open Glenn’s Cell
Work your way further into the lab until you come to a room filled with Ratch. Eliminate the Ratch then head up to the second level of the room and press the button to free Glenn.
Eliminate Ratch Threat
Exterminate the Ratch.
Talk to Glenn
Exit the room and talk to Glenn.
Follow Glenn
Follow Glenn back into the room with the Ratch.
Pick Up Terry’s Brain
Collect Terry’s brain off the ground.
Lower Cage
Pull the lever next to the large cage containing Gary.
Kill Gary
Drop into Gary’s Pit and kill him before he eats you.
Place Terry’s Brain
Put Terry’s brain into the transfer tank in the room connected to Gary’s Pit.
Resurrect Terry
Press the button to bring Terry back as a Ratch.
Talk to Terry
Talk to Ratch Terry.
Talk to Glenn
Head back to Glenn and talk with him to complete the mission.
Obtained: Talk to Ava on Sanctuary after completing the Impending Storm main mission
Objective(s):
Go to Athenas
Retrieve Stuff
Retrieve More of Ava’s Stuff
Get Diary
Find Beans
Seriously, Find Beans
Not Kidding, Find Bean, It’s Super Important
Kill Beans
Find Hide-a-Key
Open Weapons Cache
Return to Sanctuary
Go to Ava’s Room
Return Ava’s Belongings
Talk to Ava
Go to Athenas
Head to Athenas to update the objective.
Retrieve Stuff
Follow the path forward to enter Stormhaven Square until you come to the first structure with vending machines in it. Collect Ava’s stuff from the trash pile.
Retrieve More of Ava’s Stuff
Keep following the path north to until you reach the first set of buildings leading into a small village. Collect Ava’s stuff that is lying on the ground.
Get Diary
Head through the village, dealing with the Maliwan soldiers as you go. Pass the bell to enter Windward Plaza and head up the small set of stairs. At the top, take a right and open the safe under a tree.
Find Beans
Keep following the path forward heading through another village filled with enemies. Pass another bell exiting the town to arrive in a search area. Look for a ripped page from Ava’s diary sitting on a couch and pick it up.
Seriously, Find Beans
Keep working your way down the path until you come to the part of Windward Plaza with a giant pipe running through it and part of the plaza will be submerged by water. Head through the water to reach the other side and up a flight of stairs. At the top of the stairs, take a right to find a really embarrassing page from Ava’s diary on a picnic table with a pink umbrella.
Not Kidding, Find Bean, It’s Super Important
Head to the Storm Brewin brewery located in the north-central area of the map. The next diary page is located on a table across from the bar counter.
Kill Beans
Go to the cemetery in Dido’s Remorse located east of the brewery to find Beans then take him out.
Find Hide-a-Key
Collect the key located on the east side of the cemetery next to an old run-down building along a fence.
Open Weapons Cache
Head south following the fence until you reach a lit wooden sign pointing to the Academic District. Head behind the sign and follow the rocky path to reach the cache. Open the cache.
Return to Sanctuary
Fast travel back to Sanctuary.
Go to Ava’s Room
Once at Sanctuary, head to Ava’s room near the bridge of the ship.
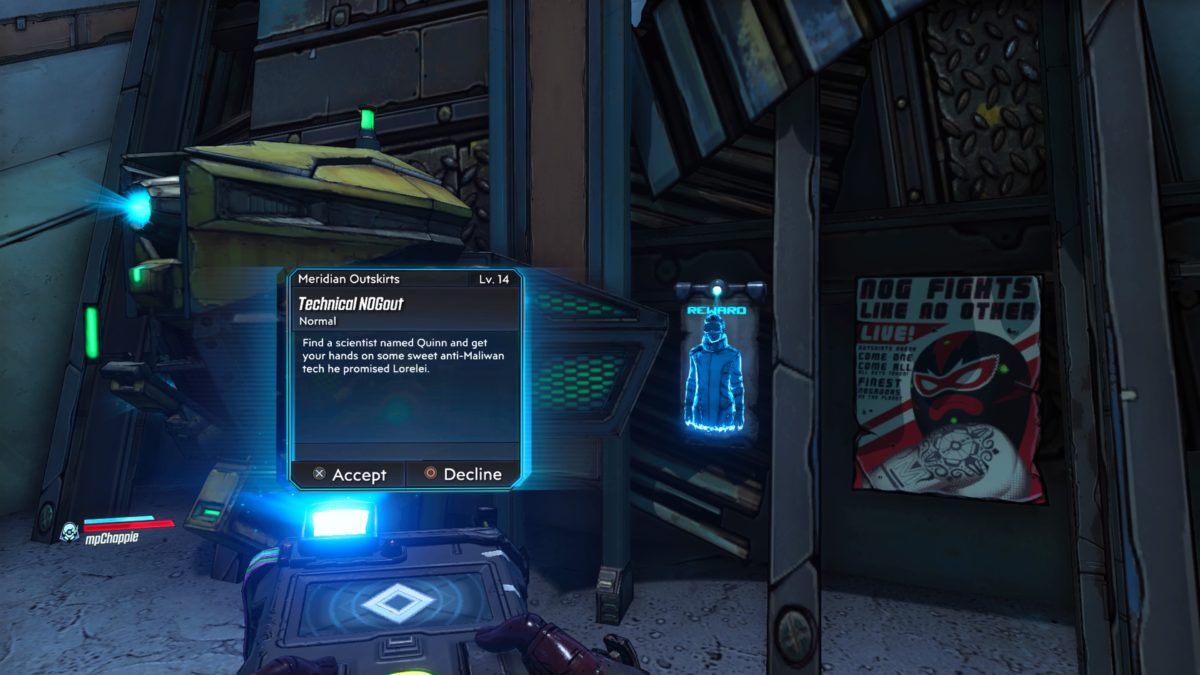
Obtained: Inspect the bounty hanging on the wall behind the New You Station, south of the Lectra City map transition after completing the Hostile Takeover main mission
Objective(s):
Check on Quinn
Clear out Maliwan
Locate Quinn
Follow Quinn
Drive NOG Catcher
Capture NOGs
Talk to Quinn
Summon NOG
Observe Quinn’s Upgrade
Defend Quinn
Receive Reward
Check on Quinn
Head to Meridian Outskirts and make your way to the tunnel on the northeastern corner (there is a Meridian Metroplex map transition here). Head to the objective in the tunnel to update the objective.
Clear out Maliwan
Defeat the Maliwan soldiers.
Locate Quinn
After the soldiers are defeated, head to the sealed door on the north side of the room and knock on the door.
Follow Quinn
Follow Quinn to his terminal.
Drive NOG Catcher
Head back to the Catch-A-Ride station in the tunnel near the entrance to this room and hop in the NOG Catcher.
Capture NOGs
Follow the objective south along the main road using the NOG Catcher to capture three NOGs.
Talk to Quinn
Head back to Quinn in his lair and talk to him.
Summon NOG
Use the button in the middle of the room across from Quinn three times to summon El Fuego, The Conductor and NOGador Maxima.
Observe Quinn’s Upgrade
Just watch the action in the summoning circle.
Defend Quinn
Defeat the enemies until the transfer is complete.
Receive Reward
Take the grenade mod from Quinn to complete the mission.
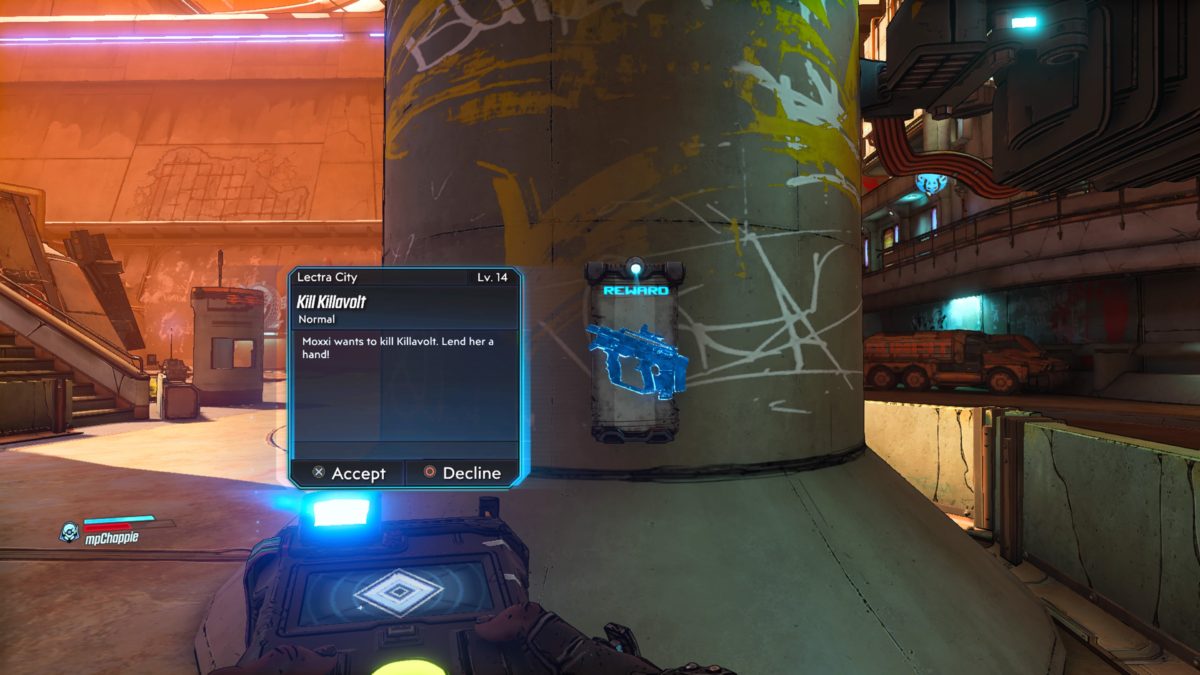
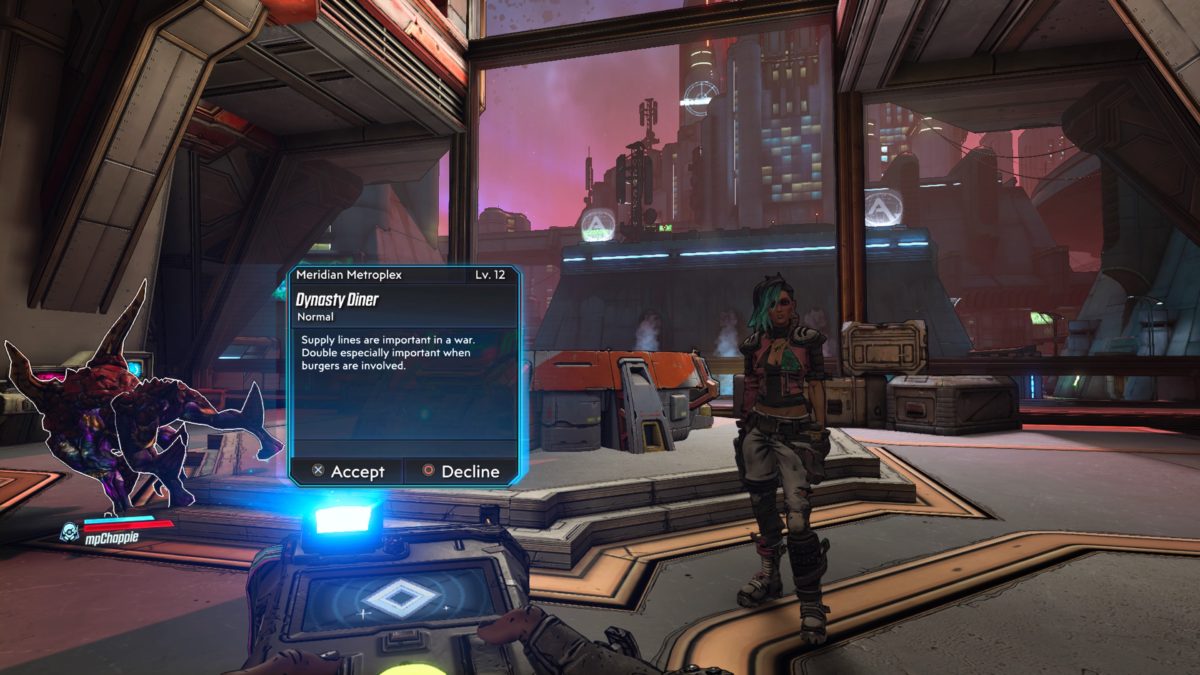
Obtained: Interact with the bounty poster on a pillar in the central-eastern part of the map (north of the Meridian Metroplex fast travel station)
Objective(s):
Go to Lectra City
Enter Battle Royale
Meet Up With Moxxi
Collect Trudy’s Token
Collect Jenny’s Token
Collect Lena’s Token
Collect Batteries
Head to Moxxi’s
Give Batteries to Moxxi
Take Booby-Trapped Token From Moxxi
Head to the Killareana
Attend Token Ceremony
Give Trudy’s Token
Give Jenny’s Token
Give Lena’s Token
Give Booby-Trapped Token
Kill Killavolt
Collect Killavolt’s Charge Pack
Mount Killavolt’s Charge Pack
Talk to Moxxi
Go to Lectra City
Head to Lectra City via the map transition located in the northern part of Meridian Metroplex.
Enter Battle Royale
Pull the latch under the Contestants Only sign to raise the door.
Meet Up With Moxxi
Head up the flight of stairs to find Moxxi in the Meridian Seaport.
Collect Trudy’s Token
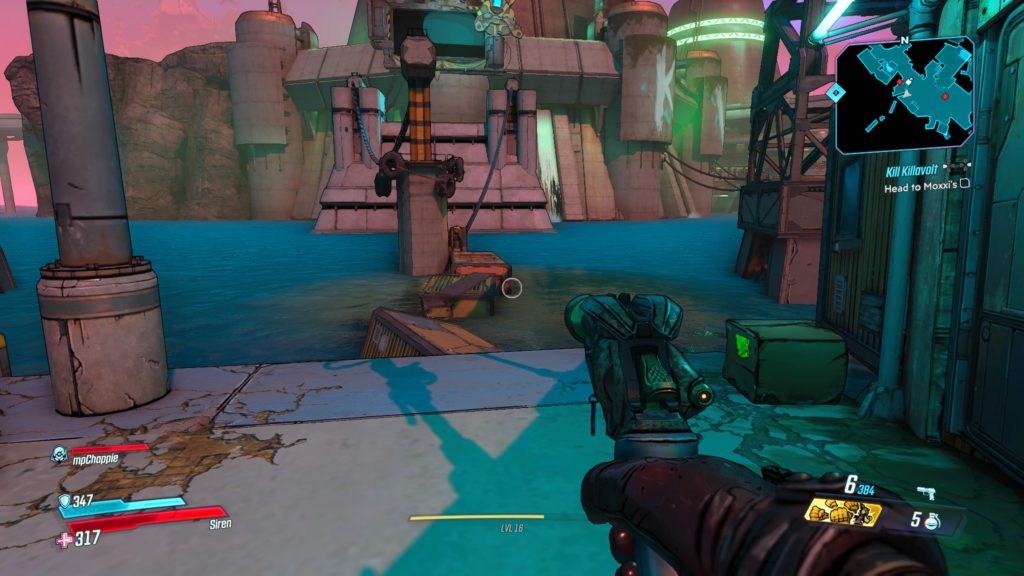
Follow the objective south through the Market Quarter to arrive at Big Dock Energy. Head to the back of the dock near the Trudy the Toeless sign to find her. Take her out and pick up the token.
Collect Jenny’s Token
Follow the objective to the south-central region of the map to reach Downtown Square. From there, look for the giant concrete steps leading underground and head down them to find Jenny in the Underpass. Defeat her and collect her token.
Collect Lena’s Token
Follow the objective to the western side of the map to end up in the Hills where Lena is located. Defeat her and grab her token.
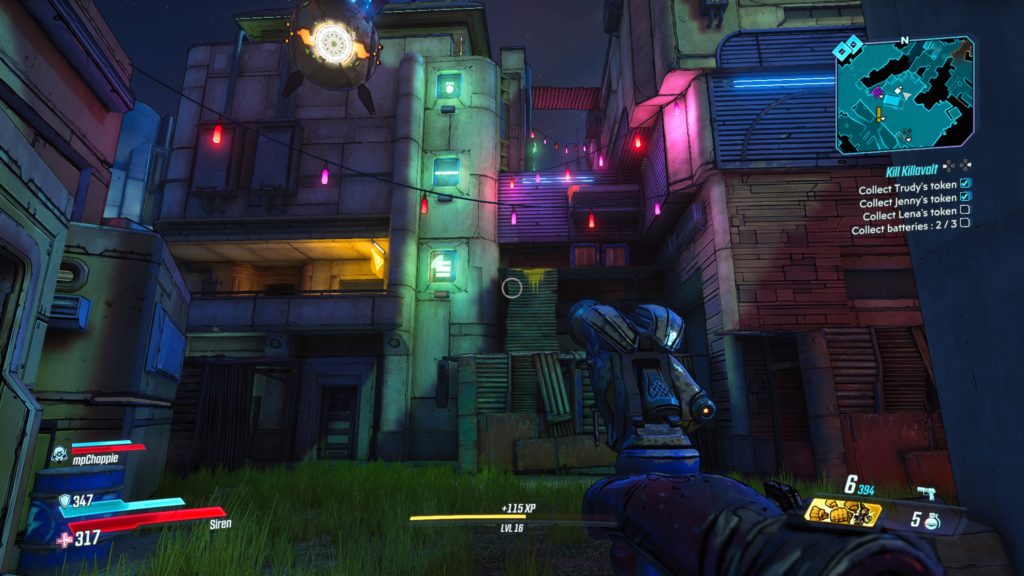
Collect Batteries
Each battery is located next to one of the three girls.
The one next to Trudy is located on the southwest side of the dock. You will need to jump across shipping containers in the water to reach it.
The battery near Jenny is located on top of a building north of the concrete stairs in the Downtown Square leading to the Underpass. You will have to climb up the building from the side to reach it.
The final battery is located at the top of a building directly west of there you fought Lena. Head through the alleyway between the two buildings to find the spot to start climbing up to the roof.
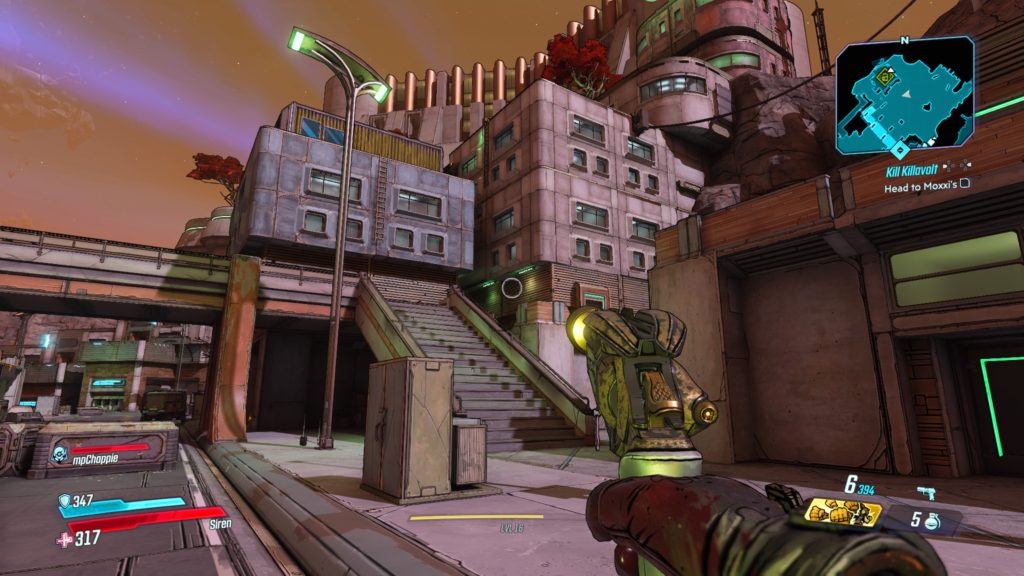
Head to Moxxi’s
Make your way to Moxxxi’s bar located in the southern part of the map.
Give Batteries to Moxxi
Hand the batteries over to Moxxi.
Take Booby-Trapped Token From Moxxi
Grab Moxxi’s token from her.
Head to the Killarena
Head south of Moxxxi’s bar to reach the Killarena in the Plant.
Attend Token Ceremony
Enter the Killarena and make you way to Killavolt in the Bone Zone.
Give Trudy’s Token
Hand over Trudy’s token to Killavolt.
Give Jenny’s Token
Hand over Jenny’s token to Killavolt.
Give Lena’s Token
Hand over Lena’s token to Killavolt.
Give Booby-Trapped Token
Hand over the booby-trapped token to Killavolt.
Kill Killavolt
Defeat Killavolt in glorious combat. Watch out for the electric floor.
Collect Killavolt’s Charge Pack
Grab the charge pack that Killavolt dropped.
Mount Killavolt’s Charge Pack
Head back to Moxxxi’s bar and install the charge pack on the toilet.
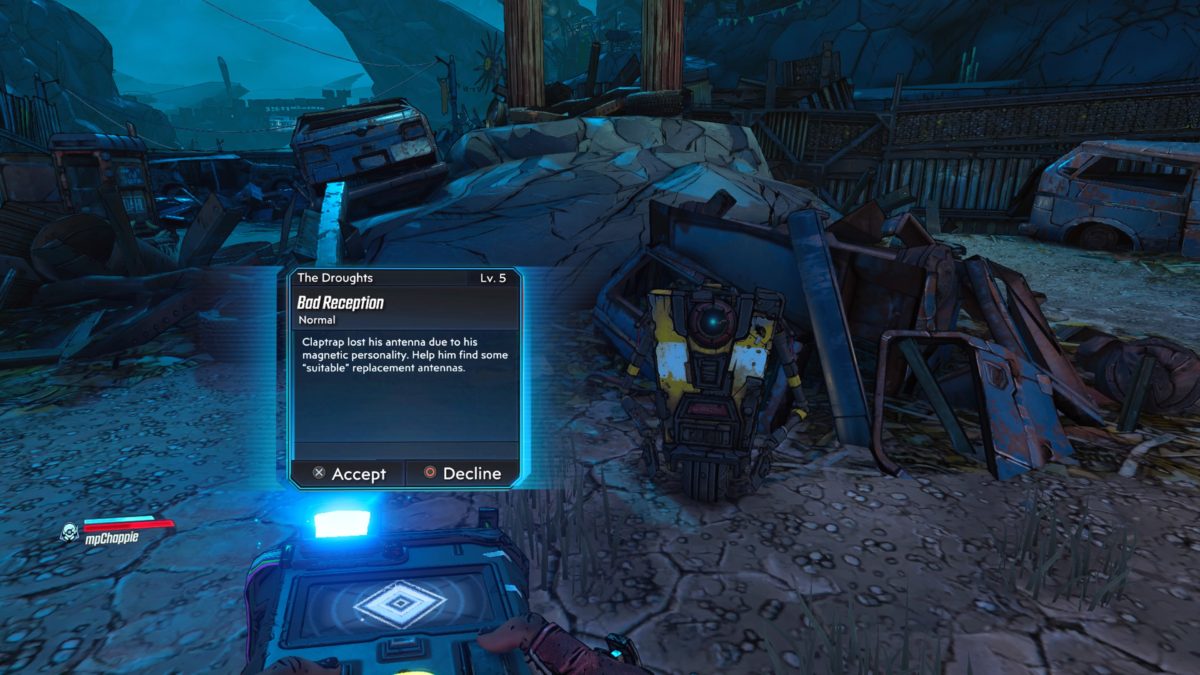
Obtained: Talk to Claptrap in the droughts after completing the “From the Ground Up” main mission
Objective(s):
Search Old Laundry
Open Trap Door
Search Satellite Tower
Search Sid’s Stop
Speak to Sid
Destroy Sid’s Satellite Dish
Speak to Sid
Search Spark’s Cave
Search Old Shack
Give Items to Claptrap
Search Old Laundry
Follow the objective past the Sun Smasher’s camp and over the broken bridge to arrive at a trap door next to a giant rib cage.
Open Trap Door
To open the trap door, head up to the rock ledge behind the door and jump off of it, pressing the crouch button (circle button) to slam down into it. Enter the bunker and collect the hanger in the back of the room.
Search Satellite Tower
Follow the objective to the western section of the Droughts to arrive at Varkid Valley. Make your way to the tower on the western side of the valley and clear out the enemies stationed there. Once they are dealt with, climb up the tower and shoot the satellite at the top to break free the antenna to collect it.
Search Sid’s Stop
Follow the objective past the Sun Smasher’s camp, over the broken bridge and through the Children of the Vault roadblock to reach Sid’s Stop.
Speak to Sid
Talk to Sid.
Destroy Sid’s Satellite Dish
Destroy all three satellite dishes. The first one is located on the roof of Sid’s shack. The second one is located under the giant windmill west of the shack. The final one is located south of the windmill above the Children of the Vault roadblock (follow the power line from the windmill to spot it).
Speak to Sid
Speak to Sid again then defeat him and take his tinfoil hat.
Search Spark’s Cave
Follow the objective north past the Sun Smasher’s camp to reach a broken bridge. Take the path to the left of the bridge leading into a ravine to locate Spark’s Cave. Enter the cave and shoot the target on the top of the power generator in the back to turn it off. This will allow you to pass through the water and retrieve a spork from a dead bandit.
Search Old Shack
Follow the objective to the northern section of the Droughts to locate the Old Shack. As you try to enter it, a turret and Badass Tink will start attacking you. As you approach the door it will close the door. Back off and wait for it to open again, then run and slide in before it closes again. Defeat them and head to the back room to find the umbrella on the toilet.
Give Items to Claptrap
Head back to Claptrap and hand over the antennas to complete the mission.
Search
This site uses cookies. By continuing to use this website, you are giving consent to cookies being used. For more information on cookies, view our Privacy Policy.OkPrivacy Policy