Below are the side jobs that can be found at Santo Domingo in Cyberpunk 2077! Please note that the side jobs are listed in alphabetical order for ease of searching.
A Day in the Life
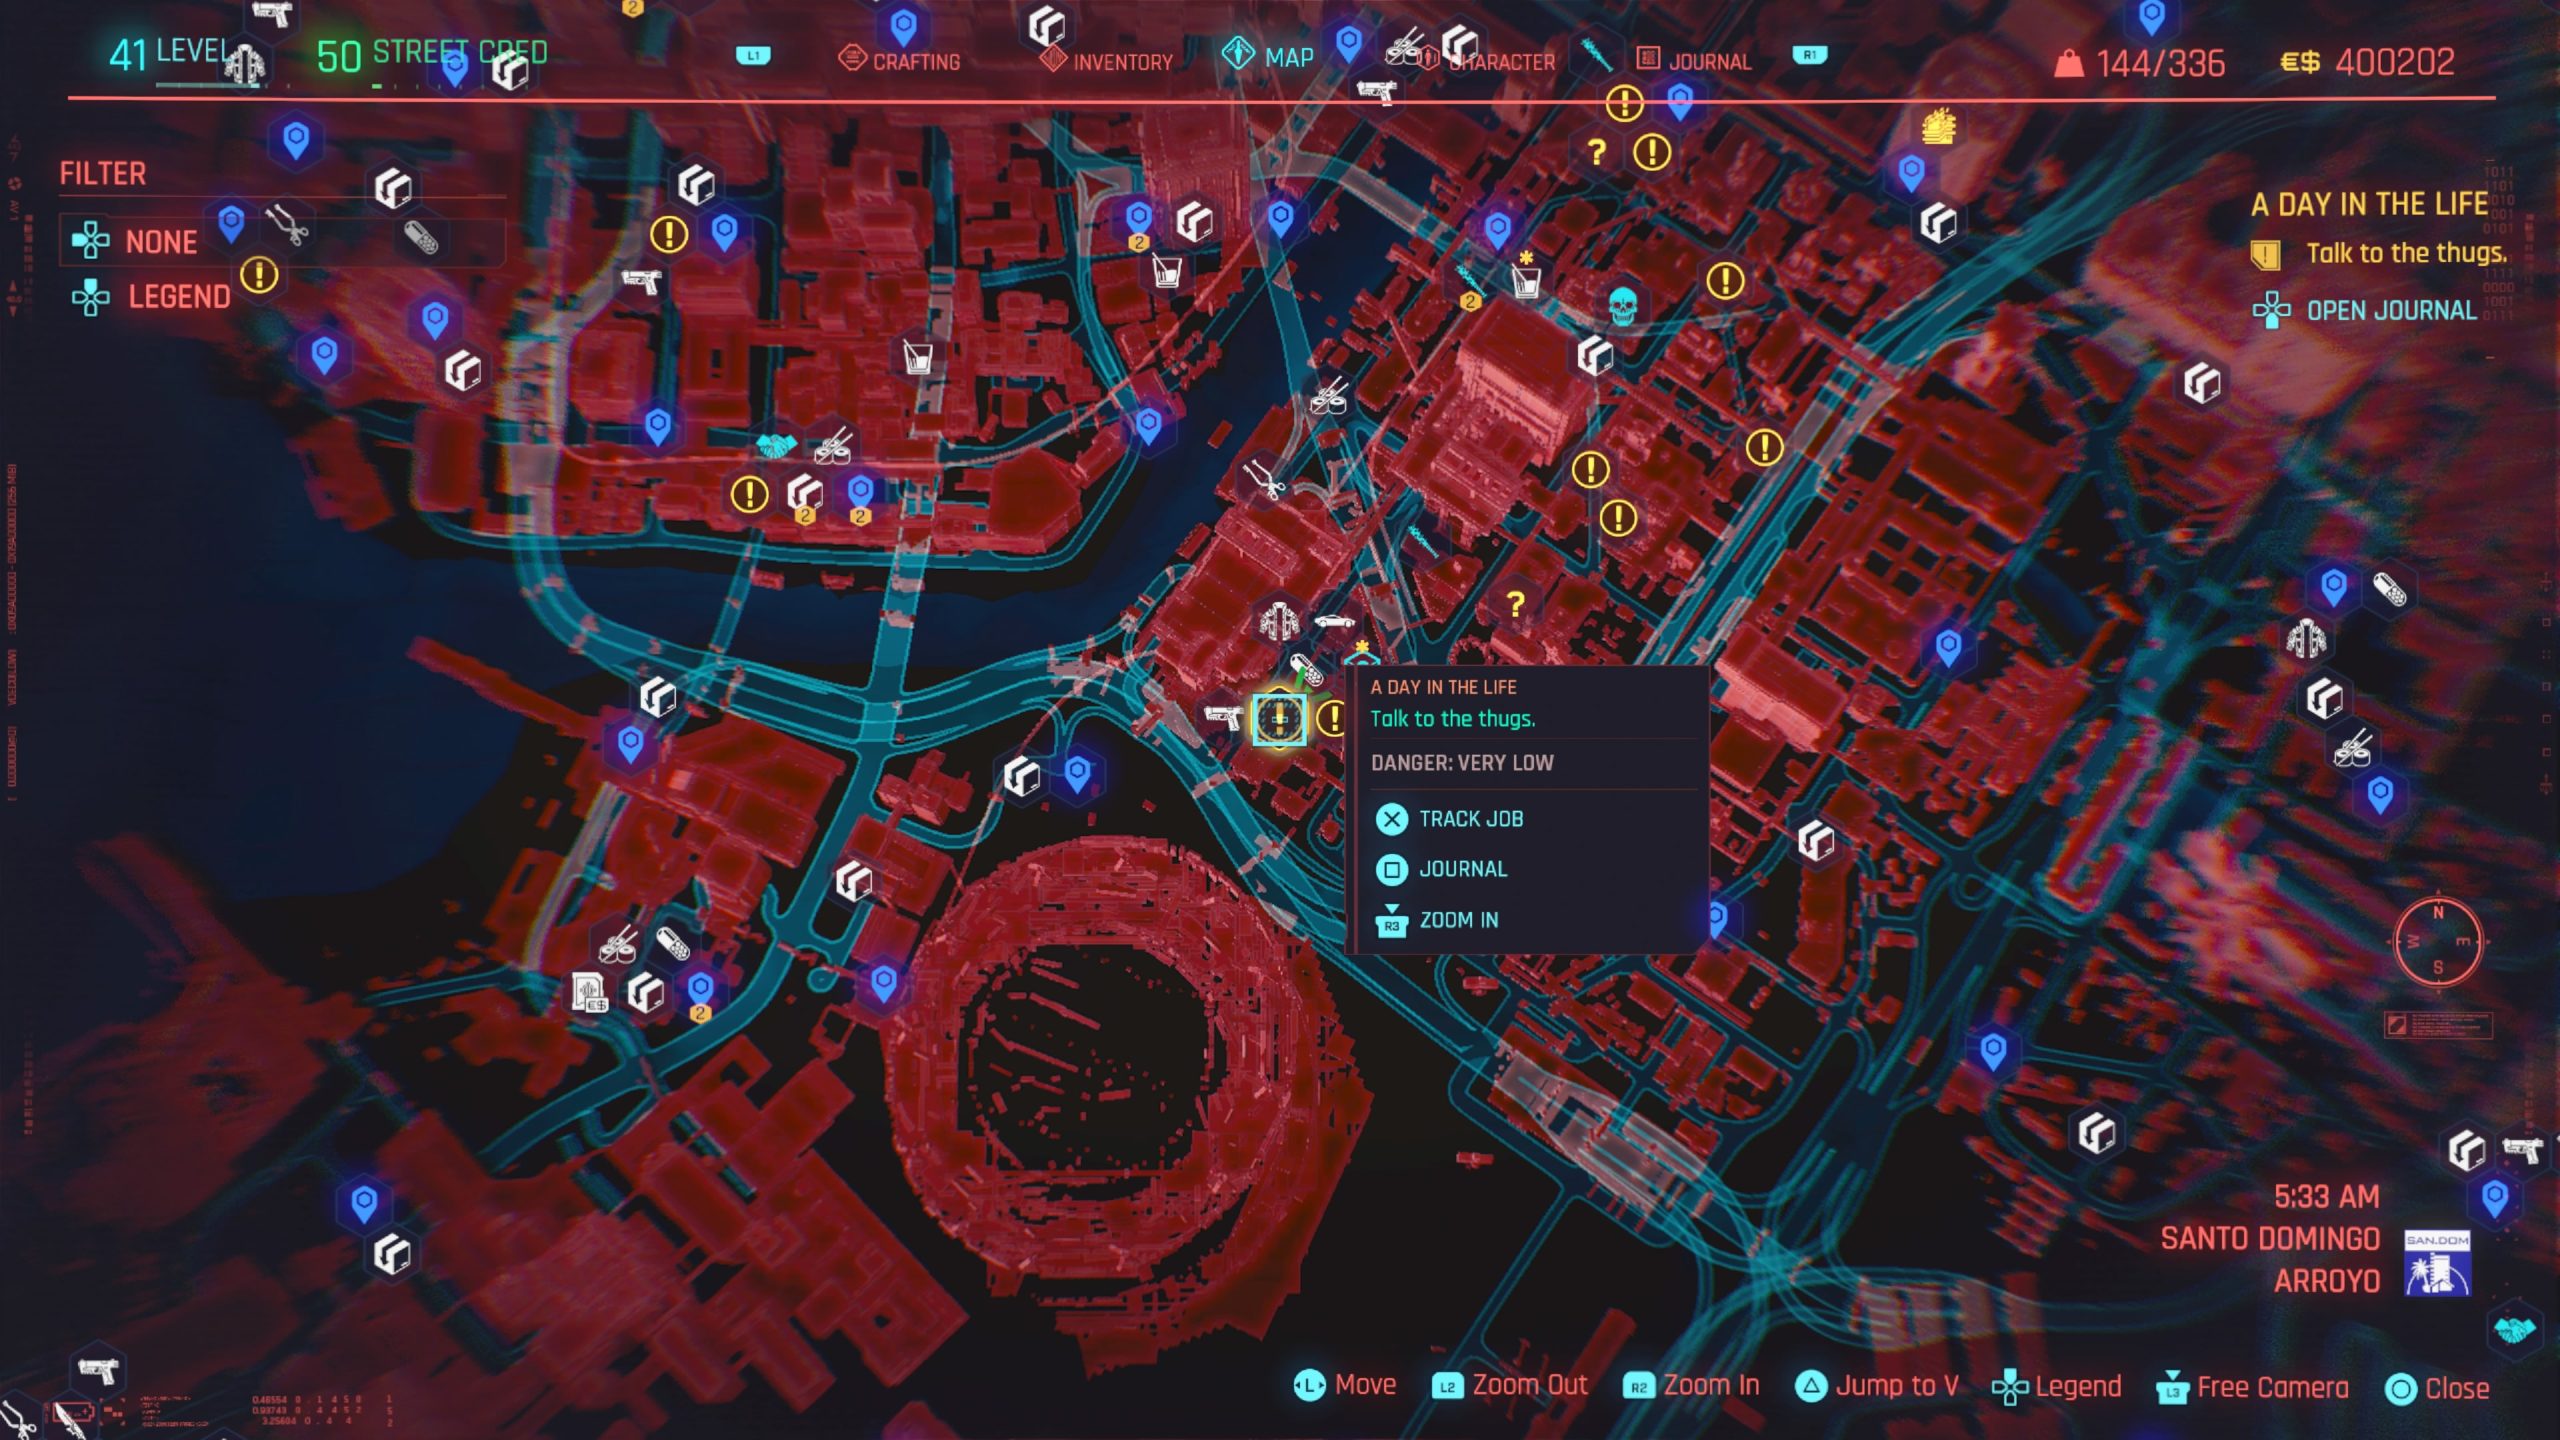
Obtained: Arroyo – Approach the objective east of the Stadium Parking fast travel point and order anything you’d like from the vendor
Objective: Talk to the thugs
Agree to help the vendor out then follow him to speak with the thugs on his behalf. Getting the thugs to leave the vendor along will lead to a fight, so defeat them nonlethally. Afterwards, speak with the vendor to complete the job.
Beat on the Brat: Arroyo
Obtained: Automatically after reaching Act 2
Objective: Defeat Buck
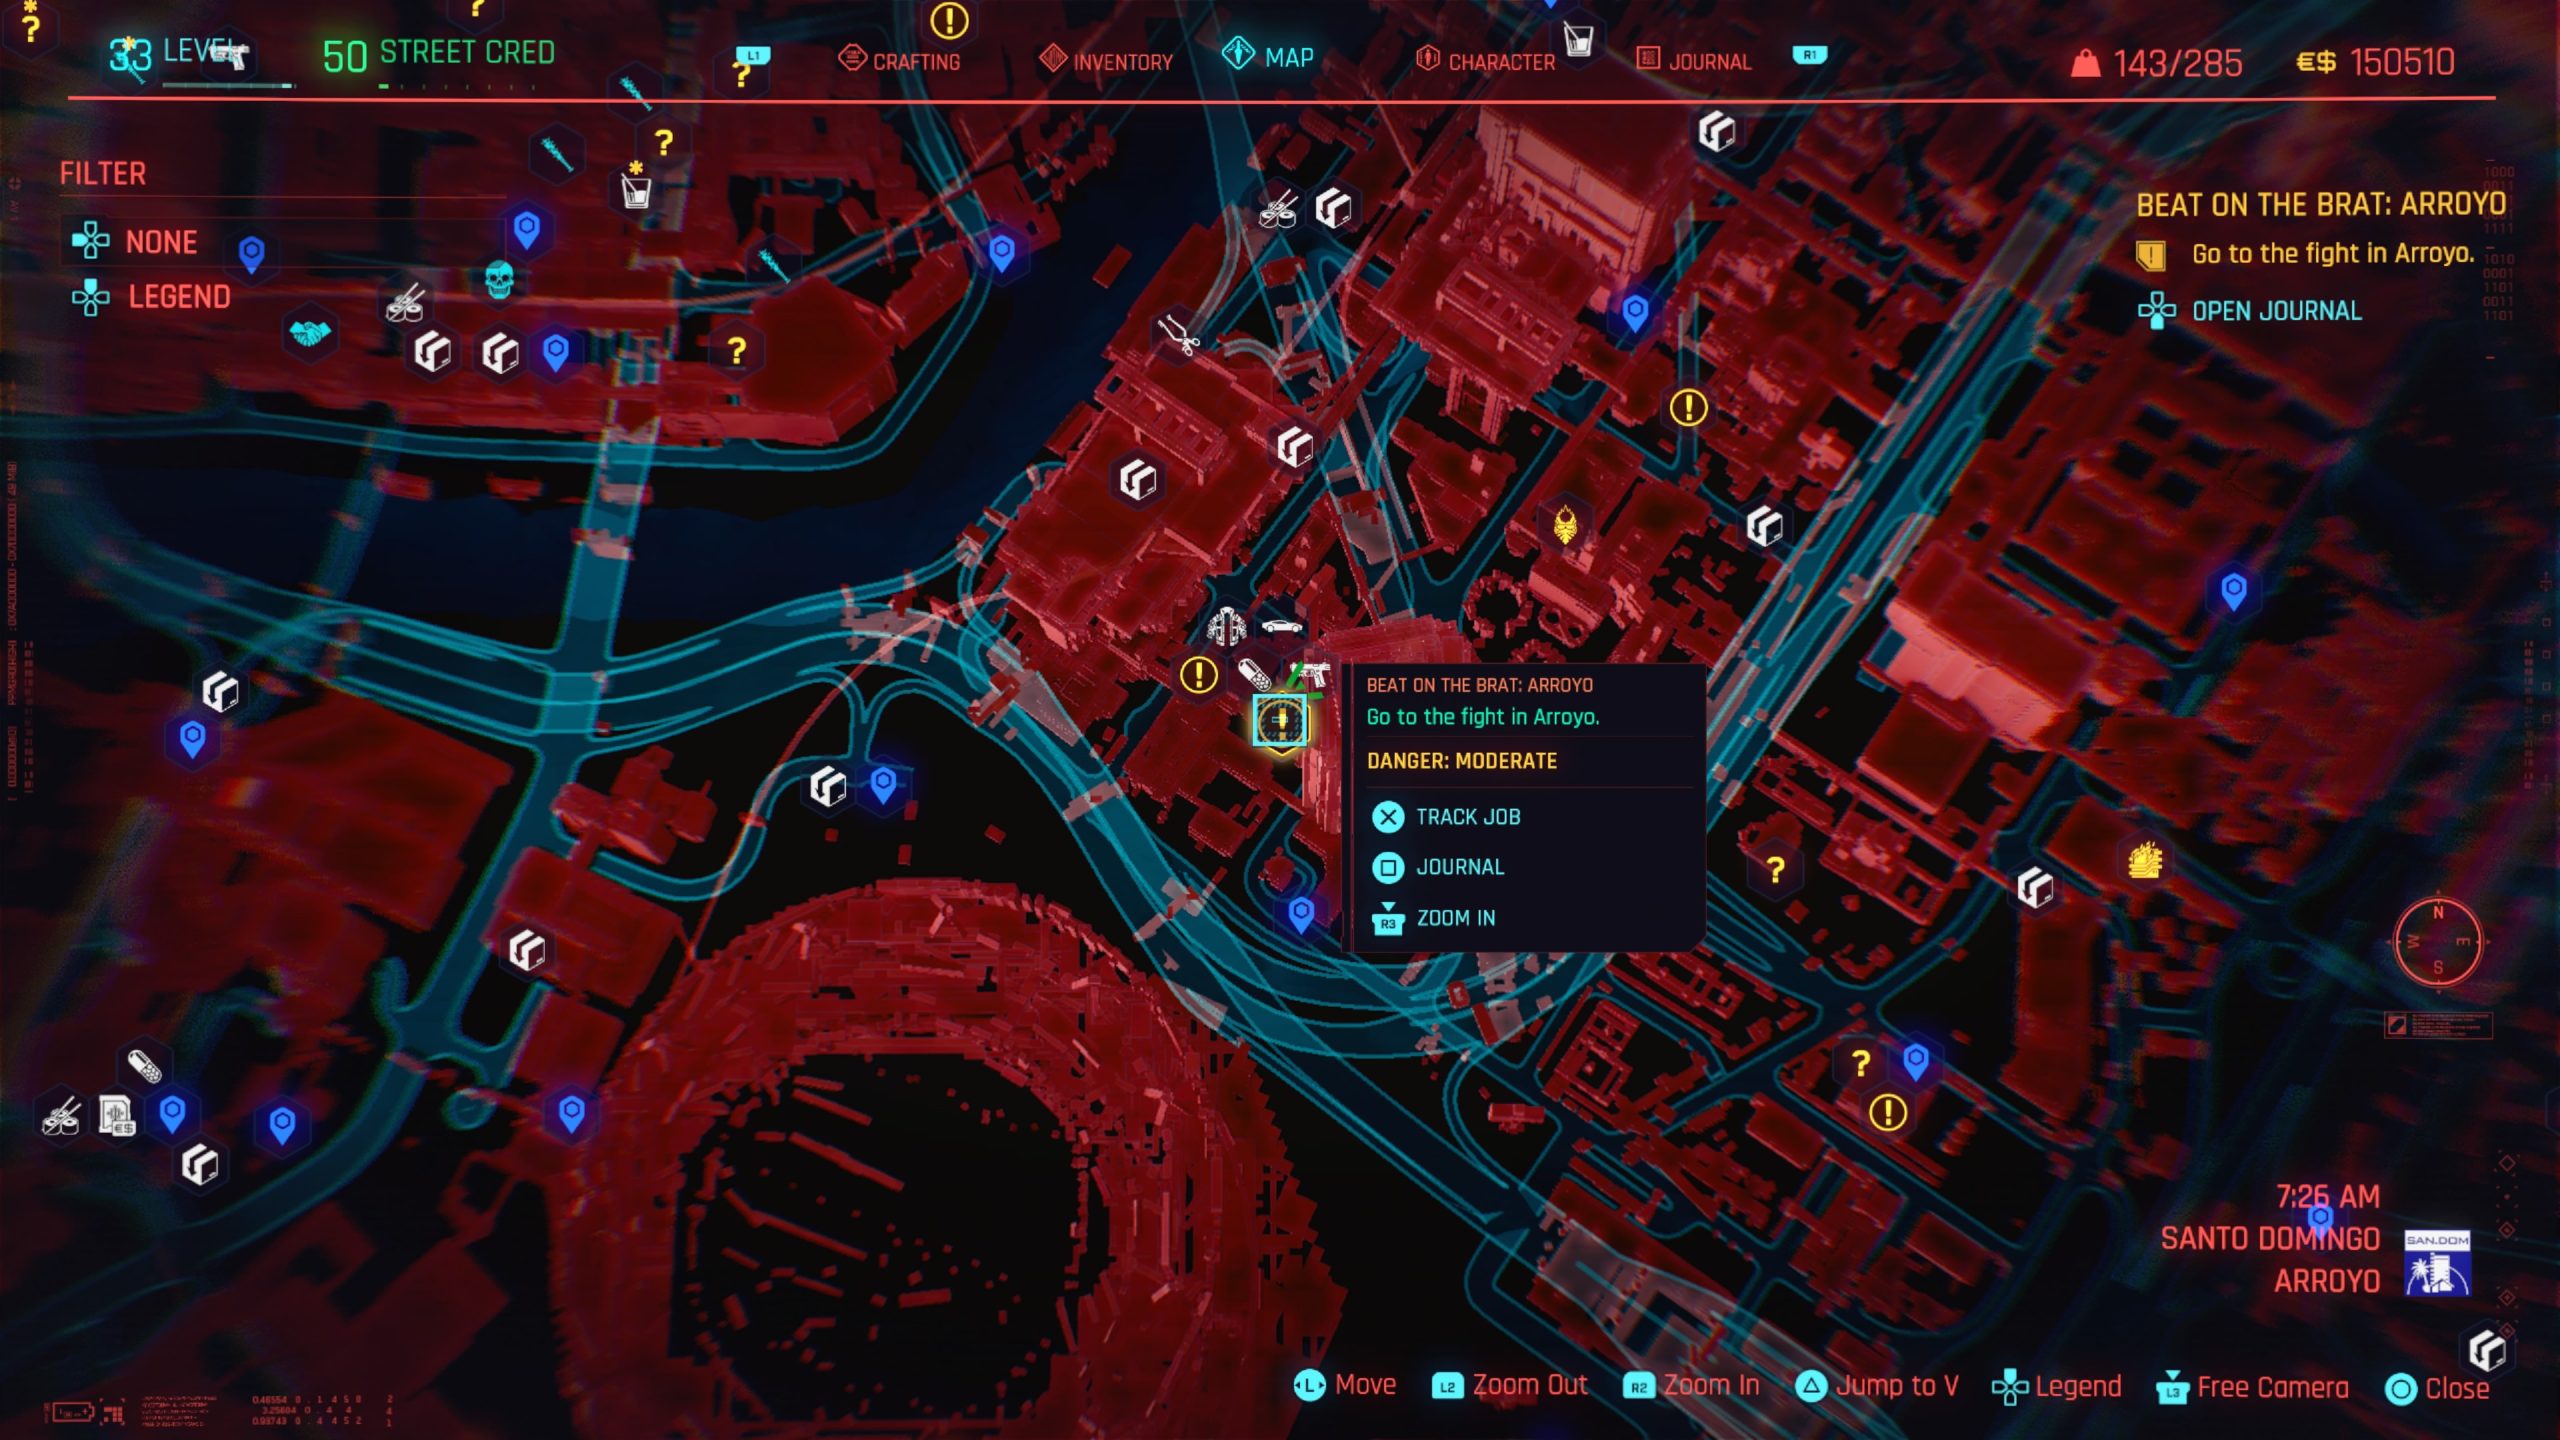
Head to the objective north of the Megabuilding H4 fast travel point in Santo Domingo – Arroyo. When you speak with Buck, you have 2 options:
1. You can agree to put up $2,900 to start the match. Defeat Buck then speak with him to complete the job.
2. You can tell him that he has a nice rifle if your Body Value is 11. You’ll then increase the stakes to $12,000 and he’ll toss in the sniper rifle. After you defeat Buck, speak with him and request the rifle. He won’t give it up and you’ll be attacked by 4 enemies that pack a punch. Defeat them using either lethal or nonlethal force (it does not matter) then retrieve the rifle from the top of a barrel to complete the job.
Beat on the Brat: Rancho Coronado
Obtained: Automatically after reaching Act 2
Objective: Defeat Buck
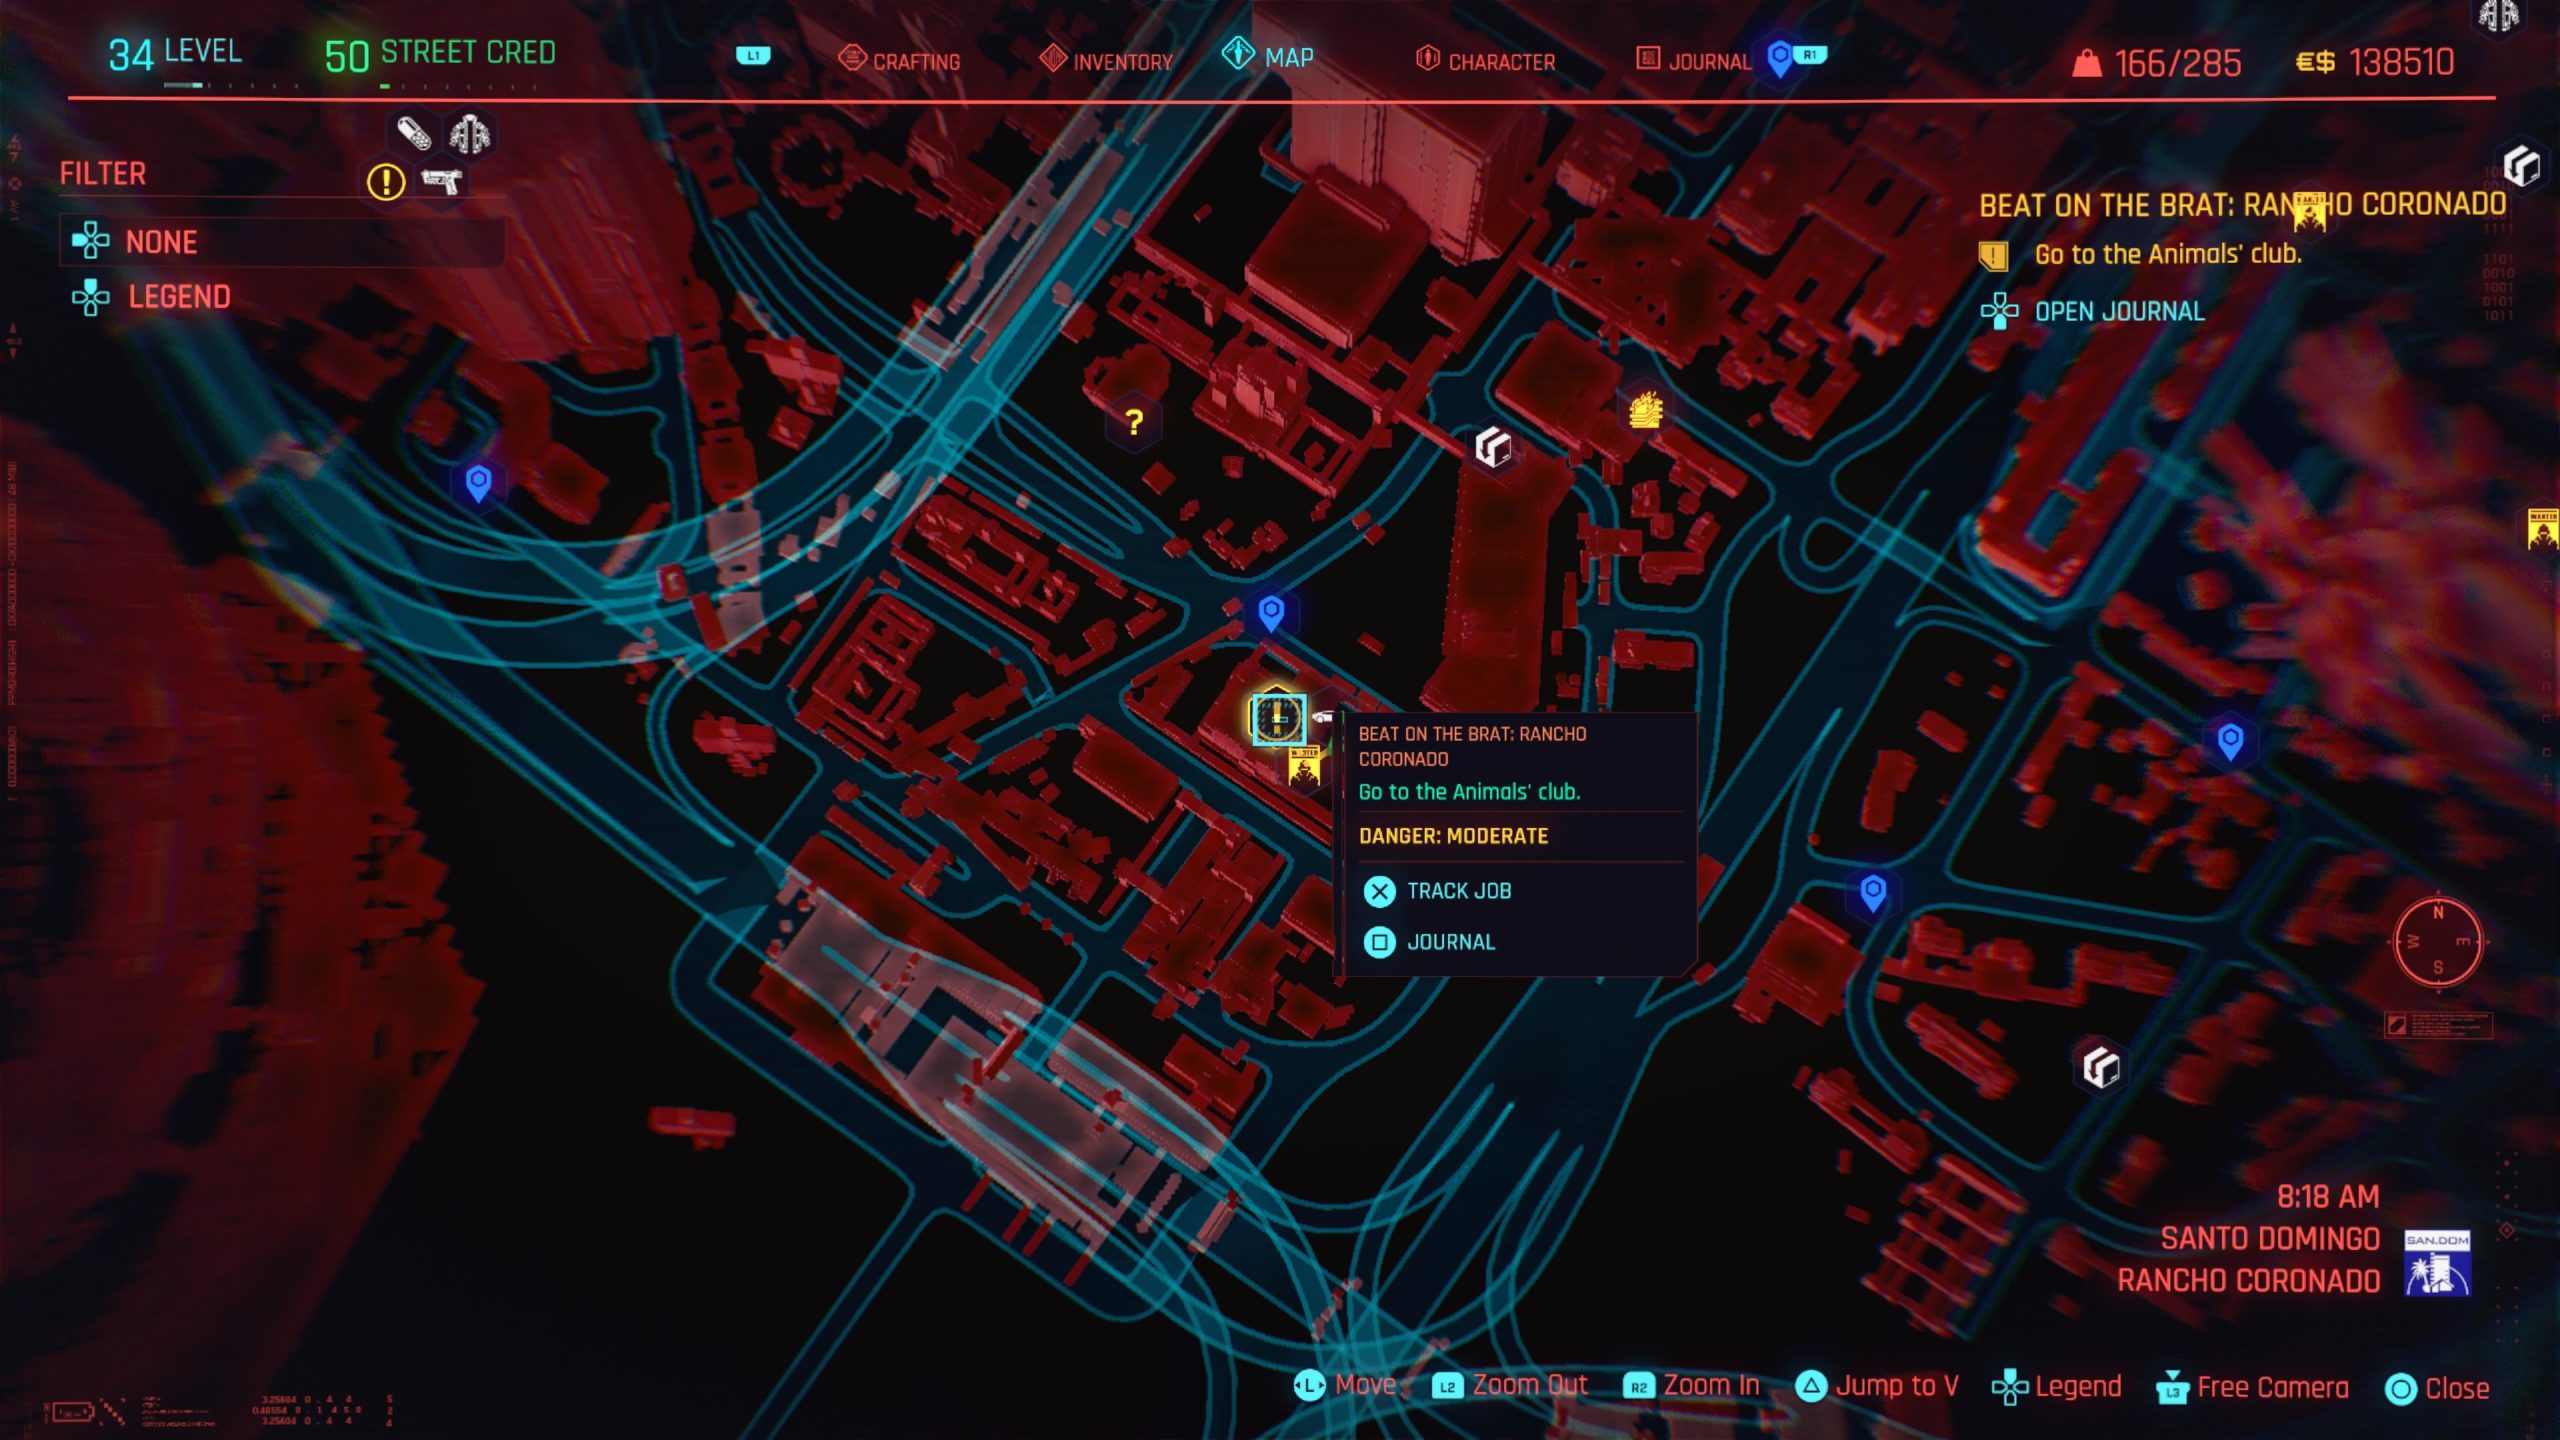
Head to the objective south of the Rancho Coronado South fast travel point in Santo Domingo – Rancho Coronado. Approach the garage to be stopped by a bouncer. You’ll need to either pay $3,800 or if you have a Body Value of 11 you can tell him to get out of your way. Once you get inside the Animals’ club, speak Rhino (lady sitting in a chair) near the ring. Afterwards, hop in to begin the fight. She packs quite the electrified punch so be sure to dodge her attacks. Defeat Rhino then speak with her to complete the job.
Ezekiel Saw the Wheel
Obtained: Arroyo – Approach the objective at MLK & Brandon fast travel point
Objective: Kill or scare away the thugs
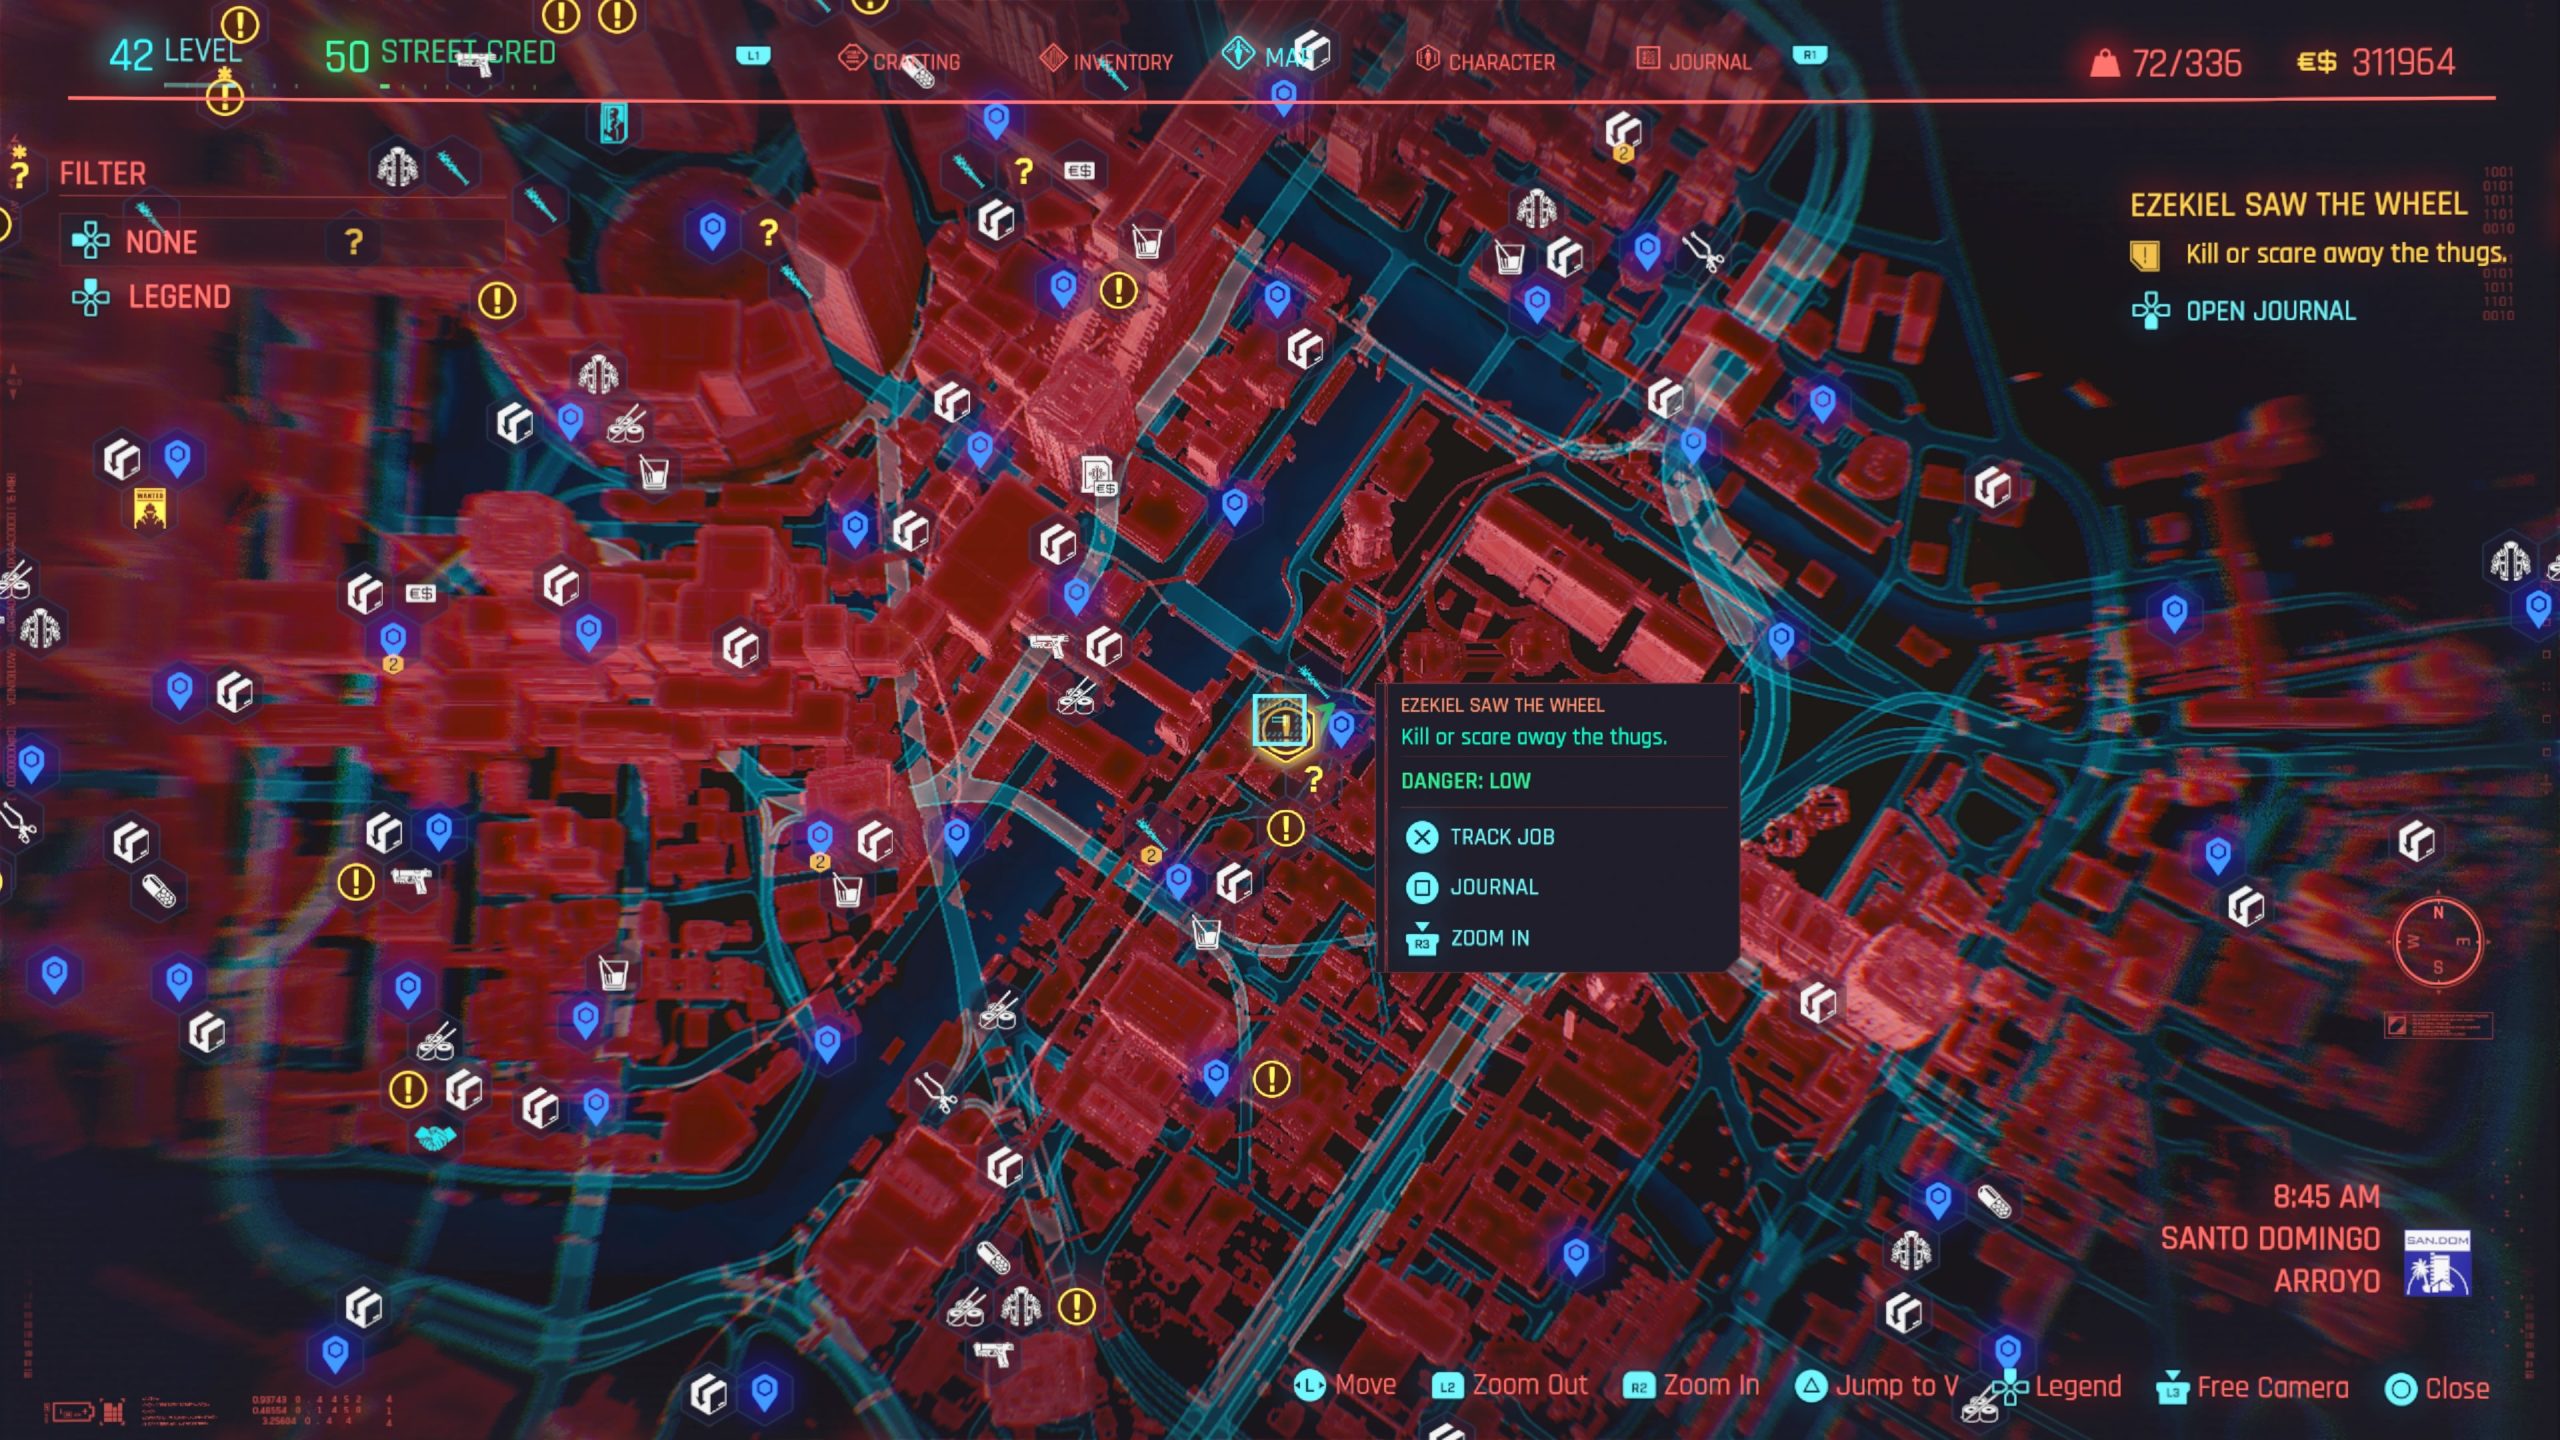
Enter the diner then approach the counter. Order what you’d like only to be interrupted by thugs. To scare them away, you’ll need to pay them $2,900 or use the option if your Body Value is 20. If you don’t do anything at all, they’ll attack you and you’ll need to kill them. After you’ve dealt with the thugs, the gig will close.
Gun Music
Obtained: After you complete Panam’s storyline, approach the objective southwest of the Megabuilding H6 and speak with Jeff.
Objective: See what’s going on

After you speak with Jeff at the gate, head inside to see what is taking so long. If you have a Body Value of 20, the scavs will leave peacefully. Afterwards, speak with Carol to complete the job.
Pyramid Song
Obtained: After completing Pisces side job and waiting awhile, Judy will call you.
Objective: Meet Judy in the early evening
Travel to the objective near Lake Farm fast travel point in The Badlands to speak with Judy. Follow her to the lake then take your wetsuit so you can go diving! Afterwards, interact with the laptop then dive on in and follow Judy. When it’s time to calibrate your gear, circle around her then speak with her when prompted. At the bottom, follow Judy through the town. When you reach Fio’s Diner, examine the diner’s sign, framed picture near the front door of Judy’s house, photo camera near the front door of Judy’s house and hokey stick near the couch. Once you’ve examined all the items, speak with Judy. After your conversation, continue to follow Judy to a gas station and examine the umbrella near the gas pump, car and doll in overturned trashcan. When your done, speak with Judy to continue the tour. At the church, head to the right side to find an opening in the wall and proceed through it. On the dock, agree to speak with Judy then head into the cottage and speak with her again. To start the generator, head outside and interact with it. Make your way back inside and speak with Judy in the bathroom. This is your chance to romance her if you’re V is a girl! In the morning, grab your clothes then head outside to find Judy on the dock and speak with her to complete the job.
Rebel! Rebel!
Obtained: Automatically the day after finishing the A Like Supreme side job in Act III
Objective: Go to the meeting point between 12:30 and 3:30 am
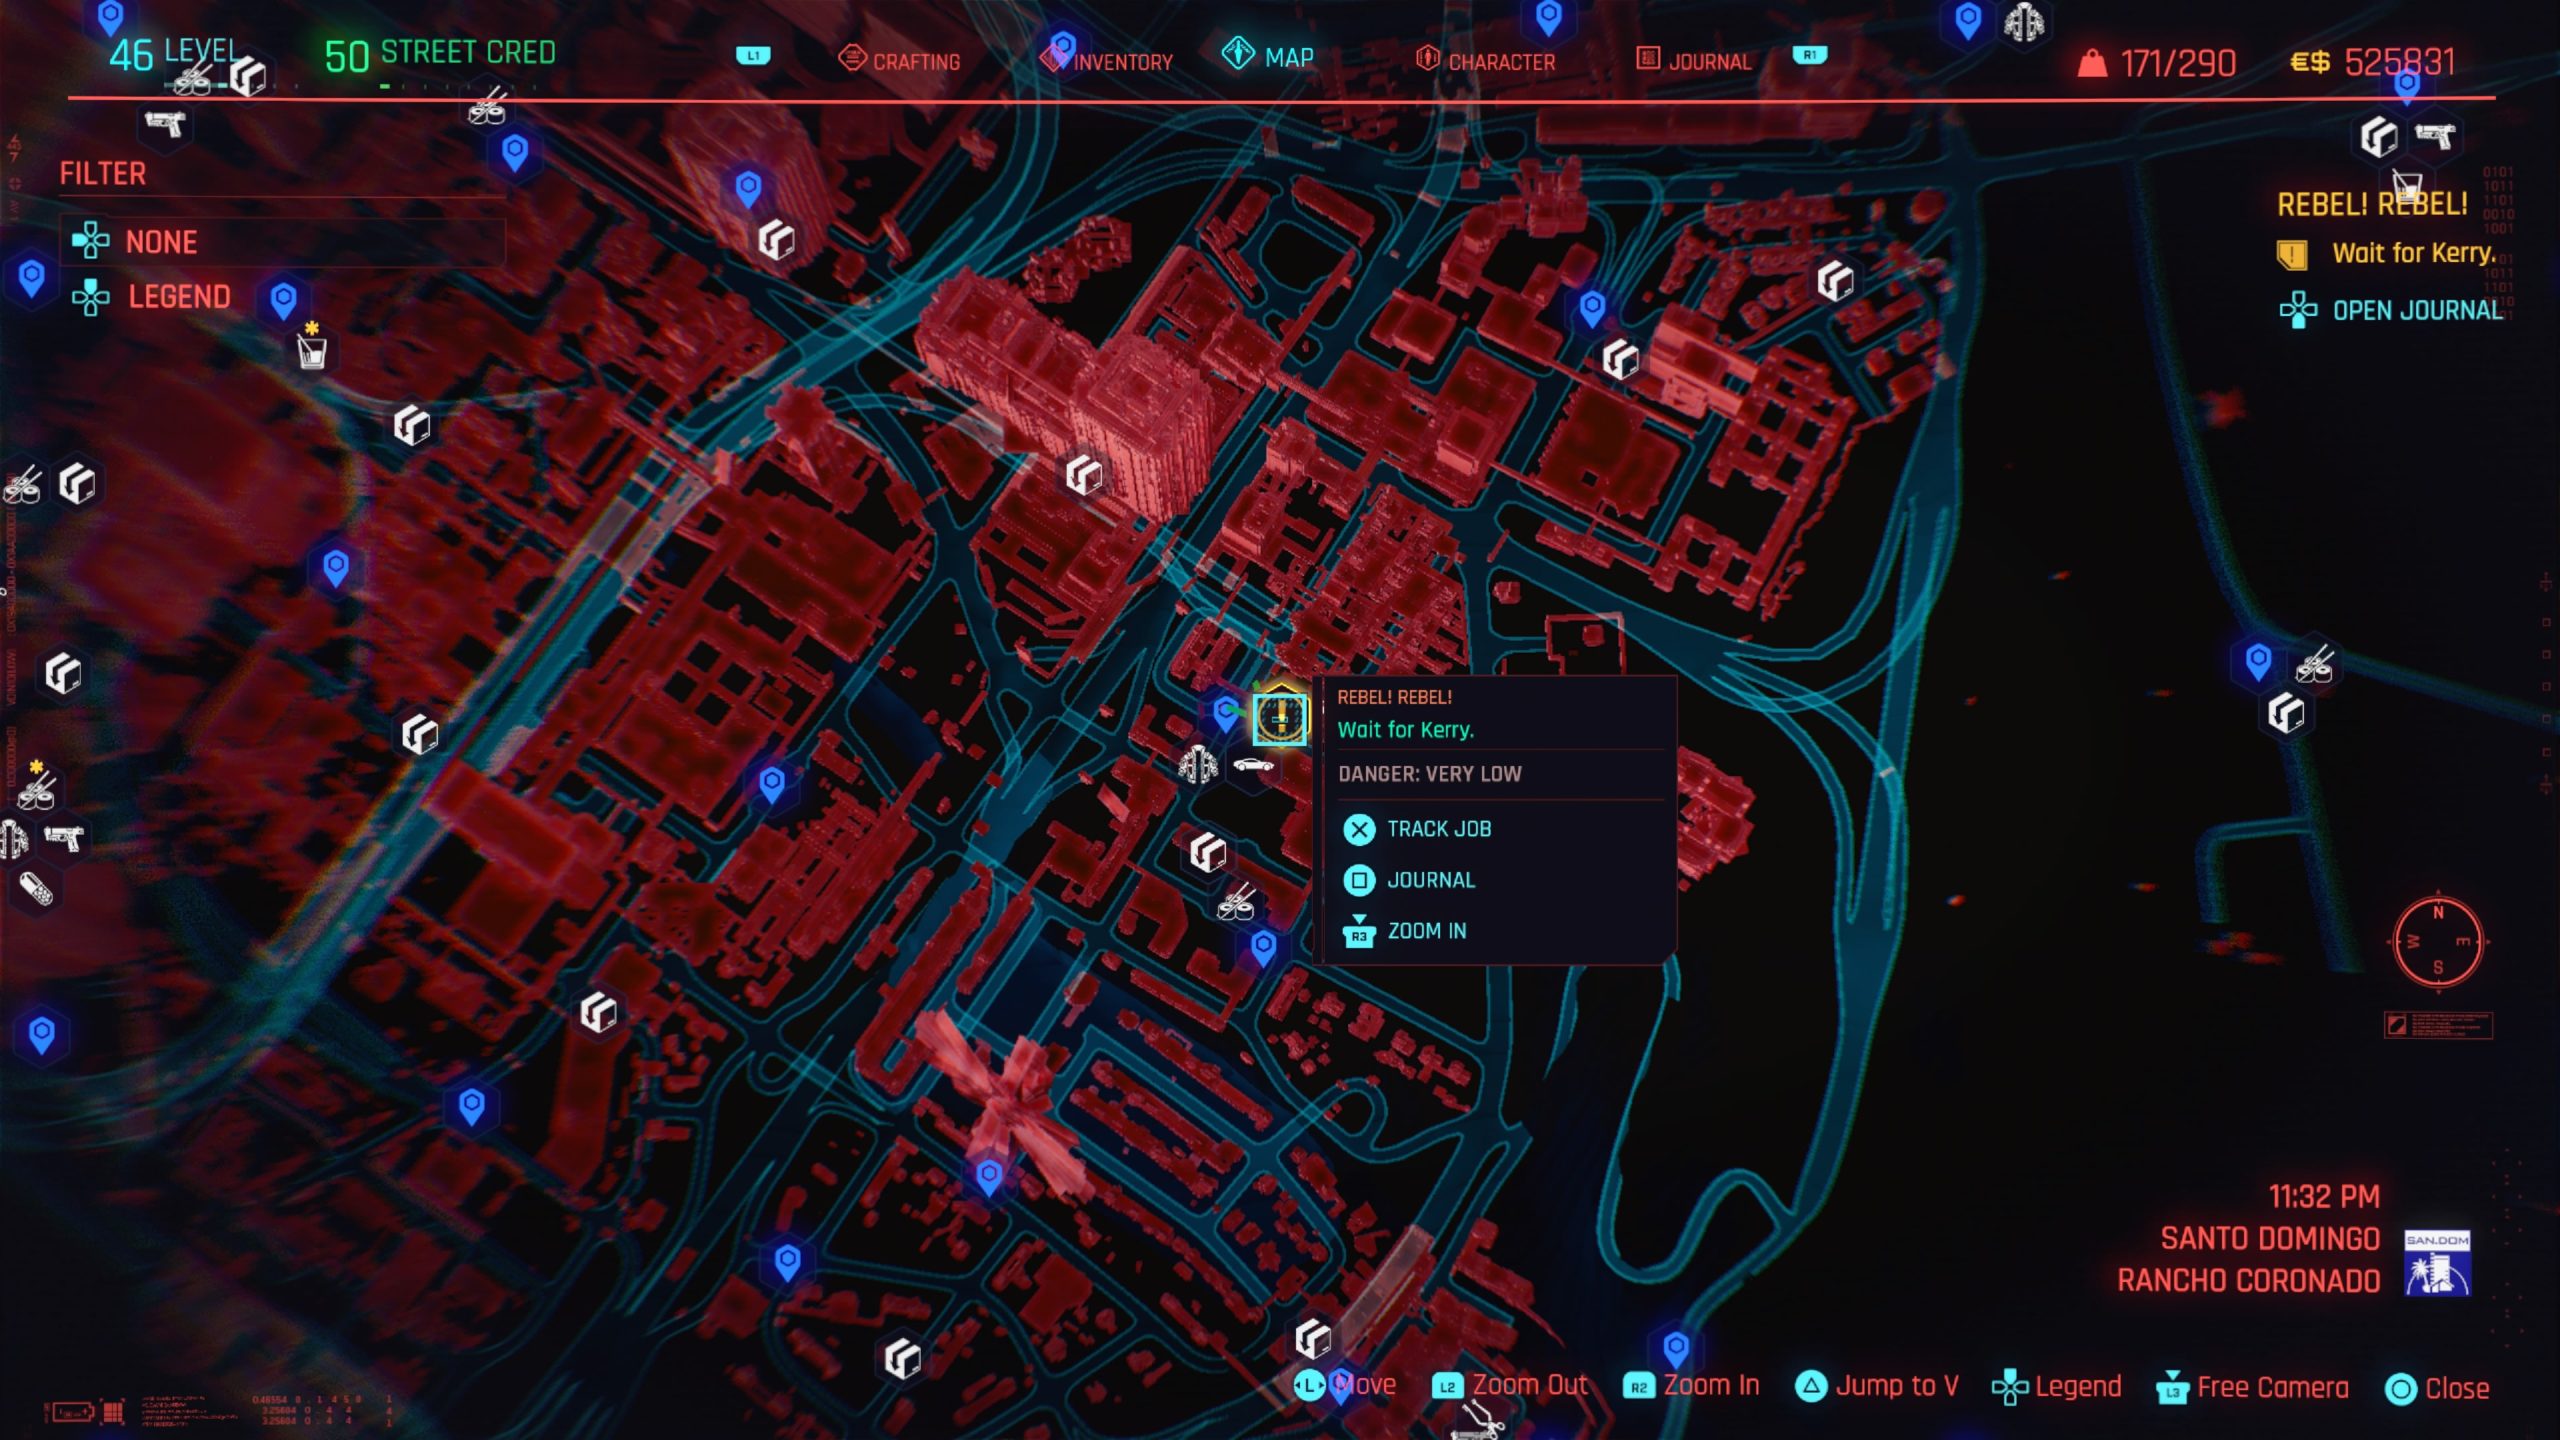
Travel to the food joint near the Mallagra & Manzanita fast travel point in Santo Domingo – Rancho Coronado and wait for Kerry to show up. Hop into his car and he’ll drive you to the job location. Once there, hop out of the car and take the items out of the trunk. Follow Kerry down the road where you will lay your trap. With that done, follow Kerry to a hiding spot to wait for the targets to show up. Head to the van where you will then follow Kerry’s instructions. Speak to him afterwards then hop into the car to lose the cops. When that’s done, take Kerry to the location marked on the map then head inside to get a drink with him. The job will complete afterwards.
Sex on Wheels
Obtained: During Act II, you’ll receive a message from Jake Estevez.
Objective: Go to the garage near the cargo station
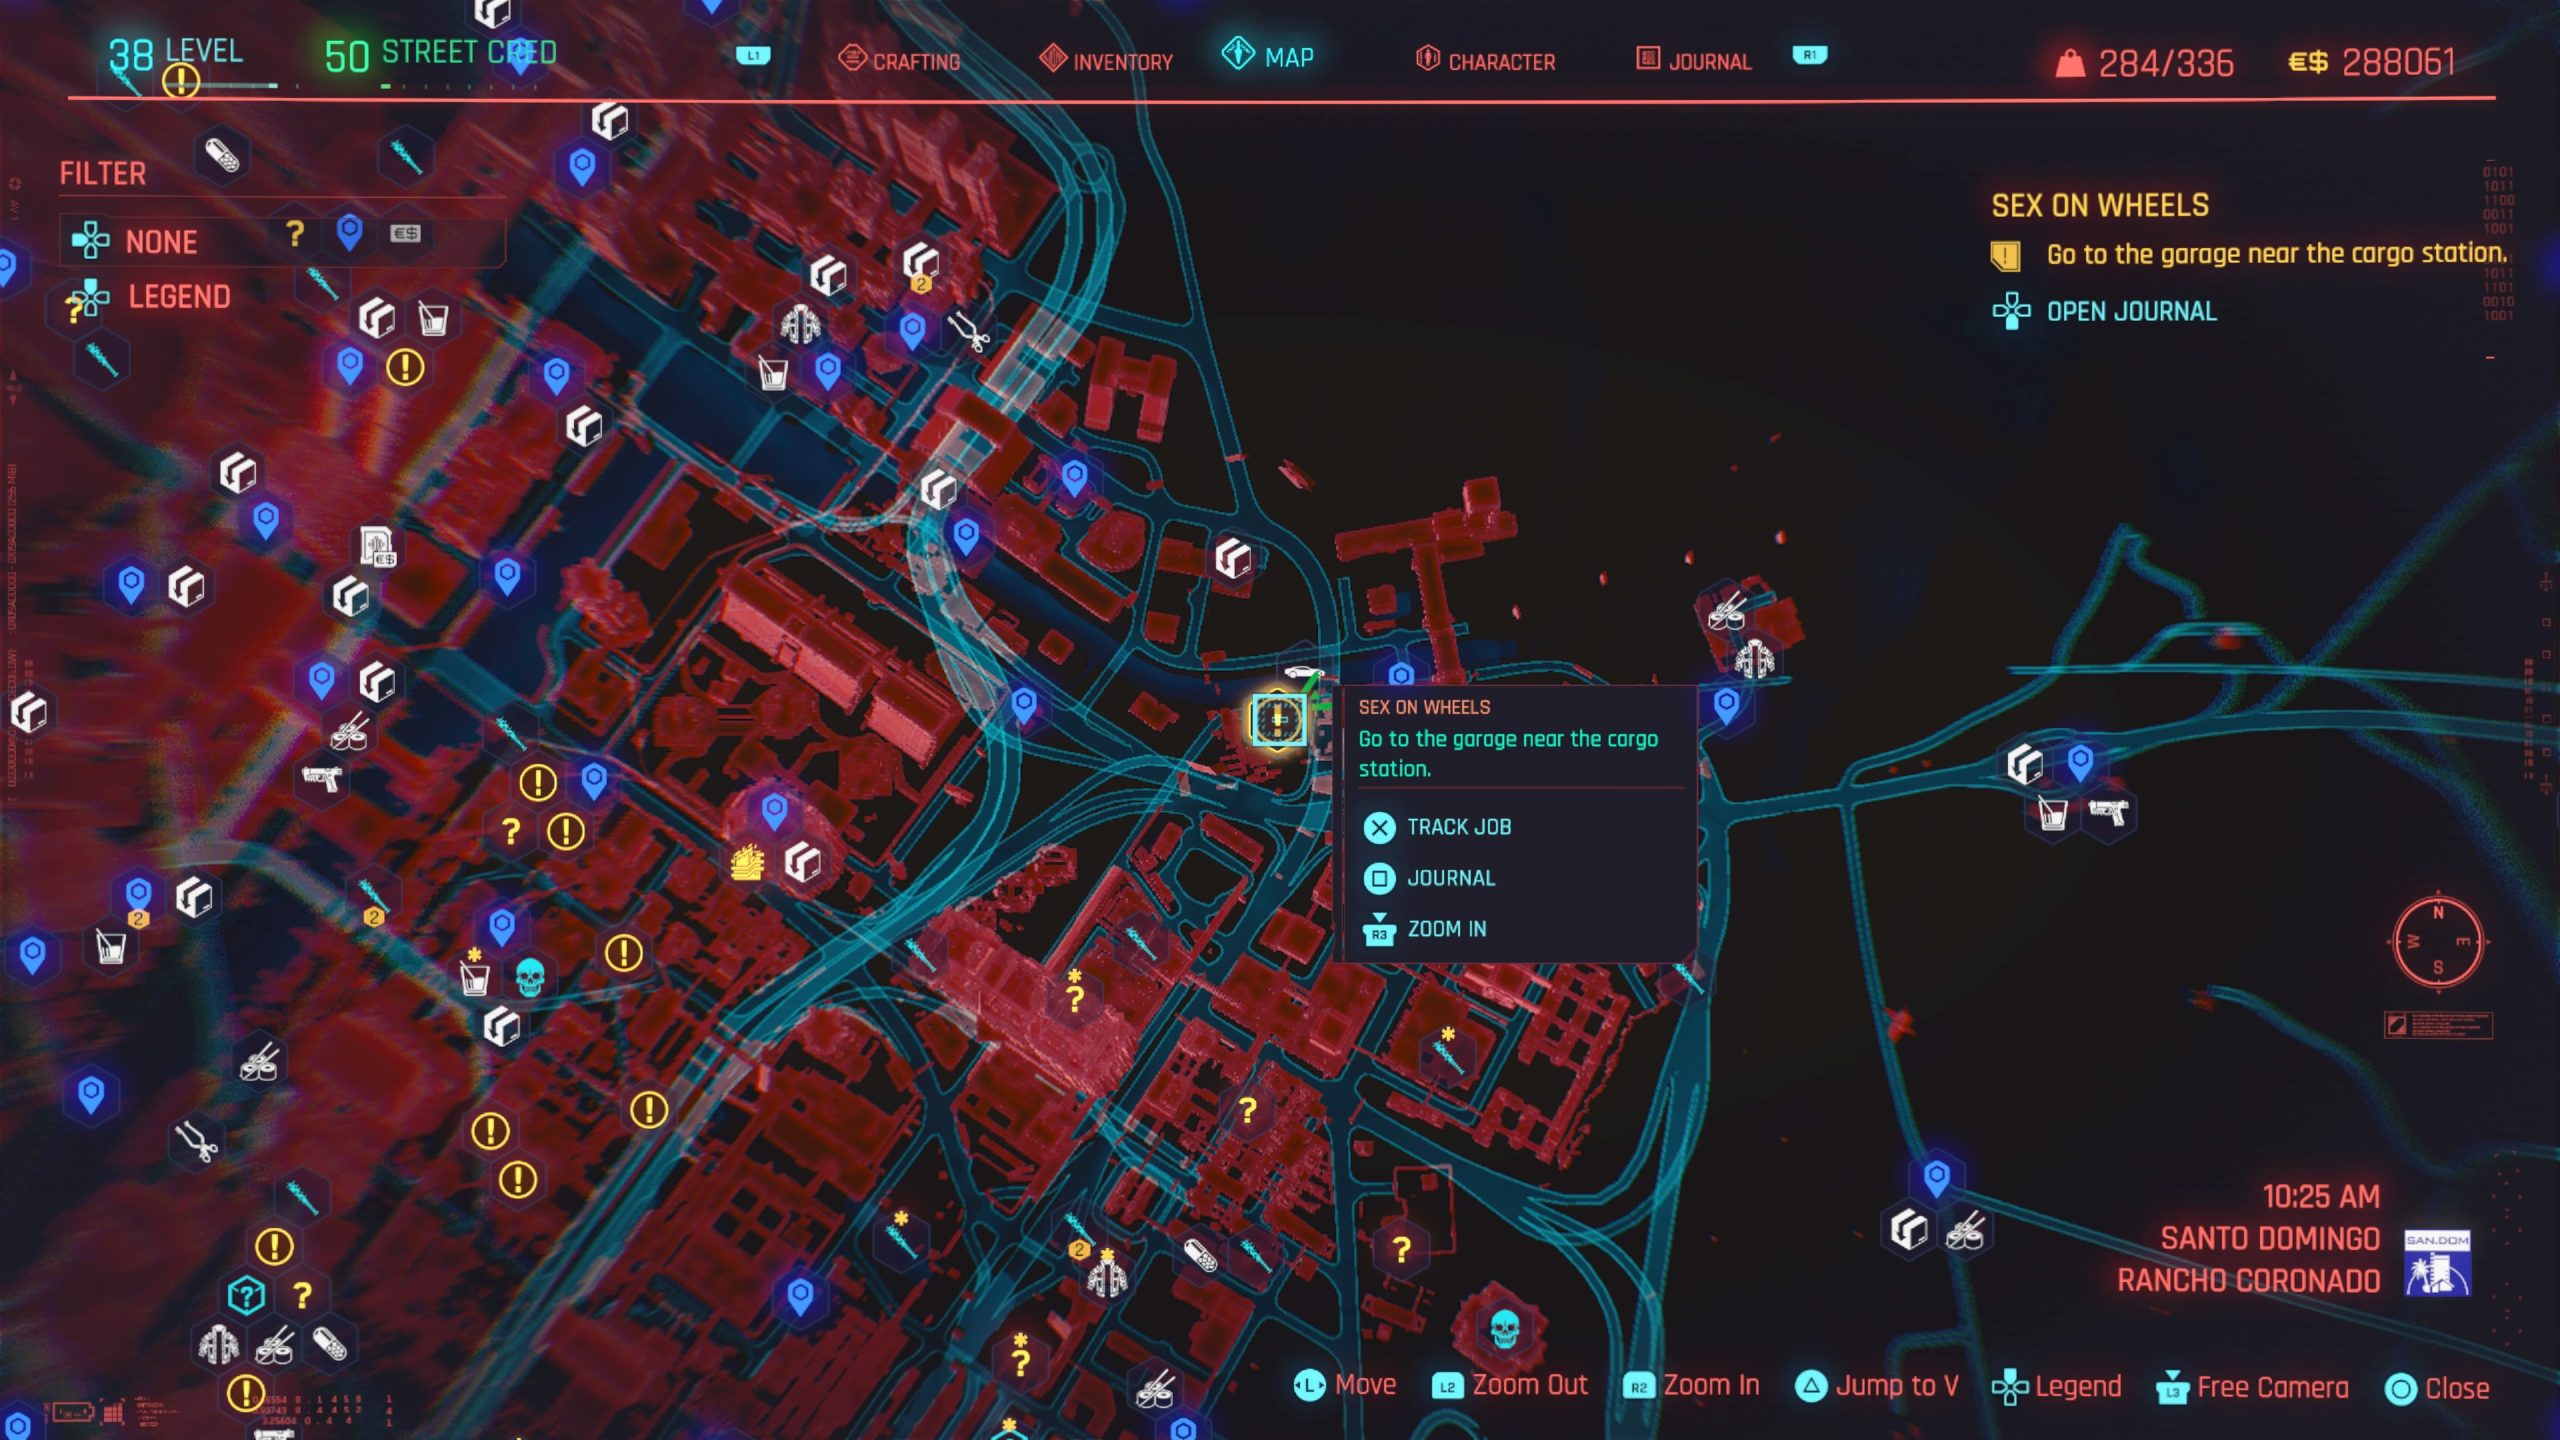
Head to the objective west of San Amaro St fast travel point in Santo Domingo – Rancho Coronado to find the garage. Inside the garage, you’ll find a car. Enter it then leave the area to complete the job. This car will now be yours to keep!
Sinnerman
Obtained: Wakako will call about a job
Objective: Take care of the hit

Travel to the objective near the MLK & Brandon fast travel point in Arroyo then sit on the bench to wait for Bill to show up. Head over to his truck and speak with him. Hop in the truck and wait for the NCPD Patrol Car to pass by. Follow it until they stop at the underpass then get out. Follow Bill towards the vehicle then stop once he’s killed. Slowly approach the vehicle to speak with Josh when prompted. Agree to go with him then hop in the vehicle. Speak with Josh as you’re being transported to an unknown location. Agree to stay with him all day. This will complete this job and trigger another called There is a Light that Never Goes Out.
Space Oddity
Obtained: Rancho Coronado – Approach the objective west of the Piez fast travel point
Objective: Talk to the bums
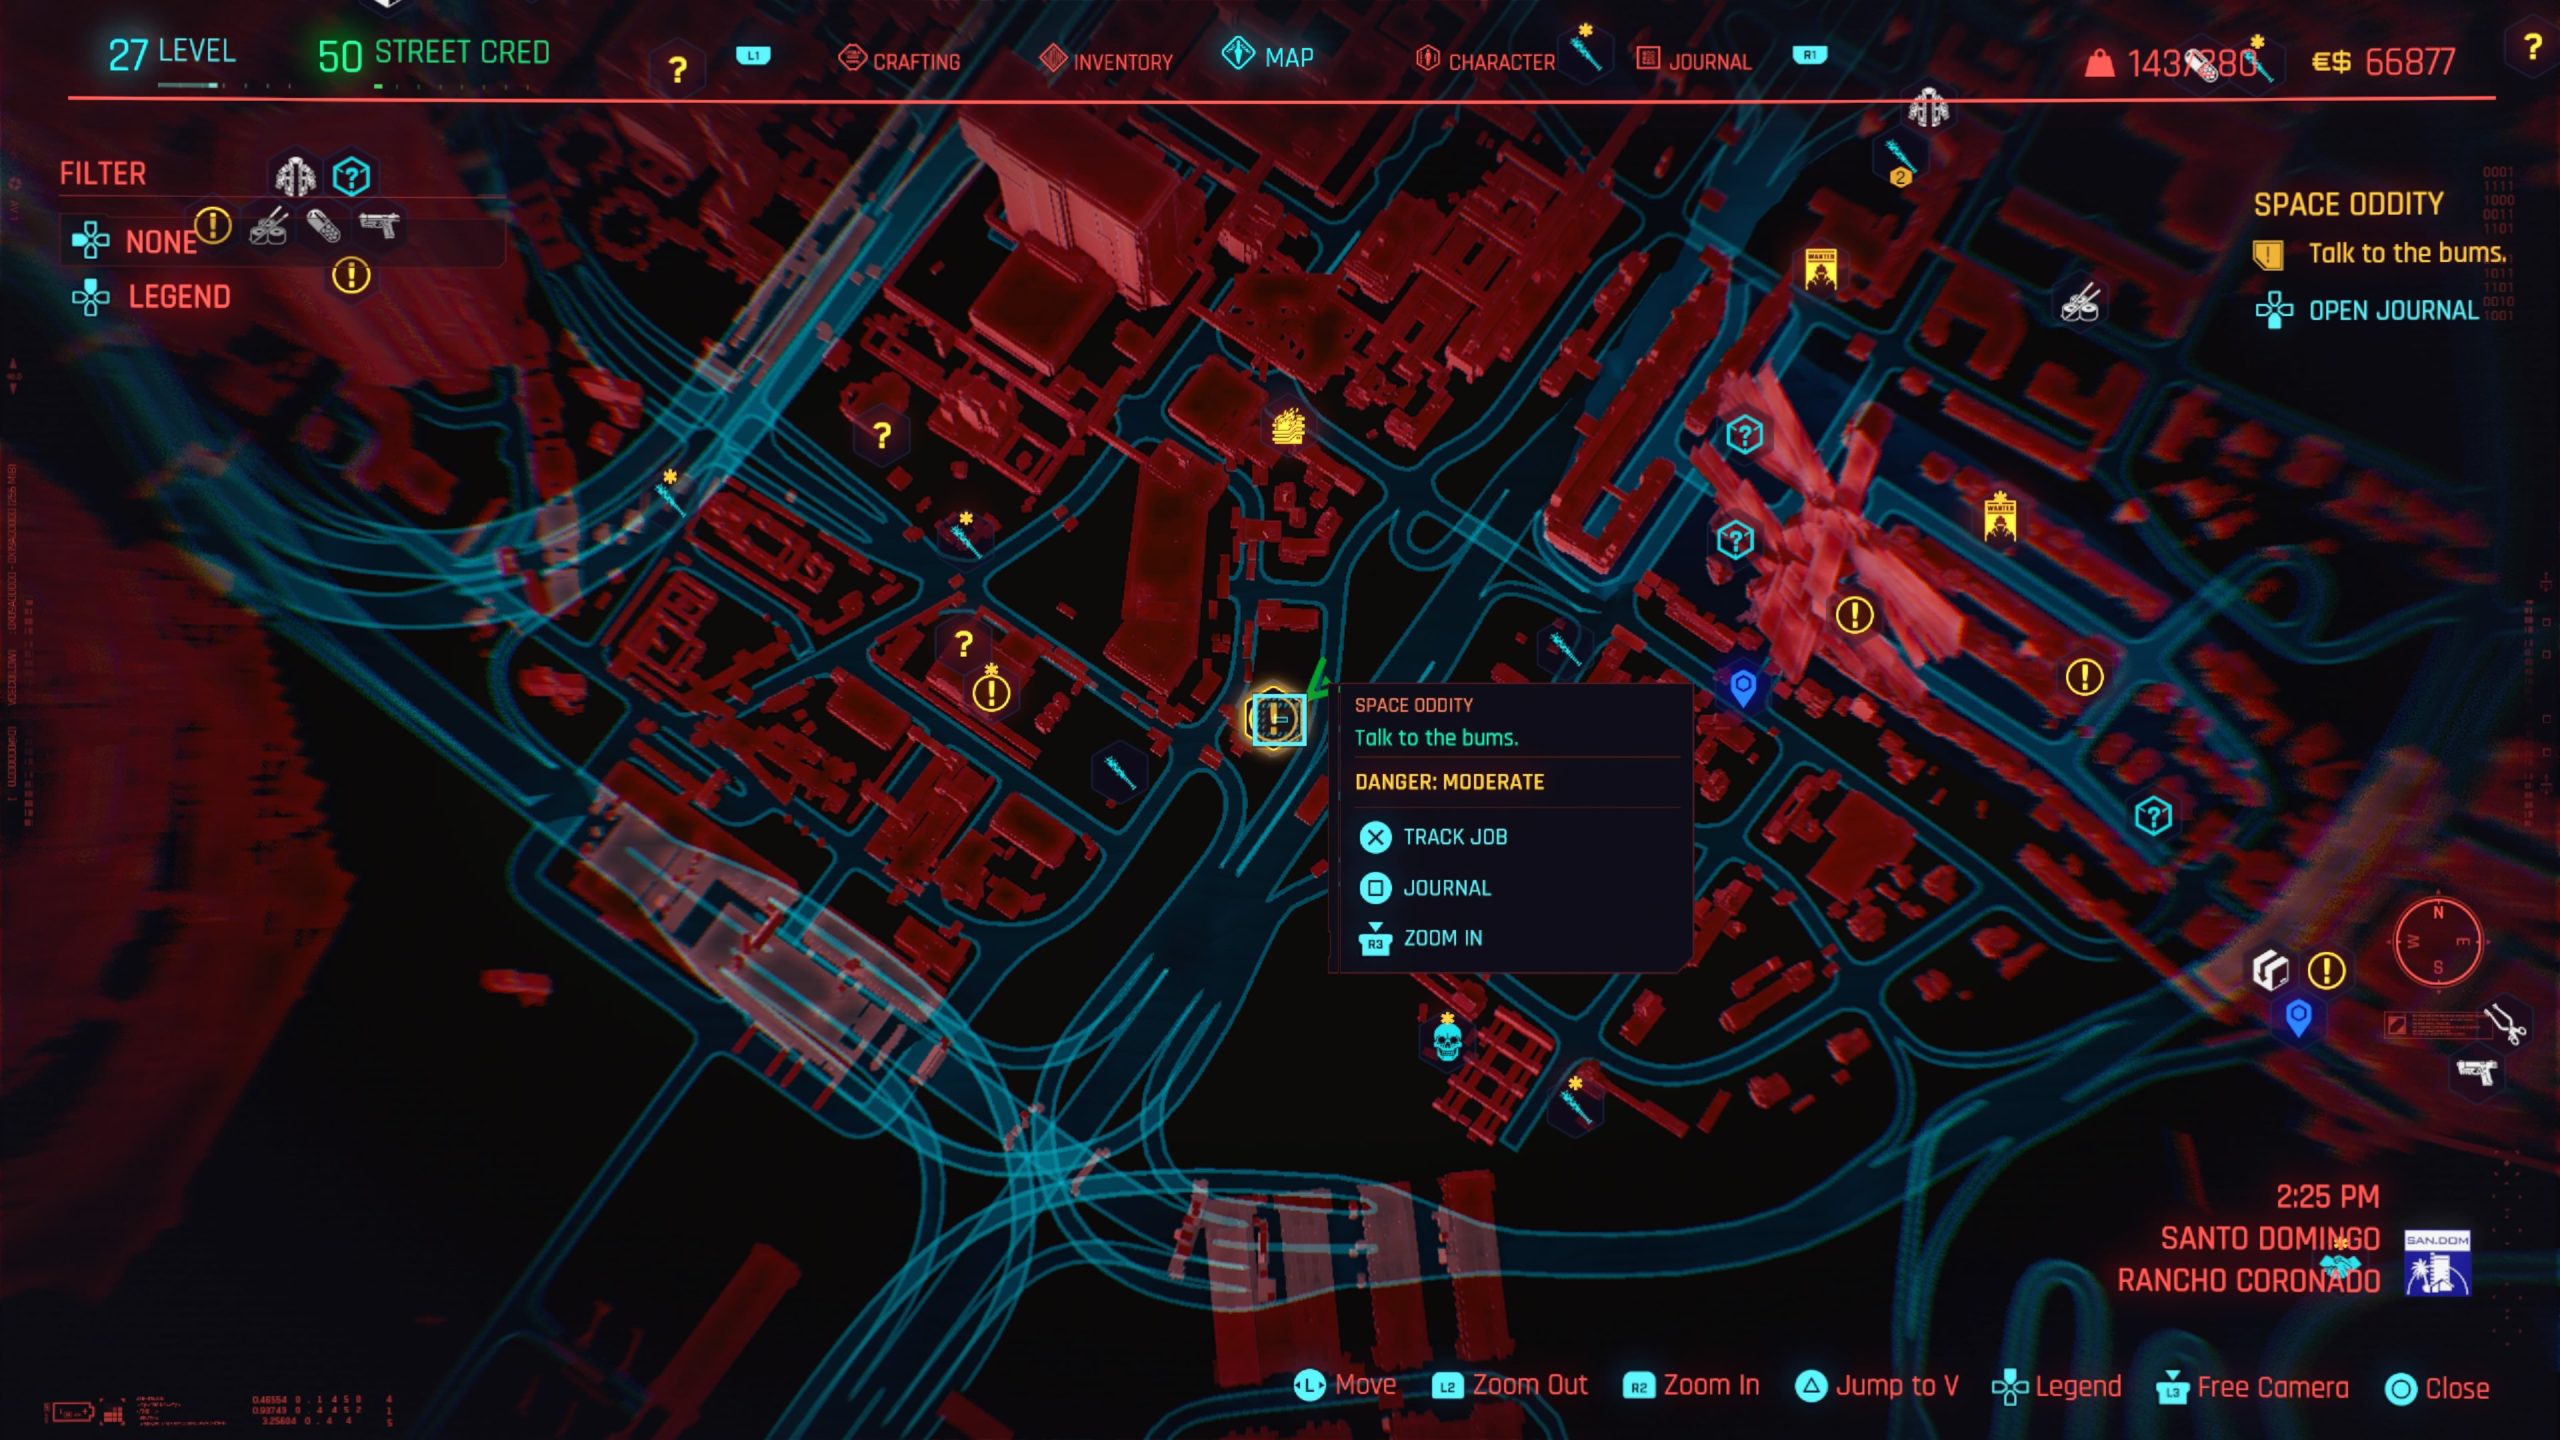
Approach the bums against the building and speak with them. In order to get the briefcase, you can either buy it off of them, physically take it from them after you beat them up or convince them to give it to you if you have a Body Value of 11. Once you obtain the briefcase, you’ll need an Intelligence Ability of 8 to open it. Alternatively, you can find the body of the suitcase’s owner, which is near a dumpster along the building and scan it. Loot the shard off of the body then use it to open the briefcase. After it’s open, access the files on the computer then follow the objective south towards the drop point. When you’re there, defeat all 7 enemies then open the package in the sand near a pipe. Speak with Johnny to complete the job.
Stadium Love
Obtained: Rancho Coronado – Approach the objective east of Rancho Coronado East fast travel point
Objective: See what’s going on
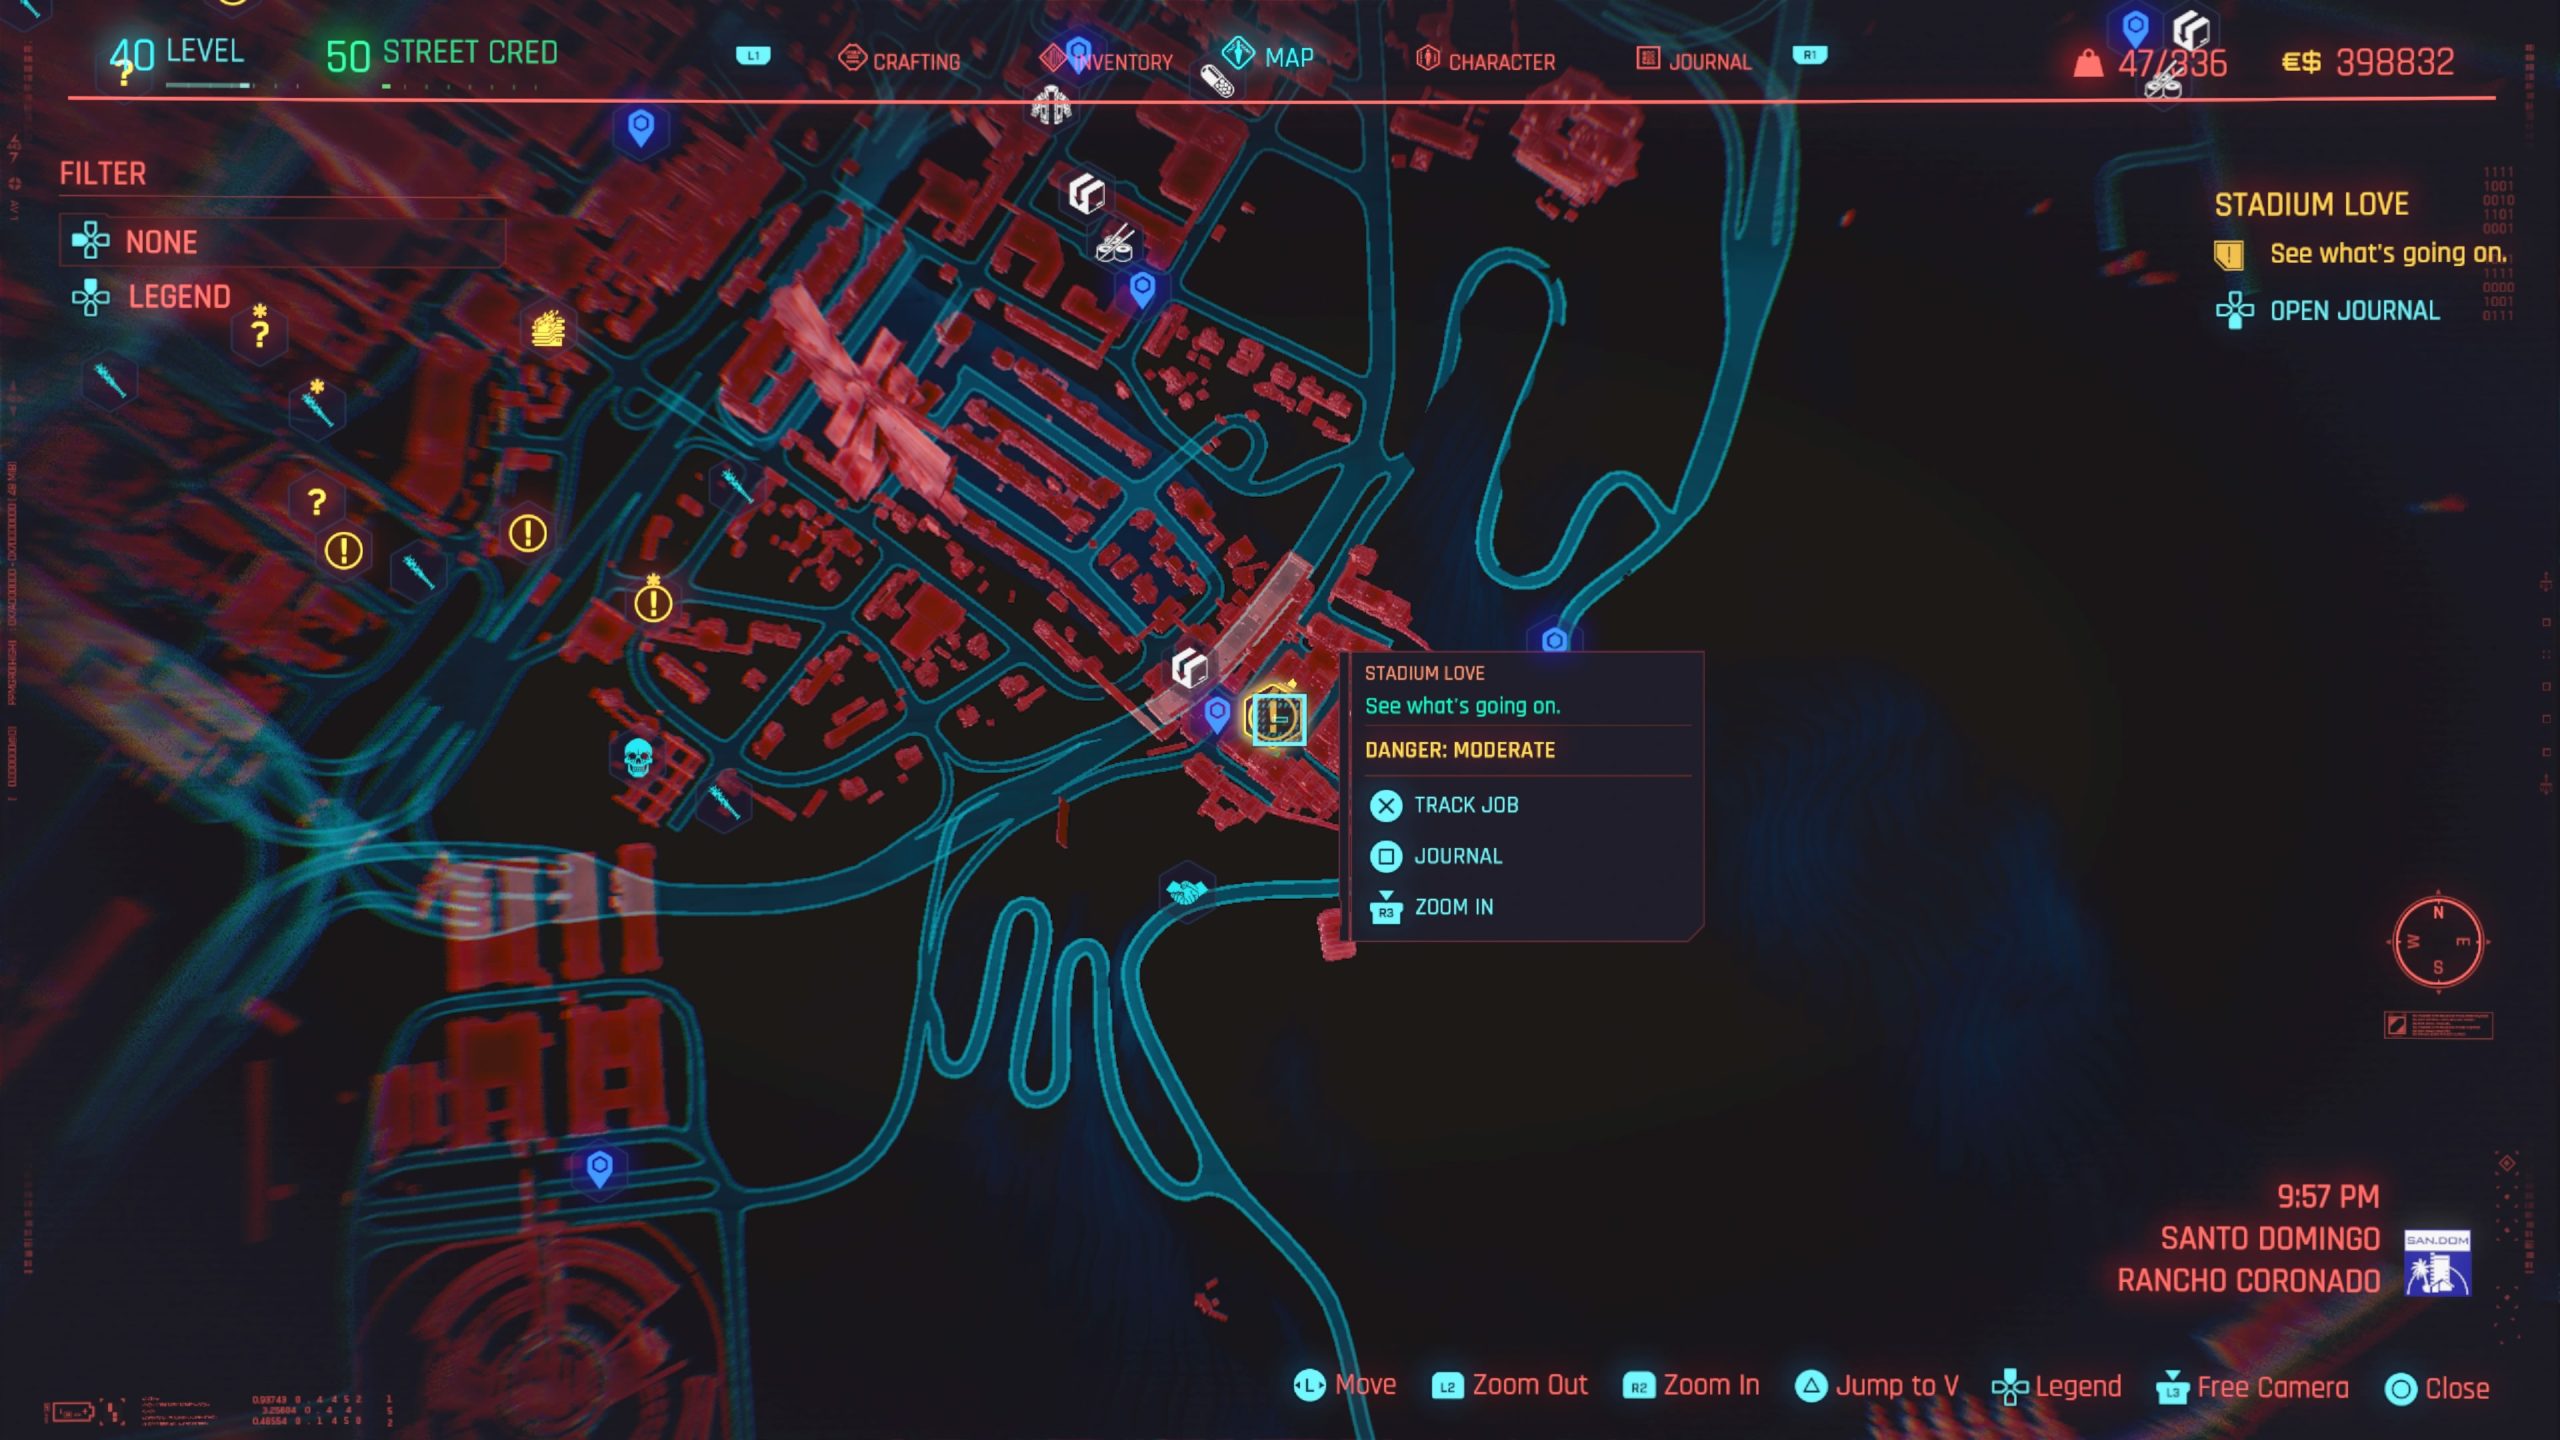
Approach the guy sitting on the couch at the party to trigger a dialog event with him. Tell him to chill. After some more dialog, tell him that you want in on the competition. For the competition, you’ll need to hit as many targets as possible to win! After you complete all 3 challenges, return to the leader. It doesn’t matter if you win first place or not. After the results are announced, the event will turn hostile and the job will close. Defeat the enemies as you make your escape.
There is a Light that Never Goes Out
Obtained: Complete the Sinnerman side job
Objective: Follow Joshua Stephenson
When the vehicle stops, exit and follow Josh into a house. Speak with Zuleikha while you wait for Gloria. When she arrives, you’ll need to leave so head to the vehicle and hop in. At the next stop, Rachel will want to speak with you so hang back a bit. You’ll eventually be given the choice to have her pay you to walk away or to tell her no way. Johnny won’t want you to take the money. If you do take the payout, the side job will end. If you tell her no, then it’ll continue. Head inside Piez and sit down at the table with Josh. After speaking with Rachel and Josh, they will leave. You’ll stay to talk to Johnny then head out yourself. When you do, the job will complete.