Welcome to our complete guide for all Phantom Liberty gigs in Cyberpunk 2077! In this guide, we’ll list all of the Dogtown gigs, where to find them and how to complete them to earn the Dirty Deeds trophy/achievement.
Phantom Liberty Gigs List
Dogtown Saints
- Obtained: Speak with Odell at the Golden Fleece near the center of Dogtown
- Location: Pacifica – Dogtown
- Objective: Rescue Anthony Anderson
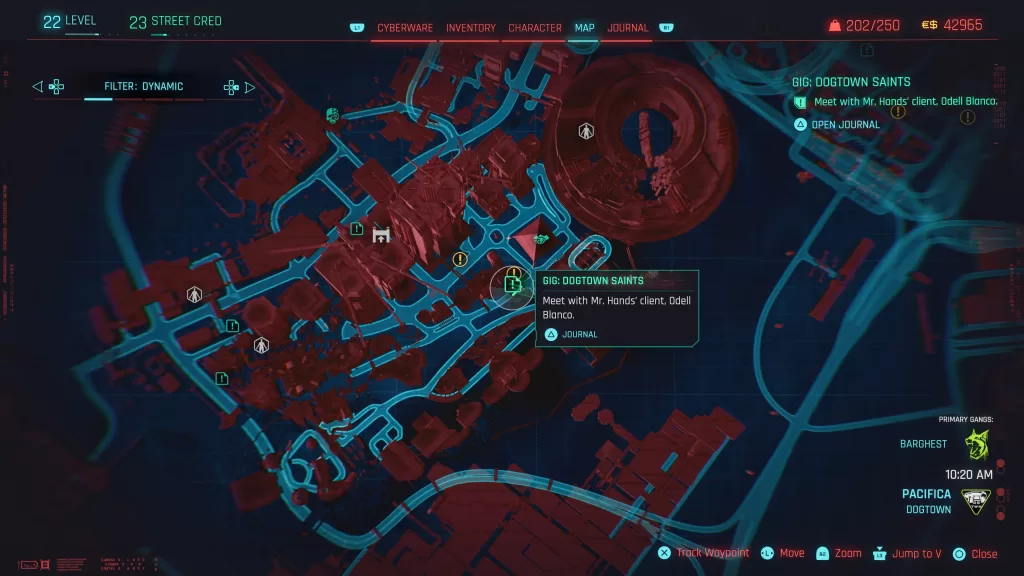
Travel to the Golden Fleece and speak with Odell under the tent. He’ll tell you that Anthony is trapped in the Haven Church across the street. Make your way over there then head around to the left side of the building. There will be a few enemies guarding the broken window. Defeat or sneak past them then head in through the window. You’ll have a group of enemies in the church you’ll need to take care of. When that’s done, head through the door to the right of the altar and go down the stairs to reach the basement. Take out the two enemies there then go to the back of the room and head through the door. This will put you right outside of the doctor’s office.
Upon entering the office you’ll find the doctor being held a gunpoint by a woman looking for her brother. You can try to talk her down, but then when Anthony goes to take a drink she shoots the glass out of his hand. He’ll then order you to take her out. You can do so if you wish or you can tell him to answer her question. If you do, he’ll tell her the truth about her brother then she’ll leave. Speak with the doctor afterwards then her. After making either choice, take the elevator up to the ground level and head back across the street to tell Odell everything is okay to complete the gig.
Heaviest of Hearts
- Obtained: Hands will message you about this gig being available after completing the Firestarter main job
- Location: Pacifica – Dogtown
- Objective: Meet with Michael
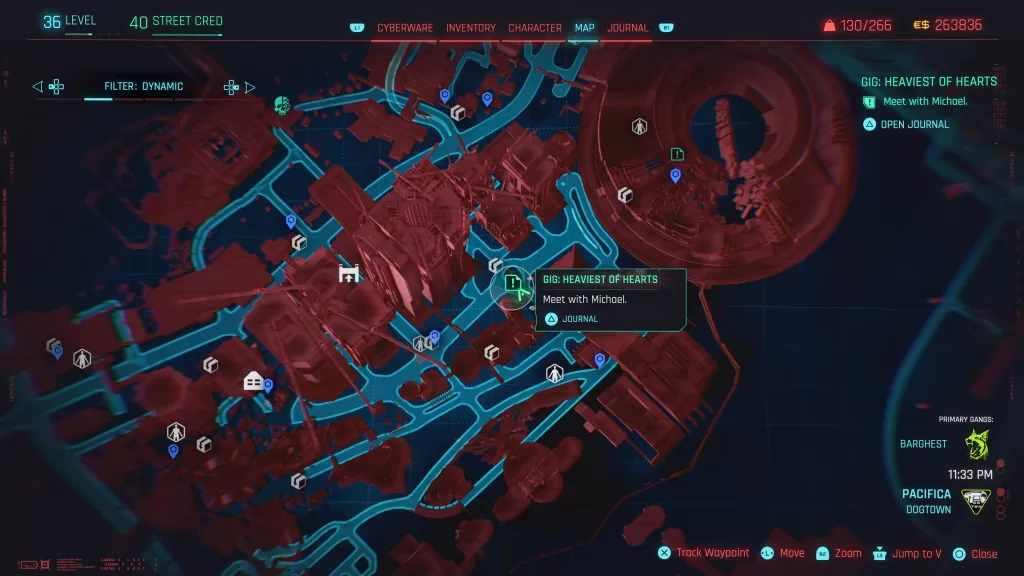
Head to Woodman & Miller Hardware in the center of Dogtown under the overpass and speak with Michael. When your done set out for the Heavy Hearts Club. Head to the bar and talk with Helen asking about our DA. Next head to the can to find Jack. Talk with speak with him asking about the DA. Pay him some eddies to learn that she’s in booth 4 of the VIP Room. Head over to the VIP Area and speak with Markus then enter the VIP Area.
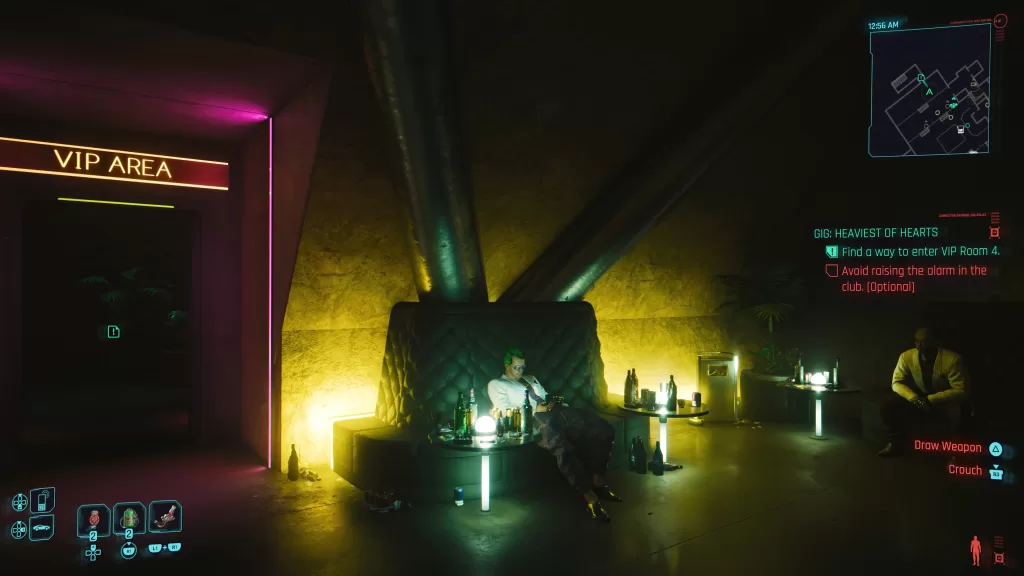
At the top of the stairs, you’ll need to head left working your way to booth 4. Along the way, you’ll have 2 guards on the right and 2 cameras on the left to deal with. After you reach the other side of the floor, booth 4 can be found across from the bar with another guard working behind the counter you’ll need to distract. Once you enter booth 4, there will be a guy dancing you’ll need to speak with. Choose the option saying you have evidence for the DA and he’ll tell you she’s in booth 6.
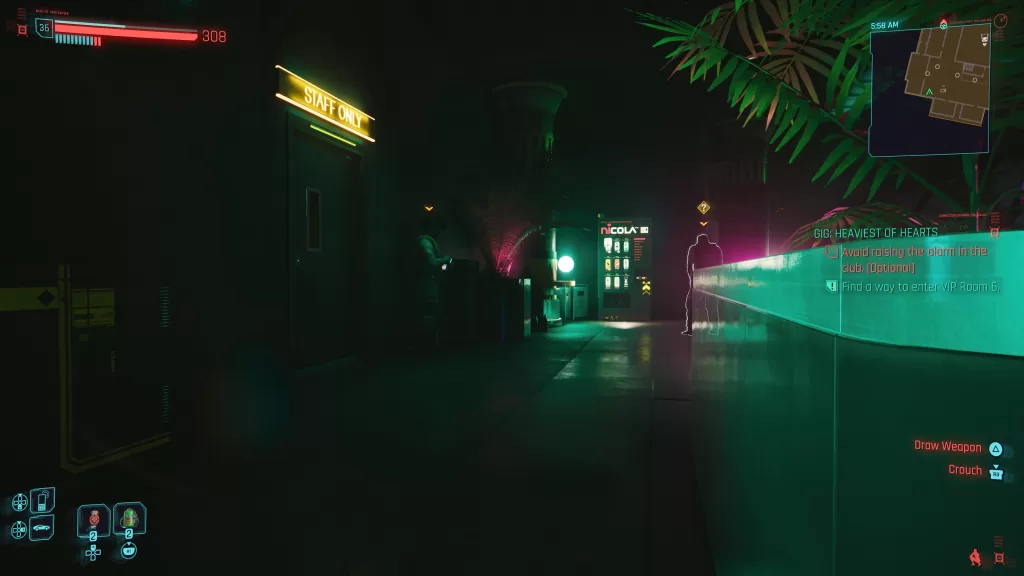
Exit booth 4 heading left (make sure to distract the guard behind the counter again) towards the staff only. There will be one guard watching the door. Use the device on his right to distract him then hit him with system shock to sneak through the Staff Only door making sure to close it afterward.
In the storage room, there will be one guard behind the shelf next to the fan. Use the light in the corner of the room to the left of the door to distract her then make sure to take her out non-lethally. Open the door and head through the narrow hallway once again dealing with a lone guard non-lethally. Override the breaker he was standing in front of to gain access to booth 6 (next right in the hallway). She’ll be in a side room to the right of where you came in from with her squeeze, Hank. Before entering the room, check the nearby suitcase for an iconic smart pistol. Enter the room to begin talking with her. She’ll show you the testimony which she’ll follow up with an offer to make the giver of the testimony anonymous. You can take the deal or refuse. If choose the latter, you’ll have to fight Hank. After defeating him, she will delete the testimony. If you take the deal you’re free to leave.
Head back to Michael and tell him what happened. If you took the deal he won’t be happy about it, but V will make him pay. If you wiped the data, you can still call him out on what he did and get paid. Either way, the gig will be completed.
Mysterious Signal
- Obtained: Approach the van in the southcentral part of Dogtown
- Location: Pacifica – Dogtown
- Objective: Investigate the Mysterious Signal
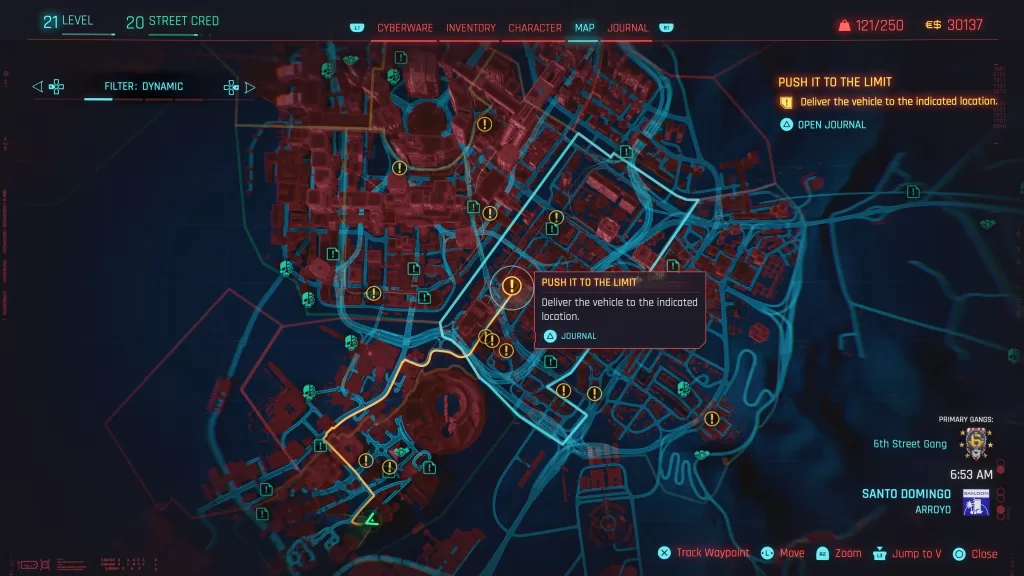
Head to the location of the mysterious signal where you’ll come across a good old fashioned firefight. In between both sides will be a van which is the source of the mysterious signal. Take out both groups then hop in the van. This will trigger the Push It To the Limite side job.
Prototype in the Scraper
- Obtained: Approach the Scraper construction site
- Location: Pacifica – Dogtown
- Objective: Retrieve a Prototype Implant and its Schematics
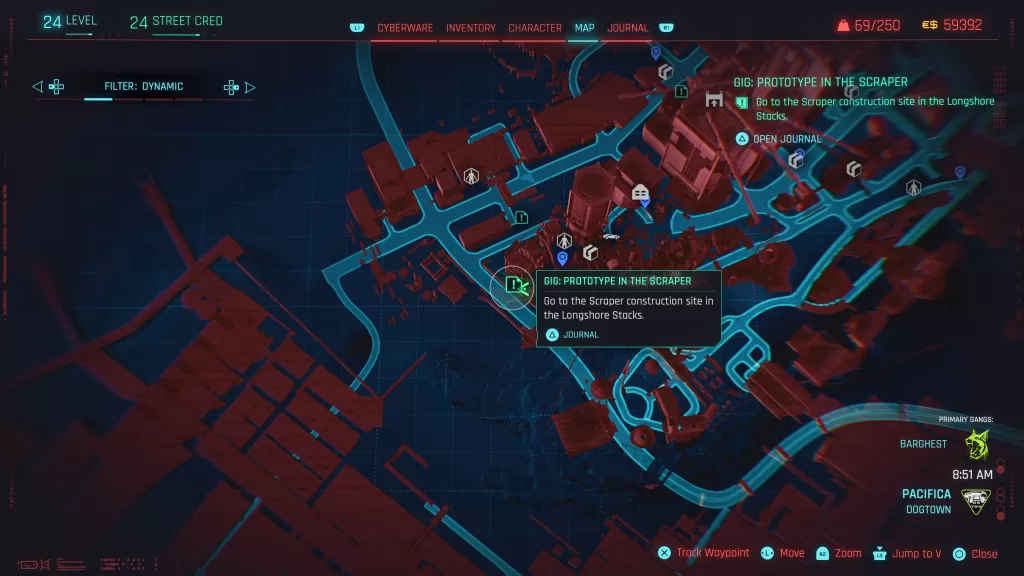
To start this gig, travel to the far west of Dogtown, past the Longshore Stacks fast travel point. When you get close enough to the Scraper construction site the gig will trigger and Mr. Hands will send you the deets. Head inside then fight your way to the other end of the site. Enter the building there and use the elevator in the back to reach the 24th floor. There will be a large group of enemies here that you’ll need to deal with before.

After they are taken care of, look for the room with the makeshift operating room setup. Examine the computer in this room specifically the files to find the password for a cell (for us it was 2753) then head down the stairs in the room. Approach the cell to start talking with Hasan. Eventually, you’ll need to free him from the cell and will be able to use the password you got from the computer earlier. Follow him to the location of the schematic then lower and head across the bridge he points out.
When you get to the other side, talk with Hasan again. You’ll then learn he was going to sell the prototype and then disappear into Dogtown. You’ll then have a choice to make. You can turn him over, say you never saw him or ask Mr. Hands for a favor. Turning him over will end with Hasan being sent back to the corp where they will most likely kill him. If you tell him to get lost, then you’ll only have the schematic to hand over reducing your reward. You can also choose to call Hands and tell him about the situation then ask to let Hasan go after the operation. The fixer will call in a favor in good faith to V. The gig will be completed after you hand the the schematic (and Hasan if you decide to turn him in).
If you choose to have Hands help Hasan by letting him go, you’ll get a side job later where Hasan will give V an iconic tech pistol for helping him.
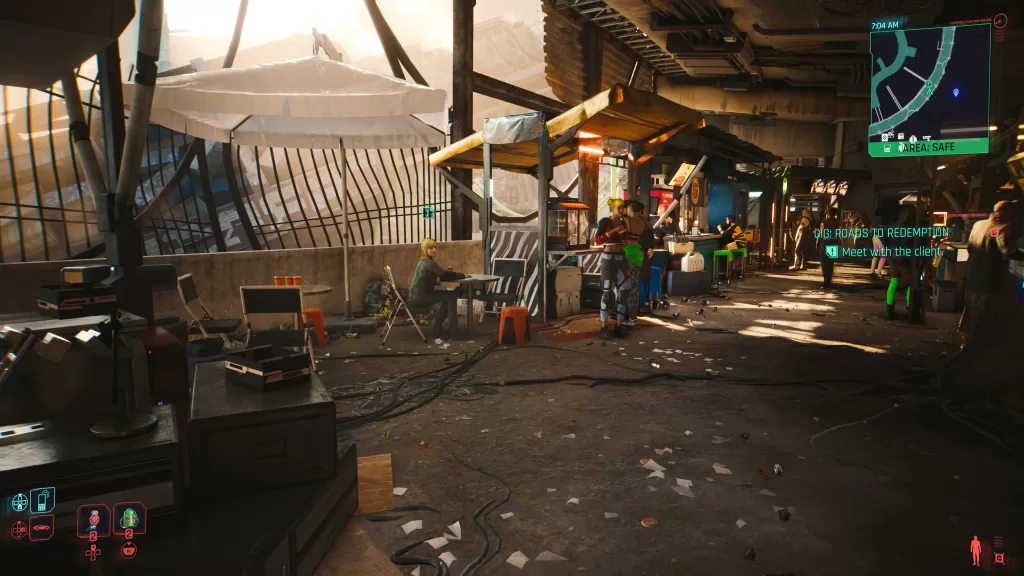
Roads to Redemption
- Obtained: Hands will message you about this gig being available after completing the Firestarter main job
- Location: Pacifica – Dogtown
- Objective: Meet with the Client

Head to the stadium to find the client near all of the stalls on the outer walkway. Speak with Nele there to get the details on the job. After the conversation, follow the objective to a locked door in the stadium near the tank. Enter the code you got from Nele to gain access and head inside. Follow the path to reach an old parking garage and deal with the enemies there then enter the elevator taking it to 03 Manufacturing.
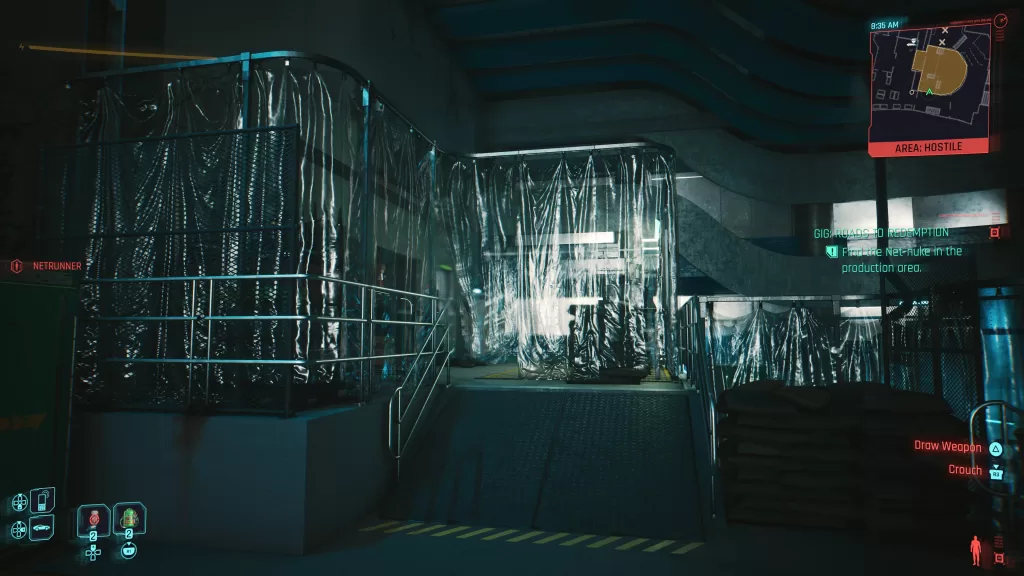
Once in manufacturing, you’ll want to explore the floor looking for the room with the plastic curtains in it. There you’ll find the net-nuke to upload the malware in. After the upload, your location will be compromised and Johnny will want to have a chat. After speaking with him, leave the weapons factory using the elevator you took to get there. You’ll have more enemies to deal with and Nele will message you changing the meeting coordinates.
You’ll need to head to the area between the stadium and the Luxor High Wellness Spa fast travel point. Nele will show up in a car. jump in to trigger an event where the crop will show up to arrest Nele. You’ll have the option to give them the shard and leave Nele to her fate or take them out and let her walk free. The gig will be completed after you make your choice.

Spy in the Jungle
- Obtained: Approach the area after meeting Mr. Hands in person
- Location: Pacifica – Dogtown
- Objective: Go to the Paradise Hotel
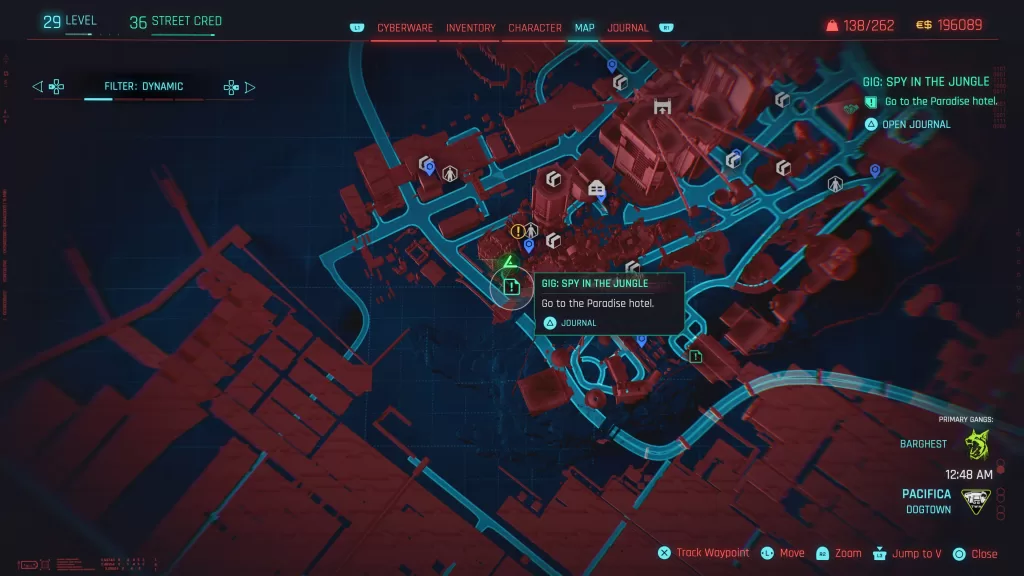
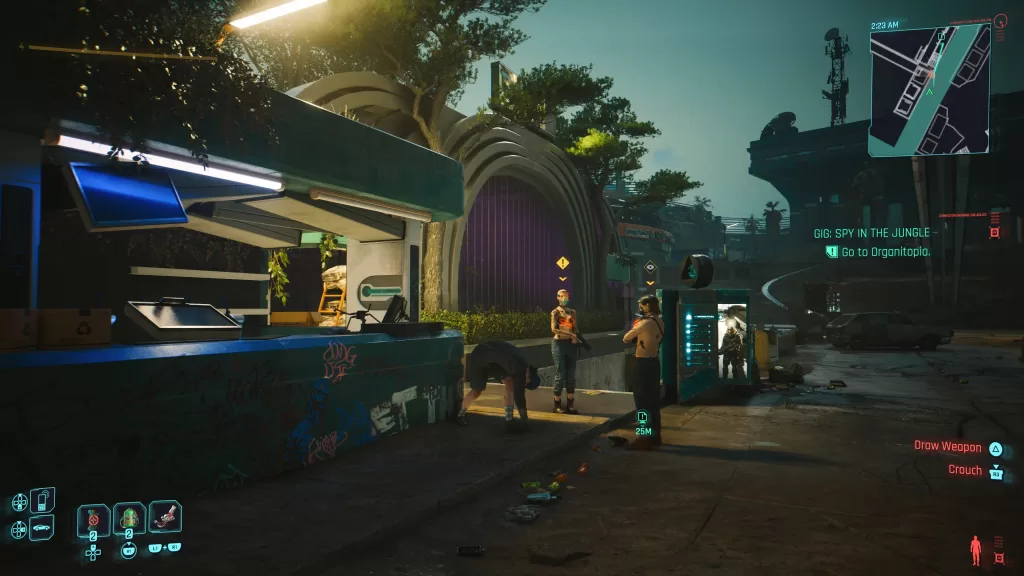
Head to the Paradise Hotel at the far west end of Dogtown past the Longshore Stacks fast travel point. Once there take the stairs up to the third level looking for room 203. Enter the room to be greeted by the agents. They give you the details of who they are looking for and then send you to Organitopia at the southwestern tip of Dogtown. Enter Organitopia and pass the stalls to find a set of stairs on the left with some enemies there. Take care of them then head down the stairs and take a left through the hole in the gate. There will be on window on the wall in front of you that you’ll need to force open. Jump through and interact with the Access Point on your right to give yourself authorization. When that’s done, Bana will contact you asking you to head to the main exhibit hall. Standing between in and you is a group of Scavs. You’ll need to deal with them before you can enter the main exhibit.
At the doors to the main exhibit, Bana will contact you again staying he’s in a room on the upper level. He’ll also mention there are some elite warriors in the room as well. Approach the room and interact with it to trigger an event where a guy drops through the roof kicking off a boss fight. For the first half, the assassin will be teleporting around the rafters above the exhibit. Once you get him to half health, some drones will show up that you’ll need to deal with. The boss will also move to the lower level. Once you defeat him (make sure to loot him for an iconic weapon), enter the room to meet “Bana”.

Speak with Katya and exhaust all of the dialog options. Ana will tell you to delta her and then bring the biomonitor back to them. Katya will propose a counter offer to give you the biomonitor along with the location of her stash. If you accept, you’ll get the Money for Nothing side job. If not, then take her out and grab the monitor. Exit Organitopia and head back to the agents to deliver the monitor. Along the way, Steven will message you saying to bring the monitor to a drop point cutting out Ana. If you question him, you’ll learn that Brazil is about to sign a huge deal with SovOil and this data would stop that from happening. You can then take the monitor to the drop point if you wish. You can also go back to the agents where Steven and Ana will be arguing about it. This ends with Ana demanding you hand her the monitor. You’ll then get the choice of whether to actually hand it over or destroy it yourself. Make your choice then leave the room to complete the gig.
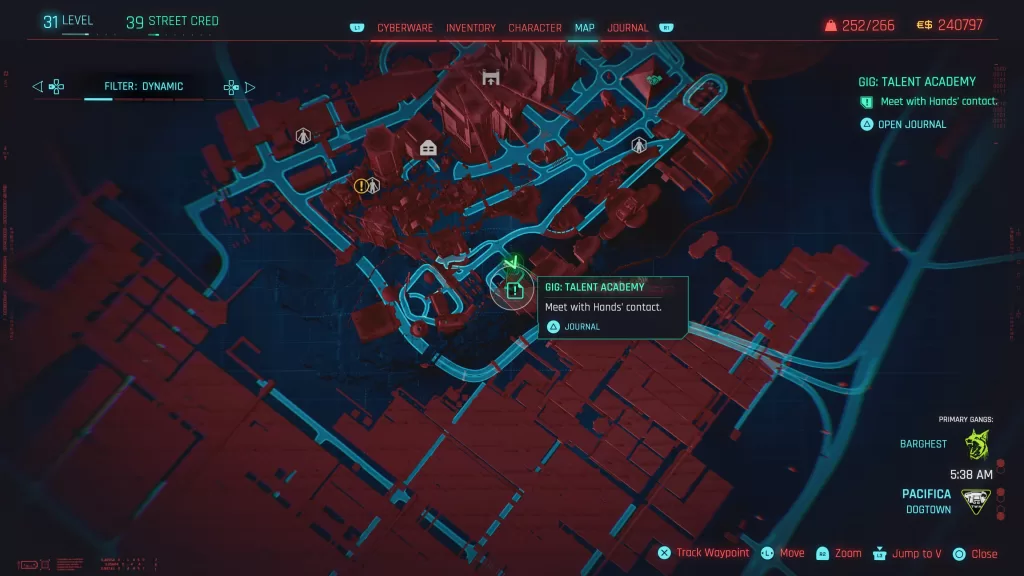
Talent Academy
- Obtained: Approach the site in the southwestern corner of Dogtown after meeting Mr. Hands in person
- Location: Pacifica – Dogtown
- Objective: Meet with Hands’ Contact
Approach the site and locate the contract. Speak with him to get more details about the job then enter the exhibition hall via the elevator. When you the lobby. speak with the receptionist. After that, head into the actual hall and take a seat at the bar, speaking with the bartender. When he asks who you are scouting for, tell him it’s none of his business. If you don’t actually answer his question, you’ll get caught up in the lie and have to take out everyone. Tell him to mind his own business will result in someone else causing a scene giving V the perfect diversion to sneak away. Enter the nearby door then follow the path looking for the stairs leading down. There will be enemies and cameras you’ll need to disable along the way.

Either option will see you heading to the Athlete Zone on the lower level. The office you’re looking for can be found past the room containing treadmills down a hallway.
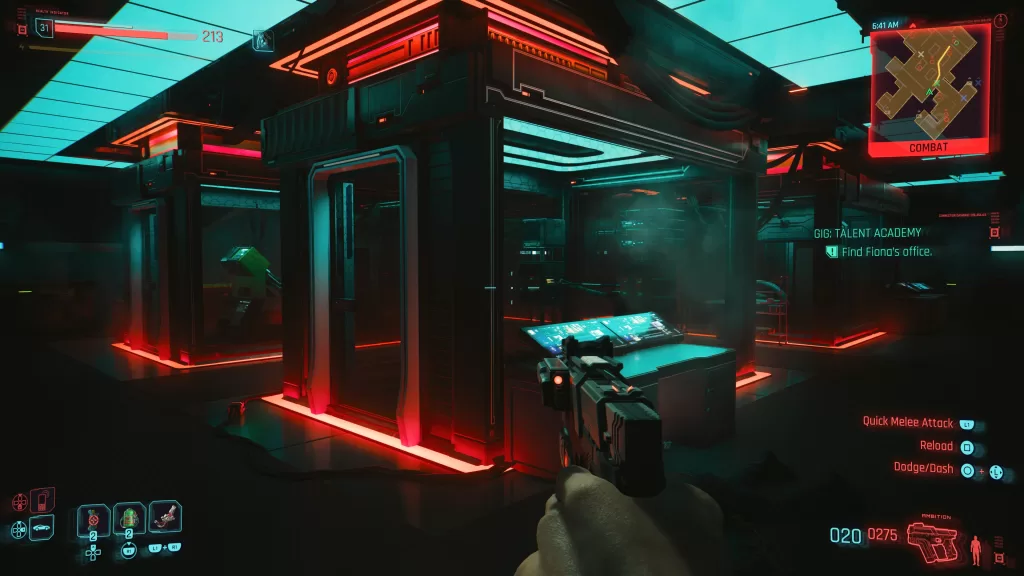
Once you reach the office you’ll run into Tommie. Speak with him then interact with the terminal nearby to try and steal the data. Fiona will show up and want to know what you’re doing. Tell her about the tax fraud and she’ll want to make a deal. She’ll give you a list of her secondary clients she doesn’t care about and will make sure Tommie gets signed in exchange for letting her top clients go. You can take the deal if you wish or turn her down. Either way, you’ll get some data to send to Hands. If you decide to turn down her offer, once you get outside, some enemies will show up that you’ll need to take care of. Exit the area afterward to complete the gig.
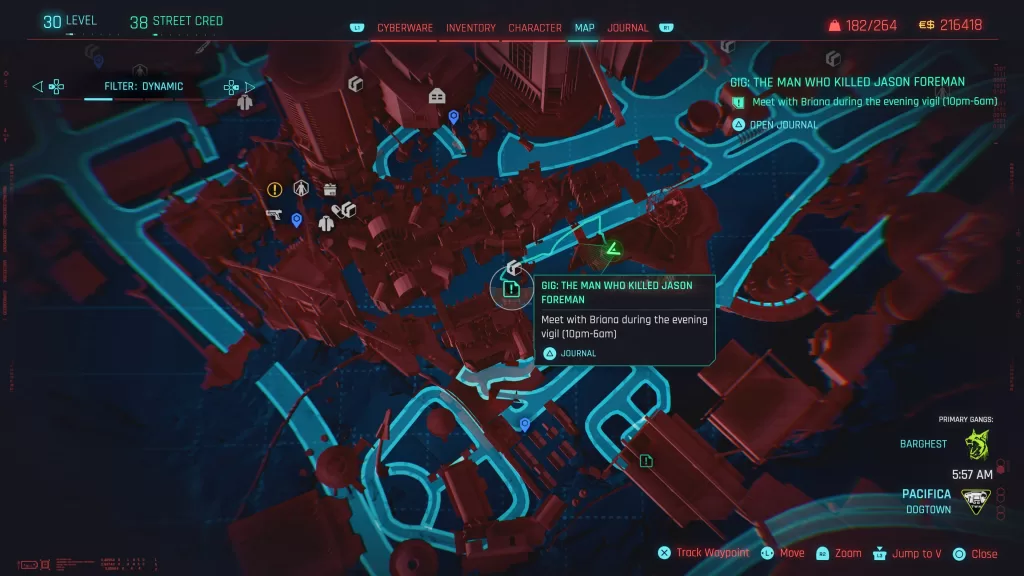
The Man Who Killed Jason Foreman
- Obtained: Approach the area south of the Kress Street fast travel point after meeting Mr. Hands
- Location: Pacifica – Dogtown
- Objective: Meet with Briana during the evening vigil (10 pm-6 am)
Follow the objective to reach the vigil in stacks after 10pm and speak with Briana there. Follow behind her talking along the way. She’ll give you the details on the job and hand over a shard that you’ll need to decrypt. After reading the shard, you’ll have the optional objective to examine the area. Look for the items in the below list to scan.
- Combat Footprints
- Bullet Holes
- Stash
- Indentation
Travel to the old motel found at the Pacifica West Wind Estate then head inside.

You’ll need to work your way up to the third floor defeating the enemies along the way. Once you’re on the fourth floor, head straight down the hallway to the other end then take a left past some old wooden shelves. Interact with the door there to begin a boss fight with Yasha Ivanov. He’ll turn invisible and can heal himself a little bit. Defeat him, then head through the door behind the shelves to reach Rinder. Speak with him then when you’re done choose the shoot him option. Loot his dog tag then leave the building and bring it back to Briana to complete the gig.
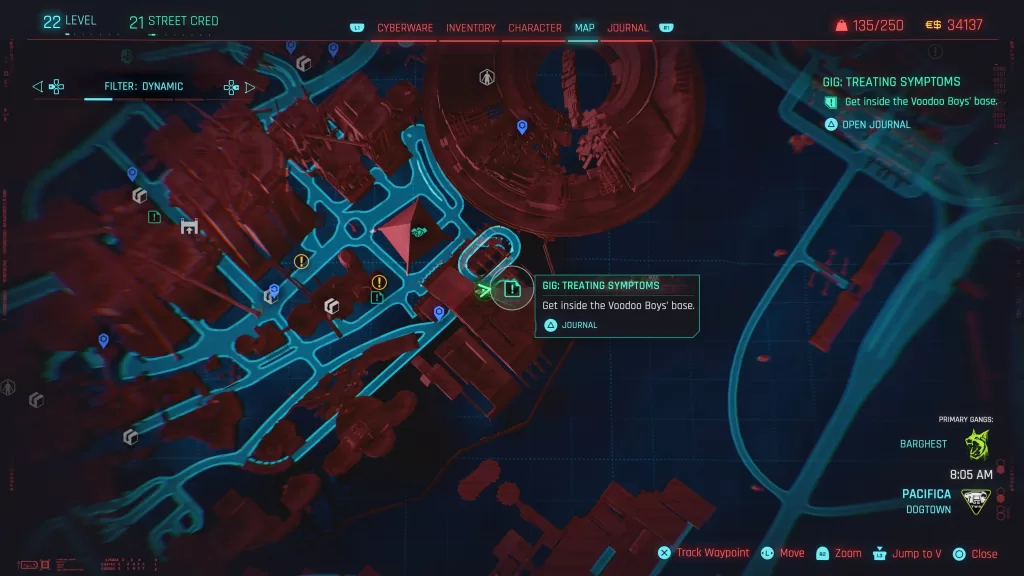
Treating Symptoms
- Obtained: Approach the Voodoo Boy’s base in the northeastern part of Dogtown
- Location: Pacifica – Dogtown
- Objective: Eliminate Milko Alexis
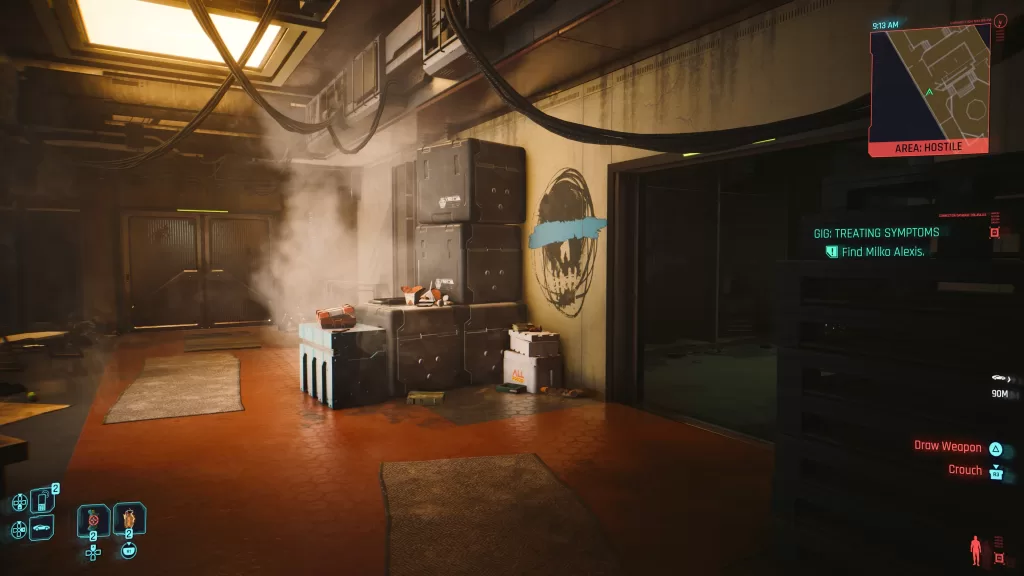
Enter the Voodoo Boy’s building by either the front or side. On the upper level on the east side, you can find a supplier who you can question about Milko in a side room. Return to the hallway and head right towards a pair of doors then pass through them. This will trigger a boss fight between you and a horde of robots led by a beefy robot controlled by the target.
Once the boss robot goes down the other will be deactivated and a set of doors at the back of the room will open. Head through them then down the stairs following the path to the end. When you get there, you’ll find Milko along with Alan from Netwatch. He will ask you to not kill Milko yet providing his reasons then you’ll be given the choice to either kill the target or let Alan continue his work.
So far there are no major consequences to your choice. If you side with Alan, your client will be killed, but he can try to stop the blackmailing at the source, preventing many more deaths. He’ll also open the gate behind him so you can leave the building. If you choose to kill Milko, then Alan will turn hostile and you’ll have to kill him too. Loot the keycard off of Alan afterwards so you can unlock the gate behind him and leave the building. Once you make it outside, the gig will be completed and you’ll get your credits from Mr. Hands.
Two Wrongs Makes Us Right
- Obtained: Aproach the Animal Base
- Location: Pacifica – West Wind Estate
- Objective: Steal a van hauling the Animals’ medical supplies

Approach the Animal base then head down to the bottom level. The van will be on the far right side opposite the tunnel leading out of the base. All you need to do is hop in the driver’s seat and deliver it to the location that Hands sends you. Once you drop off the car, the gig will be completed.
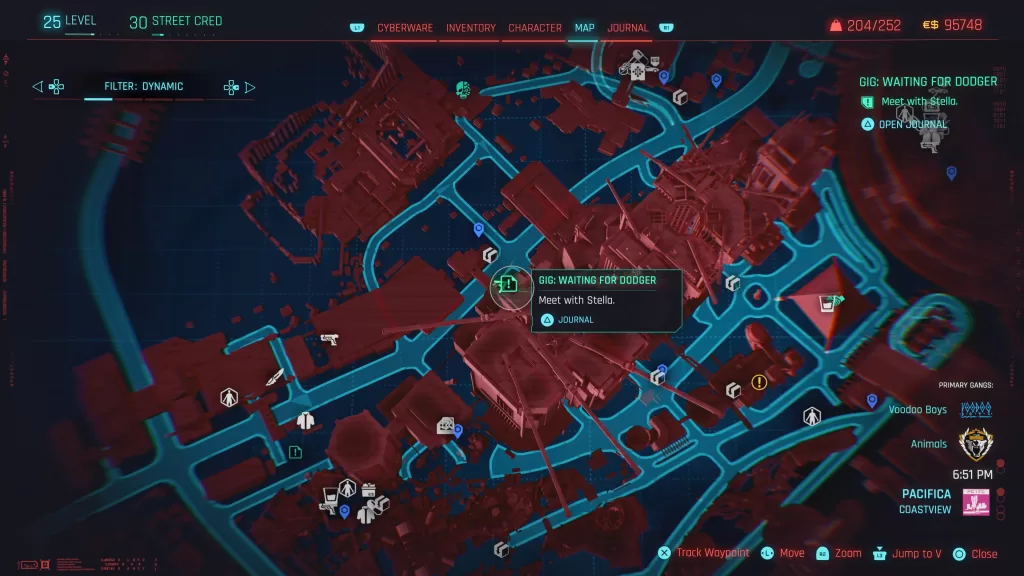
Waiting For Dodger
- Obtained: Speak with Stella in her car outside the western Dogtown exit
- Location: Pacifica – Coastview
- Objective: Extract NCPD officers from Dodger’s Base
Hop into Stella’s car and get down as V is told. She’ll tell V that her fiance and his partner are trapped in the building across the street. After she finishes giving you the details, head across the street and enter the building. You’ll need to sneak past all of the guards so as to not cause a commotion. Wait for one of the two guards in the small room to leave then sneak past the remaining one going through the doorway on the left then passing through the door in that room.
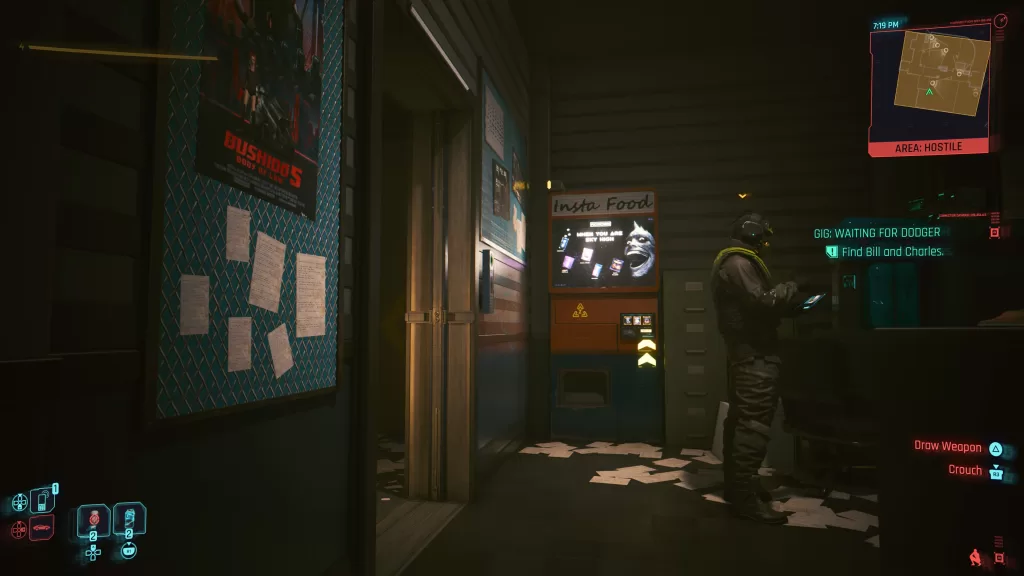
In front of you will be a railing. You’ll need to climb up that then head to the left side of the room to find the elevator. Take it down then knock out the guard messing with the door. Speak with the voice on the other side to find Charlie and help him open the door then follow him to Bill. They will tell you about what happened and ask V for help getting out (and retrieving their car).
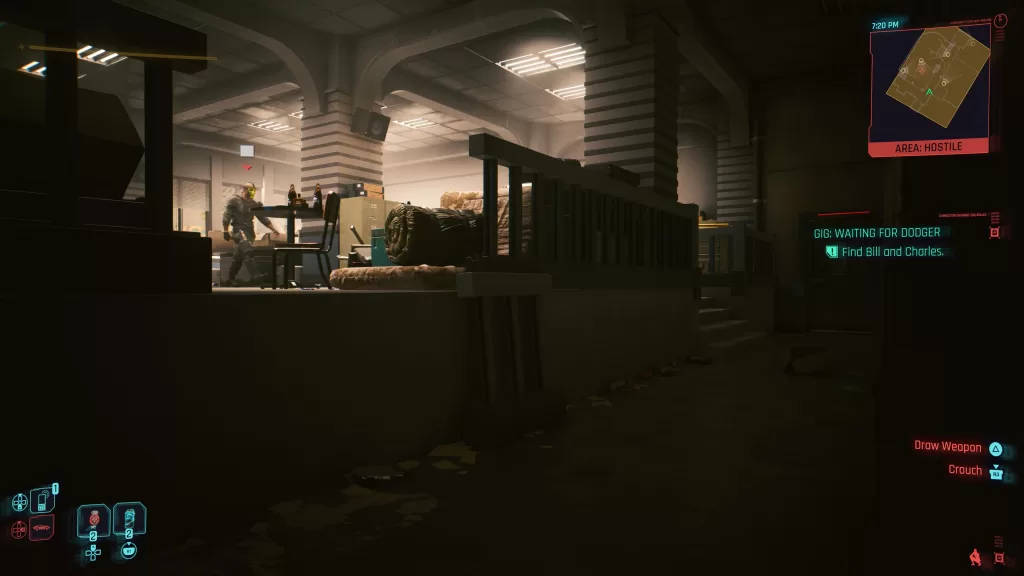
Follow the pair as they lead you towards the garage. After they open the door at the bottom of some stairs, a goon will be at the other end of the hallway. Hack the camera to turn it off then wait crouched next to the crate waiting for him to pass. You can then knock him out in the server room. Follow the pair down the hall to find another locked door. Return to the server room and override the circuit break to open it. Return to the door and head through. In this storage room, one will drop something causing a guard to investigate. Hack the big yellow box and use it to distract the enemy allowing you to sneak up behind them and knock him out (there is also a crate with an iconic Machete in this room).

The next room will bring you to a locker room with three enemies. You’ll need to use a light and a vending machine to distract two of the enemies so you can take out the third one and then the other two. This will finally bring you to the garage… where Dodger will show up. He’ll talk to the guys and ask what happened. After each of them gives their version of the story he’ll check with V. Tell the truth and as long as you didn’t kill anyone, he will let you go. Otherwise you’ll have to take him and his two thugs out (and he drops an iconic weapon). Once that’s taken care of, the gig will be finished.
Check out our other Cyberpunk 2077 and Phantom Liberty Guides and Walkthroughs here!