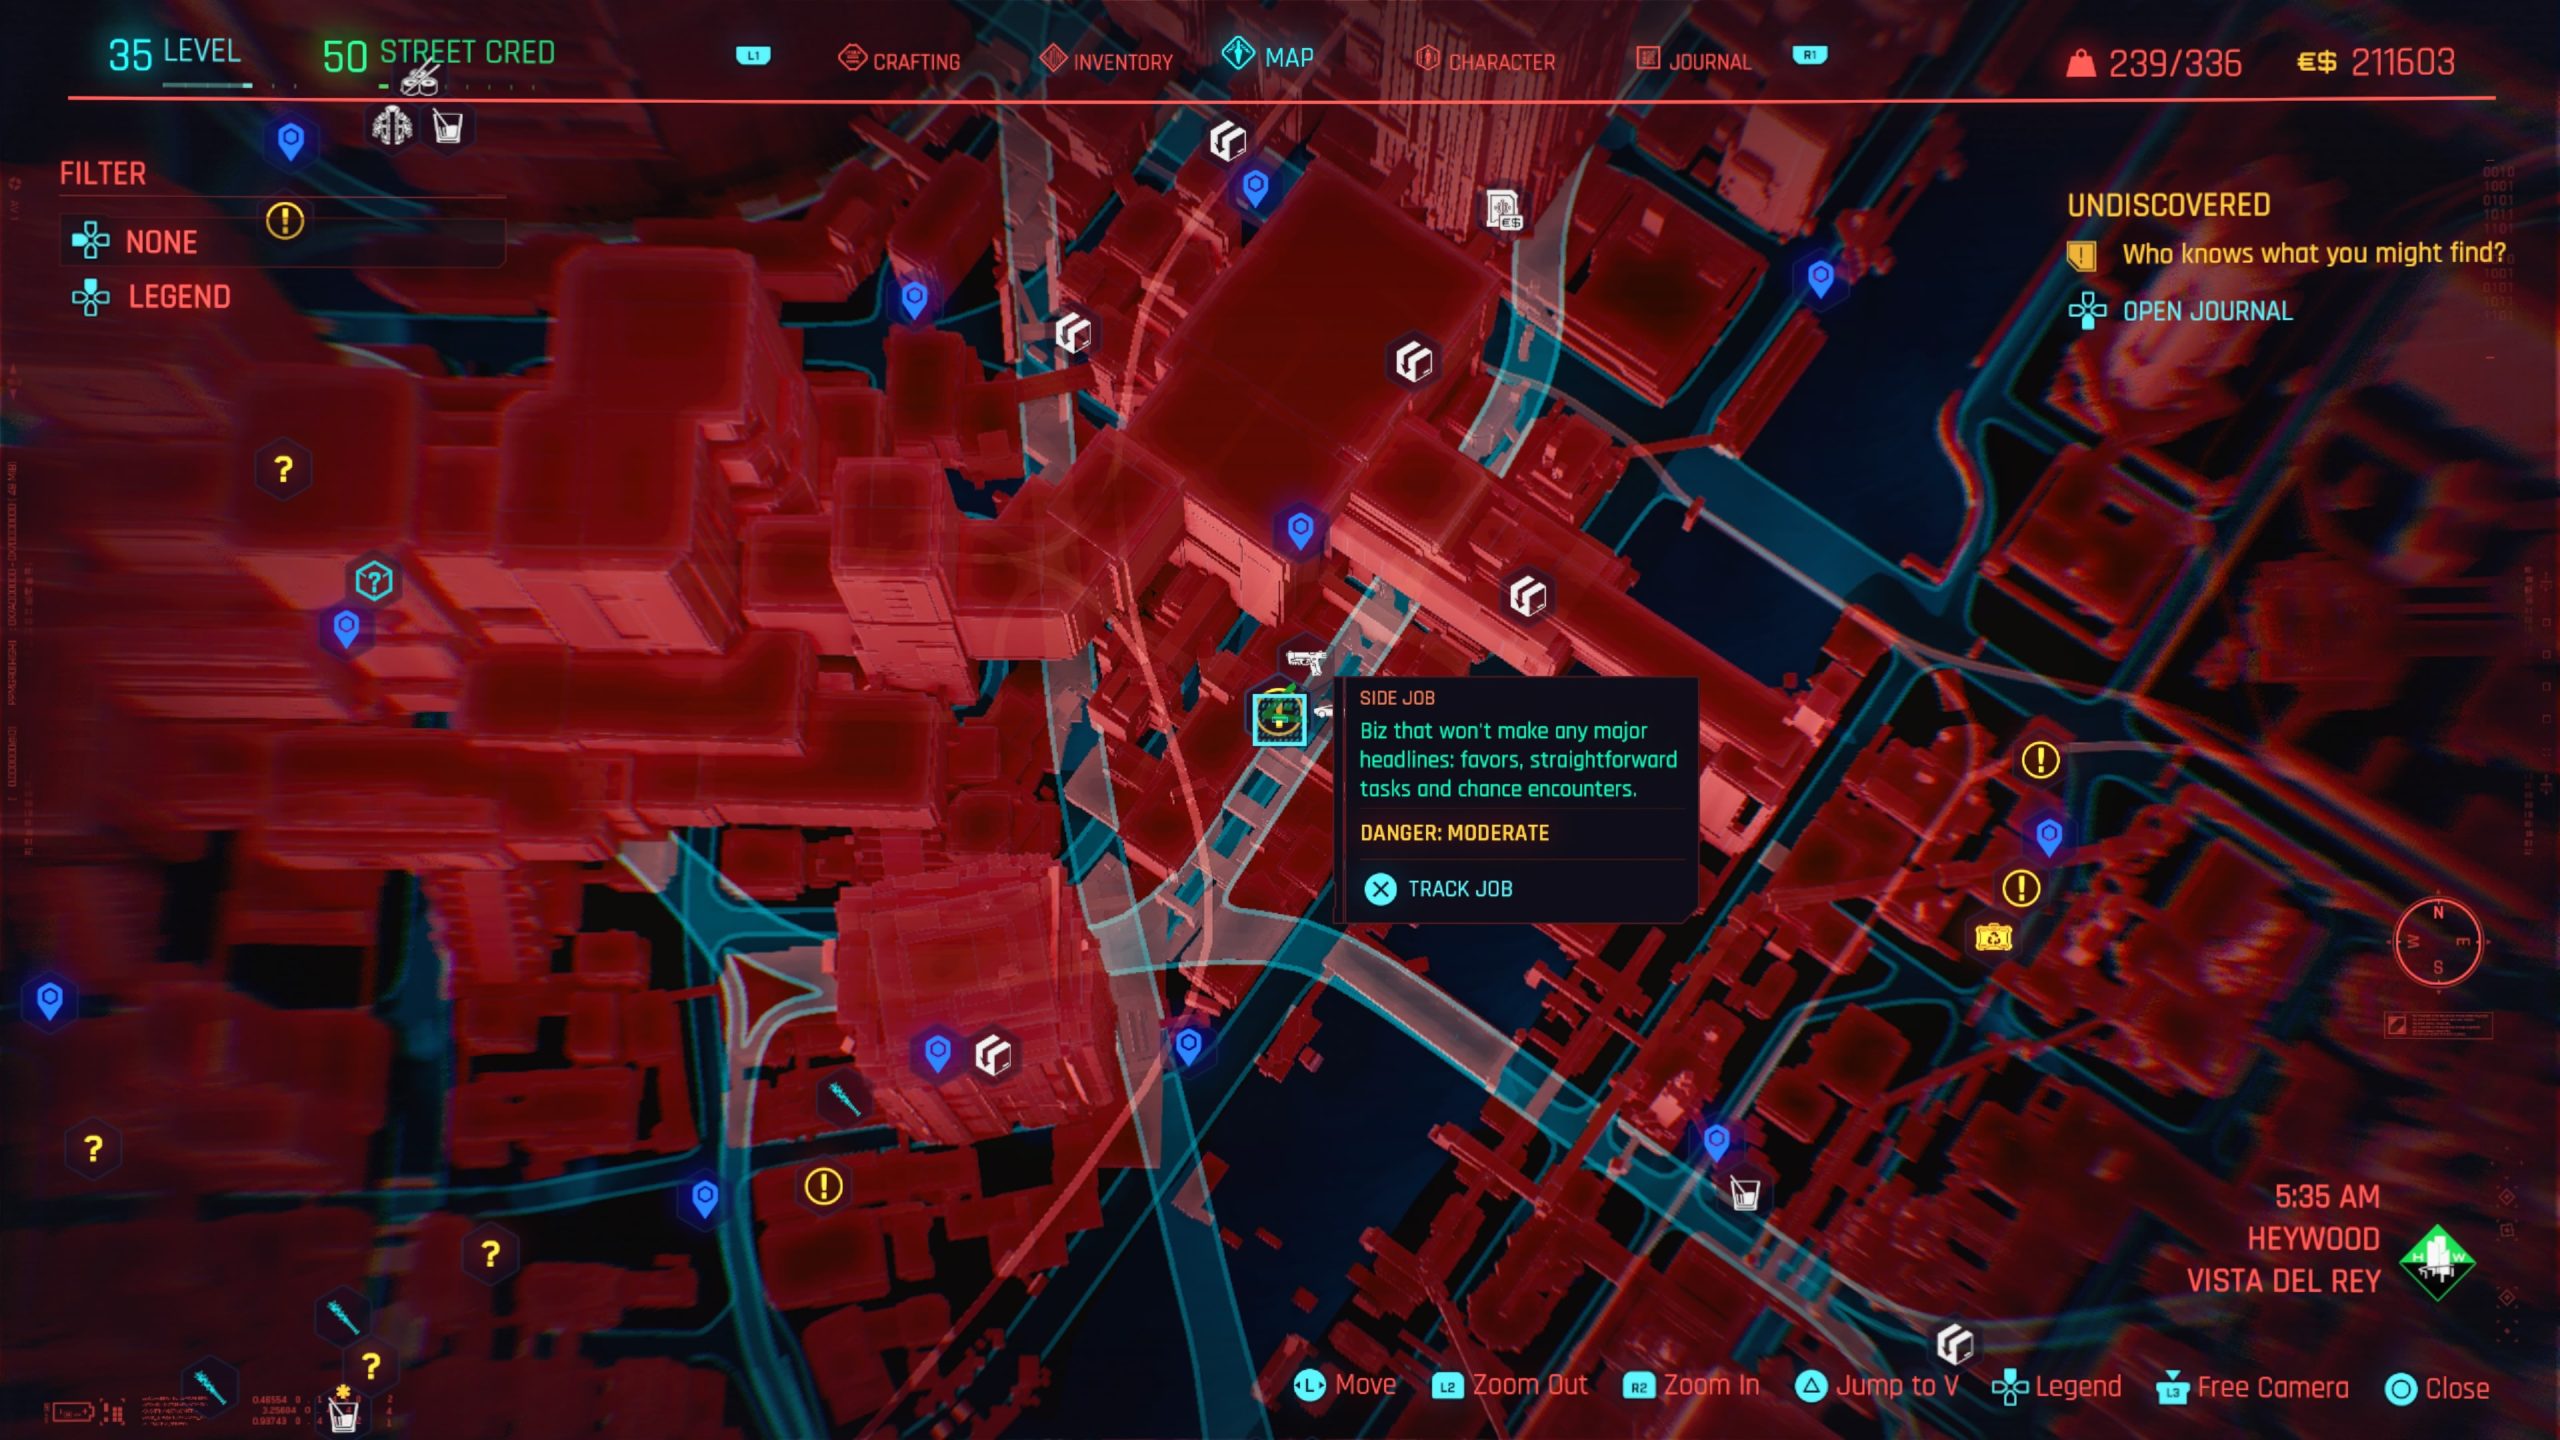
Below are the side jobs that can be found at Heywood in Cyberpunk 2077! Please note that the side jobs are listed in alphabetical order for ease of searching.
??? (Skippy Gun)
Obtained: Heywood – Approach the location north of the Shooting Range fast travel point in Vista Del Rey
Objective: Pick up the Skippy Gun
Head to the objective to find a body next to a dumpster. Loot the briefcase next to the body to find Skippy. Interact with Skippy then choose whether you’d like the gun to aim for the head (honestly the better choice because this gun can be modded to further increase headshot damage) or lower extremities.
Beat on the Brat: The Glen
Obtained: Automatically after reaching Act 2
Objective: Defeat El Cesar
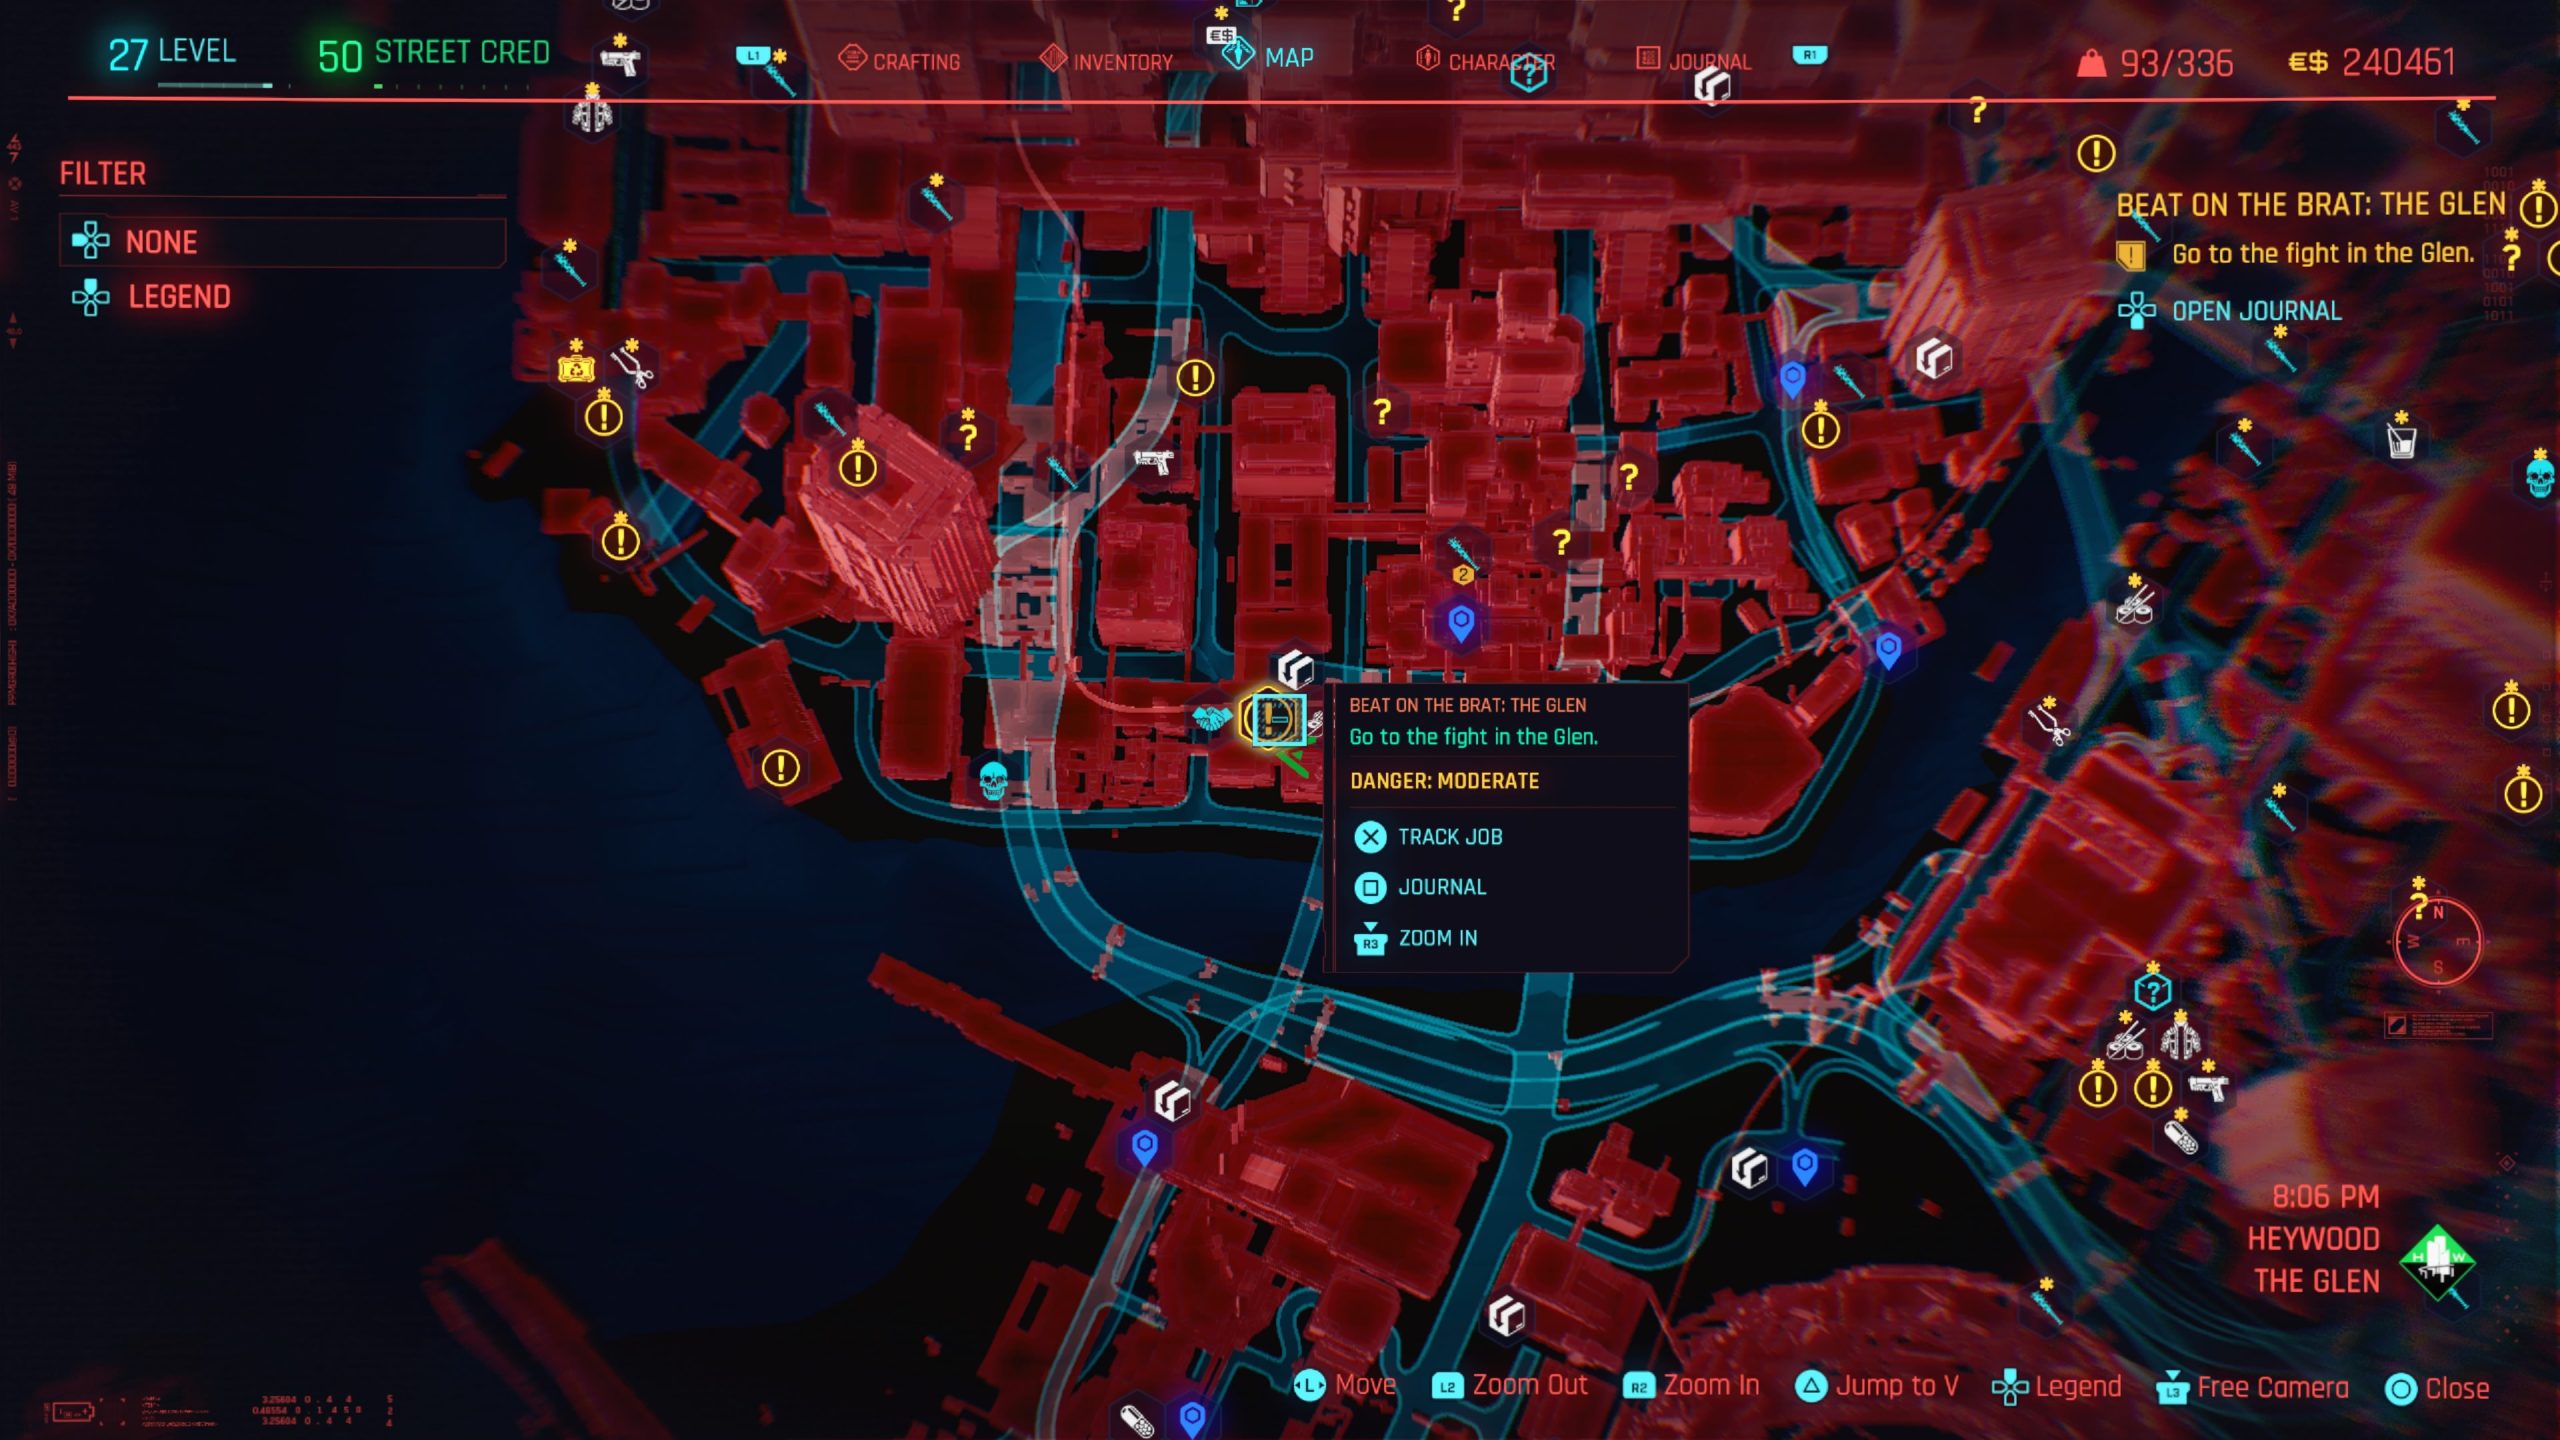
Head to the objective southwest of the Valentino Alley fast travel point in Heywood – The Glen to find El Cesar. Agree to pay $4,000 to begin the match then defeat Cesar. Speak with him. You can choose to take both the $8,000 eddies and the car, just the car, just the eddies or nothing at all. Whatever you decide, the job will complete.
Coin Operated Boy
Obtained: Wait some time after completing the Spray Paint side job for the objective will reappear on the map in Westbrook at the Megabuilding HB fast travel point. Approach the space where Brendan was and ask Theo where he is.
Objective: Go to the service point
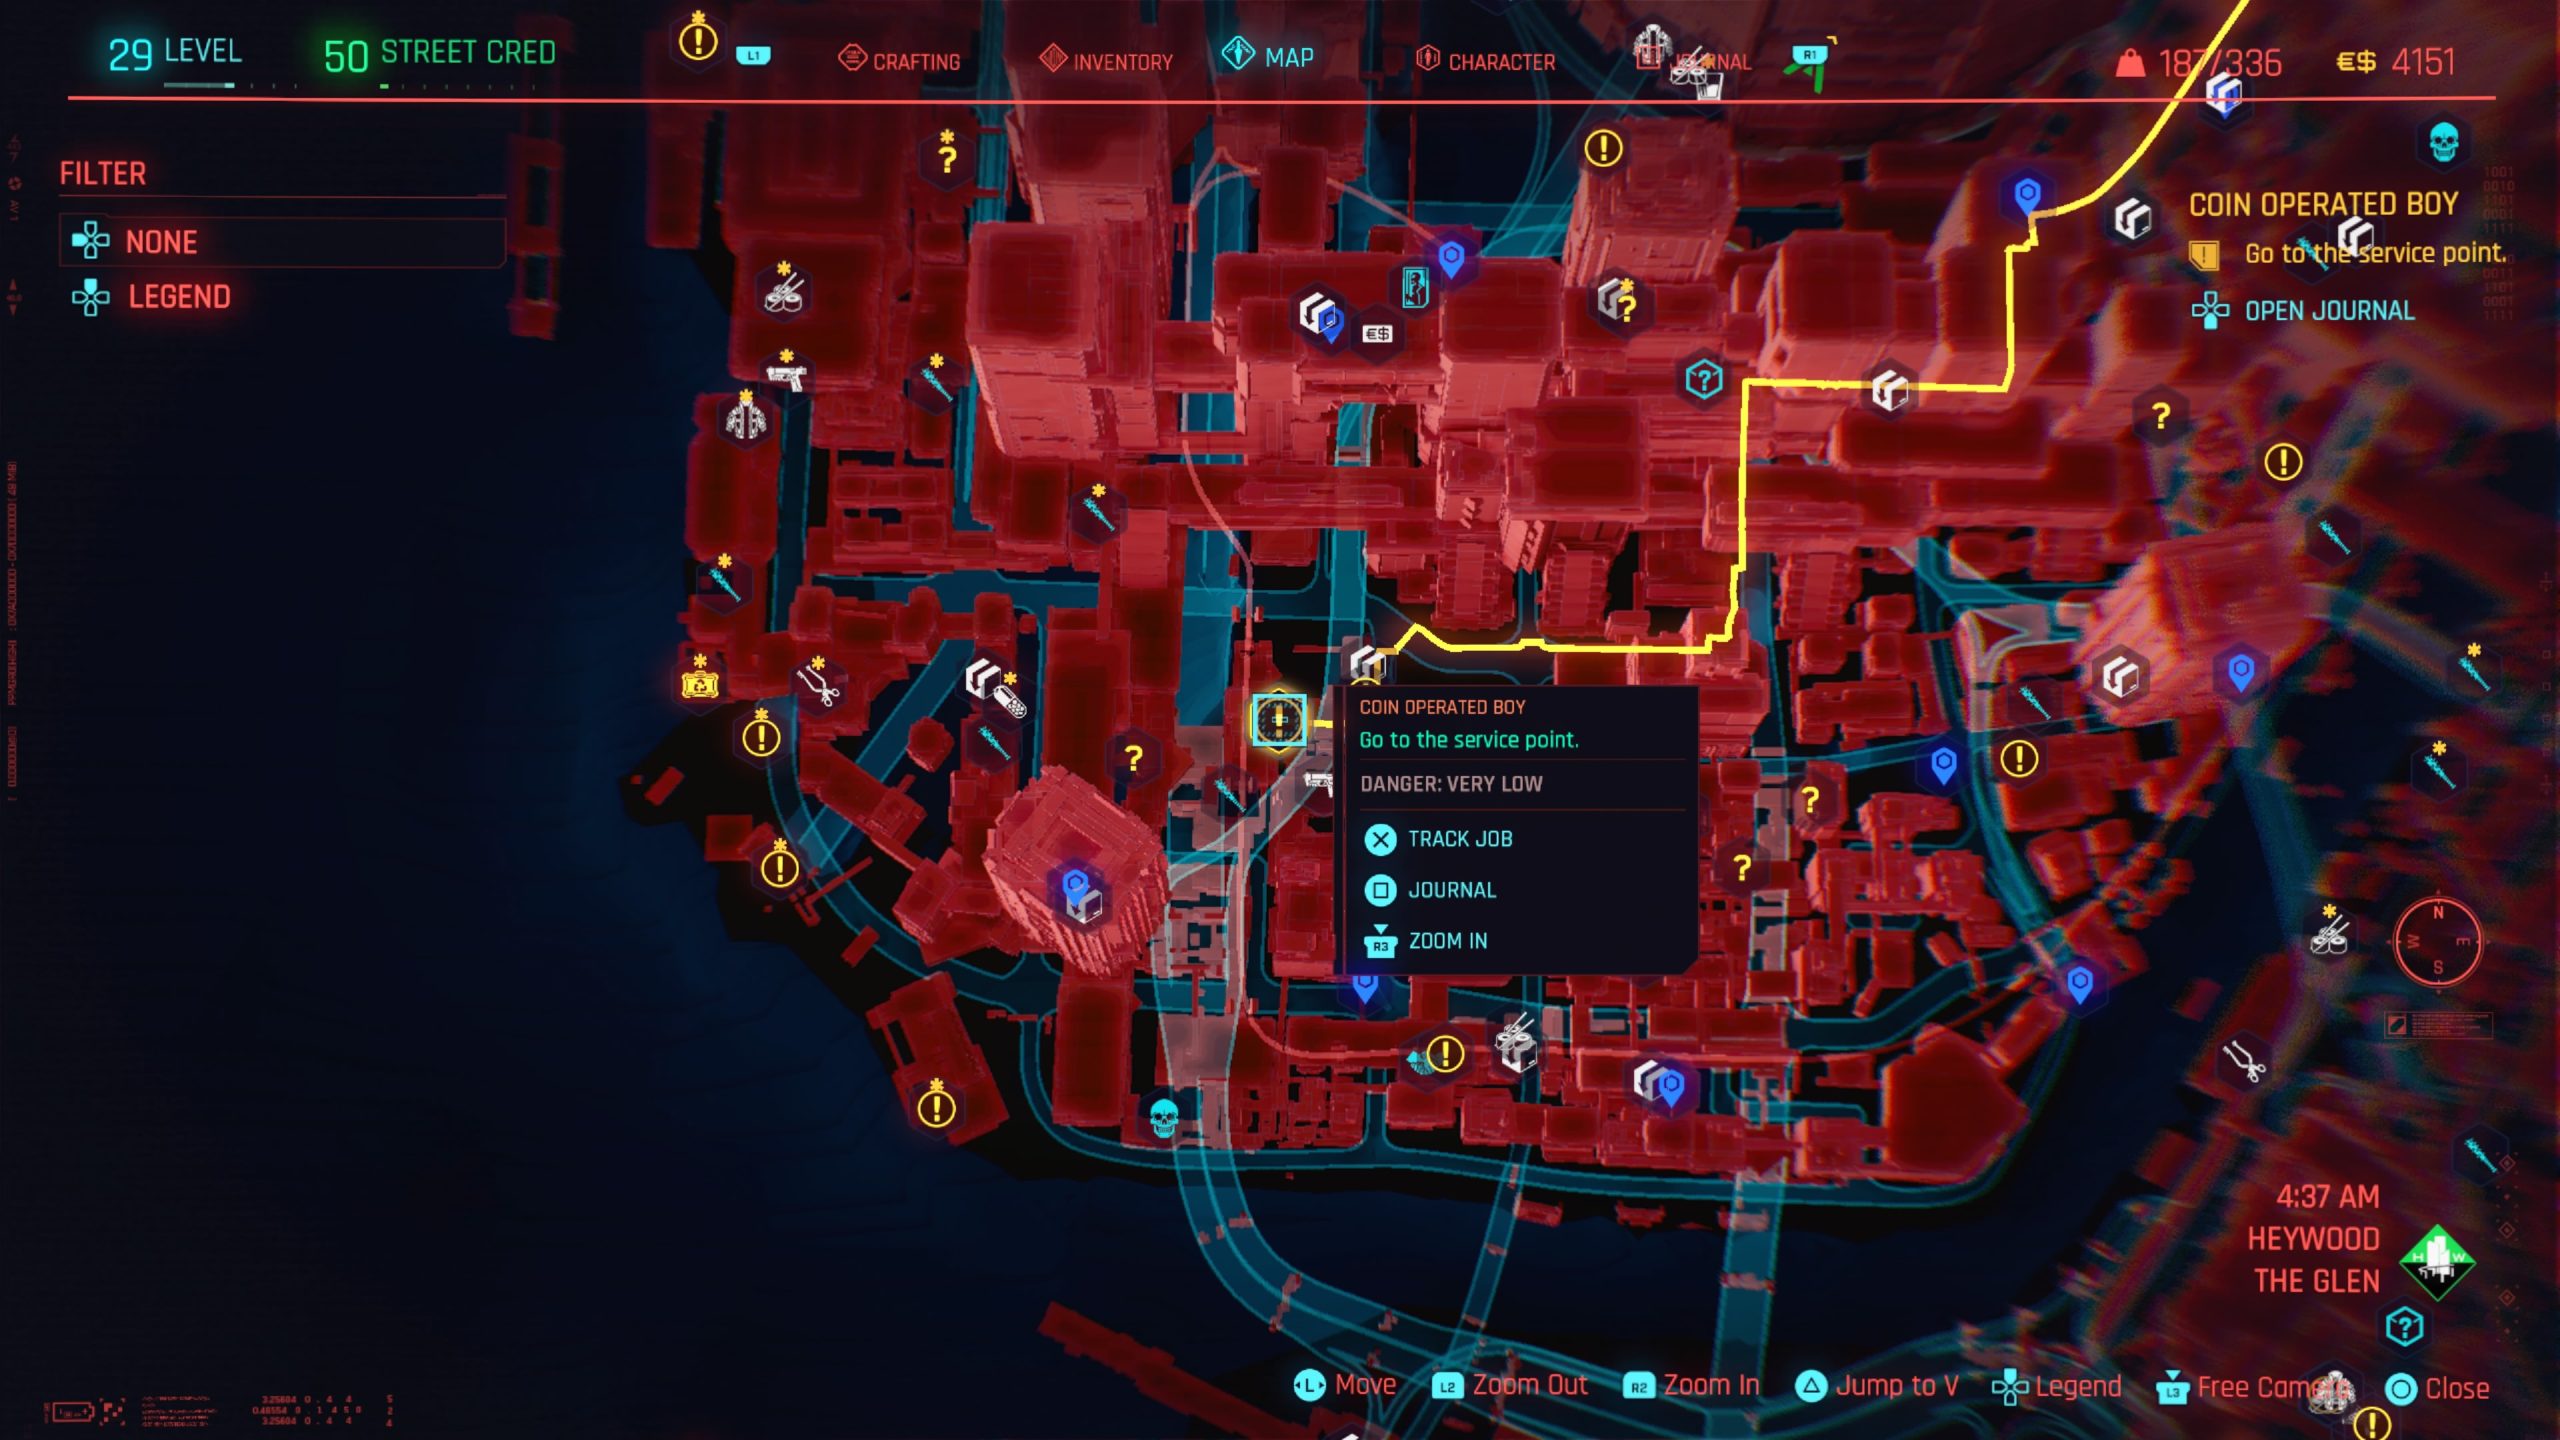
Travel northeast of the Megabuilding H2 fast travel point in Heywood – The Glen to find Softsys. Enter the building and speak with the clerk.
1. If you force your way in, you’ll need to defeat the turret to your left then use Body Value 4 or Technical Ability 4 to open the sealed door to the right of where the clerk was to find Brendan.
2. If you pay $600, the clerk will open the door to the right where Brendan is.
3. If your Technical Ability is 10 you can tell him Brendan’s special and the clerk will open the door to the right where Brendan is.
Once you find Brendan, speak with him. It doesn’t matter what you select for your dialog options as they all have the same outcome. When your through speaking with Brendan, return to Westbrook to relay his message to Theo which will complete the job.
Don’t Lose Your Mind
Obtained: After completing Epistrophy, you’ll receive a call from Delamain when some time has passed.
Objective: Return to Delamain HQ
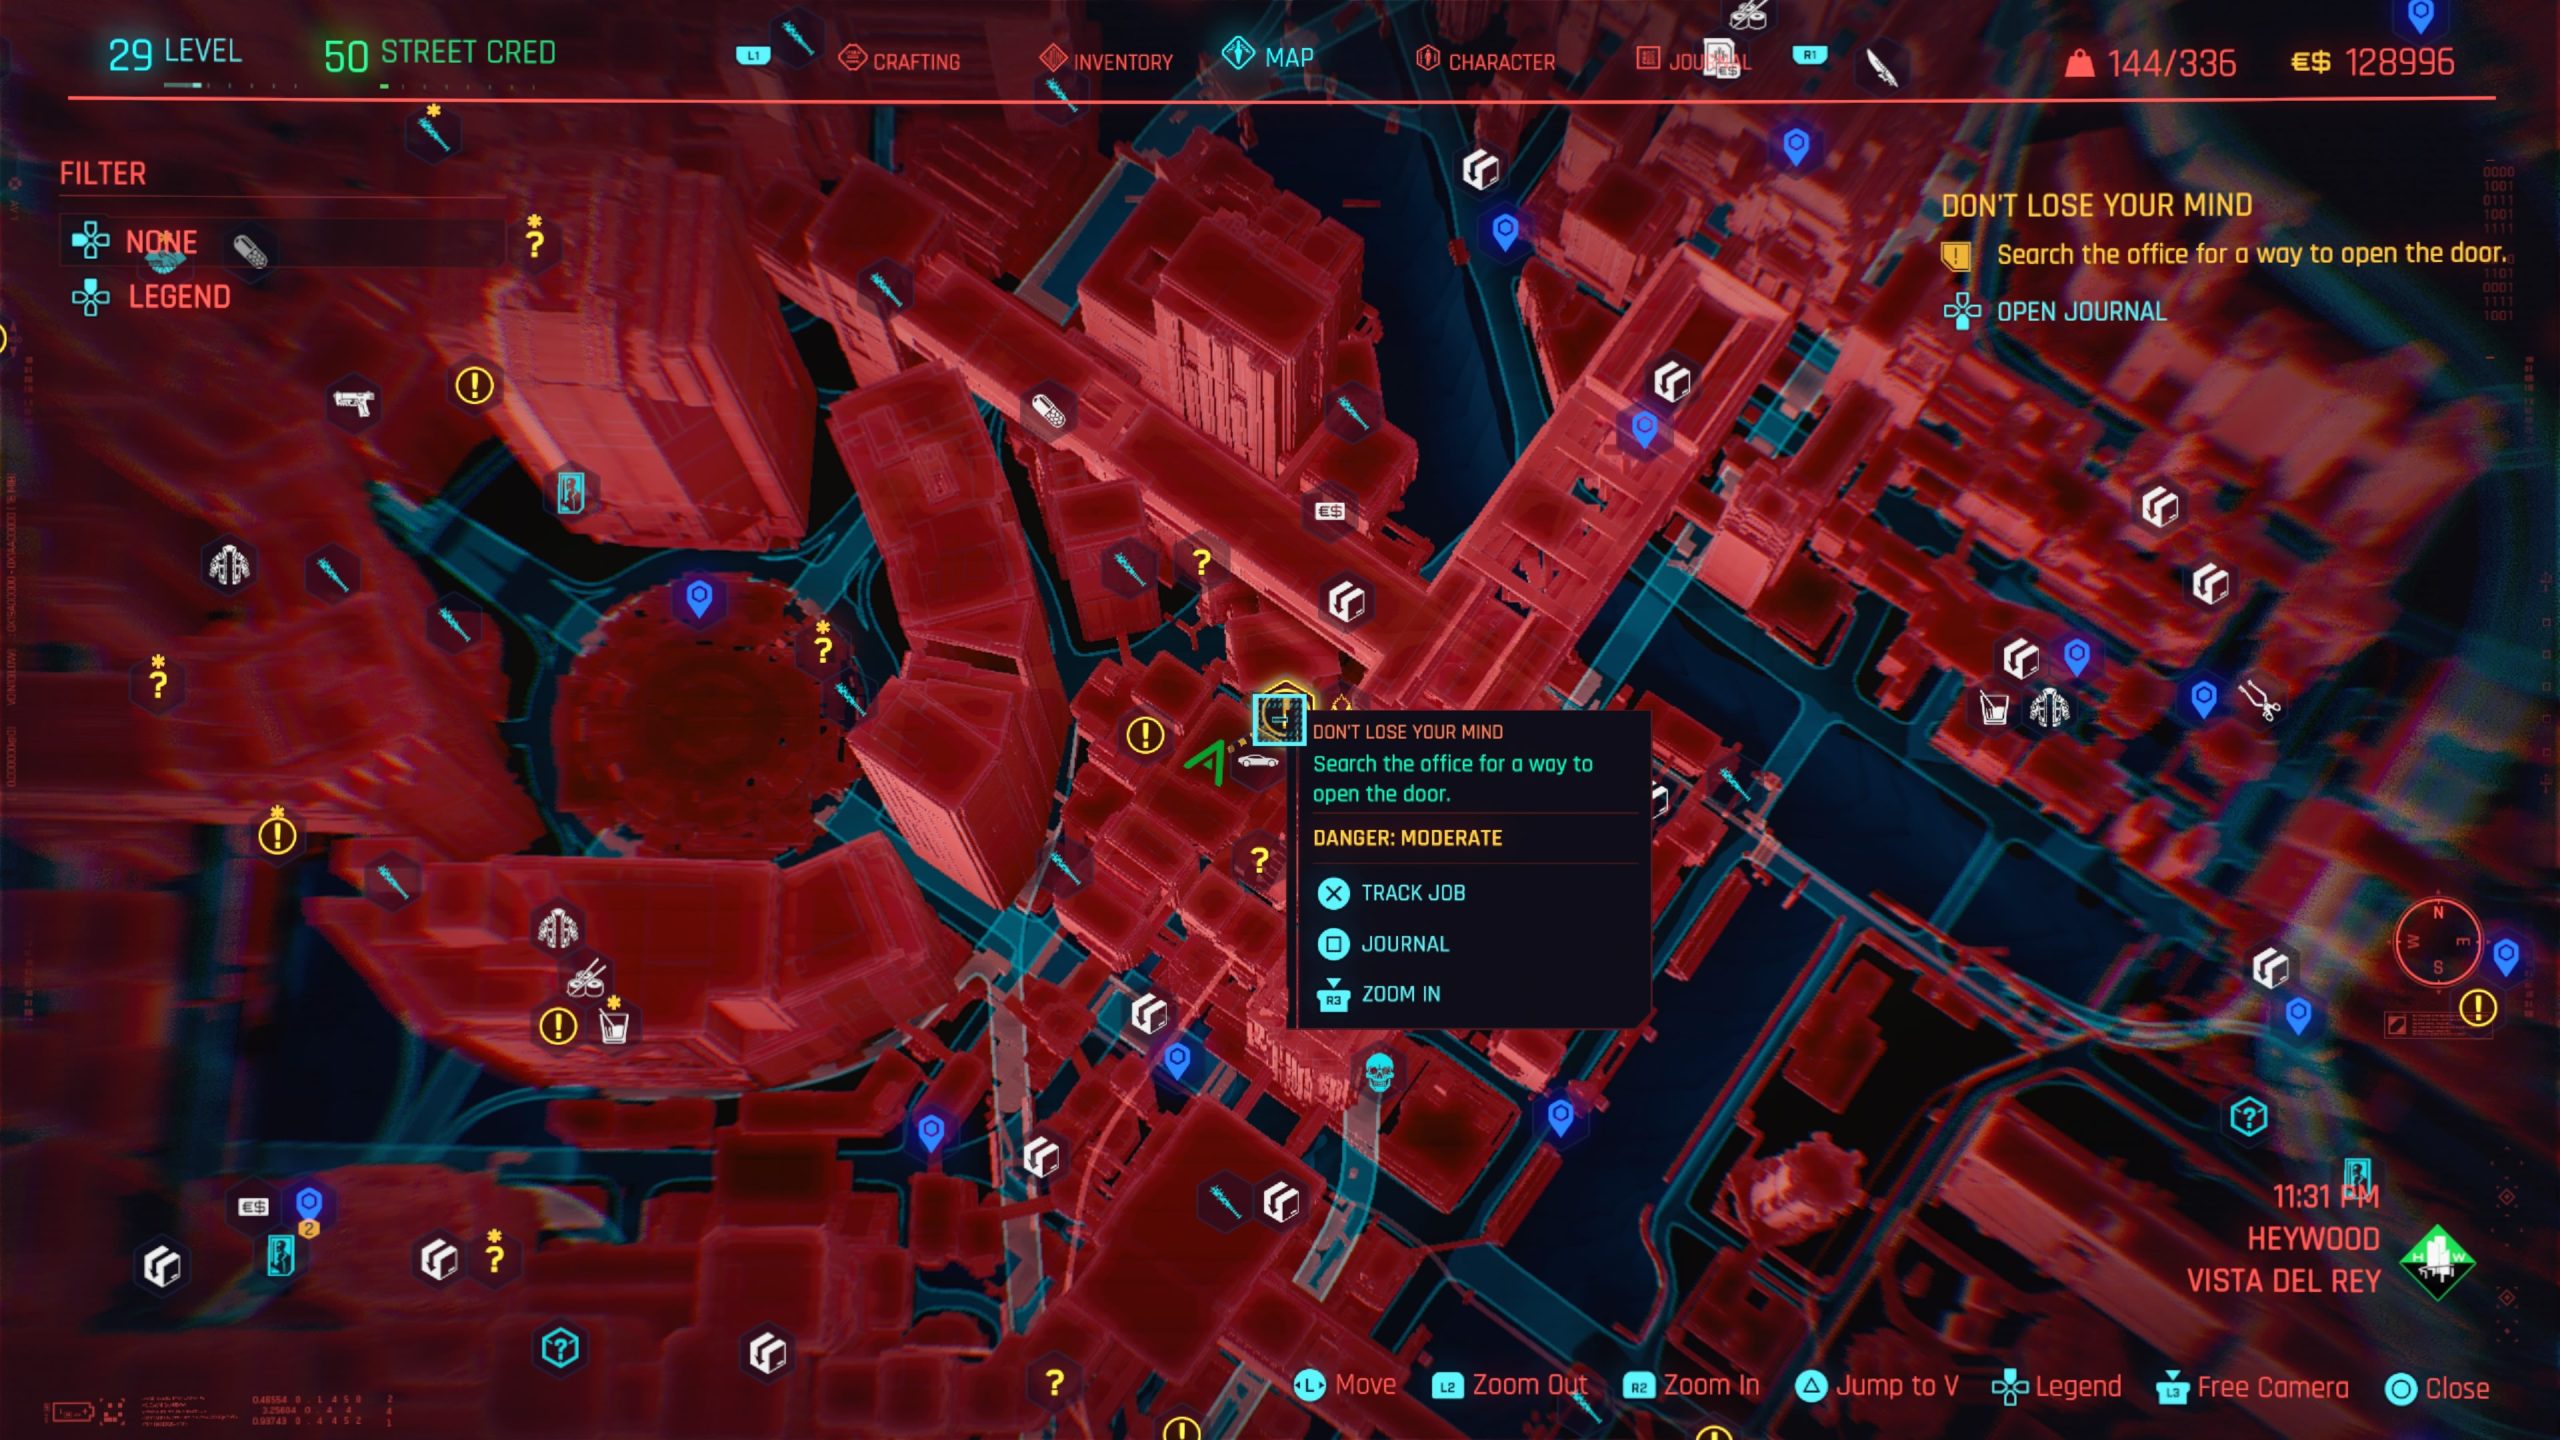
To enter Delamain HQ, you’ll need to head to the right of the main entrance. If you hug the building, you’ll find a door that you can open if you have a Technical Ability of 8. Alternatively, keep hugging the building to reach an alley behind it. At the dead end, use the containers to climb up on the roof then look for the exit hatch on the roof.
Once your inside the building, you’ll either be in the room with a bunch of desks or the bathroom next to this room. In the room with a bunch of desks, search for the computer against the wall next to some filing cabinets. If you read the messages on the computer, it’ll say that the director’s password is 1234. Head into the small room to the left of the computer (when facing the computer) to find another computer. Input the password onto the computer and use the local network to open the doors. Exit the office and take a left. Head through the double doors. Follow the path to pass through another set of double doors. Once inside the next area, you’ll see that the floor is electric. Look to your left to find a door then enter through it. Climb up onto the car moving up and down then jump onto the ledge between the garage door and TV screen near the door you just entered through. Jump onto the metal walkway but don’t head through the door straight ahead. Instead look right to find a small rectangular window. Climb through this window then drop down onto the stairs below. Head up the stairs then cross the walkway. Enter through the door on the left just after the walkway to enter a room. In this room look for a hatch in the floor on the right and descend. You have 2 options to now cross the room.
First, look on the floor behind the car to find an exit hatch that requires a Body Value of 5 or Technical Ability of 5 to open. If you open the hatch, head through the crawl space. When you take a left, you’ll see a car being worked on straight ahead. Don’t go to that car. Instead take a left until you find another car being worked on. Climb up through a hatch underneath the car.
or
Alternatively, you can push the car into the electric then jump onto it. Jump straight across to the other side where the car is being worked on. Climb up onto that car then drop down behind it.
Look to your right to find a ladder. Climb up it then follow the walkway taking a left when it reaches a T. Jump across the gap in the walkway then continue straight ahead. You can either force the door open at the end of the walkway using a Body Value of 10. Once through the door, head forward then slightly right to find a glass ceiling with a hole in it.
or
Alternatively, just before the door you can force open, climb up on the right to reach another walkway. Follow it across, crouching as necessary, then drop down and head through the door on the right. Take the stairs down then head into the room with the chaotic cars. On the far side of the room, take the stairs up. Instead of entering through the door, jump over the rail to the right to climb on top of the pipes. Take a left behind the room then climb up. Drop down onto the ledge below then crouch through the opening on the right to reach a larger area with a glass ceiling.
Drop down through the space in the glass ceiling to enter the control room then head into the room with Delamain’s core. Speak with Johnny. You will now be presented with 3 choices: destroy the core to liberate the divergent Delamains (1 choice) or reset the core to restore the original Delamain (2 choices).
To destroy the core, shoot it after speaking with Johnny instead of selecting the two options it gives you. Johnny will be extremely happy. All the divergent cars you collected will escape and Delamain will no longer exist. The car that remains will have a nice personality and is the one you originally met when you used the Excelsior service with Jackie.
or
In order to force the personalities to merge with Delamain, you’ll need an Intelligence Value of 10. Johnny will be mildly content. You’ll receive Delamain’s first child, which will be the personality of the car.
or
If you reset Delamain’s core and preserve its integrity, Johnny won’t be happy at all. Delamain will have completely reset meaning he doesn’t remember you/your relationship at all.
Leave through a door on the left side near the entrance. No matter which option you choose, you’ll receive the Delamain No. 21 as a reward.
Epistrophy
Obtained: Automatically after completing the Tune Up side job
Objective: Speak with Delamain in Heywood – Vista Del Rey
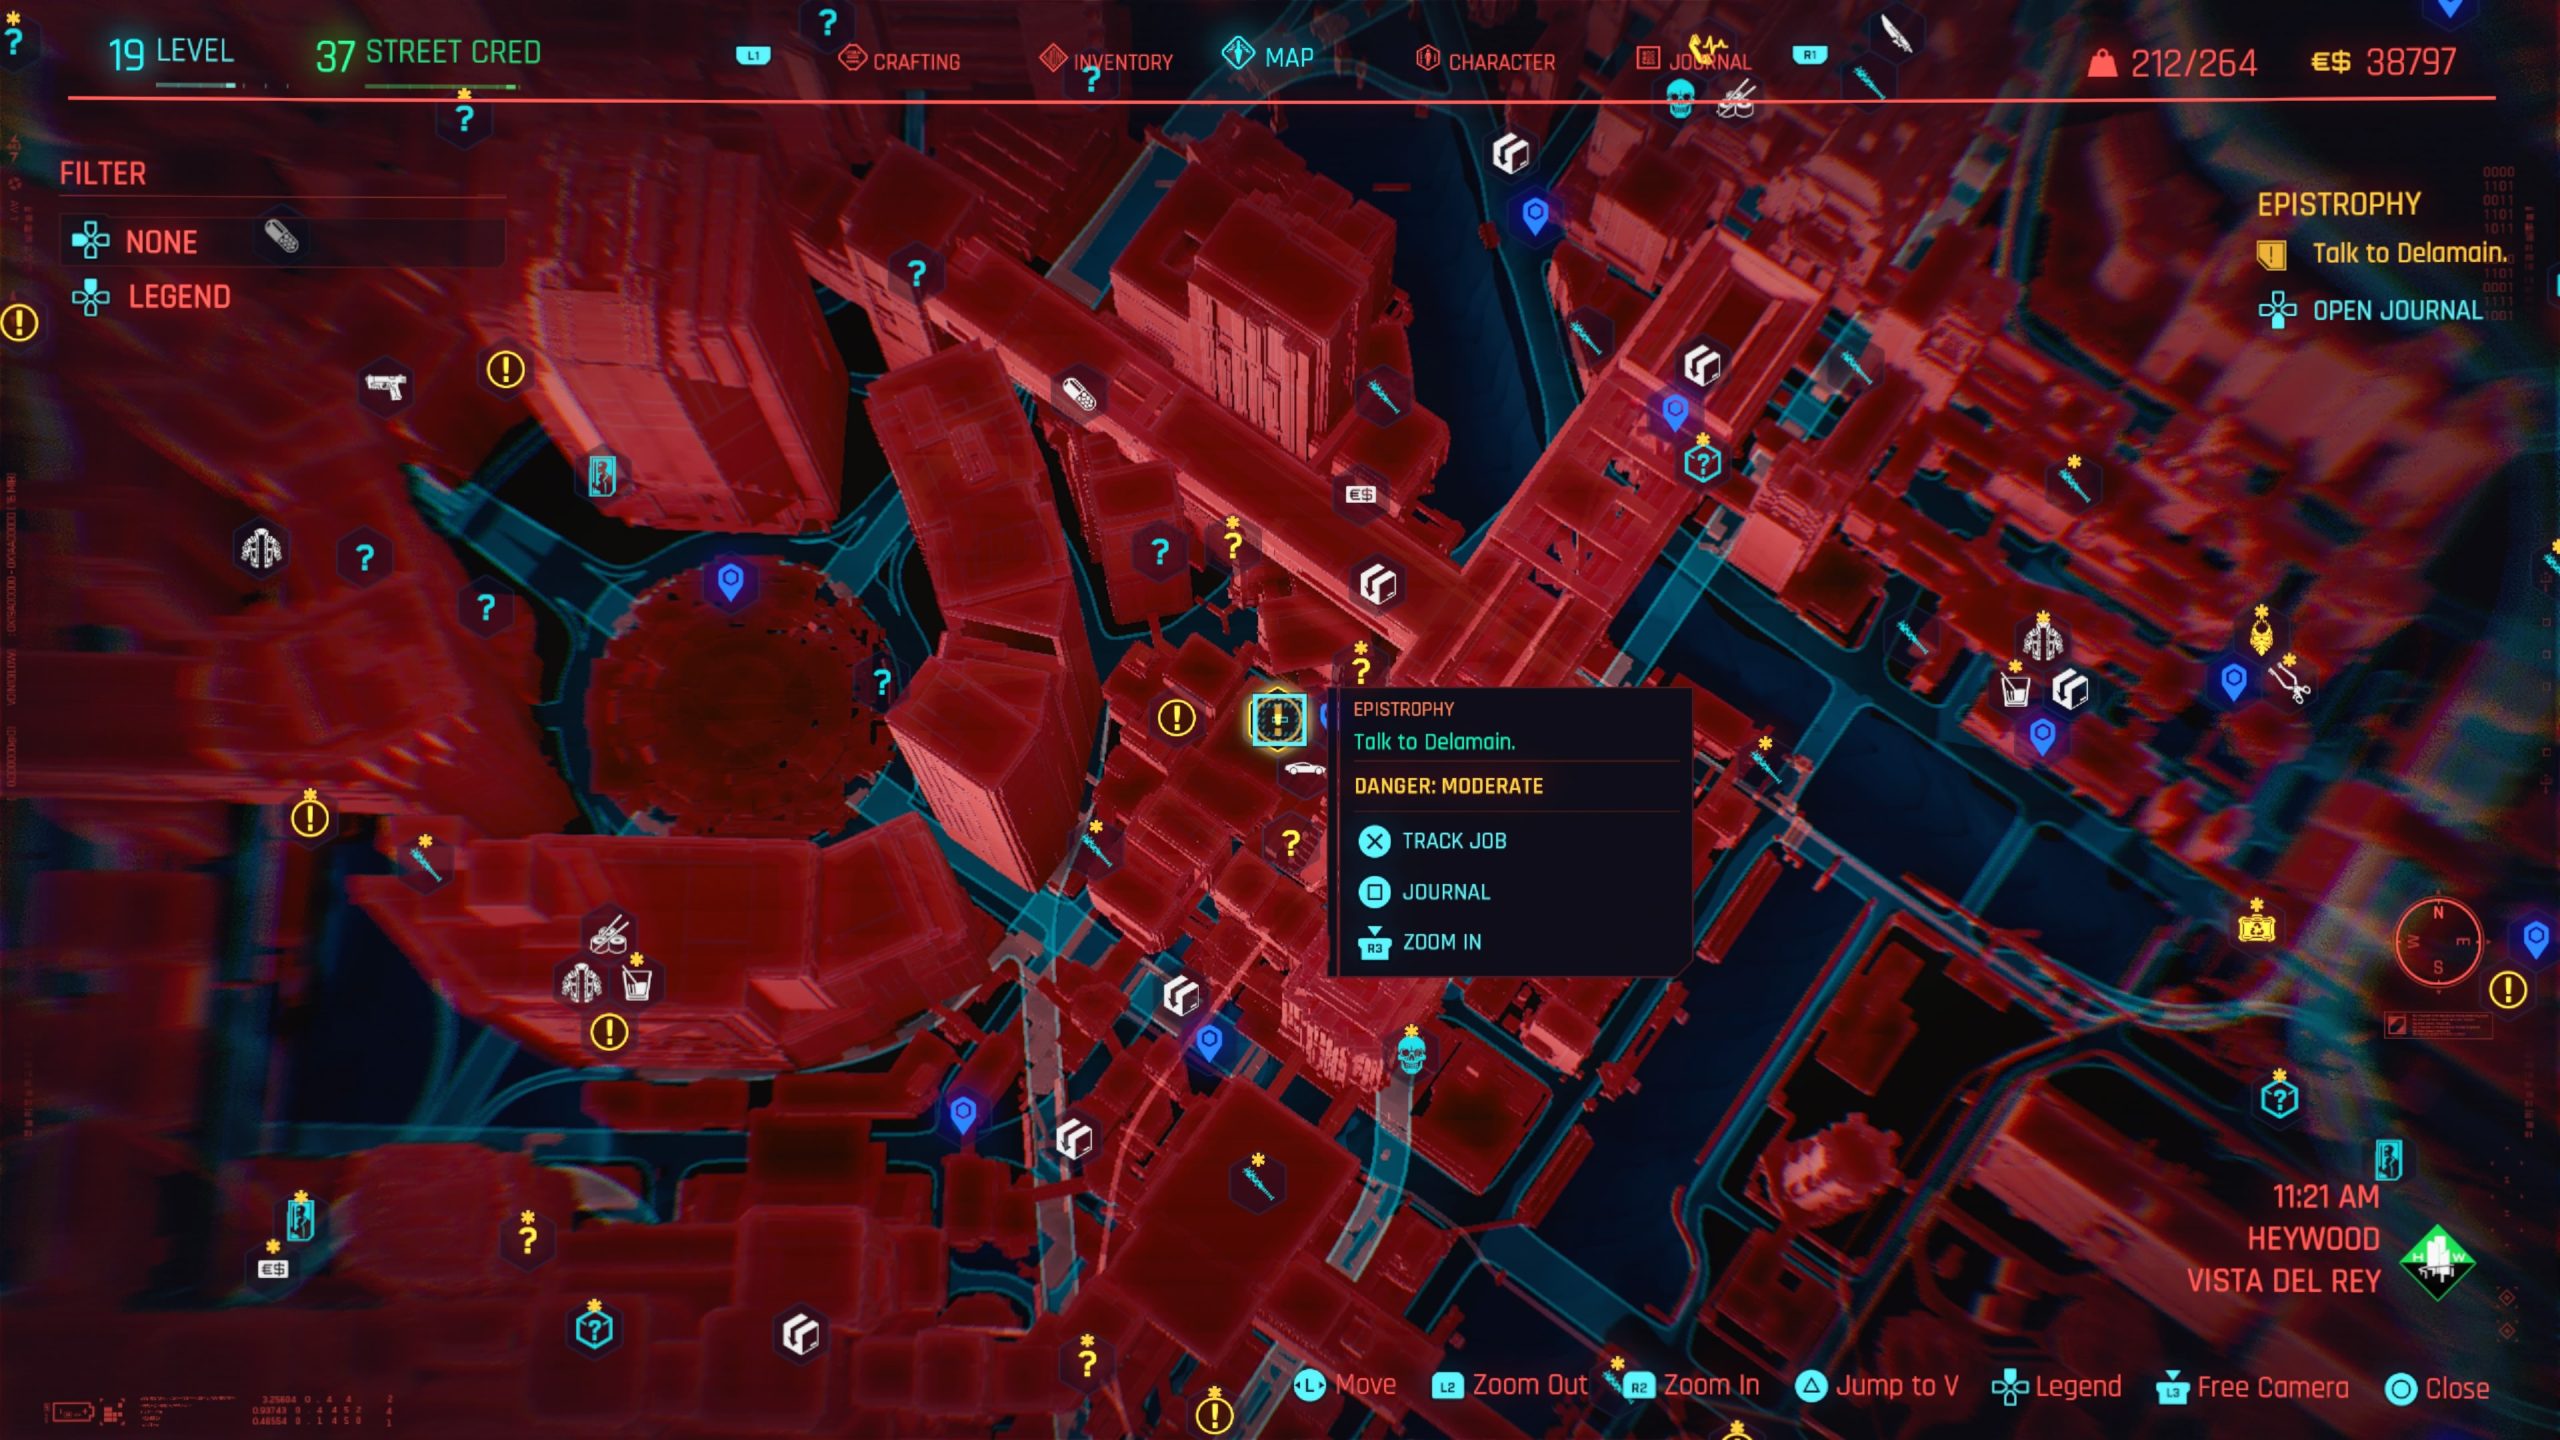
Follow the drone to embark on an tour of the HQ, which will end in the control room. Speak with Del and agree to take his job. Grab the scanner on the desk in the control room then exit the building to being the hunt for 7 missing cabs. Once you’ve found all 7 cabs, return to the Delamain HQ. Head inside and the receptionist will have you place the scanner in the box on the counter. Do so and the job will complete.
Epistrophy: The Glen
Obtained: Automatically after accepting the job from Delamain
Objective: Find the Delamain cab
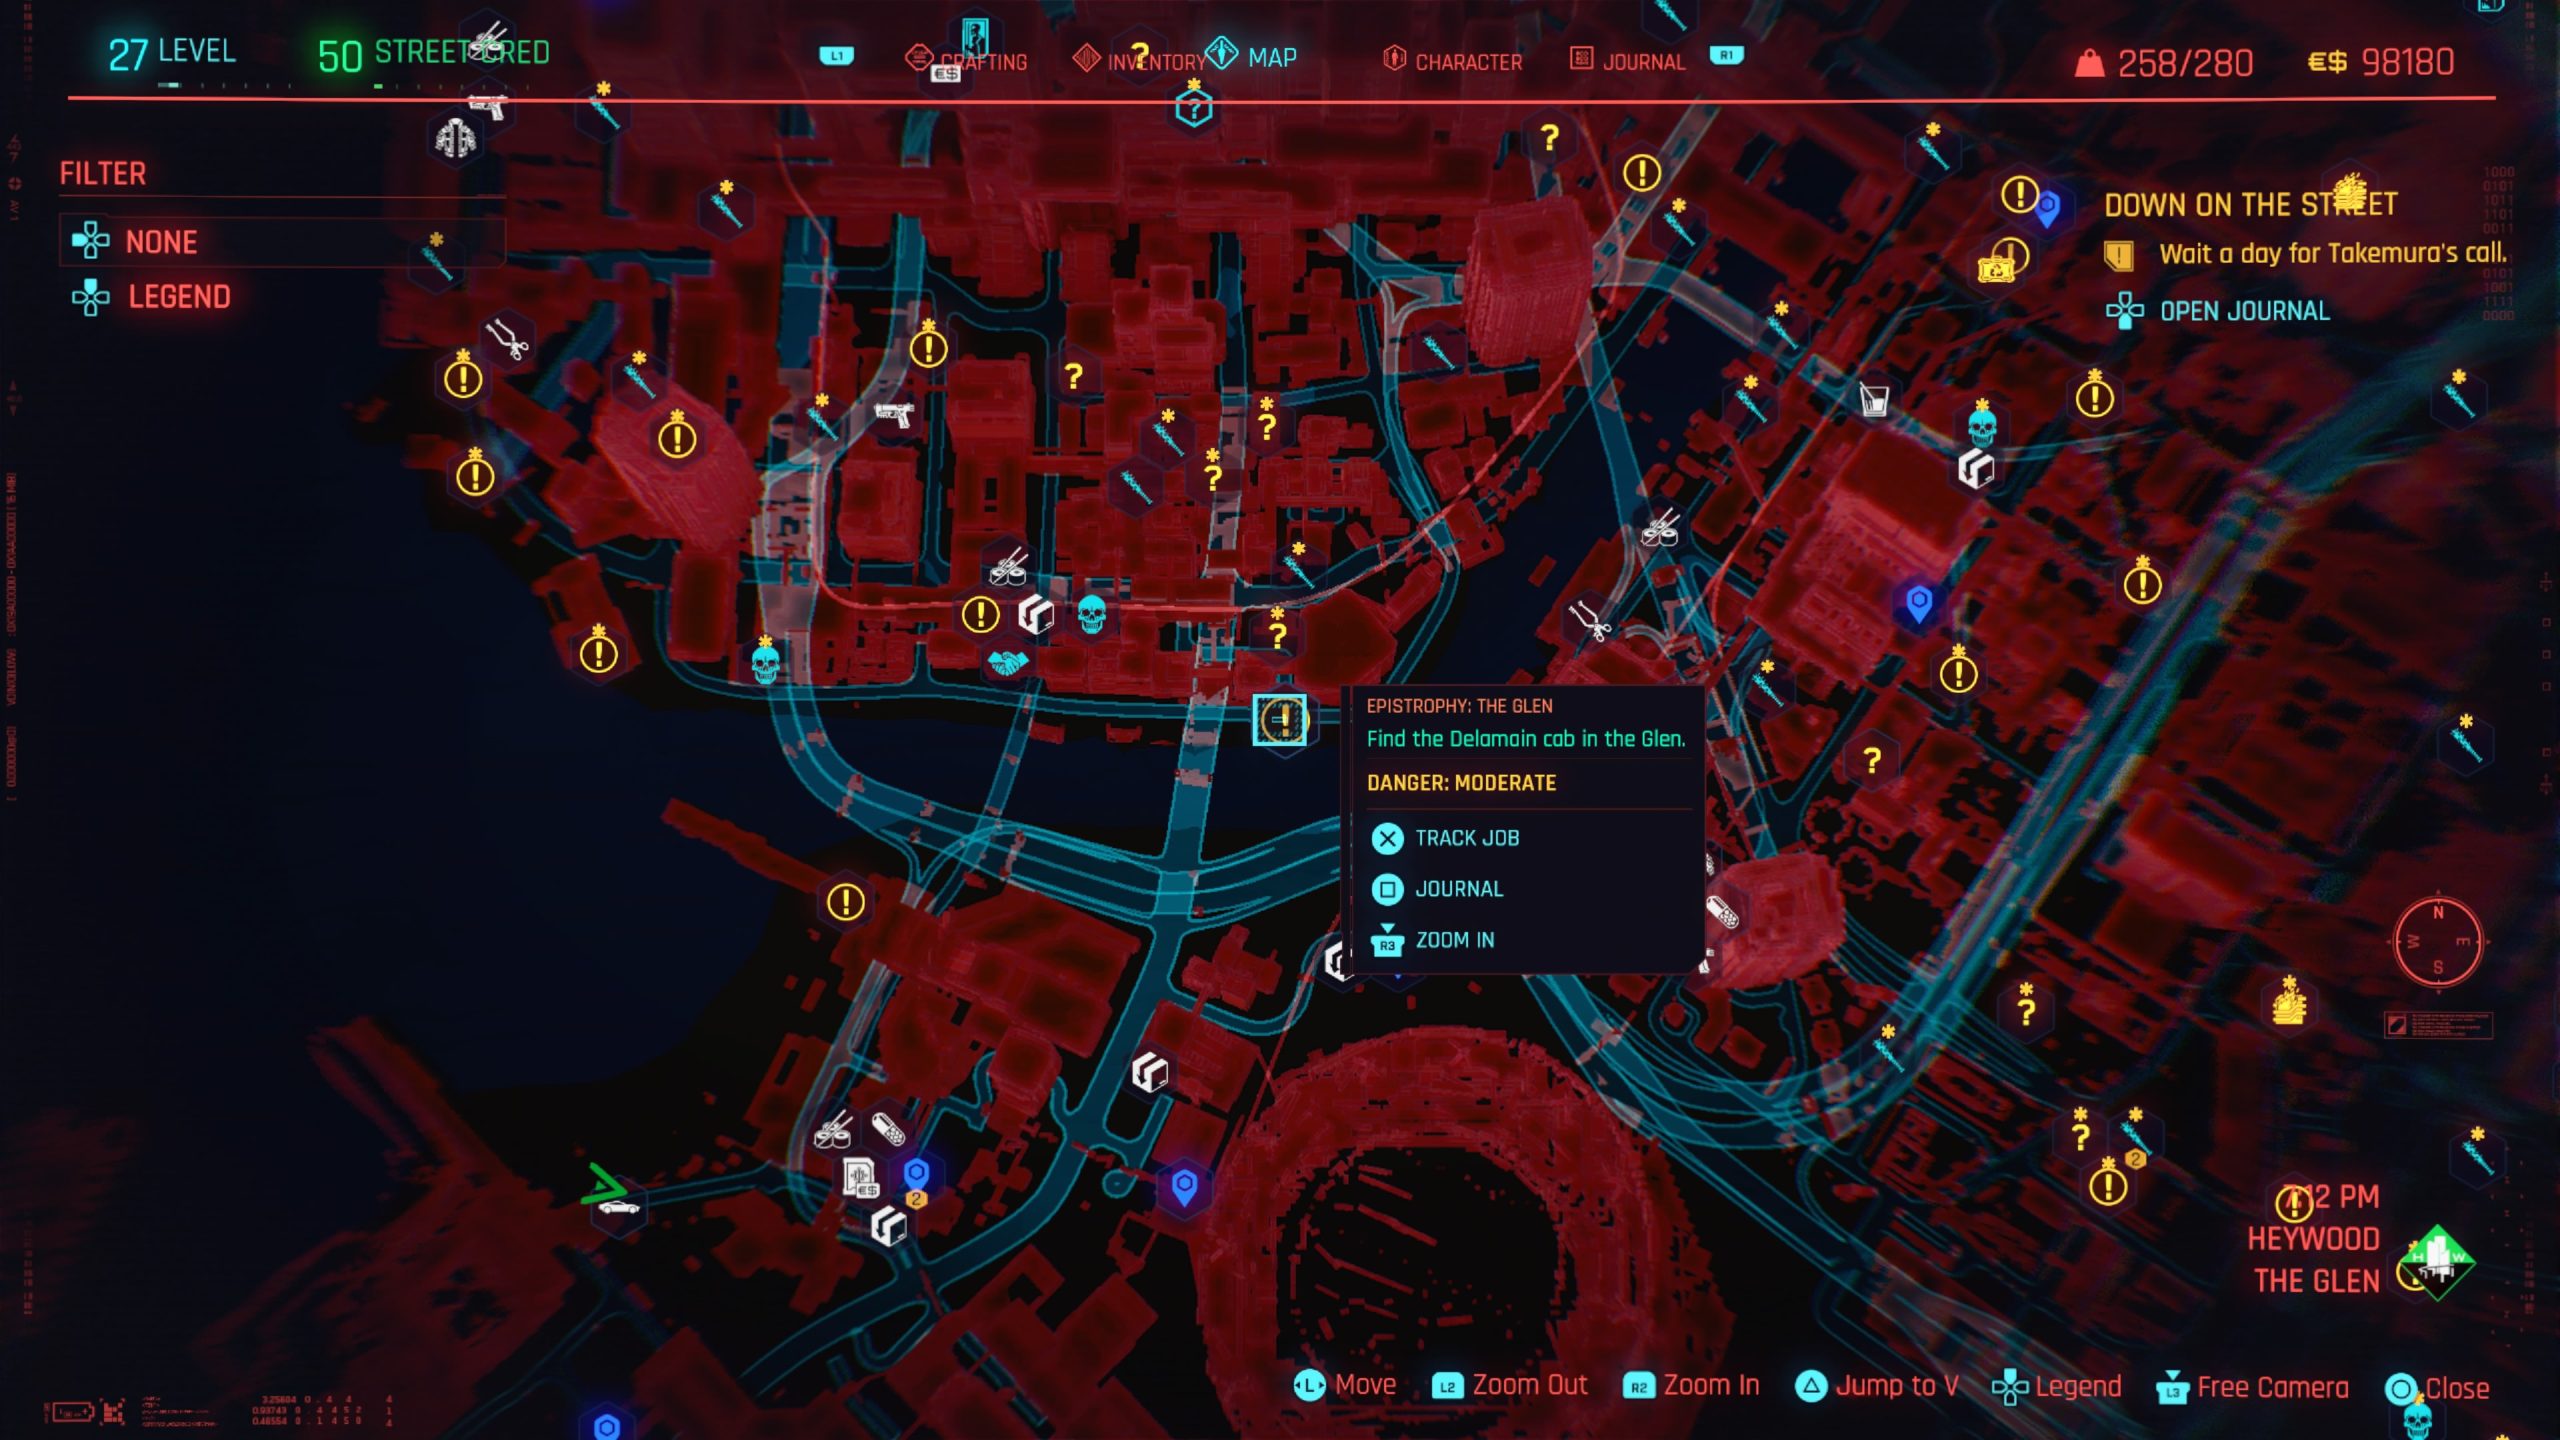
Travel to the Metro: Glen South fast travel point, which is in southeastern Heywood – The Glen to find the parked cab. As you approach the cab, it’ll call you and you’ll need to talk it off the ledge. Afterwards, Del will call you and the job will complete.
I Fought the Law
Obtained: During Act 2, Elizabeth will call you.
Objective: Meet with Elizabeth Peralez
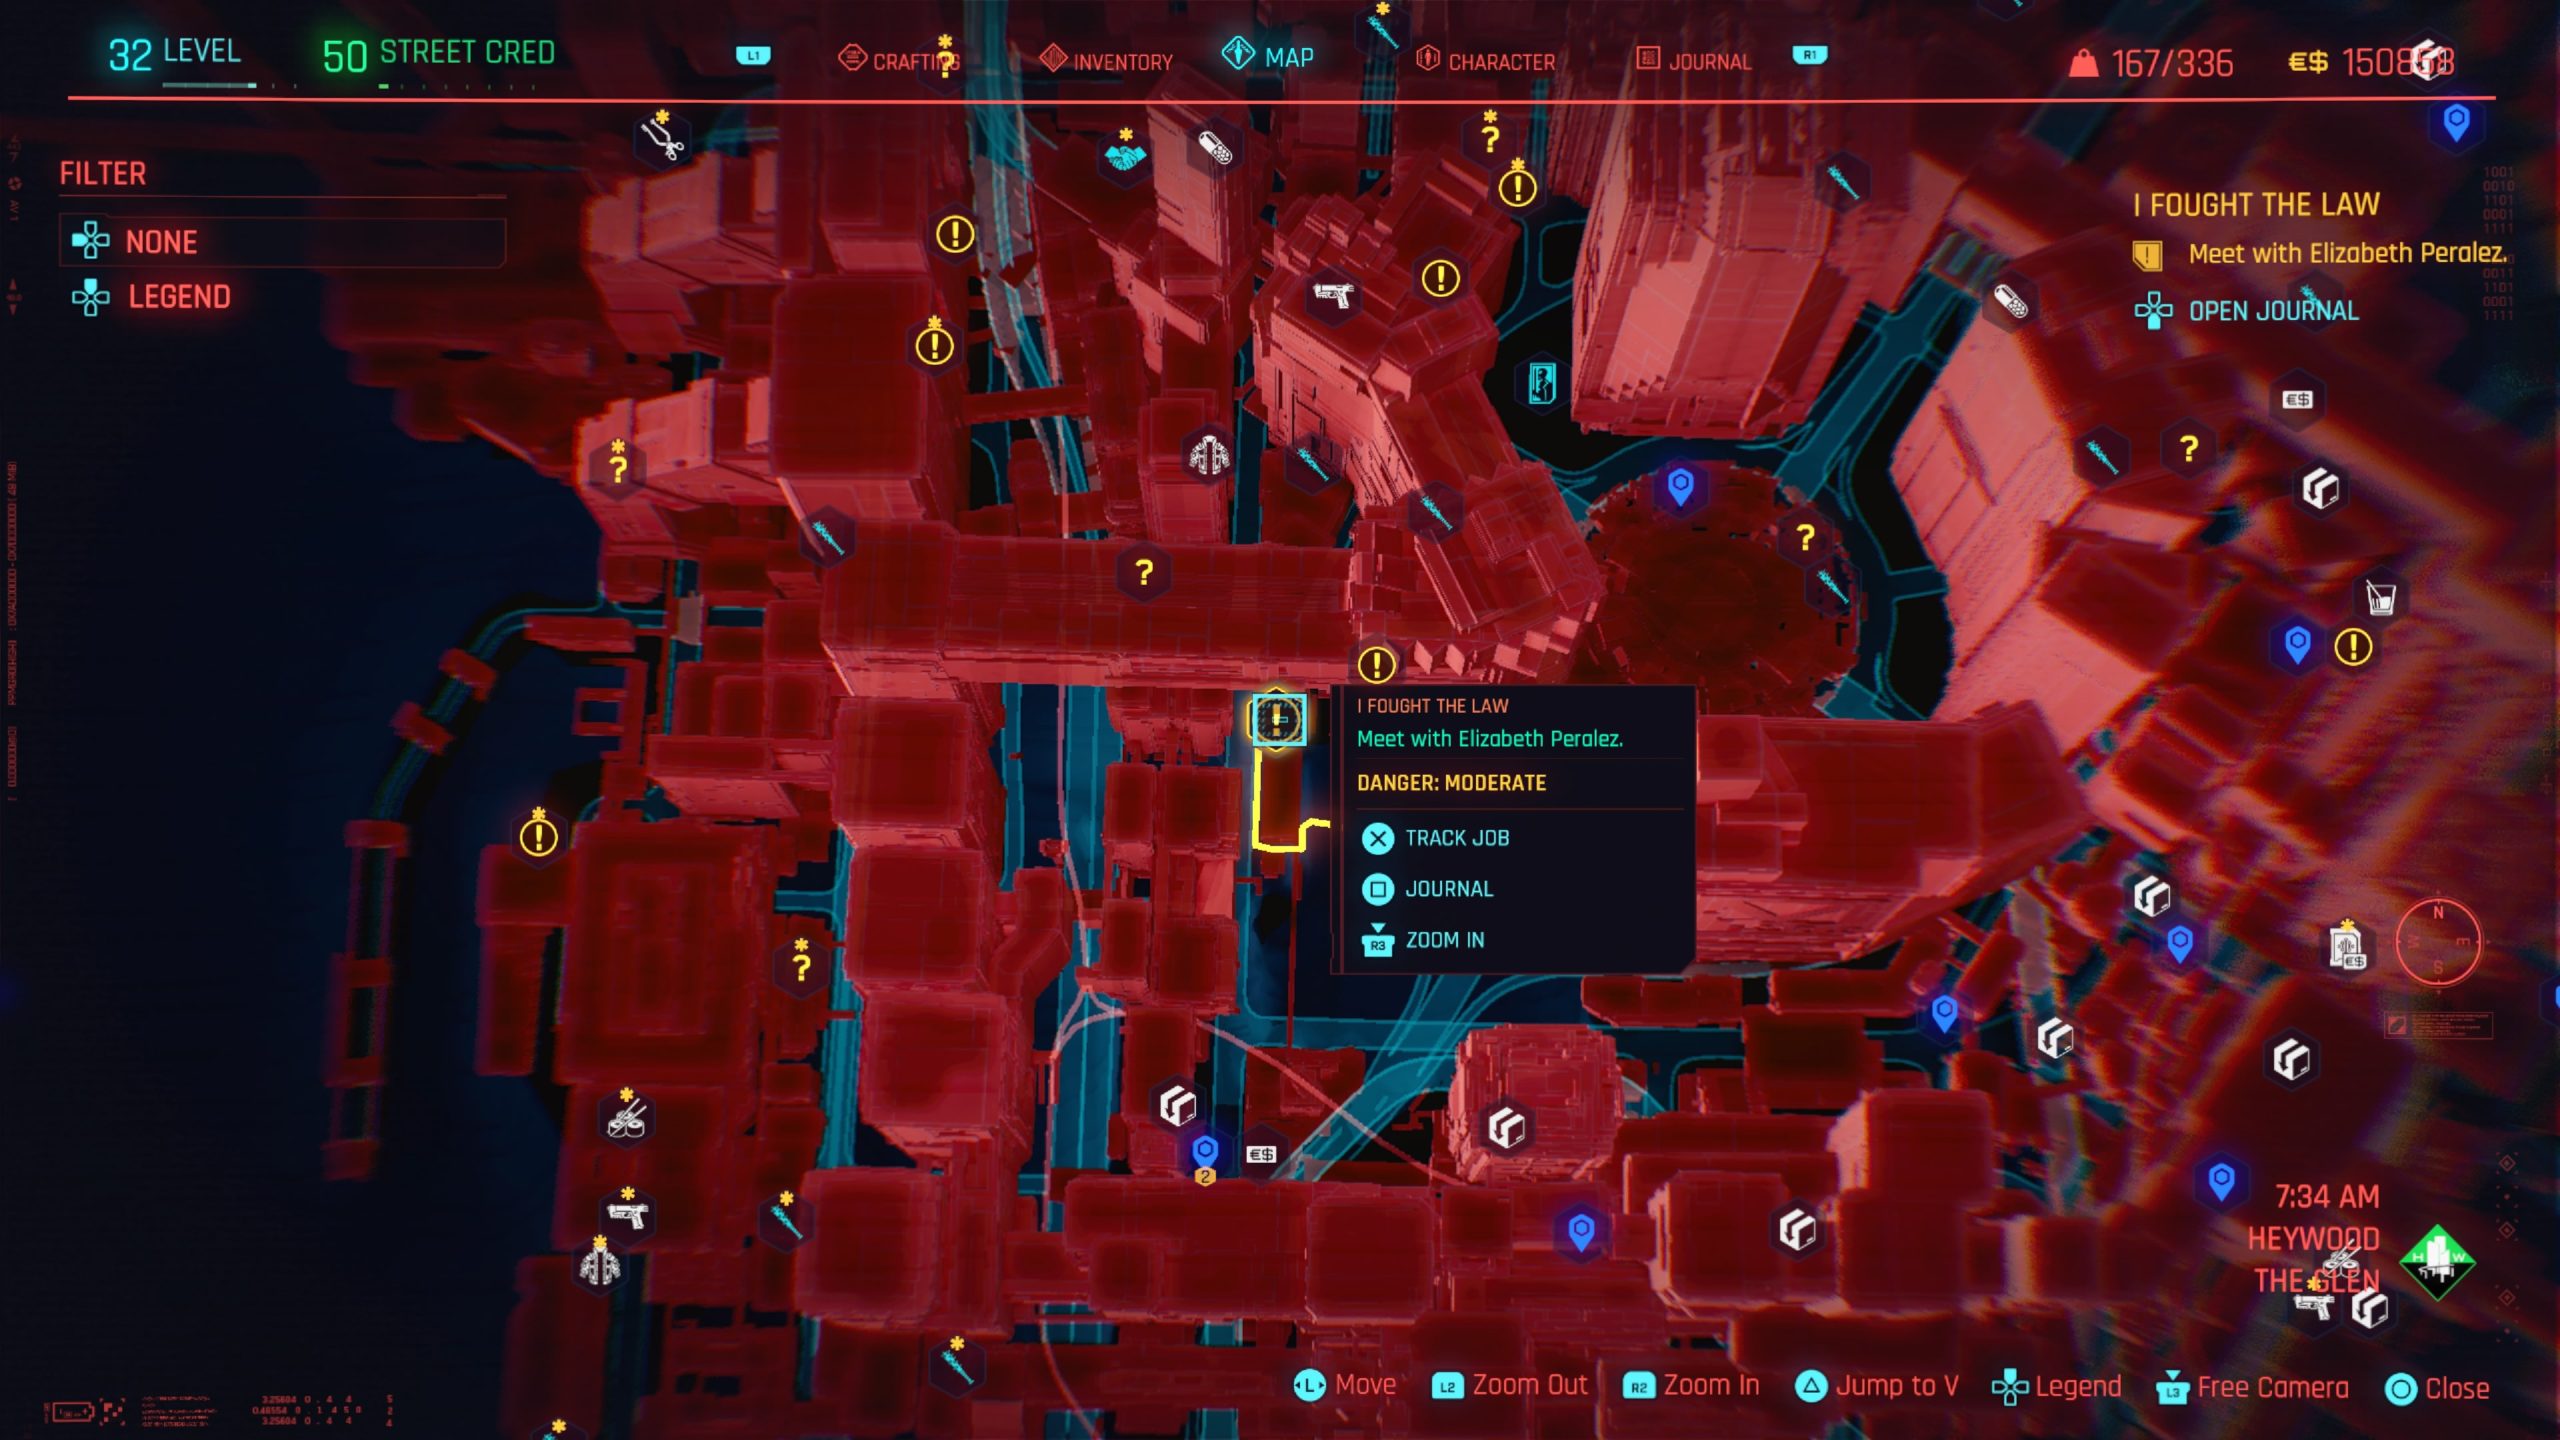
Head to the objective northwest of the Reconciliation Park fast travel point in City Center – Corpo Plaza then enter the vehicle. Speak with the couple then agree to take the shard. Watch the braindance and scan for clues. After you’ve found everything, exit the braindance. Get out of the vehicle then speak with Jefferson. Agree that they might be on to something then continue the conversation.
Afterwards, call Detective Ward and arrange a meeting with him. Head towards the objective at Chubby Buffalo’s Bar-B-Q on the east side of Heywood just north of the Hanford Overpass fast travel point. In the restaurant, approach the booth to begin speaking with the pair. When the detective leaves, sit in his place to continue speaking with River. To continue your conversation further, follow River to his vehicle and hop in. You’ll need to make a choice to see his boss or the CI first.
When you head off to see the CI, exit the vehicle then head inside Max-imum Pleasure. Approach the counter and speak with the CI. When you tell him that Igor sent you, he’ll run away. To open the door he runs through, you’ll need a Body Value of 6. Chase after him to the alley outside to interrogate the CI with River. Afterwards, speak with River again.
When you see the boss, exit the vehicle and follow River into the Cherry Blossom Market. He’ll then have you ask the vendors about Christine Markov. Ask around then River will text you saying that he found her. Follow the objective to meet with River at a vendor’s stall and speak with her. Afterwards, talk to River again as you head back to his vehicle. When you arrive at the vehicle, you’ll see 2 Tyger Claw. You can either let River deal with them or get a few words in as well. When the encounter finishes, speak with River.
Now that your off to the club, exit the vehicle and speak with River. Head to the warehouse and enter the area via a downed fence in the back. Once your in, head through another broken part of the fence directly in front of you. Turn right and jump over the fence. Climb up on the containers against the building to reach a ladder and take that up to the top. Once at the top turn left to find another ladder. Climb up this ladder to reach the roof then proceed through an opening in the roof immediately on your left. After you drop down, take a right and follow the stairs down. Head straight towards the predominate lights underneath a shipping container that says “Caution Wear Protective Equipment”. Take out the enemy that walks around this area then open the doors under these lights to find the entrance to the club.
Call the elevator then take it down to the club. There is an optional objective to take out the Animal boss so go ahead and proceed without caution in this area if you’d like. Make your way up to the second level then head into the second door underneath the lips on the left to find a headset that you can connect to. Do so then continue your search for the office, which can be found in the next room on the left. Check the computer’s files in this room to watch a recording. Afterwards, speak with River and agree to leave with him.
Once you arrive at the new location, speak with the detective then River. You can either advise him to go ahead or not to do it. Your choice does not matter, since nothing will stop him from reopening the case. Next, call Elizabeth Peralez then head on over to her apartment at the Luxury Apartments fast travel point in Westbrook – Charter Hill. Use the intercom next to the entrance to gain access to the building then take the elevator to the penthouse. It’s your choice whether or not to tell them the information. It doesn’t seem to matter either way. Once your done speaking with them, leave the building to complete the job.
Imagine
Obtained: The Glen – Approach the job locations near Reconciliation Park fast travel point
Objective: Talk to the stranger

Approach the monk on the bench and speak with him then agree to sit down. Continue speaking with him. After the meditation completes, stand up to finish the job.
Only Pain
Obtained: Vista Del Rey – Approach the job location west of Delamain HQ fast travel point
Objective: See what’s going on

Approach the police and speak with the officer. Tell him to leave the guy along. This will trigger a fight with the 3 officers. Defeat them then wake up the corpo and speak with him. Select whatever dialog options you’d like to complete the job.
Raymond Chandler Evening
Obtained: The Glen – Approach the location east of El Coyote Cojo fast travel point
Objective: Find out what’s going on

Enter the bar and listen to the conversation with the group on the left. Approach the table to speak with Pedro and tell him to lay off. For the next round of dialog options, you’ll get a few choices:
1. The first option will land you in a fist fight in which you’ll need to defeat Pedro and his friends.
2. The second option will cause the job to fail.
3.The last option will cause Pedro to back off without a fight, but you need a Body Value of 20 in order to select this one.
Afterwards speak with Joseph who remains at the table and tell him why you decided to help him out. Next, talk to Pepe behind the bar. Grab a drink then agree to keep talking about his problem and eventually agree to help him out. Leave the bar then follow the objective east to just north of the Shooting Range fast travel point. When you arrive to the scene, scan the woman wearing the pink jacket leaning against the building. Follow behind her as she walks down the sidewalk and eventually into a building. Once in the building head up the stairs and enter through the only door on this level. Speak with Cynthia then leave the building and call Pepe to give him all the details. This will complete the job.
The Hunt
Obtained: After completing I Fought the Law side job, River will eventually text you.
Objective: Meet with River Ward in the evening
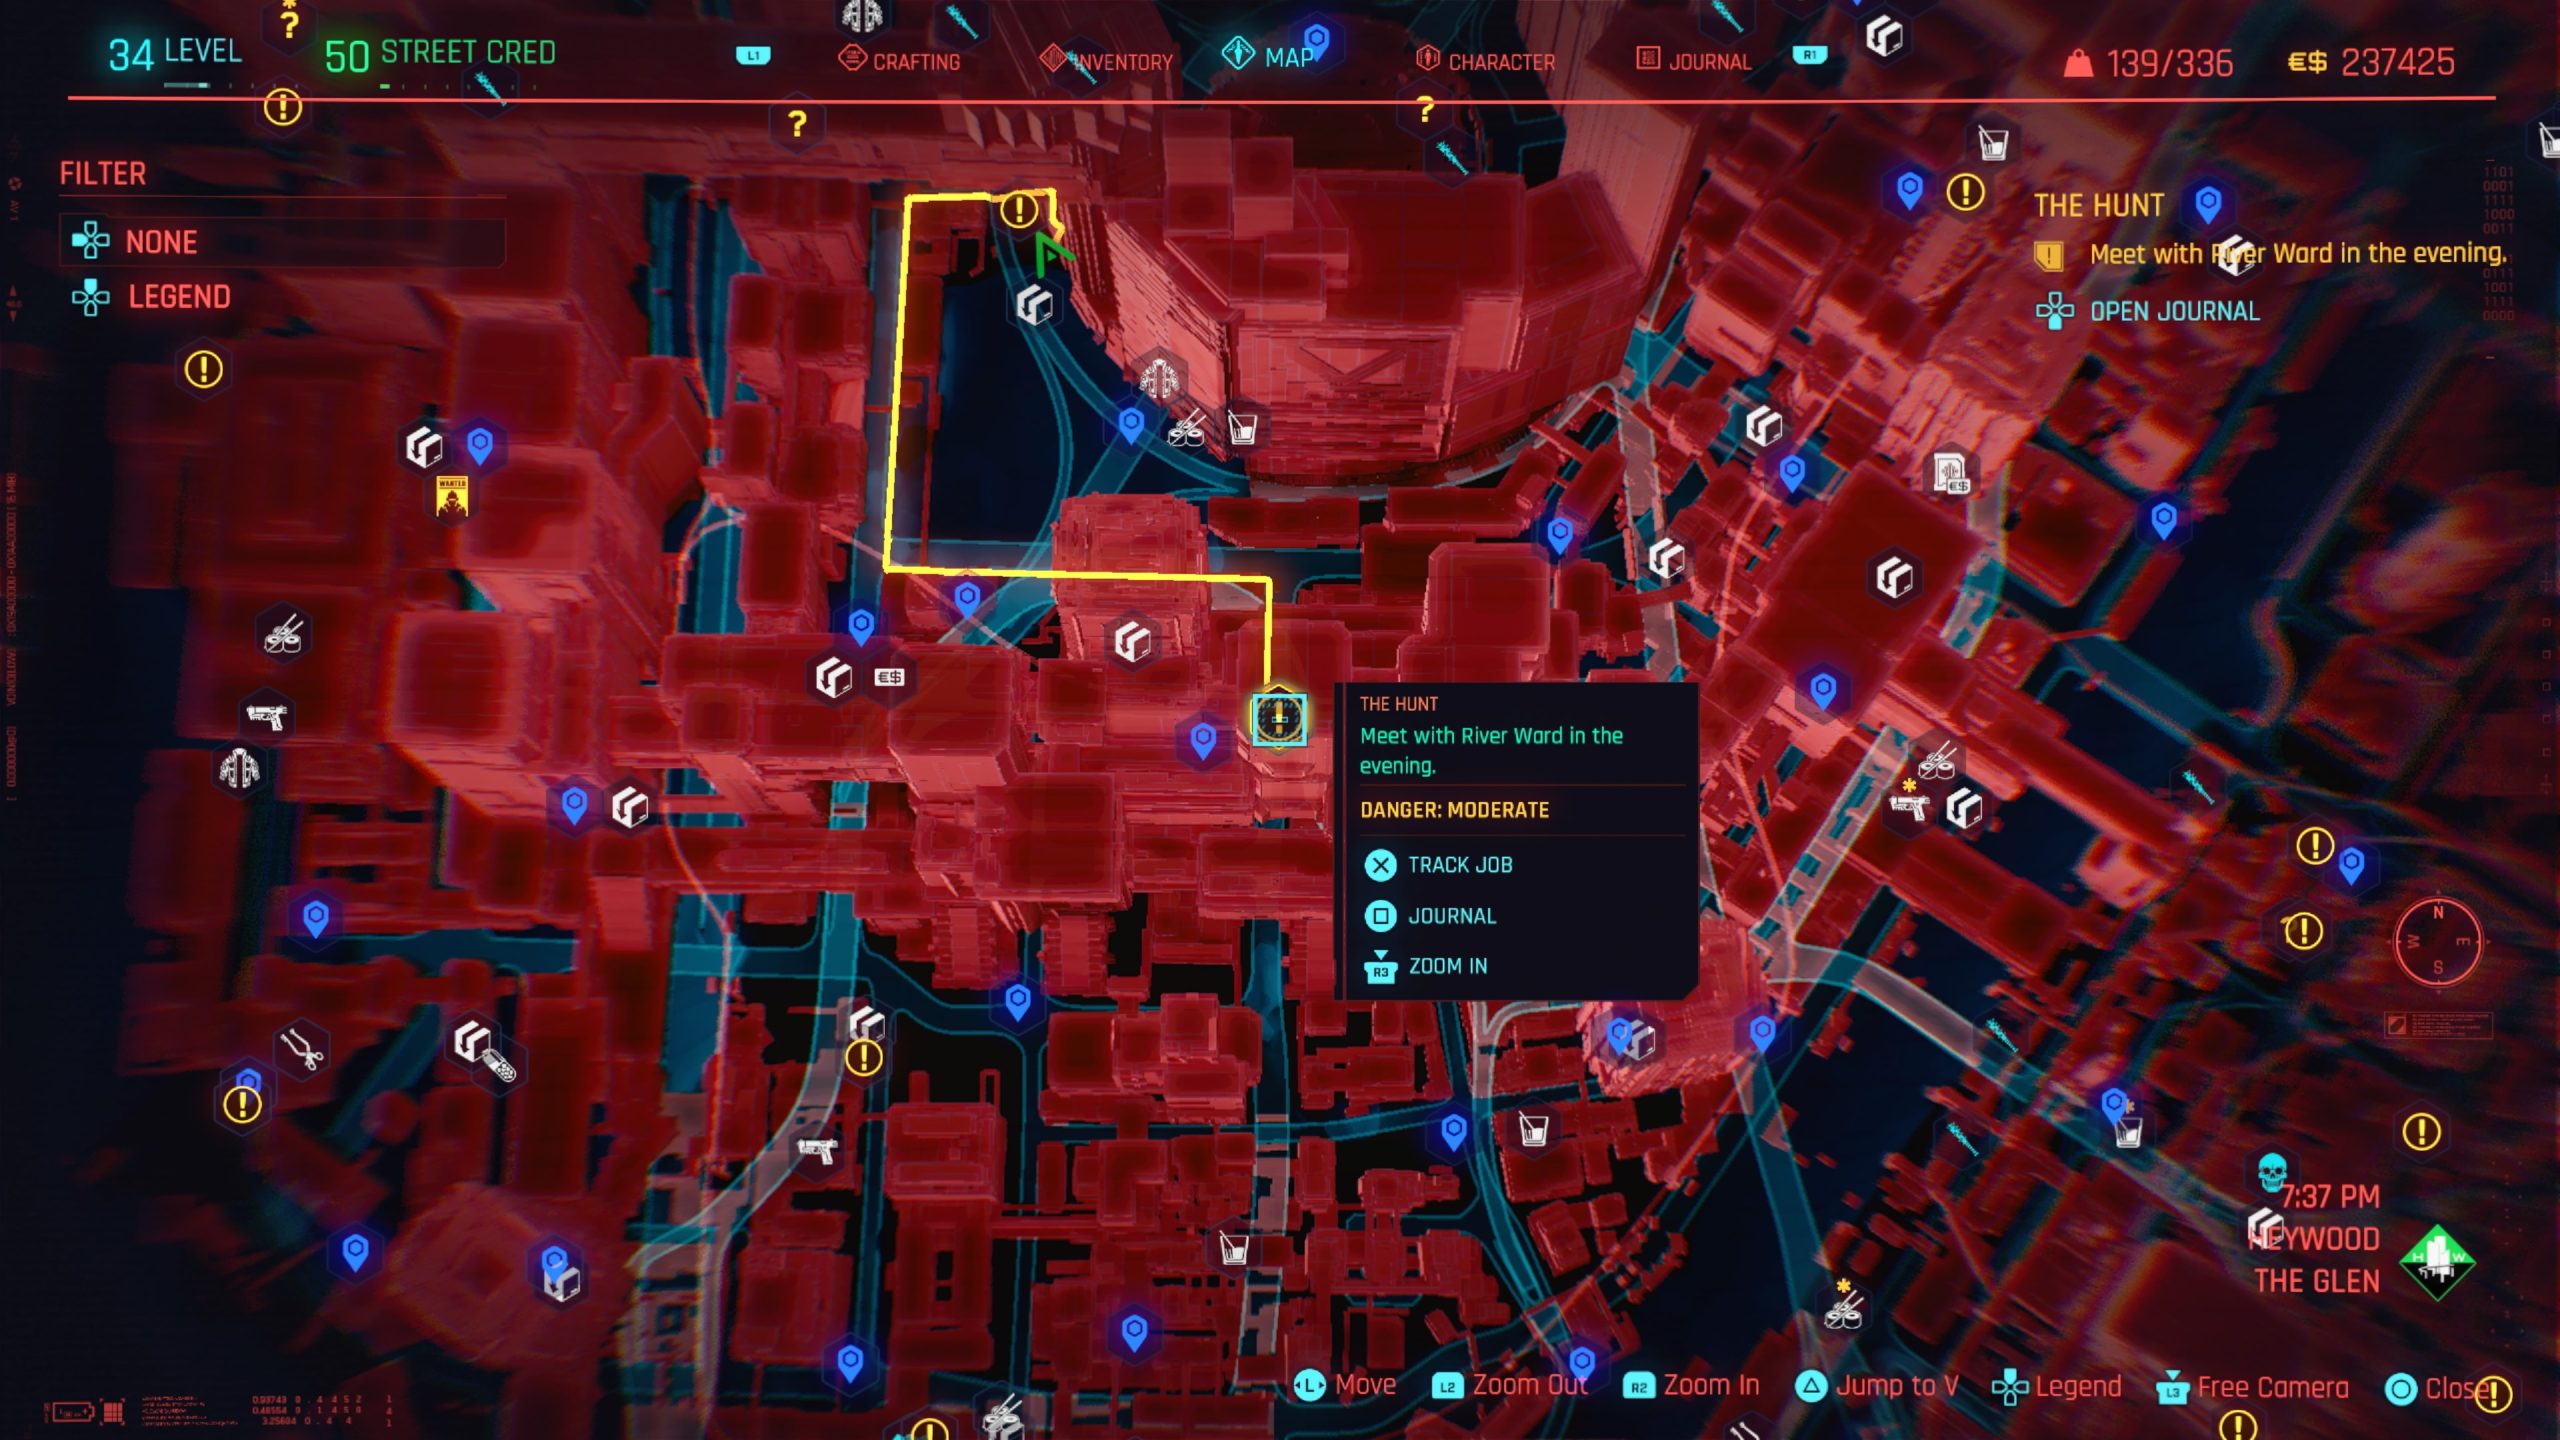
Follow the objective east of Metro: Glen North fast travel point to Heywood – The Glen then sit and wait for River on the planter. After some time passes, hop in River’s vehicle and speak with him. Once your conversation has ended, exit the vehicle and follow River until he stops in front of the lab. To get inside the lab, you can open the back door if you have a Technical Ability of 12. Alternatively, keep heading along the back of the building until you spot a long green container with mattresses inside and a plastic sheet hanging down. Jump on top of this container then use the tire stack to reach the roof. Drop down into the area below then look to the right to find a garage door with a ladder next to it. Climb up this ladder then open the second shutter to reveal a way in. Hop inside then follow River as he explores the rooms. Alternatively, you can just run to the cabinet yourself. From the window you jumped through, take the first available left and head down the hall. Swing left around the large room and enter it via the door. Turn immediately right to find a smaller room with evidence that a child was in it. Scan the cabinets to call River over. Once he starts rifling through one, head to the left of him to help. A lady will bust in surprising the both of you. Speak with her then follow her to the next room as she continues to talk. Once you are through, exit the building via the front door and listen to Johnny outside the entrance. You’ll then need to head across the street and enter River’s vehicle.
As you drive to the next location, speak with River. When you arrive at your destination, exit the vehicle and follow River into a house. Once inside, speak with Joss (we told her the truth…that Randy has been taken). She was upset that River threw a blanket over the truth but River didn’t mention anything negatively towards us. She agrees to allow us to look through Randy’s things and asks River to call the kids in for dinner. Follow River outside to a nearby trailer. Inside you’ll need to search for clues. Head to Randy’s bedroom and search the end table to find that it’s locked and needs a key. Randy’s Antique Key can be found in the kitchen on a shelf next to some bottles. Also scan the computer underneath Randy’s bed. River will take the computer and ask you about the password. You can either hack it if your Intelligence Value is 9 or tell him that you don’t know how. If you don’t know how, you’ll need to guess the password. Head into the hallway and play the record player then return to River and tell him to punch the track title. This will open up the computer. Have a seat then search the net on the computer to find the Drugs are Bad page. Click the image on the page to be brought to Tony’s Shelter page. Select the files tab to find an error file. Next, check under the computer files to find the ATT_CART_VIDEO. If you have an Intelligence Value of 12, you’ll be able to get Harris’s IP address. If not, just exit the computer. Now that you’ve got the info you were looking for, follow River back to the main house and sit down at the table to speak with Joss. When your done, select that it’s time for bed.
River will wake you and have you watch the recording. Scan the teacher, the bulletin boards and the trophy when prompted as the braindance progresses. To move to the next scene, press O. Scan the cow, console, person, injection system and dietary supplements. Press O to begin the next braindance with the cartoon. Scan the solar panel, clock, electrical parts and fuel barrels. Next, you’ll need to switch to audio and listen where the green circles are then scan the person lying down in the first bed on the left. Head up a little then scan the next person in bed and the infusion pump. Continue a short distance then scan the computer, FDNC Certificate and person on bed. Proceed with the braindance and scan the number next to the door, the escaping victim and the Towers of Light outside. Exit the braindance then listen to River. Once he’s through, follow him to the vehicle and hop in.
When you arrive at the Edgewood Farm, exit the vehicle. You don’t have to worry about being sneaky in this whole area as no one is here but there are turrets and a lot of mines. You’ll have the optional objective to find the farm’s security control system. If you wish to do this, head towards the house and swing around to the left of the front door. Enter through the blue door then proceed up the stairs on your left. Enter the bedroom and scan the wall to the right of the computer desk. Follow the cords underneath the computer desk to find a button. Crouch down and turn it off to reveal the hidden room where the wall was on the right. Head into the hidden room then use the computer to access the Local Network. Turn off the generator.
Next, proceed to the barn. When facing the barn’s main entrance, take a left to head up a ladder on the side of the barn giving you access to the roof. You’ll be able to drop down through a window in the roof onto a walkway. River will rush ahead to located Randy so follow behind him. To find a way to turn off the braindance machine, head through the nearby doorway and open the first door on the right. Head to the back wall to turn off the computer. Return to the room with River then remove the tubes on the 3 others. Afterwards, return to River and help him release the restraint.
After some time passes, you’ll speak to River. You can convince him not to kill Anthony Harris. Alternatively, you can tell him that you’ll help him kill Harris, but River says he wants to do it him himself. You’ll be able to tell him that he can always count on you. Either way, the job will complete. If you wait 24 hours in game, he’ll text you the same dialog for either option you chose.