Welcome to our complete guide for all Phantom Liberty Side Jobs in Cyberpunk 2077! In this guide, we’ll list all of the Dogtown side jobs, where to find them and how to complete them to earn the Dirty Deeds trophy/achievement.
Phantom Liberty Side Jobs List
Baby Let Me Take You
Obtained: After bringing El Captain enough vehicles, he’ll message V about a job requiring their immediate attention
Objective: Meet El Capitan by the Dam
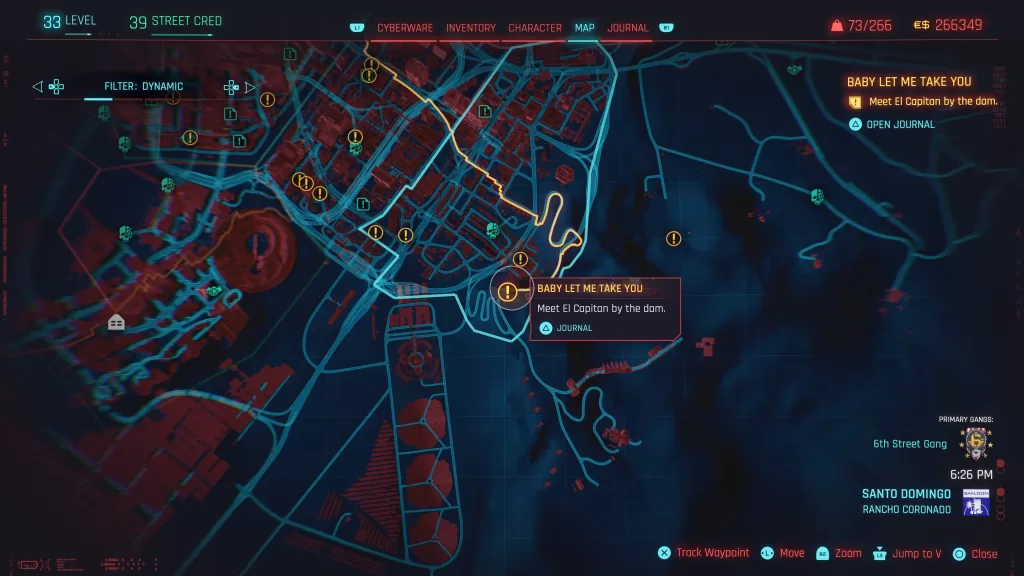
Travel to El Capitan’s location down the road south of the Dam Viewpoint fast travel point in Rancho Coronado Santo Domingo. Speak with El Capitan near his car then again when he walks over to the ledge. When you’re done, travel to the Arasaka Docks in the Corpo Plaza City Center. Head inside and speak with Daniels. Jump into the water between the dock and cargo ship then swim to the last ladder on the end.
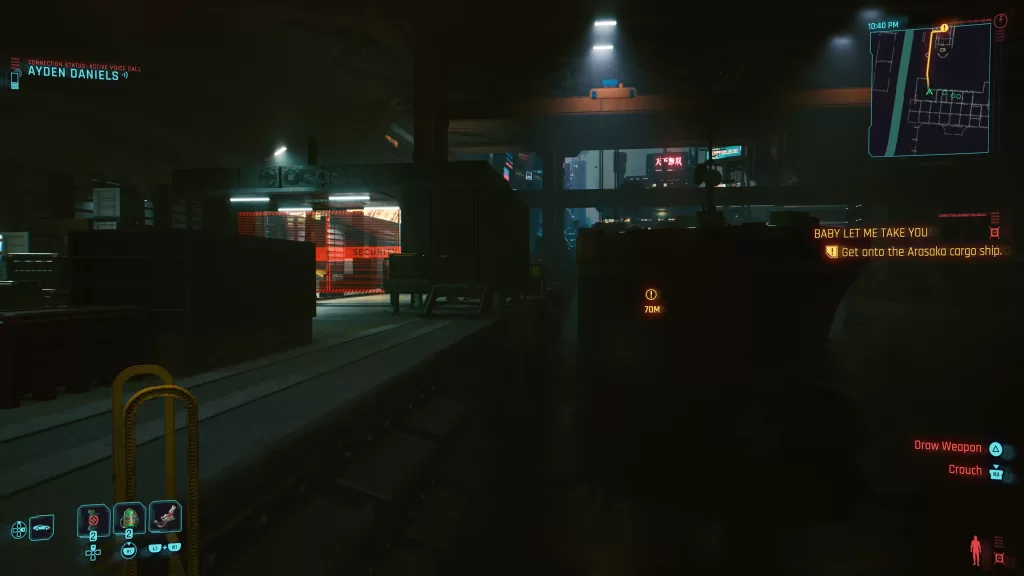
Climb up then deal with the camera on a post diagonally to your right. Use the ramp on your right to board the cargo ship and scan the vehicle to identify it as the one you’re here for. Note that there are a couple of enemies here you’ll need to deal with or sneak by. Hop into the truck and drive off the ship onto the dock. While this is happening, Daniels will be made and V will have a choice: save Daniels or take the equipment back to El Captain. If you choose to help Daniels, he will survive but the truck will be damaged along with some of the equipment inside. Daniels will also be pissed. You’ll then have increased resistance from Arasaka on the way to the garage. If you leave him there, Daniels will die, but all of the equipment will make it helping more people. The choice comes down to what you want to do. Either way, you’ll still complete the job and El Capitan will still reward V will a brand new car!
Balls to the Wall
Obtained: Talk to the strangers near the Golden Pacific fast travel point
Objective: Get Lit! (and bail Paco and Babs out of their predicament)
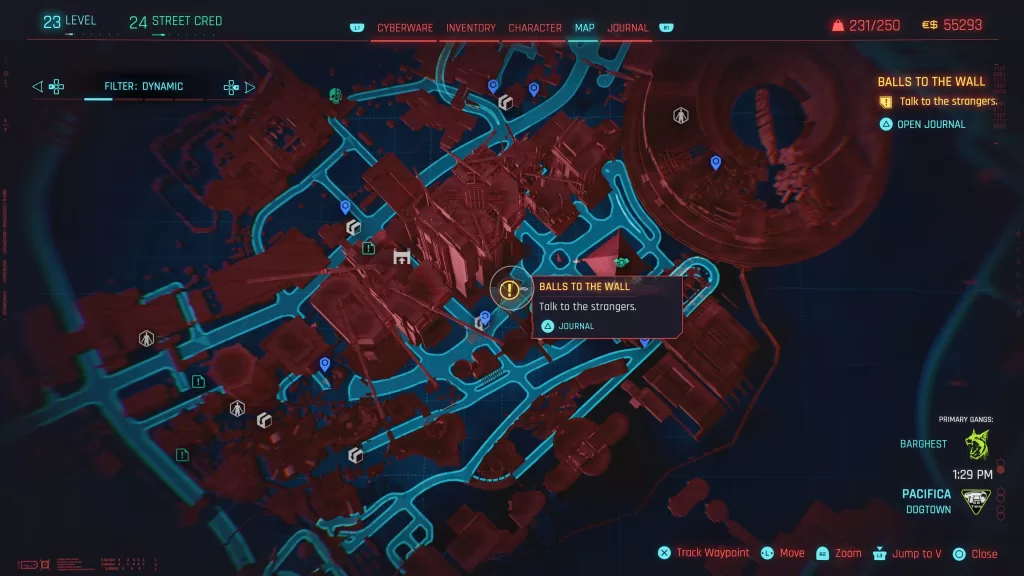
Speak with Paco and Babs then sit on the couch and have a drink with them. After a drink or two, listen to Paco’s problem and agree to take a hit of drift. This will trigger a hallucination where you’ll become Hansen. You’ll need to play through two scenarios as Hansen and take an additional hit. When you’re done, the pair will tell you that Paco stole some generators off a convoy that weren’t on the manifest. They will then ask for V’s help to get out of the situation.
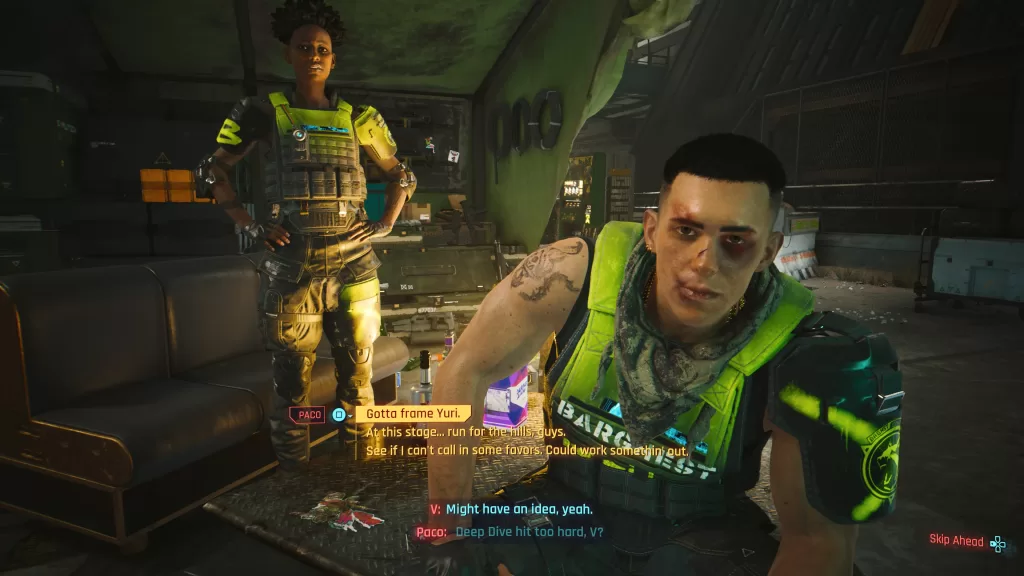
Depending on where you’re at in the main game you may have different options as to how V can assist them. The choices and outcomes are listed below. After you make a choice and it plays out the job will be completed.
- Frame Yuri – If you tell them to frame Yuri, Paco will be killed and you’ll have to fight Yuri
- Run for the Hill / Call in Favors – V will use his contacts to help the pair
- We were able to get help from Panam and both Paco and Babs escaped. They left a legendary iconic assault rifle as a reward.
Dazed and Confused
Obtained: Hands will text you about the job after meeting him in person during the Phantom Liberty main story
Objective: Rescue Lina from the BD Store
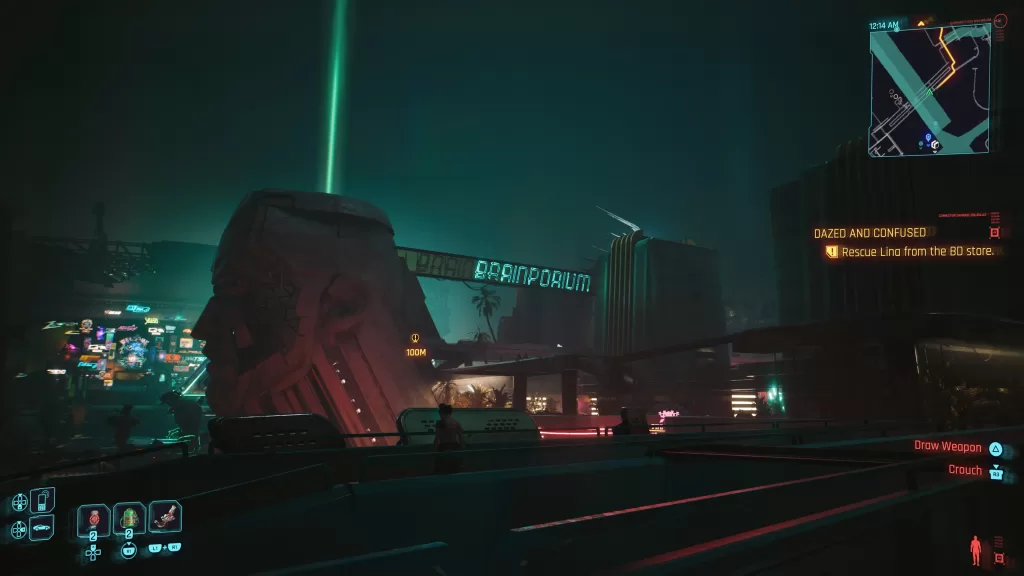
Travel to Brainporium near the center of Dogtown and head inside (top level of the stairwell). Look for the stairs taking them down to the basement to find the two strangers. After some dialog follow Shank upstairs and speak with him to learn the deal with Tool. He’ll want to take advantage of the situation by asking V to help out with a job. Agree to help then set out to find Lina then exit the building. Outside, Johnny will recommend helping the Gonk instead of extorting him. This will give you two new optional objectives to talk to Viktor and Judy for advice.
Help Tool (Optional)
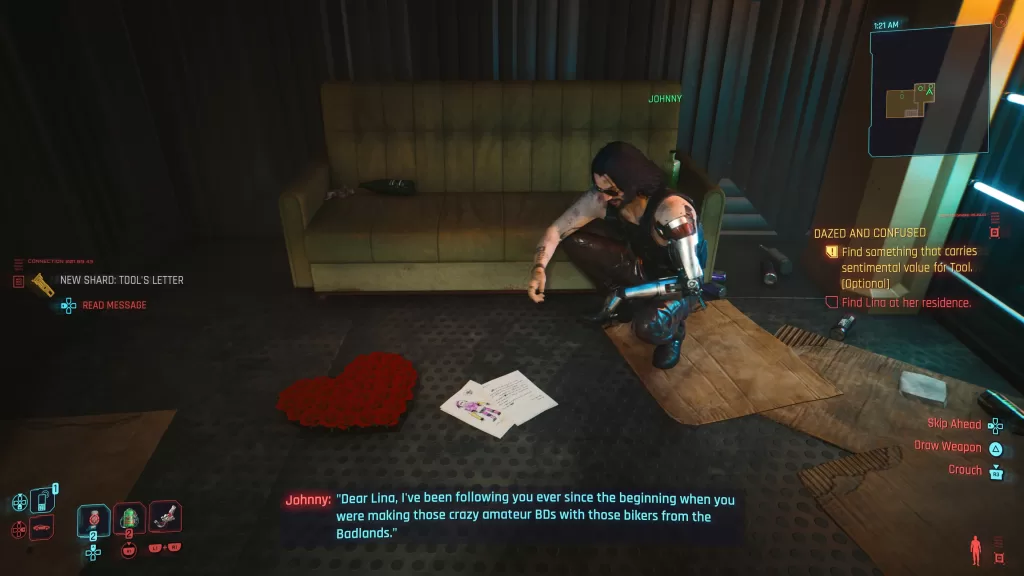
If you want to help Tool, start by calling both Viktor and Judy. Tell them what’s going on and they’ll both give you the same advice. Head back into Brainporium the go downstairs. Enter the room to the right of Tool and scan the letter on the ground in front of the couch. After a quick scene with Johnny, speak to Tool. You won’t be able to help him just right now, though to time to move on to Shank’s request
Help Shank
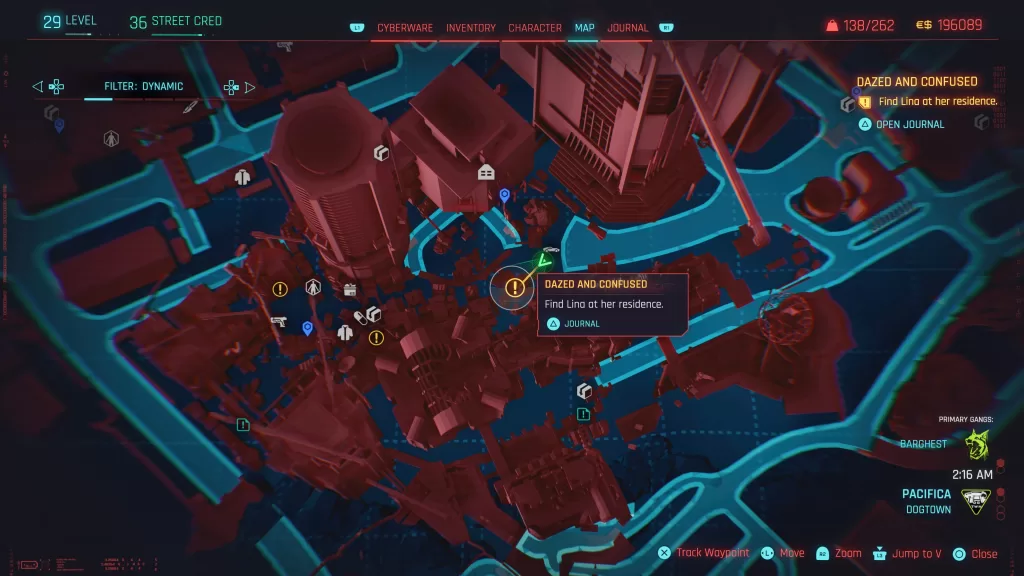
Follow the coordinates Shank gave you to reach Linas’ residence on the west end of Dogtown. At the bottom of the stairs leading up to her flat, you’ll run into some Gagners. Take them out then knock on Lina’s door a couple of times. You’ll then need to sit on the nearby chair waiting for her to show up.
When she arrives and asks you what happened make sure you tell her you found them like this otherwise the job will fail. Try to convince her to do the BD with Tool. She’ll want her money upfront and ask for 10,000 credits. If your V has a Corpo background, you’ll get an option that will convince her to do the BD without transferring her credits. After she heads off to do her makeup and such, message Shank to tell him it’s on. V will then need to wait about a day or so for Shank’s message.
After you receive Shank’s message, head back to Brainporium and observe the BD shoot. When the pair get down arguing, sit down in the director’s chair to take charge of the shoot. You’ll then get a couple of options: Convince him he’s her sister, convince him he’s a clone or have her read the letter of the script. If you choose the first option, Lina will dig it and agree to come back. The second option will see her walk leave and not come back. The last option is only present if you scanned the letter earlier. Sending her that will snap Tool out of it and bring him back to his old self. Whatever option you choose, the side job will be completed.
Go Your Own Way
Obtained: Hands will contact you saying Hasan is trying to reach you after meeting Mr Hands in person
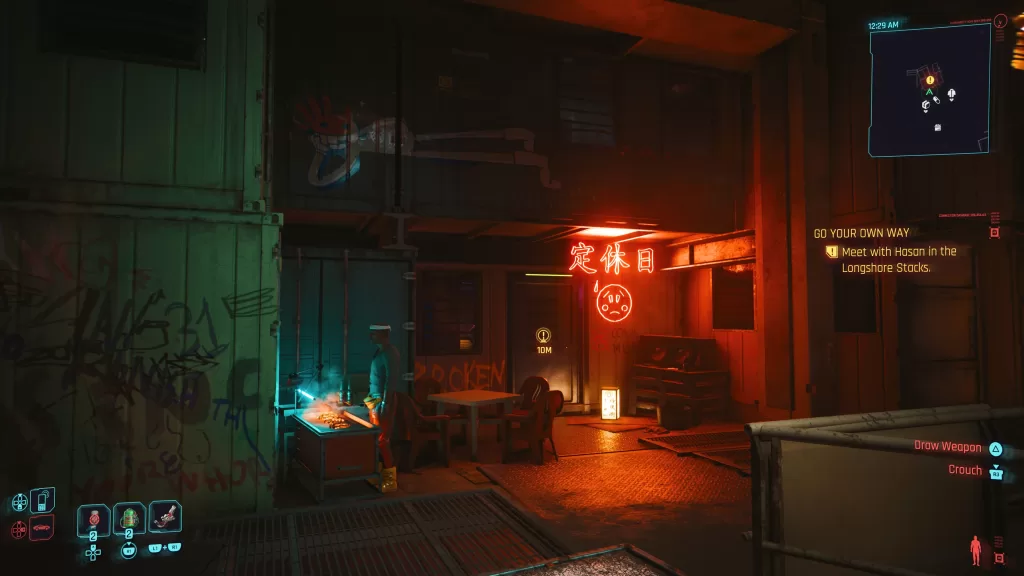
Objective: Meet with Hasan in the Longshore Stacks
You’ll need to have saved Hasan during the Prototype in the Scraper gig
Follow the coordinates that Hands gave you to the west part of Dogtown near the Longshore Stacks. Head into the building to find Hasan. This will start a conversation between him and V where Hasan will thank V for healing him and give them an iconic tech pistol completing the quest.
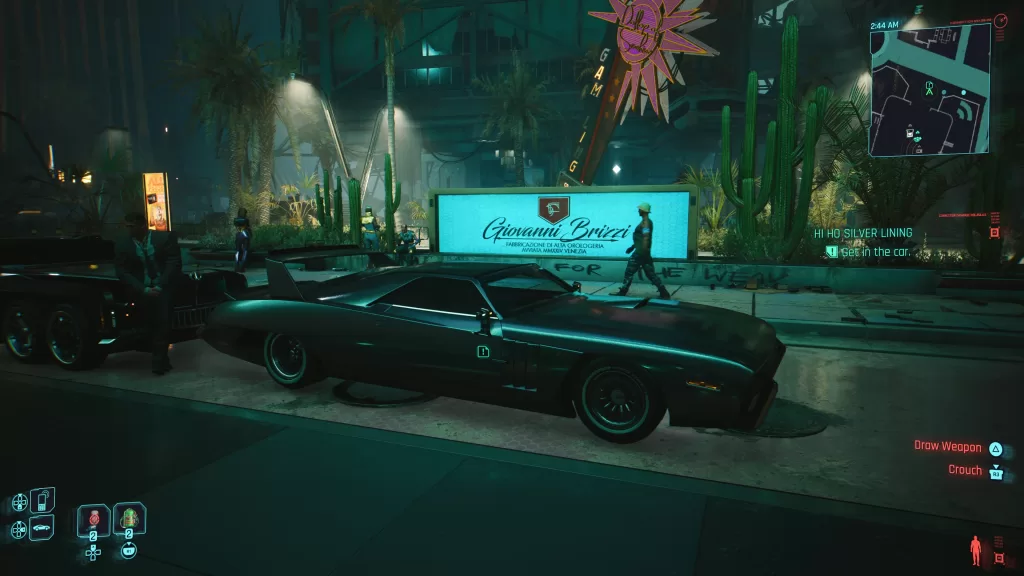
Hi Ho Silver Lining
Obtained: You’ll receive this job after completing all of the gigs for Mr. Hands
Objective: Me with Mr. Hands
Travel to the Heavy Heart then use the elevator to reach Mr. Hands’ private room. Go inside and speak with the man. After the conversation, leave Heavy Hearts to claim your “Sliver Slippers”! Hop in the car to complete the job!
Money For Nothing
Obtained: Let Katya live during the Spy in the Jungle gig
Objective: Go to Katya’s Stash
Follow the objective to an old parking garage southeast of the Kress Street fast travel point. Head inside and scan the dumpster. Move to the side of it and use the force option to move it. This will reveal a grate underneath with the stash. Open the grate and loot the stash to complete the side job.

Moving Heat
Obtained: Ashlay will message V after completing the Phantom Liberty story (and possibly all of the gigs and side jobs)
Objective: Go to the Elevator at the coordinates Ashlay provided
Follow the objective to reach the elevator in the stadium. When you get there, wait for Ashlay to get her pizza then you’ll be able to enter the elevator. When you reach the storage area, sneak through stealthily taking out the enemies as you go. Open the door on the other side to reach the garage.
You need to hop in the garage and ride it to the car. If you don’t and walk back there taking out enemies along the way, the quest will bug and you’ll be unable to complete it.
Once in the garage, you’ll need to be quick. A truck will pull in and you need to hop in the back of it without being caught by the guards. Ride in the back of the truck until it stops. It will bring you to the car you need to steal. Hop in then respond to Ashlay’s text and wipe the datalogs. All that’s left now is to drive the car out. One guard will raise the gate blocking your way then another will scan the card. After that, once you exit the garage the job will be completed and you’ll get a sweet new car.
New Person, Same Old Mistakes
Obtained: Bill will text V sometime after completing the Waiting For Dodger gig inviting V to his new business.
Objective: Meet with Bill in the Glen
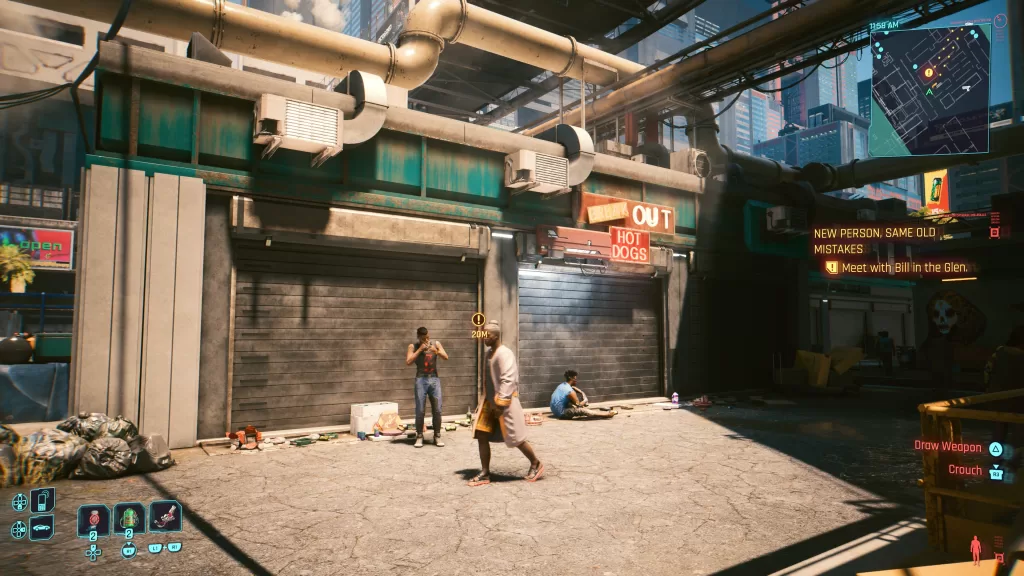
Follow the objective marker to The Glen in Heywood to reach Bill’s new business. Once there, head inside and speak with Bill. He’ll mention that he left the force and will thank you for all the help you’ve given him. He’ll offer you some Eddies. You can choose to either take them or refuse. After you’ve made your choice, you’ll be able to purchase hawt dogs! Once you leave the shop, the quest will complete.
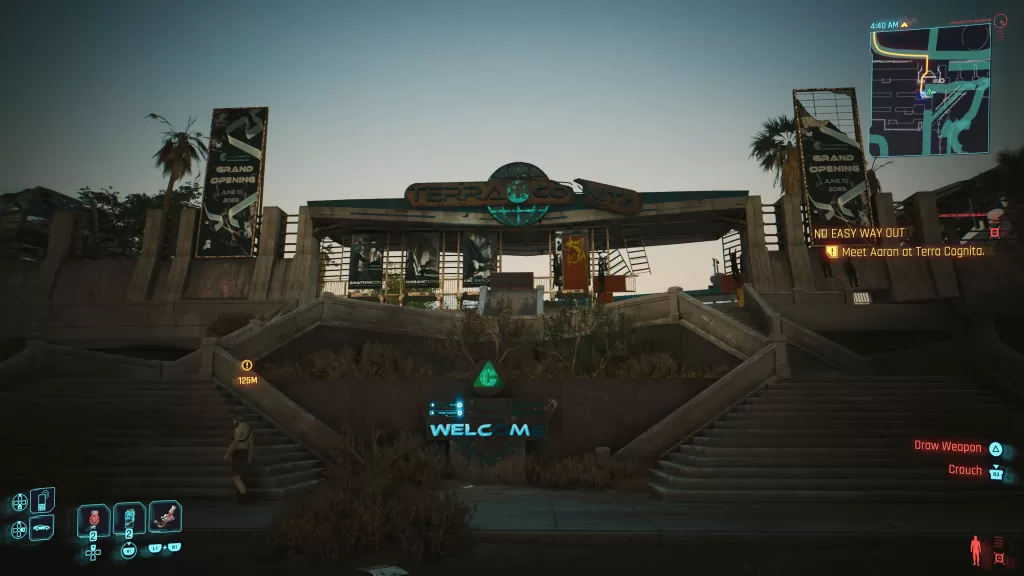
No Way Out
Obtained: Coach Fred will send you a text about a friend of his that needs some help. For us, this happened while on the Lucretia My Reflection main mission waiting for Reed’s call.
Objective: Find Aaron
Head to Dogtown and make your way to the center of the area to find Aaron in the middle of a fight under the Brainporium sign. Speak with the Bookie where you’ll be able to place a bet if you want (we bet on Aaron and he won). After Aaron exits the ring, head over and speak with him to get the details on the job. Afterward, travel to Terra Cognito (southwestern part of Dogtown) to meet Aaron near Organitopia. You may have to wait on a bench there until he shows up. Follow Aaron then speak with him when prompted.
Head to Damir’s clinic which is guarded by the Animals. Walk through the front door and fight your way up to the top floor where the clinic is. Before you can head inside, you’ll need to defeat all of the Scavengers first. Once that’s done, take Aaron to the clinic door where he’ll convince Damir to do the procedure. Sit in the wheelchair until it’s done. Towards the end, Angie shows up and wants to cut a deal to where Aaron throws the fight. They will cut V in on 10 percent of the winnings. You can agree to the terms. If you’re a CORPO, you can get 20 percent out of it or you can tell her to shove off. If you go that route, telling her no will result in a fight. You can loot the Cheetah iconic power pistol off of her. You can also threaten her which will see her back down. Exit the building after making your choice 9we took her out and grabbed her weapon). You’ll then need to wait for Aaron to reach out after some time passes. When you finally receive the message from him, travel to the Dream Gig Bar in Dogtown to meet up with Aaron. Speak with the Server to ask about Aaron then head to the nearby alley. This will complete the gig.
One Way Or Another
Obtained: Nele will call V after completing the Roads to Redemption gig for Mr Hands
Objective: Go to the Meeting Point
Follow the objective to reach the super out of the way not a trap meeting point. When V enters the search area, they will receive a text from Nele saying to check the blue shipping container. Once it’s opened a flashback will go off and the job will be completed. V will then be amused by Nele’s old terrorist buddies.
Push It to the Limit
Obtained: Complete the Mysterious Signal gig
Objective: Deliver the Vehicle to the Indication Location
El Capitan will request V to deliver this vehicle to him and then upload some coordinates. You’ll need to follow the GPS to reach the indicated location in Santo Domingo.
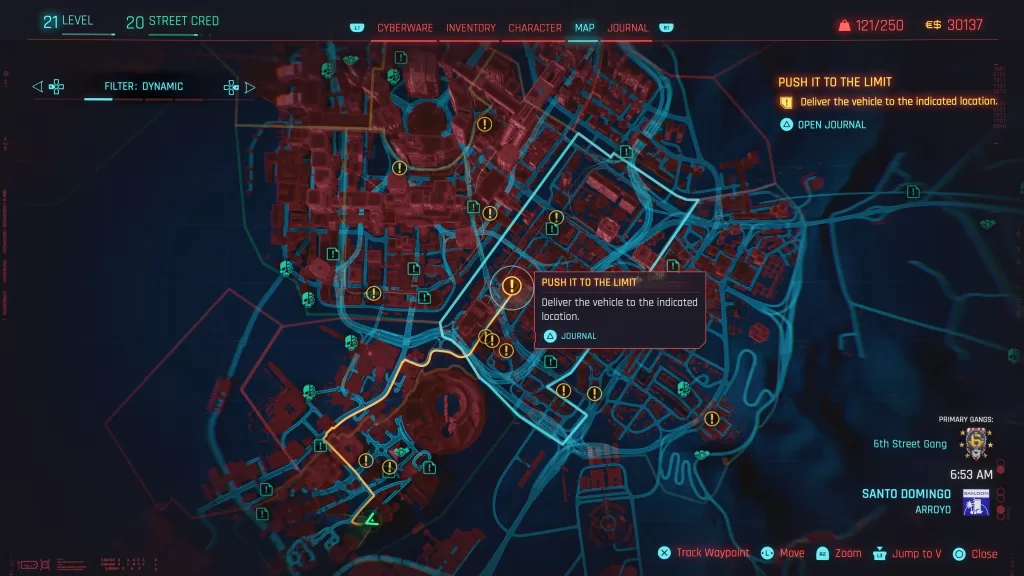
A short while after exiting Dogtown, some enemies will show up and start attacking you. You’ll need to lose them or take them out before reaching your destination. When you get there, park the car in the garage then speak with El Captain outside. Afterward, get into his car to go over the details of the work he wants you to do. When it stops raining, exit the car and finish the conversation to complete the job.
Run This Town
Obtained: You’ll get a call from Mr. Hands after completing the Hi Ho Silver Lining
Objective: Meet with Mr. Hands
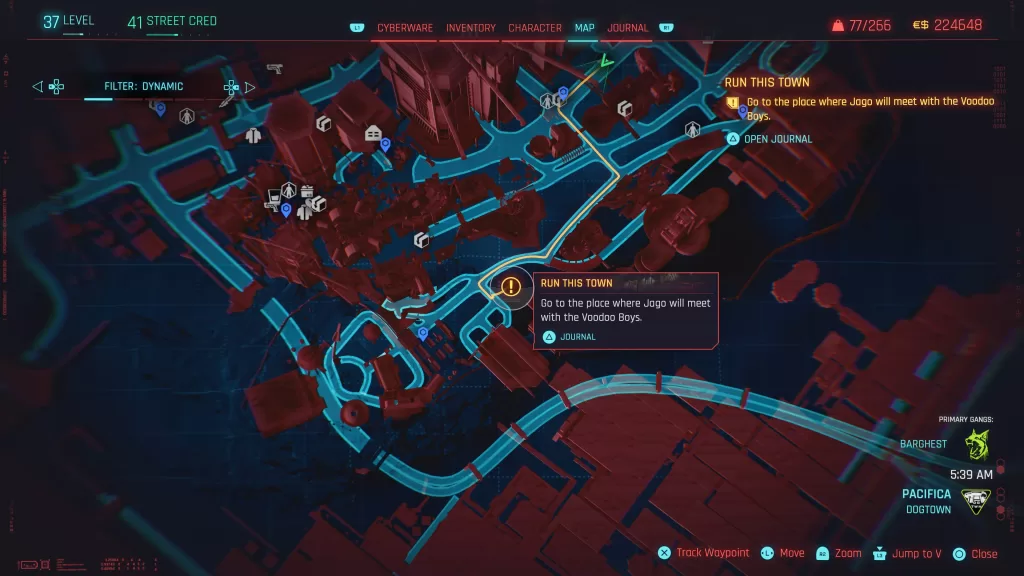
Travel to Heavy Hearts in Dogtown then take the elevator up to Mr. Hands’ private room. Got inside and speak with Hands to get the details of the job. When you’re done, grab the imprint, gun and suit. Equip the suit and interact with the mirror then head out. Your destination is the southern part of Dogtown near the Terra Cognita fast travel point. Enter the building there and interact with the bed to transform.
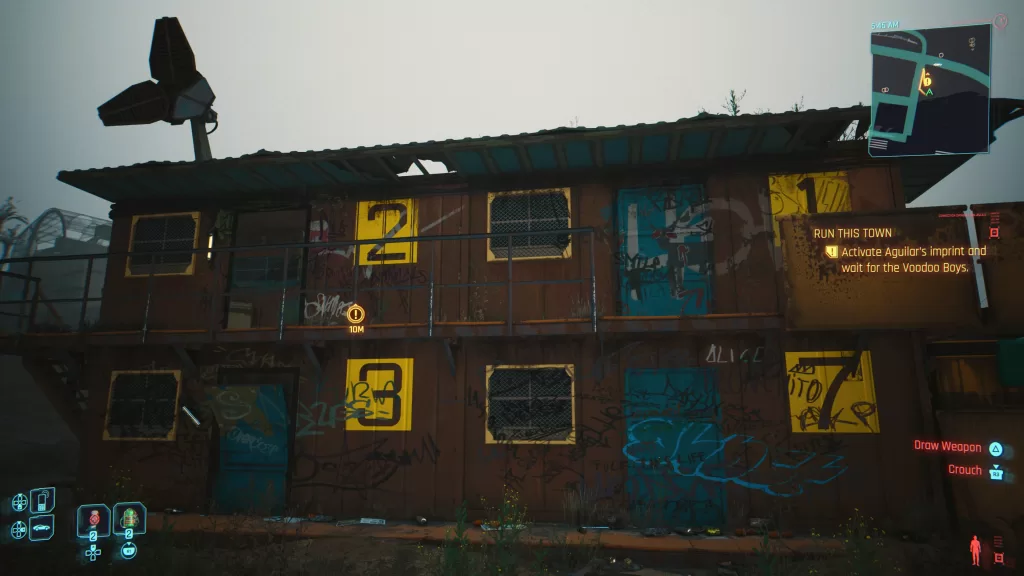
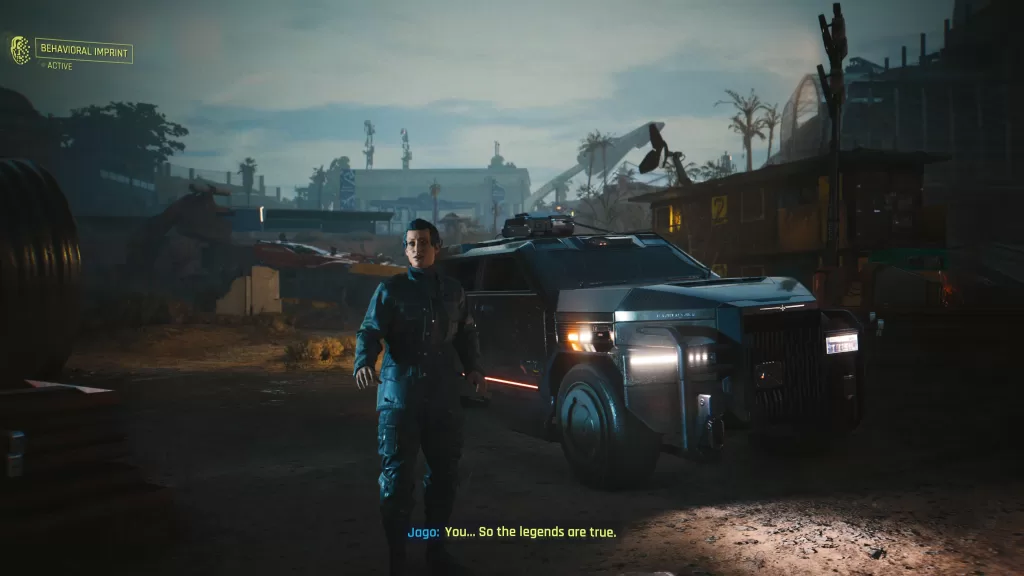
Leave the shack and head over to where the Voodoo boys are. Speak with them then take care of them. Wait for Jago to show up then ask him the question about the cigar. When next prompted, tell him to resume his place in the chain of command and shoot his guard with the option presents itself. Jago will then agree to withdraw and tell you that the other guy is in Arasaka’s pocket.
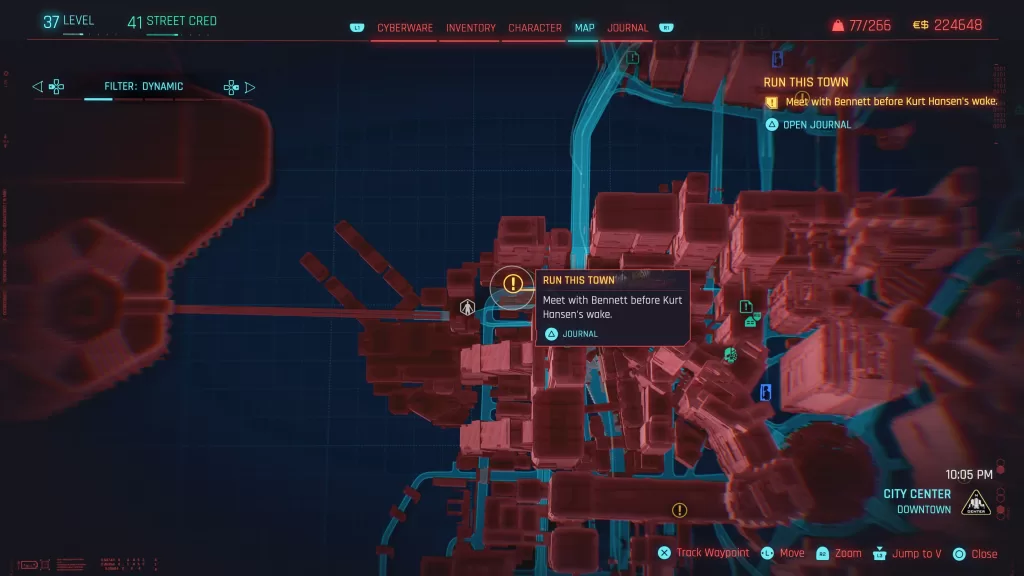
You’ll get an optional objective to go speak with Bennett before calling Hands. You’ll want to do so as it will earn extra appreciation with Hands. Travel to the objective in Downtown City Center and duck in the open garage on the left. Interact with the tire to become Aguilar. This will trigger Bennett’s car to pull up soon after. Take care of the driver and stash him in the nearby dumpster then get in the car. After Bennett enters, you’ll want to tell him to not side with Arasaka and to work with Jago. When you’re done, head back to the garage to become V once more then call Hands. Inform him of what happened then tell him about Bennett if he asks about anything else to report.
Head back to Dogtown then make your way to the Black Sapphire. Go under the scaffolding to turn back into Aguliar and enter the building. Head to the room where the wake is and speak with Jago. Follow him to Bennett then interact with the casket to decide the fate of Dogtown by making Bennett the new ruler. Exit the hotel (make sure to loot the suitcases by the exit) then return to the scaffolding to become V. Call Hands to complete the job.
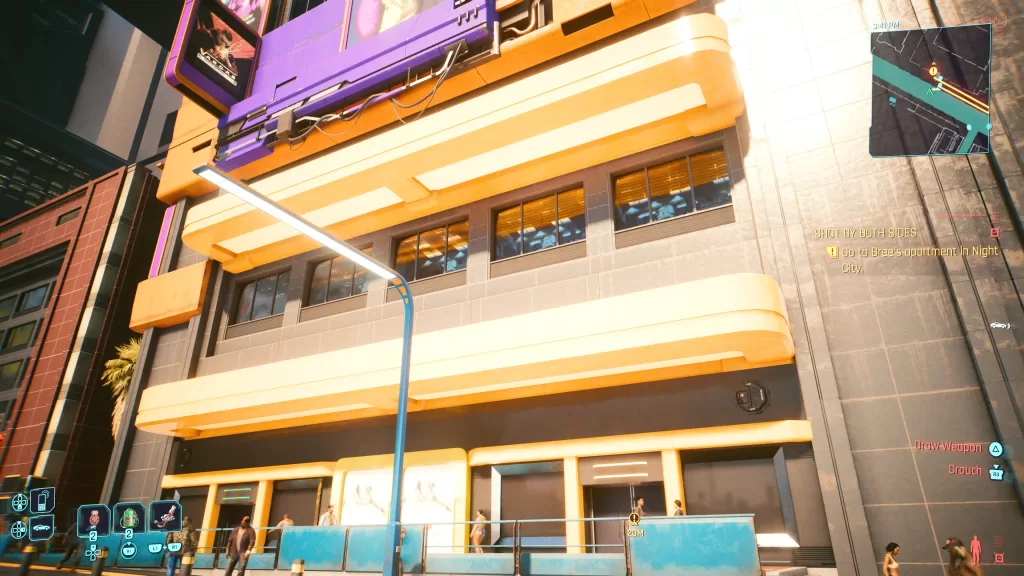
Shot By Both Sides
Obtained: Mr Hands will call you about this side job after you’ve met him in person during the Phantom Libery main quest
Objective: Go to Bree’s apartment in Night City
Follow the objective marker to reach Bree’s apartment in Heywood – Wellsprings. Head inside and take the elevator up to level 5. Go down the hallway and enter the last door on the right (you’ll need to force or technical ability to open it).
Listed below are some of the optional things you can examine in the room. To proceed with the objective, head into the bedroom and scan the bamboo plant to the left of the desk. Take the access card you find there then text Hands.
- Shard on the bookshelf next to the Silverhand album
- Shard on the nightstand next to the bed in the bedroom
- PC in the bedroom
- Shard on the counter in the kitchen
Exit the room to be greeted by one of Bree’s neighbors. Speak with them leave the building and follow the objective marker to Dogtown near the Kress Street fast travel point along the west side. Make sure it’s nighttime then enter the elevator and take it to the lower level. You’ll want to head for the track with the stalled train car on it. Bree can be found just past it in a small room. You’ll need to crouch to walk through some rubble to reach her.
Hand over the card then follow behind her. Enter the building first and scan the two turrets hanging on the ceiling. Continue following her to the next hallway where you’ll need to destroy 2 turrets and 2 trip mines. The room after that has 3 turrets and a handful of trip mines. When that’s taken care of, follow Bree to reach the mainframe. When prompted, interact with the monitor and watch all three videos. After watching the videos, leave the room to be joined by Dante who is after Bree. You’ll be able to let him deal with her or defend Bree. As this was a job for hands, we took out Dante (and looted his iconic weapon). Leave the laboratory to complete the job.
If you side with Bree, she will sell the data and disappear. Militech will hire hitmen in response that will go after anyone who was part of it including V.
Tomorrow Never Knows
Obtained: Scan any of the Tarot Graffiti in Dogtown
For the Tomorrow Never Knows job, you’ll need to find and scan all 4 of the Tarot Graffiti scattered around Dogtown. You can find their exact locations by checking out our guide specific to this quest here.
Check out our other Cyberpunk 2077 and Phantom Liberty Guides and Walkthroughs here!