Obtained: From Ziff in the civilian camp just before the Meridian Metroplex map transition
Objective(s):
Go to Murder Scene
Go to Supply Vehicle
Choose to Kill Rax or Max
Kill Remaining Trooper (Optional)
Return to Ziff
Go to Murder Scene
Leave the civilian camp and take the road east until you come to a broken bridge. Head under it to locate the murder scene.
Go to Supply Vehicle
Head south past the stack of storage containers, and you will eventually arrive at a flaming vehicle near a Catch-A-Ride.
Choose to Kill Rax or Max
Follow the objective west past Fort Pissoff to arrive at a bandit-made bridge. Take the elevator up to the top and head to the middle of the bridge to locate the pair. Kill one of them to update the objective (it doesn’t matter which one).
Kill Remaining Trooper (Optional)
After a little bit of time, Ziff will ask you to take out the other trooper to make sure her family is avenged. Defeat the remaining trooper.
Return to Ziff
Head back to Ziff and talk to her to complete the mission.
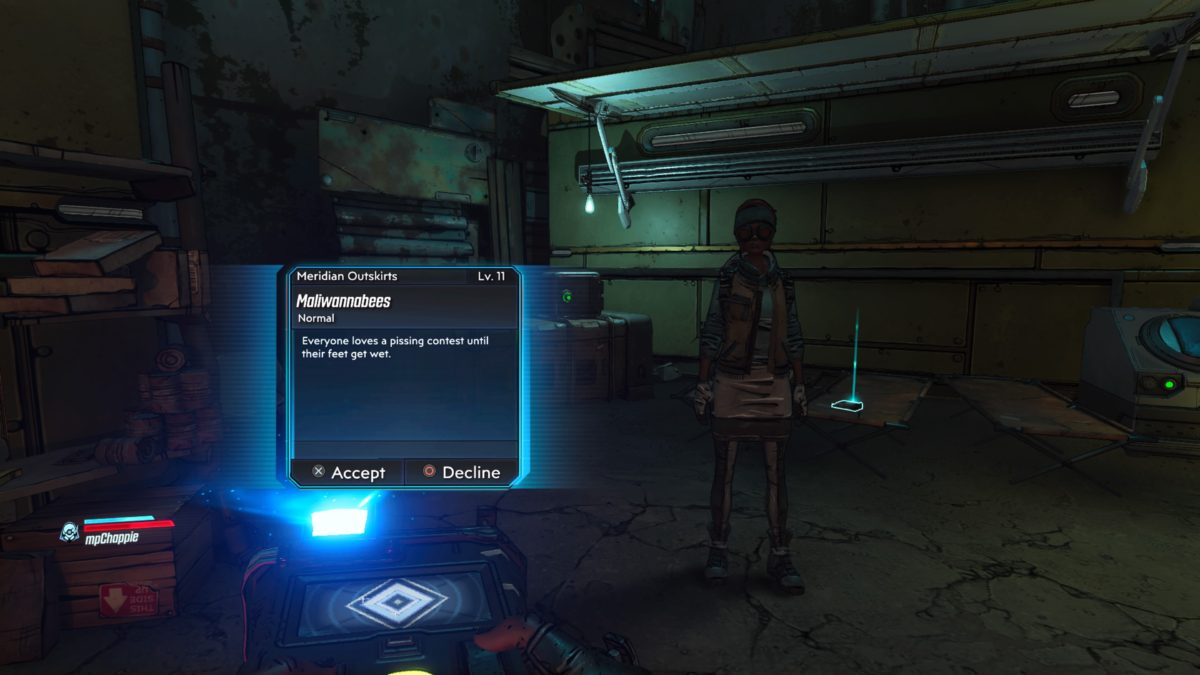
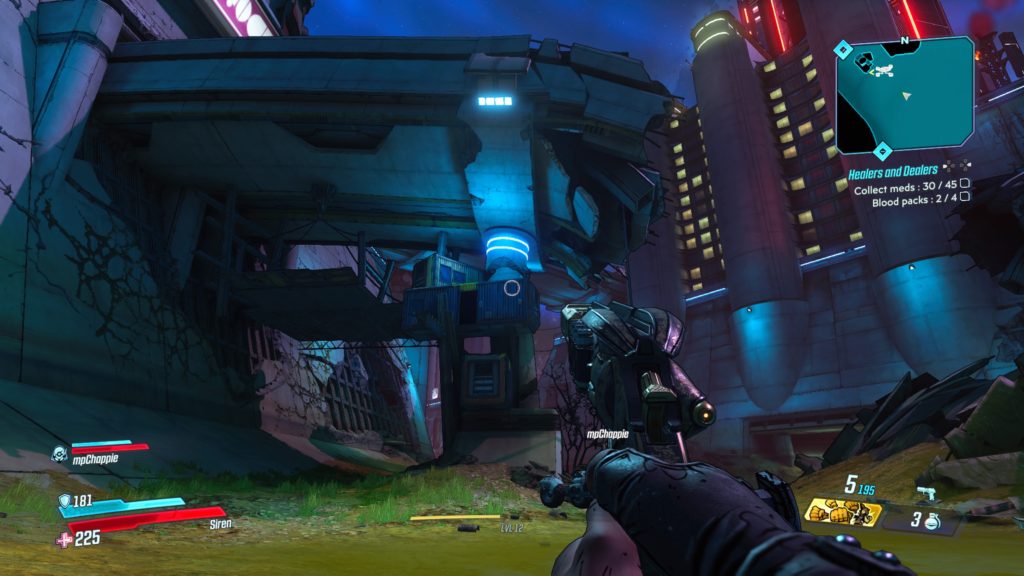
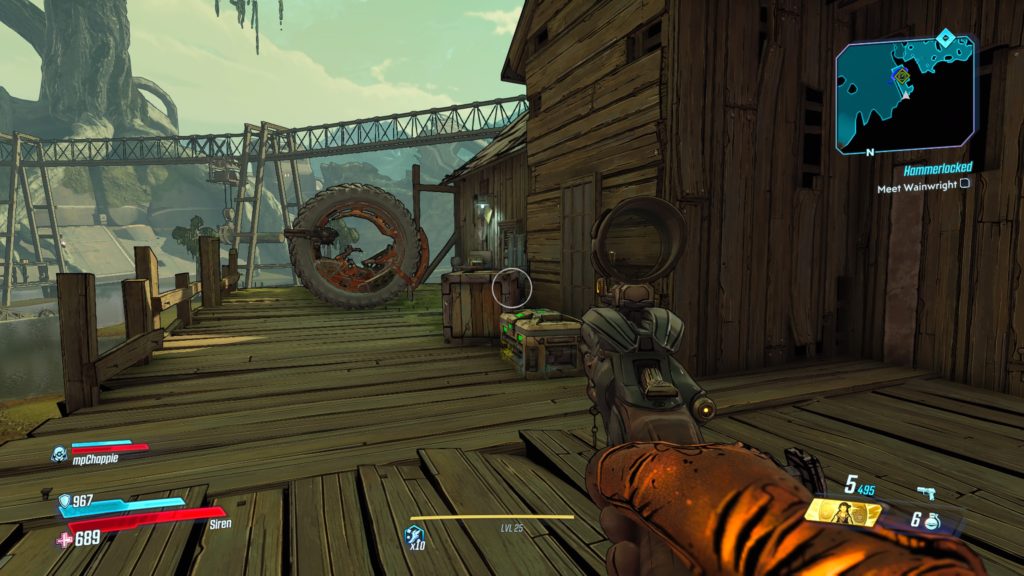
Obtained:Interact with help message near the digital tire symbol on the wall near the Meridian Outskirts fast travel station in Fort Pissoff
Objective(s):
Meet Ace Baron
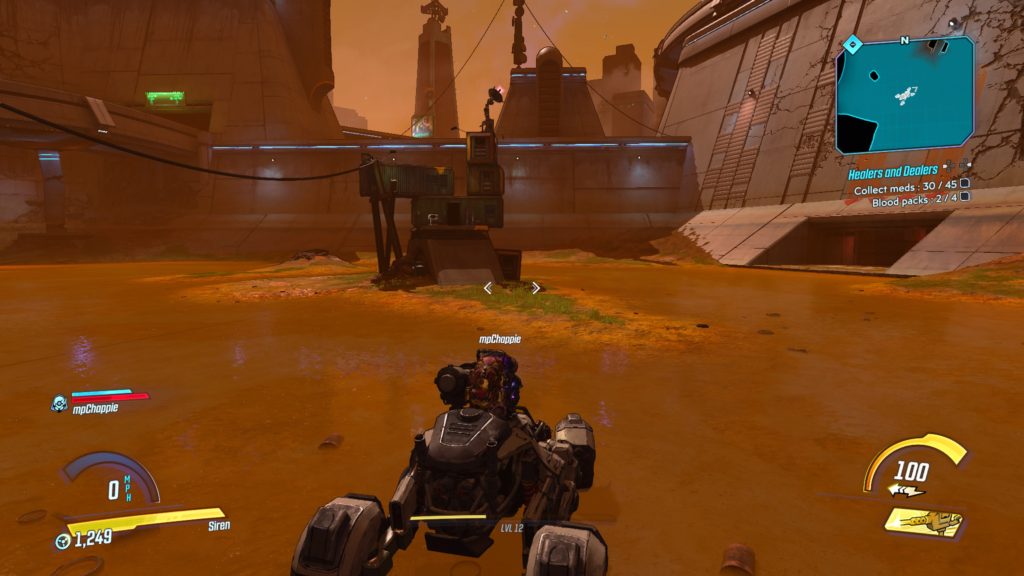
Collect Meds
Blood Packs
Threaten Hardin
Pay Hardin (Optional)
Destroy Medical Convoy
Deliver Medical Supplies
Pick Up Empty Blood Pack
Attach Empty Blood Pack
Pick Up Blood Pack
Hand Over Blood Packs
Meet Ace Baron
Exit Fort Pissoff and take a left (west) heading under a bridge to arrive at Mt. Schuler Recovery Center. Enter and talk to Ace Baron.
Collect Meds / Blood Packs
Exit the Recovery Center and head east back towards the way you came. You will pass Fort Pissoff (Meridian Outskirts fast travel station) and another Catch-A-Ride arriving at a bridge. Use a ladder near one of the legs to climb up to a storage unit. Talk to Hardin then return to your vehicle and keep following the road northeast until you reach a big open area with some shipping containers stacked on top of each other. Head to the right of the containers to locate a garage containing a medical convoy.
Threaten Hardin
Threaten Harding to receive some medical supplies.
Pay Hardin (Optional)
Pay Hardin $1000 to receive some medical supplies.
Destroy Medical Convoy
Destroy the medical convoy and pick up the supplies. We had all 45 medicines, but only 2 blood packs. This causes the objective to update.
Deliver Medical Supplies
Return to the Recovery Center and place the supplies on the table.
This log is located on a bandit bridge in the Spillways. To reach it, exit Fort Pissoff (tunnel containing the Meridian Outskirts fast travel station) and take a left into the Spillways heading west. The bridge will be right there. Use the elevator under the left (south) side of the bridge to reach the upper level. Exit the elevator and follow the path forward taking the first right up a flight of stairs, then head towards the toilet. Before taking the steps up to the toilet, jump on the railing to the left and look down to find a small ledge. Land on the small ledge to find the log.
The Spillways (2)
This log is located under a tower-like structure covered with tires, wires and a light at the top north of the Meridian Outskirts fast travel station.
The Spillways (3)
This log is located in front of a tunnel on the north side of the map near a Meridian Metroplex map transition.
Meridian Outskirts Dead Drop Cache
To reach this cache, start near the Meridian Metroplex map transition on top of the bridge near the civilian camp. Facing the Metroplex, head left and go threw the hole in the wall. Instead of taking the stairs down, go right to the elevator. Send the elevator to the bottom while you remain on the top floor. Then call it back up, jumping onto the top of the elevator as it ascends. This will lift you up to a secret area above the elevator where the cache can be found.
Meridian Metroplex
Halcyon Suborbital Spaceport
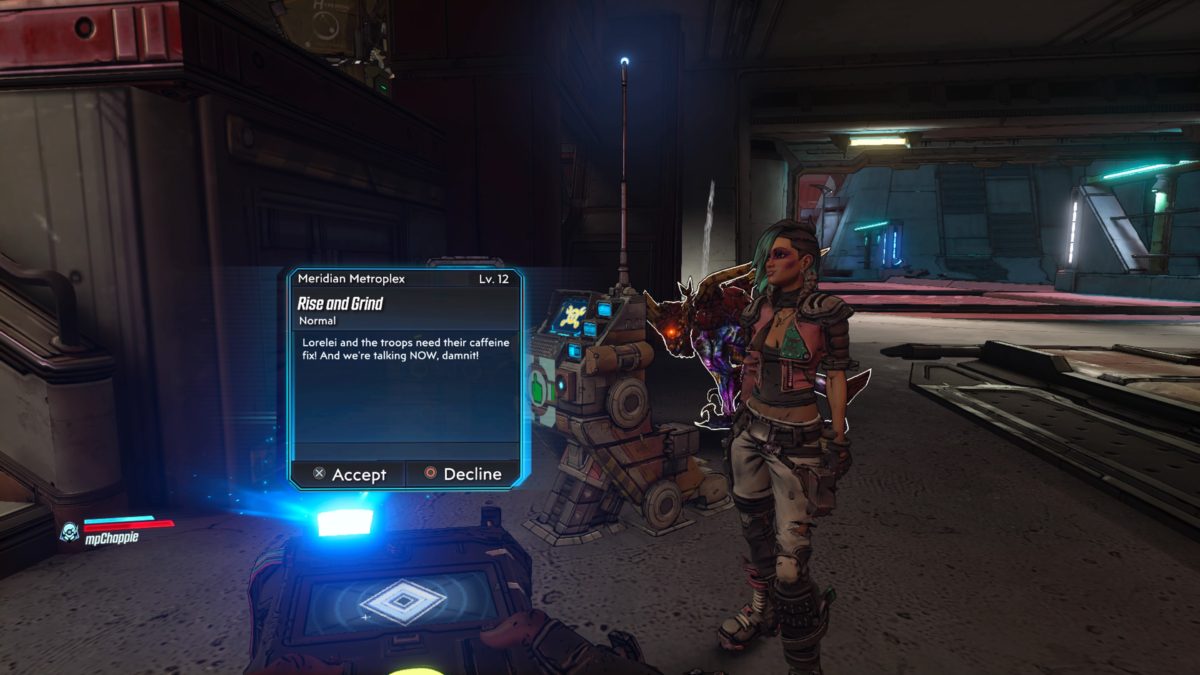
This log is located on a bridge above a Catch-A-Ride east of the Rise and Grind Coffee House along the eastern section of the map.
Titan’s Gate
This log is located in front of a giant Atlas building in Titan’s Gate, which can be found in the northern, central part of the map.
Meridian Mercantile
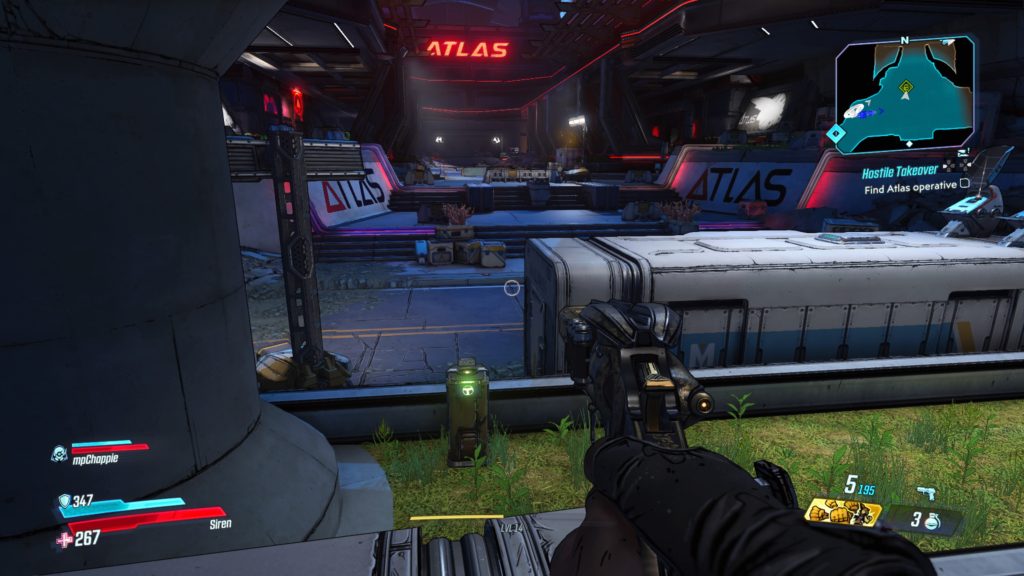
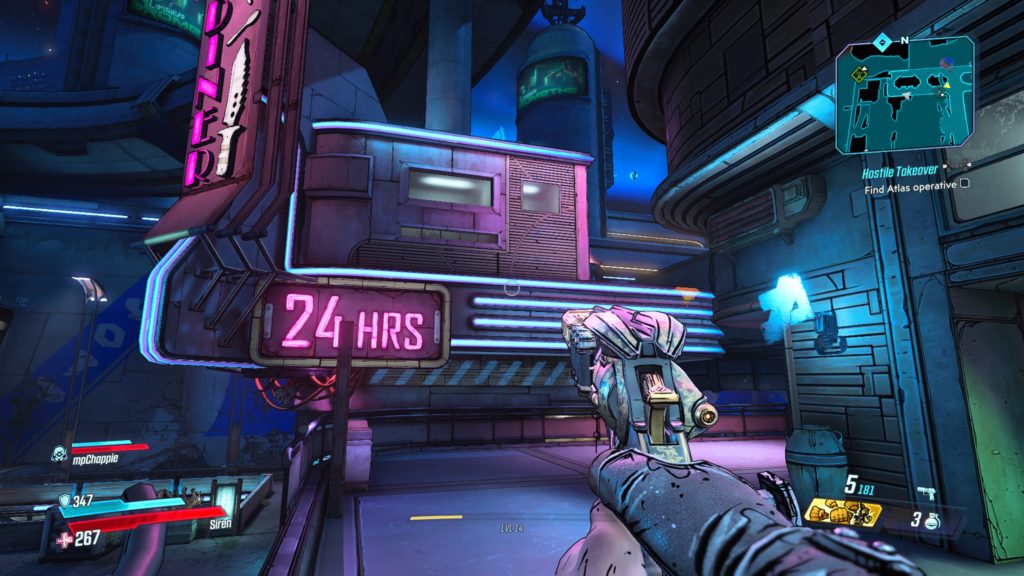
This log is just before the Maliwan Weapons Depot in Meridian Mercantile on the western side of the map, which you access during the Hostile Takeover main mission. The log is near the railing where you meet Rhys’ top operative.
Meridian Metroplex Dead Drop Cache
The dead drop is located close to Knoxx Station near the Lectra City map transition. Start at the end of the tunnel leading to Lectra City with your character facing south. Head left (east) along the platform until you come to two sets of three stacked shipping containers. Climb up the containers and then jump across to the concrete ledge. Follow the ledge south, jumping over a square metal container and then crouch under a metal pipe to find the dead drop straight ahead at the end of the ledge next to a building. There is also a Maliwan chest here.
Lectra City
The Dockyards
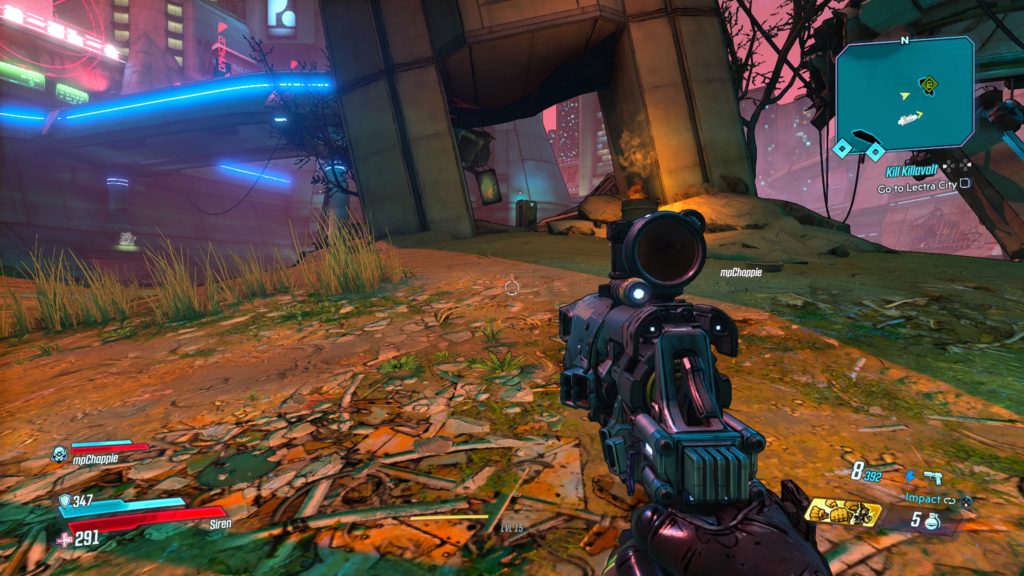
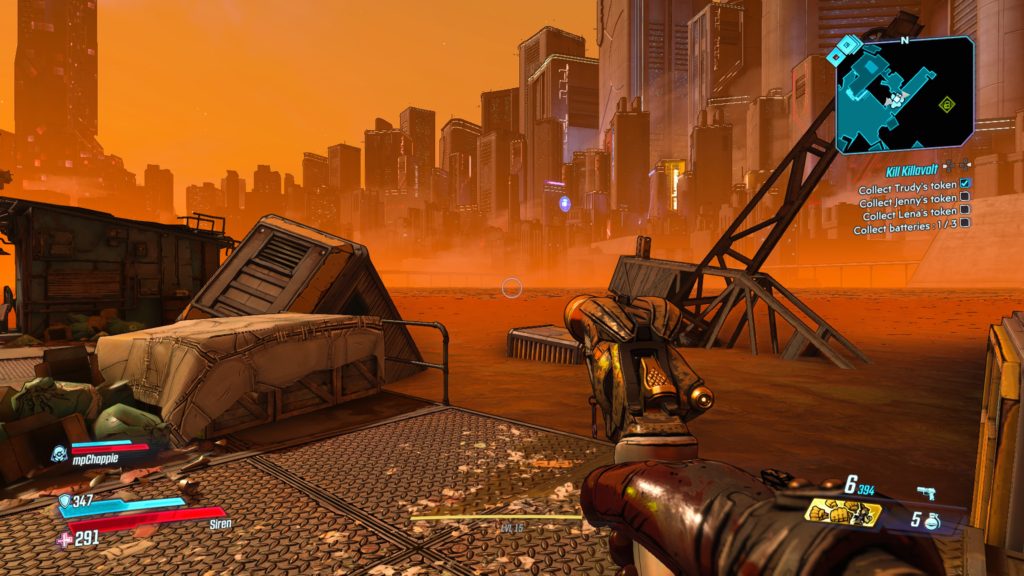
This log is located in the southeastern region of the map in the Bid Dock Energy dockyard. See the map below for the exact location. This is where you fight Trudy during the Kill Killavolt side mission. You will have to jump on some containers submerged in water to reach it.
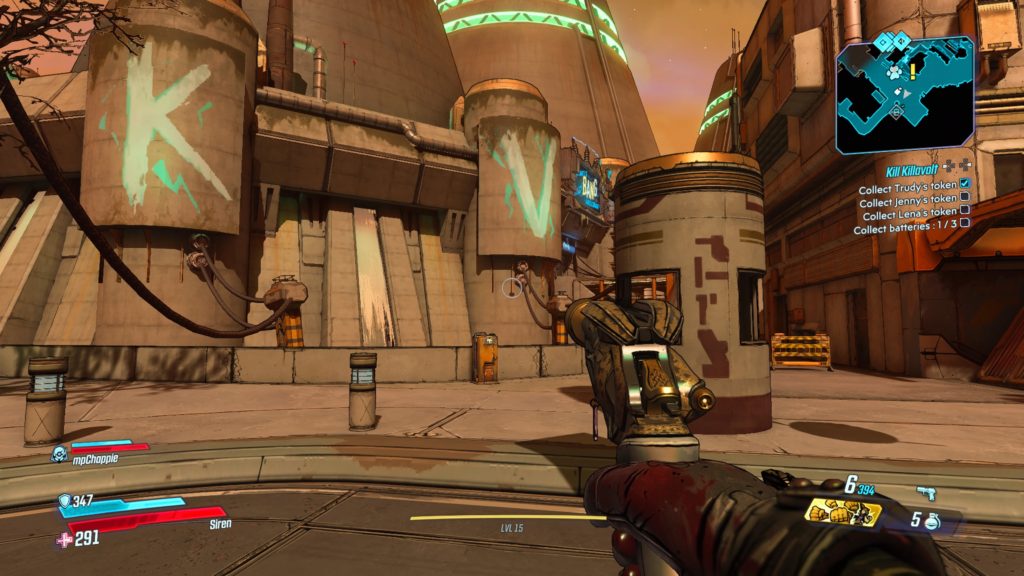
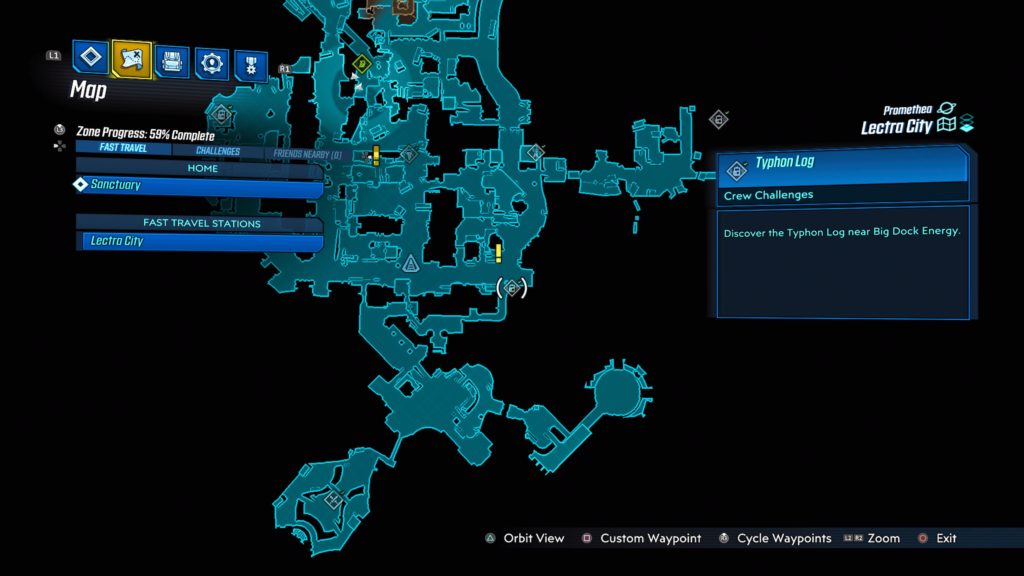
Near Big Dock Energy
This log is located in the southern region of the map, southwest of Big Dock Energy overlooking a concrete structure with the letters K and V written on it. See the map below for the exact location.
The Hills
The log is located in the eastern region of the map in the area where you fought Lena in the Kill Killavoltside mission.
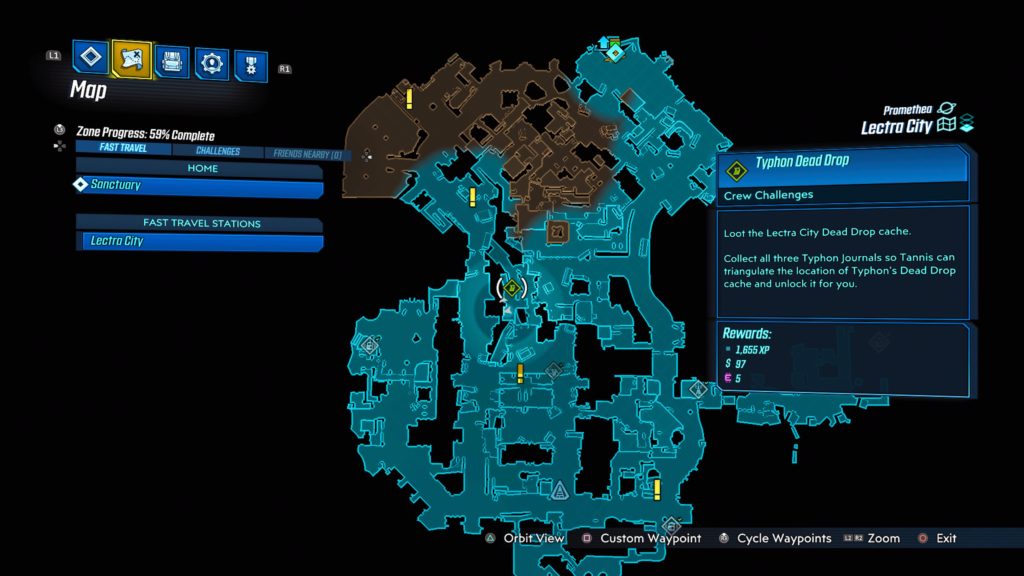
Lectra City Dead Drop Cache
The cache is located in Downtown Square on a rooftop in a storage container east of where you fought Lena in the Kill Killavolt side mission near the center of the map. To reach the roof, you will need to climb onto a dumpster with yellow paint and then climb up the ladder. See the map below for the exact location.
Skywell-27
Maliwan Modulars
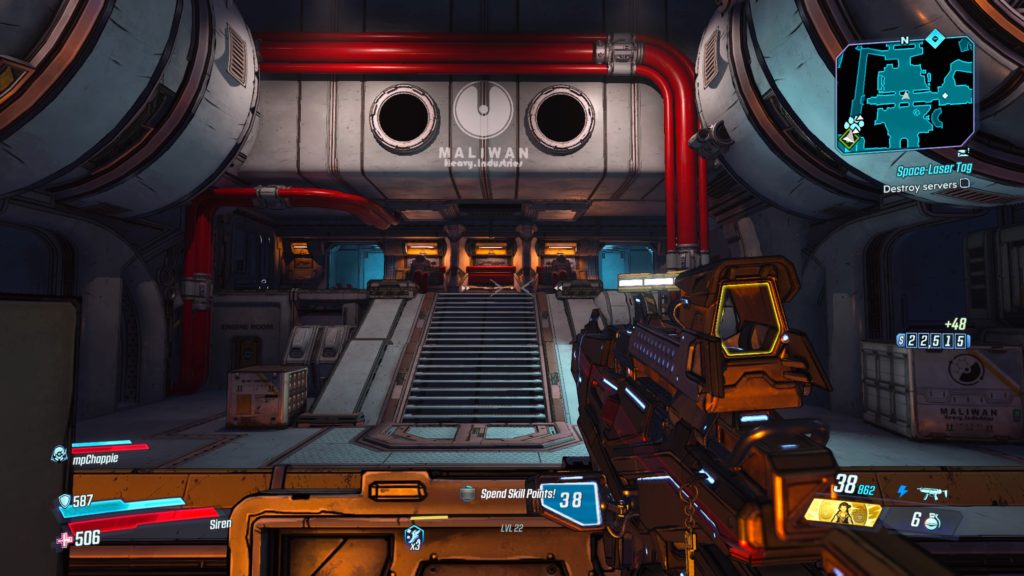
This log is located in a locked Maliwan room inside a cave. See the map below for the exact location. You’ll know your there when you see the big yellow pipes on the ceiling that say “Watch Your Head!”. From the locked door, follow the path forward coming to a broken walkway with “Sector 1” written on the wall. Drop down into the open area and move forward following the left rock wall. When you get to the end, jump off the ledge and turn around to find a doorway with a “1” written next to it. Enter the doorway and head up two flights of stairs to enter the room containing the log next to a gated window.
Near Tritanium Refinery
This log is located across from the laser thruster at the end of a stone path. See the map below for the exact location. To reach it, head to the metal platform across from the thruster and head south (right of the ladder leading to a higher platform). You will have to jump from rock to rock to reach the log.
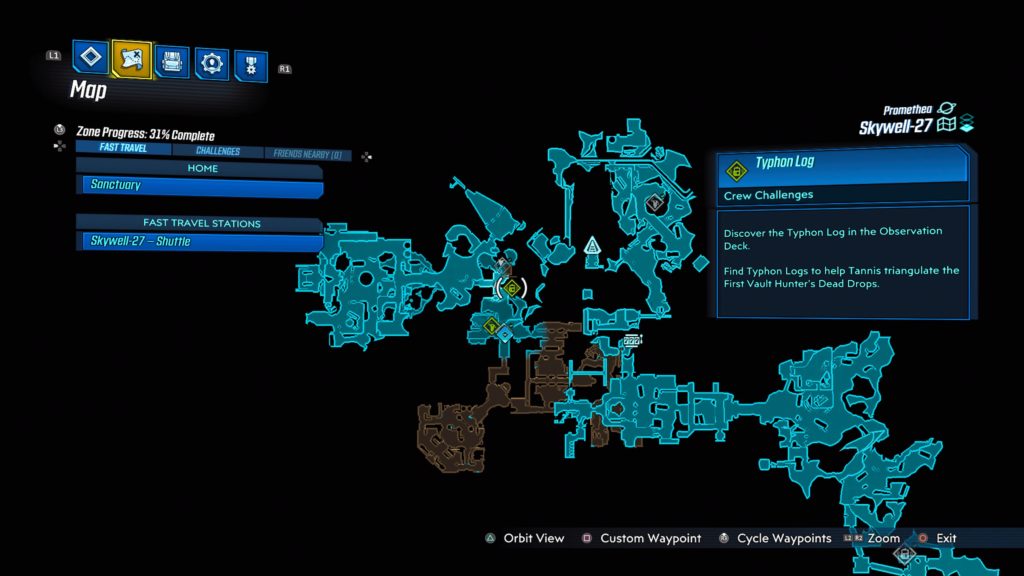
Observation Deck
This log is located on the Observation Deck. See map below for the exact location. To reach it, you will need to jump down the long chute in Sector 4. This will place you in Fuel Processing. Exit through the door to enter a room containing a cylinder with a blue sphere in the middle of it. Take a left and follow the walkway to the end. Use the ladder next to the crate to climb up to a ledge. From there climb on top a crate then jump to the opening above. The log will be located on a metal platform across a gap.
Skywell-27 Dead Drop Cache
This cache is located in the server room near where the boss is located. See the map below for the exact location. Follow the hallway leading to the servers to arrive in a big open room. Armored robots will spawn on the other side. Deal with them then head up the stairs behind them. Take a left up another flight of stairs and follow the hallway to the end to locate the cache.
Atlas HQ
Courtyard of Innovation
This log is located on the second level of the Courtyard of Innovation along the eastern side. To reach it, access the second level via turret control room or the stairway on the west side of the courtyard.
Skunkworks Lab
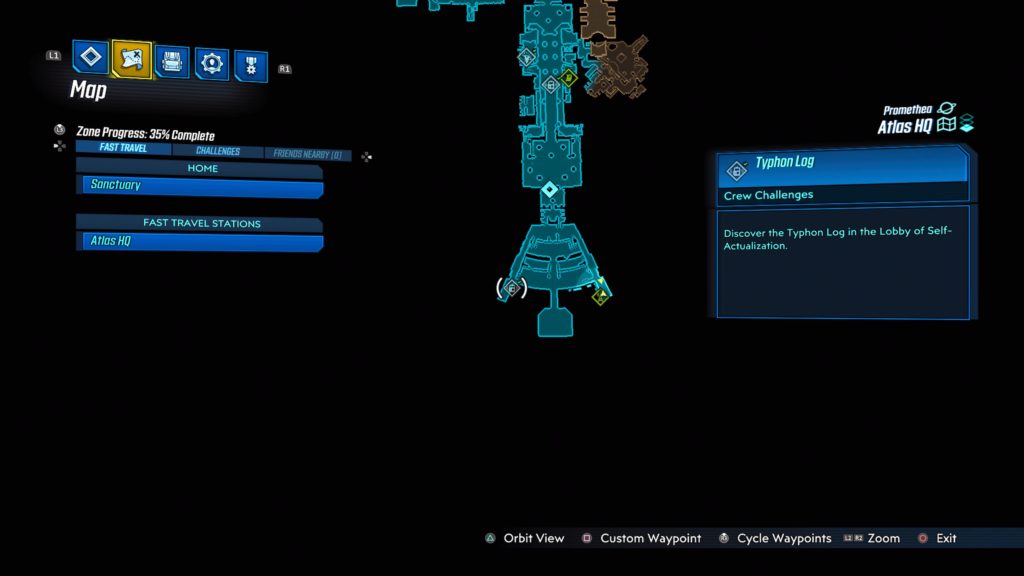
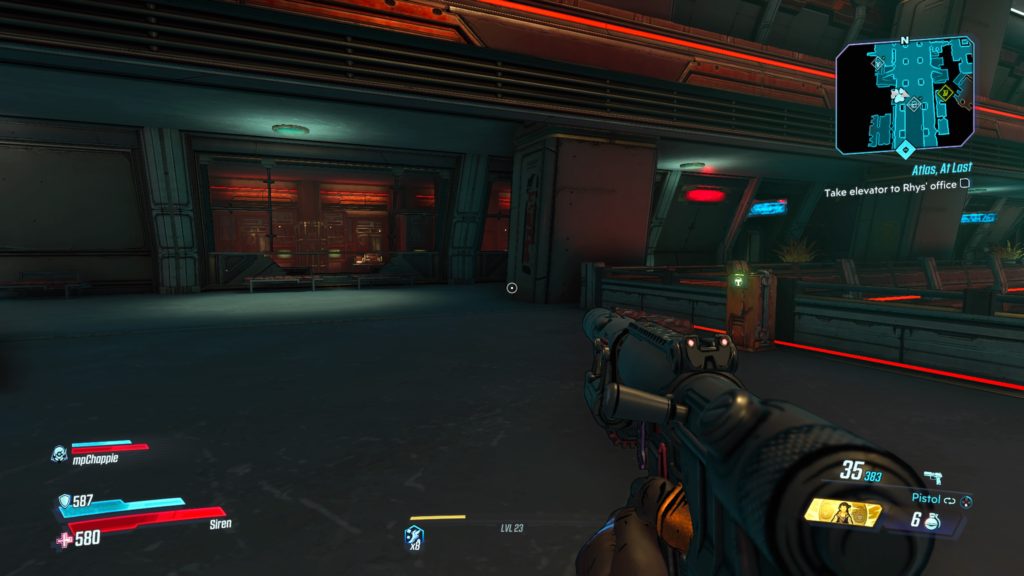
This log is located on the second floor of the Lobby of Self-Actualization overlooking an elevator. Enter Atlas and head forward, past the spinning gold ball, then under the red ATLAS sign in the middle of the walkway. Follow the walkway forward until you reach a set of double doors. Instead of heading through them, take the flight of stairs up on the left or right side of the doors to reach the second level in the Lobby of Self-Actualization. Head south to locate the log.
Lobby of Self-Actualization
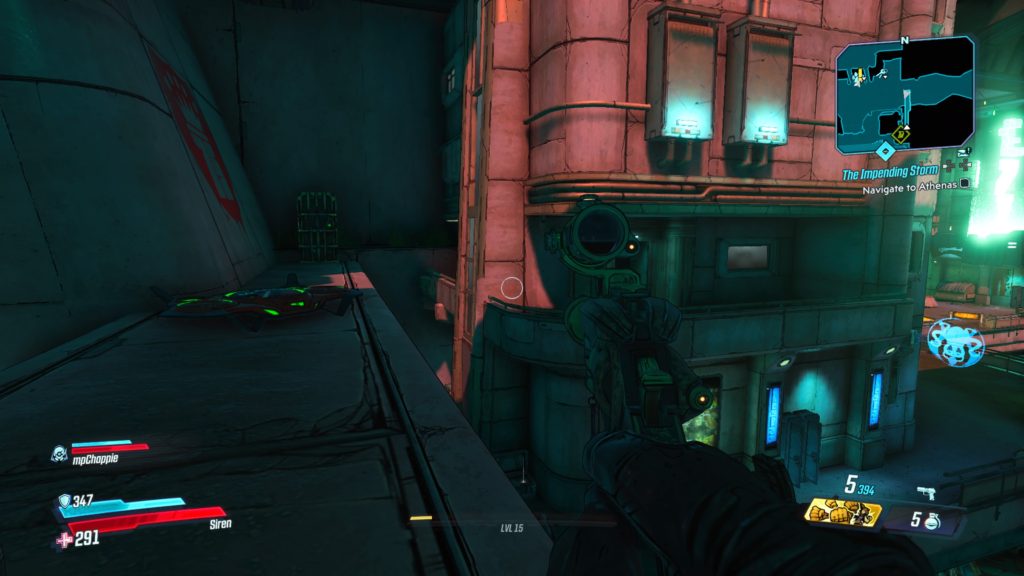
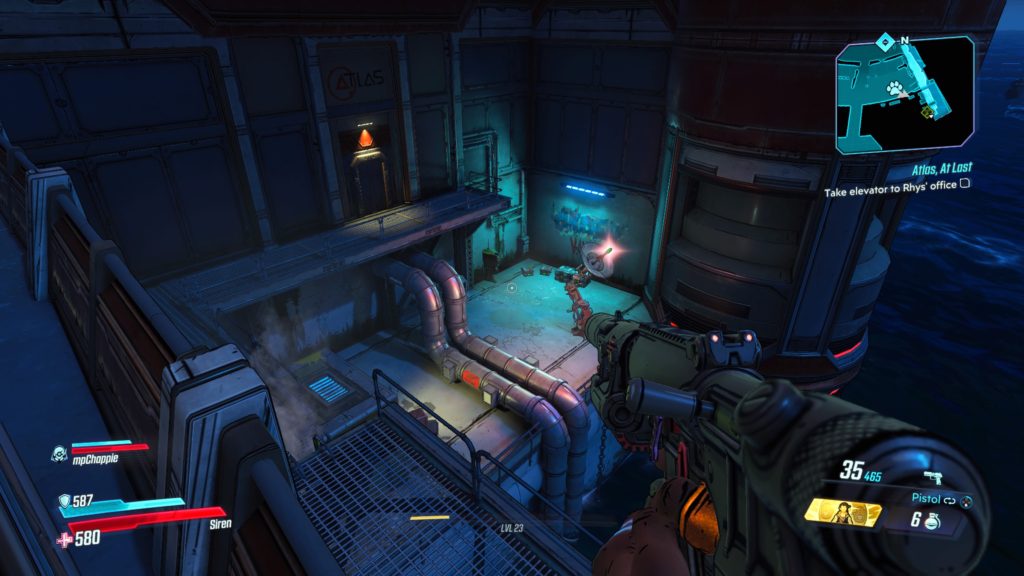
This log is located at the south side of the Lobby of Self-Actualization near where the Maliwan command ship was during the Atlas, at Last main mission. You can find it along the southwestern walkway. See the map below for the exact location.
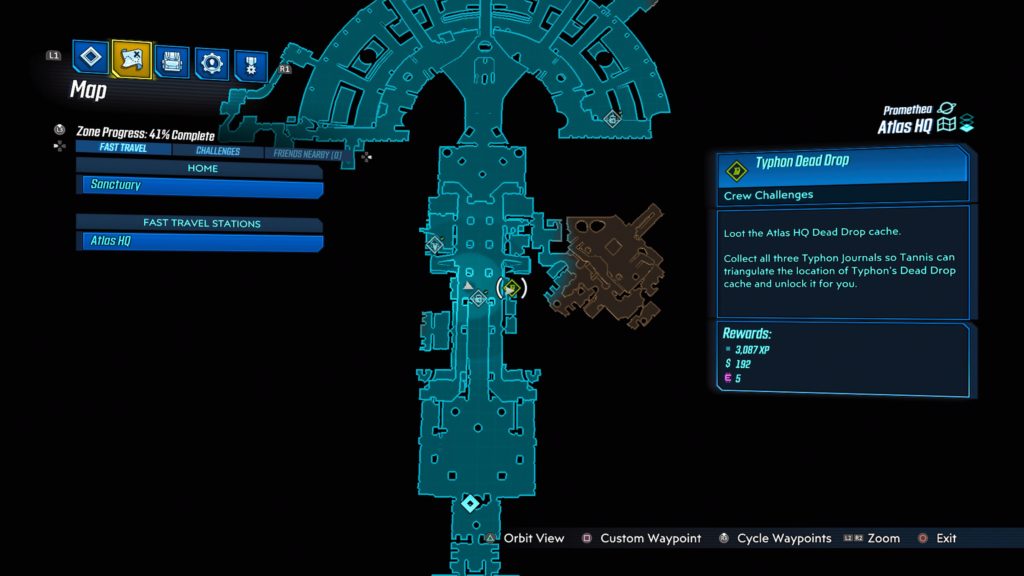
Atlas HQ Dead Drop Cache
This cache is located on the second floor of the Lobby of Self-Actualization overlooking an elevator. See the map below for the exact location. Enter Atlas and head forward, past the spinning gold ball, then under the red ATLAS sign in the middle of the walkway. Follow the walkway forward until you reach a set of double doors. Instead of heading through them, take the flight of stairs up on the left or right side of the doors to reach the second level in the Lobby of Self-Actualization. Head south to locate the Skunkworks Lab Typhon Log from above then enter the room to the left (east) of it to find the cache.
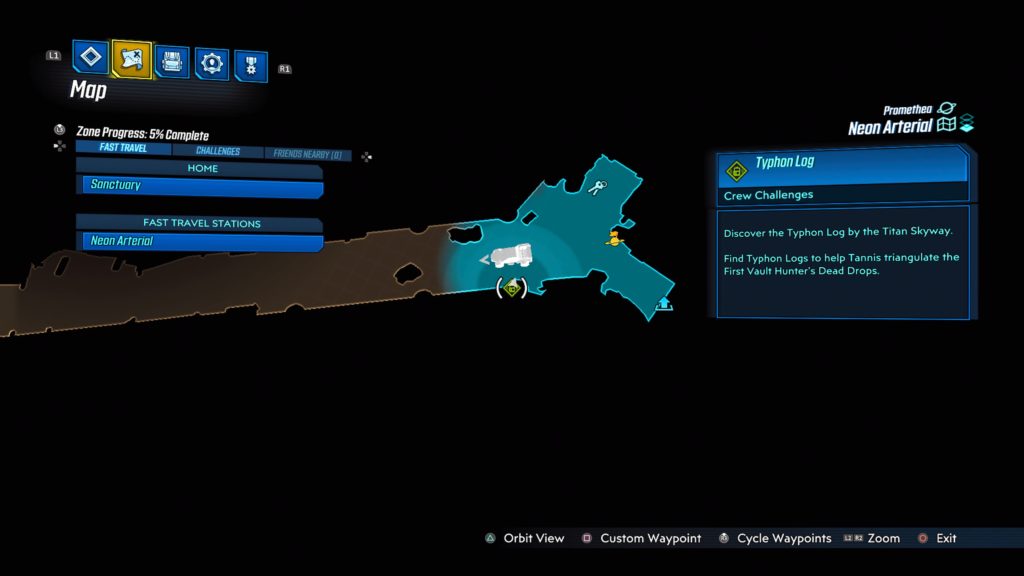
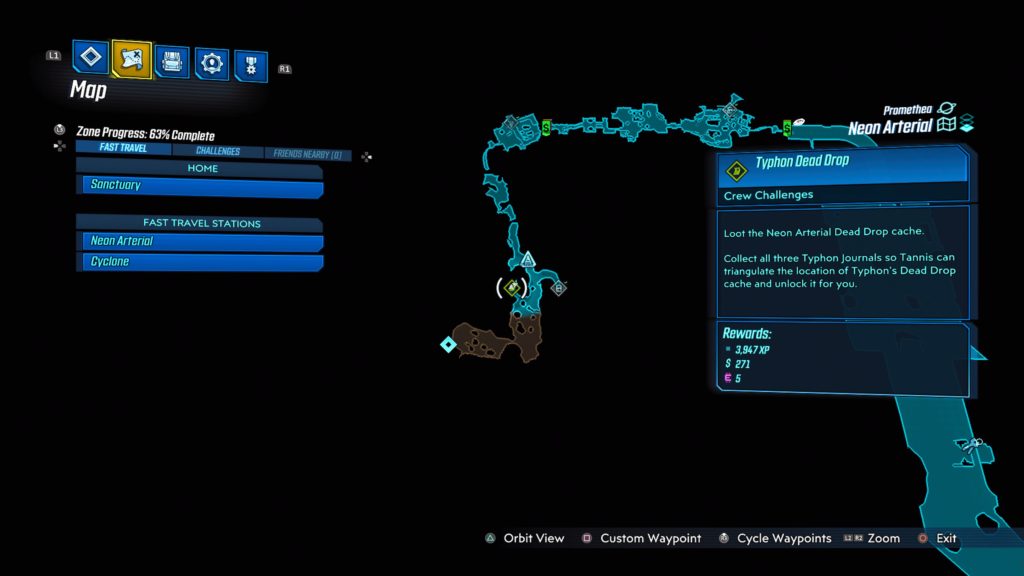
Neon Arterial
Titan Skyway
This log is located diagonally from the Neon Arterial fast travel station next to a tree by a light post. See the map below for the exact location.
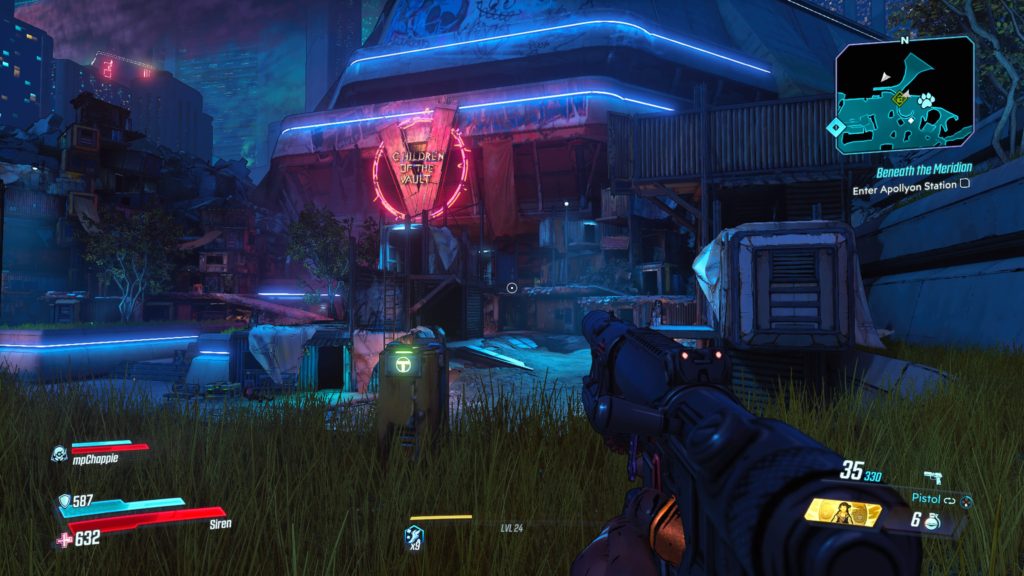
Apollyon Transit Station
This log is located on the north side of the Apollyon Station courtyard across from the giant Children of the Vault sign over the station entrance.
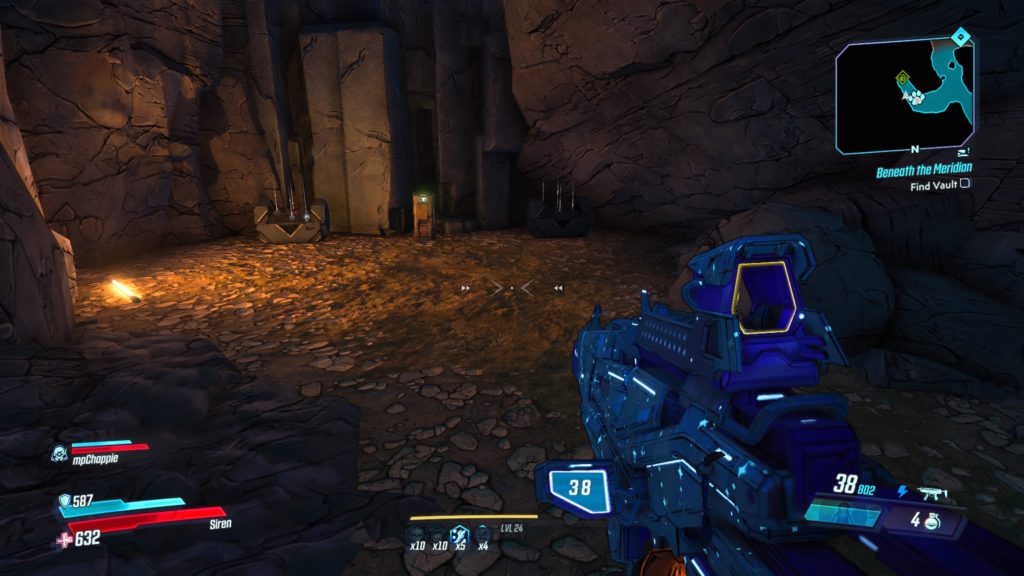
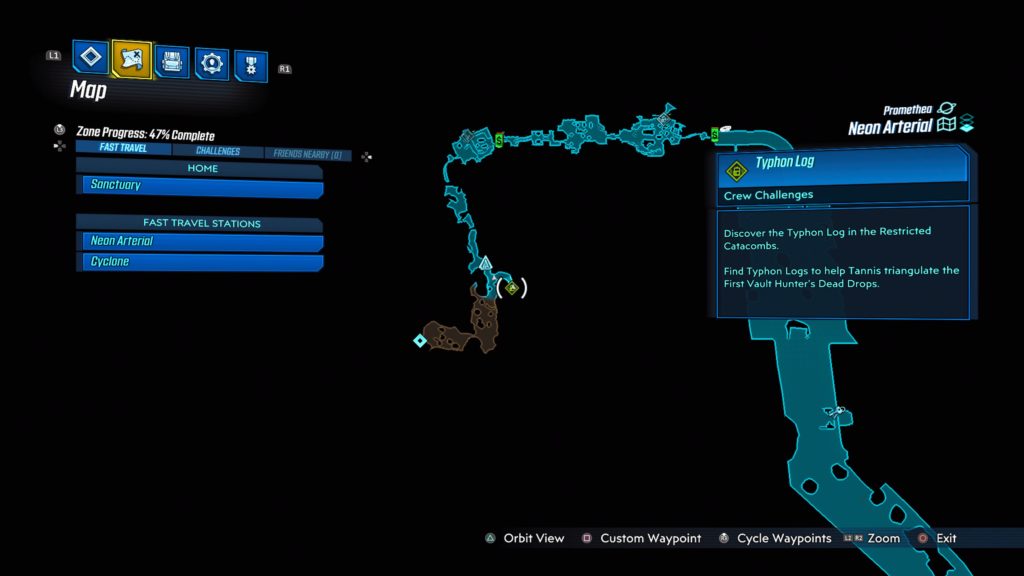
Restricted Catacombs
This log is located down a tunnel on the east side of the Restricted Catacombs just before you get to the vault. See the map below for the exact location.
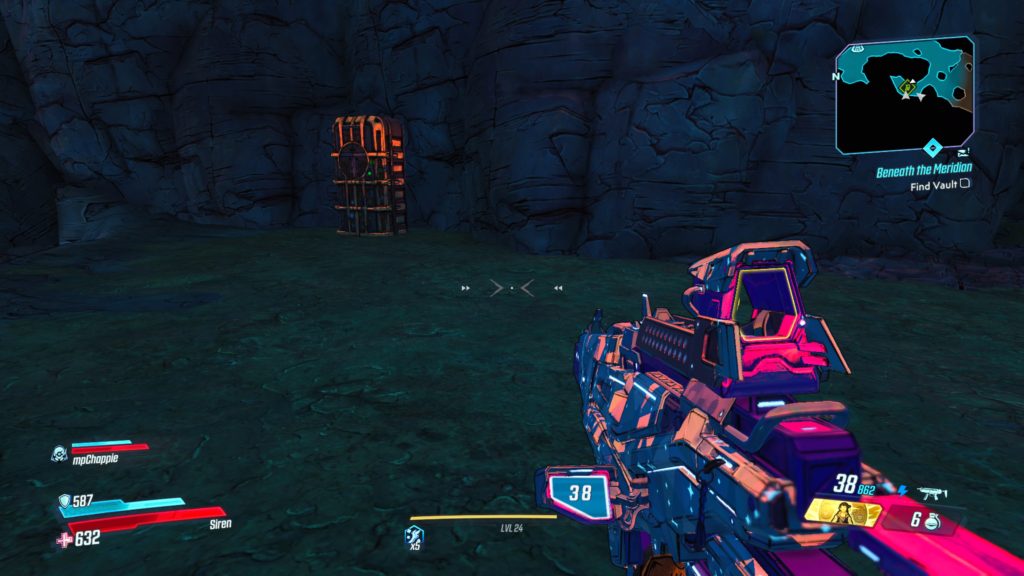
Neon Arterial Dead Drop Cache
This cache is located on the west side of the Restricted Catacombs across from the previous Typhon Log.
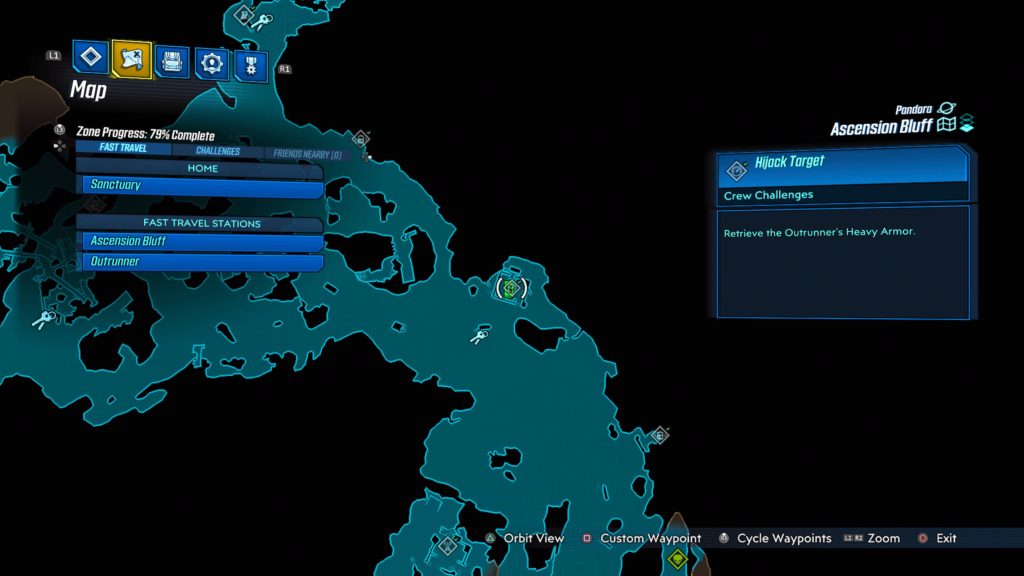
The Outrunner Heavy Armor is located on Pandora in Ascension Bluff at the southernmost central area, south of a Catch-A-Ride. See the map below for the exact location. To free the vehicle, you will need to open the giant gate. Follow the cord from the gate to a button at the top of a building in the back underneath the Children of the Vault billboard. Press the button to raise the gate then drive the vehicle to the nearest Catch-A-Ride.
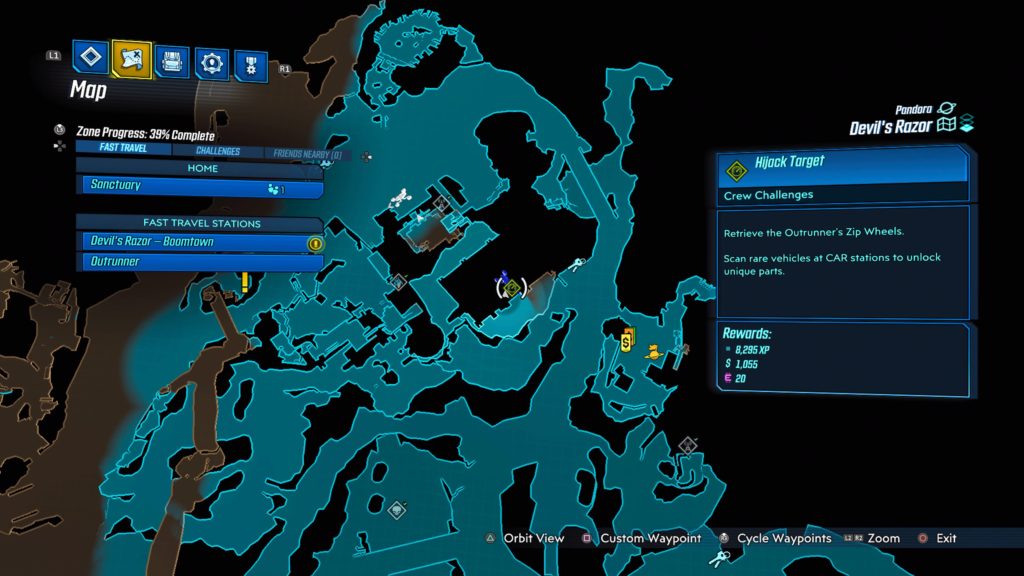
Pandora – Devil’s Razor
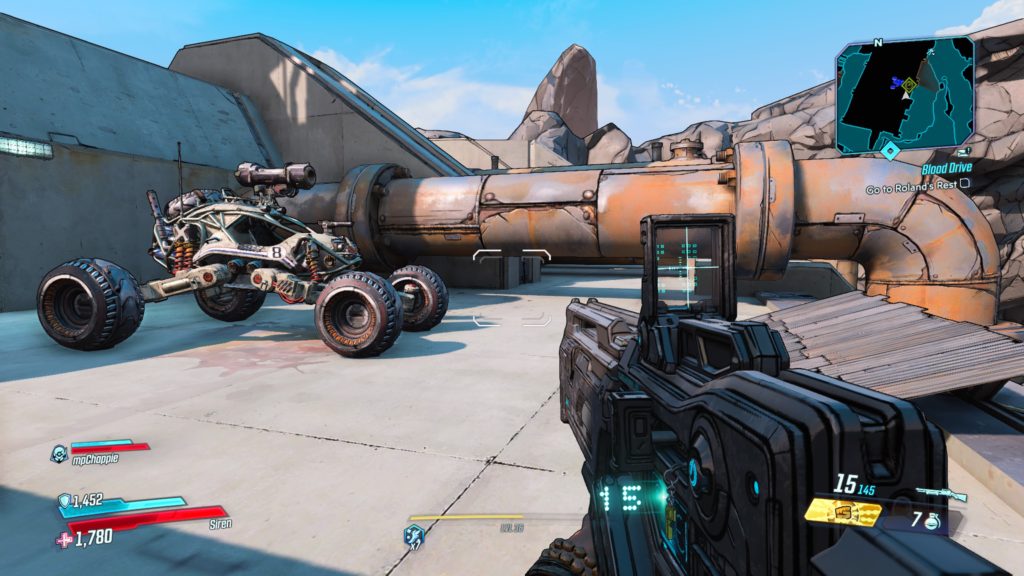
Outrunnter’s Zip Wheels
The zip wheels are located on a concrete platform northwest of Boom Town. To reach it, you will need to climb up the storage containers on top of the claptrap at the Sin-A-Plex. From there you can work you way over to it. See the map below for the exact location.
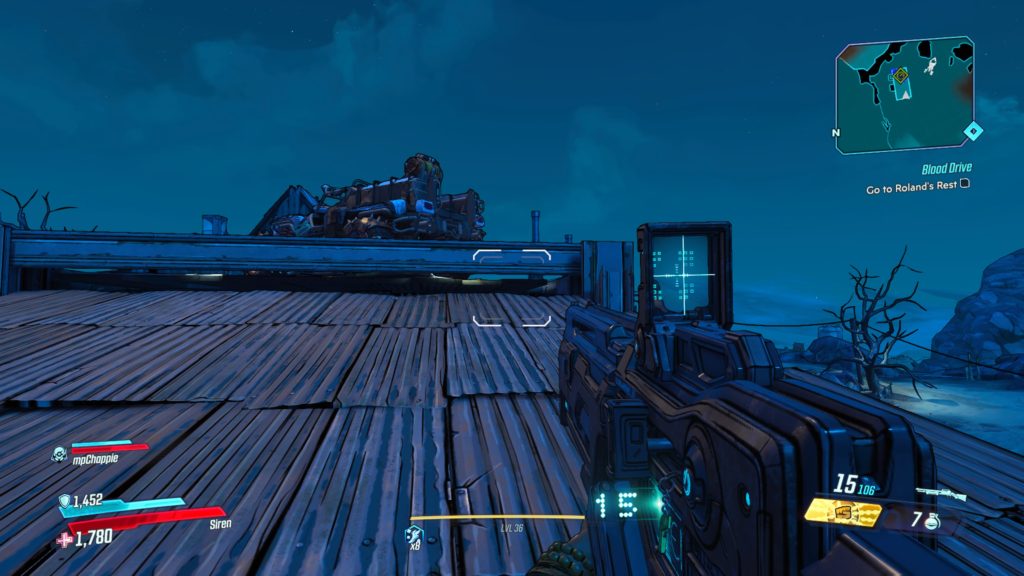
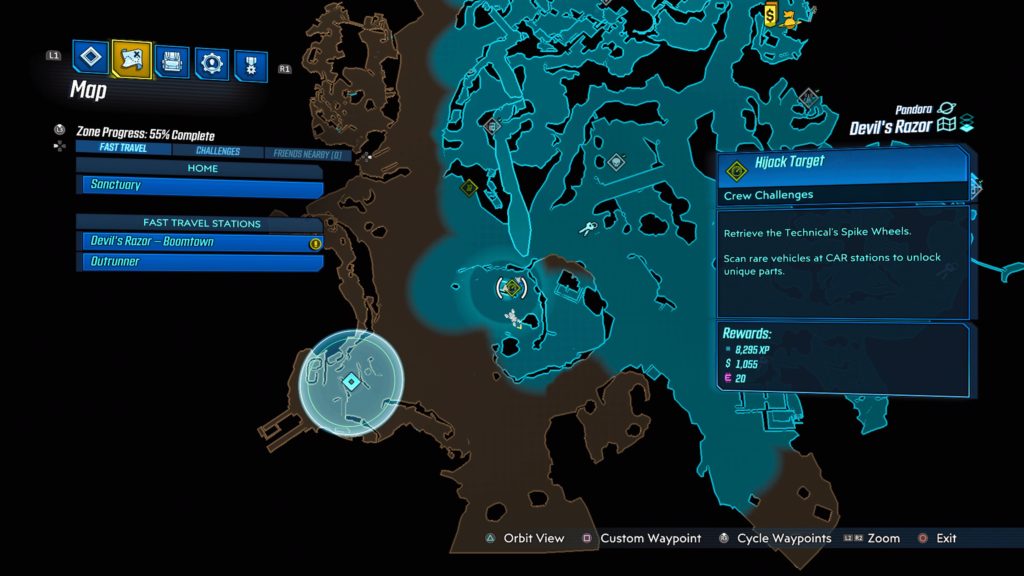
Technical’s Spike Wheels
The spike wheels are located on top of a shack underneath the Phalanx Pass Typhon Log. You can reach the vehicle by jumping onto the roof from the ground. See the map below for the exact location.
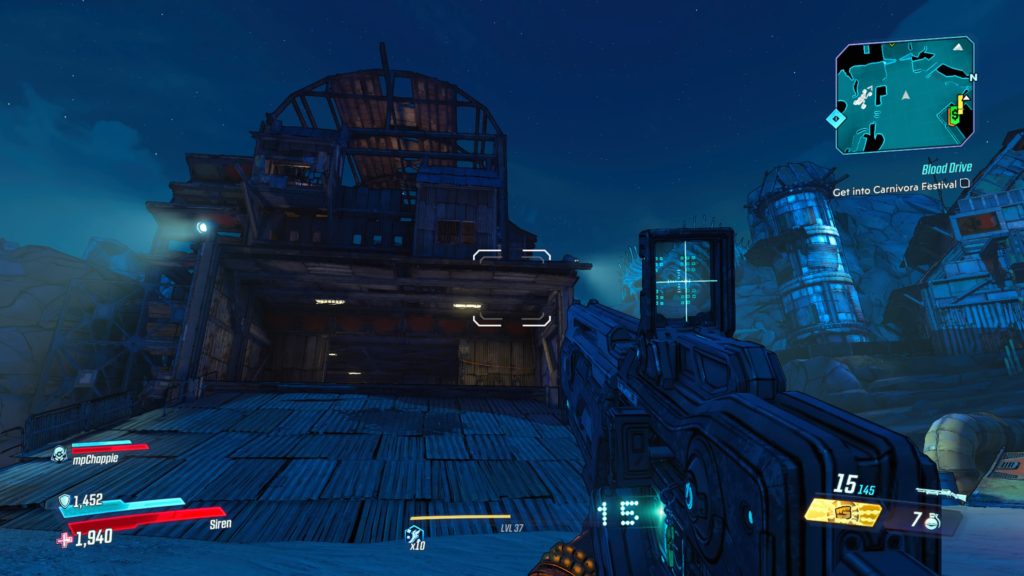
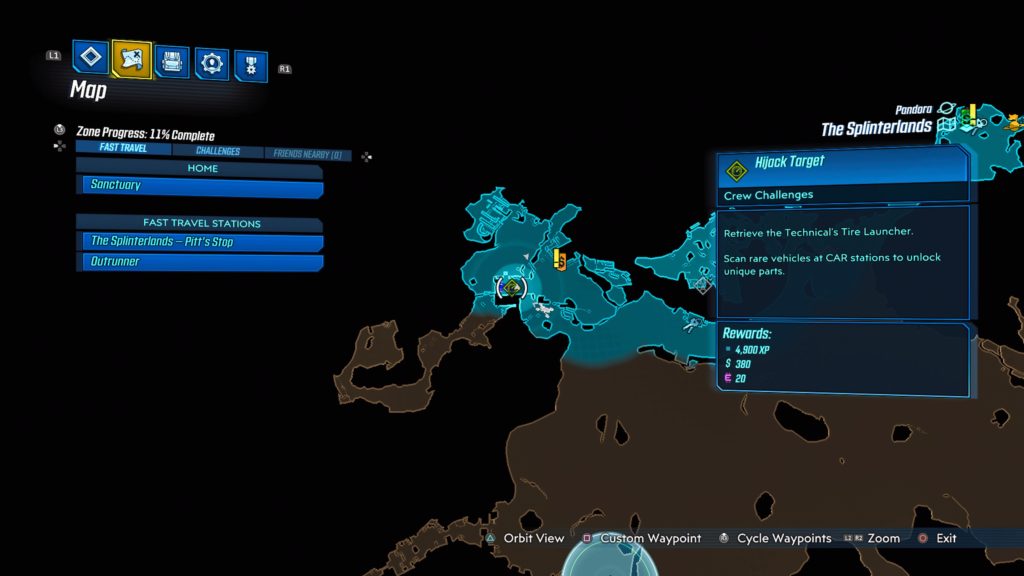
Pandora – The Splinterlands
Technical’s Tire Launcher
This vehicle is located inside a structure in The Homelands. To unlock the gate, jump onto the large gear on the side of the building and follow the yellow paint up. Walk across the lower roof and jump onto the ladder. From here jump across to the lower roof and follow the cord to the electric box. Press the button to open the gate then drive the vehicle to the nearest Catch-A-Ride.
Promethea – Meridian Outskirts
Technical Sticky Mines
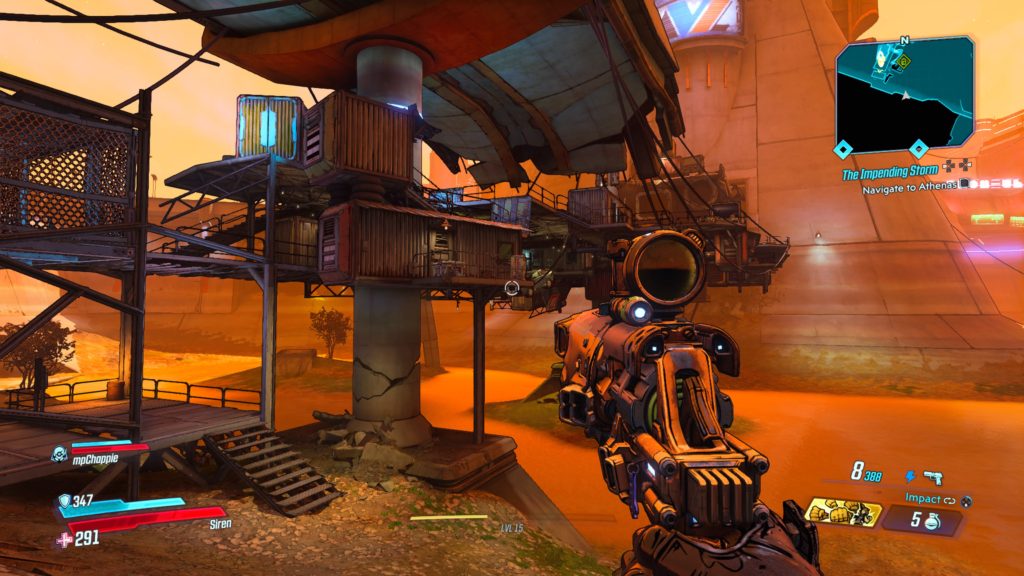
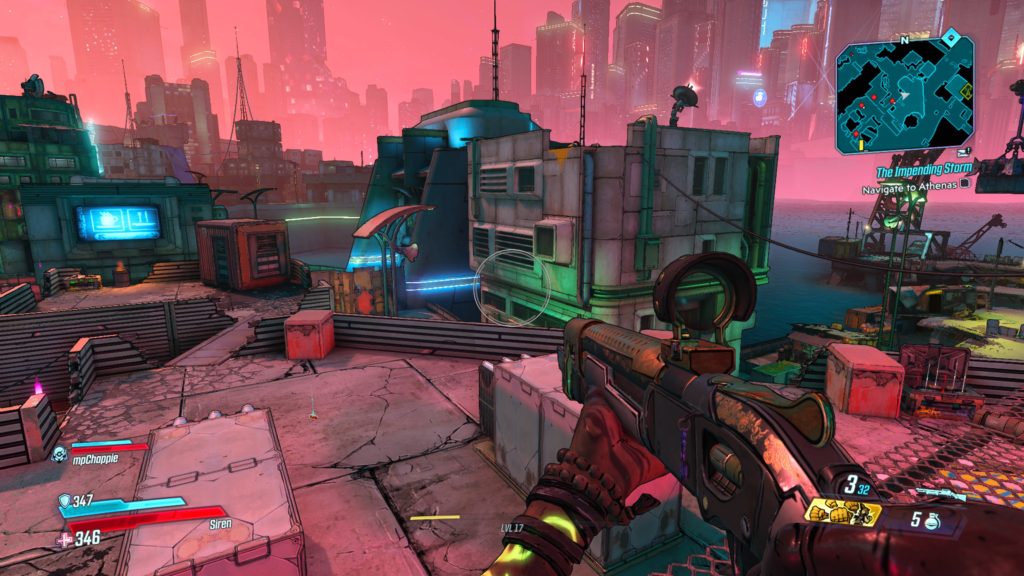
The Technical Sticky Mines are located on the east side of the area. To reach it, start from the Meridian Outskirts fast travel station and exit Fort Pissoff. Take a ride and follow the road east until you come to a big open area with a stack of storage containers in the middle. From there, head northwest a short way to come to a broken bridge. Climb up the support beam on the left (west) side via storage containers to reach the platform with the Technical Sticky Mines. Drive it to the nearest Catch-A-Ride to complete the challenge.
Promethea – Meridian Metroplex
Cyclone’s Sonic Booster
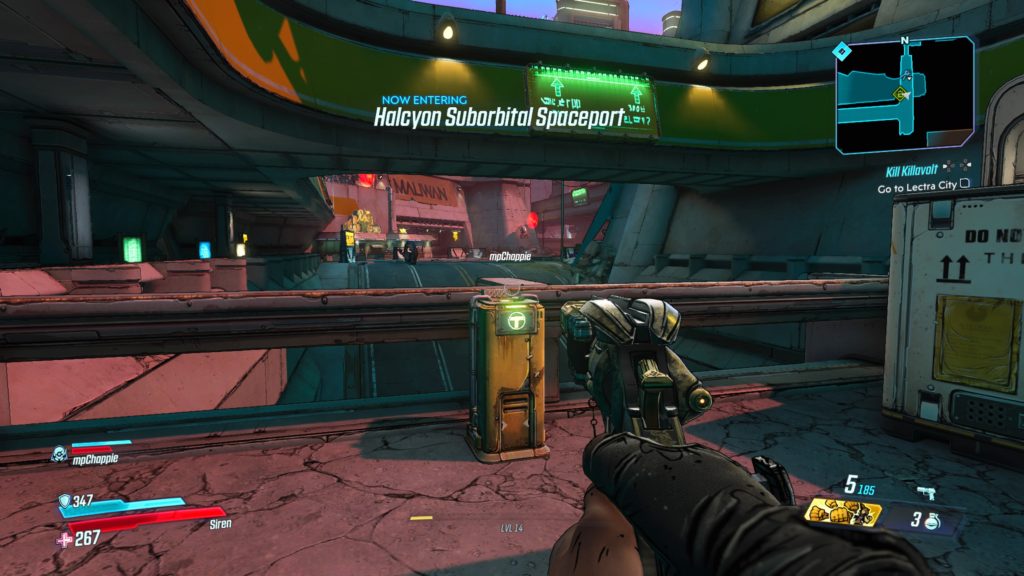
The Cyclone’s Sonic Booster is located behind a yellow barrier in Halcyon Suborbital Spaceport north of the Rise and Grind Coffee House. To shut off the barrier, follow the cable shooting the pipes above each of the broken sections of cable (there will be three spots in total). Drive the vehicle to the nearest Catch-A-Ride.
Eden-6 – Floodmoor Basin
Cyclone’s Wide Wheel
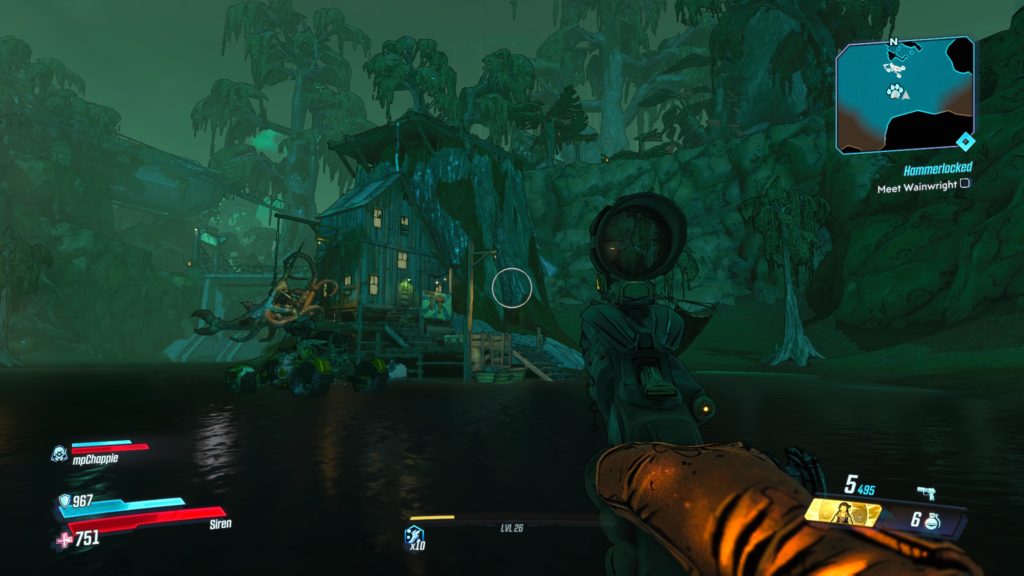
The cyclone is located on a wooden deck next to an old wooden building. See the map below for the exact location. To reach it, start at the catch-a-ride nearest the drop pod facing north. Follow the road east until you reach a red barn. From the red barn, head west to the rundown looking settlement in the distance. Enter the settlement and make your way to the most northern building. Jump onto the roof of the building and walk over to the other side to find the deck. Drive the cyclone to the nearest Catch-A-Ride to complete the challenge.
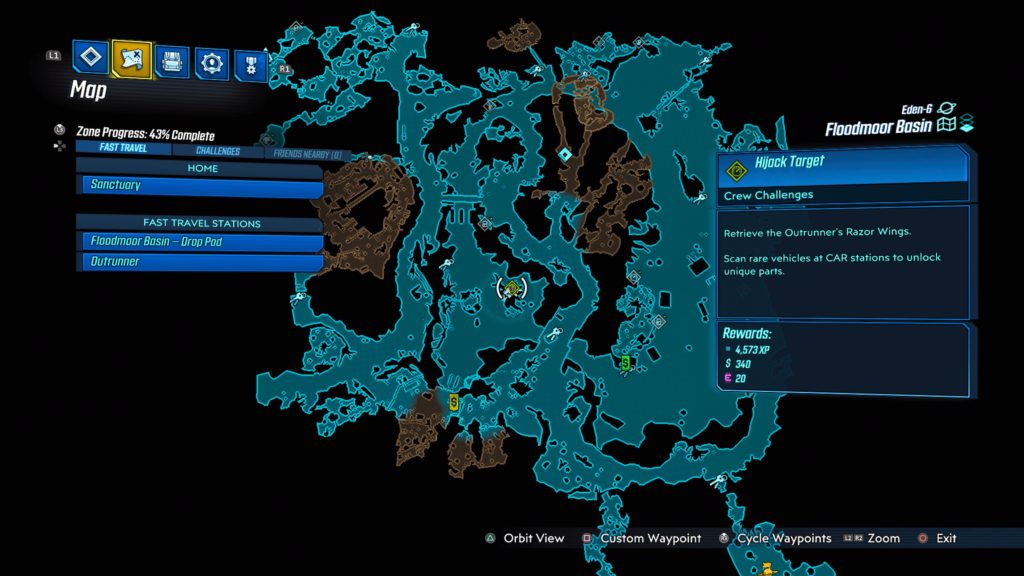
Outrunner’s Razor Wings
The outrunner is located on a deck built on top of a giant rock (above the house with the shark and octopus in the front of it). To reach the outrunner, you will have launch your vehicle off a ramp near the entrance to Knotty Peak and land it on the deck containing the outrunner. See the map below for the exact location.
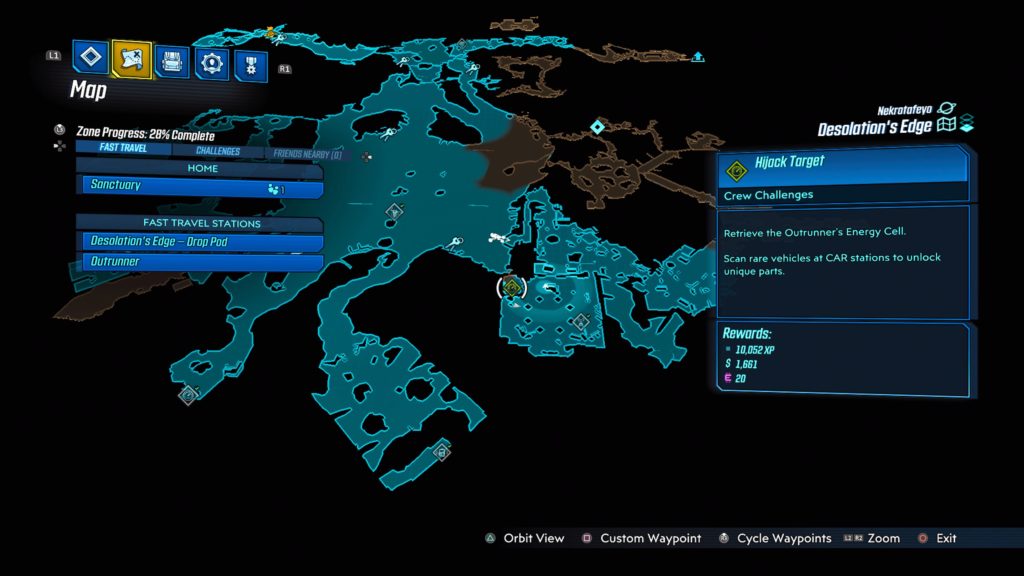
Nekrotafeyo – Desolation’s Edge
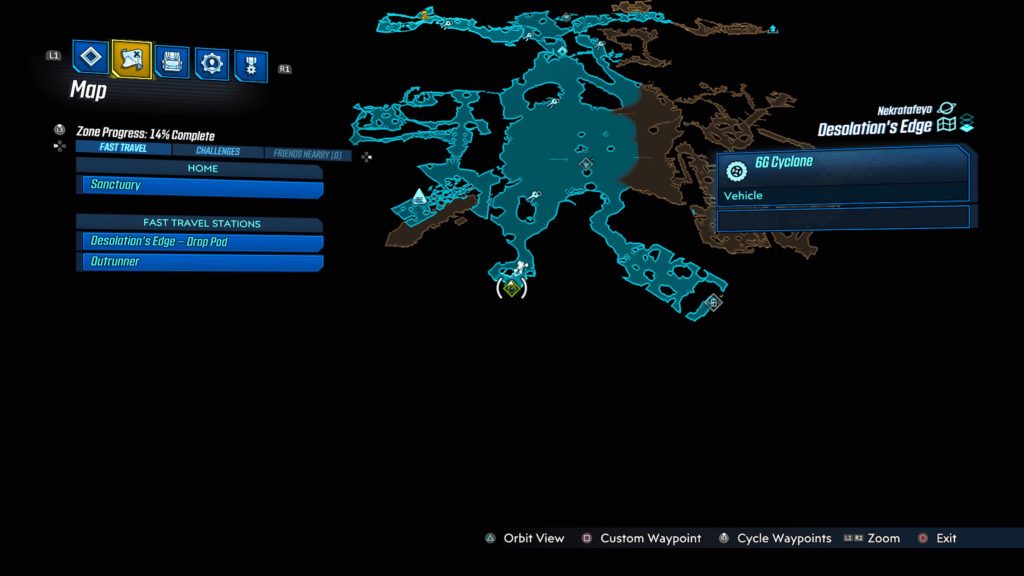
Cyclone’s Digithruster
The cyclone can be found in a garage overgrown with vines at the very southern part of the map. Melee the vines to “borrow” the cyclone and deliver it to the nearest Catch-A-Ride. See the map below for the exact location.
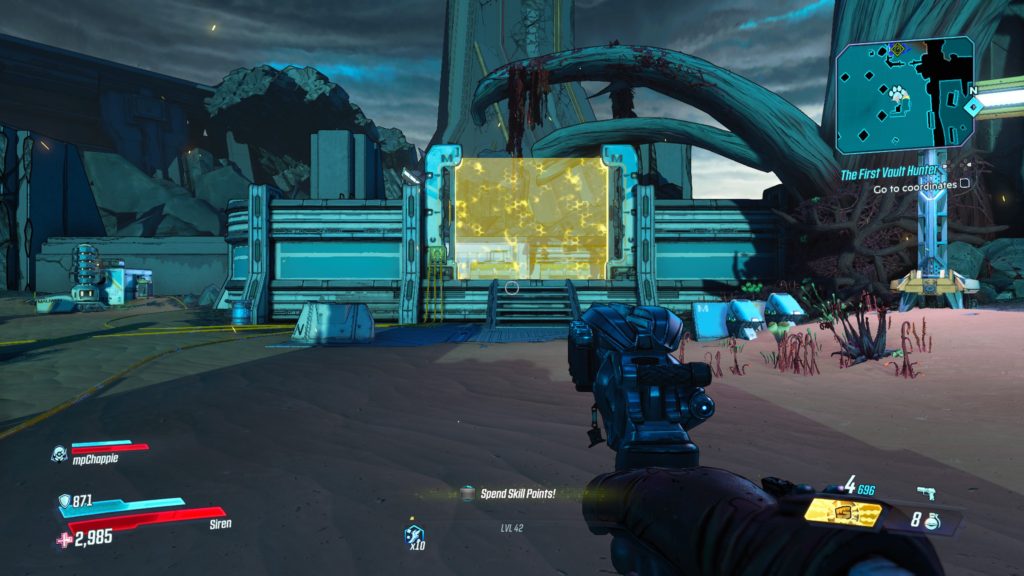
Outrunner’s Energy Cell
The outrunner can be found behind the yellow barrier. See the map below for the exact location. To disable the barrier, follow the three cords to each of their circuit boxes and shoot the boxes. You must do this quickly, because the yellow barrier will come back up fast, causing you to have to repeat the process.
The Meridian Outskirts Broadcast Tower is located on the east side of the area. To reach it, start from the Meridian Outskirts fast travel station and exit Fort Pissoff. Take a ride and follow the road east until you come to a big open area with a stack of storage containers in the middle. Climb to the top of those containers and use the console to sabotage the tower.
Meridian Metroplex
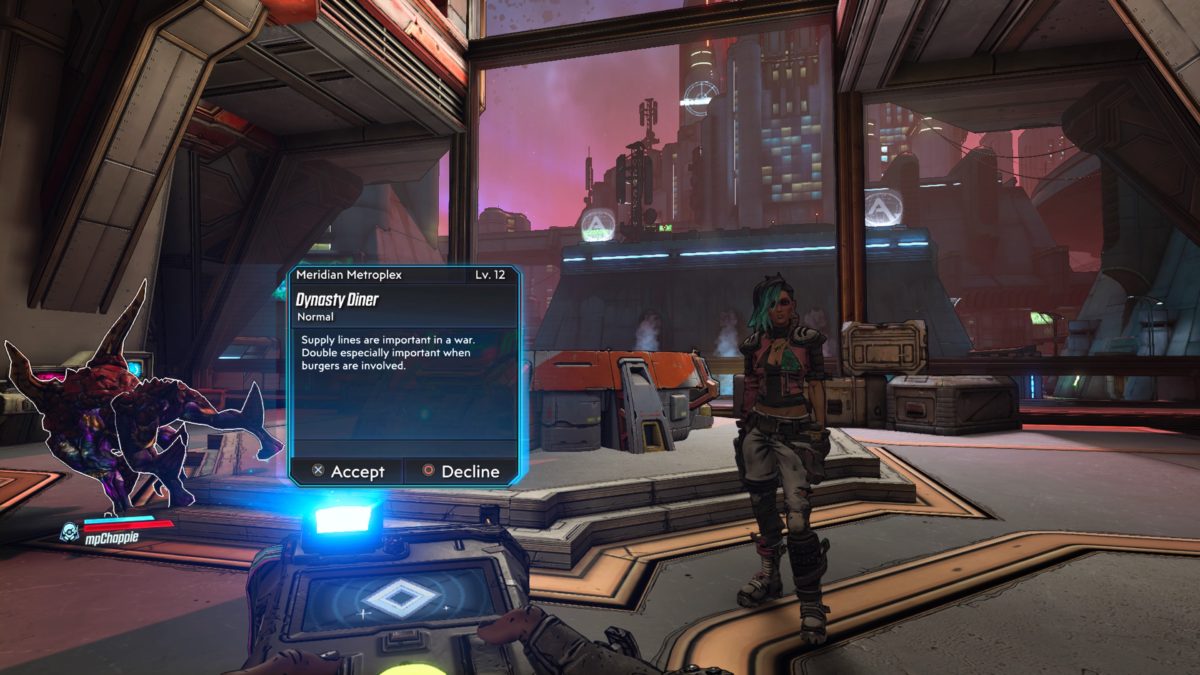
Meridian Metroplex Broadcast Tower
The broadcast tower is located on the back deck of Dynasty Diner. To reach it, you will need to head to the second level right of the diner and use a shipping box to jump to the balcony where the terminal is located. Sabotage the tower to complete the challenge.
Lectra City
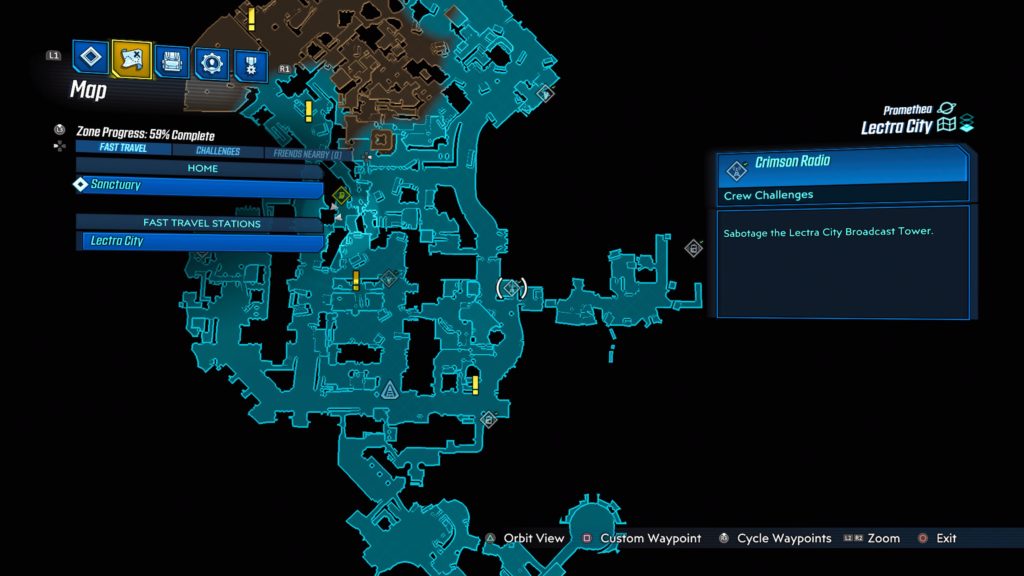
Lectra City Broadcast Tower
The broadcast tower is located in Market Quarter on the eastern side of the map on the roof of a tall building right before Big Dock Energy. To reach it, you will need to climb up to the roof of the adjacent building with yellow paint on the side of it across from the entrance to Big Energy Dock. From there, jump onto the street light with a speaker on it and then jump to the tall building. You will need to get a bit of a running start in order to make it onto the tall building’s roof. Sabotage the radio to complete the challenge. See the map below for the exact location.
Atlas HQ
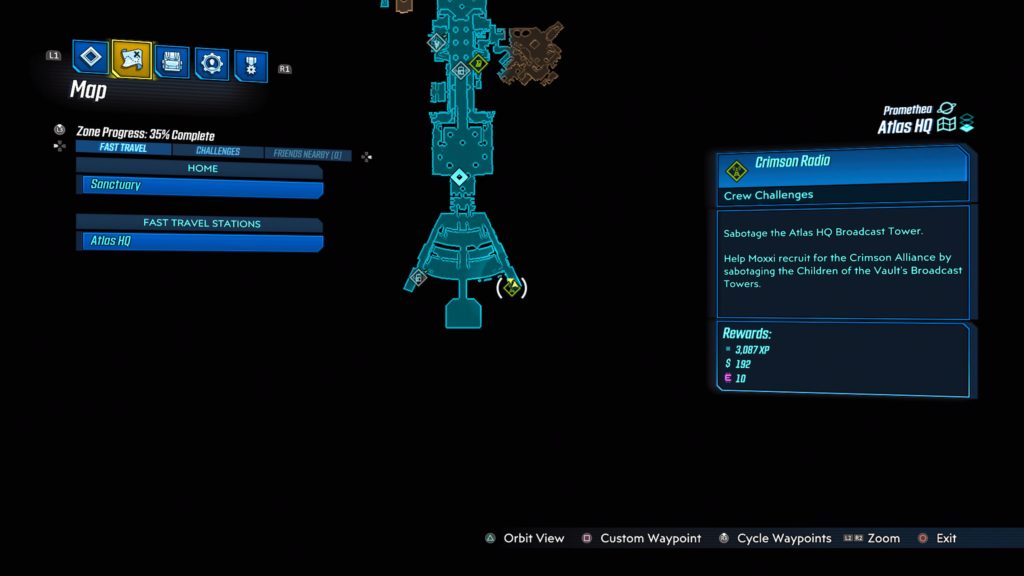
Atlas HQ Broadcast Tower
The broadcast tower is located at the south side of the Lobby of Self-Actualization near where the Maliwan command ship was during the Atlas, at Last main mission. See the map below for the exact location. Take the southeast walkway to the end then jump down to an area under it to locate the tower. Sabotage the tower to complete the challenge.
Finished with the game but still want more? Check out our gift guide for Borderlands 3here!
Search
This site uses cookies. By continuing to use this website, you are giving consent to cookies being used. For more information on cookies, view our Privacy Policy.OkPrivacy Policy