Below is Part 3 of a walkthrough for the collectibles found during Chapter 1: Afternoon of the Wolves of The Legend of Heroes: Trails from Zero.

Crossbell
When the cutscene concludes, head downstairs and interact with the terminal then retrieve the following support quests:
- Inspection Assistance Wanted
- Abandoned Apartment Monster Cleanup
- Mainz Mountain Path Monster Extermination
First thing’s first, finish the Hunting for Ingredients support quest. Please note that it’s important to speak with Bennett in Morges on West Street first before speaking with Oscar behind the counter! Give her the eggs first then speak with Oscar! Once you complete the quest, turn it in at the terminal.
Next, complete the Inspection Assistance Wanted and Abandoned Apartment Monster Cleanup support requests. You won’t be able to complete the Mainz Mountain Path Monster Extermination support request until later!
After you report the above requests at the terminal, head to the Fisherman’s Guild on East Street and speak with Branch Manger Cerdan to check your rank. If you caught all of the above fish, you’ll be a Professional Fisher now and will receive Hare quartz.
While on East Street, head to Long Lao Tavern & Inn. Enter the room on the left side of the inn. In the hallway with the giant cat statue, take the first door and speak with Lars inside. You’ll get the following support request:
Complete this support request and turn it in at the terminal. If you’ve completed all the support requests up to this point, you’ll receive a Septium Vein quartz!
When you’re ready to progress the story, travel to the Residential District and take the northern exit to the Mainz Mountain Path.
Mainz Mountain Path
Area 1
Head forward a short way to trigger a cutscene. When it ends, you can explore the path to the northeast leading to the Crossbell Cathedral if you wish, however, there are no collectibles there. Instead, head to the western path.
Area 2
Explore this area to find the below.
- Treasure Chests
- Blind Quartz
- Enemies
- Rock Rat
- Humming Gator
- Earth Drome
- Ale Slime
- Fish
- Snow Crab (Novice Rod, Earthworm)
Area 3
Explore this area to find the below. When you head uphill on the path, a cutscene will trigger. After it ends, continue along the path.
- Treasure Chests
- Time, Space and Mirage Sepith x50
- Luminous Glasses
- Enemies
- Humming Gator
- Ale Slime
- Nepenthes
- Rock Rat
- Earth Drome
Area 4
Explore this area to find the below.
- Treasure Chests
- When you interact with this different colored chest on the western side of the area, you’ll sense that powerful monsters are in the chest and will have the option to challenge them. If you begin the fight, you’ll face 2 Level 35 Armored Hydra. Since you’ll do no damage against them, leave this chest unopened for now!
- Enemies
- Ale Slime
- Nepenthes
- Humming Gator
- Earth Drome
- Rock Rat
When you head under the bridge, a cutscene will trigger. Afterwards, take the northeastern path.
Area 5 (Northeastern path from bus stop in Area 4)
Explore this area to find the below. Please also finish the Mainz Mountain Path Monster Extermination support request in this area!
- Treasure Chests
- EP Charge
- Teara Balm
- Enemies
- Nepenthes
- Humming Gator
Rosenberg Studio
Once you enter this area, a cutscene will trigger. You won’t be able to do anything here so return to Area 4 with the bus stop. Proceed up the northwestern path.
Mainz Mountain Path – Tunnel
Explore this area to find the below.
- Treasure Chests
- Earth, Water, Fire and Wind Sepith x50
- Interact with the different colored chest to begin a fight against 6 Mottled Killers. Defeat them all to receive Engineer Boots.
- Enemies
- Killer Cricket
- Mottled Killer (tan spider)
- Mottled Murder (red spider)
- Rocktopus
Mainz Mountain Path – After Tunnel
Enter the next area to trigger a cutscene. Choose the following:
- Why was that wolf not the culprit?
- The howl
- The appearance
- Both howl and appearance
Afterwards, continue along the path to find the following:
- Treasure Chests
- Reviving Balm
- Enemies
- Rozu
- Rocktopus
- Ale Slime
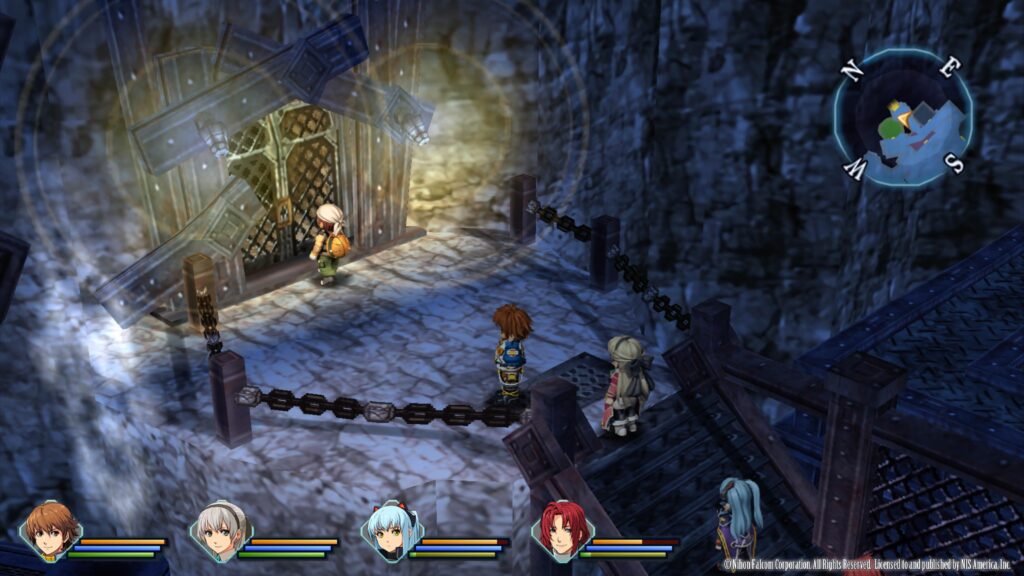
Mainz Mining Village
Once inside the village, head directly to the far east side and enter the large circular building (mayor’s house) to trigger a cutscene. Afterwards, head to the right side (when facing the mayor’s house) and go down the stairs, speaking with everyone you find (including those in the buildings). Return to the mayor’s house to trigger a cutscene. Return to the mayor’s house to trigger another cutscene. When prompted select the following:
- What has yet to be confirmed?
- Monsters’ identity
- Monsters’ lair
- Monsters’ objective
- Which one corresponds to the ‘Culprit’?
- Black Wolves
- Unknown
- Wolves’ Abilities
- Property Damage/Injuries
- Which one corresponds to the ‘Objective’?
- Black Wolves
- Unknown
- Wolves’ Abilities
- Property Damage/Injuries
- Which one corresponds to the ‘Means’?
- Black Wolves
- Unknown
- Wolves’ Abilities
- Property Damage/Injuries
- Which one corresponds to the ‘Result’?
- Black Wolves
- Unknown
- Wolves’ Abilities
- Property Damage/Injuries
- What’s the name of the witness?
- Harold Hayworth
- Lytton
- Shizuku MacLaine
- Noel Seeker
Don’t interact with the table just quite yet. Instead, exit the inn then head down the stairs to the right of the mayor’s house. Enter the circular house on the southern side of the village and speak with Miner Max in bed to receive the below book.
- Books
- Back Alley Doctor Glenn – Ch. 3
Next, speak with the person (Mine Chief Hoffman) in front of the entrance to the mine on the northern side of town to the right of the general store.
During the cutscene, he will unlock the mine allowing us entry.
Mainz Mine
Head inside and explore to find the below!
- Treasure Chests
- Teara Balm
- HP 2
- Reviving Balm
- Martial Arts Uniform
- Enemies
- Sticky Slug
Once you’ve explored everything, return to the entrance and exit the mine.
Mainz Mining Village
When you’re ready, interact with the table in your room at the inn and “stand by until midnight”. After the cutscene, a fight will trigger with 3 Doven Kaiser. Defeat them all to trigger a cutscene. When this cutscene completes, another fight will trigger. This time you’ll have to defeat Mafioso – Machete, Mafioso – Pistol and their 3 Doven Kaiser. Defeat them to complete this chapter!
Click here for the next walkthrough on Chapter 2 of The Legend of Heroes: Trails from Zero!