Dead Island 2 Logo
Guides

Dead Island 2 SoLA DLC – Suspicious Minds Lost & Found Quest

by NightlyGamingBinge in

Welcome to NGB and our walkthrough for the Suspicious Minds lost & found quest in Dead Island 2 SoLA DLC. Here you’ll find everything you’ll need to easily breeze through this quest!

Starting Suspicious Minds

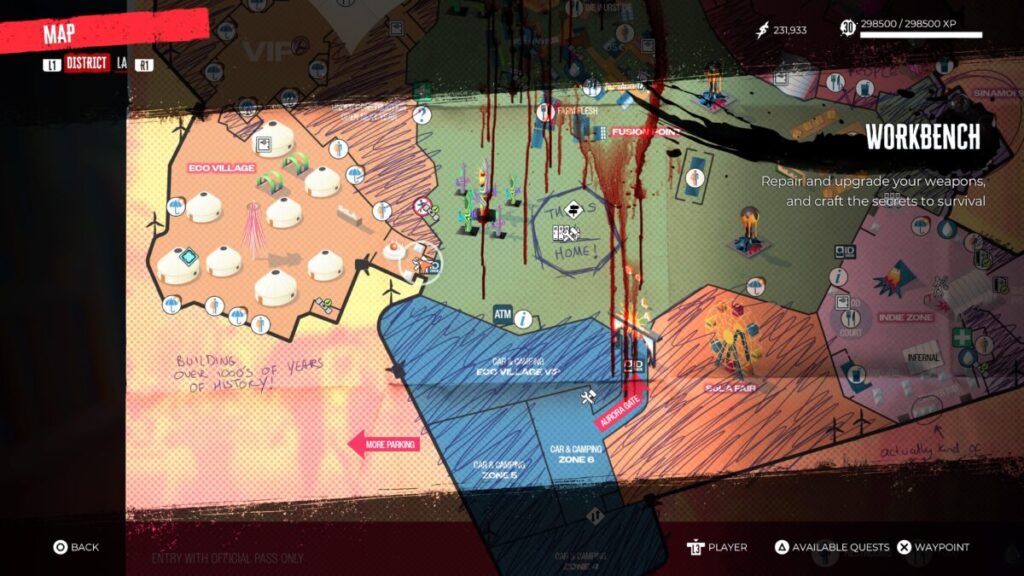
To begin the Suspicious Minds lost and found quest in Dead Island 2 SoLA DLC, you’ll need to locate the We’ve Been Watching You journal which can be found on the workbench in the gatehouse building on the southeastern side of the Eco Village.

How to pick up Suspicious Minds lost and found quest in Dead Island 2 SoLA DLC

Suspicious Minds Objectives
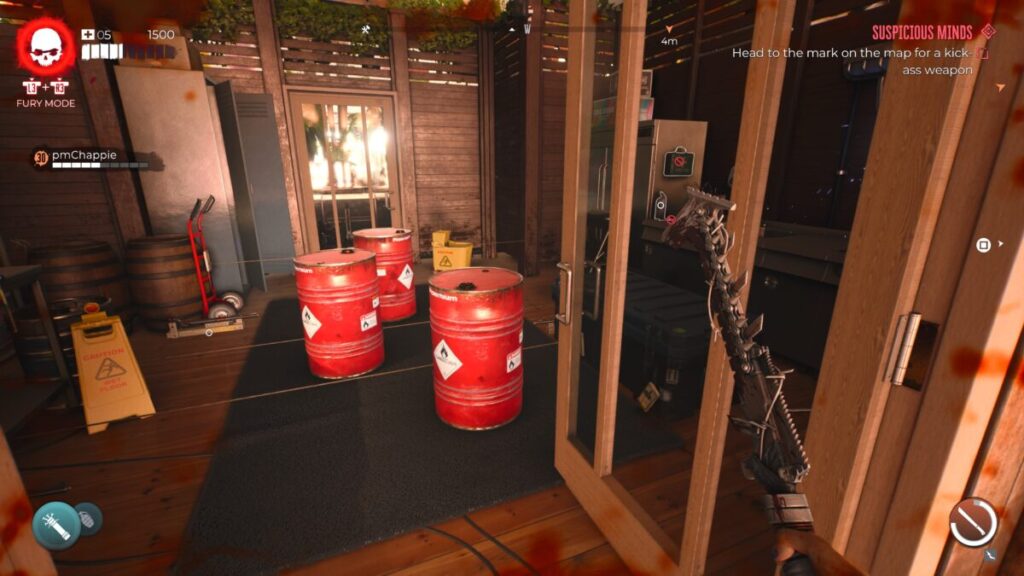
Challenge 1: Burn

To find the location of the first chest for the Challenge 1, travel to the Eco Lounge to find this chest in the room with the workbench in the center of the lounge. Beware of all the booby traps!!
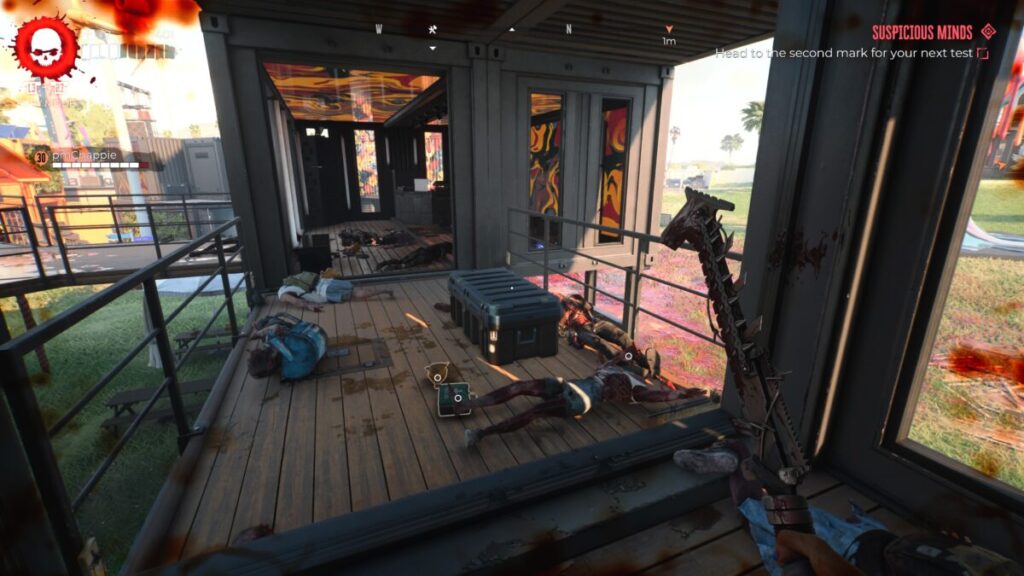
Suspicious Minds Challenge 1

Challenge 2: Shock

To find the location of the chest for Suspicious Minds Challenge 2, make your way over to Fusion Point then head up to the second level walkway. You’ll find this chest on the walkway!

Suspicious Minds Challenge 2

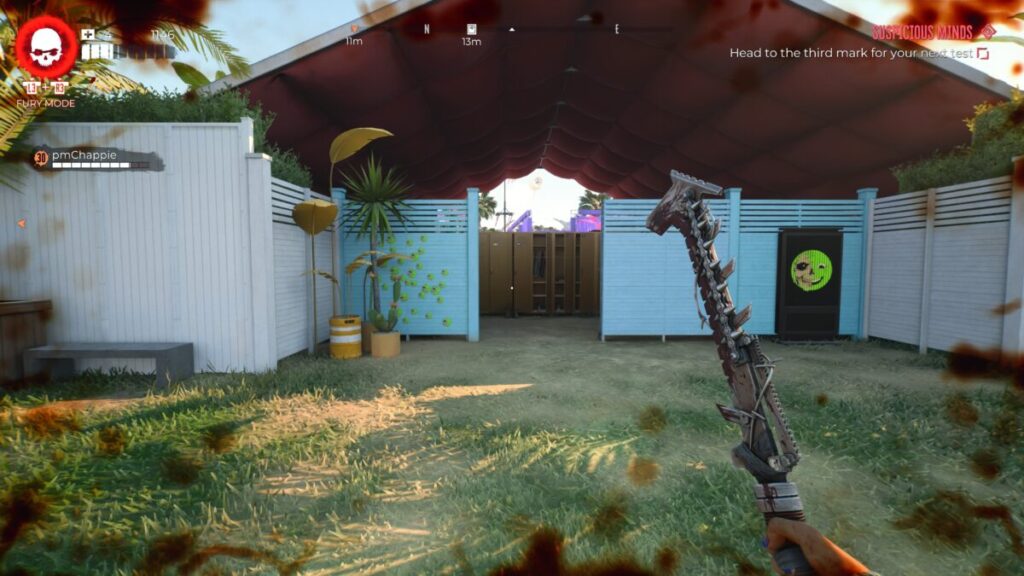
Challenge 3: Corrode

For Challenge 3 of Suspicious Minds, the chest your looking for can be found in the locker room on the southwestern side of Utopia. It will be nestled on the western side of the room.

Suspicious Minds Challenge 3

Dead Island 2 SoLA DLC Guides and Walkthroughs

For more Dead Island 2 SoLA DLC guides and walkthroughs, click here!

Avatar Frontiers of Pandora Logo
Guides

How to Complete Lost and Found in Frontiers of Pandora

by NightlyGamingBinge in

Welcome to NGB and our guide for the Lost and Found side quest in Avatar: Frontiers of Pandora. Here’ll we cover how to start the quest and what all you’ll need to do in order to complete it.

How to Start Lost and Found

In order to start this quest, you’ll need to speak with a Hunter at the Weaver’s Flourish Na’vi Camp.

Lost and Found Objectives

Talk to Lurei at Shaded Grove camp

Travel to the Shaded Grove camp west of Hometree. Once there, speak with Lurei on the upper level of the grove standing next to a harp.

Meet Lurei at the Overlook

From Shaded Grove, head northwest to find her on a cliff overlooking the RDA camp near the river.

Meet Lurei at the Overlook

Find what the RDA are hiding near Cargo Transfer Site Bravo

Take out the soldiers in the area then enter the cave after eating the Revitalizing Porridge. Interact with the musical instruments inside. Upon doing so, more RDA will show up.

Defeat the RDA

Exit the cave then take out the soldiers!

Talk to Lurei at the overlook

Return to Lurei and speak with her to complete the quest.

Lost and Found Rewards

  • Hunter Bracelet Armguard Mod
  • Revitalizing Porridge Recipe
  • Clan Favor

For more Avatar: Frontiers of Pandora guides and walkthroughs, click here!

Guides

Borderlands 3 – Lost and Found

by Chappie in


Location: Obsidian Forest

Obtained: Interact with the poster in Tallyway Station


Speak with Oletta

Speak with her near the train station.


Take Pants

Grab the Titus’s Pants from Oletta.


Get Prime Devil Meat

Head up the nearby ladder and run across the roof to reach a cavern containing a bunch of devils. Defeat them to get 4 electric prime devil meat and 4 radioactive prime devil meat.


Lure Bella out with Prime Devil Meat

Use either the electric meat or the radioactive meat to draw Bella out.


Place Titus’ Pants

Place the pants in front of her on the ground.


Protect Bella

Defeat the Beliks that spawn once Bella is done sniffing the pants.


Follow Bella

After defeating the enemies, follow after Bella. You’ll need to protect her from Beliks that spawn along the way.


Talk to Oletta

Speak with Oletta to complete the quest.


Borderlands 3
Game Guides

Borderlands 3 Guides

by Chappie in


Below are guides and walkthroughs for Borderlands 3.


Psycho Krieg and the Fantastic Fustercluck DLC


Bounty of Blood DLC


Guns, Love and Tentacles DLC


Moxxi’s Heist of the Handsome Jackpot DLC


Borderlands 3

Collectibles


Crew Challenges


Side Missions

Pandora – The Droughts


Pandora – Ascension Bluff


Promethea – Meridian Outskirts


Promethea – Meridian Metroplex


Promethea – Lectra City


Sanctuary


Promethea – Skywell-27


Promethea – Atlas HQ


Eden-6 – Floodmoor Basin


Eden-6 – The Anvil


Eden-6 – Jakobs Estate


Eden-6 – Voracious Canopy


Eden-6 – Ambermire


Pandora – Devil’s Razor


Pandora – The Splinterlands


Pandora – Carnivora


Pandora – Konrad’s Hold


Nekrotafeyo – Desolation’s Edge


Finished with the game but still want more? Check out our gift guide for Borderlands 3 here!


Guides

God of War – Lost and Found Artifacts Guide

by Chappie in


Toy 1

Head to the Mystic Gateway near Kratos’ house and face the house. Turn to the right to find this toy laying on the ground next to a tree between a stone mountain and a giant rock.

Toy 2

Facing Kratos’ house, turn right and take the path under the wooden archway with the symbol in the middle of it. Keep following that path until you reach a set of stone steps leading up. This toy will be at the base of the steps to the left.

Toy 3

Facing Kratos’ house, turn right and take the path under the wooden archway with the symbol in the middle of it. Keep following that path until you reach a set of stone steps leading up. Head up the steps, jump across the gap, and vault over the log blocking the path. Keep following the path forward to reach a wooden bridge. Cross the bridge, leaping over the gap. Head forward towards the fire torch and turn right. Make your way to the stone structure that is in front of you. When you reach the stone structure, turn right and hop down from the little ledge. Head forward until reaching a waterfall to your left. On the right side of the waterfall, climb up two ledges to reach a smoldering fire. Head past the fire, up a tiny ledge, and over to a chain hanging down a cliff face. Take the chain down and this toy will be to at the bottom to the left of the chain near a fallen tree.

Toy 4

Facing Kratos’ house, turn right and take the path under the wooden archway with the symbol in the middle of it. Keep following that path until you reach a set of stone steps leading up. Head up the steps, jump across the gap, and vault over the log blocking the path. Keep following the path forward to reach a wooden bridge. Cross the bridge, leaping over the gap. Head forward towards the fire torch and turn right. Make your way to the stone structure that is in front of you. When you reach the stone structure turn left towards the stone ruins from the first quest in the game. Head into the ruins and follow the path to the bottom level. Once on the bottom level, move forward to where the big open area with the chain drawn gate is to your left. Take the set of doors on your right to exit the ruins bringing you to a frozen lake. Turn right to find this toy near a little tent near the bridge in front of the ruins.