Raven 1
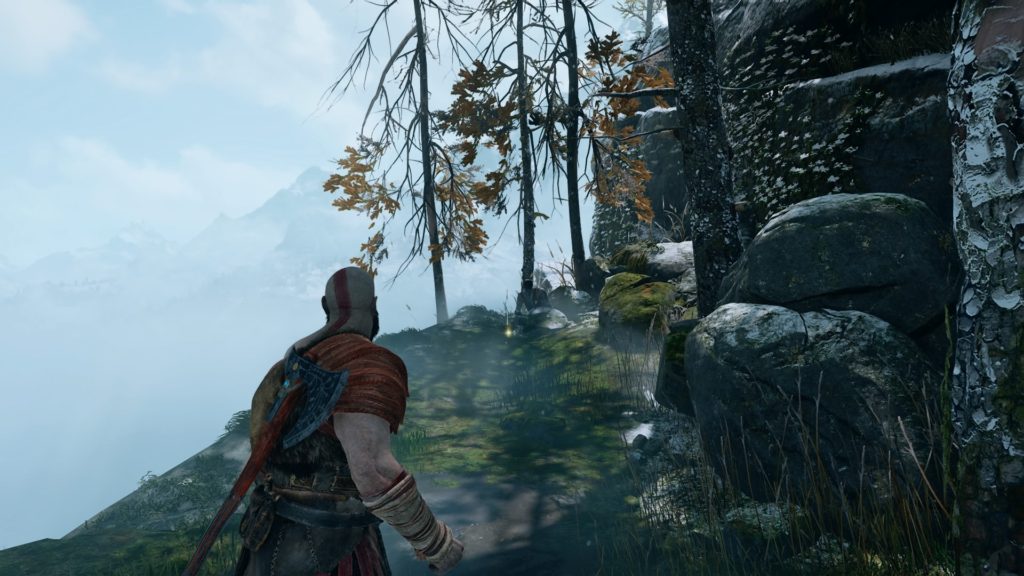
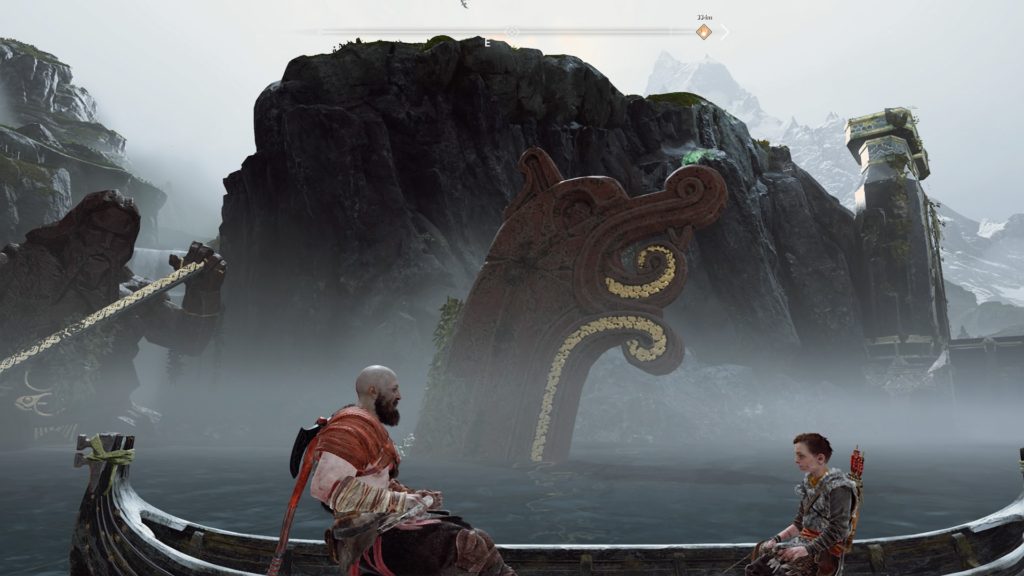
From the Wildwood’s Edge Mystic Gateway, this raven can be found to the left on a rock facing the stone stairs.
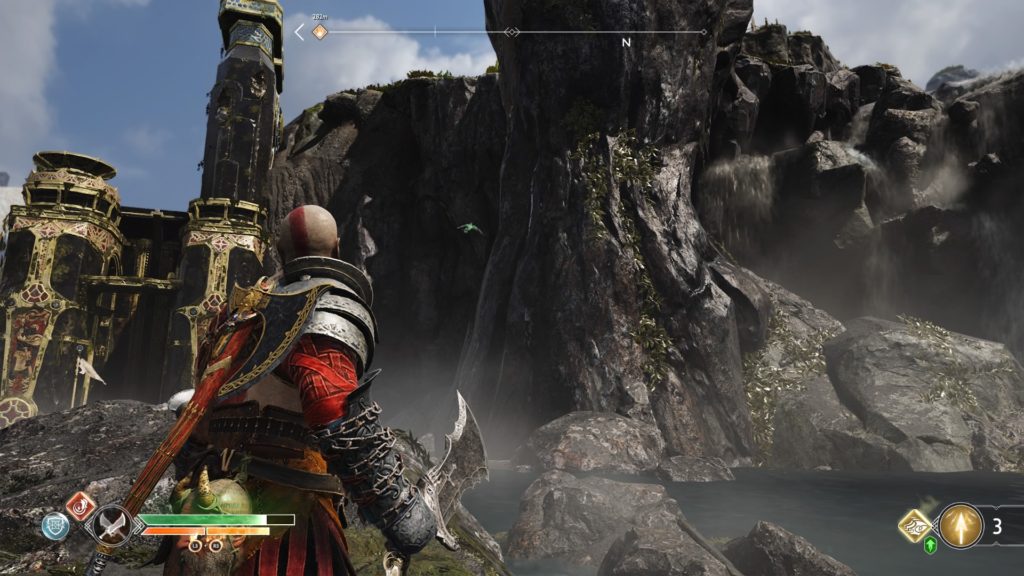
Raven 2
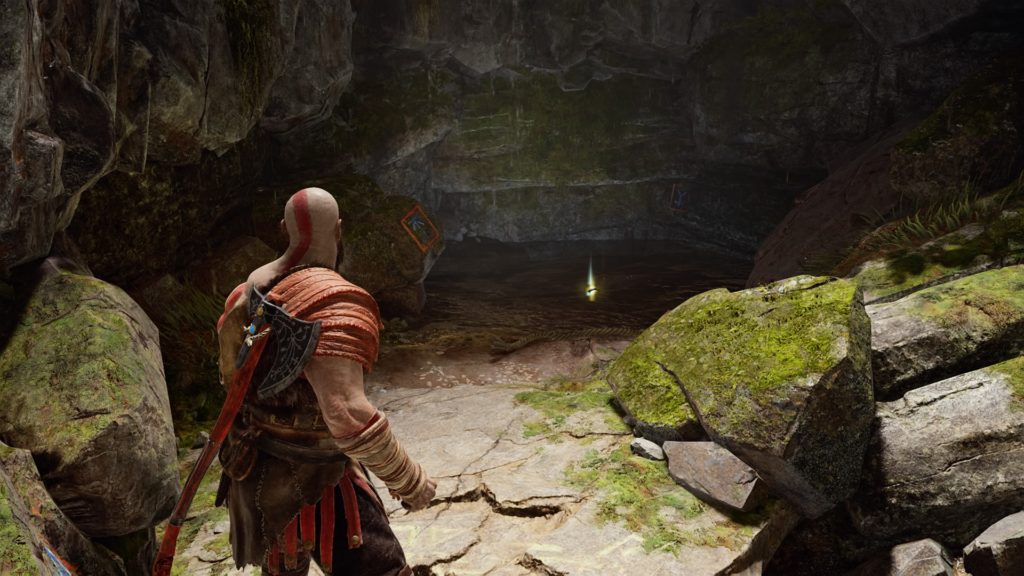
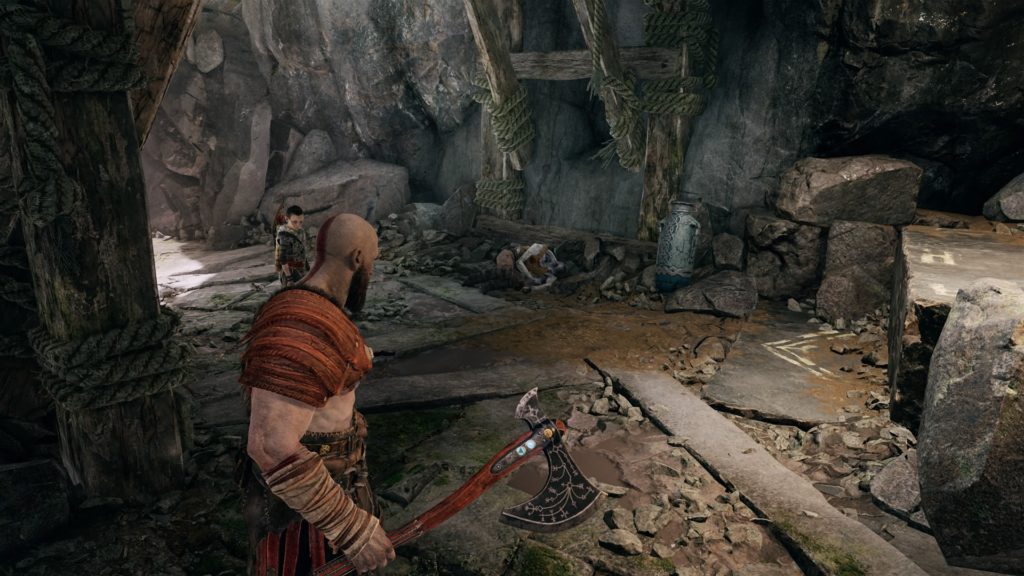
From the Wildwood’s Edge Mystic Gateway, follow the path across the bridge to Brok’s shop. Lower the gate to the left of the shop and proceed through the area with the spike ceiling ending up on a cliff side with a mountain view. Keep moving forward past the giant circle door with the two statues in front of it and into the cave. Follow the path until you reach the area in the image below, it is the last room of the cave. The raven, which is very hard to see, can be found on the top ledge basking in the light.
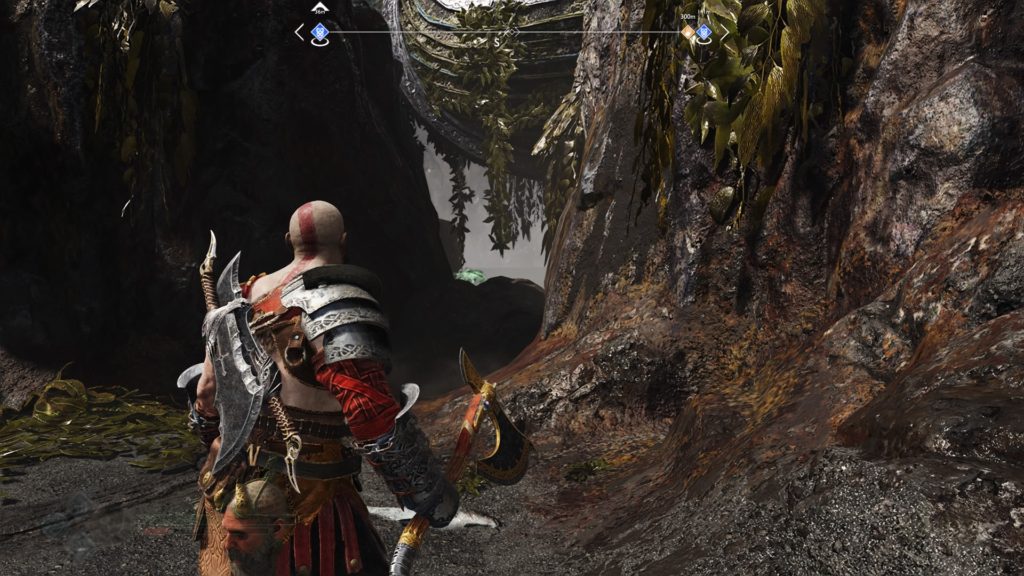
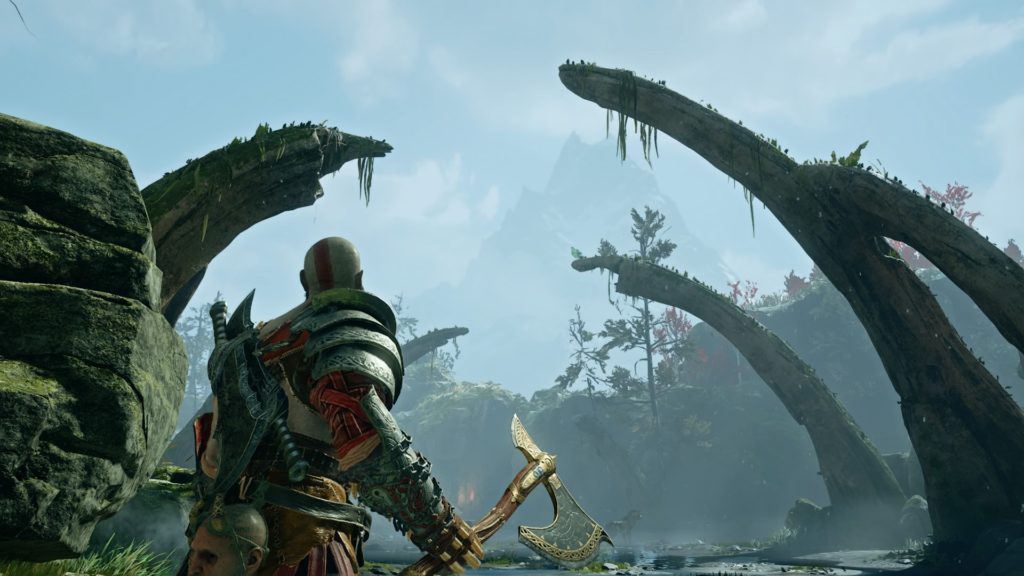
Raven 3
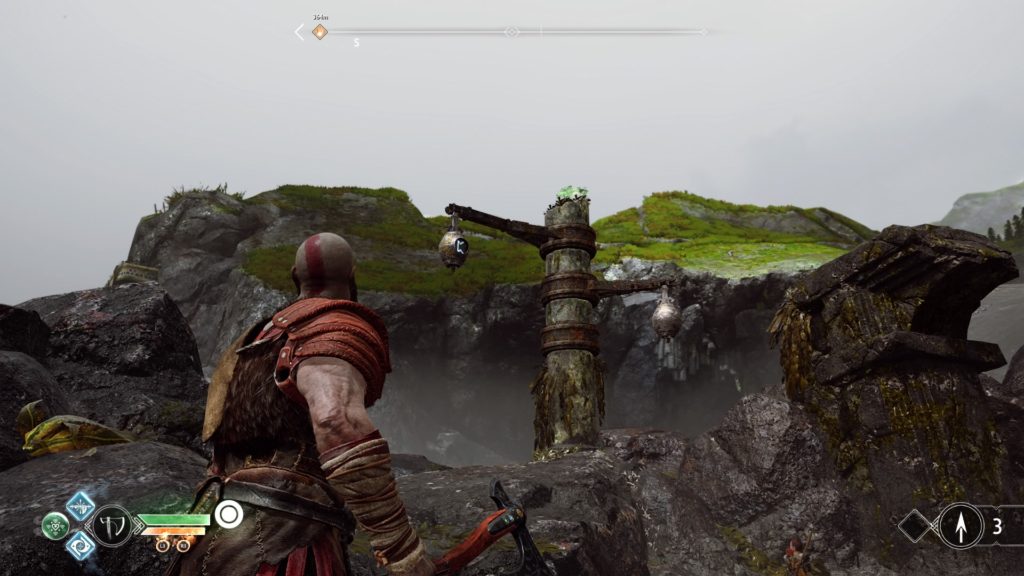
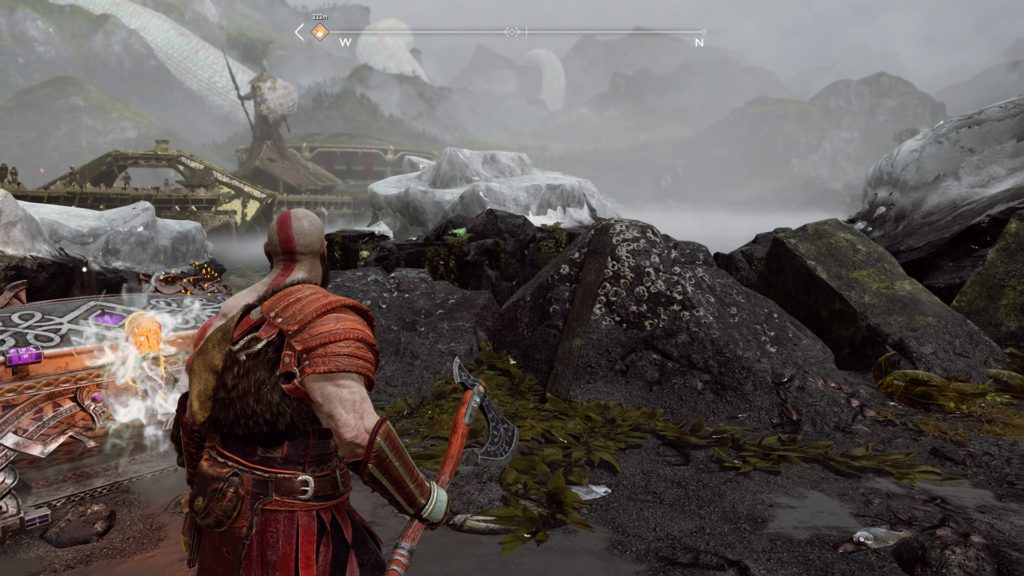
From the previous raven, head left to exit the cave and jump down to the ground. This will place you in the area of the below image. Look up to find the raven perched on one of the curved bones.
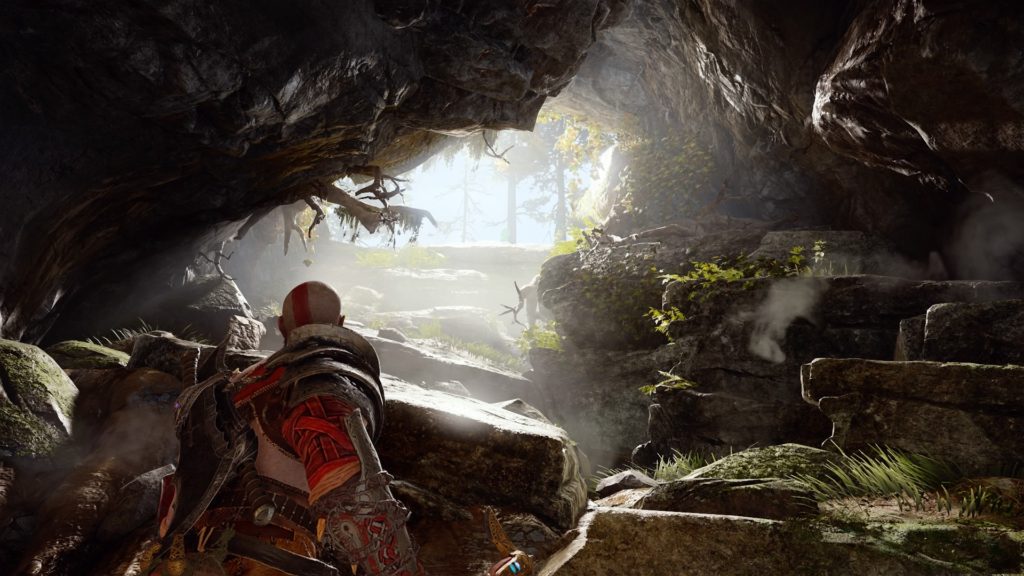
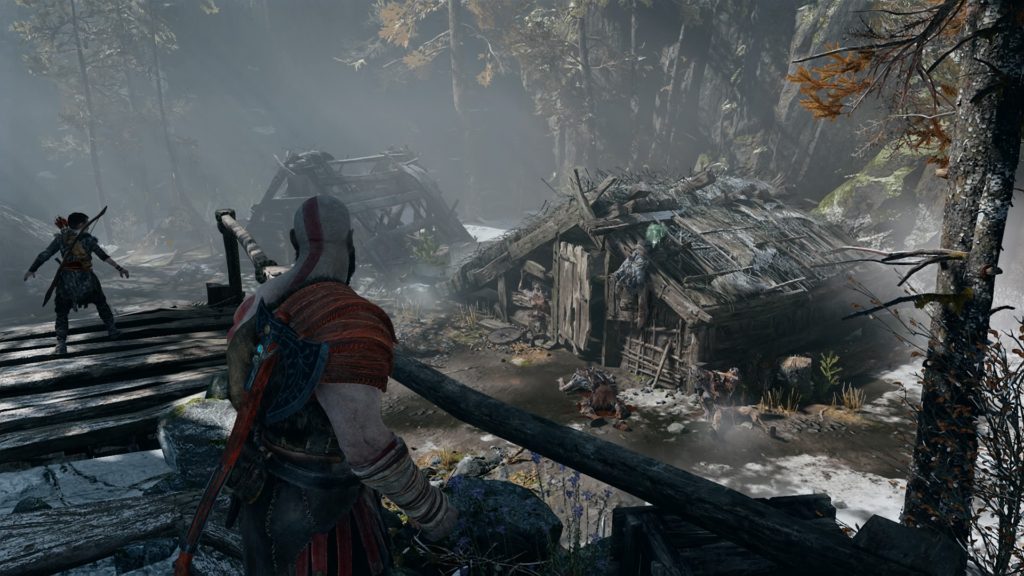
Raven 4
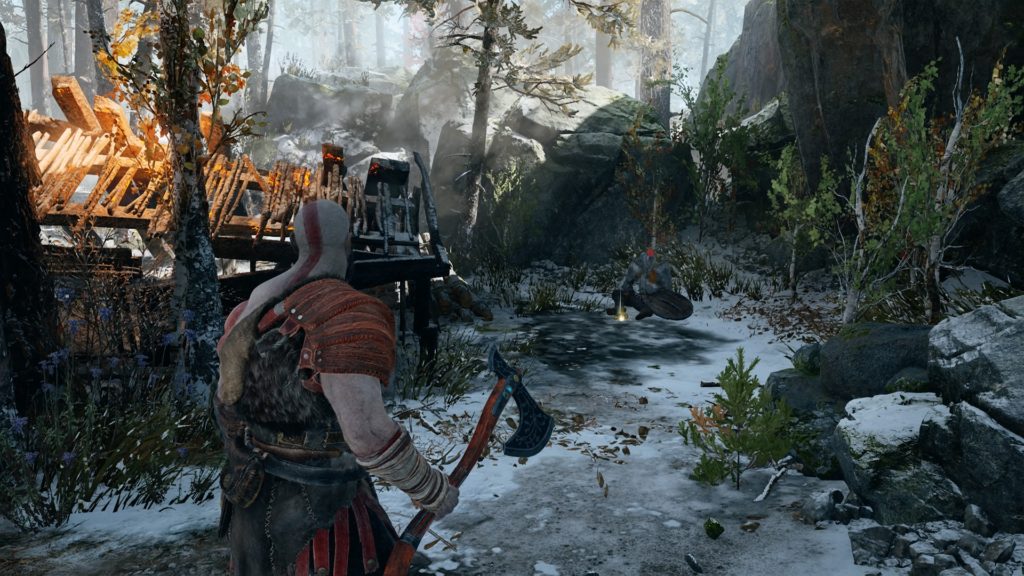
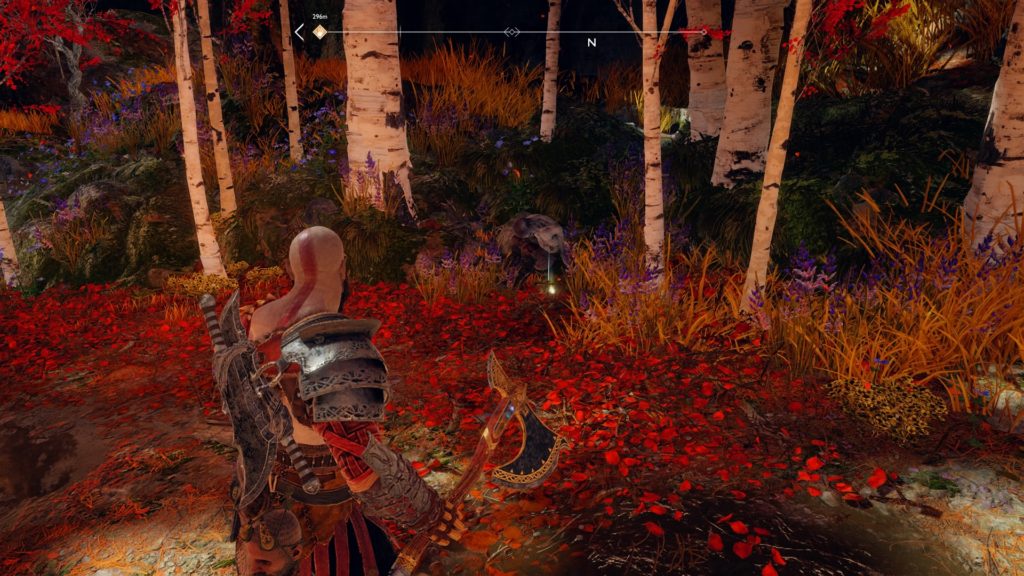
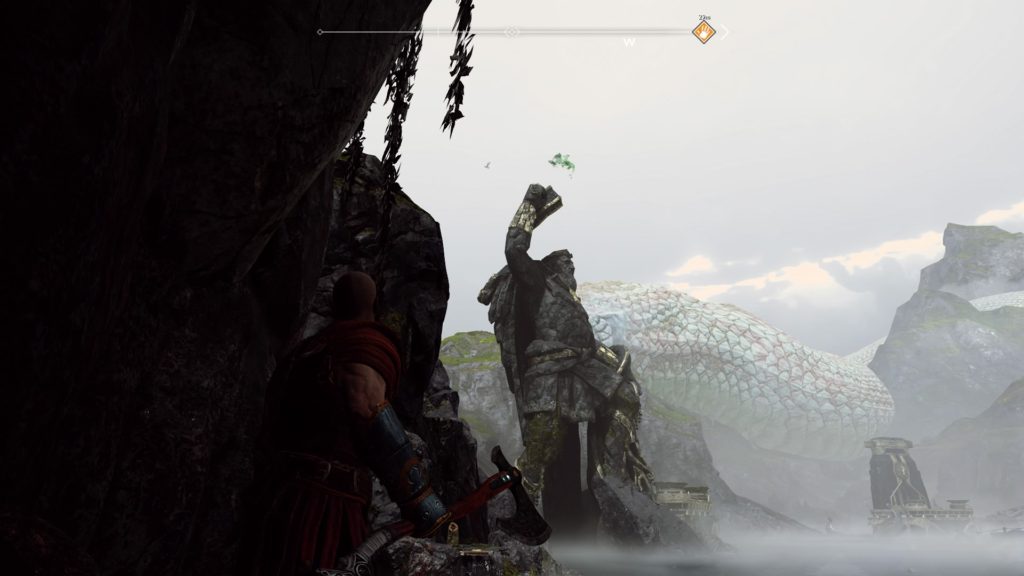
From the previous raven, head down the center of the bones until you come to a torch on the wall. Turn right here into a tunnel and follow it. You will exit the tunnel, jump down onto a rock path and keep moving forward. You will end up in the image below and can find the raven on the roof of the first house to the right.
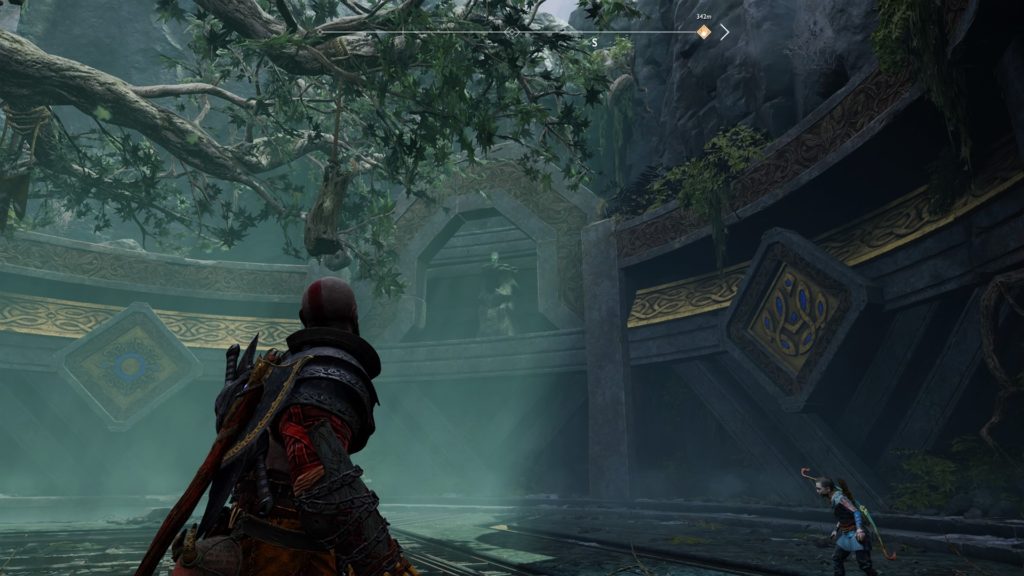
Raven 5
From the Witch’s Cave Lower Level Mystic Gate, take the very slow elevator to the top. Once you exit the elevator, take the second right towards the south and follow that path until you are in a big room directly under the witch’s house. Light the crystal towards the south on the adjacent platform to create a light bridge. Cross the bridge and climb up the wall to reach a hidden chamber. Enter the chamber if you can and keep going forward until you reach the room with the Valkyrie in it. The raven will be on the right side of the Valkyrie perched on a statue.
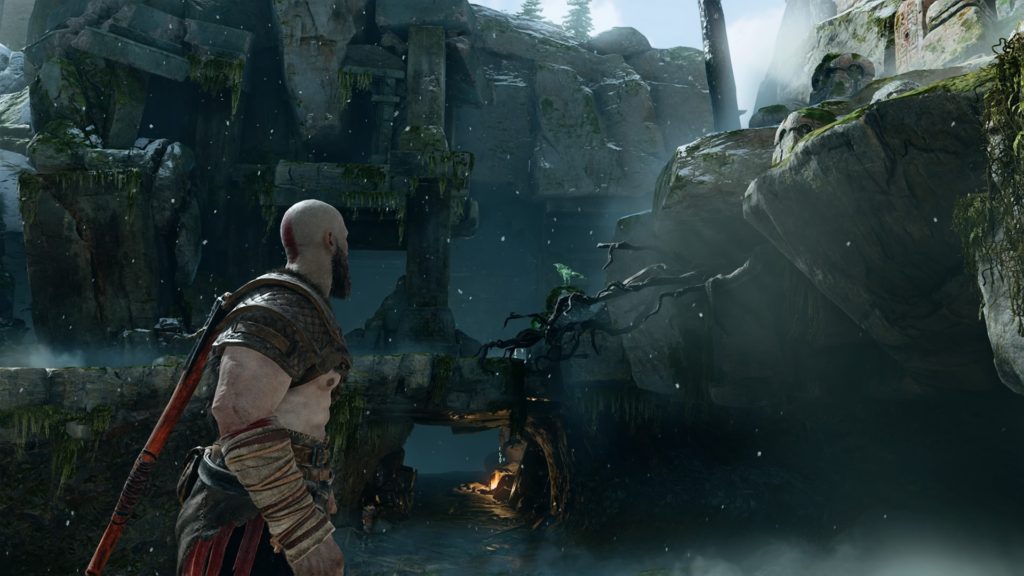
Raven 6
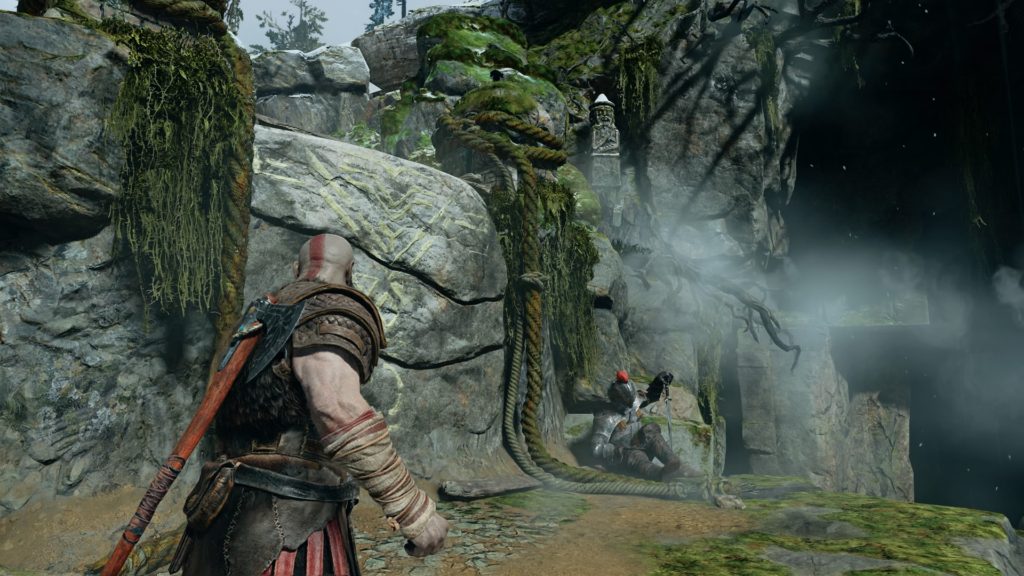
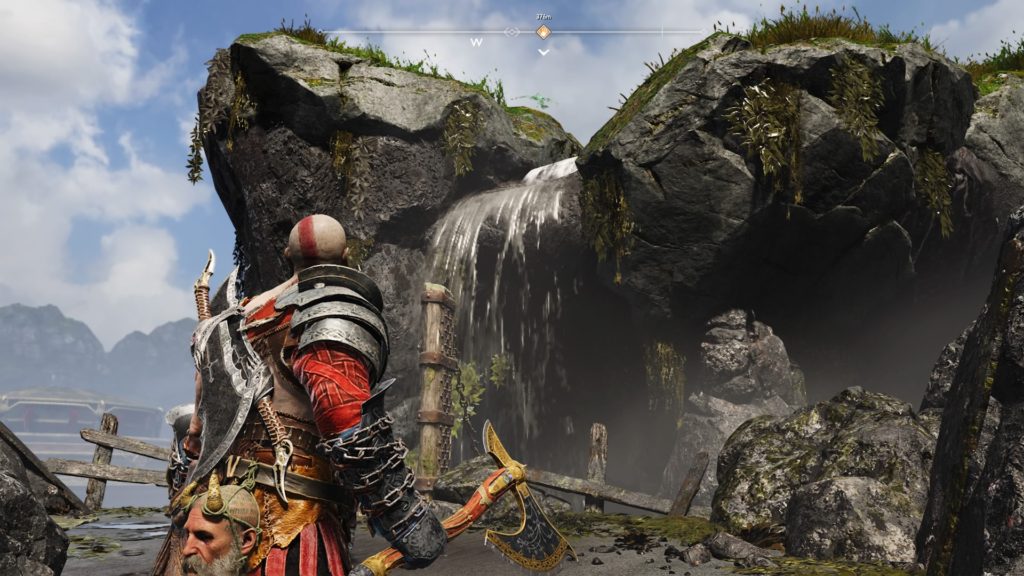
From the Witch’s Cave Lower Level Mystic Gate, take the very slow elevator to the top. Once you reach the top, take the first right heading west. At the end of the hallway, climb the wall to emerge from a well just outside the witch’s house. Head south down the hill and vault over the log. Keep following that path until you see a climbable chain on the side of a cliff across from the witch’s house. Climb up that chain and head to the right to see the raven perched on a rock ledge to the left.