Below is a walkthrough on the main story quests in Chapter 6 of Atelier Ryza.
The Final Battle…!?: 1
Visit Ryza’s home, Rasen District, Boden District, Valentz residence in Old Town and Treppe Hill then return to the atelier. Afterwards, head to the Boundary Cathedral in Hidden Cove to trigger a cutscene. Enter through the gate then defeat the Cluster Beetle. With that complete, press through Ashen Forest to find Kilo.
The Final Battle…!?: 2
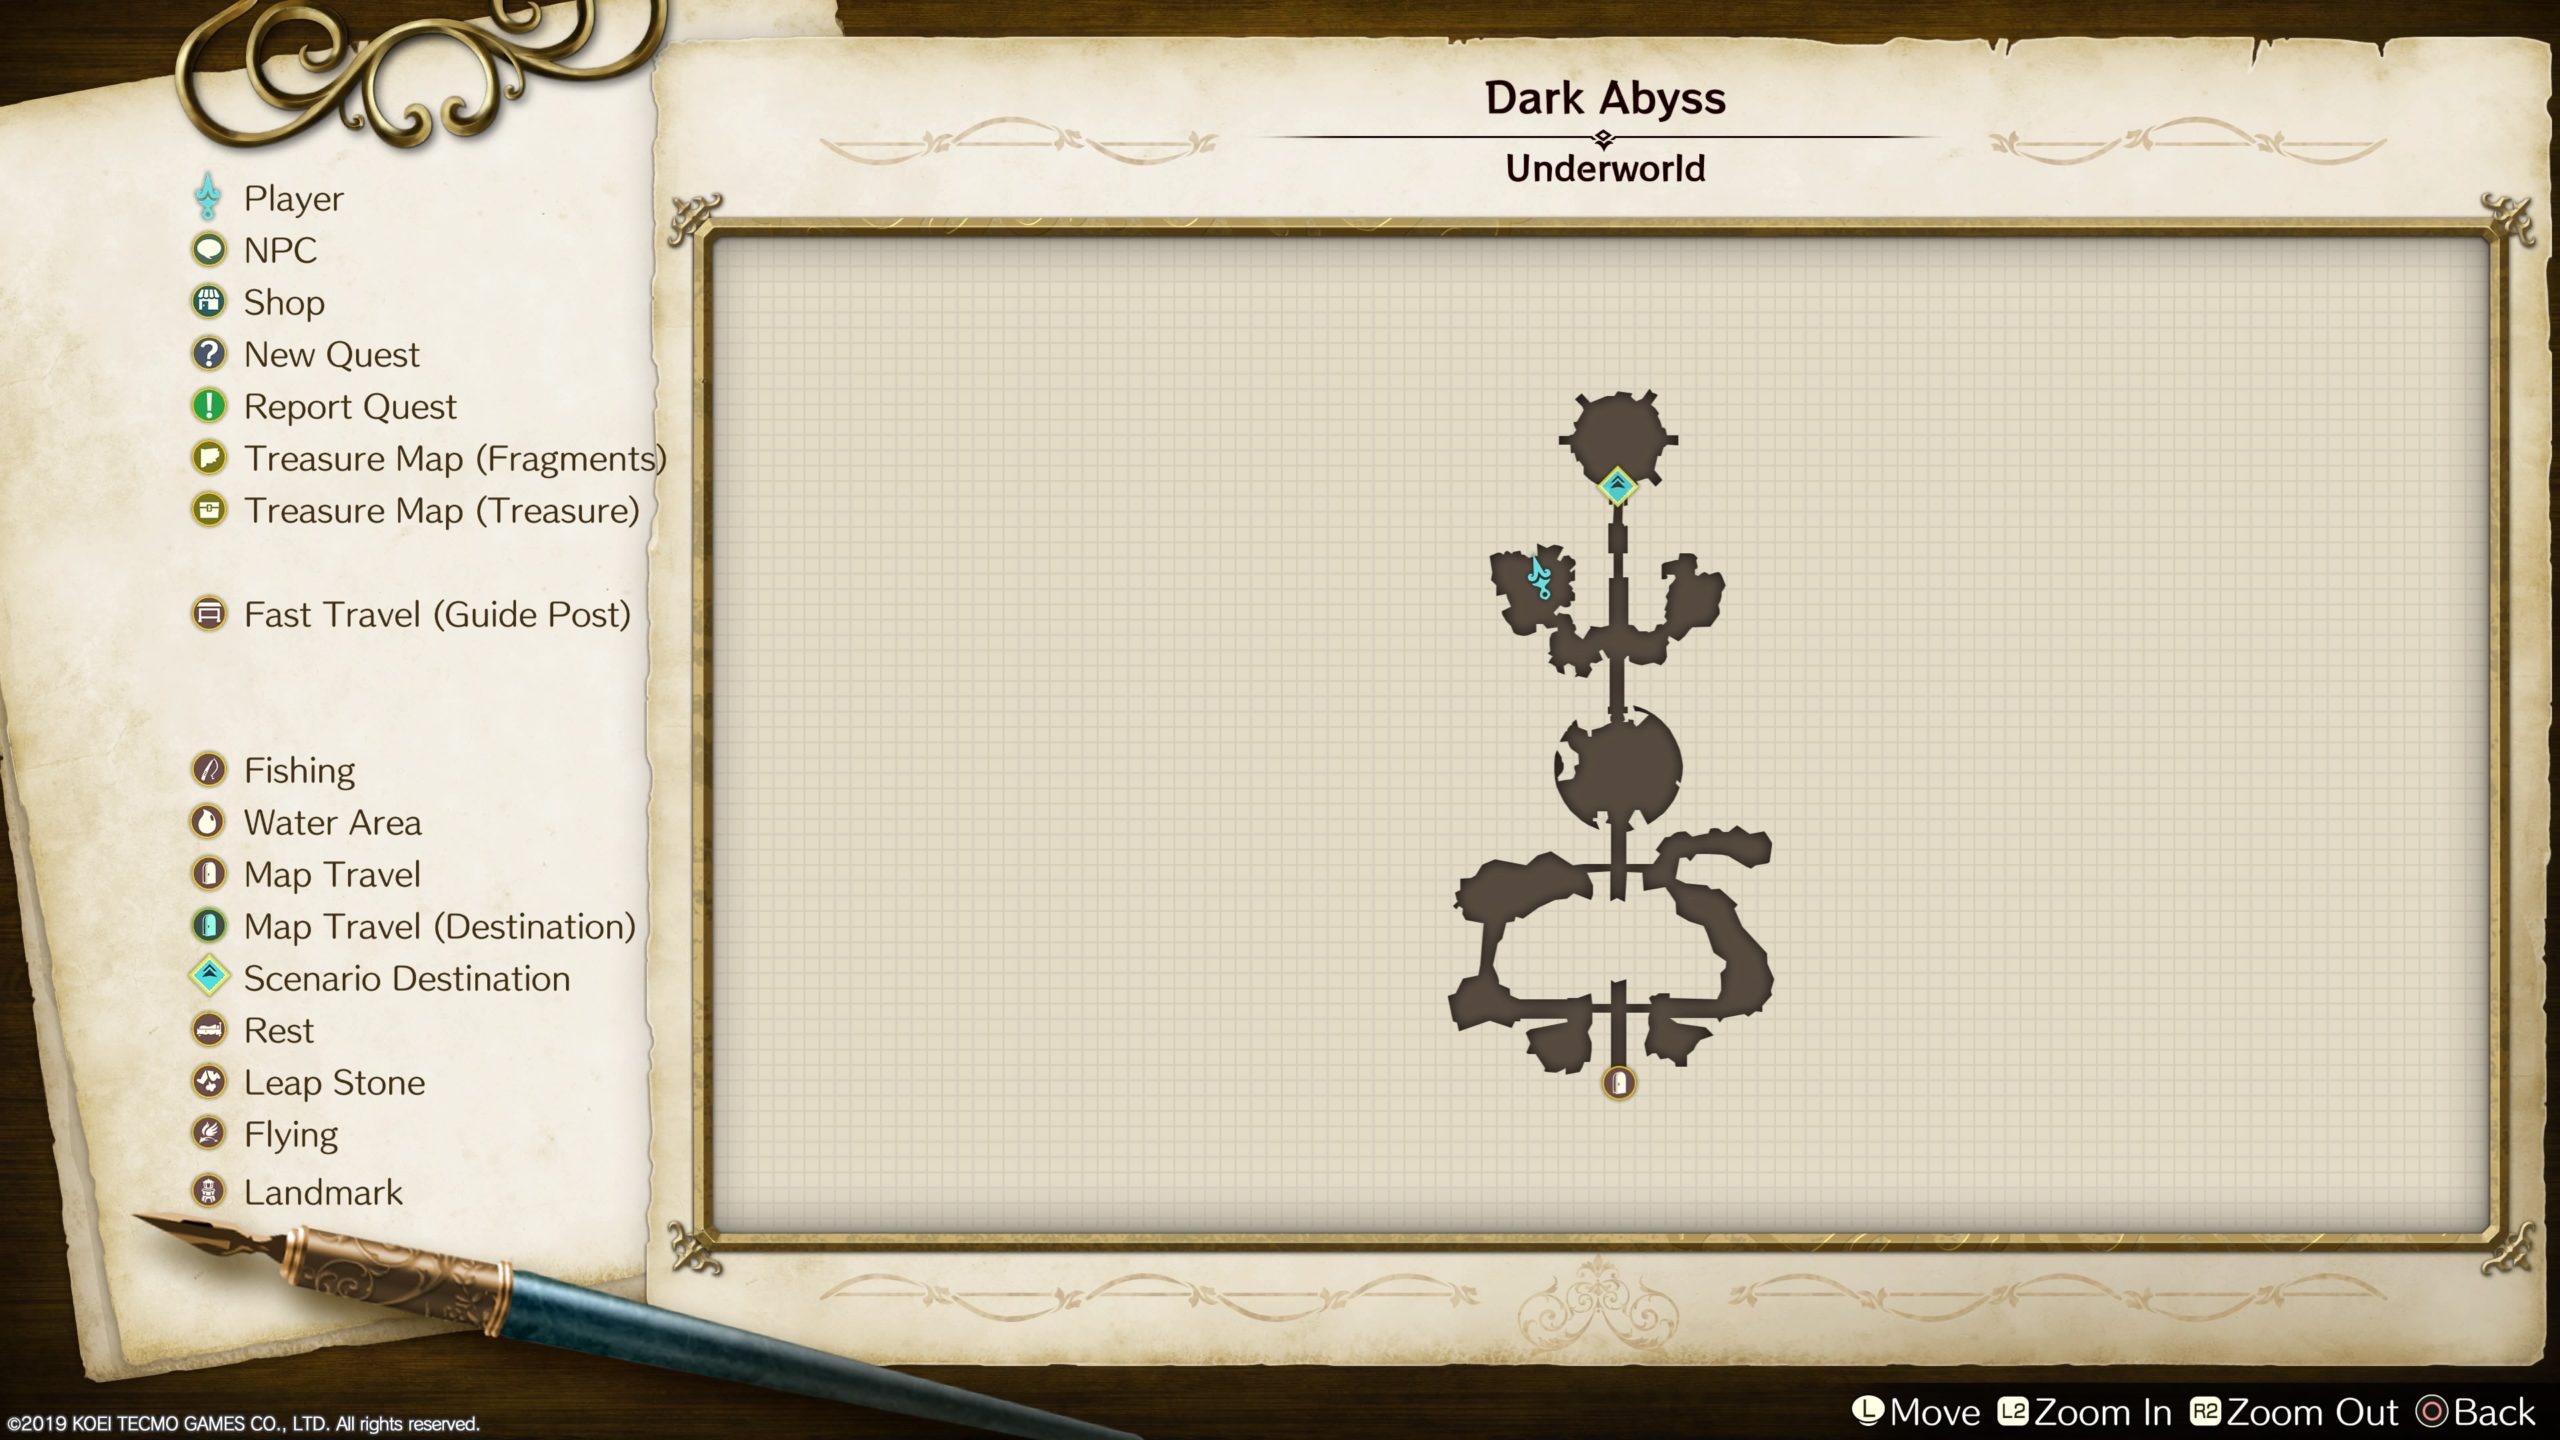
Keep heading further into Ashen Forest, passing the Lost Oren City and entering the Dark Abyss. In the very north of the Dark Abyss, you’ll come across the Ravaging Queen. Defeat her in battle. After the long, painstaking battle, return to the atelier.
Past the Present: 1
Travel to Kurken Bunker then return to the atelier to automatically unlock the Red Stone recipe. You will then need to synthesize a Red Stone with at least 120 Quality. Once you’ve synthesized it, return to Kurken Bunker to test it out. Since it failed, return to the atelier to synthesize a Crimson Stone, which can be unlocked using the Red Stone recipe. With the stone created, head back to the Kurken Bunker to test it out one more time!
Past the Present: 2
Next, it’s time to travel to Ashen Forest in the Underworld to trigger a cutscene. With Oren’s water restored, walk back to the gate and proceed through it to trigger a long cutscene. After sealing the gate, return to the atelier. Now it’s time to head to the Rasen District, Boden District, Kurken Port, Brunnen Mannor and Valentz residence. *NOTE: Not only do you need to fast travel to the Boden District for a cutscene, but you will also need to follow the objective to Lent’s house for another cutscene! Once you’ve visited all the places, return to the atelier for the final cutscene!
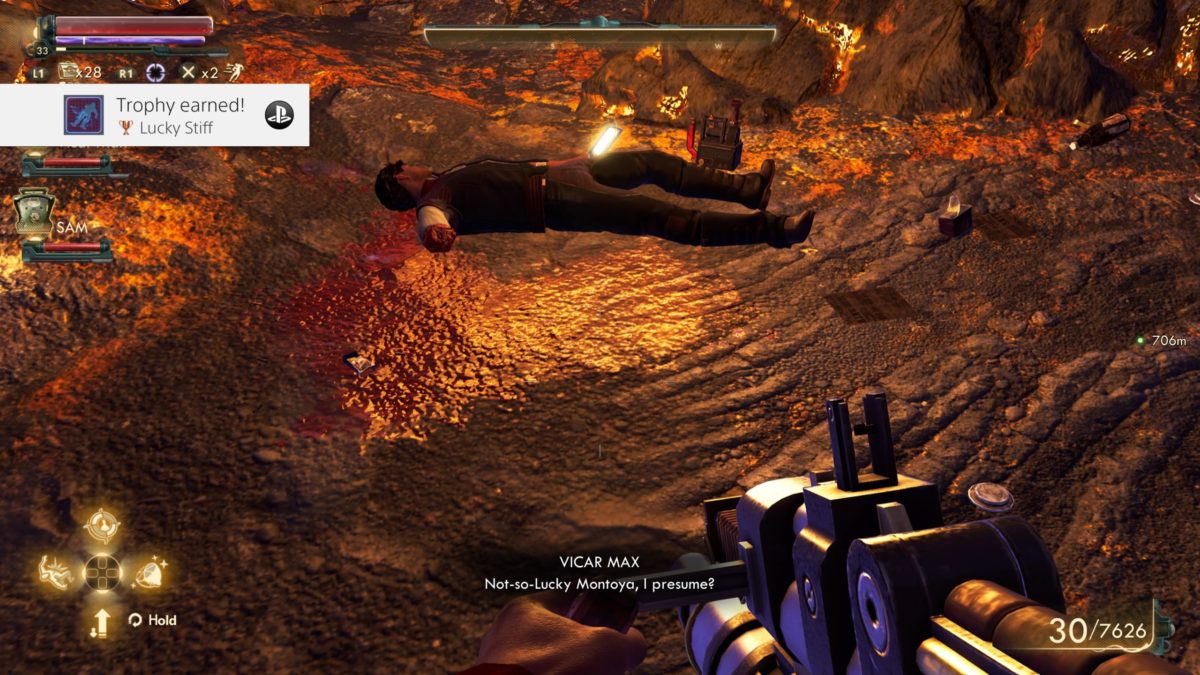
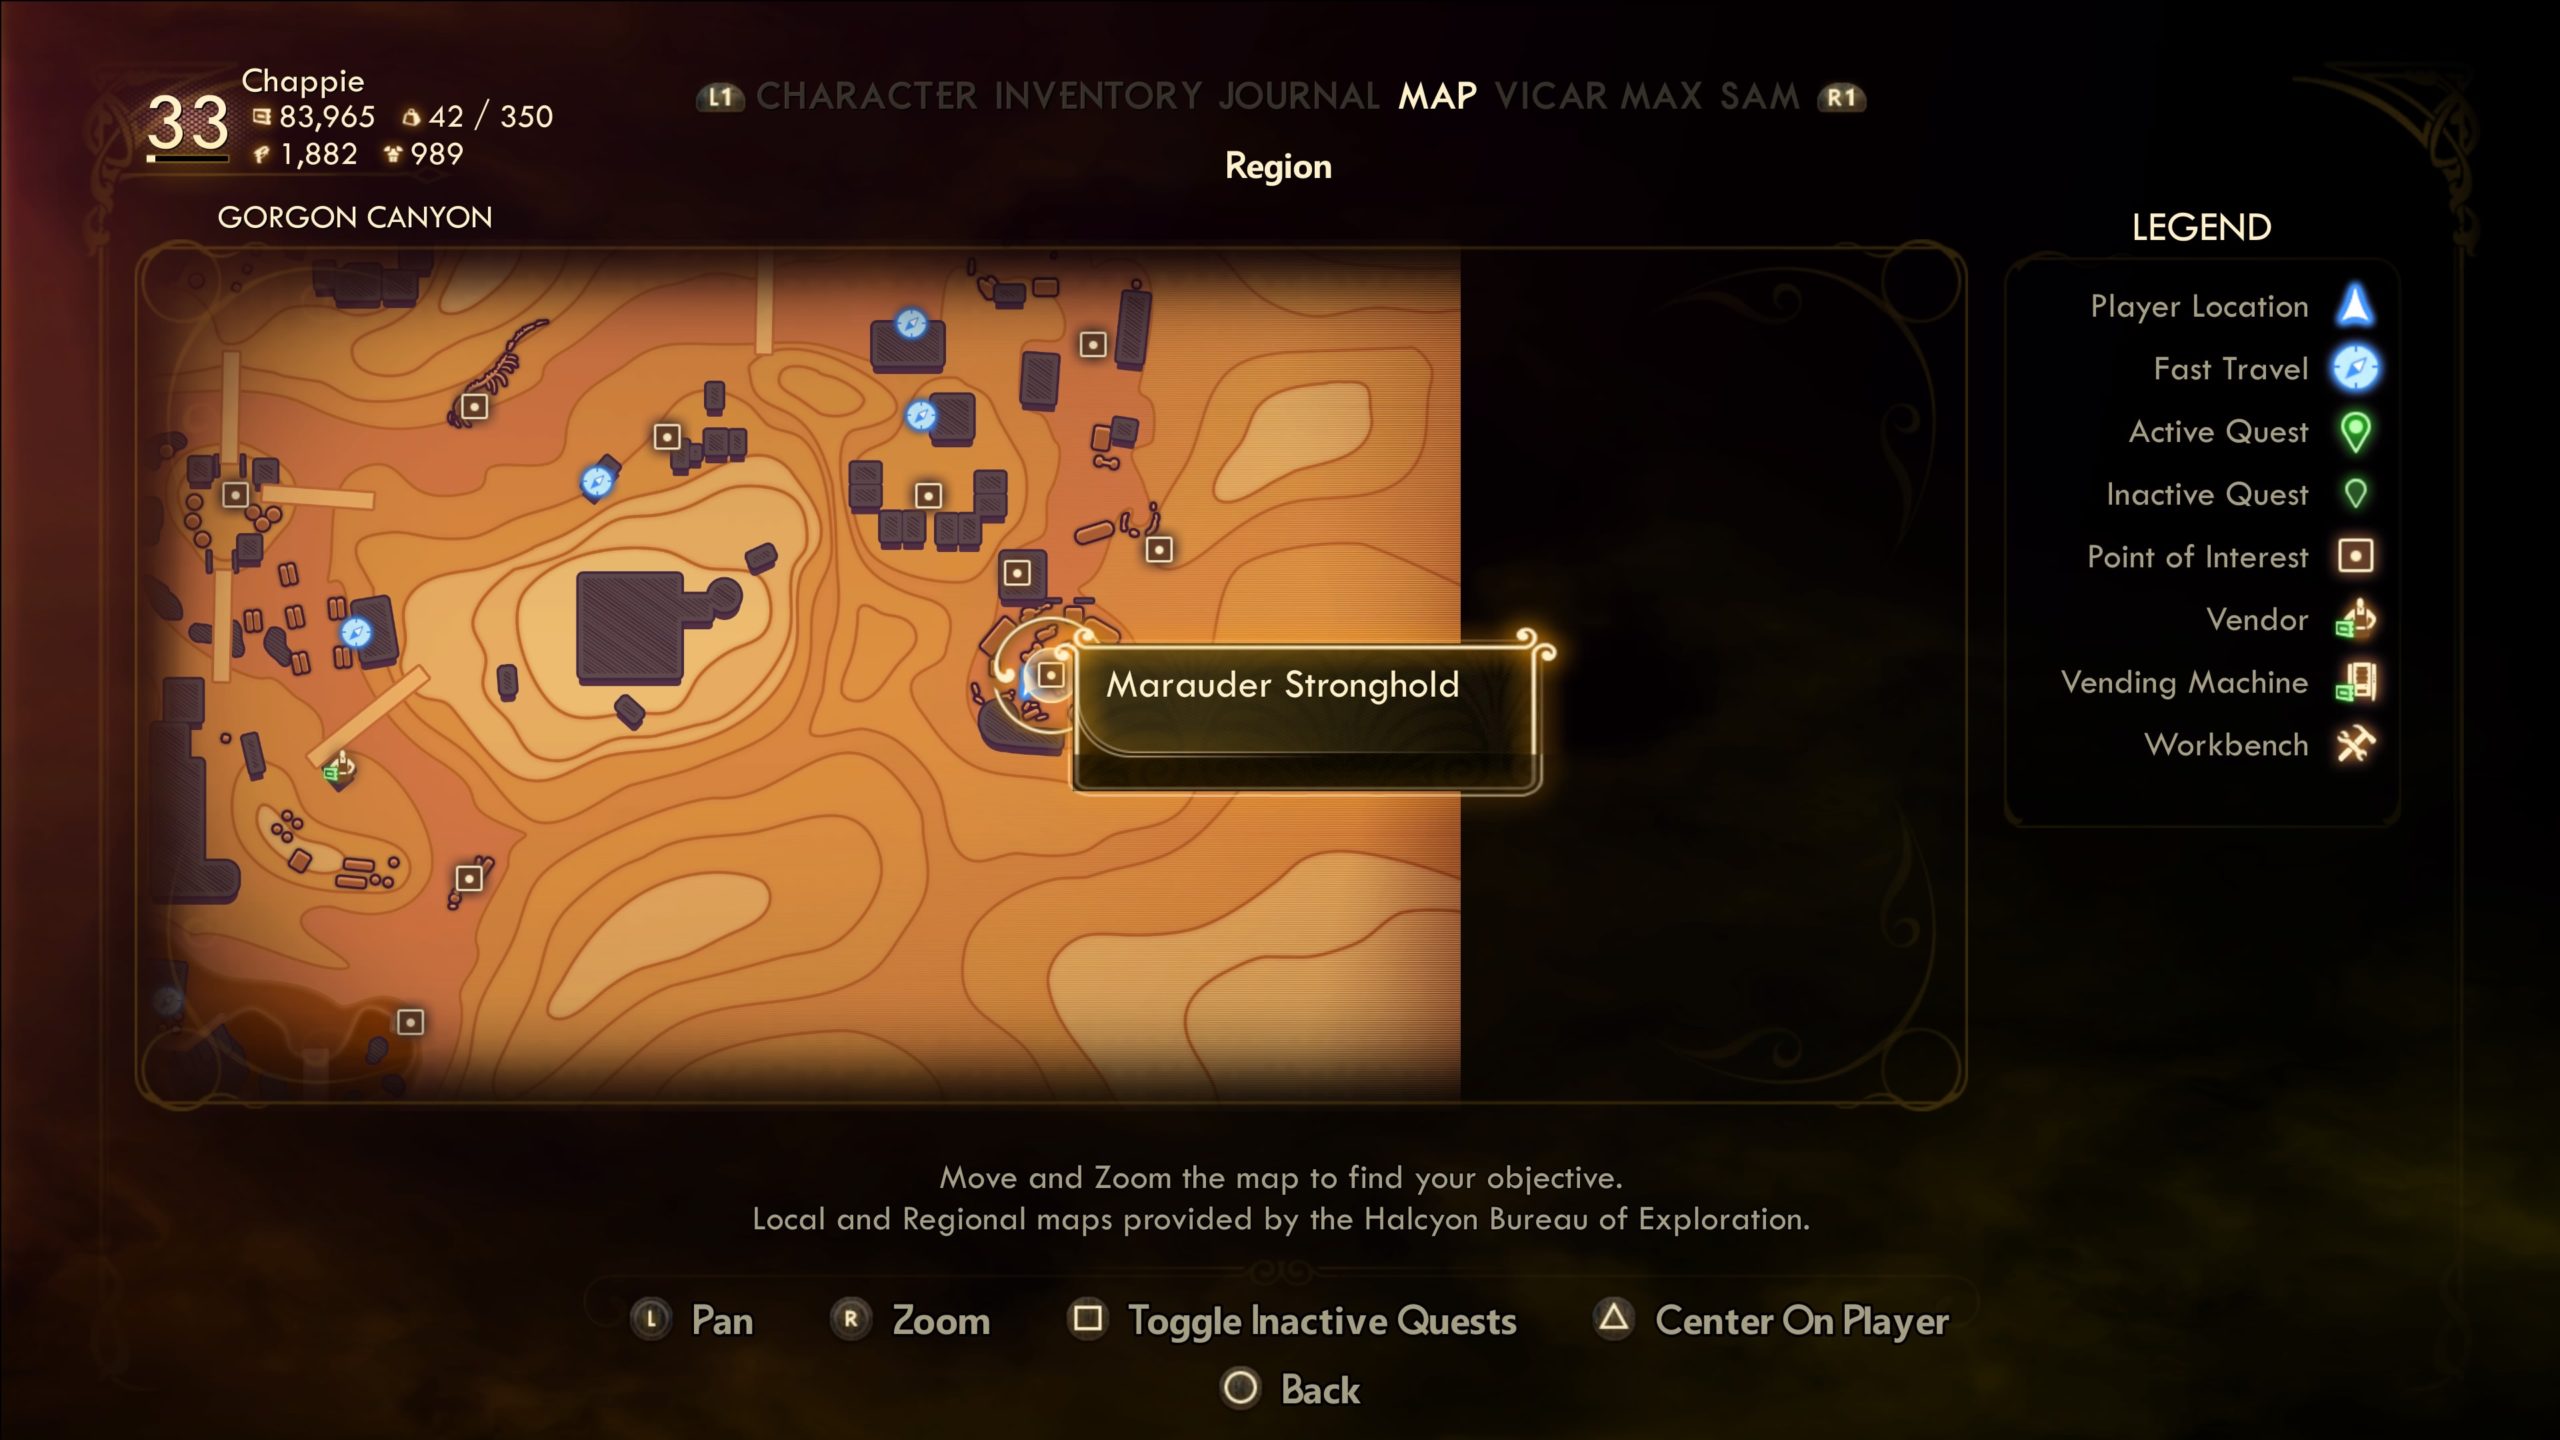
To earn the Lucky Stiff trophy in The Outer Worlds: Peril on Gorgon, you will need to find Lucky Montoya. Lucky Montoya’s corpse can be found at the Marauder Stronghold in the southeastern part of the map.
To earn The Postman trophy in The Outer Worlds: Peril on Gorgon, you will need to deliver Olivia’s journal to Lucien.
At the very beginning of the game when you first meet Wilhelmina “Minnie” Ambrose, speak with her then immediately kill her. Head back to the Unreliable and travel to the Gorgon Landing Pad. Lucien Bancroft will message you via Ada asking you to retrieve Olivia’s journal. Once you obtain the journal, choose to side with Lucien and complete the Gorgon quest line to obtain The Postman Trophy!
Below is a walkthrough on the main story quests in Chapter 4 of Atelier Ryza.
The Arid Lands
Now that we’re in a new area again, it’s time to explore! Wander deeper into Ashen Forest in search of Bos. Once you cross under a natural stone archway near the center of the map, a cutscene will trigger. Afterwards, speak with Kilo then return to the Underworld gate for another cutscene. Travel to Brunnen Manor on Treppe Hill.
The Abandoned Tower: 1
Wait 3 days then travel to Brunnen Manor on Treppe Hill to trigger a cutscene. Afterwards, return to the atelier then head to the Rasen District, Boden District and the Valentz Manor in Old Town. Once you’re done touring, return to the atelier then wait two days.
The Abandoned Tower: 2
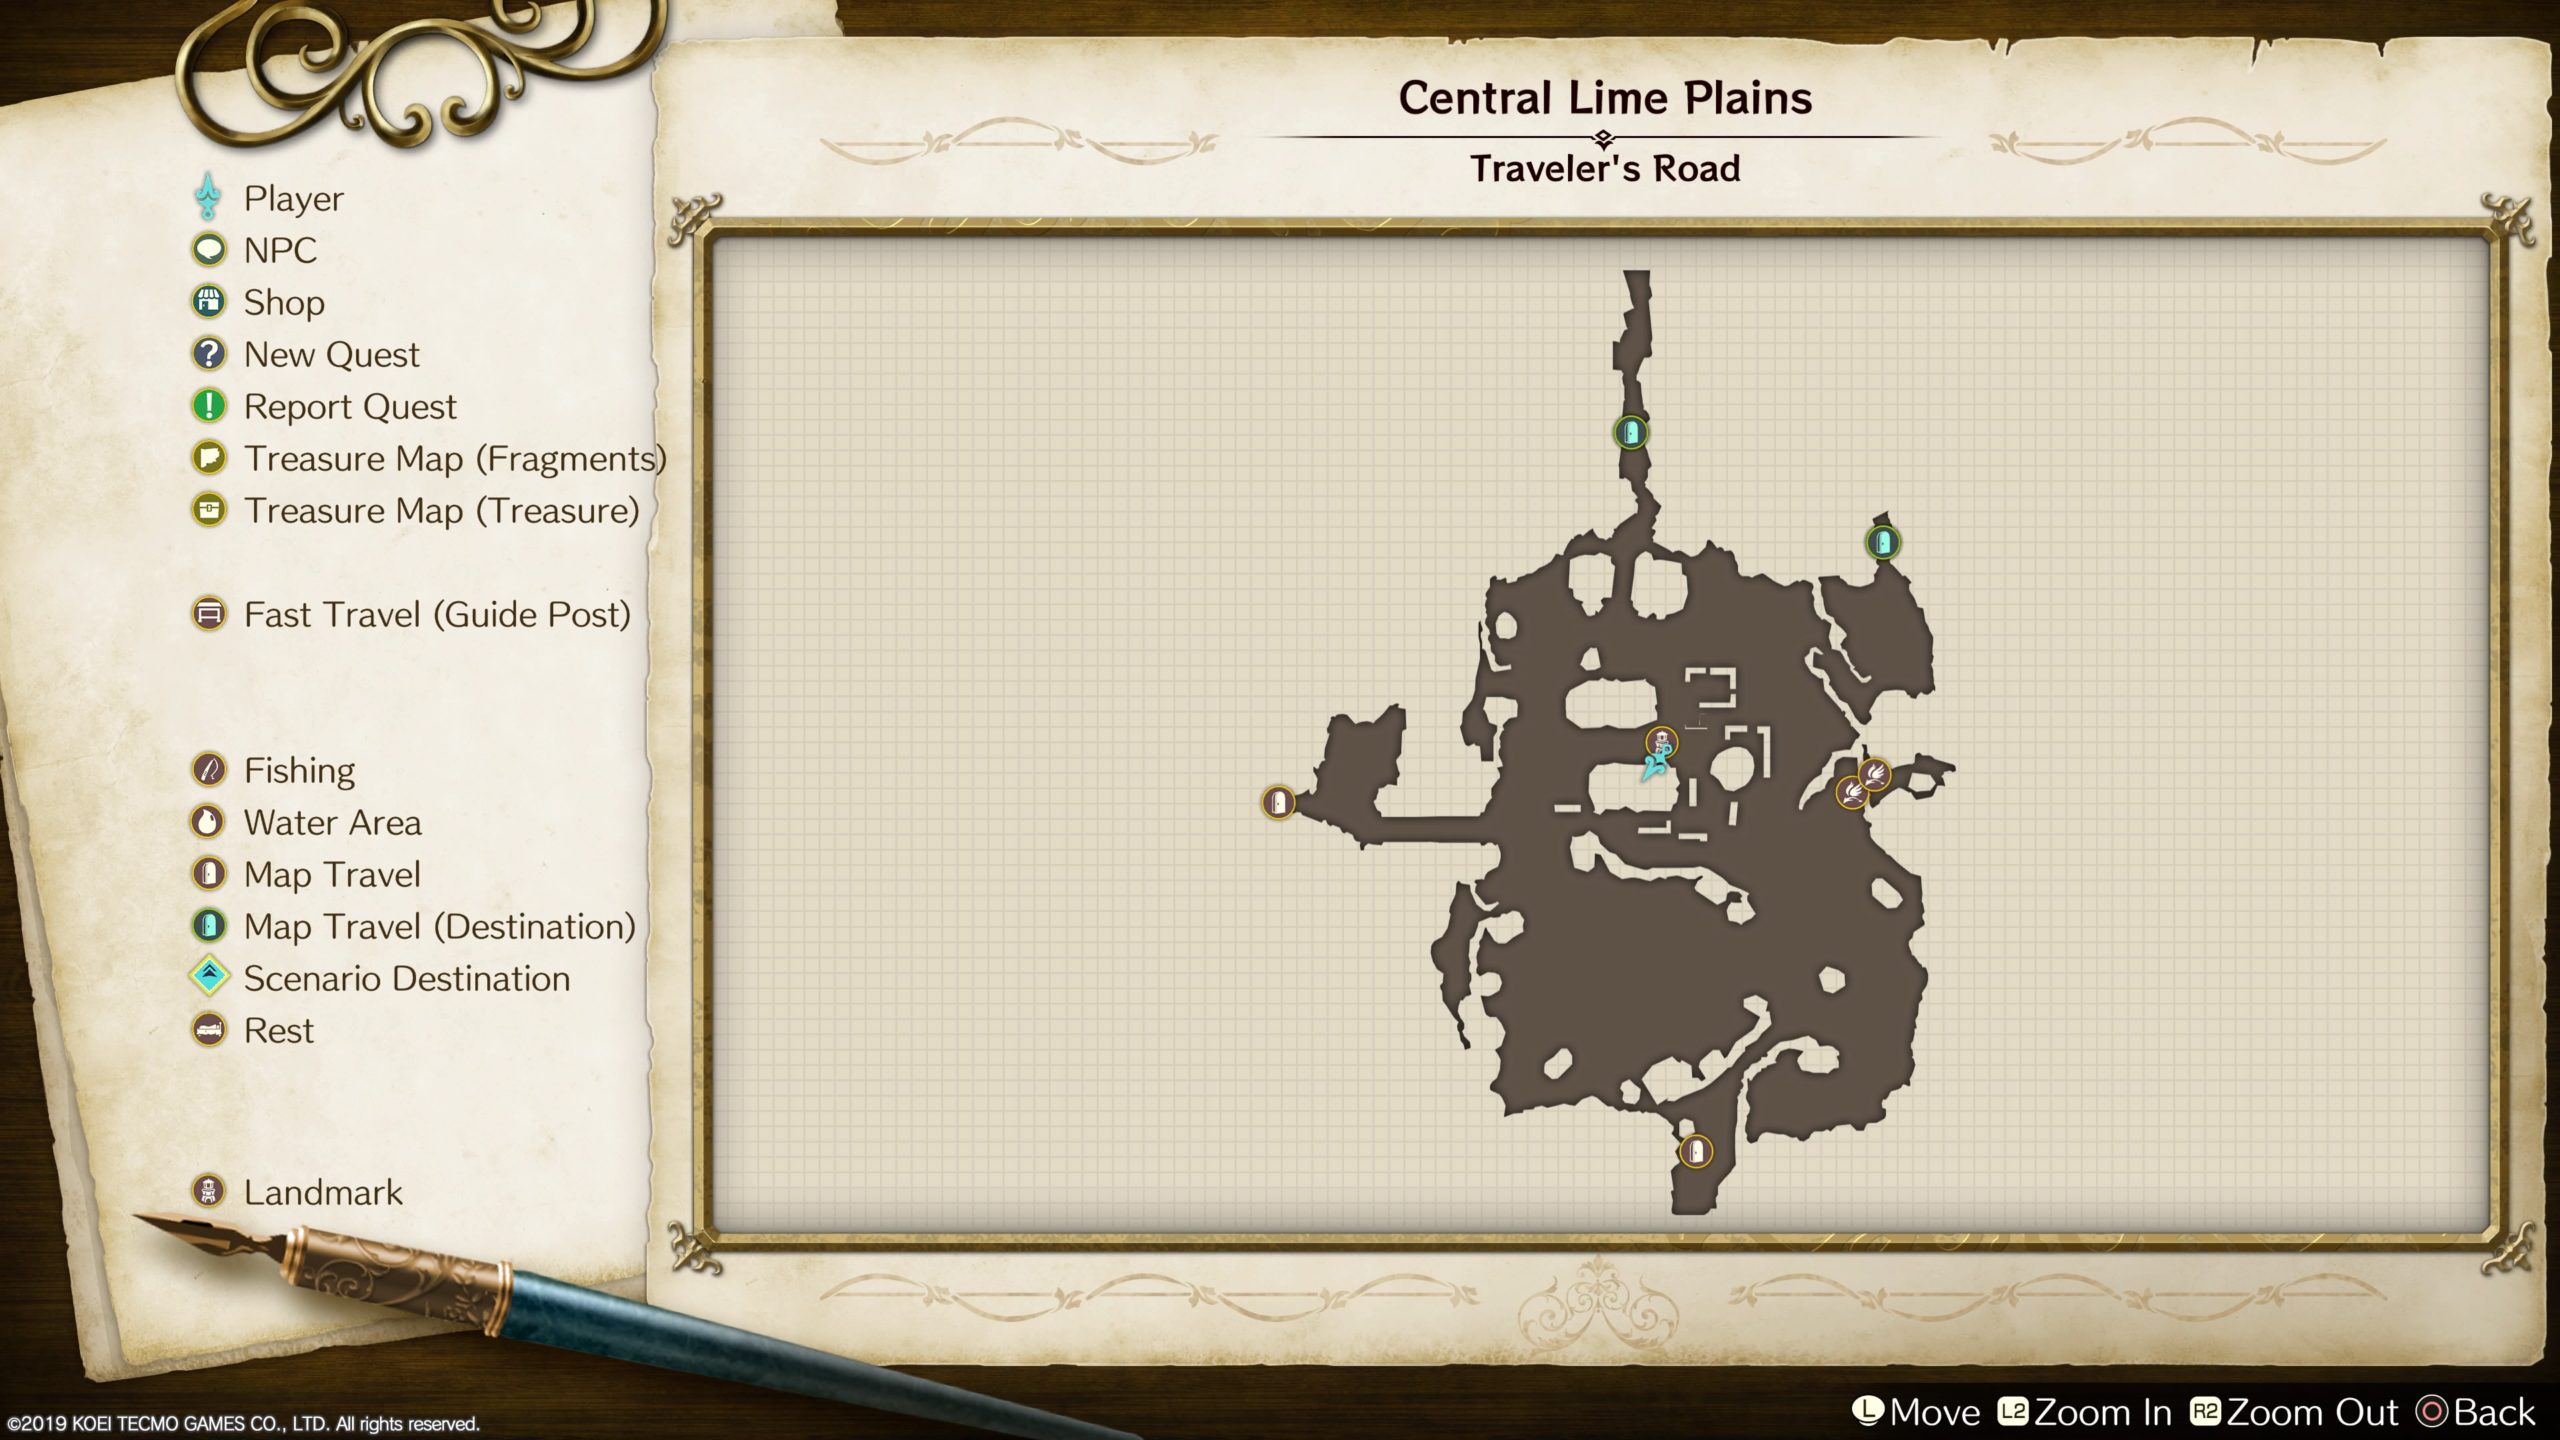
Use the Gathering Synthesizer to travel to any world in search of the Resonance Orb, which is a purple bubbling mist. I went to a higher level world to get the highest quality Resonance Orb. Once you’ve collected the orb, synthesize the Prosthetic Arm with a quality of at least 80 then deliver it to Lila, who is standing near the Puni on the porch outside. Afterwards, wait at the atelier for 1 day. Following a brief cutscene with Lent, head to Brunnen Manor on Treppe Hill. Now it’s time to head to the tower, which is to the northwest of Traveler’s Road. Set off to the Central Lime Plains of the Traveler’s Road then proceed to the green map transition on the west side of the area. This will take you to Limewick Hill. Press forward to the very north of this map to located the next green map transition.
The Abandoned Tower: 3
Now that your in the Valley Path of Liese Valley, make your way to the northwestern map transition to reach Ancient Battlefield. In this area, continue to the north towards the objective to trigger a cutscene followed immediately by a boss fight. Defeat the dragon then proceed north to the next area called the Broken Defense Line. Once in this area, make your way to the very north to the green map transition. When you transition to the next area, a cutscene will trigger. Afterwards, continue to the Pynnor Holy Tower and make your way through the Sanctuary Garden to the Spiral Hall. Head a short ways up the stairs to trigger a cutscene then press forward through the area. Once you reach the end and continue to the next area, a long cutscene will trigger. The group will then need to head back to the atelier.
This chest can be found in a nook on the western side of the area. Open it to find two Giant Claw!
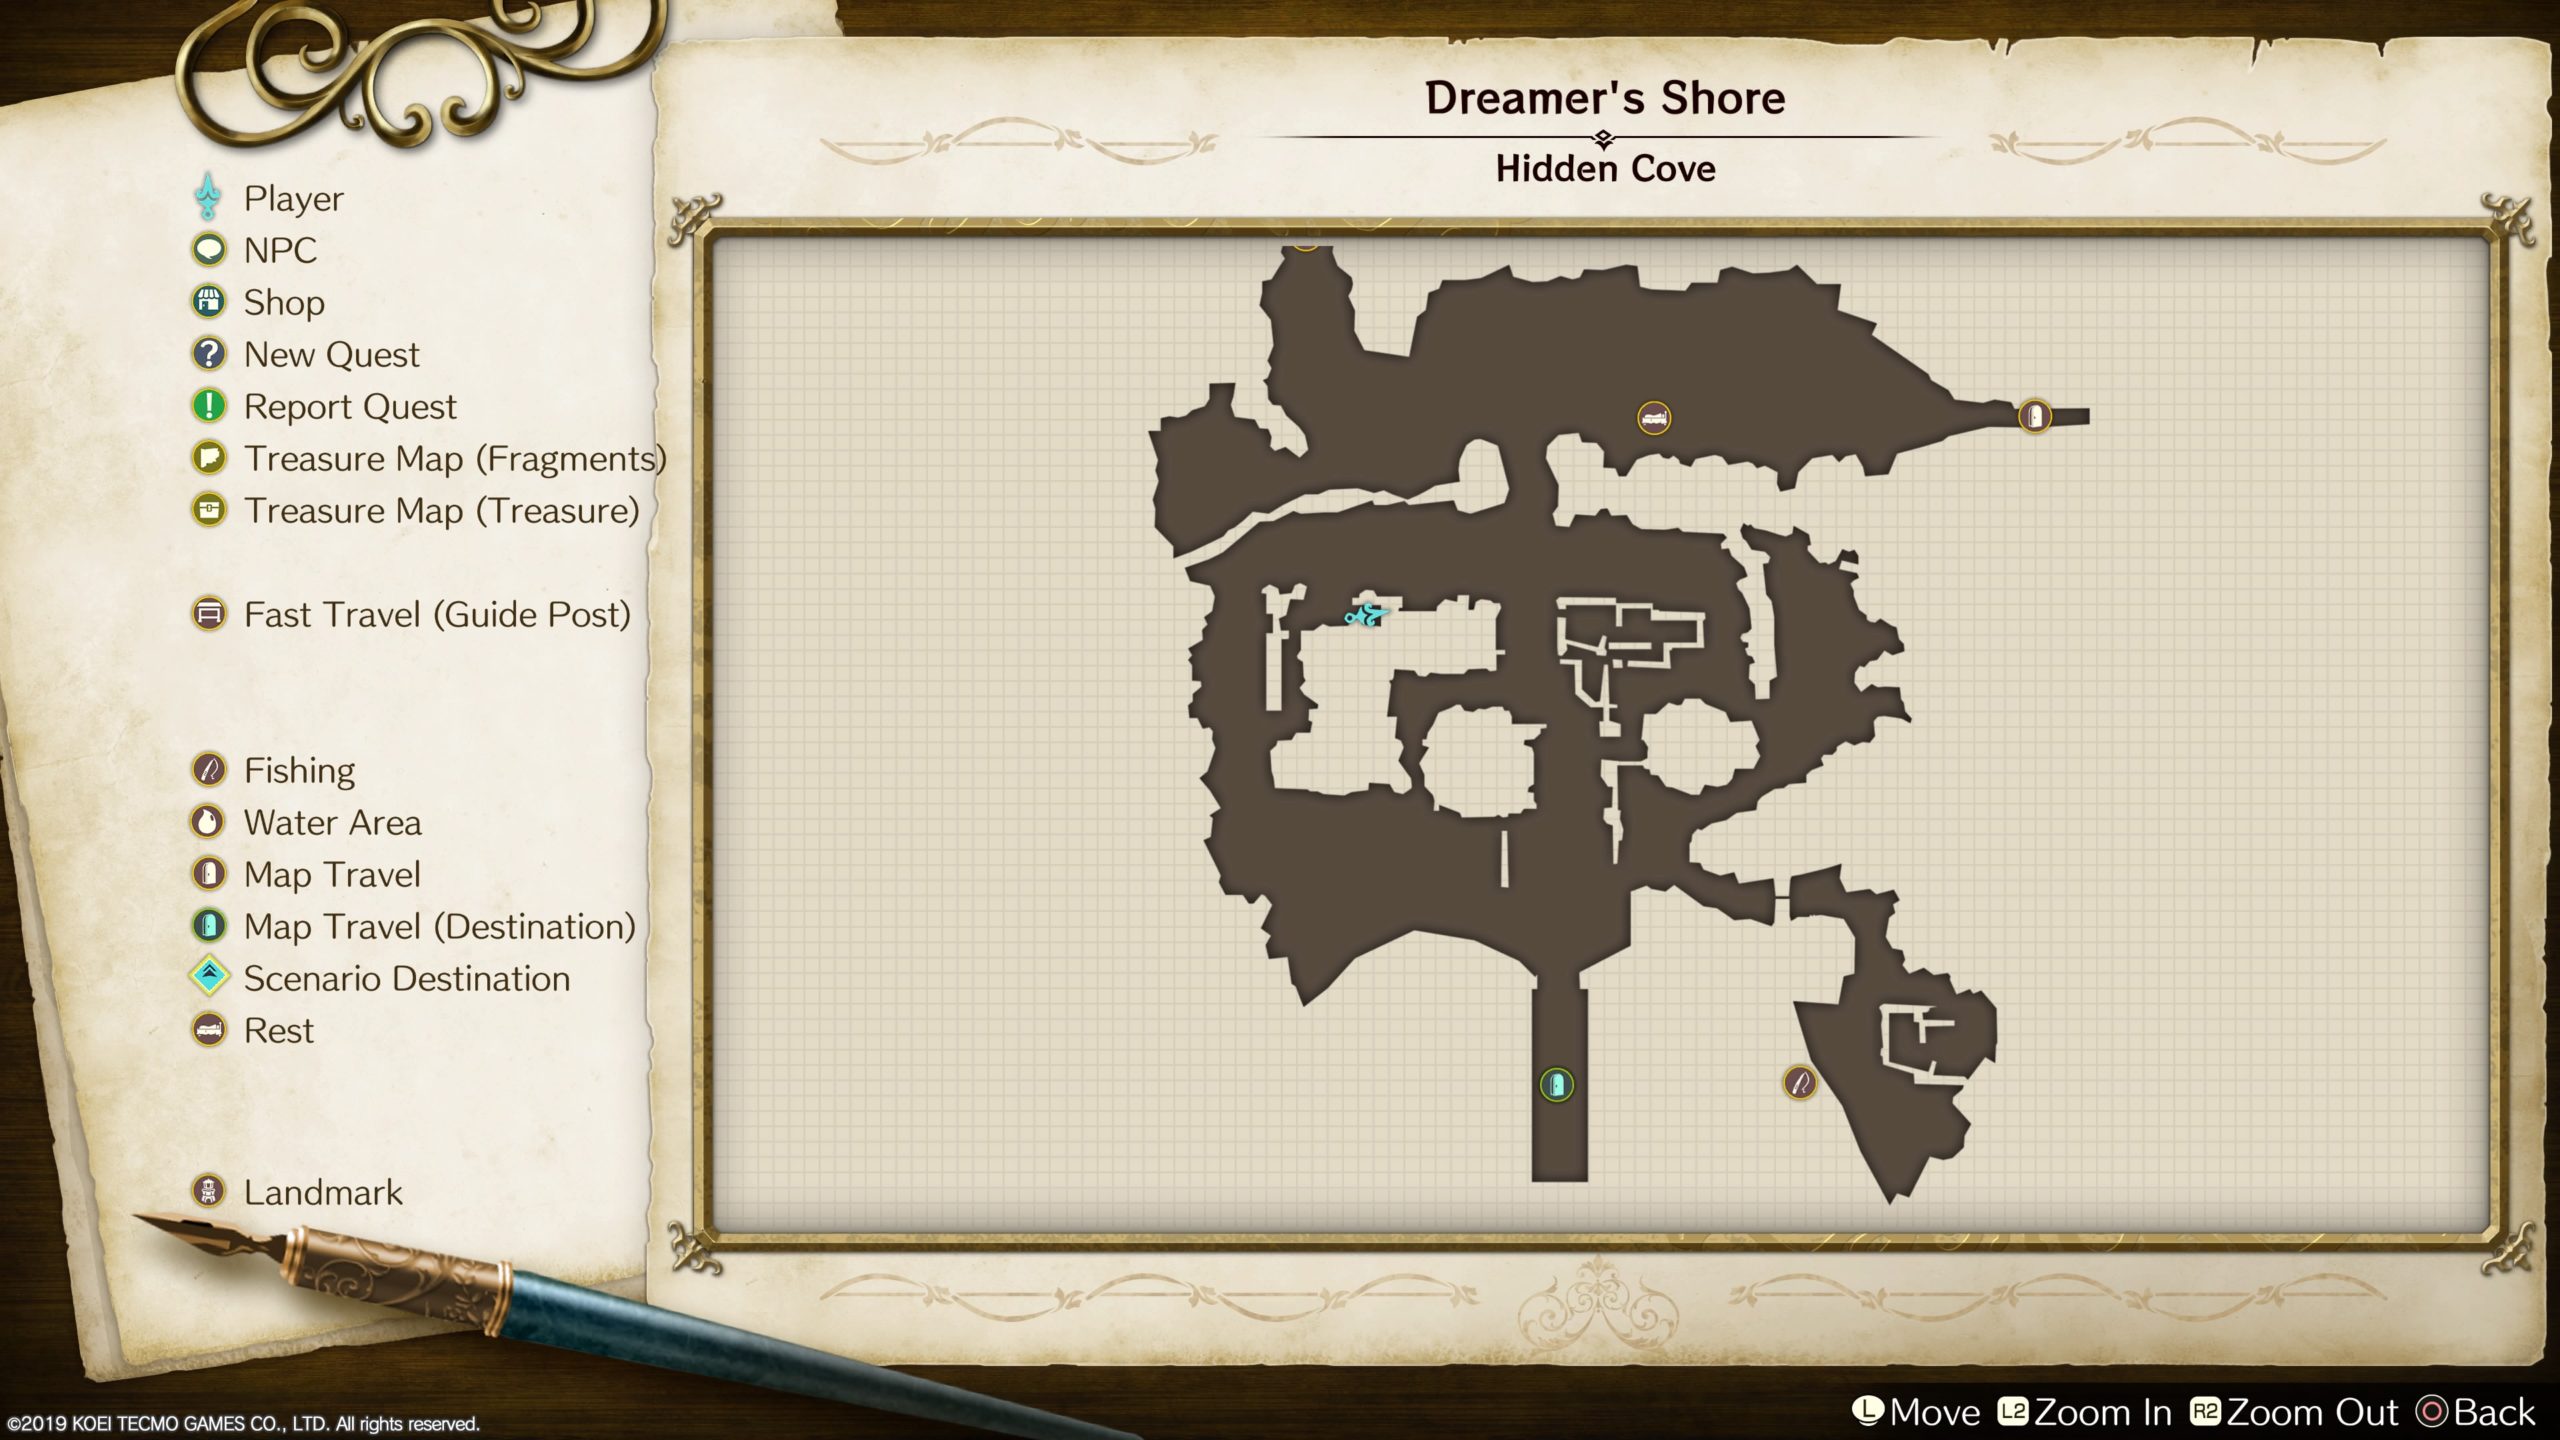
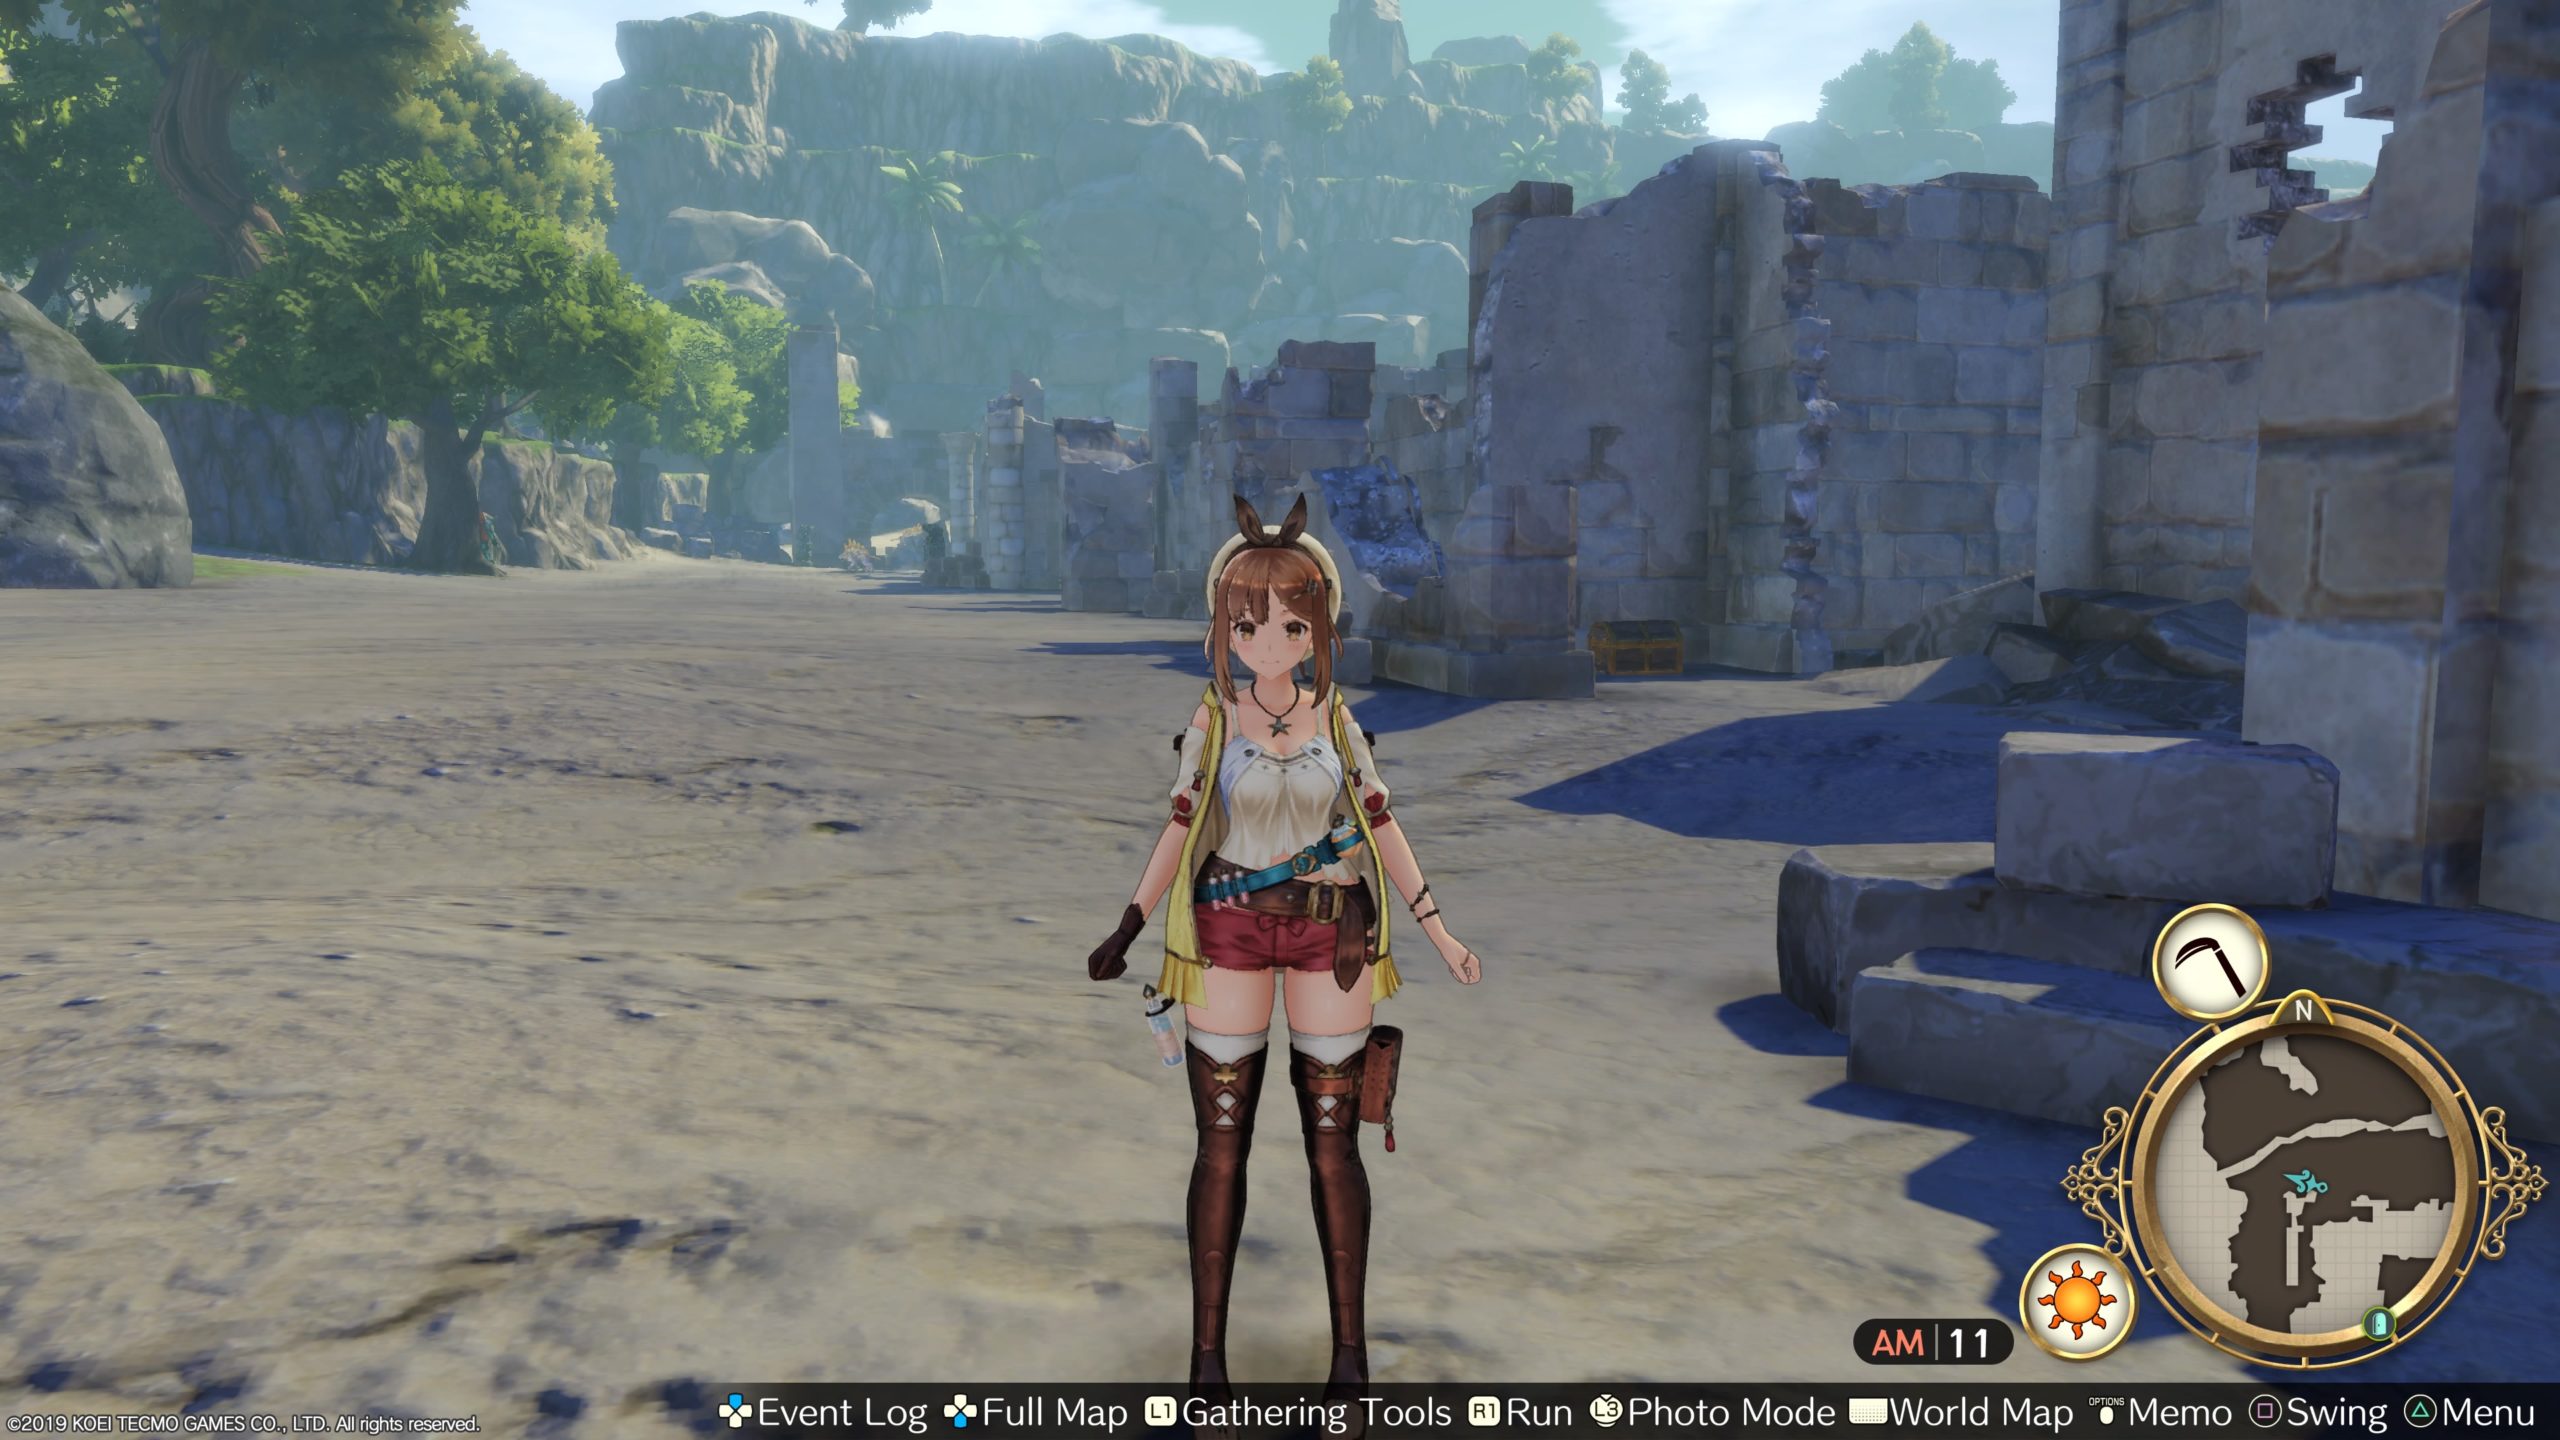
Dreamer’s Shore
This chest can be found inside the Hidden Cove Temple landmark, which is in the southeastern part of the map. You will need to squeeze through to reach this area containing the landmark. Open the chest to find Gold Coin x3!
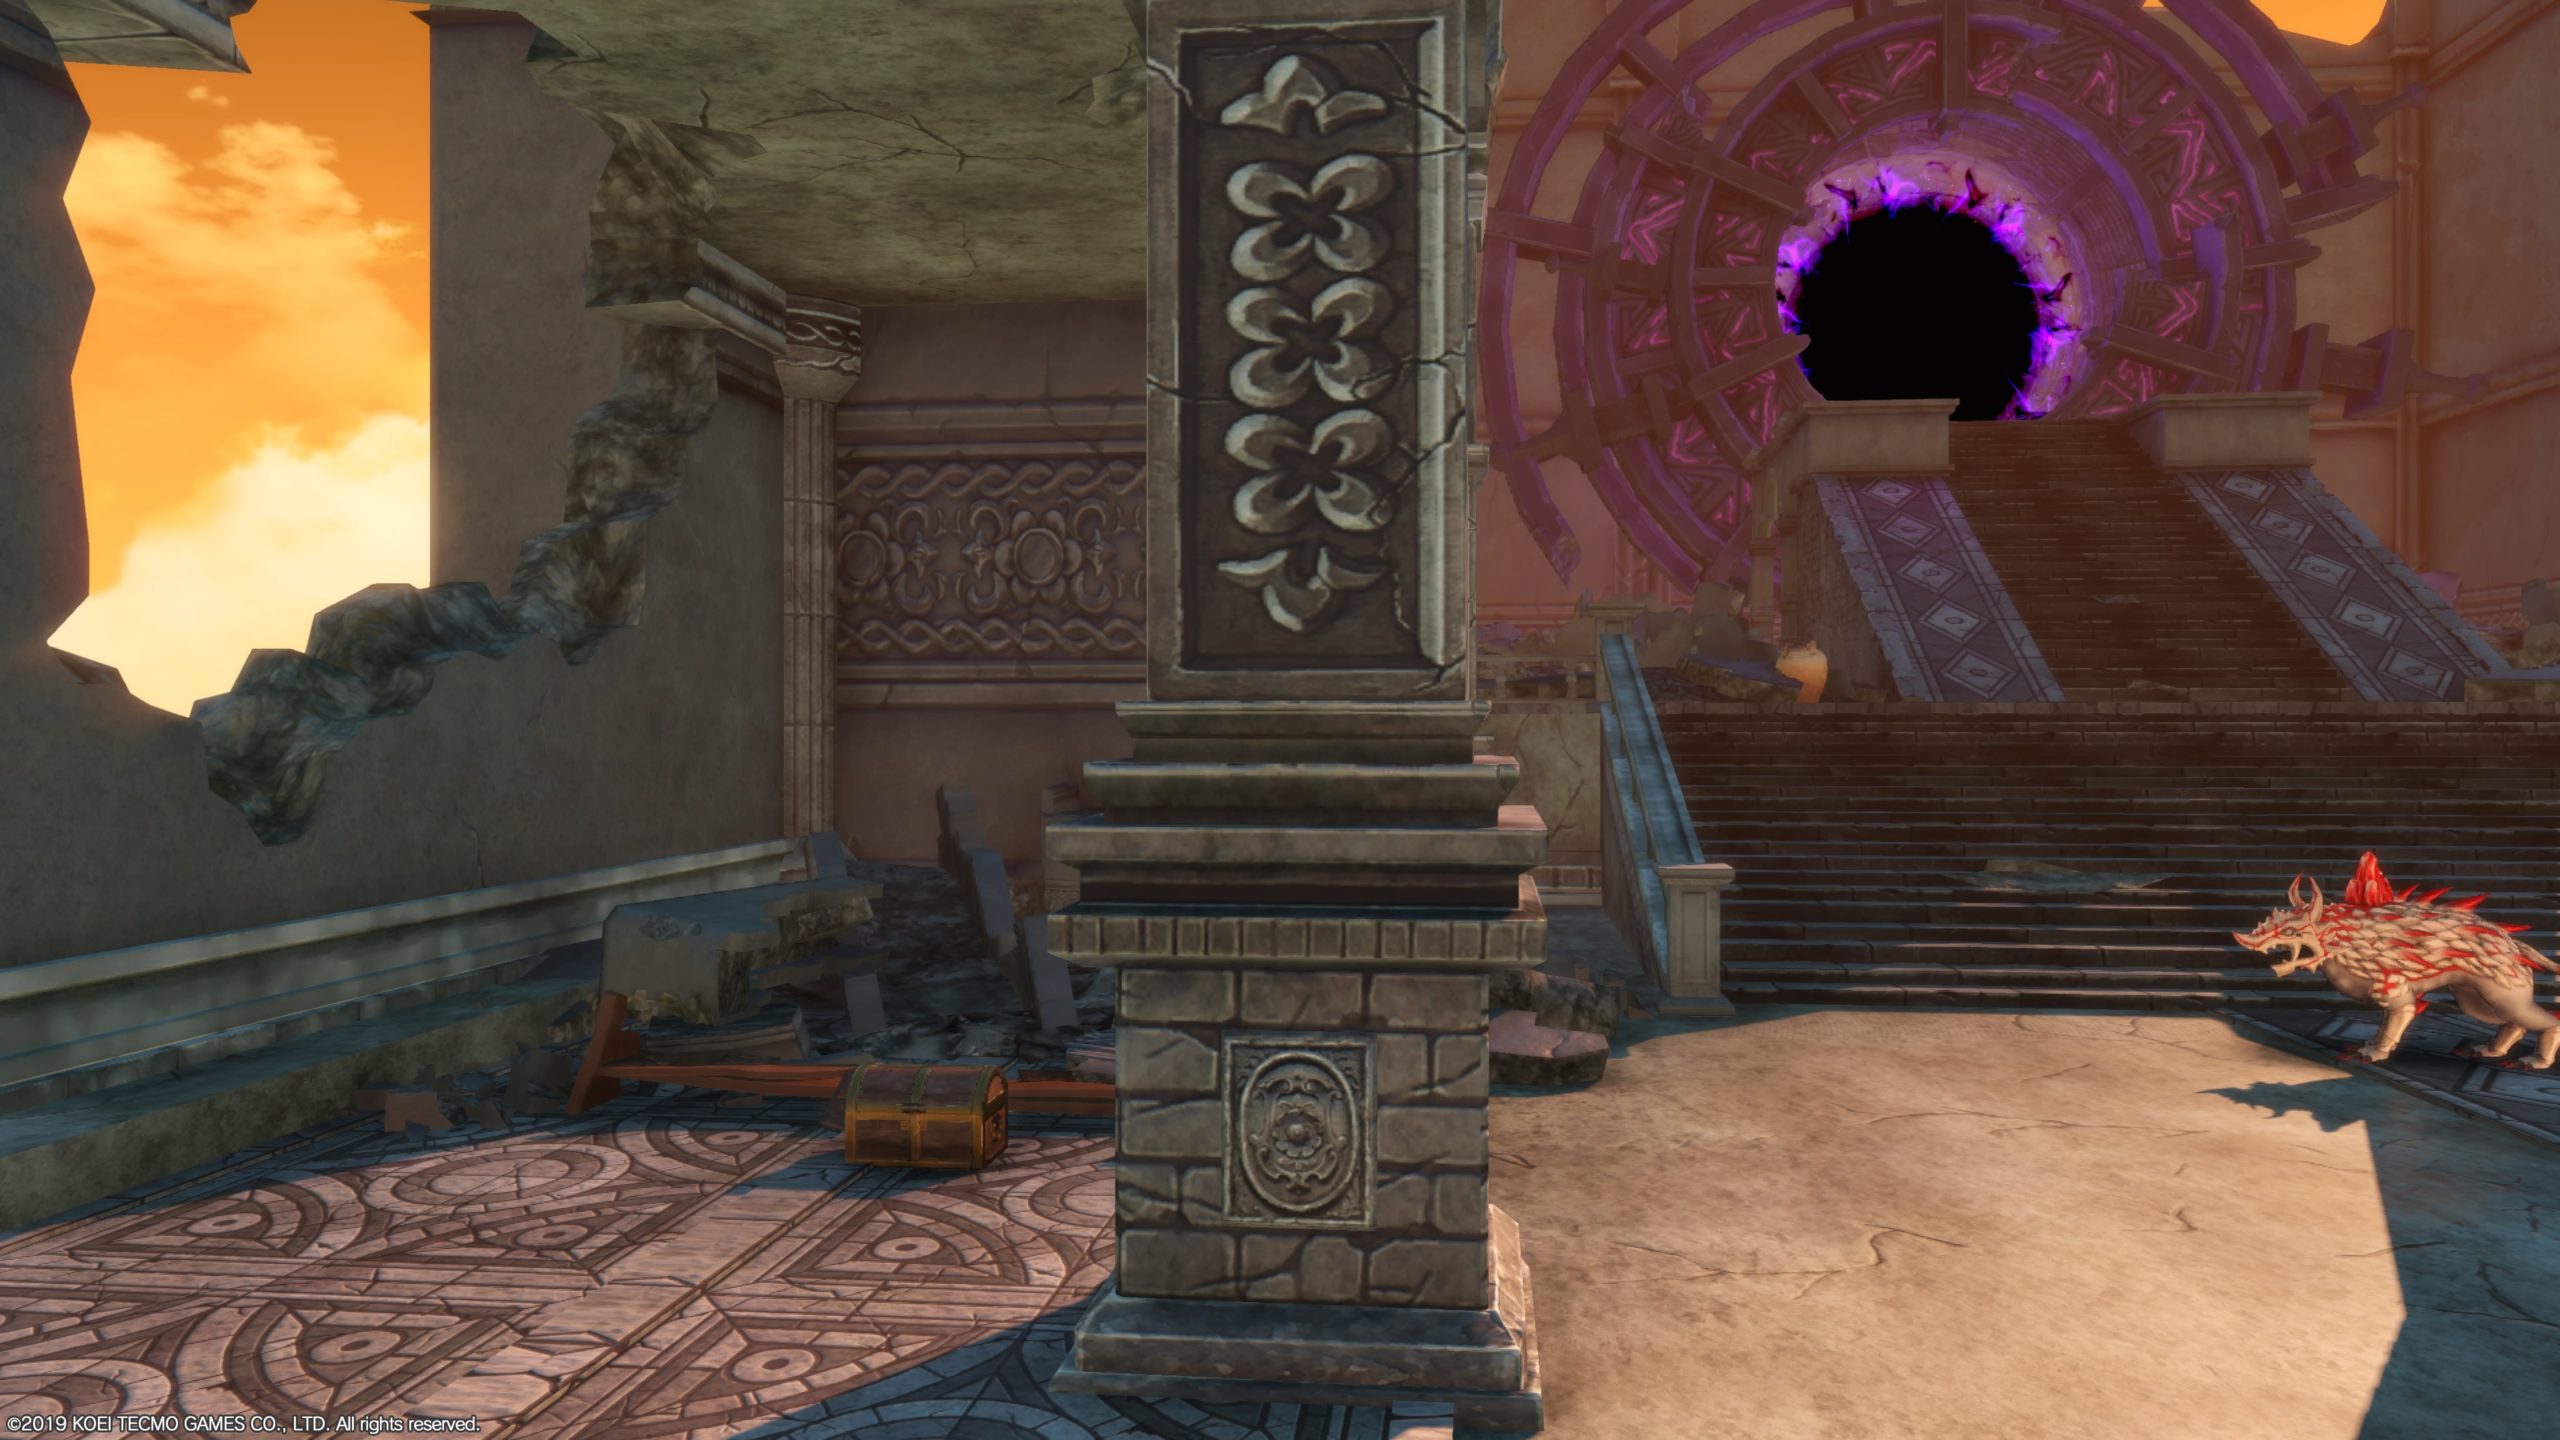
Boundary Cathedral
This chest can be found on the eastern side of the Boundary Cathedral. It is located near the steps leading up to the black hole. Open the chest to find a Golem Core!
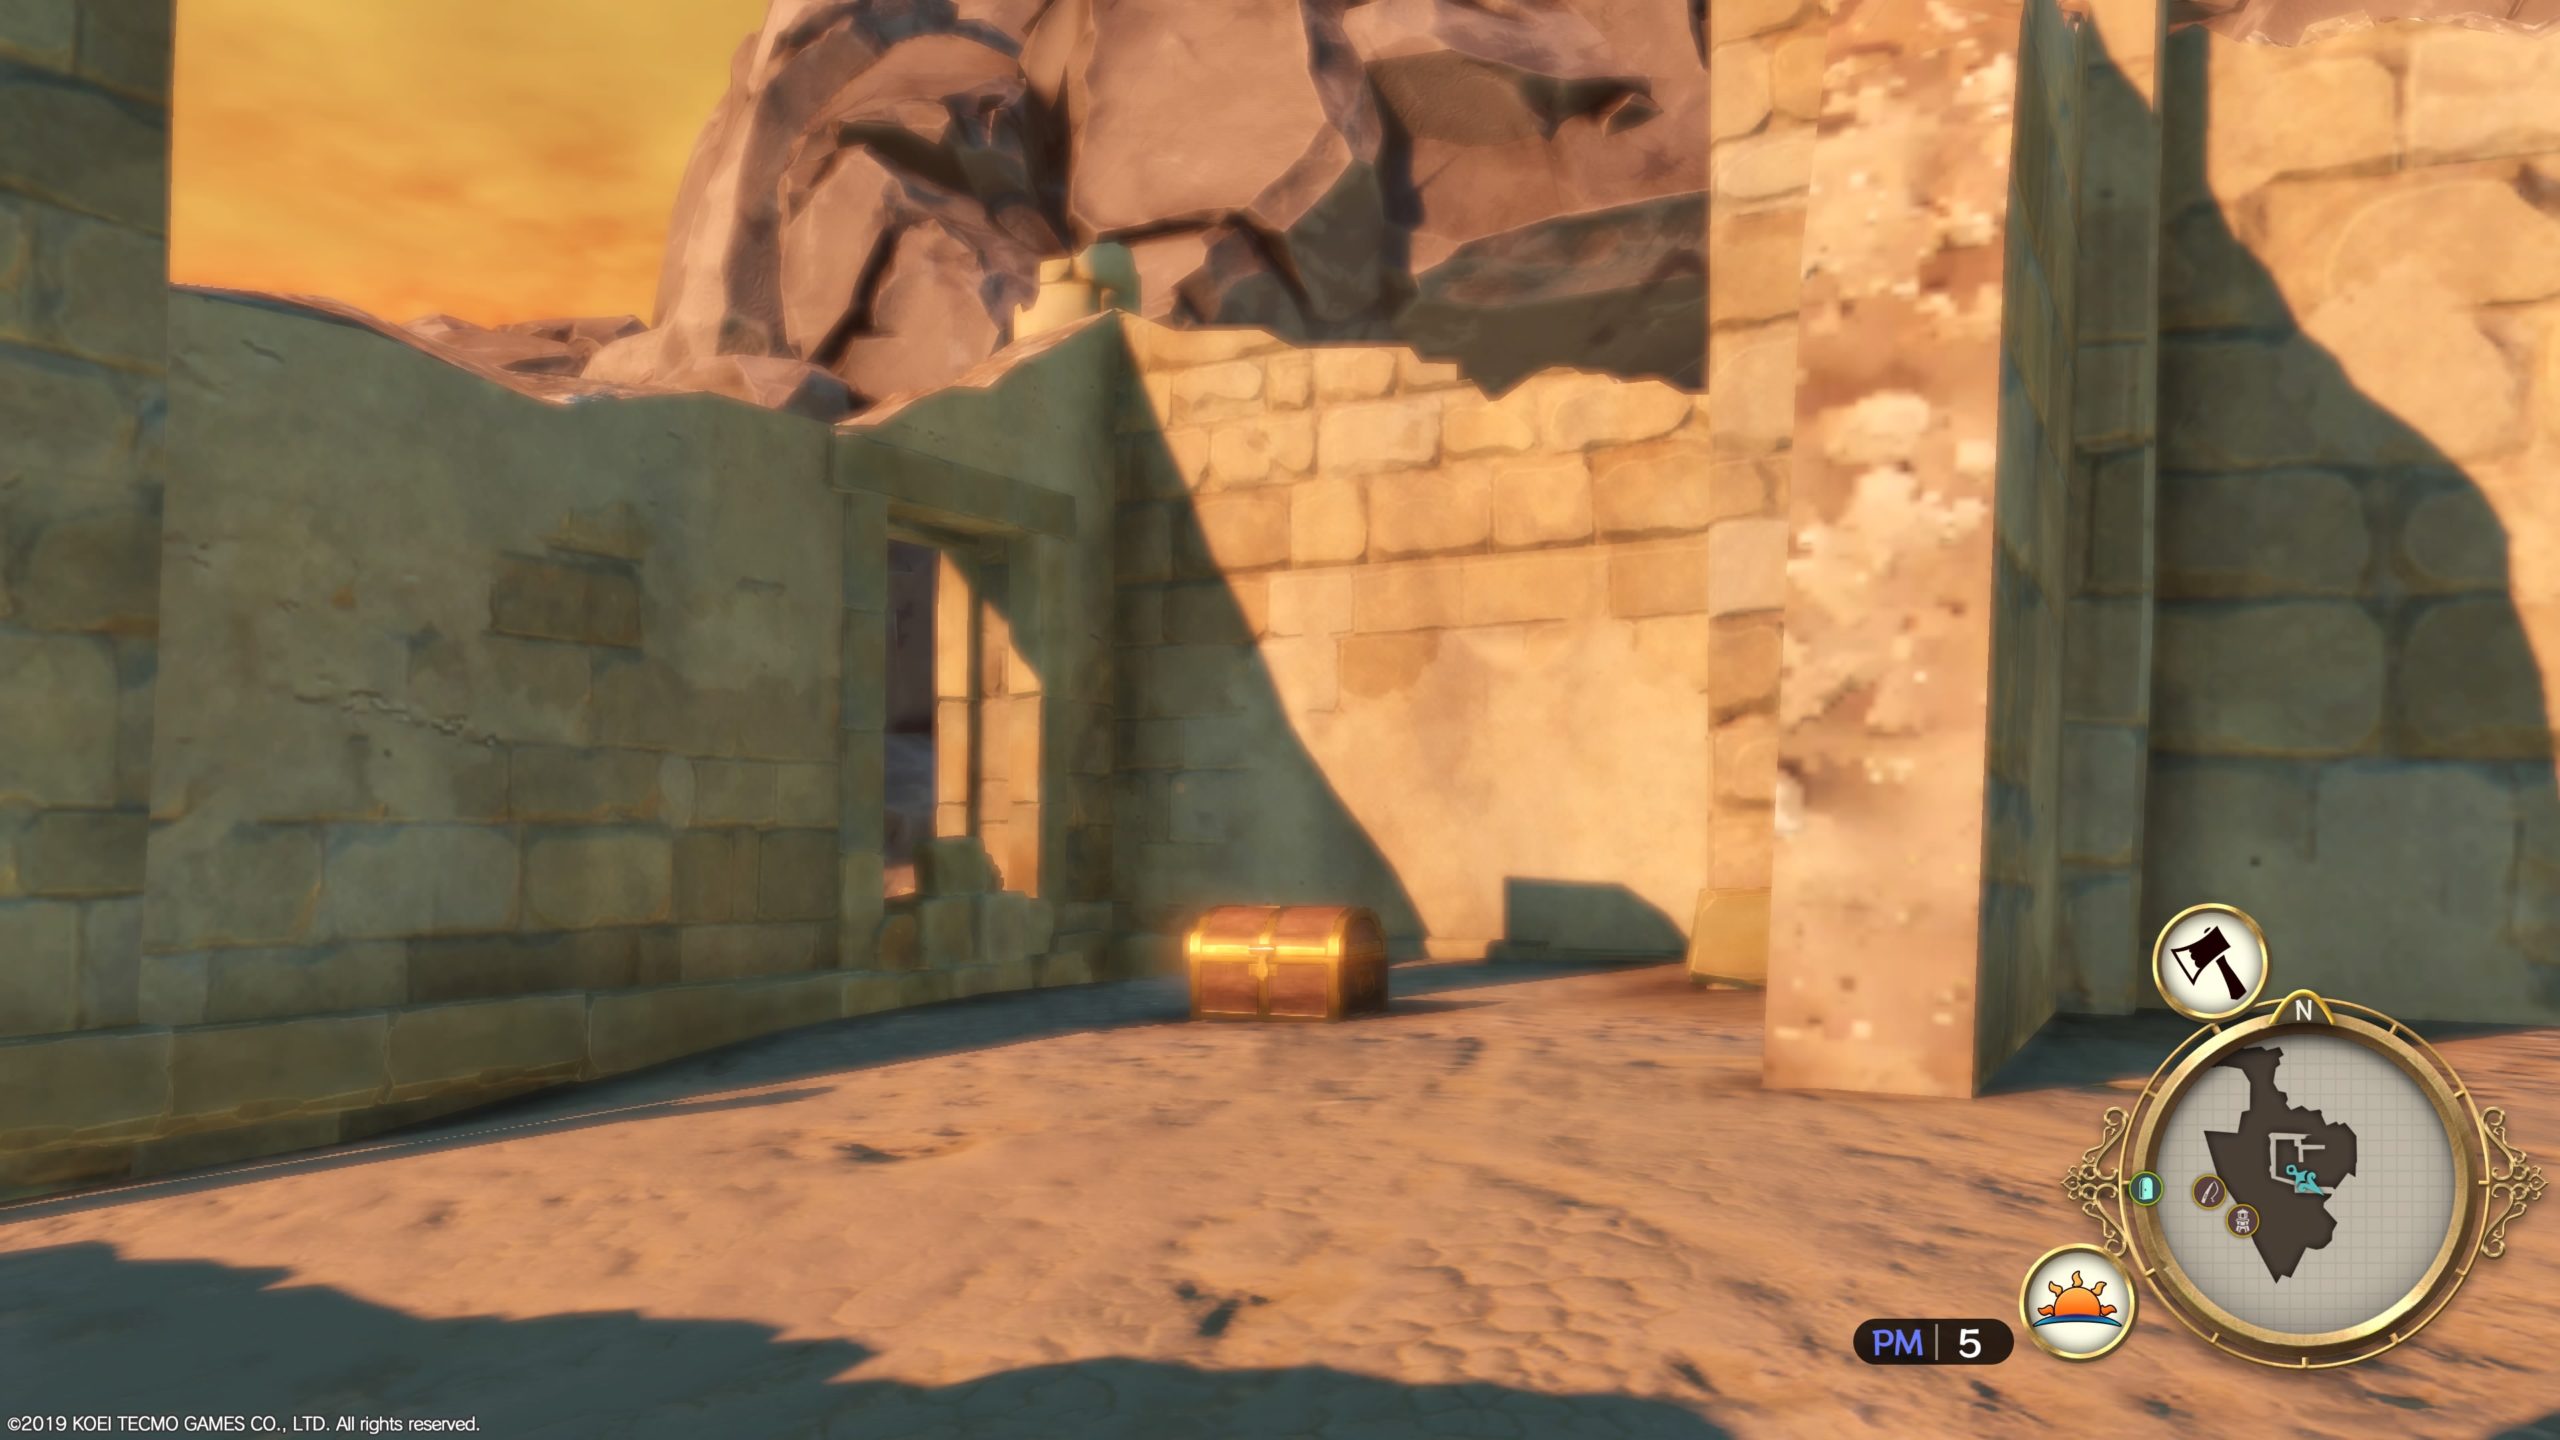
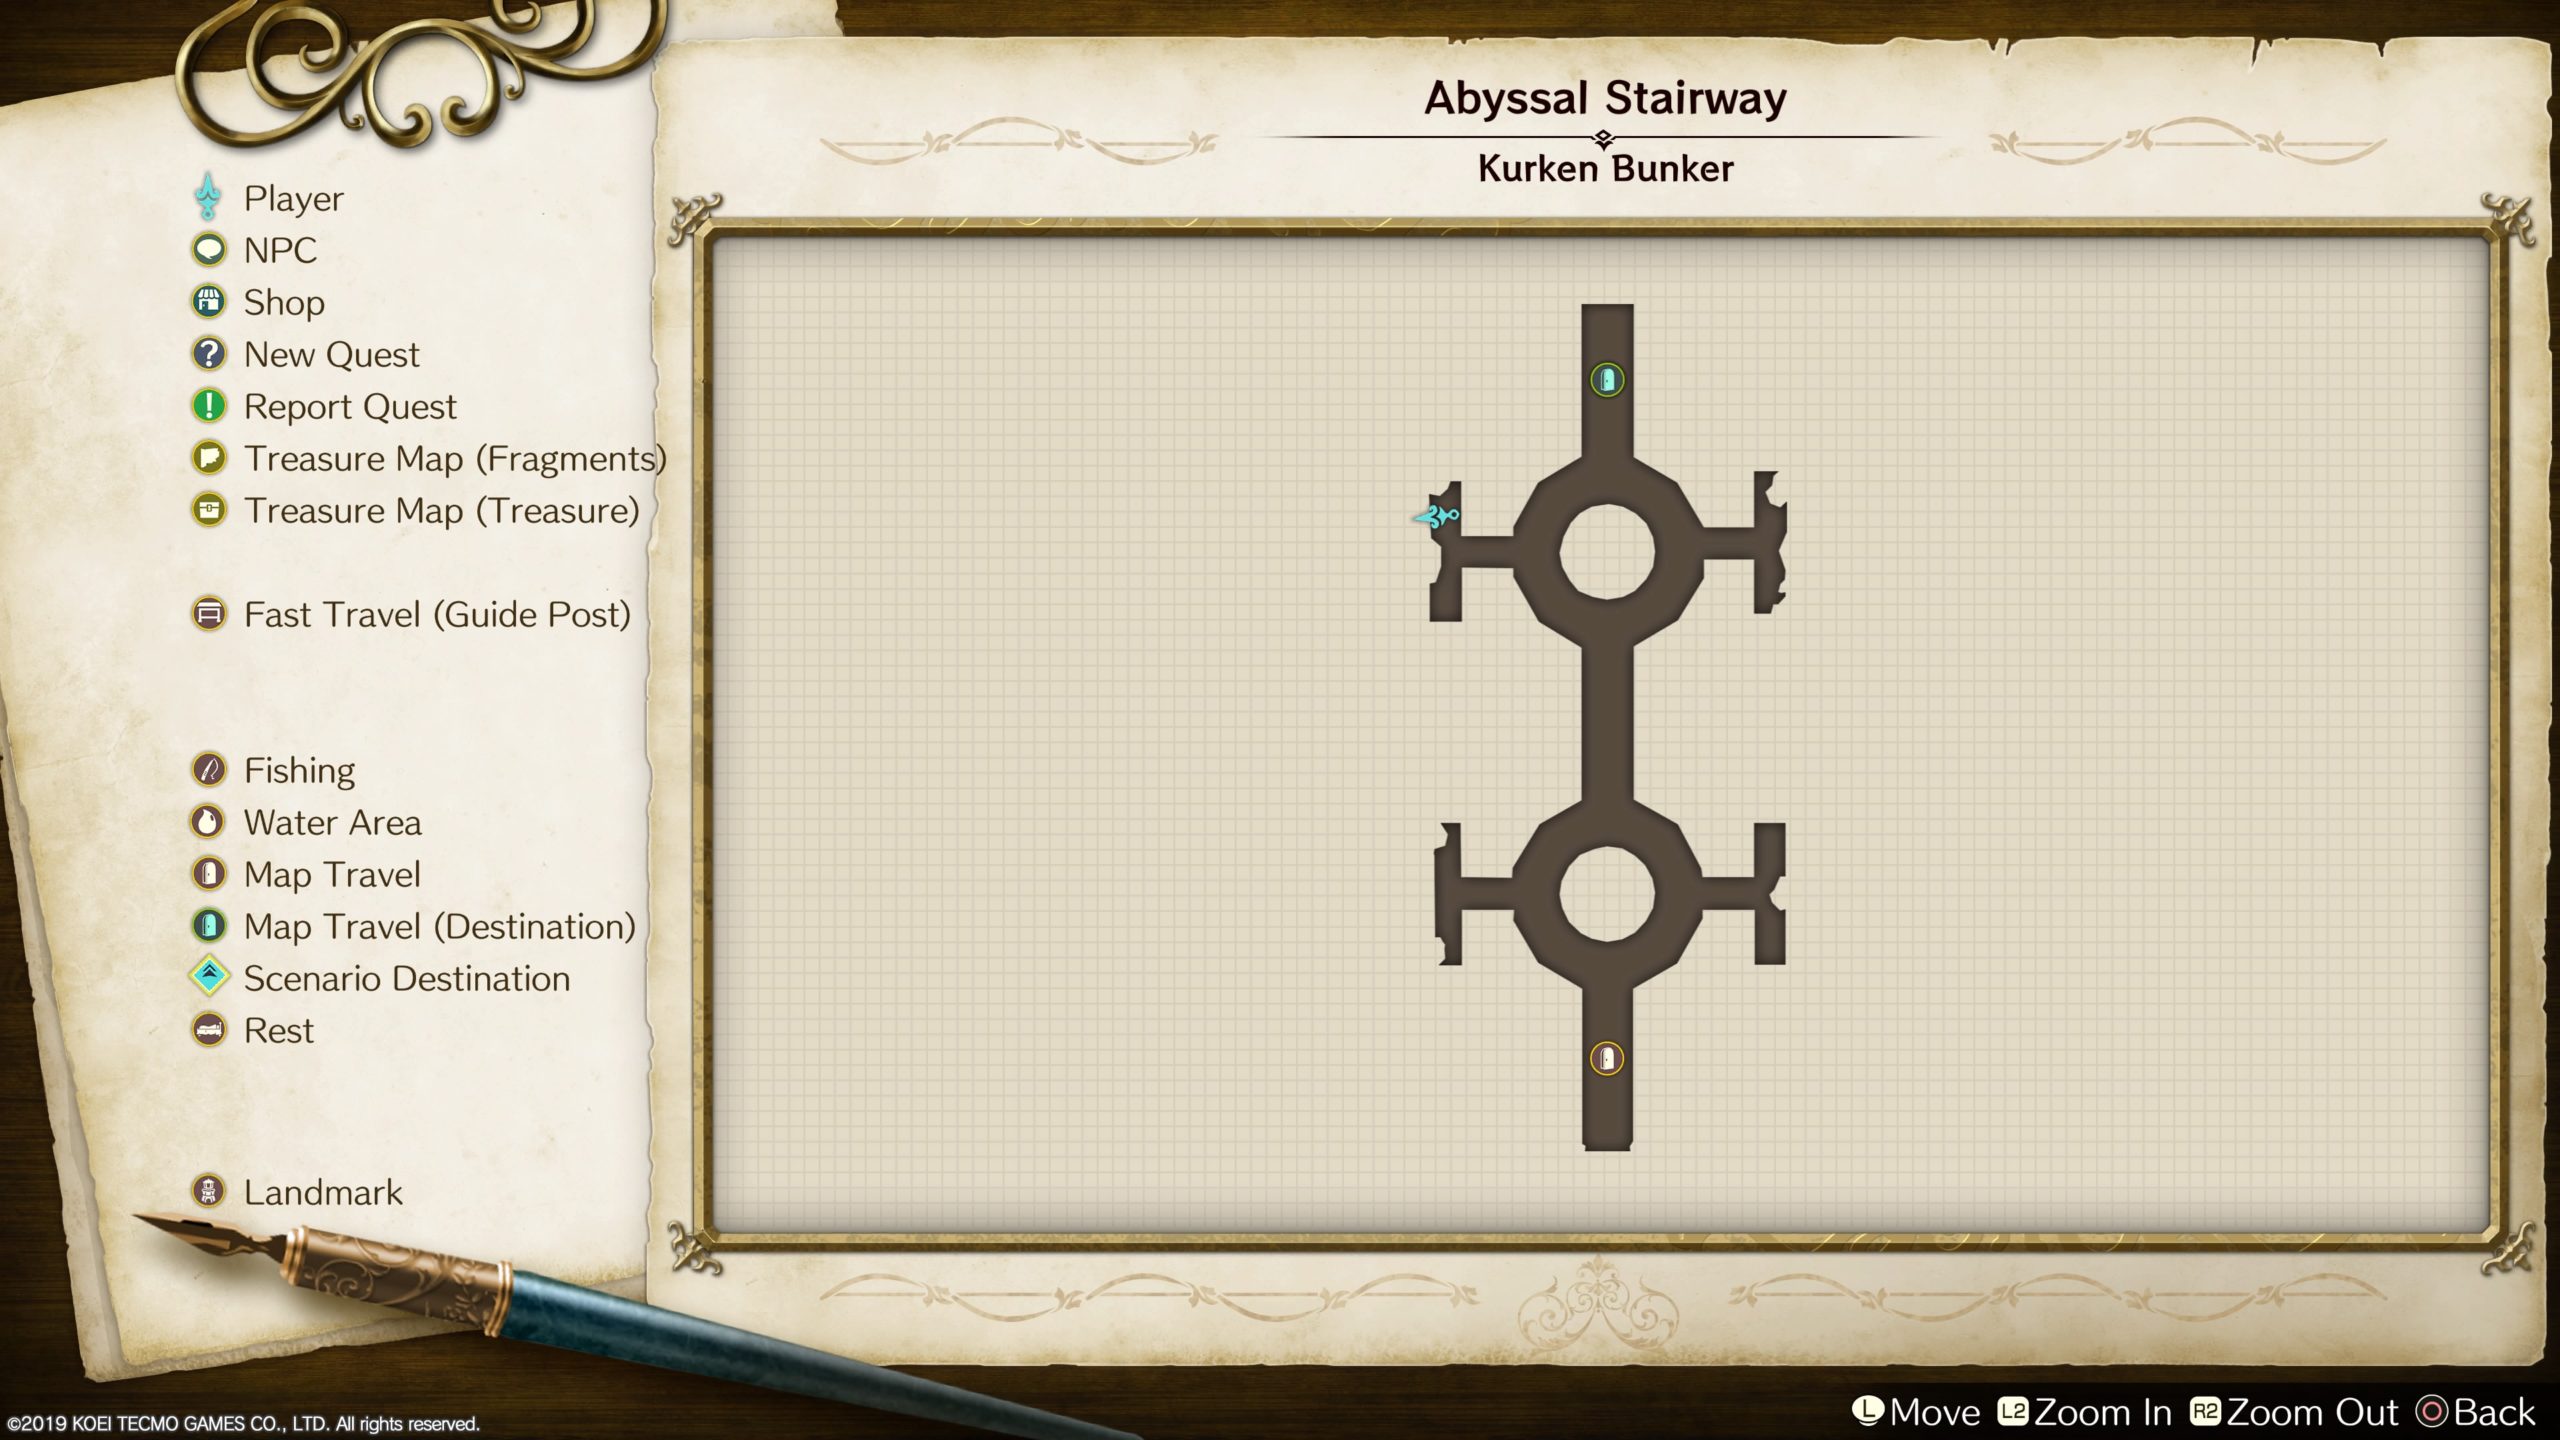
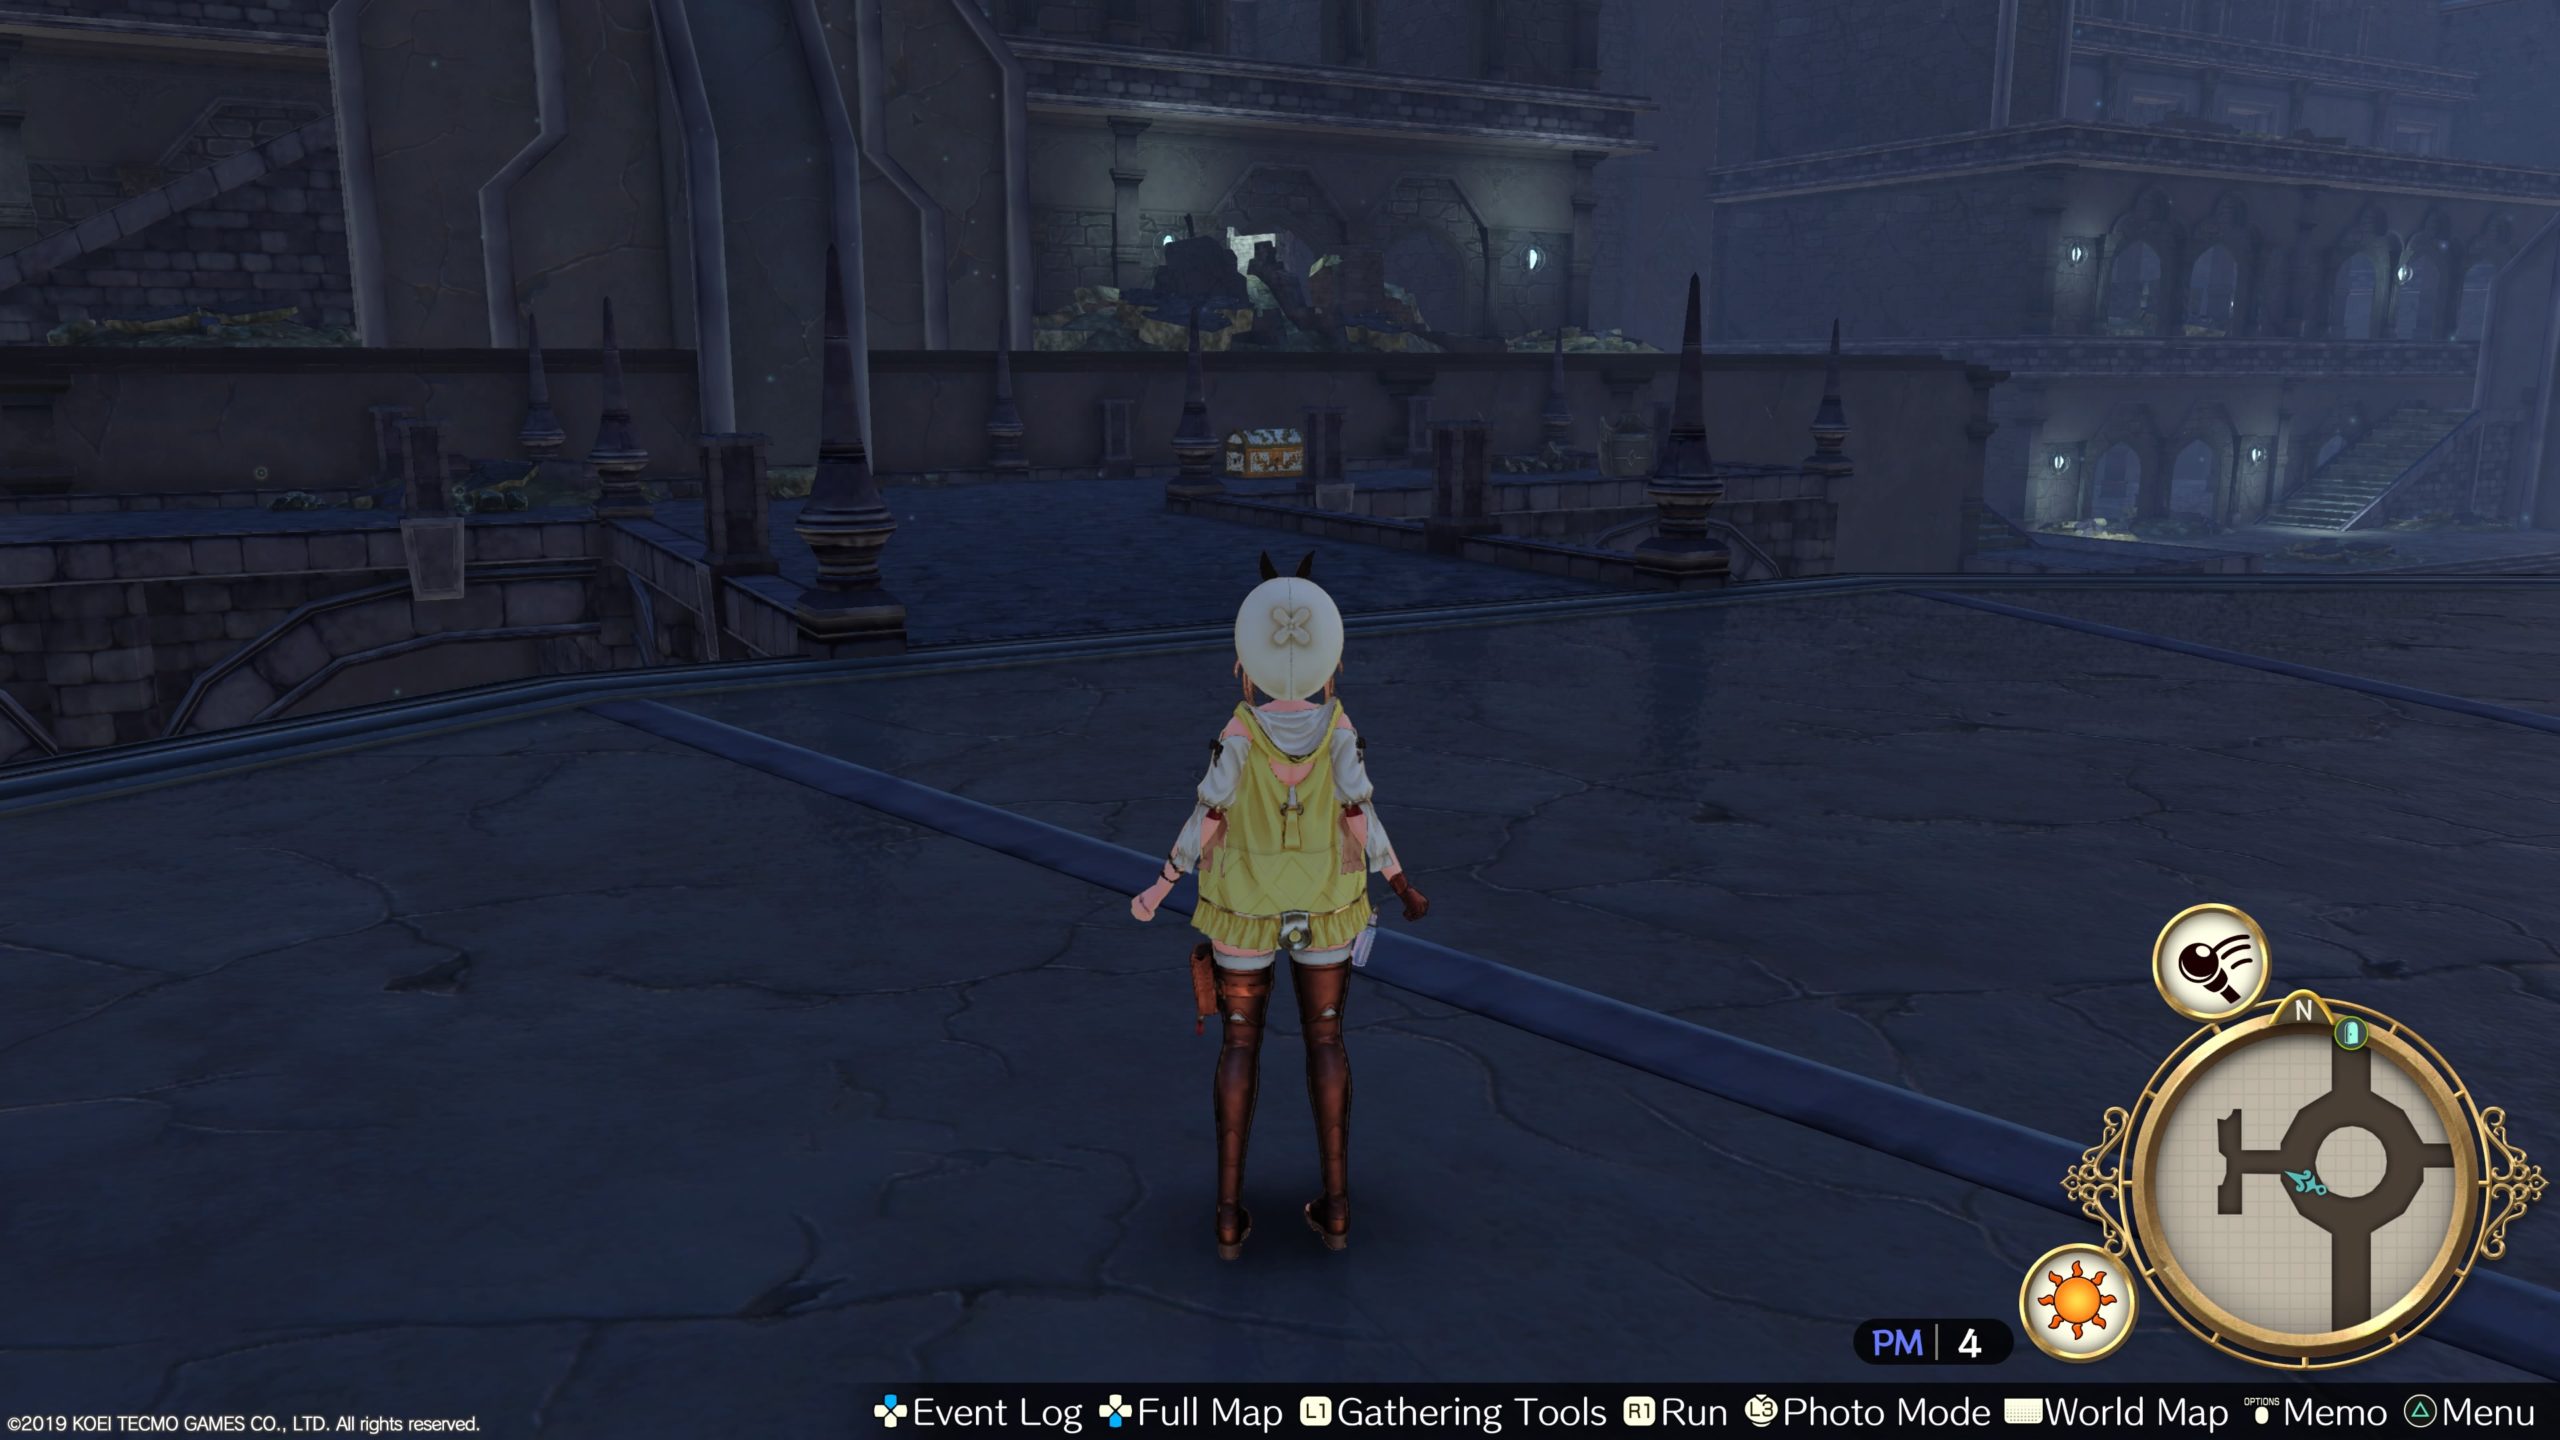
Kurken Bunker
Abyssal Stairway
This chest can be found in the northwestern wing of the Abyssal Stairway. Open it to find a Travel Bottle: Star!
Liese Valley
Valley Path
This chest can be found in the eastern part of Valley Path. You’ll need to squeeze between rocks in order to reach the area containing the chest. Open it to find Fairy Segment!
Broken Defense Line
This chest is reachable via the Wind Shoes and can be found on the western side of the Broken Defense Line. Open it to find a Wind Core!
Maple Delta
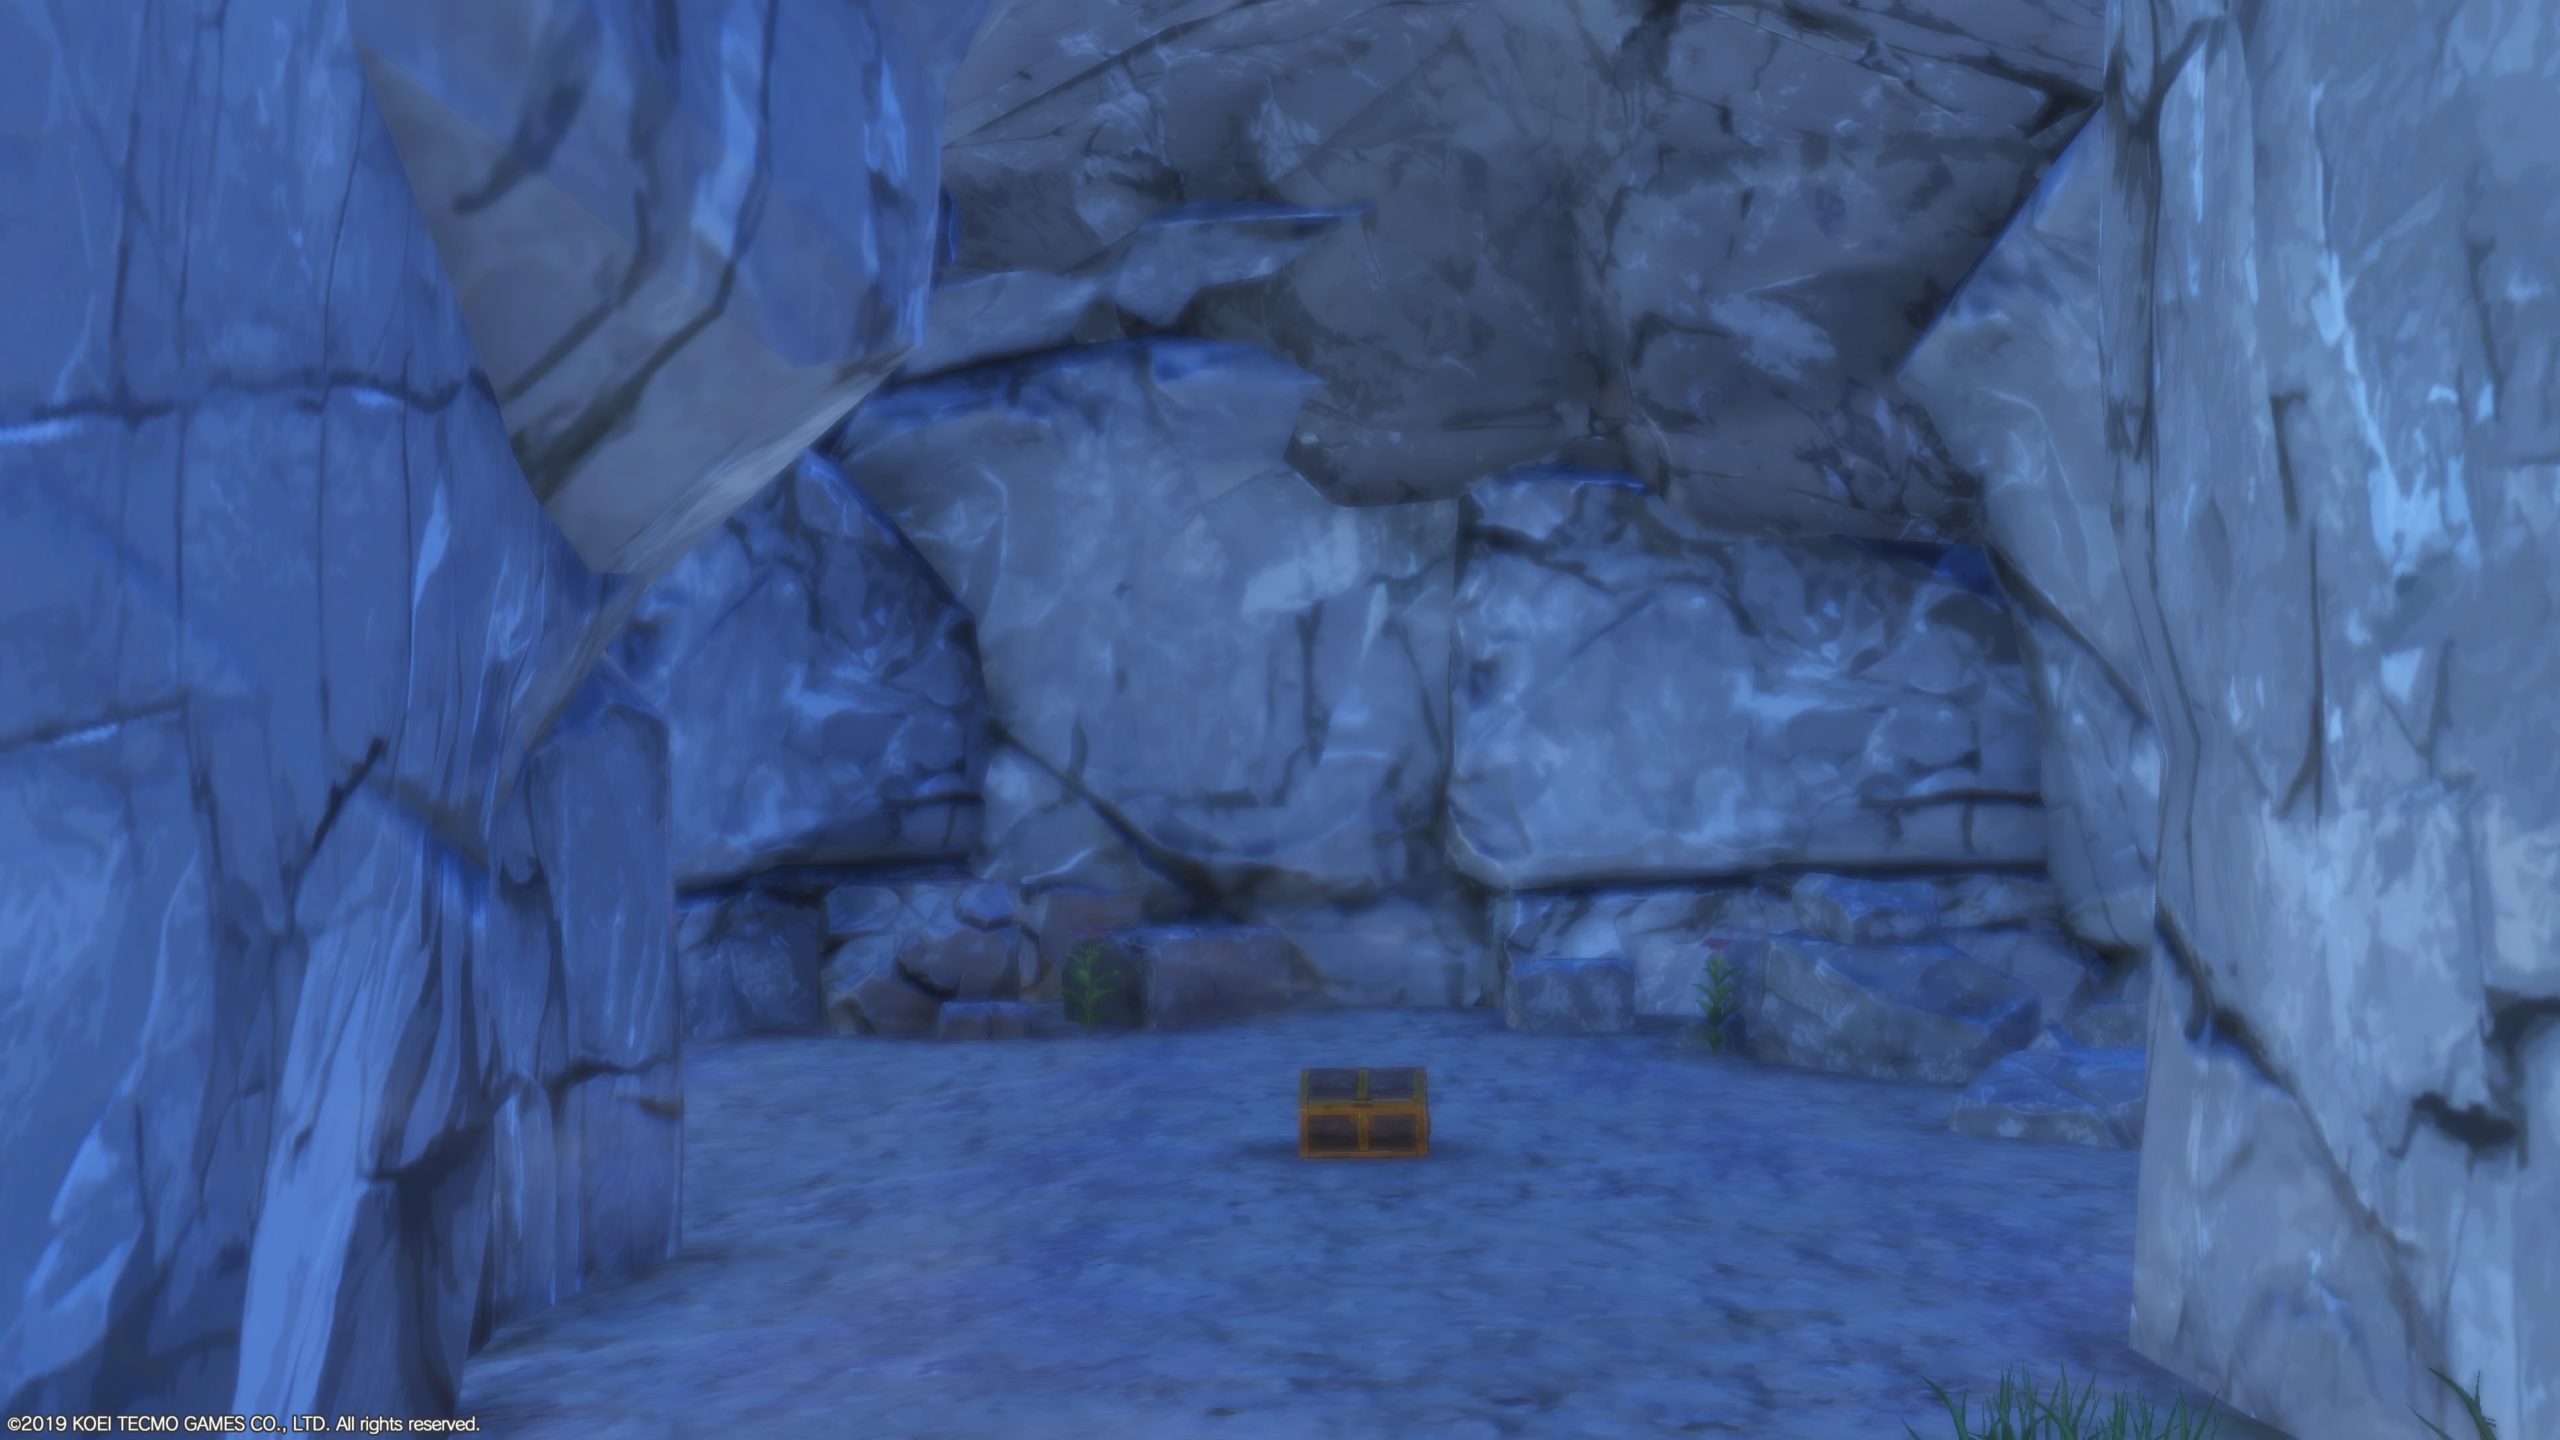
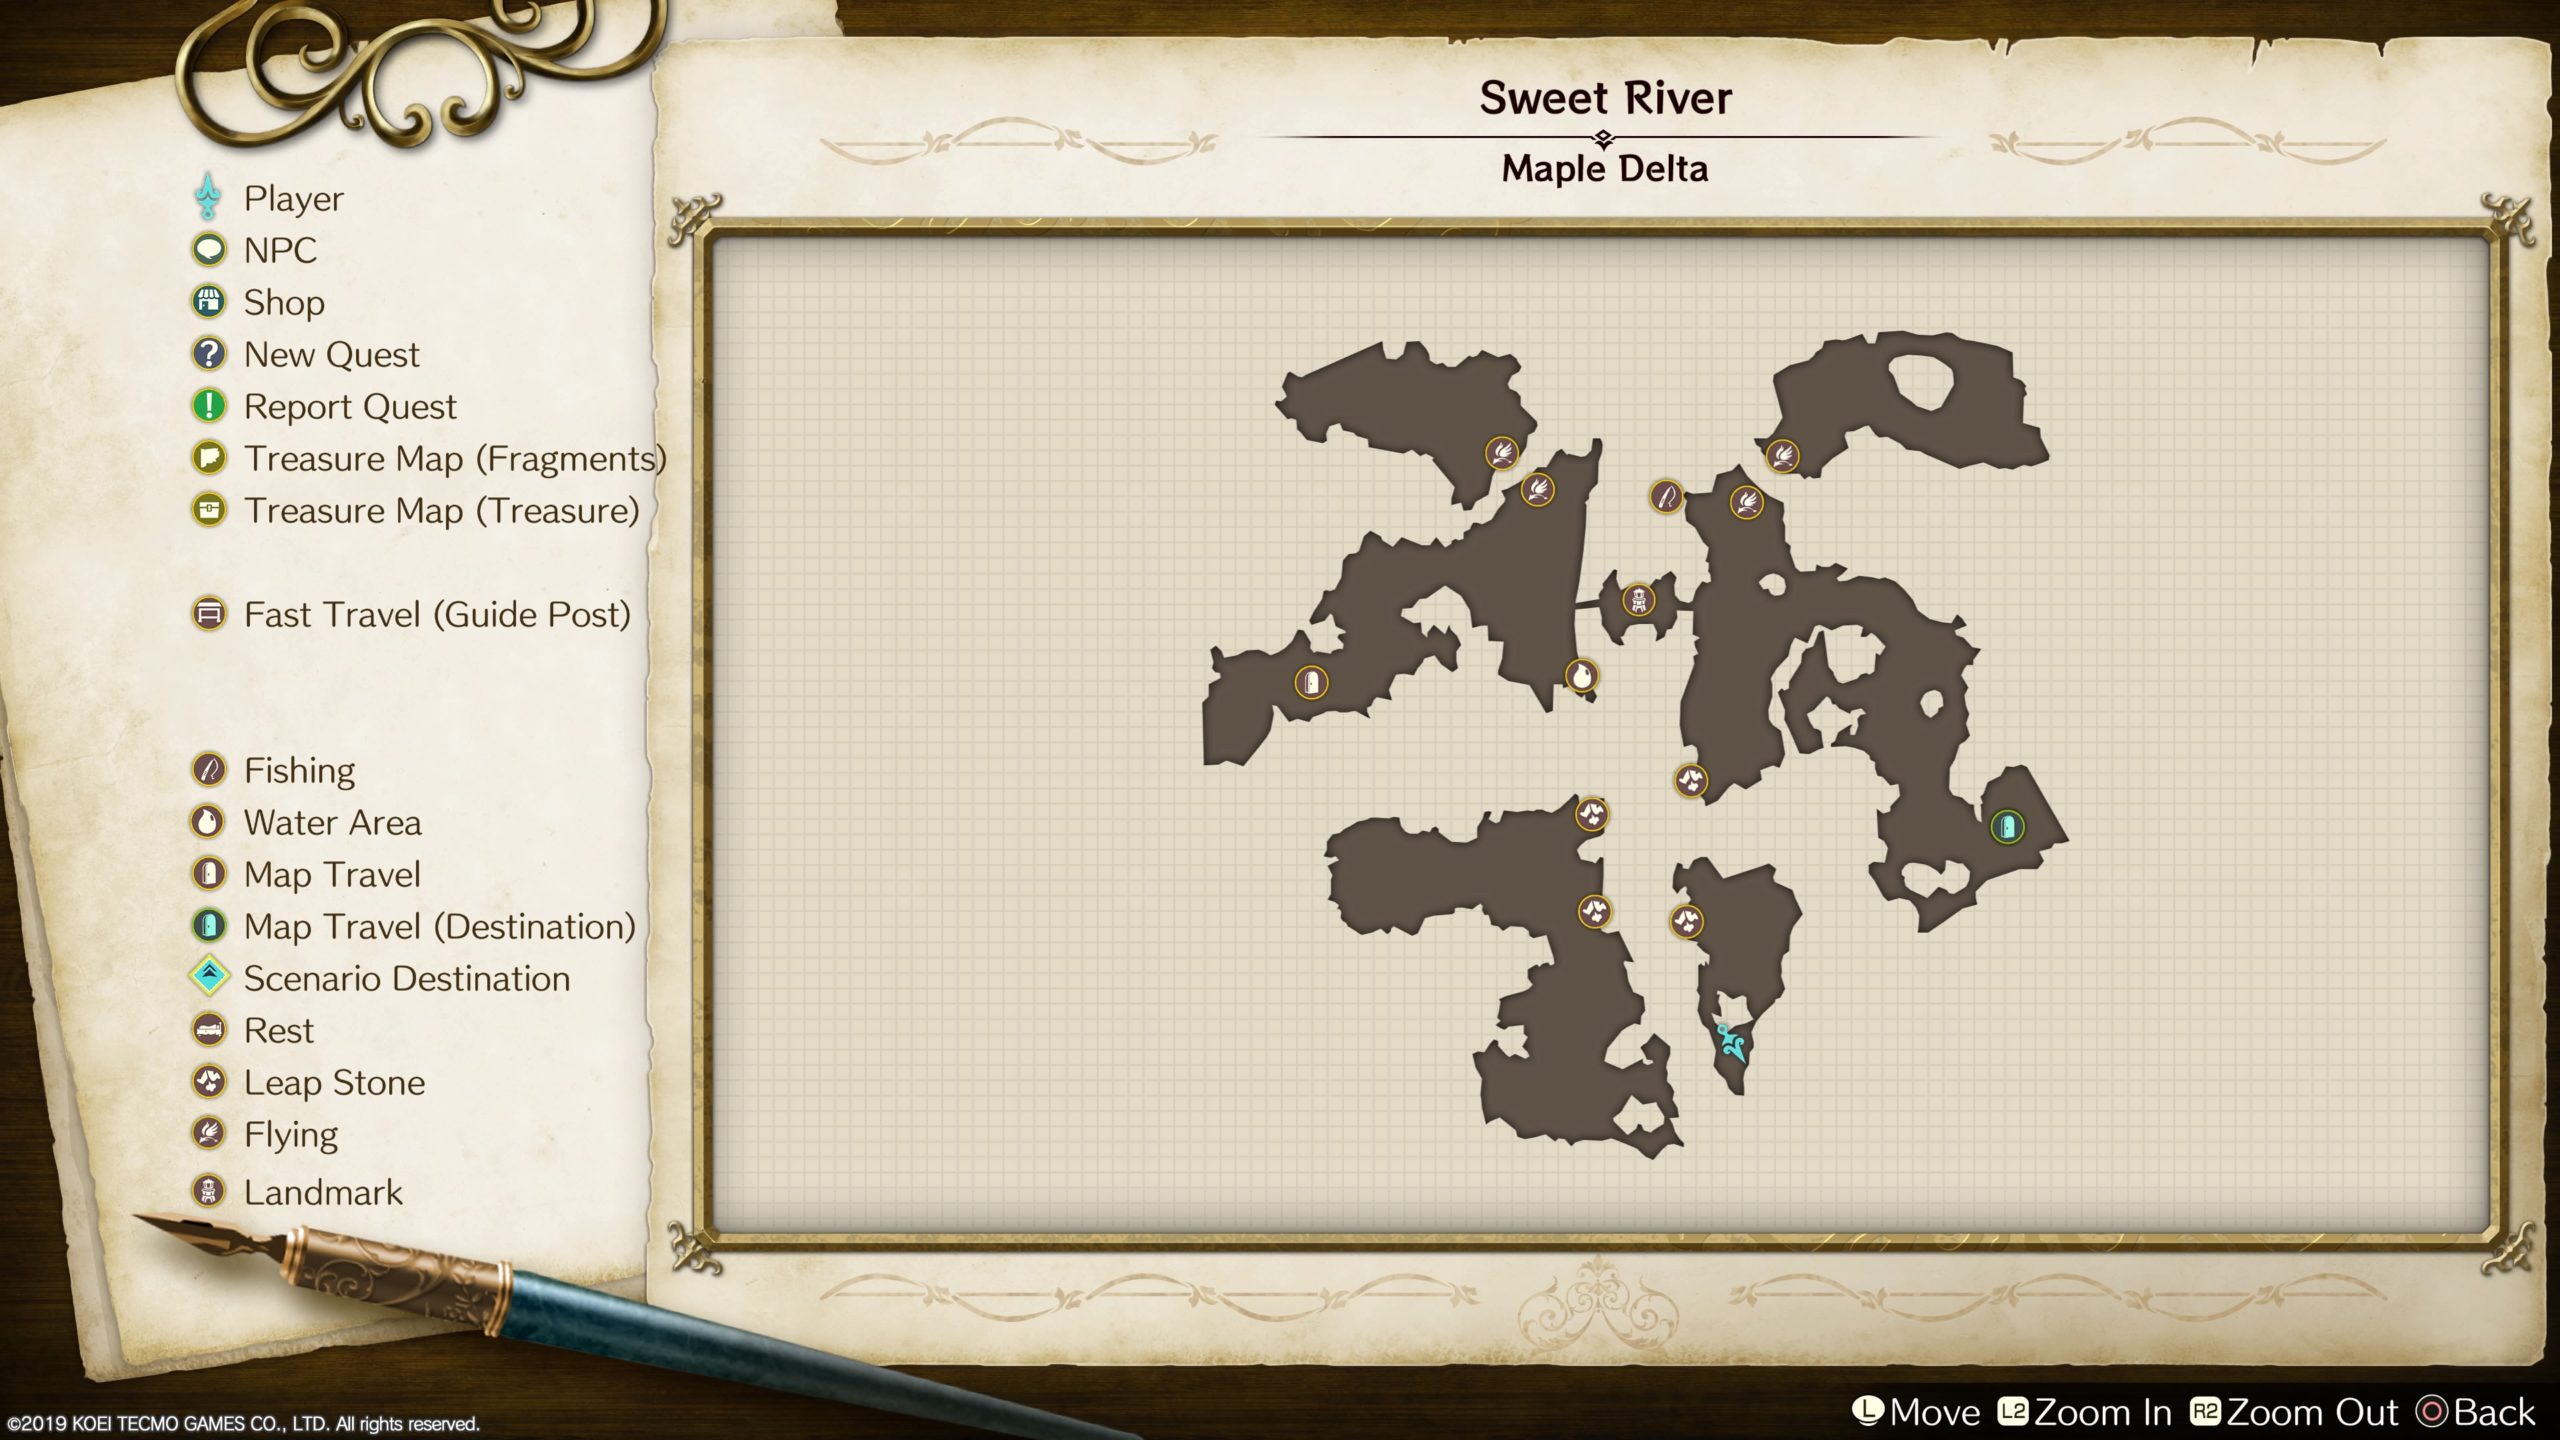
Sweet River
This chest is reachable using the Wind Shoes to cross the river twice. It is located in the central south part of the area behind a giant tree. Open the chest to find Godspeed Boots!
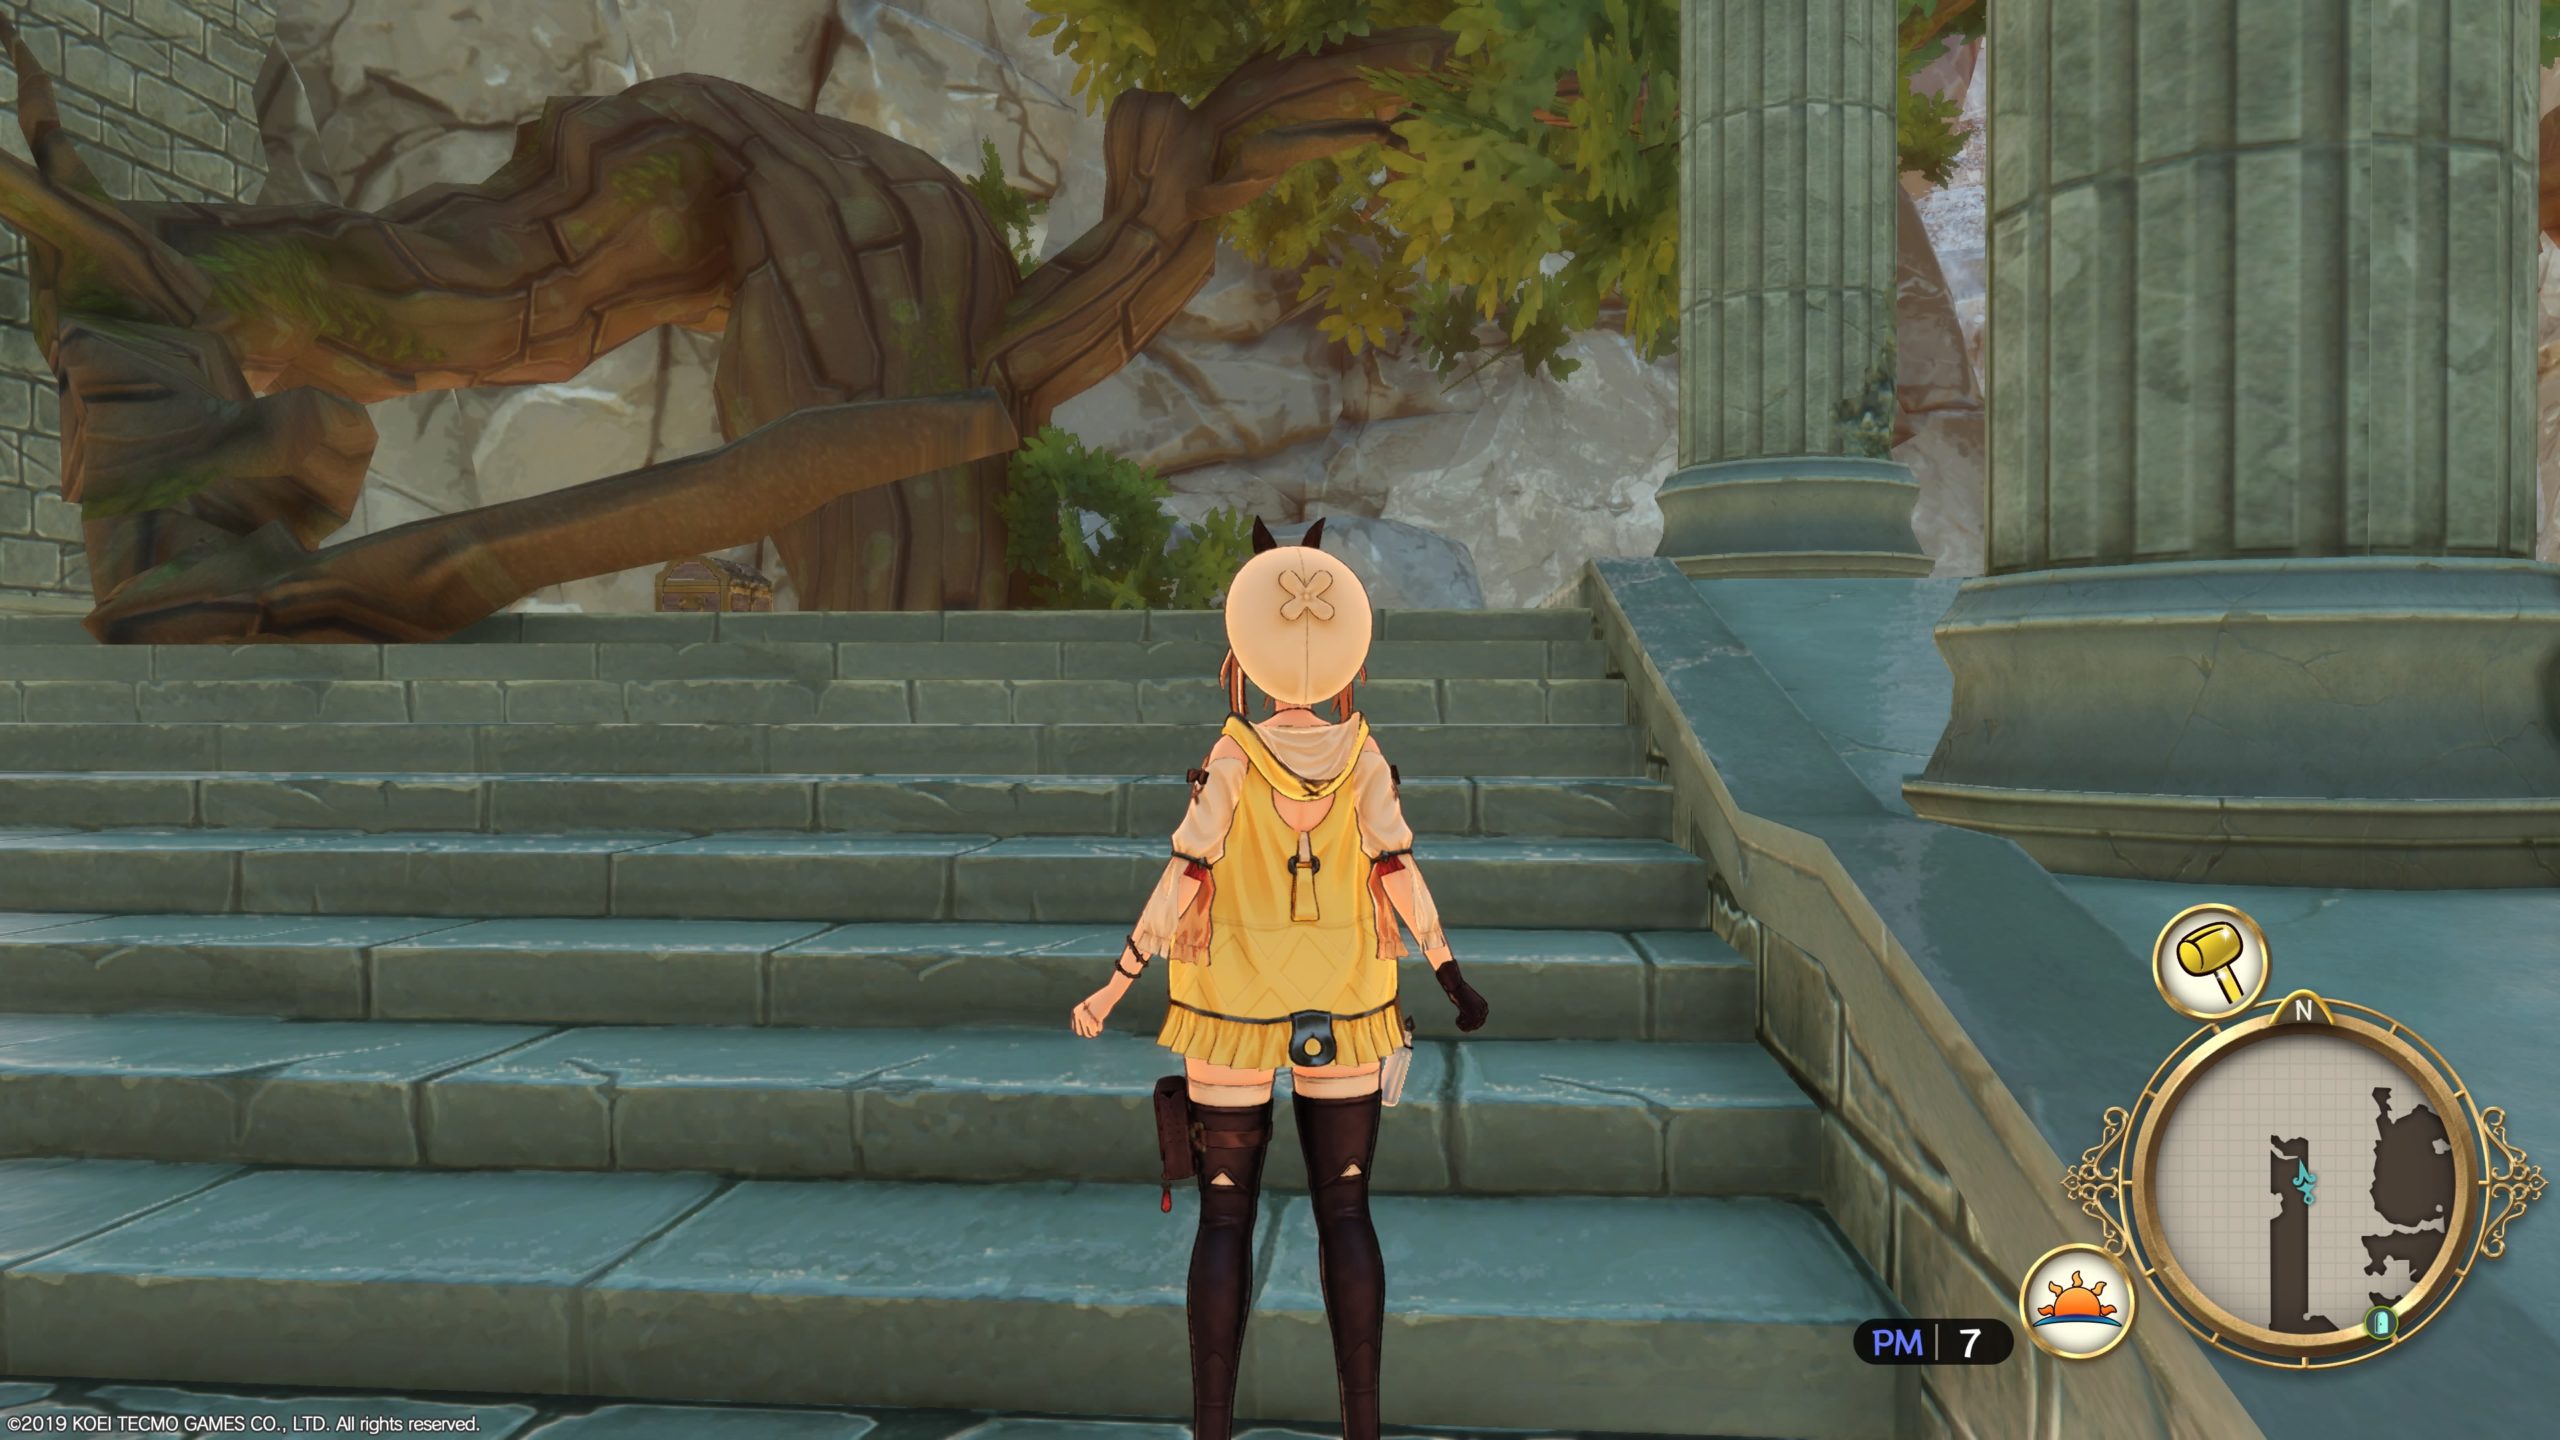
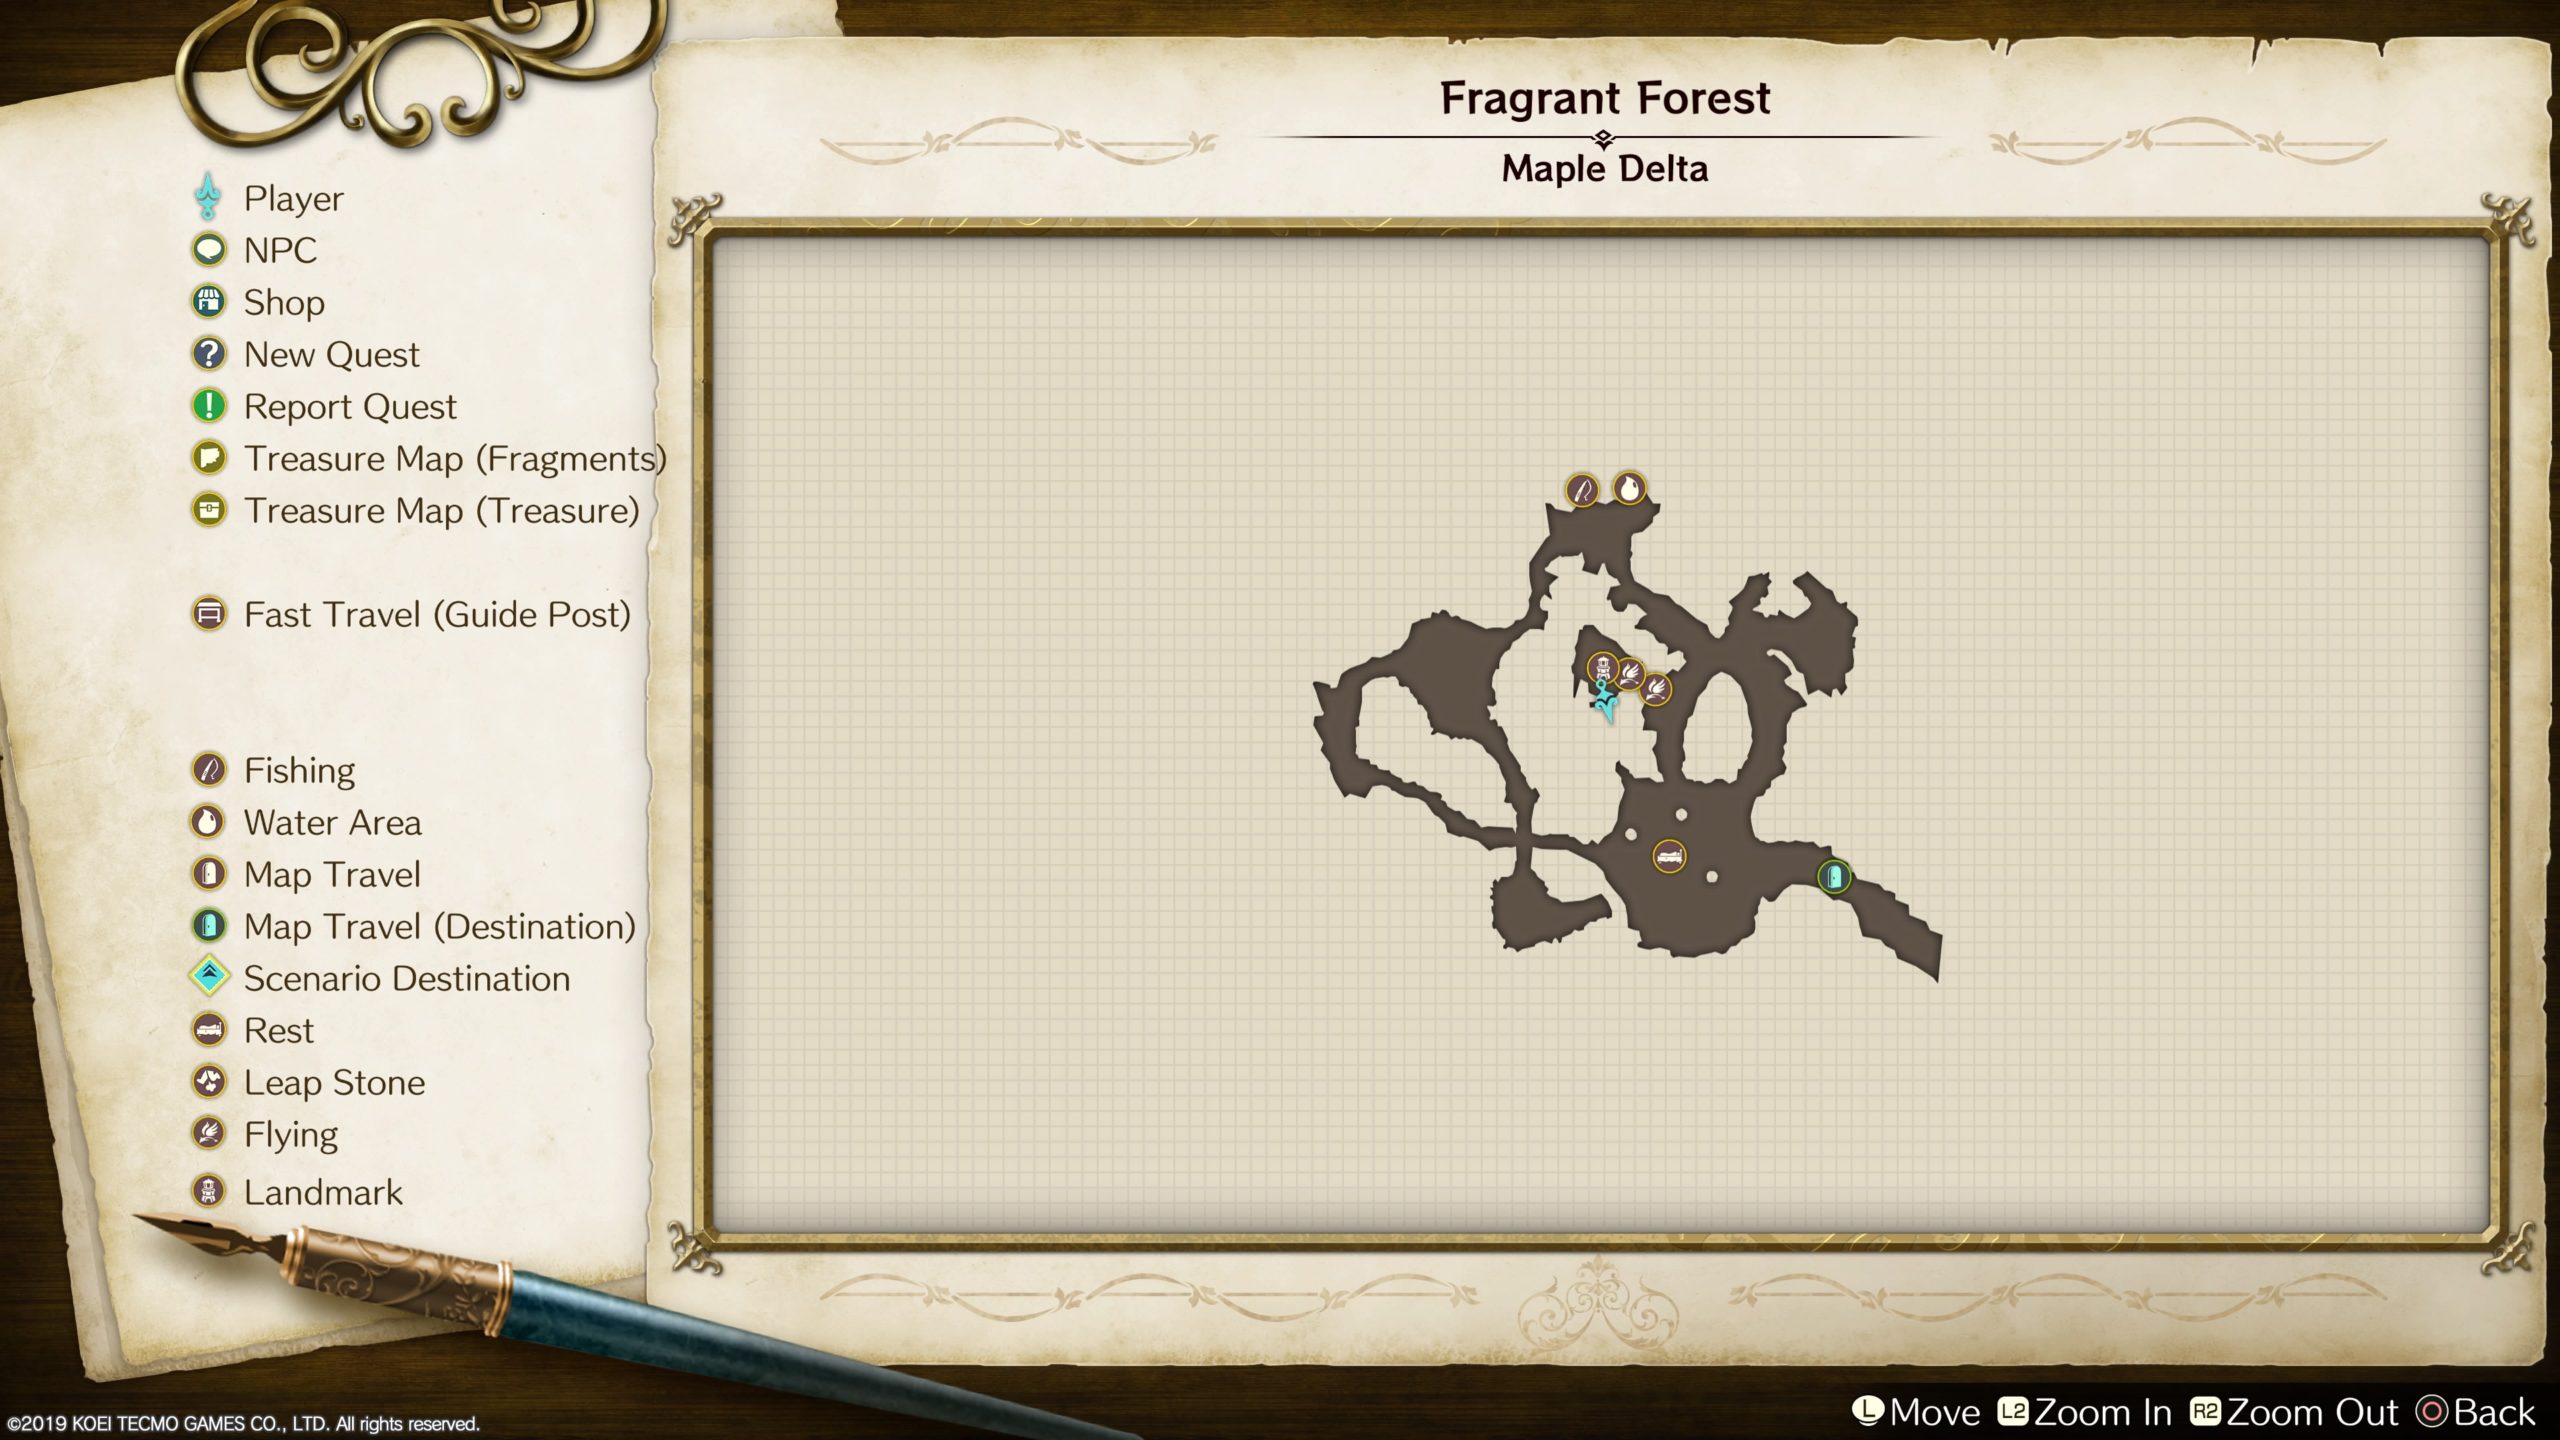
Fragrant Forest
This chest is reachable using the Wind Shoes and can be found in the central part of the area in the Honey Pool landmark. Open the chest to find an Elixir Ring!
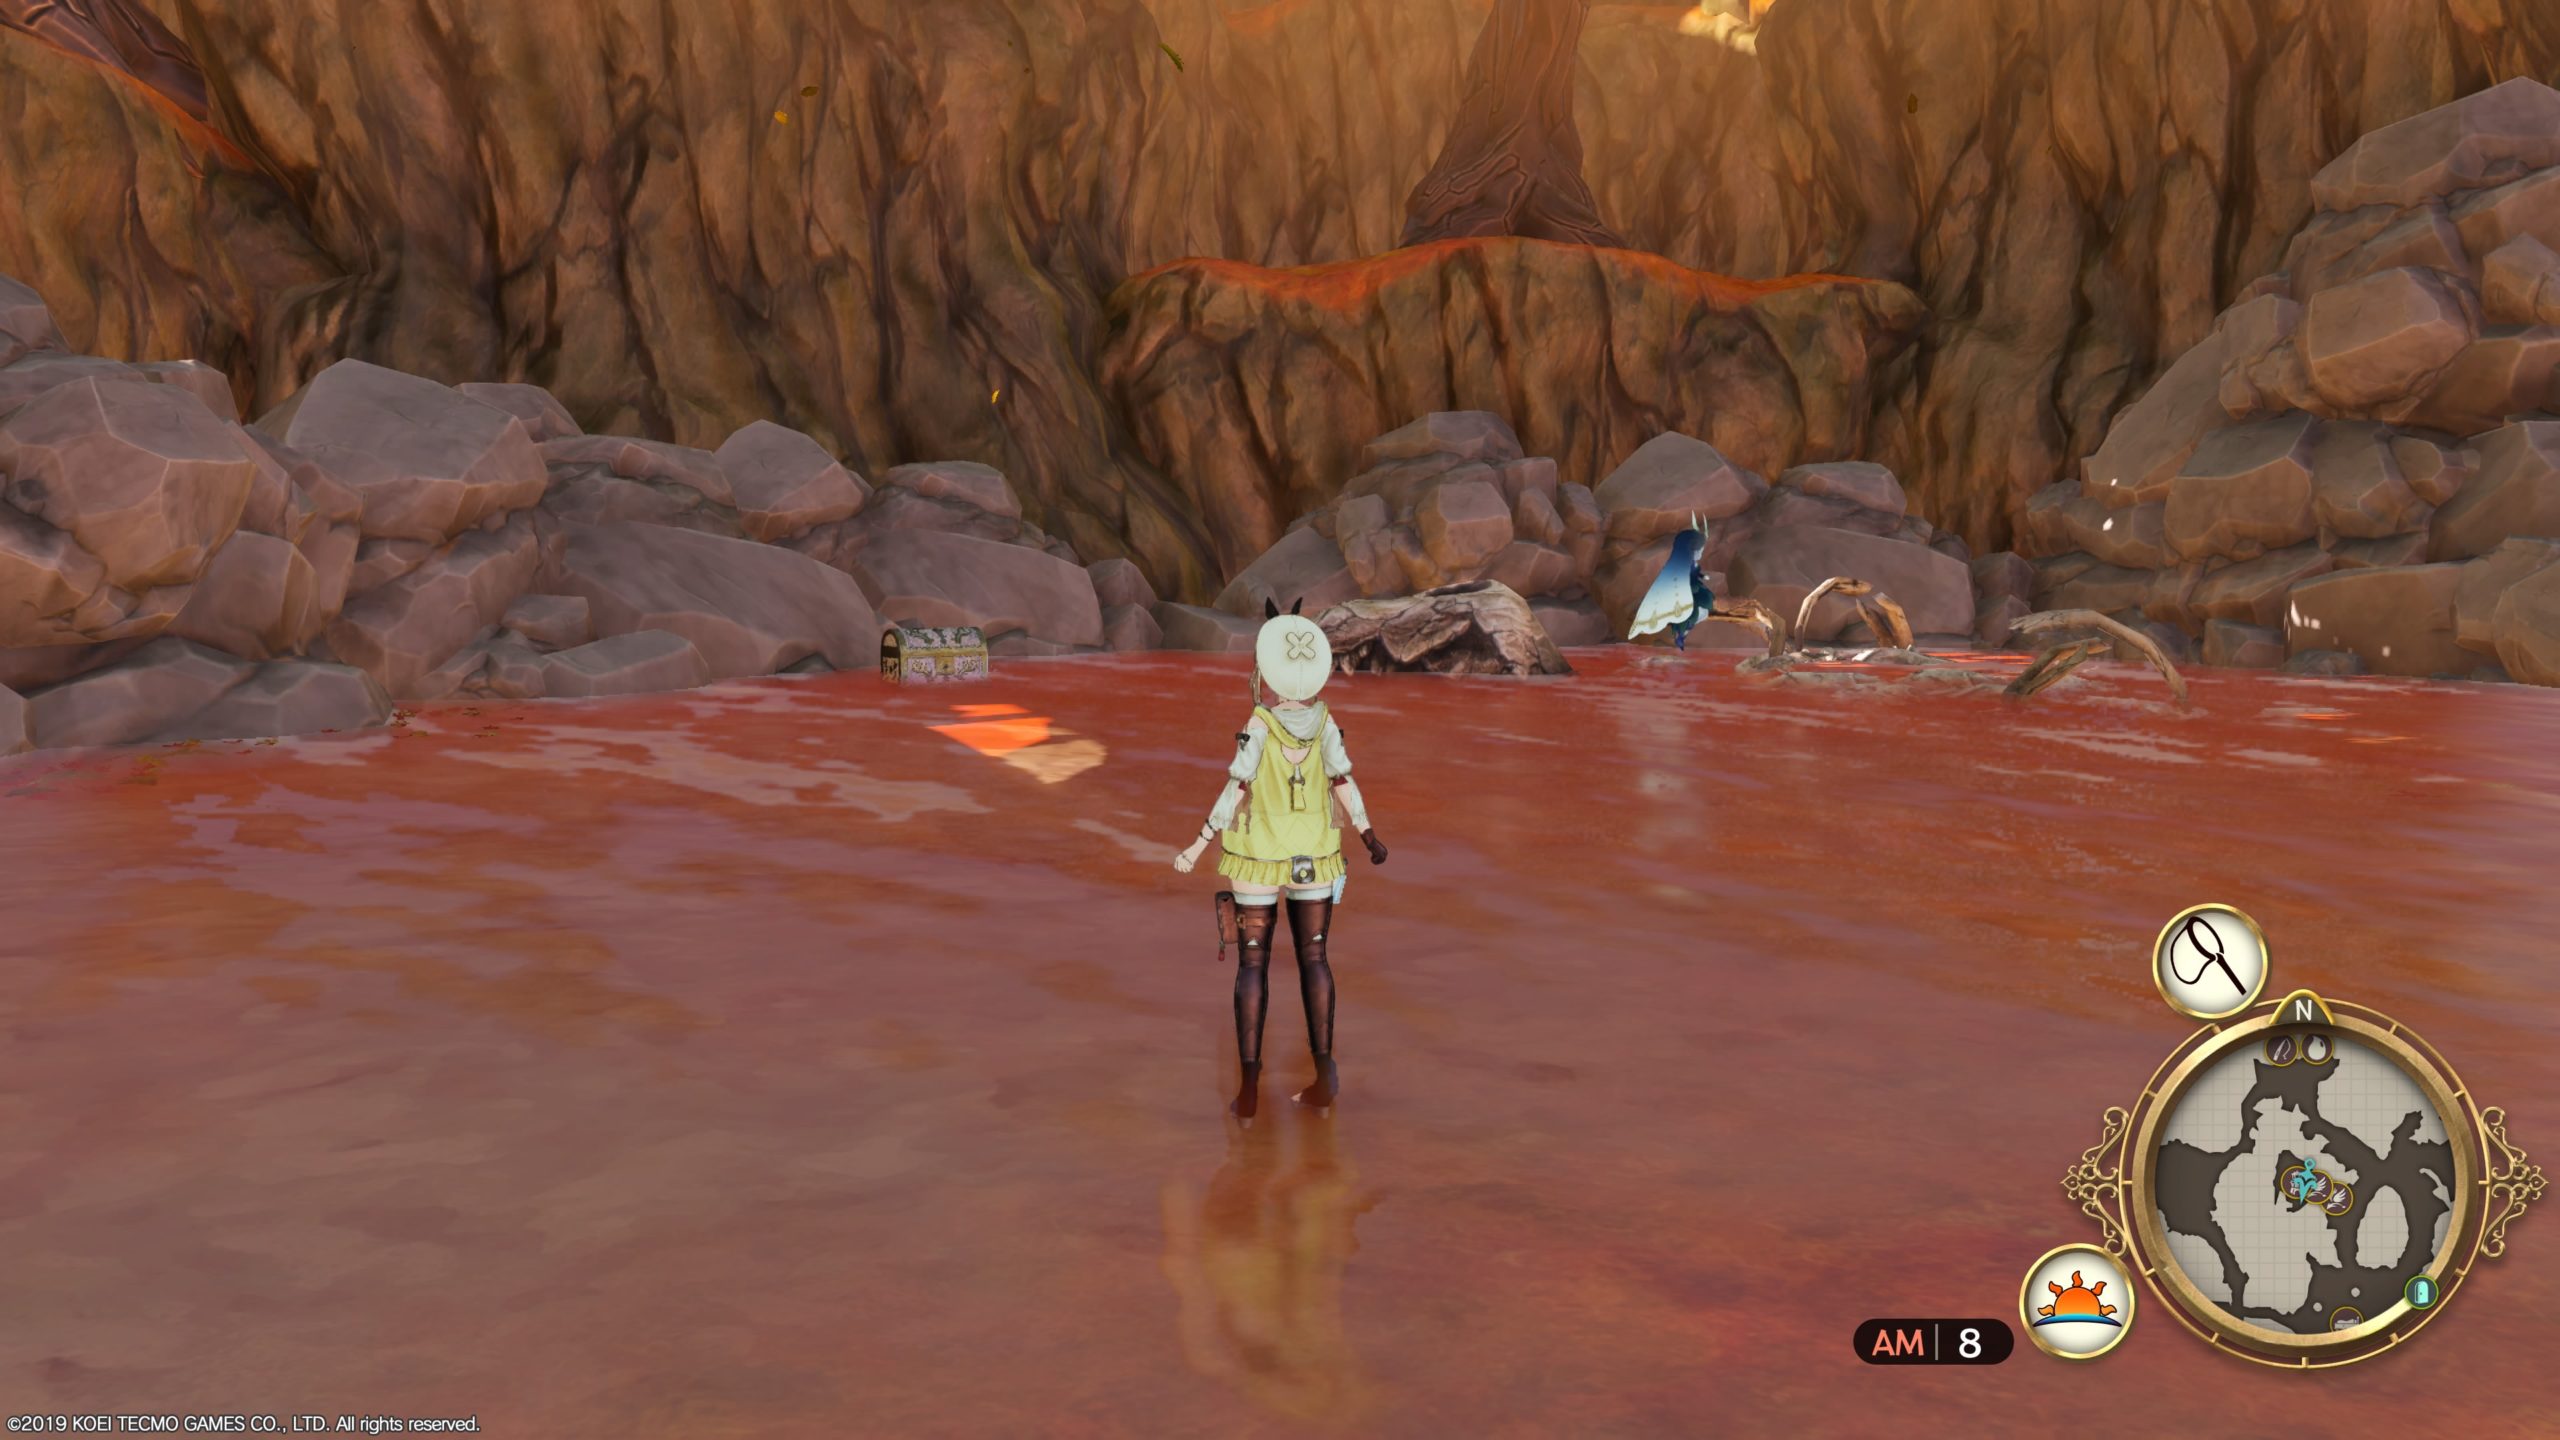
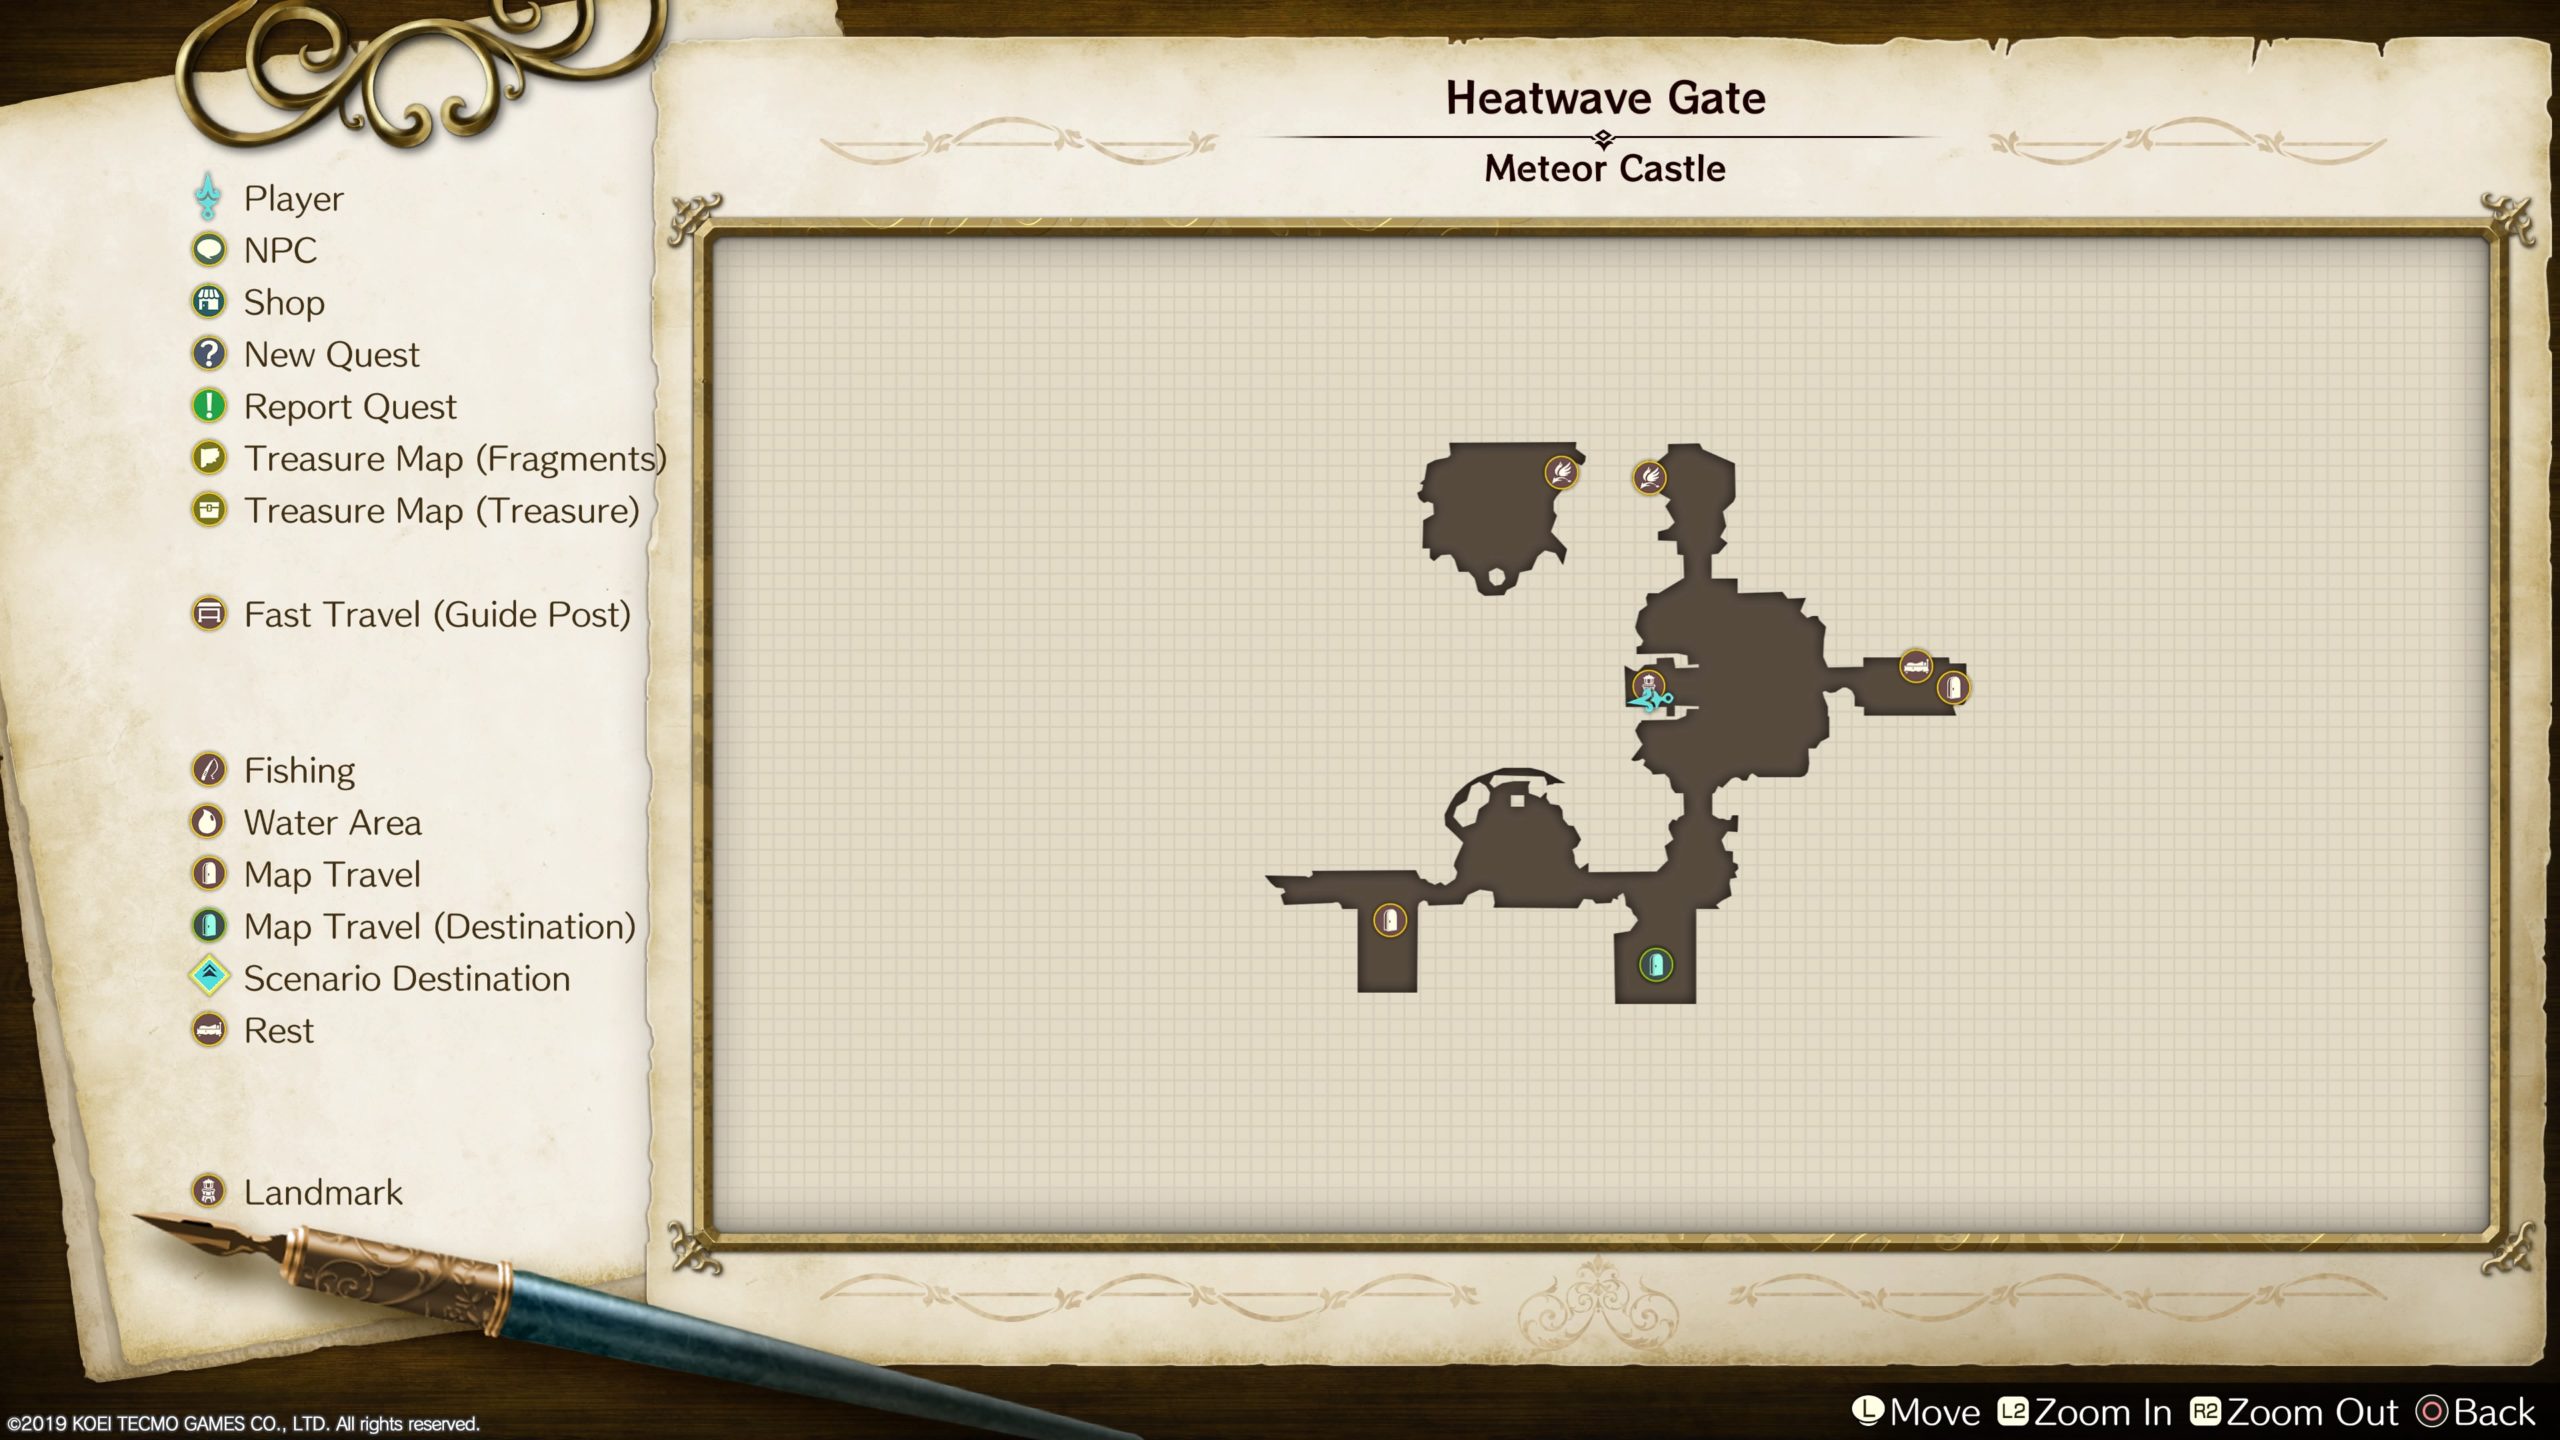
Meteor Castle
Heatwave Gate
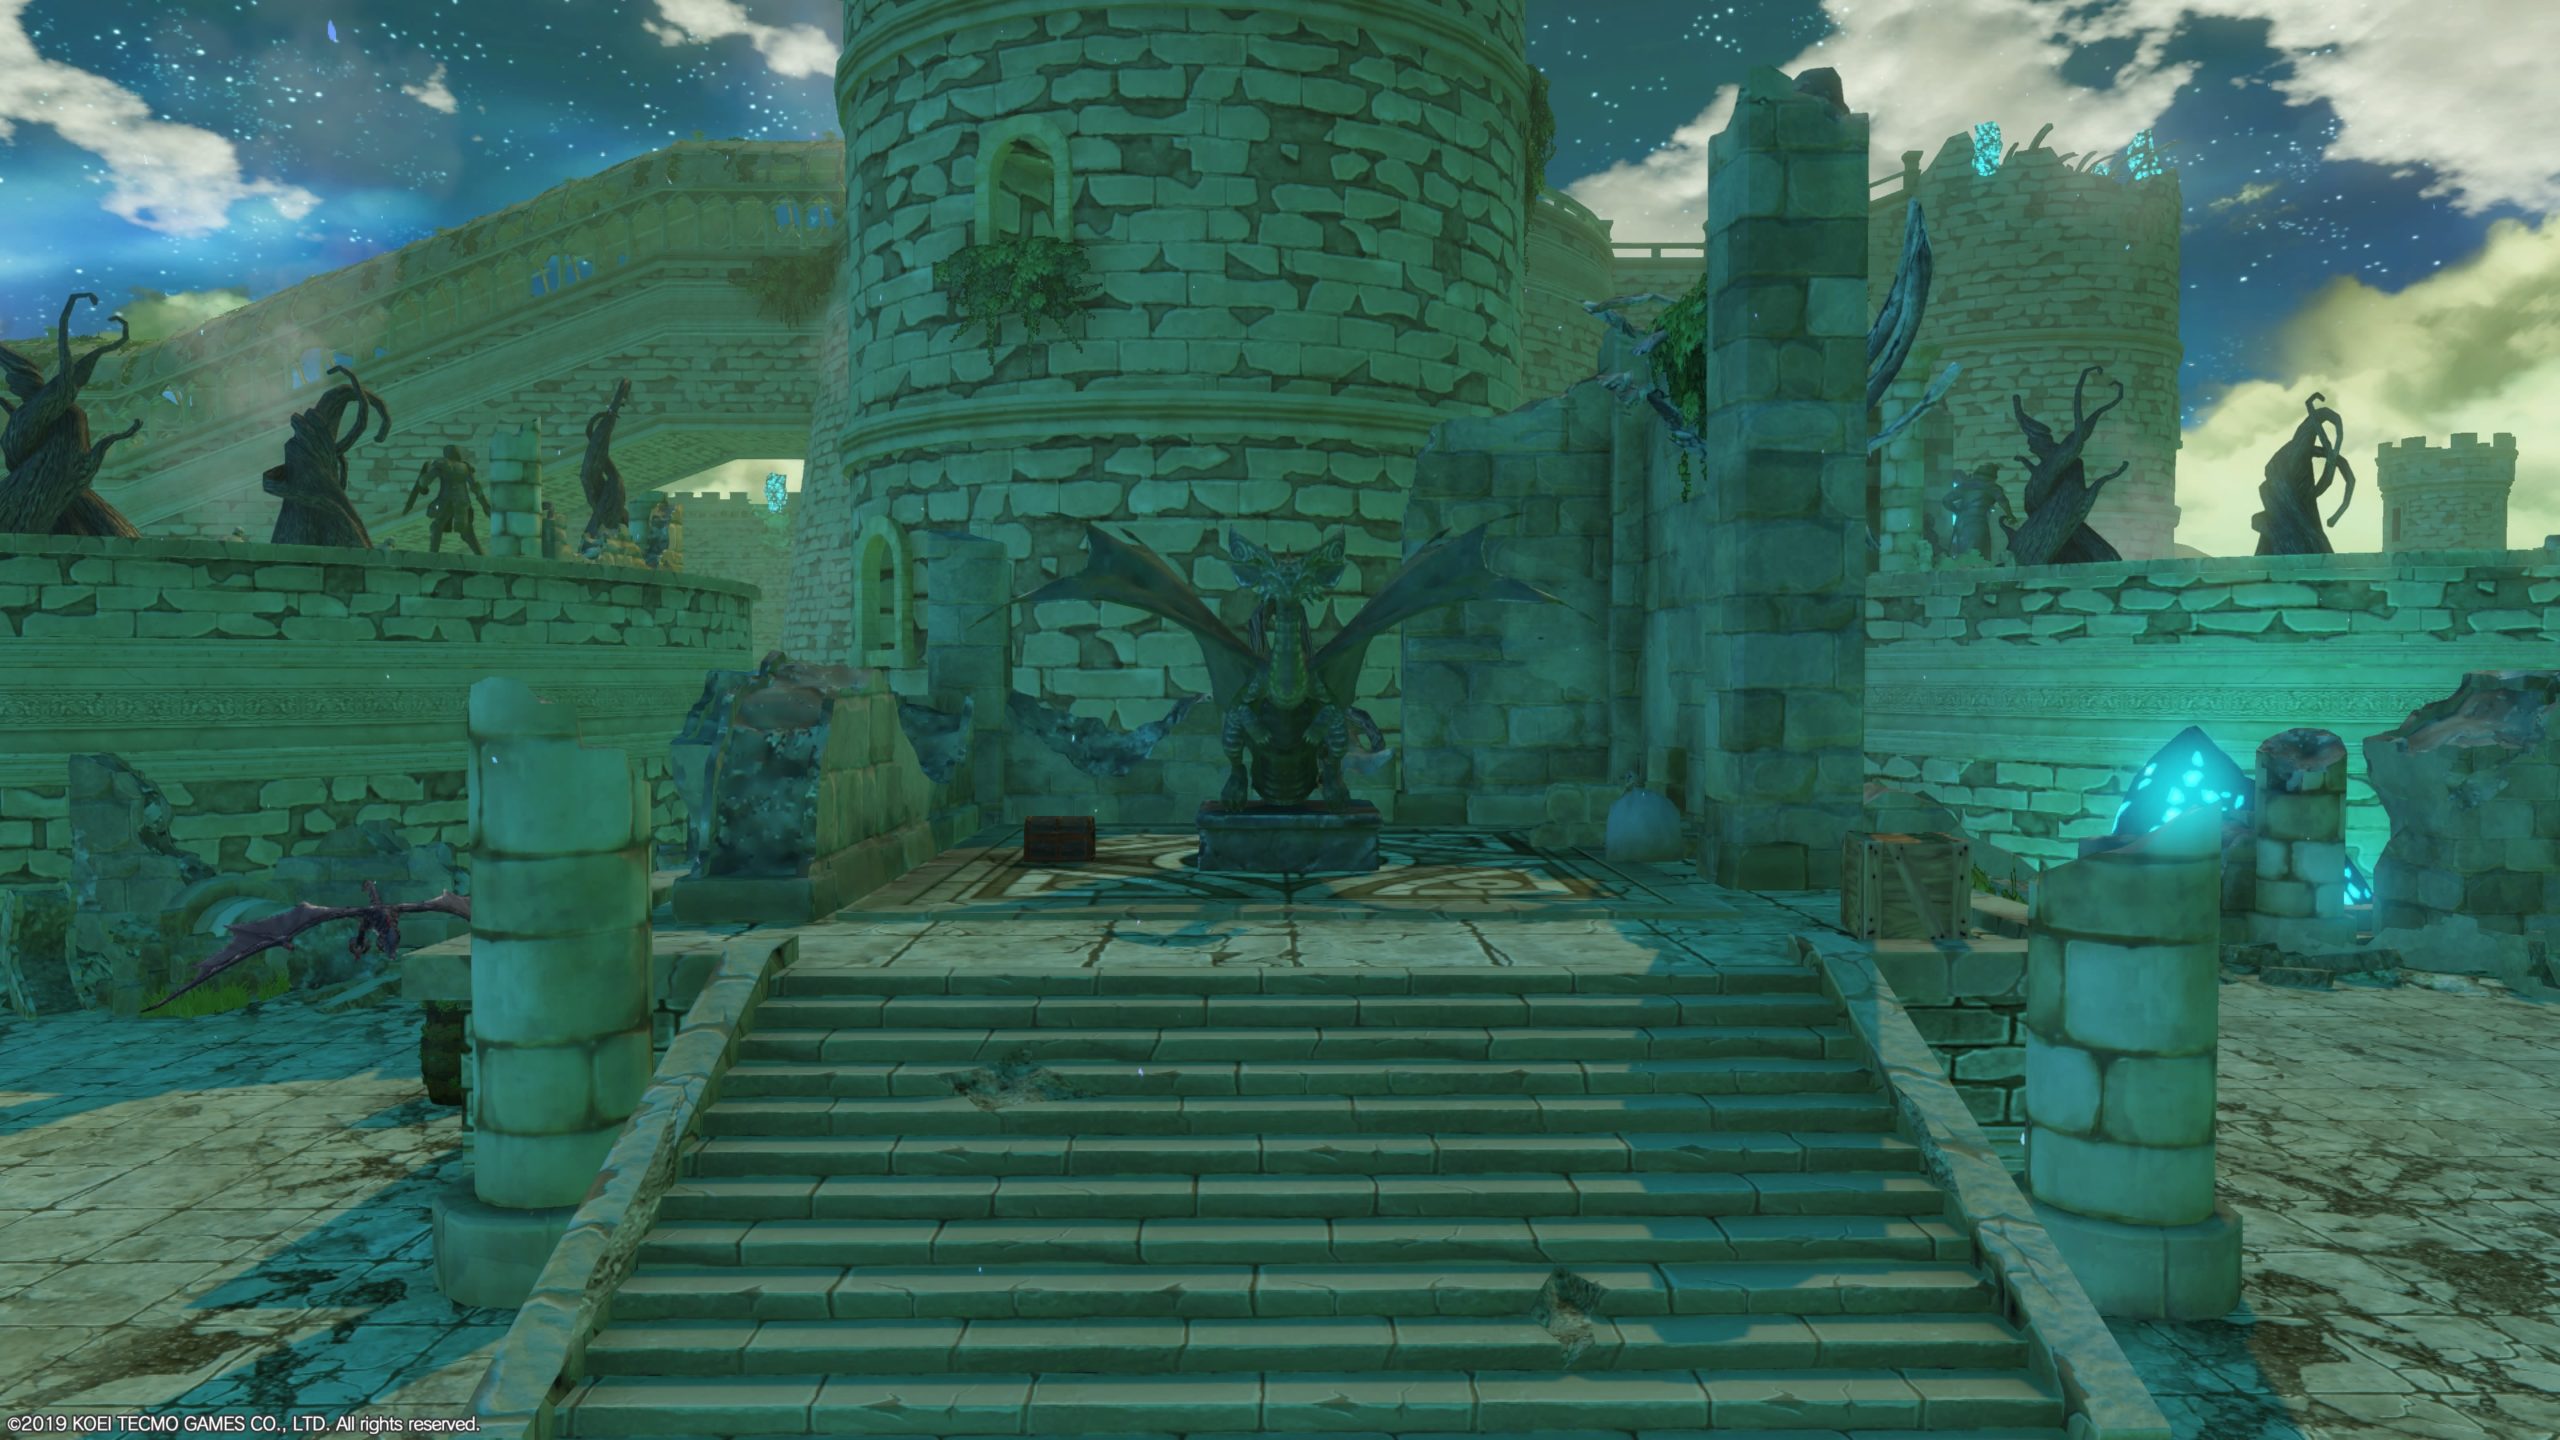
This chest can be found in the central part of Heatwave Gate next to the Dragon Statue. Open it to find a Heated Bangle!
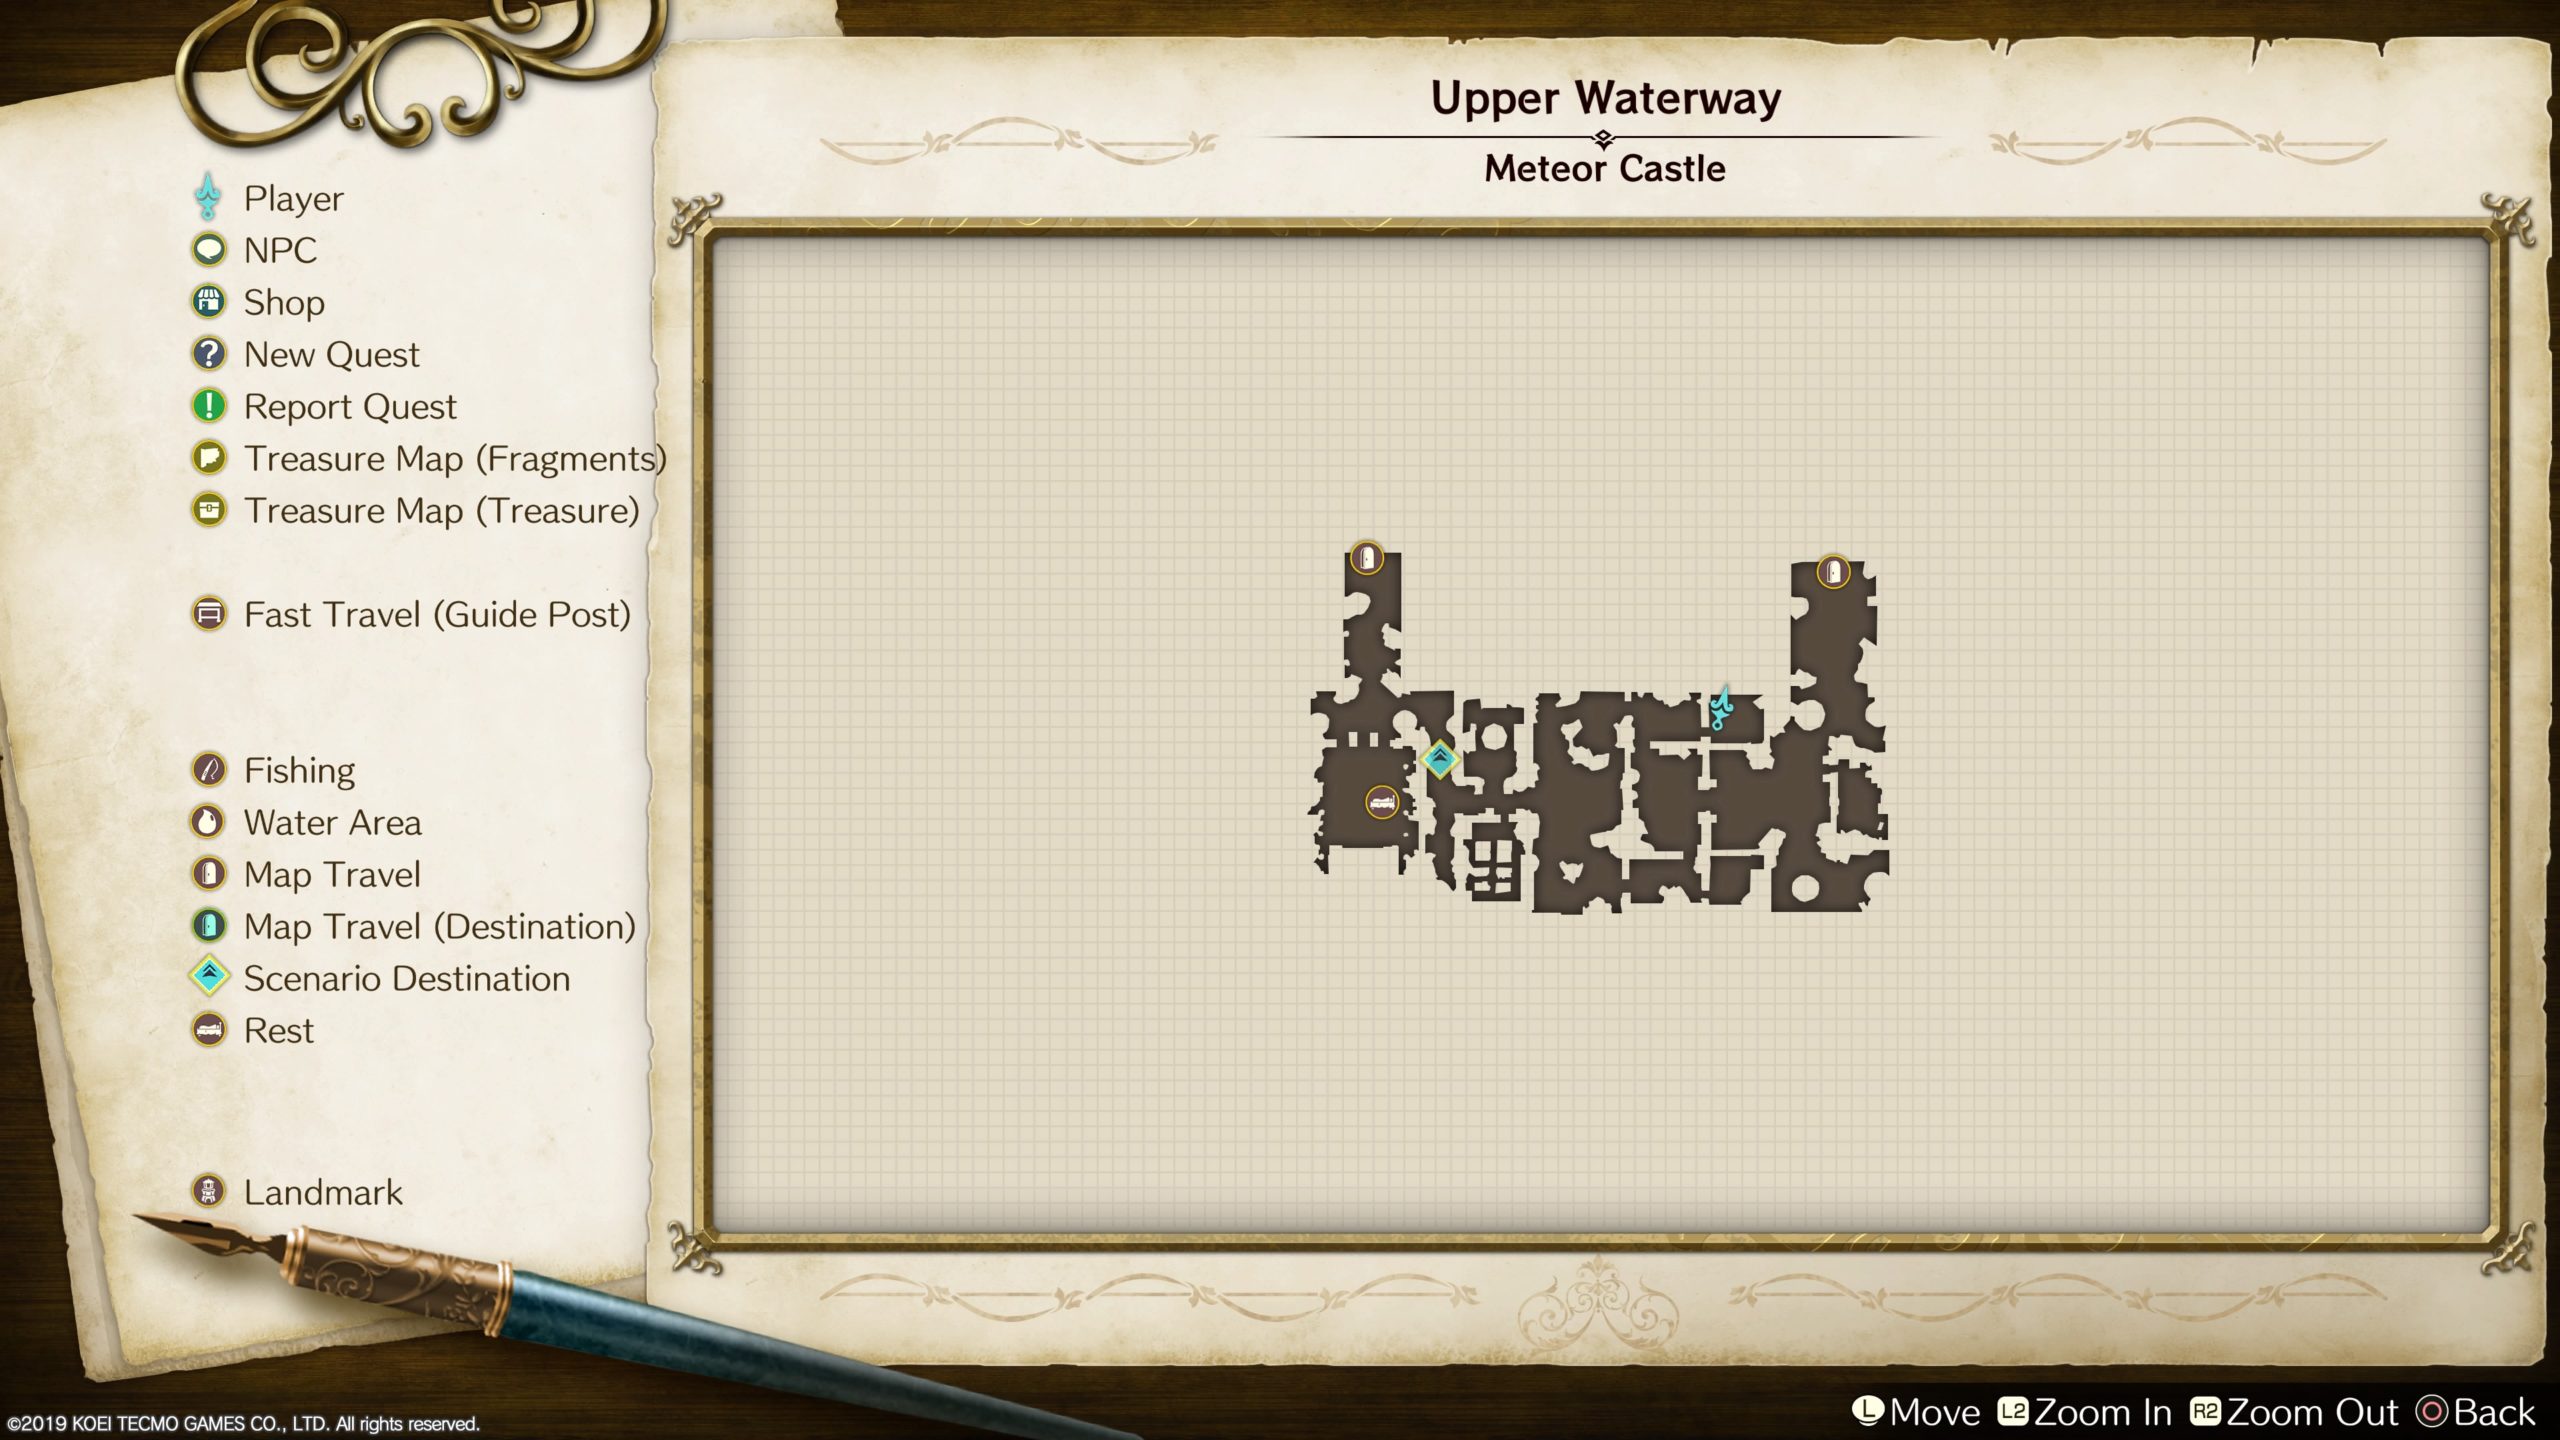
Upper Waterway
This chest can be found in a small nook filled with crystals in the north central part of the map. Open it to find 3 Gold Coins!
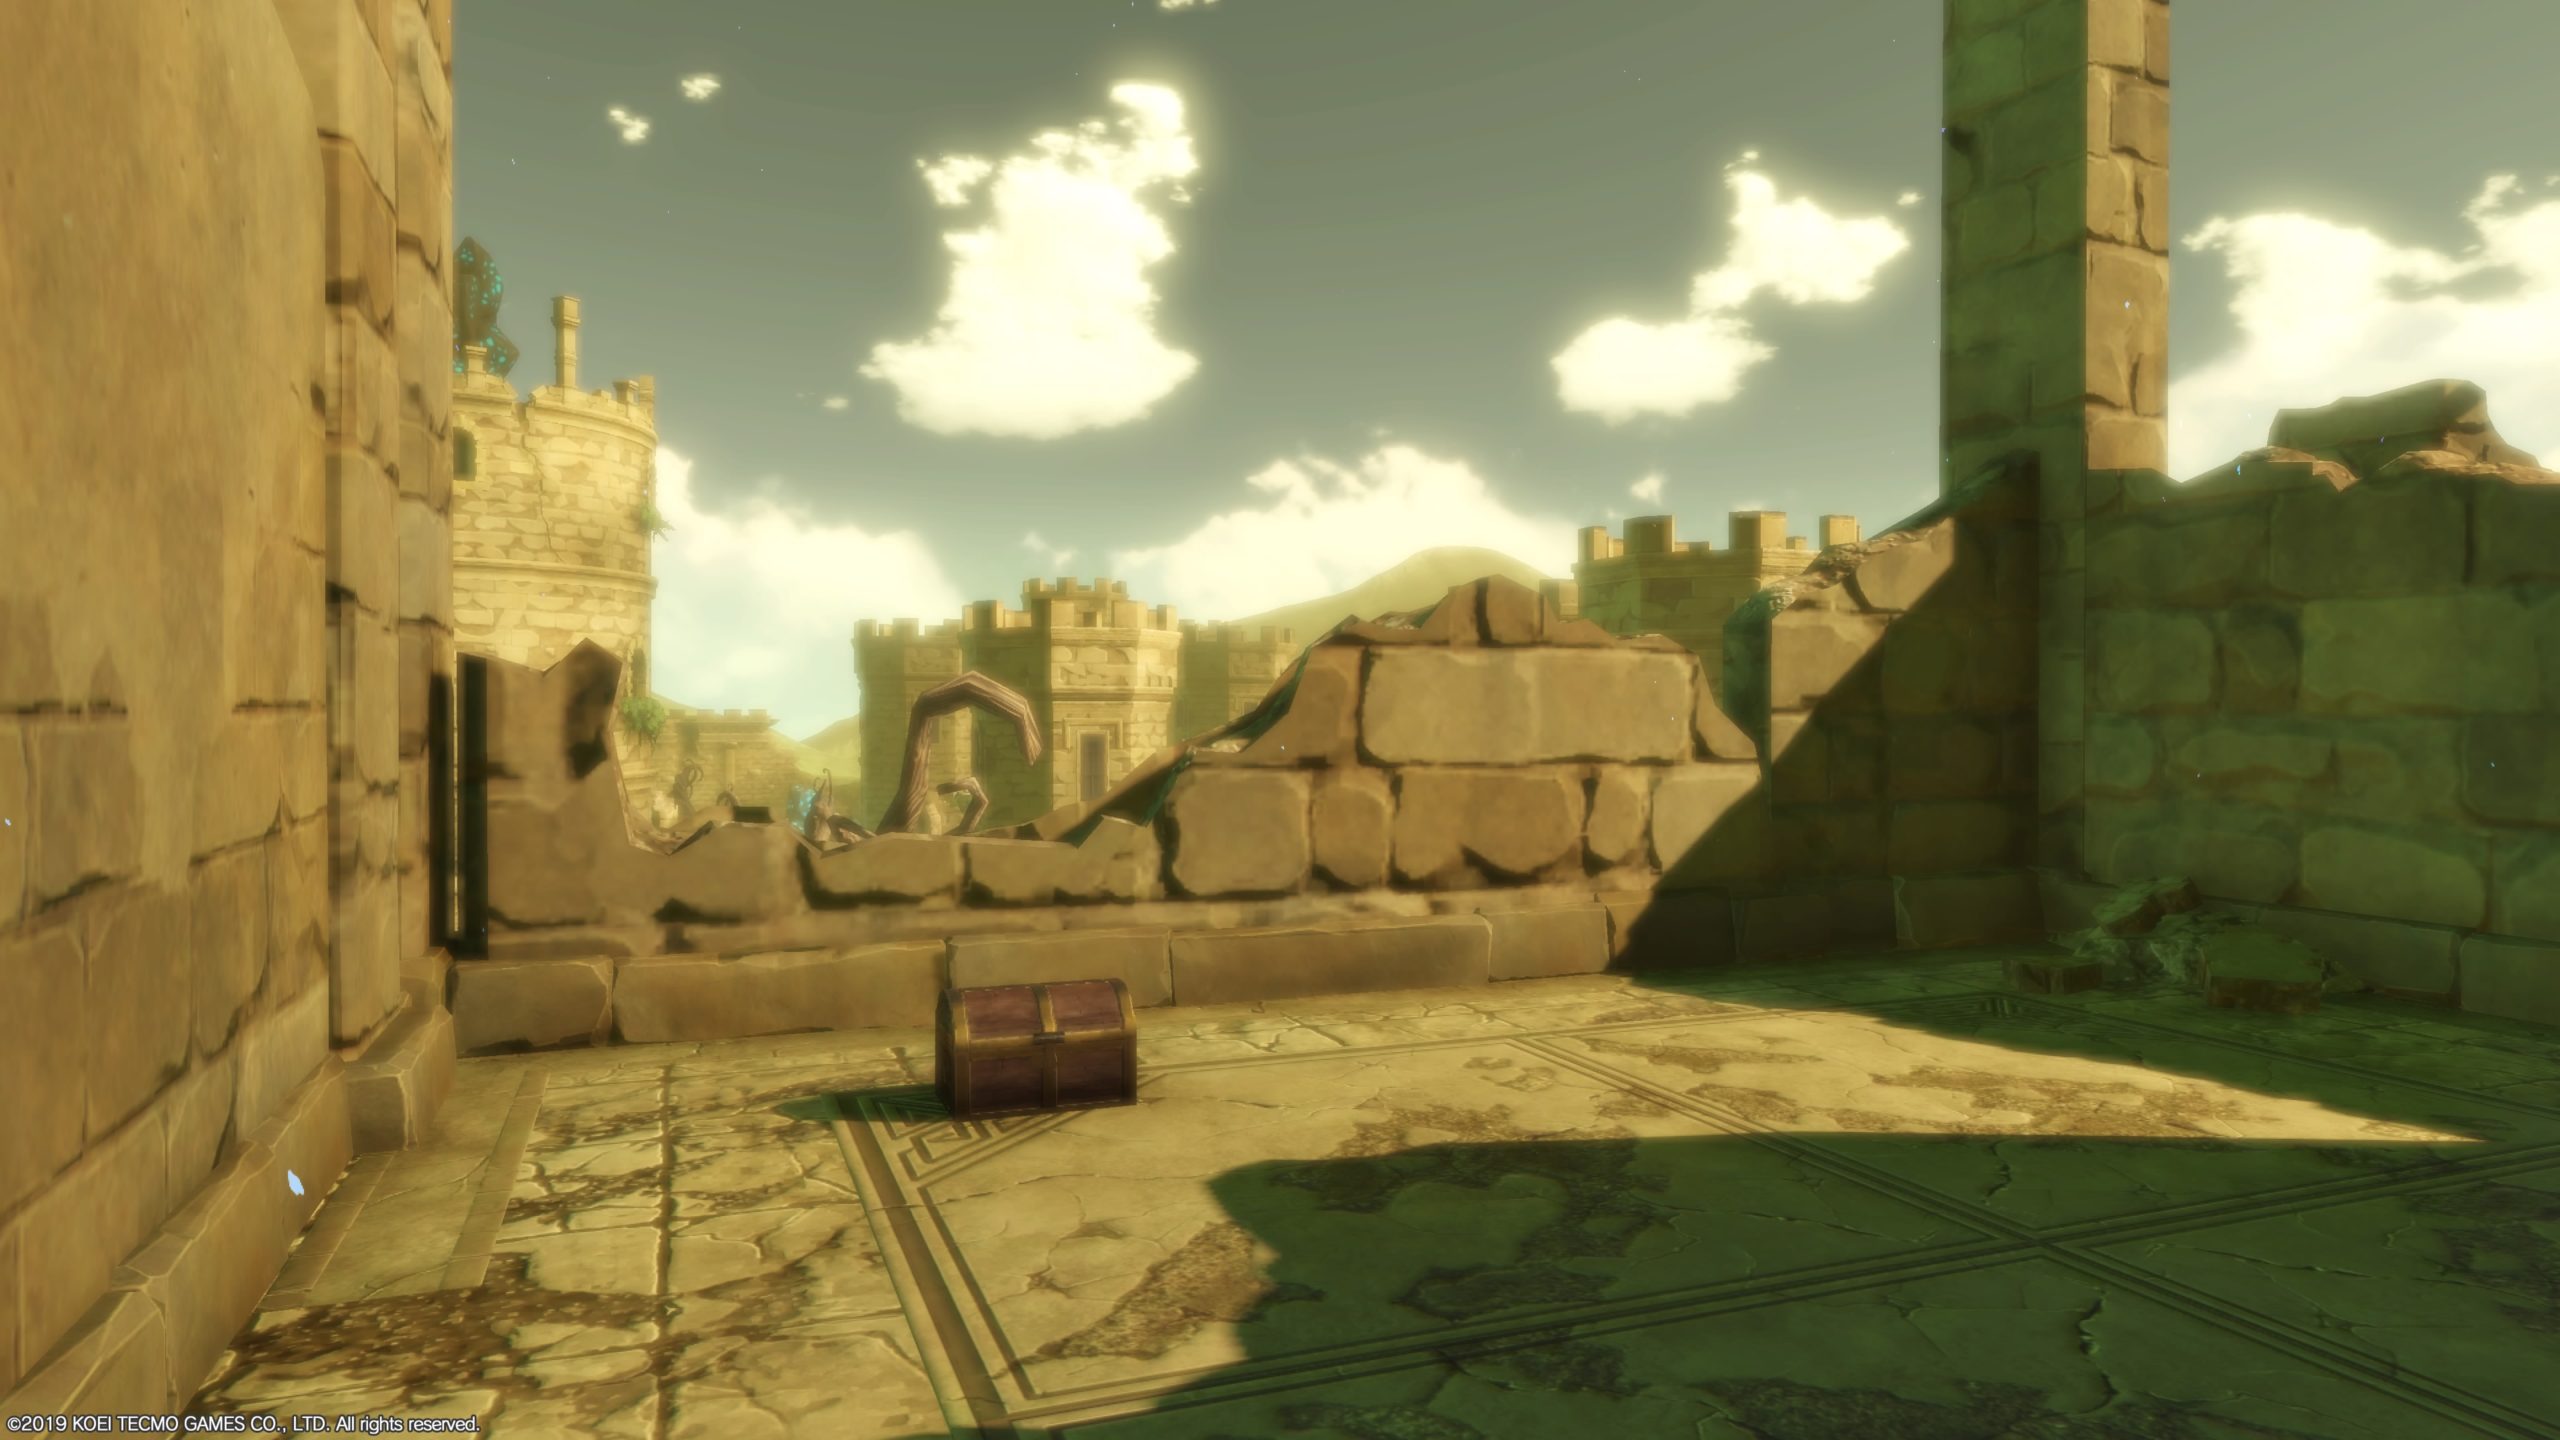
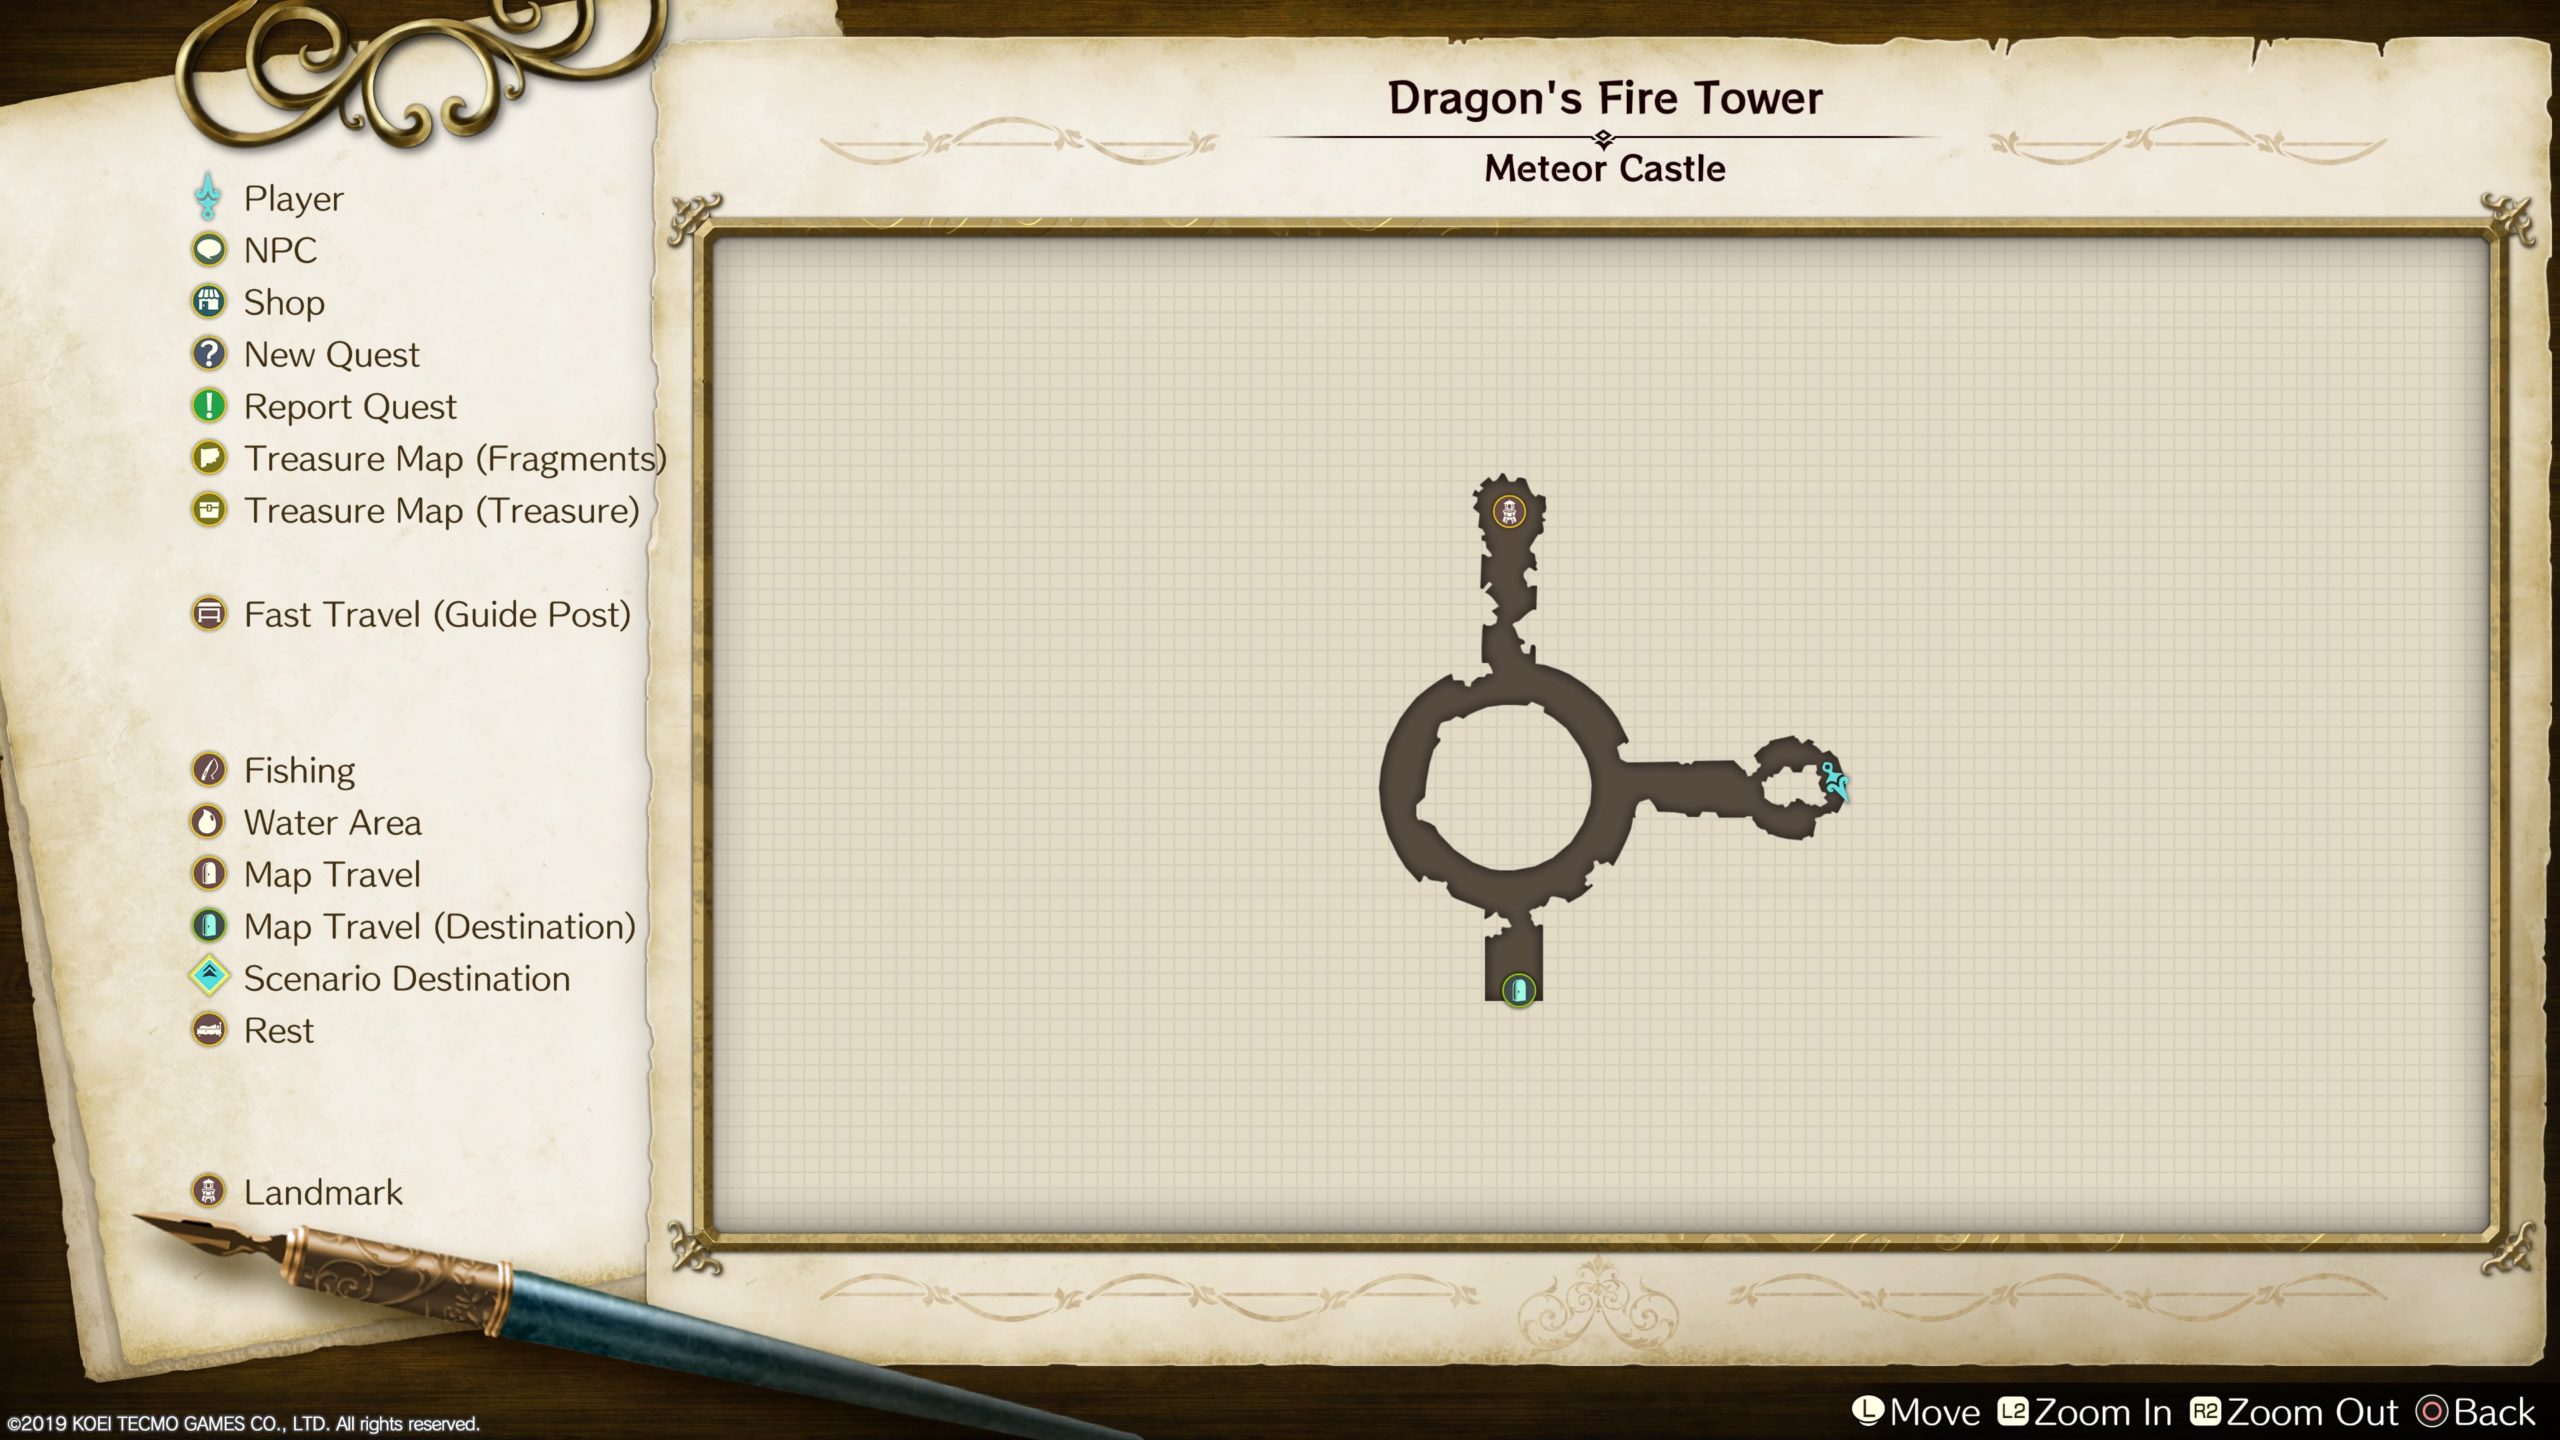
Dragon’s Fire Tower
This chest can be found on the far east side of the area behind the giant mineral deposit. Open it to find a Radiant Plate!
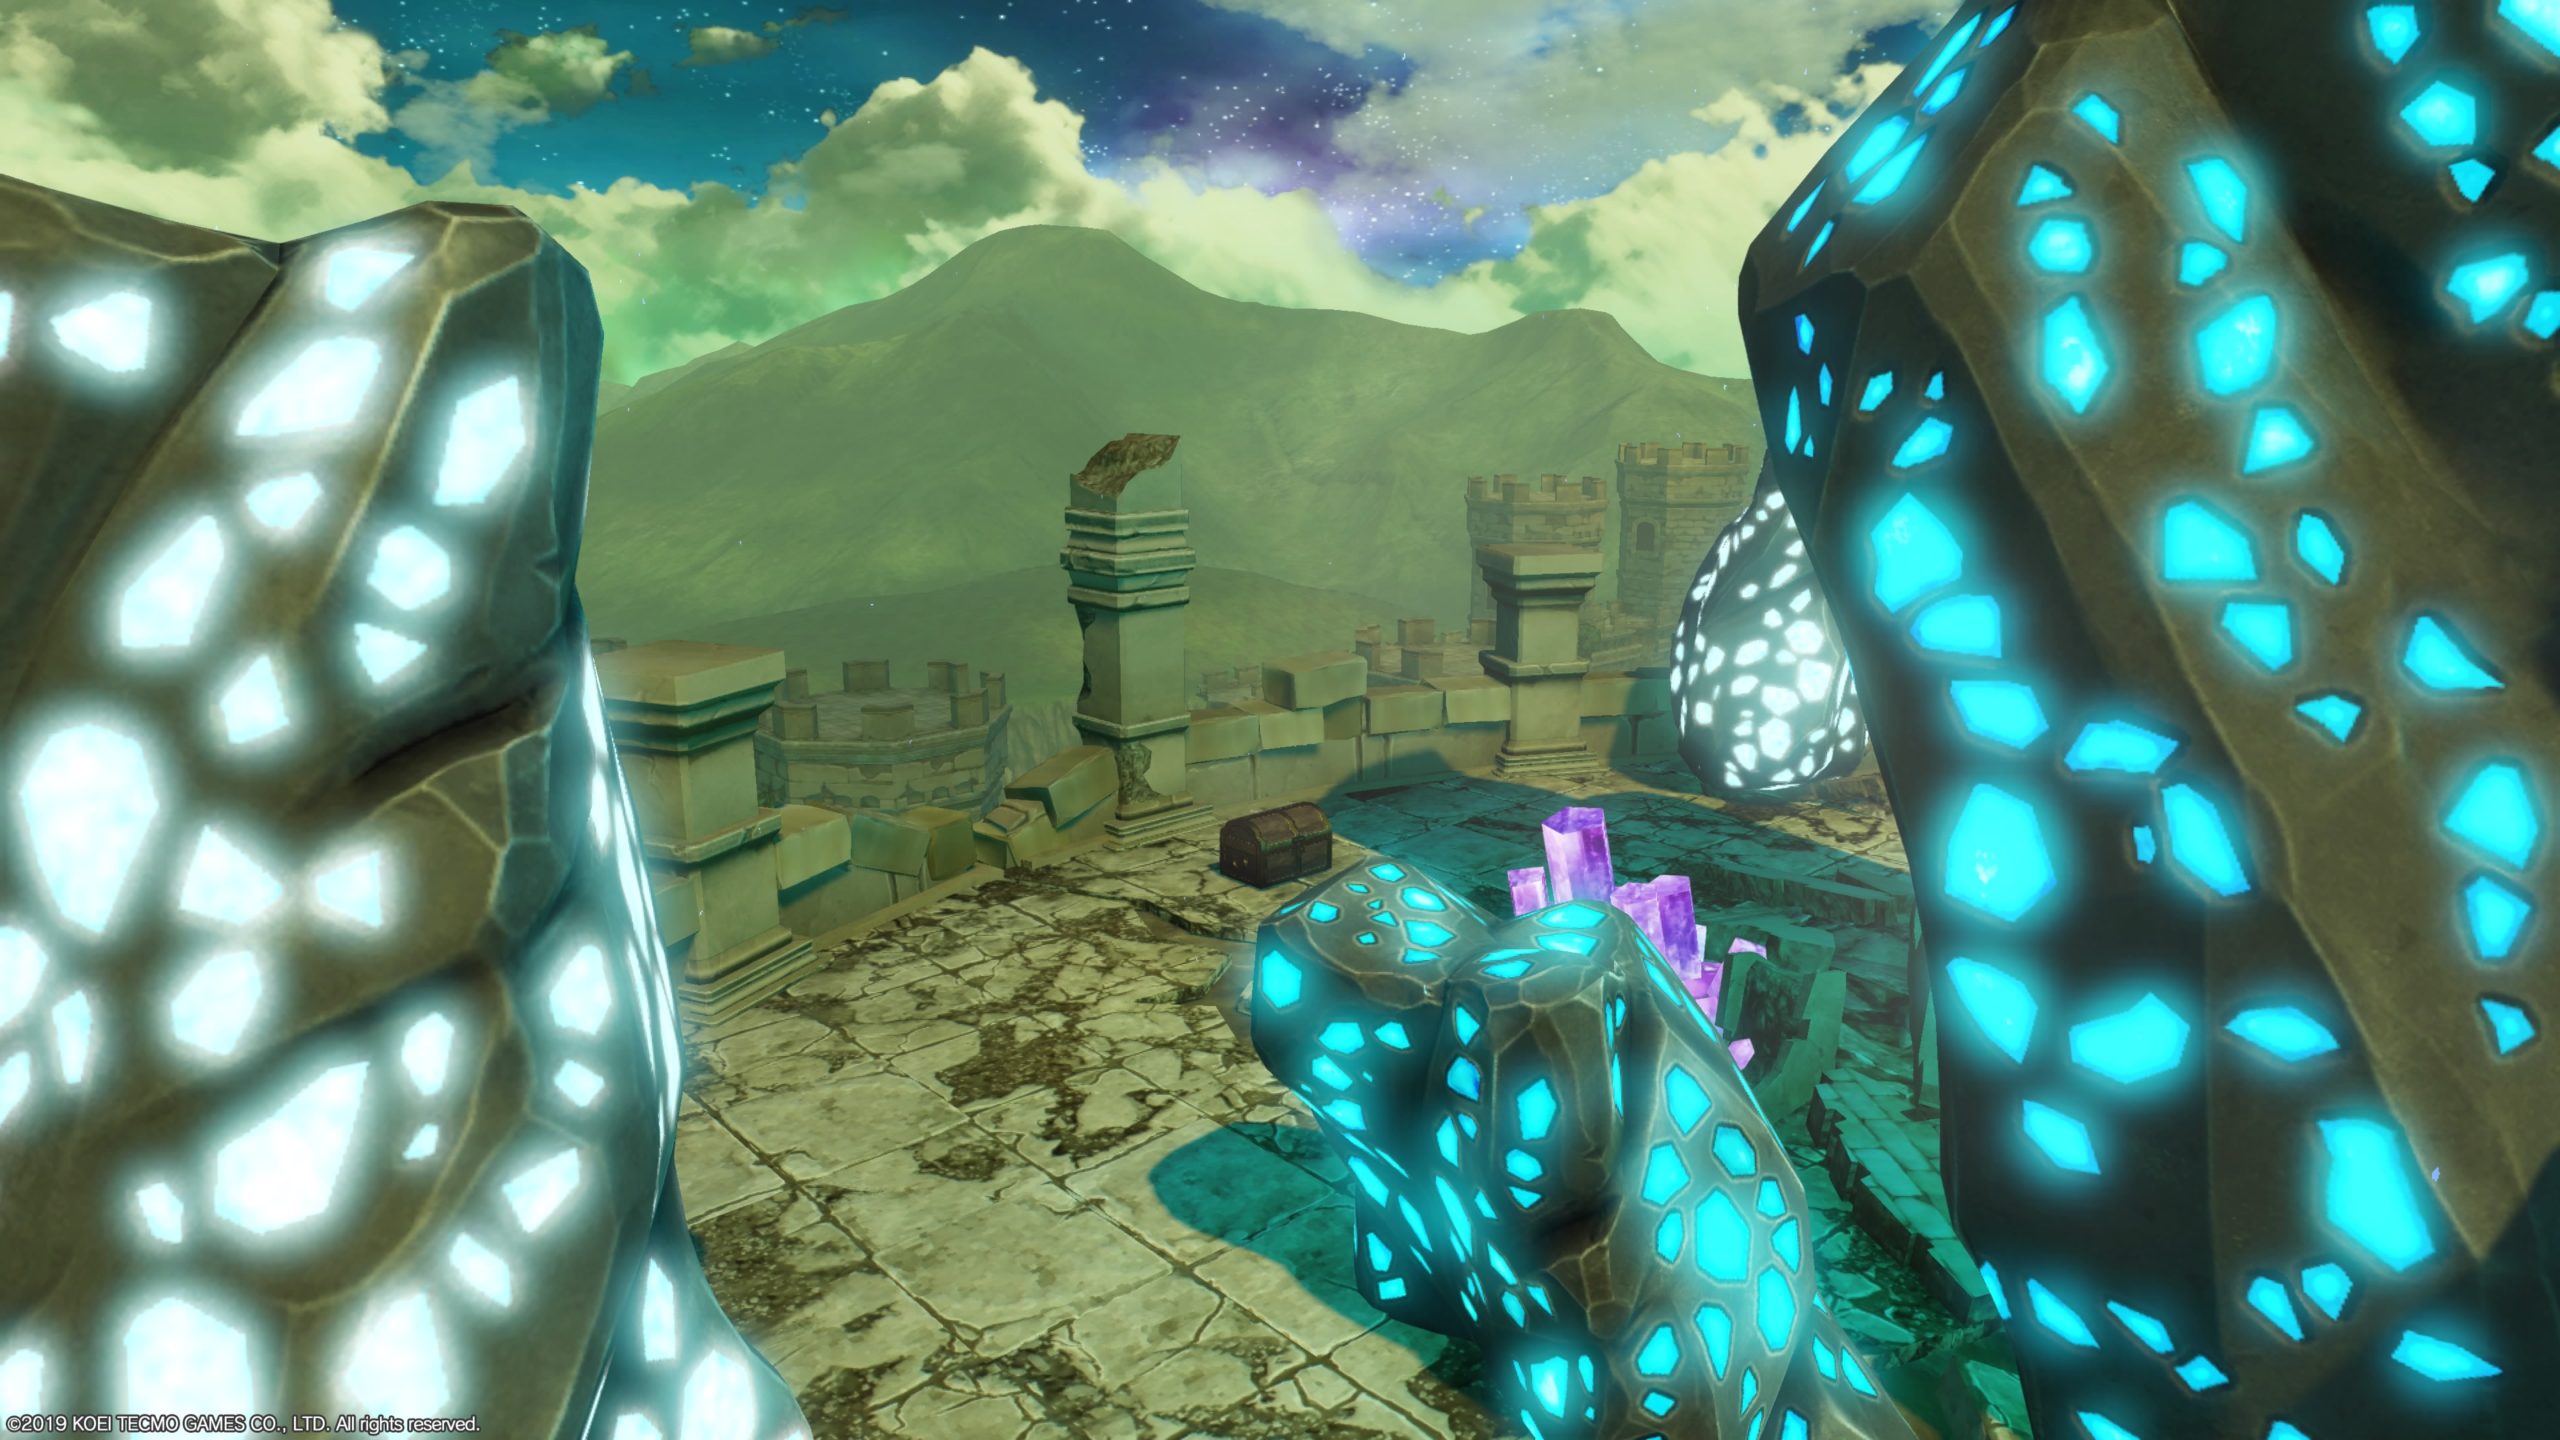
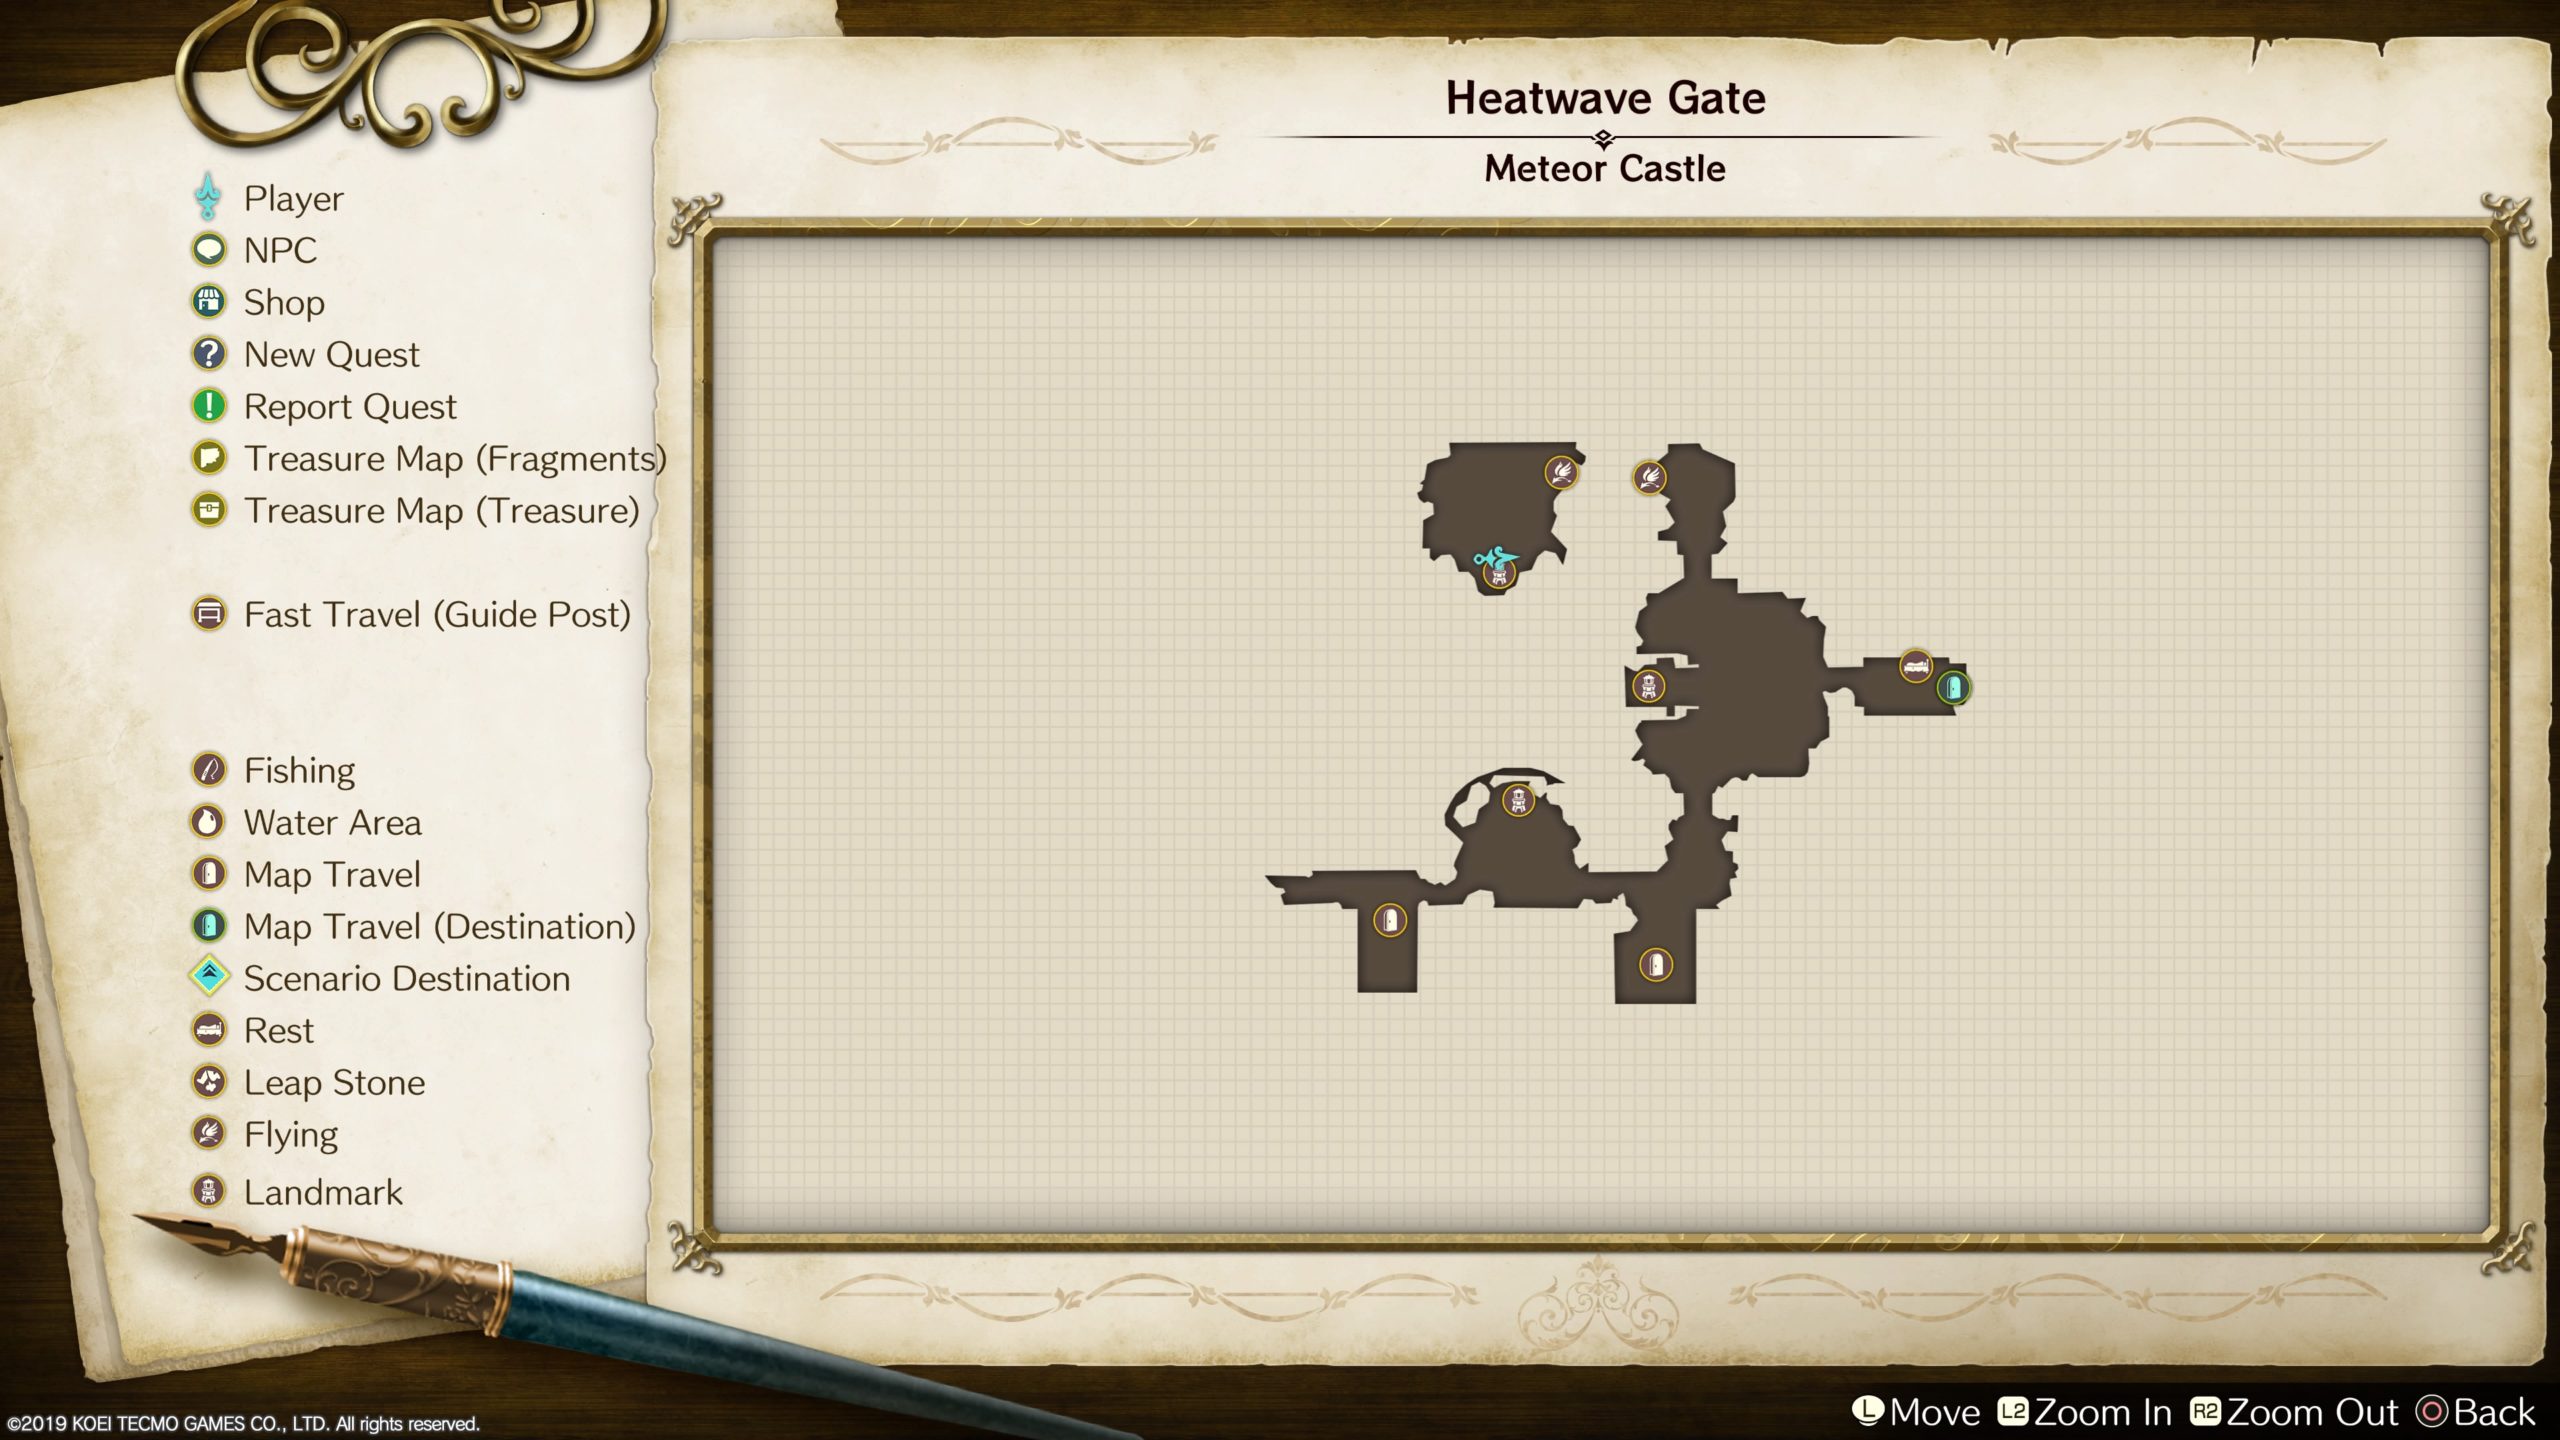
Heatwave Gate
This chest can be found in the northwestern part of the area and is only reachable using Wind Shoes. Open it to find a Fire Core!
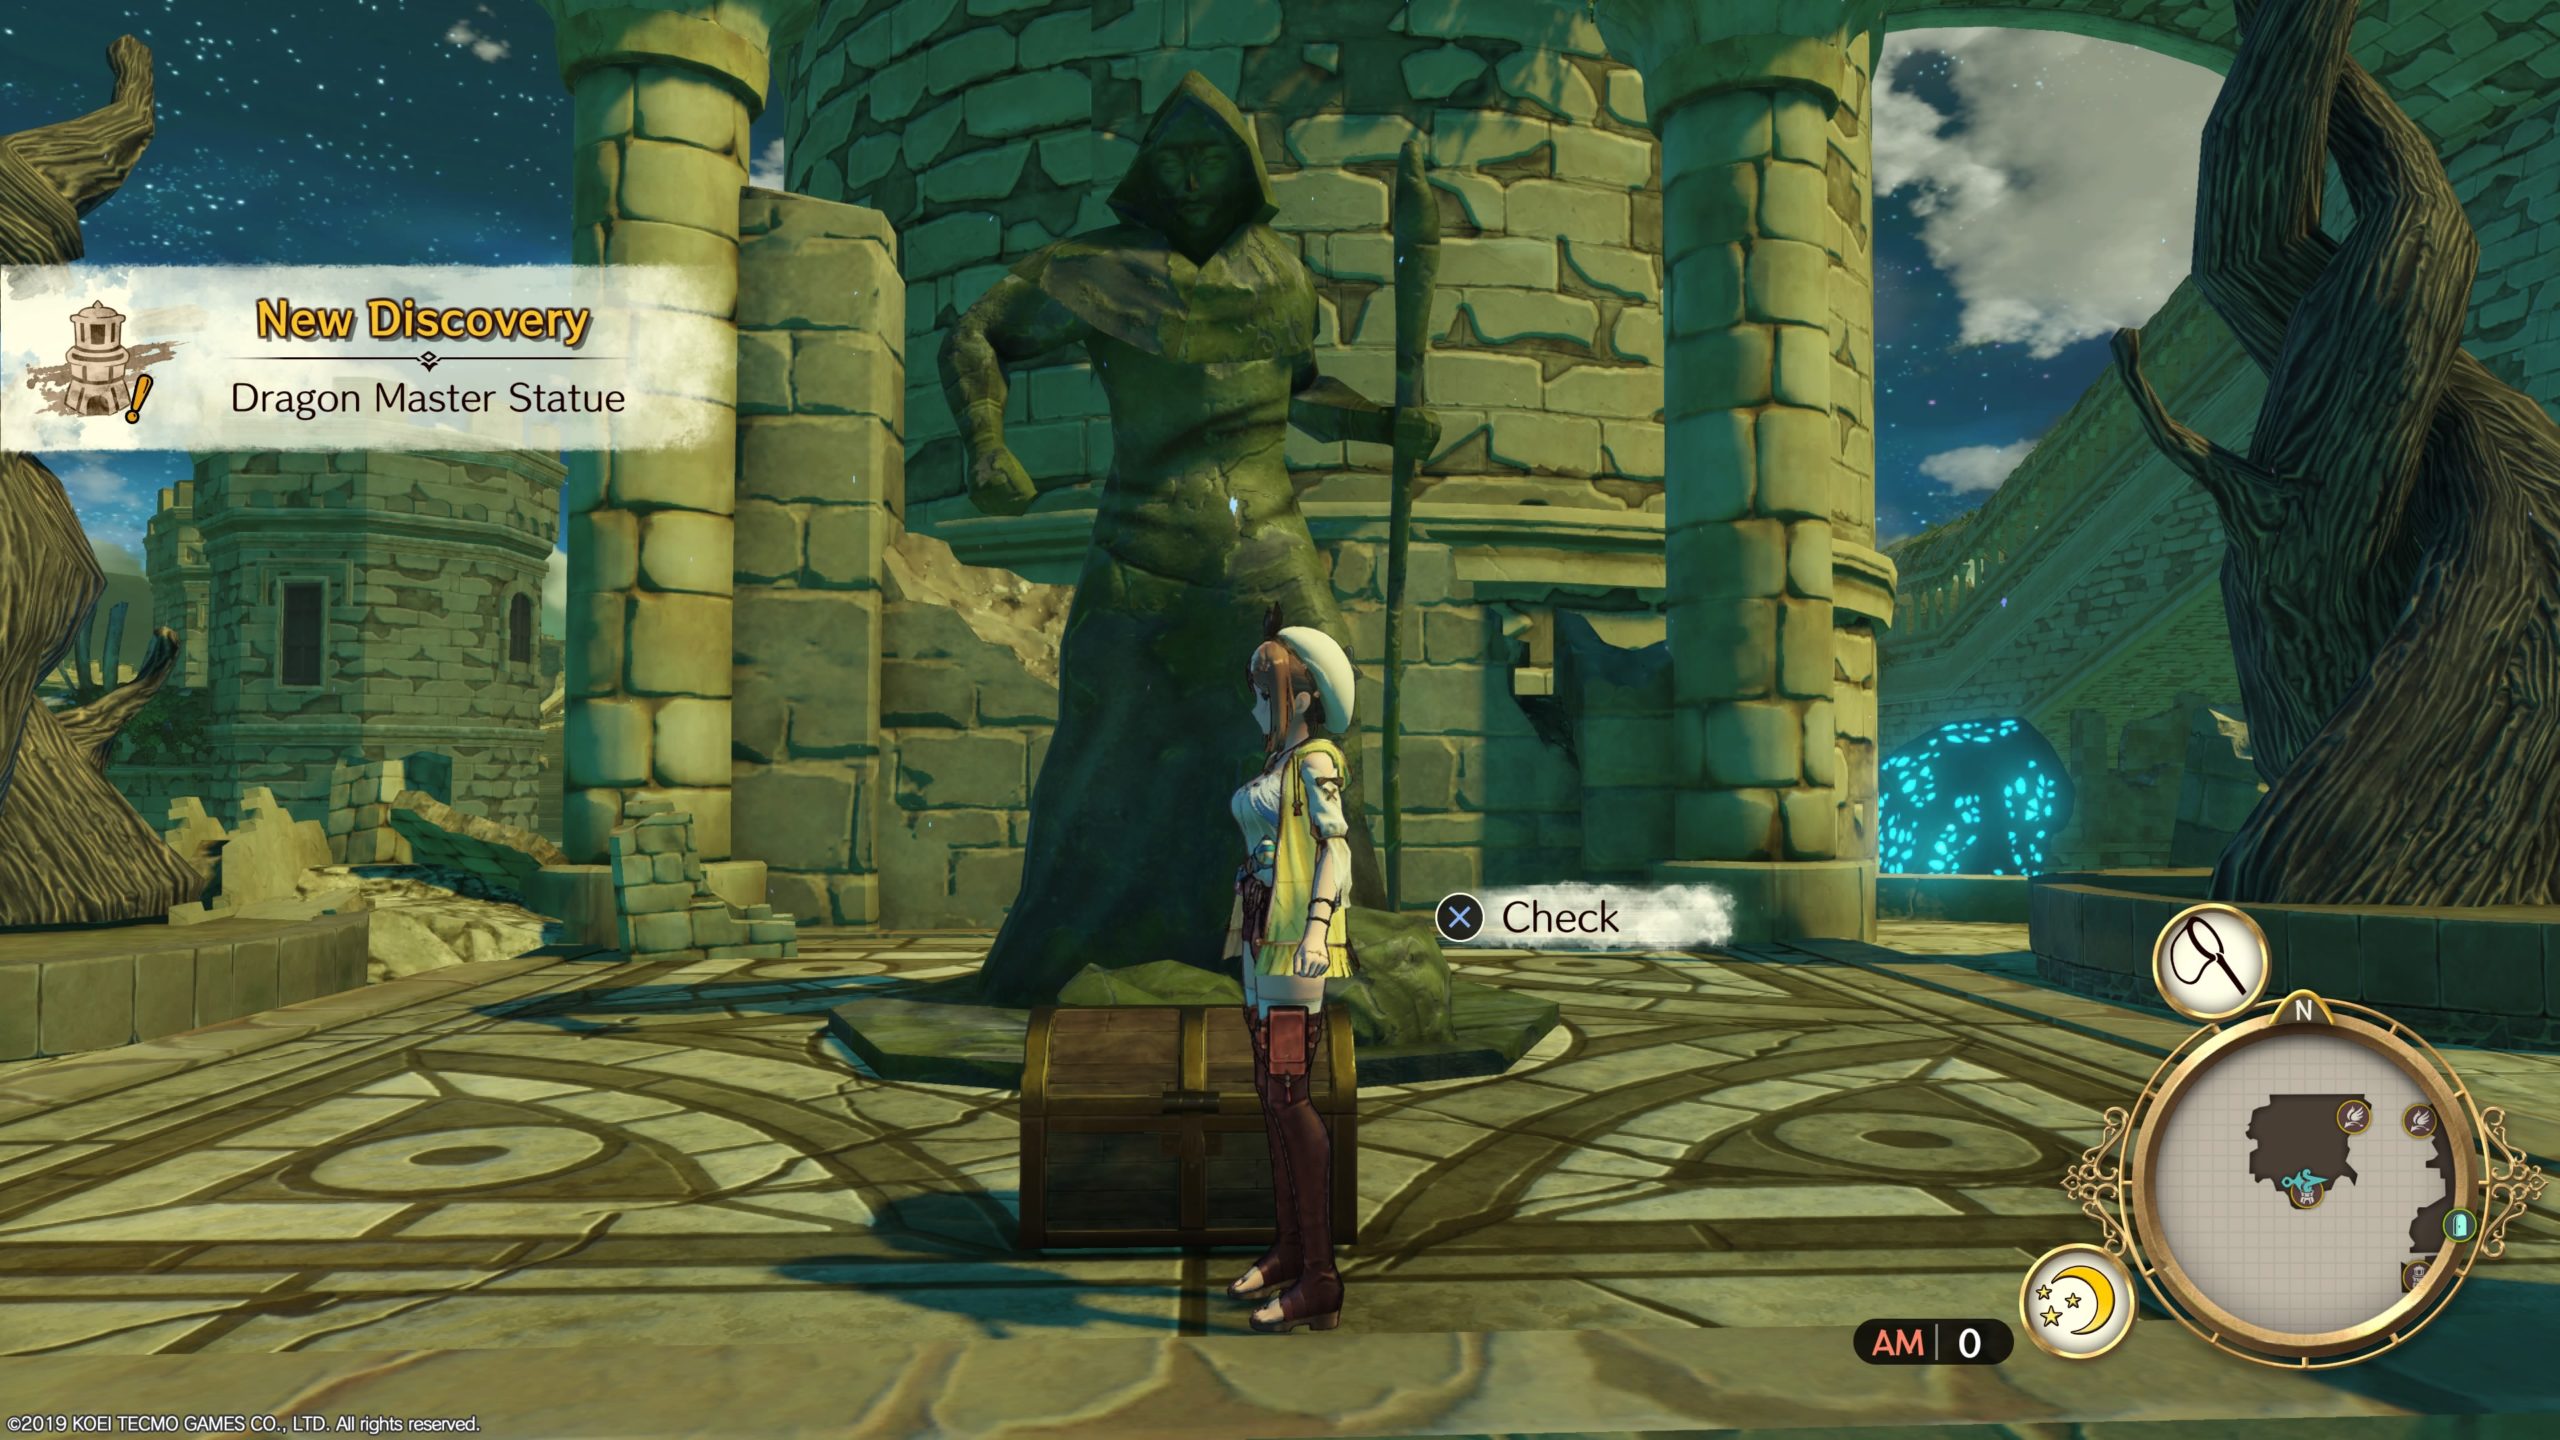
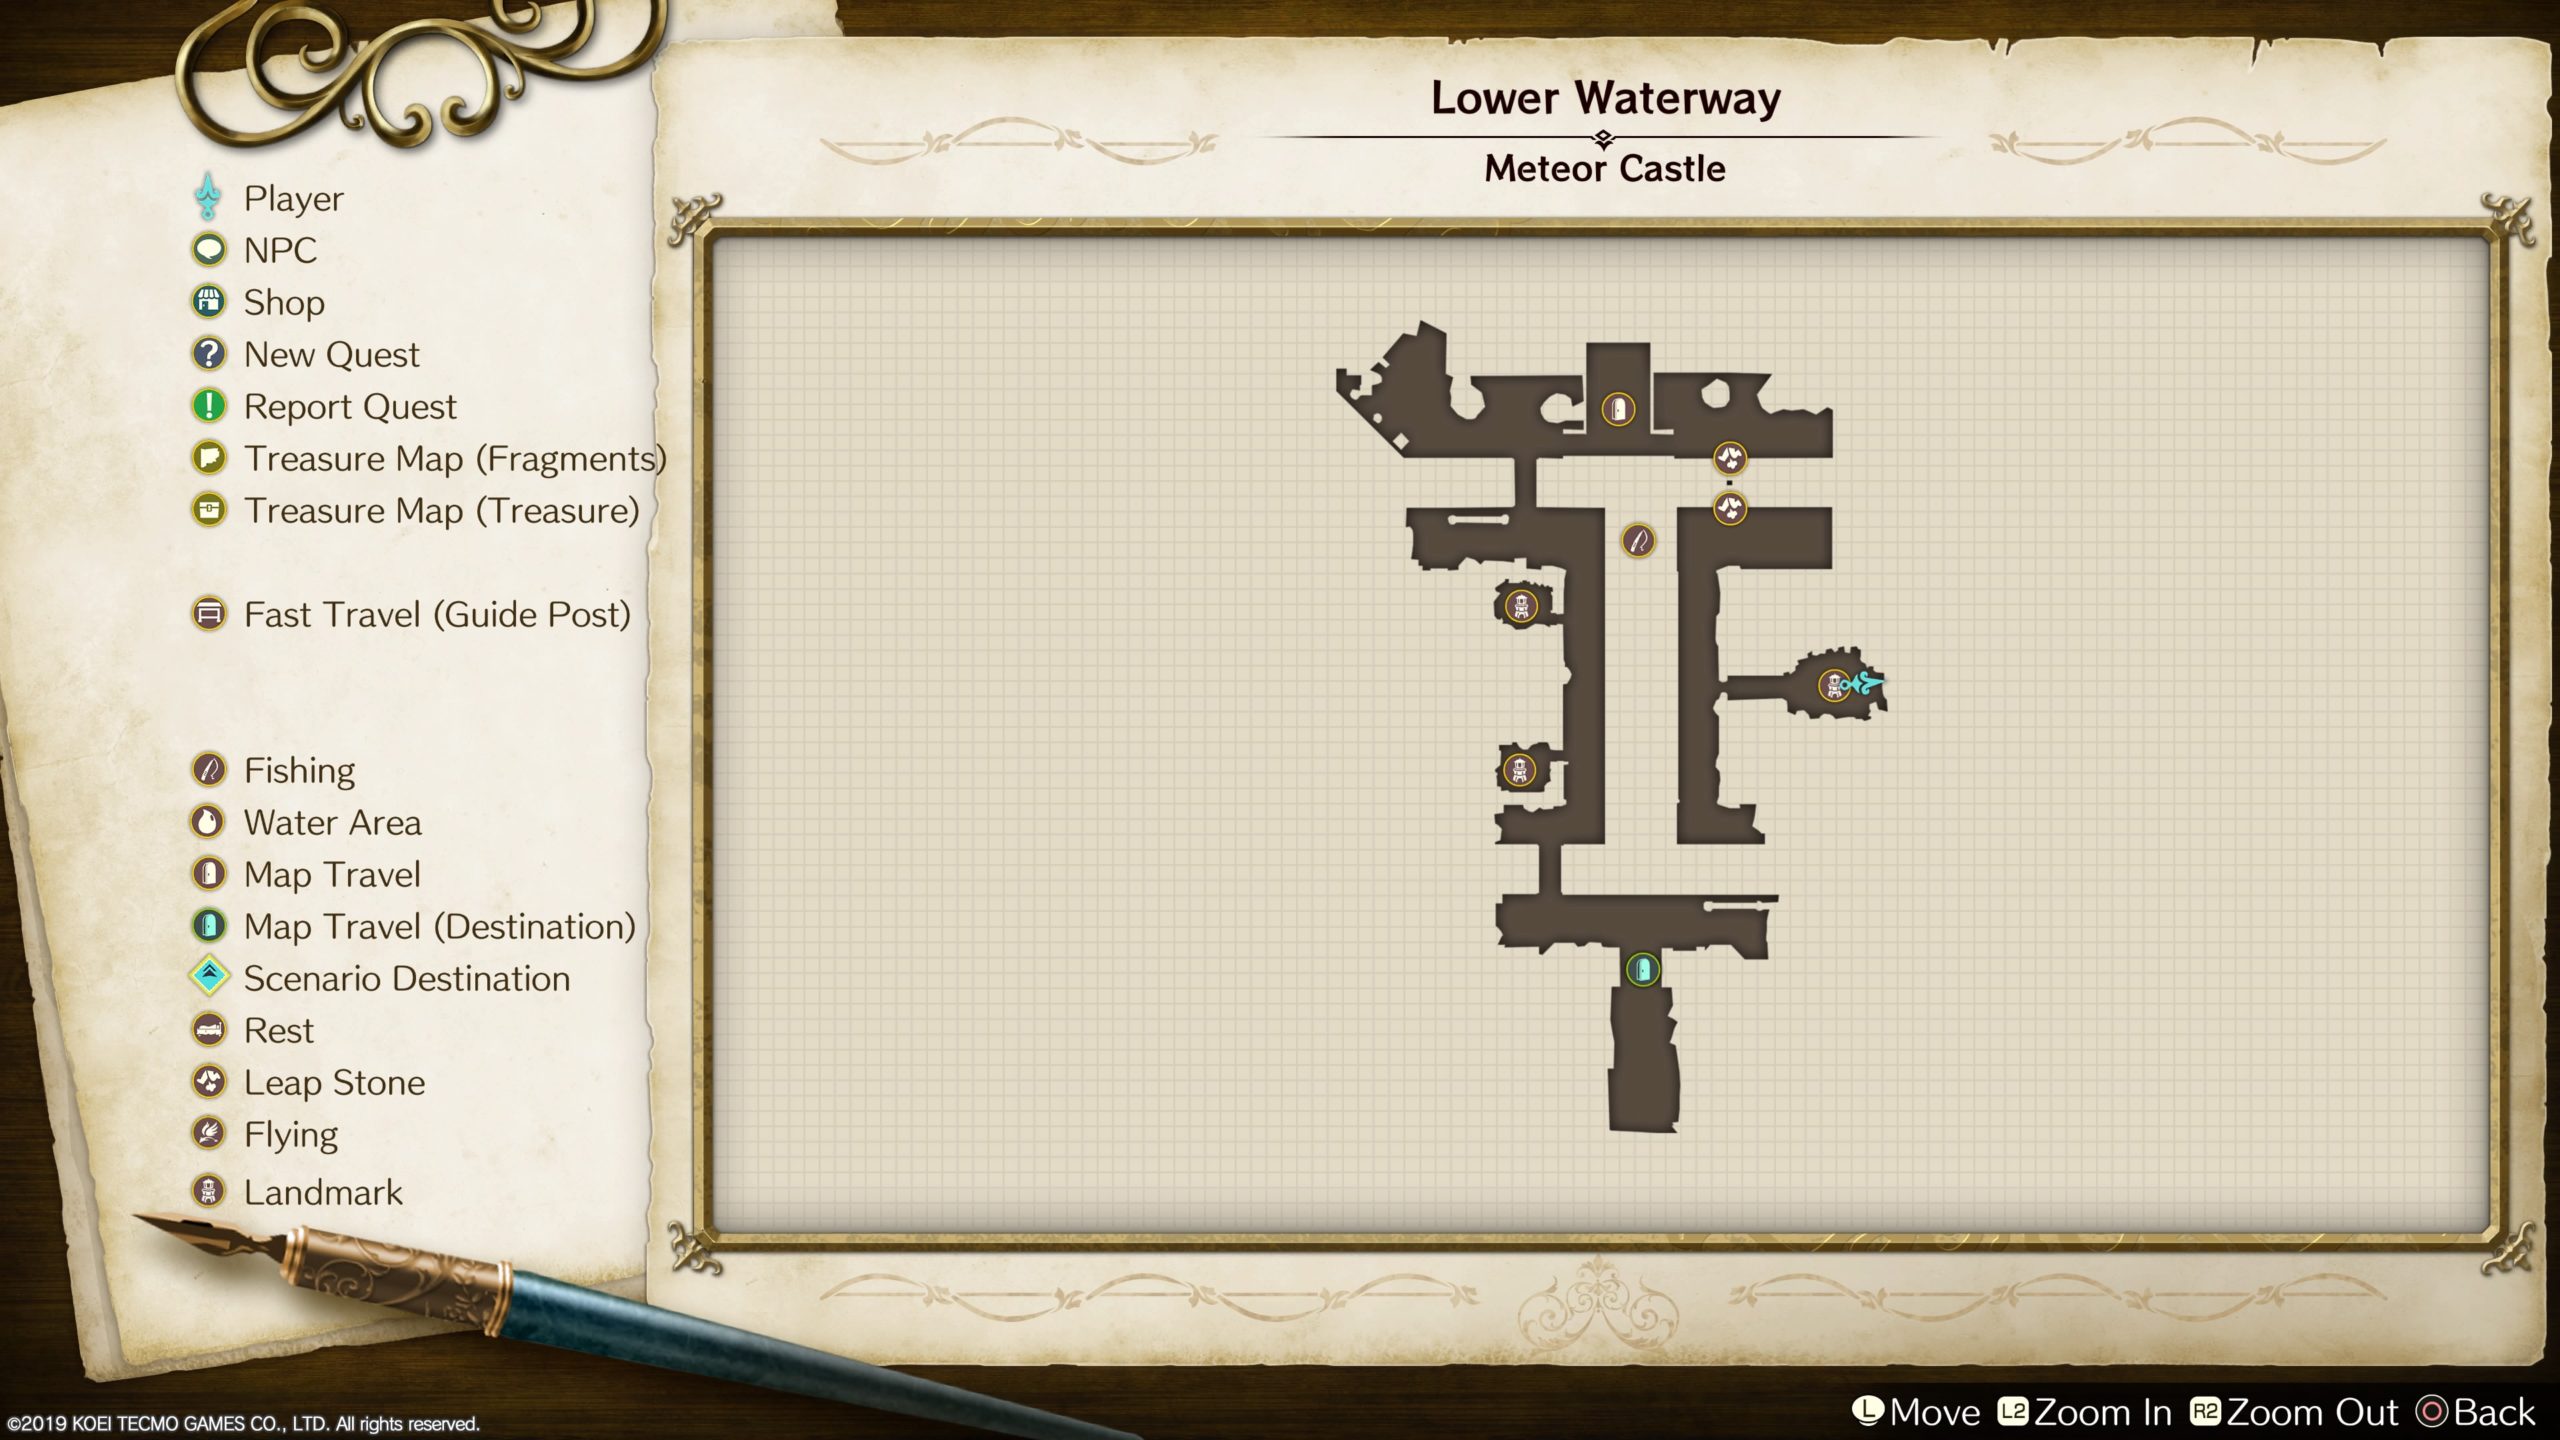
Lower Waterway
This chest can be found in a small room on the western side of the Lower Waterway. It is in the same room as the landmark called “Dragon Master’s Study”. Open it to find Shining Sand!
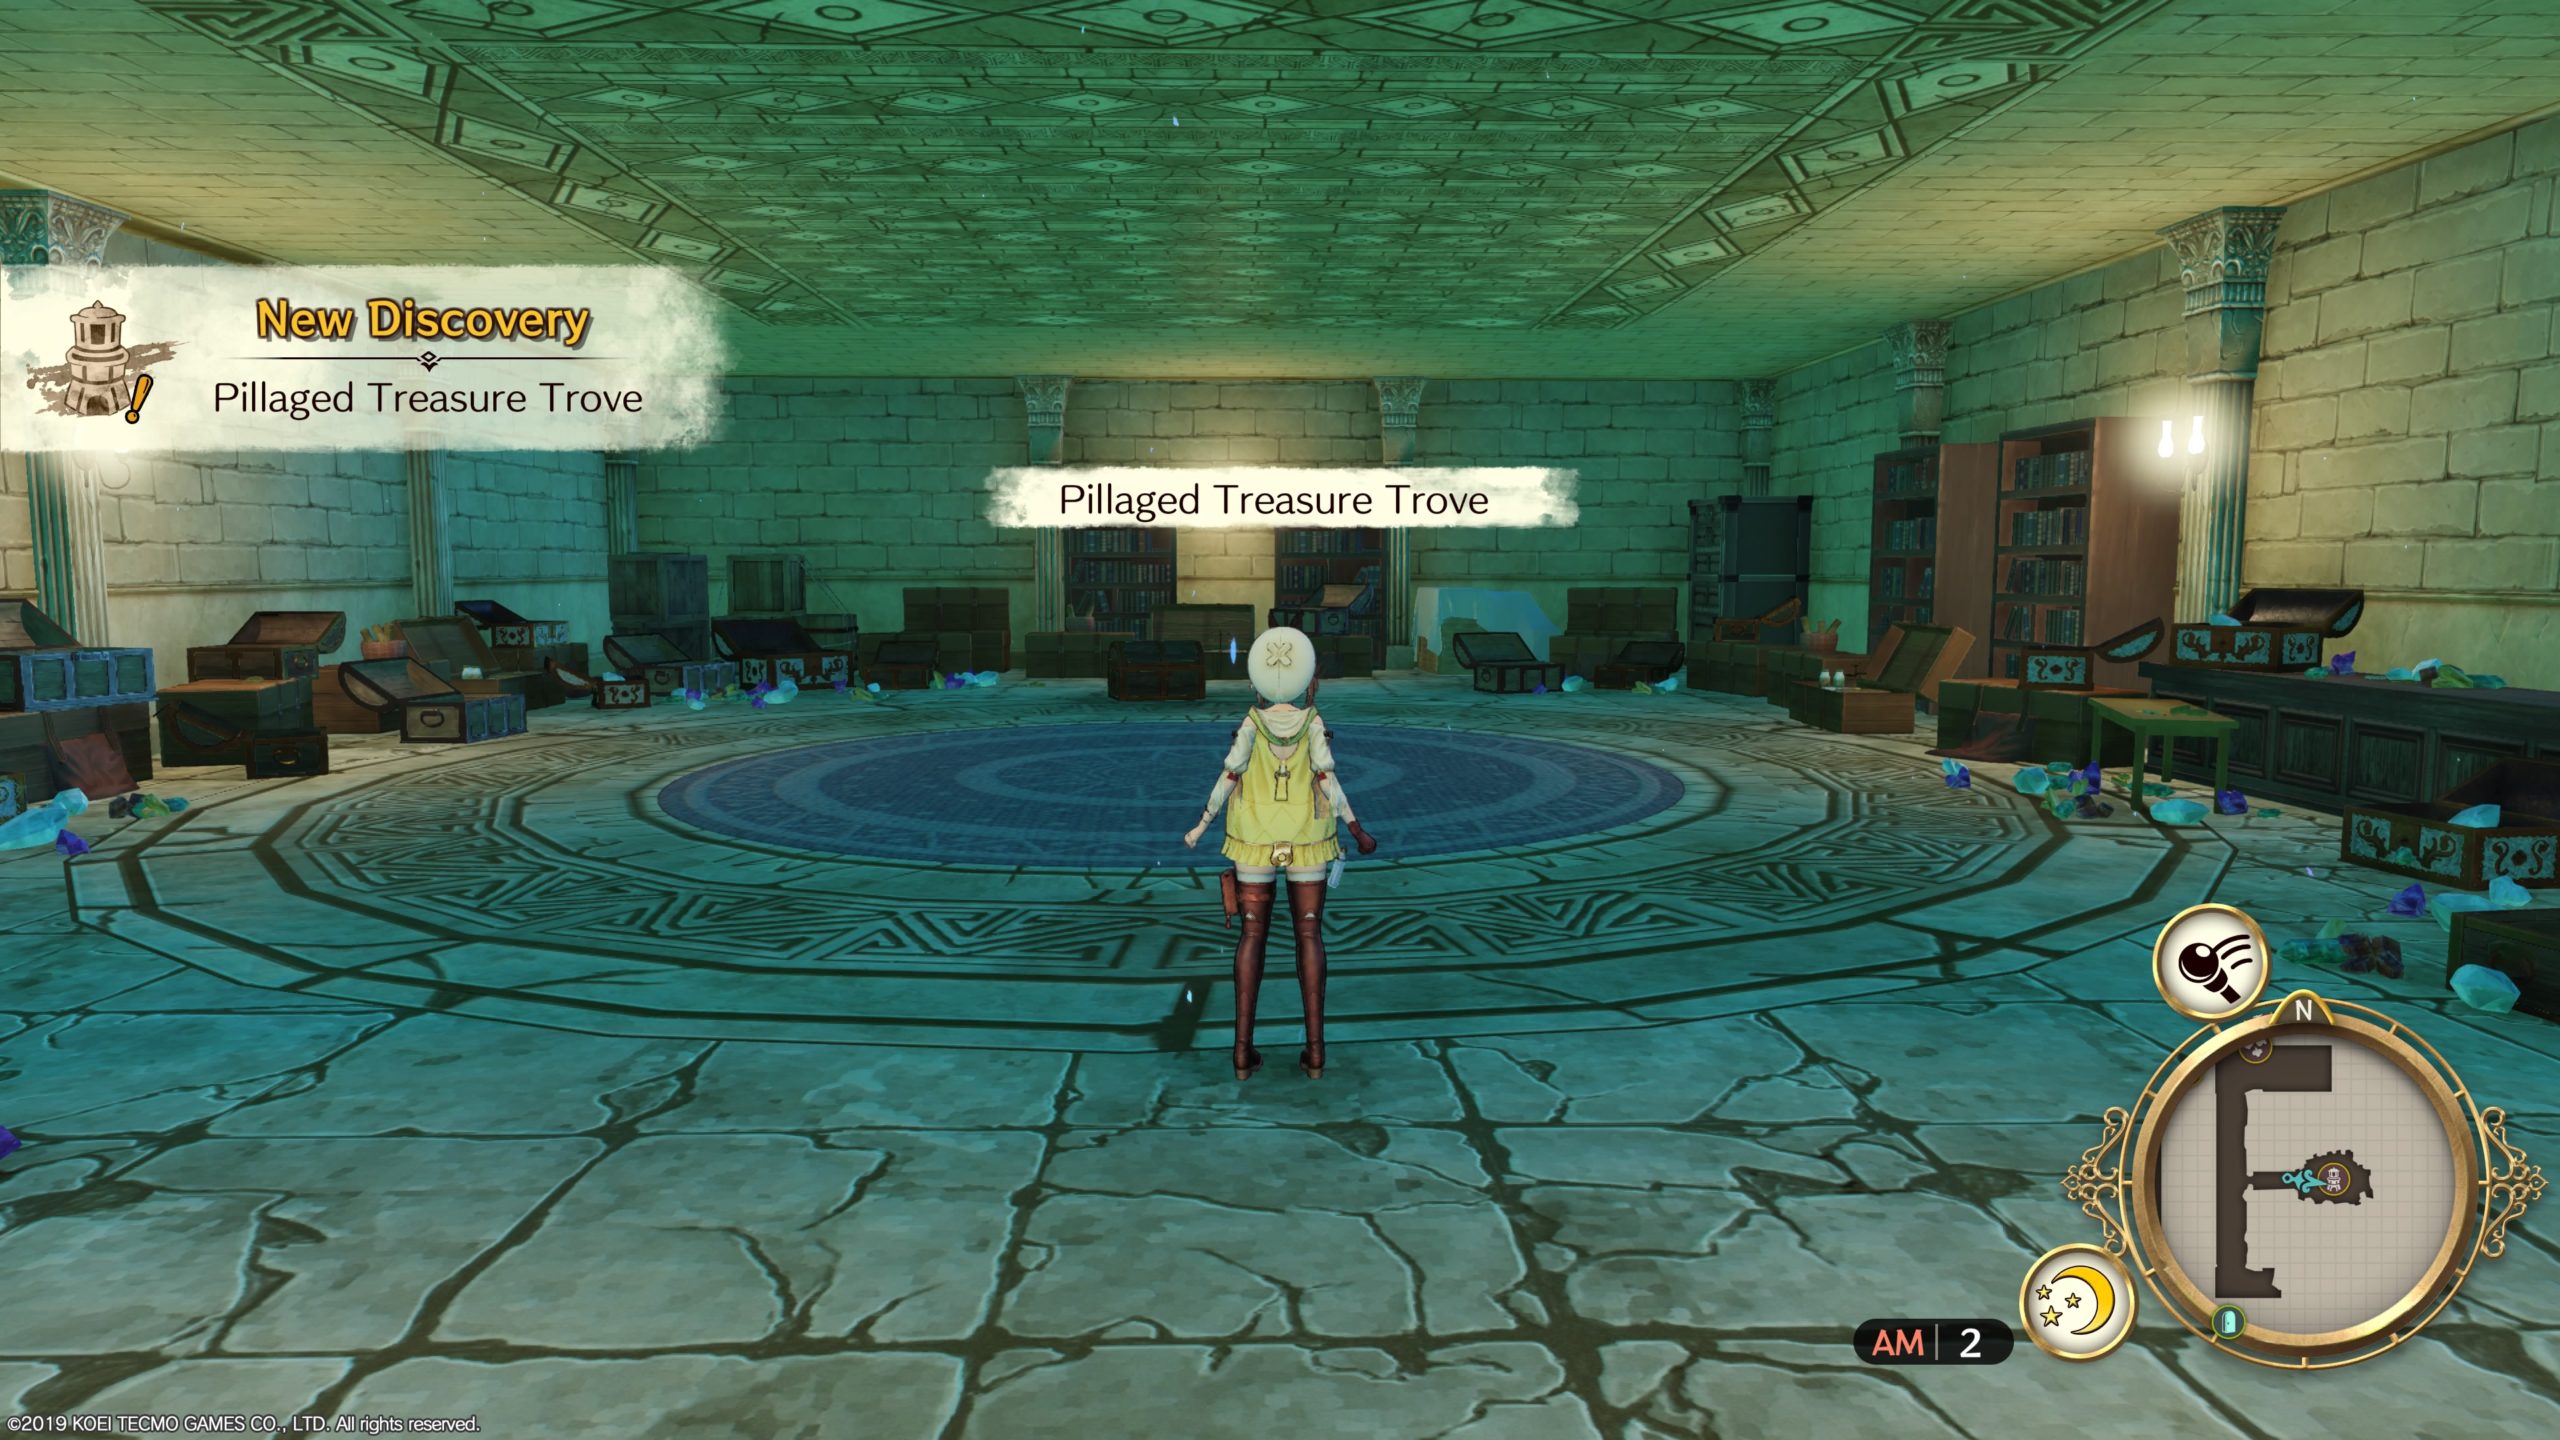
Lower Waterway
This chest can be found at the Pillaged Treasure Trove landmark, which is the room on the eastern side of the Lower Waterway. Open it to find a Dragon’s Eye!
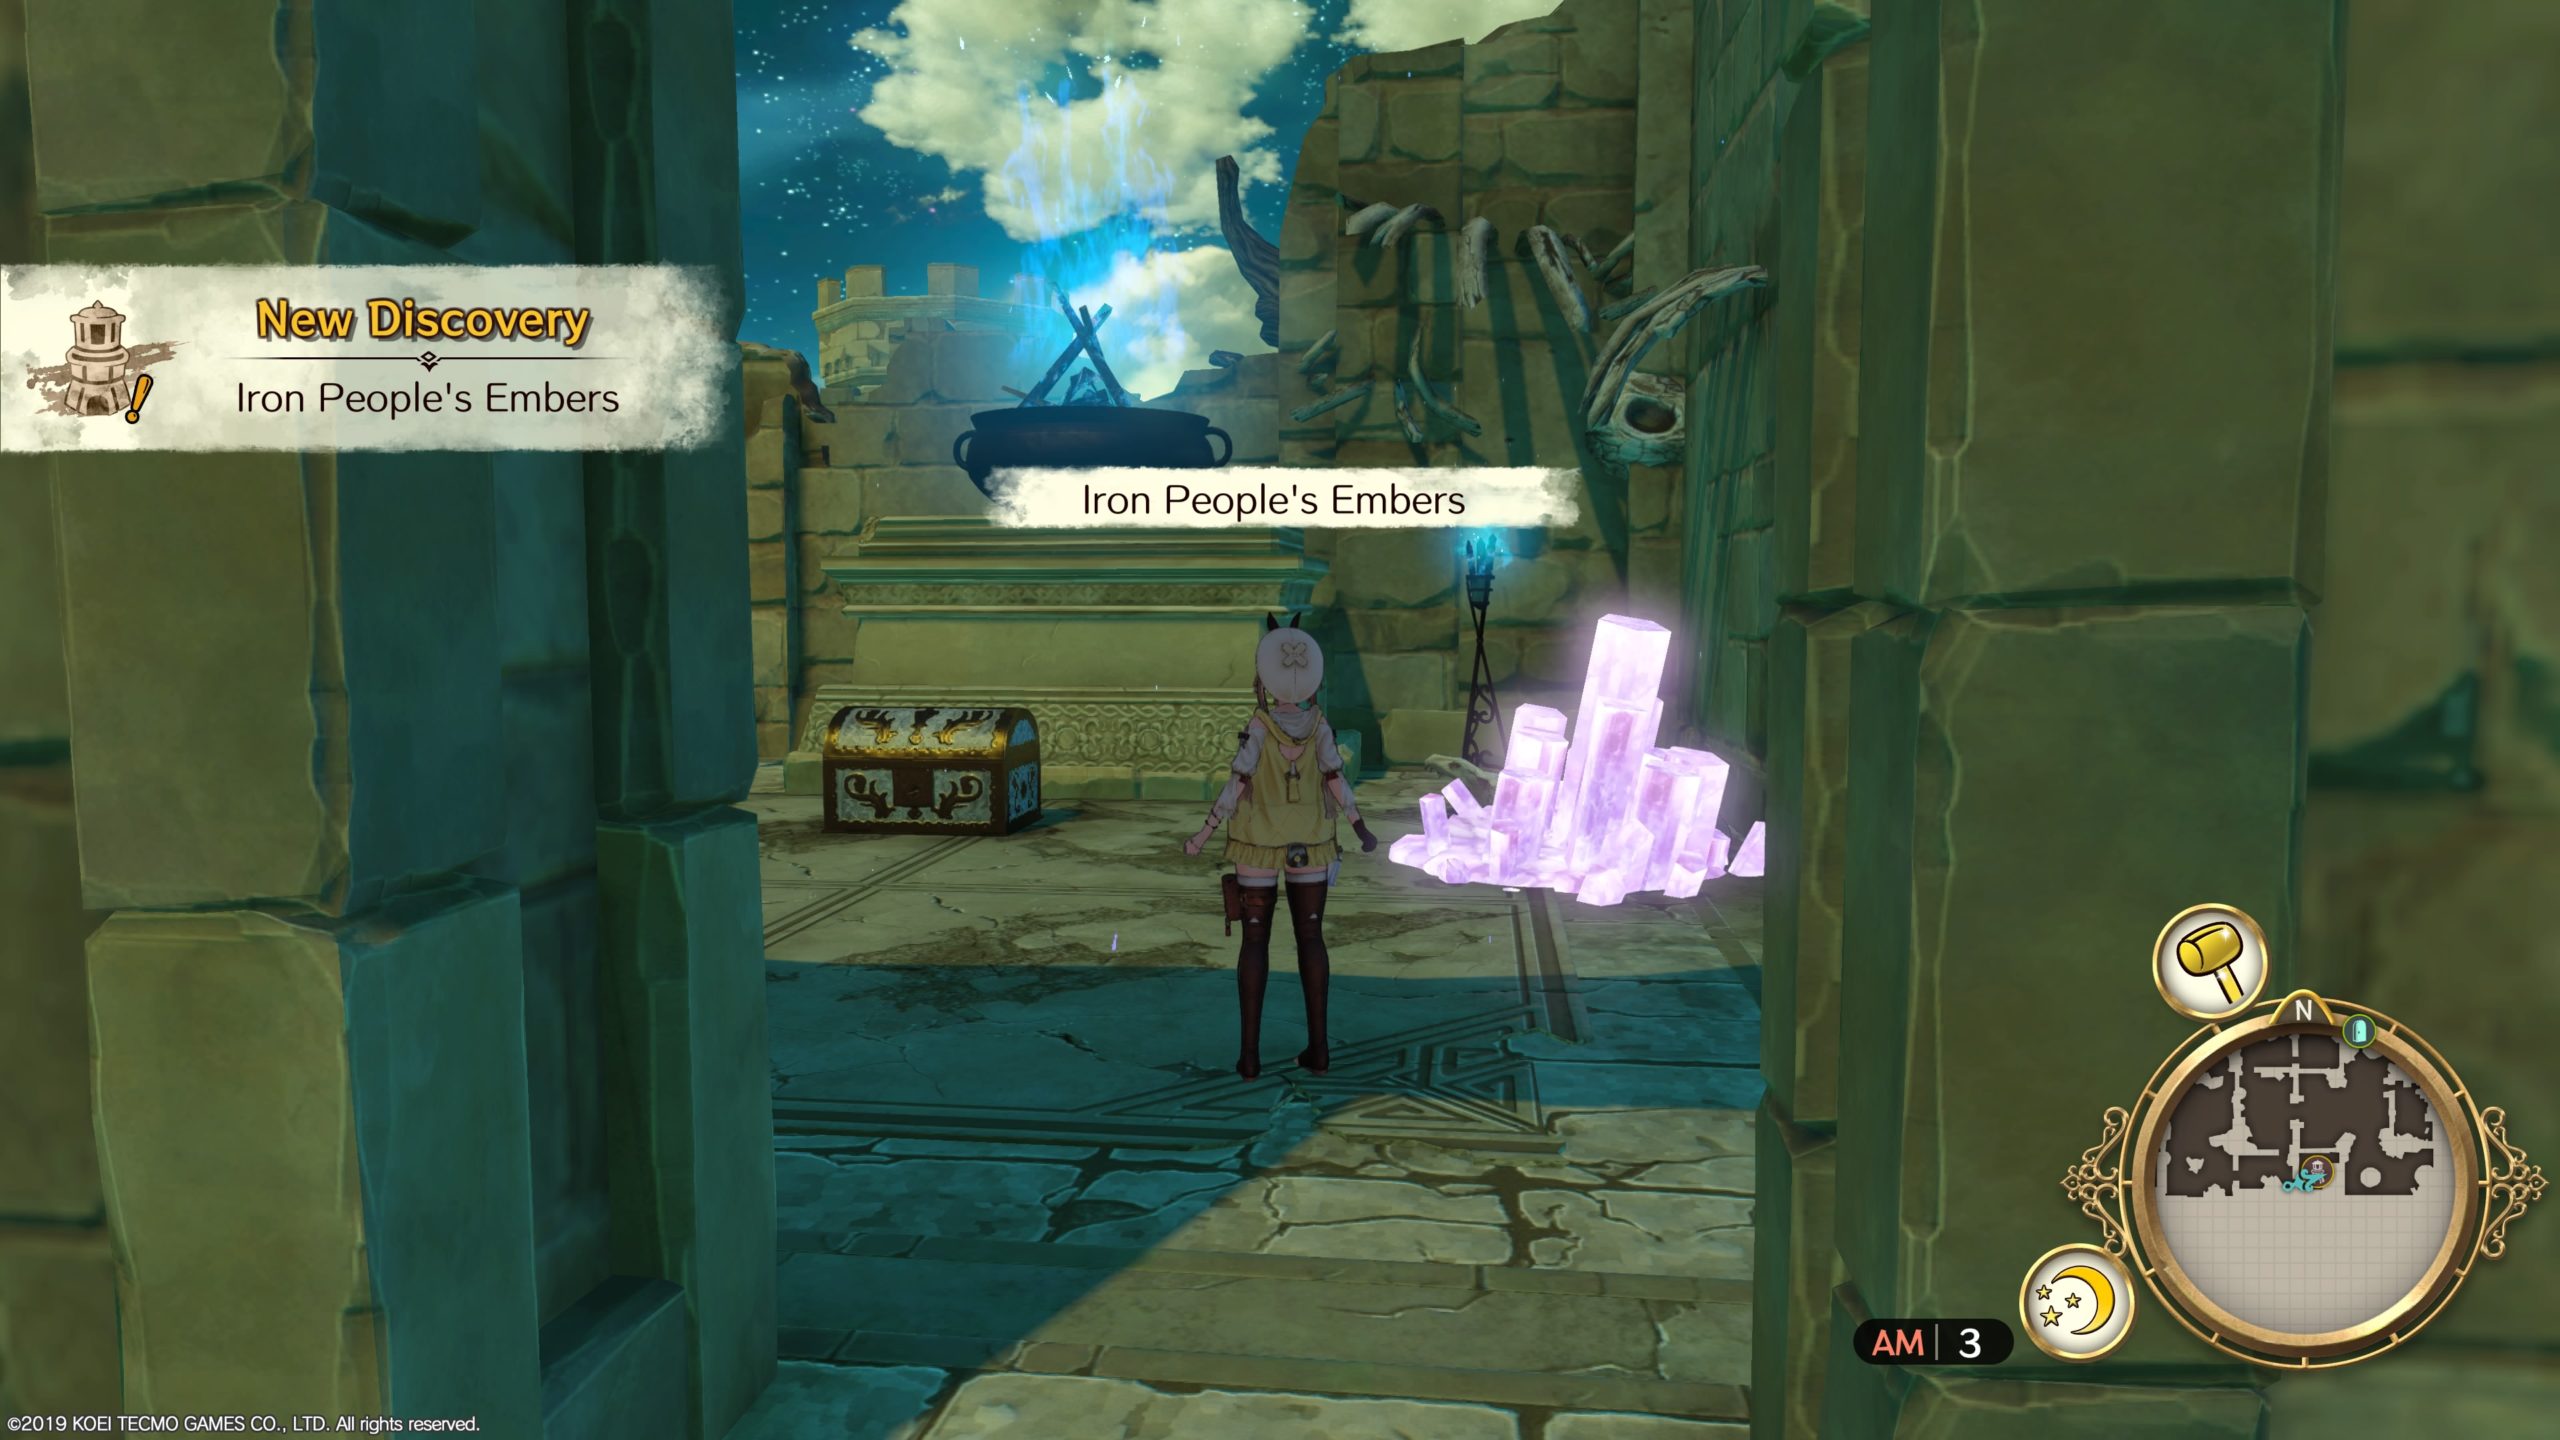
Upper Waterway
This chest can be found in a small nook after breaking down large rocks blocking the doorway in the Iron People’s Embers landmark, which is in the southern part of the Upper Waterway. Open it to find a Power Reactor!
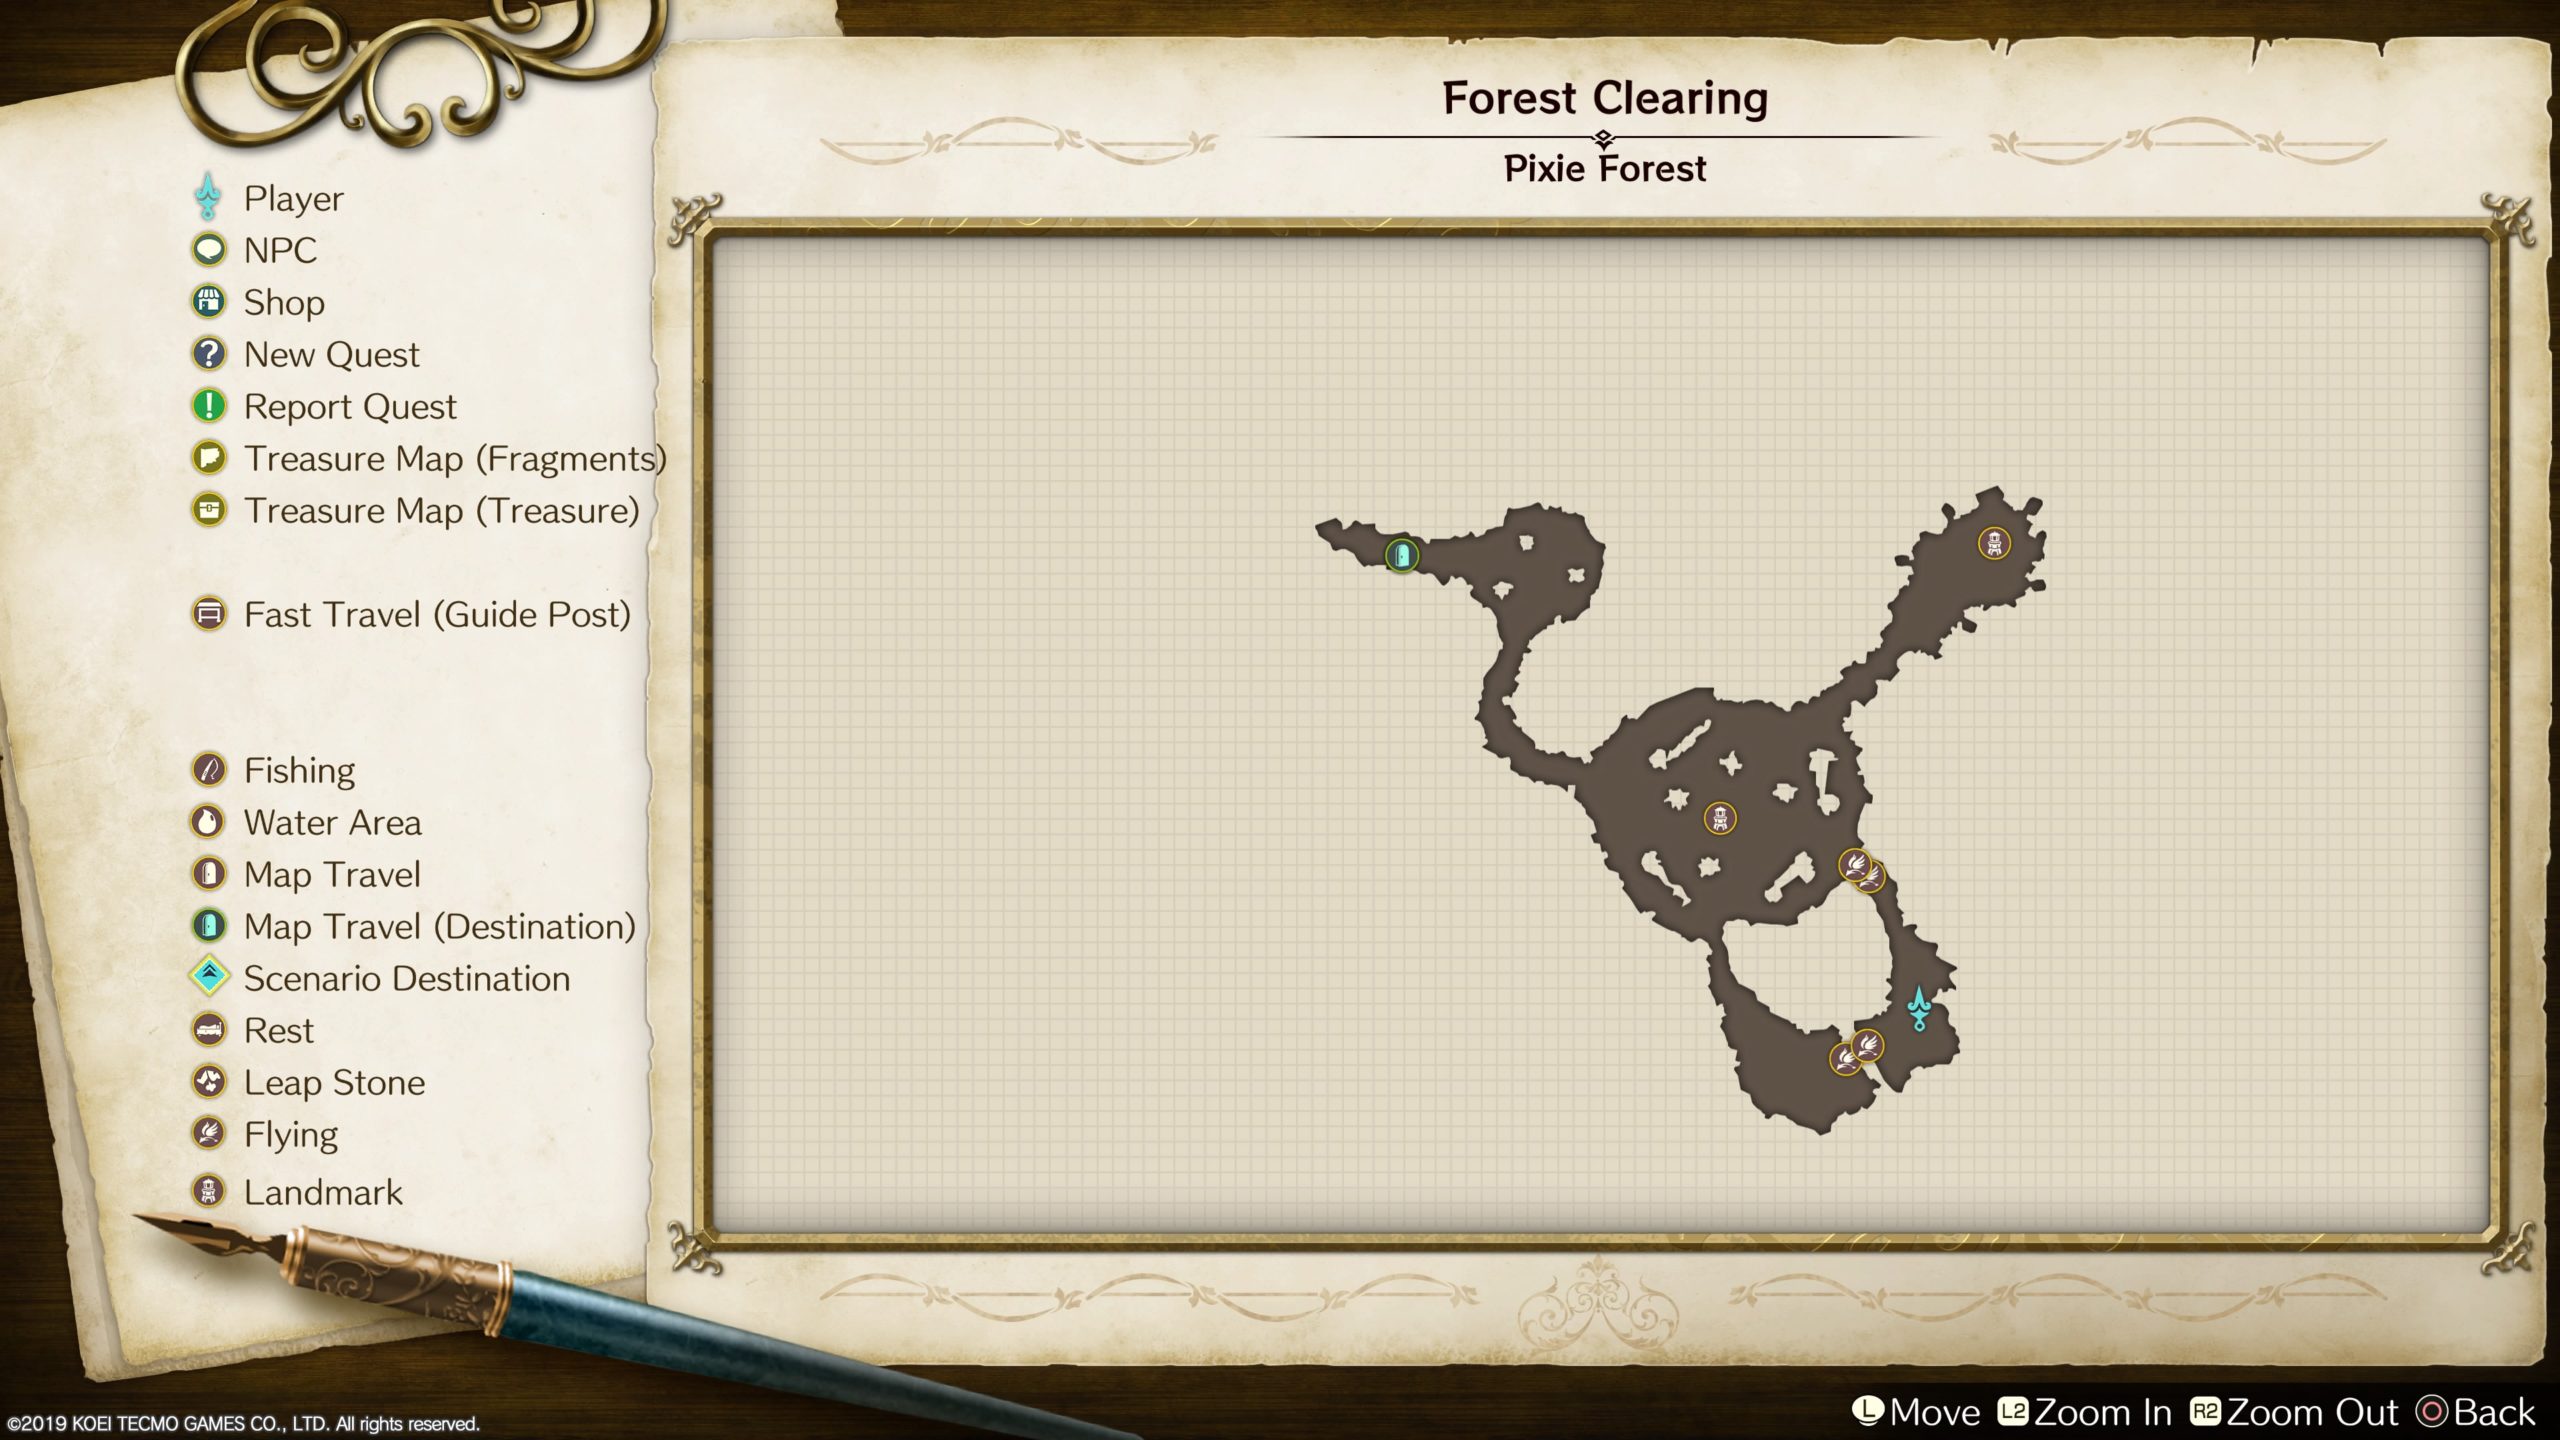
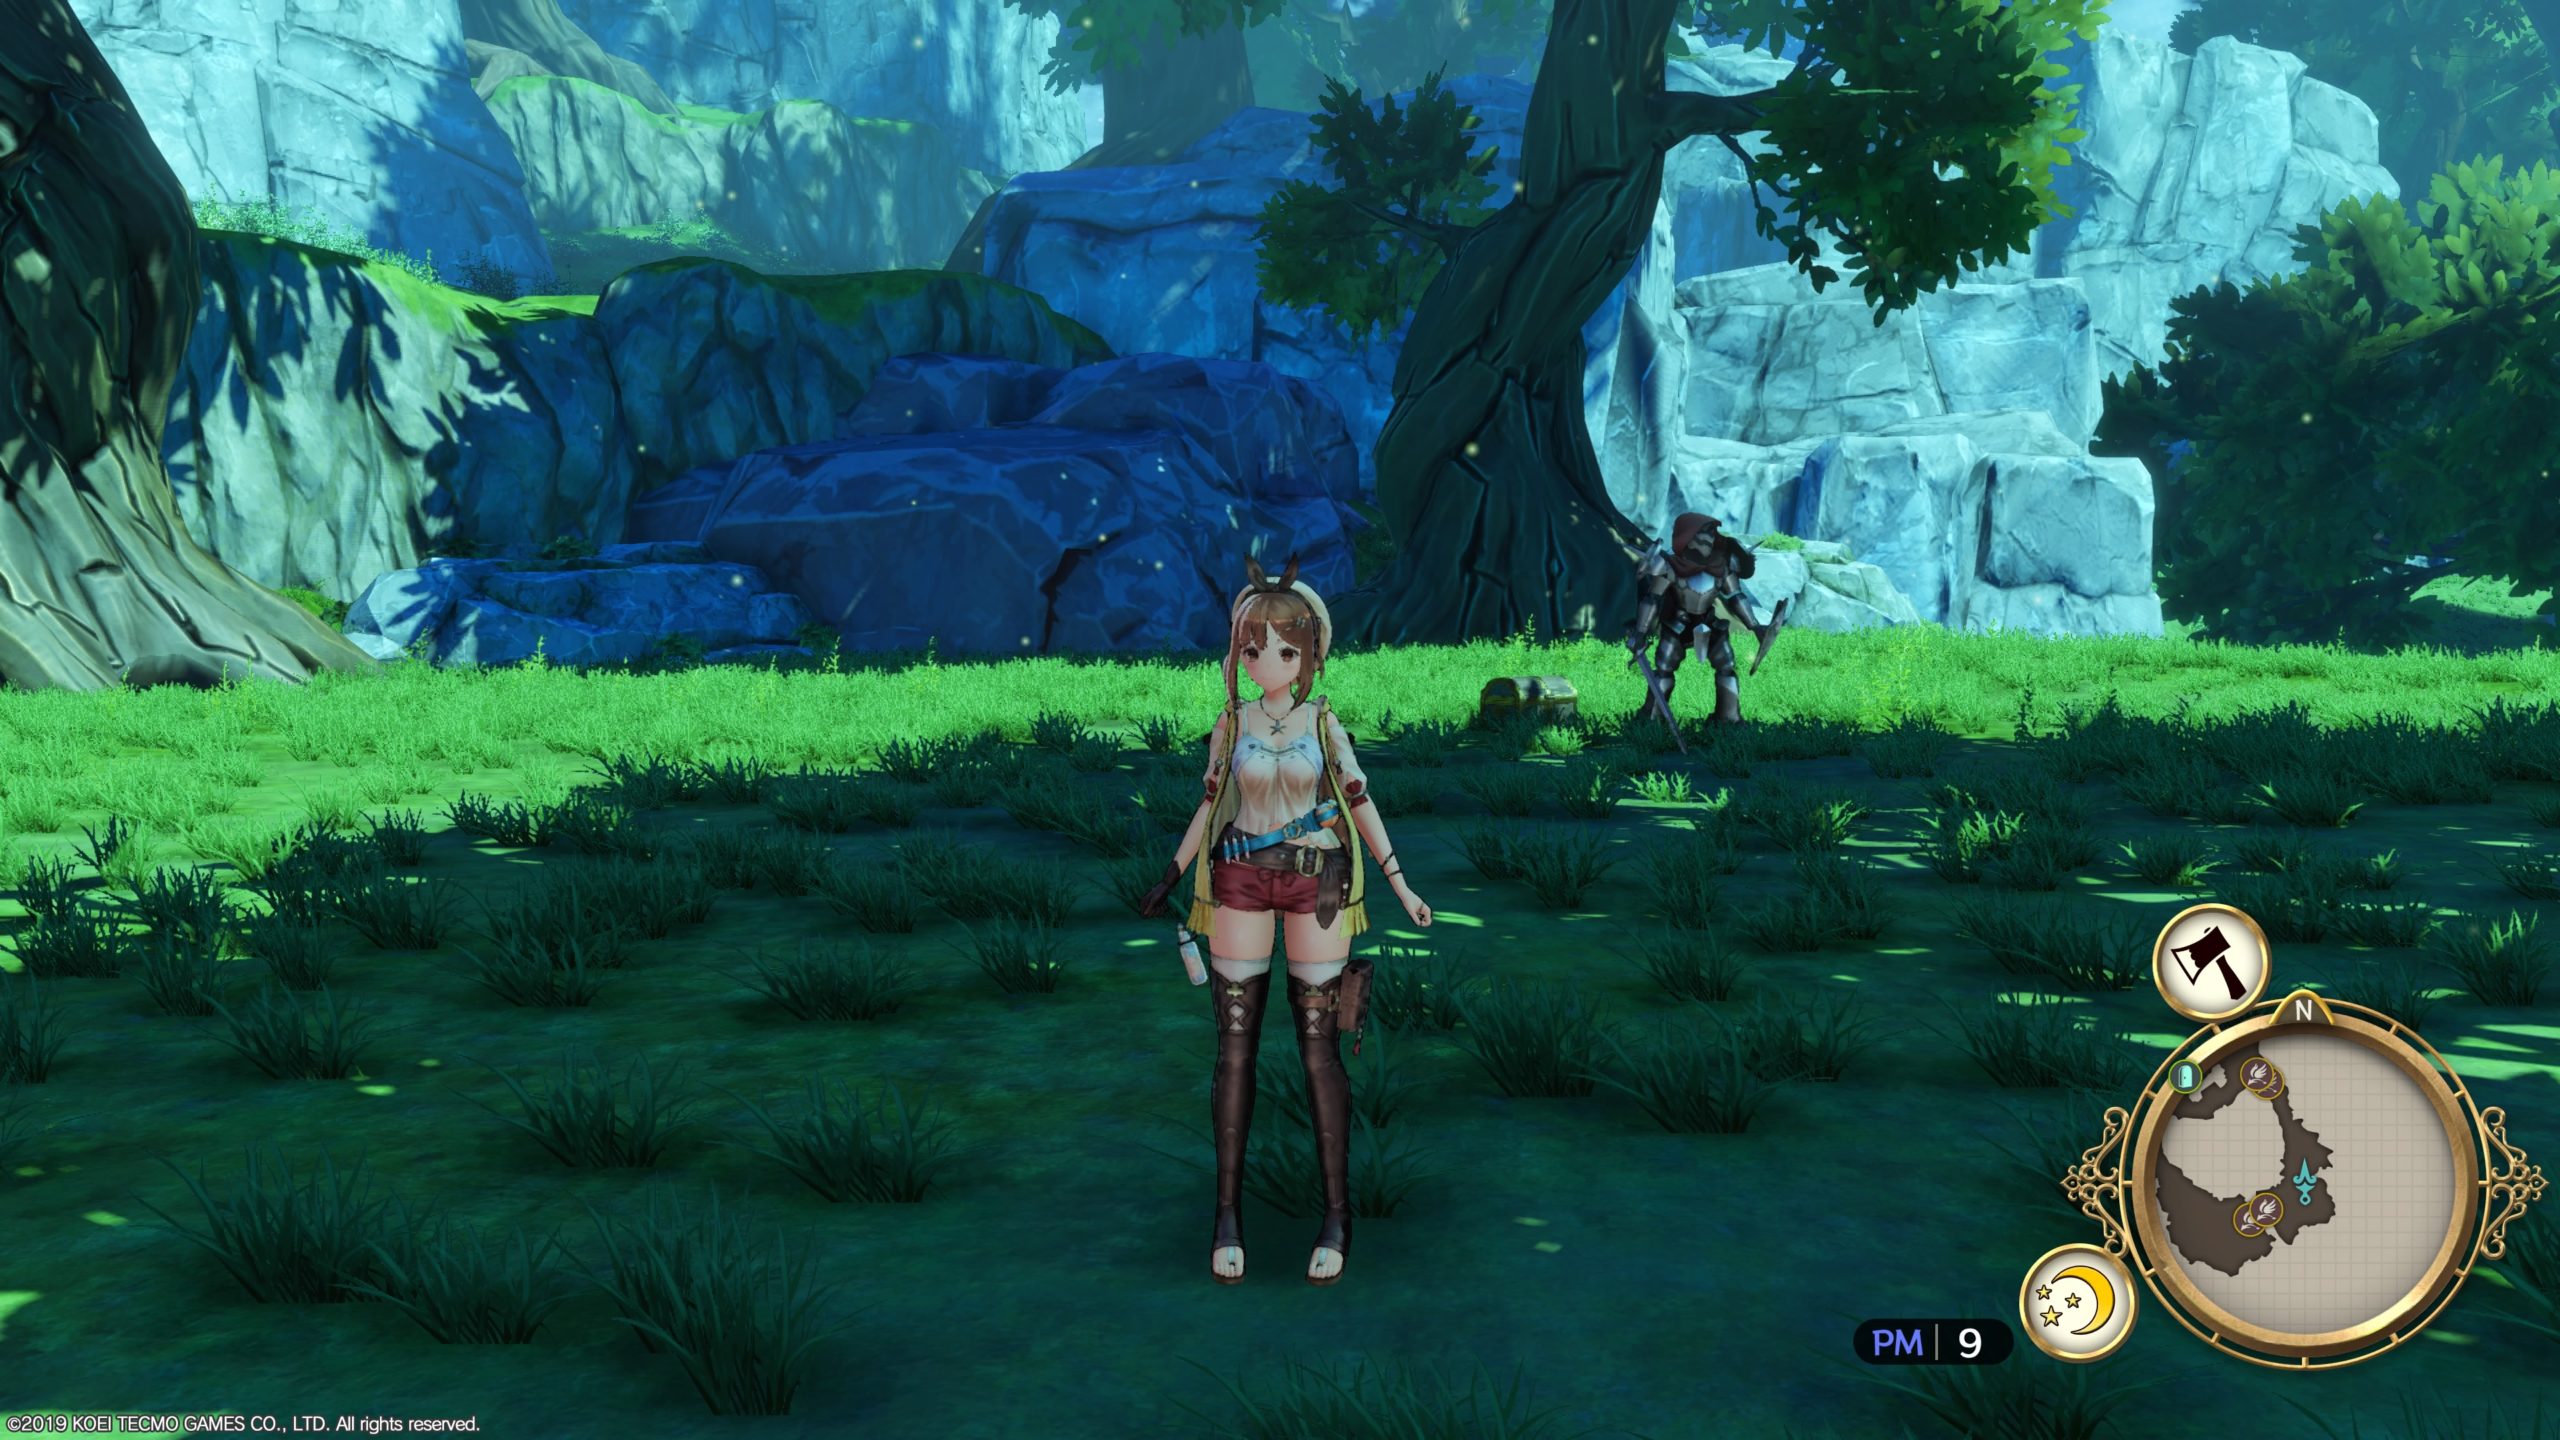
Pixie Forest
Forest Clearing
This chest is reachable using the Wind Shoes in the southeast corner of the area. It is guarded by an enemy. Defeat the enemy then open the chest to find a Fairystone Chain!
Pynnor Holy Tower
Spiral Hall
This chest can be found in the Pynnor Treasure Trove, which is located in the southeast room of Spiral Hall. Open it to find a Power Reactor!
Sanctuary Garden
This chest is reachable using the Wind Shoes in the northeastern corner of Sanctuary Garden. Open it to find a Lightning Core!
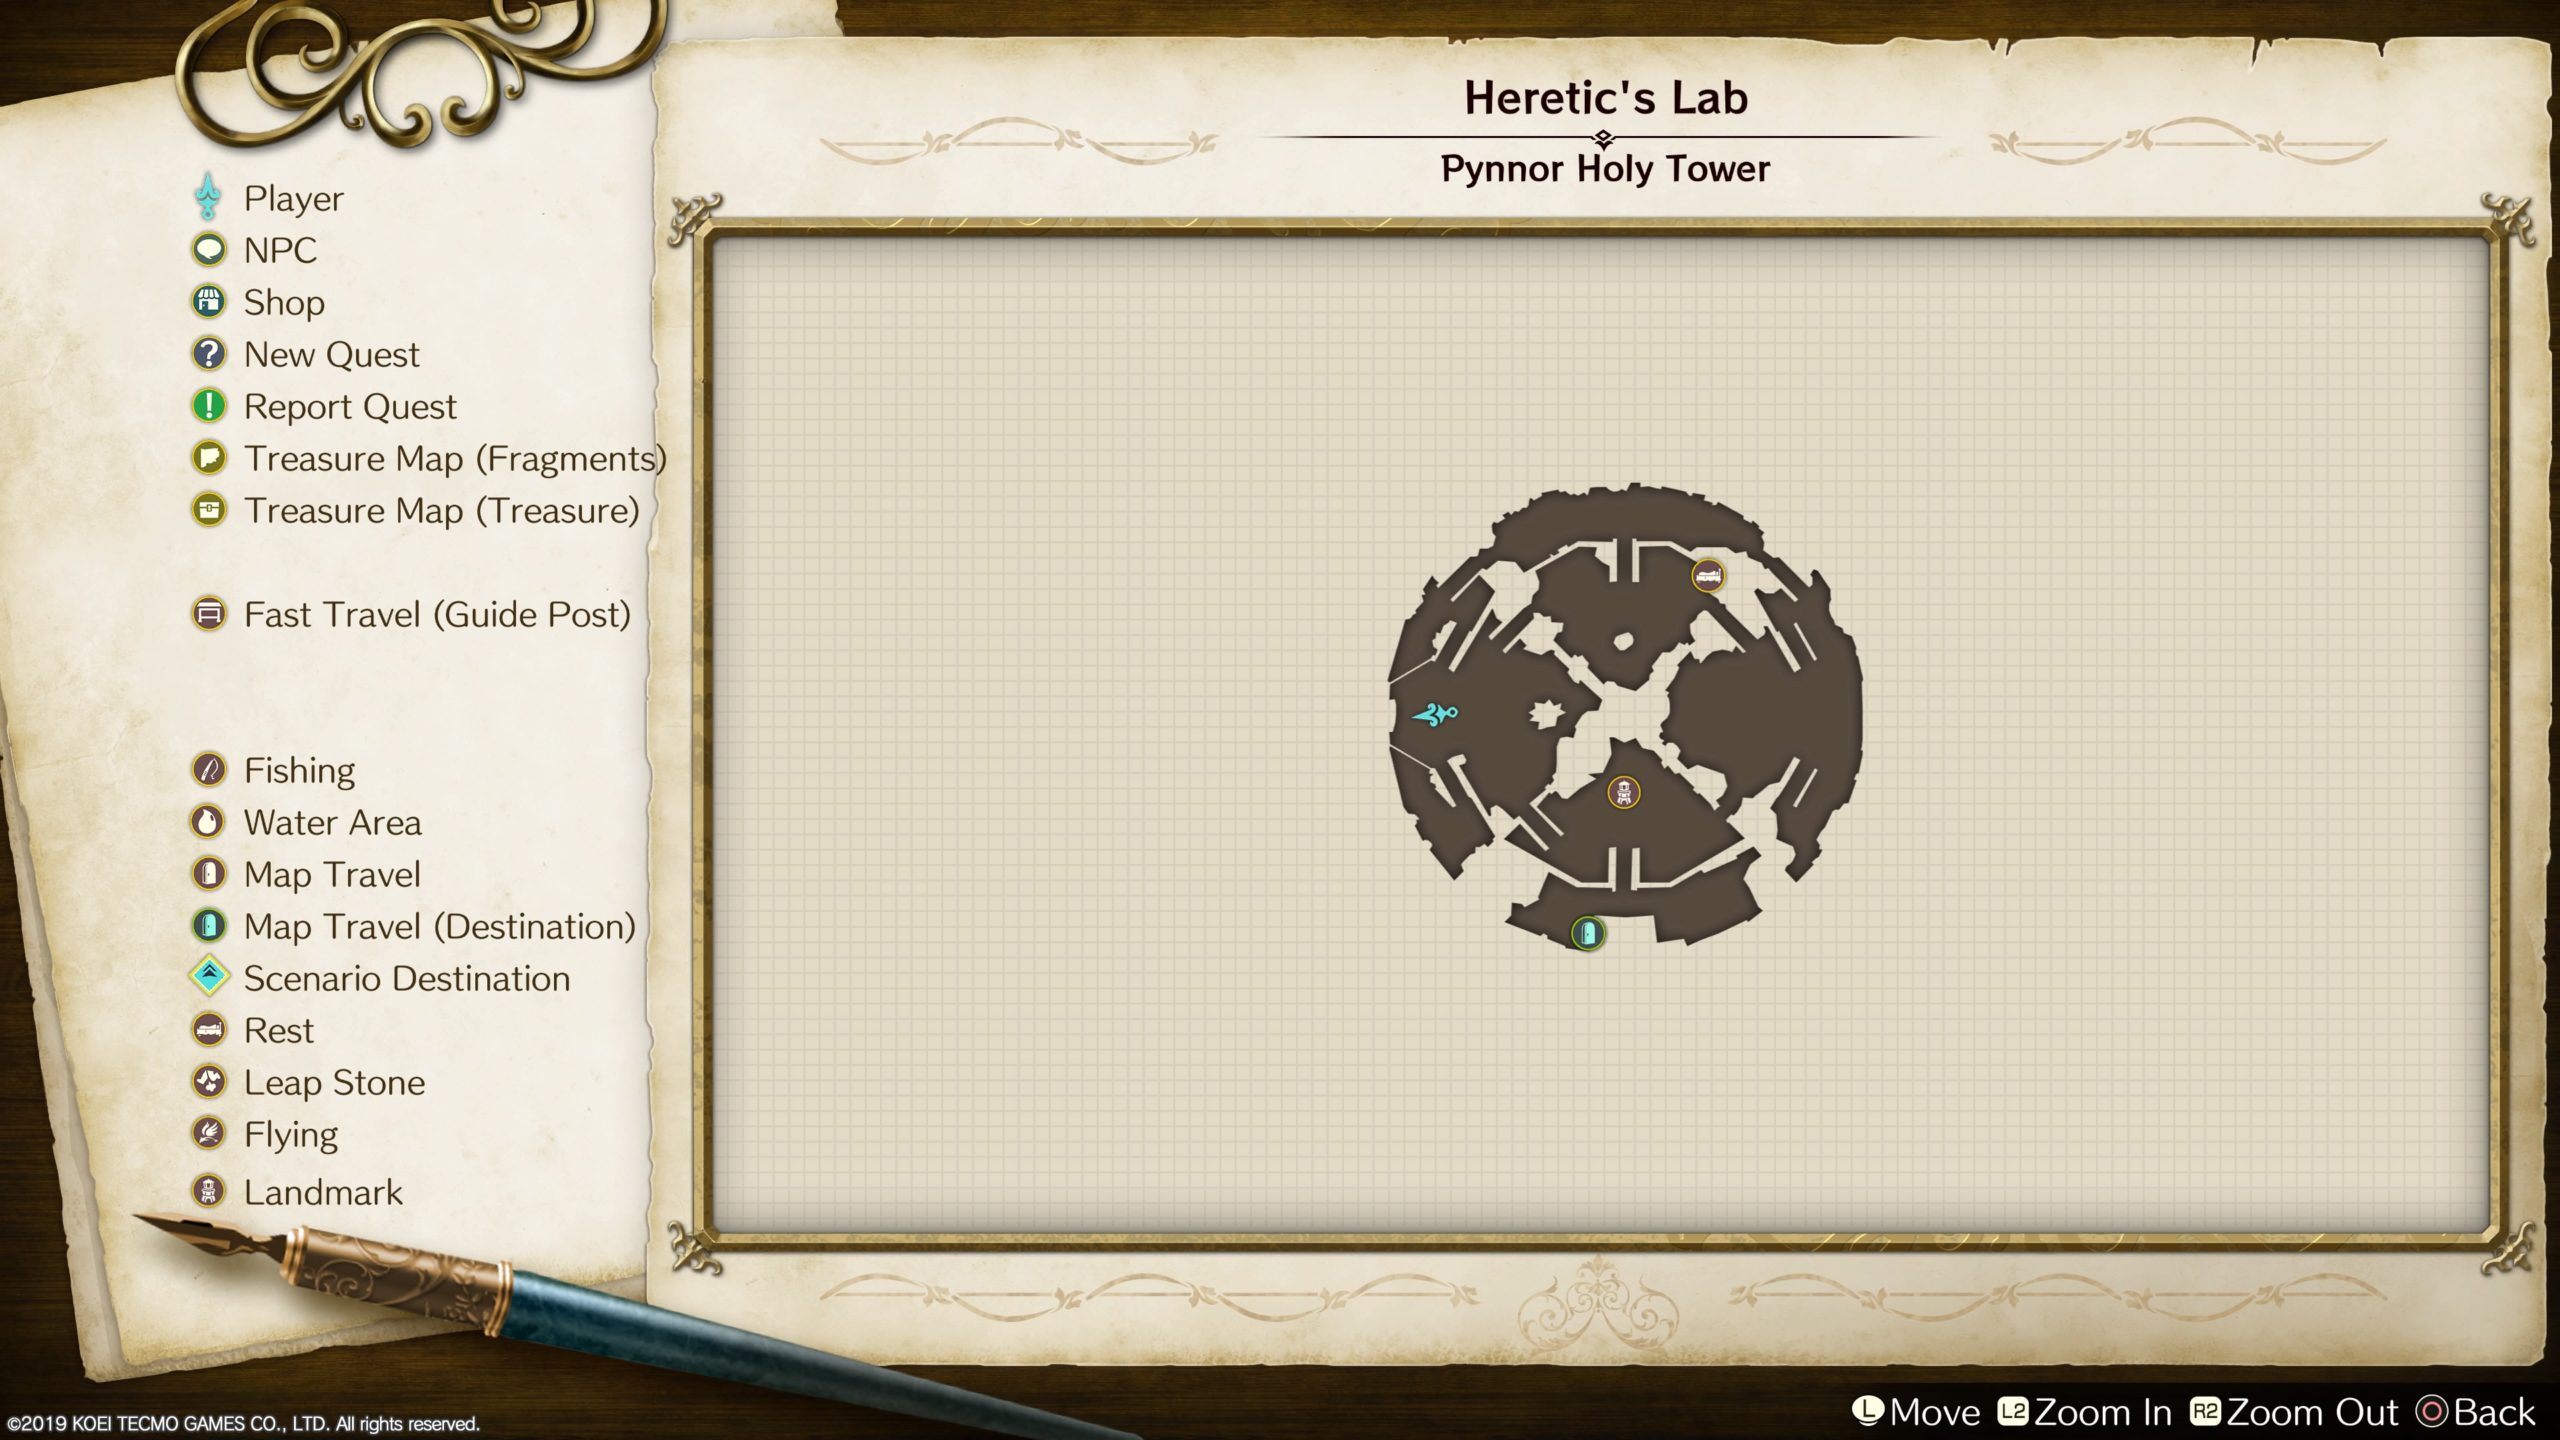
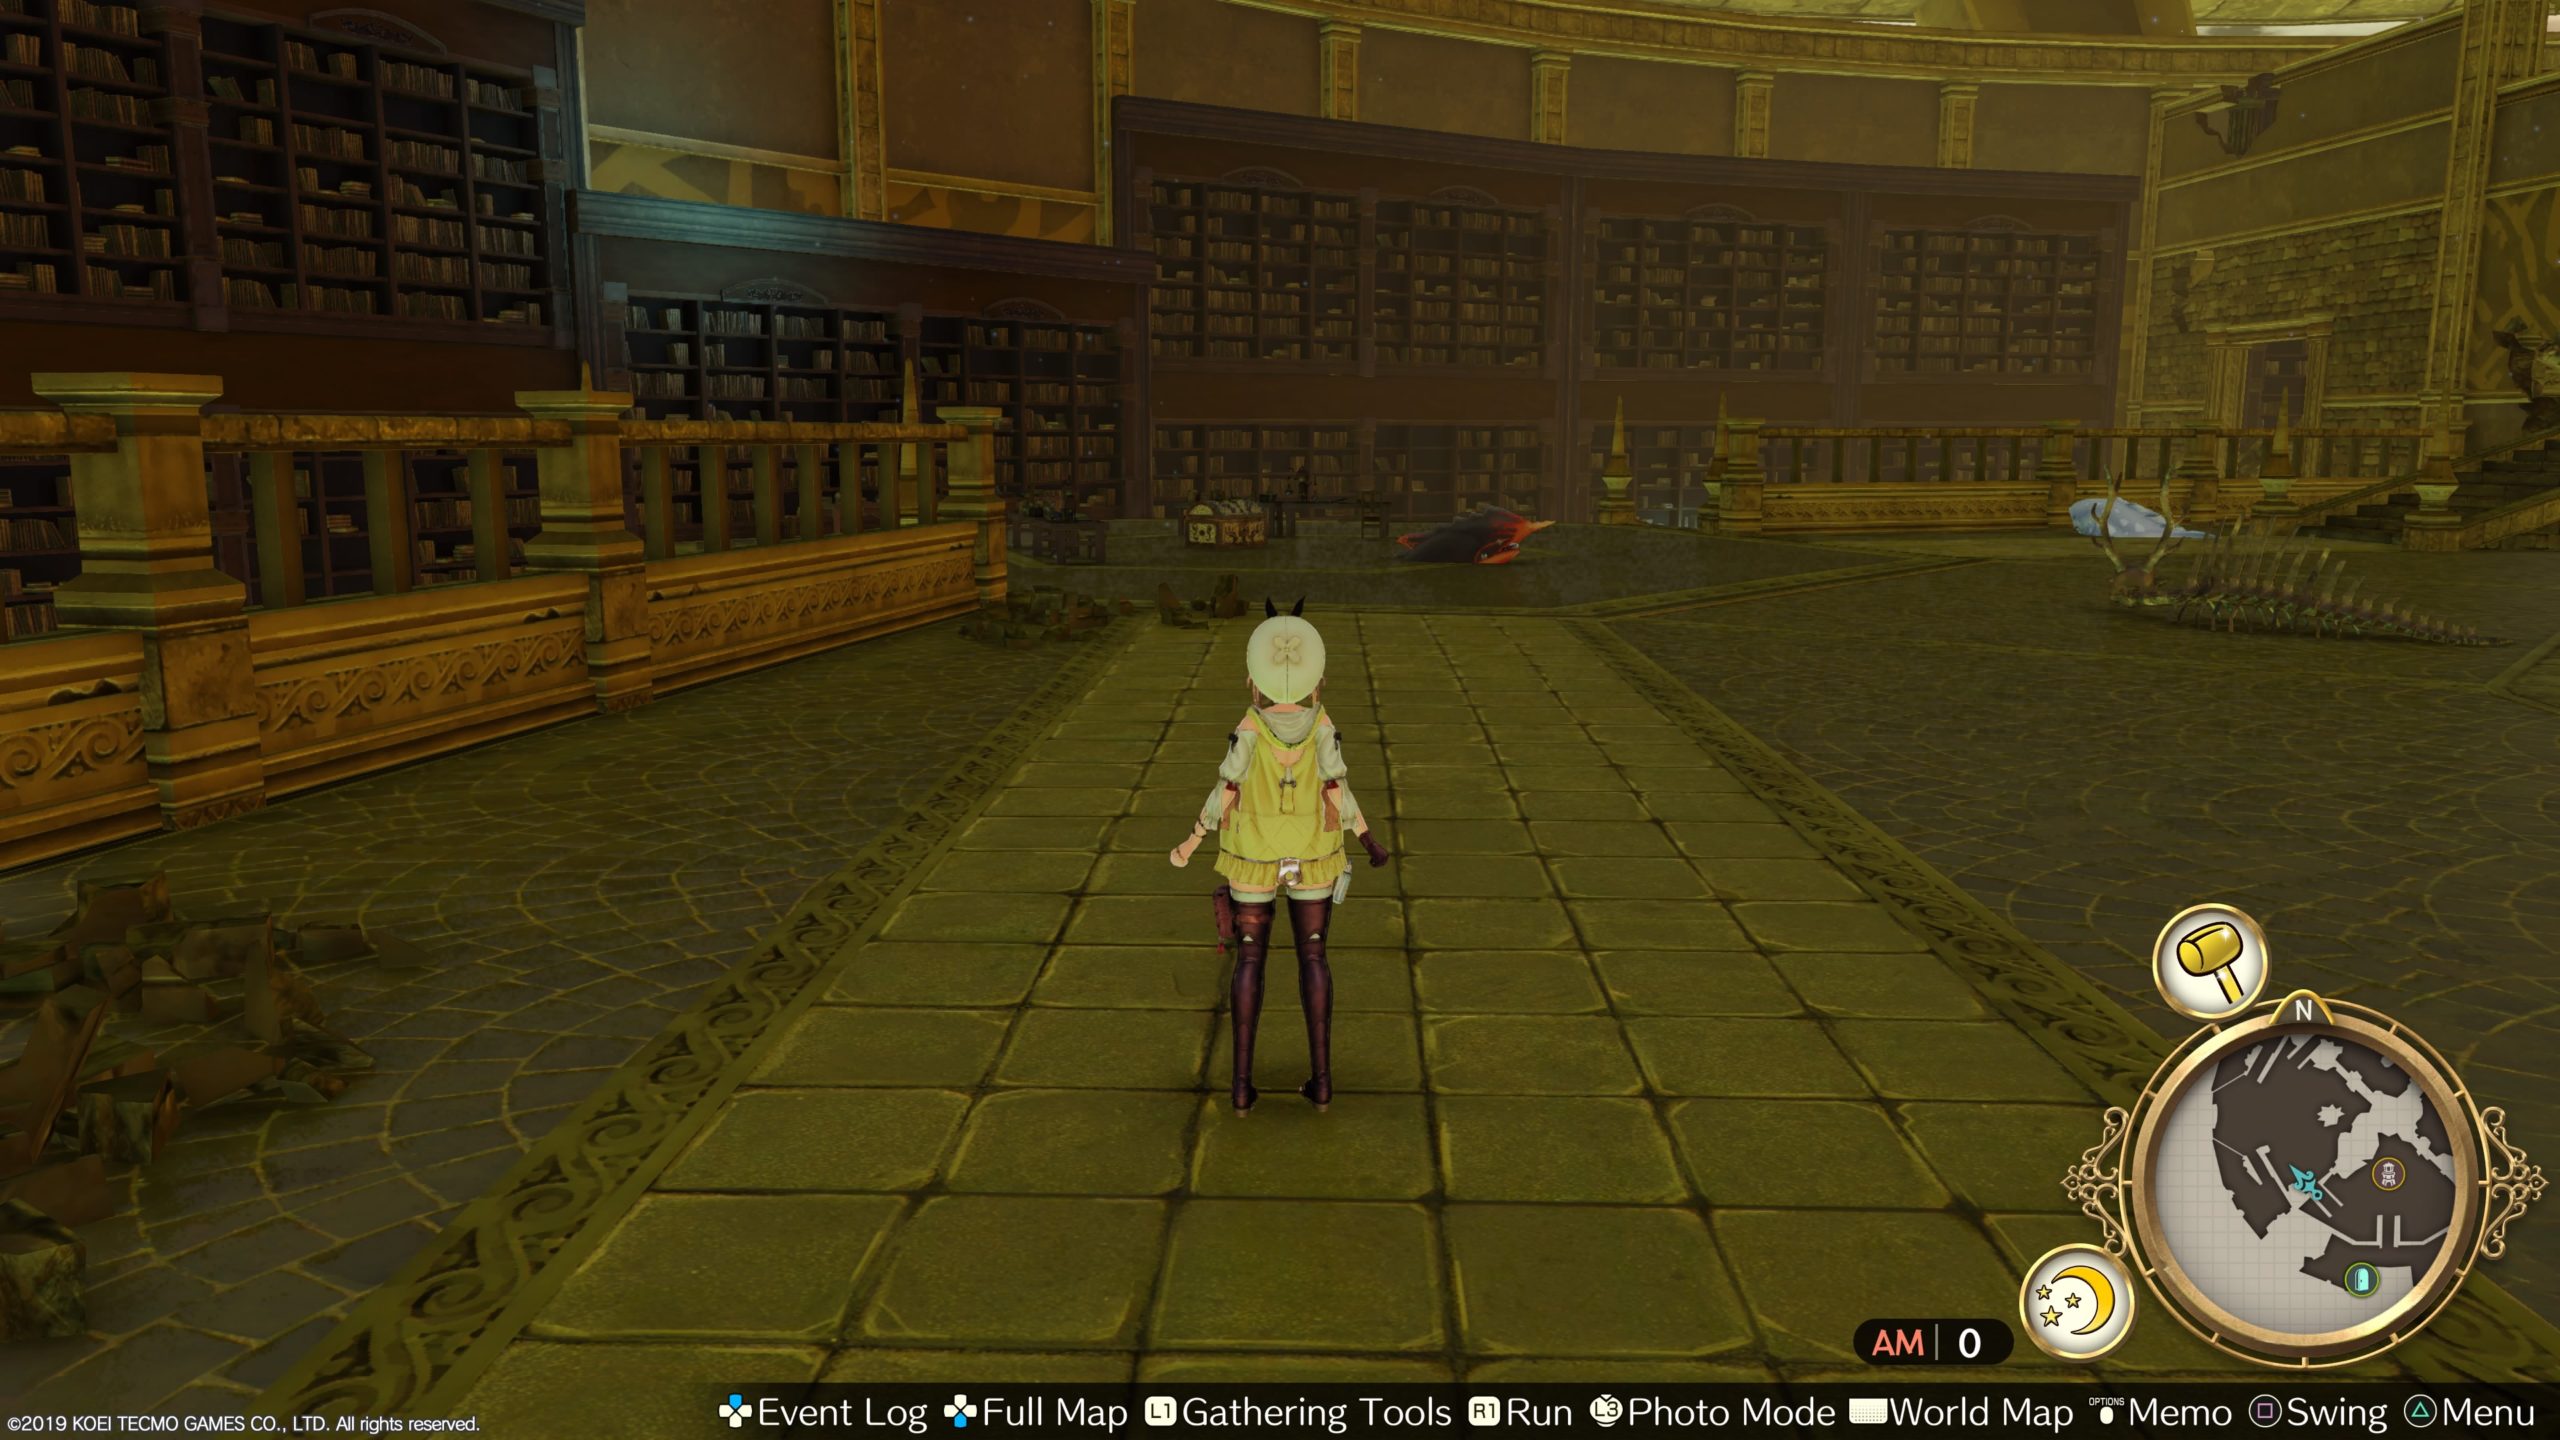
Heretic’s Lab
This chest can be found in the western part of Heretic’s Lab. Open it to find a Travel Bottle: Moon!
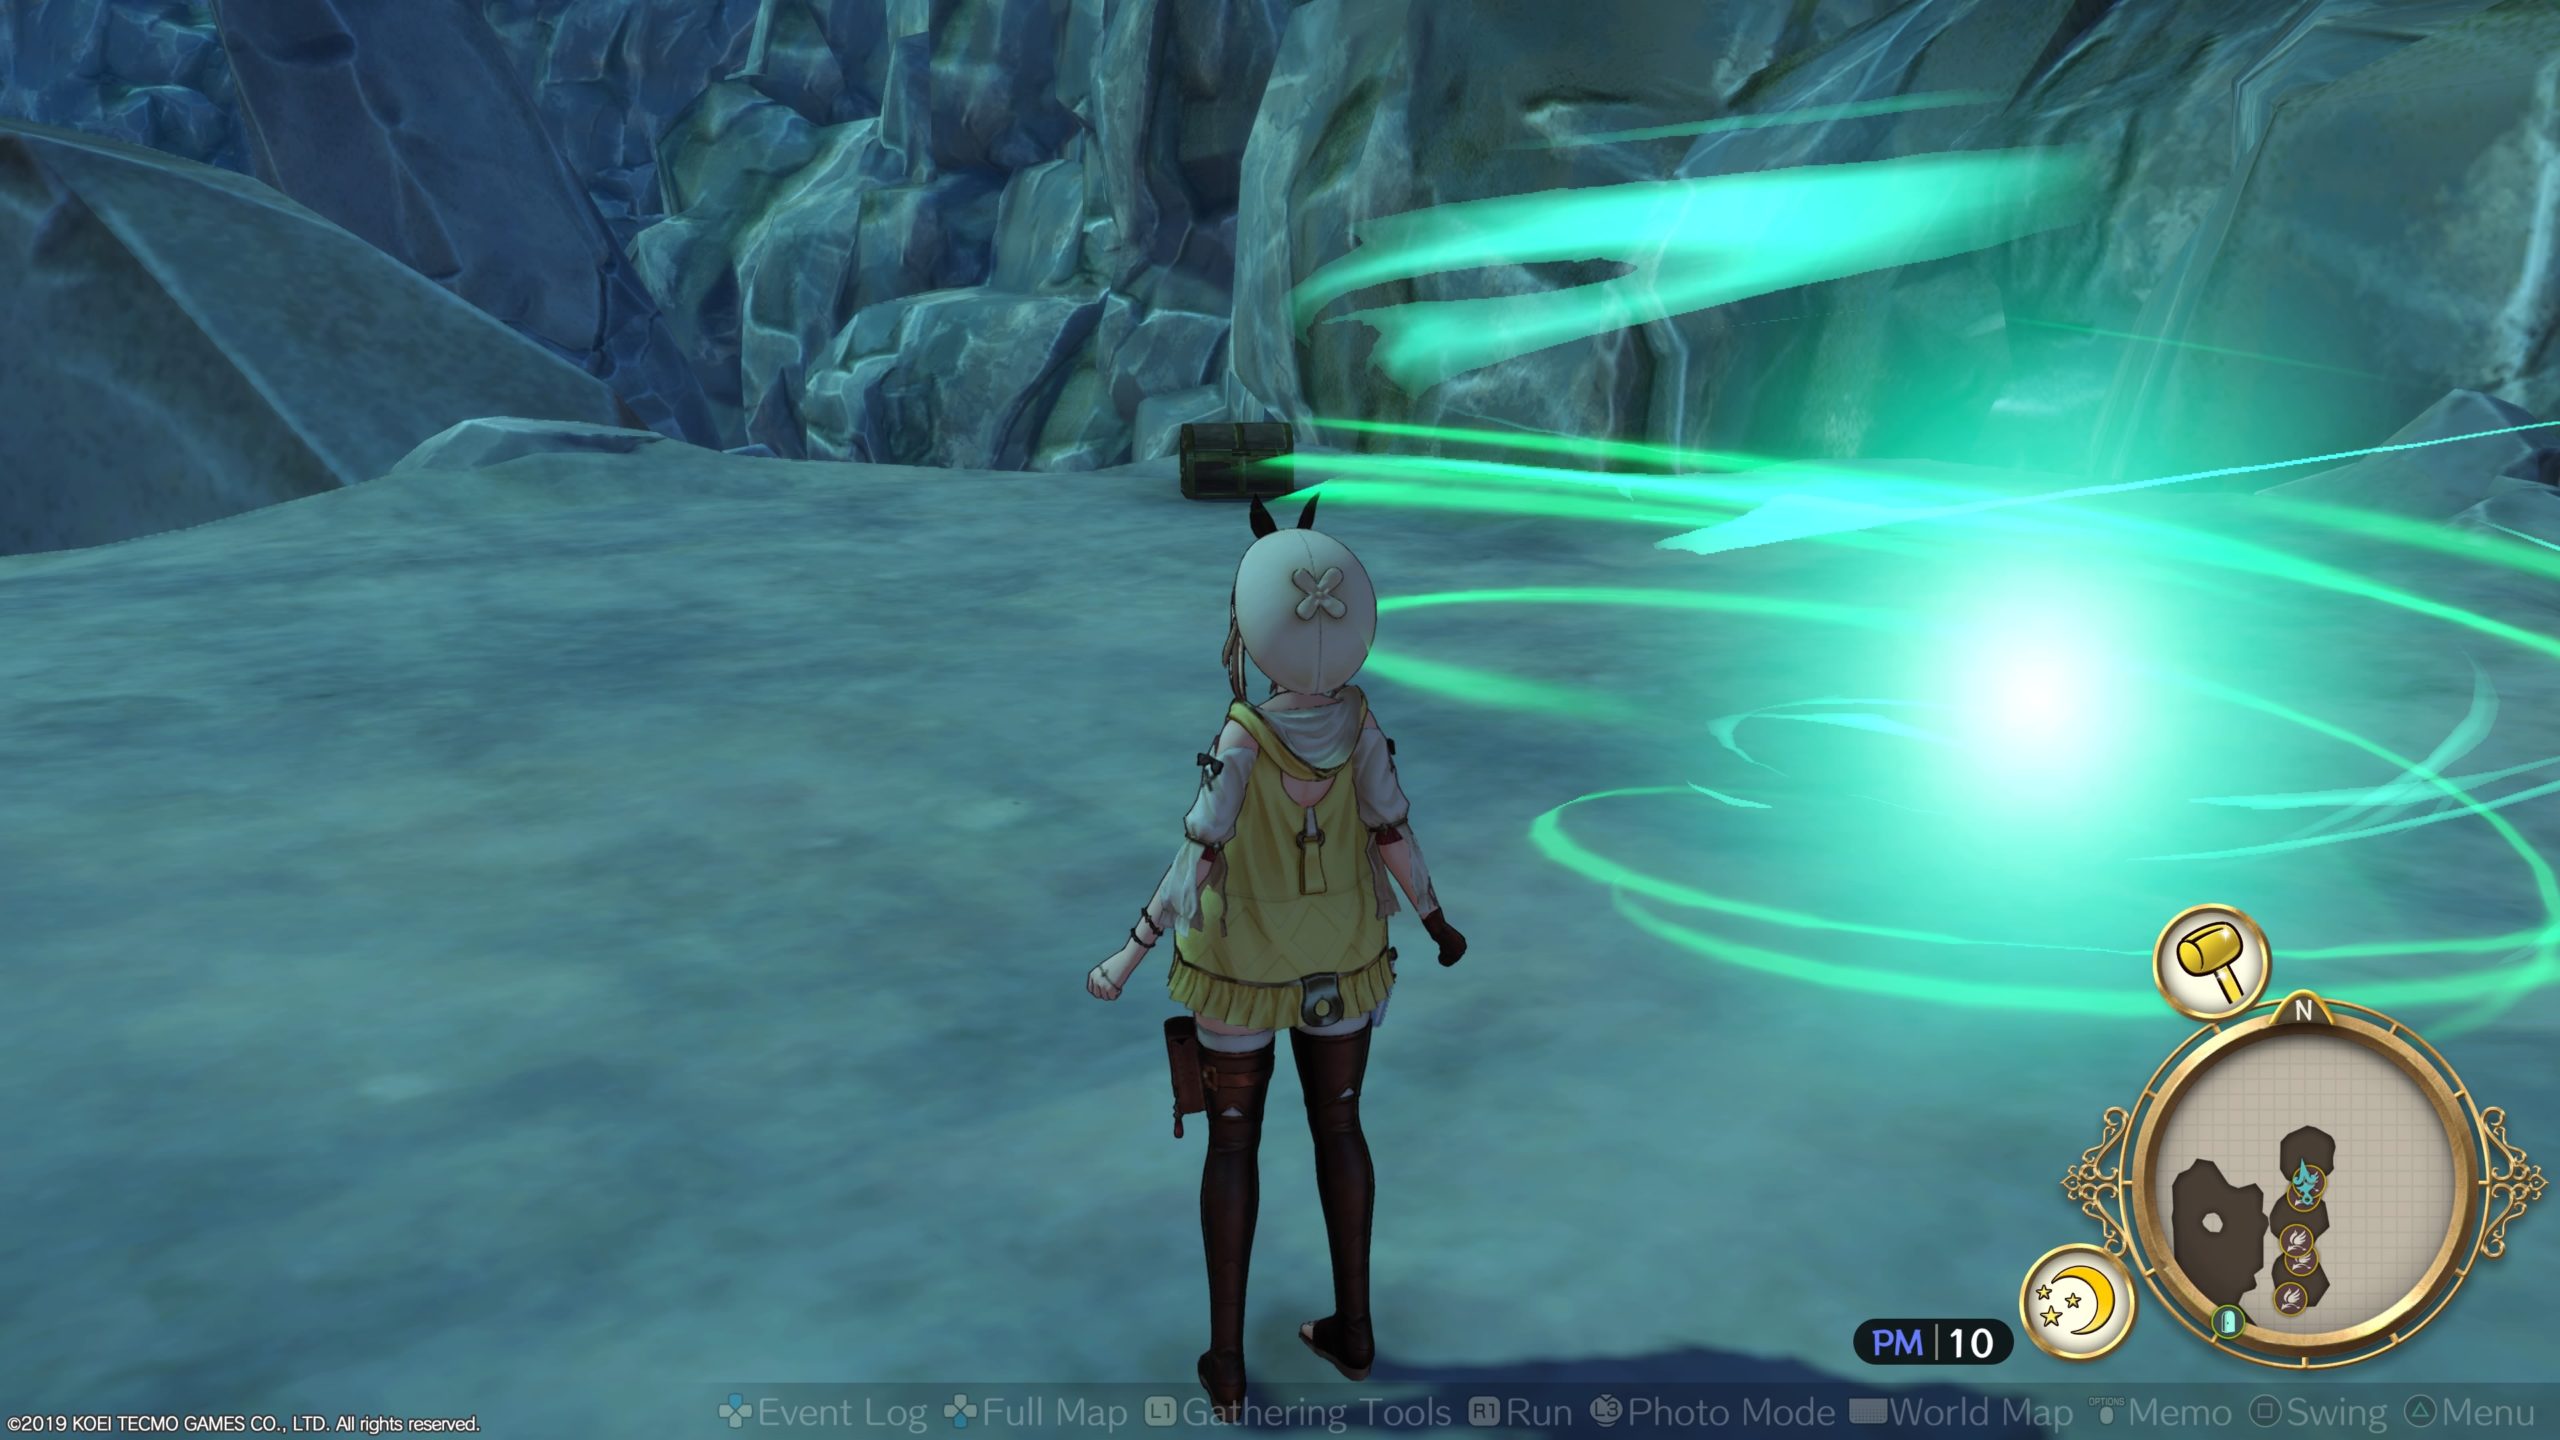
Sunken Mine
River Cave
This chest is reachable using the Wind Shoes and can be found in the northwestern part of River Cave. Open it to find an Ice Core!
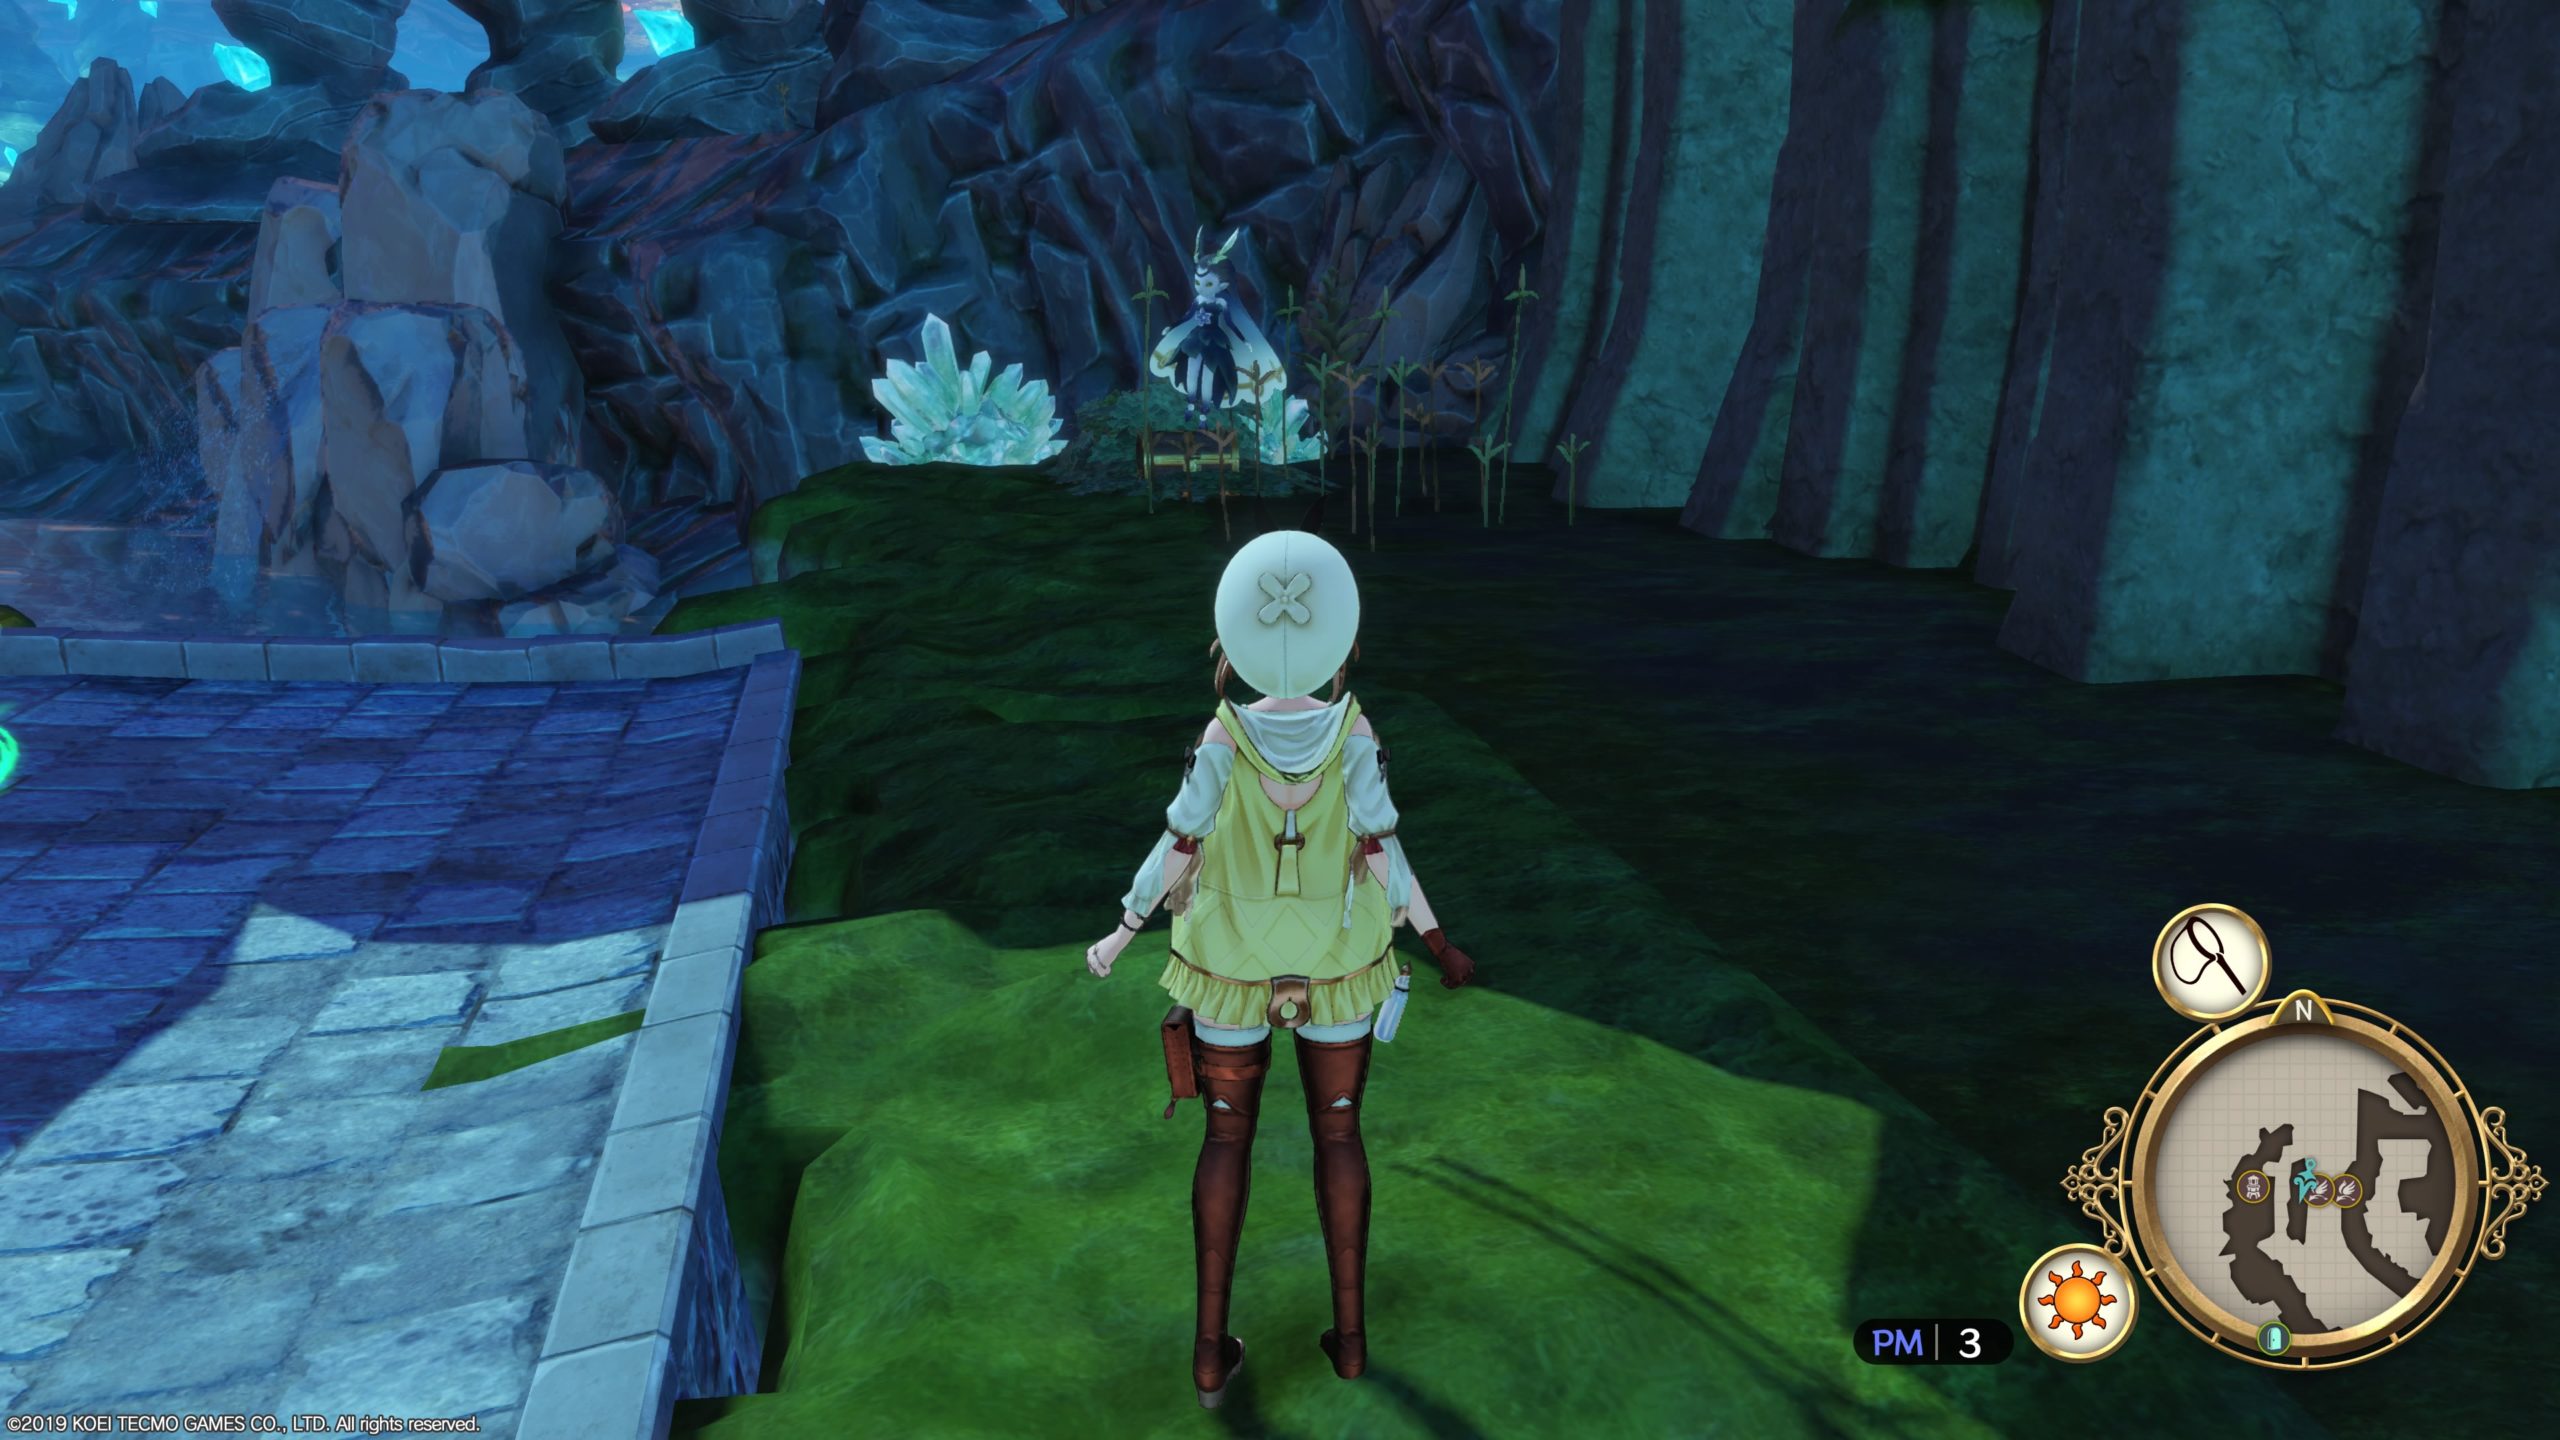
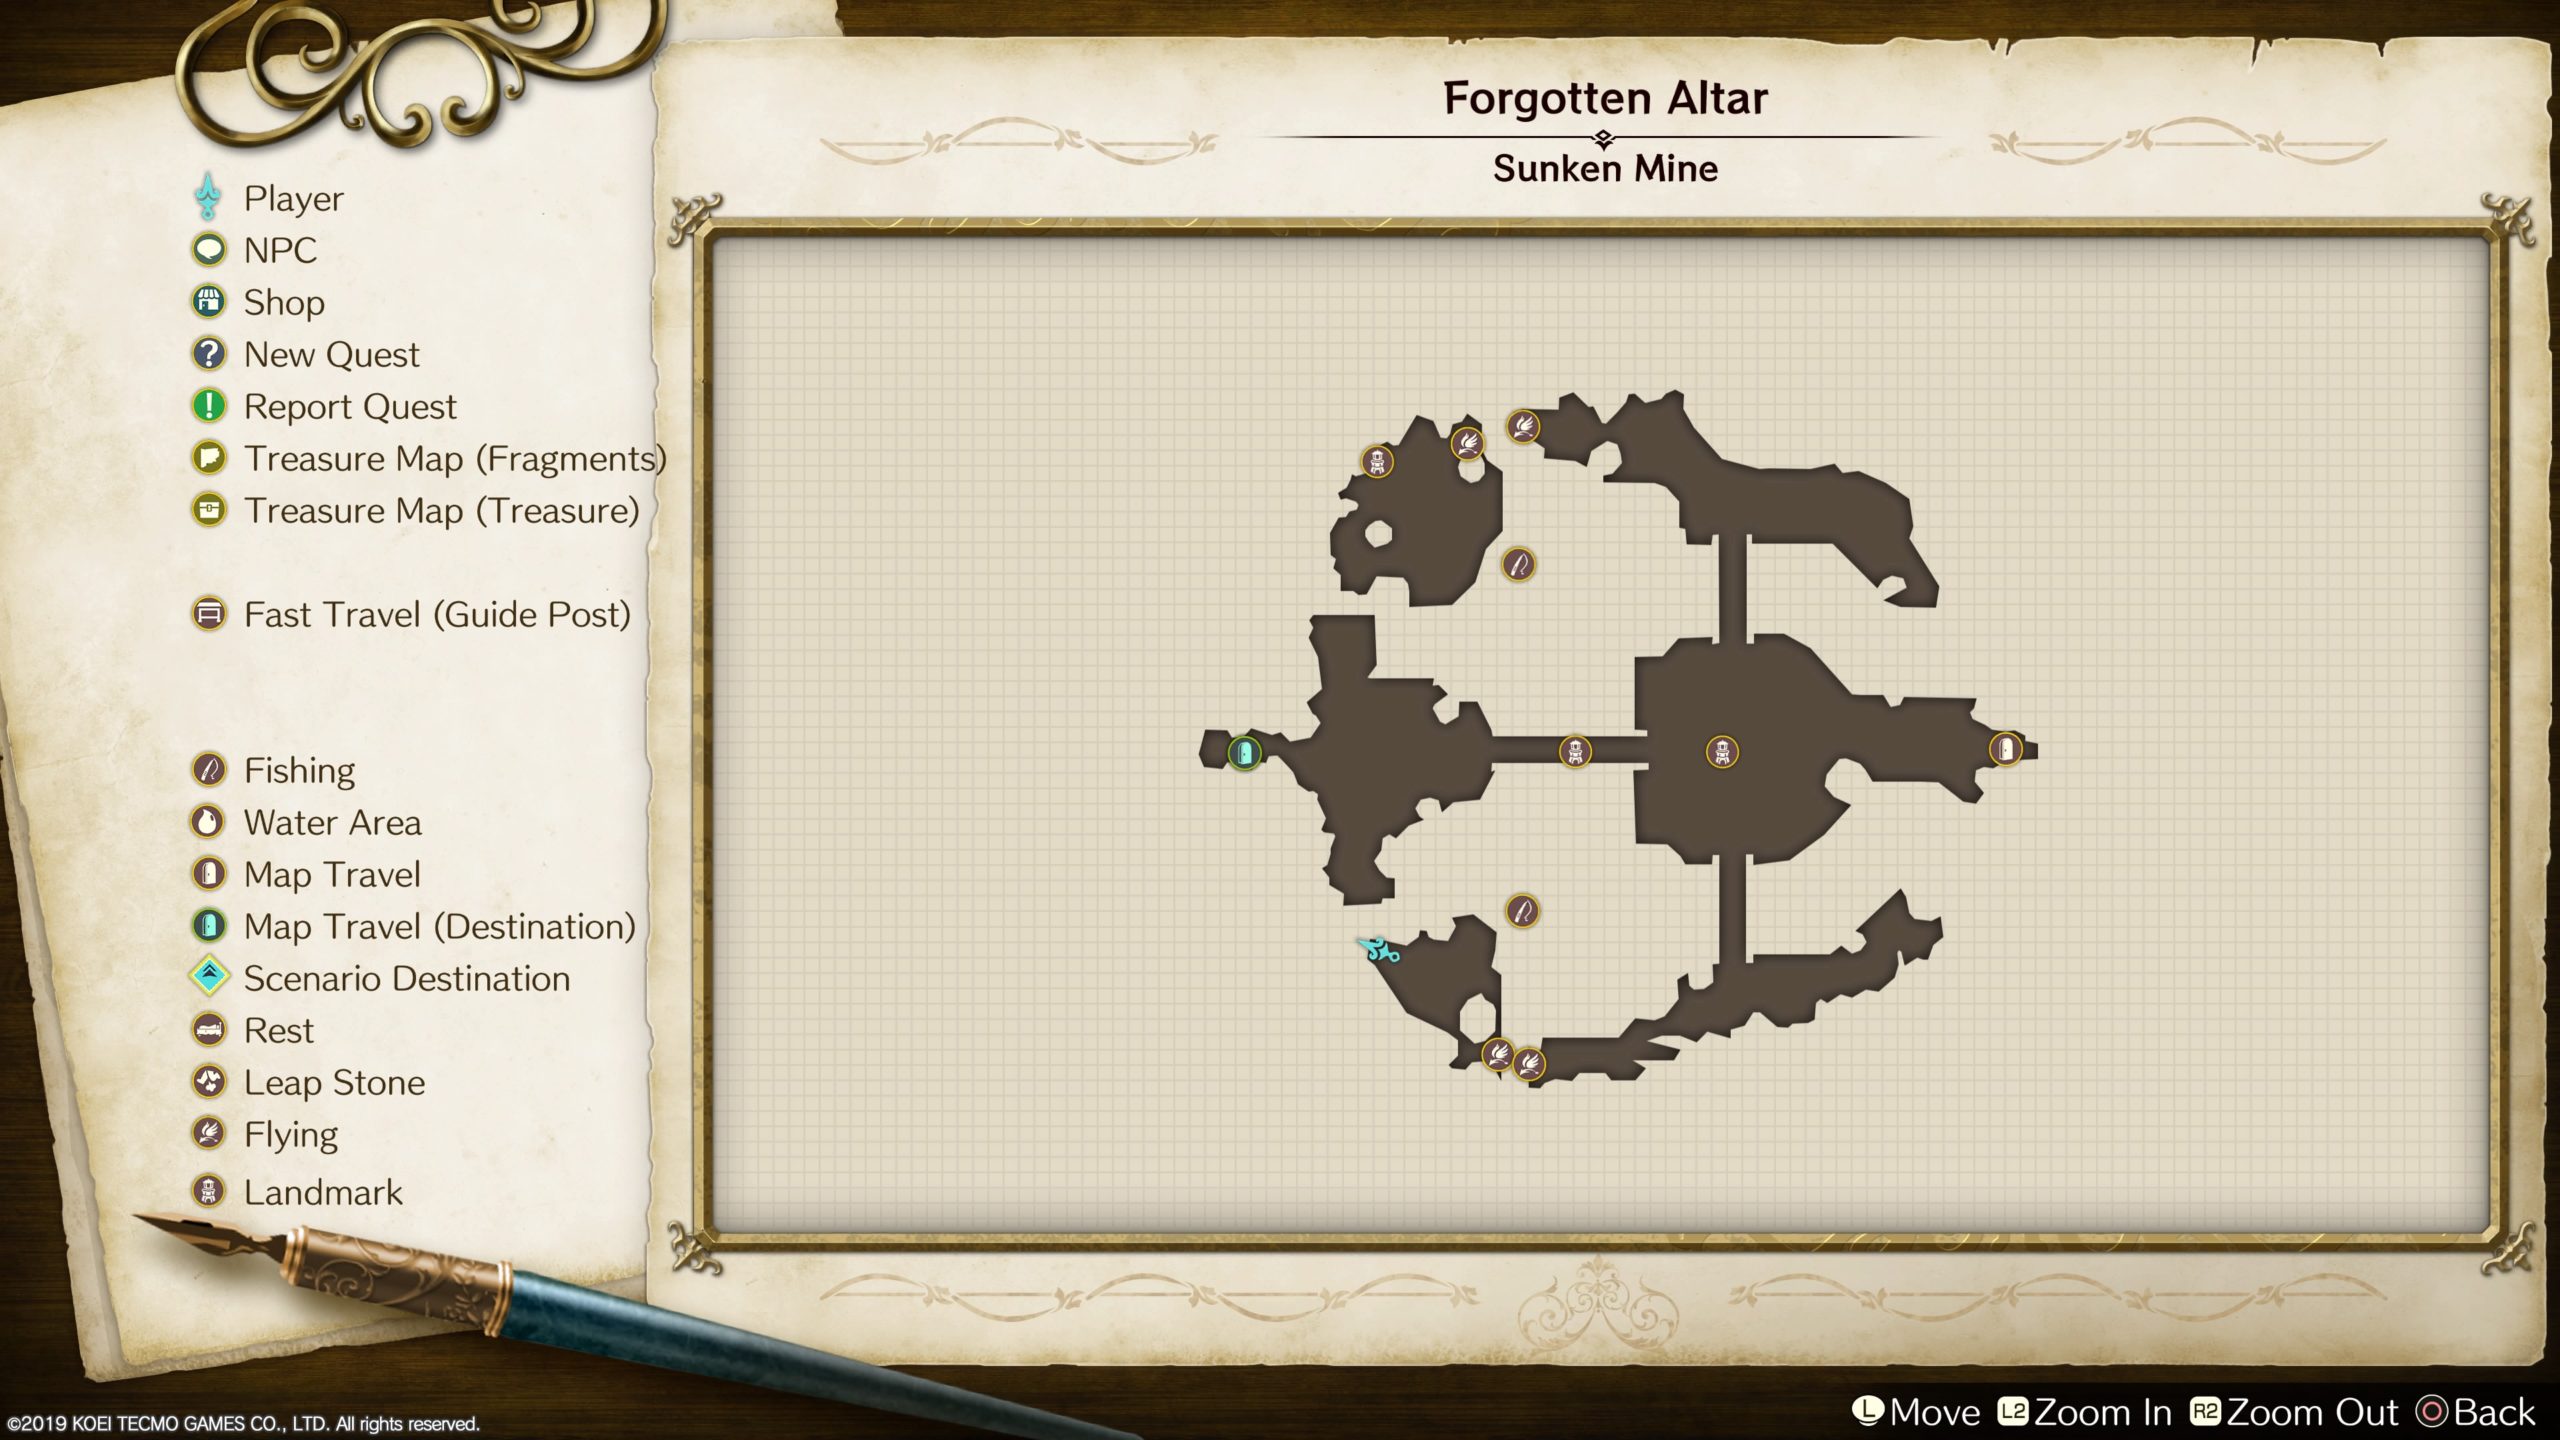
Forgotten Altar
This chest is reachable using the Wind Shoes and can be found in the southwestern part of the Forgotten Altar. Open it to find 2 Ice Cores!
Traveler’s Road
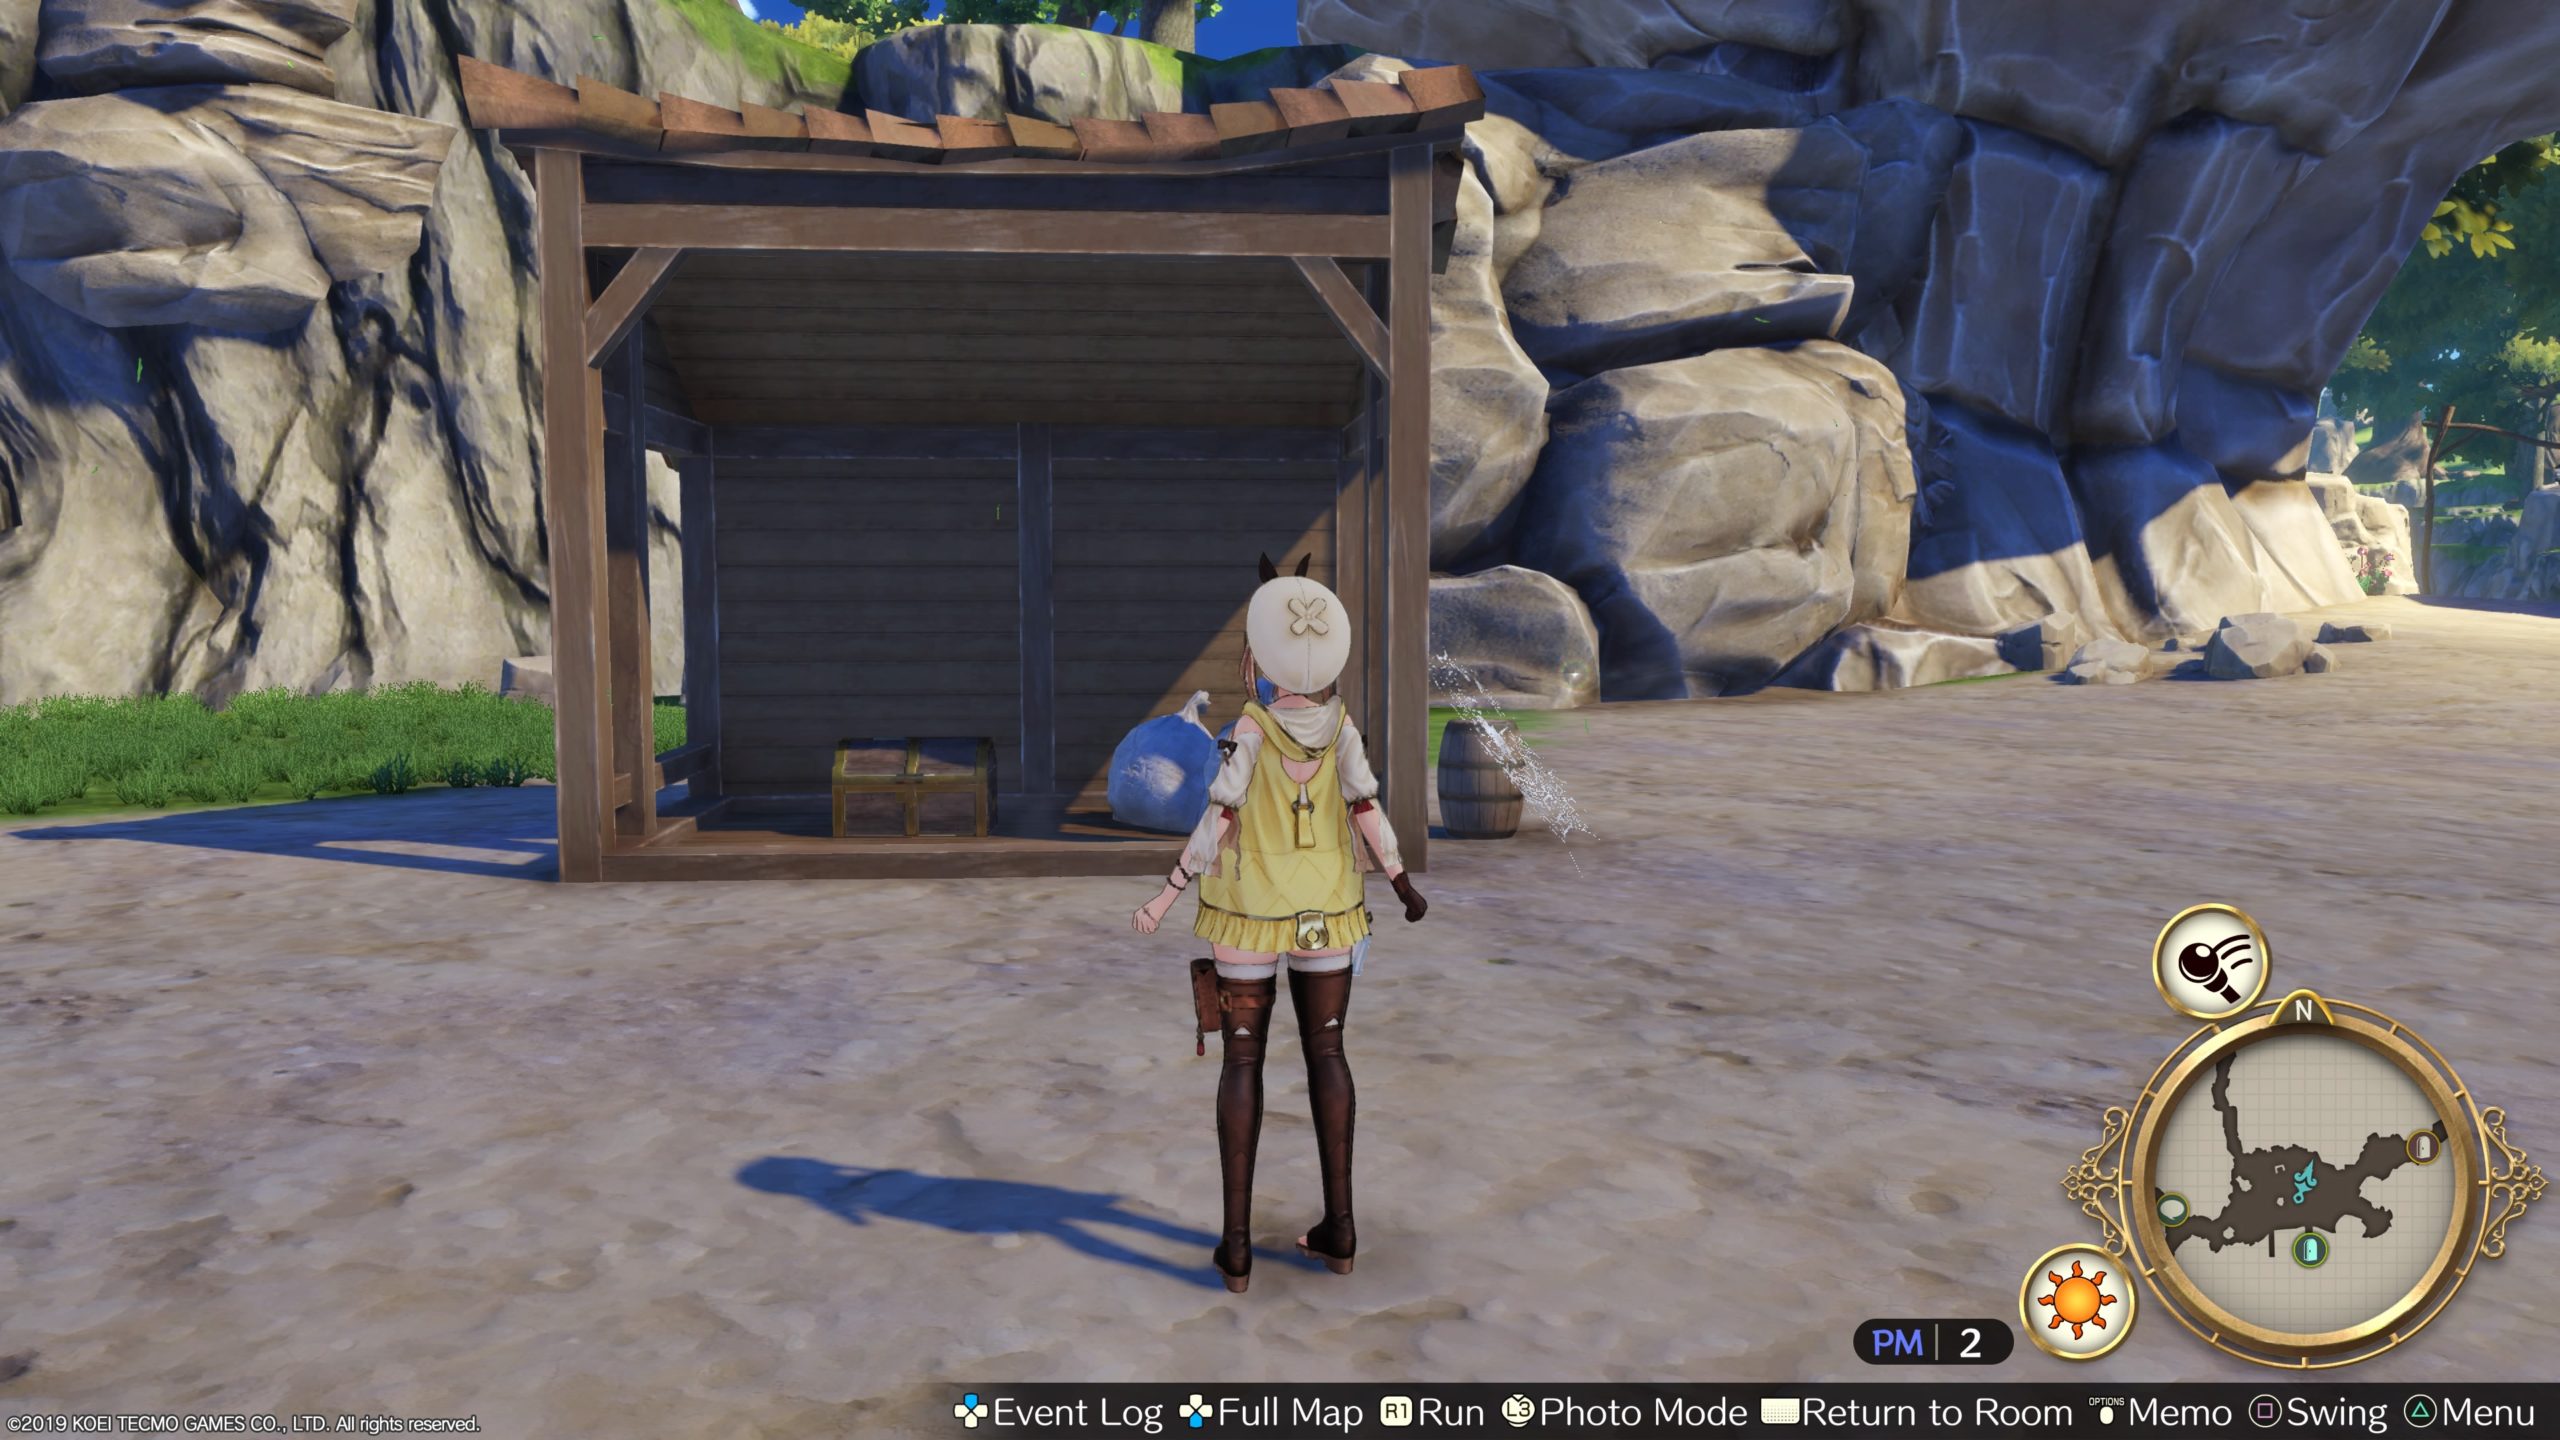
Shipyard
This chest can be found near where the boat lands underneath a wooden structure. Open it to find Amatite Ore!
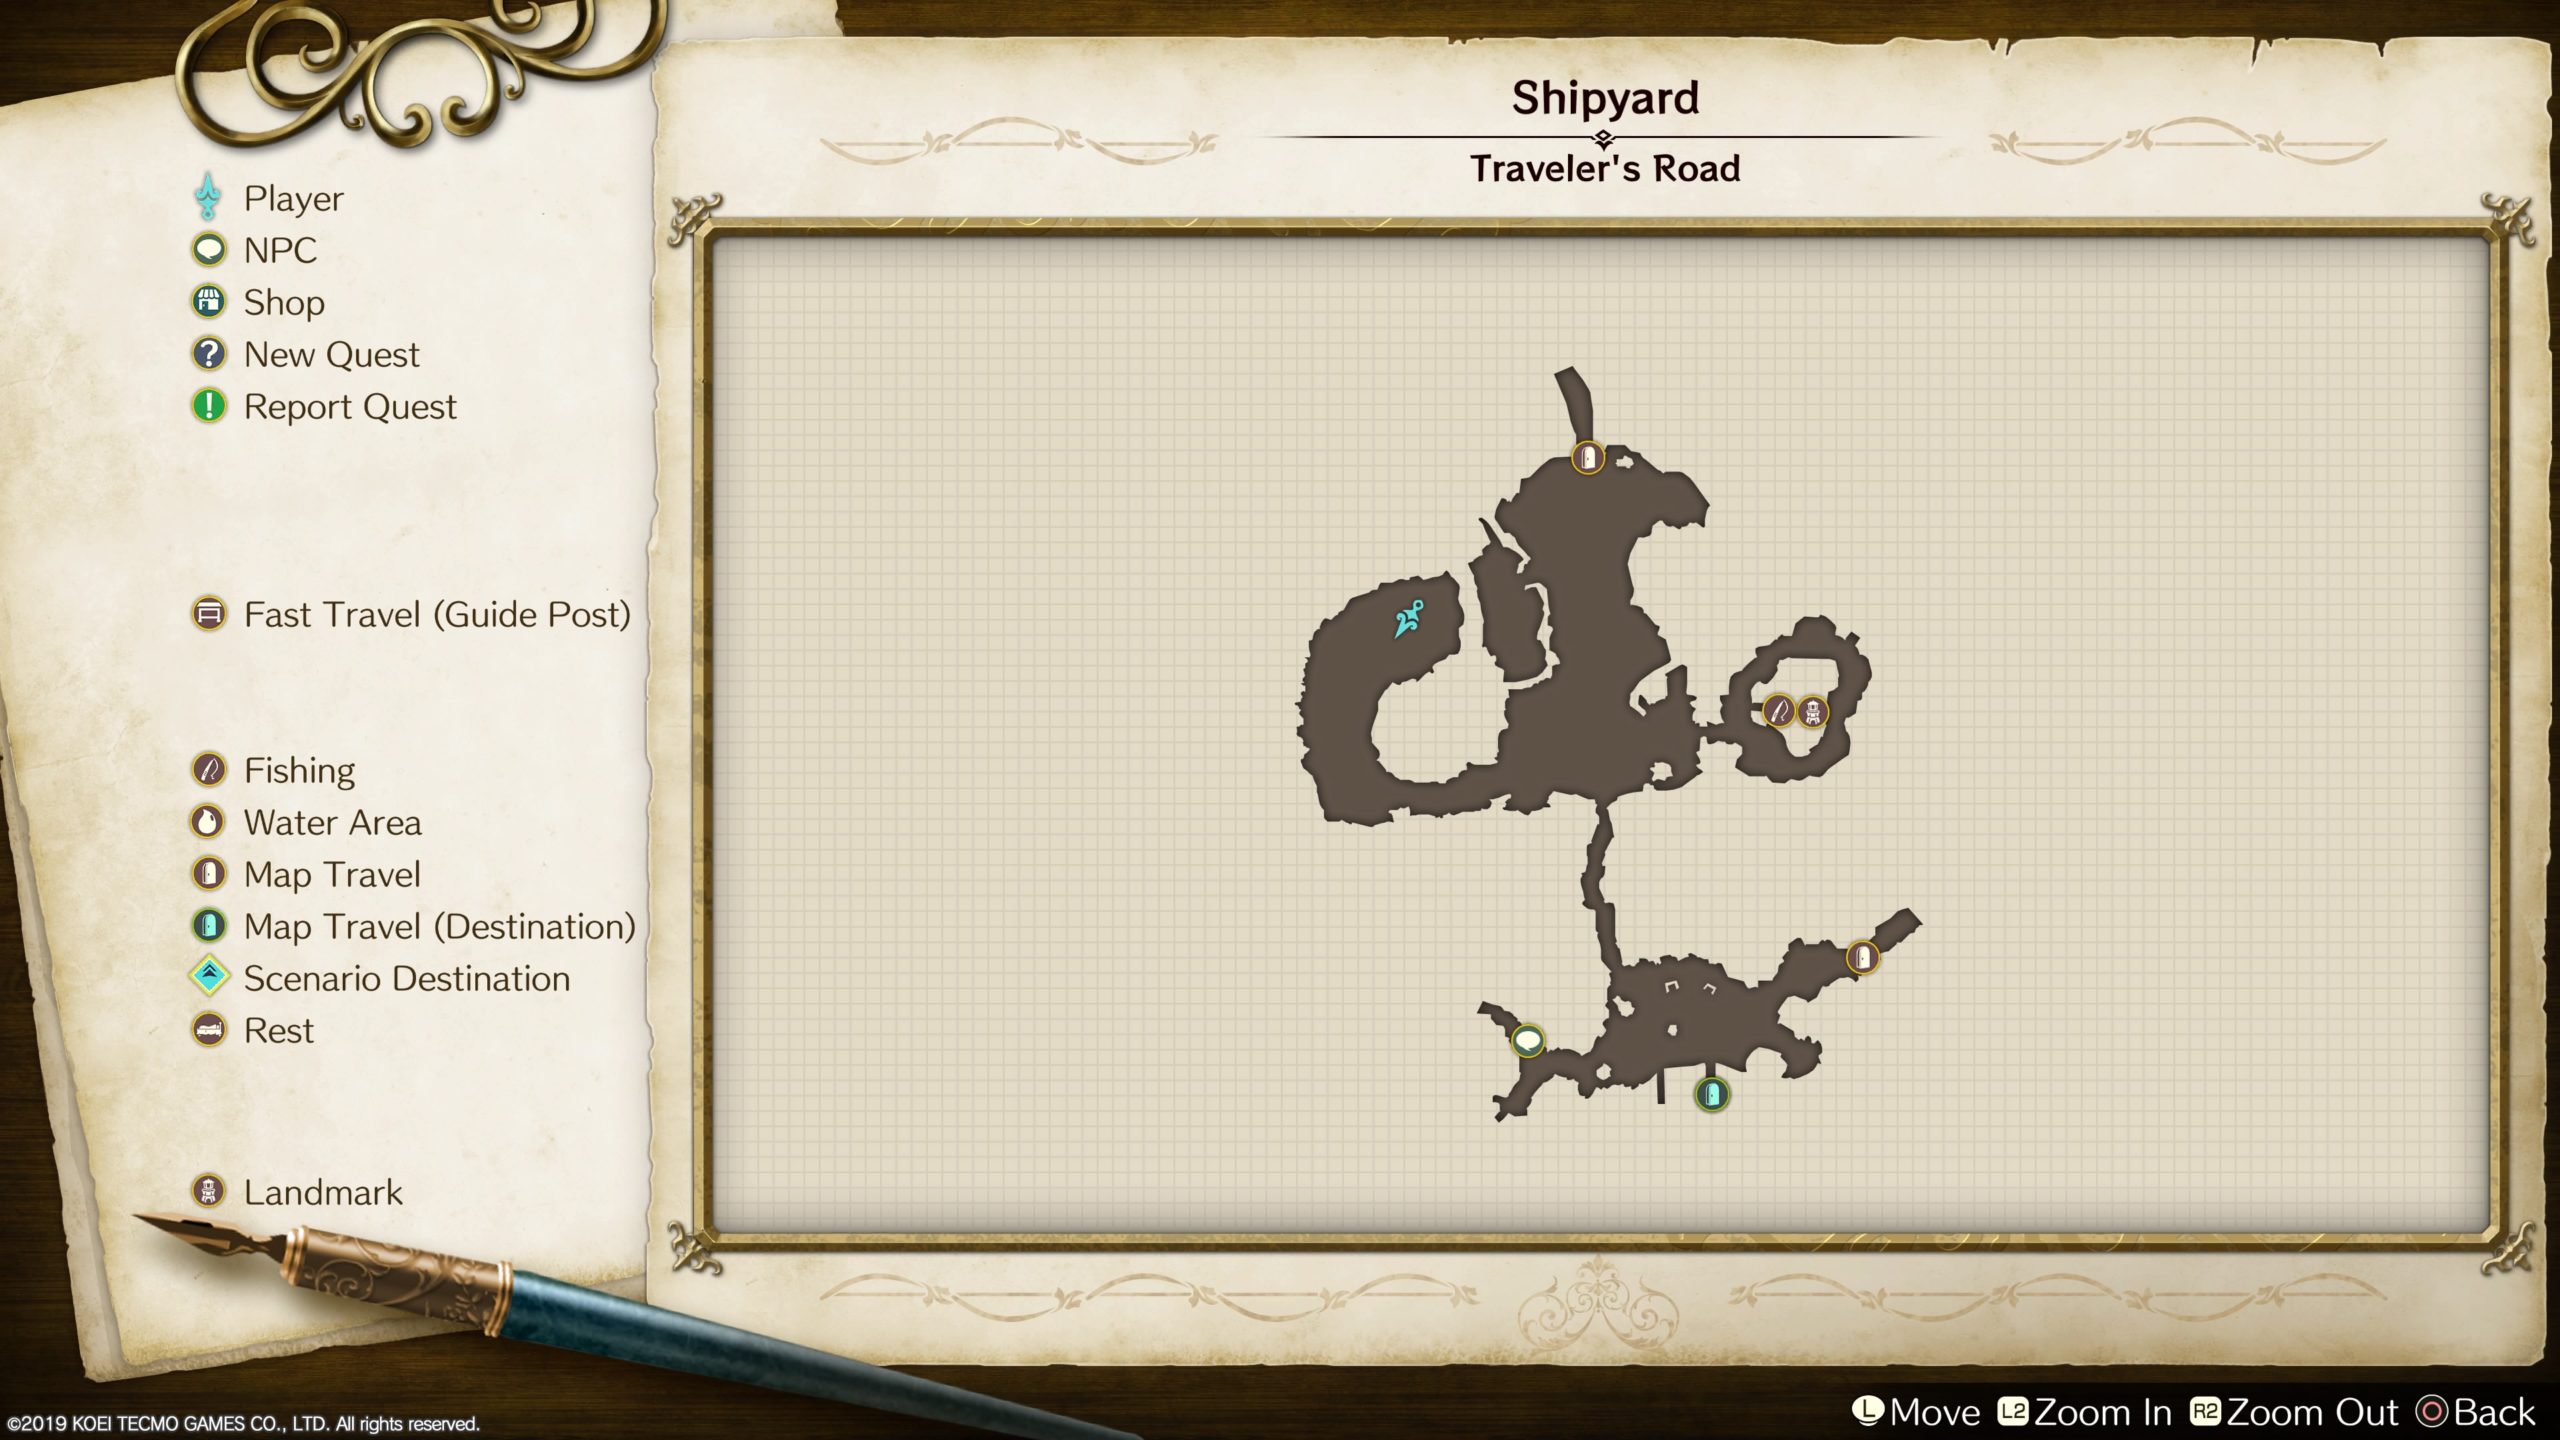
Shipyard
This chest can be found in the western branch of the Shipyard. Open it to find a Gold Coin!
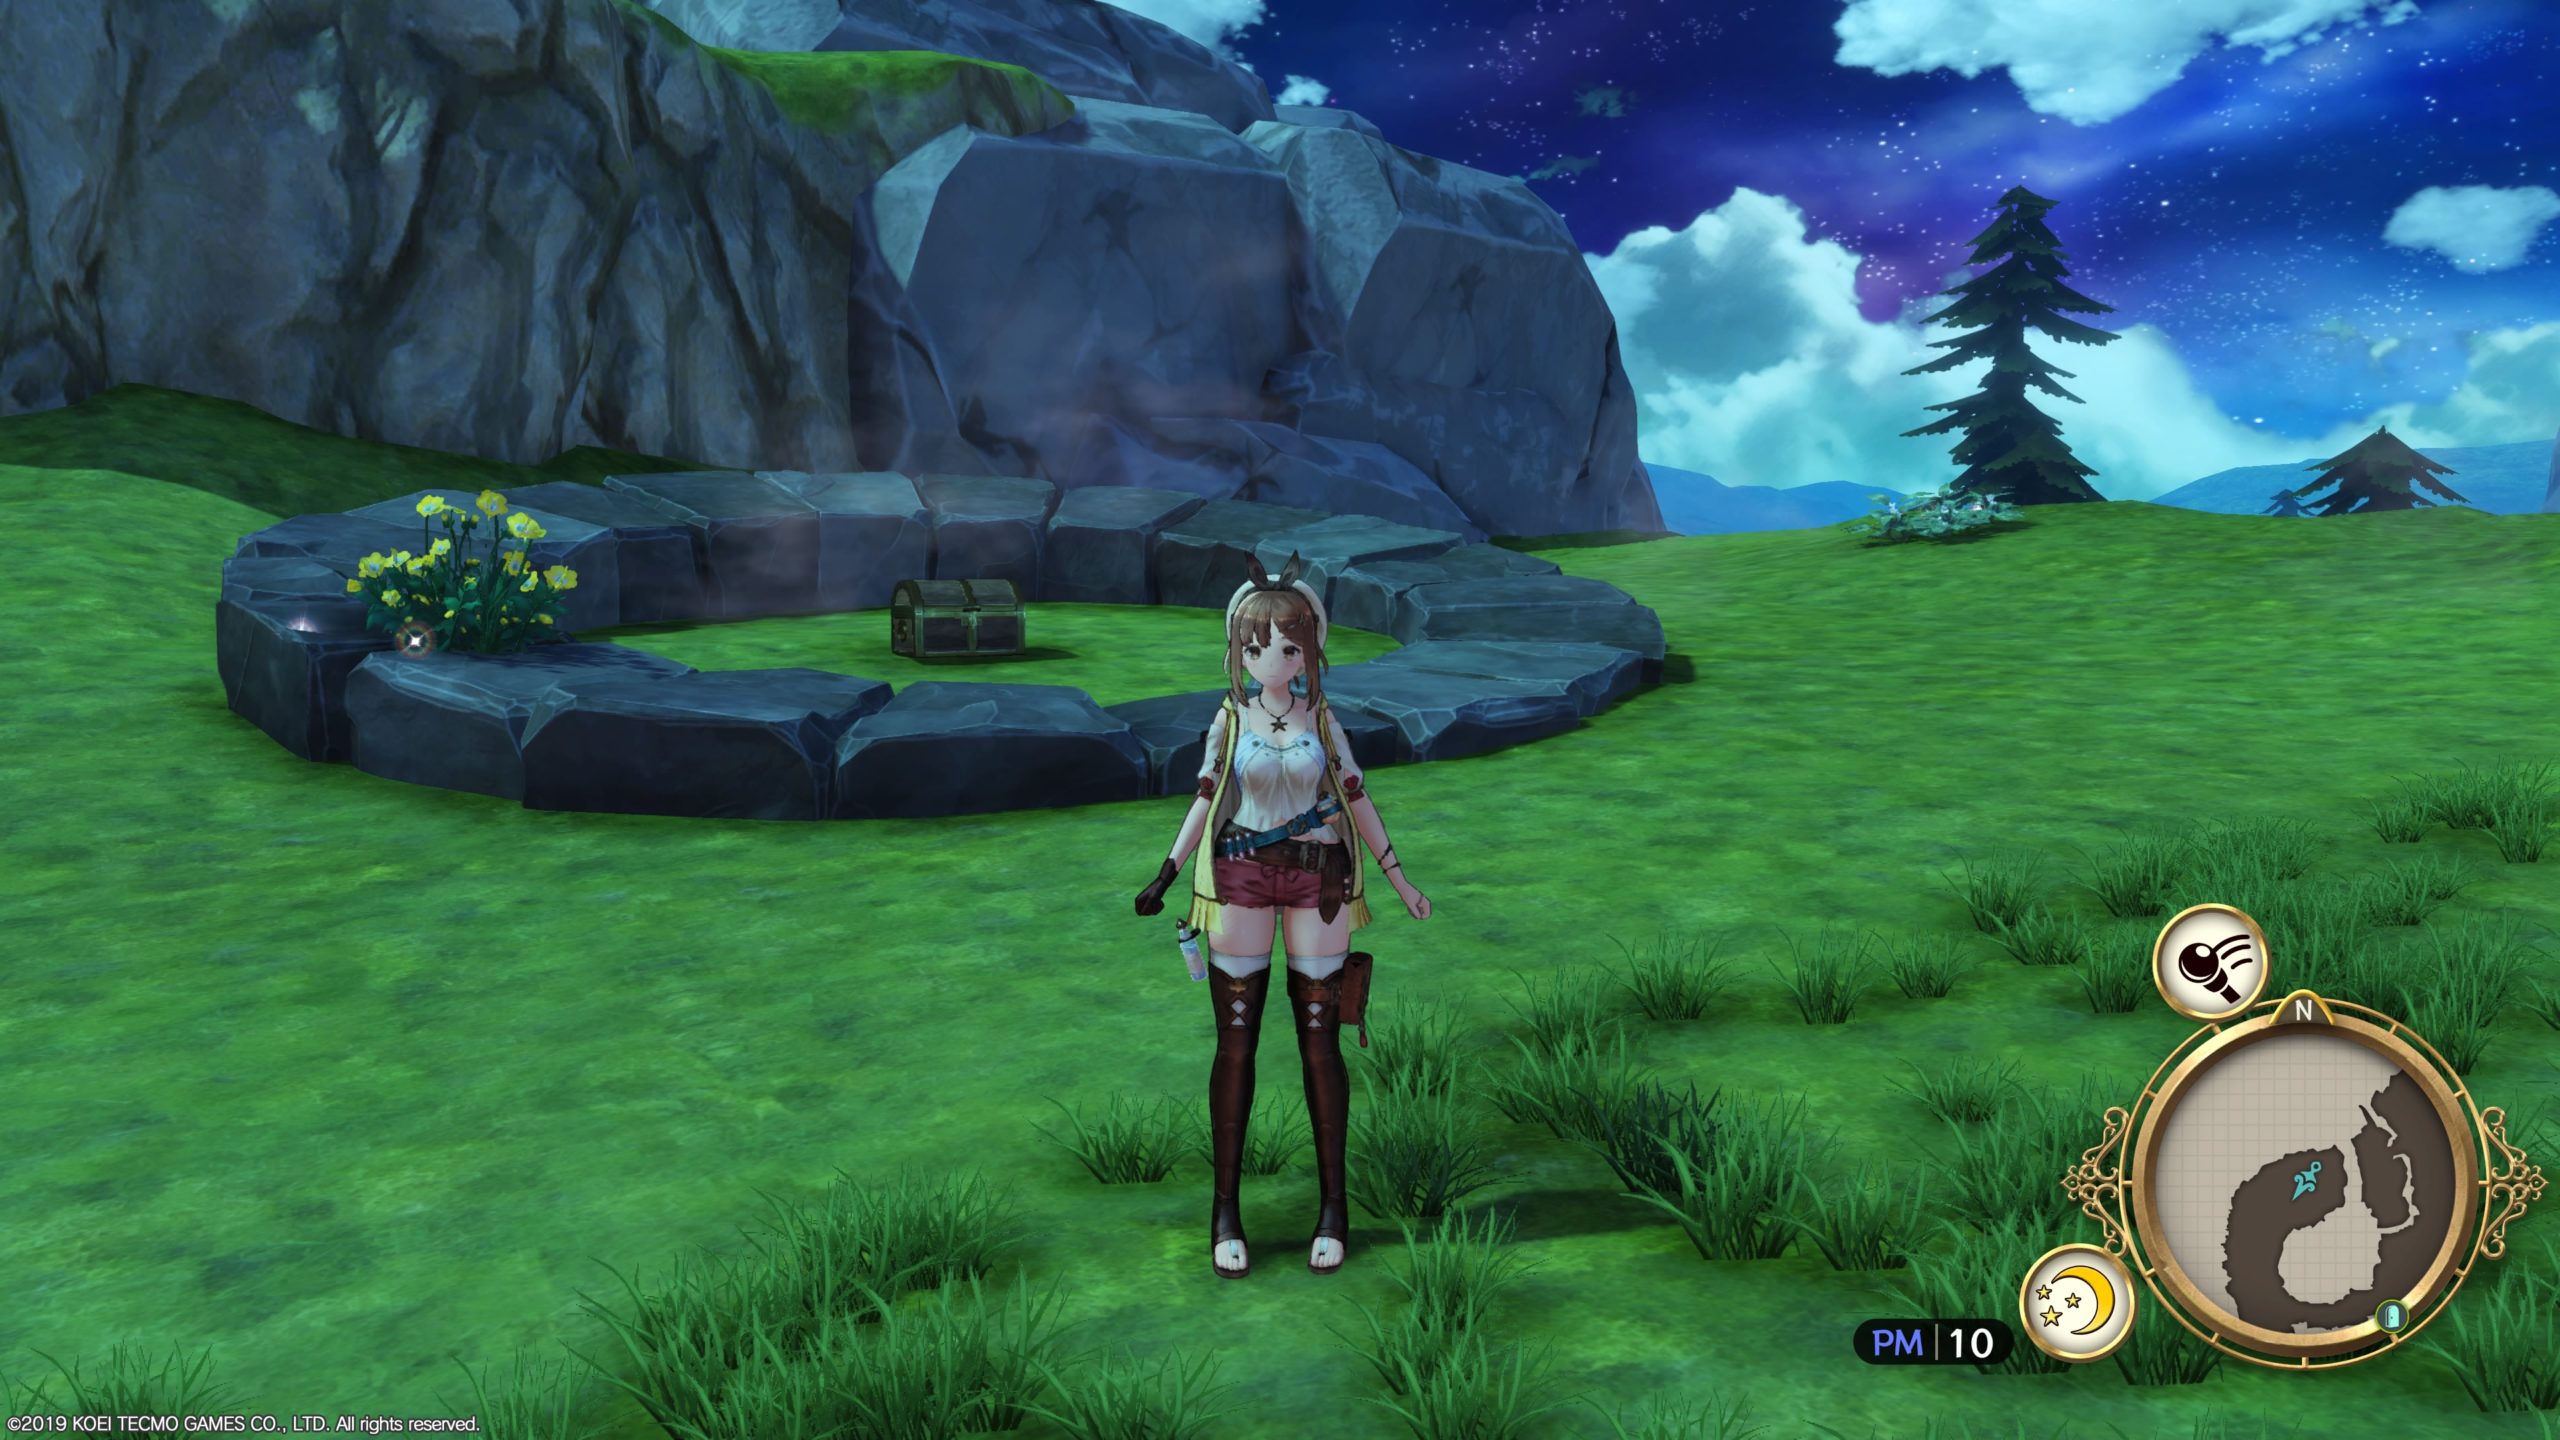
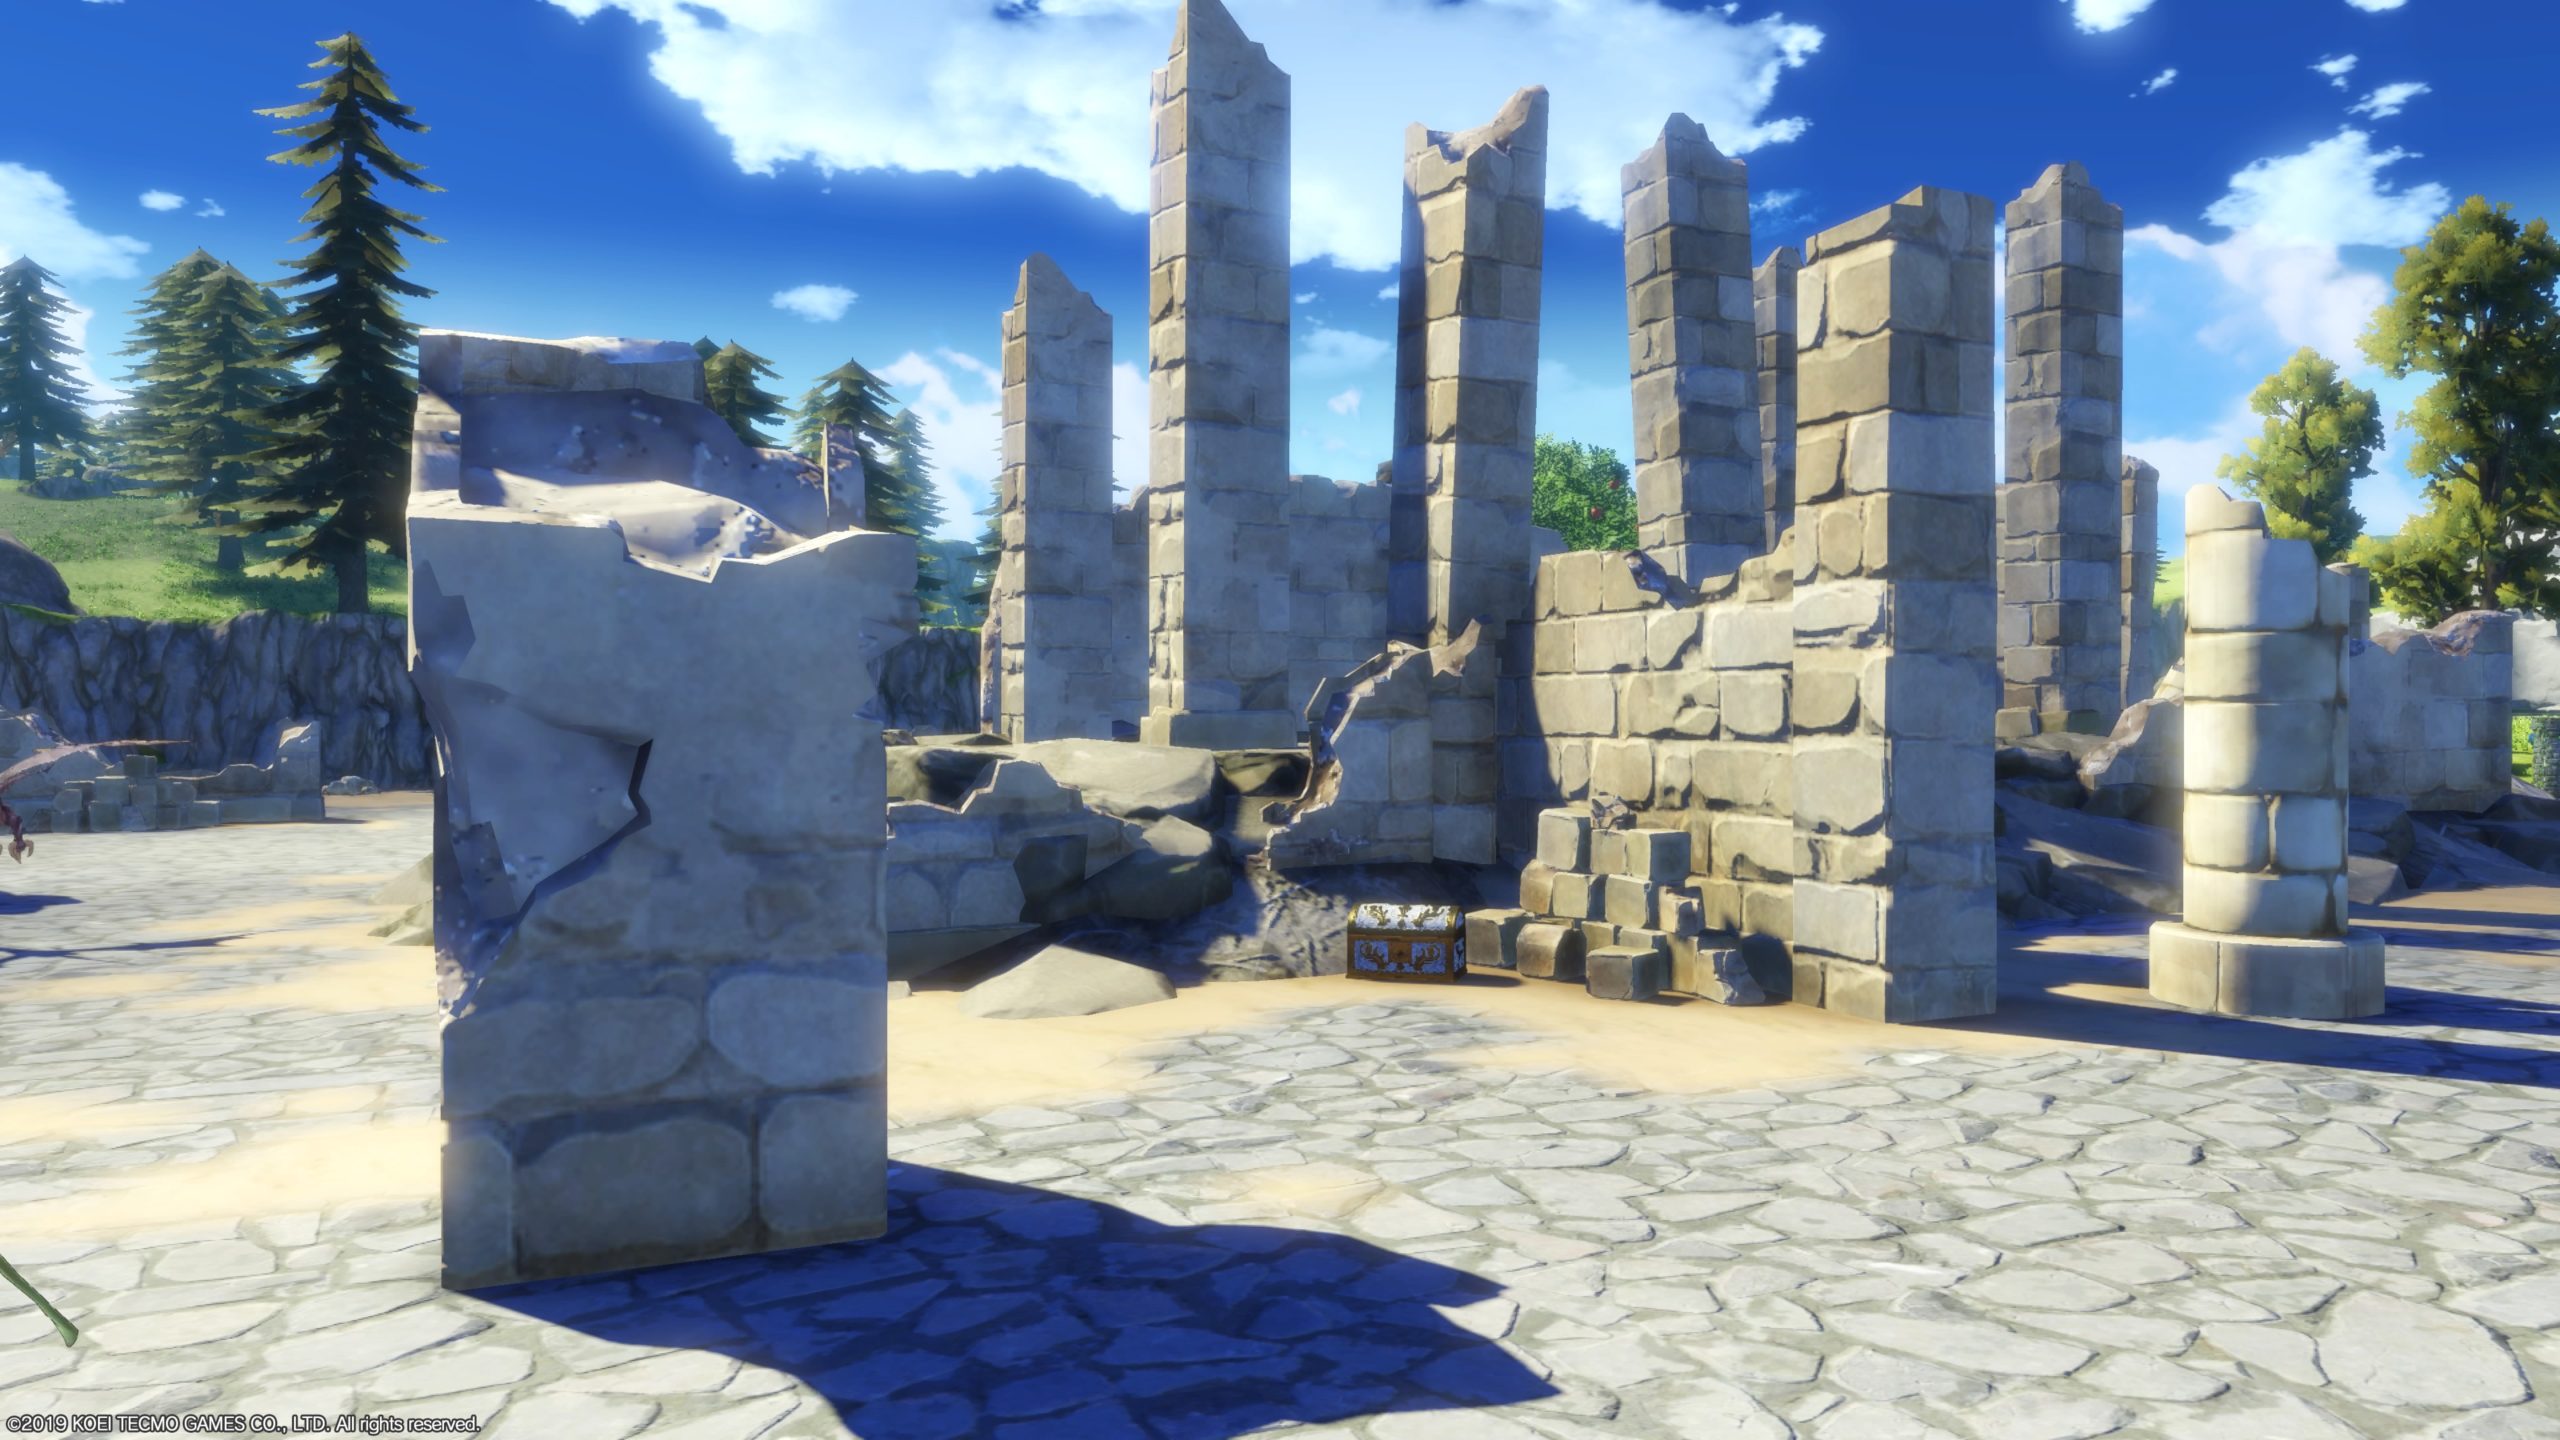
Central Lime Plains
This chest can be found in the Old Town Ruins in the central part of the Central Lime Plains. Open it to find an Energy Pendant!
Northern Fork
This chest can be found on the ledge overlooking Northern Fork in the southeast corner of the area. Open it to find a Border Scale!
Northern Fork
This chest can be found at the base of the Road Fork Tree landmark in central Northern Fork. Open it to find Cole x500.
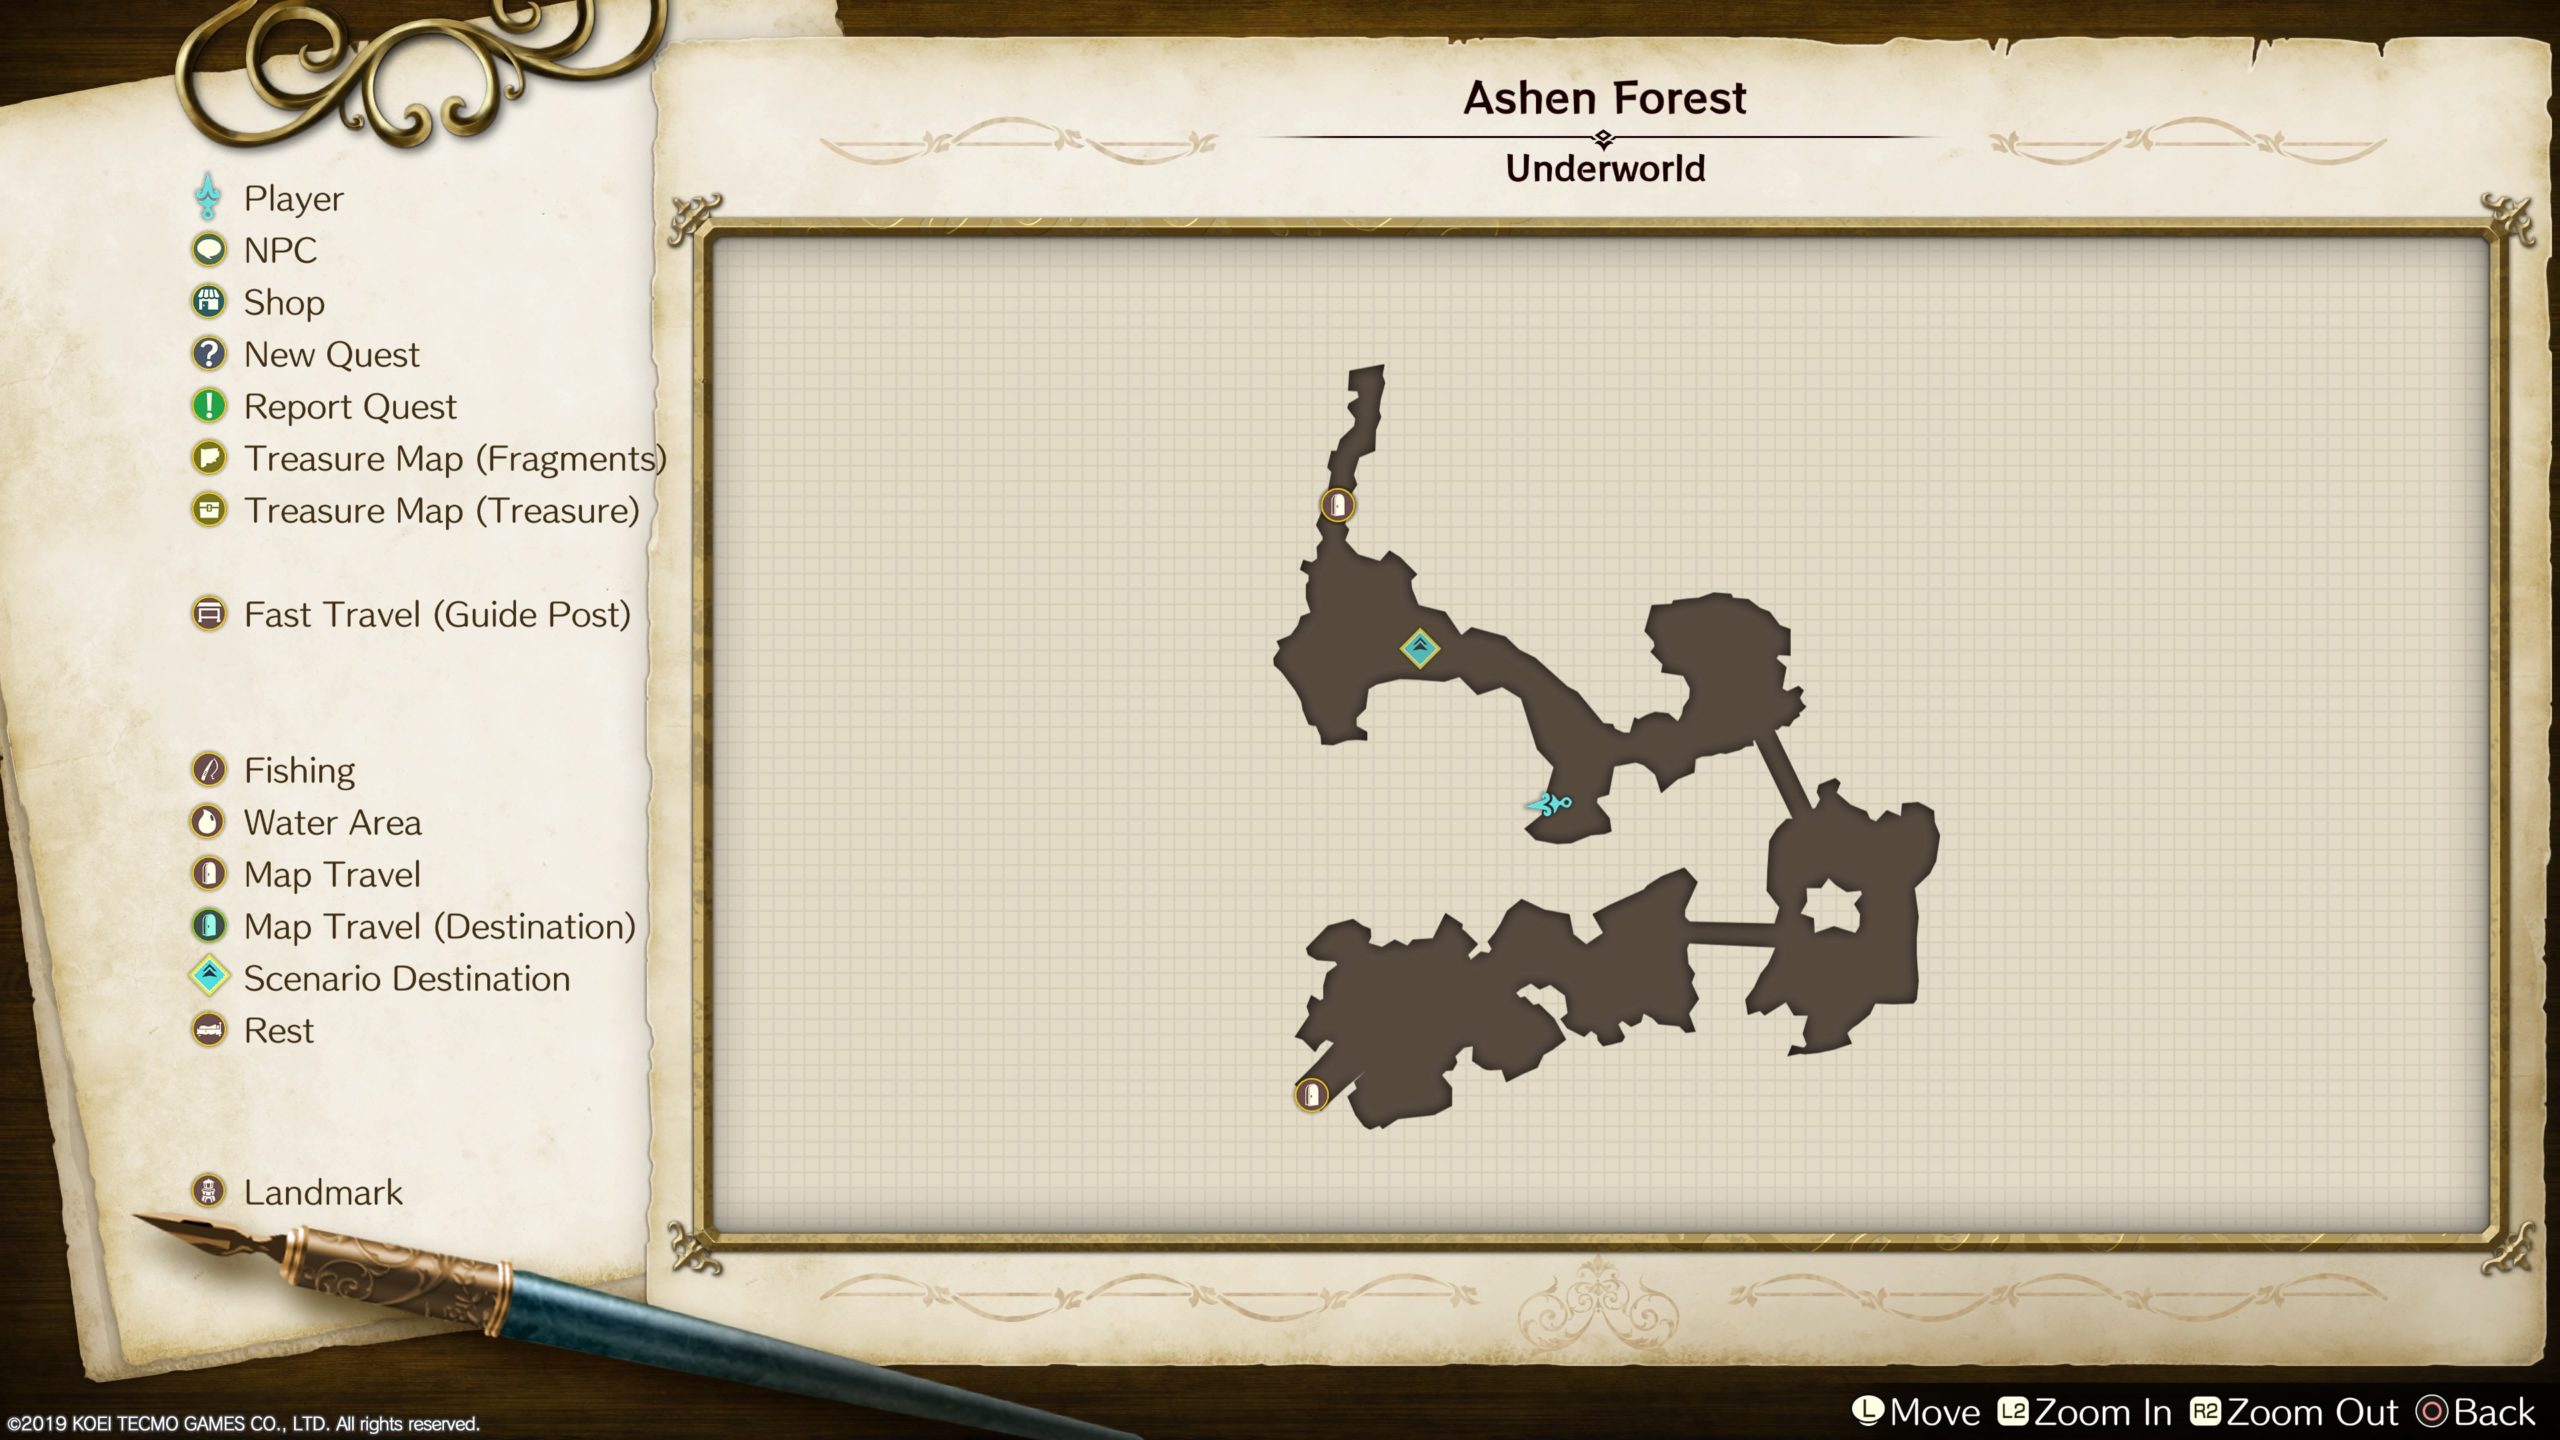
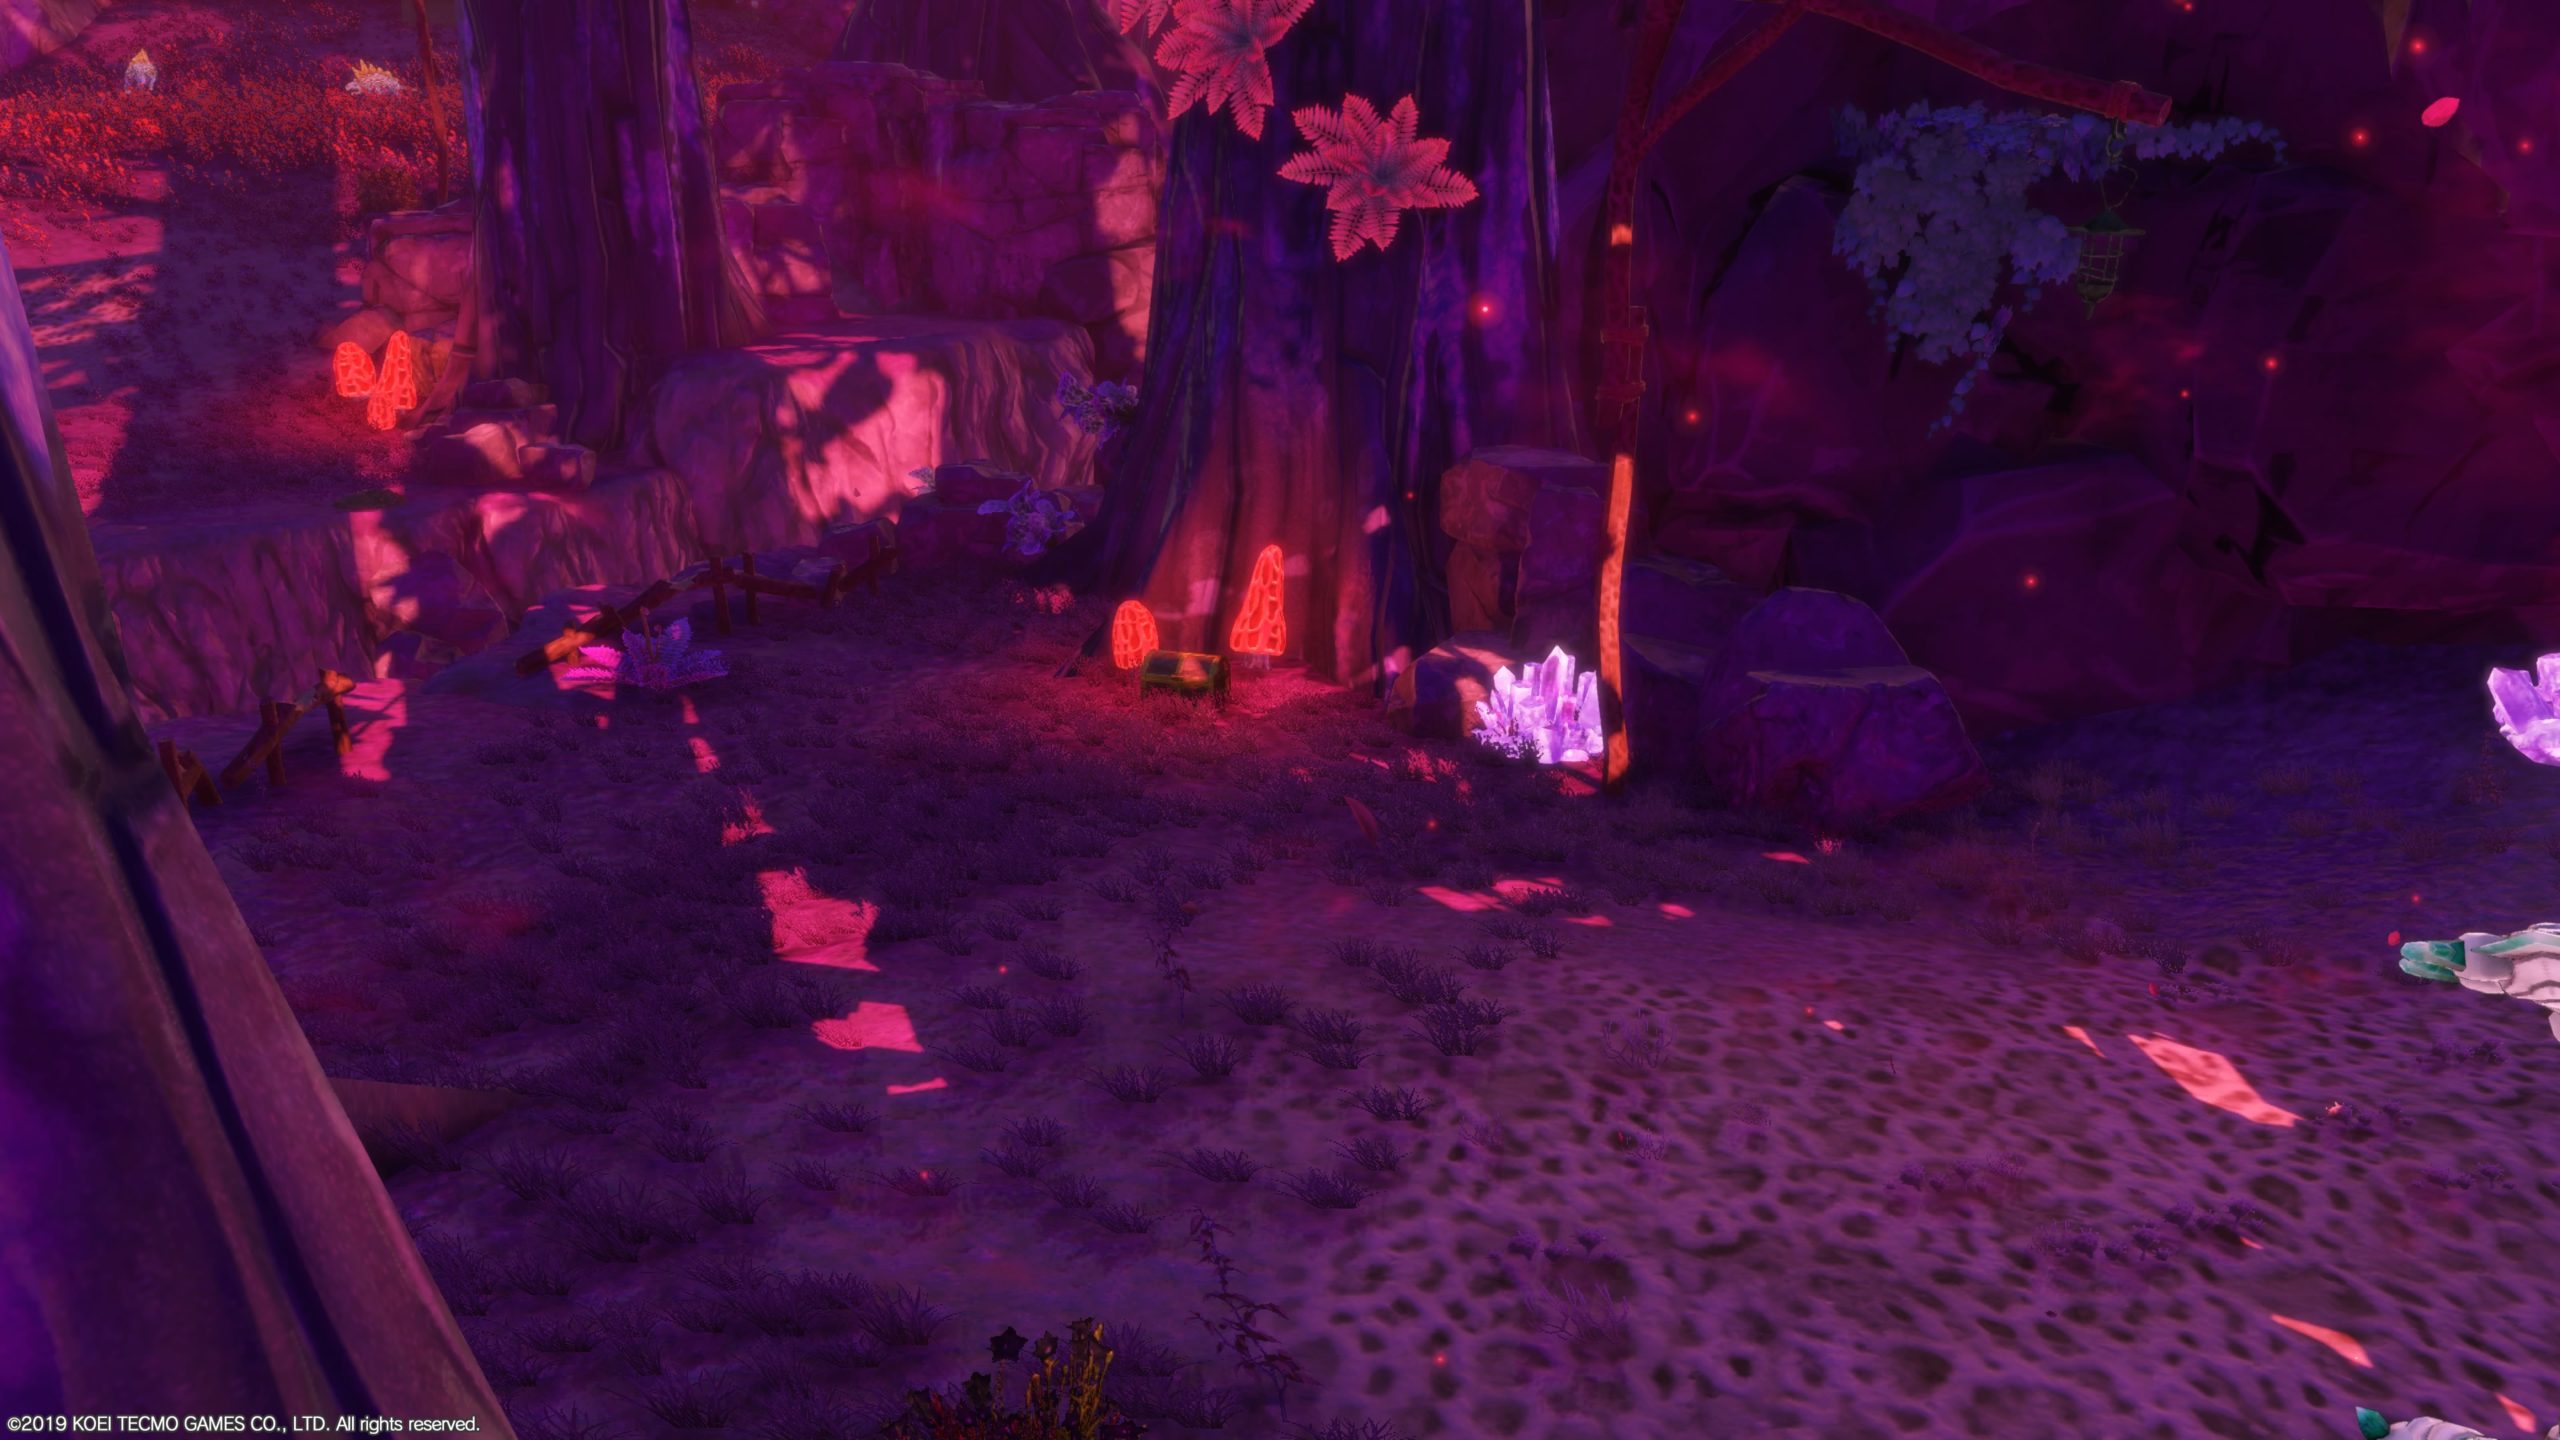
Underworld
Ashen Forest
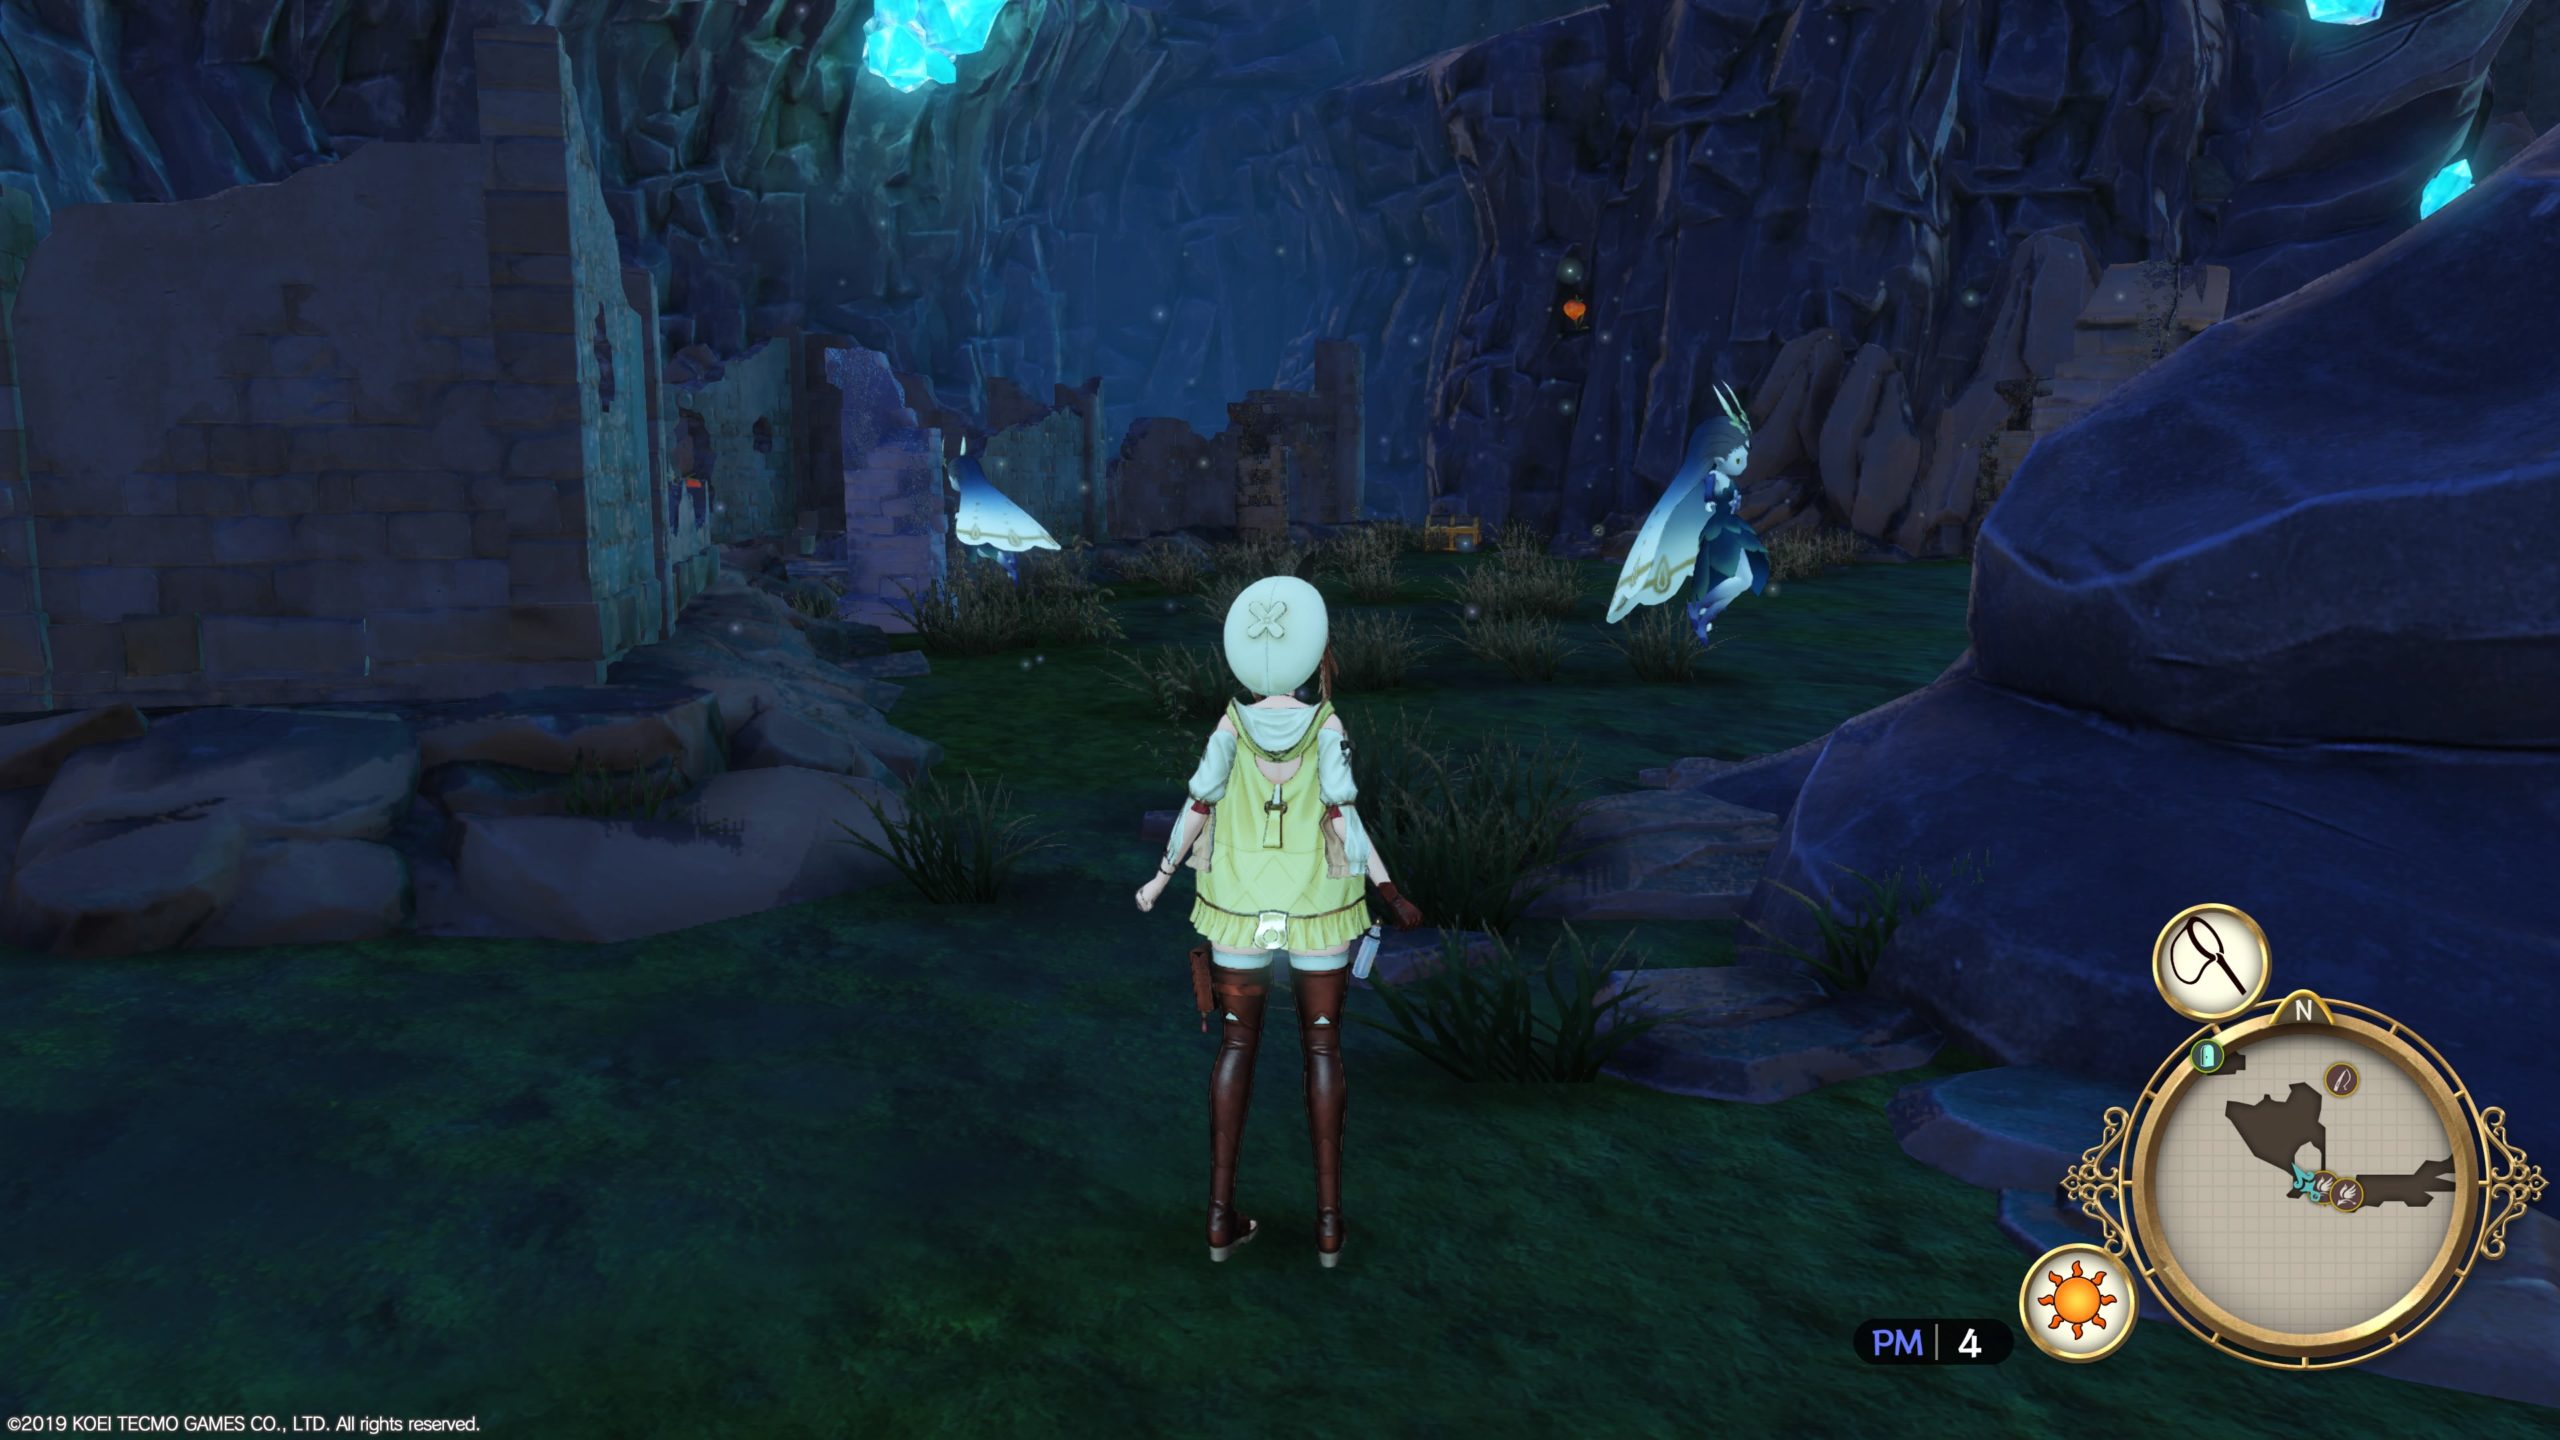
This chest can be found in the central part of Ashen Forest. It is located to the left of a stone archway that you’ll need to go under to reach the story objective. Open it to find Heroic Spirit!
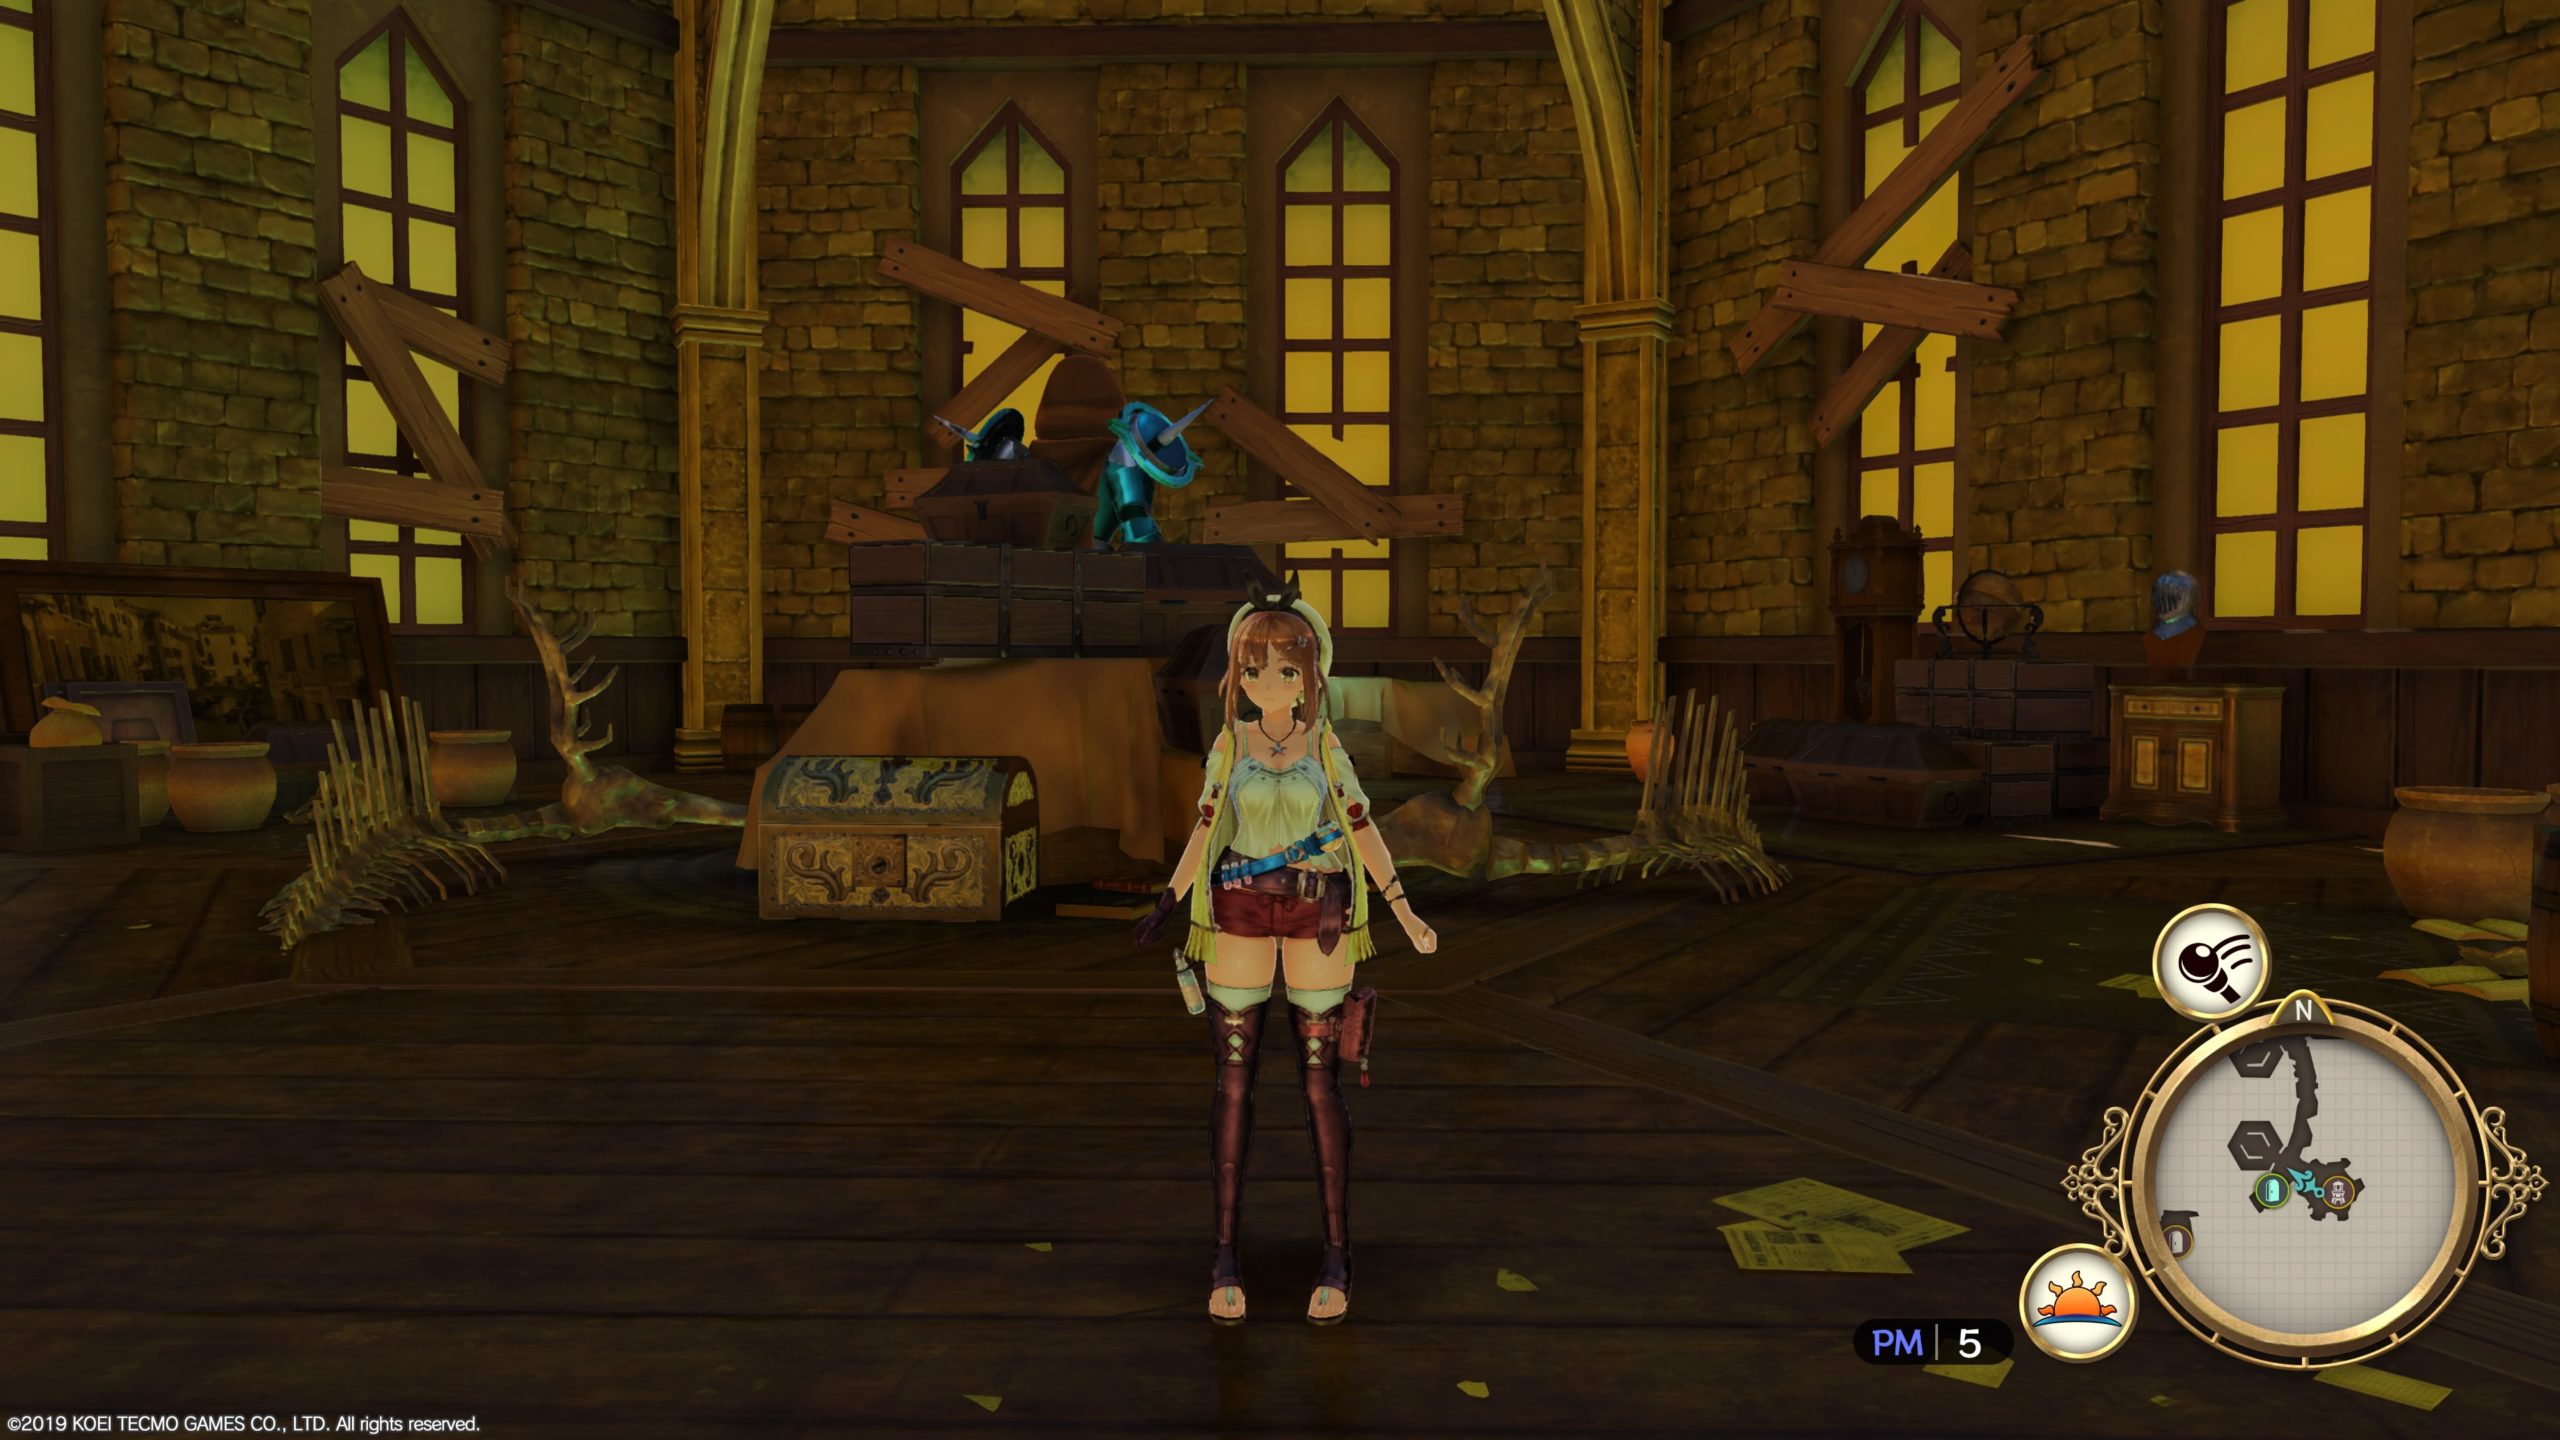
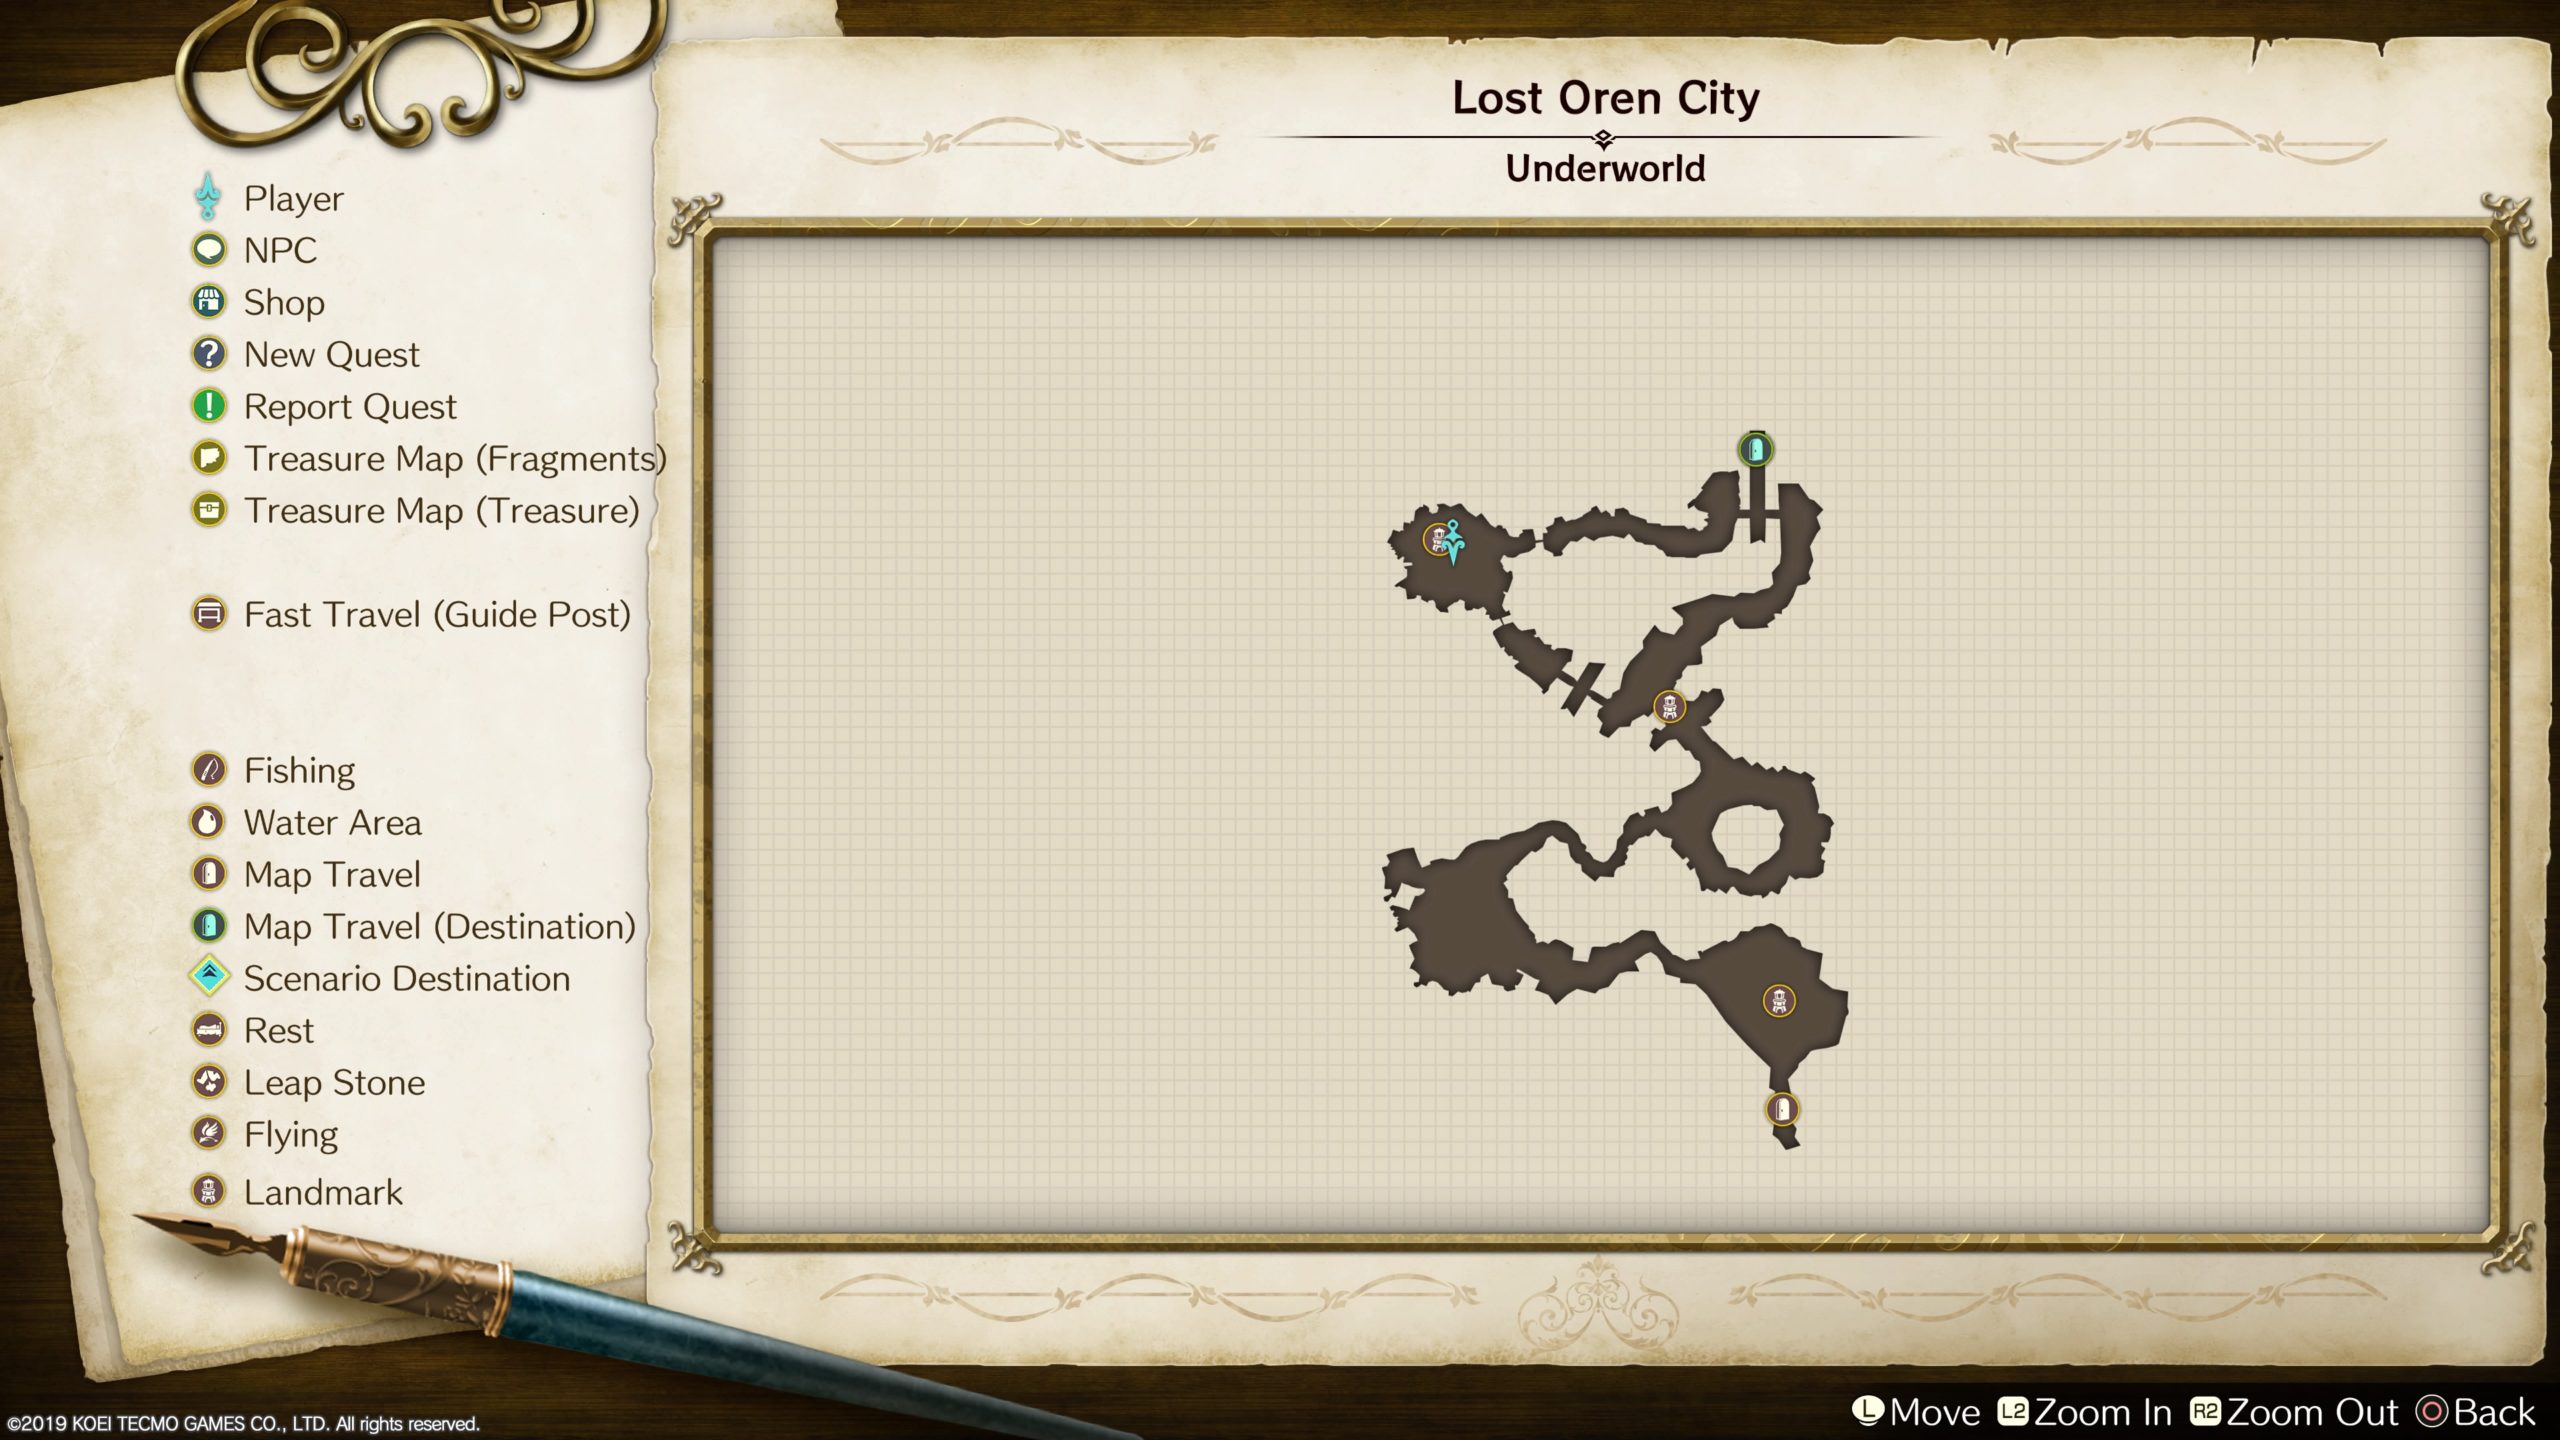
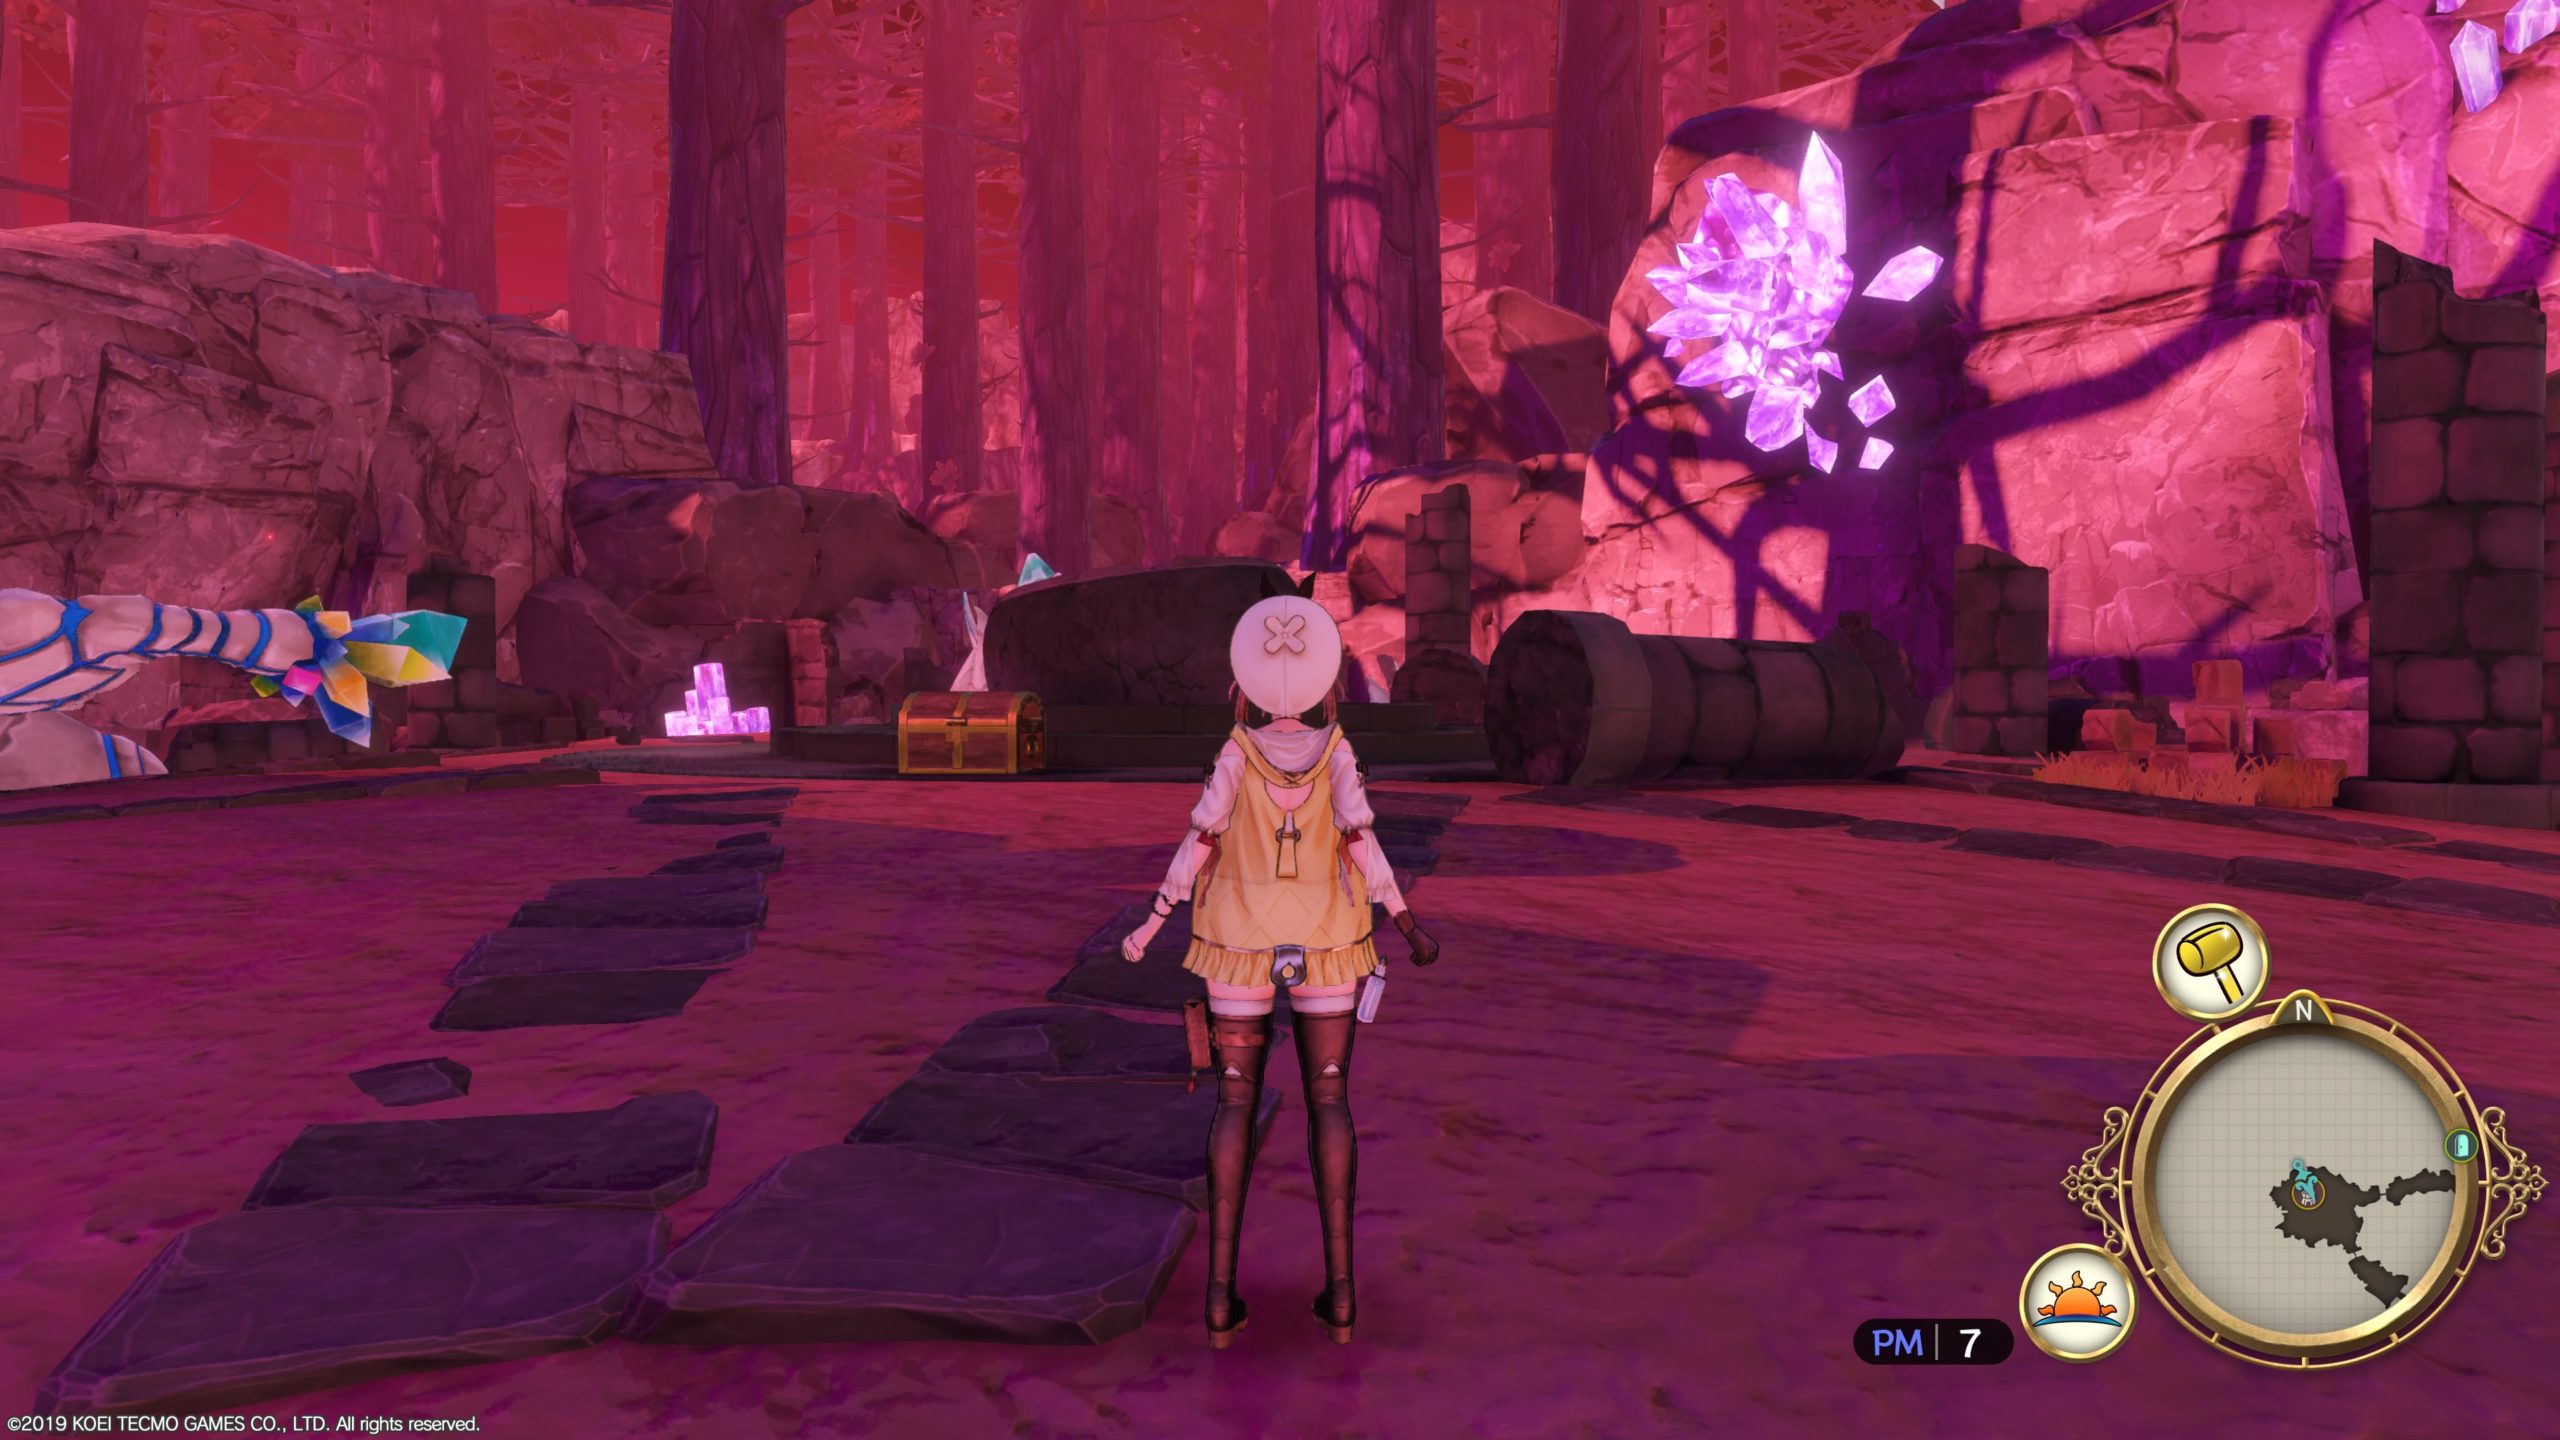
Lost Oren City
This chest can be found in the northwestern part of the Lost Oren City in the Forbidden Workshop landmark. Open the chest to find a Goldoterion!
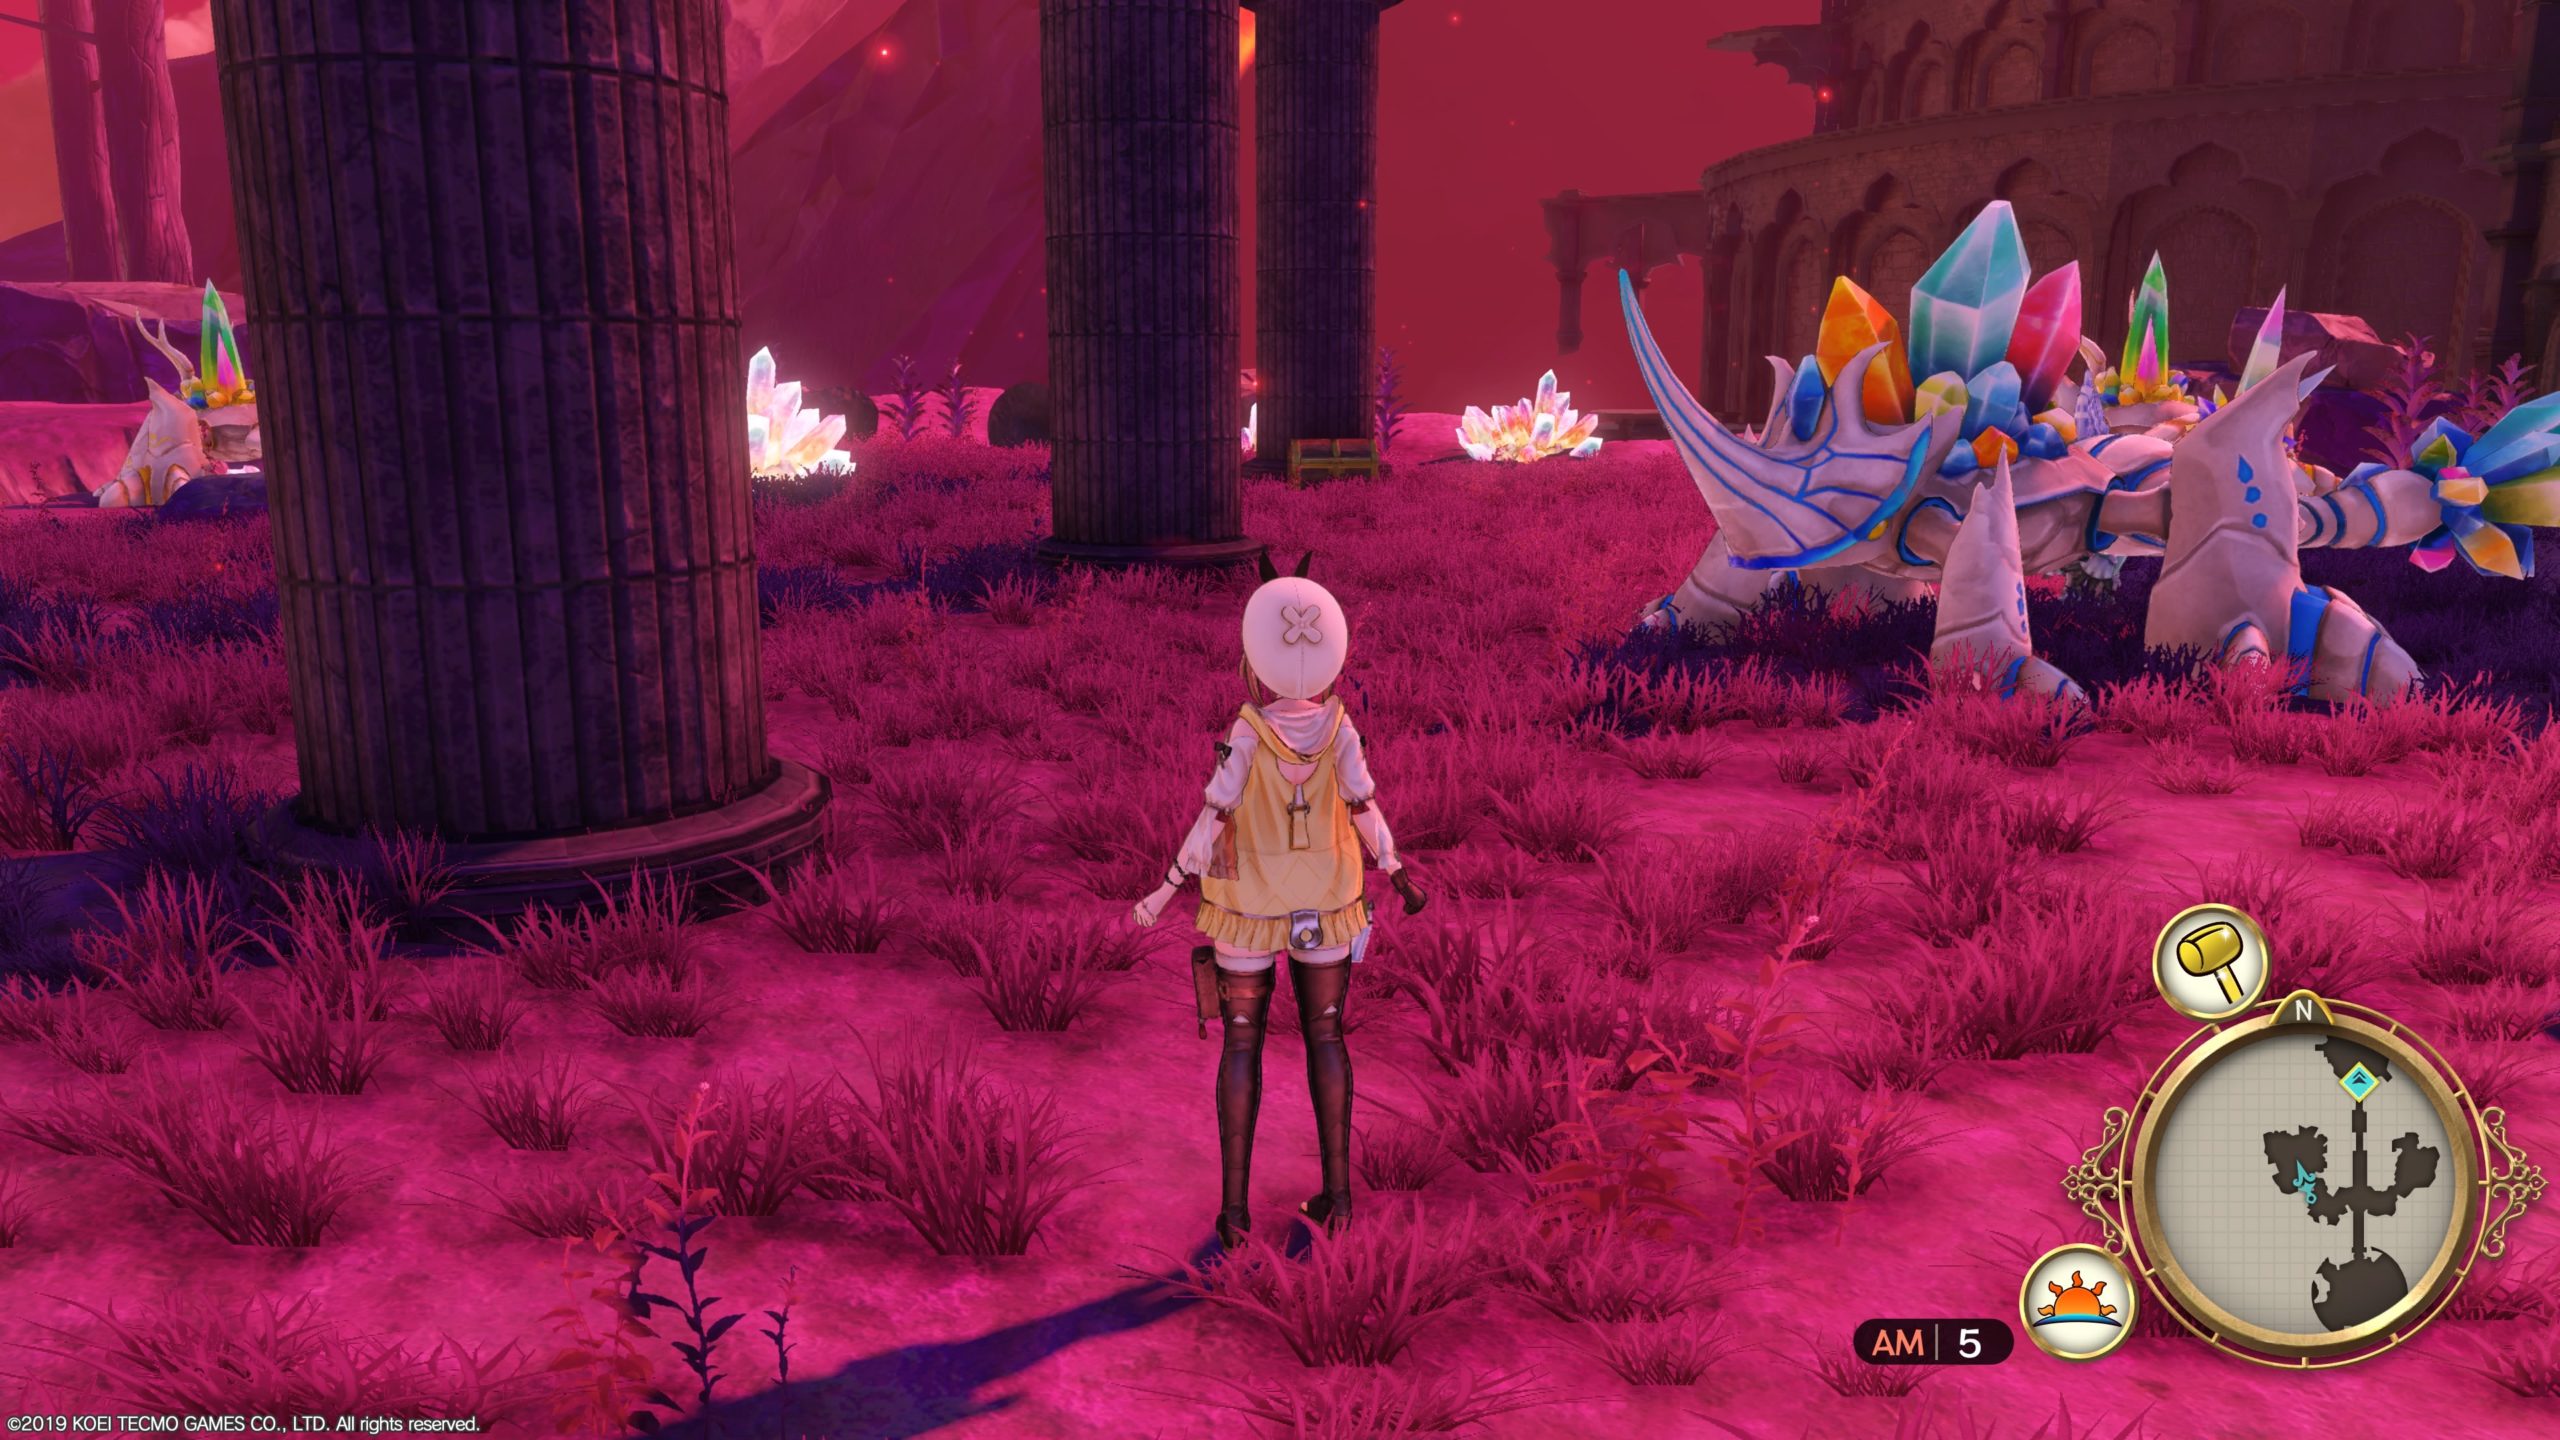
Dark Abyss
This chest can be found in the northwestern part of the Dark Abyss. Open it to find a Eldrocode!
Weissberg Volcano
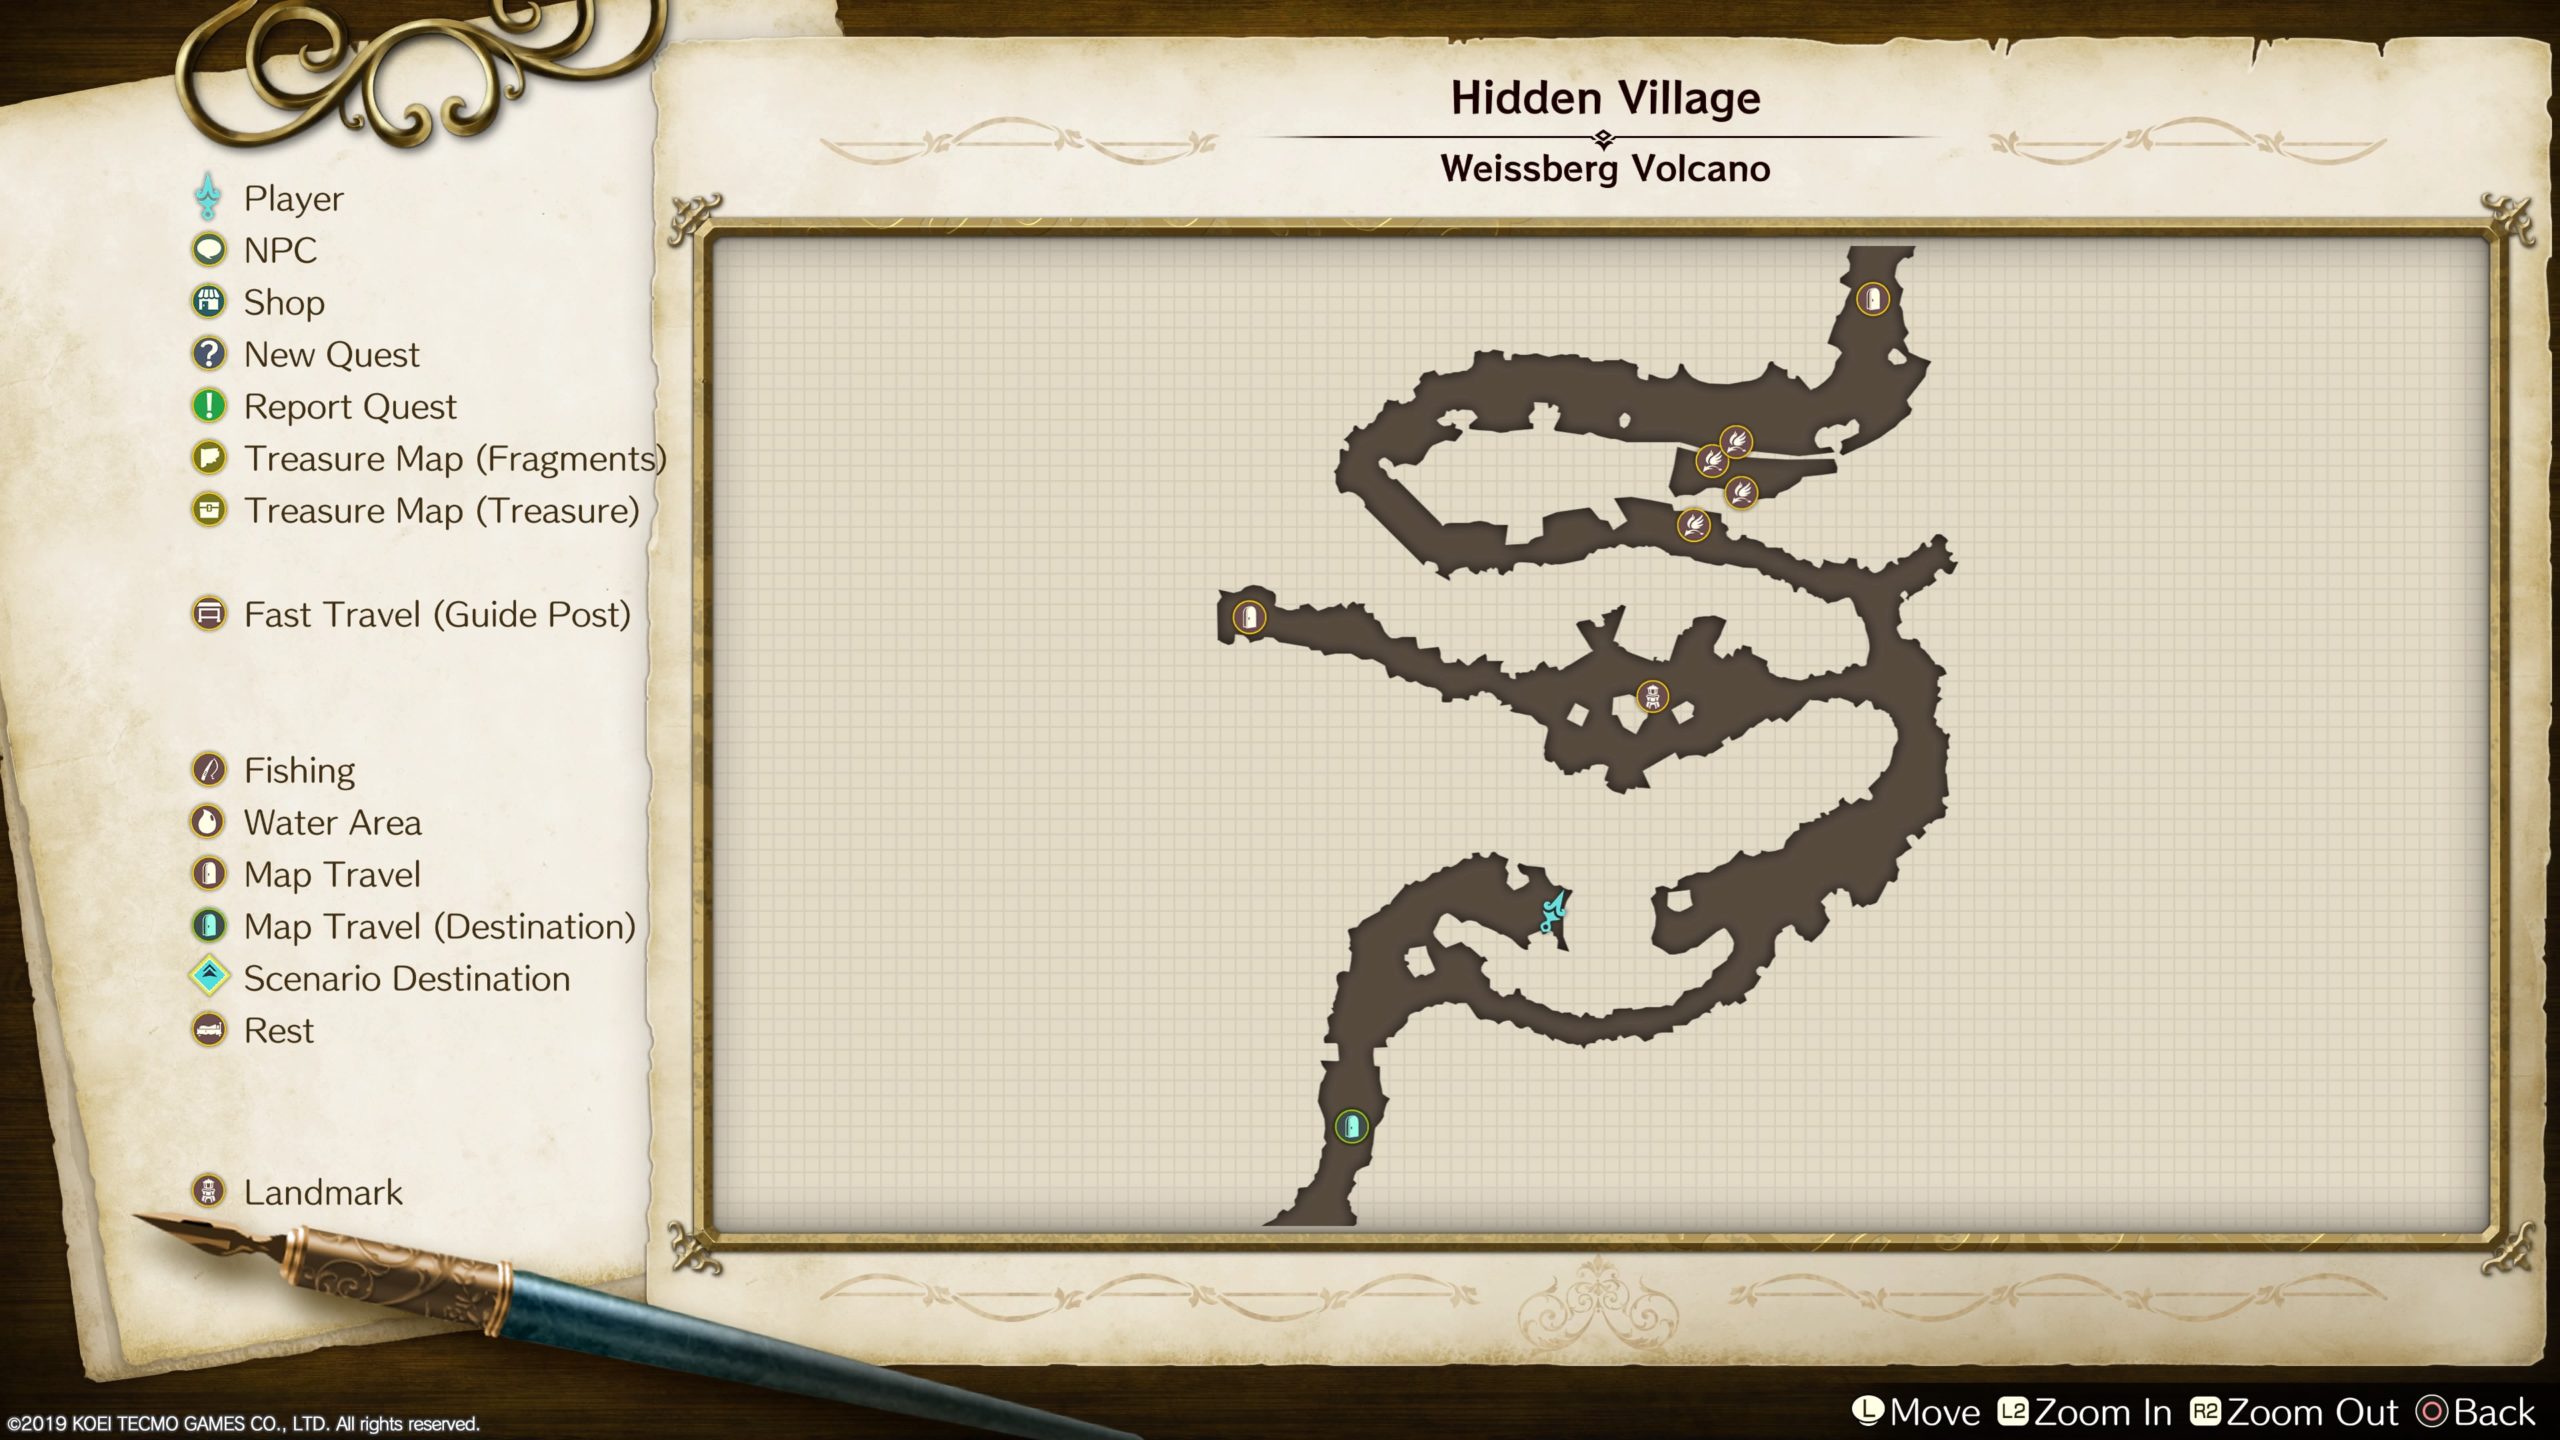
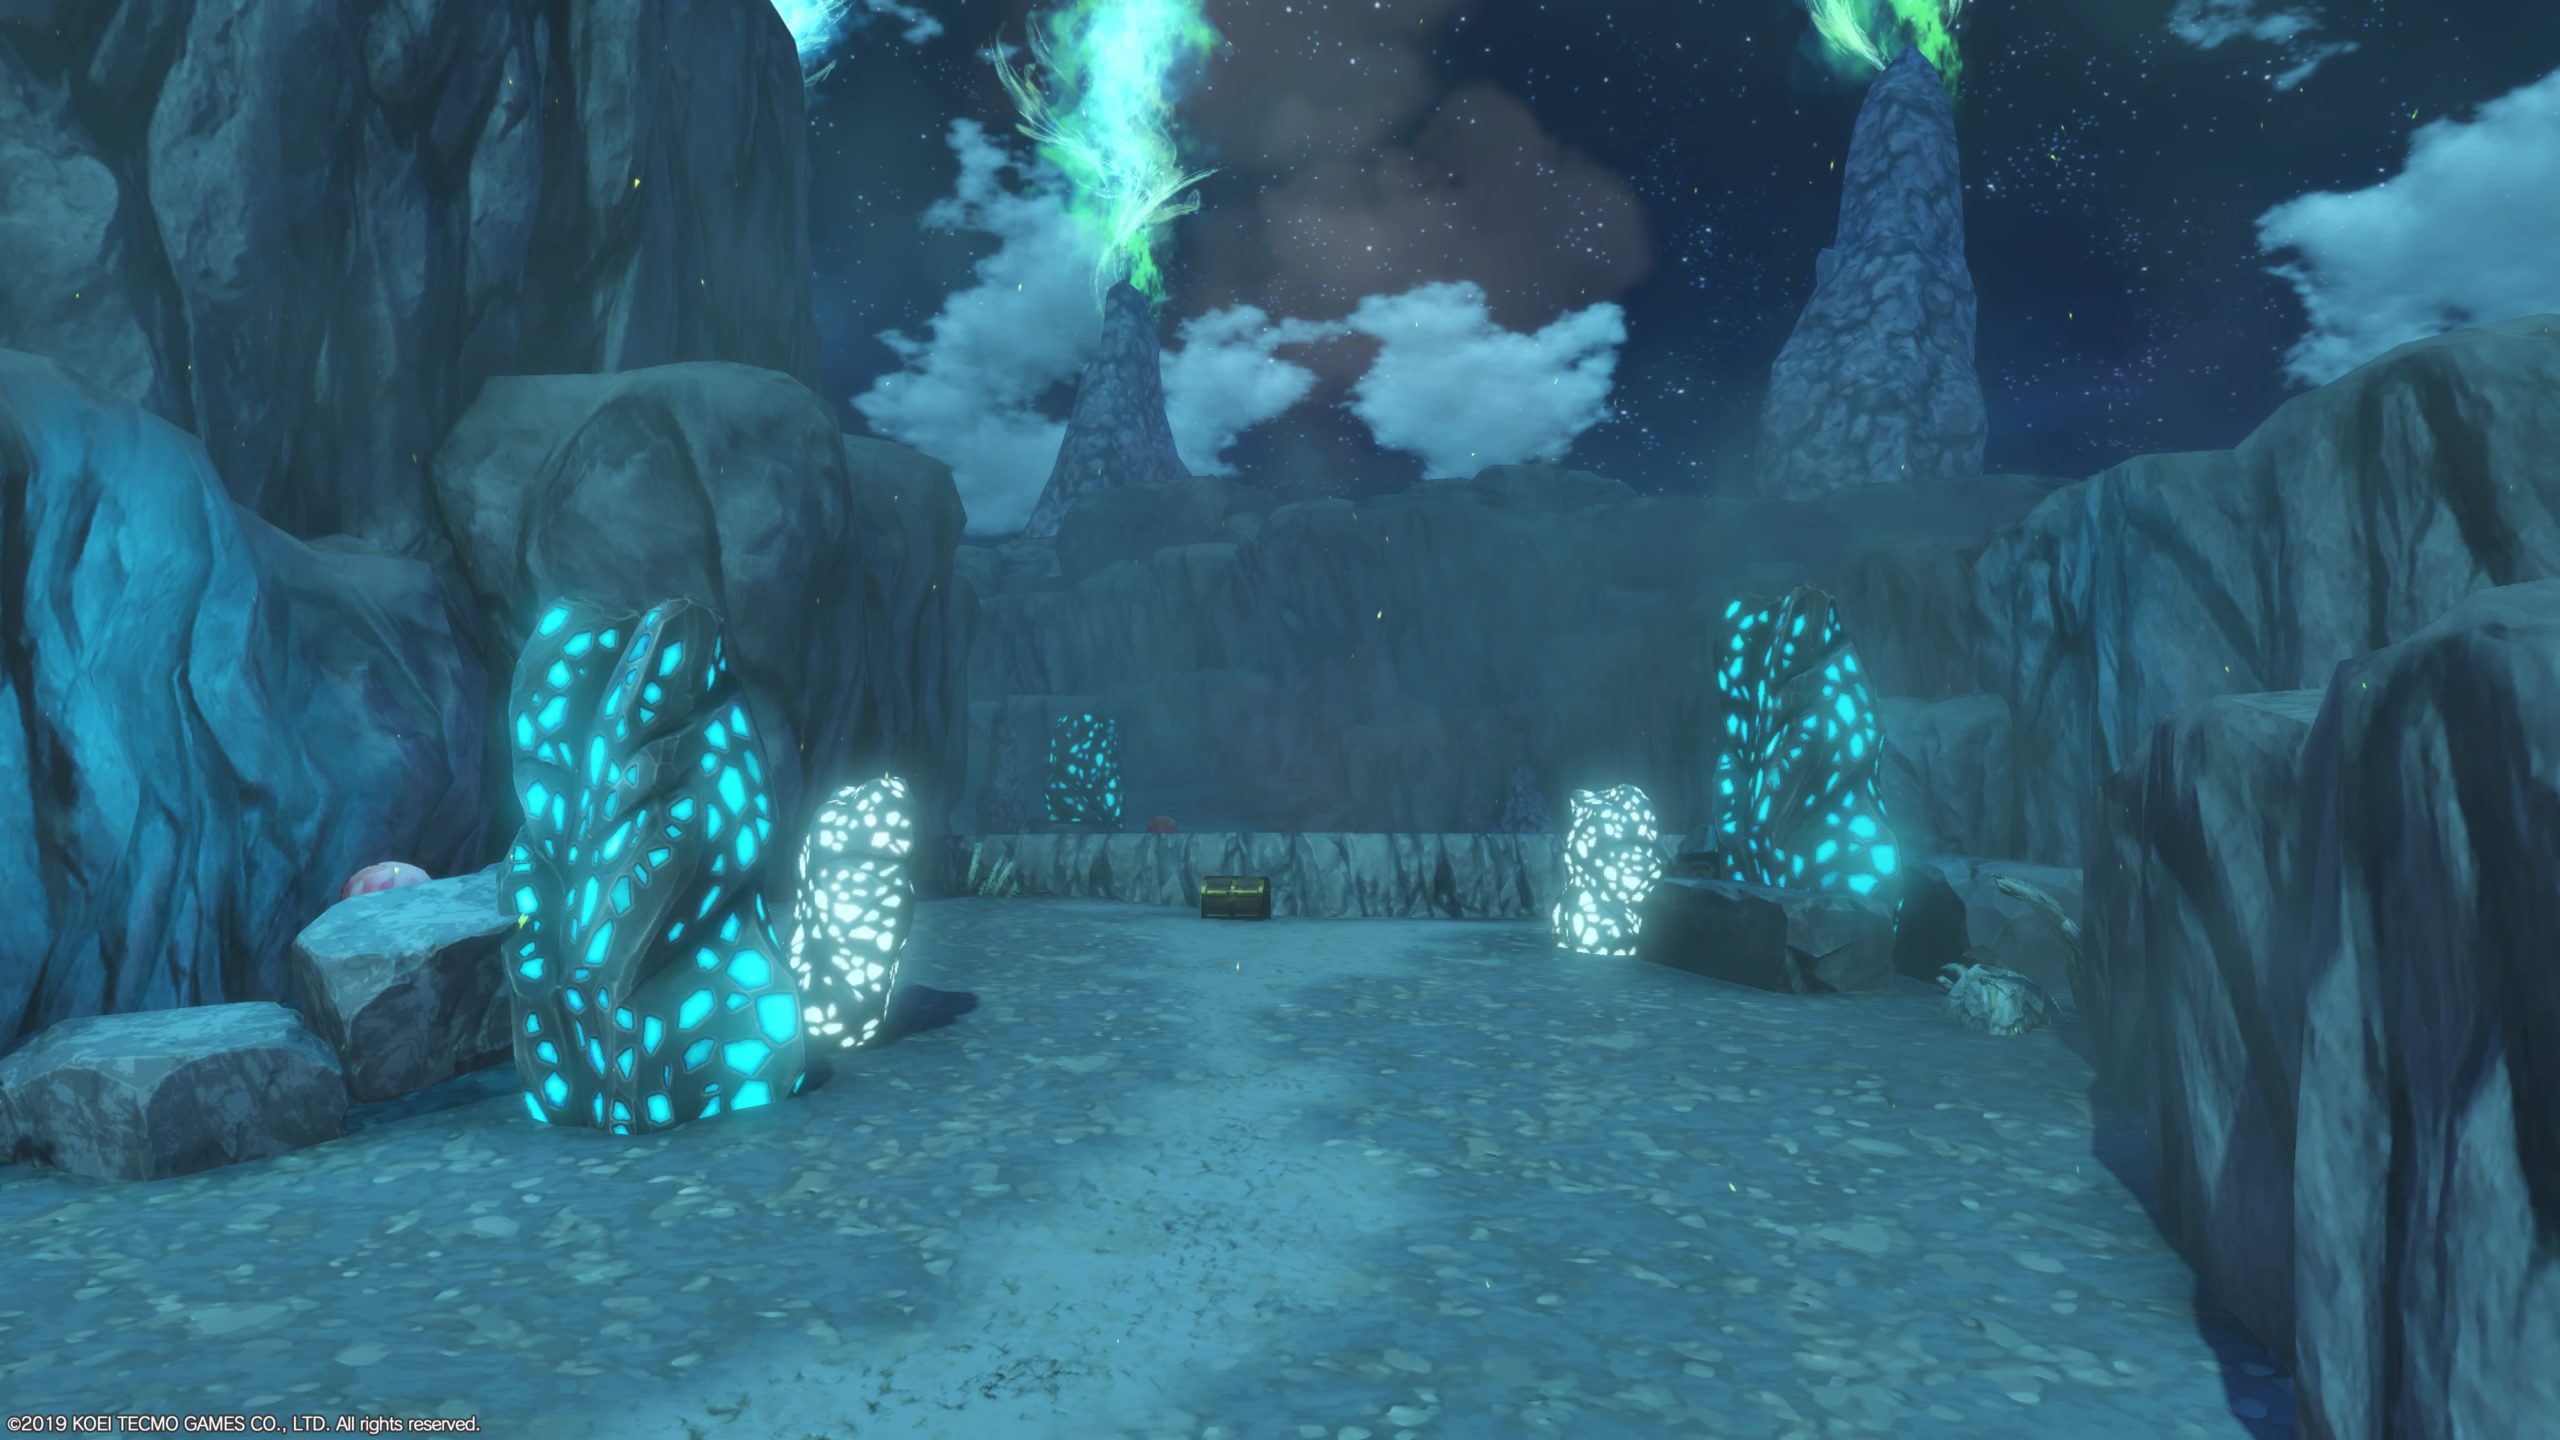
Hidden Village
This chest can be found in the south central region of the Hidden Village. It is located at the dead end of a branch that curves up towards the center of the map. Open it to find Eternal Fire!
Below is a guide on the Izuhara Inari Shrine locations in Ghost of Tsushima. You will need to collect all Inari Shrines in order to obtain the Body, Mind and Spirit Trophy. These shrines also unlock charm slots.
Ariake
Golden Forest #1
This shrine can be found directly east of the Survivor Camp in eastern Golden Forest along the cliff overlooking the ocean.
Golden Forest #2
This shrine can be found near the central east part of the Golden Forest.
Golden Forest #3
This shrine can be found in the southwestern part of the Golden Forest on the top of a mountain.
Kuta Grasslands
This shrine can be found north of Houren’s Pasture.
Azamo
Sakimori Overlook
This shrine can be found on a ledge at Sakimori Overlook.
Jito’s Point
This shrine can be found along the beach east of a Mongol Logging Camp and north of Jito’s Point.
Azamo Bay
This shrine can be found along the beach underneath a tree southeast of Azamo Bay.
Hiyoshi
Hidden Springs Forest
This shrine can be found along the river south of Hiyoshi Springs.
Izuhara Clearing
This shrine can be found north of Izuhara Clearing in between some giant rocks.
Kashine
Kashine Forest
This shrine is located between Kashine Forest and Wanderer’s Pass. Interact with the fox den northeast of Kashine Forest to be guided to the shrine by a fox.
Yagata Forest
This shrine can be found southwest of Yagata Forest.
Shigenori’s Peak
This shrine can be found directly west of Shigenori’s Peak on the beach behind some large rocks.
Komatsu
Shigenori’s Peak
This shrine can be found on the side of a mountain north of Black Sands Inlet and southwest of Shigenori’s Peak.
Brown River Gorge
This shrine can be found on the side of mountain behind some rocks to the west of Brown River Gorge.
Azure Pond
This shrine can be found north of Azure Pond.
Exile’s Bluff
This shrine can be found on the side of a mountain west of Exile’s Bluff.
Komoda
Kukai’s Falls
This shrine can be found in Kukai’s Falls to the southwest between the falls and a fox den.
Old Woodsman’s Canopy
This shrine can be found on a rock ledge near the middle of a waterfall southeast of Old Woodsman’s Canopy.
Kaneda Inlet
This shrine can be found in northern Kaneda Inlet.
Wolf Cub Falls
This shrine can be found southwest of Wolf Cub Falls on a cliff side overlooking the ocean.
Wolf Cub Falls
This shrine can be found in eastern Wolf Cub Falls and is directly north of Kashine Hills.
Tsutsu
River Child’s Wetlands
This shrine can be found between Rustling Bend and River Child’s Wetlands.
Below is a guide on the locations of the Bamboo Strikes in Izuhara. These Bamboo Strikes are required in order to receive the Body, Mind and Spirit Trophy. Also, Bamboo Strikes will increase your resolve.
Ariake
Ariake Bamboo Strike
This Bamboo Strike can be found south of Houren’s Pasture on the other side of the river.
Azamo
Azamo Bamboo Strike
This Bamboo Strike can be found in Azamo Bay after liberating the town from Mongols during the Unfinished Business tale.
Hiyoshi
Hiyoshi Bamboo Strike
This can be found at Hiyoshi Springs, which is west of Hidden Springs Forest in southern Hiyoshi.
Kashine
Kashine Bamboo Strike
This Bamboo Strike can be found in Wanderer’s Pass near the White Dye Merchant, which is in northern Kashine.
Komatsu
Komatsu Bamboo Strike
This Bamboo Strike can be found west of Komatsu Forge.
Komoda
Komoda Bamboo Strike
This Bamboo Strike can be found in Komoda Town.
Tsutsu
Tsutsu Bamboo Strike
This Bamboo Strike can be found slightly north of Rustling Bend.
Below are the Izuhara Mongol artifact locations in Ghost of Tsushima. In order to achieve the Know Your Enemy Trophy, you will need to collect 20 Mongol artifacts!
Ariake
Paiza
This artifact can be found at a Mongol camp in southern Kuta Grassland. The artifact will be in the leader’s tent.
Azamo
Urtuu
This artifact can be found in Azamo at a Mongol camp north of Old Azamo Cliffs. The artifact is in a box on a pile of rocks near the main entrance.
Yatga
This artifact can be found at the Salt Wind Estate under a storage tent east of Jito’s Point.
Chalice
This artifact can be found in the leader’s tent near the throne at the Mongol Logging Camp, which is west of Jito’s Point.
Mongolian Horse
This artifact can be found in the stables at the Tangled Crossroads Mongol Camp.
Egyptian Mask
This artifact can be found in the Mongol Logging Base, which is north of River Child’s Wetlands. It is located in the leader’s tent in the middle of the base near the throne.
Saddle
This artifact can be found in Stone Arch Crossing, which is a Mongol camp along the river west of Archer’s Rise. The artifact is located on a table near a white horse.
Hiyoshi
Aaruul
This artifact can be found in the Mongol camp southwest of Izuhara Clearing during the Warrior’s Code tale. It is located in the big tent at the back of the camp on the wall to the left of the throne.
Adak Tree
This artifact can be found on a wooden tripod near a bonfire at Yoichi’s Crossroads, which is east of Yoichi’s Slope.
Kashine
Juniper
This artifact can be found at a small Mongel camp east of Kashine Forest near the bonfire on a stack of rocks.
Dagger
This artifact can be found at Traveler’s Rest Inn, which is north of Lake Izuhara. It is located on the second level of the main building.
Black Powder Cannon
This artifact can be found on the large boat in the Shipyard (Mongol Camp), which is on the western coast of Kashine. It will be inside the ship on a cannon.
Komatsu
Mongol Plans
This artifact can be found in the leader’s tent at Rushing Water Crossing (Mongol Camp), which is in southeastern Komatsu.
Komoda
Hanging Pitcher
This artifact can be found on the side of a tent in a Mongol Camp that is east of Wanderer’s Pass. You will come here during The Iron Hook tale.
Tsutsu
Gold Bracelet
This artifact can be found at Beachside Camp (Mongol’s camp) in the middle tent, which is next to a cooking fire.
Search
This site uses cookies. By continuing to use this website, you are giving consent to cookies being used. For more information on cookies, view our Privacy Policy.OkPrivacy Policy