Stellar Blade Logo
Guides

Stellar Blade Wife’s Medicine Request Guide

by NightlyGamingBinge in

Welcome to NGB and our Stellar Blade walkthrough for the Wife’s Medicine request! Here we’ll cover where to start the request, how to complete it and what rewards you’ll receive at the end.

How to Start the Wife’s Medicine Request

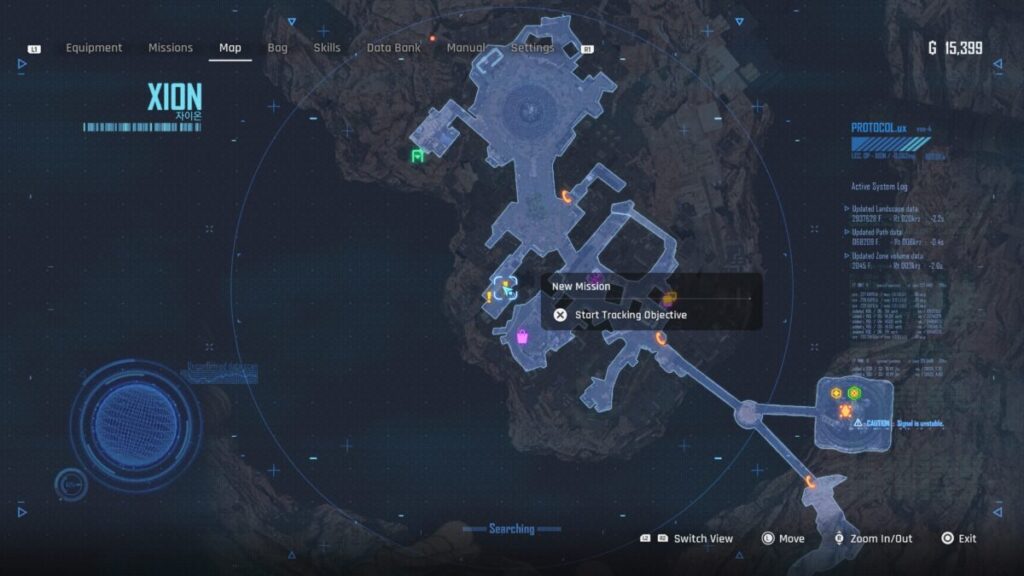
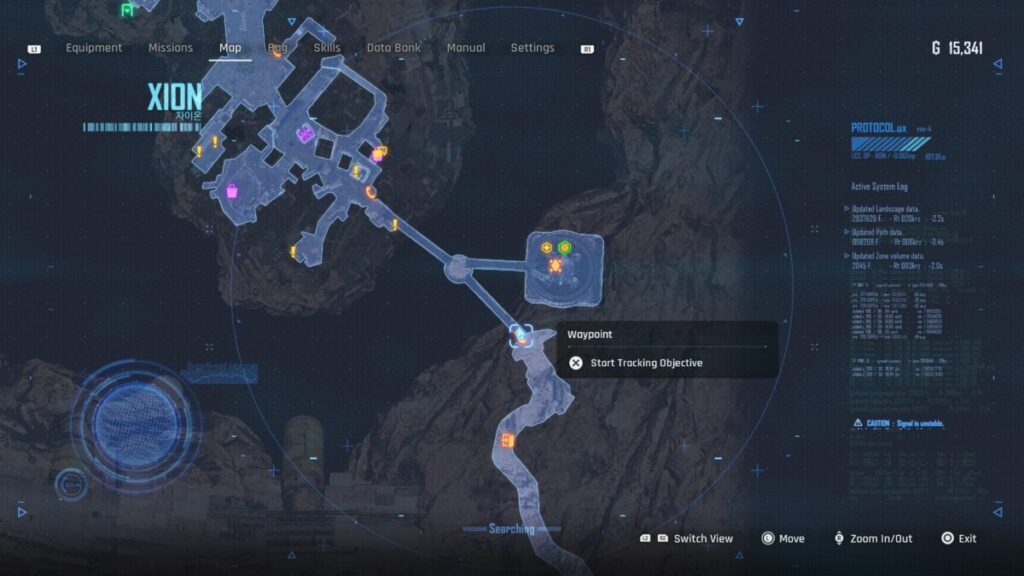
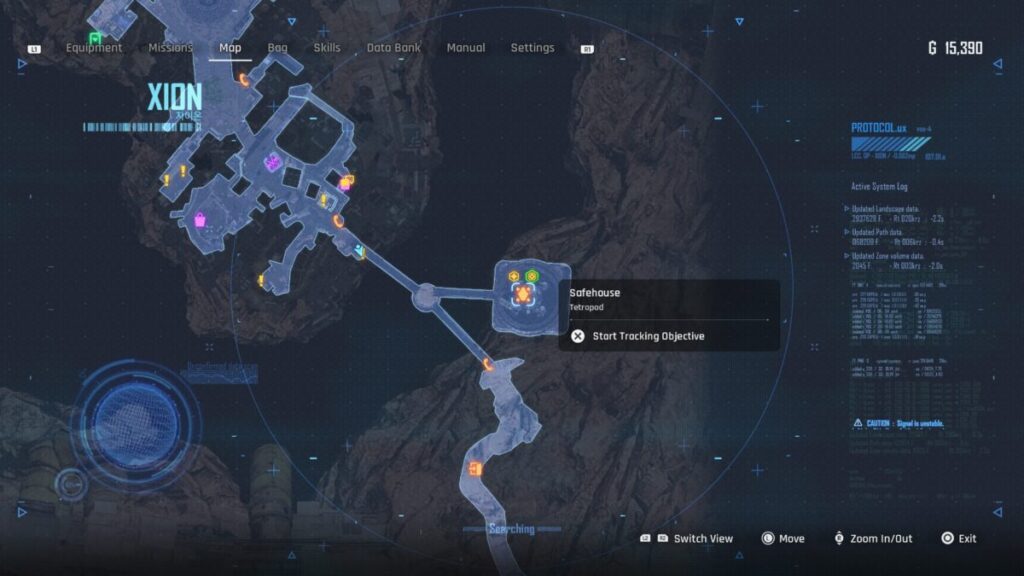
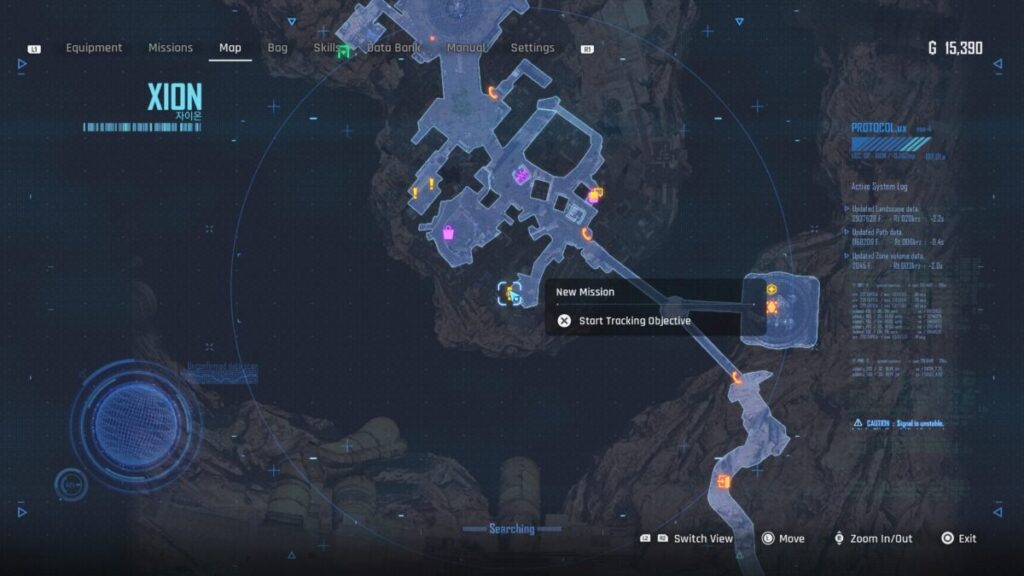
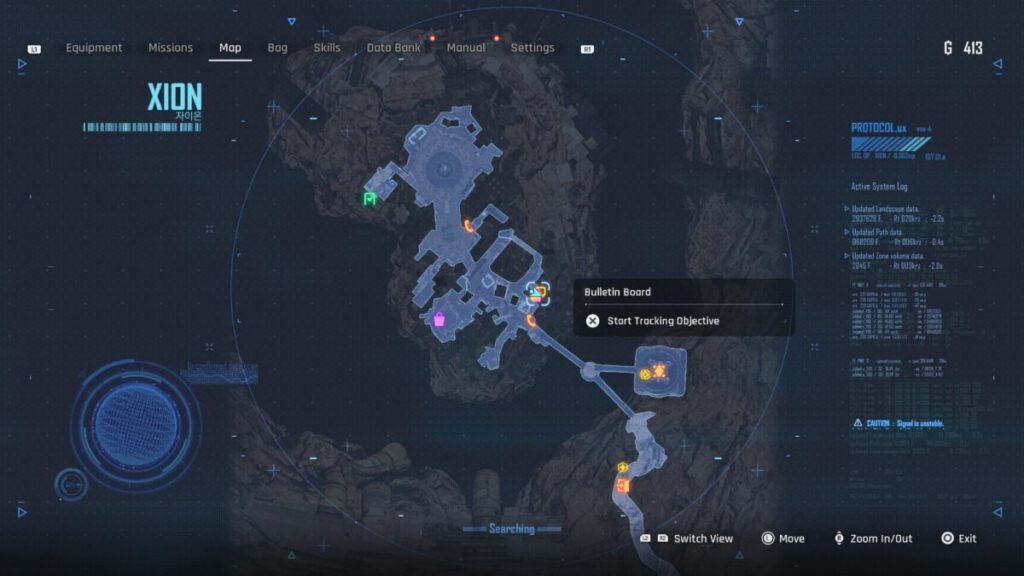
To begin the Wife’s Medicine request in Stellar Blade, you’ll need to interact with the request board in Xion after you reach the Light of Hope. If it doesn’t show up, you may need to complete a couple of other requests first to make it appear.

Where to start the Stellar Blade Wife's Medicine Request

How to Complete the Wife’s Medicine Stash Request

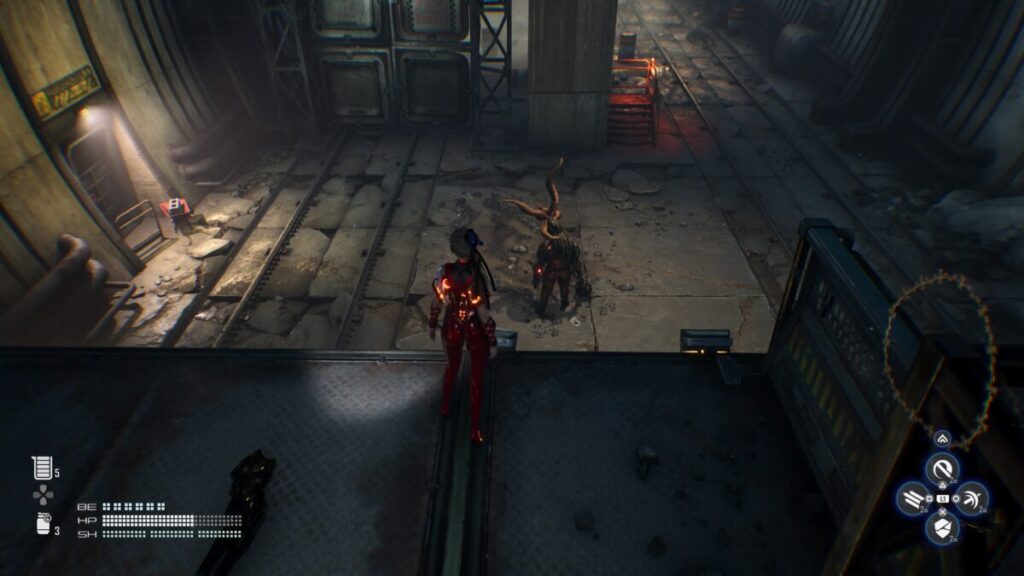
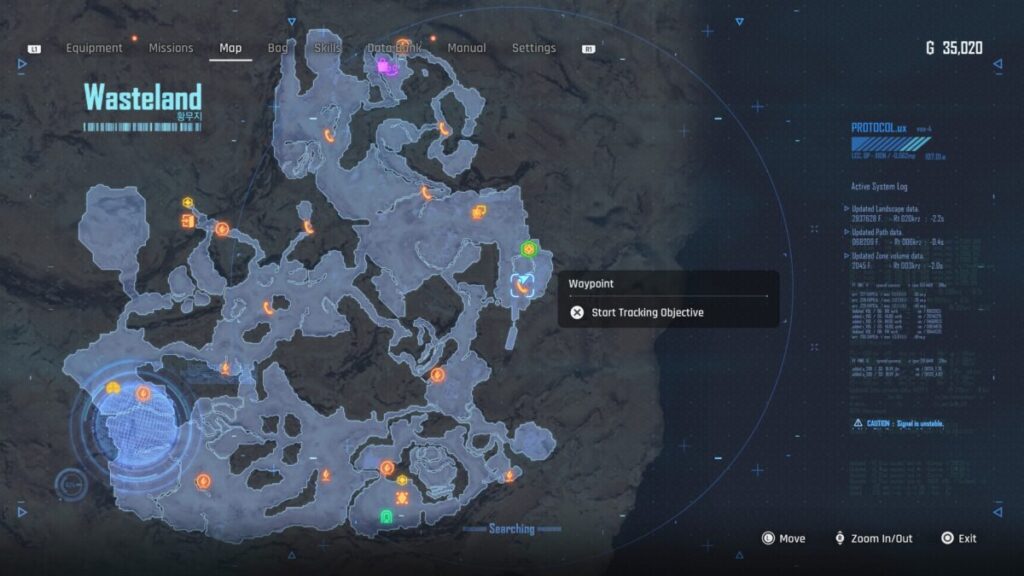
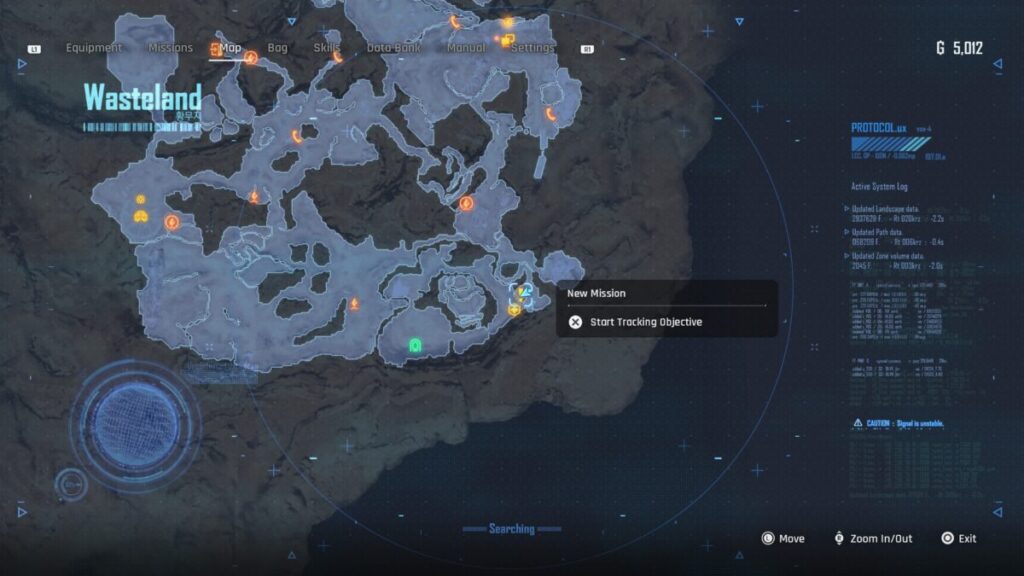
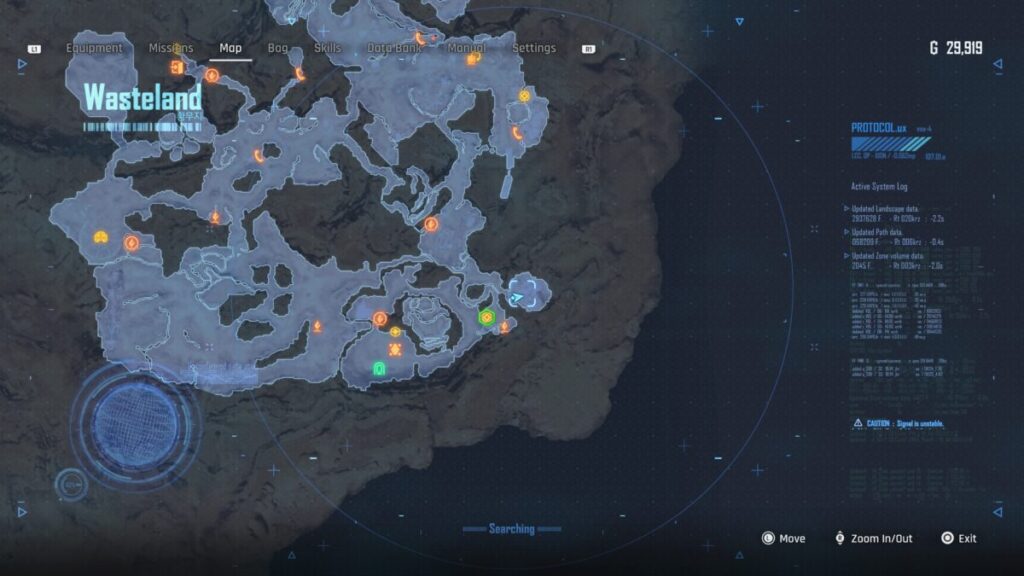
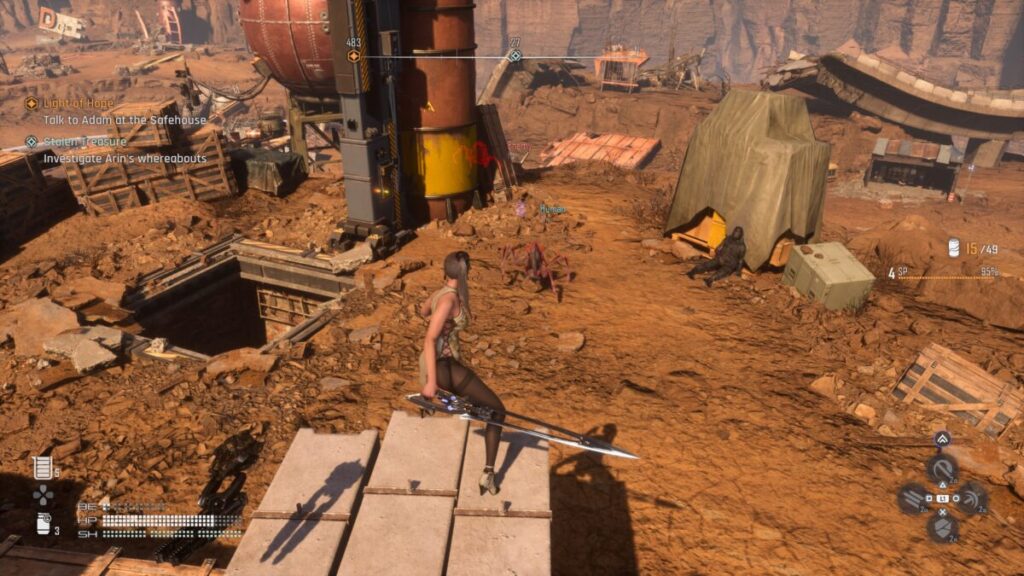
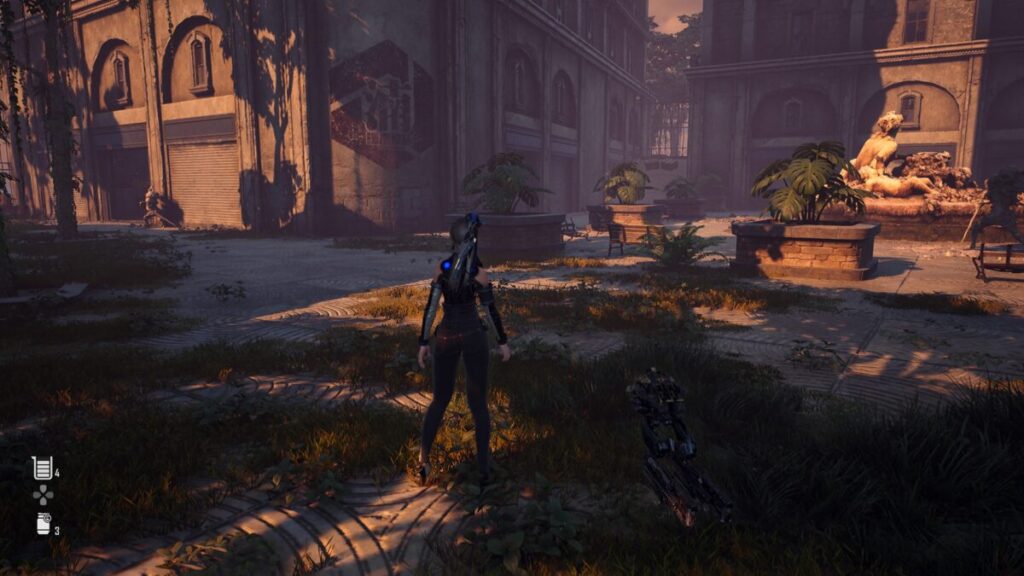
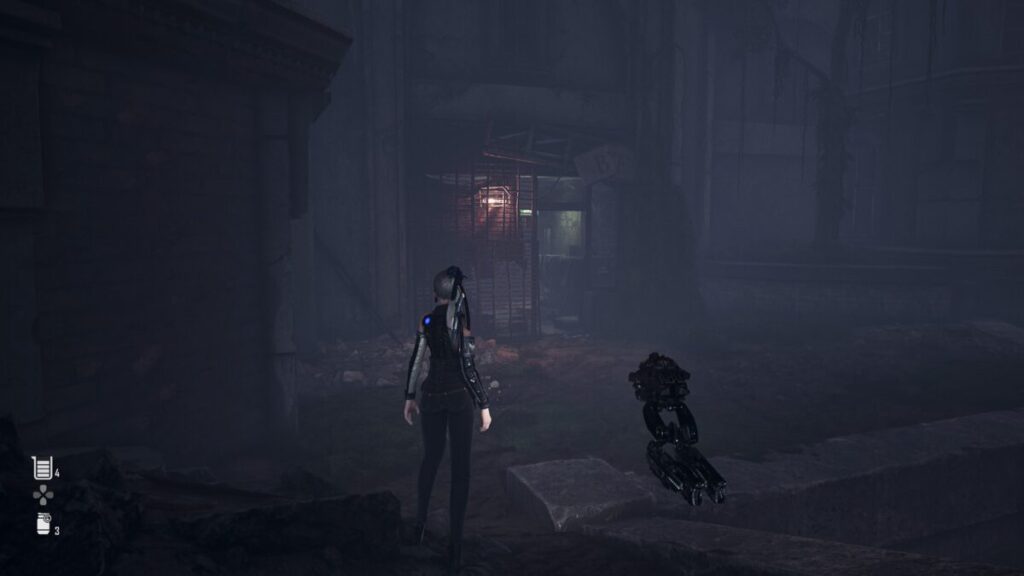
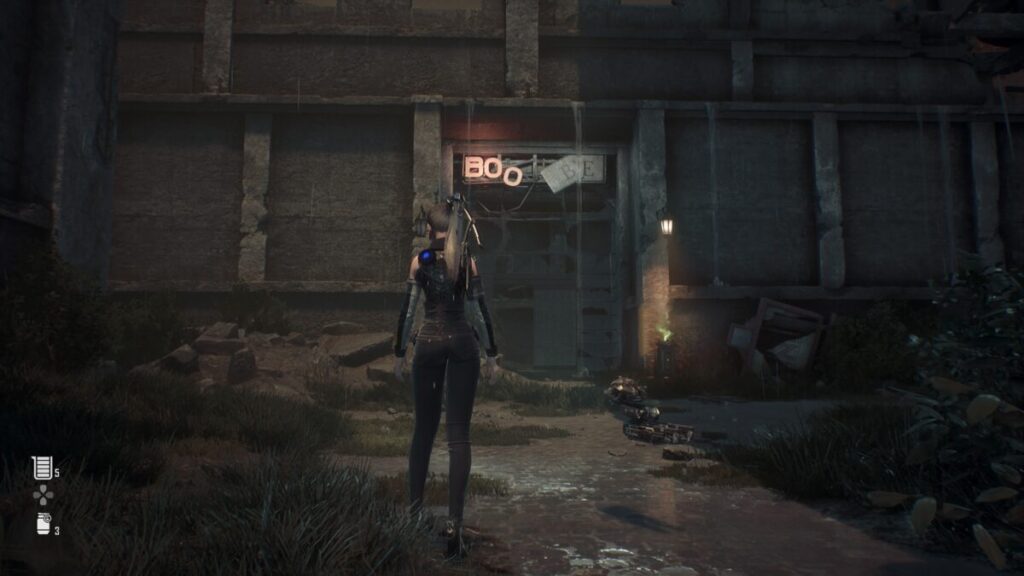
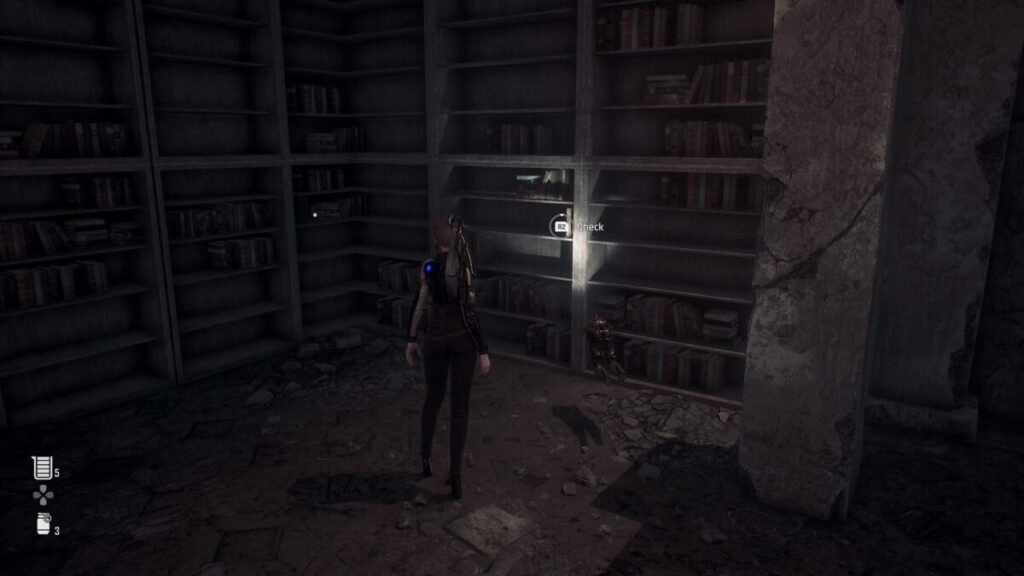
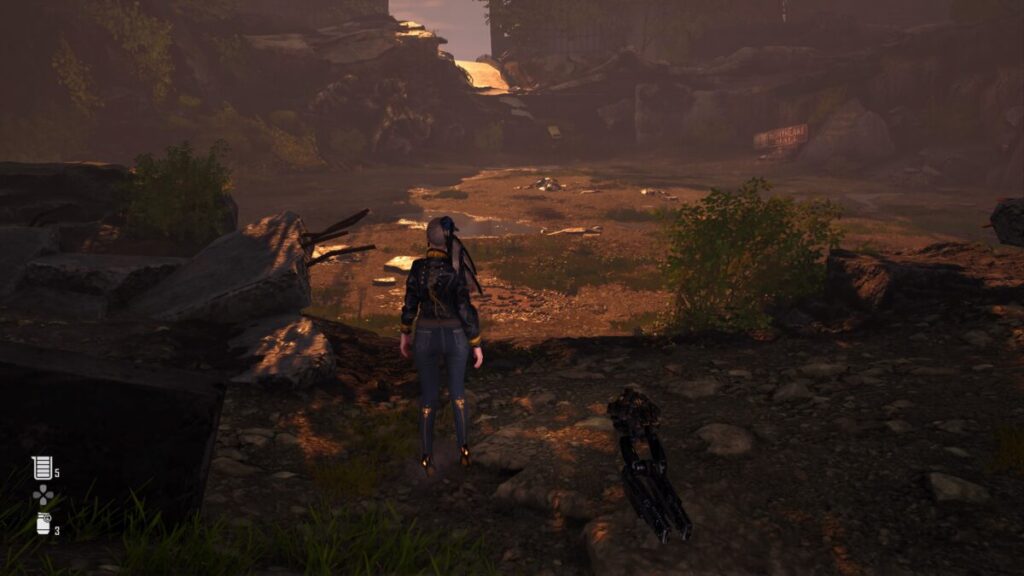
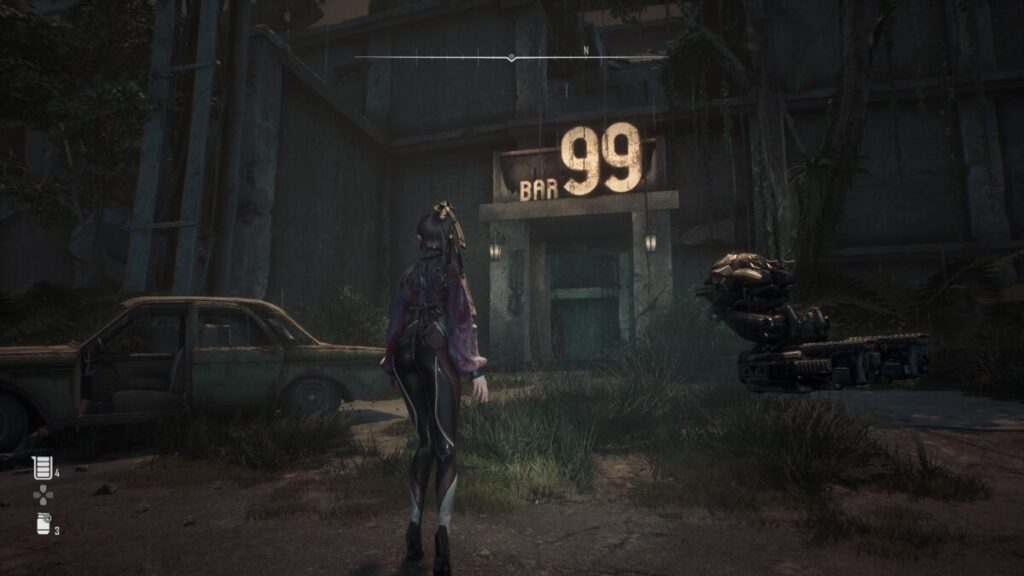
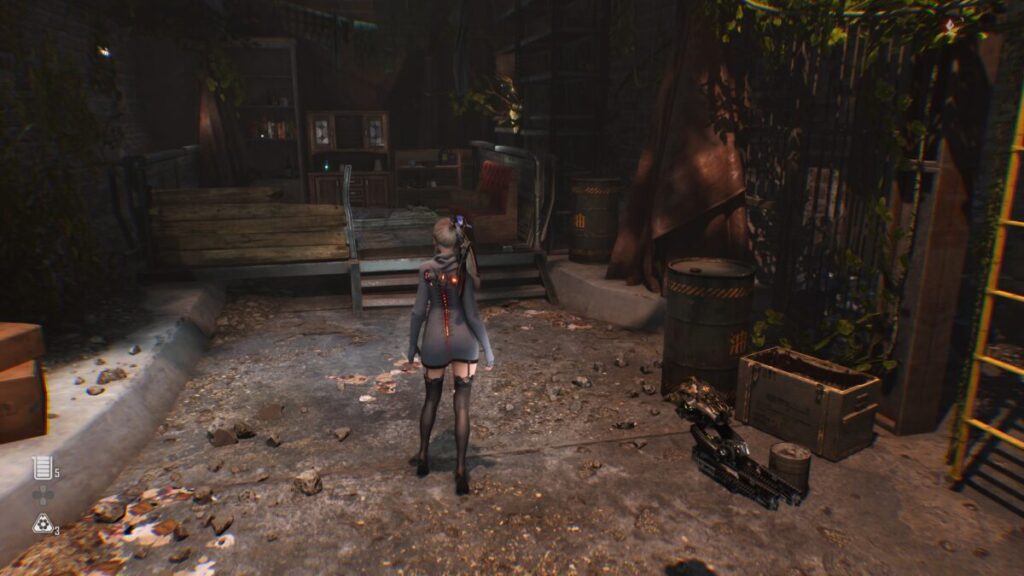
For this request, you’ll need to travel to Matrix 11 in search of the Sand Disease Medicine. After arriving, progress through Matrix 11 until you reach the Rail Yard Supply Camp just before the sewers. At that point, you’ll need to flood an area of the sewers to progress. After doing that, you’ll come to a living area that EVE keeps saying it is filled with warmth. The medicine can be found on a cabinet here just past the ladder leading to a supply camp. Collect it then return it to the bulletin board in Xion to complete the request and receive your rewards.

Stellar Blade Wife's Medicine Request Sand Disease Medicine

Wife’s Medicine Request Rewards

Once you have completed the request, you’ll be rewarded with the items listed below!

  • Gold x3,000
  • Vitcoin x4

Stellar Blade Guides and Walkthroughs

For more Stellar Blade guides and walkthroughs, click here!

Stellar Blade Logo
Guides

Stellar Blade Source of the Nightmare Request Guide

by NightlyGamingBinge in

Welcome to NGB and our Stellar Blade walkthrough for the Source of the Nightmare! Here we’ll cover where to start the request, how to complete it and the rewards you’ll receive at the end.

How to Start the Source of the Nightmare Request

To begin the Source of the Nightmare request in Stellar Blade, you’ll need to interact with the bulletin board in Xion after you reach the Light of Hope. If it’s not immediately available to you, you may need to complete some of the other requests to get it to show up on the bulletin board.

Where to start the Stellar Blade Source of the Nightmare Request

How to Complete the Source of the Nightmare Request

For this request, you’ll need to travel to Martix 11 (which you’ll go to during the main story) and defeat 10 of the Skull enemies that are located there. One thing to note is you have to defeat them while they are controlling a host. Killing any skulls not in a host will not count towards the 10 you need for the request.

Stellar Blade Source of the Nightmare Request Example of a Skull

Source of the Nightmare Request Rewards

Once you have completed the request, you’ll be rewarded with the items listed below!

  • Gold x3,600
  • Vitcoin x4

Stellar Blade Guides and Walkthroughs

For more Stellar Blade guides and walkthroughs, click here!

Stellar Blade Logo
Guides

Stellar Blade – Life of Scavengers Mission

by NightlyGamingBinge in

Welcome to NGB and our Stellar Blade walkthrough for the Life of Scavengers mission! Here we’ll cover where to start the mission, how to complete it and what rewards you’ll receive at the end.

How to Start the Life of Scavengers Mission

To begin the Life of Scavengers mission in Stellar Blade, speak with the scavenger near the entrance to the Last Gulp in Xion after beginning the Light of Hope main quest.

Where to start the Stellar Balde Life of Scavengers Mission

How to Complete the Life of Scavengers Mission

The Scavenger will tell EVE that his partner Tommy took off to loot the treasures at the Forbidden Area and never came back. EVE will then agree to search for Tommy the next time she’s in the area. To kick this one off, travel to the Wasteland then head to the waypoint in the eastern central part of the map. There you’ll be able to climb down a rope to reach the Forbidden Area.

Life of Scavengers Mission Abandoned Area Map Location

Keep working your way down to reach the bottom of the area then approach the far door to trigger a cutscene leading to a Brute Naytiba. This one likes to use a lot of attacks that require you to dodge over parrying so keep an eye out for that.

After you take it down, head over to Tommy’s body and interact with it to receive Tommy’s Testament. Before heading back to Xion, make sure to loot the chest in the now opened room. After grabbing that, return to the Scavenger in the Last Gulp to complete the mission.

Oblivion Mission Rewards

Once you have completed the mission, you’ll be rewarded with the items listed below!

  • SP
  • Sonic Grenade x2
  • Biotic Field Generator
  • Lingering Potion

Stellar Blade Guides and Walkthroughs

For more Stellar Blade guides and walkthroughs, click here!

Stellar Blade Logo
Guides

Stellar Blade Incarceration Mission Guide

by NightlyGamingBinge in

Welcome to NGB and our guide for the Incarceration Mission in Stellar Blade. Here we’ll cover where to start the mission, how to complete it and what rewards you’ll receive at the end.

How to Start the Incarceration Mission

To start the Incarceration mission, you’ll need to travel to the southeastern corner of the Wasteland and open up a storage container found there. Inside you’ll meet Jonny who was shoved inside this container by Go to protect him from the Naytiba while on a mission for Orcal. He’ll then ask if you can track down Go and help him out.

Where to start the Incarceration Mission in Stellar Blade

How to Complete the Incarceration Mission

After talking with Johnny, go up the winding trail heading north. When you reach the top, turn right. Go straight (towards the crane in the distance), following the path that leads under the large platform with storage containers to arrive at the Plant.

Stellar Blade Incarceration Mission Go Map Location

Use your scanner to tag two people in the water. Jump in and check on the farther one to learn Go’s fate. Return to Johnny at the storage container to tell him what happened to the Sentinel, completing the mission.

Mission Rewards

Once you complete the mission, you’ll be rewarded with the items in the list below:

  • SP
  • Advanced Nano Element x25
  • Nano Element x50
  • 200 Gold

Stellar Blade Guides and Walkthroughs

For more Stellar Blade guides and walkthroughs, click here!

Stellar Blade Logo
Guides

Stellar Blade Stolen Treasure Mission Guide

by NightlyGamingBinge in

Welcome to NGB and our Stellar Blade walkthrough for the Stolen Treasure mission! Here we’ll cover where to start the mission, how to complete it and the rewards you’ll receive at the end.

How to Start the Stolen Treasure Mission

To begin the Stolen Treasure mission in Stellar Blade, speak with Lyle, the owner of the general store just past the main gate in Xion after beginning the Light of Hope main quest.

Where to start the Stellar Blade Stolen Treasure Mission

How to Complete the Stolen Treasure Mission

The owner of the General Store, Lyle, will tell EVE that his daughter Arin stole his good luck charm statue and will ask that she track it down and return it to him. Start out by heading to Sisters’ Junk and speak with Kaya asking about Arin’s whereabouts. She’ll tell you the story between Arin, Lyle and the statue then mentions that Arin may have hidden the item we seek at a place called the villa in the Scarp Plains.

Make your way out to the Wasteland then travel to the waypoint near Bus Stop Legion Camp. From there, head south to spot the villa. Climb up to the dinner section near the top then interact with the datapad on the stool in front of the counter to read Arin’s Journal. She’ll mention that she decided to take the statue to the container yard so that it could never be found again. Afterward, speak to the drop to learn a bit more about where Arin went.

Stellar Blade Stolen Treasure Mission the villa area location

To reach the container yard, you’ll need to travel to the Junkary Supply Camp and then head north from there. You’ll know you’ve reached the right place when you see a wall of boxes.

Stellar Blade Stolen Treasure Mission container yard map location

As you get close, you’ll hear someone cry out for help about being attacked by monsters. Jump over the wall, then deal with the two Naytiba over by the edge. Once they are taken care of, drop down onto the rock ledge below and speak with the girl. After a brief conversation, return to Lyle in his store and talk with him to complete the mission.

Stellar Blade Stolen Treasure Mission container yard area location

Mission Rewards

Once you have completed the mission, you’ll be rewarded with the items listed below! Lyle will also open his store for you to purchase databank entries from.

  • SP
  • Vitcoin x2
  • 800 Gold
  • Advanced Nano Element x25

Stellar Blade Guides and Walkthroughs

For more Stellar Blade guides and walkthroughs, click here!

Stellar Blade Logo
Guides

Stellar Blade Taboo Mission Guide

by NightlyGamingBinge in

Welcome to NGB and our Stellar Blade walkthrough for the Taboo mission! Here we’ll cover everything you’ll need to easily breeze through this mission!

How to Start the Taboo Mission

To begin the Taboo mission in Stellar Blade, speak with Luther at the Waypoint south of the Safehouse in Xion after beginning the Light of Hope main quest.

Where to start the Stellar Blade Taboo Mission

How to Complete the Taboo Mission

For this mission, Luther will ask EVE to travel to the Hall of Records at Eidos 7 to check the terminal there about the forgotten history. Travel to the safehouse and speak with Adam to have him take you to Eidos 7. Once you land, interact with the nearby phone booth to fast travel to the Plaza Entryway. Push forward from there to reach the Hall of Records after sliding down the slope next to the giant clock.

Stellar Blade Taboo Mission Hall of Records

Interact with the door to the Hall of Records to trigger an event where Lily will scan it leading to a warning message. Locked out of snooping around any further, return to Luther in Xion to report your findings completing the mission.

Taboo Mission Rewards

Once you have completed the mission, you’ll be rewarded with the items listed below!

  • SP
  • Advanced Polymer Material x25
  • Polymer Material x50
  • 700 Gold

Stellar Blade Guides and Walkthroughs

For more Stellar Blade guides and walkthroughs, click here!

Stellar Blade Logo
Guides

Stellar Blade Oblivion Mission

by NightlyGamingBinge in

Welcome to NGB and our Stellar Blade walkthrough for the Oblivion mission! Here we’ll cover everything you’ll need to easily breeze through this quest!

How to Start the Oblivion Mission

To begin the Oblivion mission in Stellar Blade, speak with the girl in a secret hideout under the bridge leading to Xion just outside of the city gate after beginning the Light of Hope main quest.

HWher to start the Stellar Blade Oblivion Mission

How to Complete the Oblivion Mission

The girl will hand EVE a Request Letter from an unknown benefactor who will request that she look into Warehouse 77 at Petelos Plaza in Eidos 7. He’ll also include a recovery program EVE can use to lower the water out of the plaza to reach it. Head back to the safehouse and speak with Adam to travel to Eidos 7. Once you’ve landed, interact with the nearby phone booth and select to travel to the Abandoned Station. Go to the terminal next to the track and interact with it to summon the lift then hop inside. This will take you to Petelos Plaza.

Exit the station by heading down the stairs then follow the walkway past the supply camp towards the other end of the station. Once you reach the steps to the station, take a right across the walkway approaching the building with a red tarp hanging off of it.

Stellar Blade Oblivion Mission Petelos Plaza Red Tarp Building

Head around the left side of the building and drop down on the ledge there just past the railing. Follow it left to reach a grassy ledge. Climb up the side of the wall there then deal with the Mutated Hydra nearby. Locate that statue in the center of the courtyard and while facing it, you want to go left to spot an open garage door. Head inside and interact with the console to pump the water out of the plaza. Also be aware that doing this will cause the enemies in the area to respawn.

Stellar Blade Oblivion Mission Garage with the Console inside

Now that the water is drained, head back to where the station was and work your way down toward the base of the giant statue. Specifically, you want to follow that path behind it to reach Warehouse 77. Inside you’ll need to investigate 6 things to progress the mission. One can be found at the top near the entrance to the warehouse, 4 are on the bottom level and the last one is on a middle ledge you’ll need to jump up to reach. Once you’ve interacted with all of them, return to Xion and speak with the girl you got the message from to complete the mission.

Stellar Blade Oblivion Mission Warehouse 77

Oblivion Mission Rewards

Once you have completed the mission, you’ll be rewarded with the items listed below!

  • SP
  • Pulse Grenade x2
  • Shock Grenade x2
  • Smart Mine x2

Stellar Blade Guides and Walkthroughs

For more Stellar Blade guides and walkthroughs, click here!

Stellar Blade Logo
Guides

Stellar Blade The Words of Mother Sphere Mission

by NightlyGamingBinge in

Welcome to NGB and our Stellar Blade walkthrough for The Words of Mother Sphere mission! Here we’ll cover where to start the quest, how to complete it and the rewards you’ll receive at the end.

How to Start The Words of Mother Sphere Mission

To begin The Words of Mother Sphere mission in Stellar Blade, speak with the man in the book store in Xion after beginning the Light of Hope main quest.

Where to start the Words of Mother Sphere Stellar Blade Mission

How to Complete The Words of Mother Sphere Mission

The requestor will ask EVE to travel to the library on Silent Street in Edios 7 to look for the Book of Faith that his brother treasured. Travel to the safehouse and speak with Adam to travel to Eidos 7 landing on Silent Street. Follow the way forward passing over the broken bridge. When you reach the other side of the river, then work your way through the abandoned city to reach the library. Alternatively, if you opened the shortcut earlier in the game, you can use it across from BAR 99 to reach your destination. You’ll know you are there when you see the sign above the doorway.

Stellar Blade The Words of Mother Sphere Mission Library Area Location

Enter the building and take a left to deal with the Barnacle Naytiba wandering around. Once it’s taken care of, look for examine the nearby bookshelf (on the left side of the building) with a green interact circle to find the book along with the precarious message written inside. Return to Xion and take the book back to Francis to complete the mission.

Stellar Blade The Words of Mother Sphere Mission Book of Faith

Mission Rewards

Once you have completed the mission, you’ll be rewarded with the items listed below!

  • SP
  • Highly Concentrated Potion
  • Lingering Potion
  • 400 Gold

Stellar Blade Guides and Walkthroughs

For more Stellar Blade guides and walkthroughs, click here!

Stellar Blade Logo
Guides

Stellar Blade Generous Drop Pod Request

by NightlyGamingBinge in

Welcome to NGB and our Stellar Blade walkthrough for the Generous Drop Pod request! Here we’ll cover where to start the request, how to complete it and what rewards you’ll receive at the end.

How to Start the Generous Drop Pod Request

To begin the Generous Drop Pod request in Stellar Blade, you’ll need to interact with the request board in Xion after you reach the Light of Hope. If its not there, you many need to complete some of the other requests to make it appear.

Where to start the Stellar Blade Generous Drop Pod Request

How to Complete the Generous Drop Pod Request

For this request, EVE will need to race to the drop pod at Eidos 7 before anyone else has a chance to loot its special parts. Head to the safehouse and speak with Adam to travel to Eidos 7. Once you land, use the nearby phone booth to travel to the Crater. Make your way over to the drop pod and interact with it to find a pair of earrings completing the objective. Return to the Bulletin Board in Xion to complete the request and receive your reward.

Stellar Blade Generous Drop Pod Request Drop Pod in the Crater

Request Rewards

Once you have completed the request, you’ll be rewarded with the items listed below!

  • Gold x1,000

Stellar Blade Guides and Walkthroughs

For more Stellar Blade guides and walkthroughs, click here!

Stellar Blade Logo
Guides

Stellar Blade Legion’s Secret Stash Request Guide

by NightlyGamingBinge in

Welcome to NGB and our Stellar Blade walkthrough for the Legion’s Secret Stash! Here we’ll cover where to start the request, how to complete it and the rewards you’ll receive at the end!

How to Start the Legion’s Secret Stash Request

To begin the Legion’s Secret Stash request in Stellar Blade, you’ll need to interact with the request board in Xion after you reach the Light of Hope. If it’s not there, then you may need to complete some of the other requests for it to show up.

Where to start the Stellar Blade Legion's Secret Stash Request

How to Complete the Legion’s Secret Stash Request

For this request, EVE is asked to head to BAR 99 in Eidos 7 and investigate the place for the Legion’s secret stash. Travel to the safehouse and speak with Adam to travel to Eidos 7 landing on Silent Street. Follow the way forward passing over the broken bridge. When you reach the other side of the river, head straight down the road a bit to reach BAR 99 behind a broken-down car.

Stellar Blade Legion's Secret Stash Request BAR 99

Enter the bar being mindful of the enemy hiding just beyond the entrance waiting to jump you when you enter. Deal with it then head to the left side of the bar and take out the Hydra. Now that the building is clear, you’re free to examine the stash under the train car that is protruding through the side of the wall. Enter the passcode you were given (1228) to open it and collect the Nano Elements inside. Return to the Bulletin Board in Xion to complete the request and receive your rewards.

Stellar Blade Legion's Secret Stash Request Legion Stash

Request Rewards

Once you have completed the request, you’ll be rewarded with the items listed below!

  • Gold x1,500

Stellar Blade Guides and Walkthroughs

For more Stellar Blade guides and walkthroughs, click here!