Welcome to NGB and our Stellar Blade walkthrough for the Keeping Secrets mission! Here we’ll cover where you can start the quest, how to complete it and what rewards you’ll receive at the end.
How to Start the Keeping Secrets Mission
To begin the Keeping Secrets mission in Stellar Blade, speak with Enya in the Last Gulp in Xion after beginning the Light of Hope main quest and completing the Looking at You mission.
How to Complete the Keeping Secrets Mission
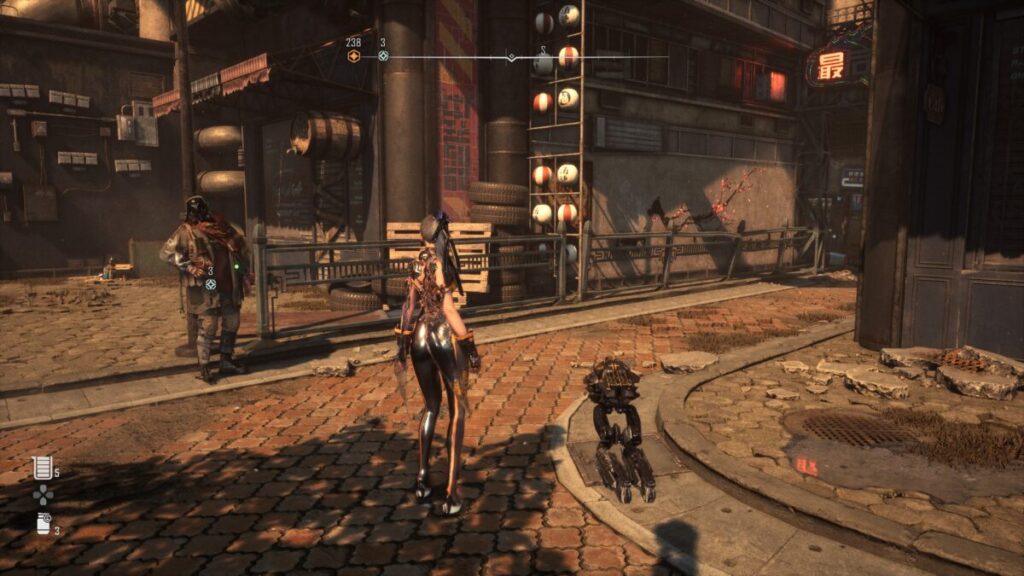
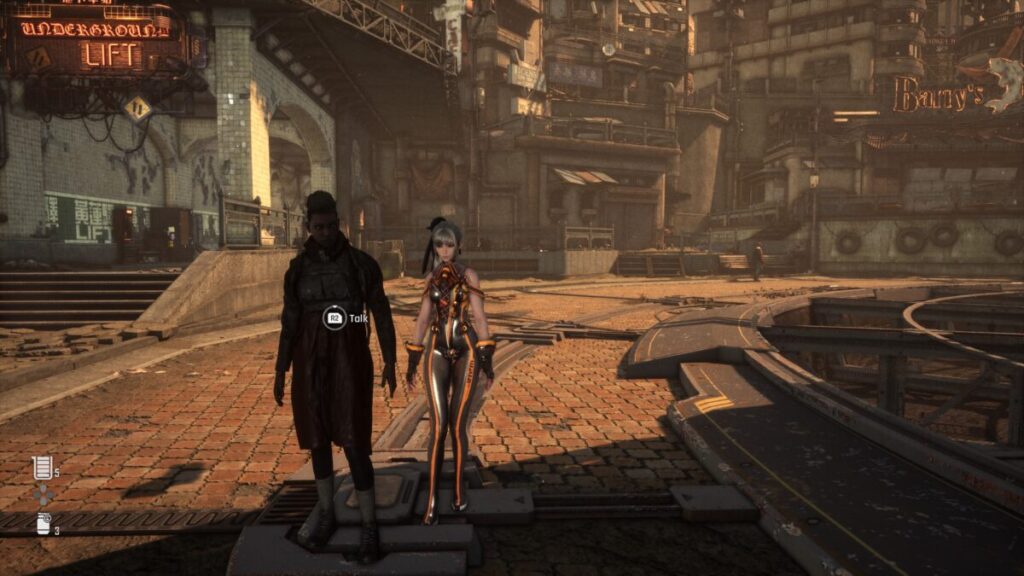
When you check on Enya, she’ll mention that she thinks Su is dating someone else based on what one of his co-workers said. You’ll assure her that’s not the case and agree to look into it for her. To start, exit the tavern and talk to Bo at the entrance of the alley leading to the Last Gulp. He’s standing under a light pole. Bo will tell you that Su has been missing for a few days, and he’s wondering what happened. The only clue is the woman Su was meeting.
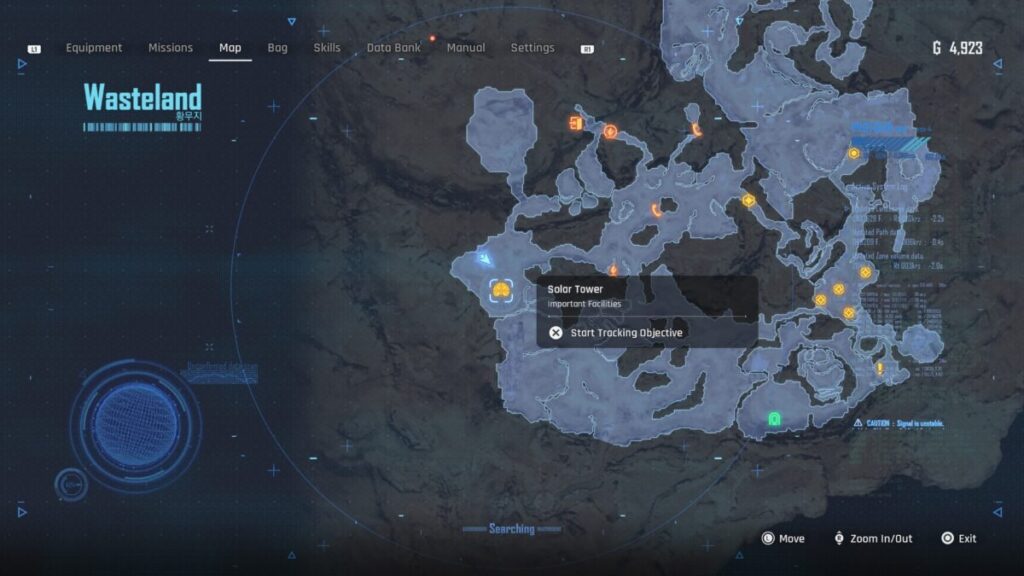
Travel to Memory Square and look for a lady walking around with a pompadour-mohawk-looking haircut and ask her about Su’s whereabouts. She’ll tell you that he was looking for something specific so she told him to check with a merchant and only one comes to mind! Head for Sisters’ Junk and speak with Kaya; asking her about Su’s whereabouts. Kaya will tell EVE that Su was looking for a lower-body exospine system so she told him about a place in the Wasteland near the Solar Tower.
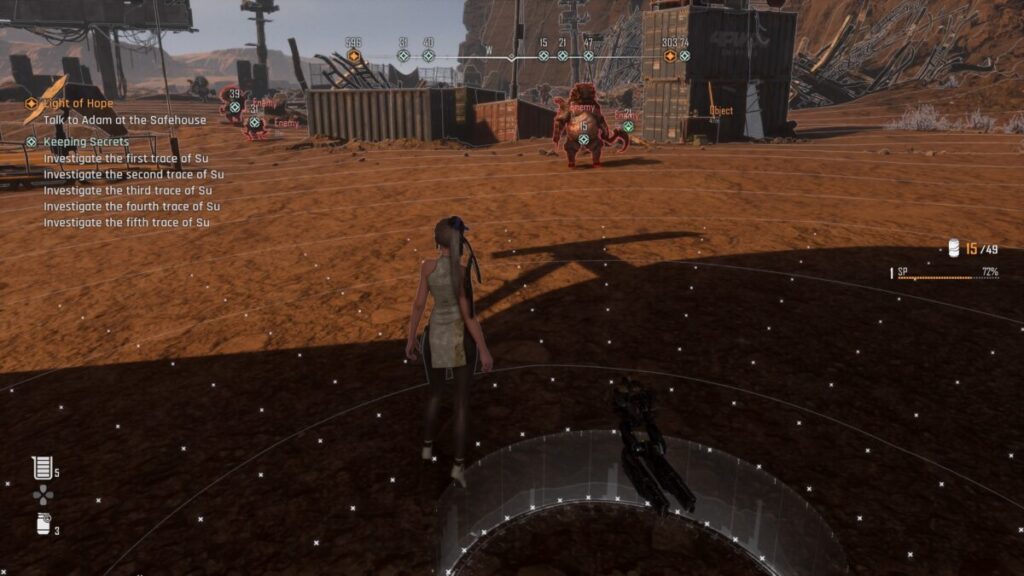
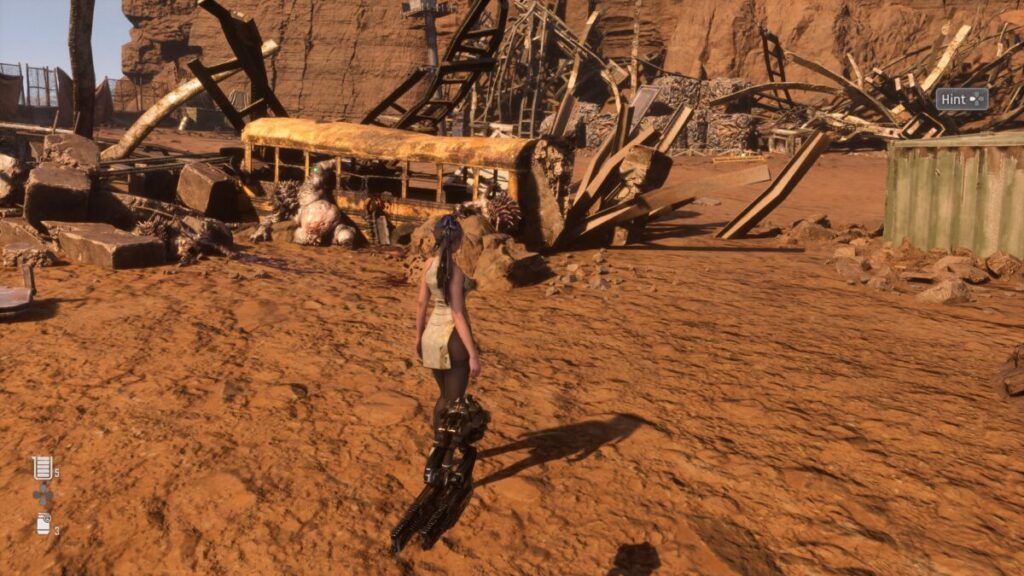
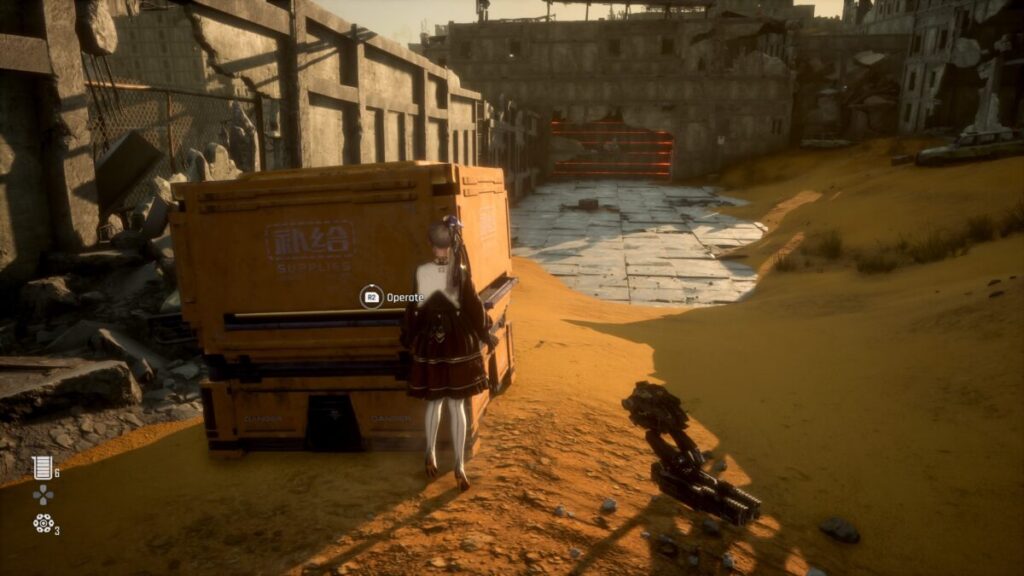
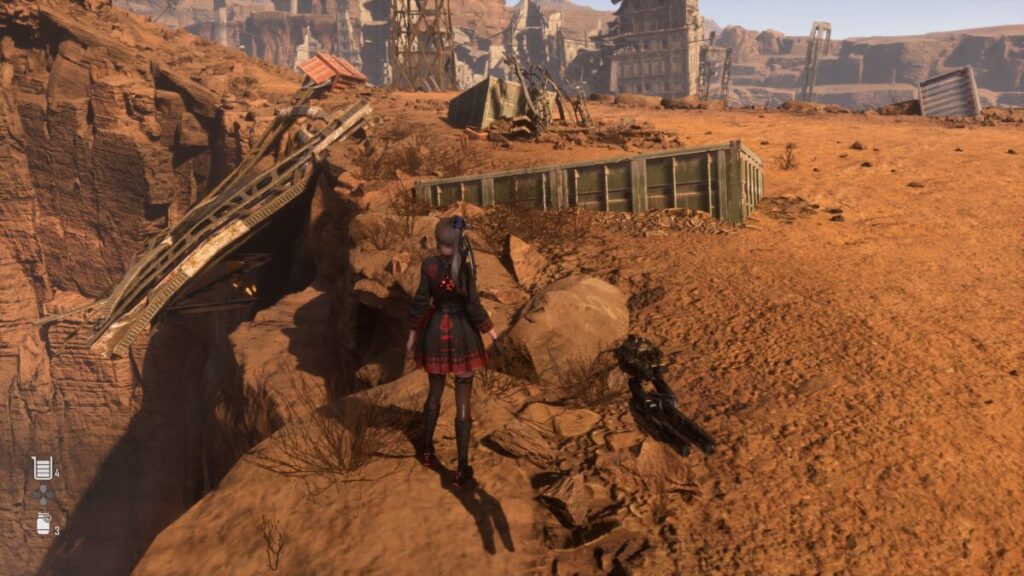
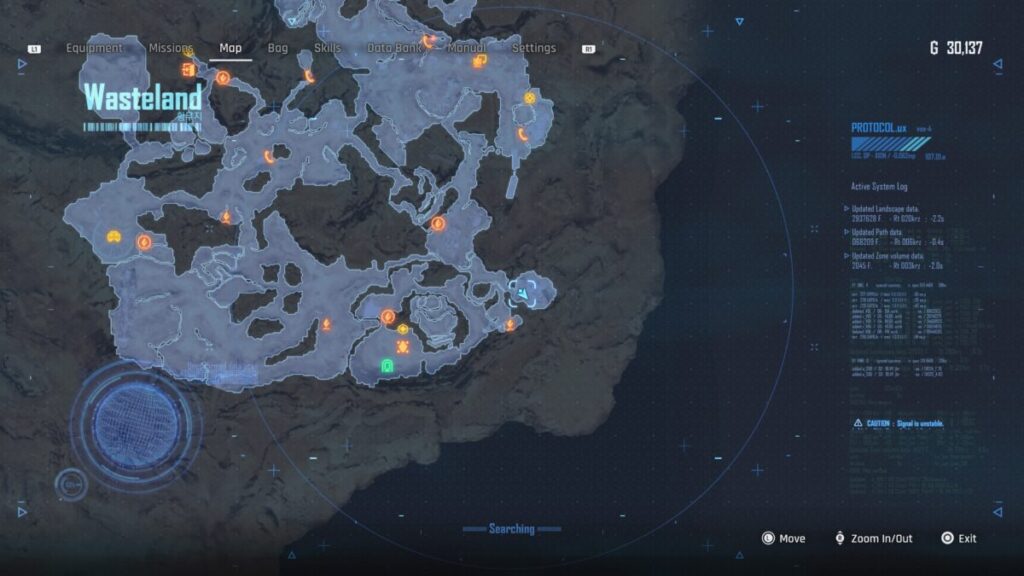
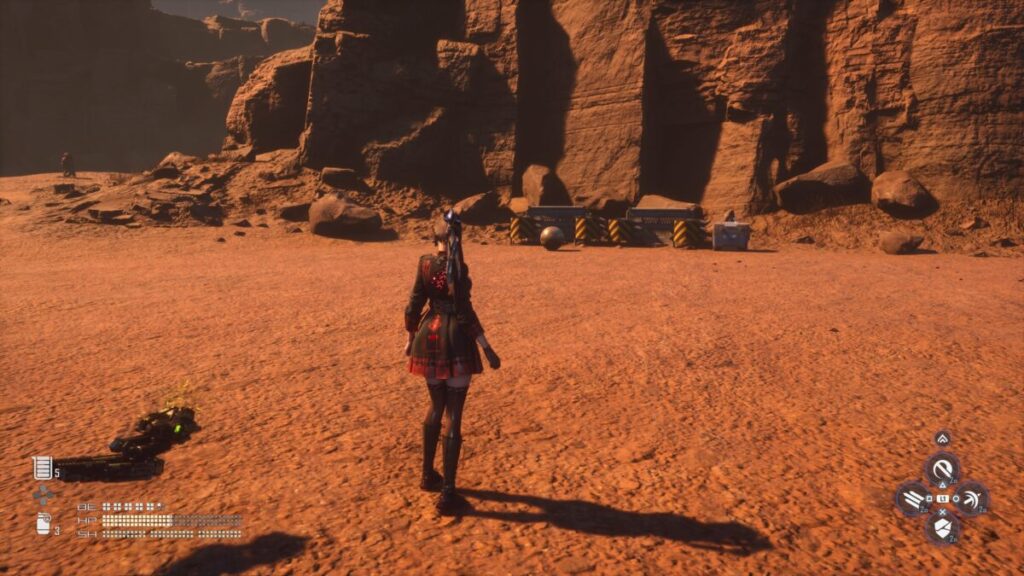
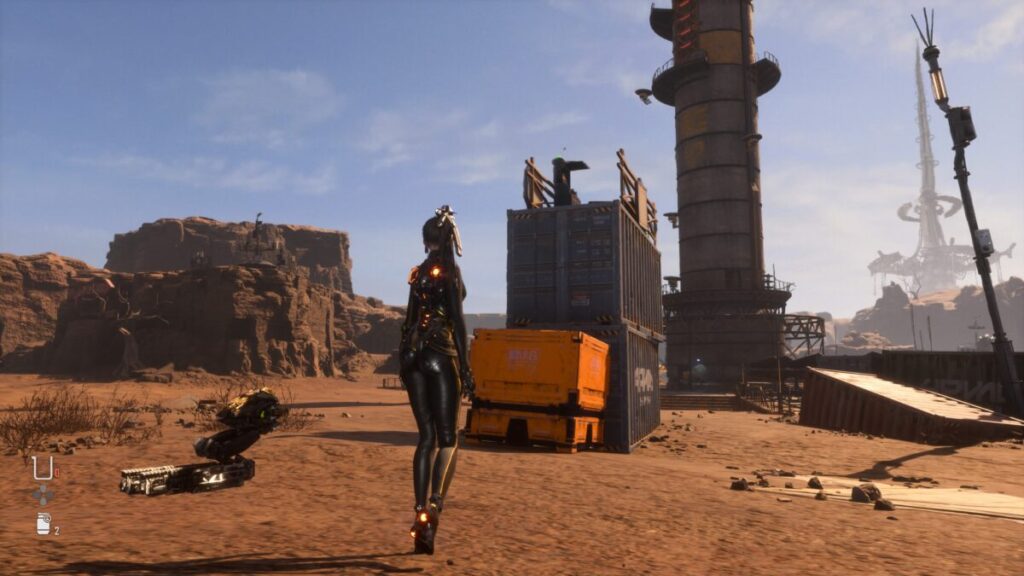
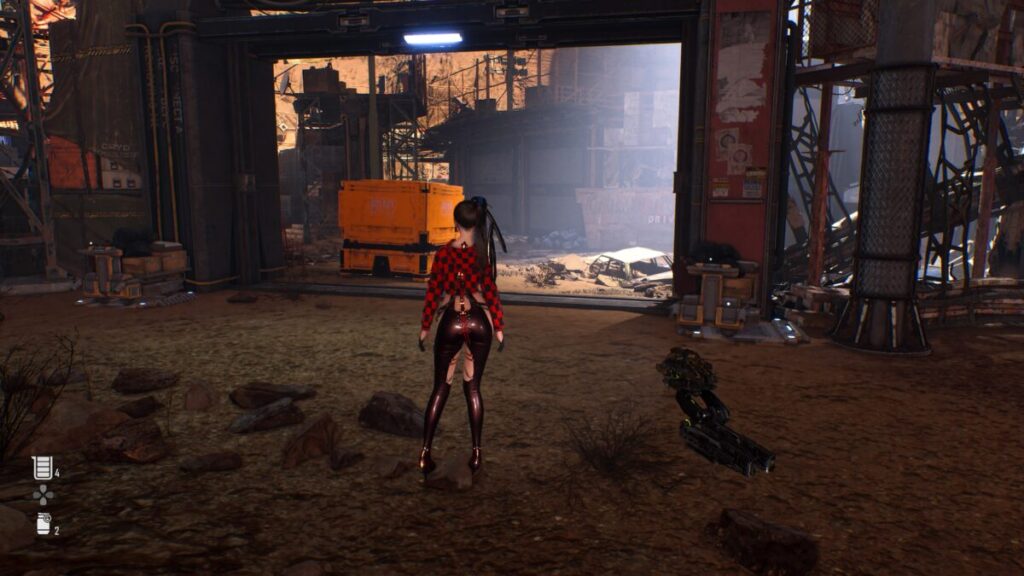
Head to the Wasteland and go past the Solar Tower to the area west of it to enter the mission area. Use your scanner to find Hedgeboars with markers on their heads. Defeat them, then interact with the weapon next to the stacked blue containers.
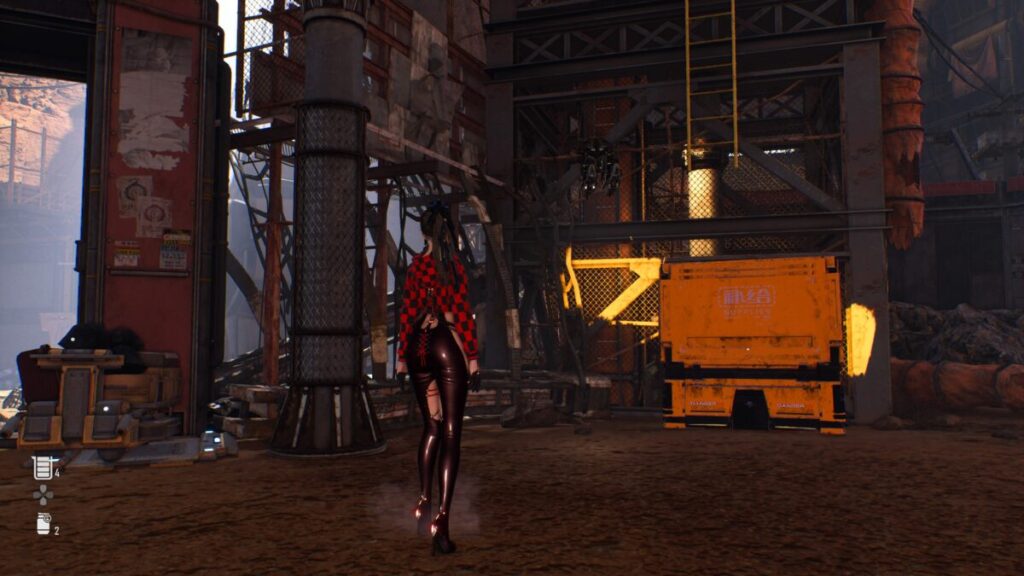
Pass behind the containers to find a datapad on the ground next to a junk pile. Clear any enemies then interact with the datapad. After that, look for a green storage container and locate the school bus beside it. Go to the bus and examine the dead Naytiba around it.
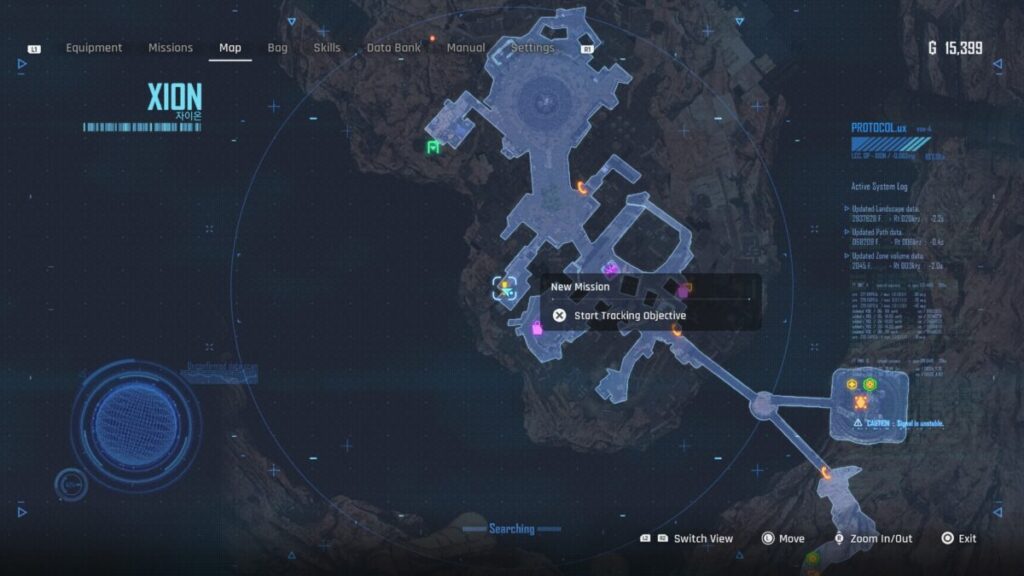
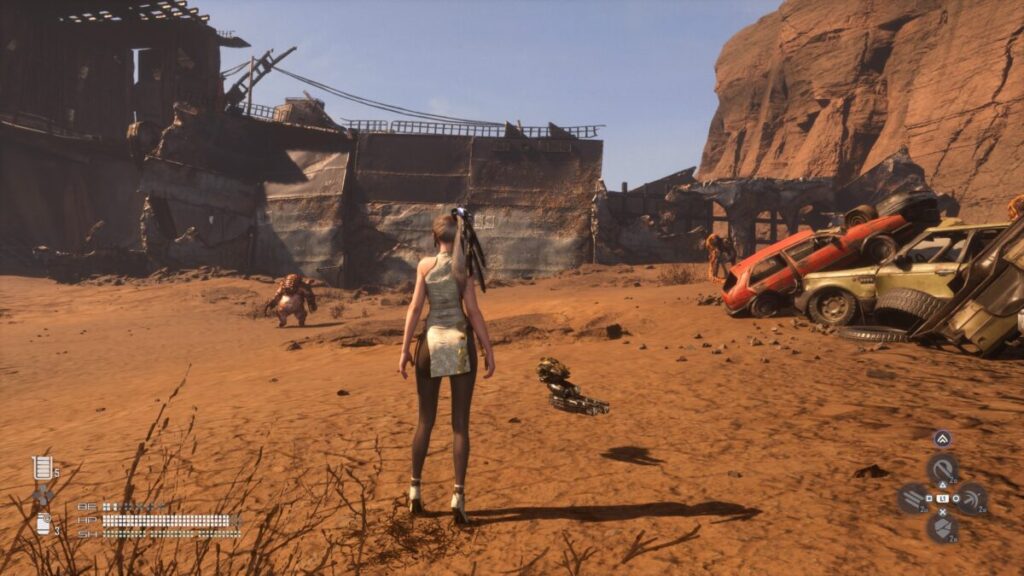
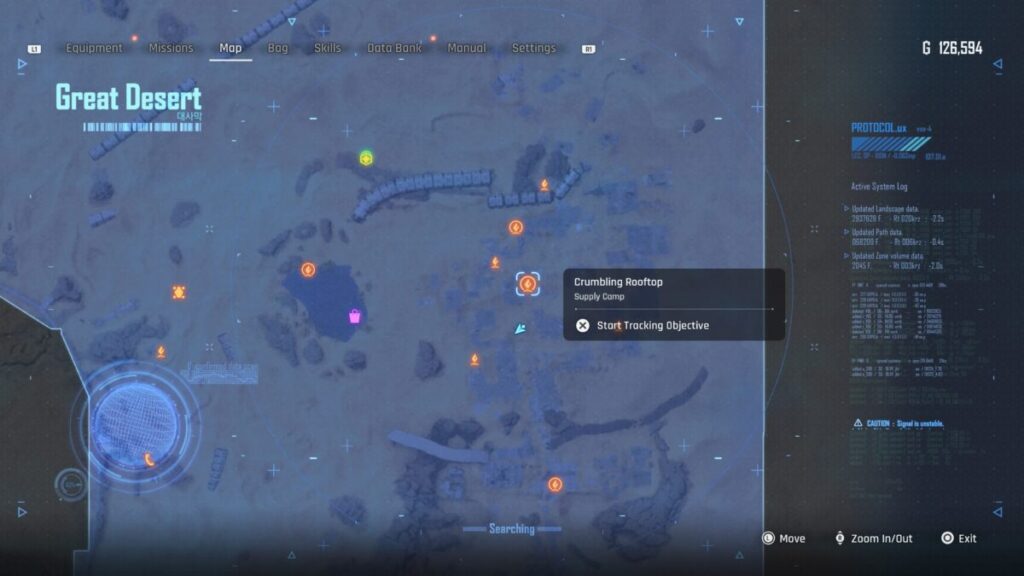
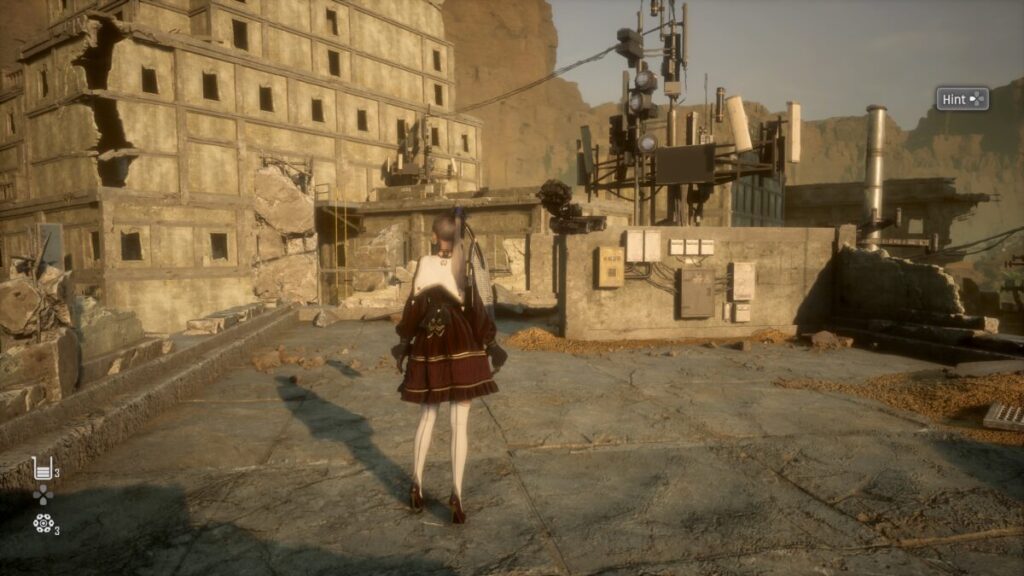
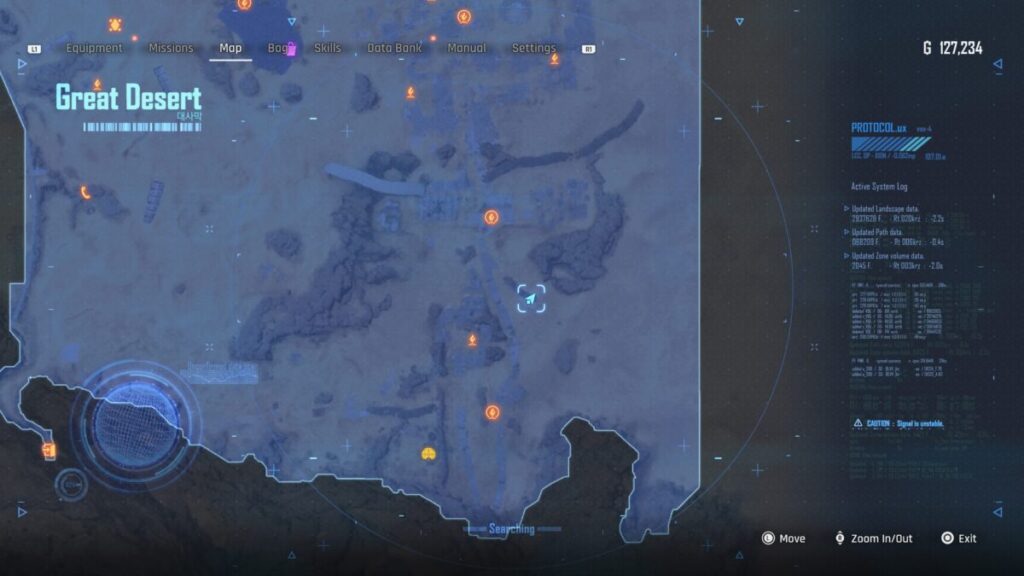
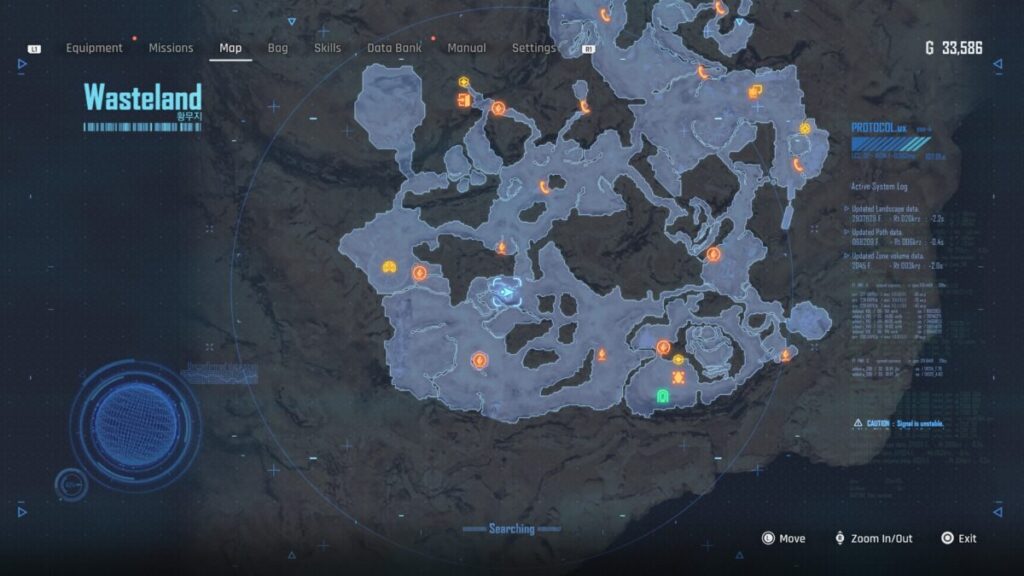
Head northeast towards some fences near a stack of tires. You’ll find a datapad on the ground beside some tarped objects. Examine it to get data on Su’s location. Go to the Solar Tower Supply Camp and descend the rock ledges on the east side to reach the area south of the Solar Tower. Find the remnants of a giant ship and go inside, heading right to locate a pile of shipping containers. Follow the trail through the leftmost one to find Su. Speak with him to trigger a cutscene. When it ends, return to Enya in Xion and talk to her to complete the mission.
Mission Rewards
Once you have completed the mission, you’ll be rewarded with the items listed below!
SP
1000 Gold
Highly Concentrated Potion x2
Lingering Potion
Stellar Blade Guides and Walkthroughs
For more Stellar Blade guides and walkthroughs, click here!
Welcome to NGB and our Stellar Blade walkthrough for the Lost Ark mission! Here we’ll cover where to start the mission, how to complete it and what rewards you’ll receive at the end.
How to Start the Lost Ark Mission
To begin the Lost Ark mission in Stellar Blade, speak with Mann in the Presence Chamber after starting the Light of Hope main mission.
How to Complete the Lost Ark Mission
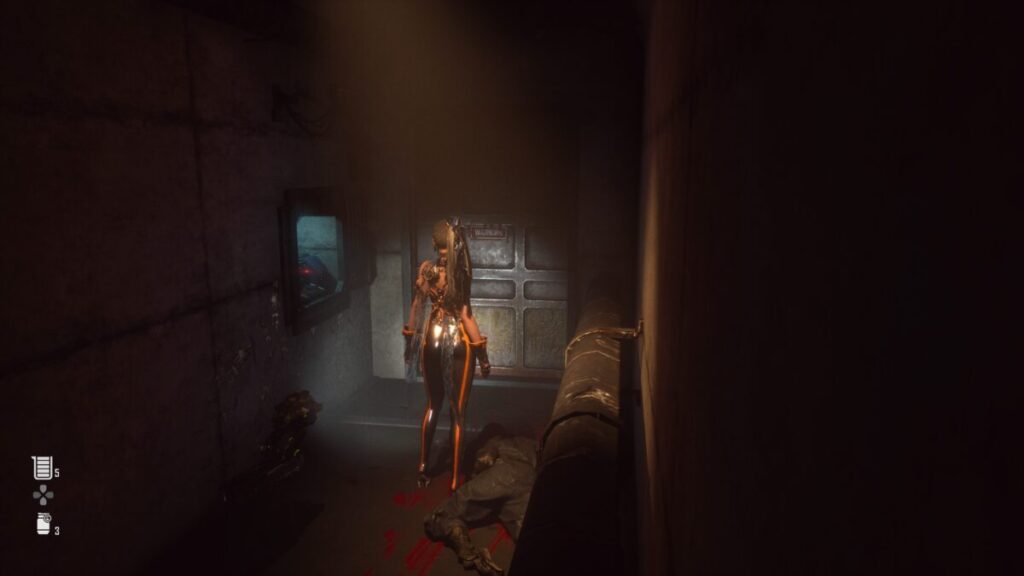
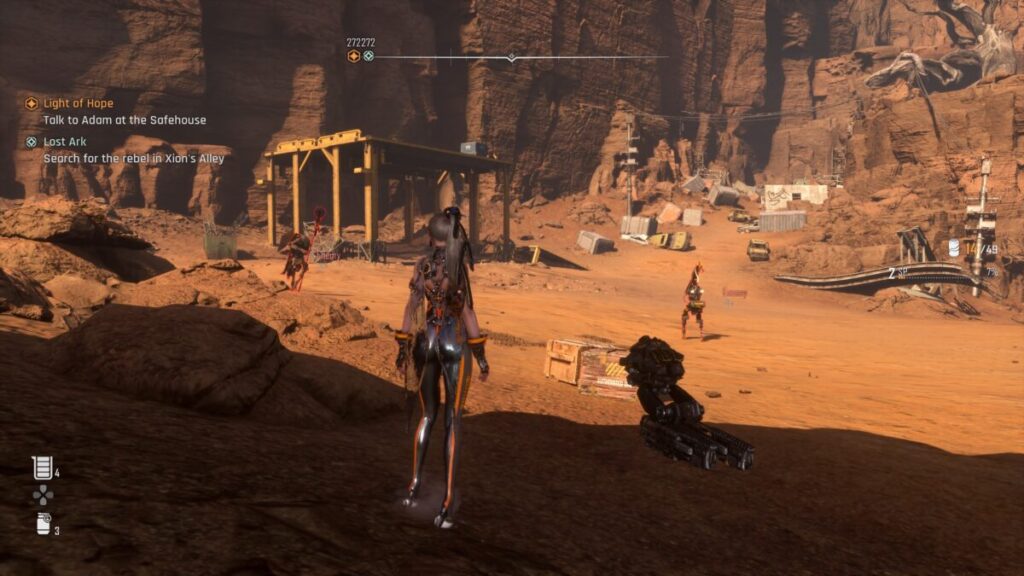
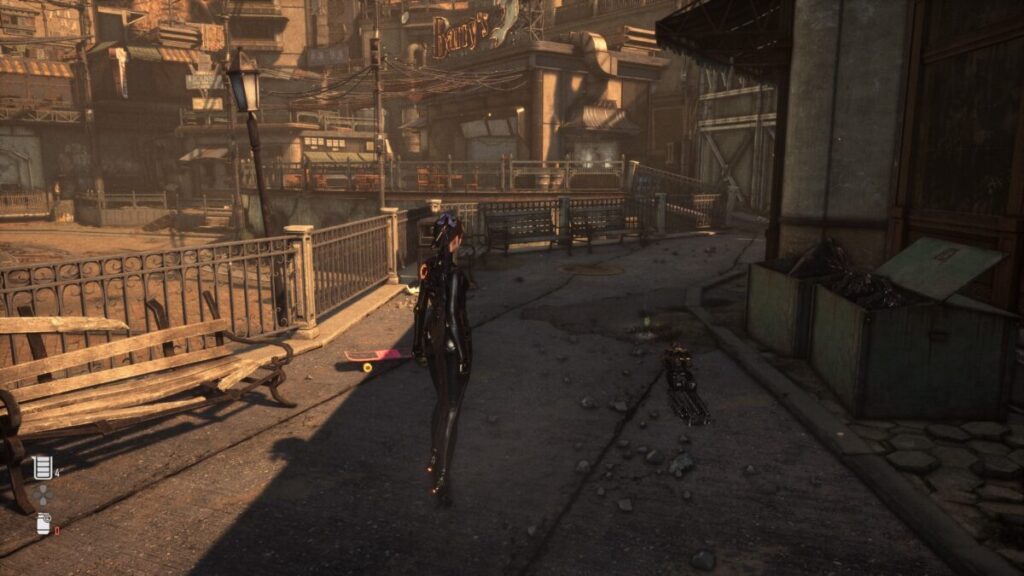
While speaking to Mann, he will ask EVE for a favor and then talk about the various rebel groups at Xion. One particular rebel is missing which is causing some concern among the Sentinels. EVE agrees to search for the missing man and sets out to locate him. Travel to the alley on the northeastern part of town, east of Barry’s Shop then interact with the body you find there to find a message to learn about a place called the ARK.
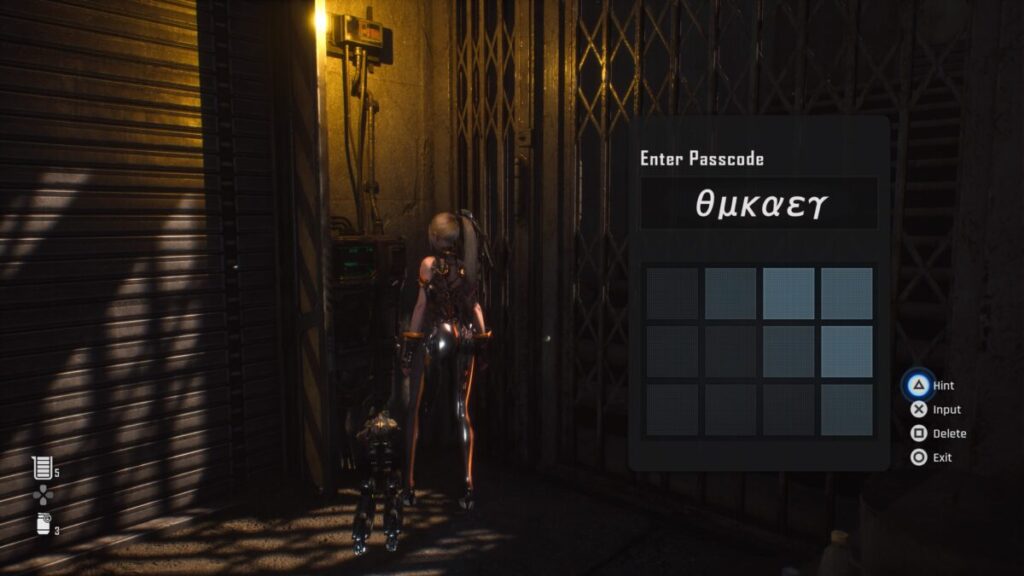
To reach ARK, head north down the alley to spot a set of stairs straight ahead. Climb up them then interact with the input device there to be prompted for a passcode. Back out to hear some dialog from EVE then examine the datapad on a nearby barrel to learn about the Puzzle System.
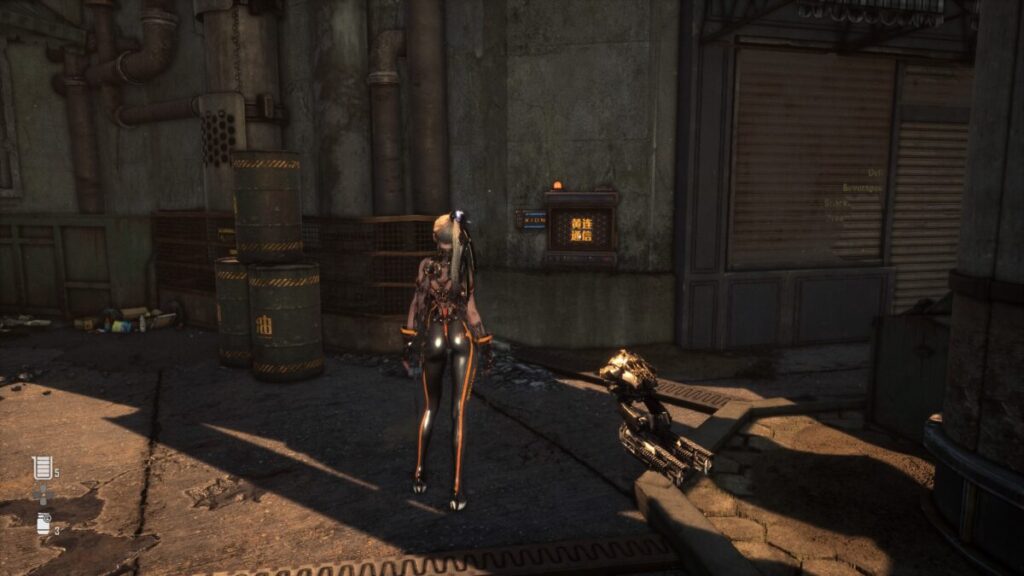
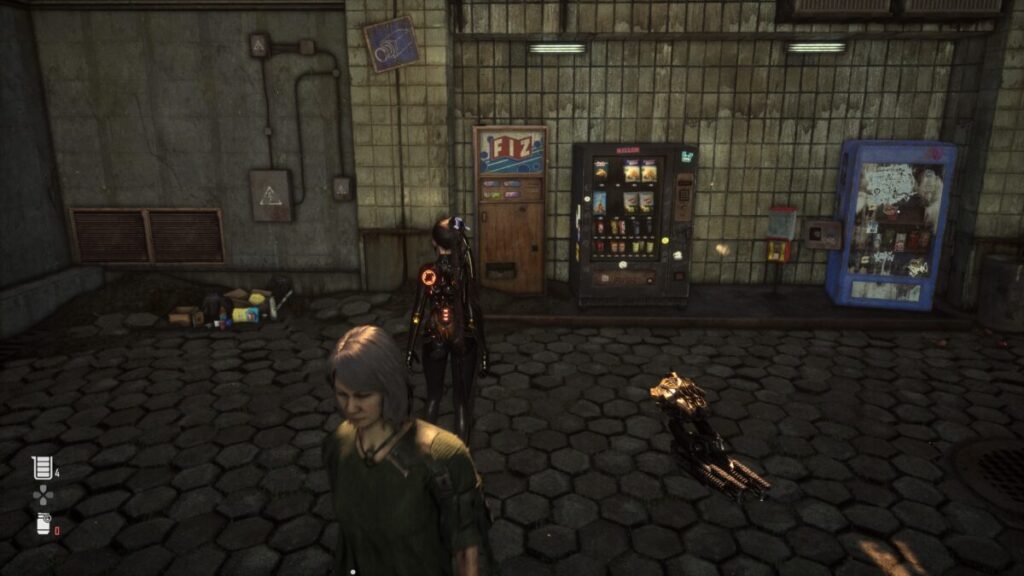
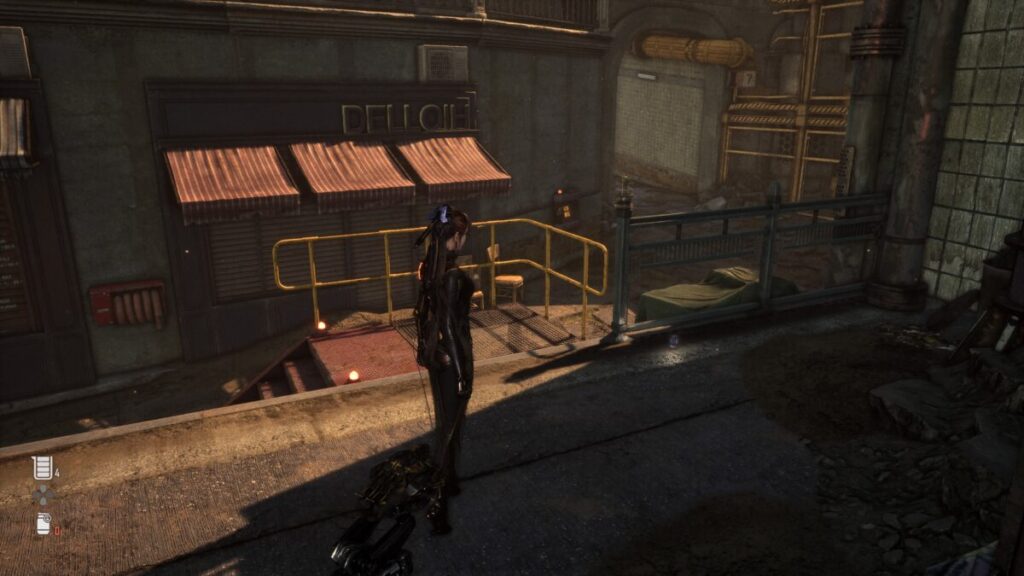
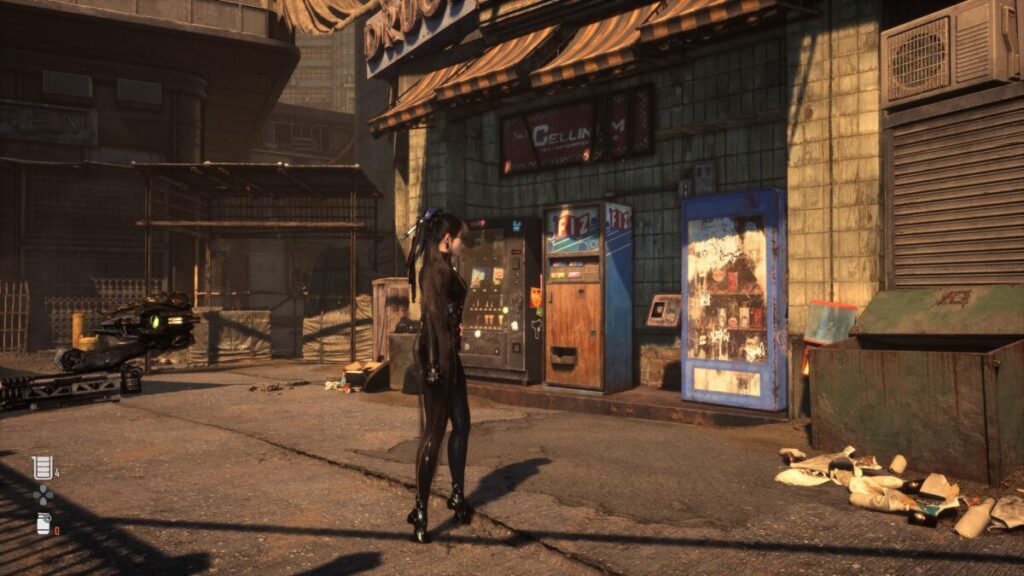
Example of a Xion Terminal
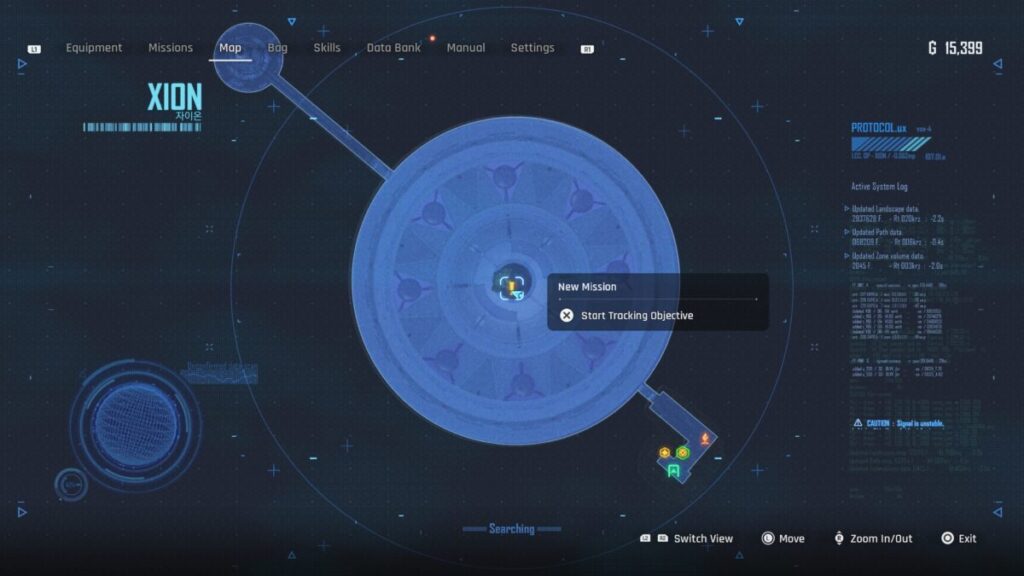
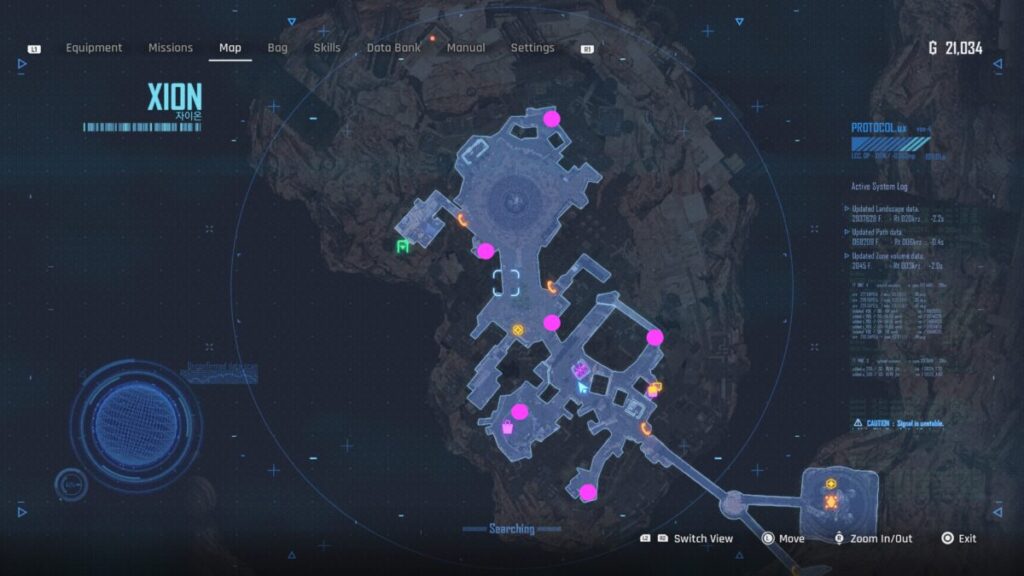
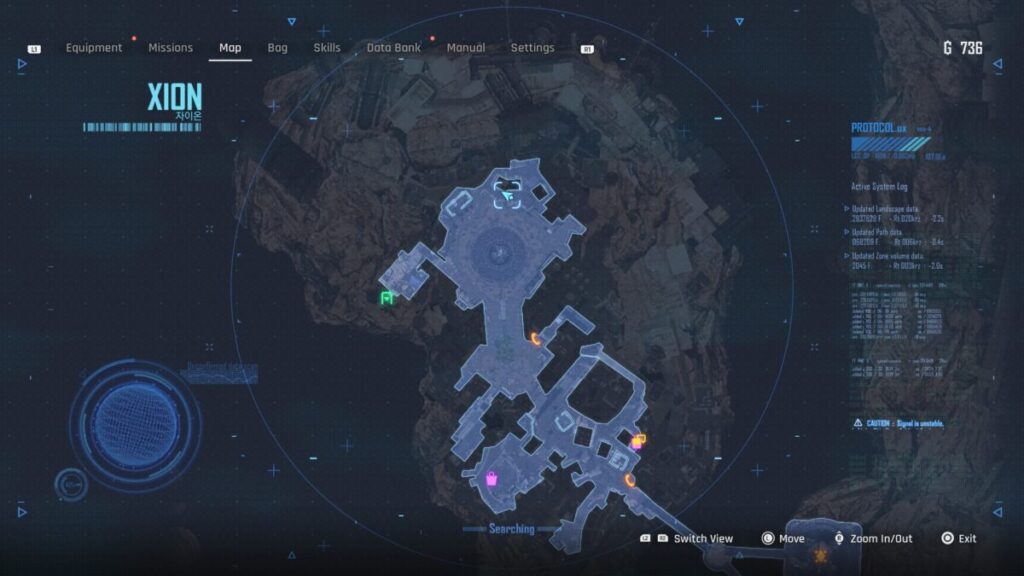
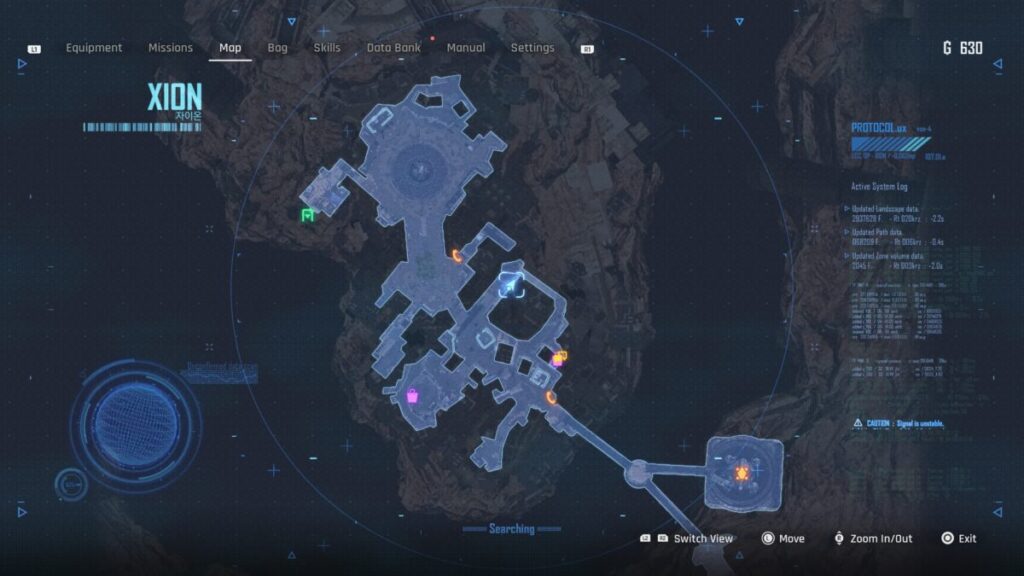
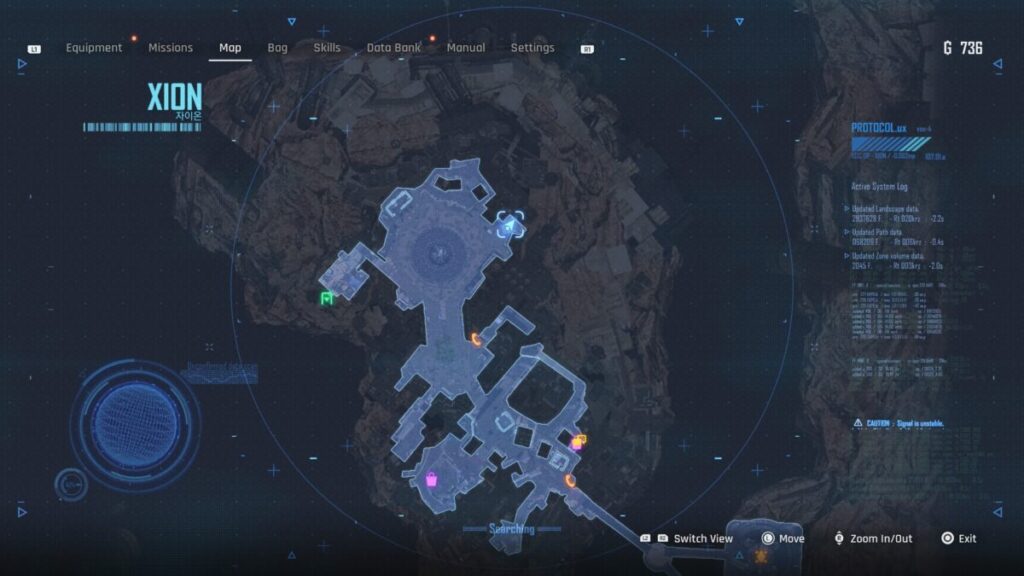
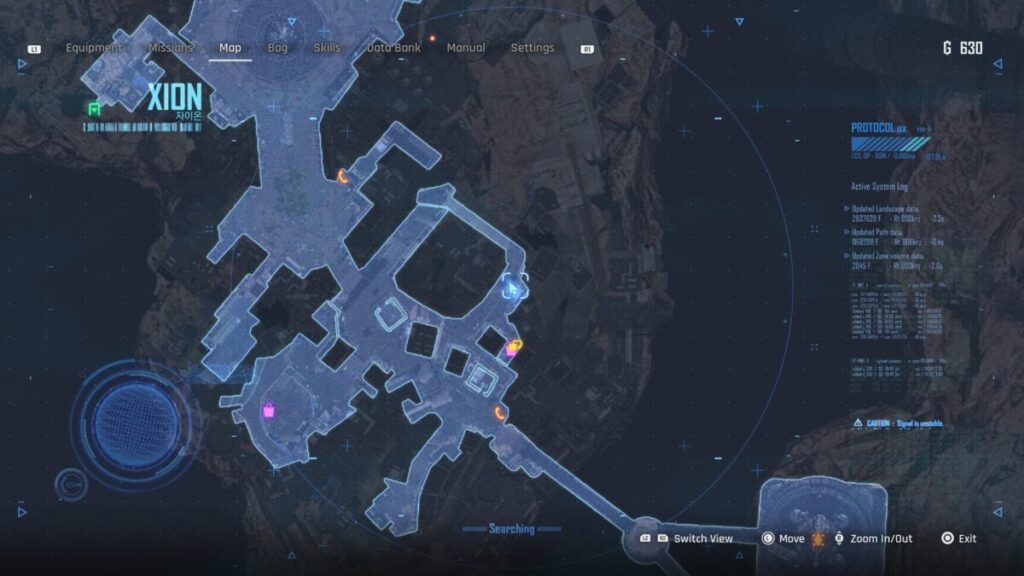
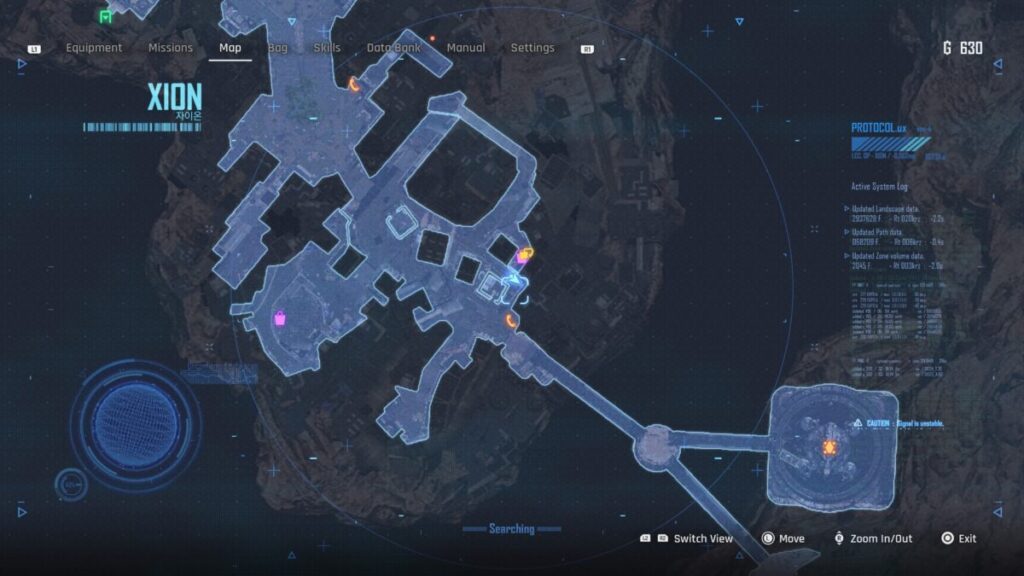
To learn the passcode, you’ll need to interact with 6 Xion terminals scattered around the city. Each one has a different character that you’ll need to form the passcode. In the image below, we have marked each location of the Xion terminals with a pink circle.
Once you’ve visited all of the terminals and viewed each character that makes up the passcode, return to the ARK and enter the passcode based on the terminal location going clockwise. If you get the correct sequence, the gate will open allowing EVE to head inside to continue her investigation (our code can be found in the below image).
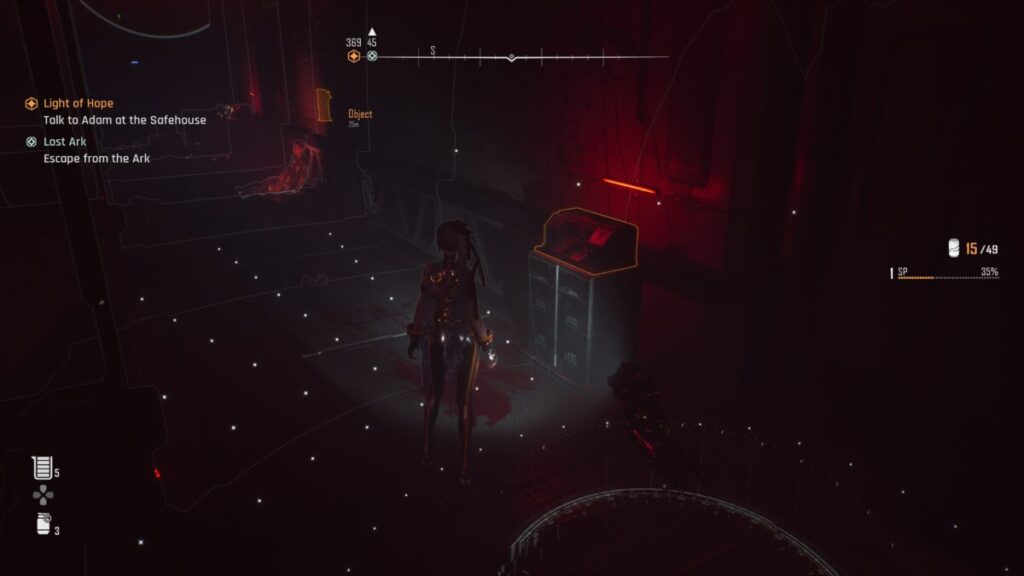
Enter the building and pass through the set of three medal doors to find a corpse. Interact with it to get the Kament of the Trapped message. Continue down the hallway and take the elevator down to reach the interior of the ARK. Use your droid to scan the room then interact with each of the humans that are tagged. Once that’s done, make your way to the back right room if you’re not there already and interact with the monitor there to read a note from the ARK. This will trigger a lockdown causing all of the doors to close, sealing EVE in the ARK.
Use the scanner to highlight 2 devices in the room next to each of the doors. Attak them both with your sword to destroy them, opening the door. Head back out into the main room and take a right up the stairs to destroy a device there as well. Return to the elevator and use it to go back up to the hallway leading to the exit. Enter the hallways and proceed down it until you reach the sealed metal door.
Destroy the device on its left to release the doors and exit the ARK. Make your way back to Mann in the Presence Chamber to report your findings completing the mission.
Mission Rewards
Once you have completed the mission, you’ll be rewarded with the items listed below!
SP
Shock Grenade x2
Smart Mine x2
Pulse Grenade x2
Stellar Blade Guides and Walkthroughs
For more Stellar Blade guides and walkthroughs, click here!
Welcome to NGB and our Stellar Blade walkthrough for the Time for Revenge Request! Here we’ll cover everything you’ll need to easily breeze through this quest!
How to Start the Time for Revenge Request
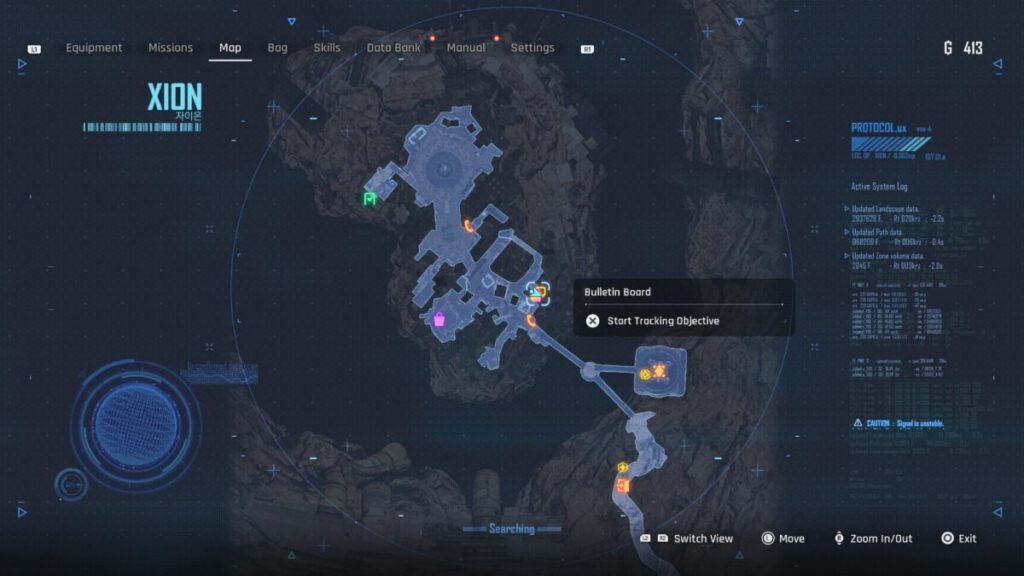
You can grab this quest from the Bulletin Board in Xion. In order for it to show up, you’ll first need to complete a good amount of the other requests first.
How to Complete the Time for Revenge Request
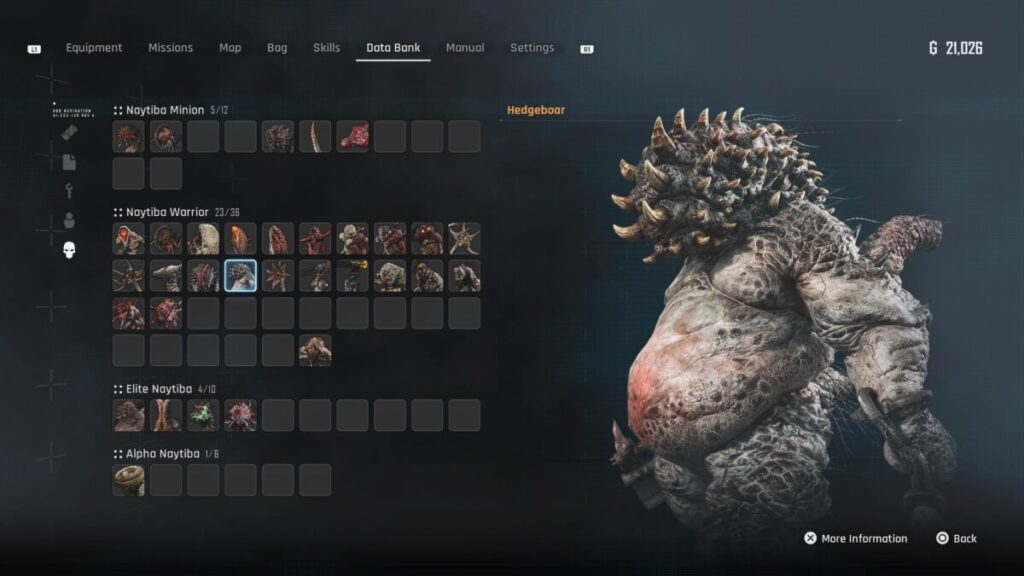
For this request, the requestor will ask that you slaughter 10 Hedgeboars to avenge the death of her son.
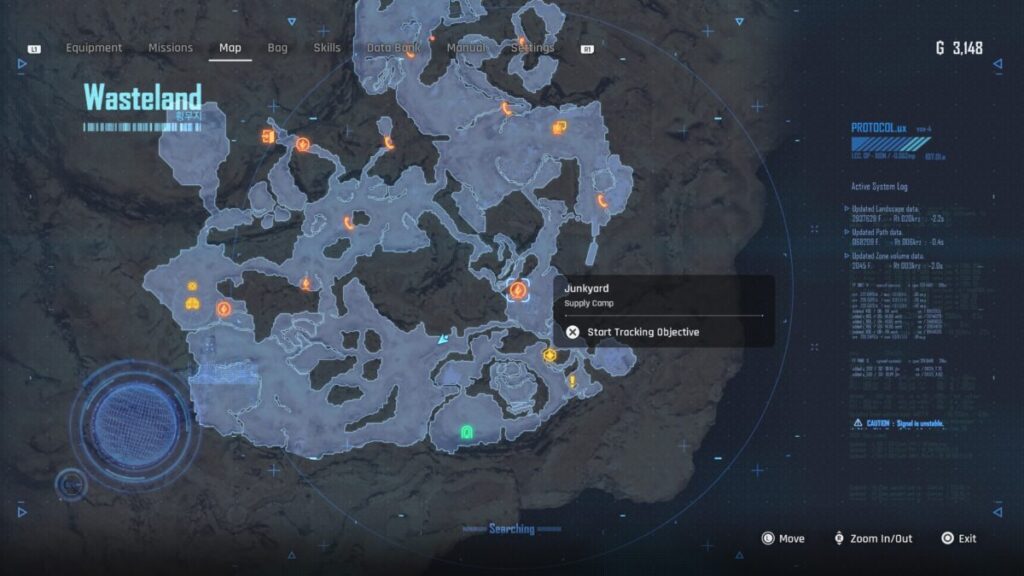
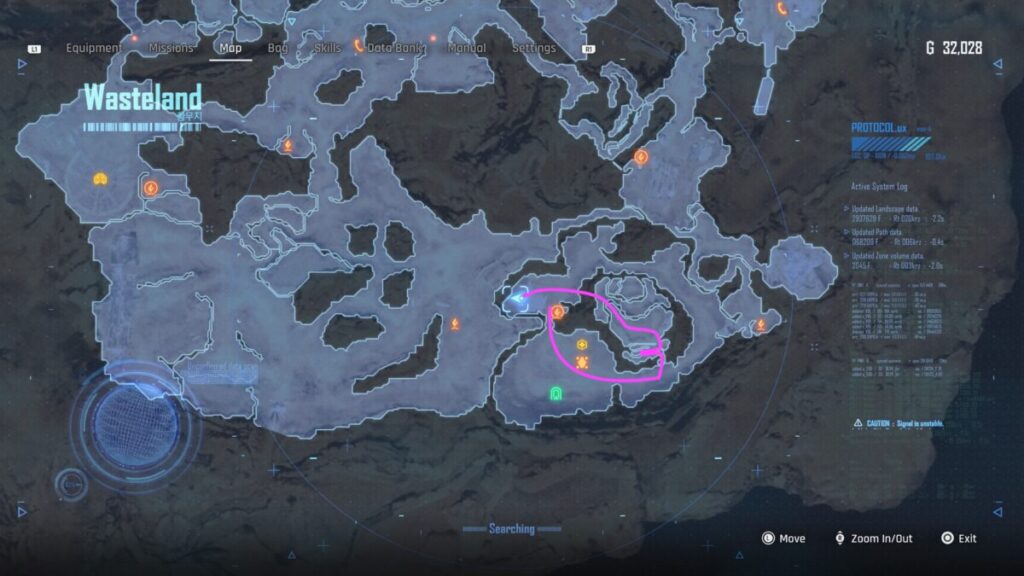
To do this, travel to the Wasteland where these particular Naytiba can be found. If you travel to the Junkyard Supply Camp then follow the path west there, you’ll be able to quickly locate about 6 in that area. You can then return to the camp to reset the enemies or explore a bit more to find the rest. Once 10 of the Hedgeboars have been taken down, return to the Bulletin Board to complete the request and receive your rewards.
Request Rewards
For completing this request, you’ll be rewarded with the items listed below:
5000 Gold
Stellar Blade Guides and Walkthroughs
For more Stellar Blade guides and walkthroughs, click here!
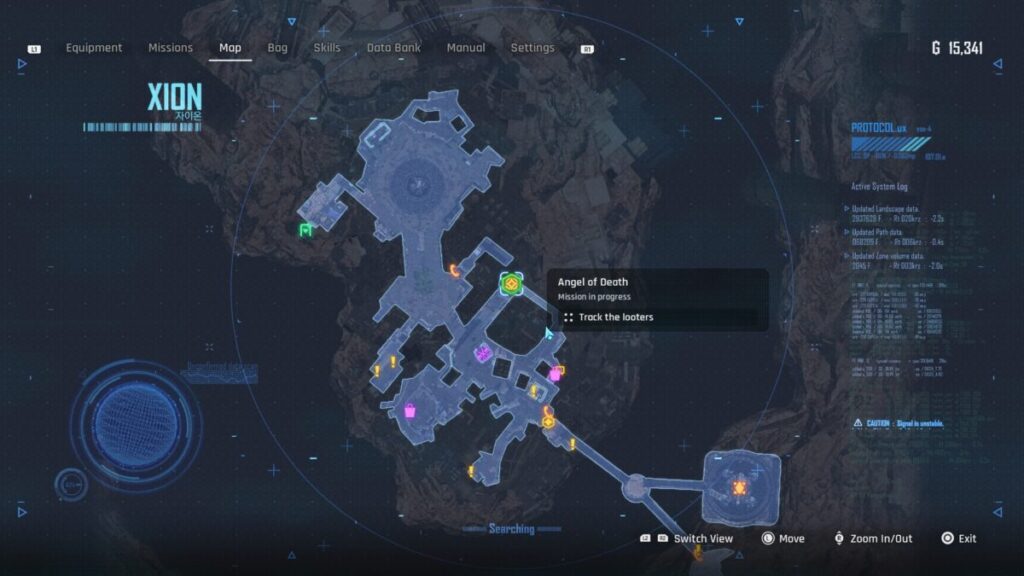
Welcome to NGB and our Stellar Blade walkthrough for the Angel of Death mission! Here we’ll cover everything you’ll need to easily breeze through this mission!
How to Start the Angel of Death Mission
To begin the Angel of Death mission in Stellar Blade, speak with a man in the alley leading to the Bulletin Board after reaching the Light of Hope main mission to learn that his sister was taken by some looters.
How to Complete the Angel of Death Mission
For this request, a citizen will claim they were attacked by looters who kidnapped his sister and then ask EVE to chase after them. Pursue the looters around the corner past the citizen to trigger a lengthy cutscene. When the cutscene comes to an end, the Angle of Death mission will complete.
Mission Rewards
Once you have completed the mission, you’ll be rewarded with the items listed below!
SP
Stellar Blade Guides and Walkthroughs
For more Stellar Blade guides and walkthroughs, click here!
Welcome to NGB and our Stellar Blade walkthrough for the Wisdom Puzzle request! Here we’ll cover everything where to start the request, how to complete it and the rewards you’ll receive at the end.
How to Start the Wisdom Puzzle Request
To begin the Wisdom Puzzle request in Stellar Blade, you’ll need to interact with the request board in Xion after you reach the Light of Hope. For this quest to be on the board, you might first need to complete the prior puzzle requests.
How to Complete the Wisdom Puzzle Request
For this request, you’ll need to solve the following puzzle:
37#21 = 928
77#44 = 3993
123#17 = 14840
71#6 = ?
The solution is 5005! To solve it, you’ll need to do 71 x 71 which gives you 5041. Next, do 6 x 6 which gives you 36. Lastly, do 5041 – 36 to get the answer of 5005.
Take the number and head to the area just outside the Presence Chamber Elevator to find the device attached to the side of one of the columns (back right one with your back to the stairs facing the elevator). Interact with it and input the code. If it’s correct, the quest objective will be completed. You’ll then need to return to the Bulletin Board to turn in the request and collect your reward.
Wisdom Puzzle Request Rewards
Once you have completed the request, you’ll be rewarded with the items listed below!
Gold x1,000
Queen of Arithmetic Badge
Stellar Blade Guides and Walkthroughs
For more Stellar Blade guides and walkthroughs, click here!
Welcome to NGB and our Stellar Blade walkthrough for the An Unknown Present mission! Here we’ll cover everything you’ll need to easily breeze through this mission!
How to Start the An Unknown Present Mission
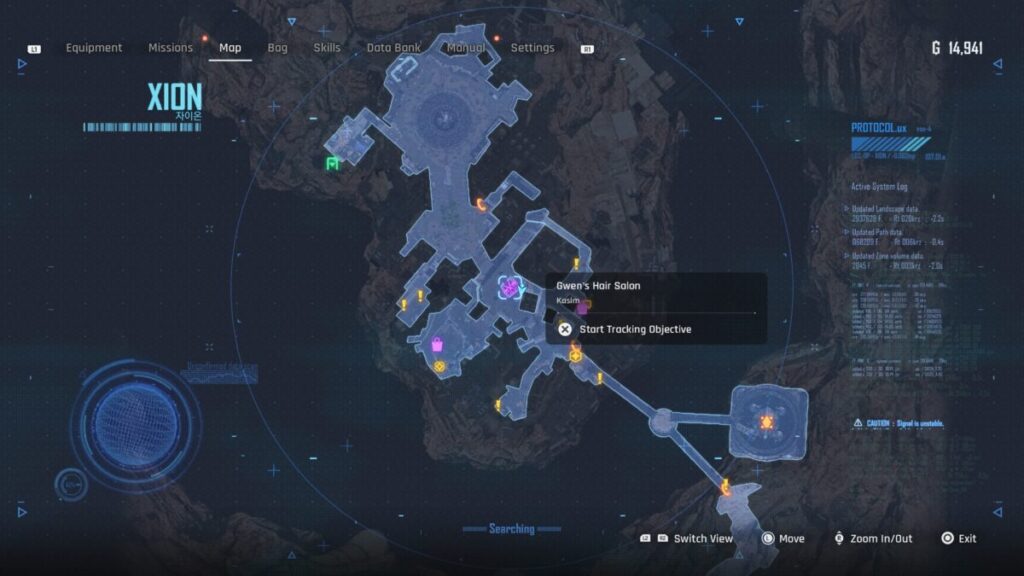
First, you’ll need to start the Light of Hope main mission. Afterwards, this request will become available in Xion so travel to the alley behind Gwen’s Hair Salon to trigger a cutscene where a sentinel will bade EVE to follow him.
How to Complete the An Unknown Present Mission
For this request, you’ll need to head southwest of the Gwen’s Hair Salon to find Inn heading towards Sisters’ Junk. Across from the Sisters’ Junk there will be a gate that you can head through to reach Inn.
Speak with them and they will hand you a terminal prompting you to input a passcode. As you don’t know what it is, back out of it which will cause EVE to question Inn about the device. They’ll respond saying that he was only told to deliver it to you in secret and the An Unknown Present will then complete.
Mission Rewards
Once you have completed the request, you’ll be rewarded with the items listed below!
SP
Damaged Device
Stellar Blade Guides and Walkthroughs
For more Stellar Blade guides and walkthroughs, click here!
Welcome to NGB and our guide on how to get the Can Collector trophy in Stellar Blade. To get the Silver Can Collector Trophy to pop, you’ll need to collect all 49 cans scattered around the various areas in them. This guide will show you where they can all be found!
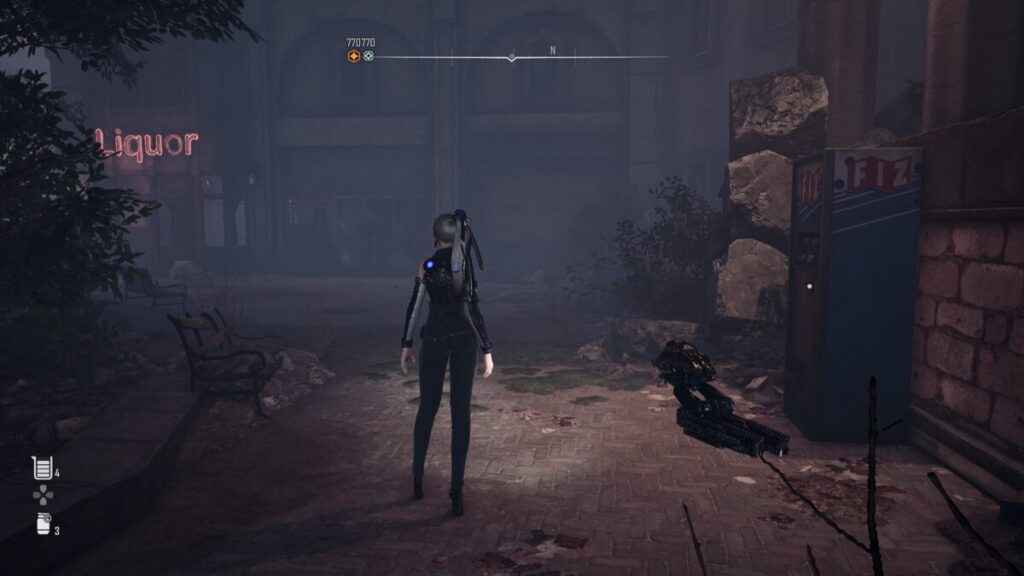
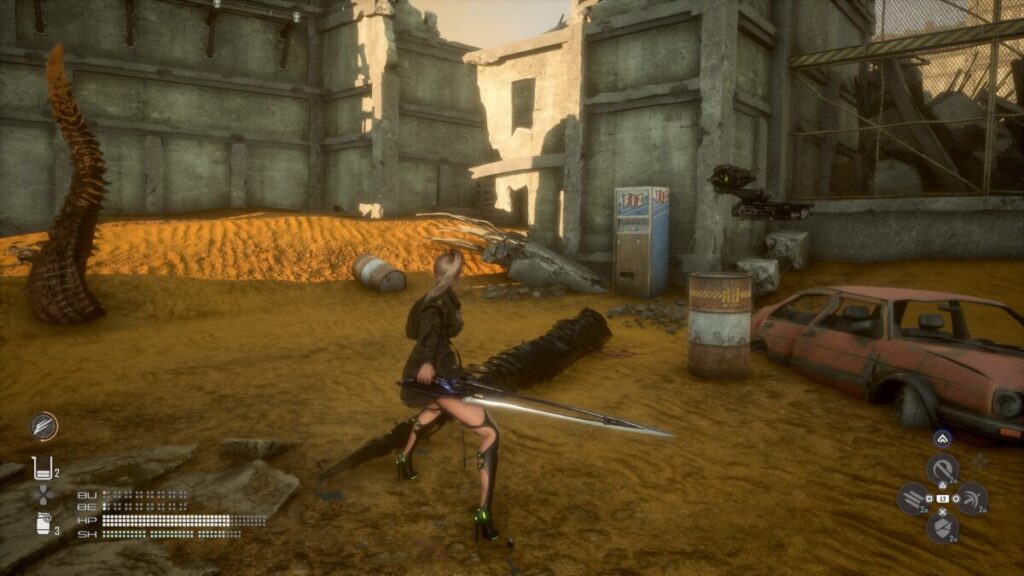
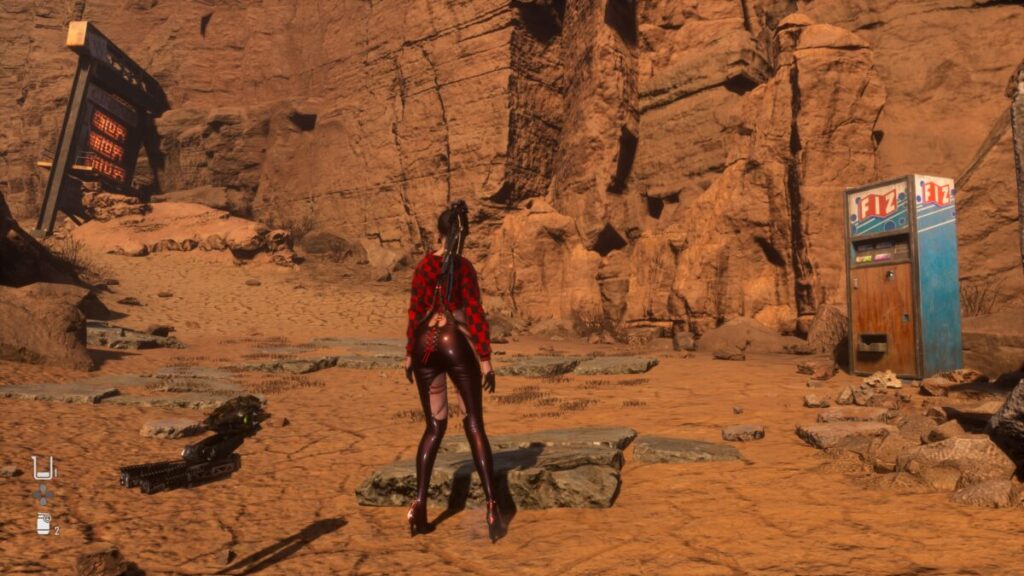
The Cryo Original can is obtained from a FIZ vending machine next to the lower level liquor store in Petelos Plaza. You’ll need to drain the plaza first by doing the Oblivion mission to reach it.
#25 – Elixir Carrot
The Elixir Carrot can is located on a shelf in the Red Grill Restaurant at Petelos Plaza. This is the flooded area you can reach by riding the lift at the Abandoned Station. To reach it, you must start the Oblivion mission which has EVE draining the water in the plaza.
#33 – Potential Blast
You can find this can at the Construction Zone in one of the buildings. If you are facing the Construction Zone on the sloped highway, the building will be on your left.
Great Desert (Can Collector Trophy)
#6 – Newfoundland Dry Zero
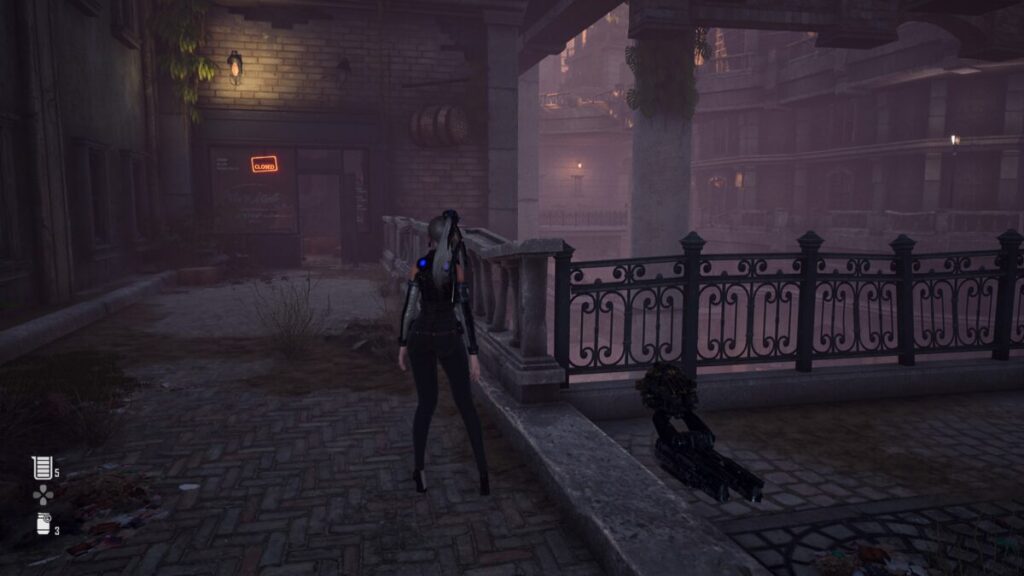
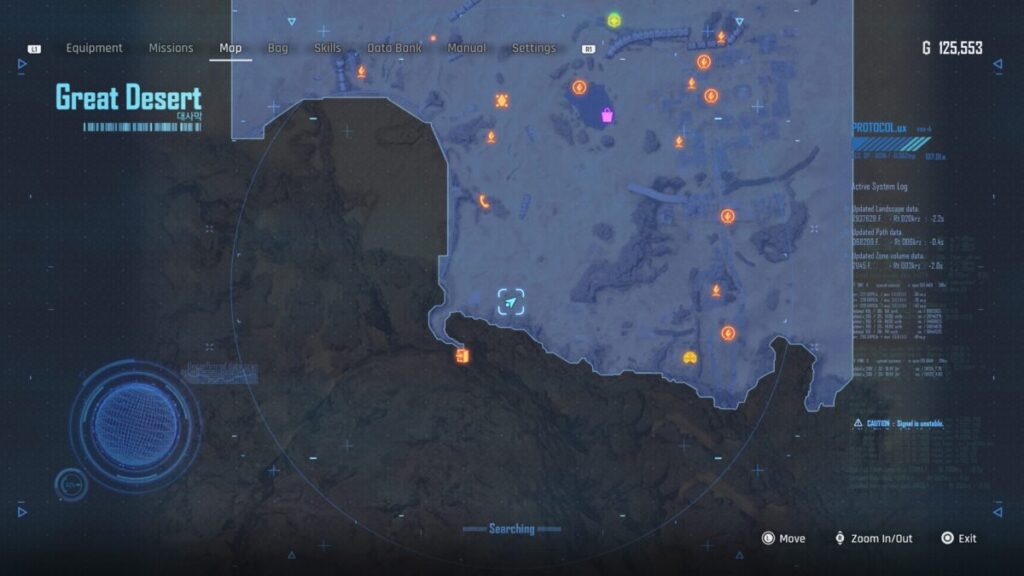
This can is located near the Xion path at the southern part of the map. It will be in a wooden crate sticking out of the ground. You’ll need to break the create to collect the can.
#8 – Milky Pop Zero
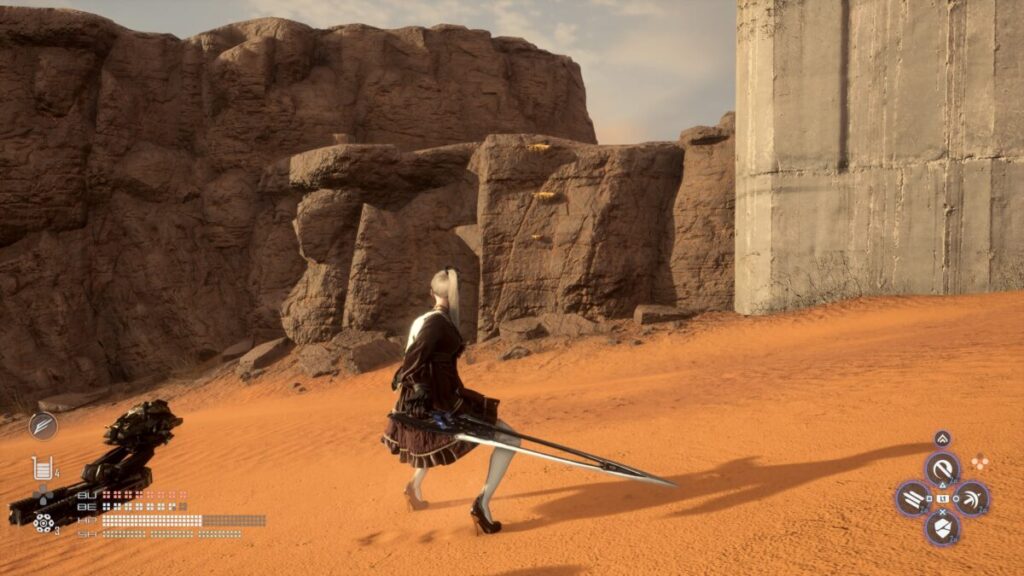
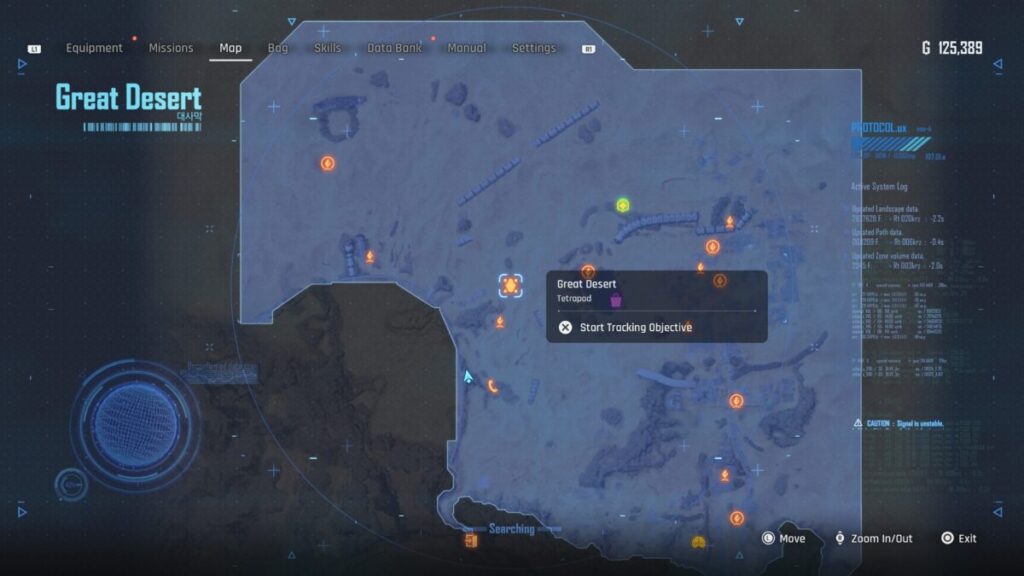
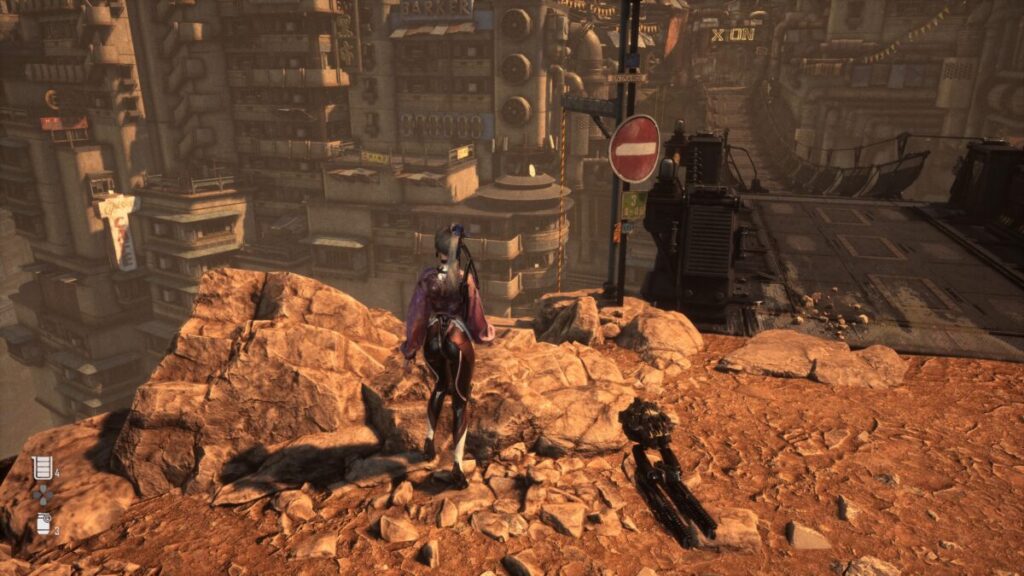
To find the Milky Pop Zero can, head west from the Tetrapod to reach a giant rock. Go to the west side of a large rock and you’ll see some yellow ledges that you can use to climb up it. From there, go left to see some sticks jutting out from the rock. Shoot the target above them to drop a rope. Swing across the sticks and climb up the rope. You’ll then reach the cooler with the can.
#14 – Cryo Cafe Mocha
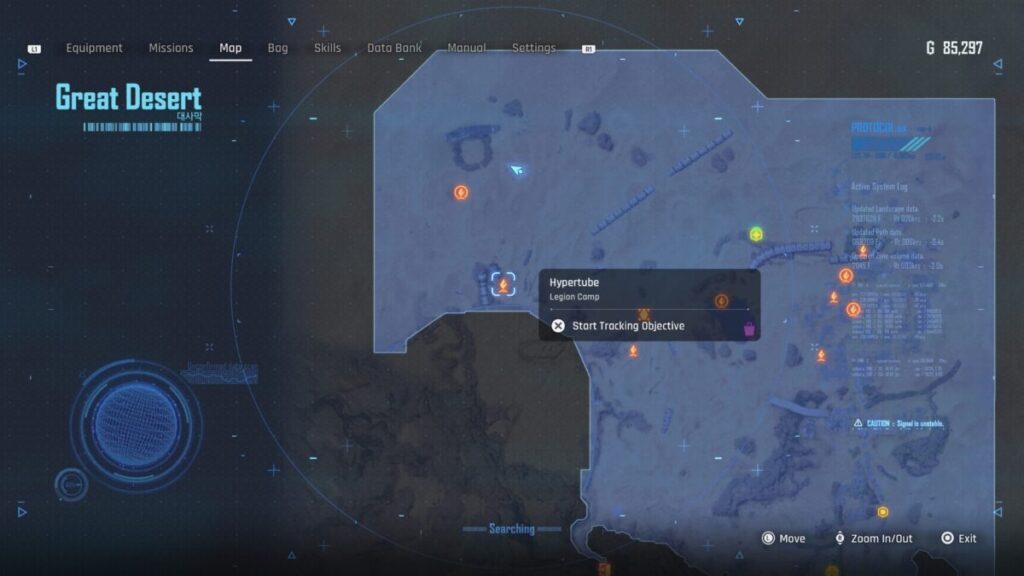
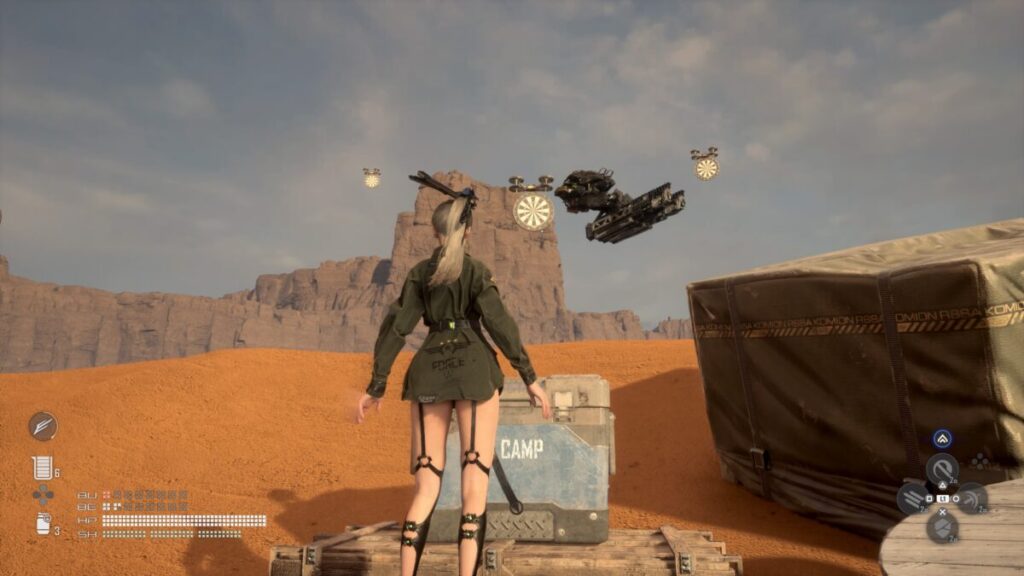
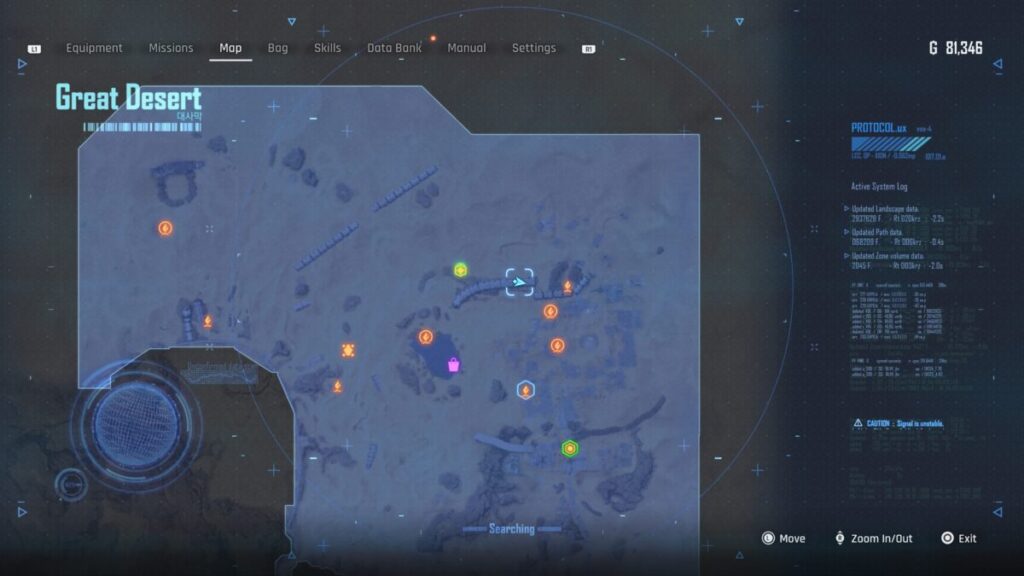
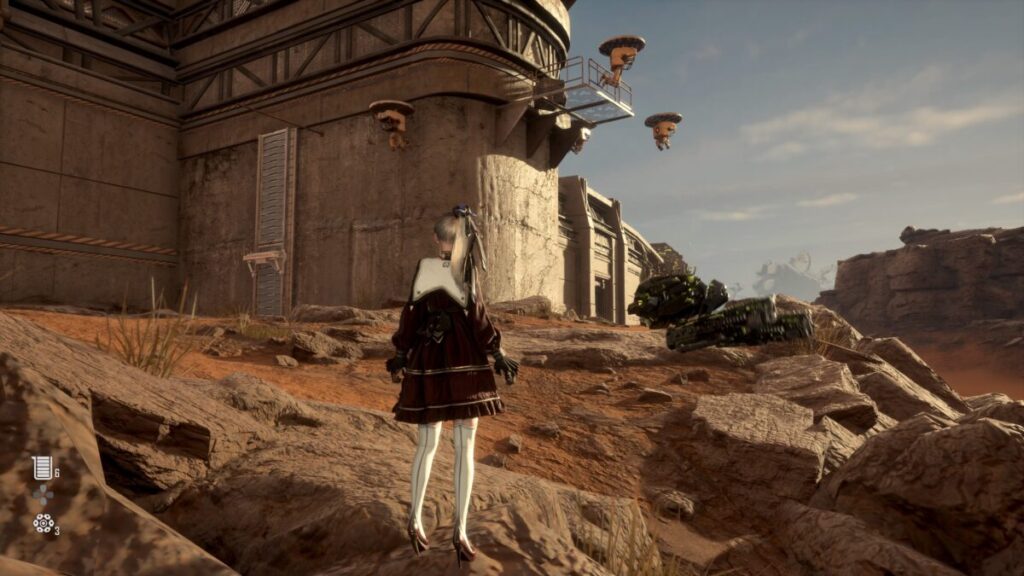
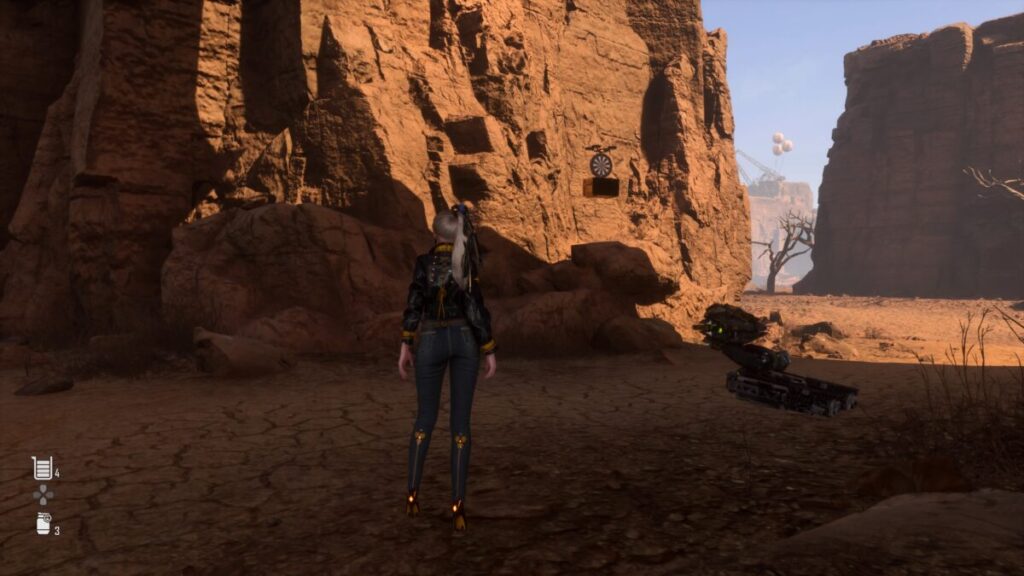
Cryo Cafe Mocha can be found in a cooler on some wooden crates in the desert north of the Hybertube Legion Camp. When you try to open the cooler, three flying dartboards will appear above. Shoot all 3 of them to unlock the cooler and collect the can.
#15 – The Haven Earl Grey
The Heaven Earl Grey can is found in a cooler on the top east side of the long tube behind Abyss Levoire.
#16 – The Haven Milk Tea
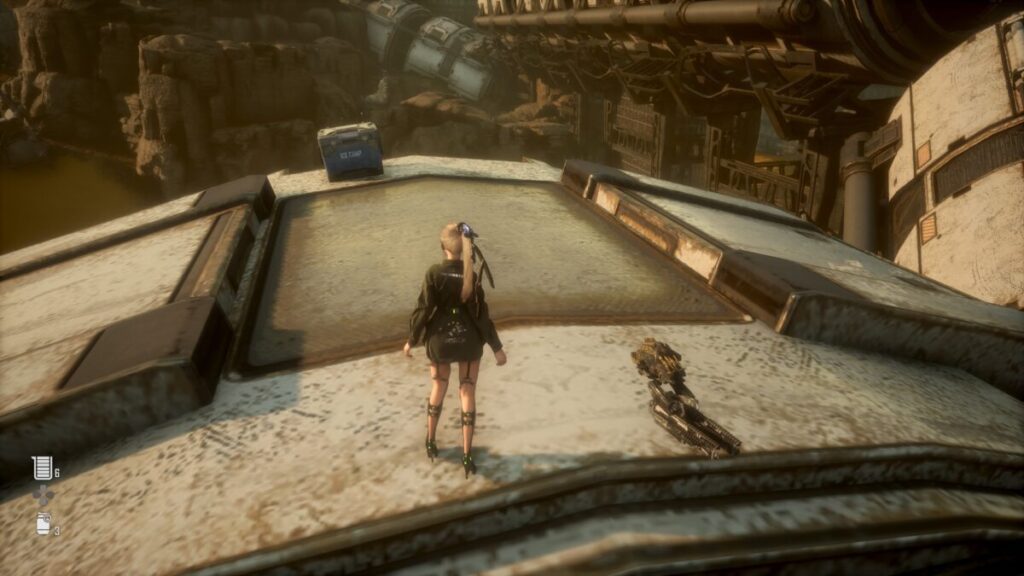
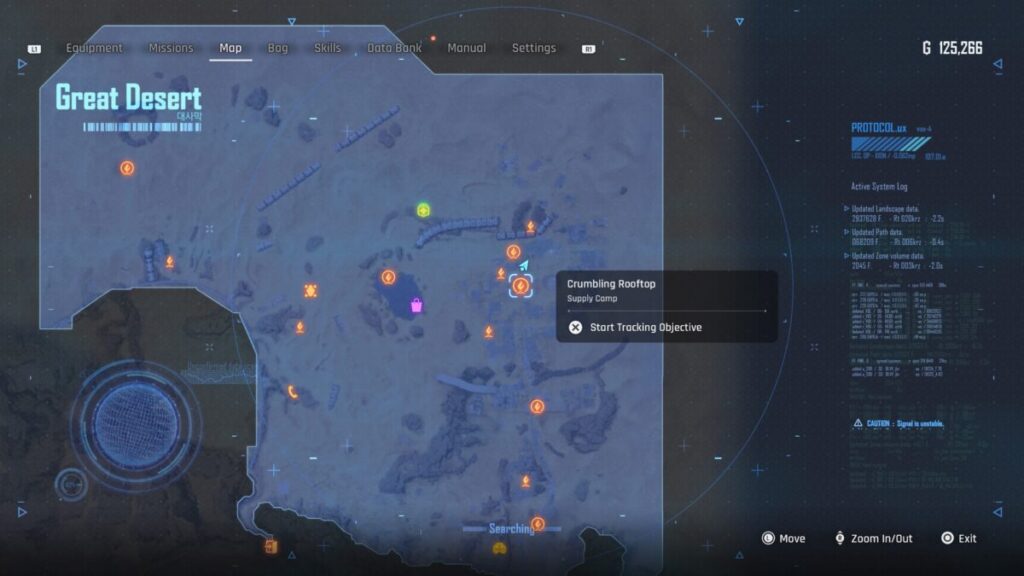
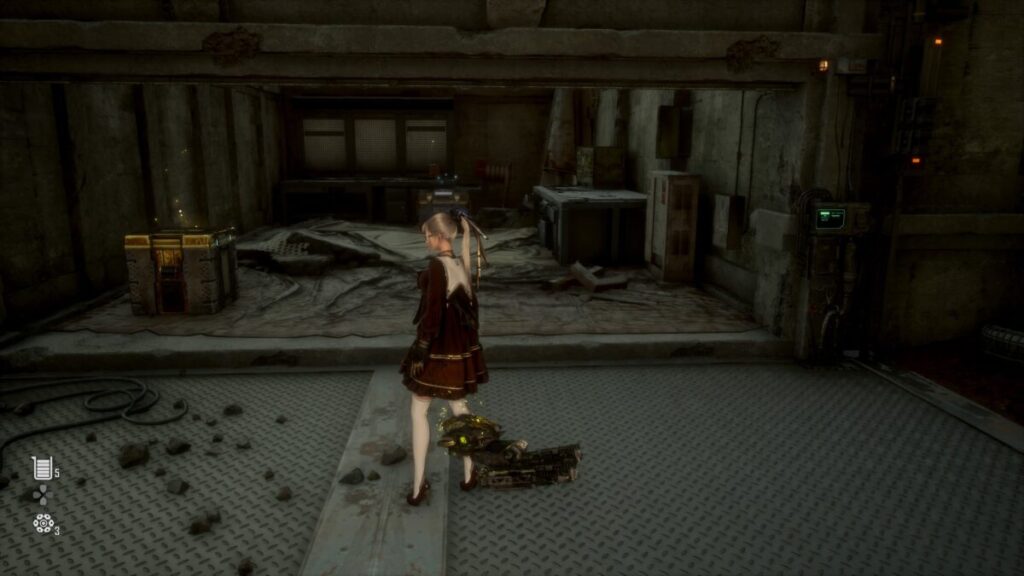
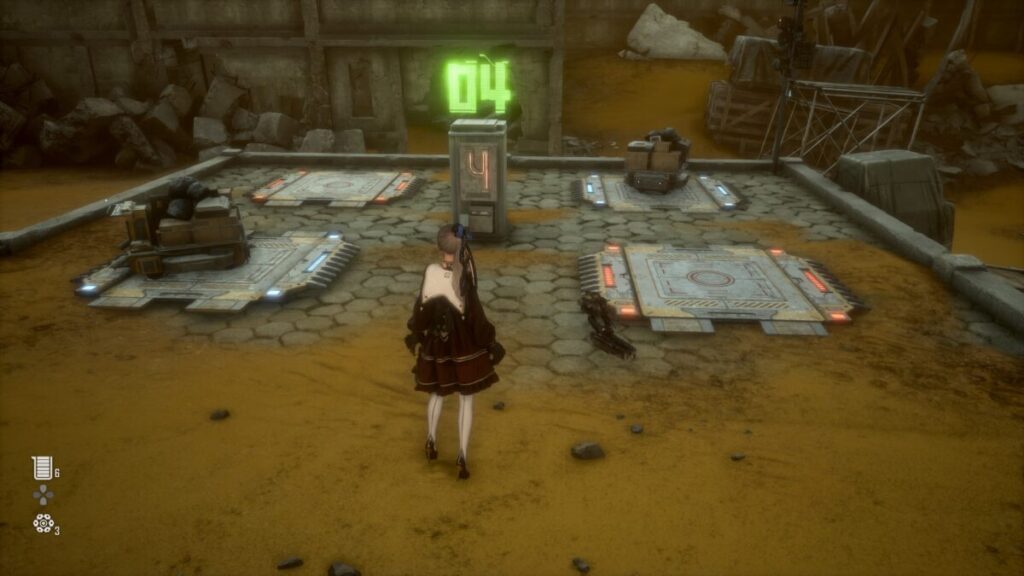
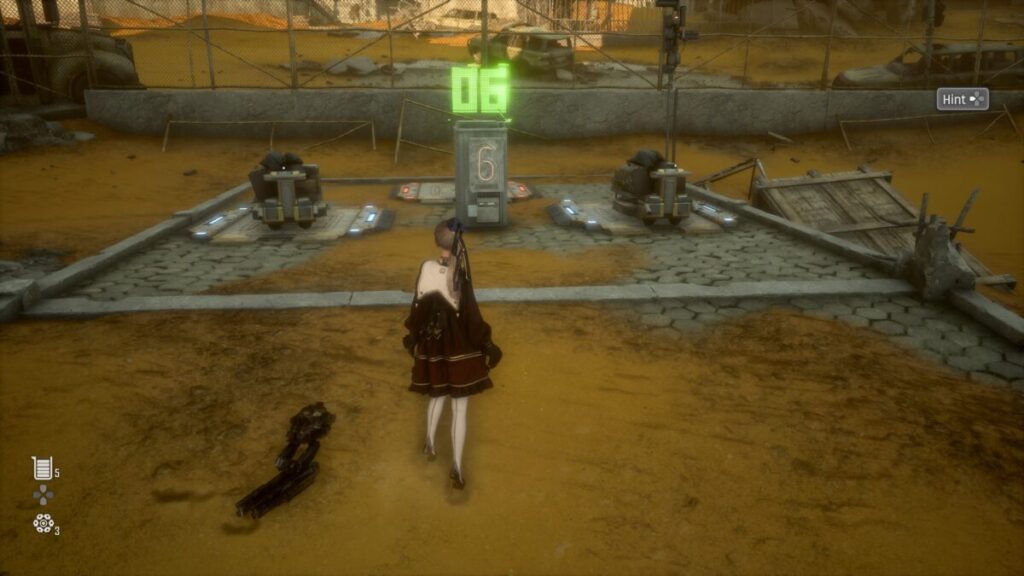
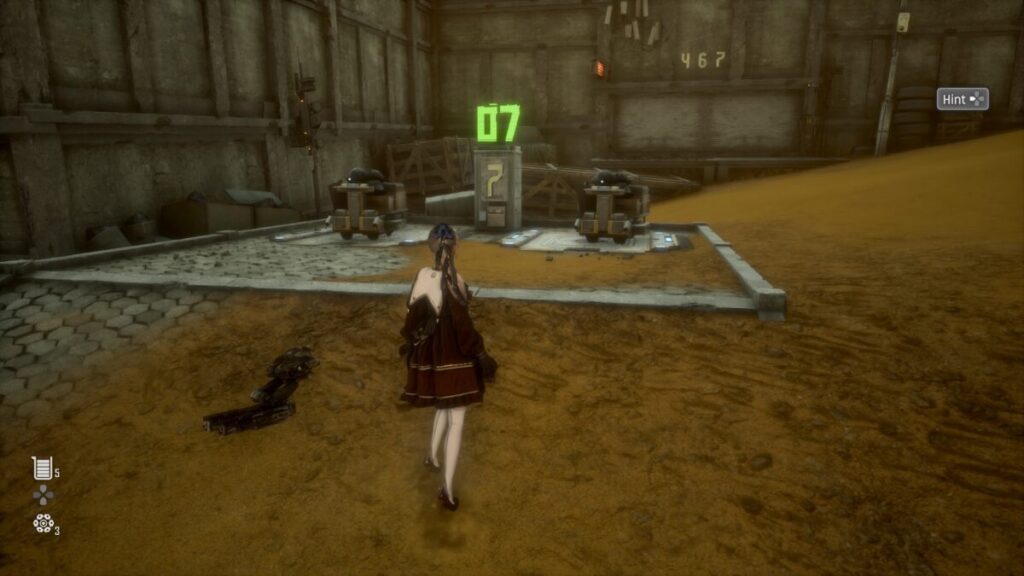
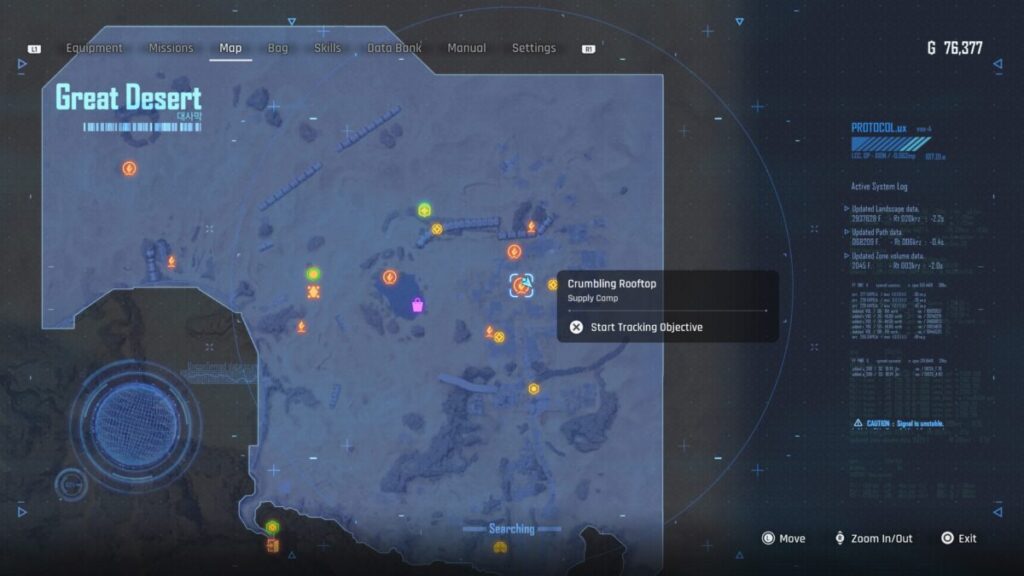
To get the Haven Milk Tea can, you’ll need to solve a puzzle slightly northeast of the Crumbling Rooftop Supply Camp. There are three sets of pressure plates where you’ll move carts onto them. You can find extra carts inside the buildings near the pair of platforms. Shoot explosive barrels to blow holes in the walls and drag the carts out. The third platform is on the side of the building past the other two. The solutions for each platform are below. After solving all three plates, open the doors behind the lone platform to retrieve the can from its cooler.
Base 4 Puzzle
When facing the number four on the column, put a cart on the bottom left and top right plates.
Base 6 Puzzle
When facing the number six columns, put a cart on both the left and right plates.
Base 7 Puzzle
For this one, you just need to put a cart on both plates.
#22 – Nectar Grape
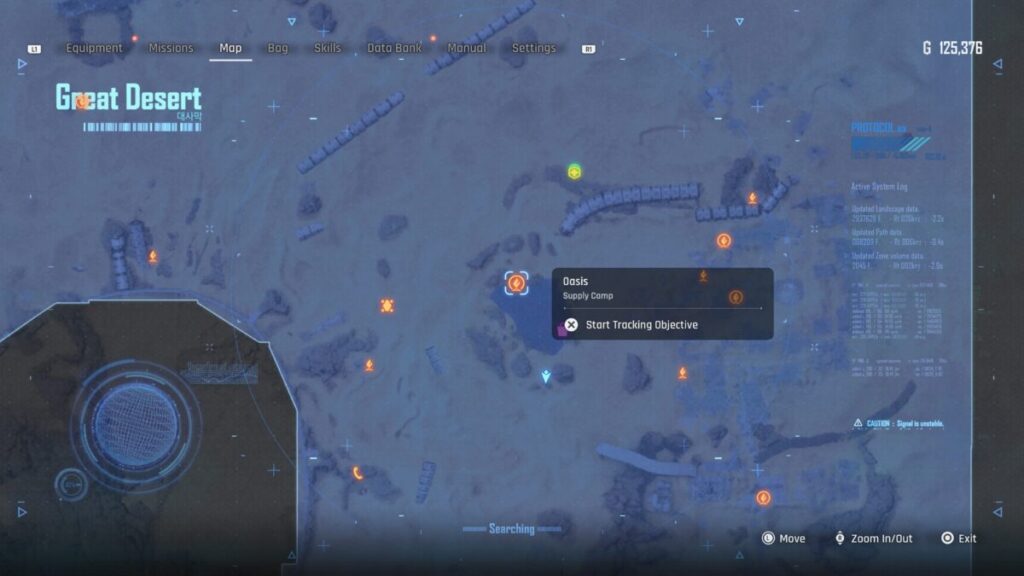
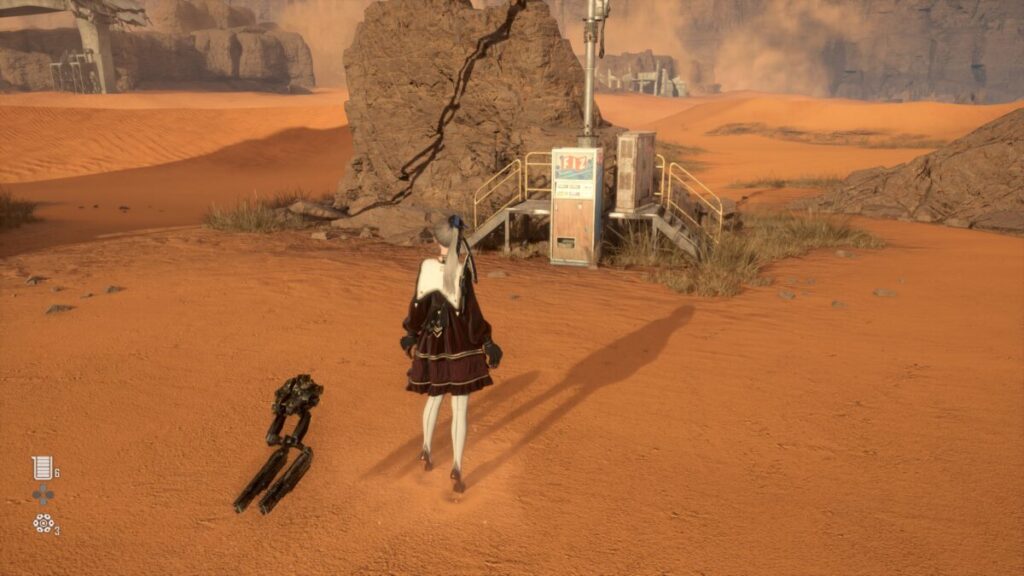
Nectar Grape can be obtained from a FIX vending machine on the south side of the Oasis.
#24 – Nectar Cranberry
Nectar Cranberry can be found on a raised fence platform on the side of the giant wall west of the waypoint that is south of the Tetrapod. On the wall, there will be a moveable ledge you can ride up to a spin bar. Use that to swing onto a droid and then jump from droid to droid to reach the platform. Open the cooler there to receive your can!
#29 – Behemoth Black
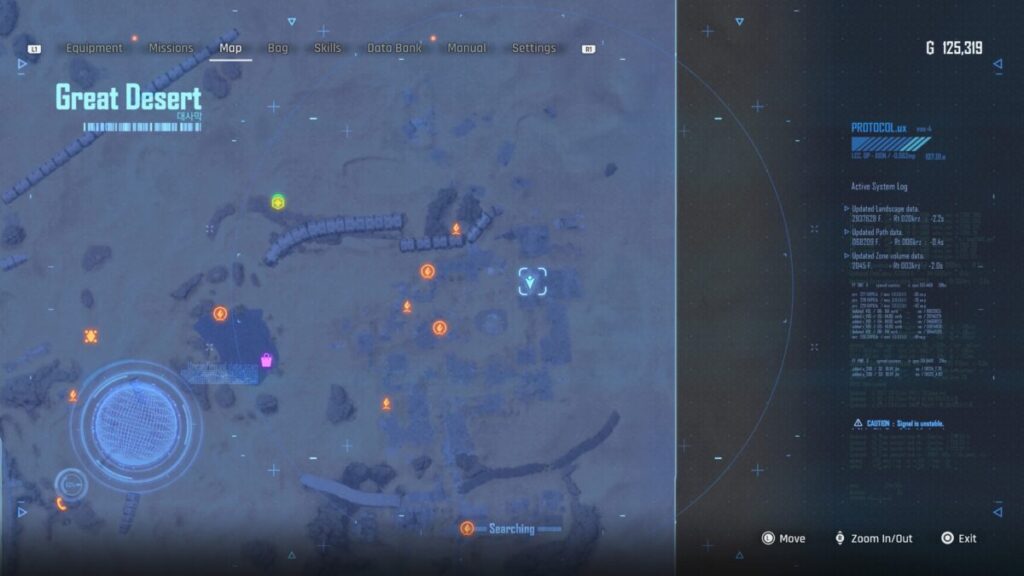
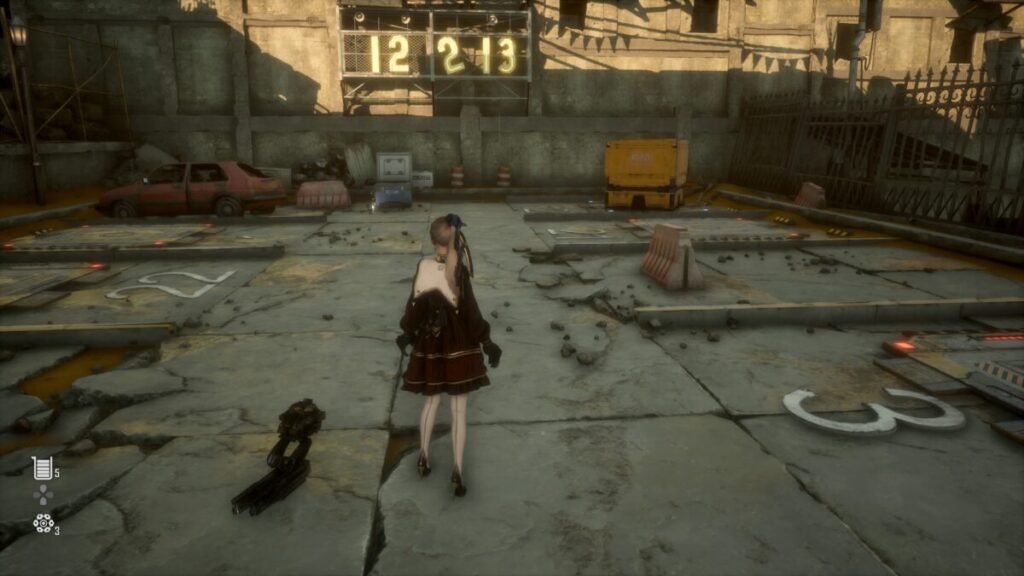
The Behemoth Black can is in a cooler at a parking lot east of the Crumbling Rooftop Supply Camp. To unlock it, drag some nearby orange cubes into specific parking spaces. Look on the wall behind the cooler to see the numbers 12-2-13. Once you place the cubes on those spaces, the cooler will open, allowing you to collect the can.
#30 – Liquid Fire
To reach this can travel northeast of the Buried Ruins Outskiry Supply Camp looking for a ruined building that has a cooler on its roof. Examine the cooler to commence bombardment! Drones will start emerging from the building in front of you carrying explosive barrels. You’ll need to shoot them before they drop the barrels on EVE. Once they have all been destroyed the cooler will open.
#32 – Liquid Nuclear
To reach the Liquid Nuclear can, head northeast of the Buried Ruins Outskirt Supply Camp. Look for a ruined building with a cooler on its roof. Check out the cooler to start the bombardment! Drones will come out of the building ahead of you, carrying explosive barrels. You must shoot them before they drop the barrels on EVE. Once you destroy all of them, the cooler will open.
#35 – Potential Frost
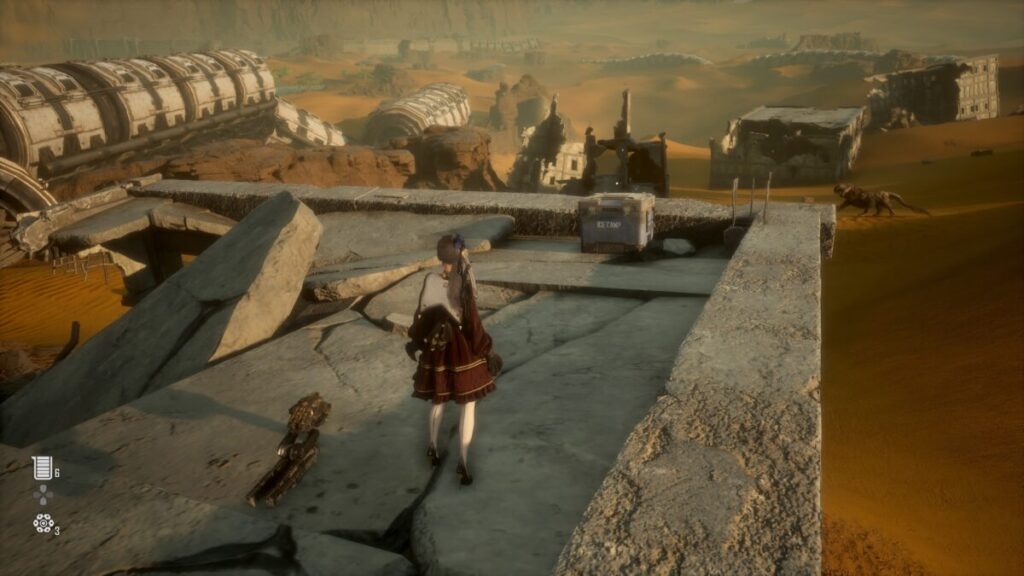
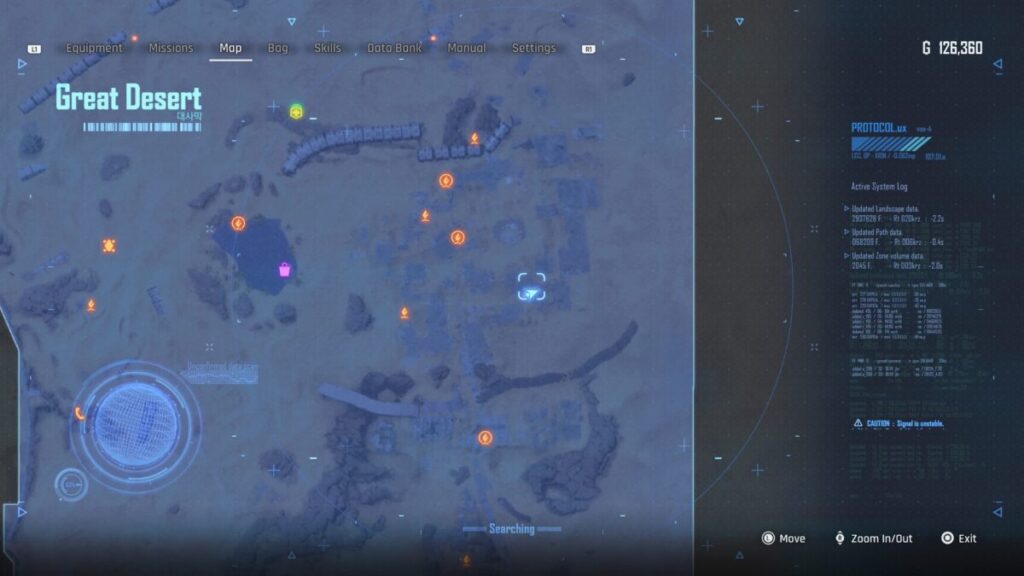
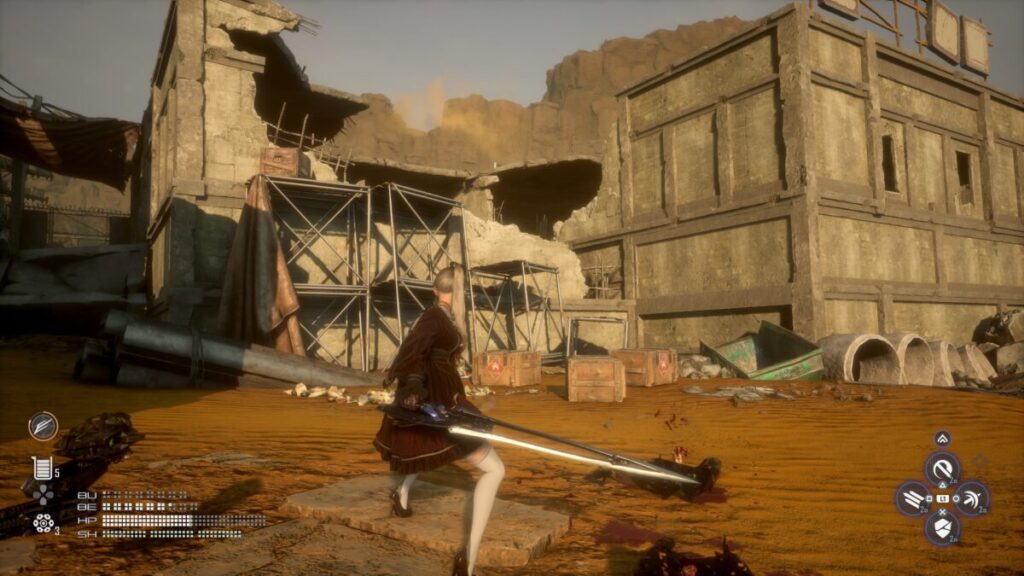
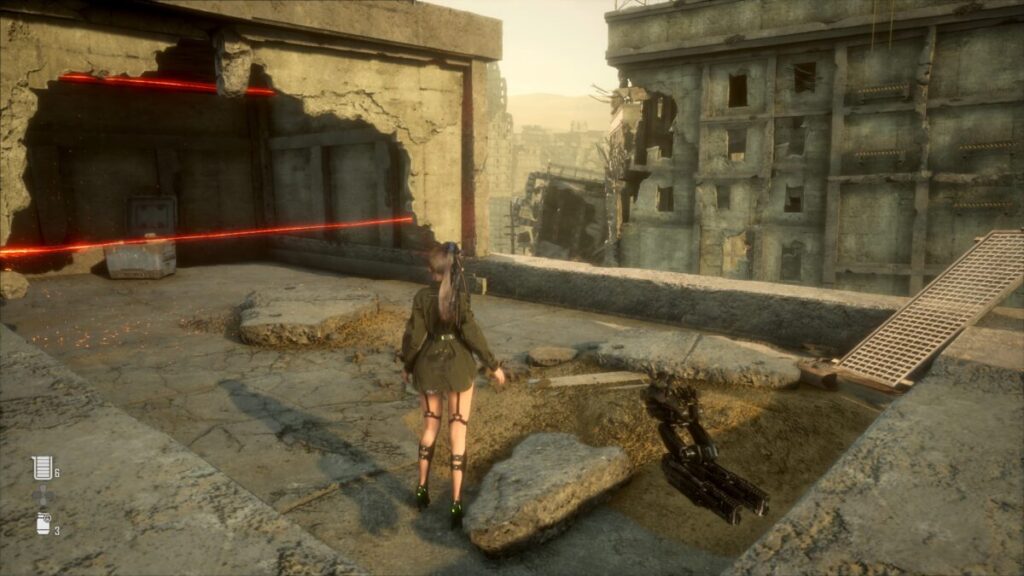
To reach the Potential Frost can, you’ll need to travel to the West of Buried Ruins Legion Game then head northeast through a small opening in some fallen debris. Continue heading northeast to reach the clearing between all of the buildings. Look to the northwest to spot a school bus under a yellow ladder next to a building with a sign pointing up. Climb that ladder and work your way across the rooftops until you reach the wall runs billboard. Turn around there to spot an opening in the wall you can jump through to collect the cooler containing this can.
#38 – Starwell
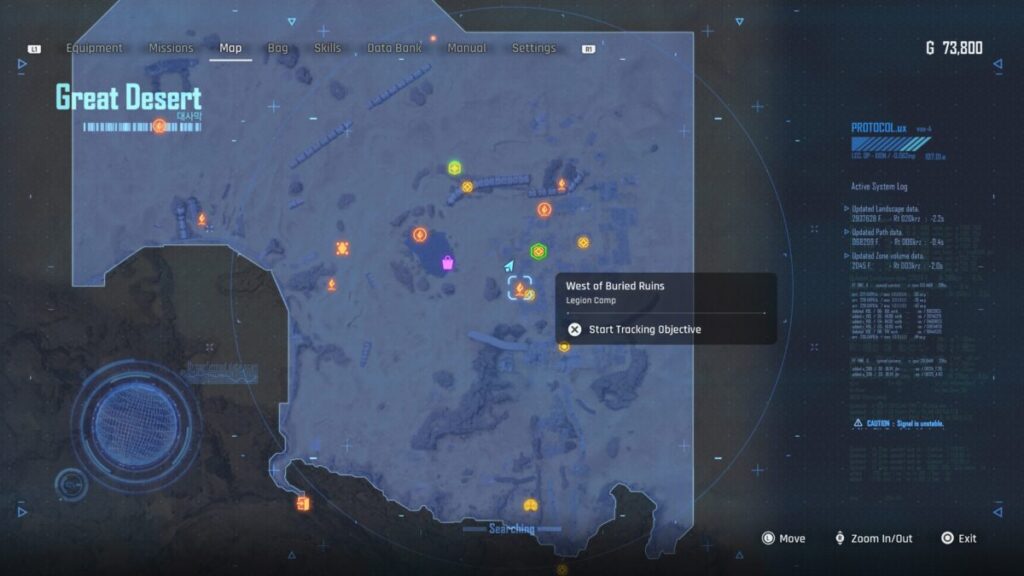
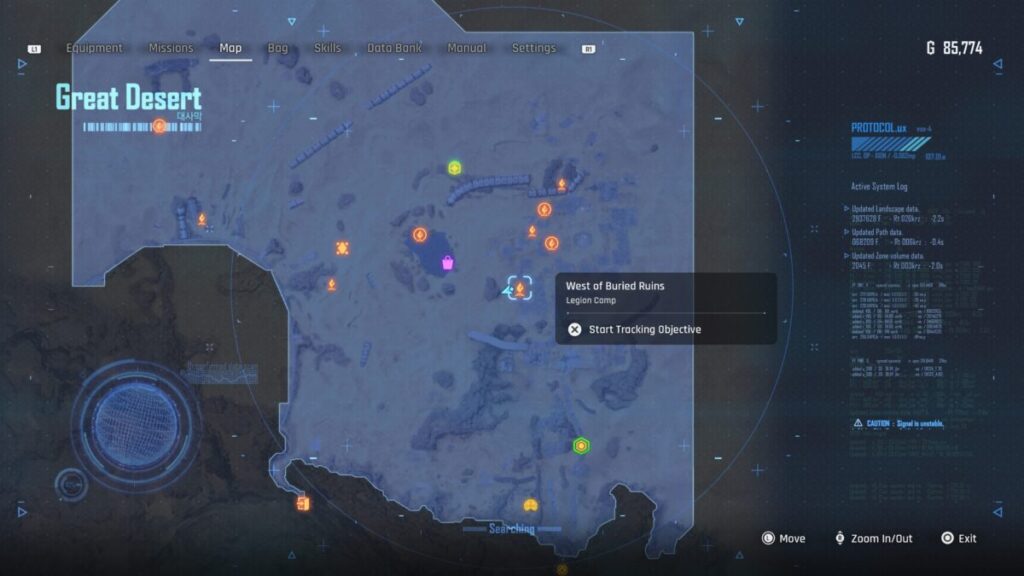
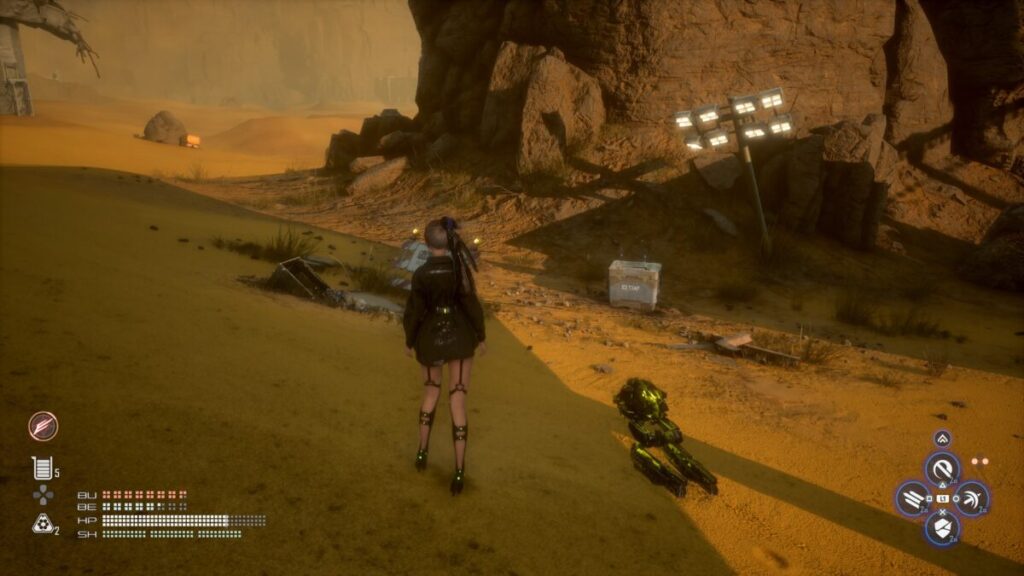
Starwell can loot from a cooler in the ground under a light post west of the West Buried Ruins Legino Camp. There will also be a Lurker swimming back and forth in the dirt near it. To dig up the cooler, you’ll need to plant a Smart Mine on top of it so that when the Lurker comes by, it triggers the mind sending them both to the surface.
#40 – Mountain Sparkle Everest
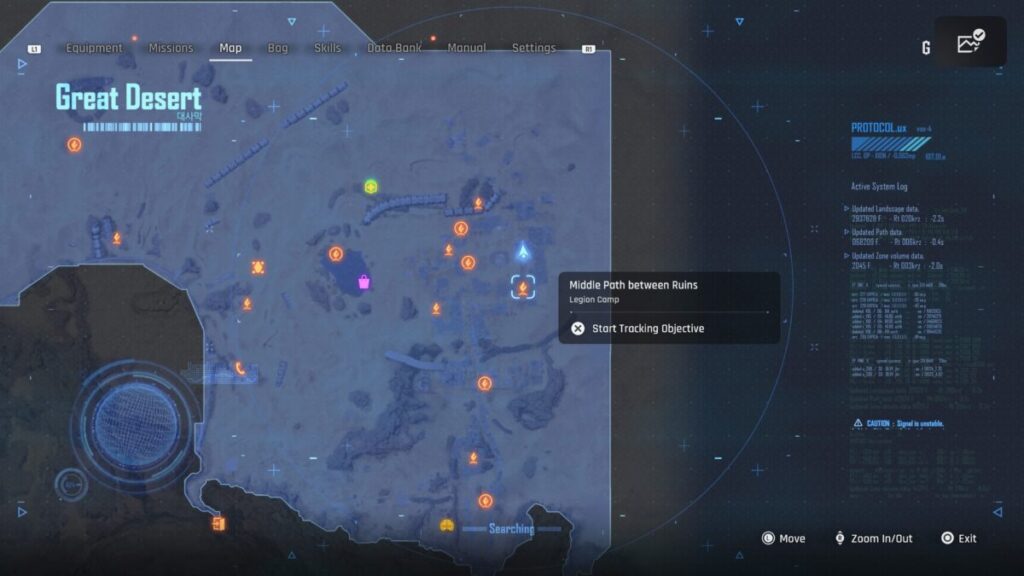
The can is located north of the Middle Path between Ruins Legion Camp behind a laser wall. You’ll need to grab an orange cube which can be found along the path to the can and move it inside of the bottom set of lasers. This will allow you to open the cooler and claim your prize.
#43 – Cryo the Malt
To reach this can, travel to the West of Buried Ruins Legion Camp in the western part of the area then look for a building with an antenna tower on the top. There are a couple of them, but this one is diagonally from the school bus next to the building with the up sign above. There will be a drone with a target you’ll want to shoot to drop a rope. Climb up it to reach the roof and locate the panel next to the antenna. Once you activate it, a timer will start for you to activate 2 more towers. The 2nd one can be reached by using a combination of spin bars and ledges to reach a yellow ladder in front of you while the third is after a long jump across a gap to a yellow climb ledge. After flipping the 3rd switch, take the ladder on its right down and interact with the panel next to the garage door to open it gaining you access to the cooler with the can.
#48 – Johnson’s Highball Lemon
To reach this can, head to the Debris-filled Entryway Supply Camp then follow the overpass heading southwest. Keep an eye on the left for an opening in the rock to pass through. Head through the opening being ready to defend as a pair of Lurker’s ambush you. Deal with them then use the orange cube to reach the ledges and climb up the rock wall to find the cooler with the can.
#49 – Johnson’s Highball Ginger
The Johnson’s Highball Ginger can is obtained from a FIZ vending machine near the Crumbling Rooftop Supply Camp. Travel there then jump down to the lower roof and slide down the ladder. This will put you near the vending machine.
Matrix 11 (Can Collector Trophy)
#5 – Newfoundland Dry
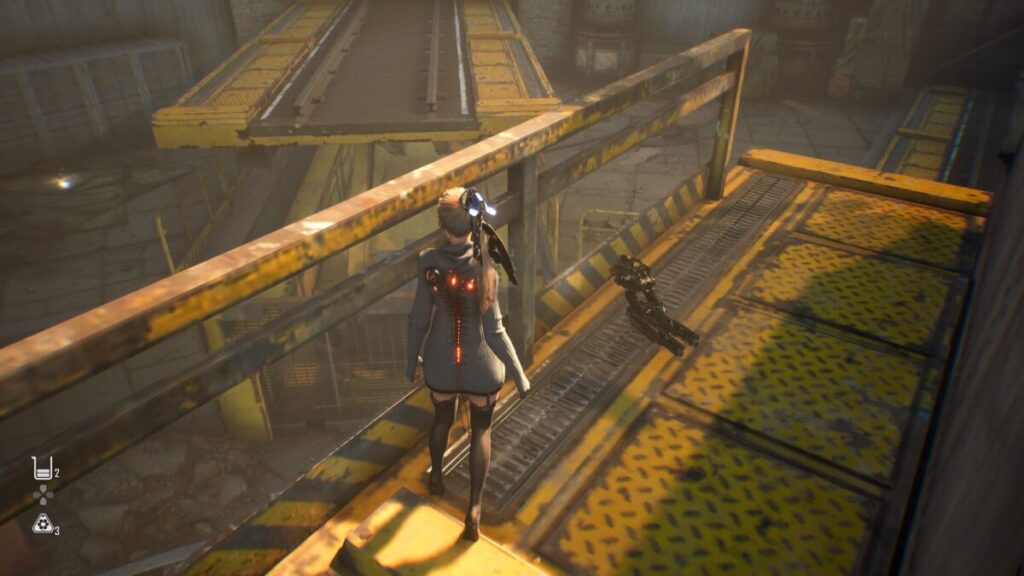
The Newfoundland Dry can is located in a metal shack found in the area where you fight the second boss (Juggernaut) just past the Tempoary Armory Entrance Supply Champ. If you come in from the supply camp, you’ll spot the pile of storage containers in the middle of the room. The shack will be to the right of them. To reach it, you’ll need to walk along the upper walkway and drop down to a set of stairs you’ll want to take down. The entrance to the room will be right there.
#13 – Cryo Cafe Vanilla
The Cryo Cafe Vanilla can is located in the same room where you fight the first boss (Stalker) of Matrix 11. You can find it on the ground next to a couple of storage containers near the left raised track past the train car. This will be just before the Rail Yard Supply Camp.
#47 – Corsair Ale
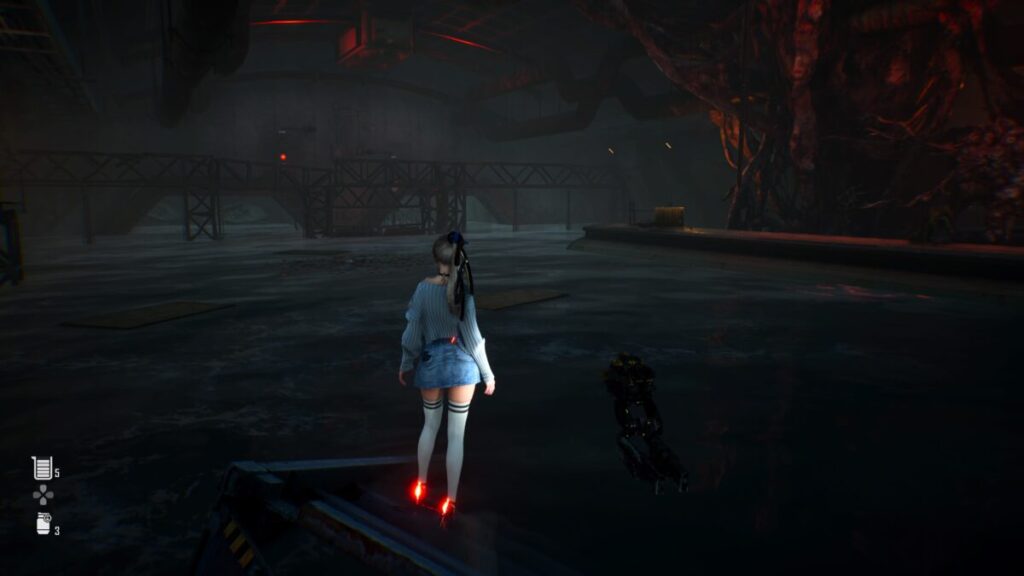
The Corsair Ale can be found in the flooded trainyard just past the area where you fight the second boss (Juggernaut). To reach it, you’ll need to swim to the other end of the trainyard and dive into the water to find a hole in the fence. Pass through it then take a right to spot the can. You can tag it with your scanner for better visibility.
Spire 4 Cans (Can Collector Trophy)
You’ll want to collect all 4 cans while you are here the first time as you won’t be able to get them later.
#7 – Milky Pop
To obtain the Milky Pop can, keep progressing through Soreu 4 until you face Belial for the first time. After defeating him, continue on until you reach the next supply camp (Space Logistics Complex Entrance Supply Camp). To the right of the camp will be a ledge you’ll want to jump on. Use it to reach a walkway on the other side of the supply camp and follow it to the end to find the can.
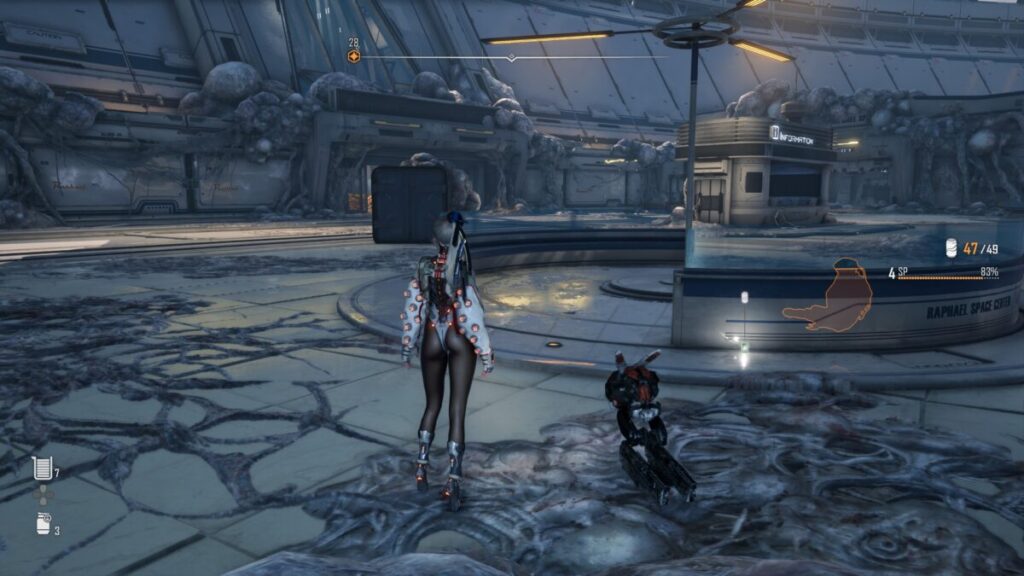
#23 – Nectar Apple
The Nectar Apple can is located in the Raphael Space Center’s main entrance. When facing the Information Center, look to the right to spot a pair of benches that make up a circle. It will be on the ground behind the bench against the wall.
#31 – Liquid Lightning
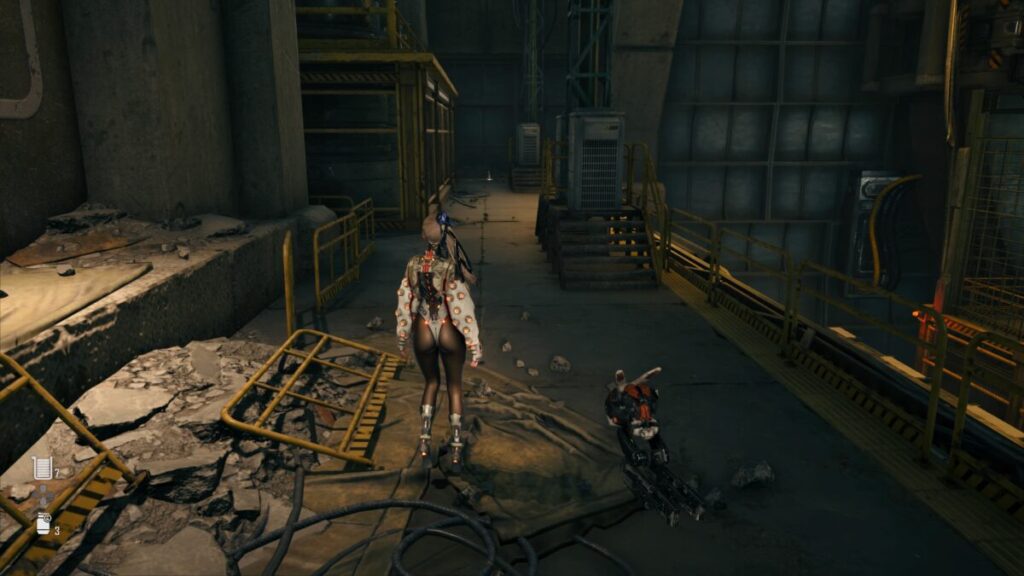
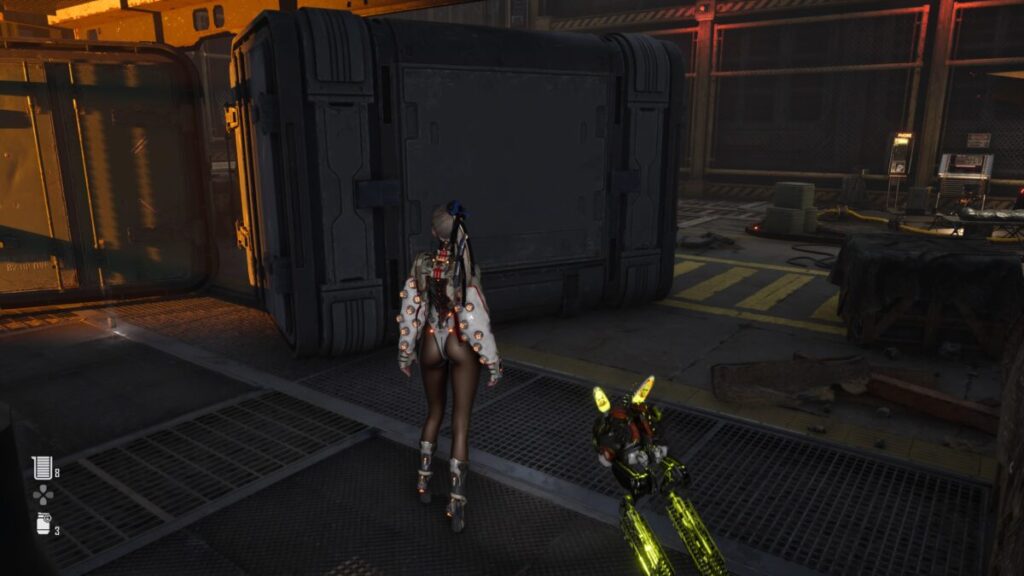
Liquid Lighting can be found behind some giant metal crates across from Space Logistics Center Supply Camp.
#37 – Moonwell
When you reach the Tower Outer Wall, you’ll have to use a combination of droids and beams to jump through an opening in the side. After which you’ll have to fight a Machine Hive. Jump onto the metal bar just past where the hive was then turn around and look to the left. There will be a walkway there with a FIZ vending machine at the end which contains the can. Alternatively, if you miss this can, it can be fished out of the Oasis by using Strange Bait. It’s all RNG-based so it could take a long while to shop up.
Wasteland Cans (Can Collector Trophy)
#2 – Cryo Zero
To obtain the Cryo Zero, you’ll need to solve a little puzzle first. Travel to the Barren Land Legion Camp then head southeast to find a chest. Open it then shoot the target that flies out causing it to move. Follow behind the target shooting it two more times after it stops. On the third time, it will drop a chest with the can inside.
#4 – Pixie Zero
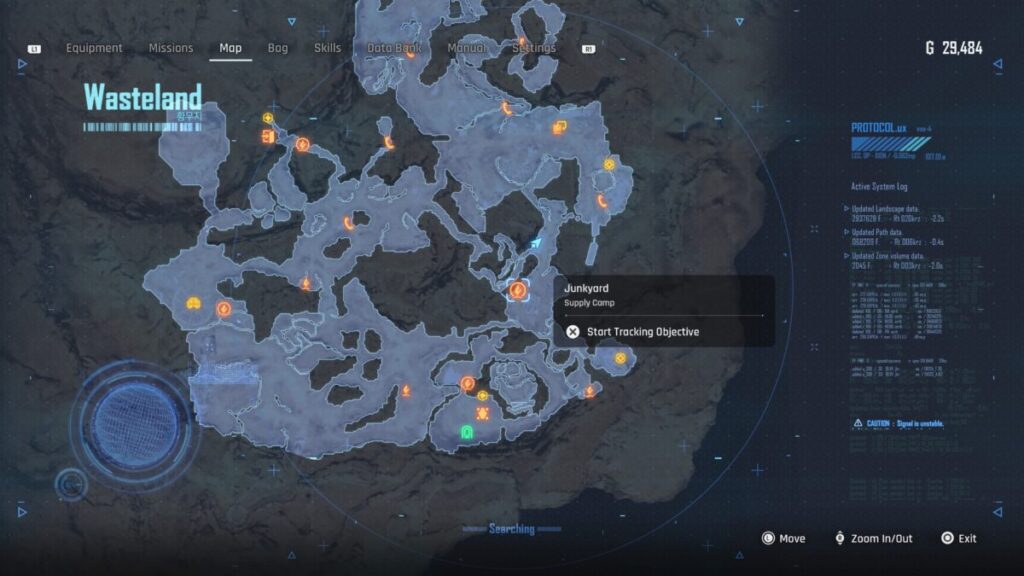
Travel to the Junkyard Supply Camp then head northeast up a dirt ramp. At the top, take a left to spot a green storage container sticking out of the sand. Head past it and look to the right and you’ll spot a droid stuck under some debris. Shoot the metal bars blocking it with your ranged weapon to free the little droid who will reward you with the can.
#10 – The Manchinetta Cafe Latte
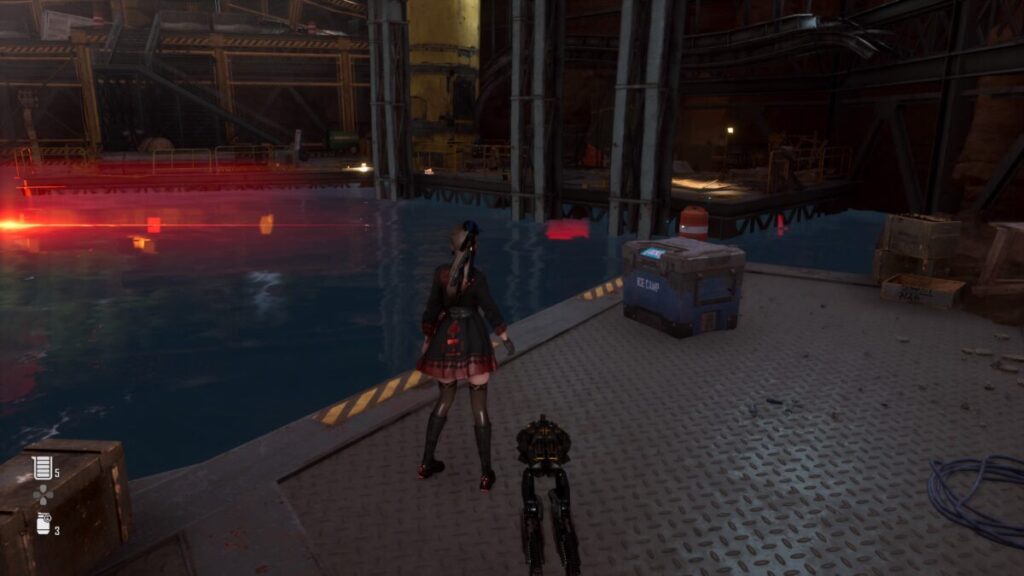
Start at the Junkyard Supply Camp then travel southeast to reach the Plant. Once you’re there, there will be 3 pressure plates in the area you’ll need to move carts onto. Once you activate the 3rd one, a cooler will drop near the entrance. Open it to receive the can!
#12 – Cyro Cafe Original
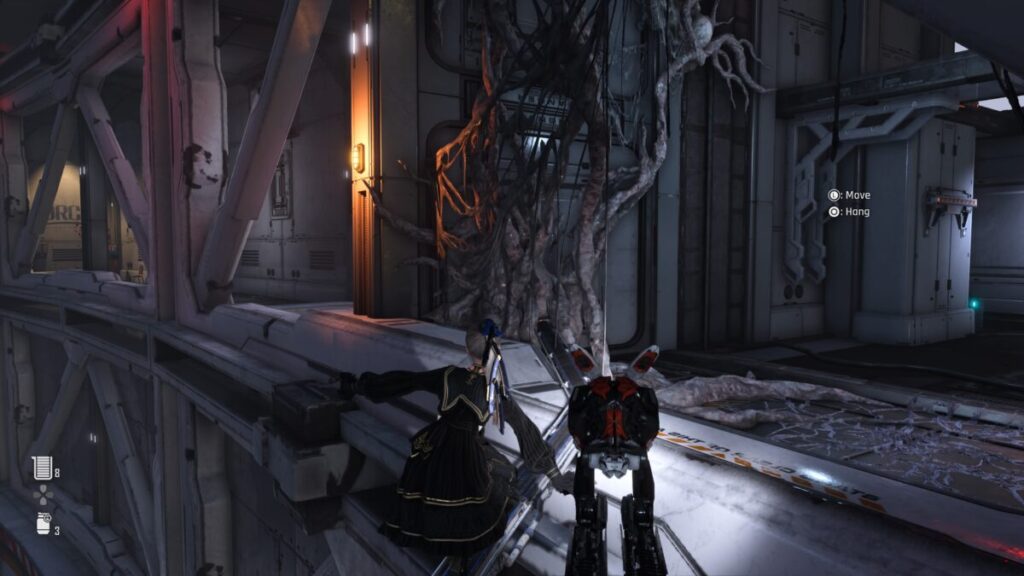
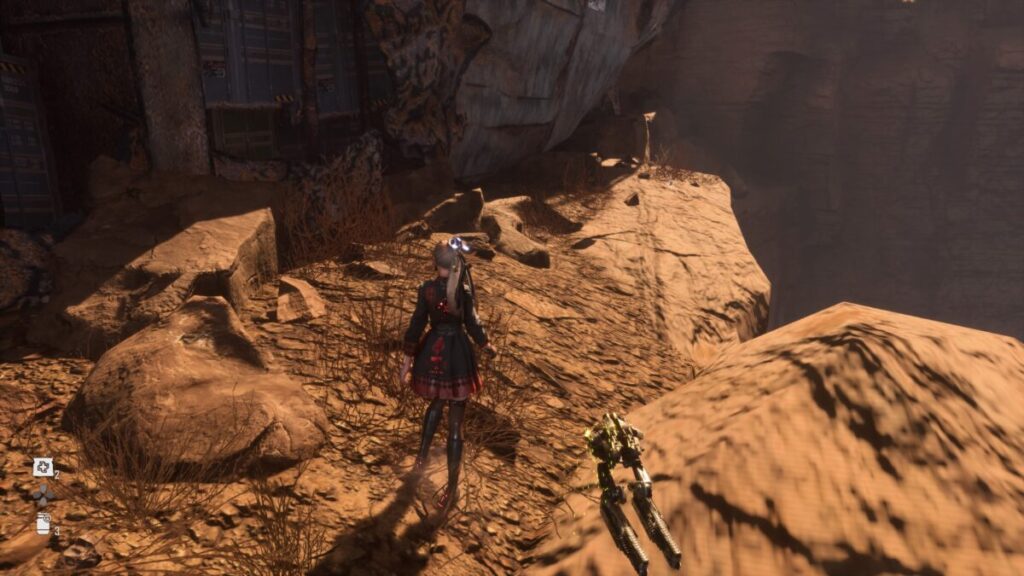
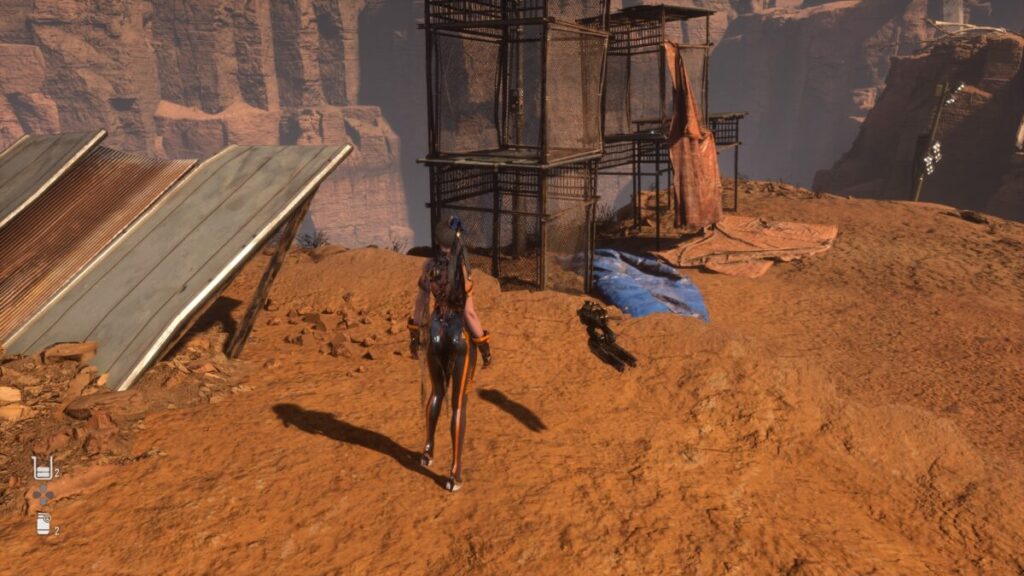
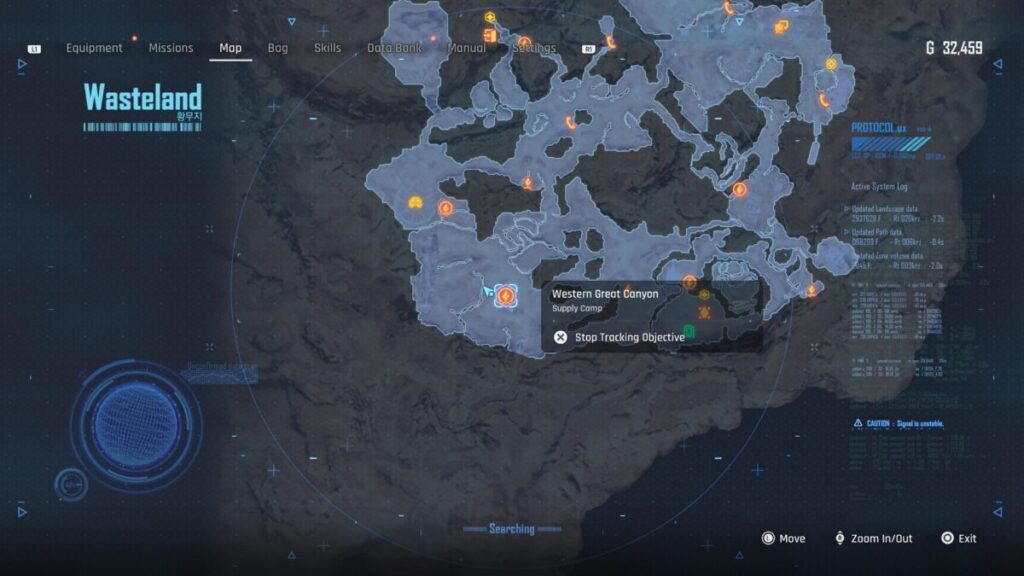
Starting at the Western Great Canyon Supply camp, head west (there is a path slightly northwest of the camp) towards the upper section of the broken vessel. Head through the ship emerging from the other side then take a left to find the can.
#17 – The Heaven Green Tea
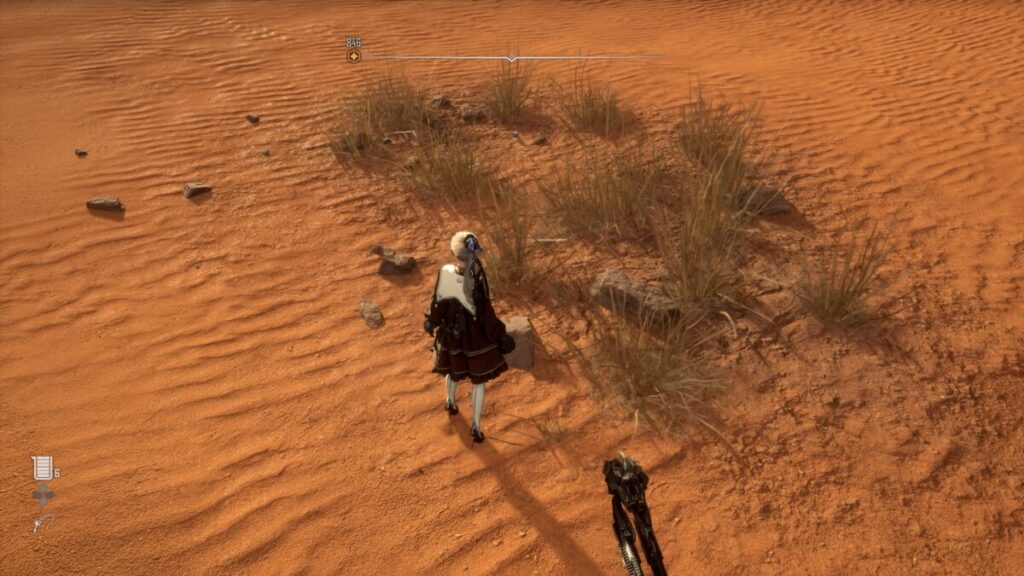
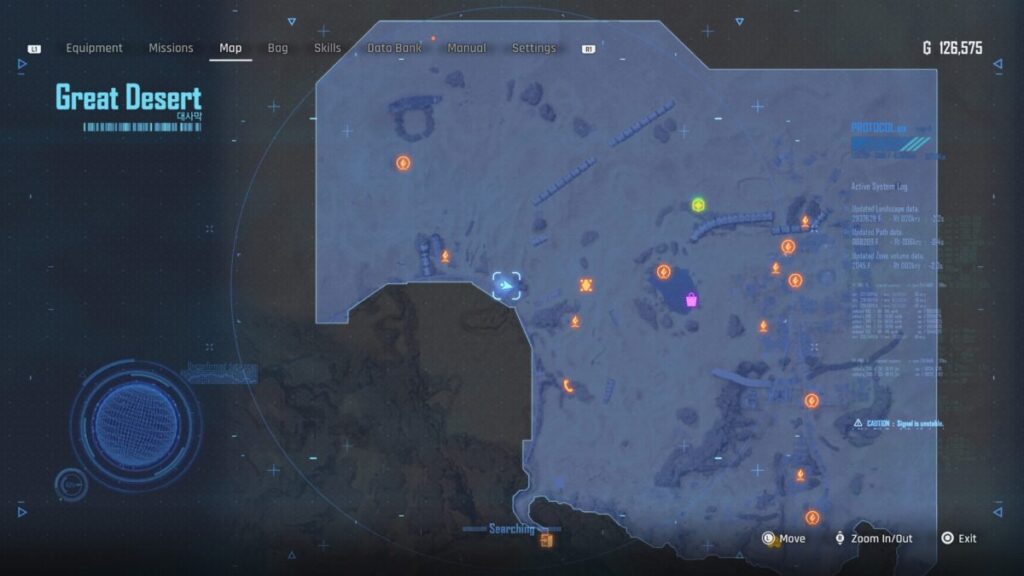
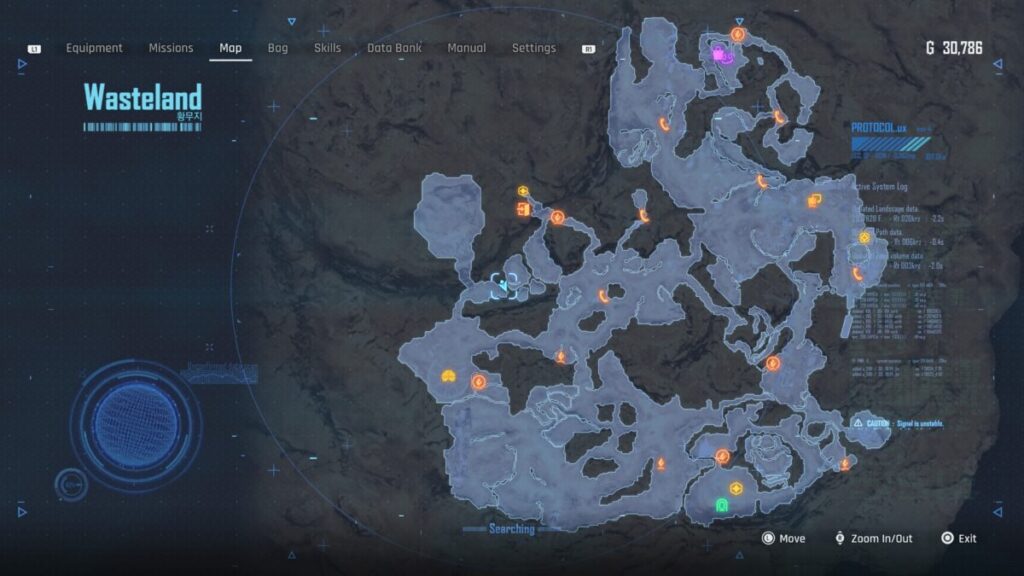
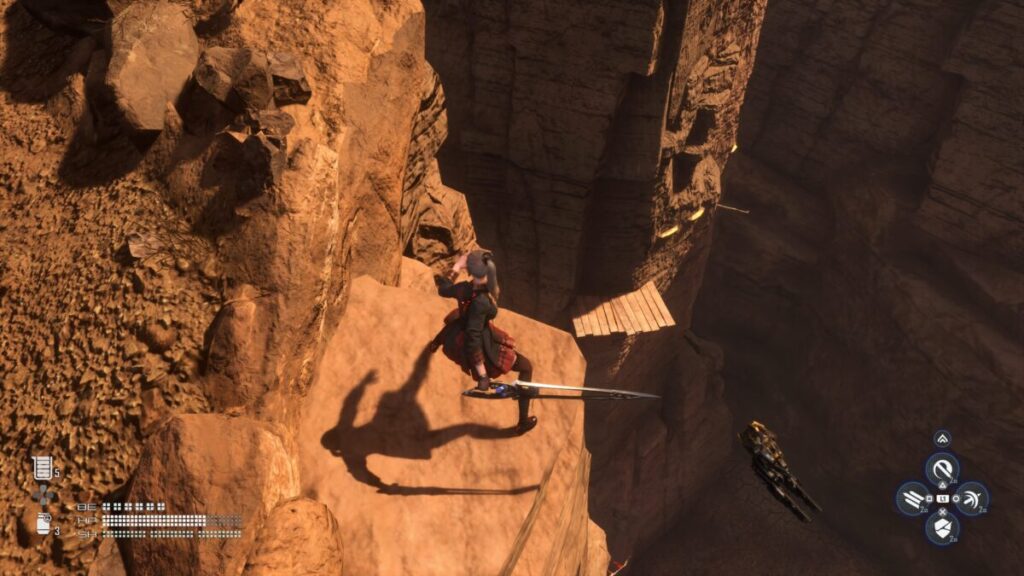
Before tackling this can, you’ll need to progress far enough into the story until you unlock the double jump. Once you’ve done that head to the location on the map above. You’ll need to jump down to the wooden sticks sticking out the side of the rocks and use them in combination with some ledges and gliding to scale the side of a couple of rocks to reach the top of one containing a cooler. Open it to receive the can!
#18 – GrainT Barley
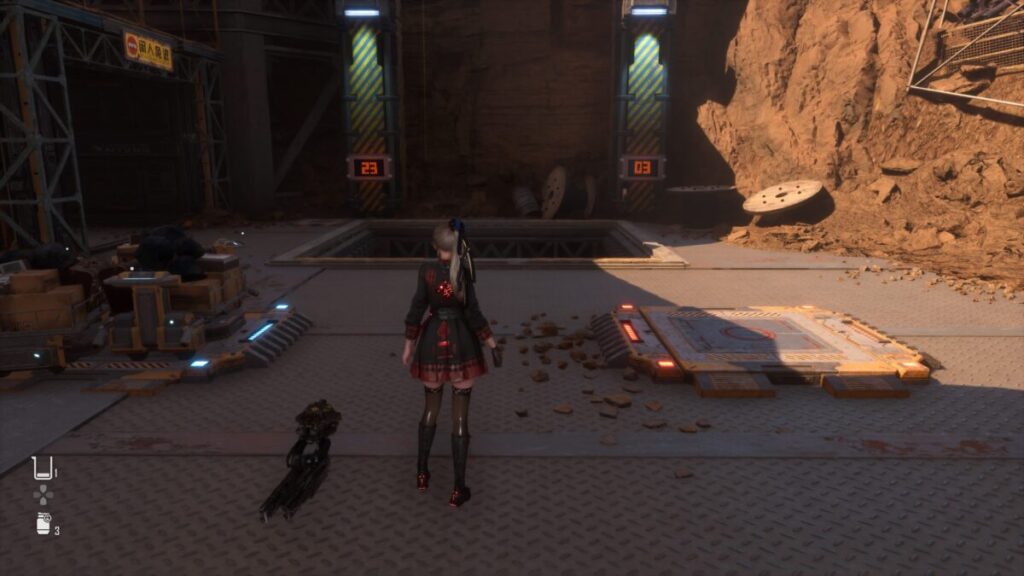
It’s quite the trek to find the GrainT Barley can. You’ll want to start by traveling to the Altess Levoire Entrance then head east of Altess Levoire passing through the gate. Continue on until you reach the next gate then take a left facing the rock. There will be a path there you can take to reach the top of that large rock formation. Take that to the top, then head left looking for some wooden platforms, sticks and yellow ledges on the side of one of the rock formations (off to the right of Adam’s ship). You’ll want to head there and use that to scale the side of the rock. This will bring you to a wooden bridge you’ll then want to cross where you’ll then drop down into a gated-off area.
The goal here is to distribute the weight so you can open the hatch which contains the can. Start by moving one of the carts to the pressure on the back-left. This will drop down a rope you can climb and use to drop down into the side structure with a third cart. Flip the lever next to the cart top open the gate, then place all three of the carts on the back left pressure plate so that the monitors read 23 and 03 from left to right. This will open the hatch revealing the cooler. Loot the cooler for the can!
#20 – GrainT Corn
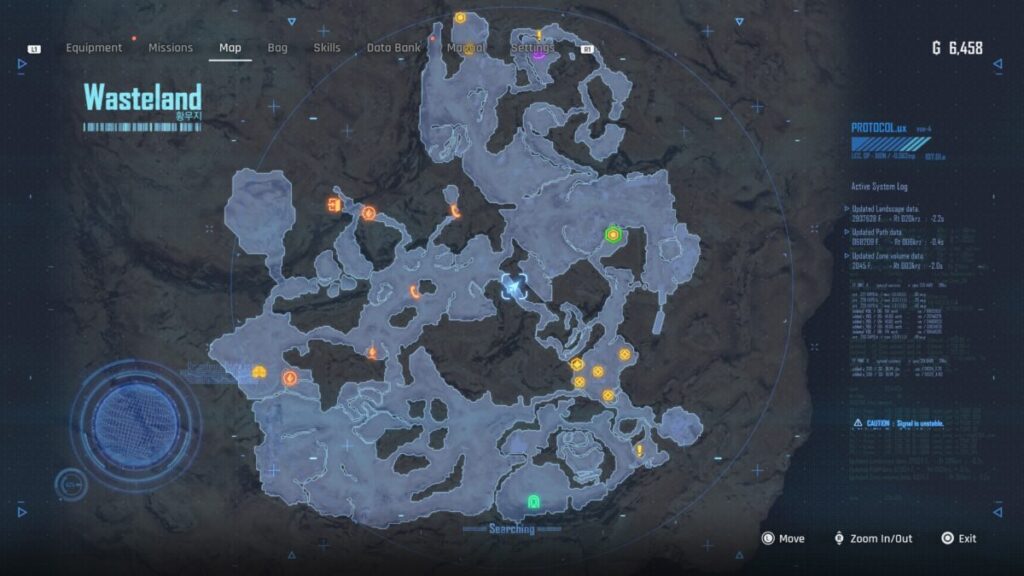
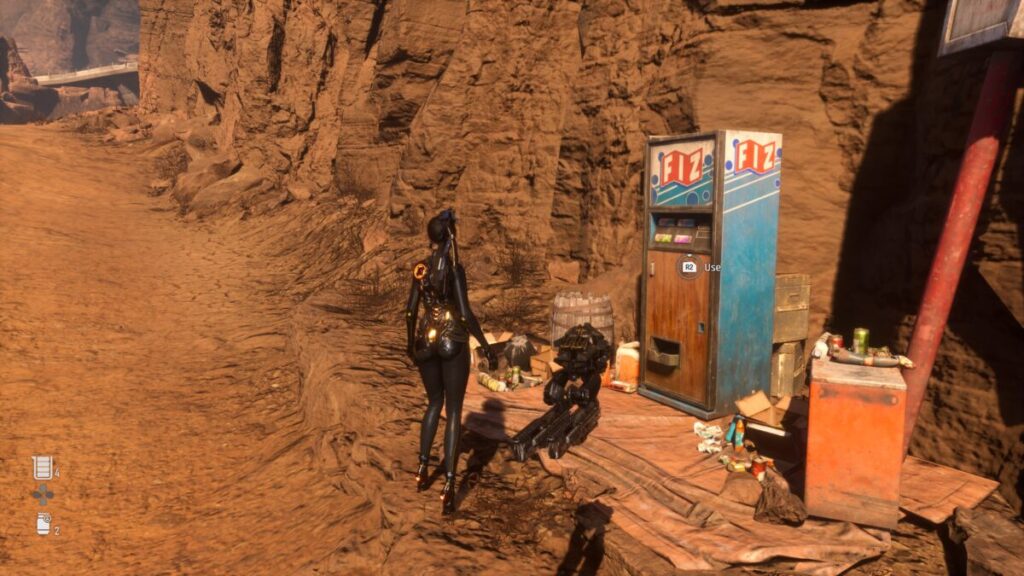
You can obtain this can from a FIZ vending machine along the path southeast of the Hidden Path Supply Camp.
#21 – Nectar Orange
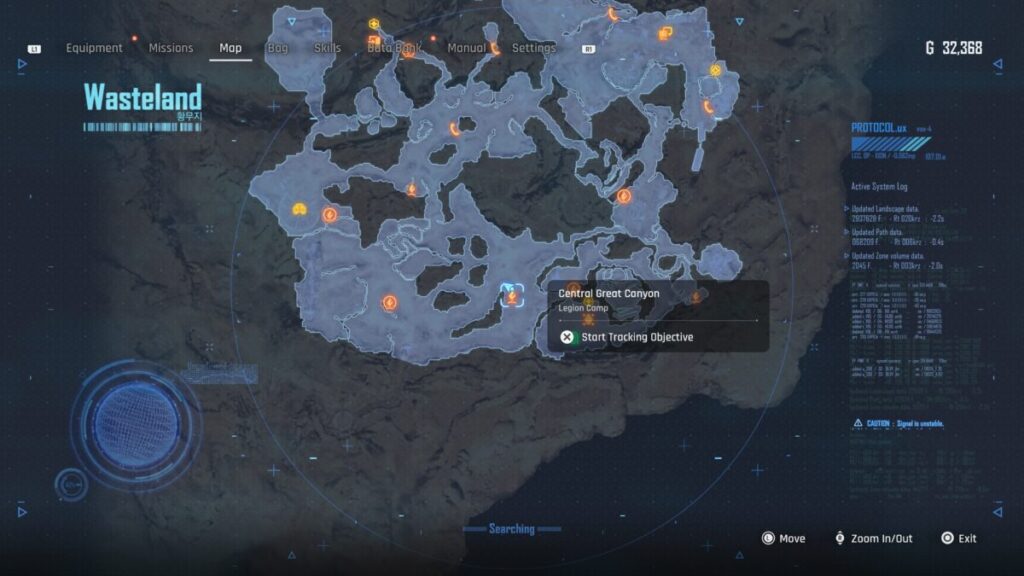
In order to reach this can, you’ll need to progress far enough in the story to unlock the double jump. Once you’ve done that, travel to the Central Great Canyon Legion Camp to find a billboard there. You’ll want to move a nearby orange cube under the back side of the billboard then climb up on top of it and double jump up to the top ledge of the billboard to loot the cooler with the can inside.
#26 – Elixir Green
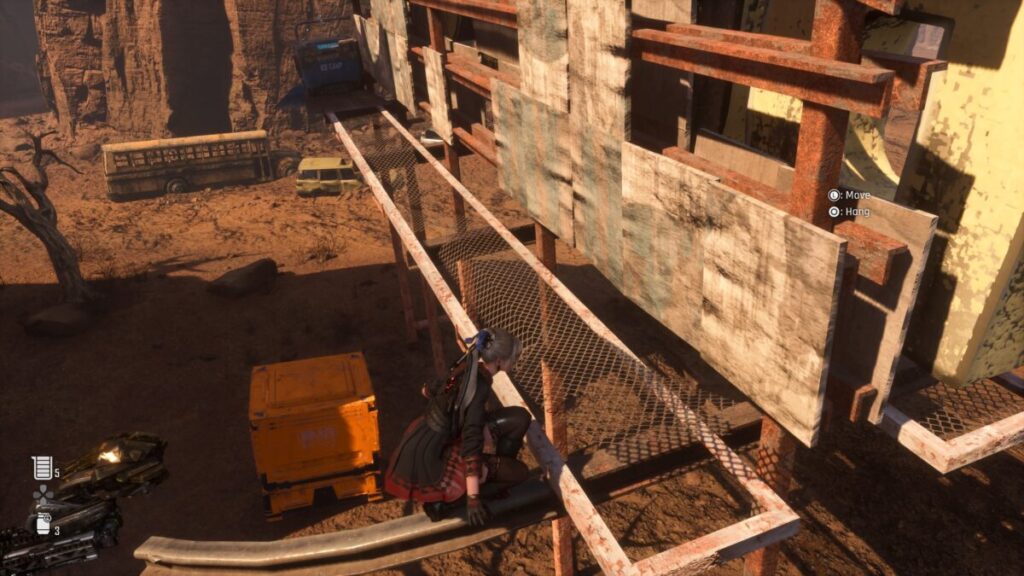
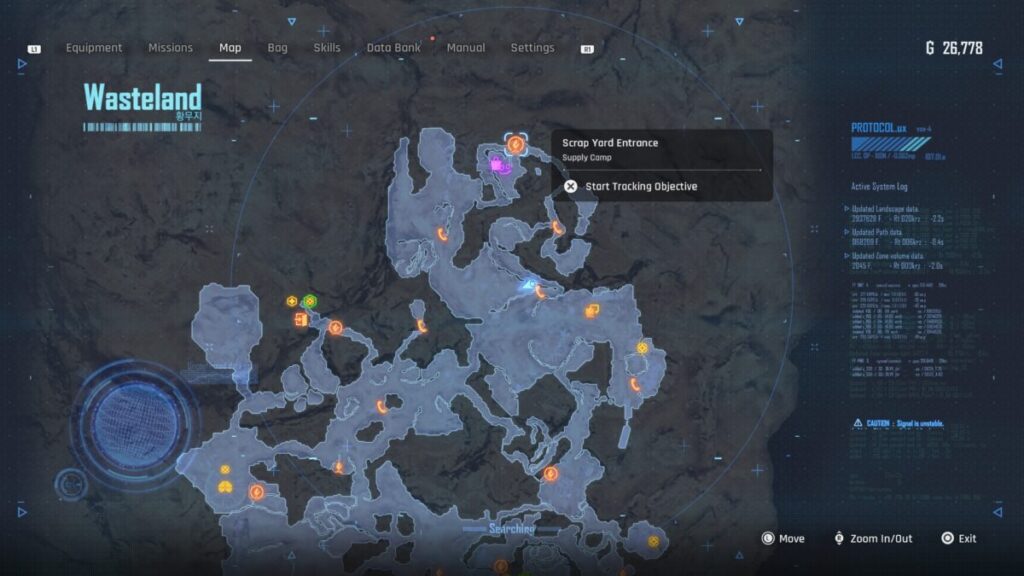
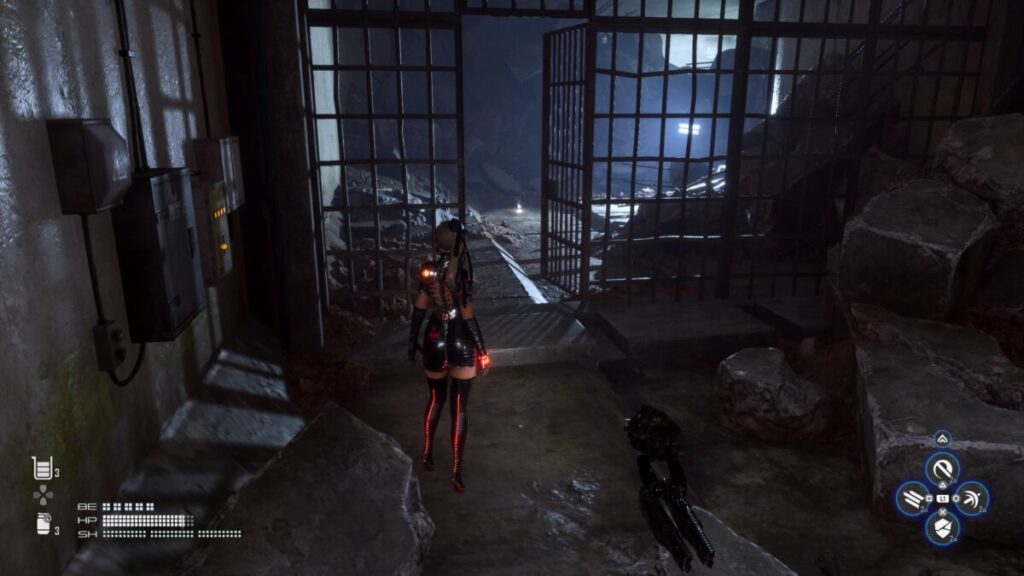
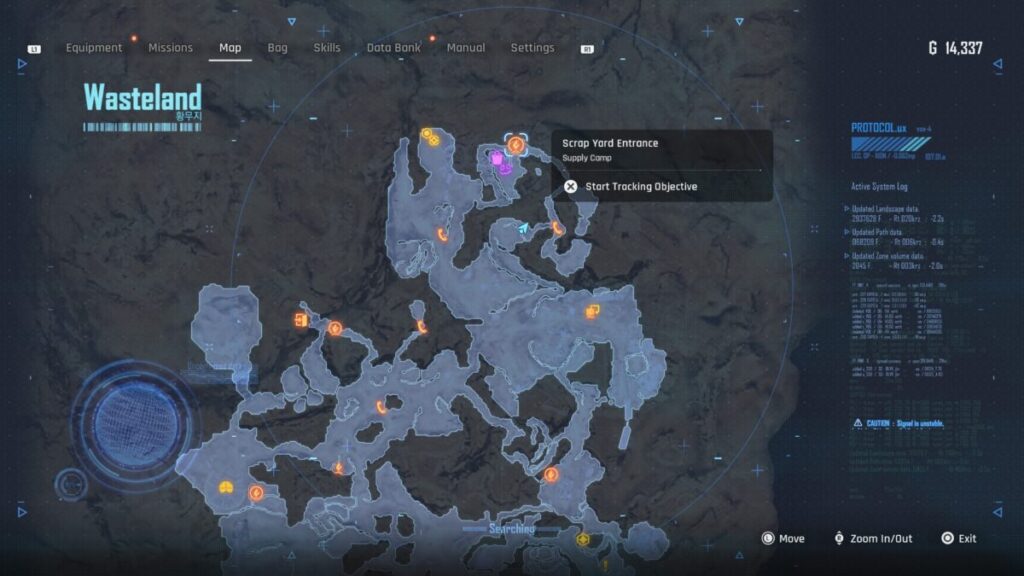
The Elixir Green can is located on top of a structure made of fences south of the Scarp Yard Supply Camp and northwest of the Bus Sto Legion Camp. You will need the double jump to reach it.
#28 – Behemoth Green
Behemoth Green can be looted from a cooler directly to the west of the Western Great Canyon Supply Camp. In order to open it, you’ll need to put two metal balls on each pressure plate next to the cooler. One of the balls will be right there, the other will be off to the left when facing the crate.
#34 – Potential Tempest
You can loot this can from a chest on top of two storage containers near the Solar Tower. To open the chest, you’ll first need to interact with 4 terminals in the immediate area.
#41 – Mountain Sparkle Halla
This is another can that will require you to double jump to reach it. Starting at the Western Great Canyon Supply Camp, head north to spot some yellow ledges on the side of a rock wall. Climb up them then look for the sticks sticking out the side of the rock along the path to your left. Swing along them and a couple of rock ledges to reach an elevated rock ledge with a cooler containing the can on it (and some enemies, can’t forget them).
#42 – Cyro The Clear
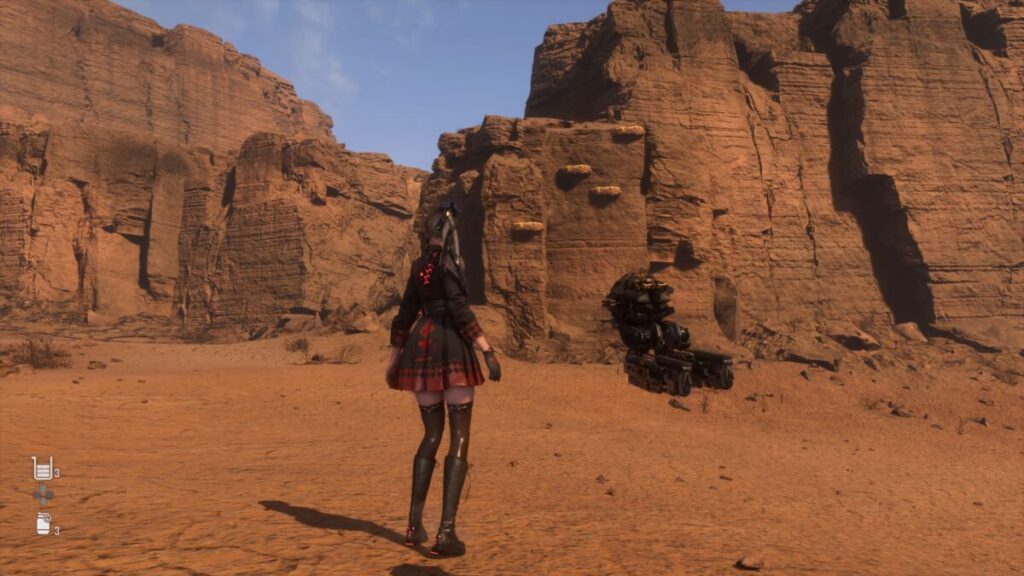
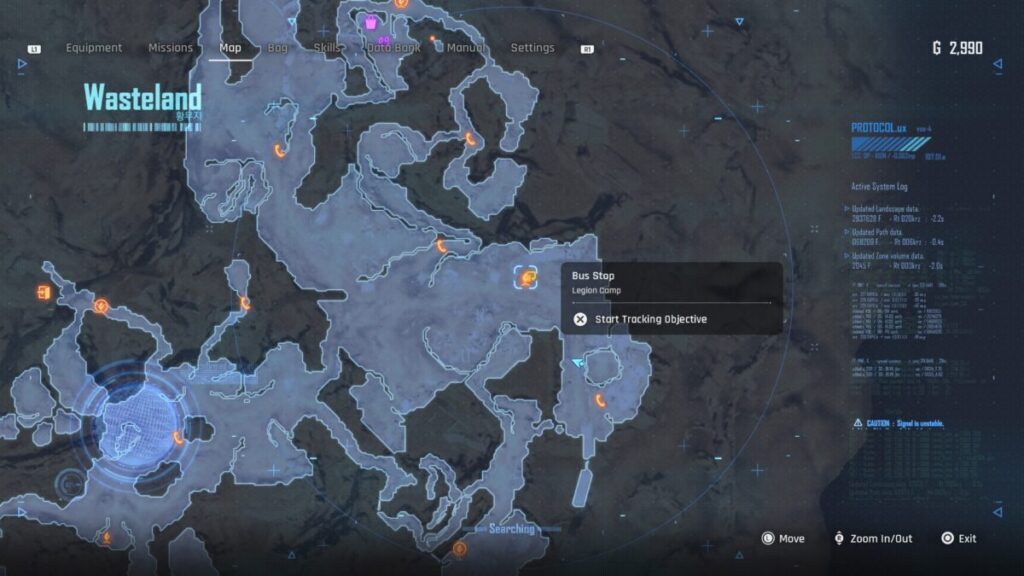
The Cryo The Clear can is located in the Forbidden Zone found in the eastern part of the area next to the phonebooth southeast of the Bus Stop Legino Camp.
#44 – Bayern Hefe Weissbier
You can find the Bayern Hefe Weissbier can in a FIZ vending machine along the path south of the Scrap Yard Supply Camp.
#46 – Corsair Lager
The Corsair Lager can be looted from a chest on top of a yellow metal platform west of the Scrap Yard Supply Camp, just past the Oil Storage Facility. In order to reach it, you’ll need to head north of the platform down a narrow path (due west of the Oil Storage Facility) to find a console. Interact act with that console to lower part of the metal platform. You’ll then need to quickly head back and jump on top of it before it raises back up. Along the way, you’ll be targeted by two turrets that have the potential to one-shot EVE.
Xion Cans (Can Collector Trophy)
You’ll want to collect all as soon as possible. Once you hit a certain point in the story, Xion will become inaccessible. Adam will warn you about this beforehand.
#3 – Pixie
On the ground along the walkway heading to the east side of Billy’s Shop.
#9 – The Machinetta Americano
You can get this can by interacting with a vending machine at the end of a walkway. When facing Gwen Hair Salon, turn to the left to find a small set of stairs along a fenced walkway. That’s where you want to go.
#11 – The Machinetta Caramel Macchiato
You can collect this can from a vending machine in a small alley east of Billy’s Shop.
#19 – GrainT Oolong
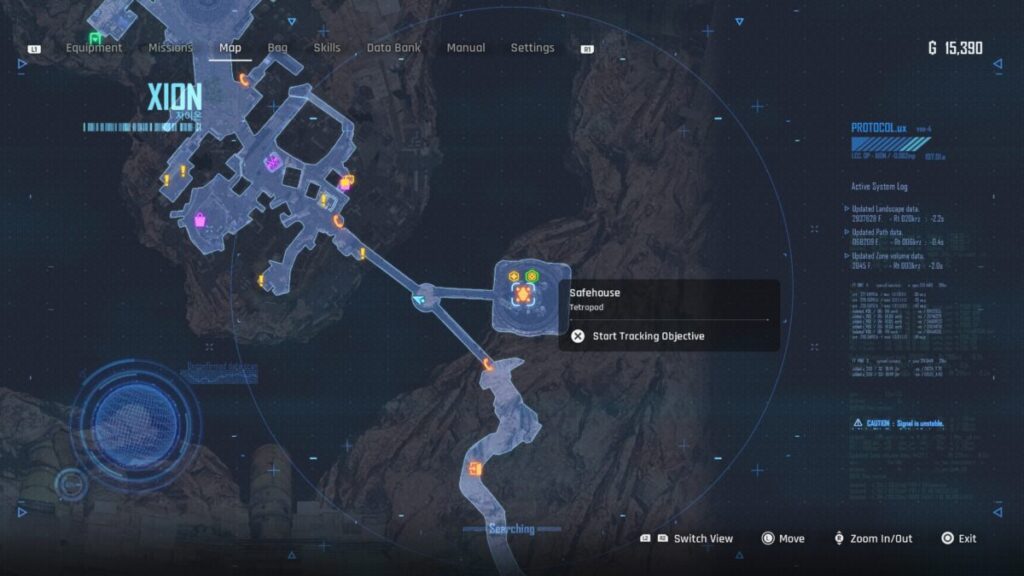
You can find the GrainT Oolong can by at the split just past the Safehouse once reaching the Light of Hope main mission. You’ll notice a rope hanging next to a sign just before the bridge. Climb down it and follow the path around to spot the can on a rock ledge.
#27 – Behemoth Red
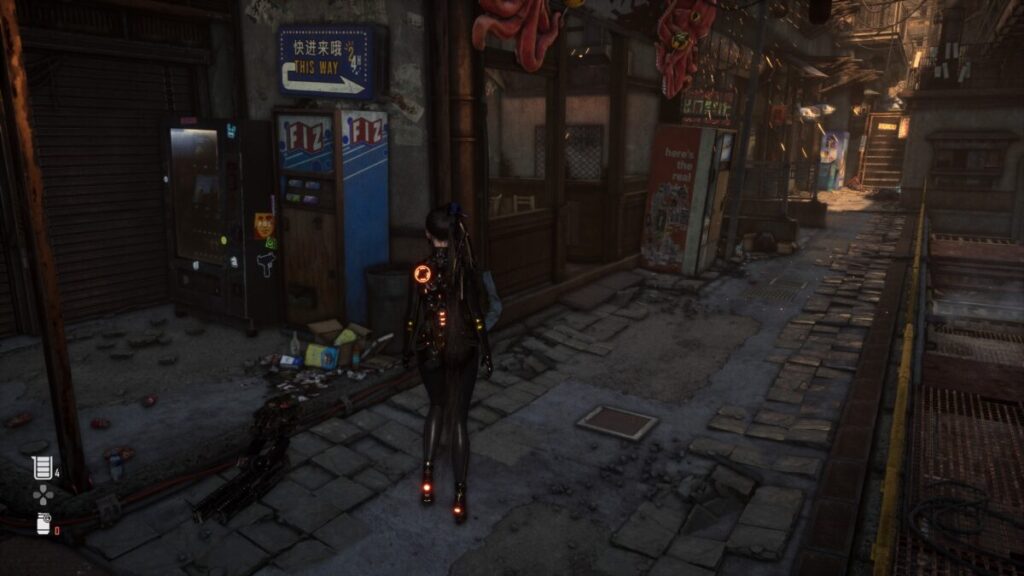
This can can be collected from a vending machine in the alleyway leading to The Last Gulp.
#36 – Dionysus C
The Dionysus C can is located on the ground at the top of the stairs leading to the Bulletin Board.
#39 – Mountain Sparkle Mont Blanc
You can get this can by interacting with a vending machine along the walkway behind Sister’s Junk.
#45 – Bayern Weissbier Dunkel
The Bayern Weissbier Dunkel can be found in the alley to the right of Roxanne and the Bulletin Board.
Stellar Blade Guides and Walkthroughs
For more Stellar Blade guides and walkthroughs, click here!
Welcome to NGB and our Stellar Blade guide for the Valuable Cargo Request! Here we’ll cover where you can pick up the request, how to complete it and what rewards you’ll receive at the end.
How to Start the Valuable Cargo Request
You can start this request by accepting it at the Bulletin Board in Xion. It will appear there after you’ve completed a few of the other requests.
How to Complete the Valuable Cargo Request
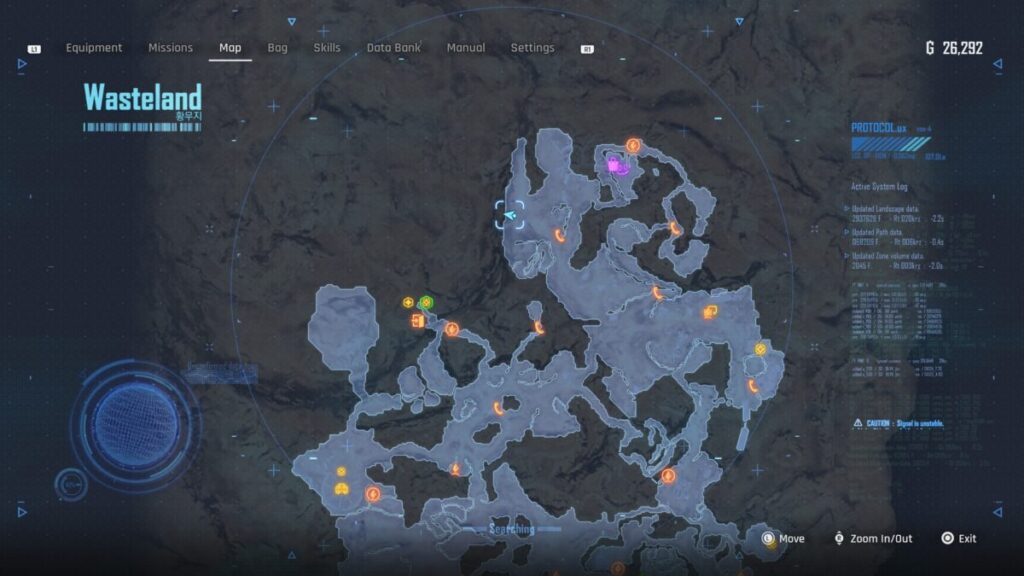
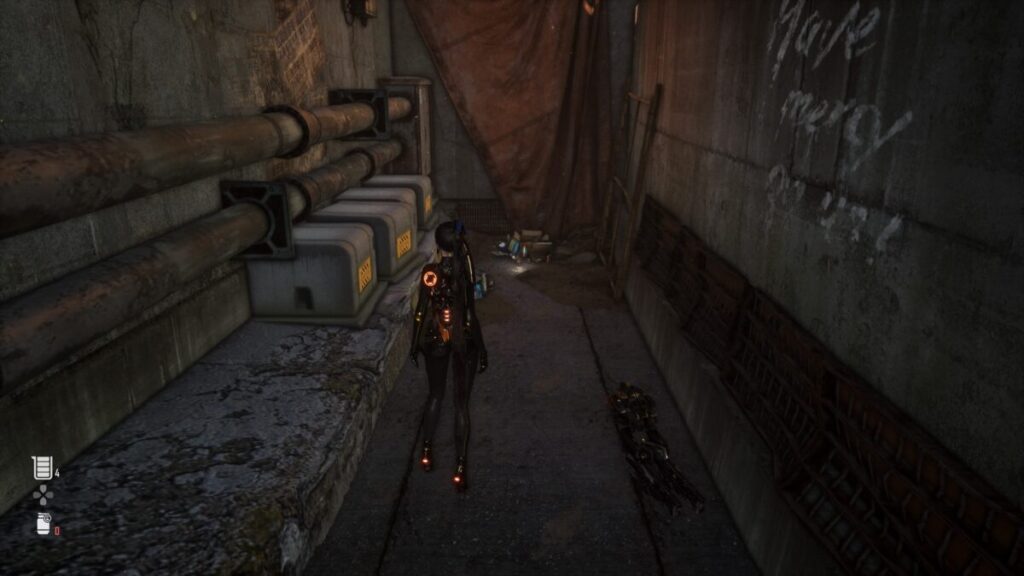
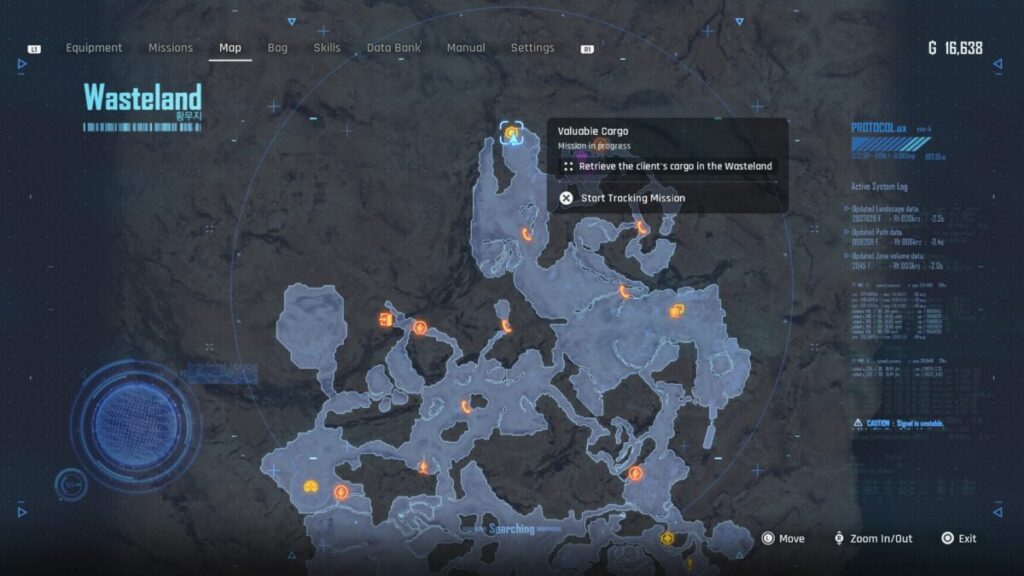
For the request, you’ll be asked to collect some cargo left at the Oil Storage Facility near the middle of the Scarp Plains in the Wasteland. The transporter dropped it there while fleeing from som Naytiba and hasn’t healed enough to go retrieve it on their own. Set out for the Wasteland and head to the Oil Storage Facility in the northeastern part of the area.
When you get there, you’ll notice that the way into the facility is blocked by a fence and some tall vines. To get past it, you’ll need to climb up to the broken highway and use it to reach a ledge on the right side of the gate. From there you’ll be able to drop down into the facility. Once you’re inside, head to the back left corner to find a crate next to the red fuel container. Open it to retrieve the goods then return them to the requestor at the Bulletin Board to complete the request and receive your rewards.
Request Rewards
Once you have completed the request, you’ll be rewarded with the items listed below!
2,100 Gold
Vitcoin x2
Stellar Blade Guides and Walkthroughs
For more Stellar Blade guides and walkthroughs, click here!
Welcome to NGB and our Stellar Blade guide on the Urgent Information mission! Here we’ll cover how to start the mission, what you’ll need to do to complete it and the rewards you’ll receive at the end.
How to Start the Urgent Information Mission
Travel to the main gate of Xion on the south part of the city along the path leading to Adam’s and speak with the guard on the right when looking at the sign. He’ll mention that some Sentinels tasked with surveilling a mutant Naytiba have gone missing then ask EVE to investigate.
How to Complete the Urgent Information Mission
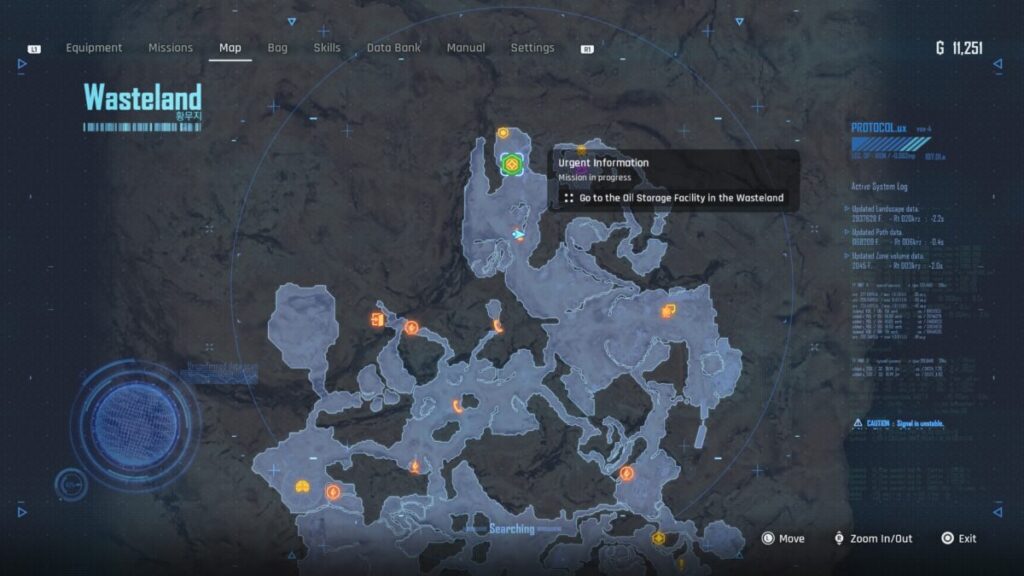
To kick off this mission, travel to the Wasteland and head for the northeastern section of the map, just west of the Scarp Yard.
Once you’re there, you’ll notice that the way to the Oil Storage Facility is blocked by a fence covered in giant vines. To get past it, you’ll need to climb on top of the overpass and use that to reach a ledge on the right side of the gate that will let you drop down behind it in the Oil Storage Facility.
If you’re also at the Oil Storage Facility for the Valuable Cargo request, you’ll want to collect the cargo before investigating the three bodies. If you don’t you won’t be able to collect it until you defeat the boss enemy for this quest.
Now that you’ve reached your destination, you’ll need to figure out what happened here. There will be 3 bodies you need to examine scattered in the middle of the area. One of them can be found under a stack of crates that you’ll need to destroy. After you examine the last one, a Gigas Alpha Naytiba will show up prompting a fight.
After you defeat the Gigas, Adam and EVE will talk about how the Sentinels were ambushed by the Naytiba then EVE will need to return to the guard and report what happened to complete the mission.
Mission Rewards
You’ll receive the items listed below for completing this mission!
SP
Drone Module Upgrade
1,100 Gold
Nano Element x30
Stellar Blade Guides and Walkthroughs
For more Stellar Blade guides and walkthroughs, click here!
Welcome to NGB and our Plan to Clean the Earth mission guide for Stellar Blade. Here we’ll cover where to start this mission, how to complete it and what you’ll be rewarded with at the end.
How to Start the Plan to Clean the Earth Mission
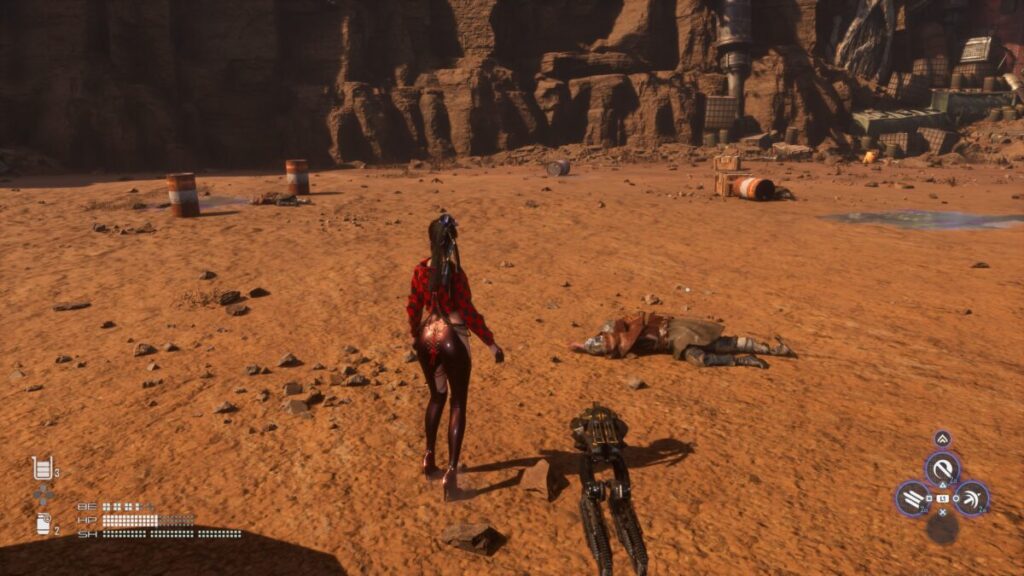
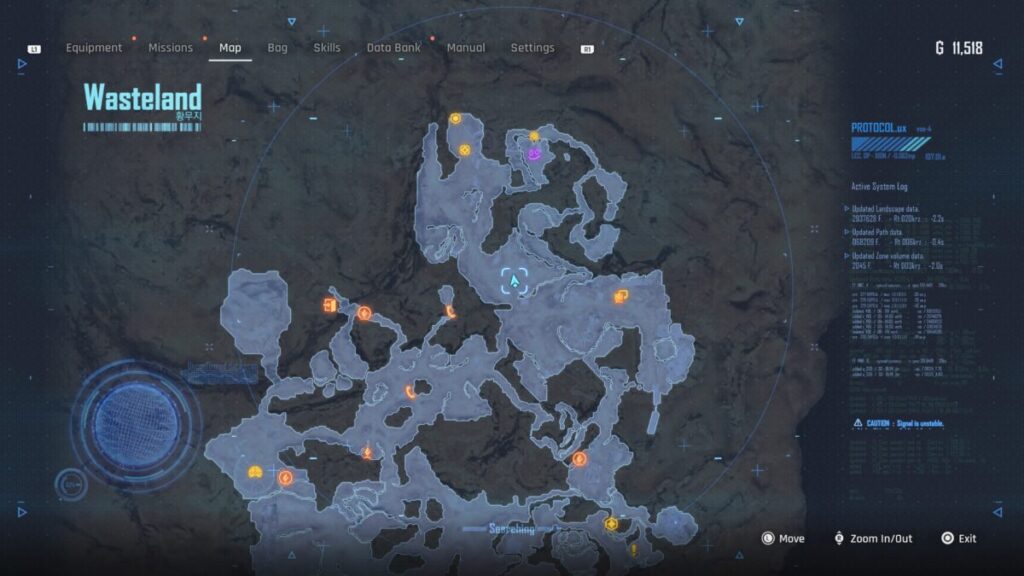
In order to start this mission, you’ll need to travel to the Wasteland and head for the northeastern part of the map. Around there, EVE will receive a radio transmission asking for help thus starting the mission.
How to Complete the Plan to Clean the Earth Mission
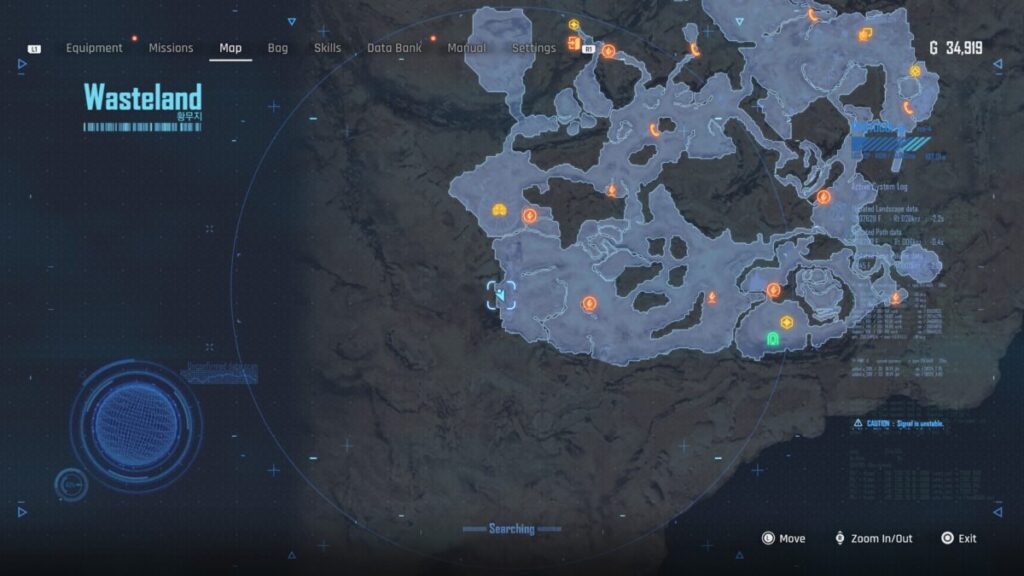
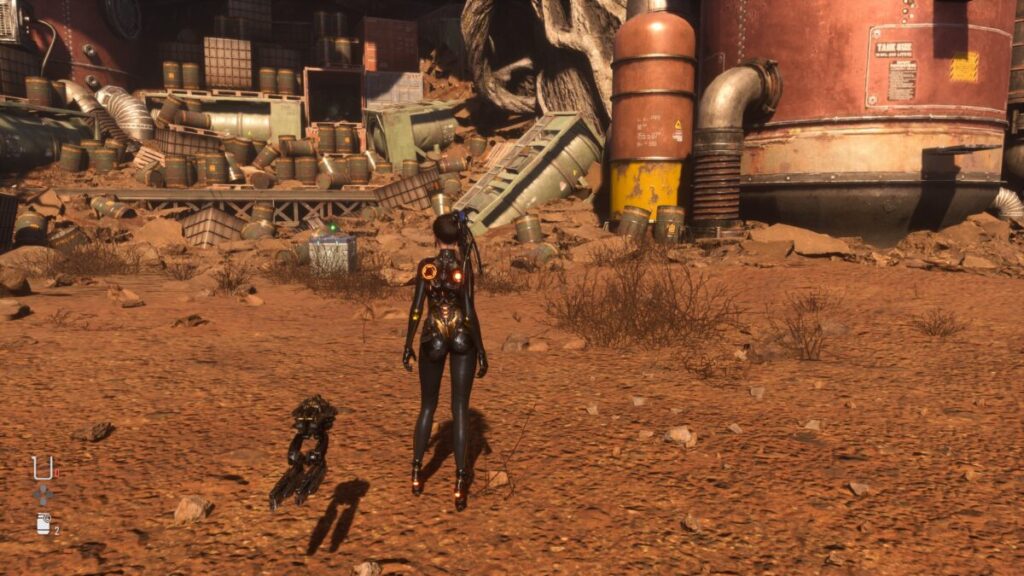
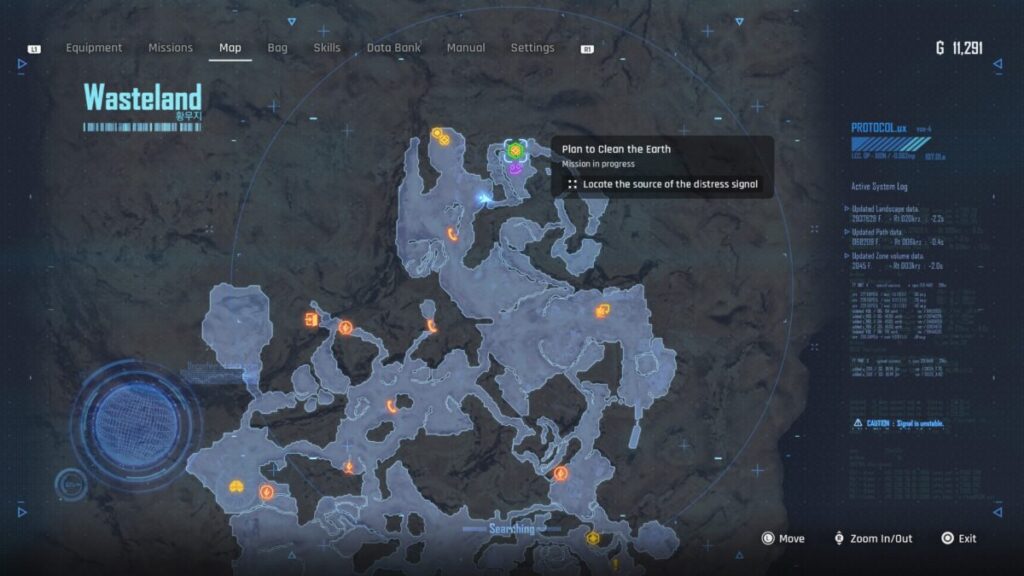
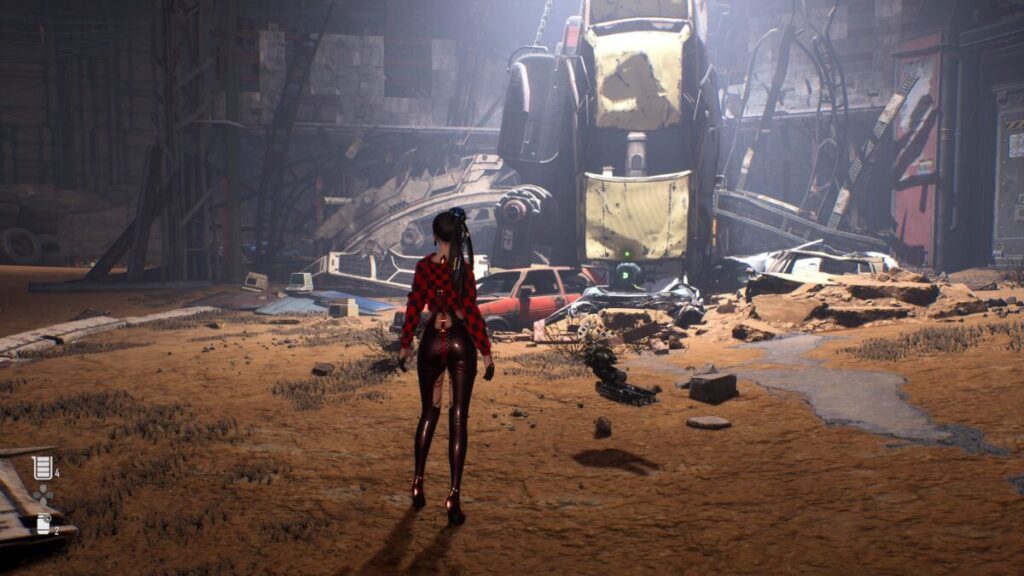
To kick off this mission, head to the Scarp Yard in the northwestern part of the map to find the source of the signal.
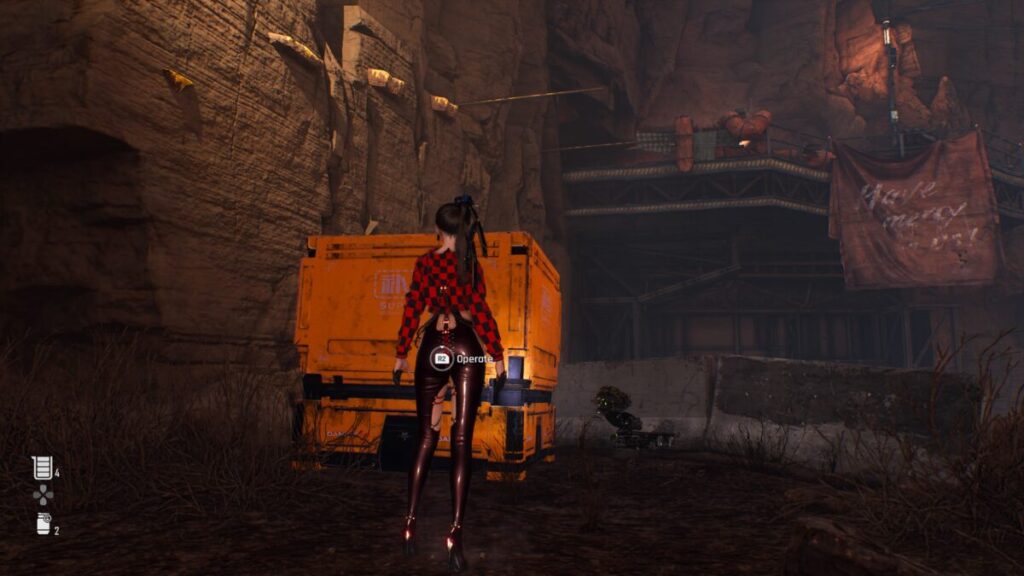
Interact with the trapped doing in the center of the area to learn his name is D1G-g2r (digger) and that he needs help getting unstuck. To do this, you’ll need to rest the claw crane’s control system by interacting with the Ticker, Buzzer and Clunker in that order (you can see the order and how to reach starting with the Restart the Ticker section below). Once all three have been restarted in the correct sequence, return to D1G-g2r and speak with him to trigger a cutscene that will lead to the completion of the mission.
Restart the Ticker
If you open the map, you’ll notice that there are now three objectives in the Scrap Yard flagged as “Reset the claw crane’s control system”. Start out by heading for the most right one. There you’ll spot a raised metal platform with the ticker on it. To reach it, you’ll need to move a nearby yellow cube next to the cliffside and use it to reach a climbable ledge embedded in the cliff. This will allow you to scale the cliff and reach the platform to turn on the ticker.
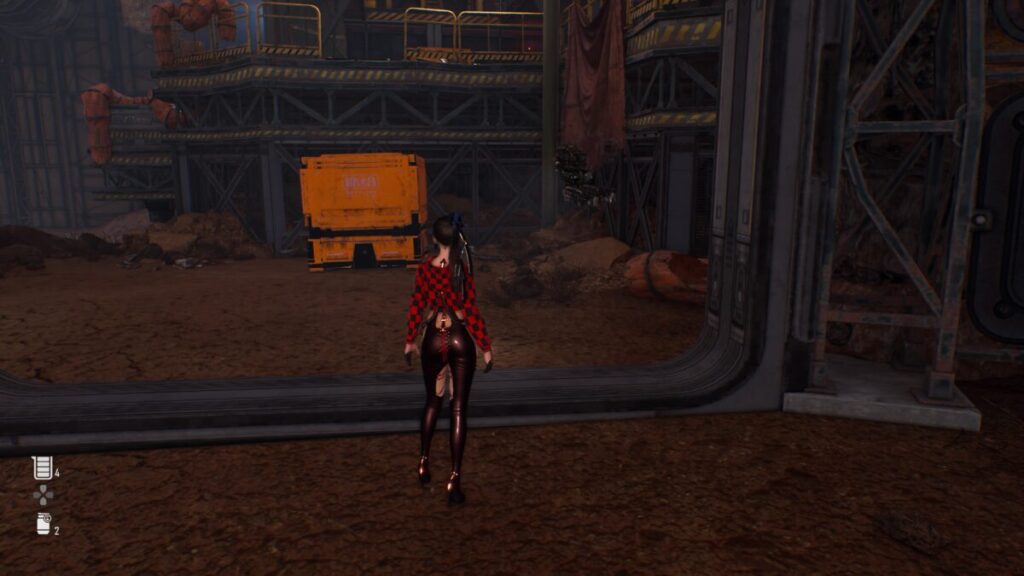
Restart the Buzzer
To find the Buzzer, you’ll want to head to the most southern objective in the scrap yard. Once there, move the yellow cube so that you can use it to climb up to the metal platform.
Next, you’ll want to locate a floor switch and move a nearby cart thing (filled with luggage and boxes) on top of it. This will cause a gate to lower allowing you to move another yellow cube in place to reach the upper level of the metal platform.
Climb up there and interact with the machine to get it going.
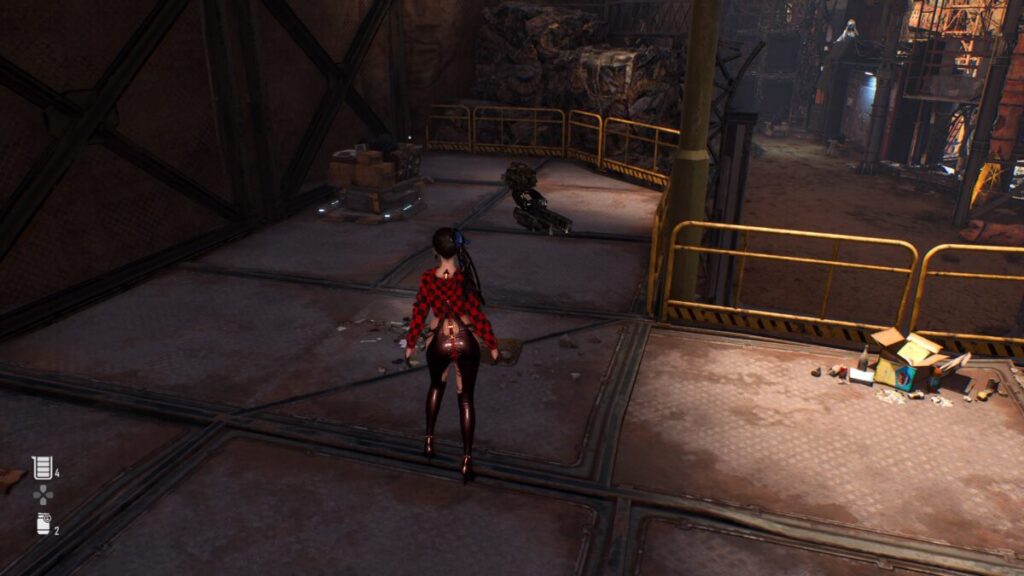
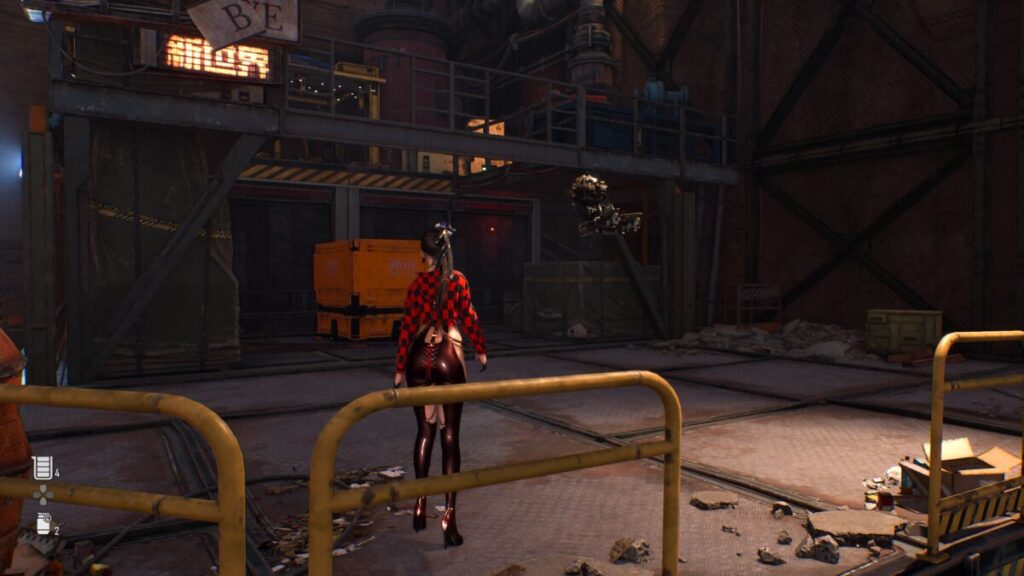
Restart the Clunker
Finally, this time to start the Clinker. Head to the northernmost objective from the Buzzer to reach a gate. You’ll need to place the two carts on the floor plates to open the gate revealing a yellow cube.
Take that cube and move it to the nearby tower allowing you to reach a yellow ladder. Climb it to the top of the tower and interact with the console to turn it on. This will cause the crane to lift freeing our little droid friend.
Mission Rewards
The items listed below are what you’ll receive for completing this quest. In addition, you’ll be able to trade the parts collected from defeating robots and androids to D1G-g2r.
SP
400 Gold
Extreme Nano Element x5
Advanced Nano Element x25
Nano Element x50
Stellar Blade Guides and Walkthroughs
For more Stellar Blade guides and walkthroughs, click here!
Search
This site uses cookies. By continuing to use this website, you are giving consent to cookies being used. For more information on cookies, view our Privacy Policy.OkPrivacy Policy