Welcome to our walkthrough for the Vanguard: Safer Skies Starfield mission! This guide will walk you through starting the mission and detail the necessary steps for its completion. If you need help with a specific mission objective, check the quick links section to easily find the information needed.
PLEASE NOTE: Some of the planets referenced in our guides and walkthroughs may not match yours due to how Starfield was created. In these situations, what you do and the places you visit on those planets should remain the same.
Vanguard: Safer Skies is a faction mission for the United Colonies that you can begin by speaking with Commander Tuala after competing the A Legacy Forged mission.
Vanguard: Safer Skies Walkthrough
Eliminate Hostiles
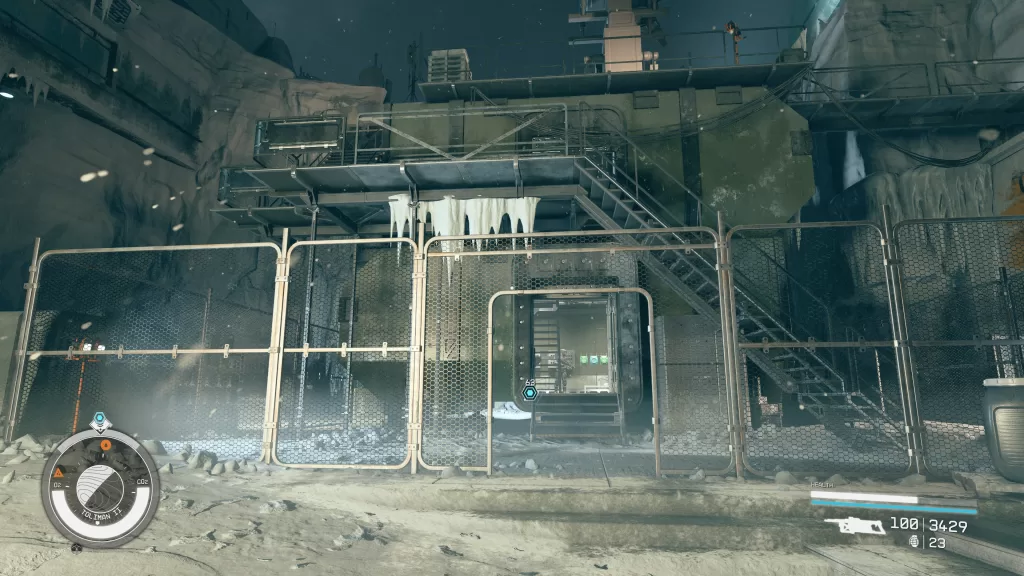
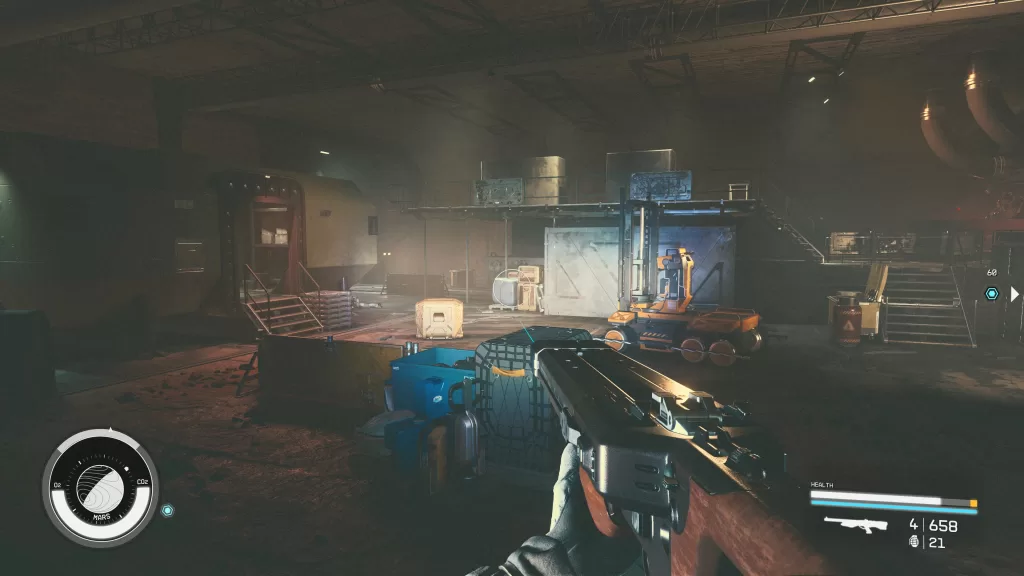
For the Vanguard: Safer Skies Starfield mission, you’ll first need to eliminate the hostiles around Ariel. To begin, travel to Ariel, which is a moon of Uranus in the Sol system. When you arrive, you’ll be greeted by enemy ships. Take them out to complete the mission!
Post Mission
Please note this mission is repeatable. Just return to Commander Tuala and tell him that you’d like to run a mission for the Vanguard. He’ll send you to a different location. When you arrive, defeat the enemy ships to complete the quest!
Additional Starfield Guides and Walkthroughs
Be sure to check our main Starfield Guides and Walkthroughs page for additional content on Starfield, such as additional guides to assist you during your adventures in the Settled Systems!
Welcome to NGB and our walkthrough for the Preventive Action Starfield mission! This guide will walk you through starting the mission and detail the necessary steps for its completion. If you need help with a specific mission objective, check the quick links section to easily find the information needed.
PLEASE NOTE: Some of the planets referenced in our guides and walkthroughs may not match yours due to how Starfield was created. In these situations, what you do and the places you visit on those planets should remain the same.
The Preventive Action Starfield mission is started automatically after completing the A Legacy Forged UC faction mission if you sided with Vae Victis and kept his involvement a secret.
Preventive Action Walkthrough
Collect the Details on the Target
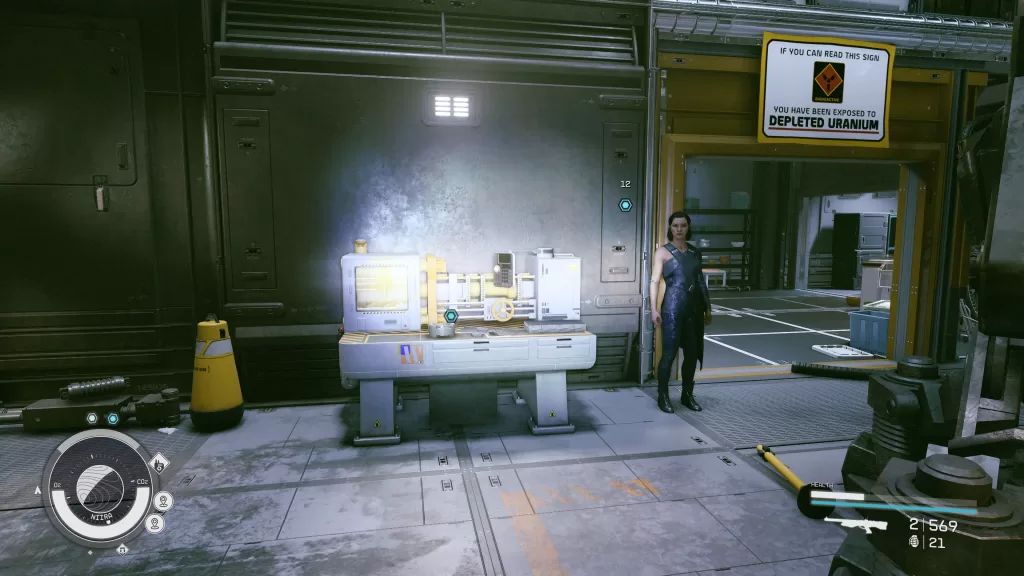
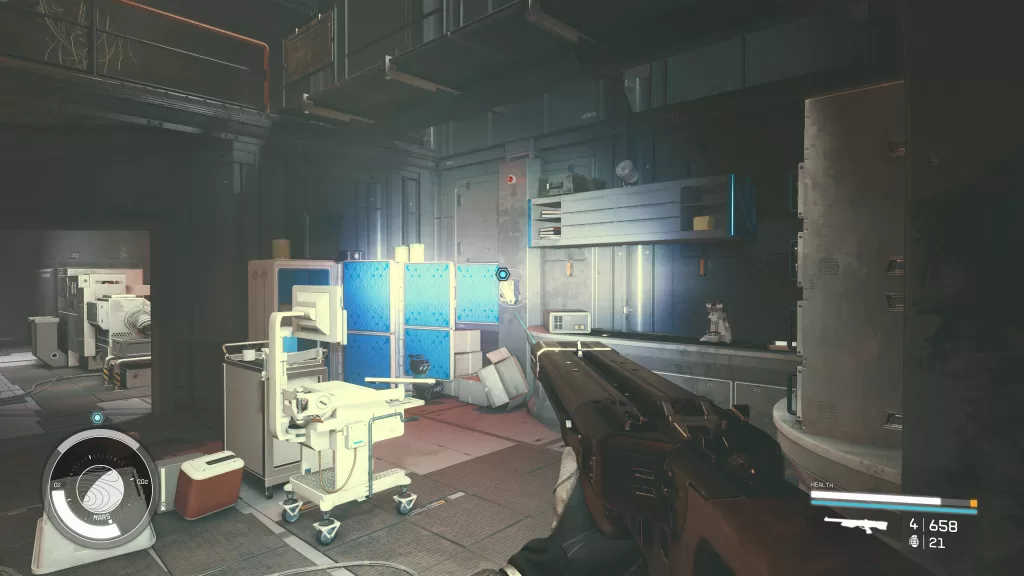
For the Preventive Action Starfield mission, you’ll first need to interact with the Transfer System on the wall next to the secure access door.
Eliminate the Target
After collecting the slate, head to the Deserted Ecliptic Garrison on Belwah, a moon of Navaha in the Cheyenne system. Once there, head into the camp and take out the Ecliptic forces. When you take down the Rogue Asset, the Preventive Action Starfield mission will complete!
Post Mission
Please note this is a repeatable mission. After you’ve completed the Preventive Action Starfield mission, you’ll be able to return to Vae Victis to collect the slate for the next target. Keep taking out the threats, earning both EXP and credits for completing the missions.
Additional Starfield Guides and Walkthroughs
Be sure to check our main Starfield Guides and Walkthroughs page for additional content on Starfield, such as additional guides to assist you during your adventures in the Settled Systems!
Welcome to NGB and our walkthrough for the A Legacy Forged Starfield mission! This guide will walk you through starting the mission and detail the necessary steps for its completion. If you need help with a specific mission objective, check the quick links section to easily find the information needed.
PLEASE NOTE: Some of the planets referenced in our guides and walkthroughs may not match yours due to how Starfield was created. In these situations, what you do and the places you visit on those planets should remain the same.
The A Legacy Forged Starfield mission will automatically begin after completing the Hostile Intelligence faction mission.
A Legacy Forged Walkthrough
Speak to Vae Victis
For the A Legacy Forged mission, you’ll first need to speak with Vae Victis in the basement of the MAST building in New Atlantis on Jemison in the Alpha Centauri system. During this discussion, you’ll learn who was behind the attacks. You can either side with Sanon or turn the culprit in. Thankfully, you don’t need to make an actual decision regarding this just quite yet!
Speak with Hadrian and Percival
Once you’ve finished speaking with Sanon, head up to the Cabinet Chambers / Interstellar Affairs floor and speak with Hadrian. You’ll now have to make a decision on whether or not you’re going to lie about her father’s involvement.
Tell the Truth About Her Father
If you tell Hadrian that her father was behind the attacks, she’ll be angry with him and say that he further sullied their name. In telling her the truth, you’ll be locked in to telling the cabinet the truth as well!
Lie About her Father
If you lie and tell her it was Orlase, she will believe you. Percival will be surprised as it was his former coworker but not entirely shocked. He asks you if you’re absolutely sure.
Address the Cabinet
During this address, you’ll need to determine the fate of Vae Victis, the Lazarus Plant and the Terrormorphs.
Vae Victis’ Involvement
Disclose Vae Victis’ Involvement
During the address to the cabinet, you’ll need to tell Abello it was Vae Victis who organized the attacks. If you already told Hadrian about her father’s involvement then attempt to lie to the Cabinet during this address, she will tell you that her father doesn’t deserve our protection and will tell the Cabinet herself about his involvement. Abello will want evidence to back this up and you’ll need to play the Emergency Recorder Snippet. She will launch a full investigation and you’ll be given a chance to request that his life be spared if you wish. Abello won’t see why someone with UC blood on their hands would merit leniency but will note our request when the decision is made. Alternatively, you can leave it up to the Cabinet or agree that the world will be a better without Vae Victis in it. Both options are essentially the same.
Lie About Vae Victis’ Involvement
During the address to the cabinet, you’ll need to lie to Abello and tell her that it was Orlase. She and the cabinet will believe you and bring up the fact that they received a report recently stating he was killed by us. Abello will ask if we suspected him in the attacks and you’ll say essentially no. She’ll give you a small reprimand (that has no actual consequences) of not bringing him in alive so they could bring him to justice but will then quickly follow up with how she’s happy that he was dealt with before he could do any more harm.
How to Deal with Lazarus Plant
Agree with Abello that UC Secures Plant
Abello will be happy and nothing else is mentioned.
Other Factions Should be Involved in Securing Plant
Abello and Yasin won’t see the value in doing this as they believe the other faction will just have more ammunition against them so you’ll need to convince them. Andreja likes the “It’d demonstrate to the Collective the UC isn’t planning to secretly use this down the line.” option.
Destroy Plant
Abello will want convincing of why another species needs to be wiped out besides the Terrormorphs. Andreja likes the “Destroying it – and asking the Freestar Collective to help – proves the UC has no ill intentions.” option.
How to End the Terrormorphs
Use Aceles to Kill Terrormorphs
This option is considered the safe option however it’s a slow process. Bolder, better and brighter future is the general consensus.
Use Microbes to Kill Terrormorphs
This option is considered the fastest option. There are concerns that there is an incredibly low chance the microbe could cause problems to humans and other species and that the Terrormorphs could develop a resistance to it. Andreja dislikes using microbes to kill the Terrormorphs.
Do Nothing as Destroying Lazarus Plant is Sufficient
This option will only be available if you selected to destroy the Lazarus Plant when discussing it with the Cabinet. Abello will dismiss this as she believes they have a responsibility to still wipe out the Terrormorphs in case someone reopens Pandora’s box in the future. You will be forced to select either Aceles or microbes!
A Legacy Forged Conclusion
No matter your choices during the address, you, Hadrian and Percival will receive Class One Citizenship as a reward. This new level of citizenship will allow you to enjoy ample credit disbursement, additional reduction on the cost of Colonial goods and the penthouse at Mercury Tower in the Residential District!
Post Mission Activity
Exposed Vae Victis’ Involvement
After you complete the A Legacy Forged Starfield mission, you’ll receive an activity to speak with Speak to Commander Tuala. For earning your Class One Citizenship, he’ll hand you 12,000 credits! You’ll then be given the choice of several new missions: run a Vanguard mission (Vanguard: Safer Skies), take on some Terrormorphs (Vanguard: Bug Hunt), help Percival with new alien threats (Apex Predator) or none at all!
Hid Vae Victis’ Involvement
Besides, getting an activity to speak with Commander Tuala, you’ll receive an additional activity to speak with Vae Victis about working together. Please note this activity is only available if you chose to side with him and hid his involvement during the A Legacy Forged mission. For this activity, make your way to him in Subsection Seven then begin speaking with him about the work he’s offering. You’ll agree to help him eliminate a “threat” to the UC, officially starting the Preventive Action mission.
Additional Starfield Guides and Walkthroughs
Be sure to check our main Starfield Guides and Walkthroughs page for additional content on Starfield, such as additional guides to assist you during your adventures in the Settled Systems!
Welcome to NGB and our walkthrough for the Starfield Hostile Intelligence mission! This guide will walk you through starting the mission and detail the necessary steps for its completion. If you need help with a specific mission objective, check the quick links section to easily find the information needed.
PLEASE NOTE: Some of the planets referenced in our guides and walkthroughs may not match yours due to how Starfield was created. In these situations, what you do and the places you visit on those planets should remain the same.
The Hostile Intelligence mission will automatically begin after completing the War Relics faction mission.
Hostile Intelligence Walkthrough
Follow Hadrian
For the Hostile Intelligence mission, you’ll first need to follow Hadrian until she stops at a desk then speak with her.
(Optional) Visit Lt. Azevedo to Purchase New Gear
Lt. Azevedo can be found in the Red Devils HQ. Check out his items if you wish!
Proceed to Londinion
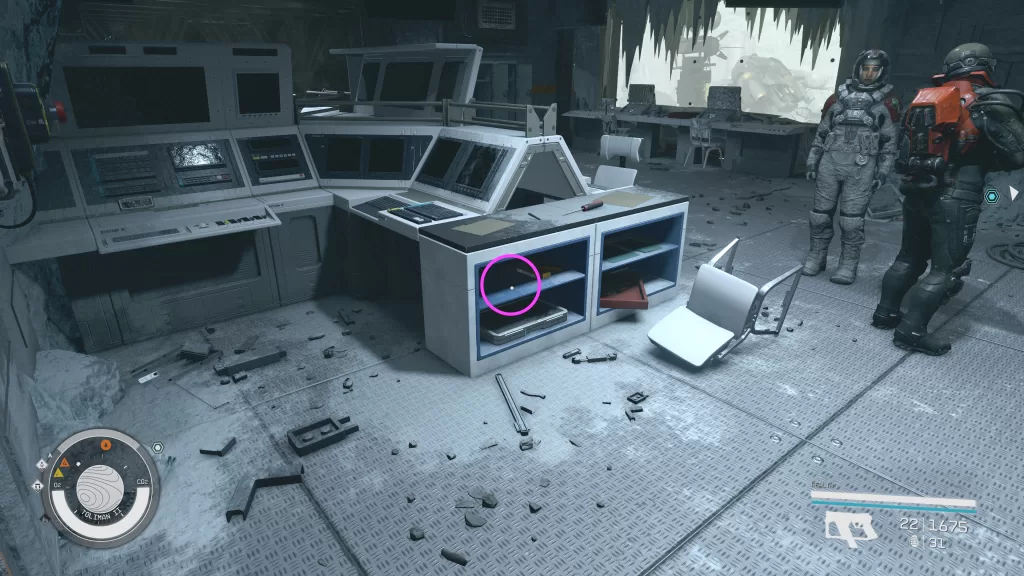
When you’re ready to continue, travel to Forward Base on Toliman II in the Toliman System. Once there, approach the UC Marine guarding the entrance just past all the turrets then continue into the base, heading for the Command Post. Once inside, speak with Commander Hatoum who will inform you that absolutely no rescue teams will be sent into Londinion to save us should we get into any trouble.
(Optional) Collect Your Gear
Head to the fenced in building behind the giant statue to collect all the goodies inside. Be sure to speak with the UC Marine there to get a weapon!
Inform Hadrian You’re Ready to Move Out
Speak with Hadrian near the exit to tell her you’re all set then flip the switch to open the door and proceed forward.
Locate the Aceles Gene Samples
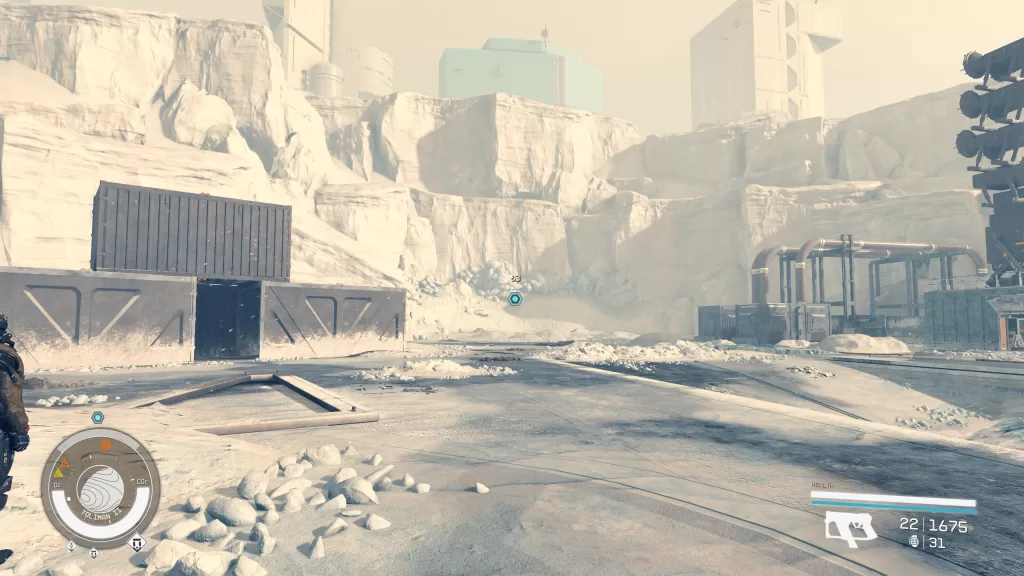
After flipping one more switch you’ll emerge outside. This is where all the fun is waiting! As I’m sure you guessed by all the med packs, weapons, and ammo that were freely given in the last area, you’re going to have A LOT of enemies to fight!! You’ll find the base cache behind the orange doors in the back of the first building on the main first level.
Continue to the next outdoor area where you’ll find more enemies and 3 shipping containers. Collect the Aceles samples from these containers!
Once you have collected all 3 samples, give them to Kaiser.
Locate the Next Sample
Move on to the next area, the Londinion Steam Tunnels. In these tunnels, you’ll discover the horrific truth of the Terrormorphs. After discussing it with Hadrian, follow after the Terrormorph and kill it. Afterwards, collect the sample from its corpse then give it to Kaiser.
Follow Kaiser
Follow him to a door leading to the outside.
Restore Power to the Spaceport Access Hatch
Since he has insufficient power to open it, he heads upstairs and proceeds through the orange door.
Take the stairs up. In this room you can find the Contraband Locker Key on a shelf diagonally from the Utility Controls. It will open the two lockers across from it.
When you’re ready to proceed, activate the Utility Controls to restore the power. Next, interact with the System Reboot Control on the column in the center of the room.
Collect the Recording
After listening to the recording, collect it from the terminal next to the System Reboot Control.
Speak to Hadrian
Speak with her. Andreja dislikes all but the “A cold-blooded murderer” option.
Find the Final Sample
After speaking with Hadrian, head down to Kaiser and wait for him to open the door. Afterward, head on through to reach the Londinion Spaceport. Head to the back corner to find the Terrormorph Anomaly.
Take it out then loot the corpse to receive the sample. Just like the other ones, give it to Kaiser.
Return to Forward Base 441
Return to the base then speak with Dr. Percival Walker. After your conversation, the Hostile Intelligence mission will be completed!
Additional Starfield Guides and Walkthroughs
Be sure to check our main Starfield Guides and Walkthroughs page for additional content on Starfield, such as additional guides to assist you during your adventures in the Settled Systems!
Welcome to NGB and our walkthrough for the Starfield War Relics mission! This guide will walk you through starting the mission and detail the necessary steps for its completion. If you need help with a specific mission objective, check the quick links section to easily find the information needed.
PLEASE NOTE: Some of the planets referenced in our guides and walkthroughs may not match yours due to how Starfield was created. In these situations, what you do and the places you visit on those planets should remain the same.
The War Relics mission will automatically begin after completing The Devils You Know faction mission.
Starfield War Relics Walkthrough
Report to Hadrian
For the Starfield War Relics mission, you’ll first need to travel to the Red Devils HQ on Mars in the Sol System. Once inside, speak with Hadrian. You’ll have the option to tell her about her father. (We did!) If you do, she’ll be upset at first but accepts the facts and makes some good points. It won’t distract her like MacIntyre thought it would. No matter your choice, follow Hadrian up the stairs to a bookshelf.
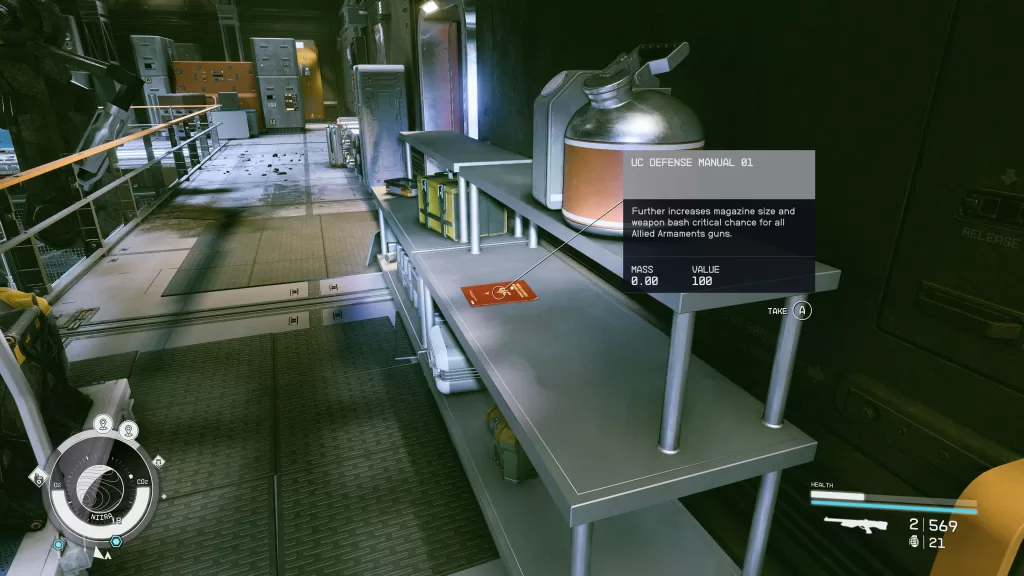
Search for Kaiser on Niira
Travel to the 1-Of-A-Kind Salvage on Niira in the Narion System. Once there, head inside and go upstairs to find the UC Defense Manual 01 magazine!
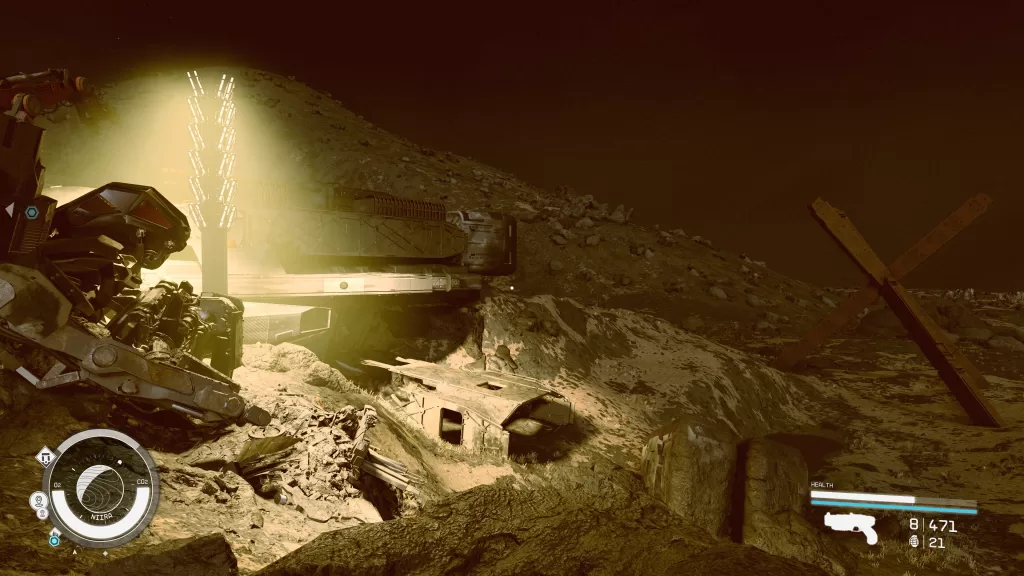
Next, speak with Gel. Being the businessman he is, Gel will sell you information on Kaiser’s whereabouts. You can either pay him 1,000 credits outright or persuade him down to 675 credits. Alternatively, you can take your chances out in the fields. It’s not too bad to find him yourself. Just head north out into the fields and keep walking until you spot a crashed ship (the UC Syracuse) near the edge of the debris field.
You’ll hear a beacon. Follow the sound into the ship to spot Kaiser. The password is “Nos Belli Machinis”.
Find a MicroCell
Return to Gel. You can either purchase the MicroCell from him for 11,469 credits or you can hunt for the materials then craft one. If you ask him, he’ll tell you the location of the materials for a price… he wants whatever else you find when scrapping the machines.
Alternatively, you can hunt for the materials yourself then keep everything you find! You will specifically need to find 1 MicroCell Shielding, 1 MicroCell Conductor Array and 1 MicroCell Power Source. Once you’ve found the materials, you’ll need to fabricate a MicroCell using the Industrial Workbench near the giant robot.
Return the MicroCell to Kaiser
Now that you’ve gotten a MicroCell, return to Kaiser to hand it over. You’ll then be able to speak with him. He’ll want your help in completing his mission before he agrees to leave. Help the poor guy out then follow him to the mission site. When he stops, speak with him to learn that Unit 99 is under Ecliptic control. You’ll be able to choose whether or not you want to try and disarm Unit 99 without killing it or just clean house and eliminate it!
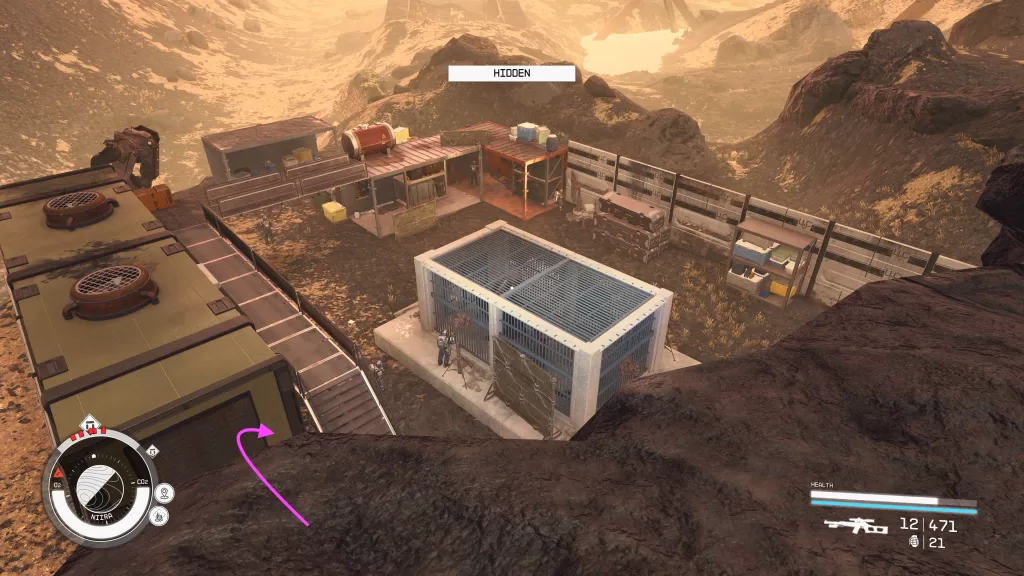
Disarm Unit 99
Kaiser does not like this option and believes killing it is the better option. We had Andreja with us and she made a comment of how we should just kill it. If you want to go this route, Kaiser warns that you’ll need to go alone so select “You wait here. I’ll check it out myself.” From Kaiser, make your way to the left side of the camp. There you will find a rock that you can use to jump down into the camp near a set of stairs leading up.
Sneak up the stairs then interact with the Local System computer on the wall. Select “Specimen Cage Management” then “Seal Specimen Cage”. This will take care of the (Optional) Find a Way to Seal Unit 99’s Restraints objective.
Next up, you’ll need to eliminate the Ecliptic Forces without being detected. Be warned that there is a Level 42 Ecliptic Specialist near the stairs!! If you decide to kill all the enemies, Unit 99 will still be spared!
Return to Kaiser when you’re done and have him disarm Unit 99. Poor Unit 99 gets left behind in the cage as the mission moves you on to the next task. If you want to release the beast, return to the Local Systems Computer to unseal the cage then release the specimen. Please note that this creature is still hostile even though it has been wiped!
Kill Unit 99
Andreja likes this option and Kaiser believes it’s the best course of action! For the frontal assault, head to the camp to clean house! Once you attack the enemies, they will release Unit 99 from its cage. Be warned that there is a Level 42 Ecliptic Specialist guarding the beast and Unit 99 is Level 30!
Speak with Kaiser
After clearing the camp, speak with Kaiser to further elaborate on the help you need.
Return to the Red Devils HQ
Afterwards, return to the Red Devils HQ on Cydonia in the Sol System then witness the reunion with Kaiser. When it concludes, the Starfield War Relics mission will complete!
Additional Starfield Guides and Walkthroughs
Be sure to check our main Starfield Guides and Walkthroughs page for additional content on Starfield, such as additional guides to assist you during your adventures in the Settled Systems!
Welcome to NGB and our guide on the Starfield The Devils You Know mission! This guide will walk you through starting the mission and detail the necessary steps for its completion. If you need help with a specific mission objective, check the quick links section to find the most relevant information easily.
The Devils You Know is a faction mission for the United Colonies (UC) that will automatically begin after you complete the Friends Like Thesefaction mission.
The Devils You Know Walkthrough
Proceed to Your Meeting
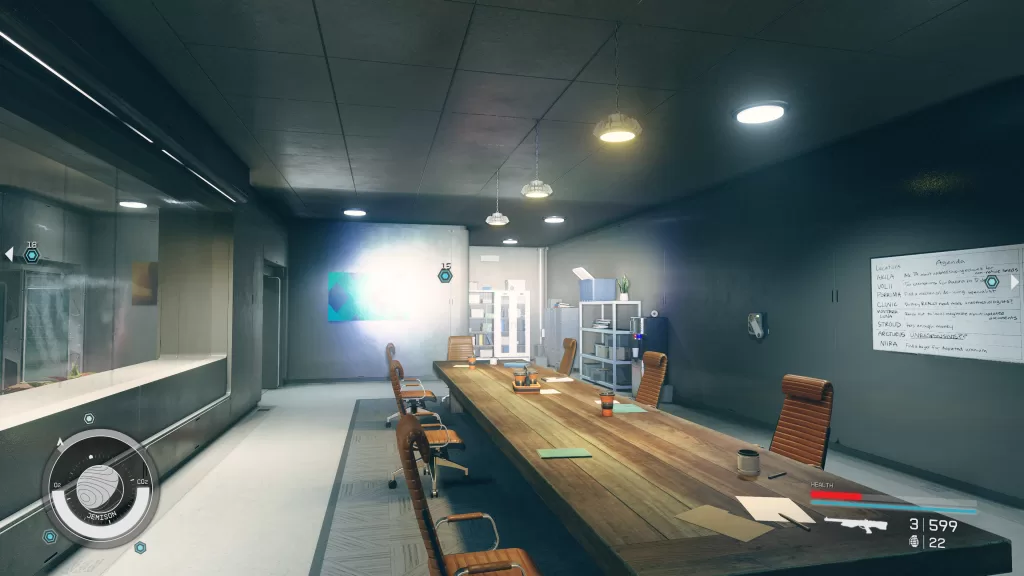
For The Devils You Know mission, you’ll first need to take the elevator in the MAST building down to Subsection Seven. Once there, head through the blue door then take a right. Enter the door at the end. They will make your companion (if you have one) stay behind. Head down the stairs and interact with the intercom to speak with the familiar face.
(Optional) Speak to Deputy MacIntyre
When you emerge from the restricted area, speak with your companion to get them to join you again then head up and speak with Deputy MacIntyre on the Interstellar Affairs floor. She’ll endorse your deal with the prisoner!
Speak to Captain Marquez
Travel to The Den orbiting Chthonia in the Wolf System. Once there, dock and board the starstation then speak with Rayna Marquez to learn the coordinates of a mysterious ship.
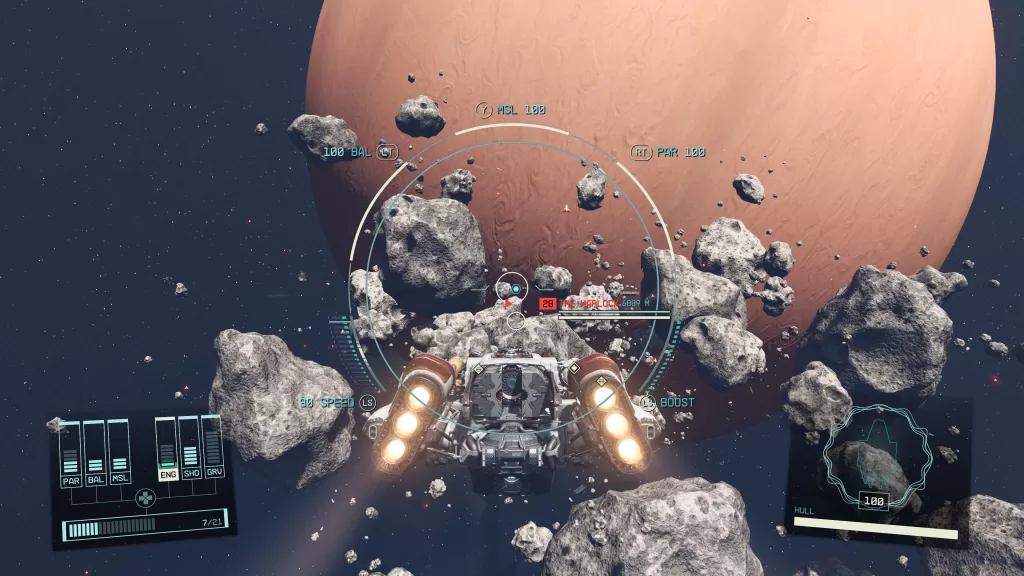
Find “The Warlock”
In that same solar system, travel to Etherea Ruins in space around the Etherea planet. Once there, you’ll need to navigate your way around the astroids to the ship.
As you approach the ship, you’ll be hailed. You’ll have two options.
Disable the Engines
Disable the engines on the ship by targeting the ship’s engines when attacking the ship. To do this, you’ll need to have unlocked the Targeting Control Systems skill under the Tech category. Once you’ve locked onto the ship by pressing X when it’s ready, move the left thumbstick over until the engines are selected then fire away!! After successfully disabling the engines, board the ship. Unfortunately, Reginald Orlase decides to take his own life so you’ll be unable to arrest him! Loot his body to obtain your proof!
Destroy Ship
If you destroy the ship, make sure to collect the evidence from the wreckage!
Return Evidence
Head back to the prisoner in the basement of the MAST building to hand over the evidence then speak with him. Afterwards, The Devils You Know mission will complete!
Welcome to NGB and our guide on the Starfield Friends Like These mission! This guide will walk you through starting the mission and detail the necessary steps for its completion. If you need help with a specific mission objective, check the quick links section to find the most relevant information easily.
How to Start the Starfield Friends Like These Mission
Friends Like These is a faction mission for the United Colonies (UC) that will automatically begin after you complete the Eyewitnessfaction mission.
Starfield Friends Like These Walkthrough
Speak to Deputy MacIntyre
Head to the Cabinet Chambers / Interstellar Affairs floor and speak with Deputy Elisabeth MacIntyre in the Office of Interstellar Affairs. She’ll give you the option of first persuading either Ambassador Radcliff of the Freestar Collective or Ambassador Bal’mor of House Va’ruun.
Acquire the Freestar Collective Archival Code
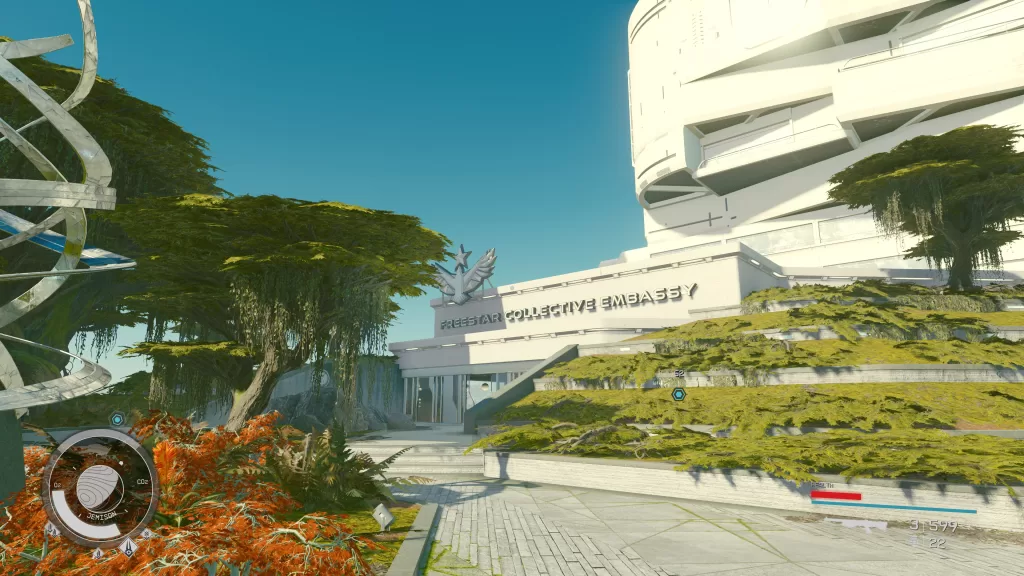
Exit the building and head to the Freestar Collective Embassy in the MAST District.
Once there, enter the elevator and ride it to the Freestar Embassy floor. Head to the back of the area to find Ambassador Evangeline Radcliff. Speak with her then you’ll have 2 options of getting the code!
If you’re on an NG+ run, you’ll have a special dialog option to instantly persuade Radcliff to give you the code.
Persuade Radcliff
If you can successfully persuade her, agree to her reasonable demands, and then follow her downstairs to get the code. This is by far the easiest way to obtain this code!
Find Another Way
For this alternative way of obtaining the code, start off by reading the FC Embassy Security text log in your inventory to learn that the utility section access door in the conference room is unlocked!
Next, make your way to the conference room to find the utility room mentioned in the text log.
If you don’t want to pick the expert lock on the utility room door, head across the hall from Ambassador Radcliff’s office and speak with Cameron Long in the cafeteria. He’ll want to talk somewhere more private, so follow him downstairs. Tell him you need to access her quarters without being seen. For his assistance, he’ll want 1,000 credits, or you can lie to him. He’ll give you the key to the utility room.
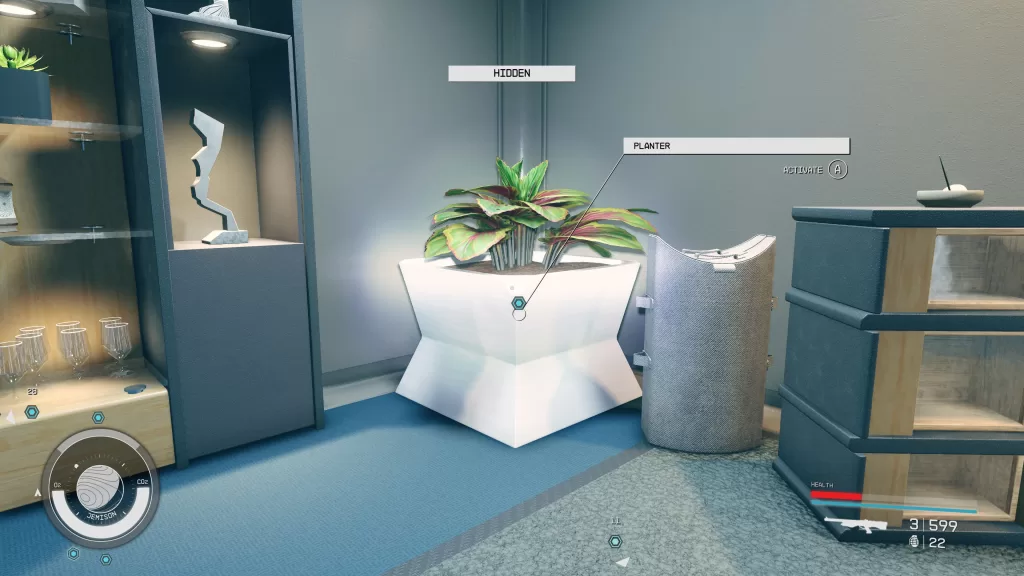
Once in the utility room, climb up the crates to reach a vent. Inside, hug the left side, then drop down into a bathroom. Head into the bedroom connected to this bathroom, and then inspect the planter in the corner to find the listening device.
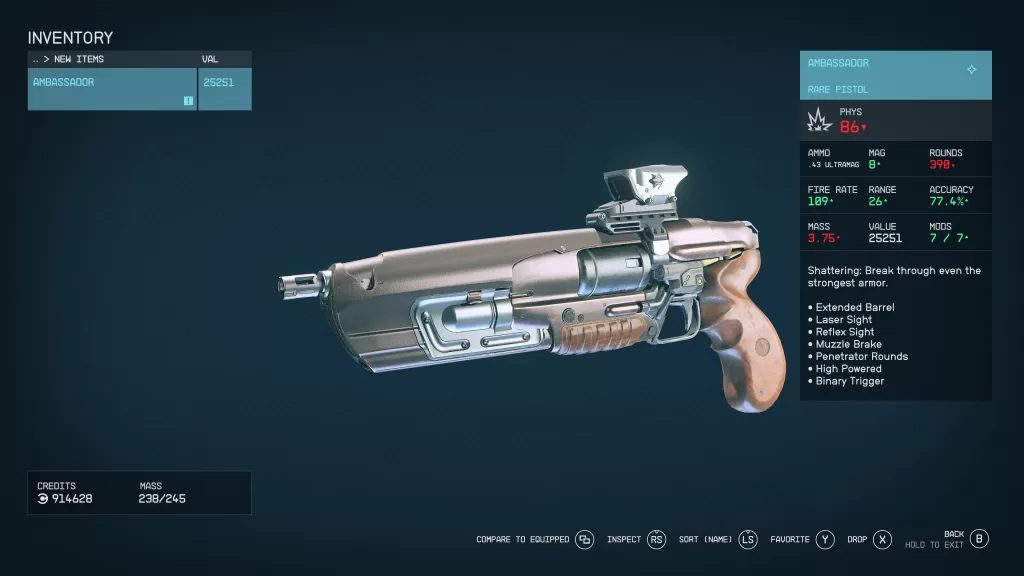
Now that you have this juicy information return to Radcliff and tell her that you know of her plan to “replace” someone on the Council of Governors. Agree to keep this little secret between you, and if you tell her you want a gift, she’ll hand over her Ambassador Rare Rifle.
In the next set of dialog, you can ask her for a negotiation fee, and she will give you 7000 Credits. Follow her downstairs to retrieve the code.
Acquire House Va’Runn’s Archival Code
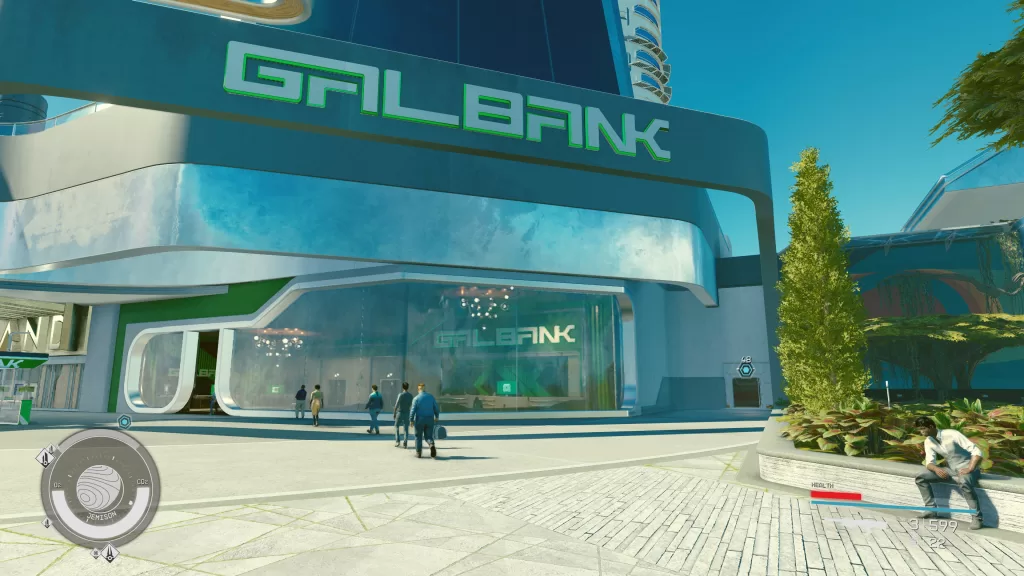
For the next objective in Friends Like These, ensure you have lots of digipicks and are prepared to battle robots and turrets! When ready, enter the side door to the right of GAL Bank in New Atlantis.
Take a right and enter the door at the end. In the abandoned embassy, take the elevator up to the House Va’ruun Embassy floor. Head down the hallway and interact with the computer just before the intercom. It’s a novice lock! Deactivate the turrets, then interact with the intercom. Throw the power switch right next to the intercom, then continue deeper into the embassy via the newly opened door near the computer that controls the turret. I hope you are in the mood for Halloween, as this next part will give you haunted house vibes!!
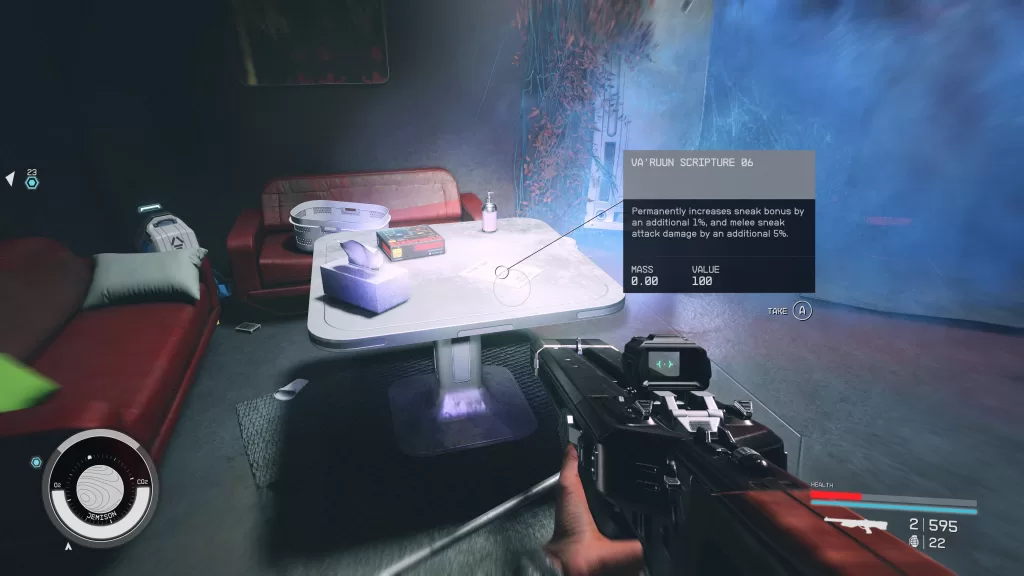
As you make your way along the narrow pathways, be careful of the hostile robots! When you finally reach the intercom, interact with it to find only static. Make your way out of the creepy plant-covered pathway and into a bunk room. Interact with the Remote Robot Control computer on the wall to activate the robots, then recalibrate their friend/foe setting if you wish. This will require advanced lockpicking! Make sure to pick up the Va’Ruun Scripture 06 magazine from the table in this room!
Keep working through the embassy until you reach the conference room on this floor. Interact with the intercom, then flip the switch.
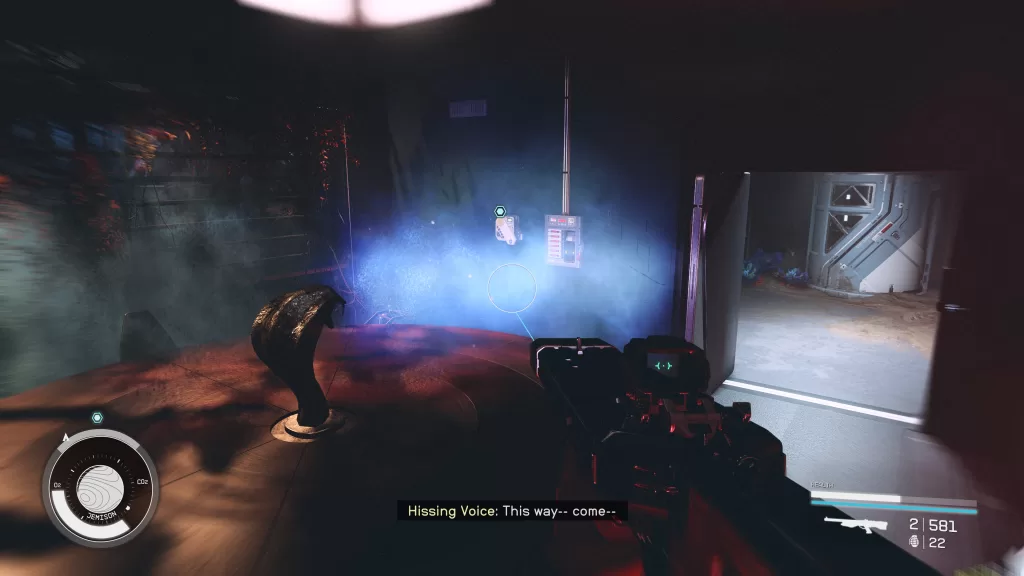
While in this room, interact with the computer with an advanced lock to deactivate the turret! Continue deeper into the area, going up the stairs. Traverse the cubicle maze to reach an office on the back side of this area. Interact with the intercom, then flip the switch next to it. Backtrack all the way through the maze and head down the stairs. Continue down to the basement and interact with the intercom. The mysterious voice will warn you of demons in the basement, so BEWARE!! 🙂
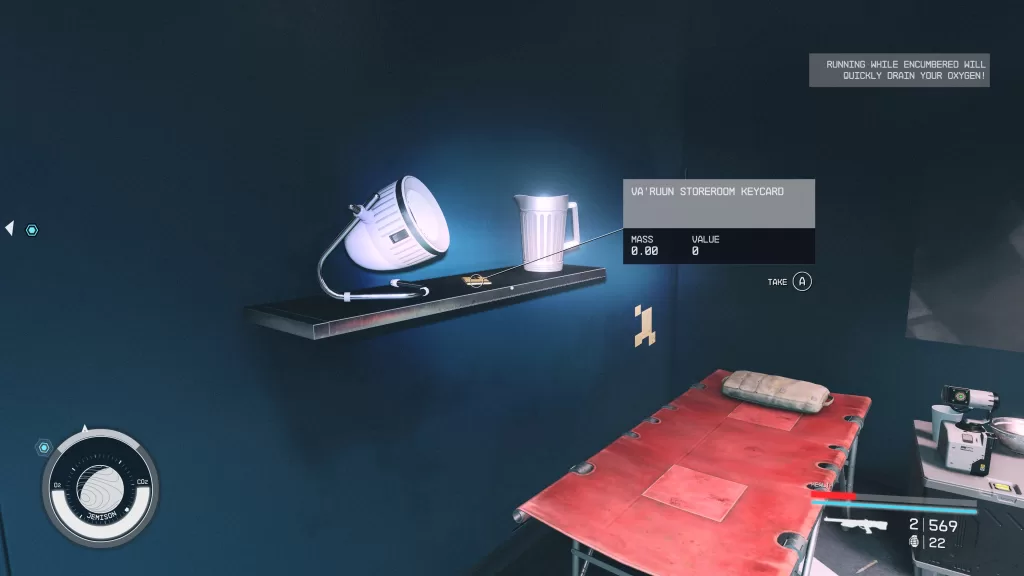
Eliminate the 2 robots, and then speak with Ambassador Bal’mor in his quarters to receive his code! Afterward, grab the Va’Ruun Storeroom Keycard from the shelf above one of the beds.
Exit the ambassador’s quarters to reenter the room where you fought the 2 robots in the basement. Use the Va’Ruun Storeroom Keycard to open the door on the left. This room contains a bunch of goodies!
Return to Deputy MacIntyre
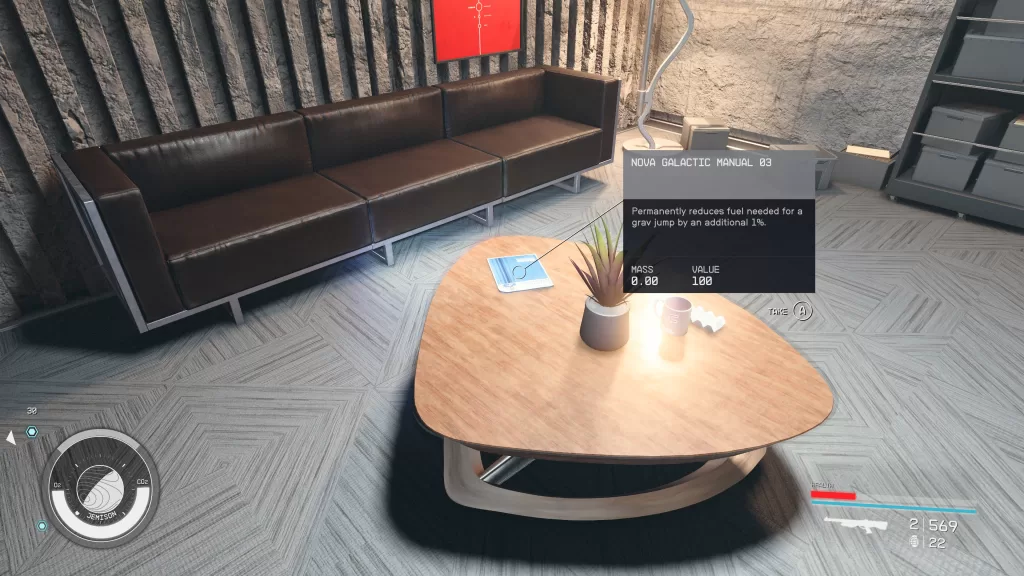
Now that you have both codes, return to Deputy MacIntyre on the Interstellar Affairs floor of the MAST building. In her office, make sure to pick up the Nova Galactic Manual 03 from the coffee table if you haven’t already!
Report to the Armistice Archives
Exit the building and head straight for the Armistice Archives building.
Take the elevator and then approach the actual archives safe. Before entering, you’ll first need to approach the Monitor on the left. She’ll instruct you to deposit the code pieces into the 3 receptacles. Do so, then head into the archives. Head straight ahead and open the glass door. Collect the data from Unit 18 and then exit the archives.
Return the Data
Report back to MacIntyre on the Interstellar Affairs floor in the MAST building. Afterwards, give the data to Hadrian.
Speak with MacIntyre
Follow MacIntyre to the top of the MAST building, then speak with her to gain your citizenship. Congratulations, you’re officially a United Colonies citizen!!! She’ll also reveal a cliffhanger, and then the Friends Like These mission will be complete!
Welcome to NGB and our guide for the Starfield Search and Seizure mission! This guide will walk you through starting the mission and detail the necessary steps for its completion. If you need help with a specific mission objective, check the quick links section to find the most relevant information easily.
How to Start the Starfield Search and Seizure Mission
Search and Seizure is one of the missions you can pick up in New Atlantis on Jemison in the Alpha Centauri system. To start the mission, speak with Sergeant Yumi after completing the Eyewitness faction mission.
How to Start the Starfield Search and Seizure Mission
Speak to the Port Workers
After exhausting all the dialog with Sergeant Yumi, head to the Spaceport launch pad. Speak with the two technicians there to learn more about the Search and Seizure mission.
Obtain the Ship Records from Aegis
Travel to the MAST building in the MAST District then take the elevator up to the Defense Research / Health and Human Services / Aegis floor. Head diagonally to the right and enter the Aegis Intelligence Network. Once inside this area, take a left to enter Agent Plato’s office and speak with him. Now that you have the Potential Smuggler Ships slate, read it!
Report to Sergeant Yumi
Return to Yumi in the Spaceport and speak with him. The correct answer is “Anansi”.
Obtain the Contraband
Make for Launch Pad B to find the Anansi. Board the ship then head for the cockpit. Inspect the Cargo Hold to find a Crate of Contraband. Grab it then the Captain Malai Ndiaye will ask you to bargain with her.
Make a Bargain
You’ll receive 2,500 credits to lie to Sergeant Yumi. When you report back to him, he’ll believe you and is sorry that he wasted your time. The Search and Seizure mission will complete and as a reward, you’ll receive 200 EXP and 3800 Credits.
Don’t Make Bargain
If you refuse her offer, the crew will attack you. Take them all 3 out then report back to Sergeant Yumi. You’ll have the option to give the contraband to him or withhold it. Either way, you’ll receive 200 EXP and some credits.
Welcome to NGB and our guide for the Starfield Eyewitness mission! This guide will walk you through starting the mission and detail the necessary steps for its completion. If you need help with a specific mission objective, check the quick links section to find the most relevant information easily.
Eyewitness is one of the faction missions for the United Colonies (UC). This mission will automatically begin after completing the Delivering Devils faction mission.
Starfield Eyewitness Guide
Meet Hadrian
After obtaining the Starfield Eyewitness mission, travel to the MAST District in New Atlantis on Jemison in the Alpha Centauri System. Speak with Hadrian outside the MAST building then walk into the building and take the elevator behind the reception desk up to the Cabinet Chambers / Interstellar Affairs floor. Make your way to the chambers and address the folks gathered.
Address the Cabinet
During this meeting, you’ll be asked if you would grant the request to open the archives. No matter your choice, the Terromorphs will attack!
If this is a NG+ run, you’ll have a special option you can choose to gain access to the archives.
Grant Access to Archives
If you choose yes, then the cabinet will agree with you.
Deny Access to Archives
If you say no, your companions and Hadrian will dislike your decision. Abello will rule that the data gathered is insufficient to open the archives.
Take the NAT to the Spaceport
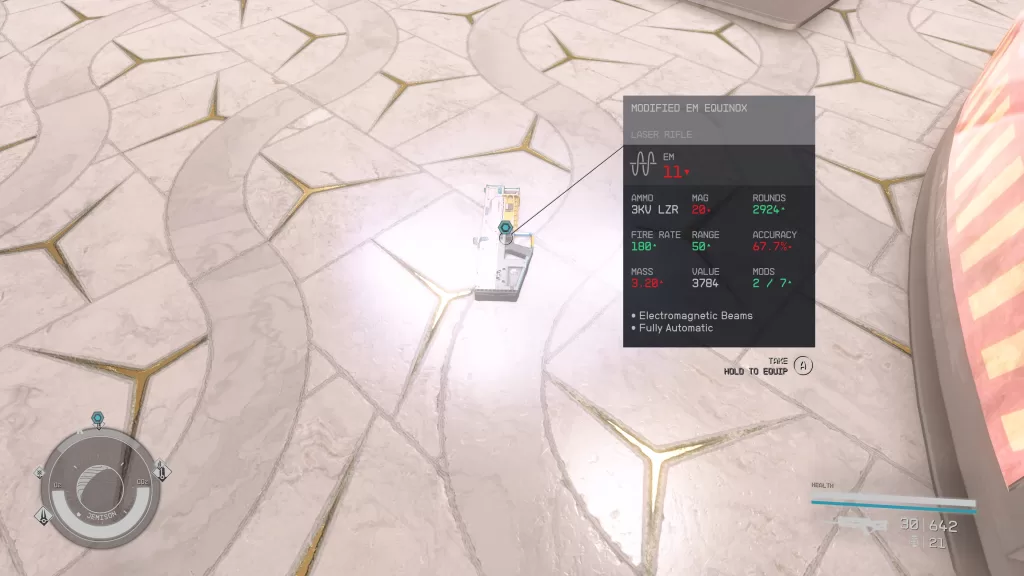
The time for action is here! Head into the elevator and ride it down to the NAT Station. When you emerge, you’ll witness civilians attacking the security guards. Pick up the Modified EM Equinox rifle from the ground and equip it.
Next, incapacitate the attackers using this weapon to avoid casualties! Afterward, speak with the UC Security officer to see what just happened! After learning about the Terrormorphs’ ability, take the NAT to the Spaceport.
Eliminate the Terrormorph
Help the officers bring down the Terrormorph attacking the Spaceport! Afterward, approach Sergeant Yumi, who is in charge, and speak with him. Make sure to loot all the goodies on the table next to him, and then talk with the Fireteam Leader. He’ll offer his team’s assistance. It’s up to you if you would like them to help or not. Just as an FYI, we had them along, and they did not turn on us! When you’re ready for the next round, continue to the launch pad, where you’ll encounter 2 more. Take them out!
Speak to Sergeant Yumi
Return to Sergeant Yumi and speak with him.
Report to President Abello
Make your way back to the MAST Cabinet Chambers and speak with Abello. Afterward, the Starfield Eyewitness mission will be completed!
Welcome to NGB and our guide on the Starfield Delivering Devils mission! This guide will walk you through starting the mission and detail the necessary steps for its completion. If you need help with a specific mission objective, check the quick links section to find the most relevant information easily.
PLEASE NOTE: Some planets referenced in our guides and walkthroughs won’t match yours due to how Starfield was created. What you do and the places you visit on those planets should be the same in these situations.
How to Start the Starfield Delivering Devils Mission
The Starfield Delivering Devils mission is one of the faction missions for the United Colonies (UC). This mission will automatically begin after completing the Grunt Work faction mission.
Starfield Delivering Devils Mission Guide
Ask About Percival
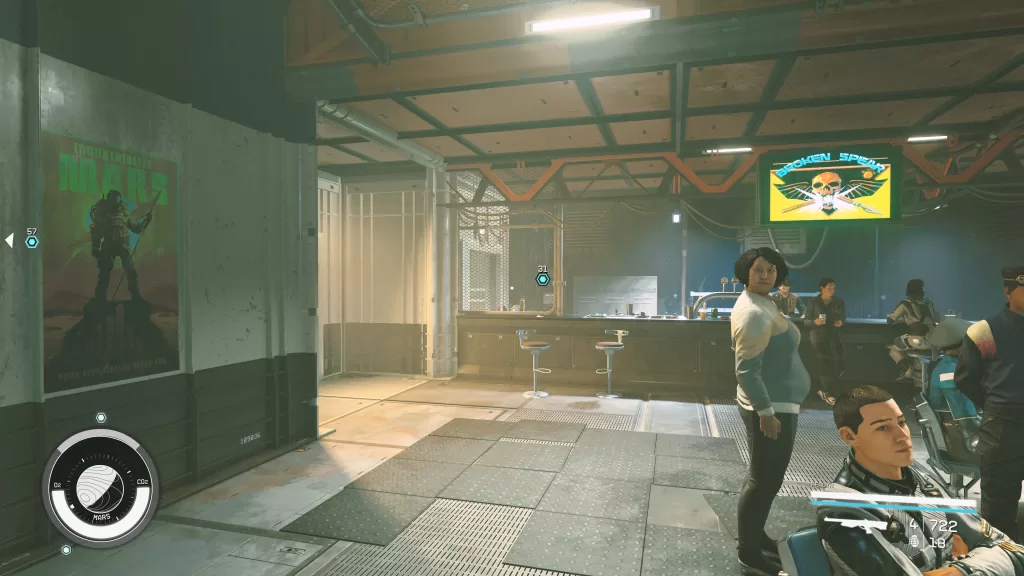
Travel to Cydonia on Mars in the Sol System, then go to the Trade Authority there and speak with Oktai Enbayar. After you’re done talking with him, take an elevator down to P2, and then enter the Sixth Sense. After a scene with Andy, you must speak with the bartender. Lou will want you to pay Dr. Walker’s debt with the Trade Authority no matter which option you choose when speaking with him. If you choose to tell him that you’re there on official business from the Vanguard, he’ll ask you some additional questions:
Meaning of Supra Et Ultra = Above and Beyond
What grade you got on the exam = They don’t grade like that
If this is a NG+ run, then you’ll have a special dialog option when speaking with Lou where you can offer to pay off Walker’s debt directly.
Pay off Percival’s Debt
To avoid throwing away unnecessary credits, you have a couple of options:
Speak with the bar patron
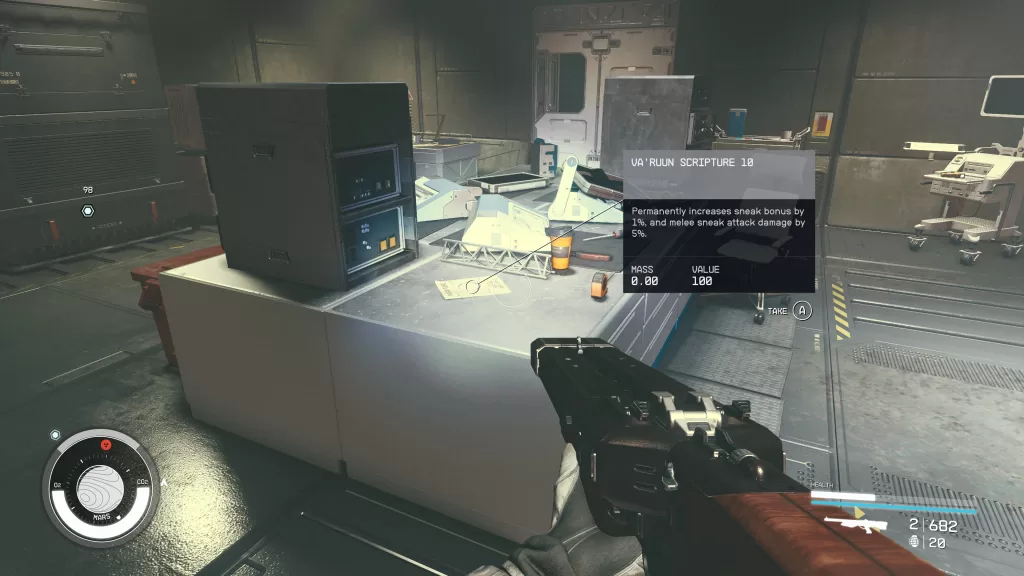
We found Cambridge Cooper leaning against the wall on P2 just outside the restroom. Speak with him. He’ll tell you that he’ll give you their research to hand over to the Trade Authority if you clean out the Deep Mines. Exit Cydonia and walk towards the Abandoned Mines (which will be an undiscovered point if you have not explored this planet). Once there, take out the enemies then head through the orange doors located inside the building to enter the Abandoned Mines. Work your way through this mine. On the bottom level, you’ll come to an area with a bunch of enemies. On the second floor of this area, you’ll find the Va’Ruun Scripture 10 magazine on a table.
Next, make sure you are using your scanner and loot at the walls in the next area. You’ll need to use your cutter to collect Aqueous Hematite. Just after you find the ore, the Spacer leader will be waiting in the next area.
Take them out! Watch out as ours was Level 38! Once you’ve finished this task, continue deeper into the mine and take out the remaining stragglers. In a side room, you’ll find the research facility. Interact with the intercom on the wall.
All that Aqueous Hematite you collected earlier will now come in handy! Deposit it into the Thresher in the next room. Once the machine finishes analyzing it, collect the data then interact with the intercom again. To leave via the elevator, you’ll need to locate the Employee Exit Key, which can be found on top of the Thresher machine. Now that you’re out of the cave, make your way back to Cambridge.
Change Percival’s Debt Amount
Head up to the Main Level then head for the Broken Spear bar.
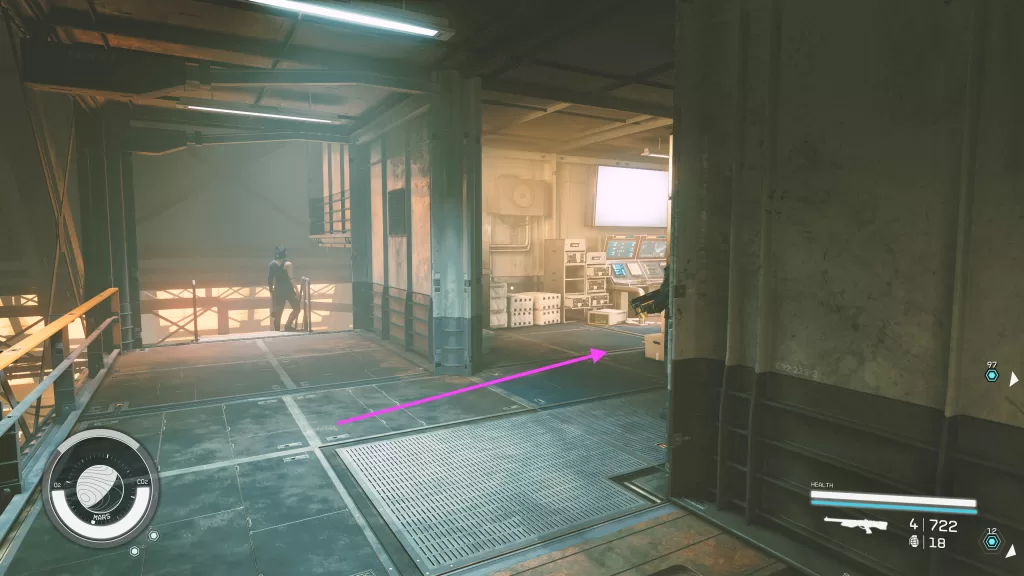
Enter the doorway located behind the bar then follow the long path. At the end you’ll spot a room just before a set of stairs leading down.
Enter this room then follow the path down to a door with an advanced lock. Pick it then interact with the Accounts Computer on the wall. Select “Walker, Percival” then “Account Override Tool” at the bottom. Update it to 1000 credits! Return to Lou and tell him that you’ll take those credits now. He’ll give you 500 credits.
Speak to Lou
Once you’ve cleared the debt, speak with Lou.
Find Percival
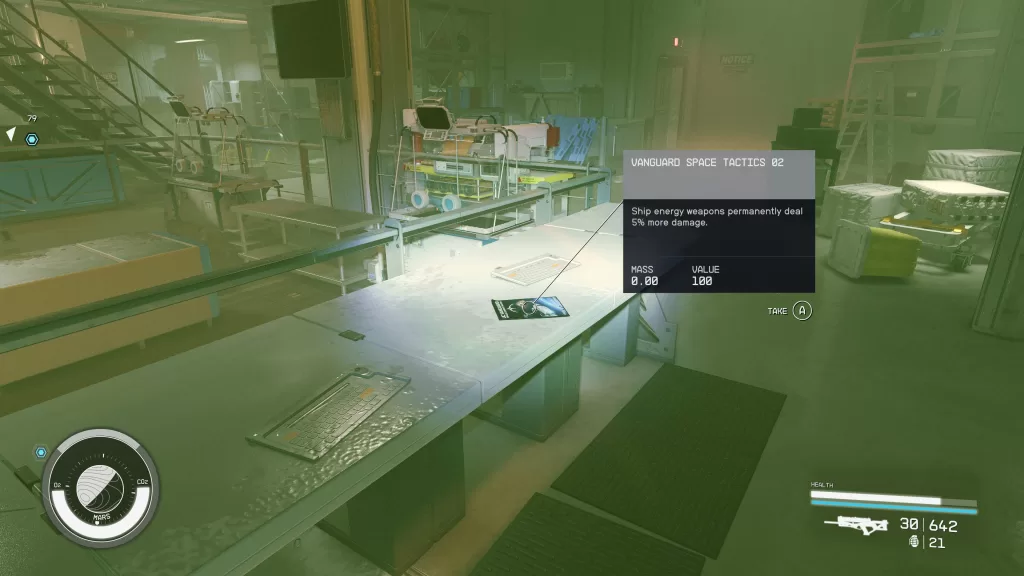
Fast travel to the Deep Mines Employee Exit then take the elevator down. Once in the mines, exit the research room and head right. Go up the stairs at the very end to find a room requiring a key to open it. Follow the path deeper into the mine. Eventually, you’ll come across Percival. After speaking with him, enter the Red Devils HQ. On the lower level of this hideout, you can find the Vanguard Space Tactics 02 magazine!
Speak with Dr. Walker then leave via the nearby elevator.
Meet Hadrian at The Sixth Circle
Return to Cydonia then speak with Hadrian near The Sixth Circle. Follow her into the storage room then speak with her. Afterwards, the quest will complete!
This site uses cookies. By continuing to use this website, you are giving consent to cookies being used. For more information on cookies, view our Privacy Policy.OkPrivacy Policy