Welcome to our guide on all the Marvel’s Spider-Man 2 Prowler Stashes missions! In this guide, you’ll be able to find information on how to complete the Prowler Stashes missions, along with their rewards. After you complete all of the Prowler Stashes, a Side Story Mission will unlock!
2-on-2
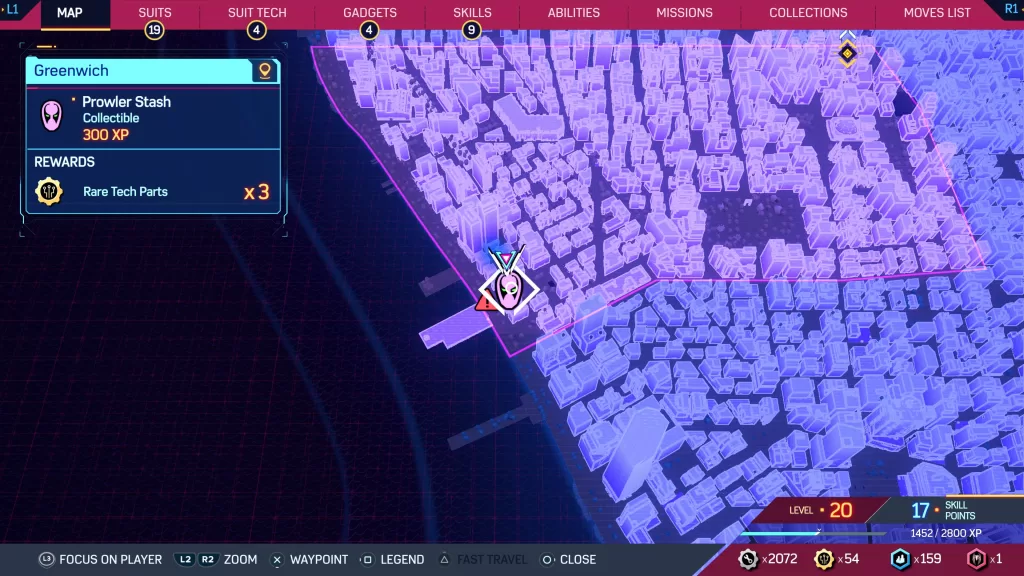
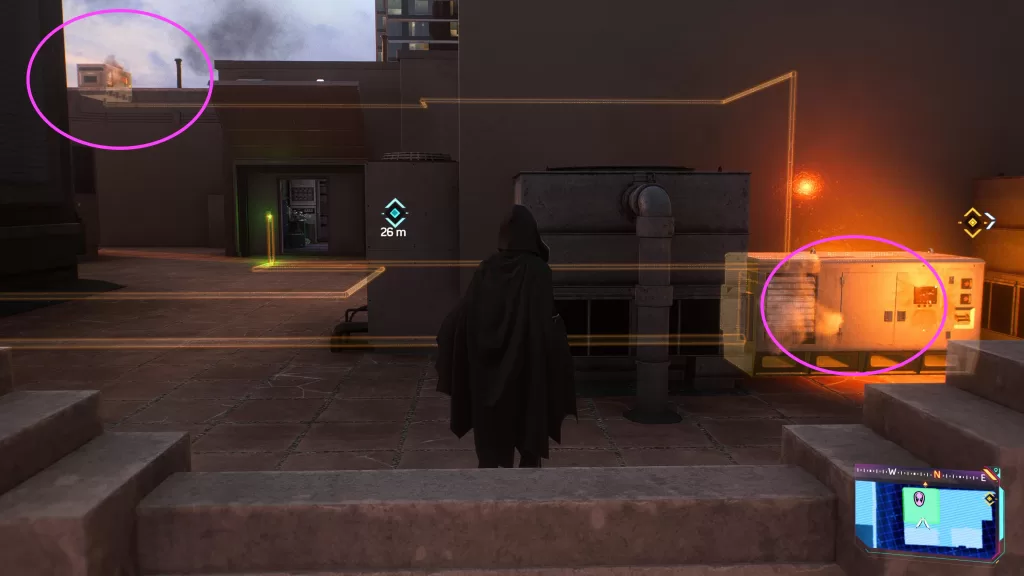
Location: Greenwich
Once at the objective, scan the metal panel in the middle of the roof.
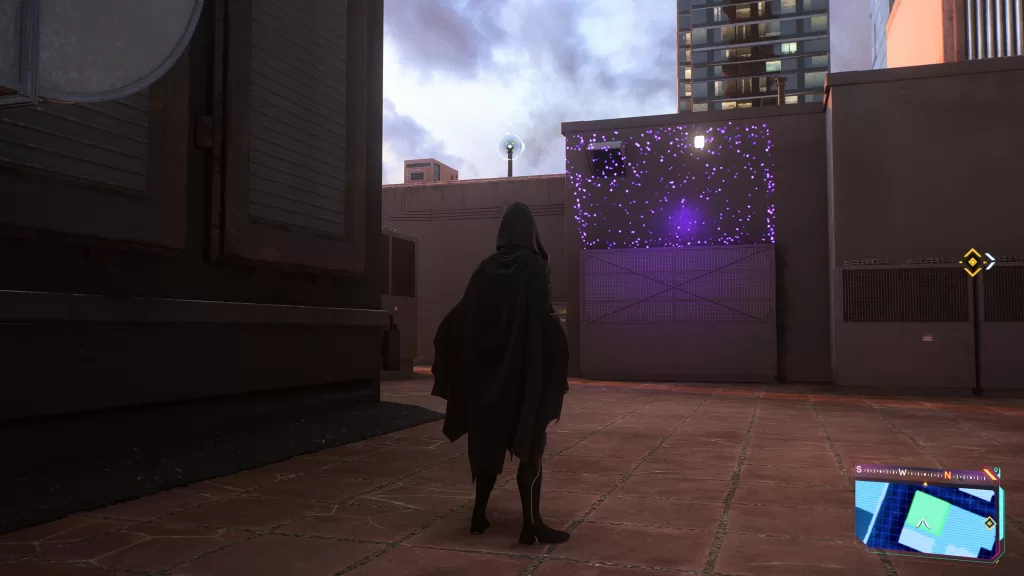
Pull it up to reveal a locked door. This will also reveal additional security. Follow the electric lines to the 2 correct generators and power them up to reach the stash.
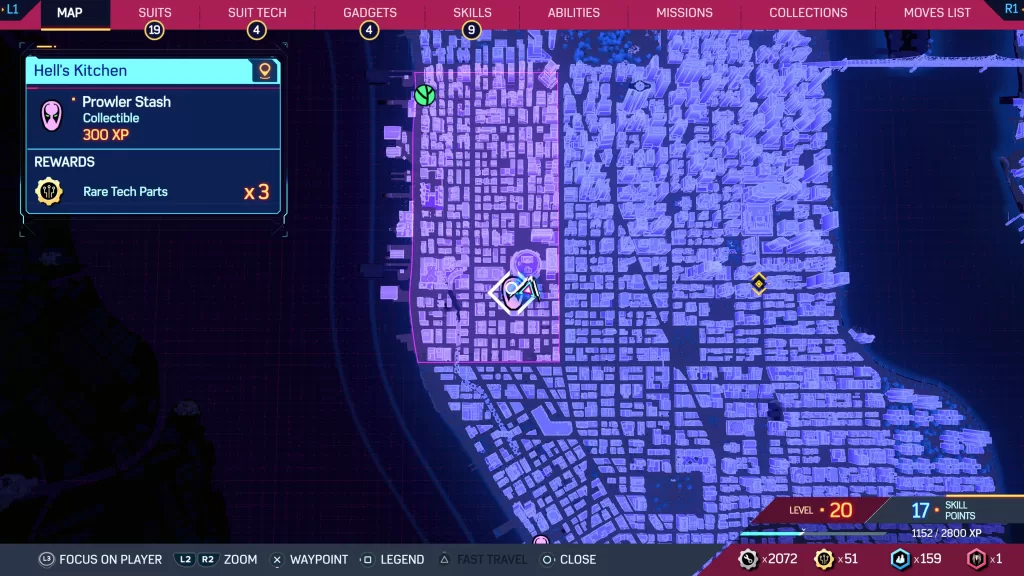
Rewards: XP x300, Rare Tech Parts x3
A Room with a View
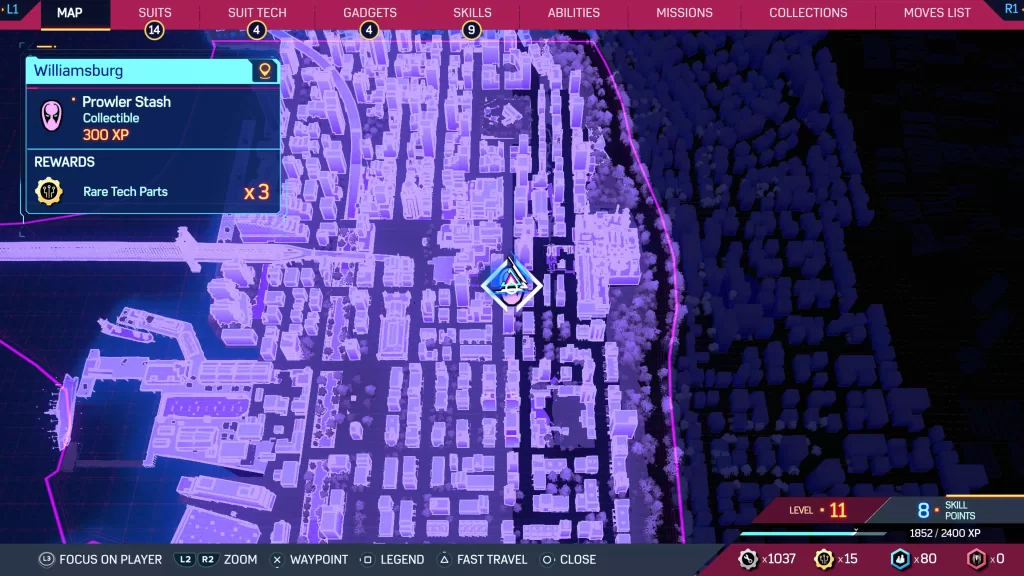
Location: Williamsburg
Travel to the second to the top roof of the building and scan the area between the right box and light pole.
This will reveal a circular level. Turn it with your web slingers then quickly hit it a few more time to freeze it in place. This will open the other box that contains another circular level. Turn this lever and freeze it in place with webs to open the small box on the wall thus revealing the stash.
Rewards: XP x300, Rare Tech Parts x3
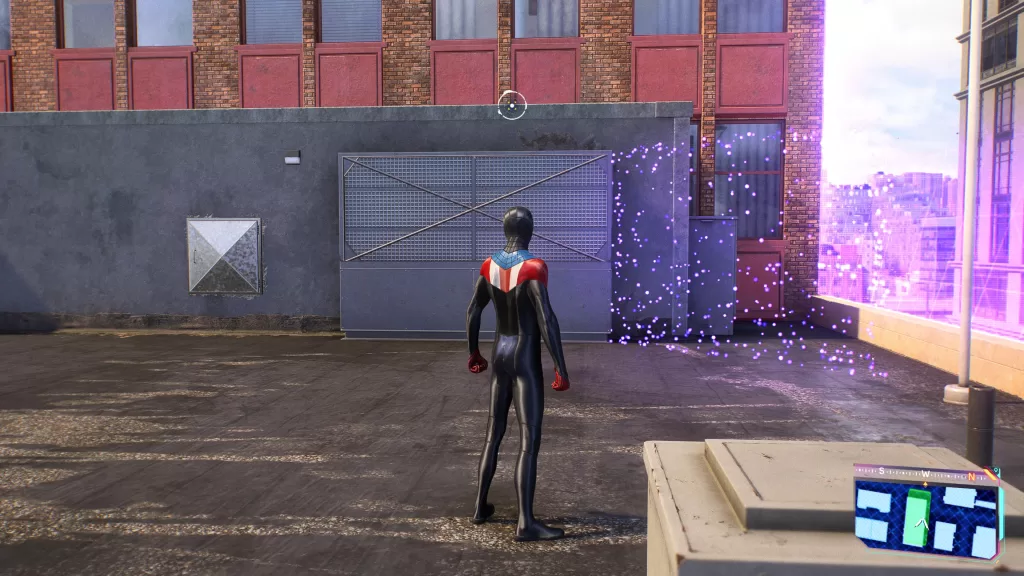
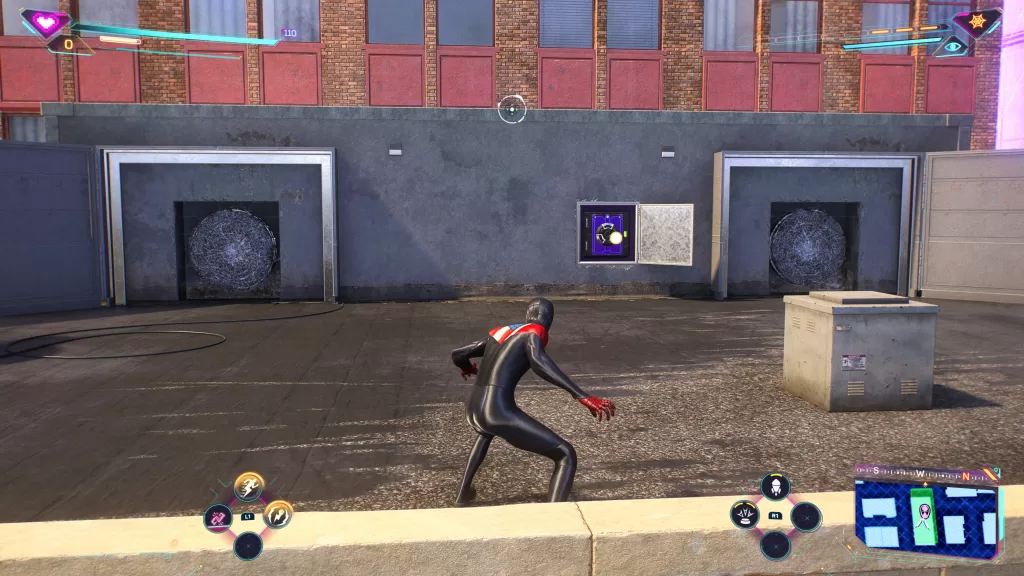
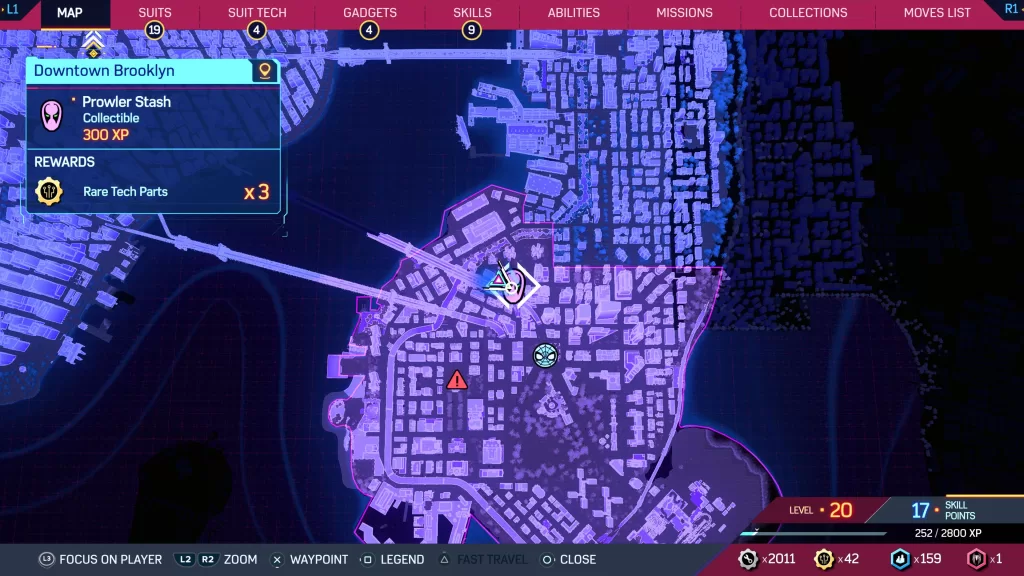
Airwaves
Location: Downtown Brooklyn
Follow the objective to the rooftop of a building. Search for the small room behind the billboard. There will be a metal pole jutting out of this room.
Scan it then pull it up with your web slinger. Head to the other side and scan the metal door to reveal the entrance of the stash.
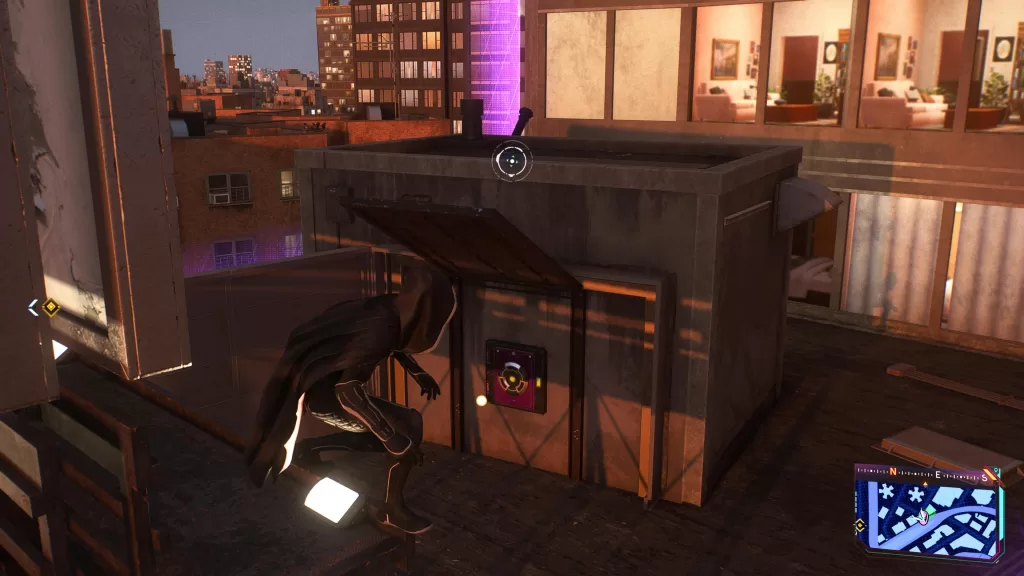
Rewards: XP x300, Rare Tech Parts x3
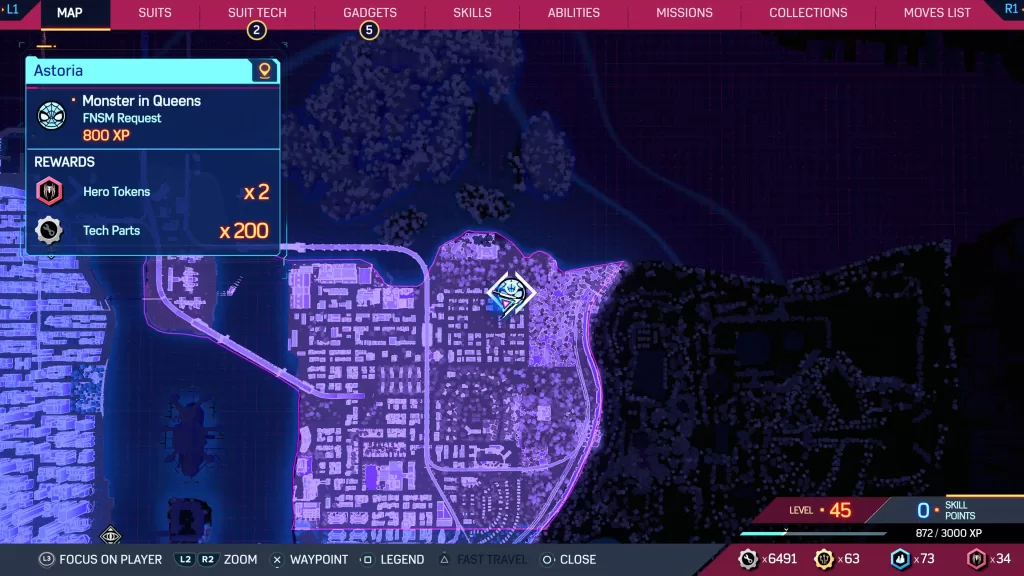
Coin-Op
Location: Astoria

Head on over to the objective and make your way up to a lower level roof. Scan the door then find all 4 circuit boxes first before using the chain lighting on each circuit box just to make sure you know where they all are as this is timed! Start with the one by the door. The second can be found on the section above the door.
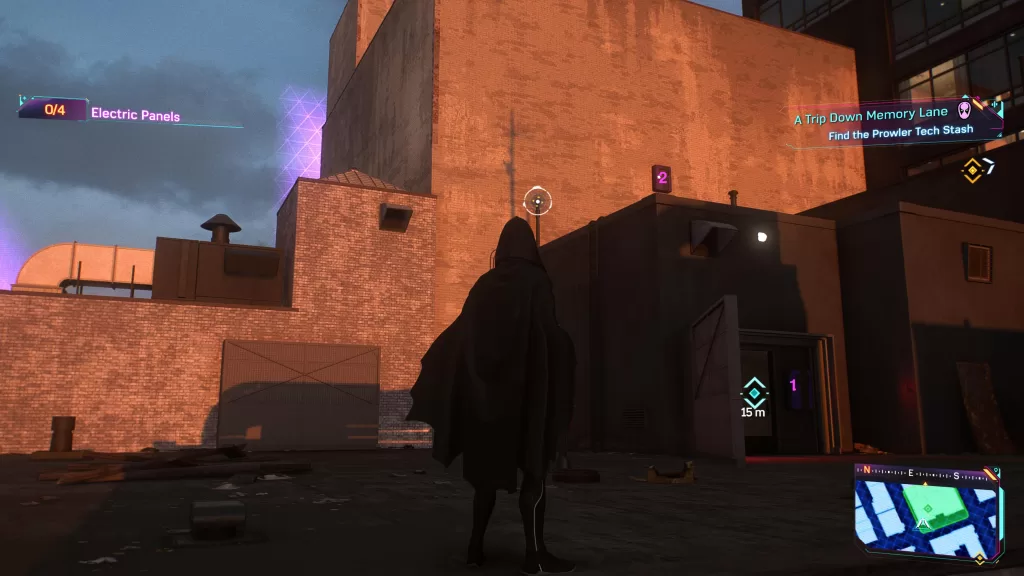
The third is located on the next level up.
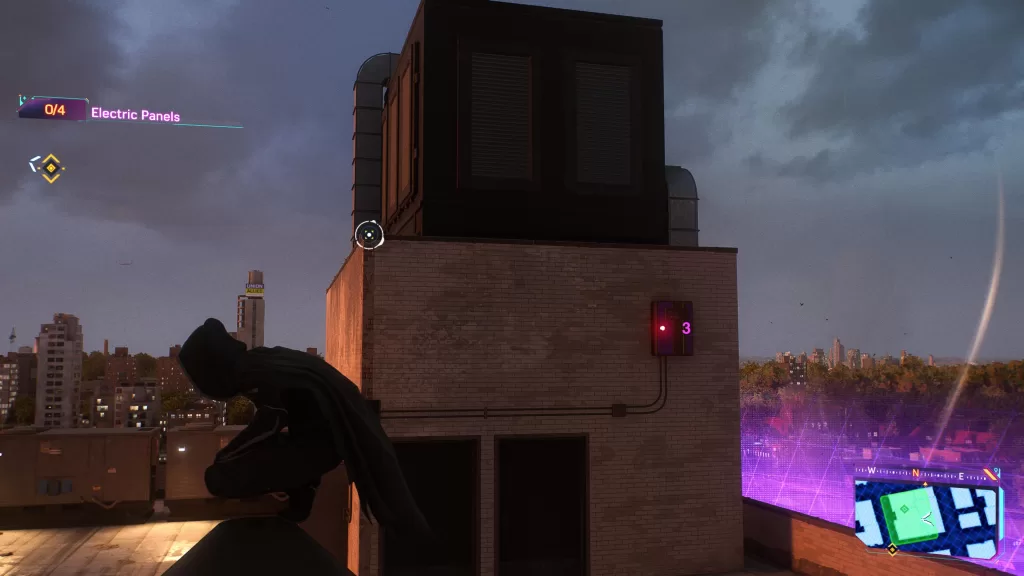
The last is on the structure on the very top roof.
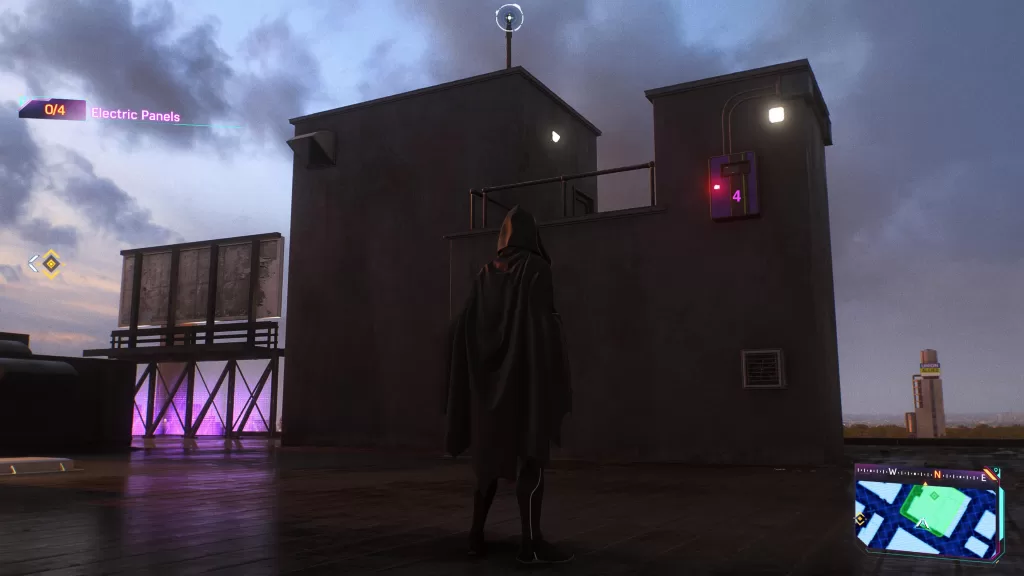
Once all circuit boxes have been electrified, the stash will open!
Rewards: XP x300, Rare Tech Parts x3
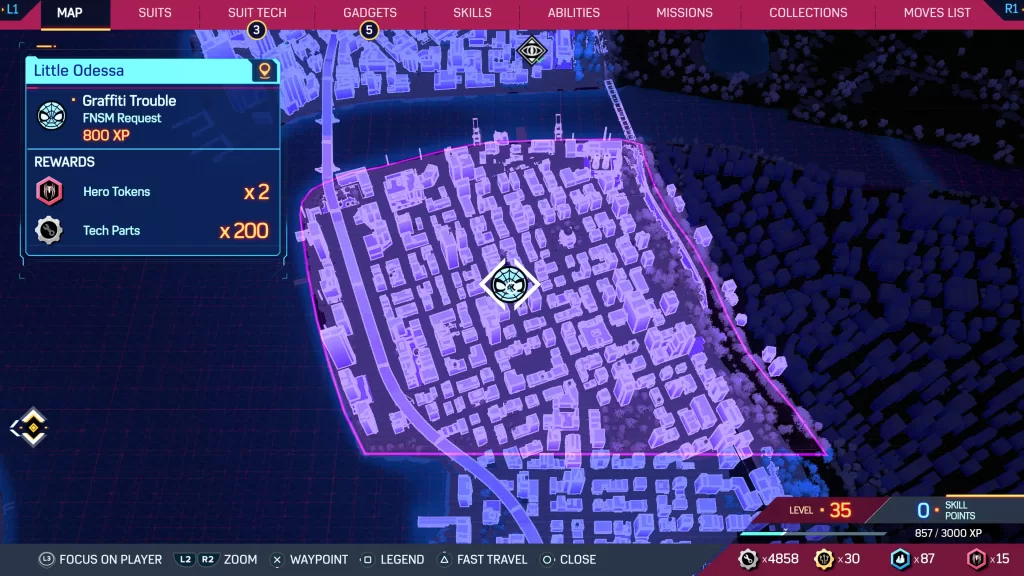
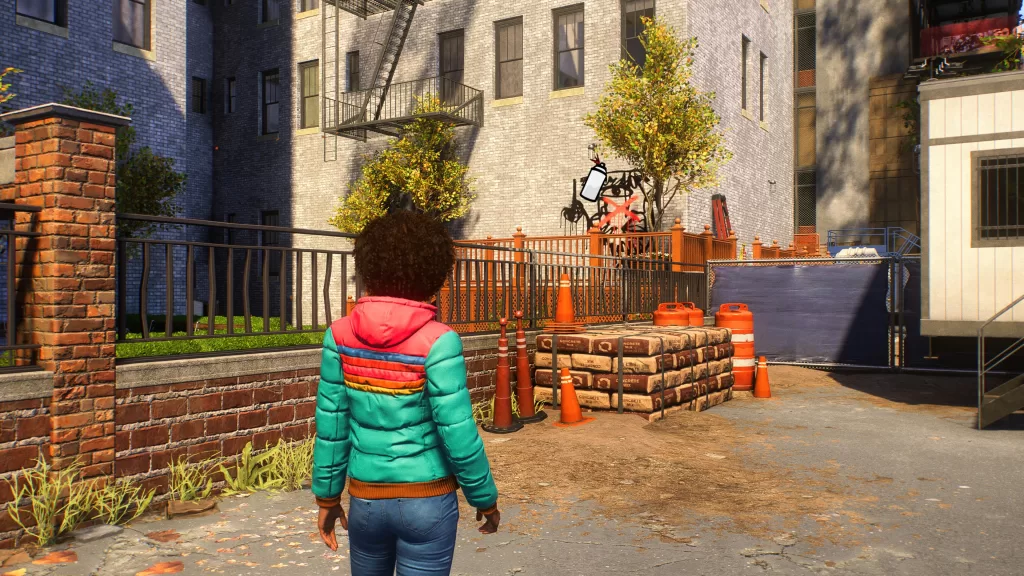
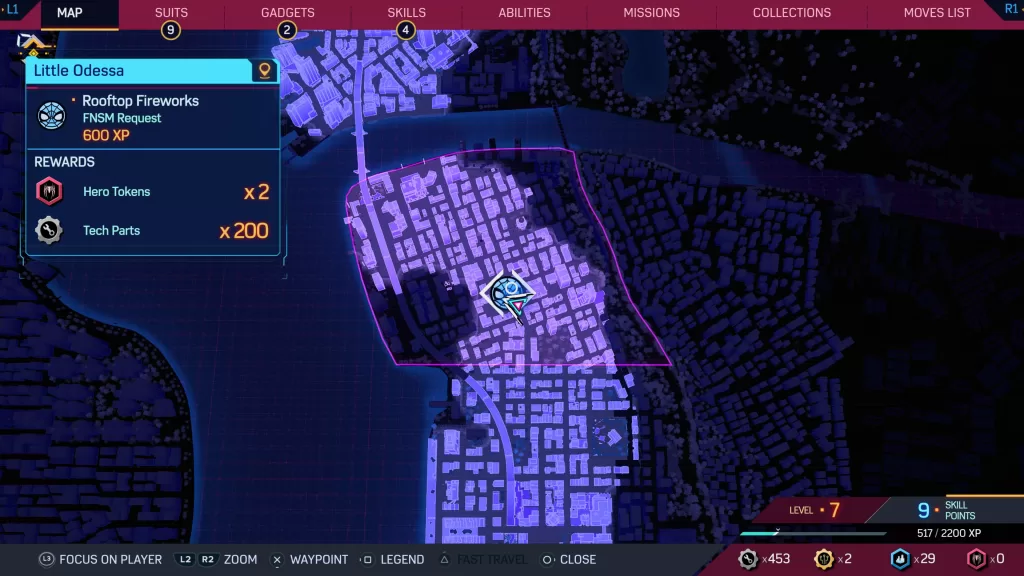
Laying Low
Available: After completing the Amends main story mission with Miles.
Location: Little Odessa
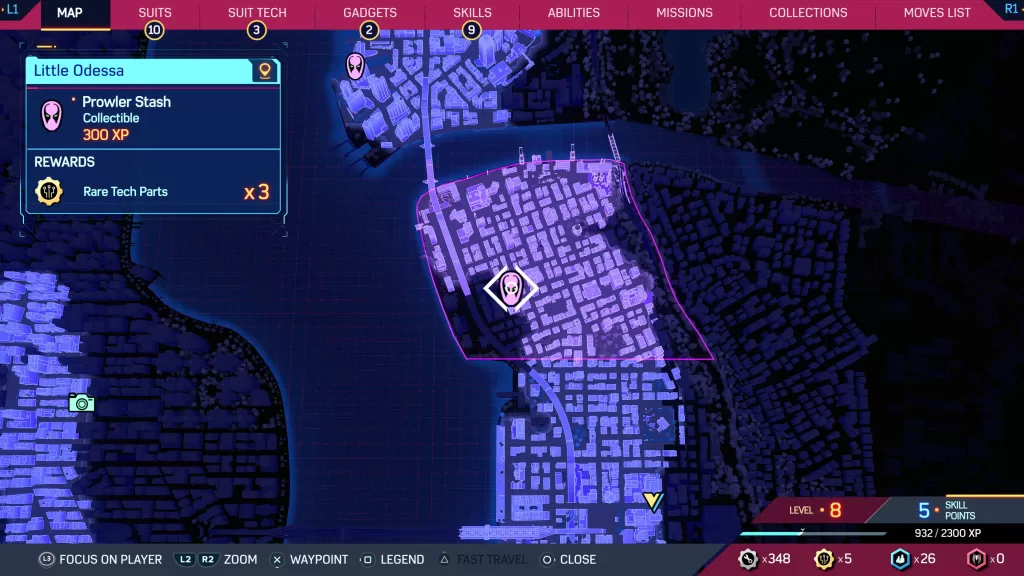
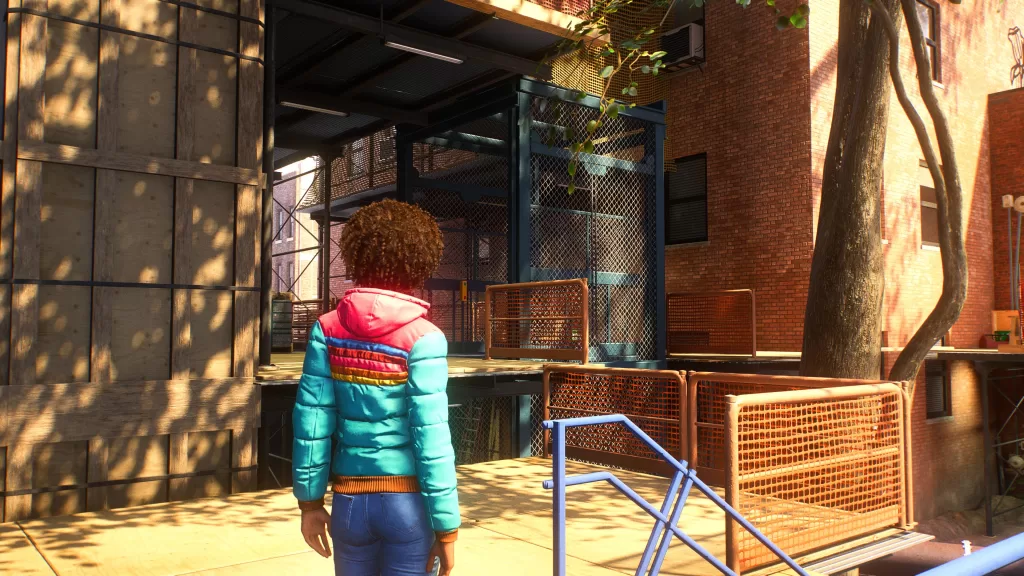
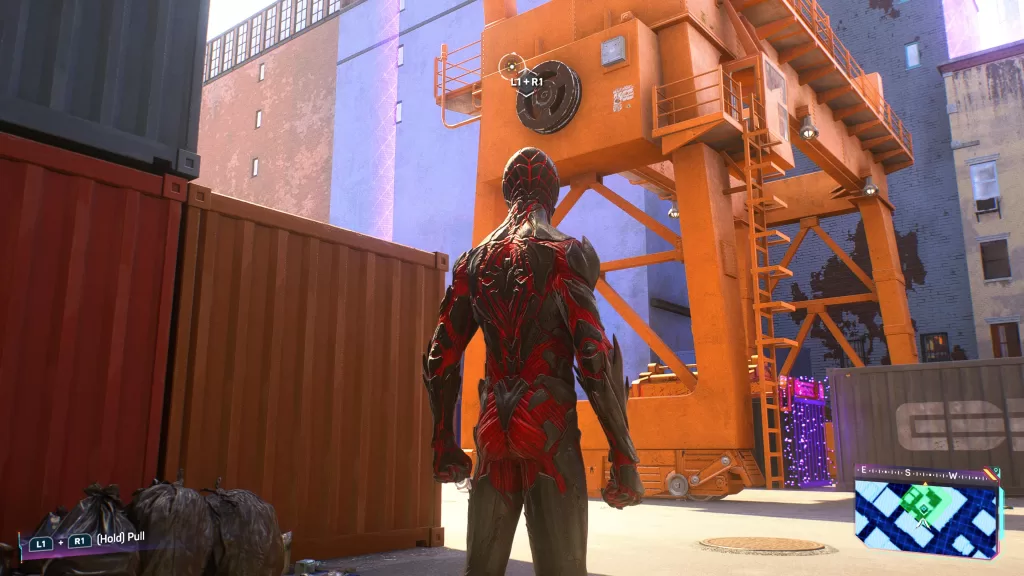
Head to the Prowler Stash marker on the map in Little Odessa to reach a storage container yard. Scan the container next to the one attached to the crane.
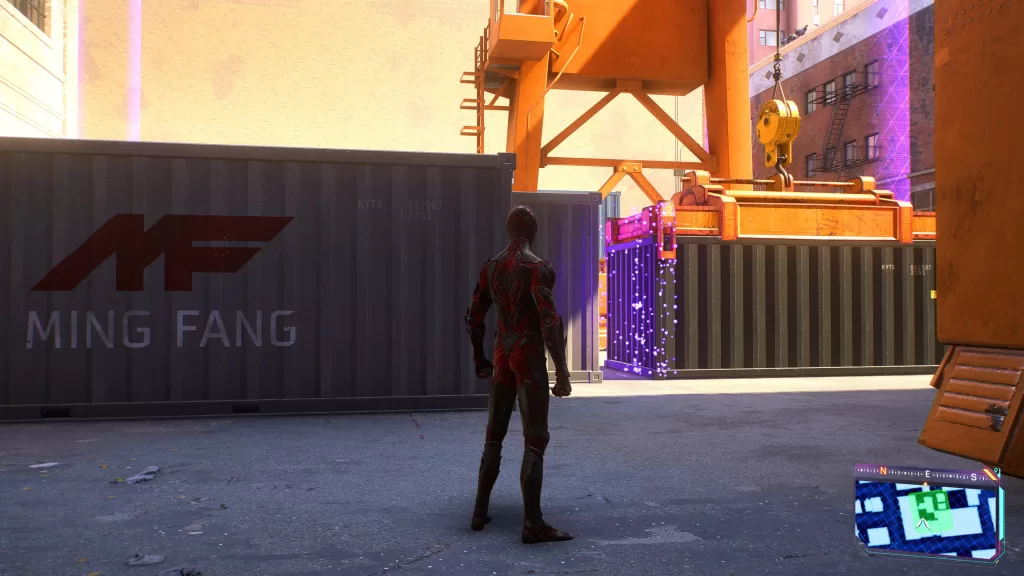
After you decrypt the hideout, you’ll need to head to the side of the crane and use your web to move the adjacent shipping container in order to reveal the entrance.
Once you loot the stash, exit the container to be jumped by the Hunters. Defeat them to complete the Laying Low mission!
Rewards: XP x300, Rare Tech Parts x3
Prowler in Training
Available: After completing the Amends main story mission with Miles.
Location: Downtown Queens
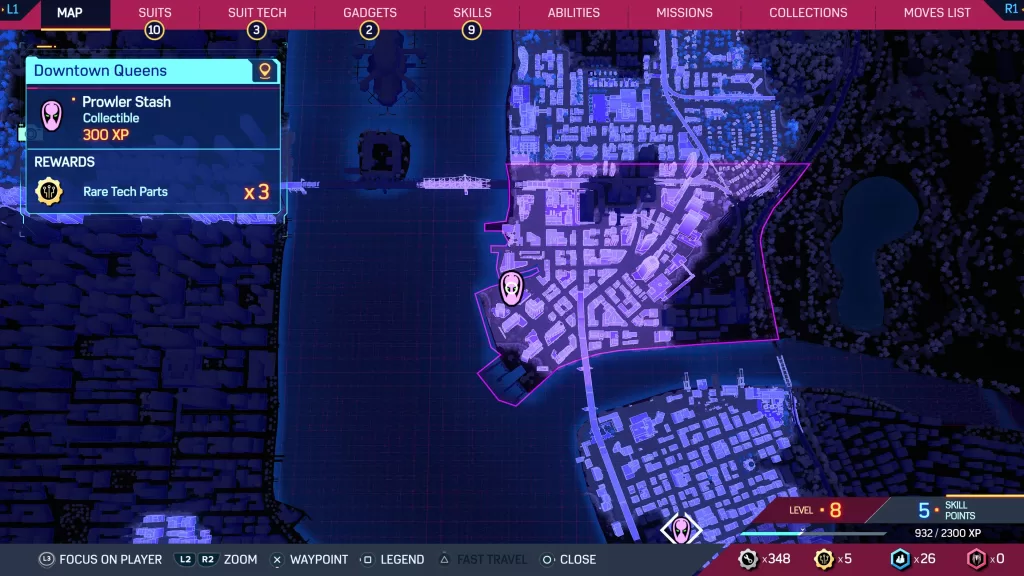
Head to the Prowler Stash objective on the map in Downtown Queens then work your way to the top of the building. Once there, you’ll need to scan a vent shaft entry point on the southwest side of the building to reveal the entrance to the Prowler’s den.
Climb into the duct and follow the right path, avoiding the lasers, to reach a switch at the end. Return to the entrance and go the other way to find the stash.
Rewards: XP x300, Rare Tech Parts x3
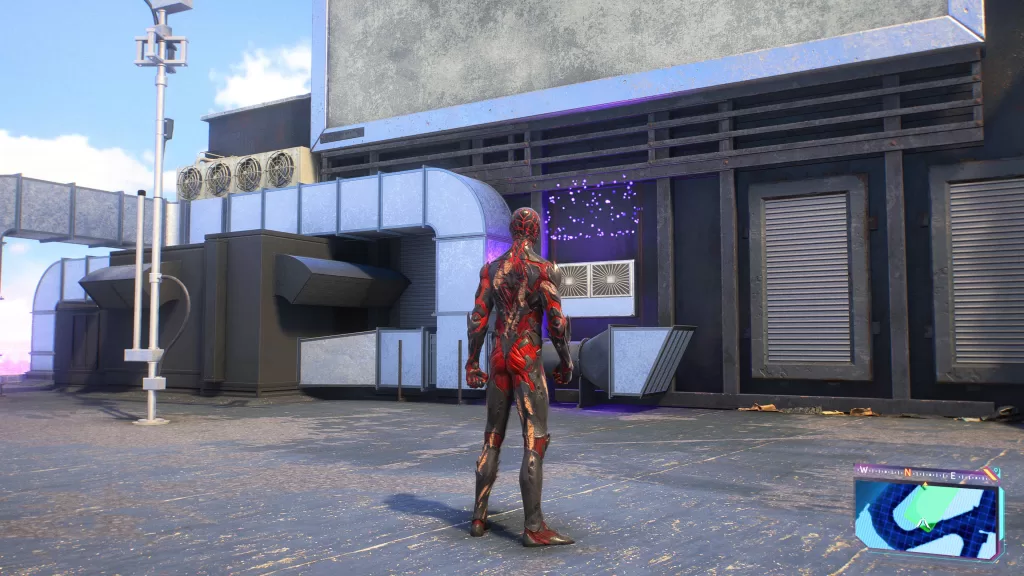
Sittin’ in the Nosebleeds
Location: Hell’s Kitchen
Once you arrive at the objective, scan the metal chimney stack jutting out of the roof behind the billboard.
Afterwards, jump on the billboard to pull the chimney stack. This will open a door revealing a generator that you can shock. Use your scan to follow the electrical lines to the next generator. Electrocute this generator then follow the electrical lines, using your web to patch the lines as needed. Once the line has been repaired, the stash will open!
Rewards: XP x300, Rare Tech Parts x3
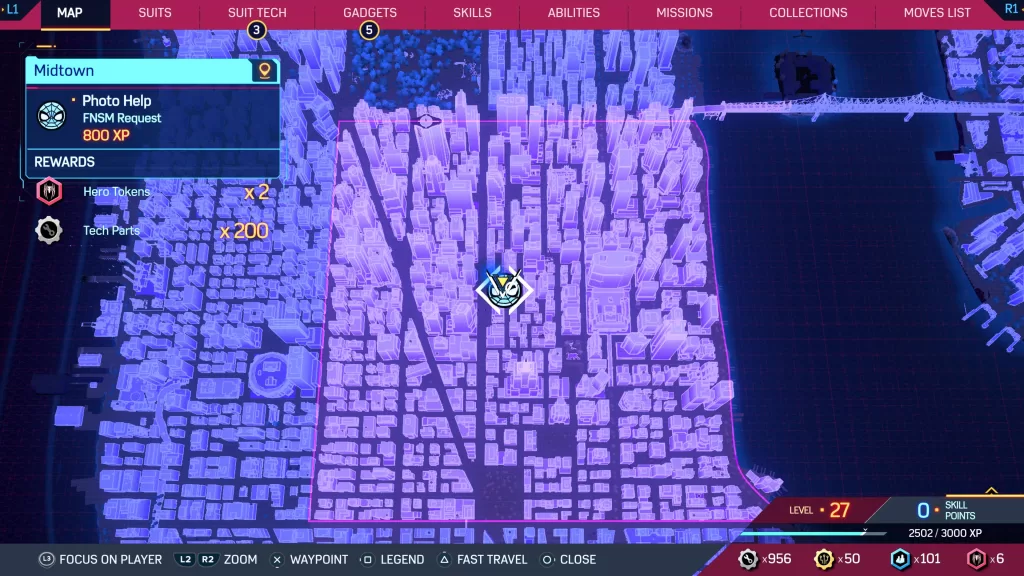
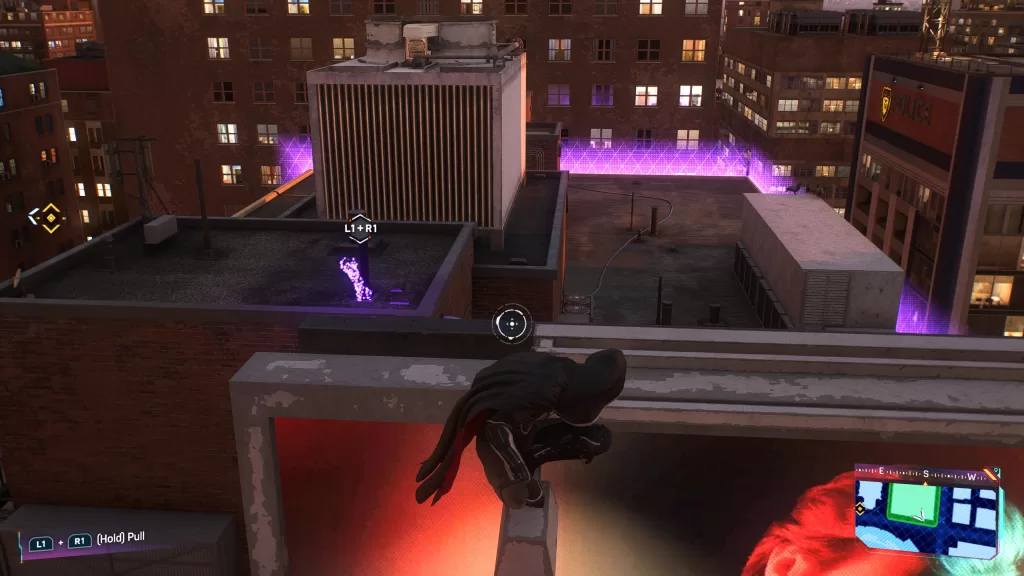
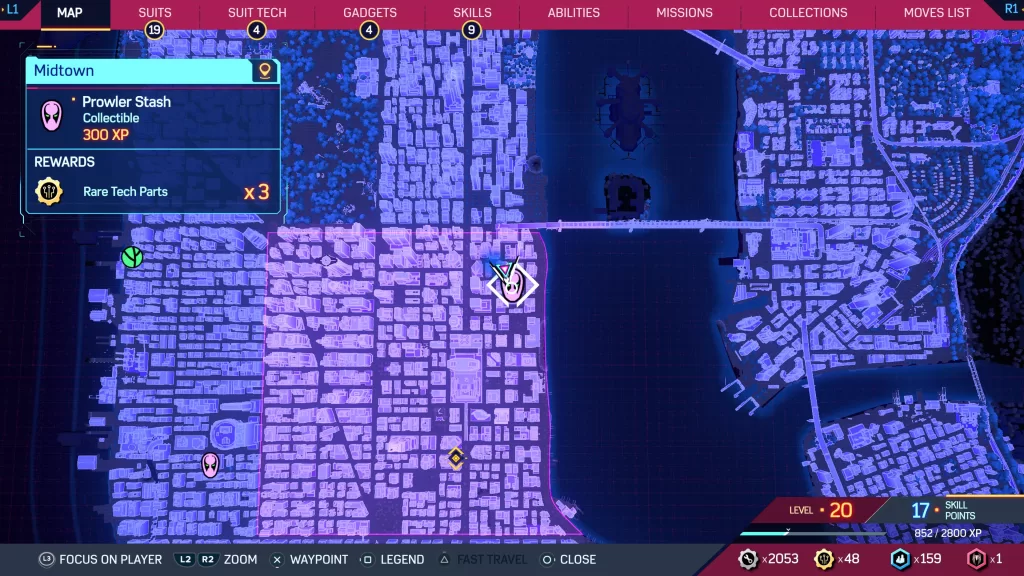
The Braxton Score
Location: Midtown
Once you arrive at the objective, head to the scan point which is under the Braxton sign on the side of the building.

This will open a vent leading to a laser puzzle. Crawl to the end of the vent to find the stash.
Rewards: XP x300, Rare Tech Parts x3
For more Marvel’s Spider-Man 2 guides and walkthroughs, click here!