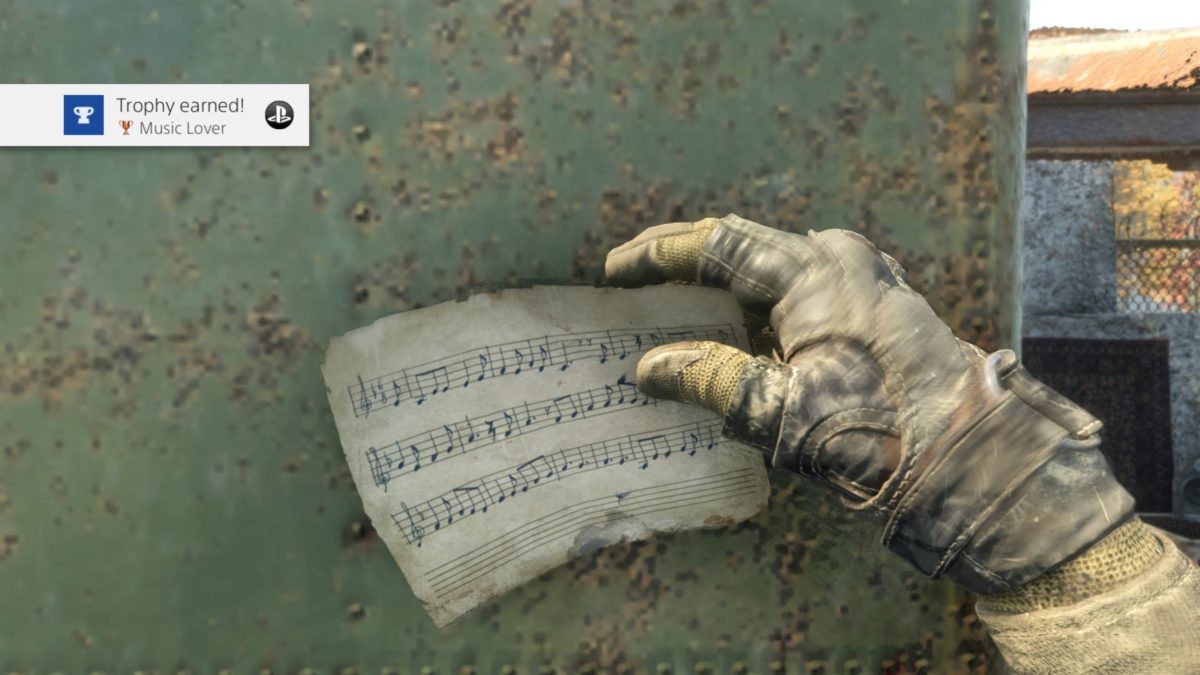
*NOTE: There are 8 Night Hunters’ secret stashes to collect in the Metro Exodus Sam’s Story DLC. The stashes are listed below in the order that they can be obtained during the main story. Please make sure to collect them as you go. If you progress too far in the story, you will be locked out of the locations that contain the stashes.
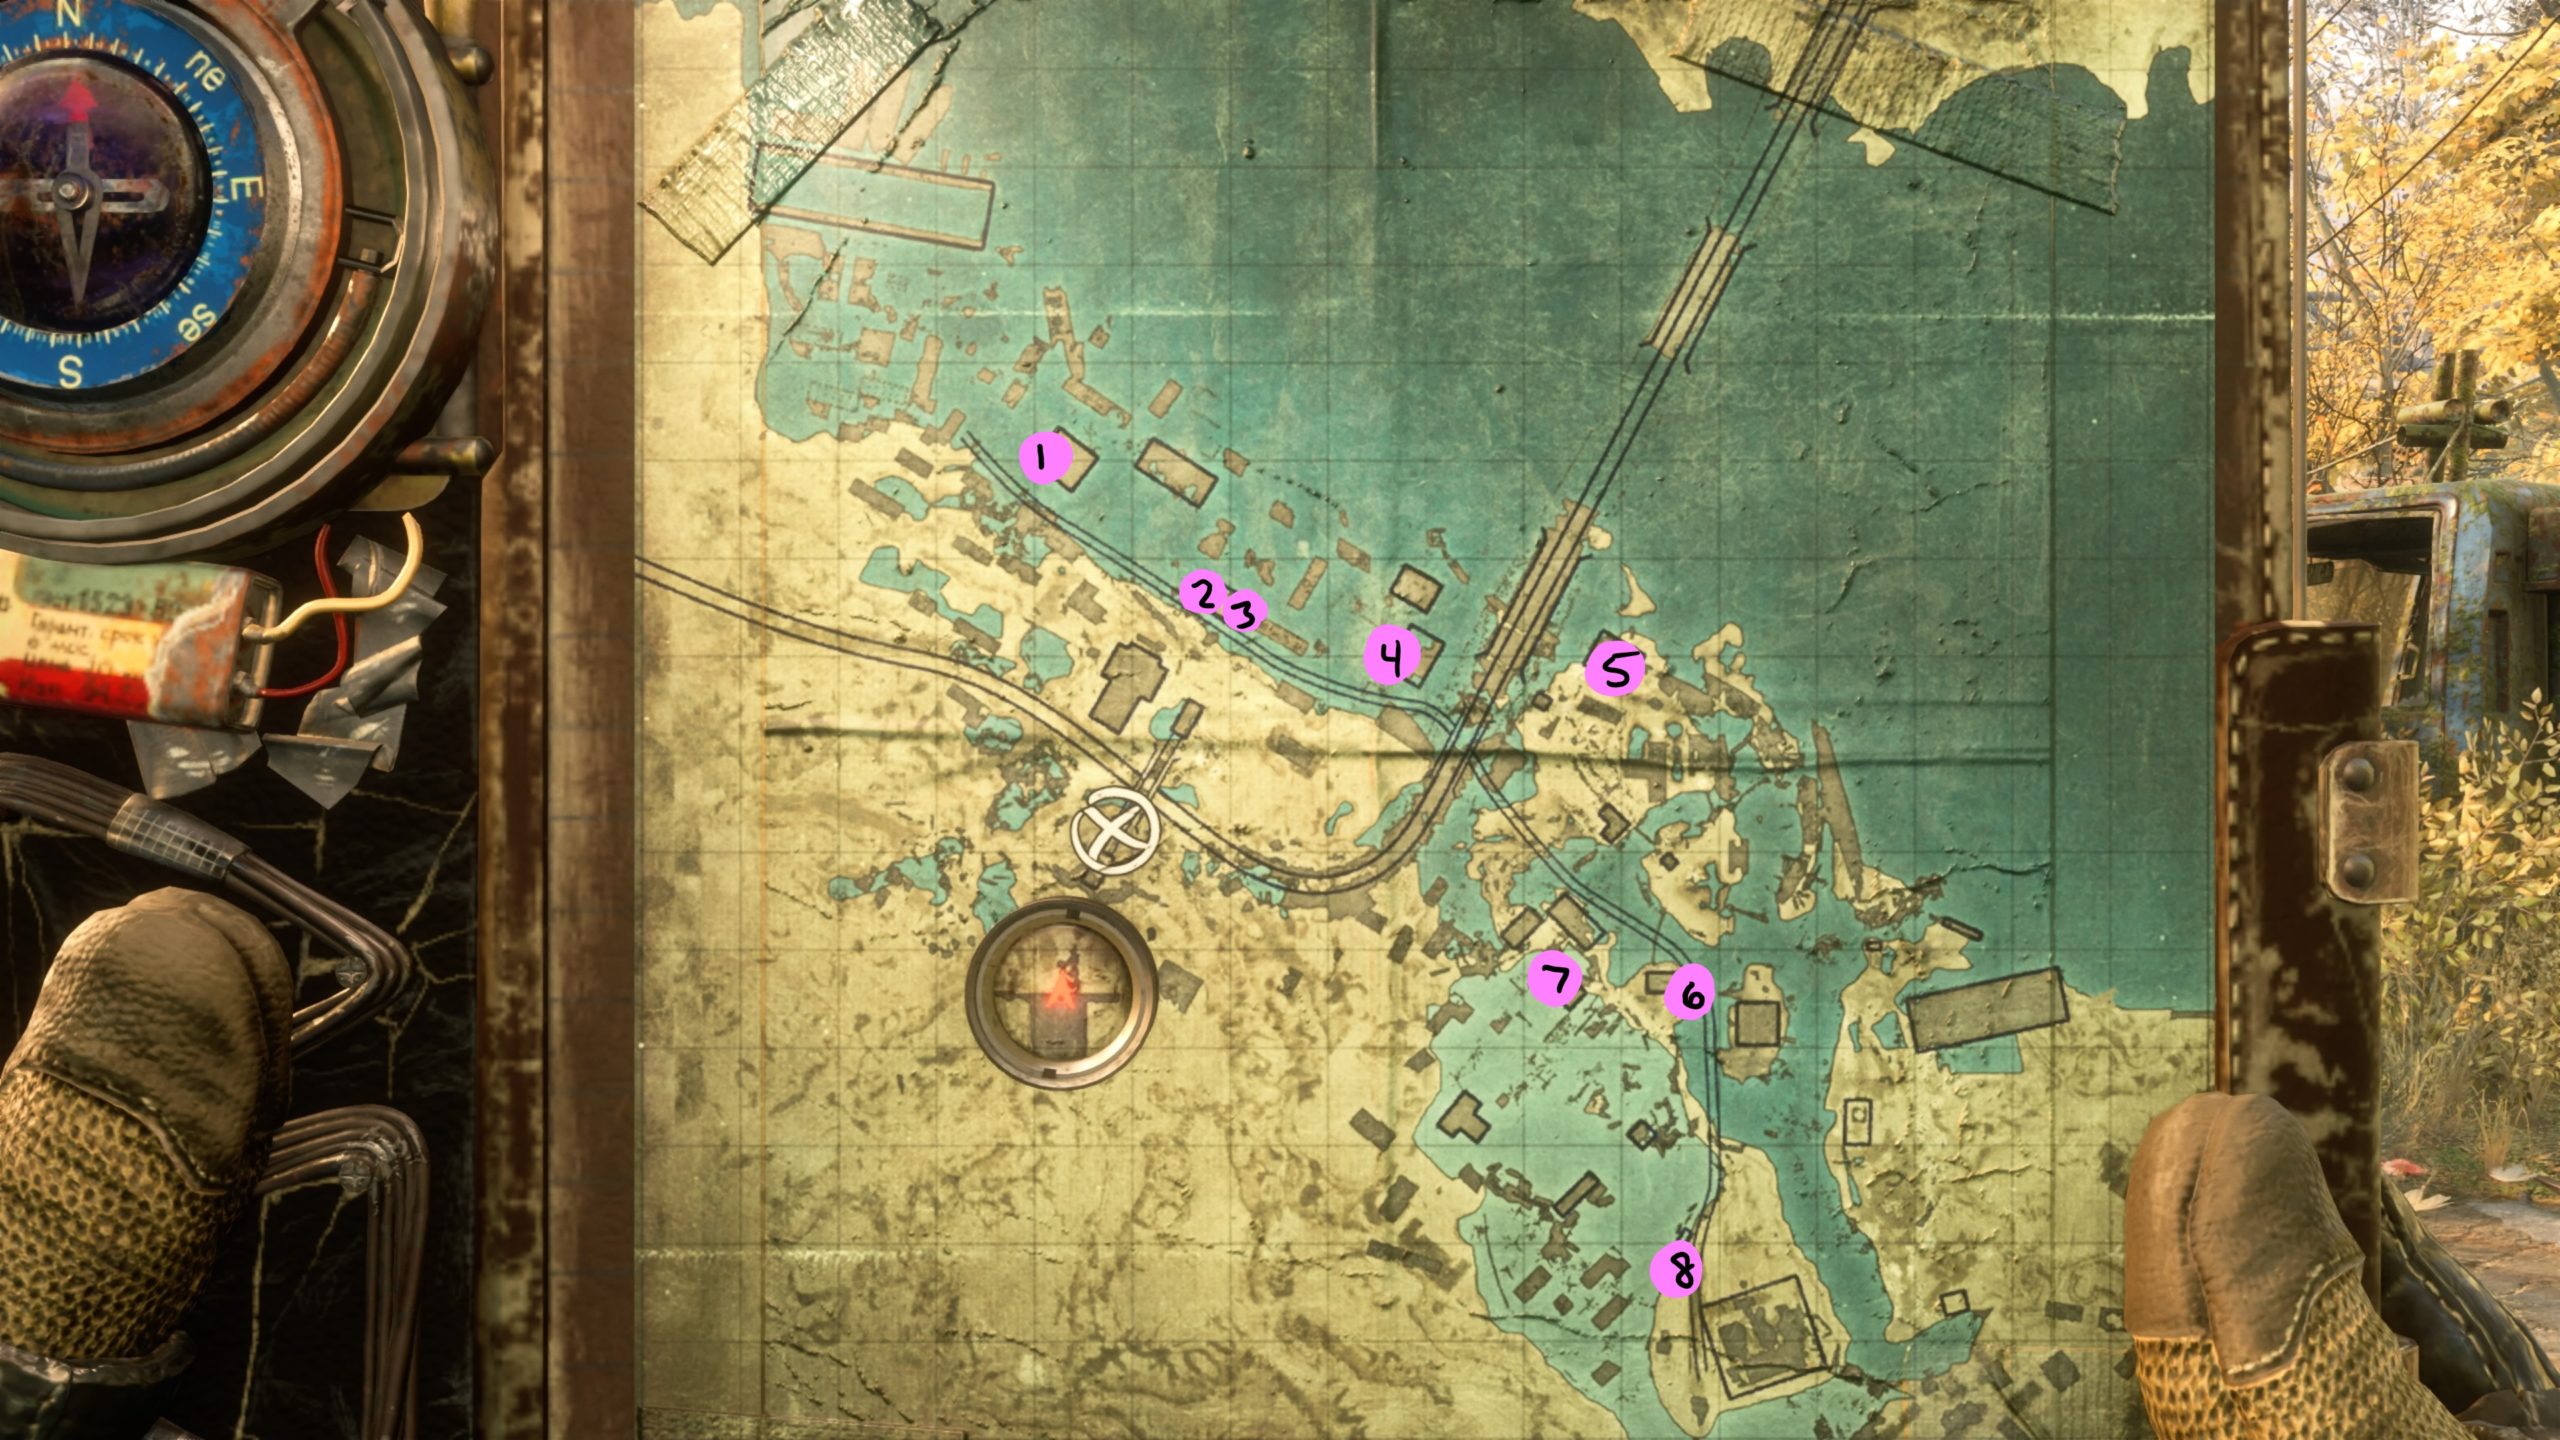
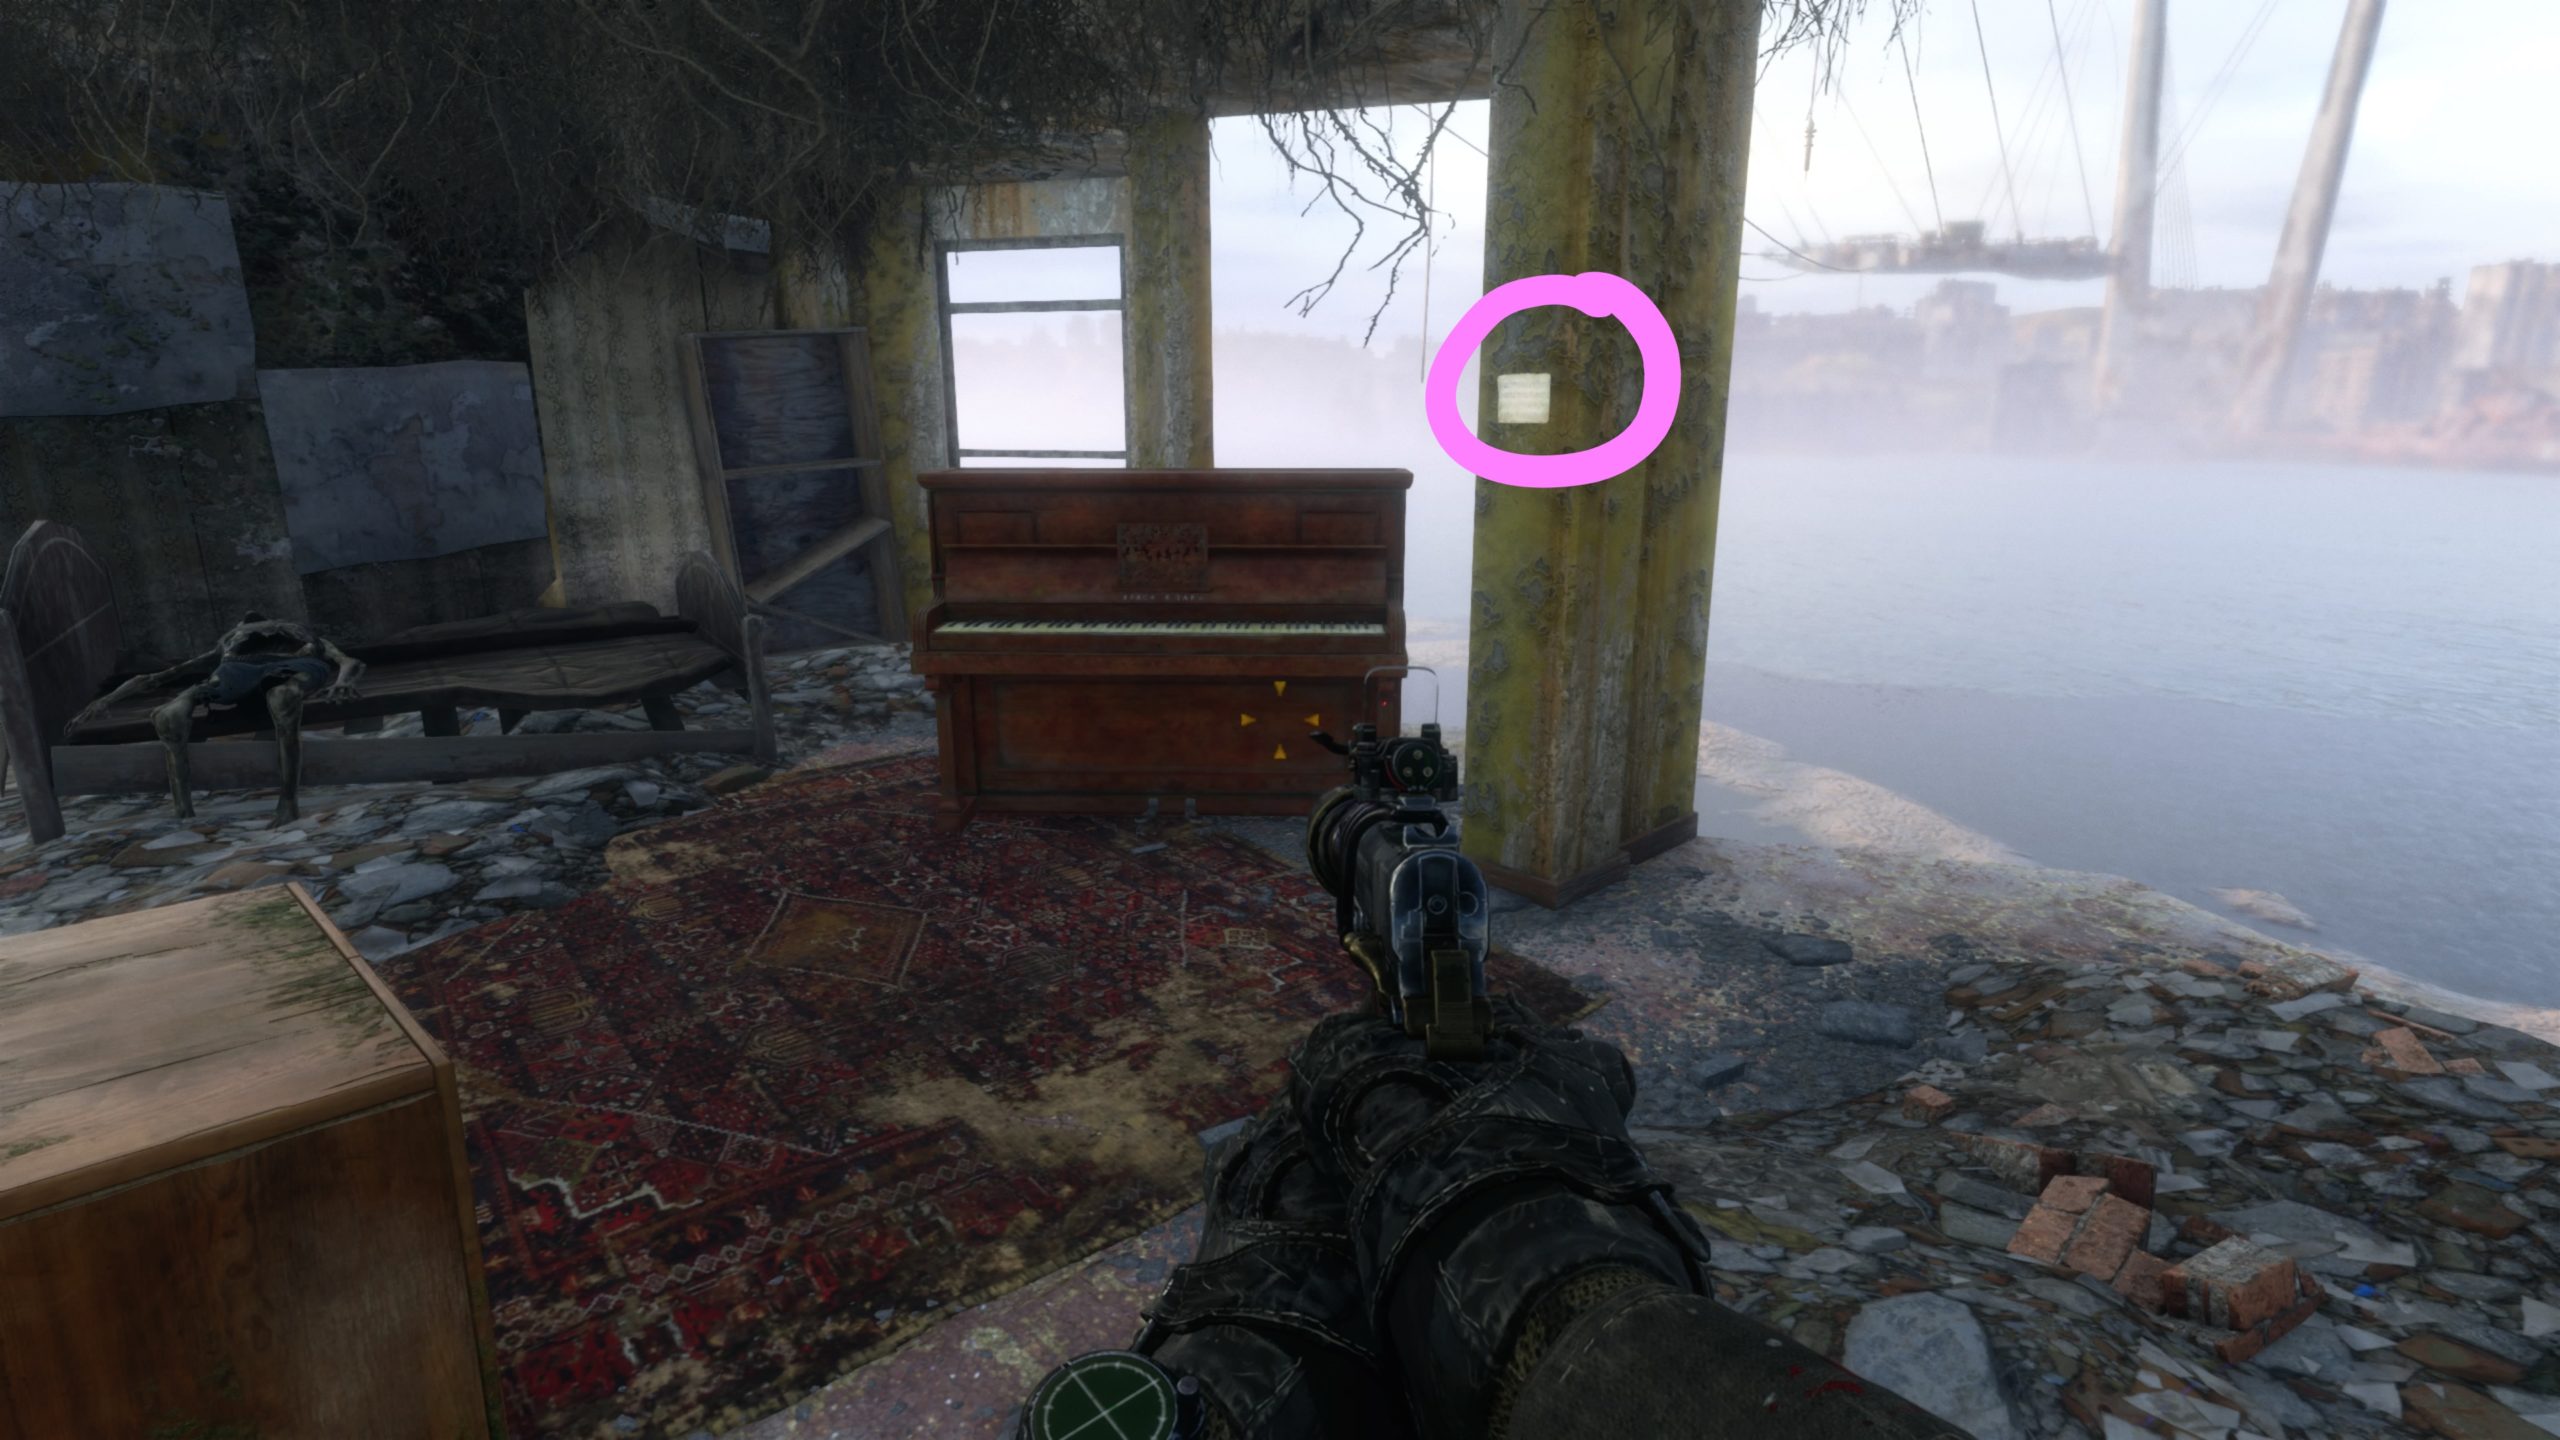
Secret Stash 1

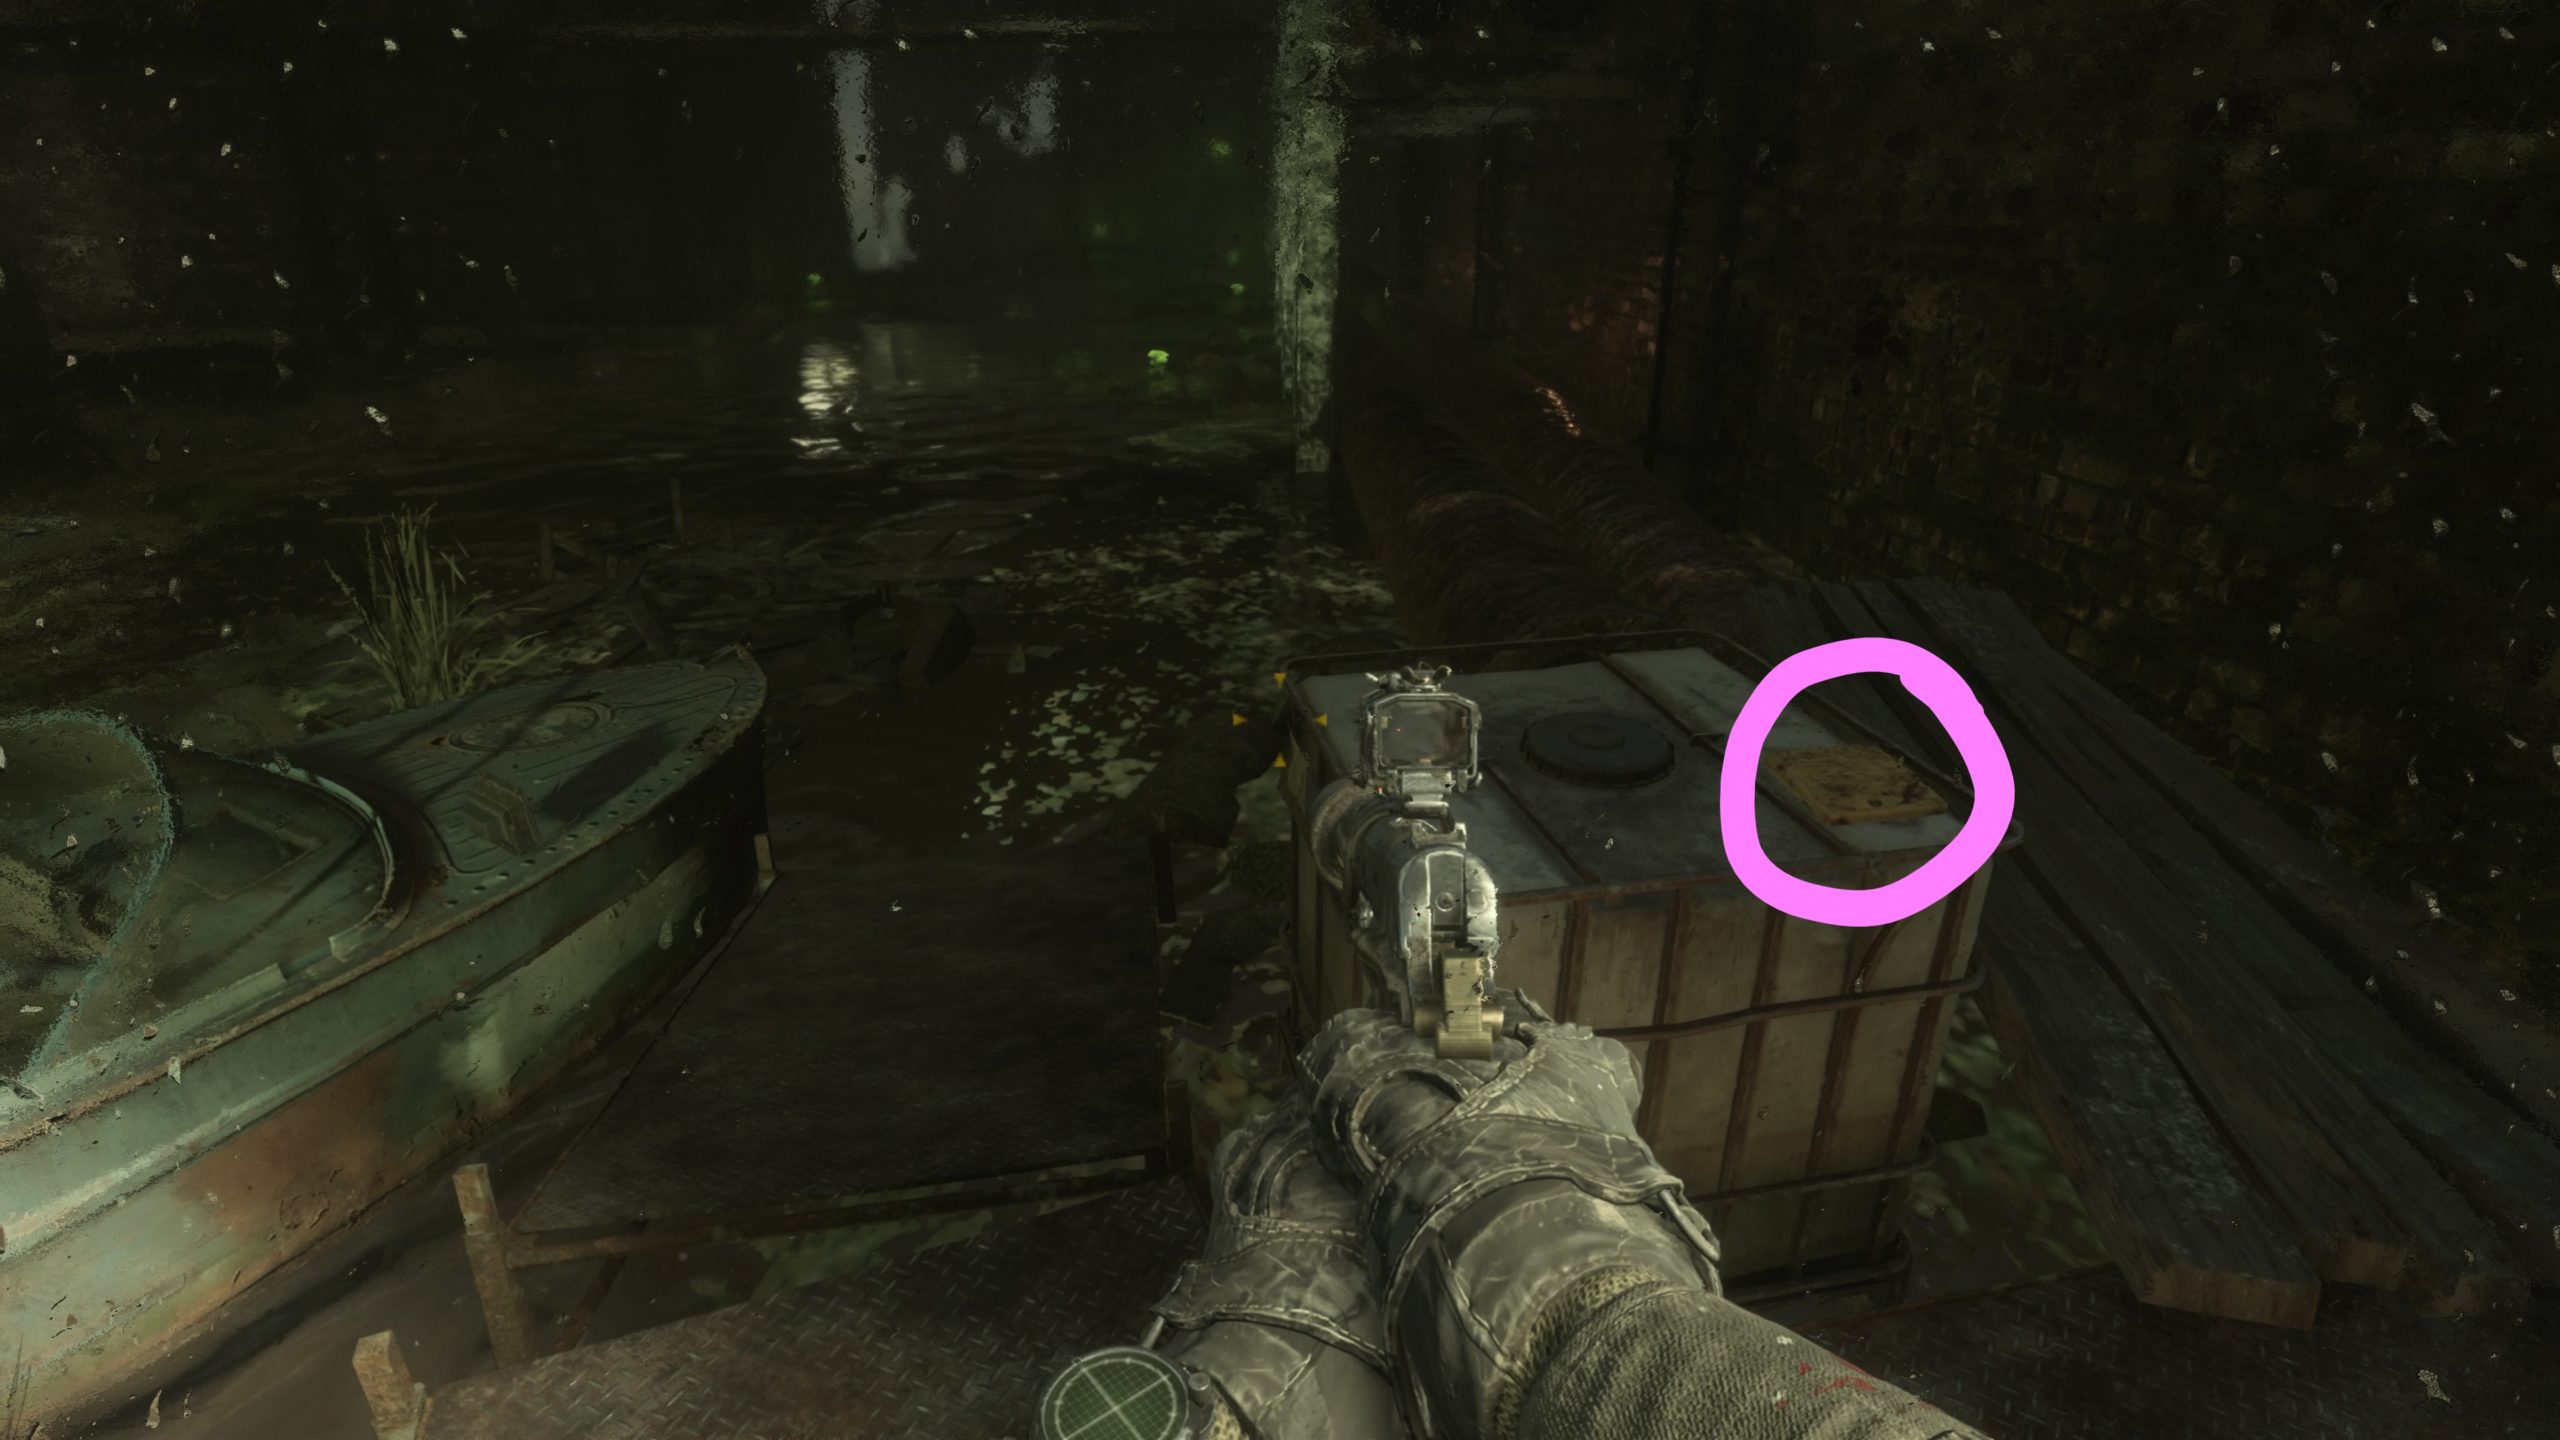
As soon as you dock the boat, head up the stairs and take a left at the top. Follow the hallway to the end, passing through a doorway. Take a left through the doorway to reach an office-like room. Exit out the door on the other side of the room to come to a large open room filled with water. Head straight across the wooden plank to reach a stone platform (middle platform). On this platform, drop down to the wooden planks below and crouch through the small opening. Head across the flooded room then go up the stairway at the end to find the stash at the top of the stairs.
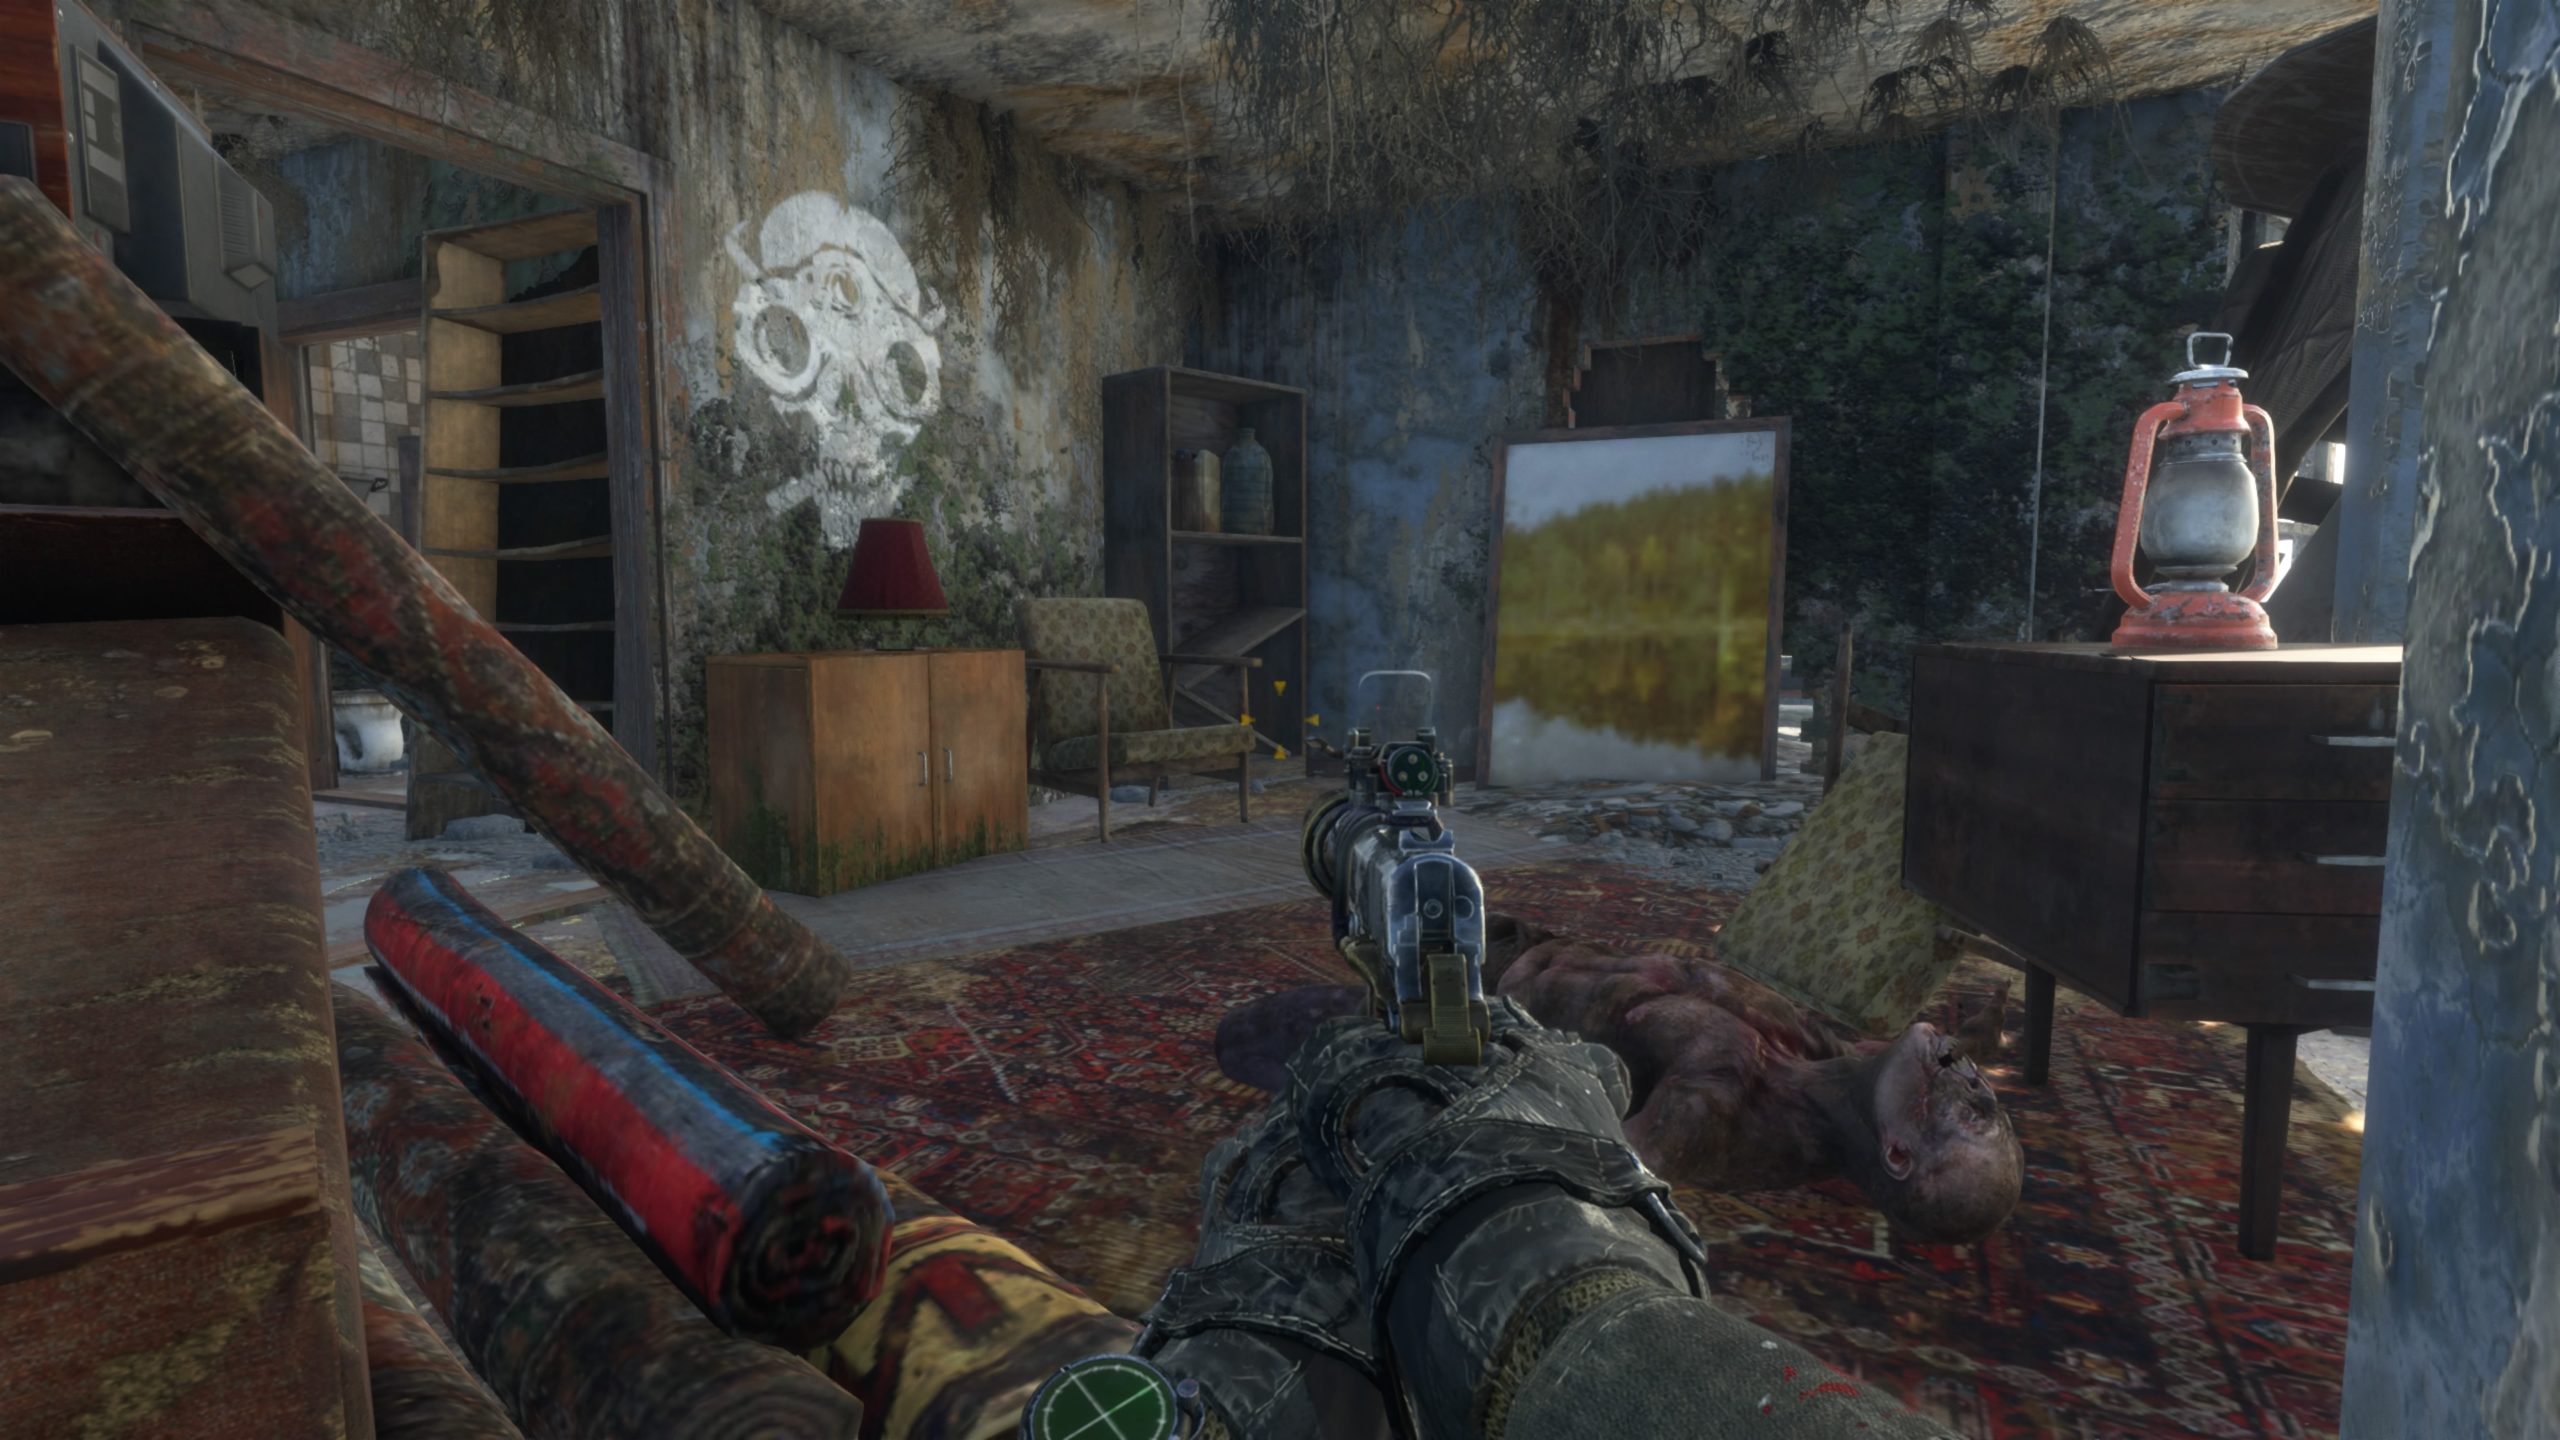
Secret Stash 2

After you dock the boat, head into the submerged building just past the red flag. Work your way through the partially submerged level until you reach a doorway with a white skull above the threshold. Enter through this doorway to find a red door on the left side of the room. To the left of the red door, look for the hole in the brick to find a rope. Cut the rope to gain access to the room behind the red door that contains the stash.
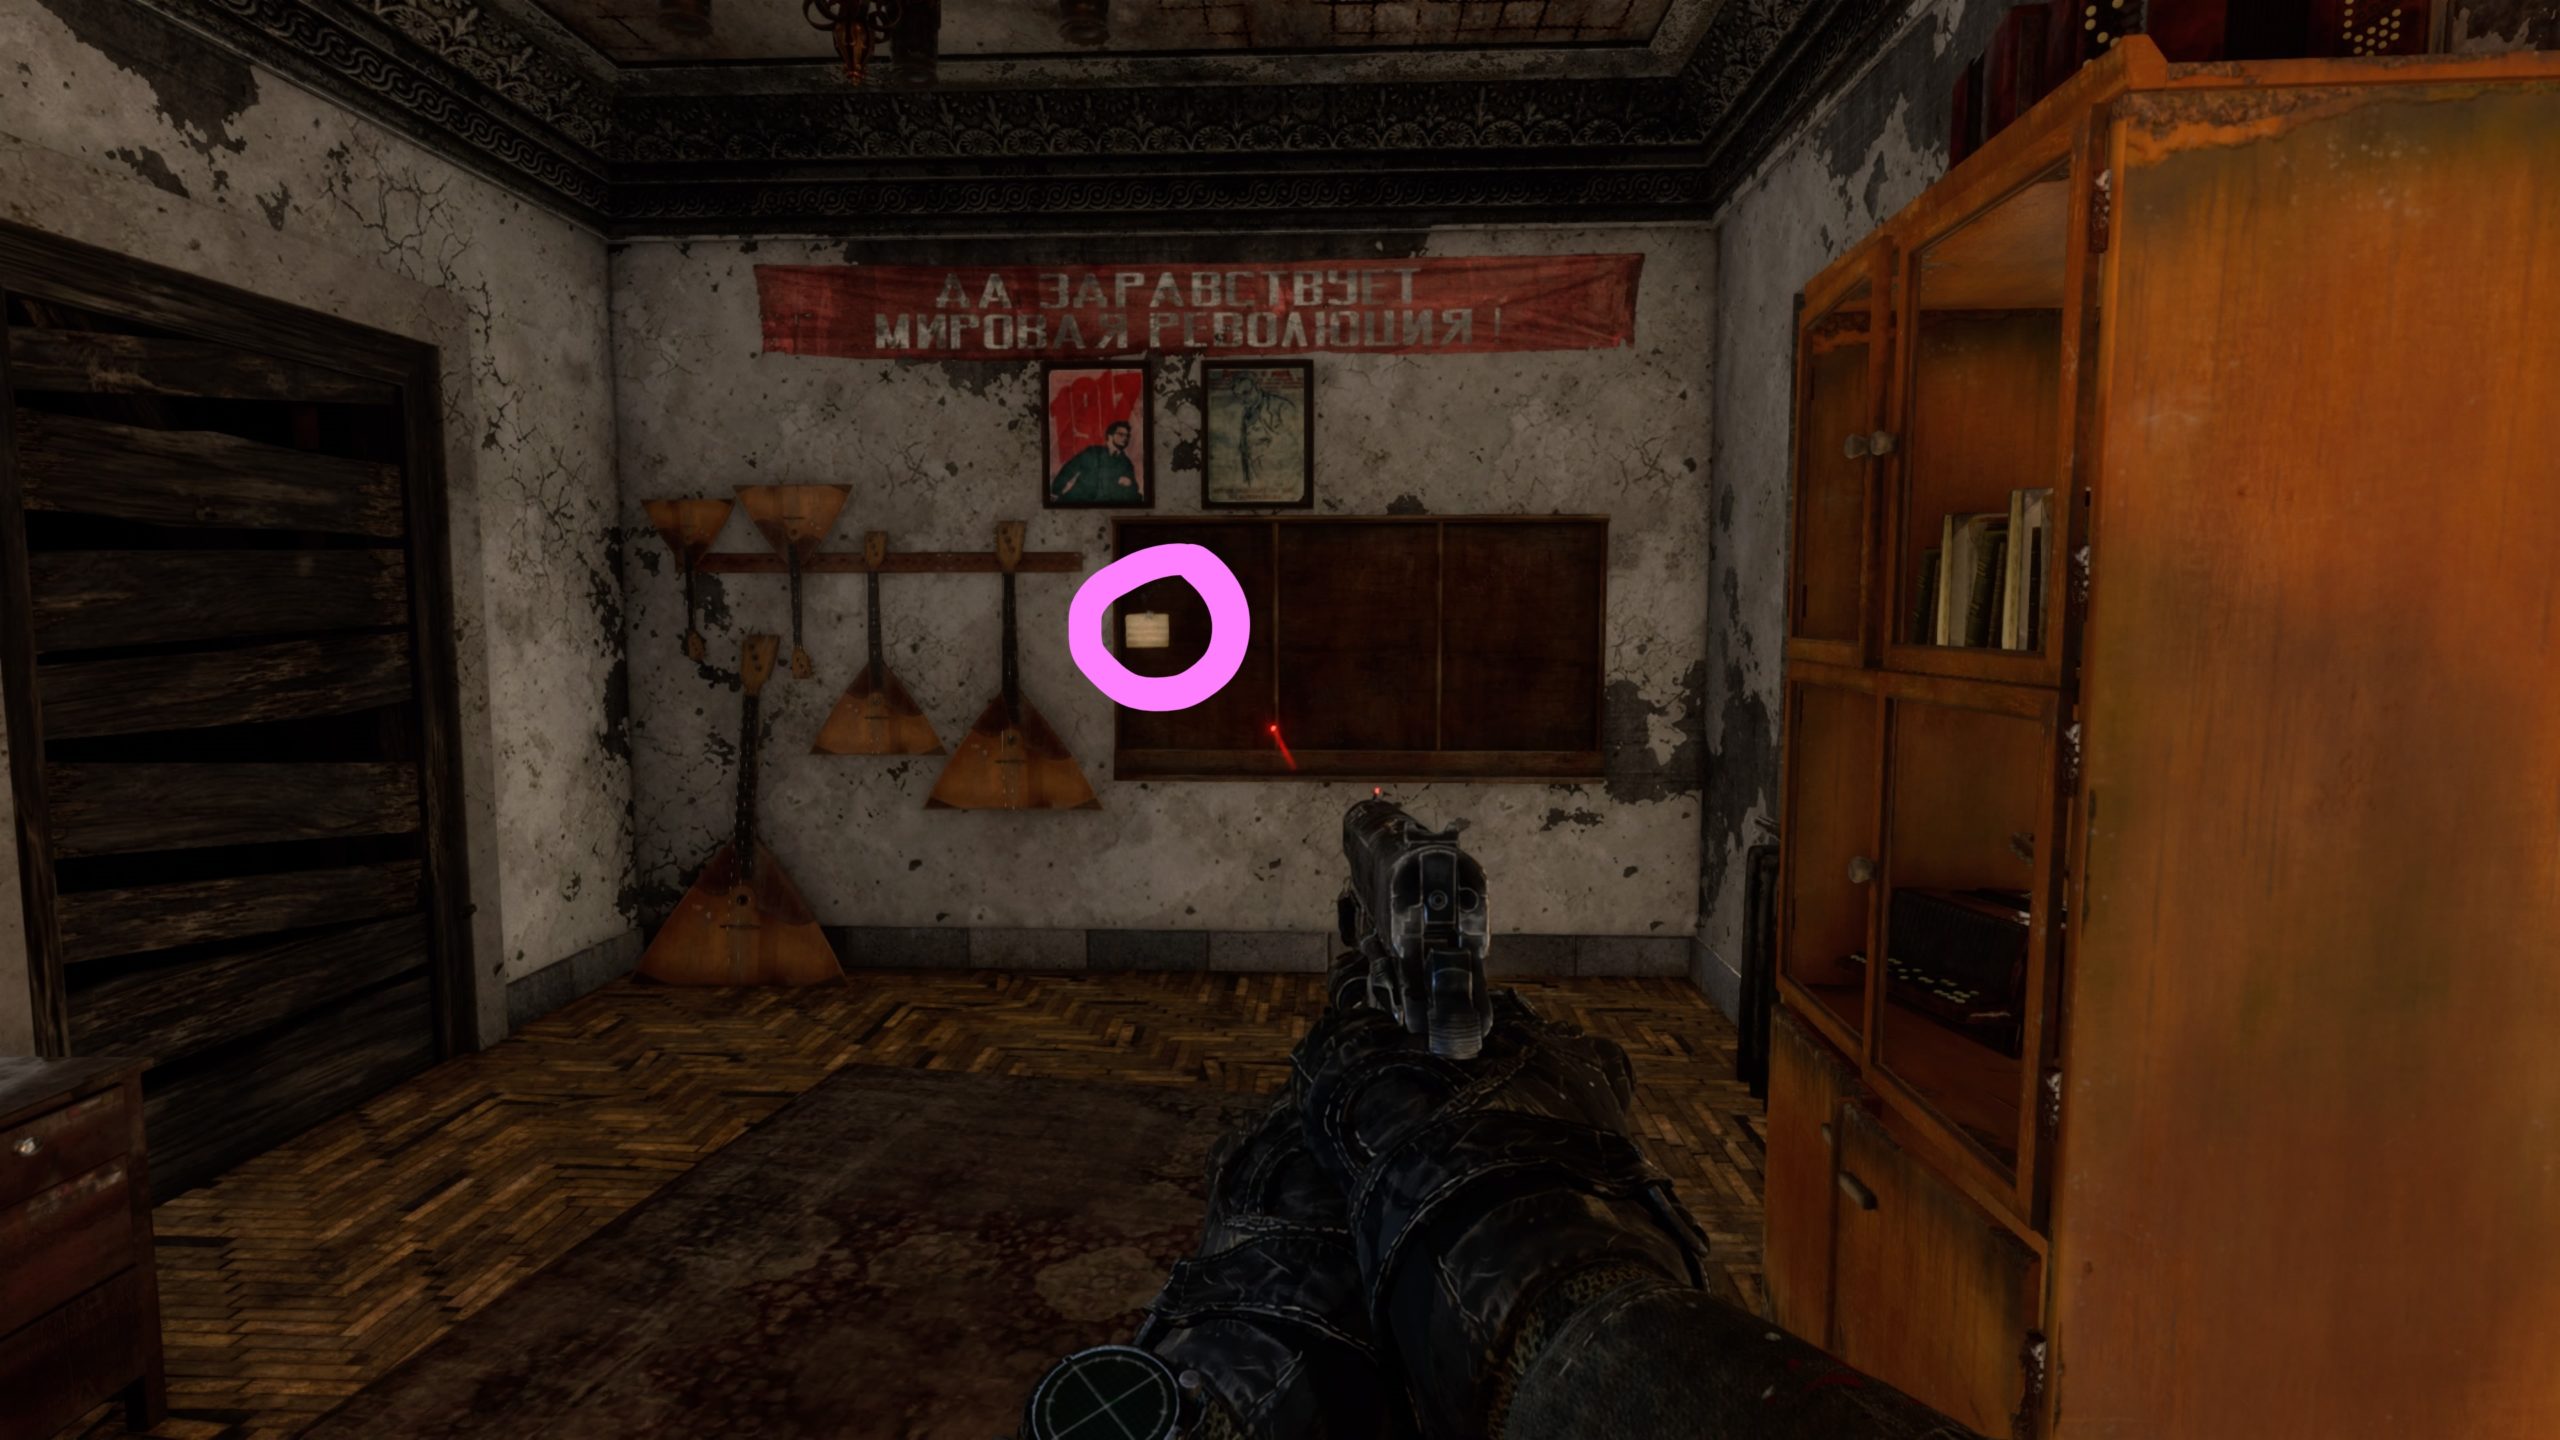
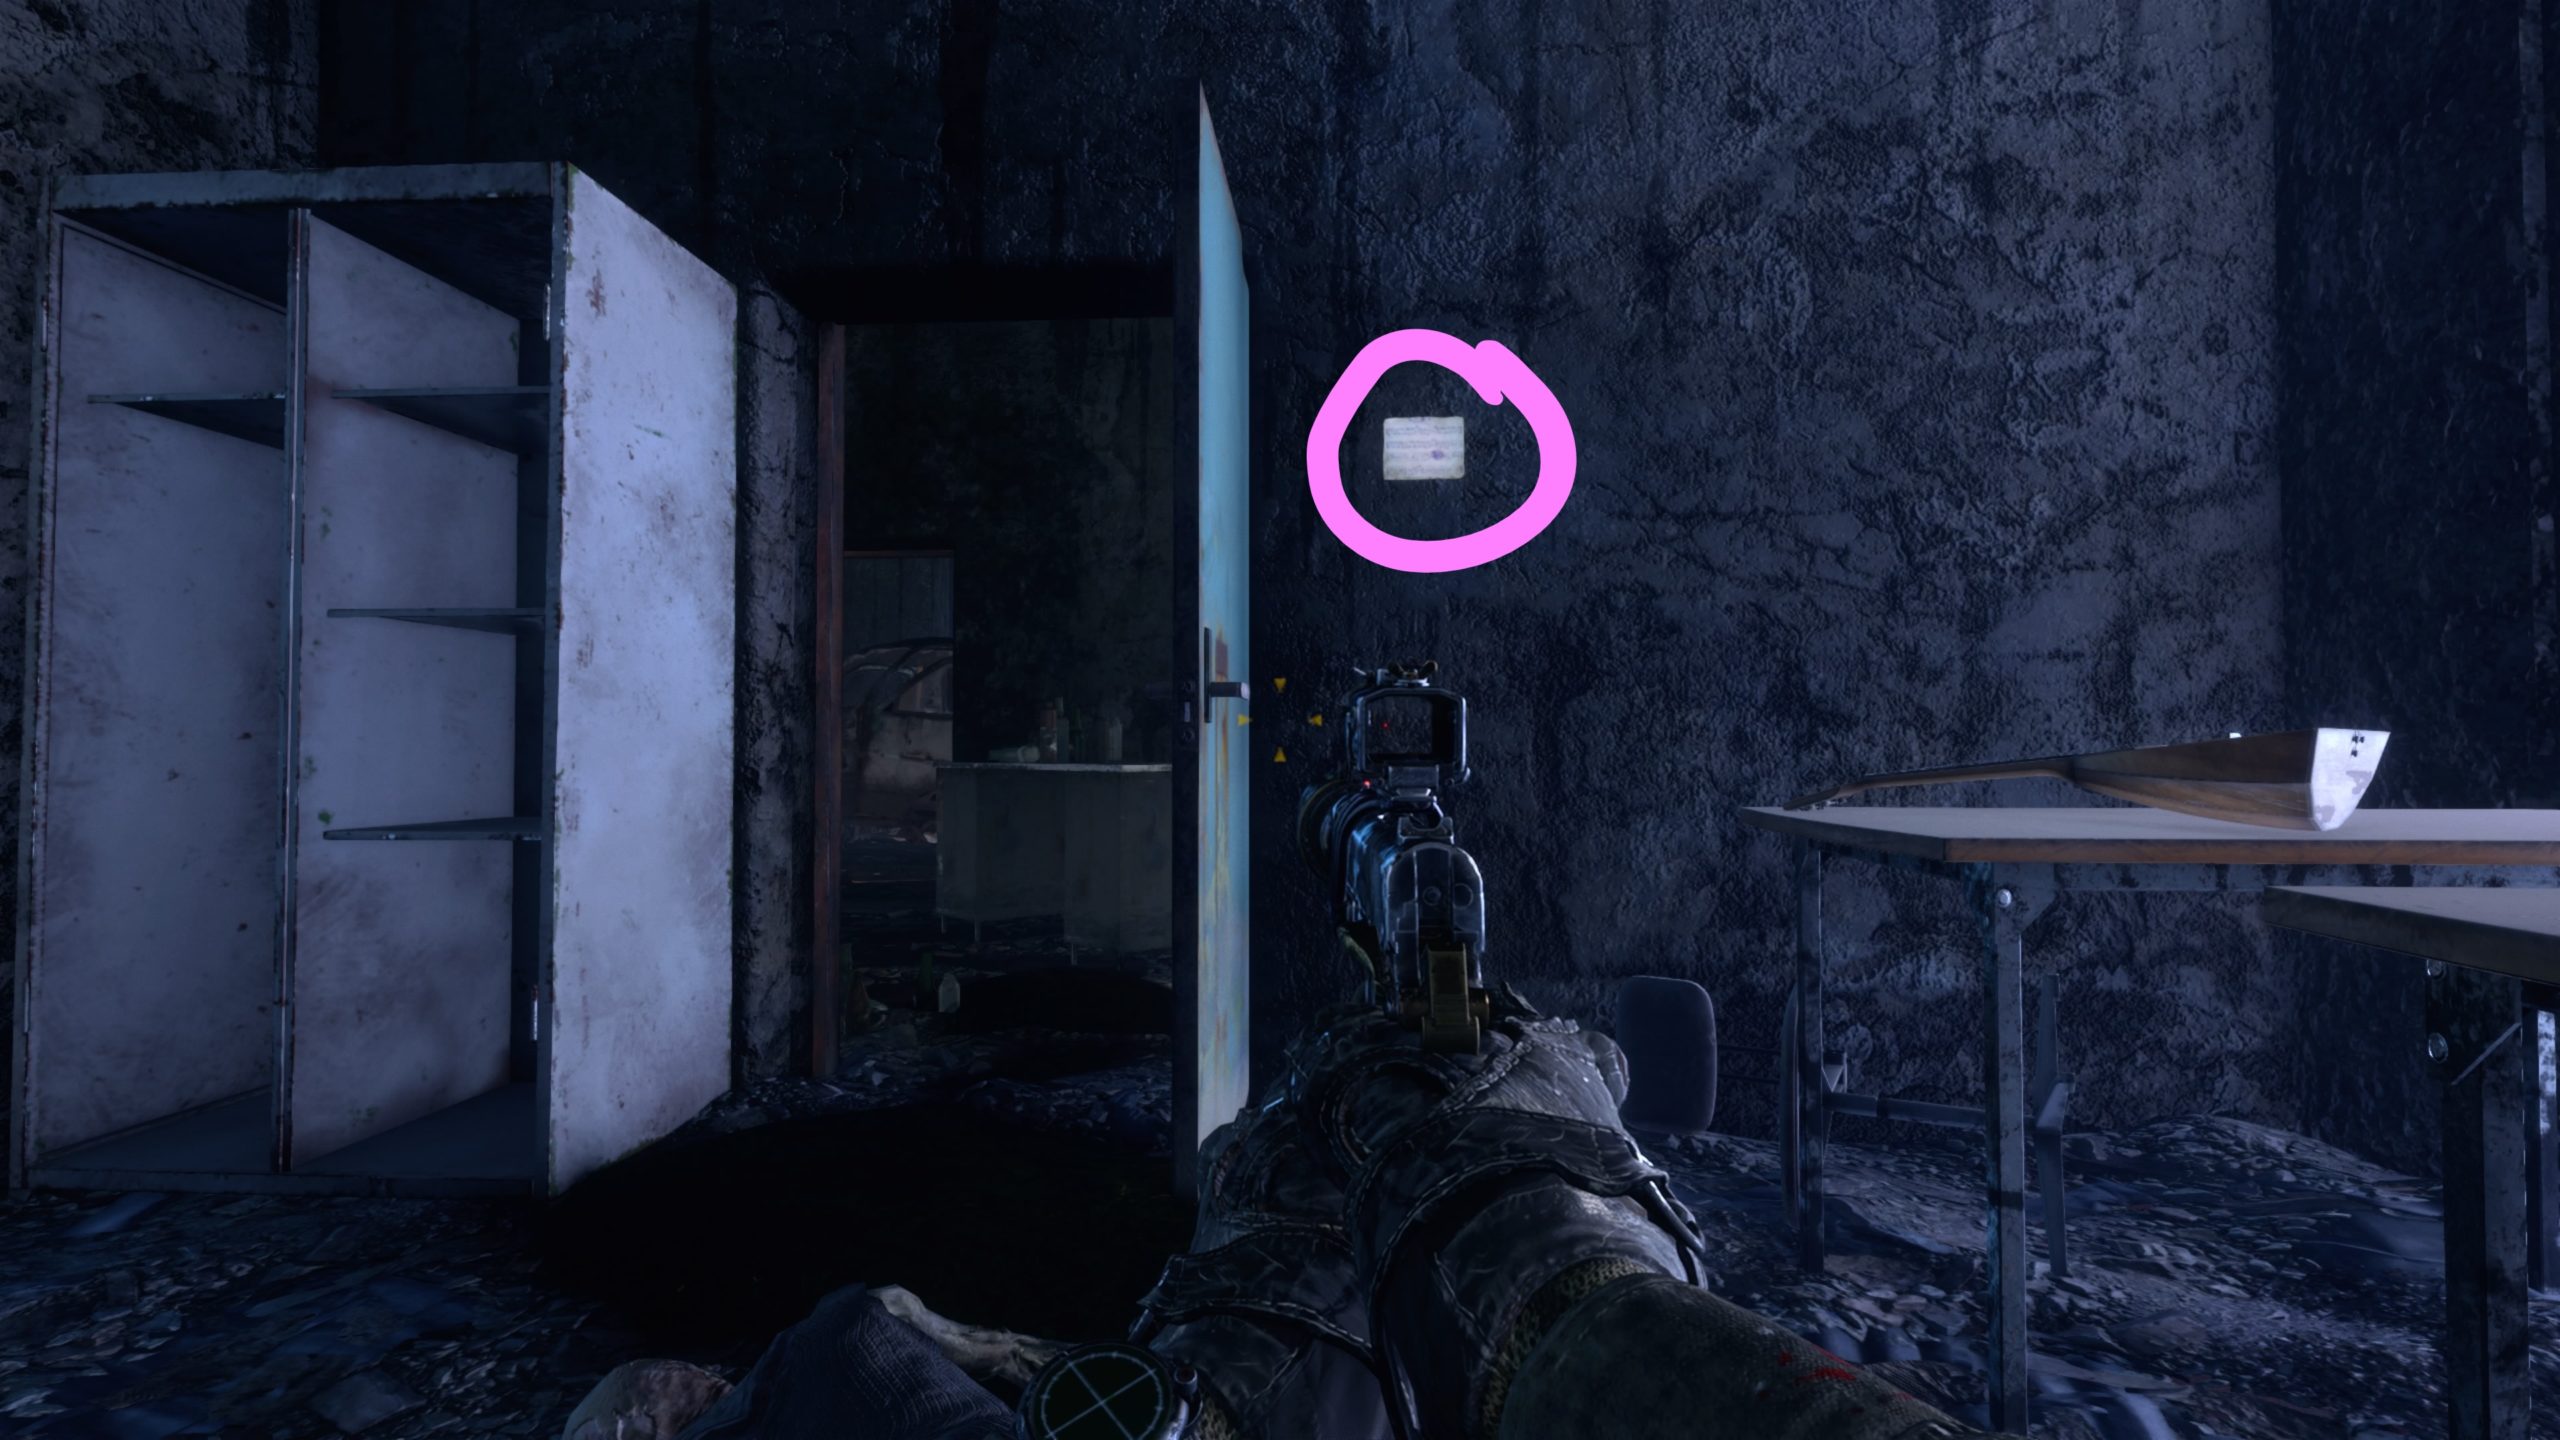
Secret Stash 3
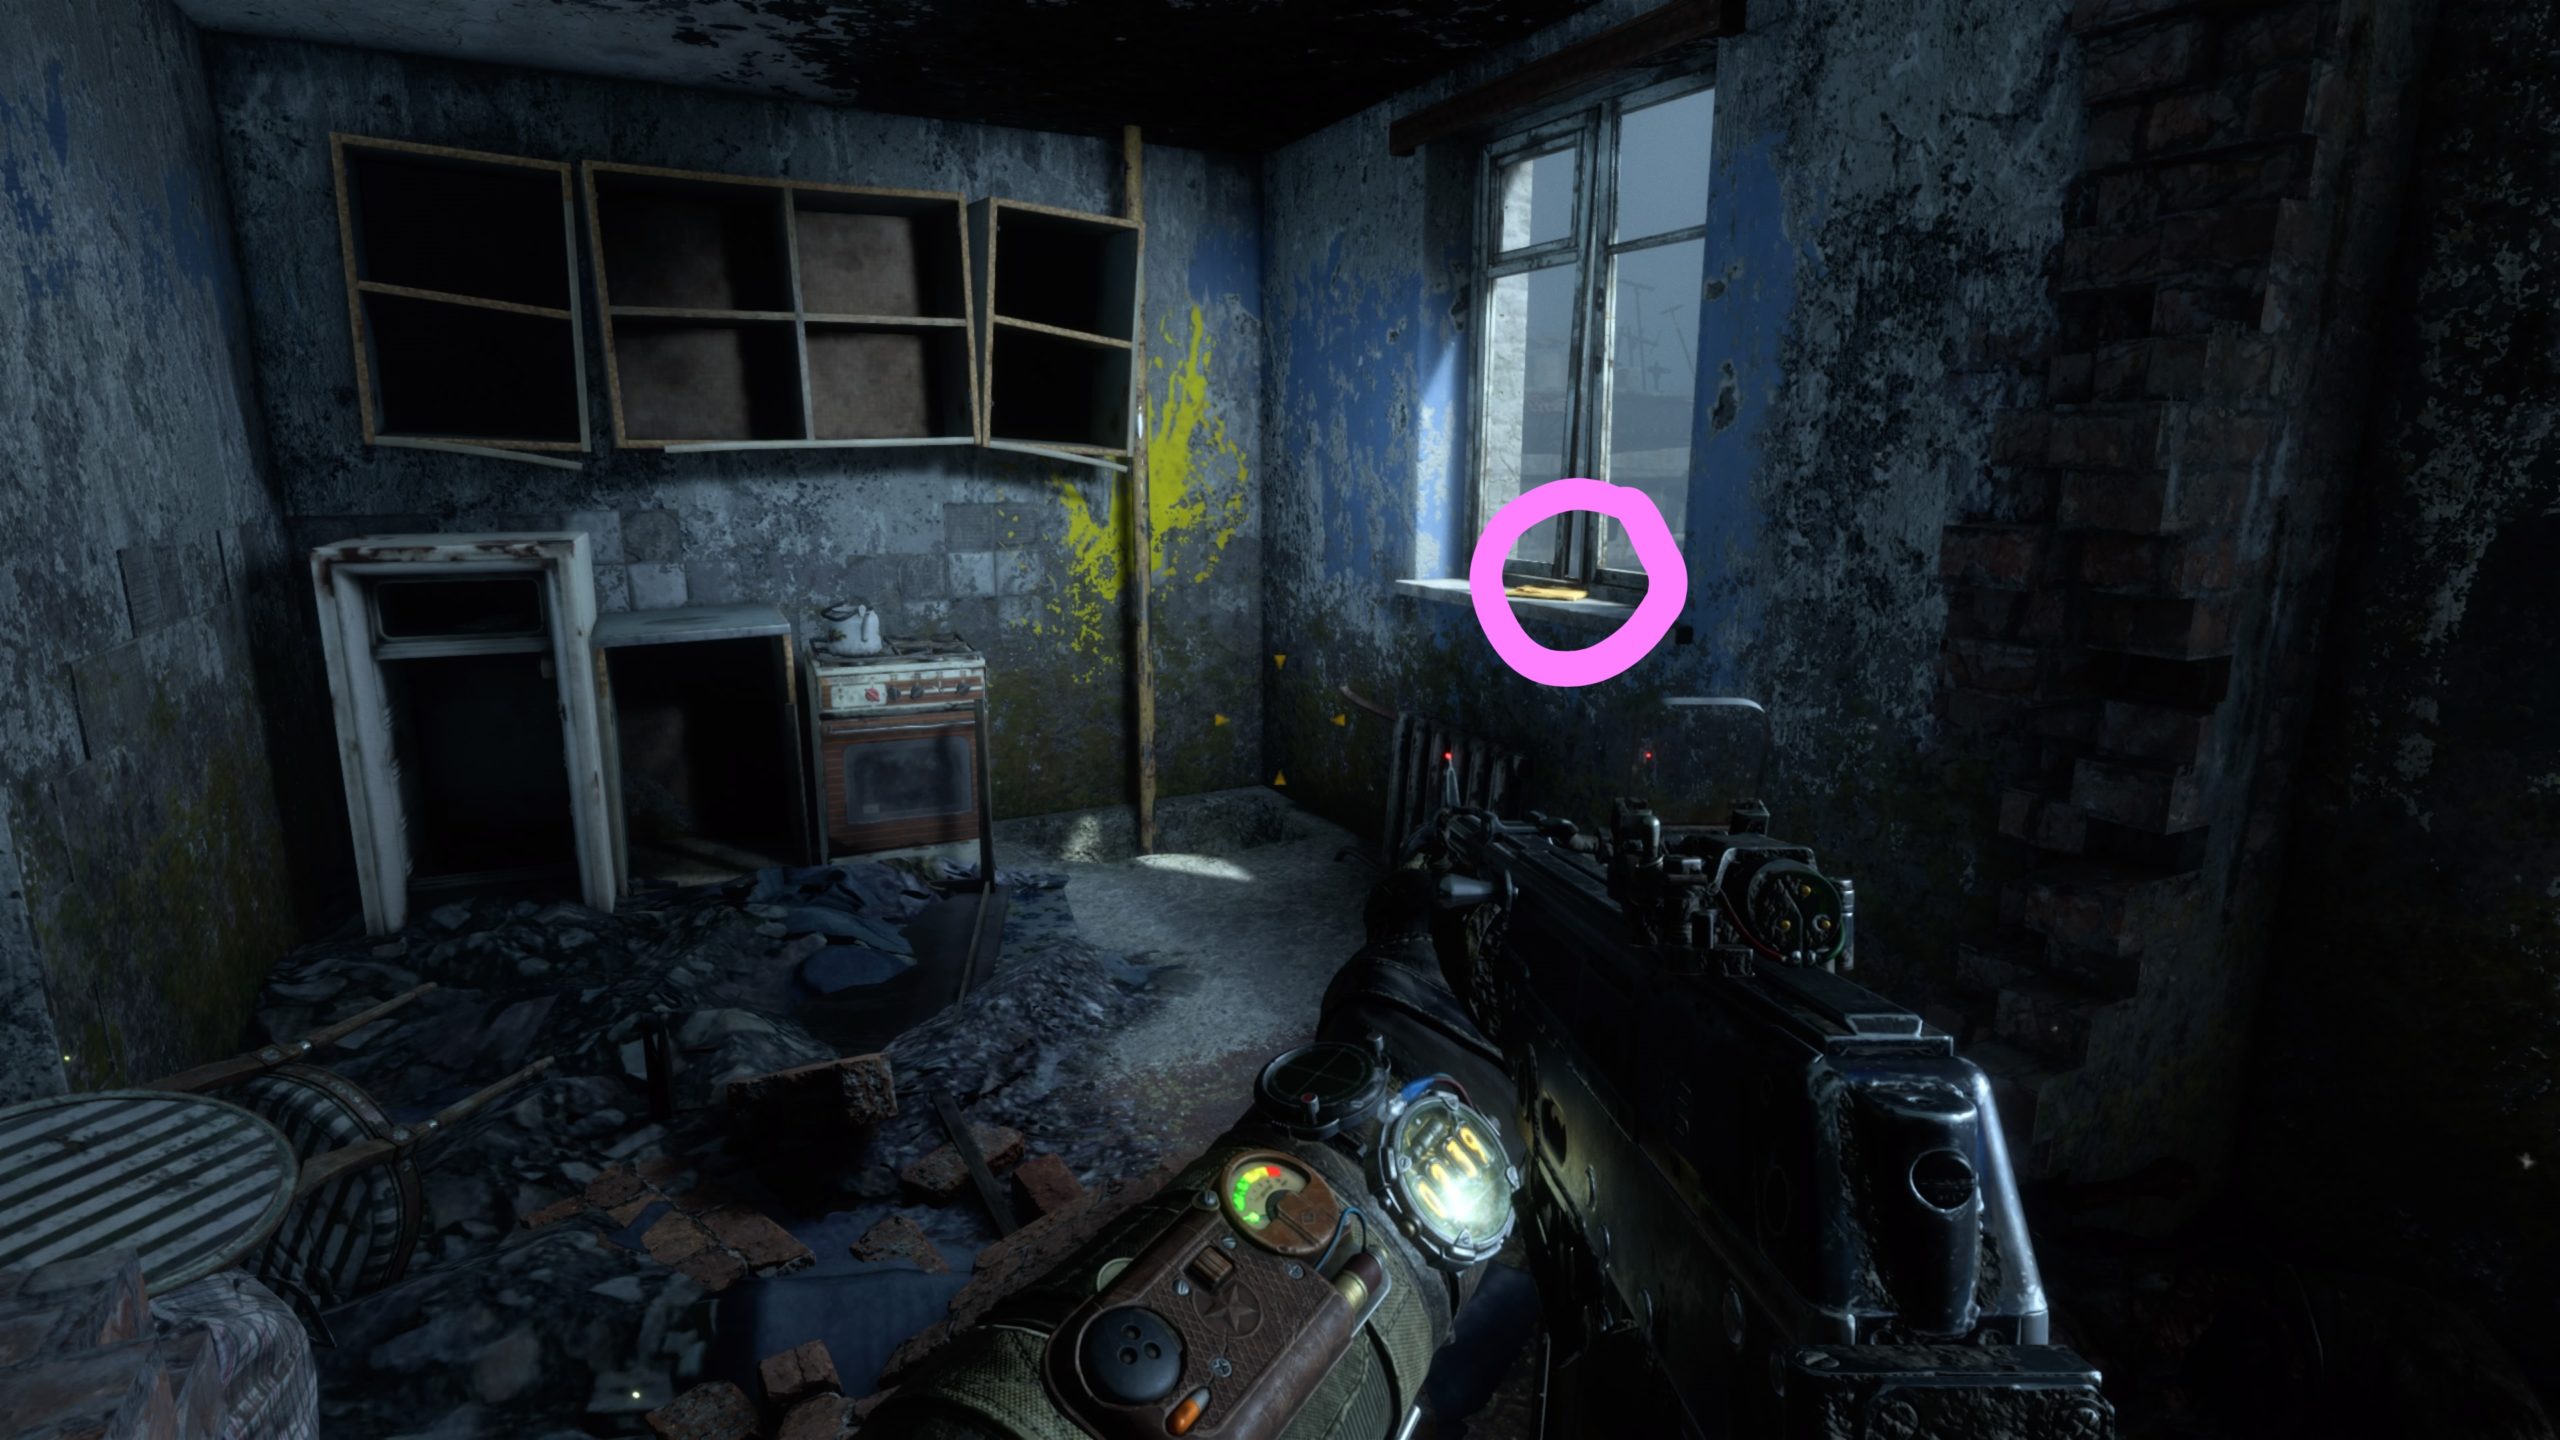
From the previous stash, keep working your way through the partially submerged first level until you reach a ladder at the end. Take the ladder up to reach the second level of the building. Head through the doorway and take a right to find a set of stairs near a bookshelf. Take the stairs up to reach the third level. Enter the open doorway in the corner of the room near some yellow paint smudged on the wall. Head through the blue door straight ahead to enter a room with a workbench in the corner. Exit out of the right side of the room through a hole in the wall onto a balcony. Head past the first doorway to find a second doorway with a white skull painted on the right of it. Kick down the cabinet to enter this room. Shoot the middle jar on the bottom shelf to reveal the stash.
Secret Stash 4
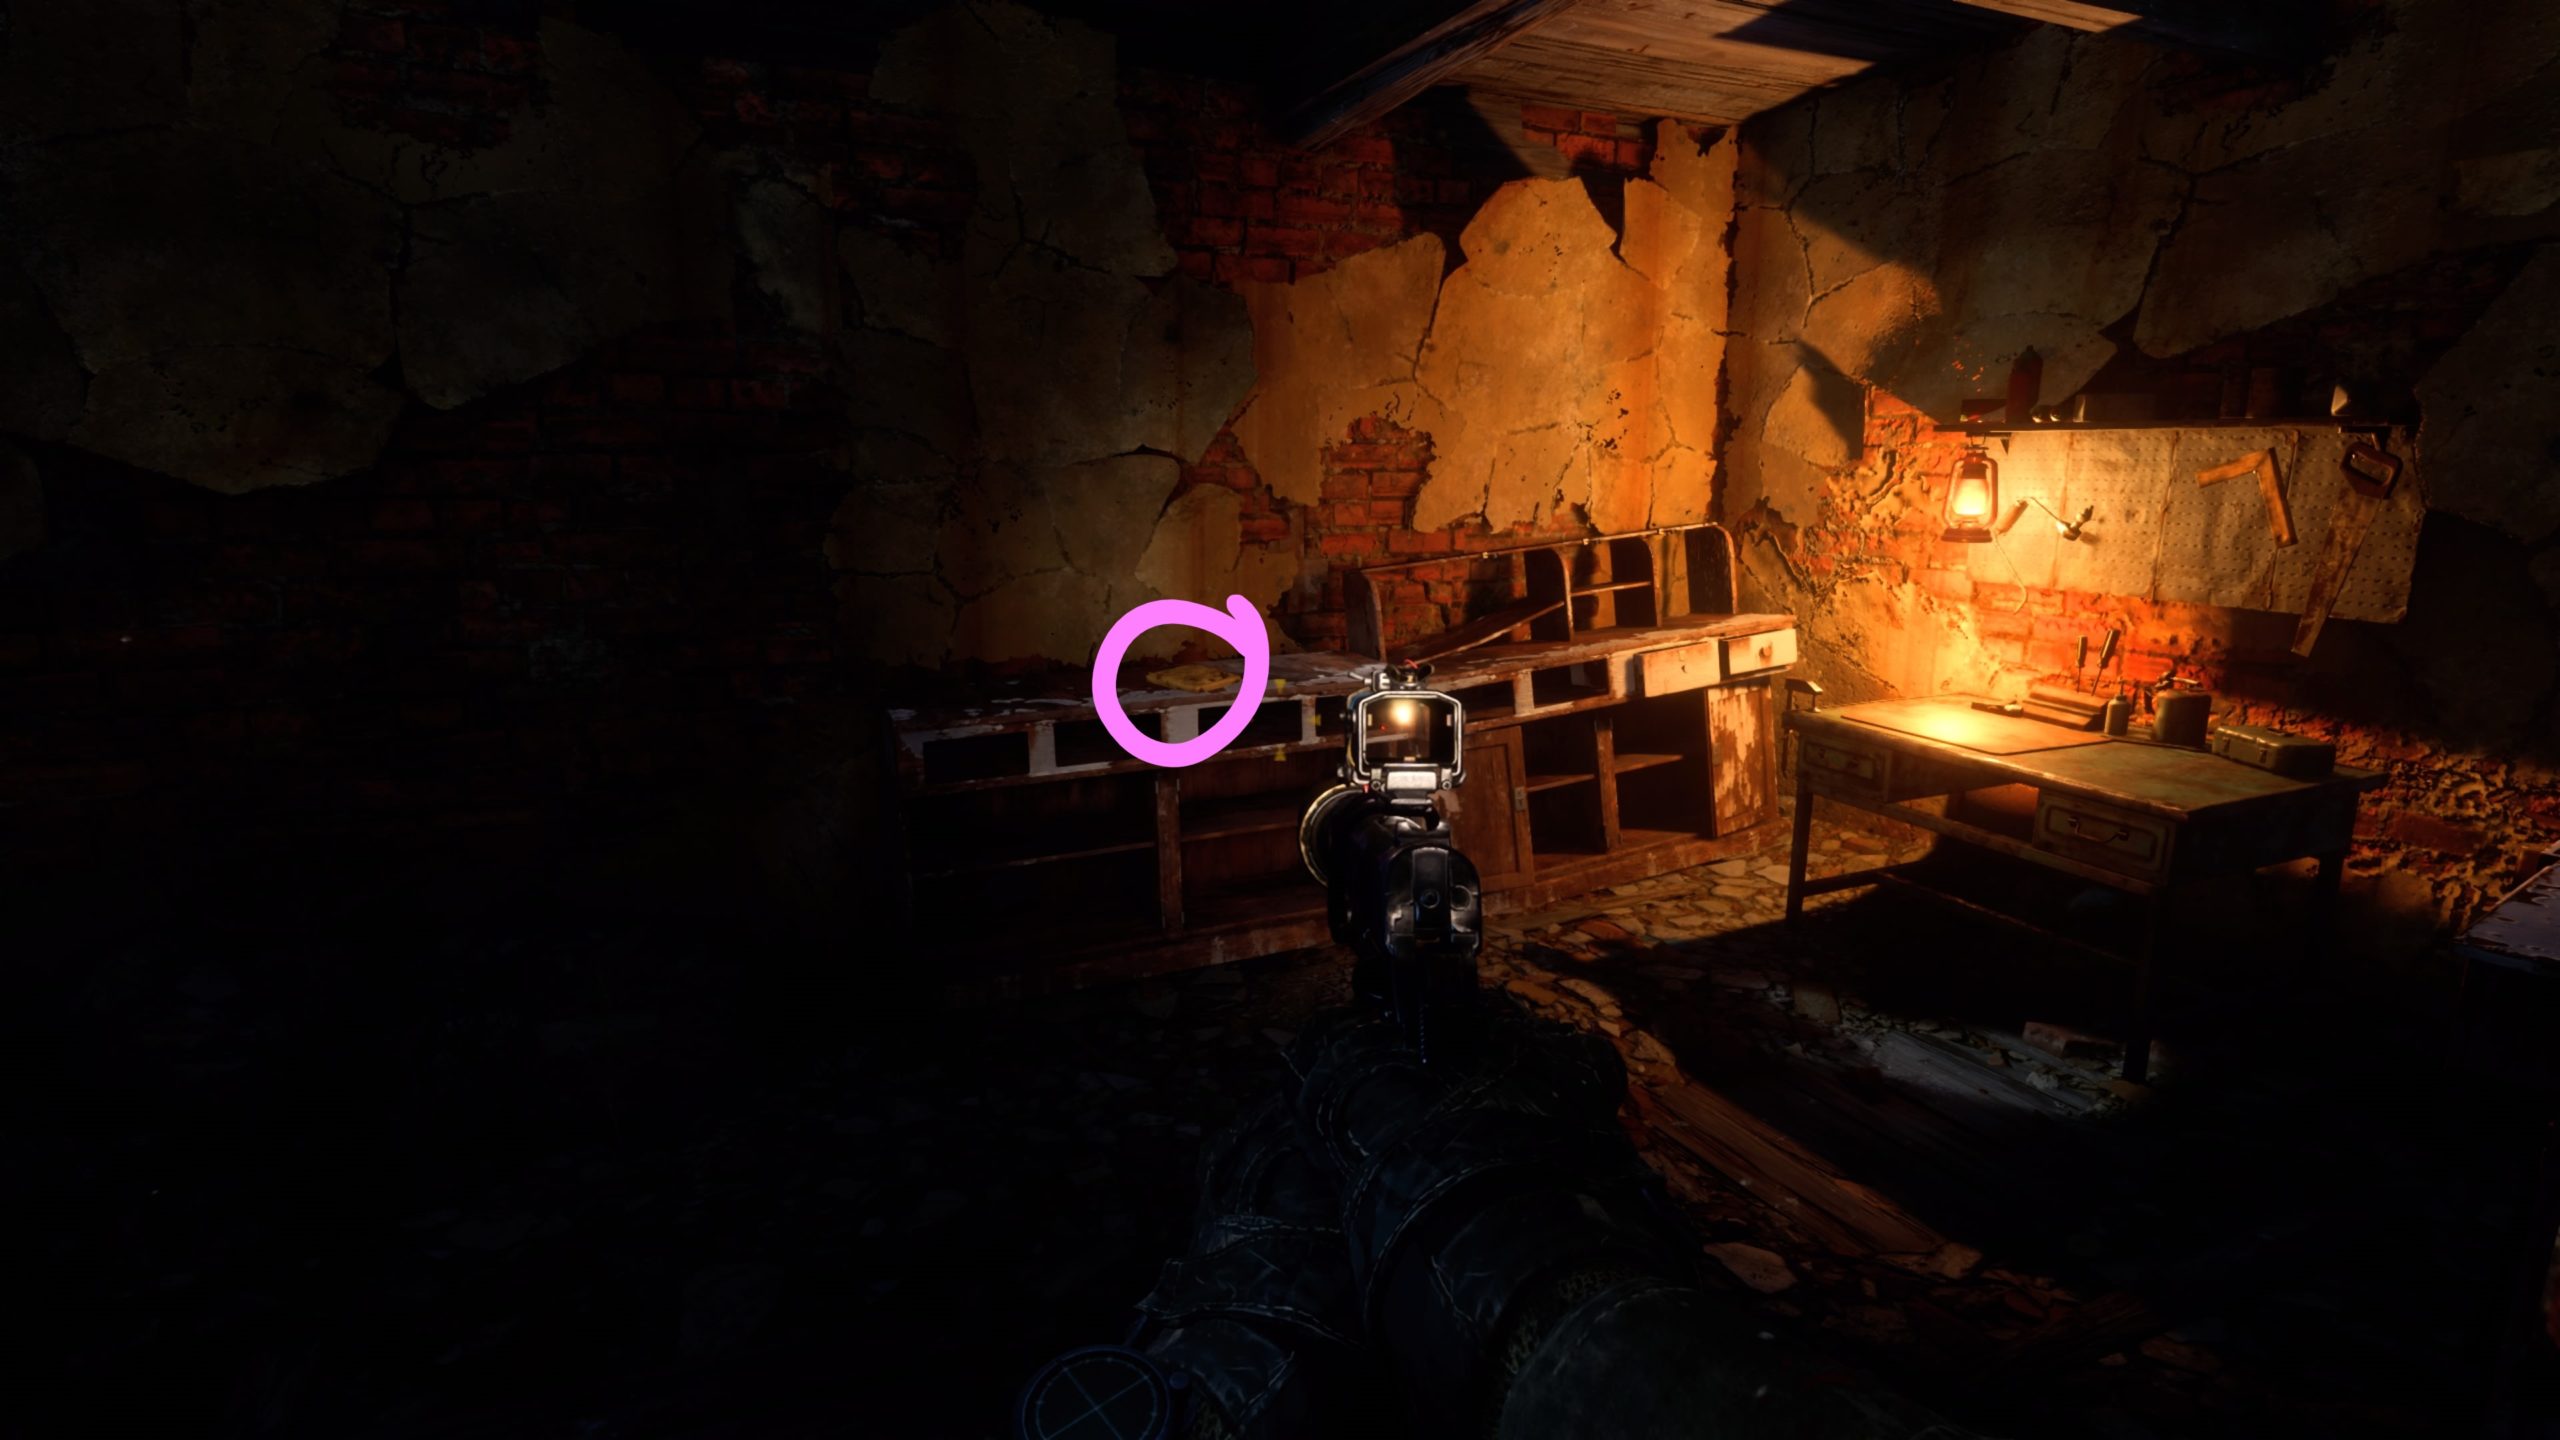
After exiting the Captain’s boat, jump down into the half submerged bedroom and exit out of the doorway on the far right side of the room. Head down the hallway and take a left at the end to enter a big open room with stairs on the right side. Head up the stairs to come to a wall with a white skull on it. Take a right and pass through the cloth hanging from the ceiling to find a hidden ledge to climb up on. Enter this small room with some beat up furniture and a mattress. Crawl under the table to reach the room containing the stash.
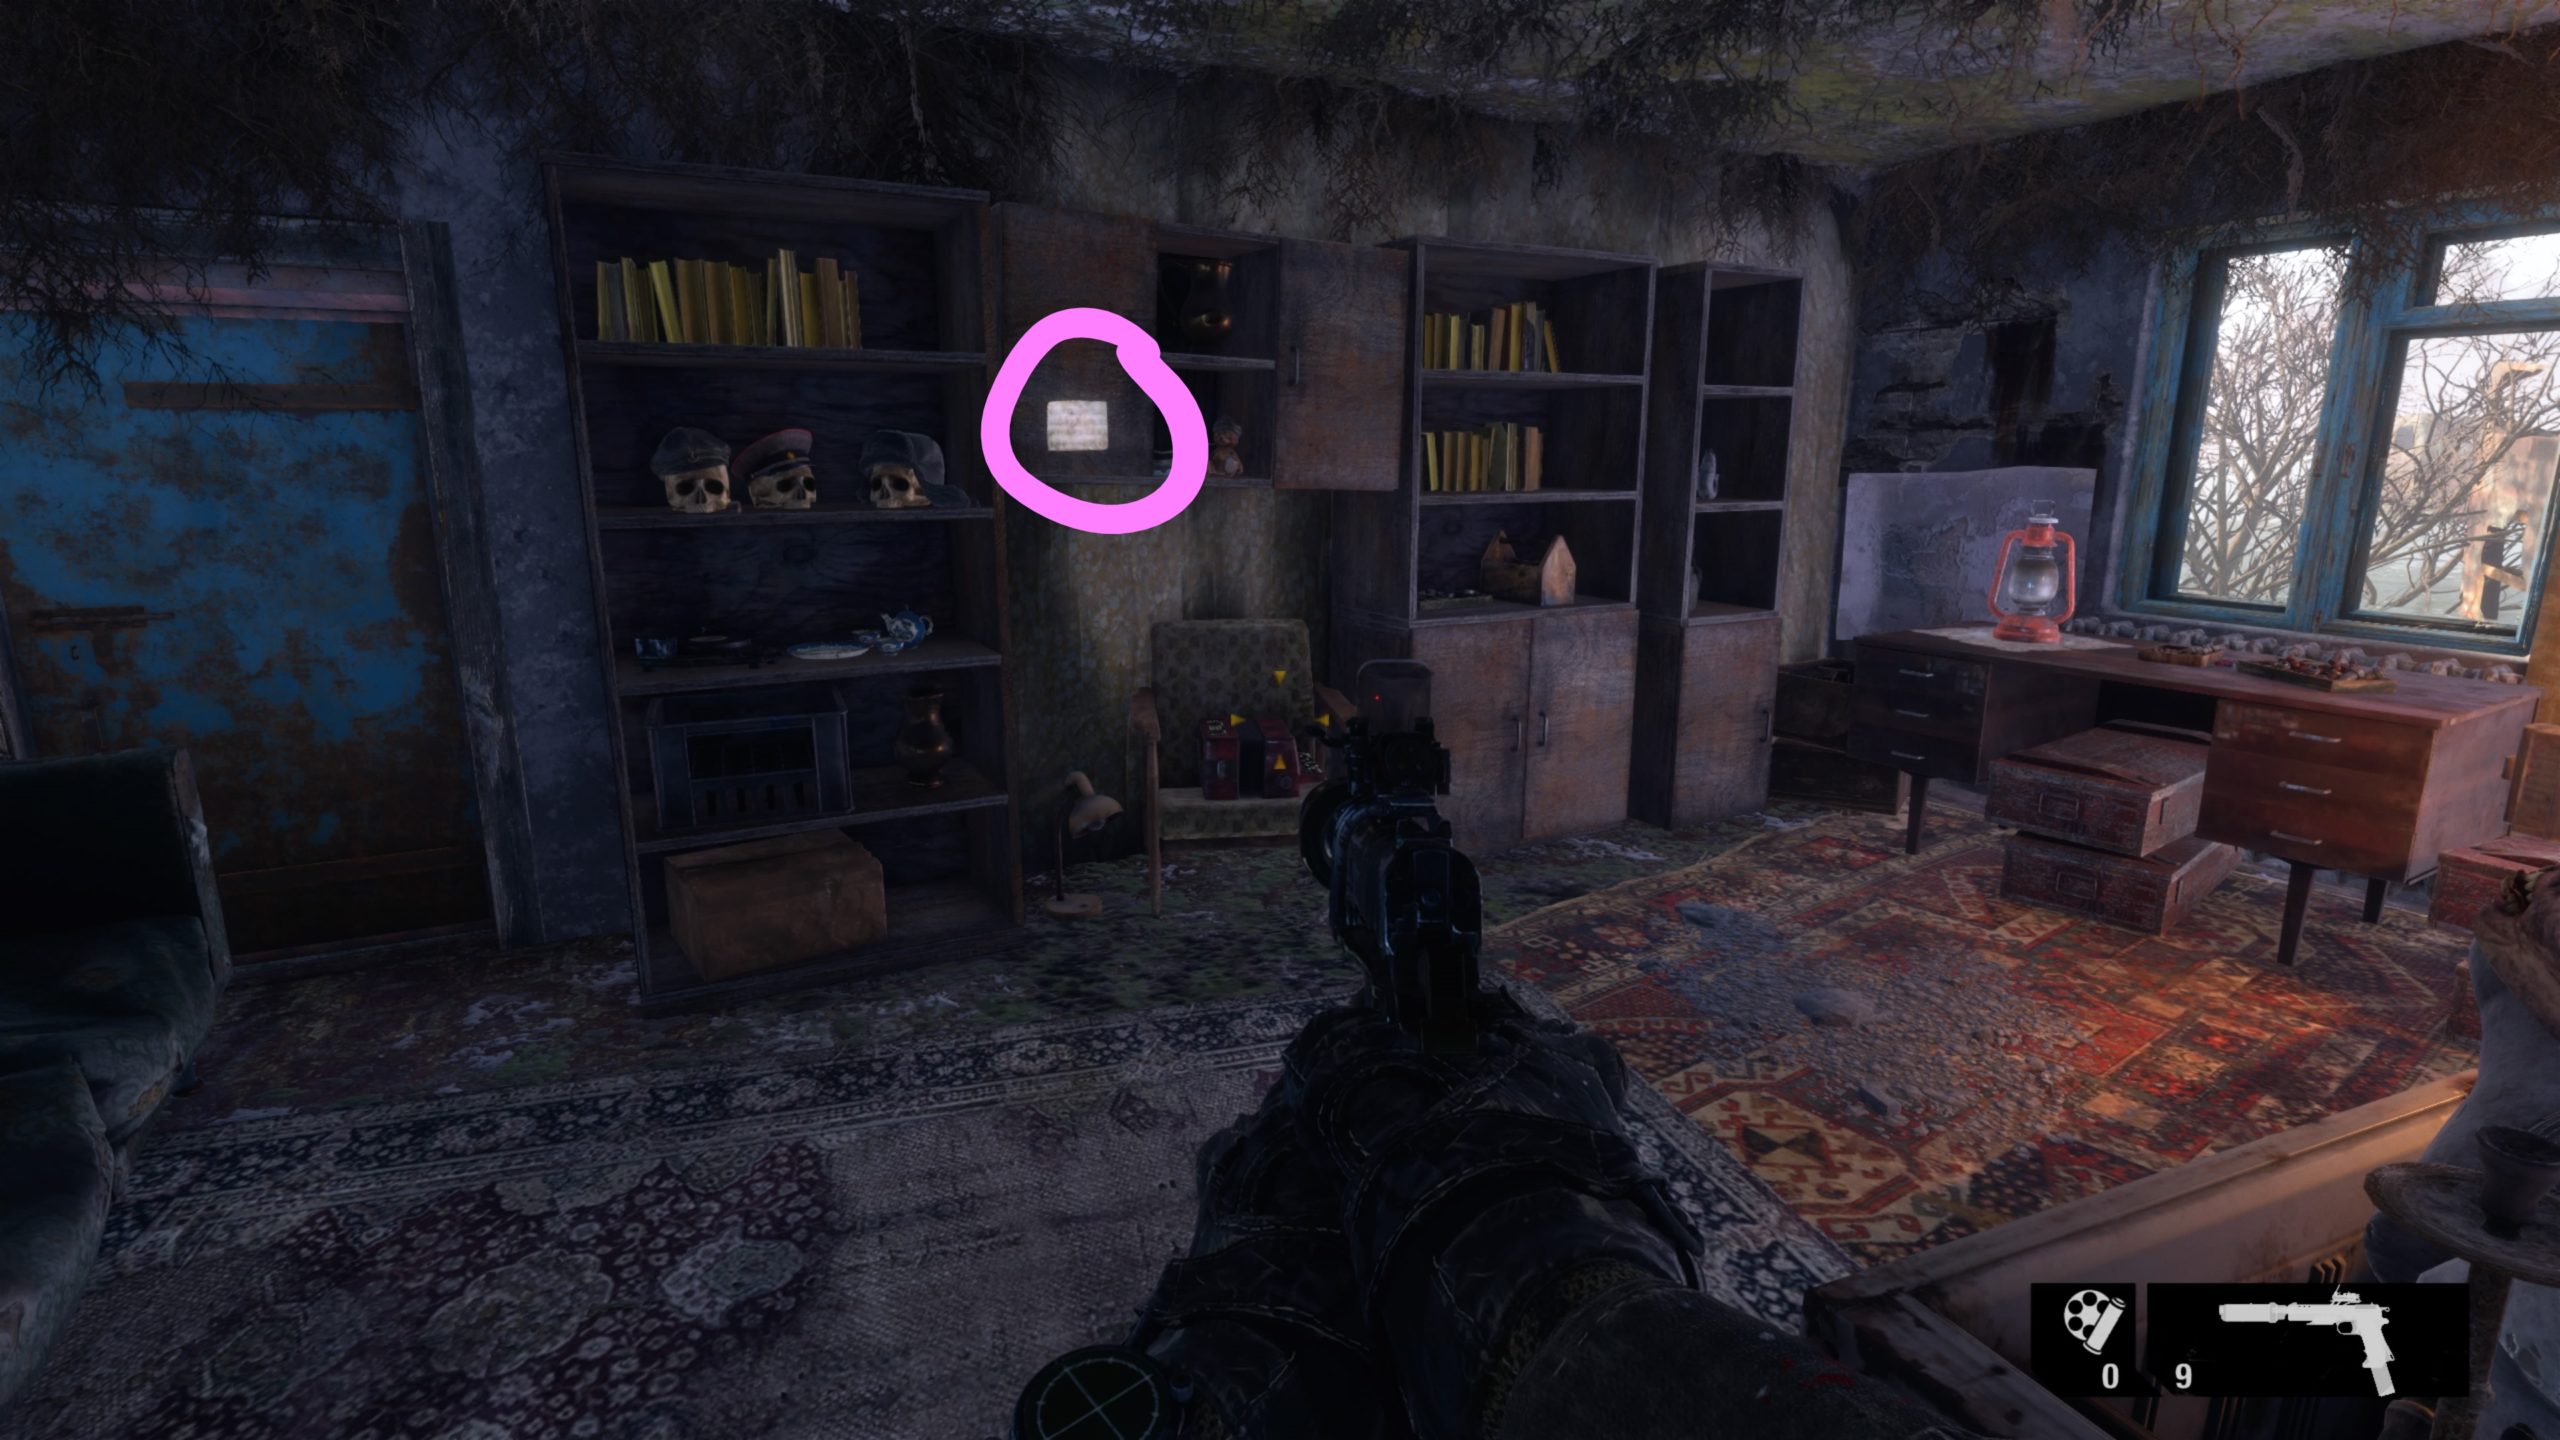
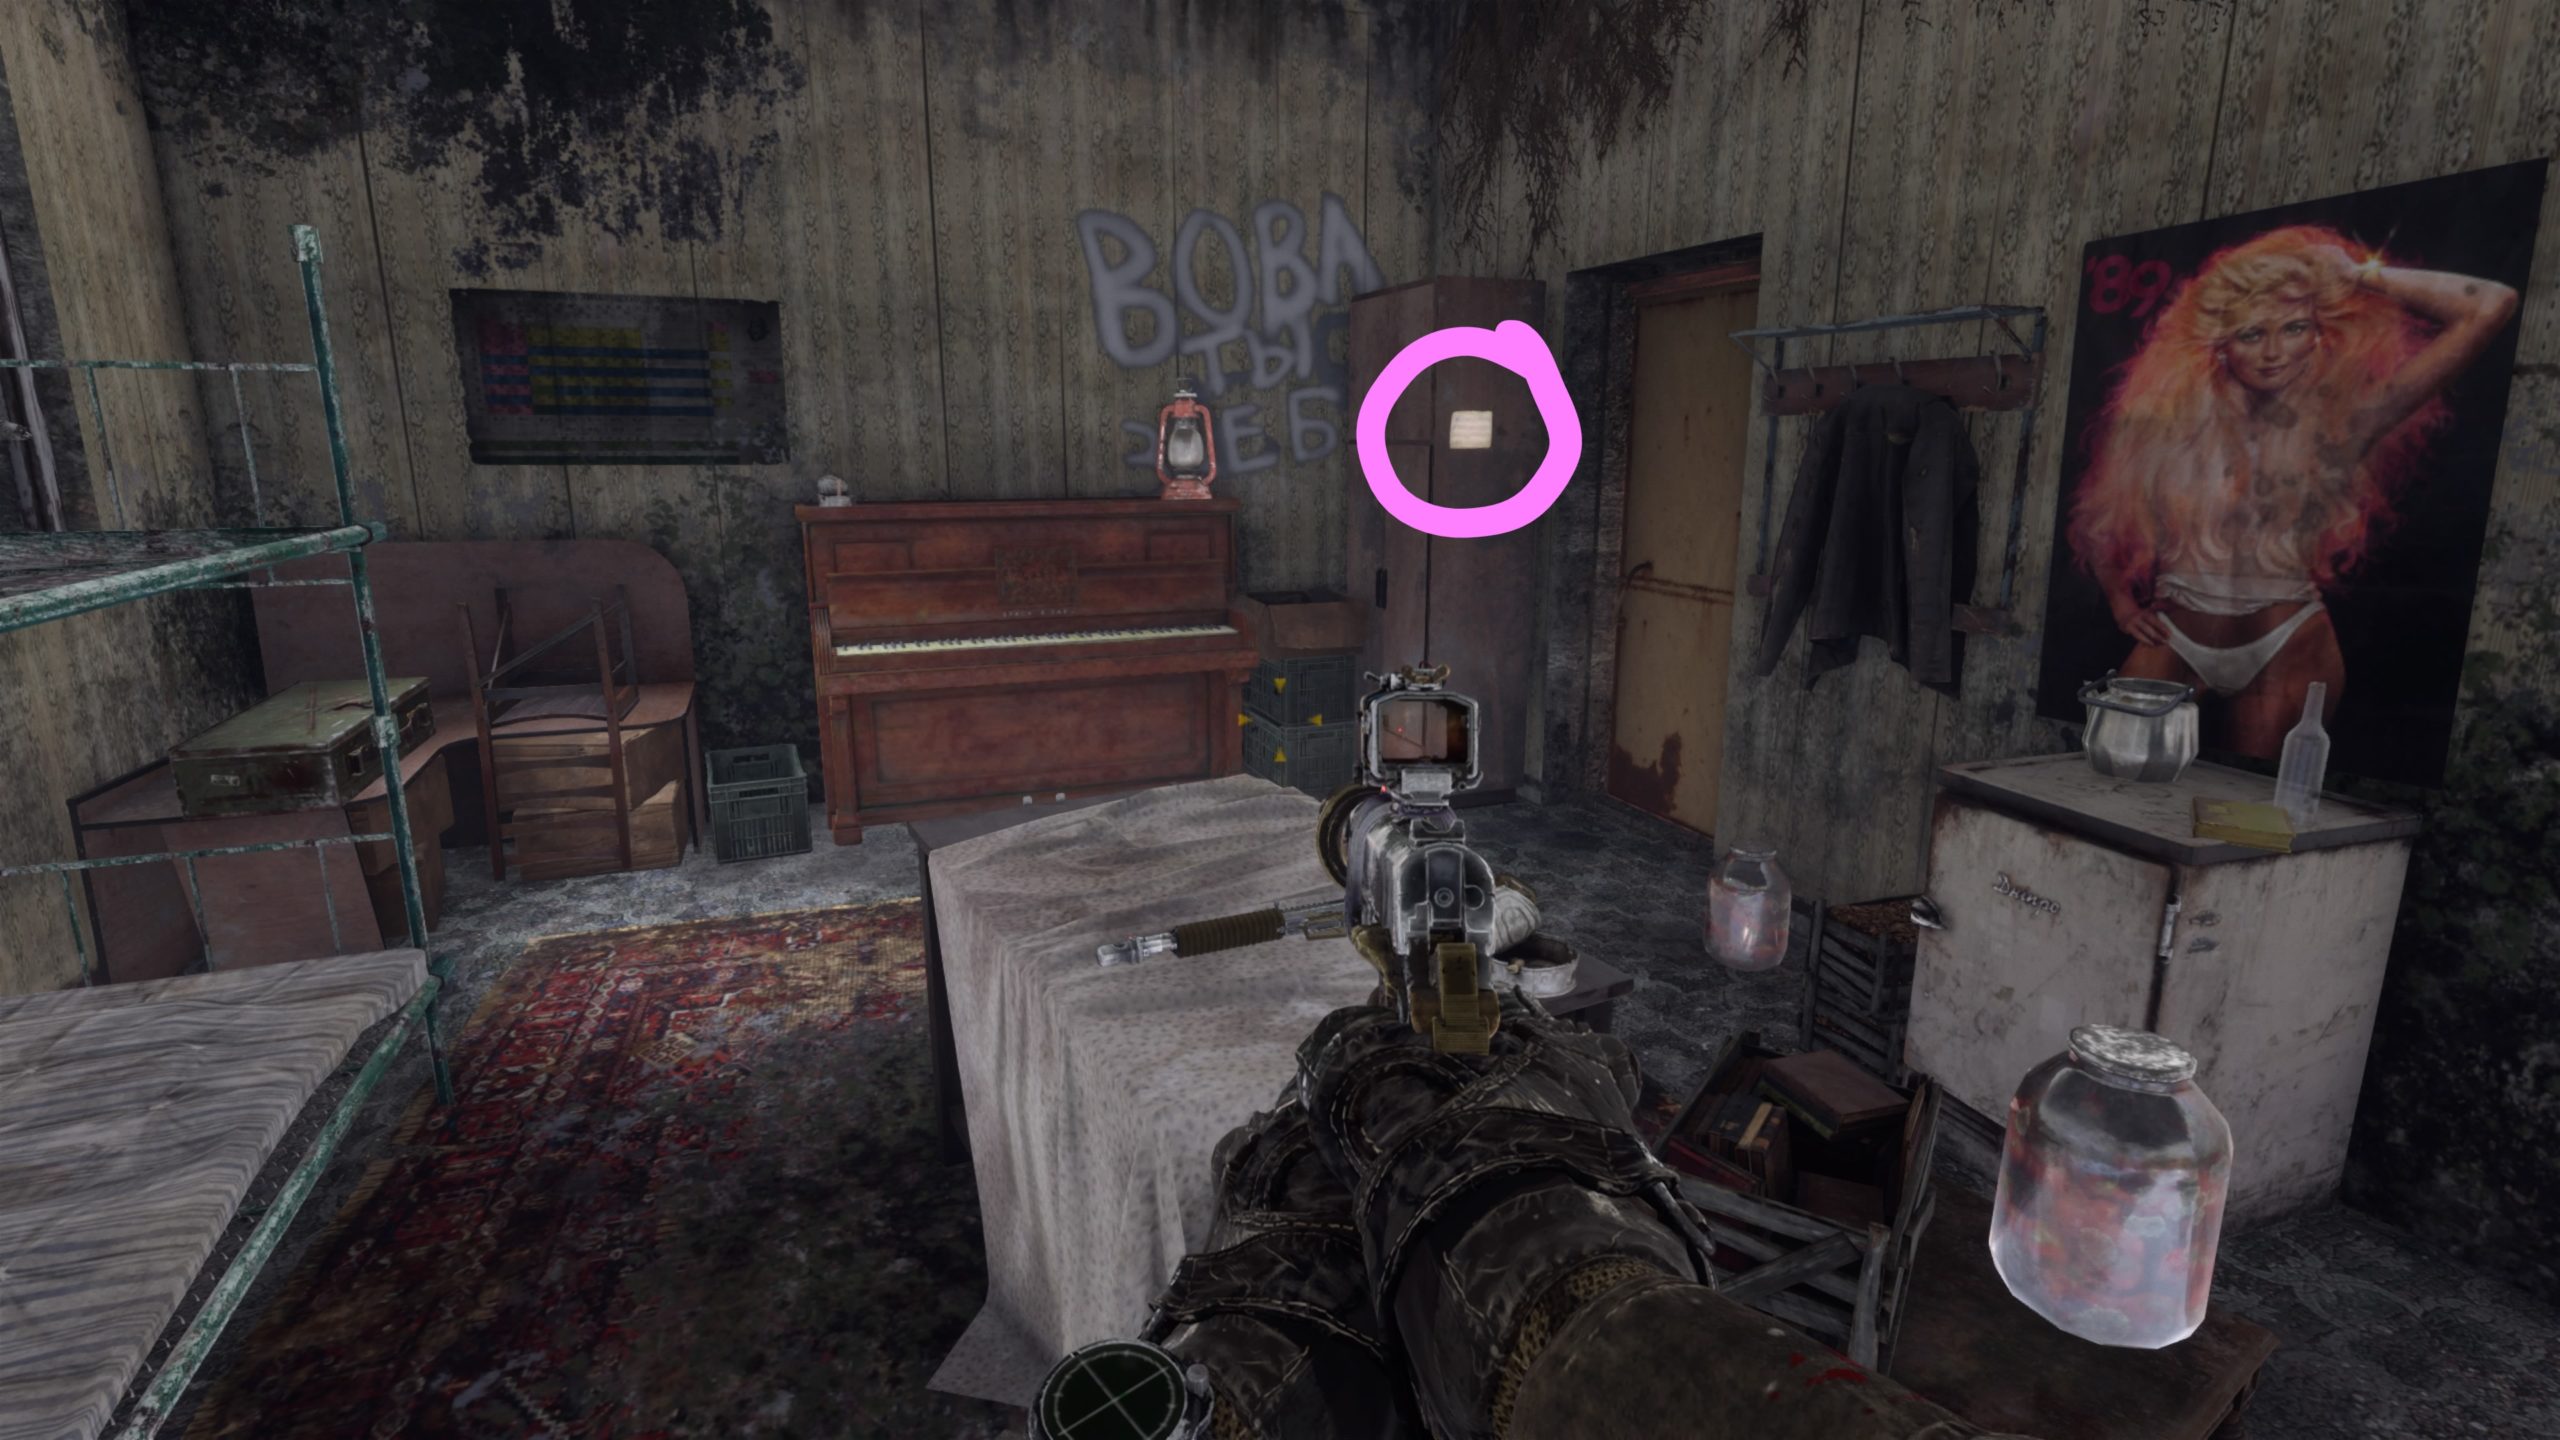
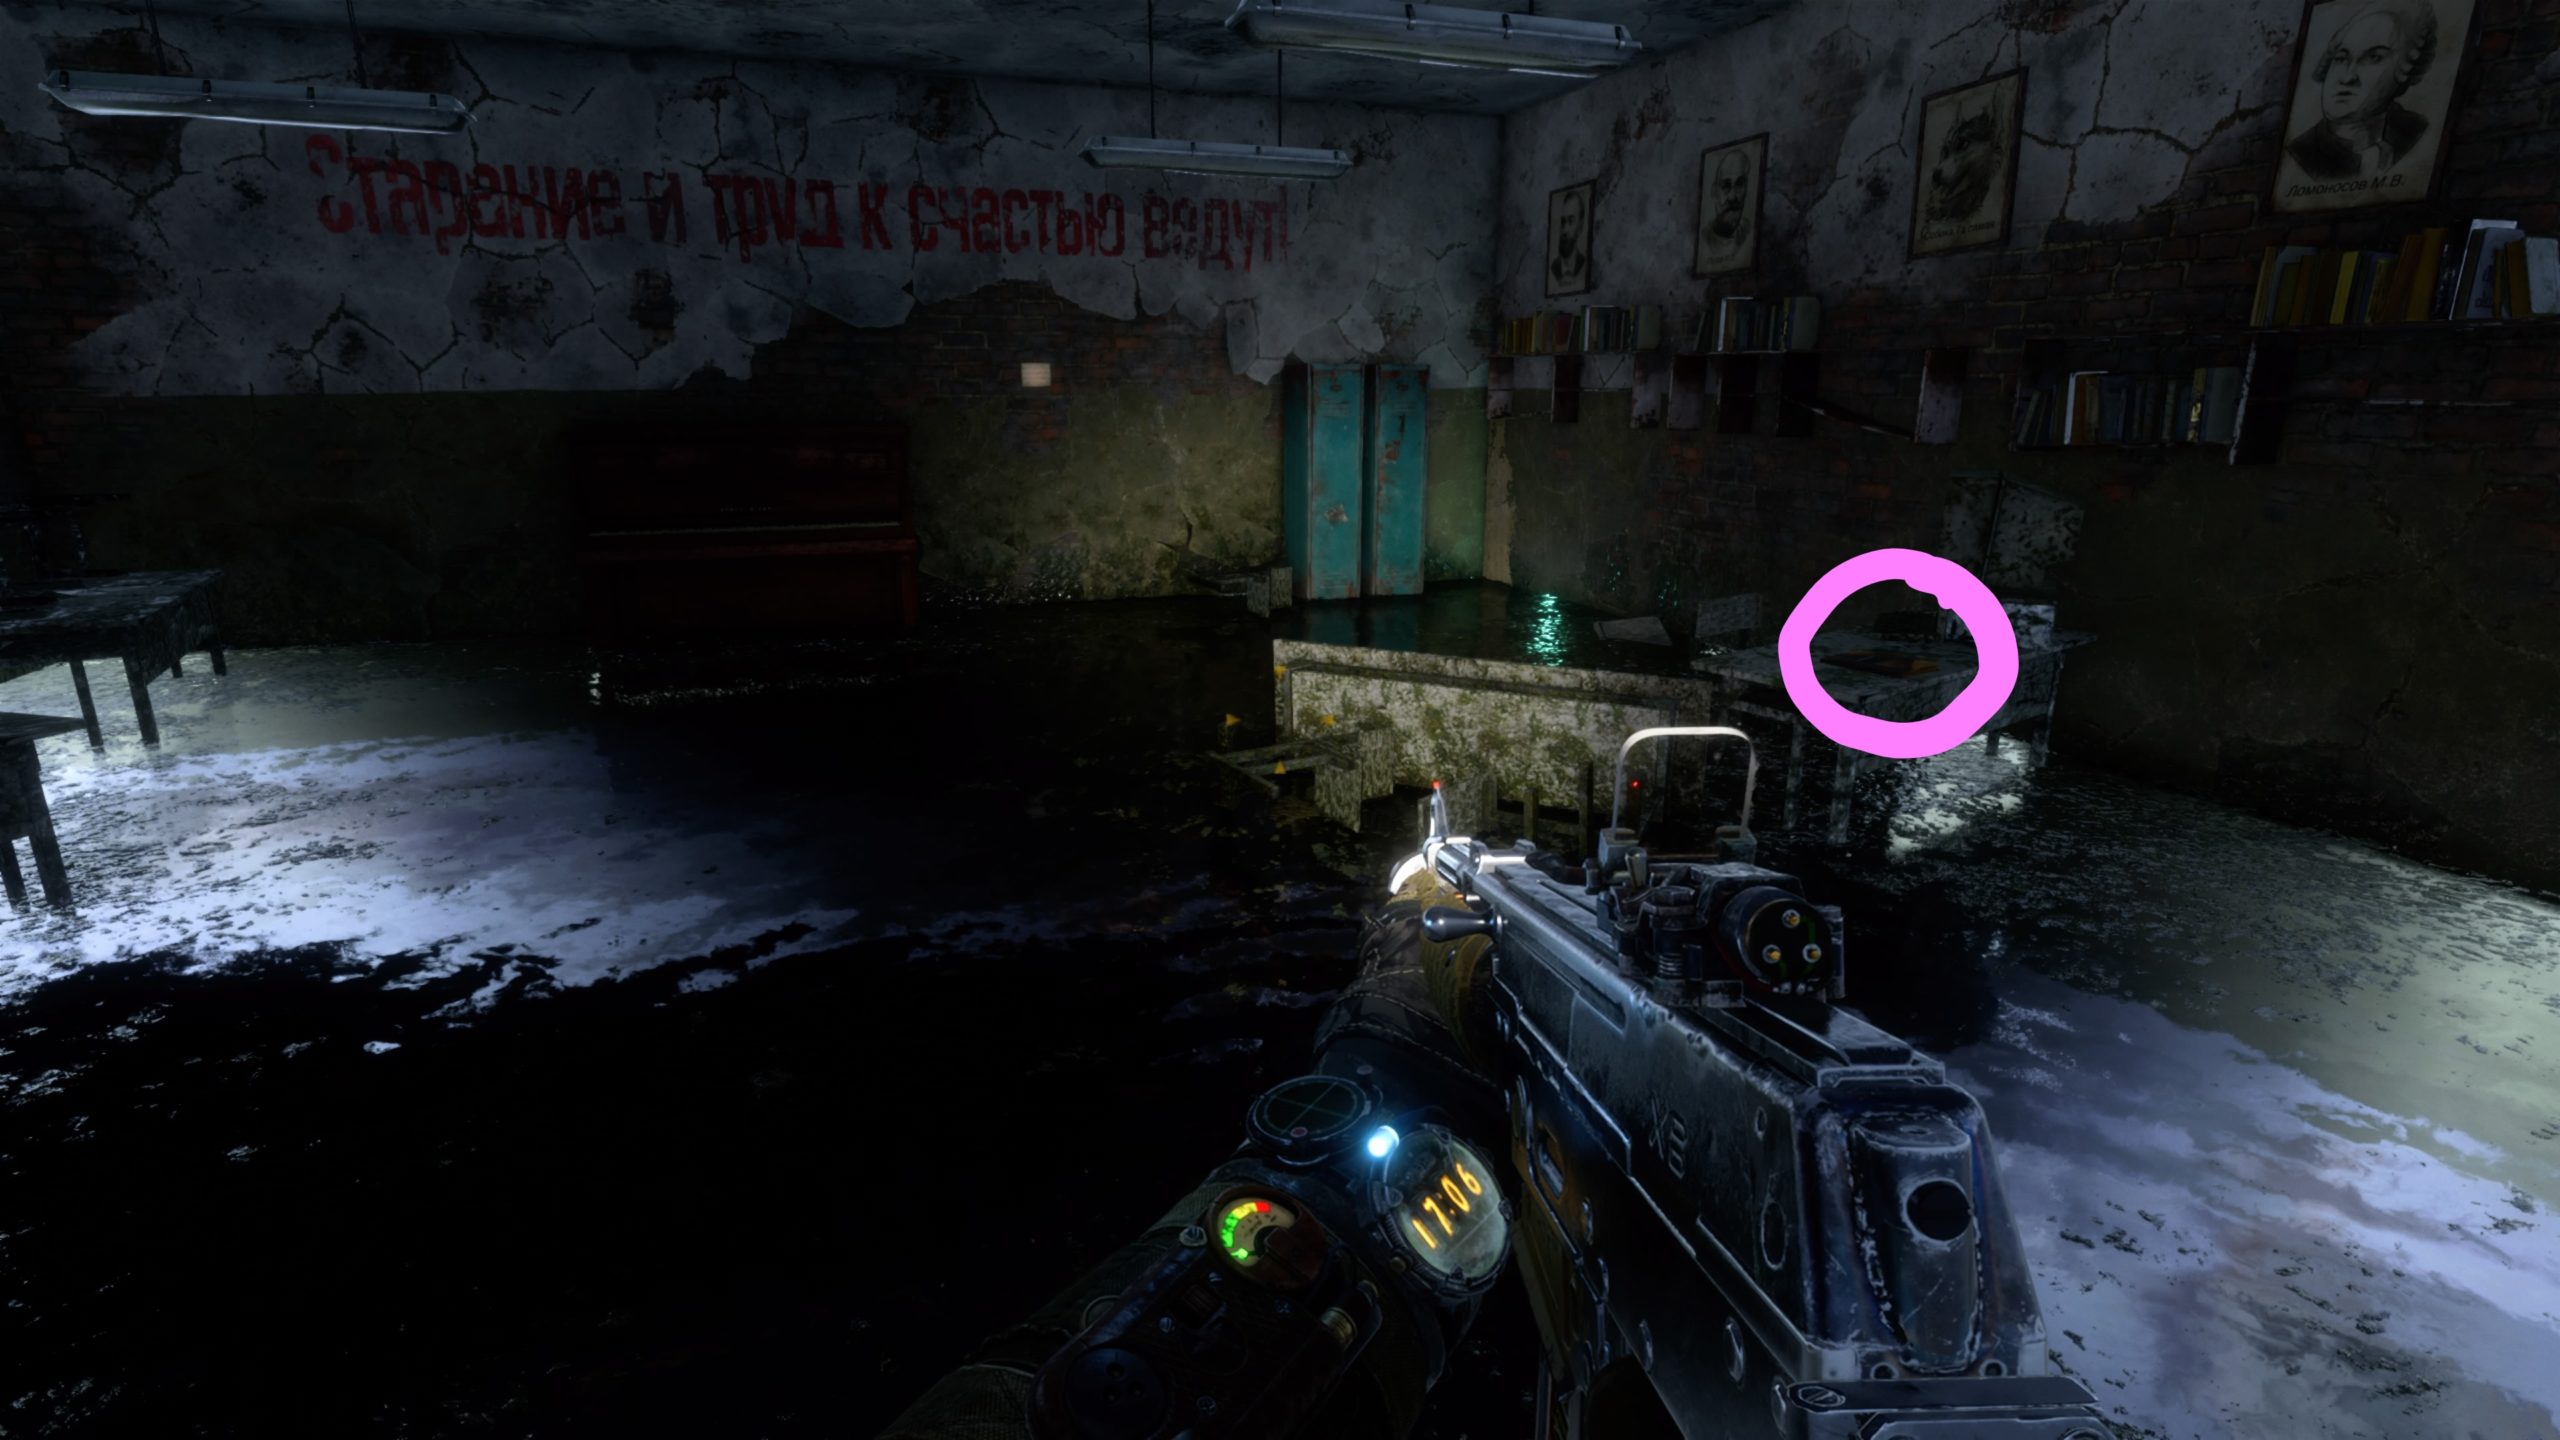
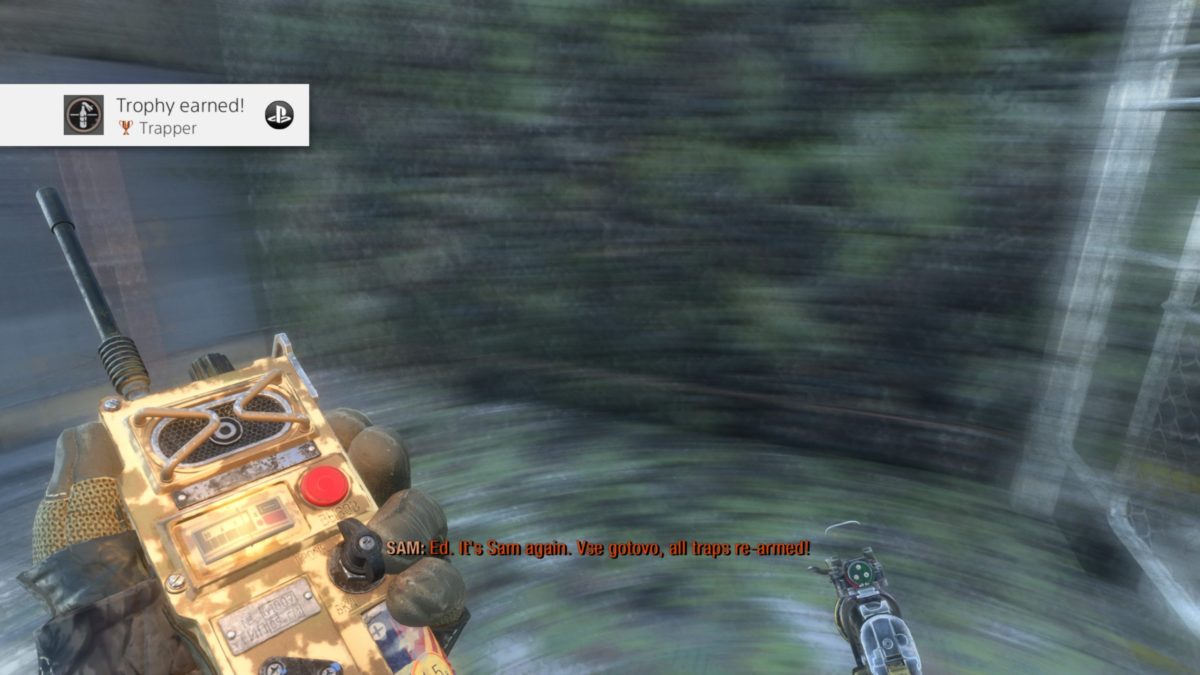
Secret Stash 5
After your drunken adventures with the Captain, you will be tasked with setting up traps in his base. After you find the location for Trap 3, head down the hallway to reach wooden scaffolding. Pass over the scaffolding to enter another room on the same level. Head forward through a couple of rooms to reach a larger room at the end with a painting leaning against the wall. Kick the painting to find a secret room that contains the stash.
Secret Stash 6
Dock on the western tip of the building near a good section of the wall that is missing. There will be a wooden plank to walk up. Walk across the plank and take the first door on the right, passing through the next room, to arrive in a hallway. Take the first right then head behind a bookshelf to find a small opening underneath a table. Climb under there to reach a secret room containing the stash.
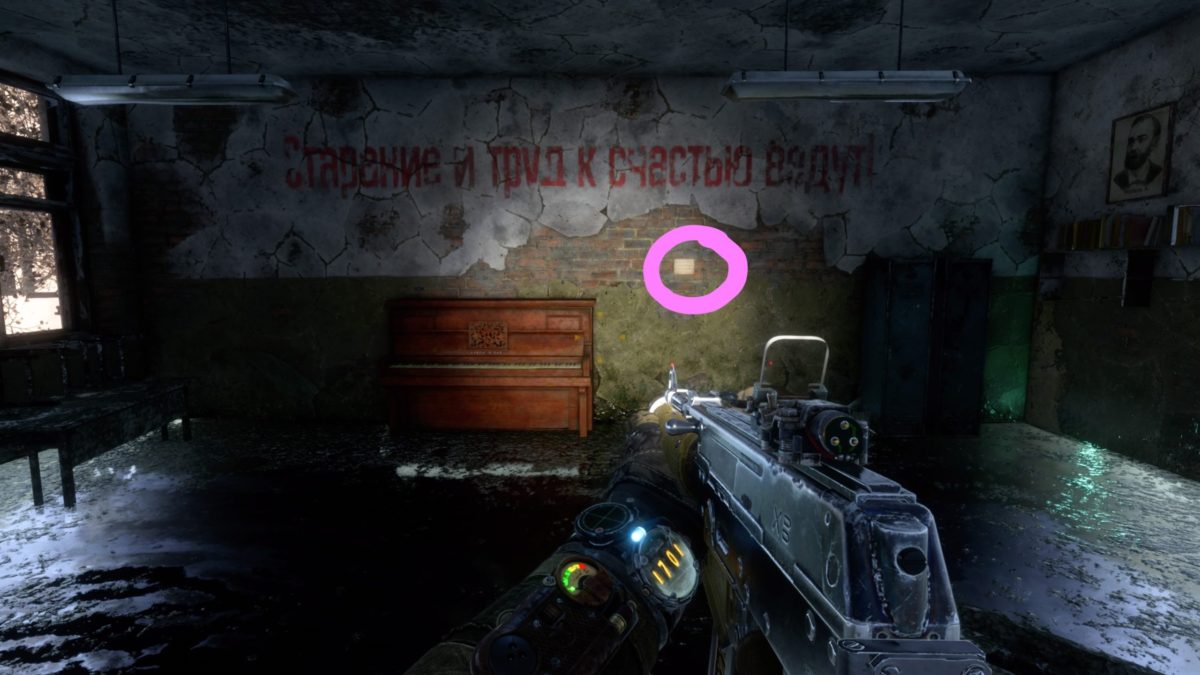
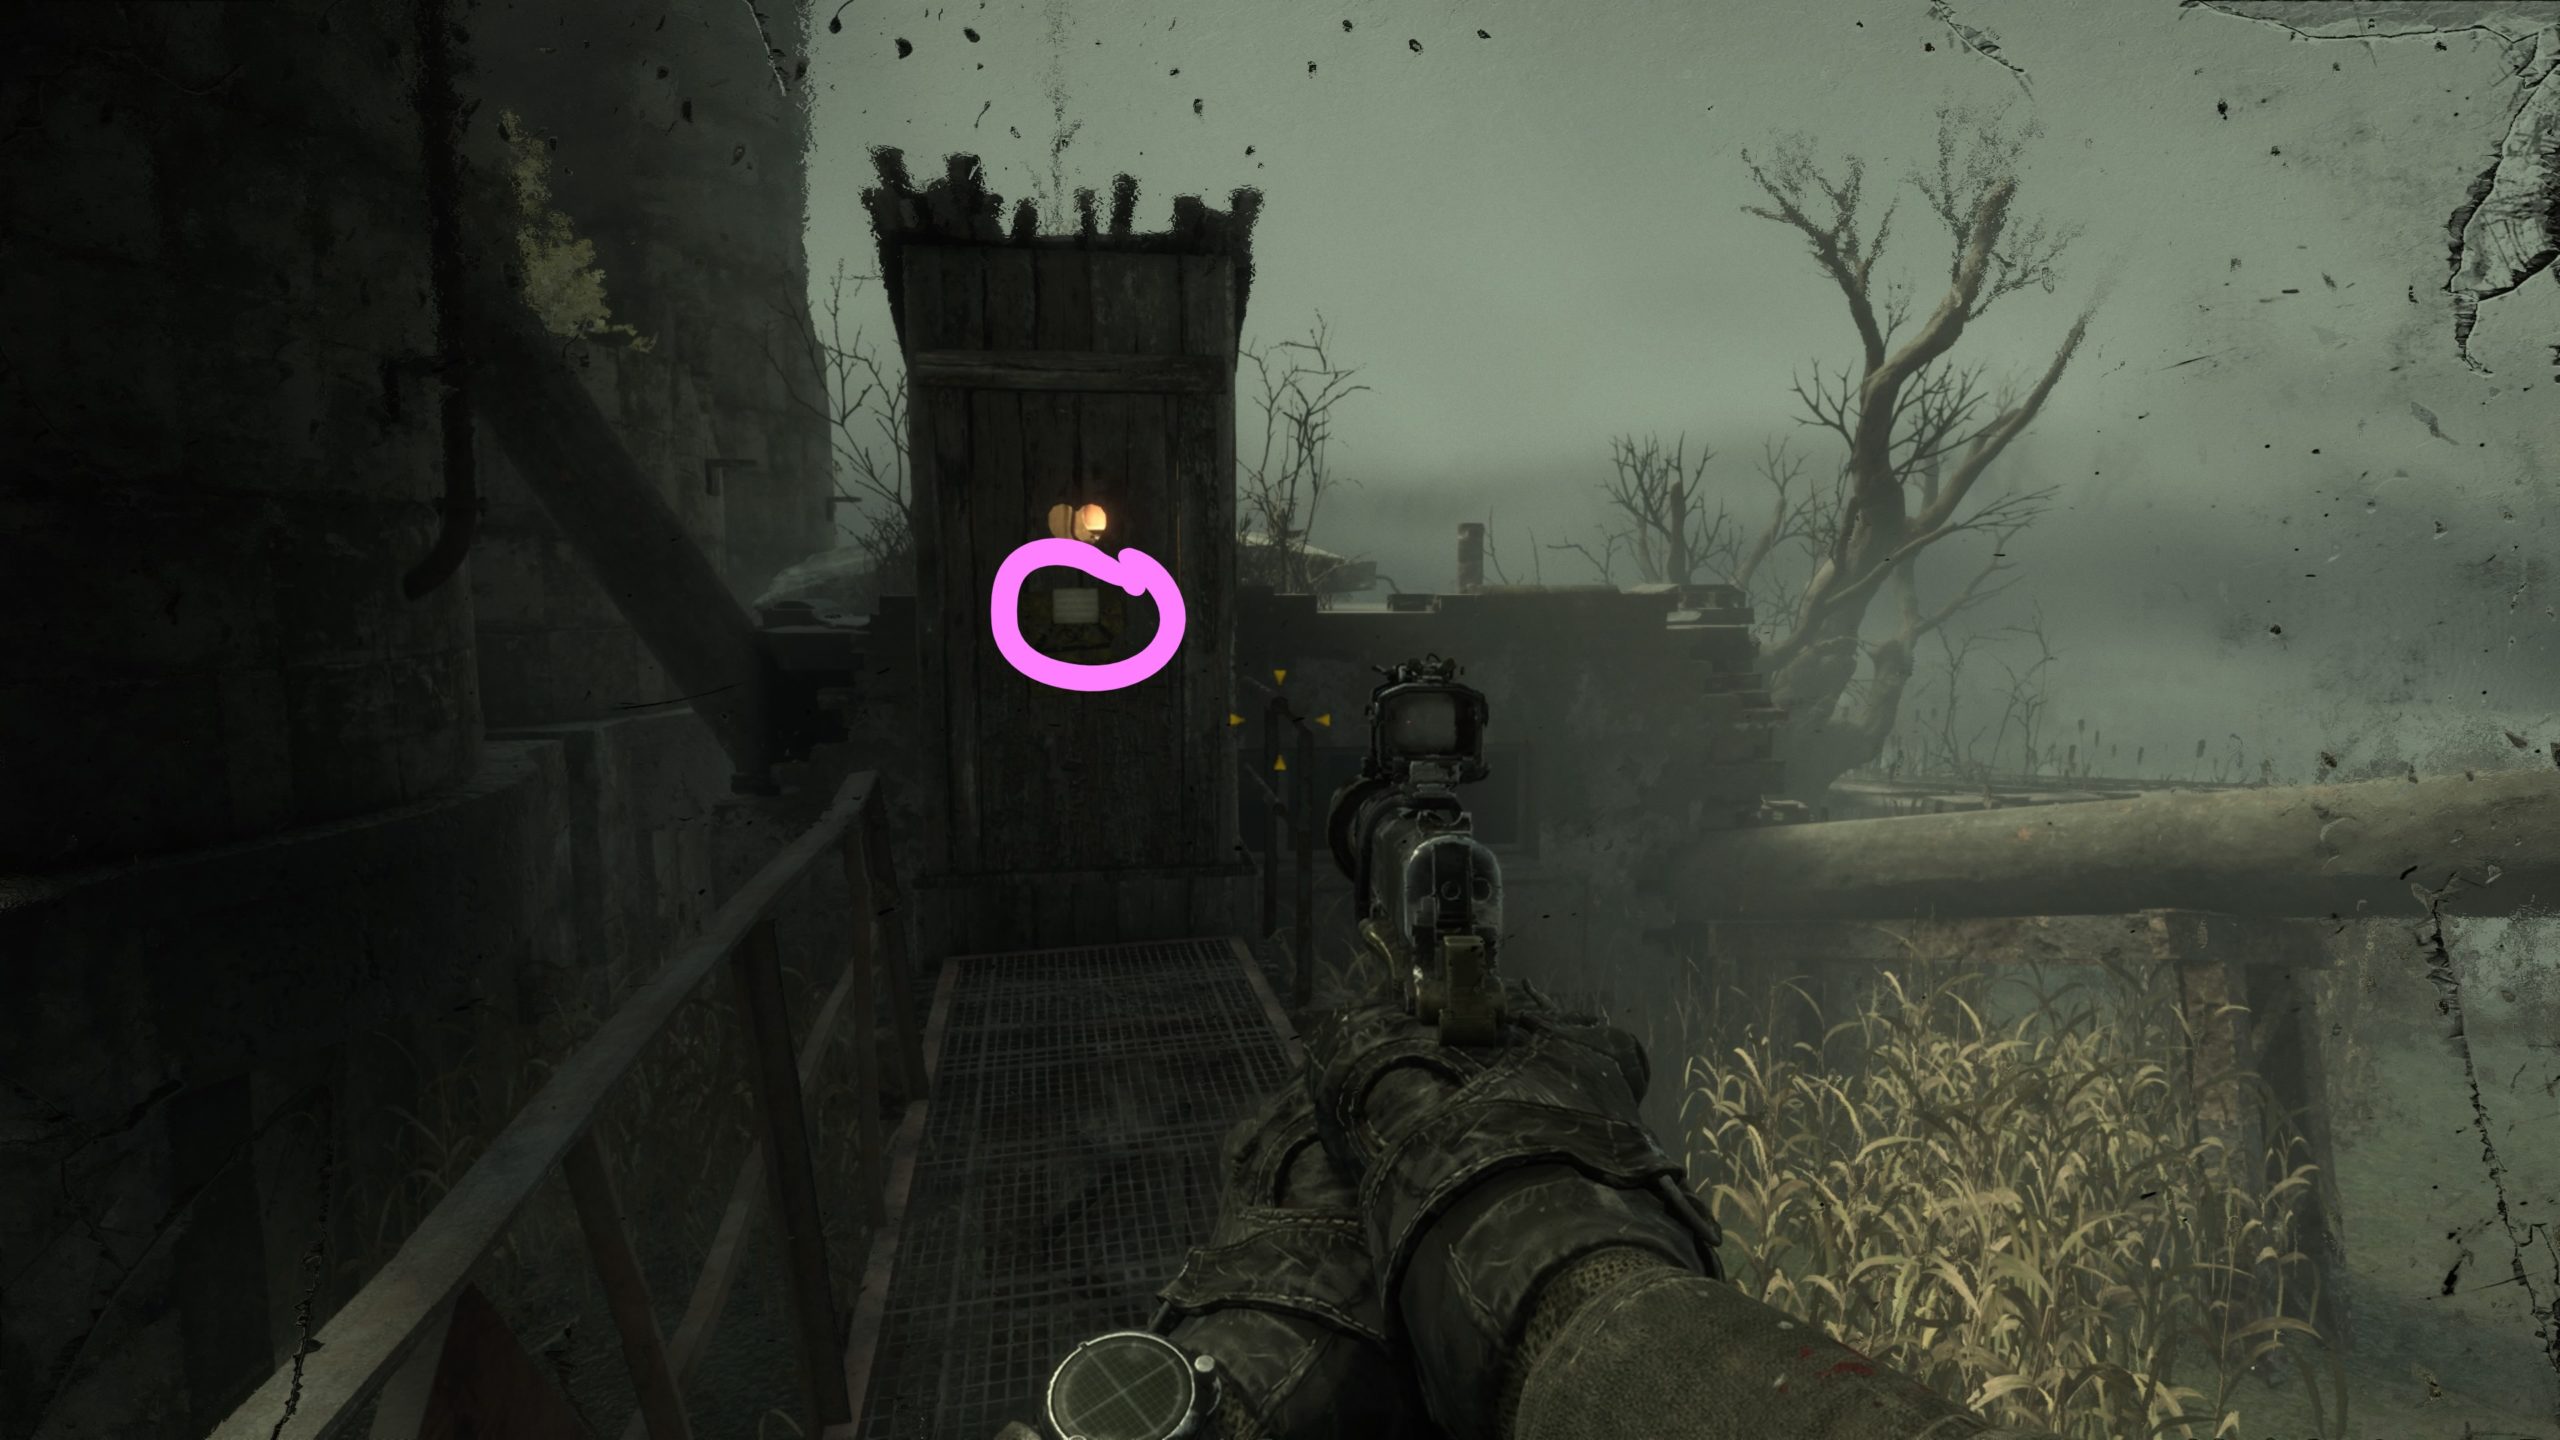
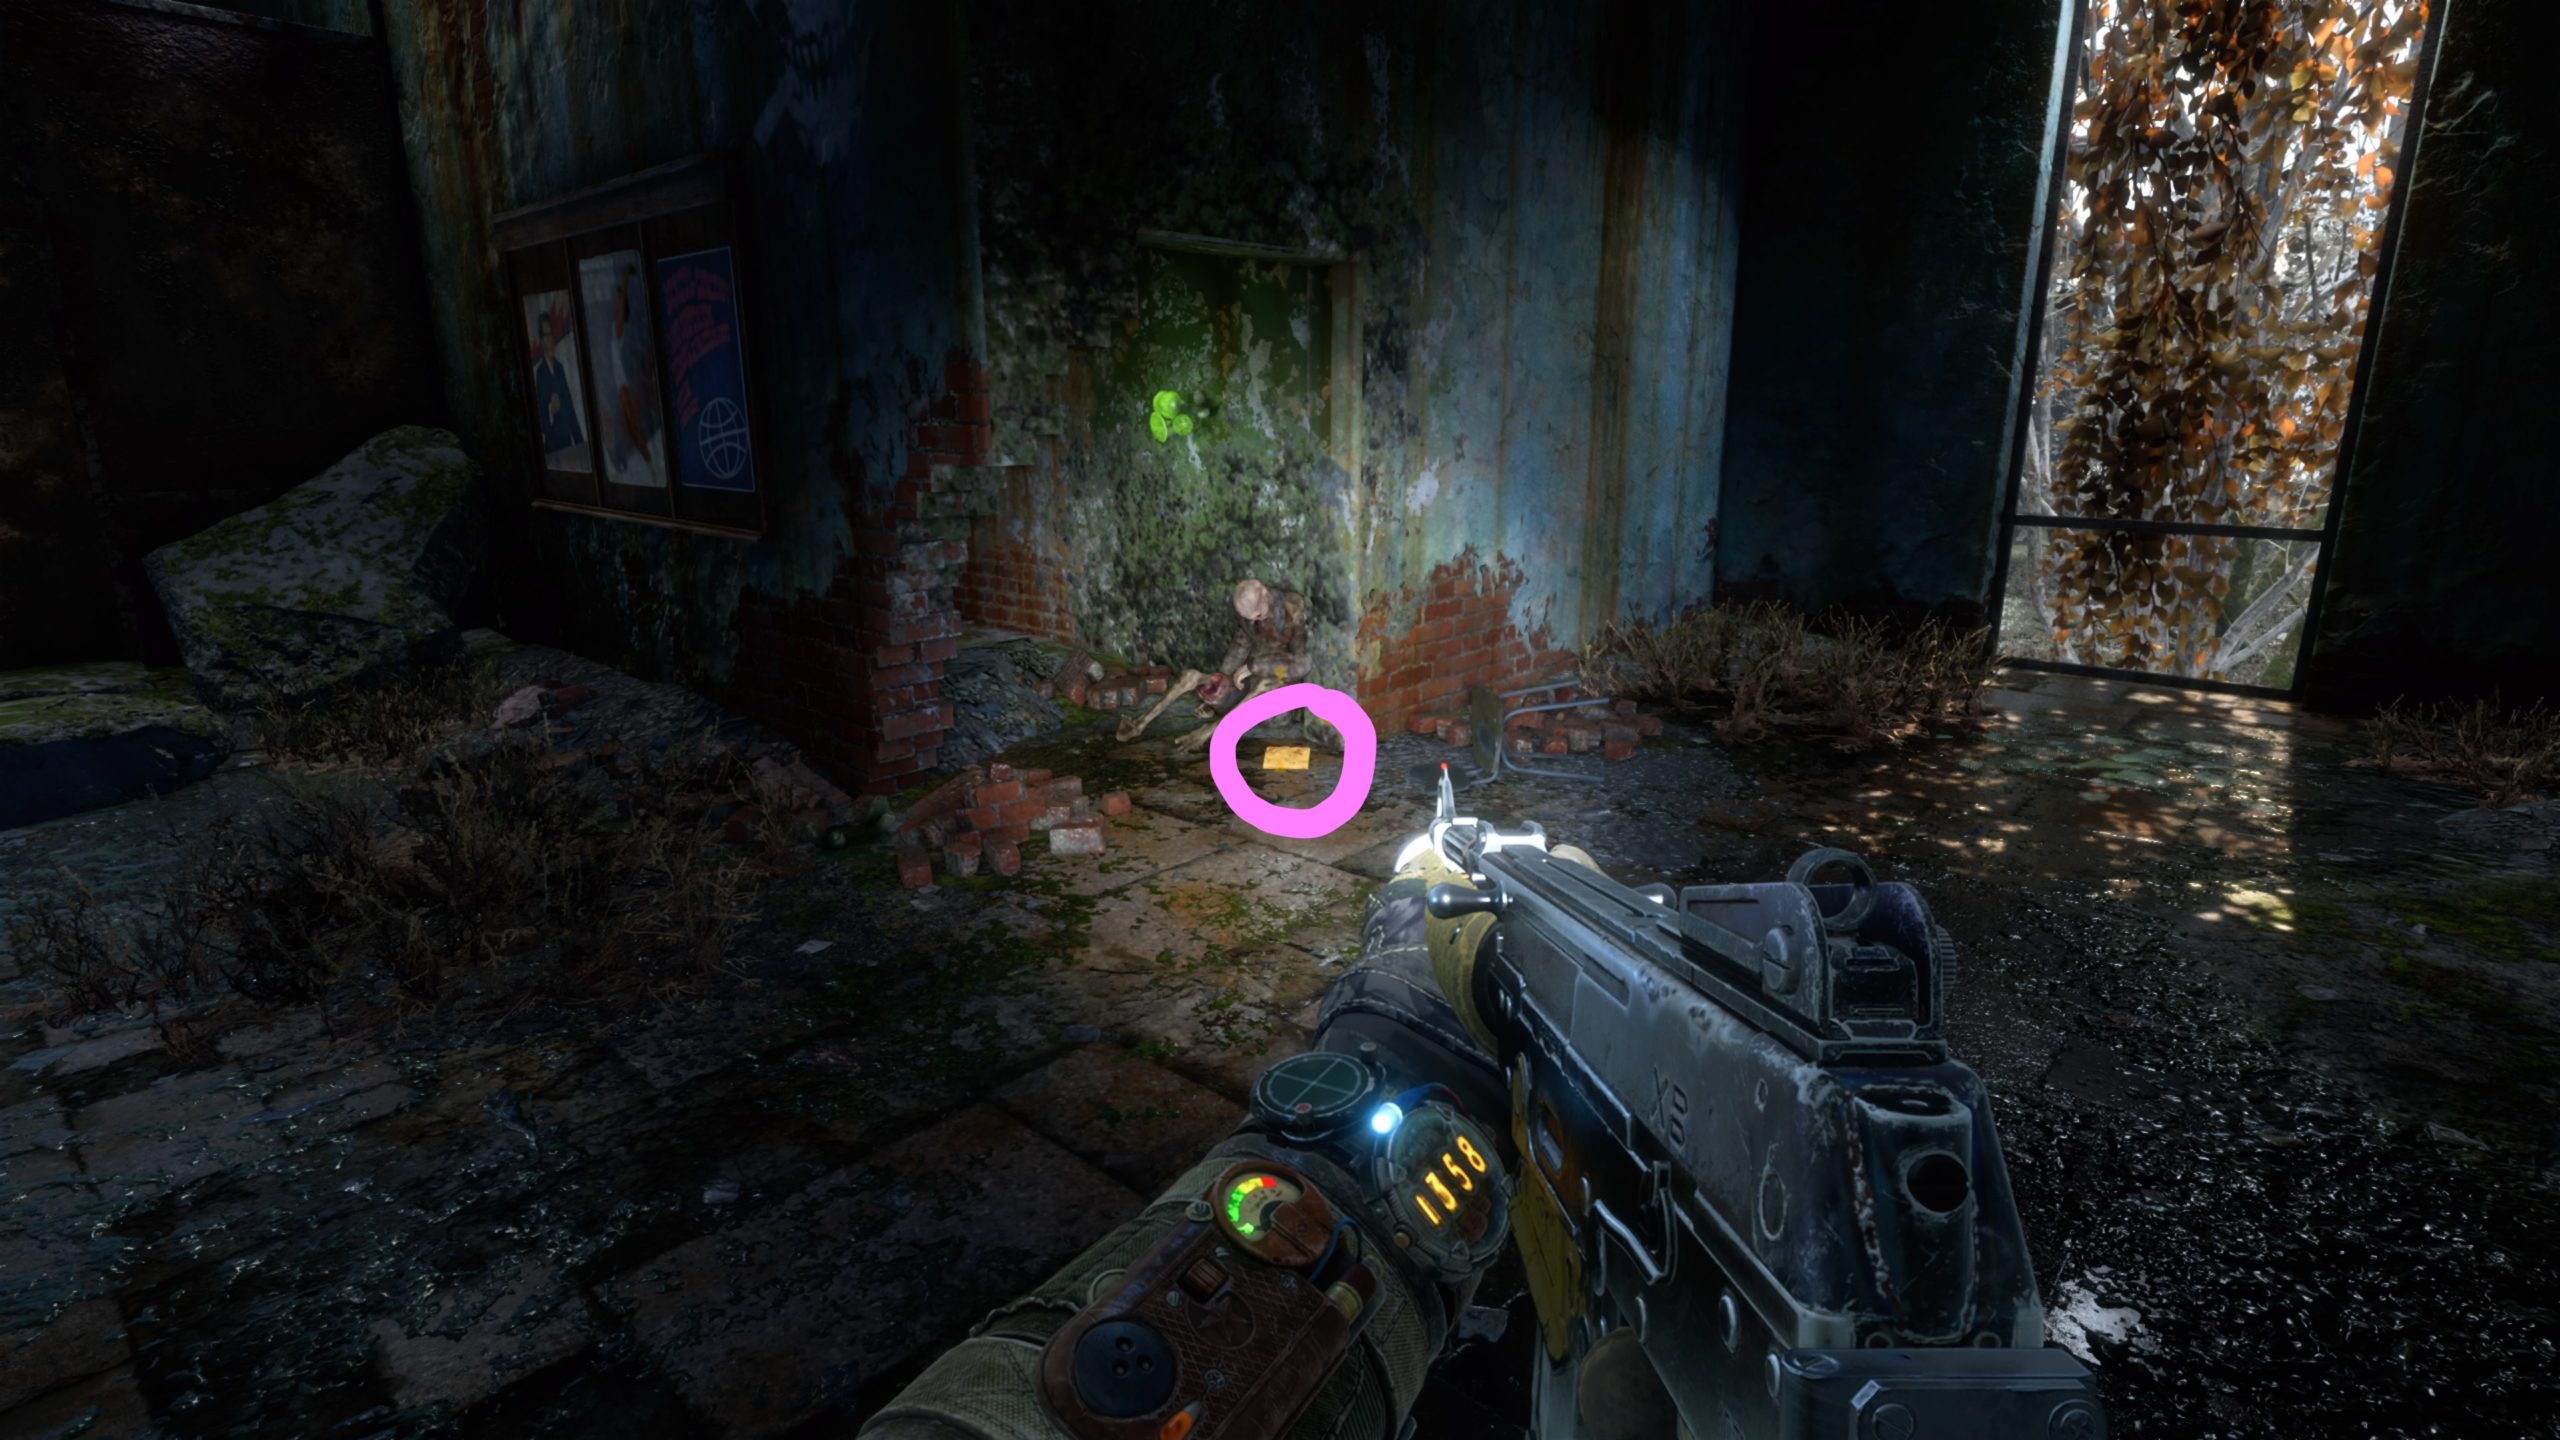
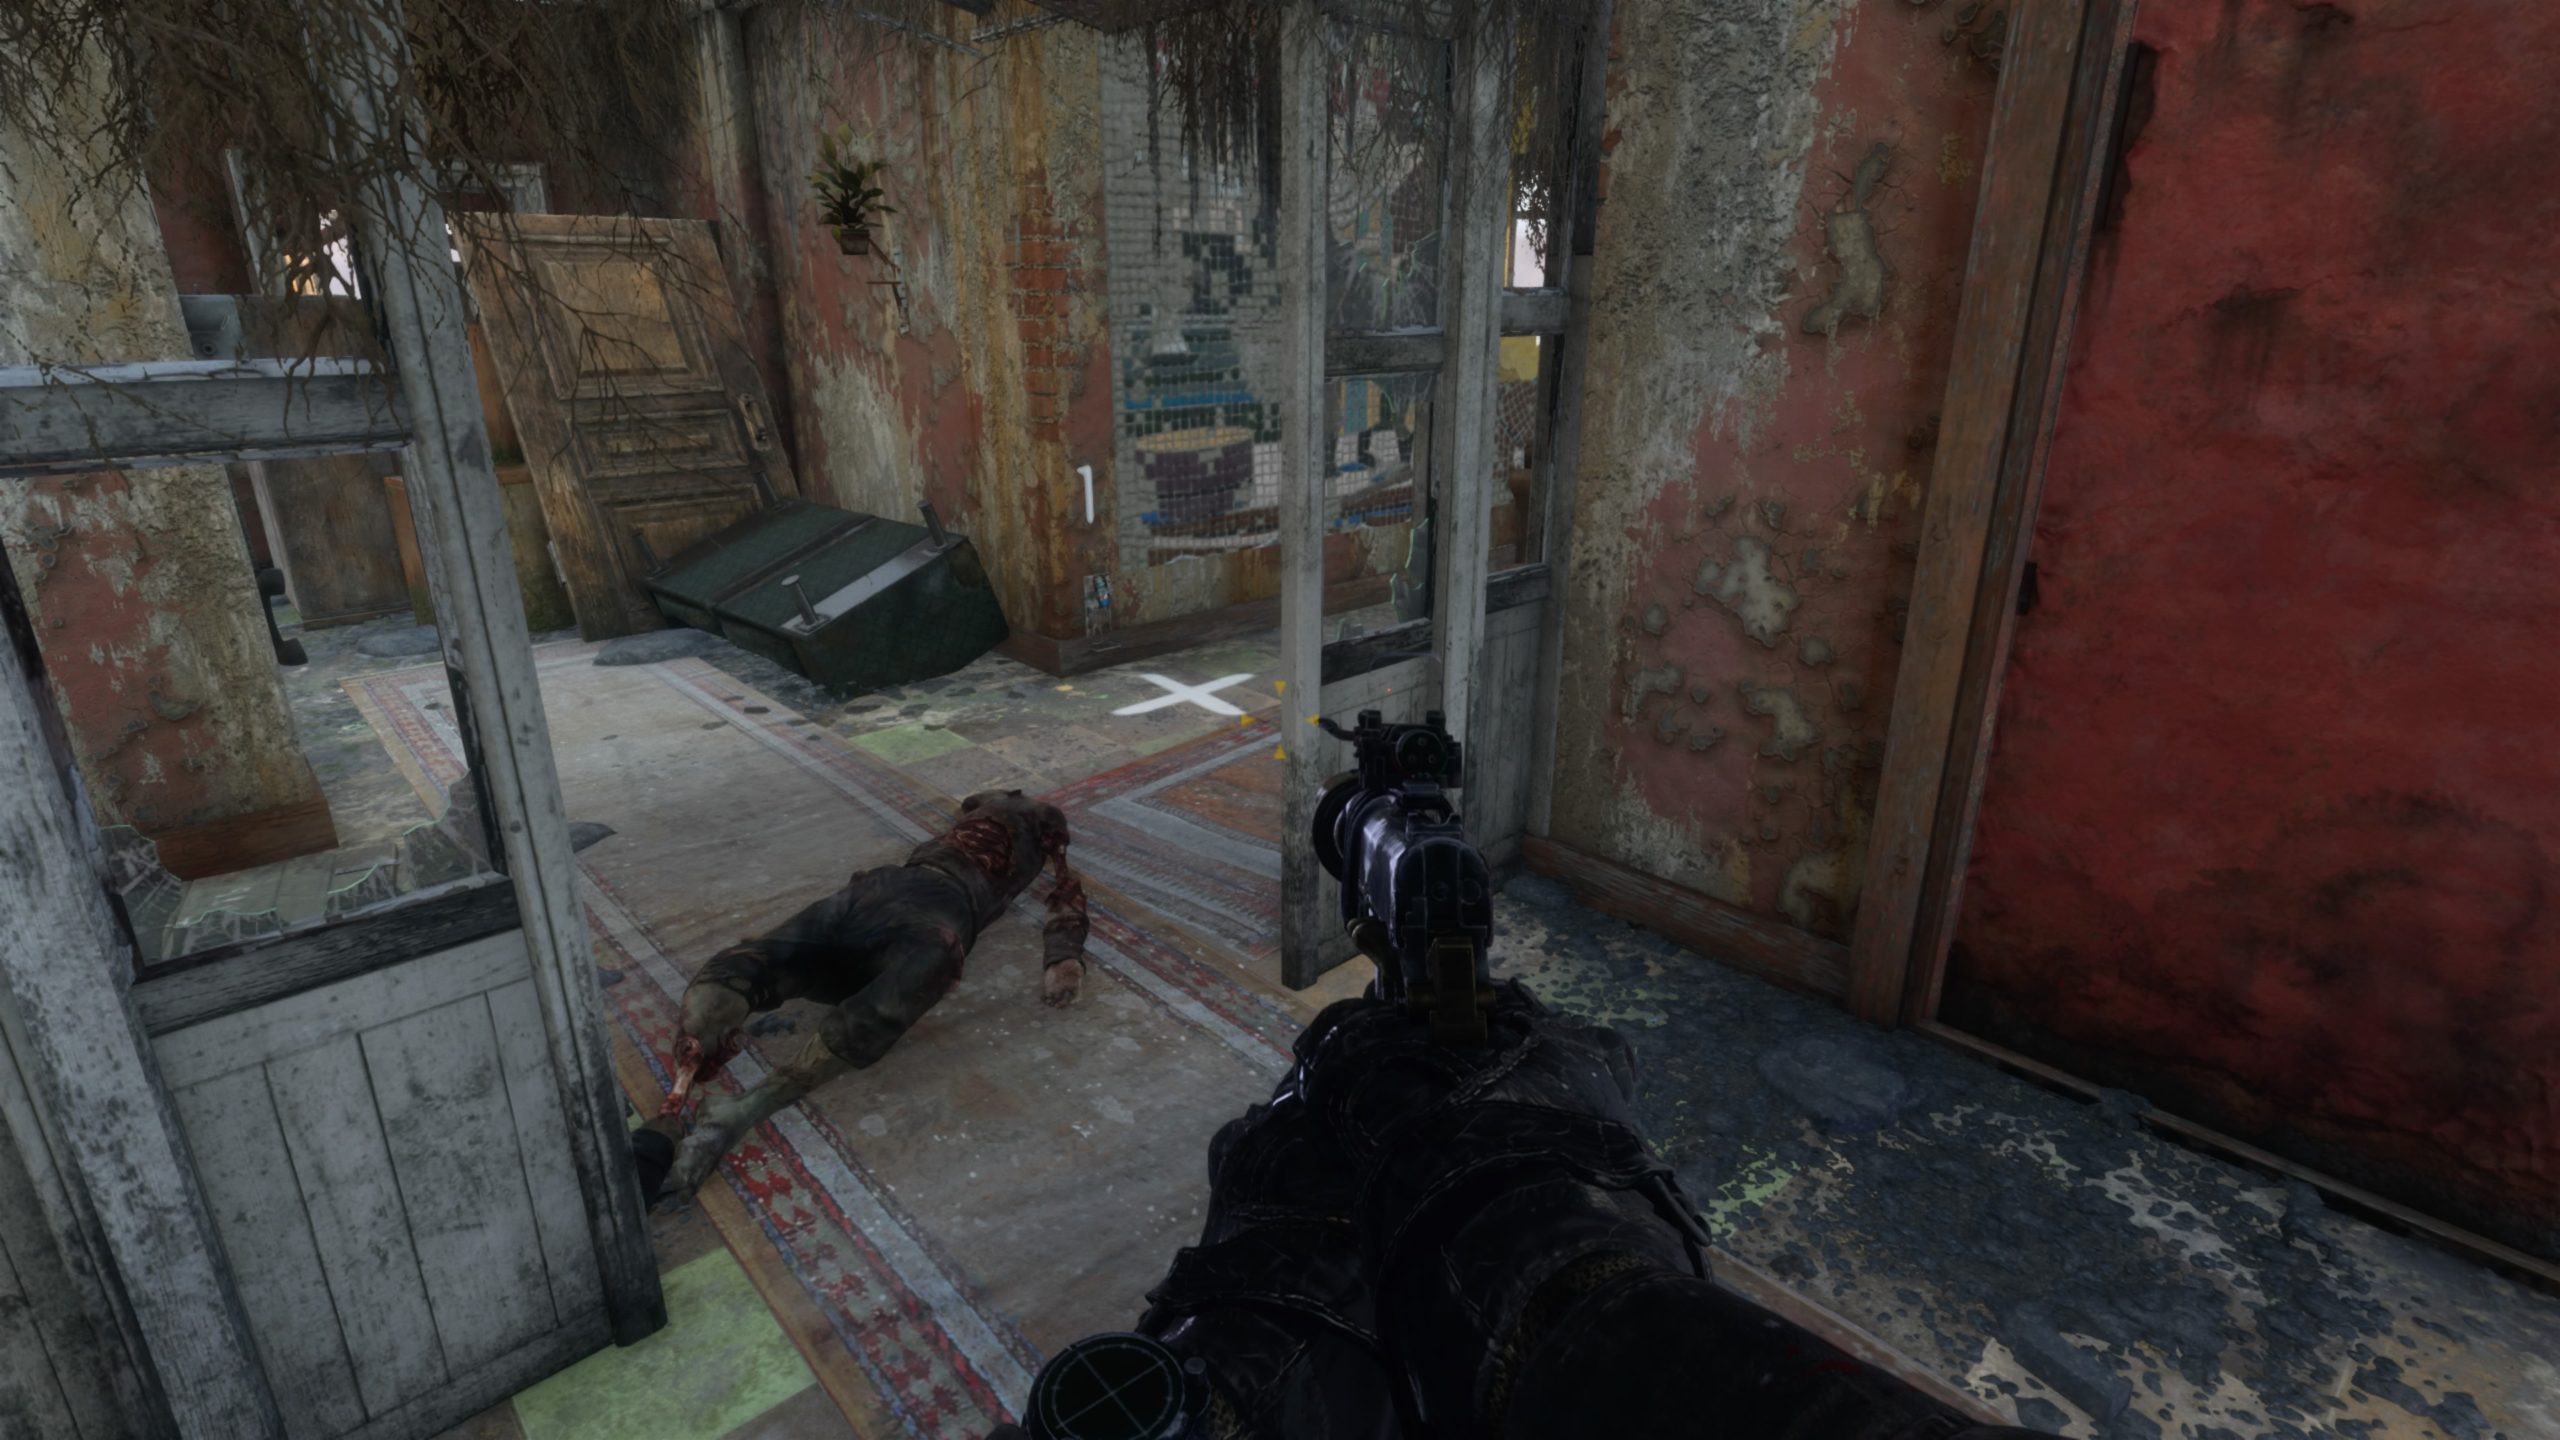
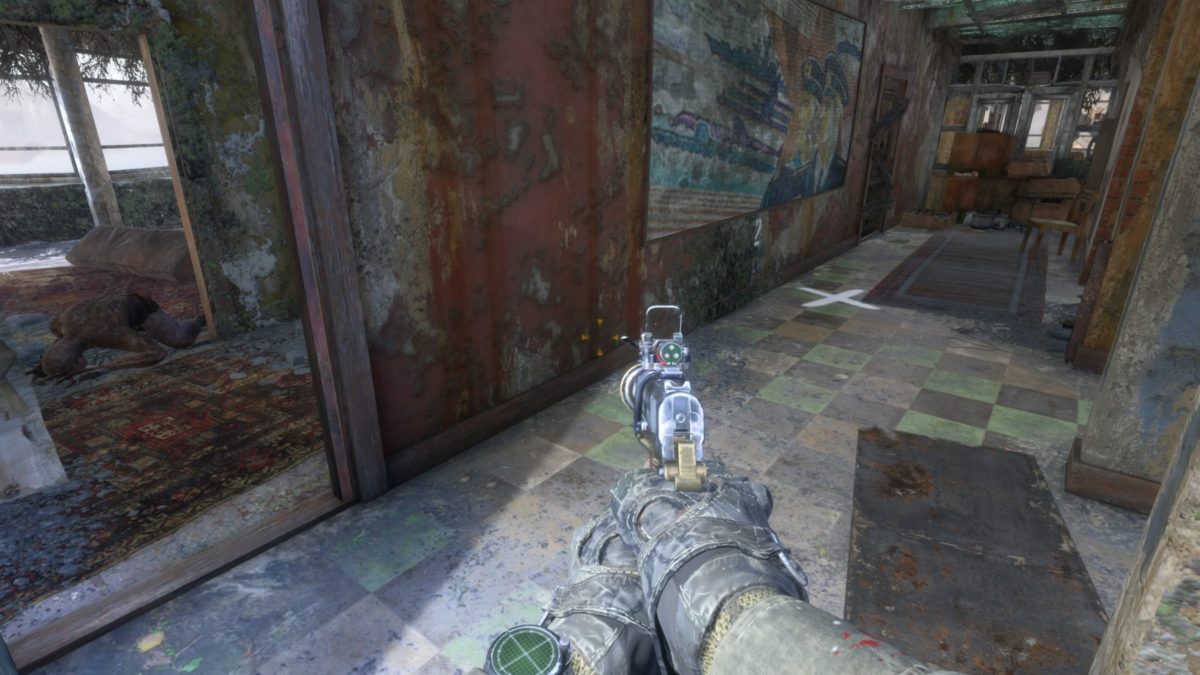
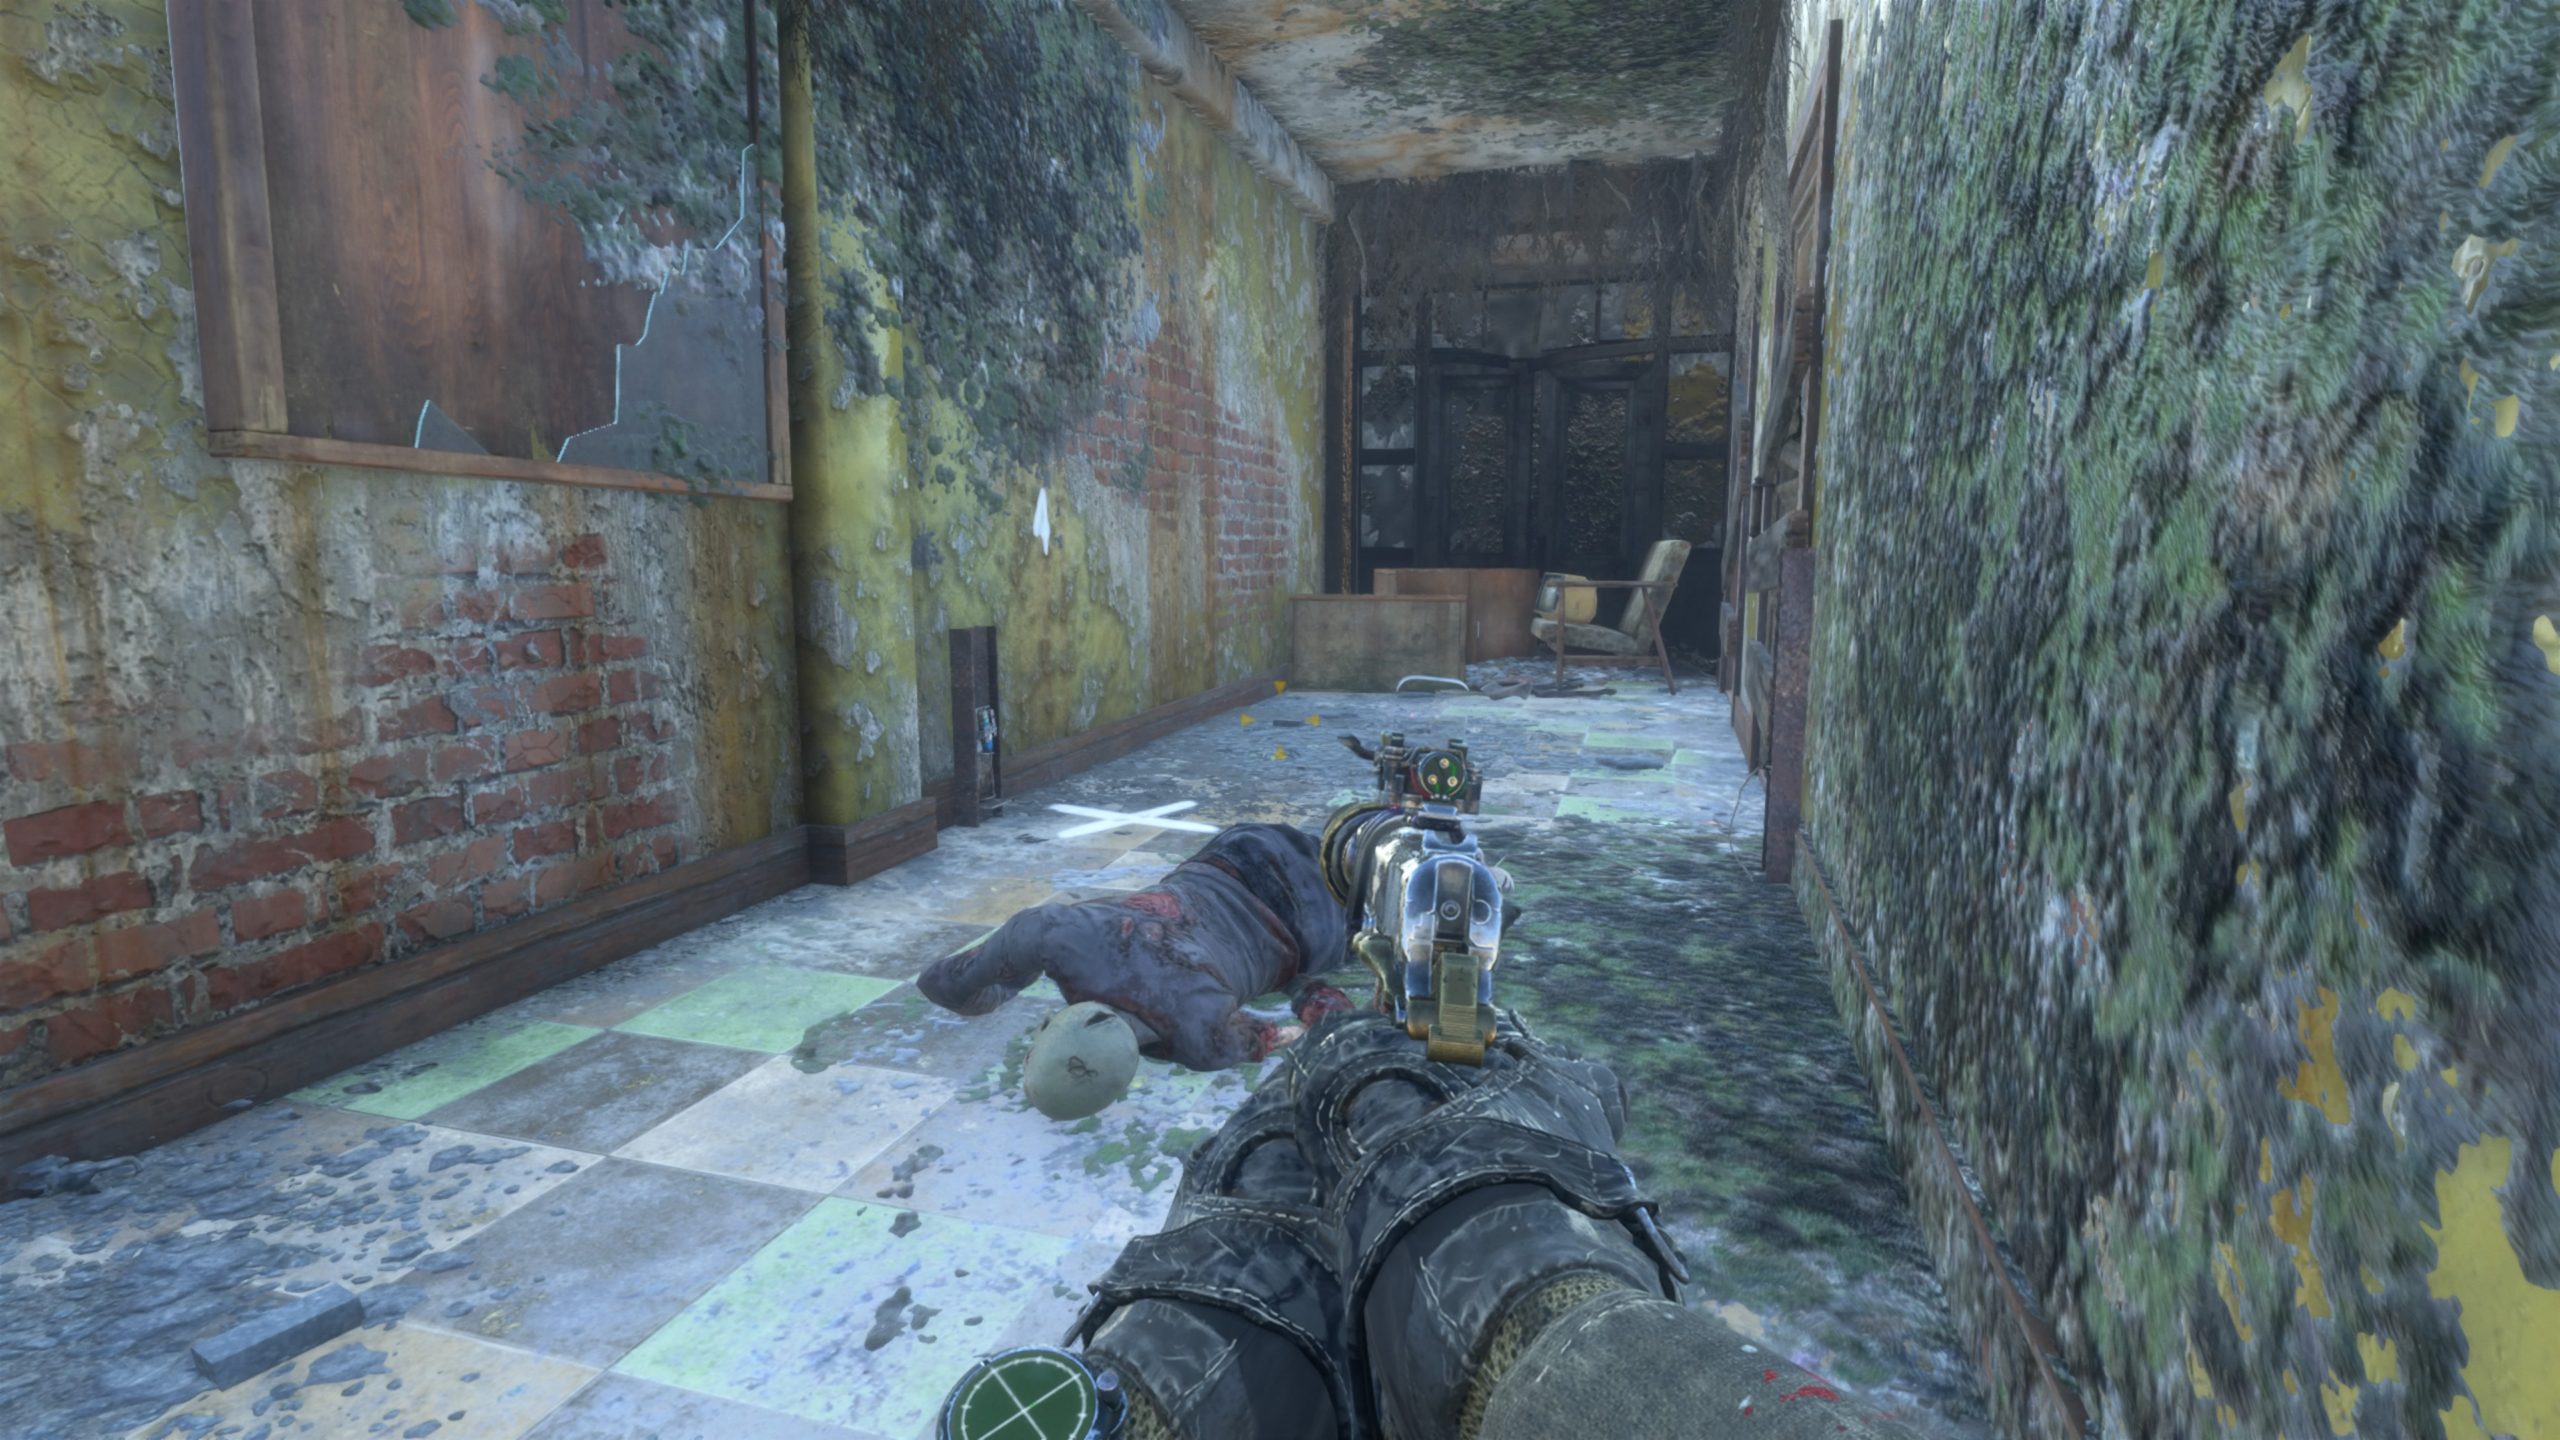
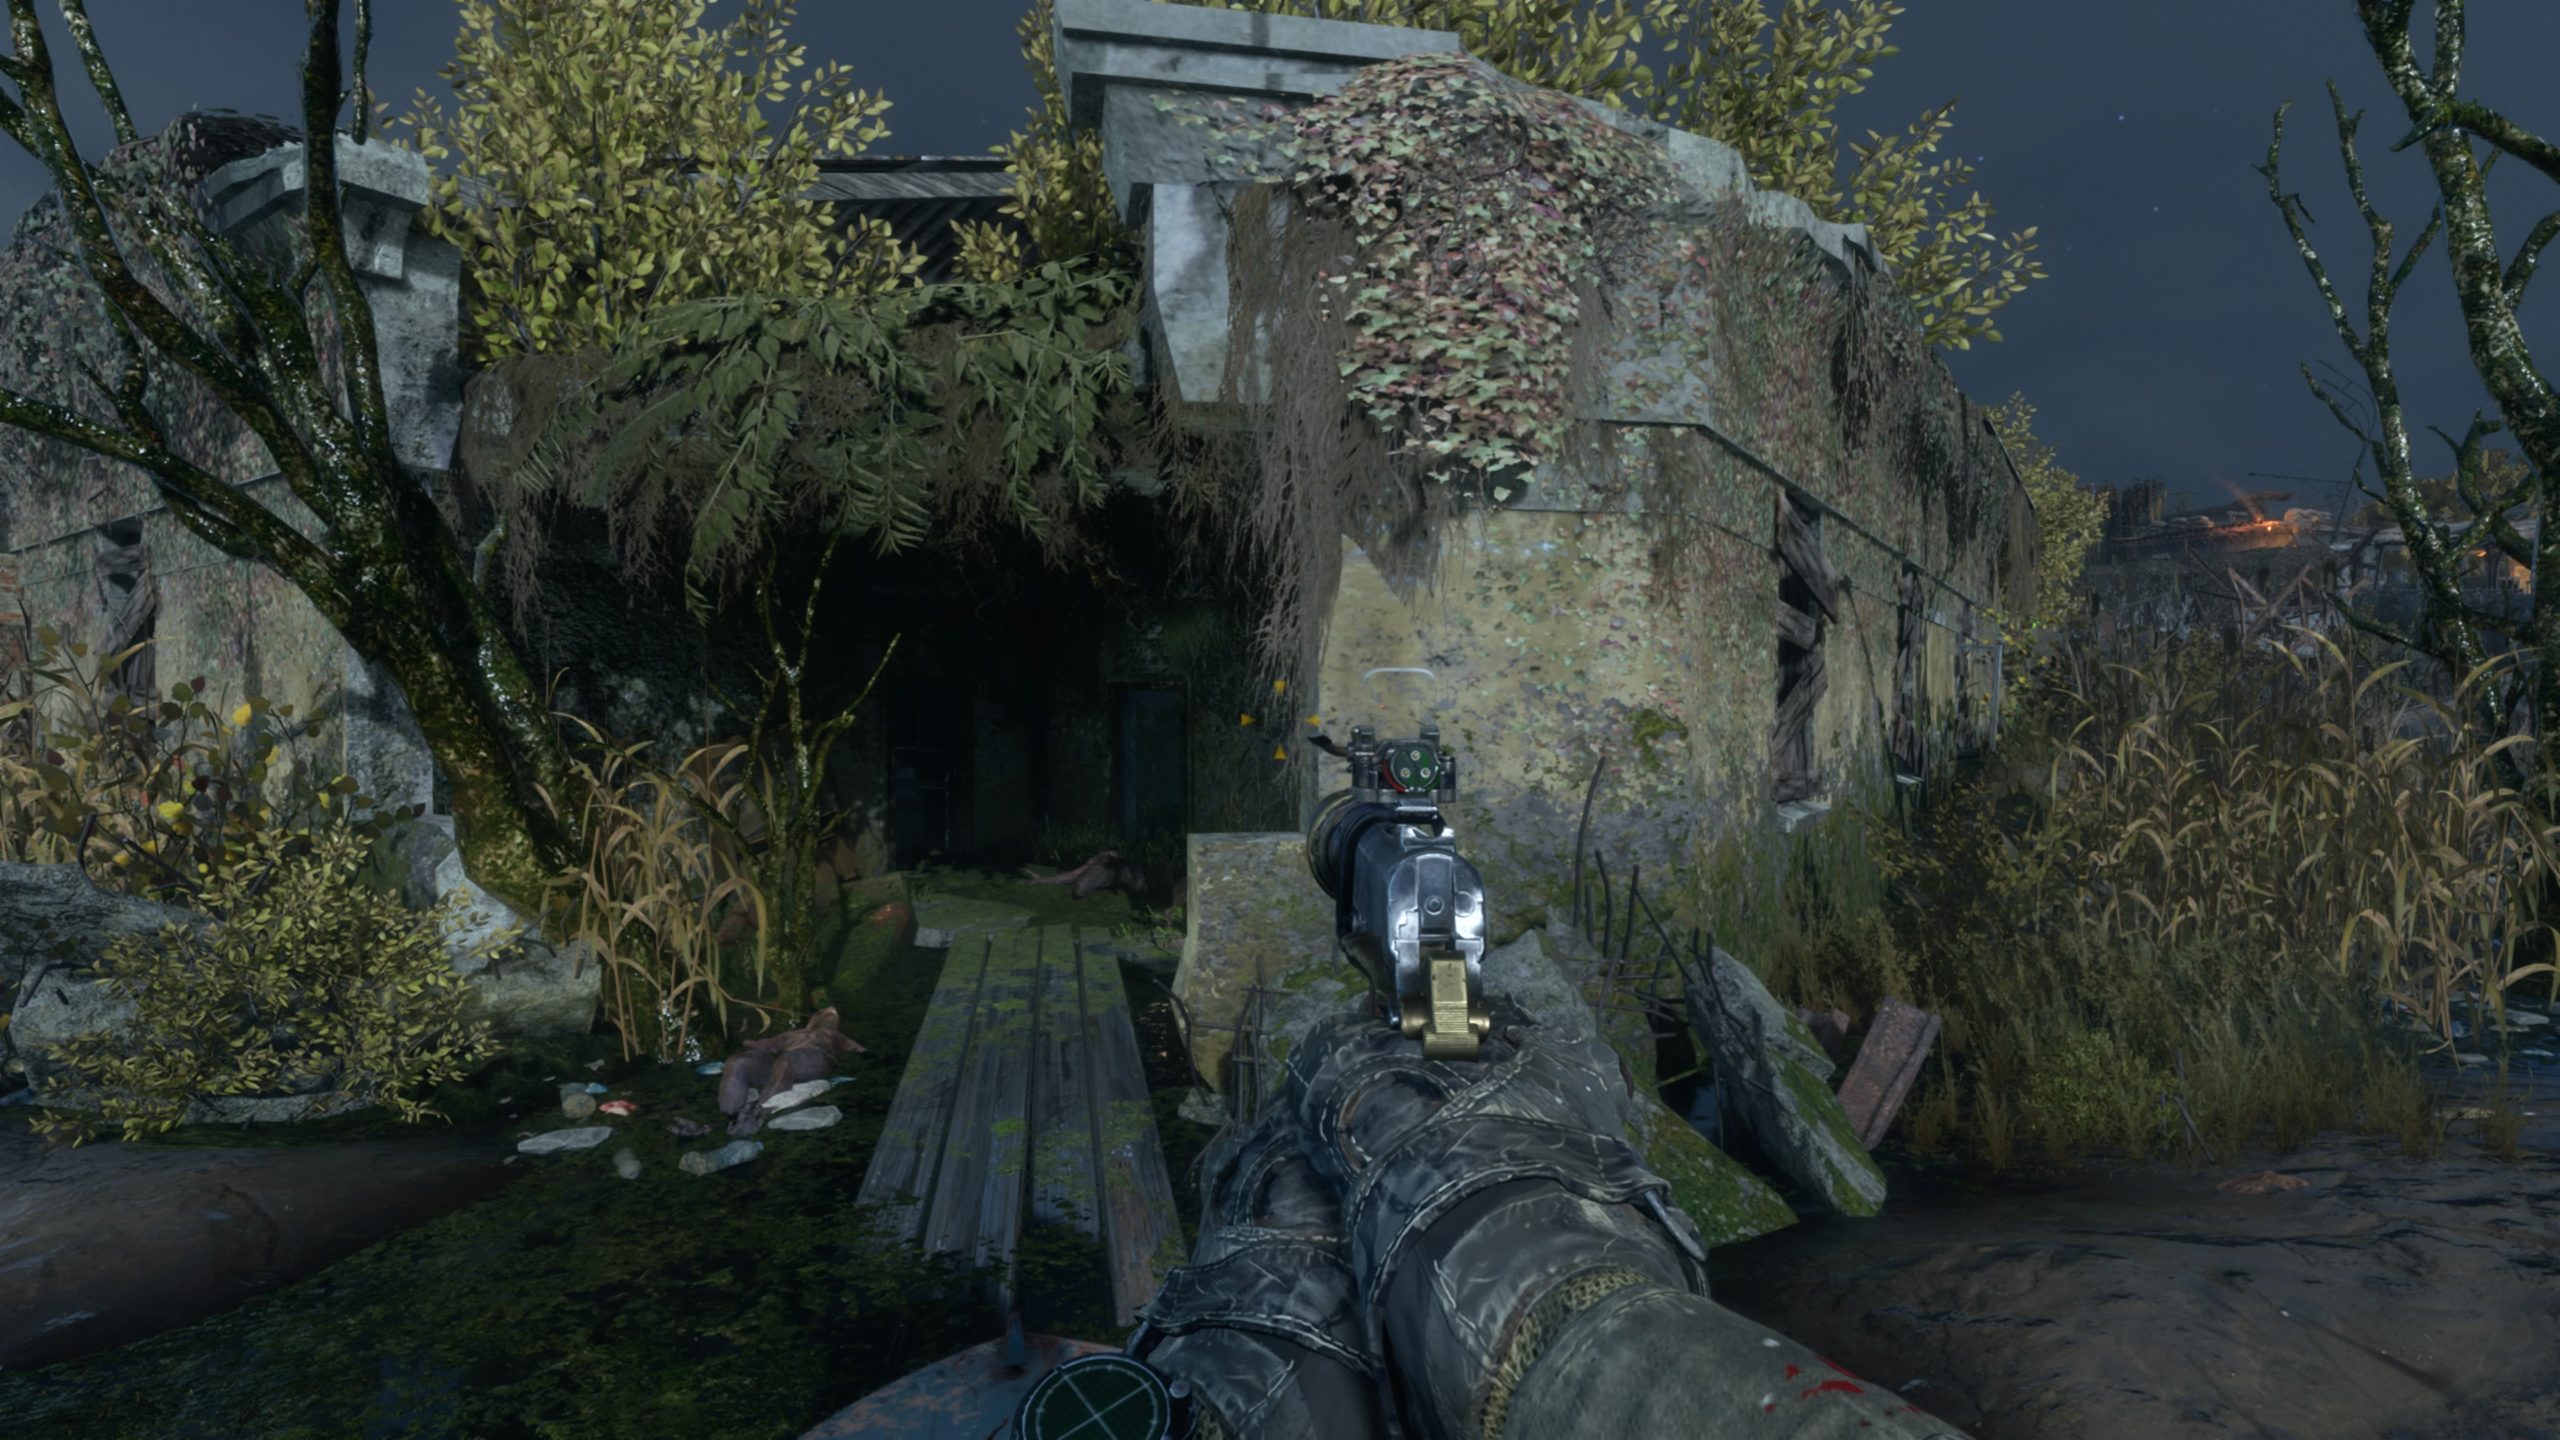
Secret Stash 7

During the main story, you’ll have to sneak through a bandit camp to reach the Fire Depot. You’ll enter the bandit camp by traveling along a makeshift wooden bridge that connects to a hole in the side of a building. Once in the building, head through a doorway to enter a hallway filled with can traps hanging from the ceiling. Head down the hallway disabling the traps as you go. When you reach the end, head through the doorway and take a right up a pair of stairs to get to the second floor. At the top of the stairs, swing right heading through two doorways and bringing you to a room with two open windows. Head through the window on the right to locate a building with a white skull across from it. Enter the doorway to the left of the white skull then take a right to head into a storage area that contains three switches on the wall. Turn on the switches in the following order: right, left then middle. This will unlock the metal door behind you, allowing you to gain access to the stash.
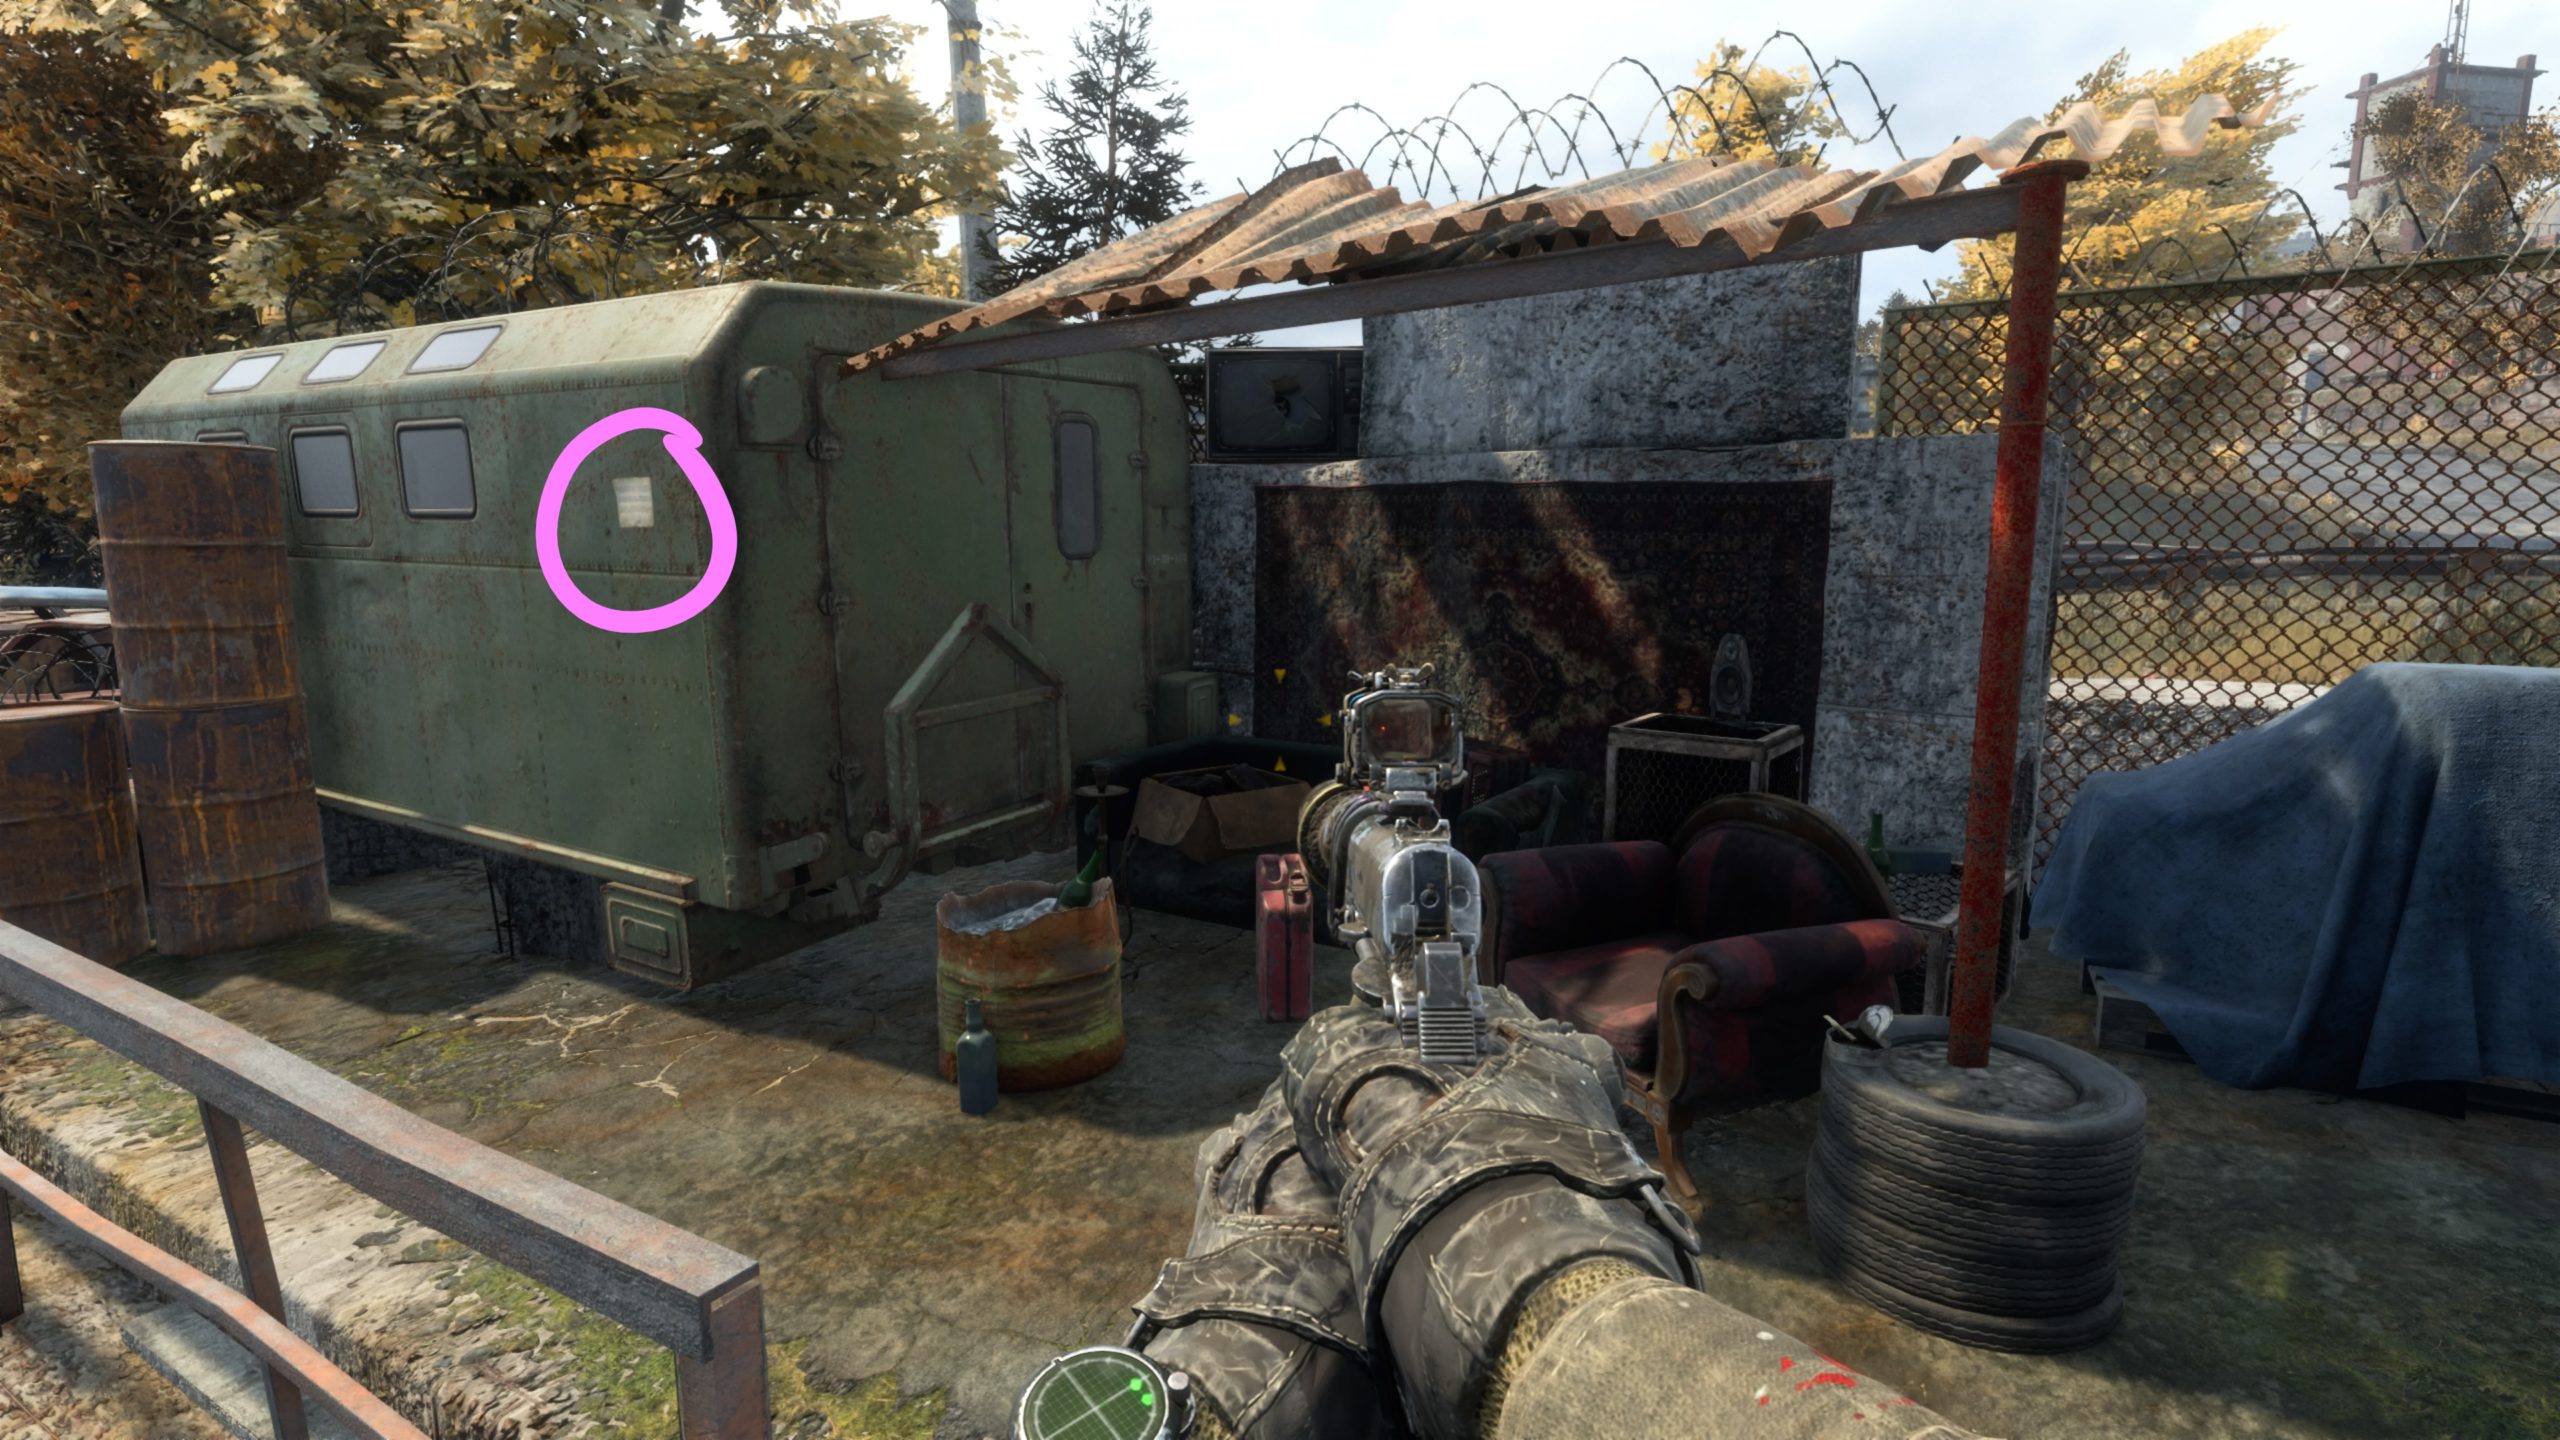
Secret Stash 8
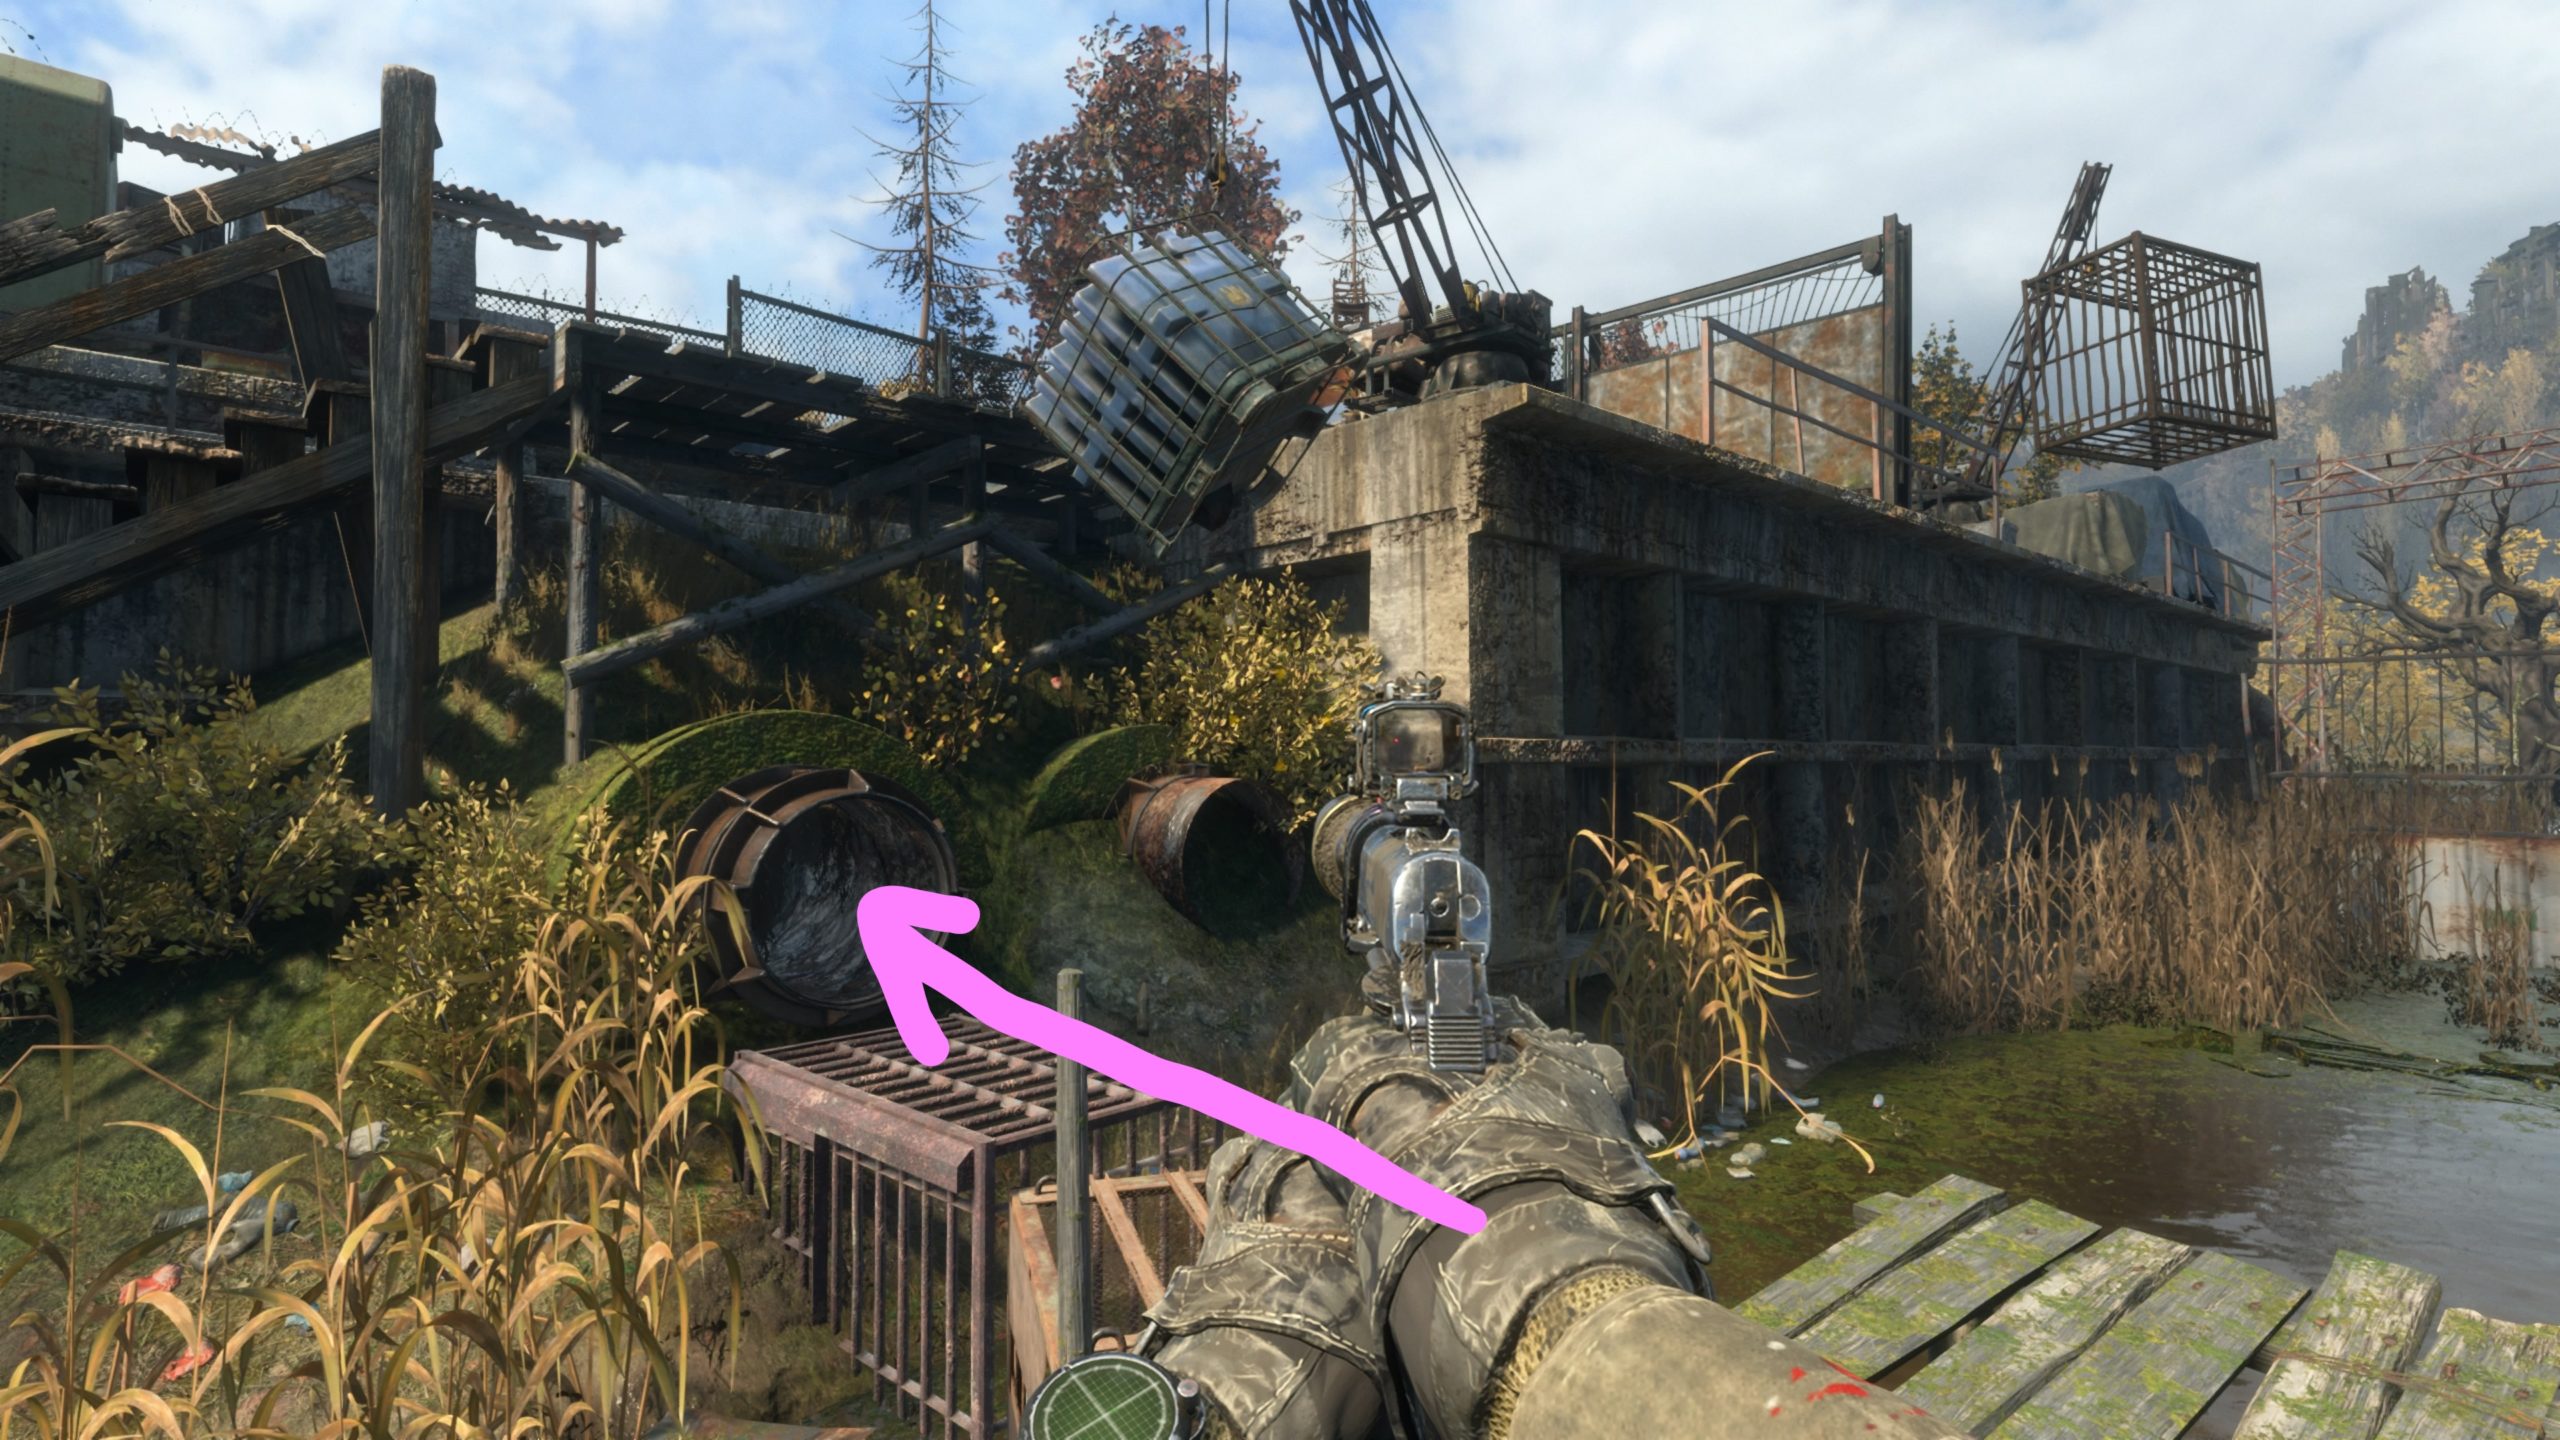
After you dock the boat, head up the stairs and take a left to find a gas can near a couch. Use the gas can to fuel the generator in front of the bus. Head back down the stairs towards where your boat is docked and head towards the blue container hanging from the crane to locate a pipe. Approach the pipe for a prompt to climb through it. The pipe will lead you to a secret room containing the stash.