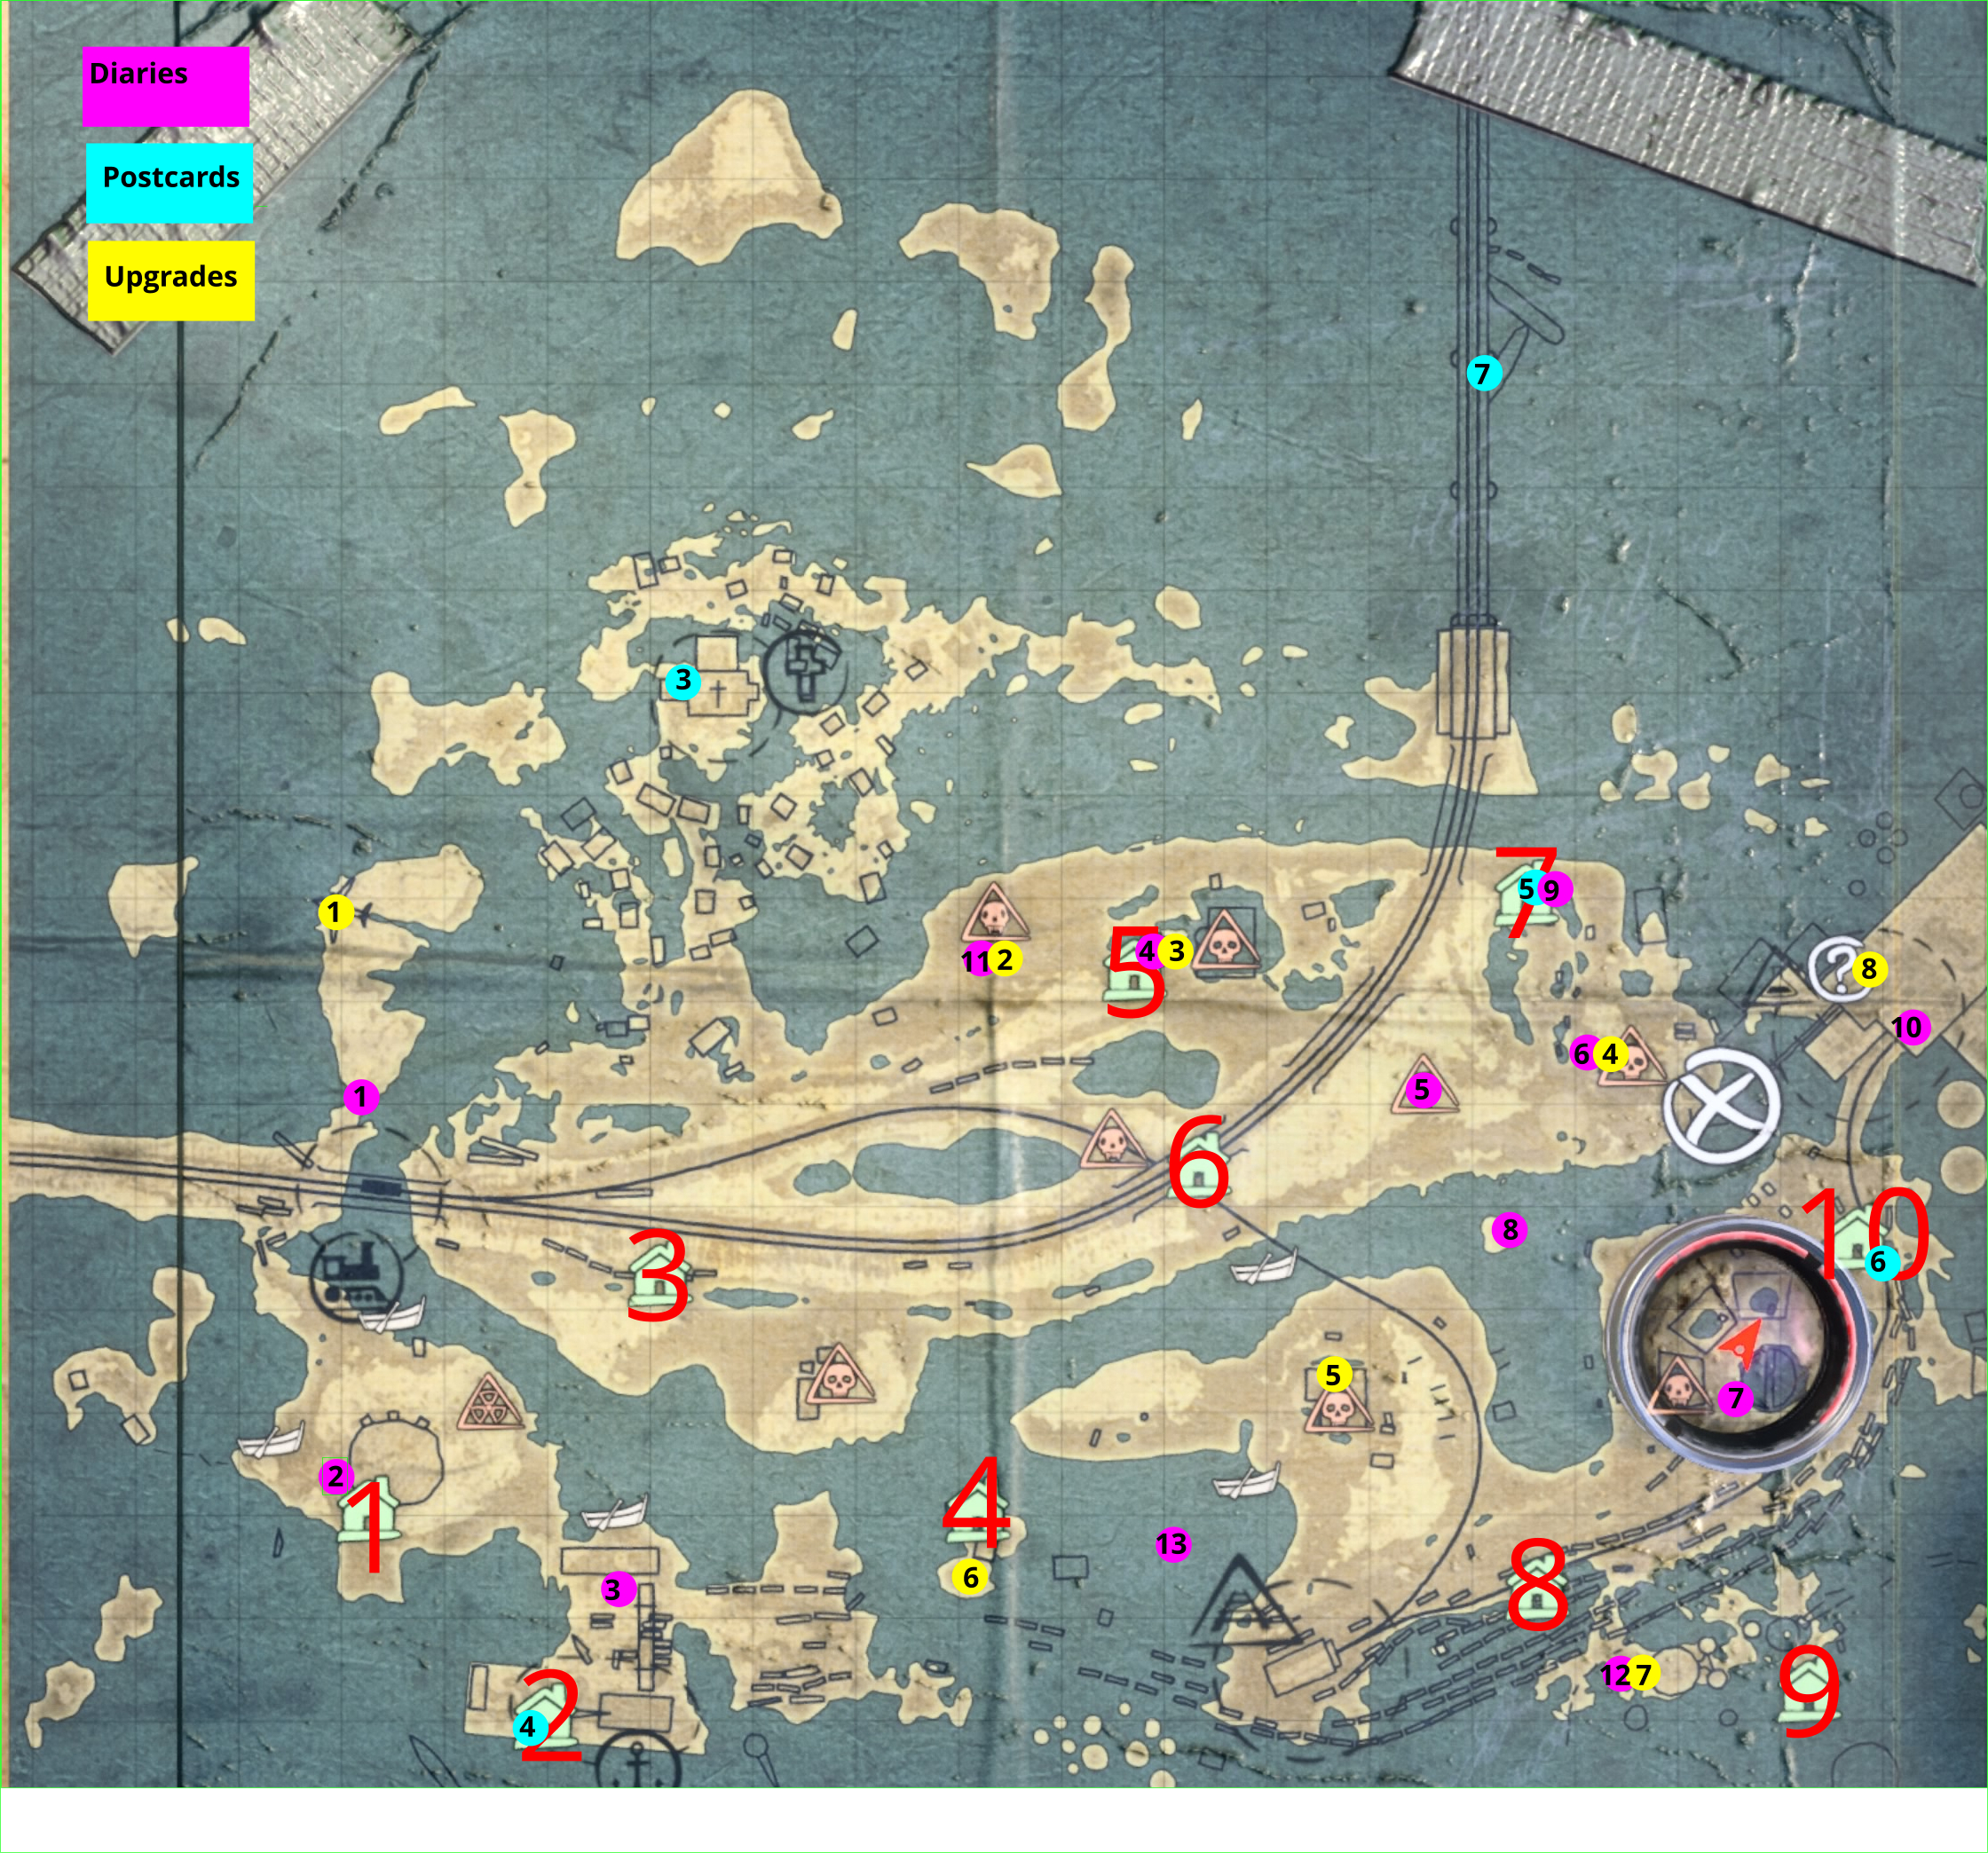
When you gain control of Artyom after escaping the church (thanks to Nastya and Katya), turn right heading past some wooden stairs leading up to arrive at another set of stairs leading down. Take those stairs to the bottom and enter the doorway straight ahead. In this room head past the sunflower tablecloth on the left and take the yellow ladder up to the next level. Head past the bunk beds on the right until you come to the bunk bed on the back wall with a toy in front of it. The postcard is on the archway to the right. Alternatively, stand on the bridge facing the platform where the preacher was giving his sermon in the church. Head left and take another left at the box of books. Take the first right into the room containing hanging laundry and climb up the yellow ladder on the left side of the room. Take this ladder up and head past the bunk beds on the right until you come to the bunk bed on the back wall with a toy in front of it. The postcard is on the archway to the right.
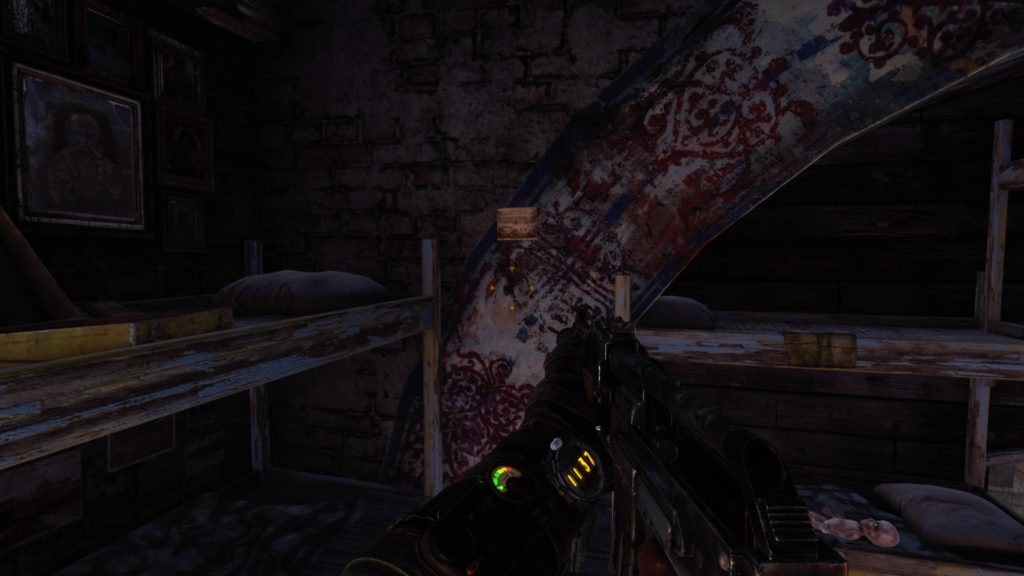
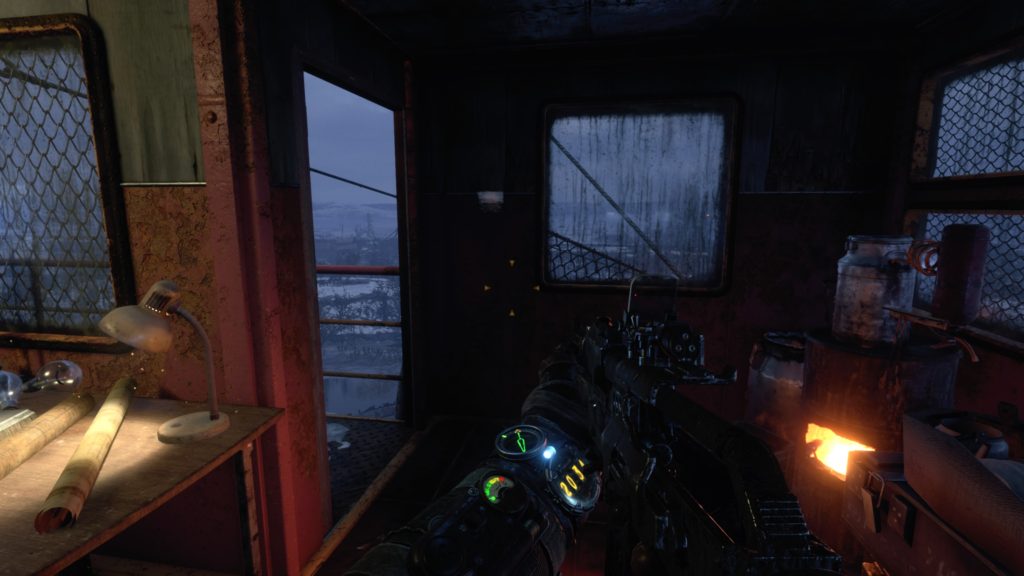
Compass (Upgrade 1)
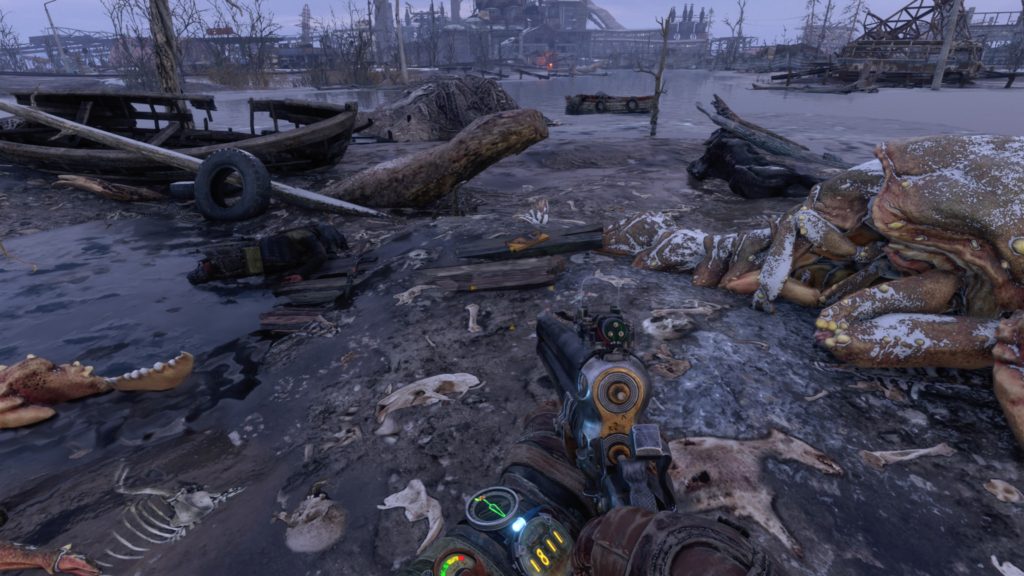
After almost being eaten by the giant catfish, Duke will pull you out of the water. Head to the plane he mentioned behind him and work your way up towards the cockpit. The upgrade will be between the two pilot chairs.
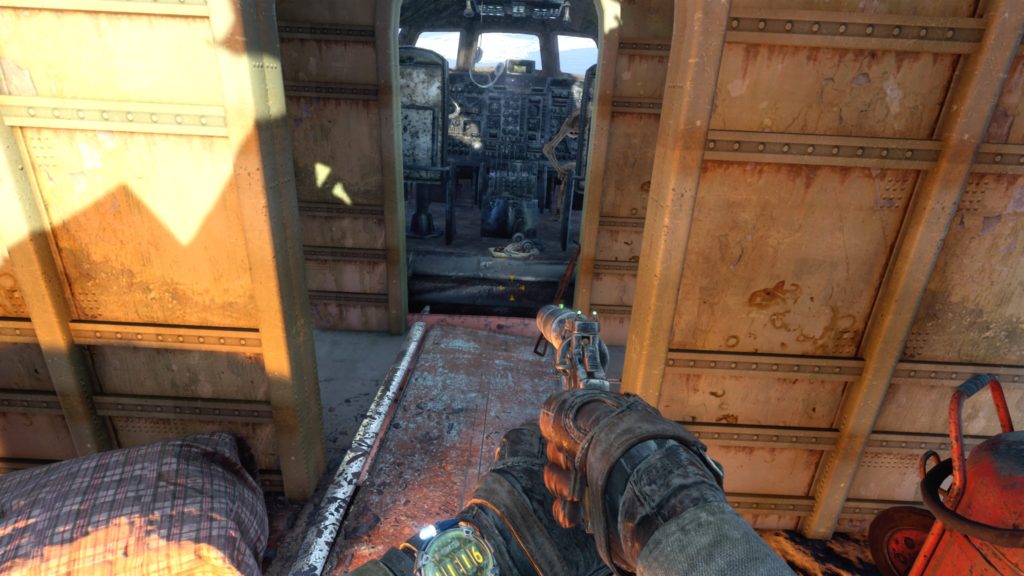
Mouldy Log (Diary 1)
After almost being eaten by the giant monster, Duke will pull you out of the water. Head behind Duke towards the crashed plane and then turn left towards the train. The diary will be located on a sleeping mat next to a corpse in a broken piece of the plane.
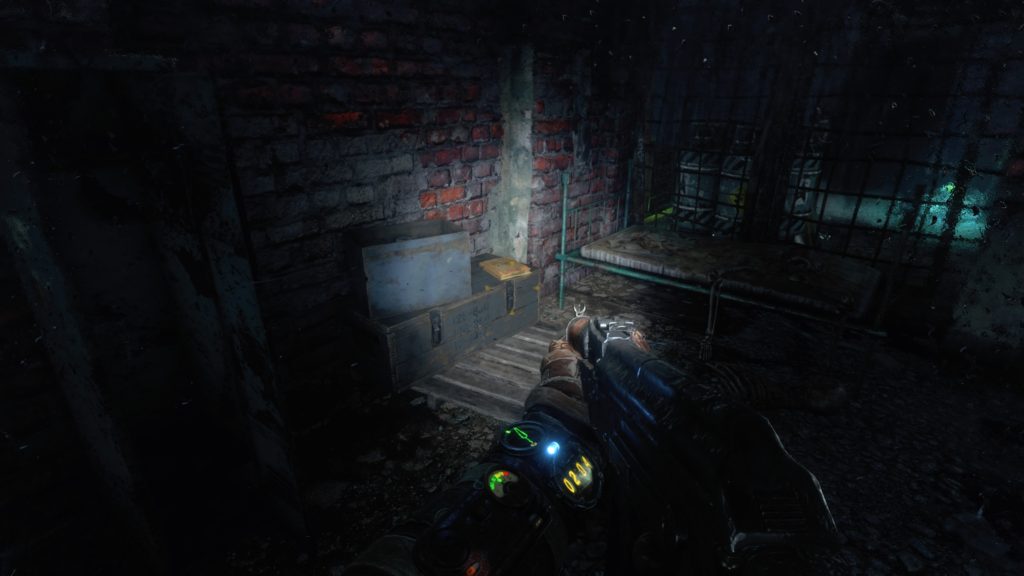
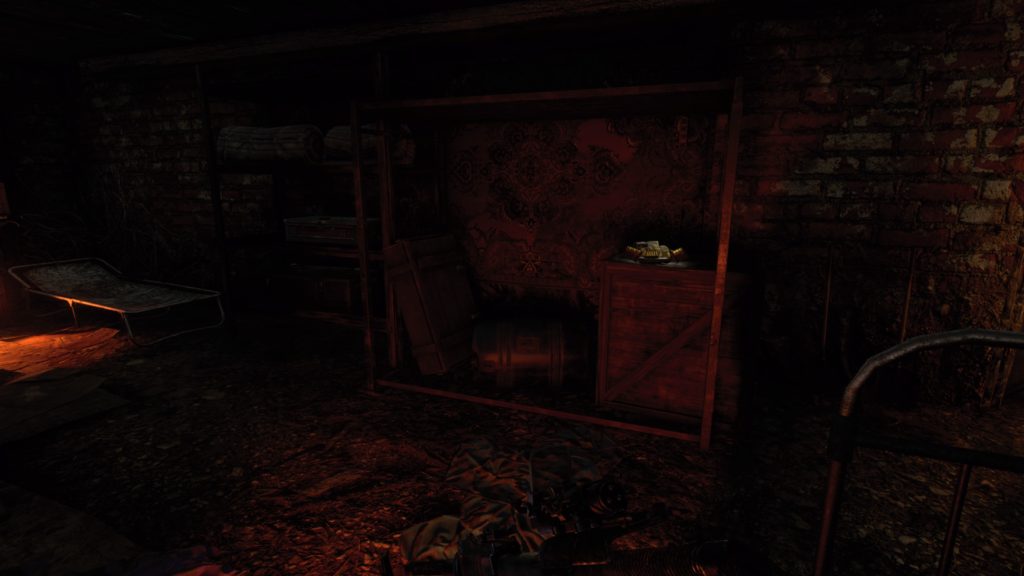
Water-Logged Note (Diary 2)
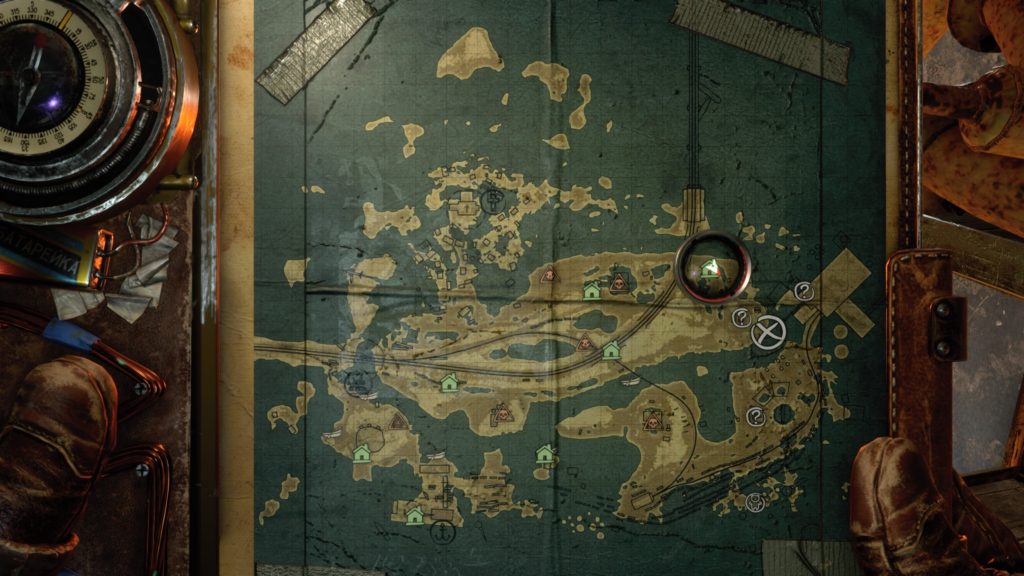
Head south from the train until you come across Safe House 1. Right before you reach the safe house you will see a glowing orb circling a large dead tree. There will be a hole next to the smaller dead tree beside this which you will need to drop down. After you drop down into the hole, head through the open doorway and follow the right path to another doorway. Head straight until you reach the wall and turn right to find yet another doorway. Shoot the lock off the door and head inside the room. The diary will be located to the left on a crate in the back of the room next to a bed.
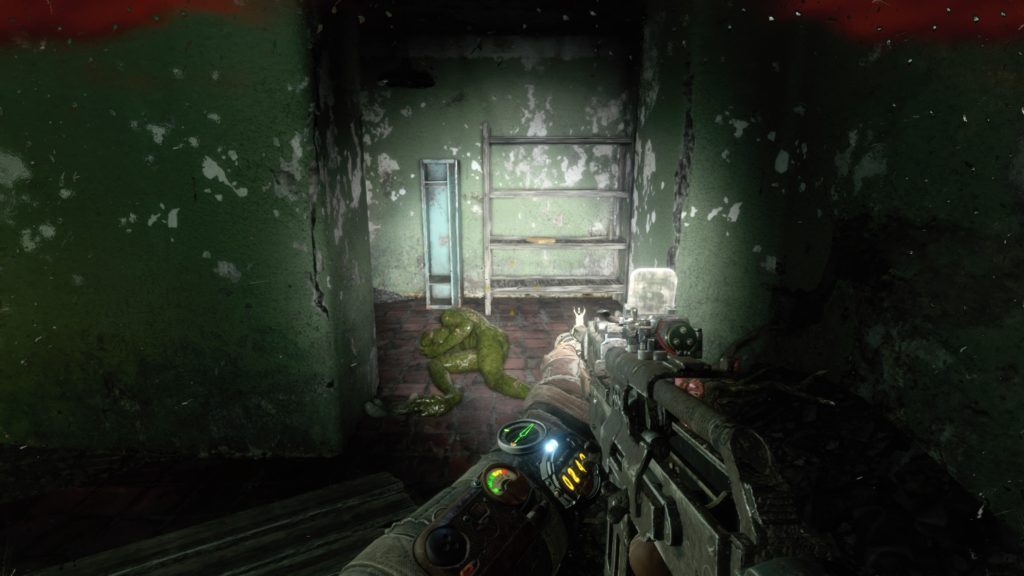
Faded Note (Diary 3)
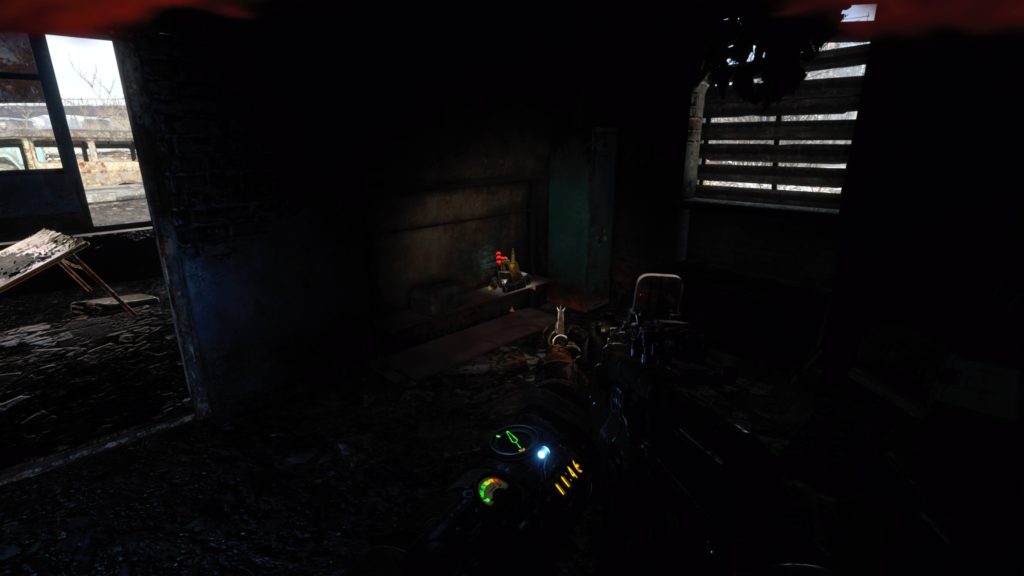
Standing at the base of the giant crane located in the south of the map, head north through the trainyard towards a ruined building. Follow the building right (east) until you reach a flight of stairs leading down (will be next to a door to enter the building). Head down the steps to and go through the door to enter the basement of the building. The diary will be straight ahead on a wooden shelving unit next to a blue locker.
Postcard 4
This postcard is located near the door on the wall of Krest’s house (Safe House 4) located at the very top of the crane.
Folded Letter (Diary 4)
Locate a fortified structure northeast of the main continent slightly east of Safe House 5. From the gated entrance of the building, head up the metal stairs. Enter a hole in the wall on the left. Be mindful of the hanging cans used to alert the bandits. Take the stairs on the left down and head straight. Head to the end of the room and turn right. It will be on a table next to a skinned chicken.
Ammo Pouches (Upgrade 3)
Instead of heading straight ahead from the bottom of the stairs for the above collectible, turn right at the bottom of the stairs. Keep heading straight until you reach the upgrade sitting on a crate on the right side of a room filled with beds.
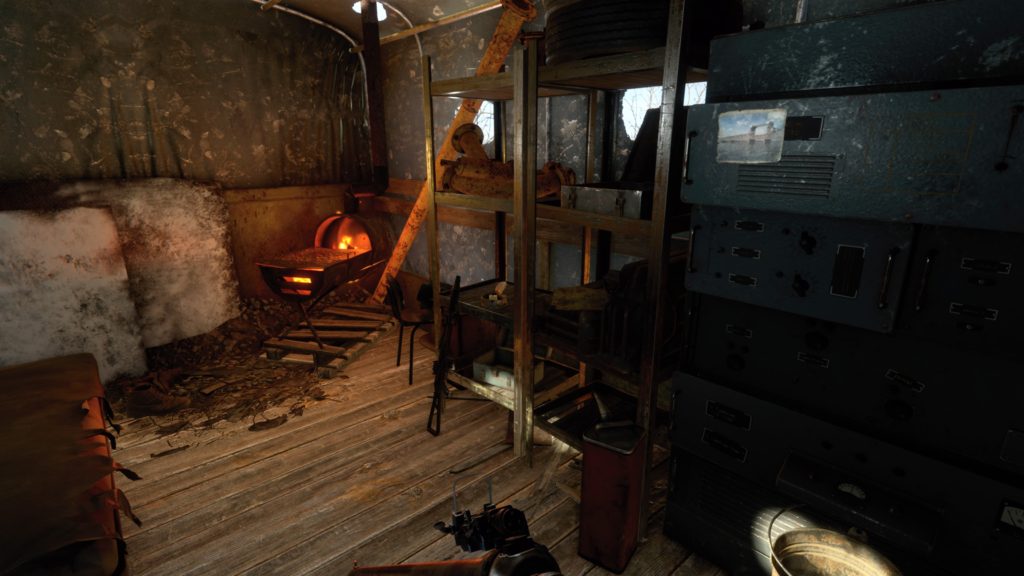
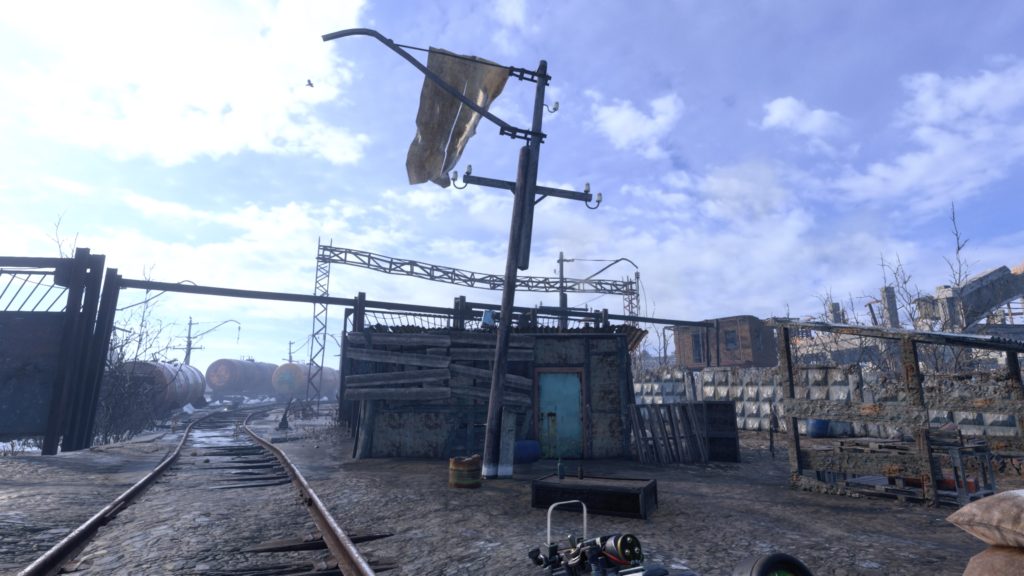
Sturdy Envelope (Diary 5)
From the outside gate of the previous collectible, follow the railroad tracks heading east. You will pass under a bridge. Keep heading along the tracks to reach a destroyed van (first vehicle) on the right containing this diary.
Throwing Weapons Harness (Upgrade 4)
Head to the gas station on the east side of the central land mass. From the front entrance head into the gas station and look for a locked door. Shoot the lock off the door and head through it to reach a dark room. The upgrade is in the back left of the room on a metal shelf next to a locker.
Weathered Notice (Diary 6)
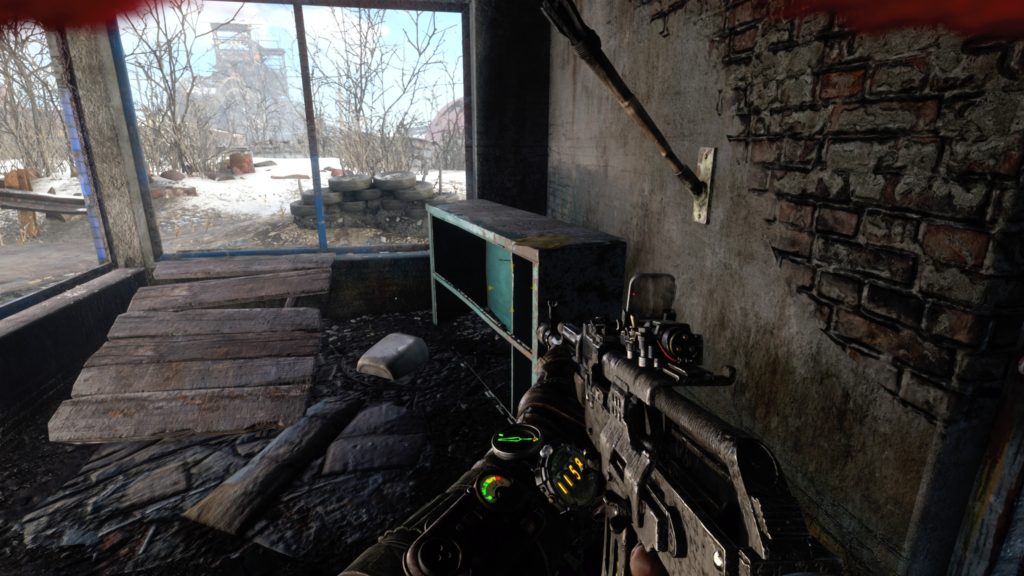
From the above collectible, continue into the windowed room and the diary will be on a metal shelf.
Faded Note (Diary 7)
From Safe House 6, head southwest to the large circular turntable. Find the red shipping container in the southwest corner of the large metal structure (on the west side of the turntable) that leads up into the metal support beams of a ruined structure. Head straight up the beams until you reach the yellow ladder on the right. Climb up the ladder and the diary will be next to the corpse on a crate.
Bandit’s Note (Diary 8)
From the western dock behind the gas station, enter the boat and head west until you come to a small island. The diary will be in the middle of the island on wooden planks.
Postcard 5
The postcard is located right behind the door when you enter Safe House 7. See the location of the postcard inside the safe house in the image below.
Torn Page (Diary 9)
The diary is located right next to the above collectible on the shelving unit on top of gas cans.
Postcard 6
The postcard is located on a wall straight ahead after entering Safe House 10.
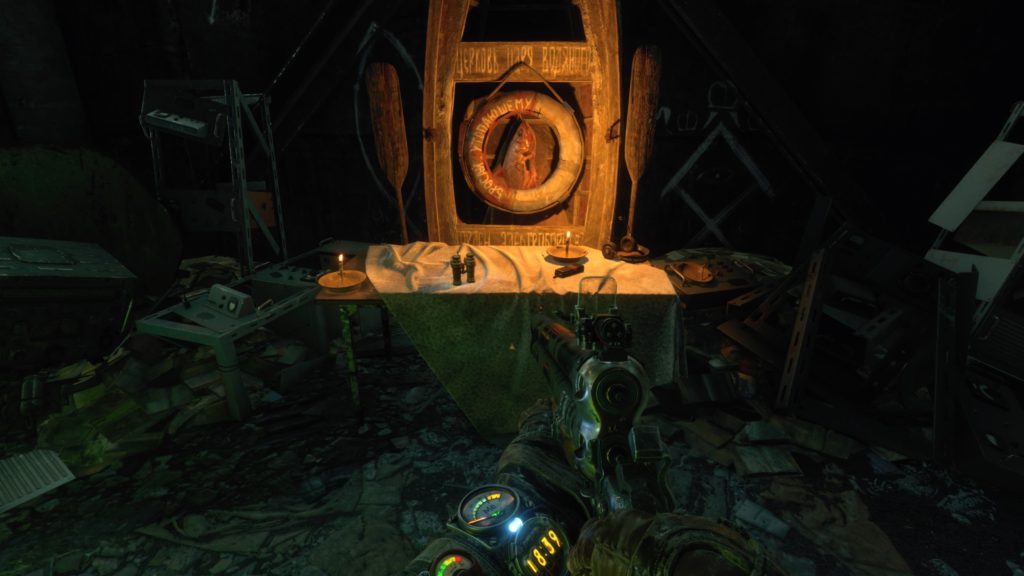
Night Vision (Upgrade 8)
The upgrade is located in the large warehouse to the northeast. To enter the building you will need to find the boat a short ways to the south at a dock and sail to the building through a broken section of the wall accessible via water. After you dock the boat in the building follow the path forward until you reach a set of metal stairs leading to an arched wooden door. You will need the key obtained from saving some cultists at a bandit camp (which was located in the fortified structure with a gate in the northeast slightly east of a safe house where you received the Folded Letter and Ammo Pouches) to unlock the door. The upgrade is located on an altar on the right side of the room.
Thick Ledger (Diary 10)
This diary is located in the same large warehouse as the above collectible. Work your way to the end of the building. Just before the exit (large red door) enter the fenced room with the barbed wire to find the diary laying on a chair to the left of the altar. (Note: In this room, you can also kill the giant catfish to earn a trophy by using the trap on the right side of the altar.)
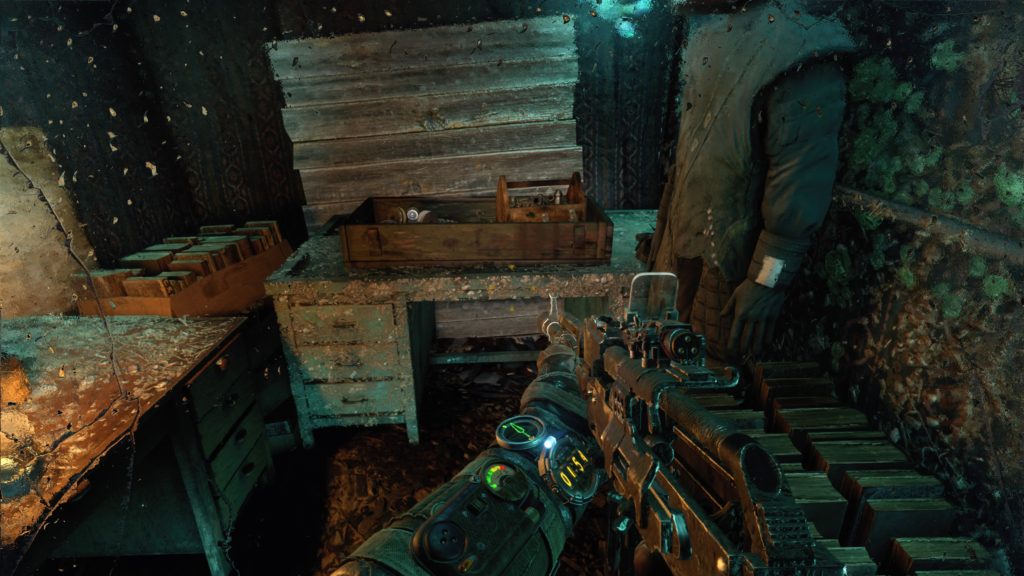
Dusty Workbook (Diary 11)
Locate a red shipping crate north of the train tracks in the center of the map. The diary will be located on the desk next to a corpse.
Extended Filter (Upgrade 2)
From the above collectible, the upgrade is located in the very back of the room.
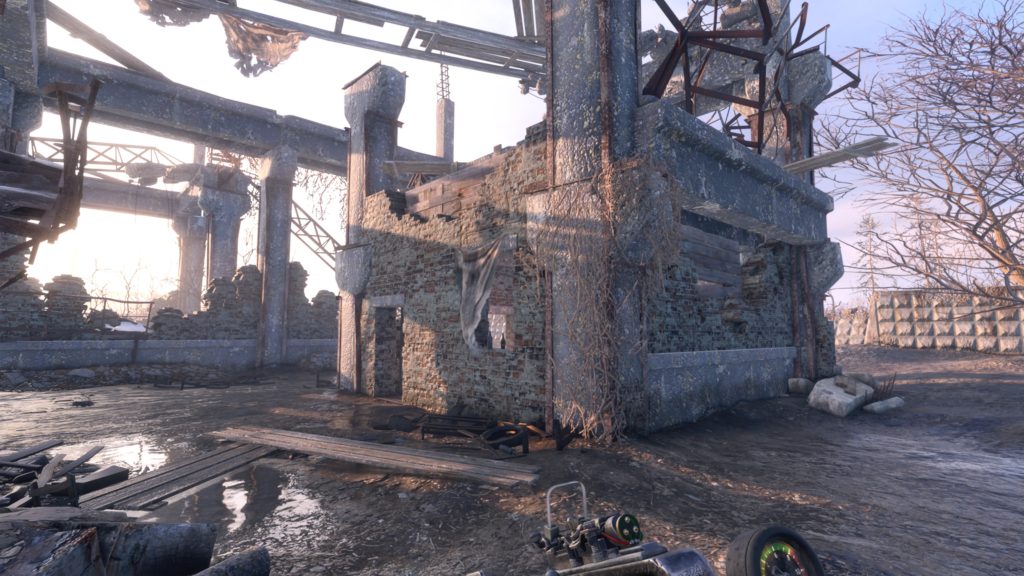
Reinforced Helmet (Upgrade 5)
From Safe House 6, head southeast towards the water. Cross the water using the submerged tracks to the left of a boat dock. Once on the other side, turn right towards the ruins of a large structure. Head past the blue truck and into a small room on the right side of the structure to find this upgrade.
Battery Controller (Upgrade 6)
From Safe House 4, head south to the small shed past the central structure to find a generator. To start the generator, you will need to retrieve the gas can behind the shed. Once started, head into the central structure and work your way through the building until you locate a person lying on a table who was being electrocuted. The upgrade is located on the body of this person.
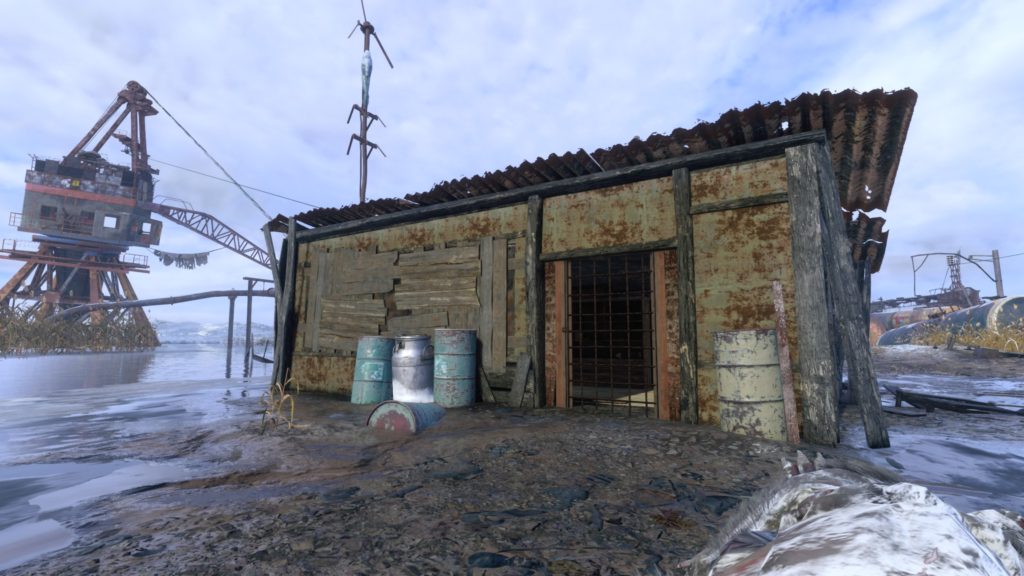
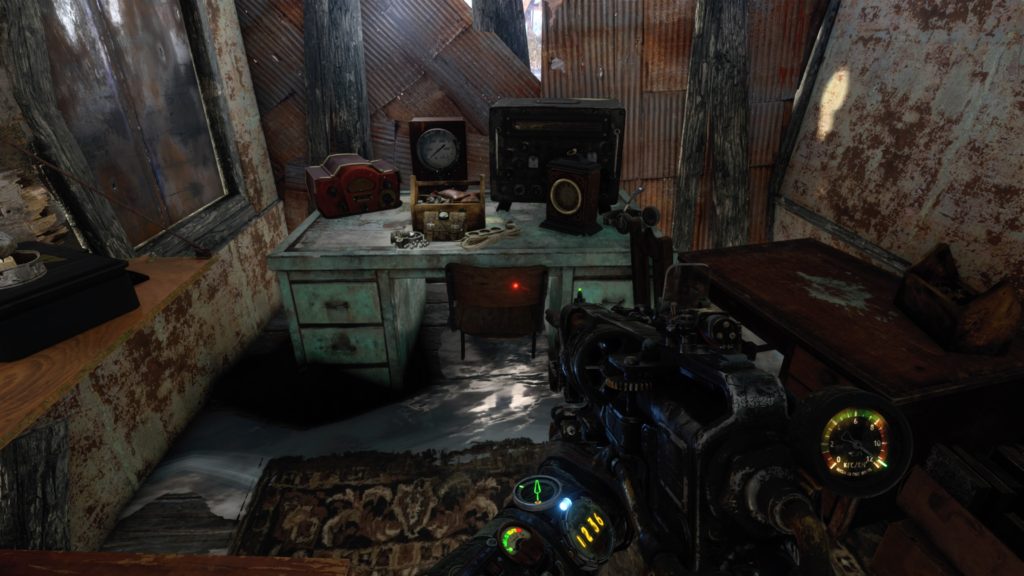
Blood-Stained Diary (Diary 12)
This diary is located on the large island in the southeast corner of the map. From the giant cylinder where the teddy bear was, head west until you come across a small shack. The diary is located inside on a wooden shelf to the right of two lockers.
Metal Detector (Upgrade 7)
This upgrade is located inside the same shack as the above collectible on a desk to the left.
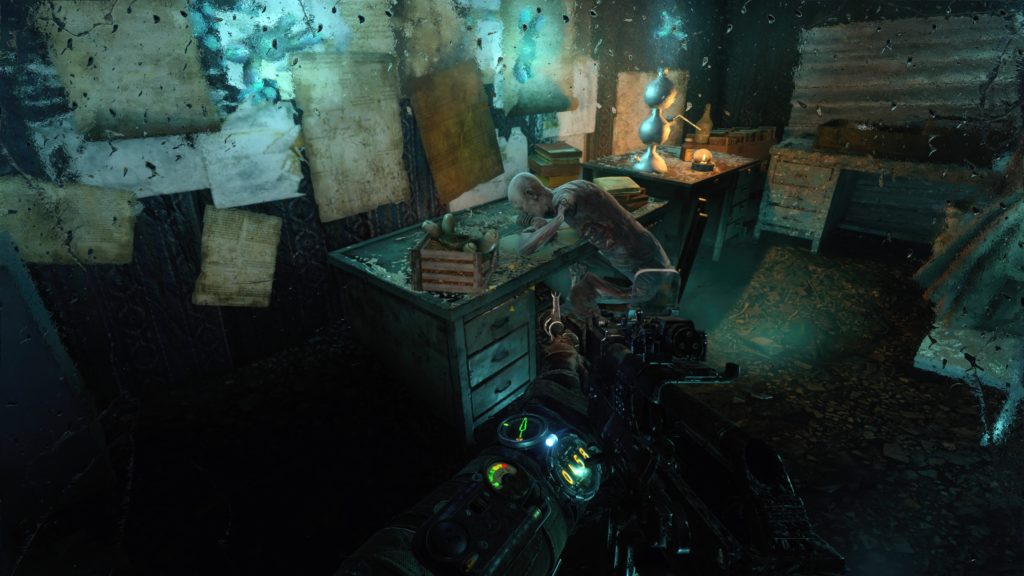
Patient Ledger (Diary 13)
From Safe House 4, take the boat located there and head east to a house on an island. The diary will be in the back room with the corpse hanging from the ceiling on a desk to the left.
Postcard 7
After you leave the tugboat, work your way through the cultist tower. Take a lift up to a higher level and enter an open courtyard where the preacher is giving a sermon. Follow the path right going on the other side of a wall next to the edge of a tower, taking out a single enemy there. Hop up on the log and walk straight across until you reach the end and come to a locked door. Shoot the lock off the door and keep following the path forward. When you reach the room at the end of the path, head left through the doorway. There will be an enemy on the stairs that you will need to deal with. The postcard will be on the log wall next to a lit fire.
This site uses cookies. By continuing to use this website, you are giving consent to cookies being used. For more information on cookies, view our Privacy Policy.OkPrivacy Policy