At the beginning of the chapter after exiting the train, head into the room of the destroyed building right next to the train on the south side. This postcard will be immediately to the left side of the entrance hanging on a wall.
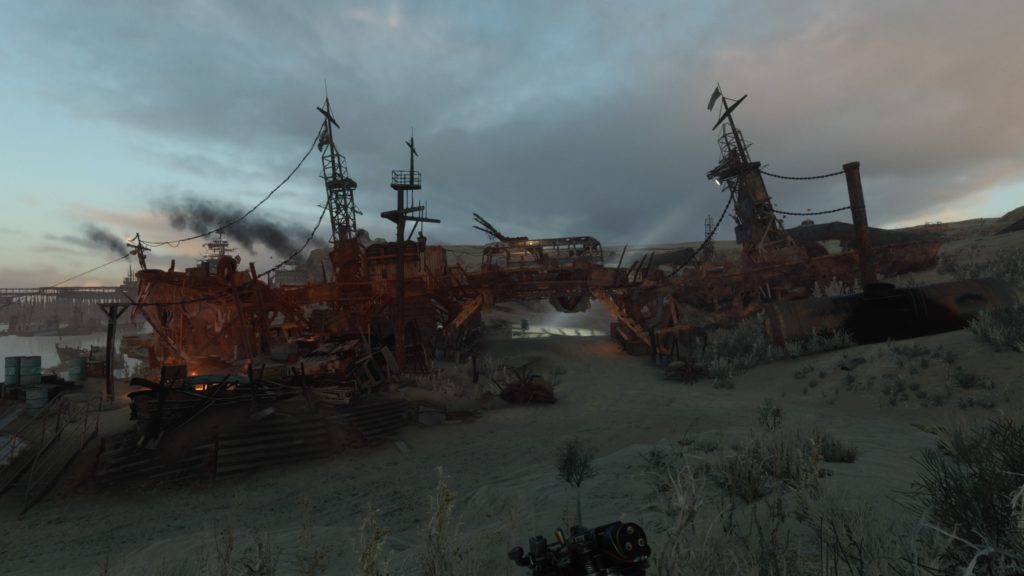
First Mate’s Diary (Diary 1)
Enter a makeshift stronghold in a giant boat via an entrance on the right (east) side of the road and head straight through slave quarters. Take the metal stairs at the end and the diary will be on a table just past the first shipping container on the right.
Leader’s Letter (Diary 2)
From the above collectible, keep working your way through the second level slave quarters. When you reach the end, take a yellow ladder up to reach the deck of the ship with some shipping containers. Head through the doorway straight ahead and take the ladder on the left side of the room to reach a higher ledge in the room (there will be three enemies in this room). Follow the ledge into the next room and keep moving forward. When you reach the yellow ladder at the other end of the room, head right to find the diary located on a table next to a radio.
Motion Scanner (Upgrade 9)
From the above collectible, head up the yellow ladder and then head into the room slightly to the left. The upgrade will be located on a wooden table on the right side of the room.
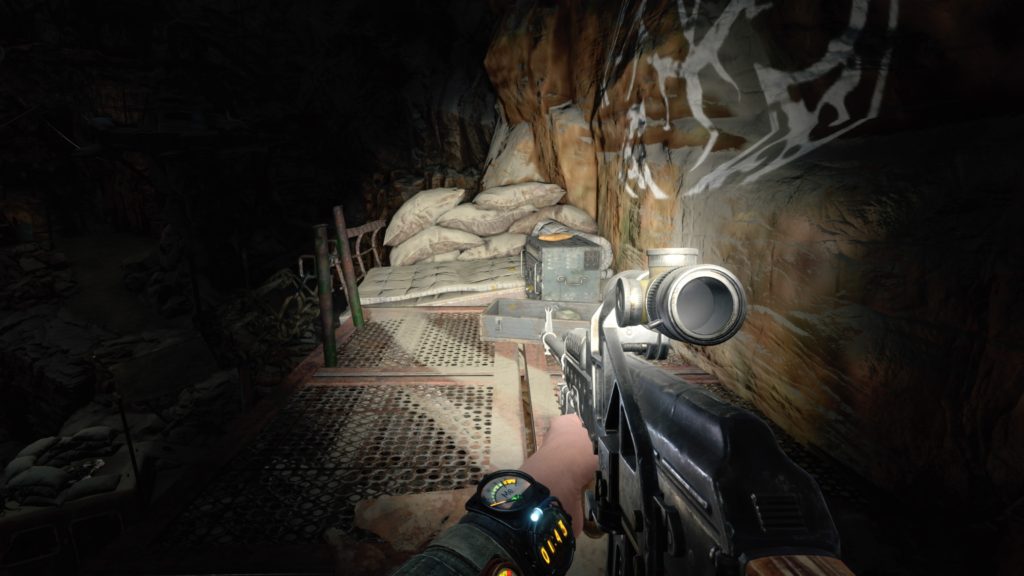
Extra Bright Flashlight (Upgrade 10)
This upgrade is located in a boat safe house near the rock tunnel entrance to the lighthouse in the northwest corner of the map. When you enter the boat, note that there is a tripwire just before the upgrade. The upgrade is on a crate to the left of the cot.
Letter to Son (Diary 3)
After entering the rock tunnel entrance to the lighthouse, use the zip line to cross the gap. Head across two bridges and keep following the path a short way to find a dead bandit next to a glow stick on the ground. The diary is to the left of this corpse on a rock.
Postcard 11
The postcard is located at the top of the lighthouse on a wall immediately to the right after entering.
Memo (Diary 4)
Follow Giul to a satellite facility underground east of the lighthouse. Work your way through the facility and you will eventually drop down a hole in the floor. When you fall down, you will be in a room with a lantern on a table. Keep heading forward and turn left before the closed metal door with a giant 03 next to it. Head down the short hallway and turn right into the first cubicle. The diary will be located on a desk next to a red typewriter.
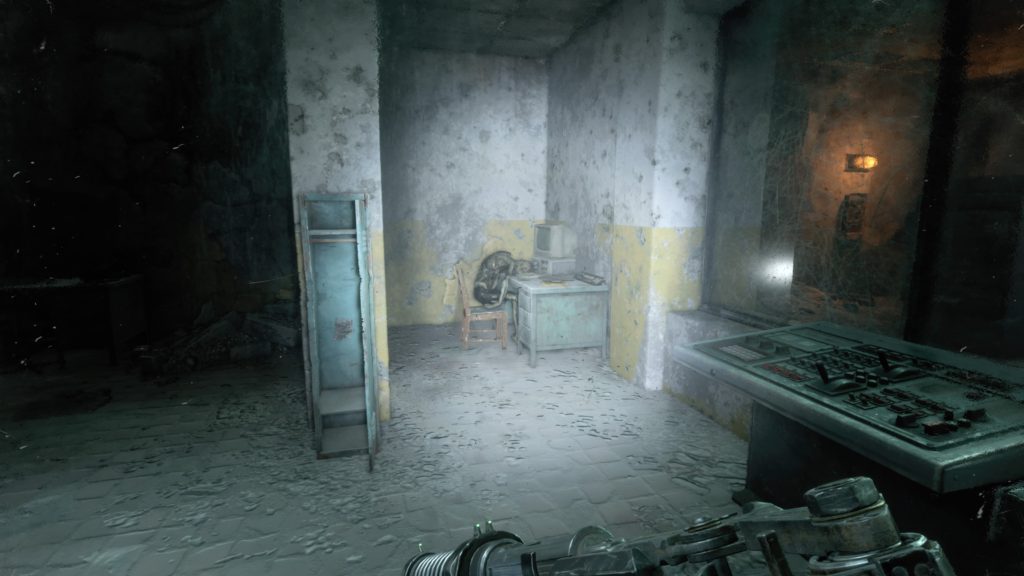
Image Analysis (Diary 5)
From the previous collectible, keep working your way forward until you come to a large command center. Head towards the map and take a right. Follow the hallway and pass through the bathroom to emerge into another hallway. Enter through the passage to the right just before you reach the metal doors (you will have to crouch to enter the small passageway). The diary will be located on a desk on the right side of the room next to a corpse sitting in a chair.
Family Photo (Giul’s Request)
Giul’s mother is holding the photo in her arms and can be found through the teal door on the left side of the room from the above collectible.
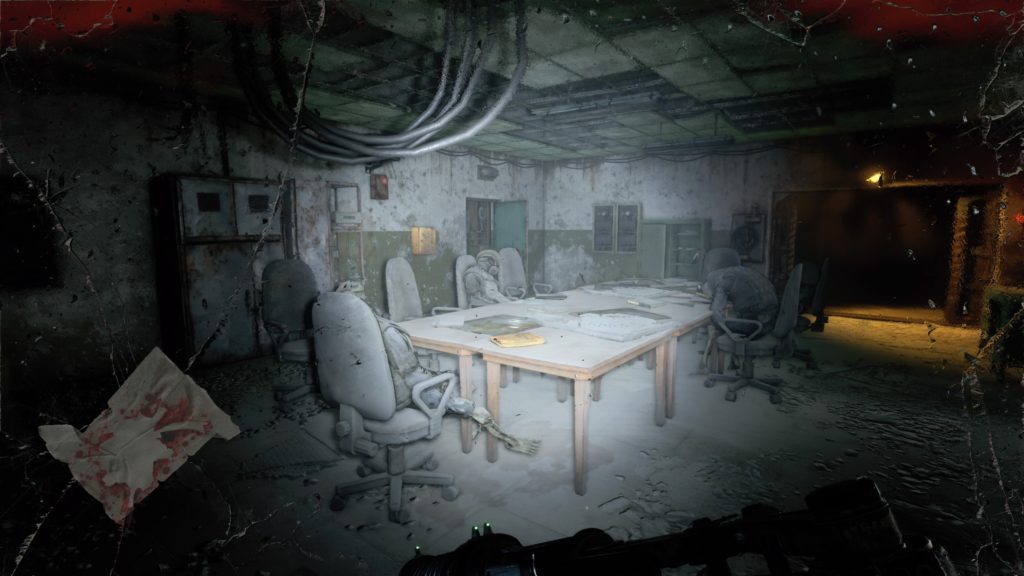
Last Orders (Diary 6)
From the previous collectible, head into the server room and keep working your way through. Eventually, you will come to a fallen vent duct, which you will need to climb up to make your way through the vents. After you drop down from the vent into an archive room, head through the doorway directly behind you. The diary will be on the conference table where the skeleton is sitting at the head of the table.
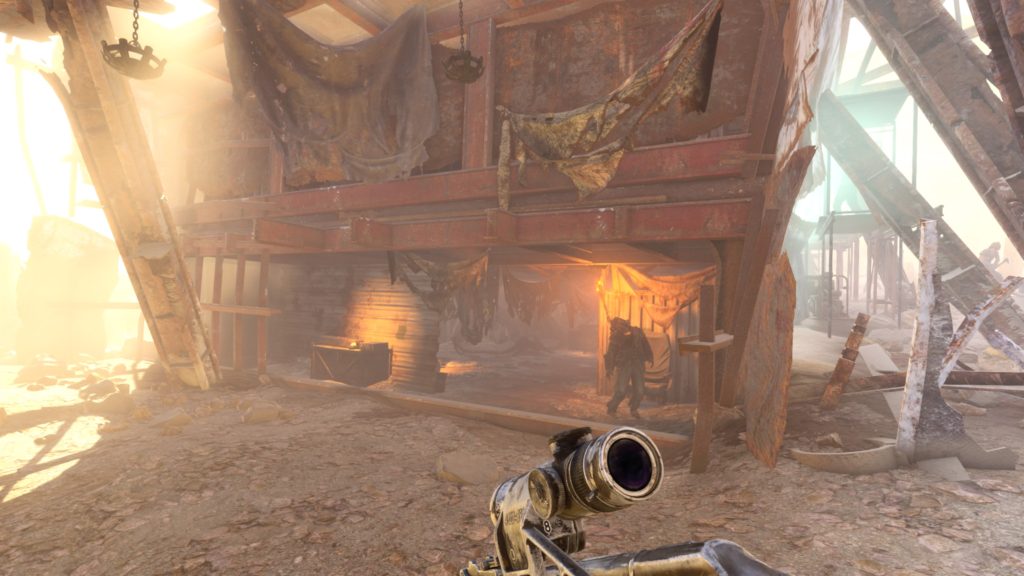
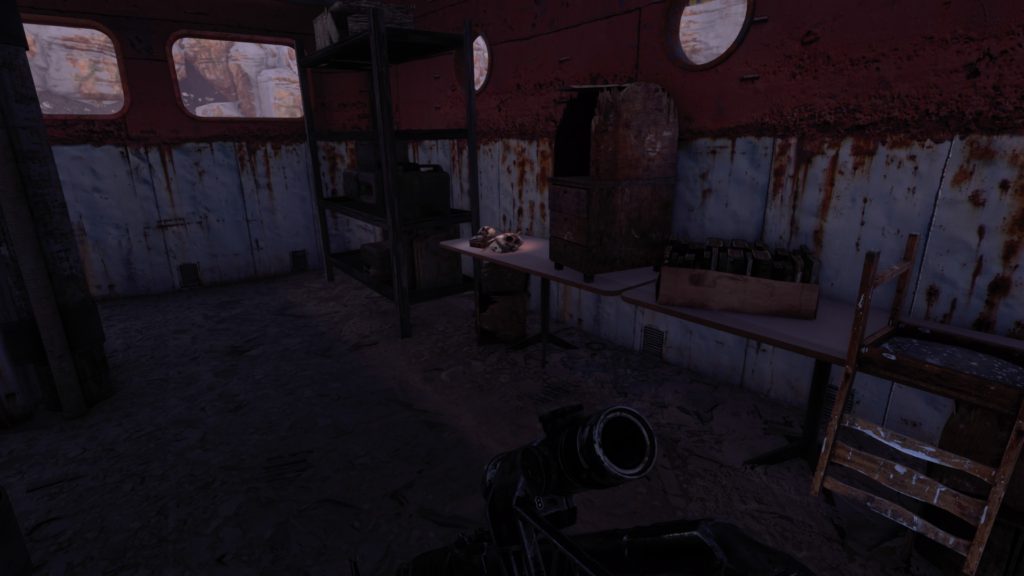
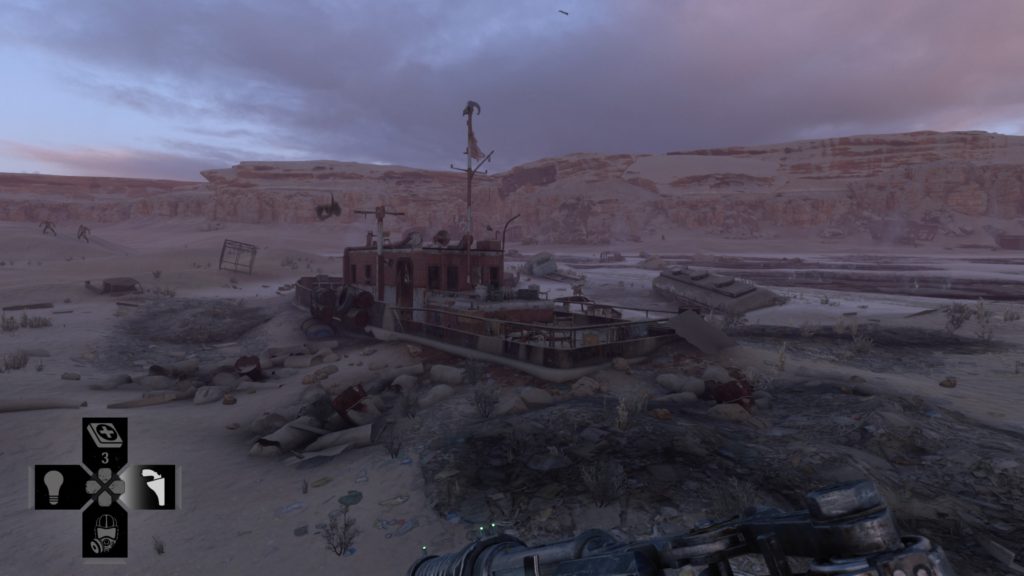
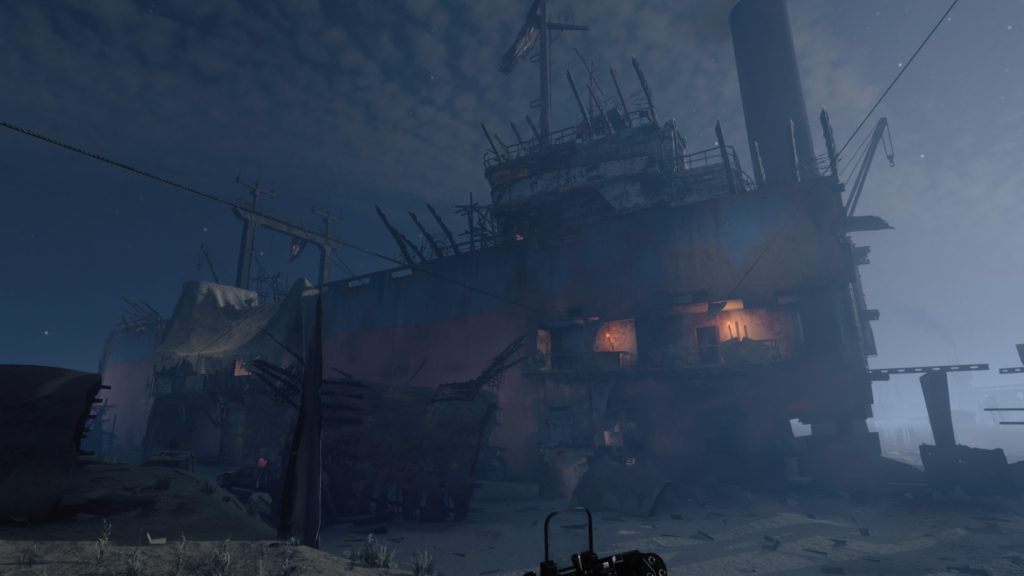
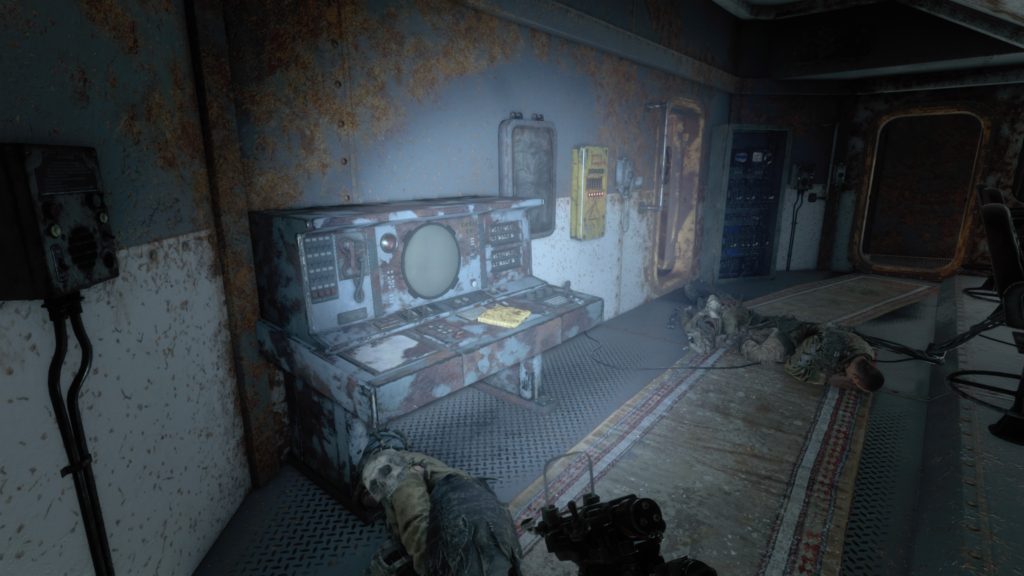
Shopping List (Diary 7)
Locate a large boat with red on the bottom and blue on the top near the water north of where the intersecting roads make an “x” in the eastern part of the map. Enter through a hole on the front right side of the ship (opposite end of the image of the Baron on the ship). Climb up a short yellow ladder and walk up a set of metal stairs. Once at the top, turn right and follow the path up the second set of metal stairs. Climb the ladder on the right side to enter a large room filled with enemies. Take the path on the right leading to a yellow switch box where you can turn out the lights to this room. Take a left down the metal set of stairs. Once at the bottom, turn right to drop down to a slightly lower level and follow the path right to the end. Turn left heading past the circular windows and head up a small flight of stairs. Turn right at the top and head through the metal door with the blinking light and skulls. Head through the door and note that an enemy with a machine gun is in this room. Hug the right wall all the way to the end and head up the metal stairs on the left. Swing left and head into the doorway between the two red banners with a white symbol. The diary will be on the right on a console.
Postcard 12
This postcard is located in the same room as the above collectible between the door and yellow switch box.
Diary Fragments (Diary 8)
The diary is located in a large boat at the base of the large landmass. The diary can be found in the same room as the Hermit on a crate near the windows.
Baron’s Letter (Diary 9)
The diary is located west of the northernmost safe house near the entrance to the bandit hideout in the ravine. The diary is located on a wooden crate under a metal umbrella next to a truck.
Death Note (Diary 10)
From the above collectible, continue into the ravine and kill all the enemies. Once the enemies are dead, a rope ladder will drop from the cliff. Climb up this rope and the diary will be on a barrel to the right next to a corpse.
Armored Glass (Upgrade 11)
This upgrade is located to the left of the previous collectible on a wooden crate.
Charred Note (Diary 11)
From the red and blue boat that contained the Shopping List, head south until you see a structure over the road that has a bus on top. Turn left into the enemy camp. Past the chairs on the right climb up a yellow ladder. The diary will be located at the top on the right side on a crate.
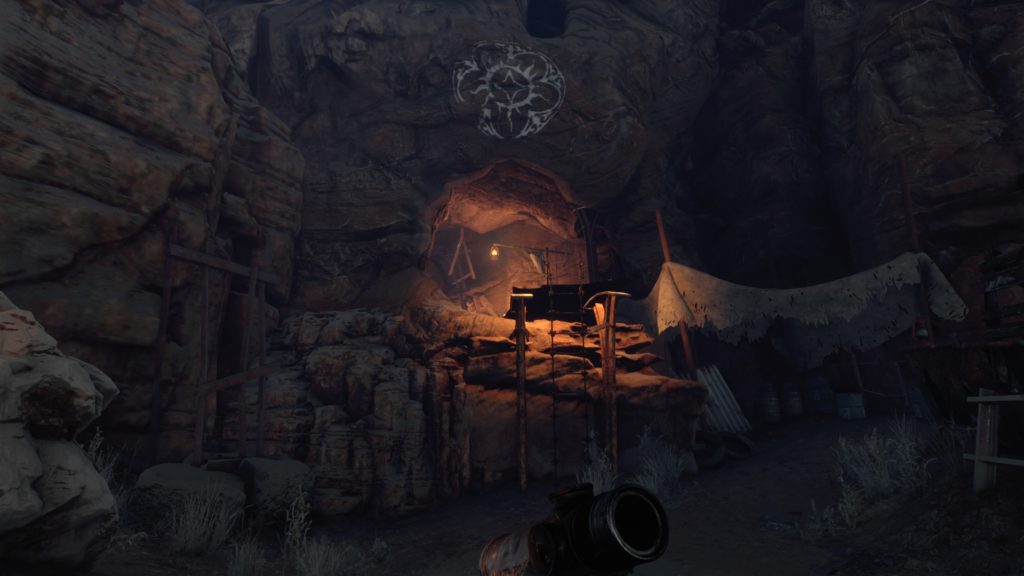
Letter to the Artist (Diary 12)
After meeting up with Damir in the northwest corner of the map, follow him until you slide down the rock leading to the caverns that once use to be a town. Head forward past a red barrel and turn left taking the ramp to the top. The diary will be on an old radio sitting next to a bed.
Postcard 13
From the above collectible, lower the rope ladder on the left and climb down. The postcard will be straight ahead (north) in the rusty truck next to the driver side door.
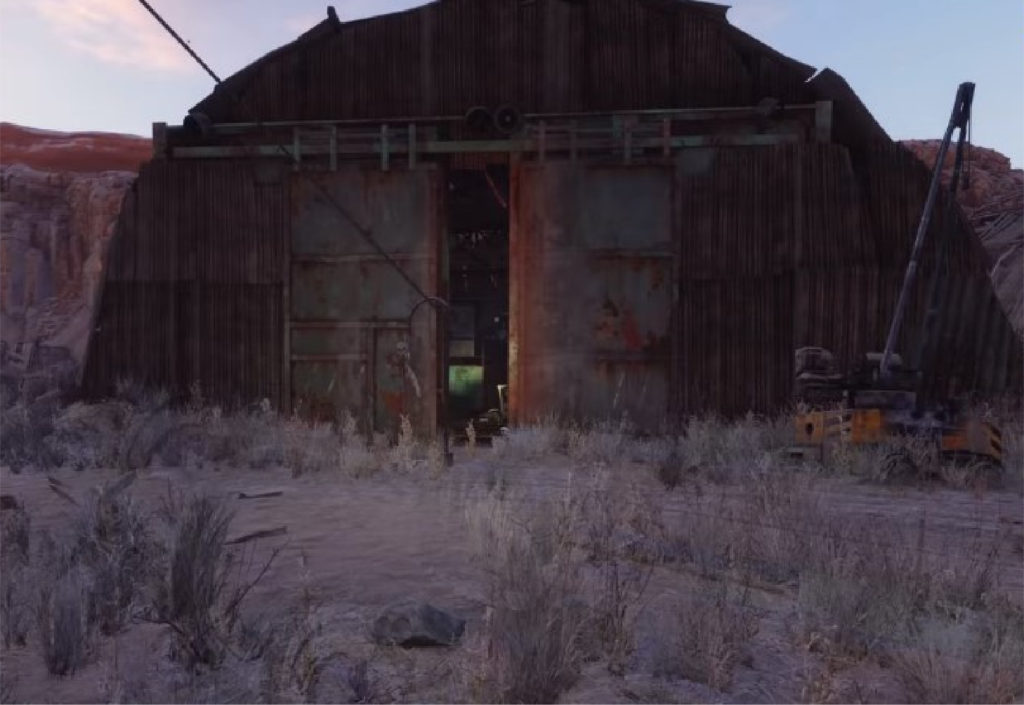
Postcard 14
Enter the airfield in the southeastern part of the map and head to the intact hanger on the right. Head all the way to the back of the hanger. The postcard is located on a wooden crate in the middle of the last row of shelves. The postcard is a little hard to see with night vision because it is in a ray of light.
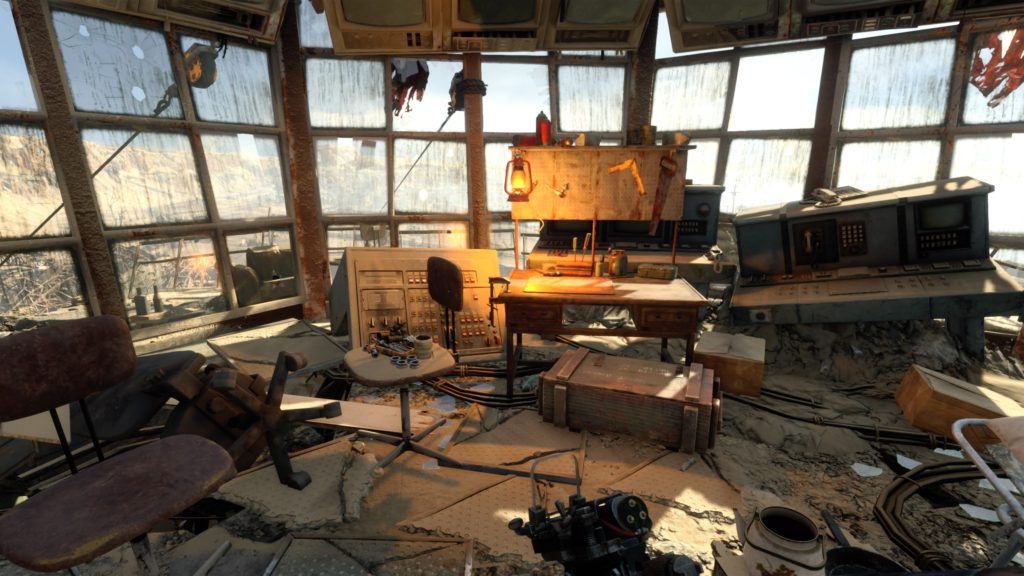
NVD Amplifier (Upgrade 12)
This upgrade is located in the same airfield as the above collectible. Head to the main building with a Demon nest attached to the front of it. Work your way to the top, fighting Humanimals as you go. This upgrade will be located on a chair in the safe house right next to the workbench.
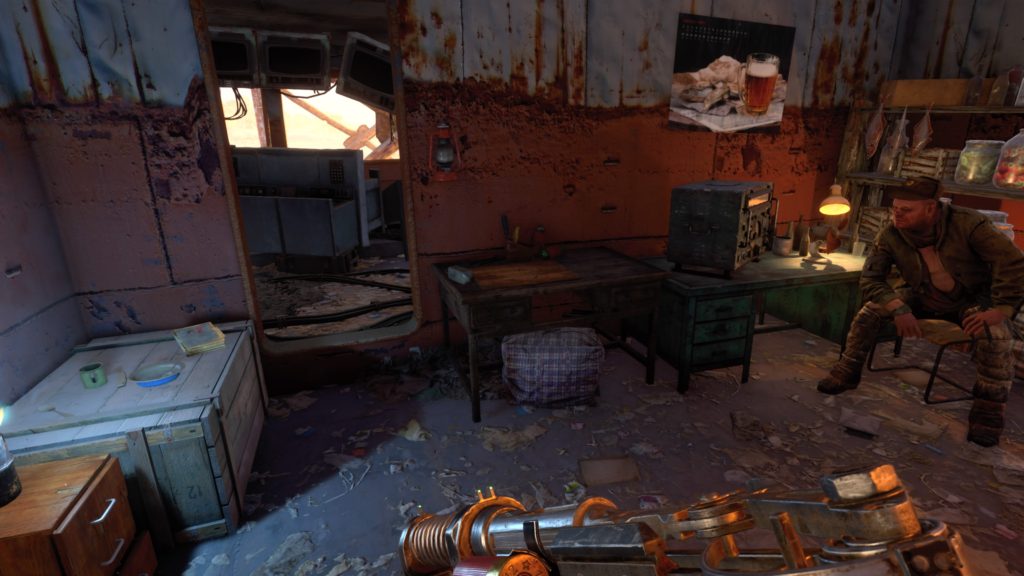
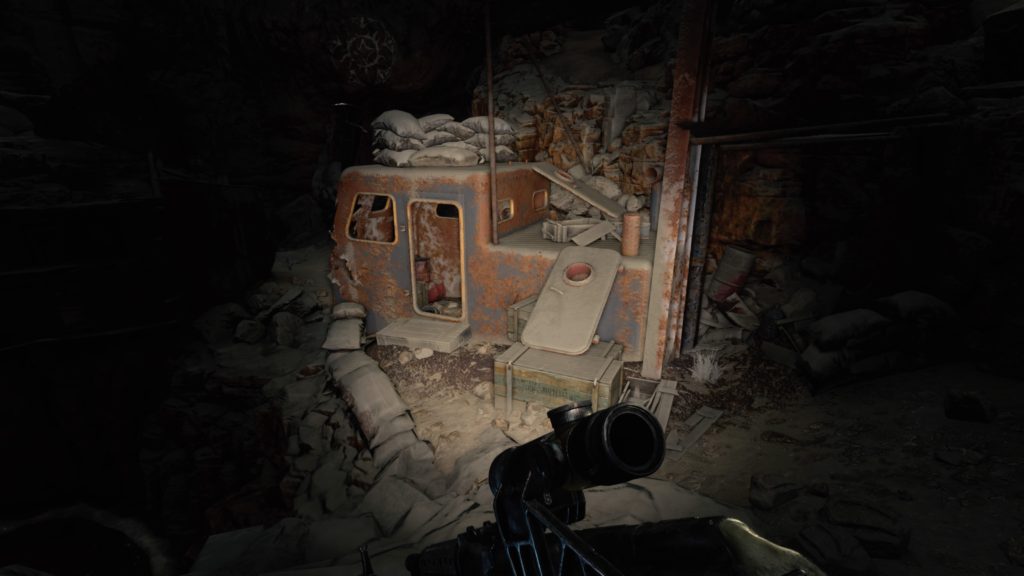
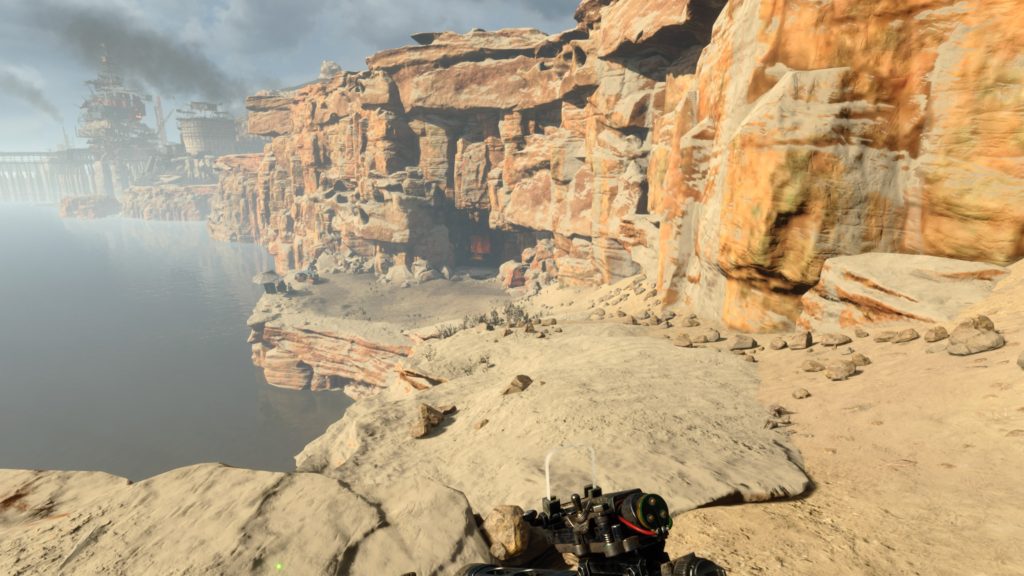
Consumables Carrier (Upgrade 13)
Located north of the airfield safe house in a cave along the water. The cave will be down the slope to the right of a man claiming to be the real Baron. The upgrade is to the right of the workbench.
This site uses cookies. By continuing to use this website, you are giving consent to cookies being used. For more information on cookies, view our Privacy Policy.OkPrivacy Policy