Guides

Rain Code – Ch. 5 And Then I Was Gone Walkthrough

by NightlyGamingBinge in

Welcome to our walkthrough for Chapter 5 – And Then I was Gone in Master Detective Archives: Rain Code!

Dilapidated Shack

Once you gain control of Yuma, head forward down the hall. After the cutscene, you’ll reunite with Kurumi. When you gain control of Yuma again, return to the shack to find the Memory Shard – Going Home Cuz I’m Scared… on the bookshelf in the hallway.

Abandoned Village

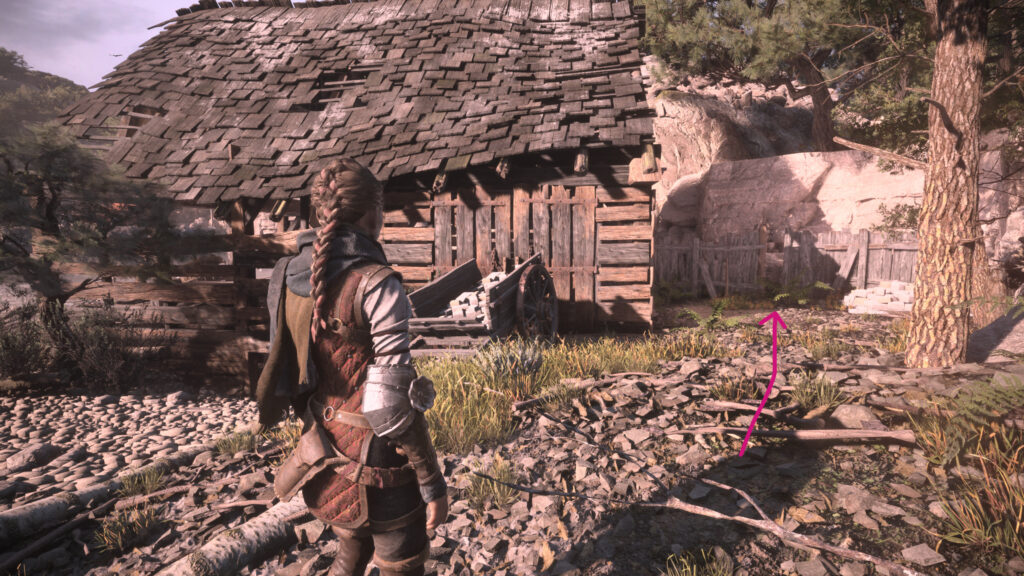
To continue the story, follow the path around the house and interact with the person in the yellow raincoat. Afterwards, Yuma will run away. When you gain control of him, make sure to grab the Memory Shard – This Won’t Fit in the Mail from the desk. Next, interact with the envelope then speak with Kurumi about the rumor. Once again you’ll need to escape. Follow the path until a cutscene triggers. When it ends, follow the path to the northeastern side of the village where you’ll find the priest from the Nail Man case. Speak with him then successfully press the quick time event prompts while escaping.

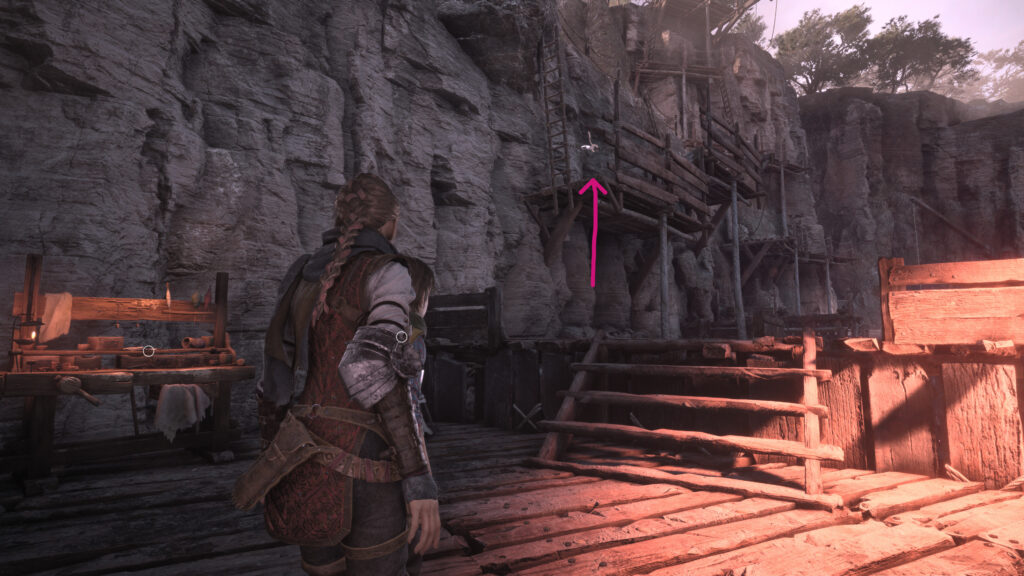
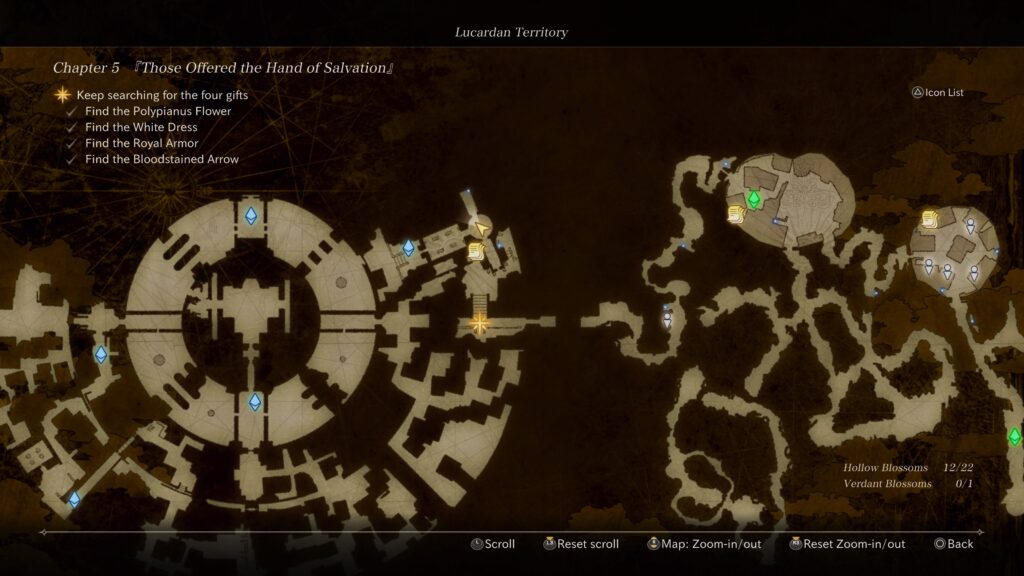
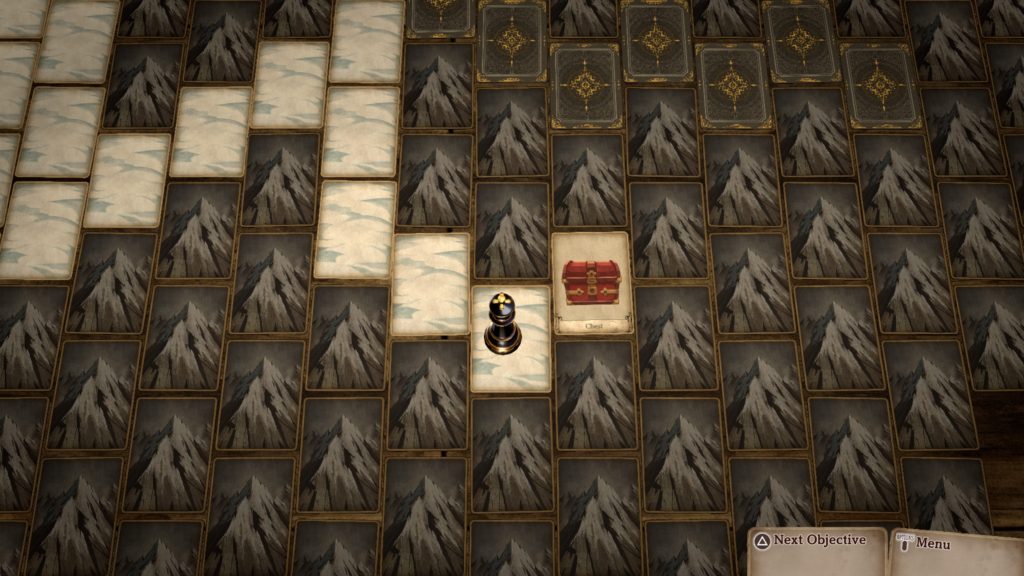
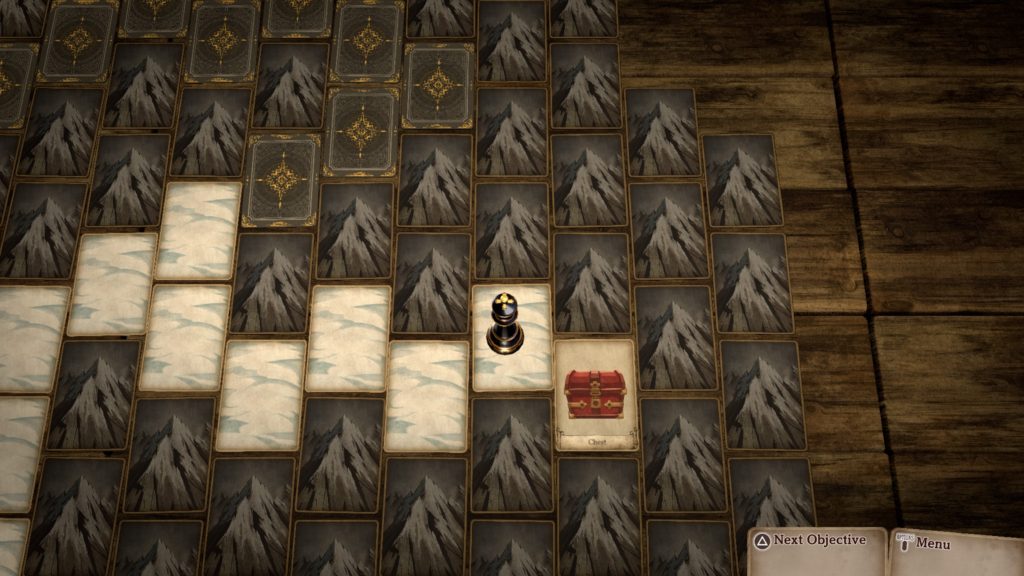
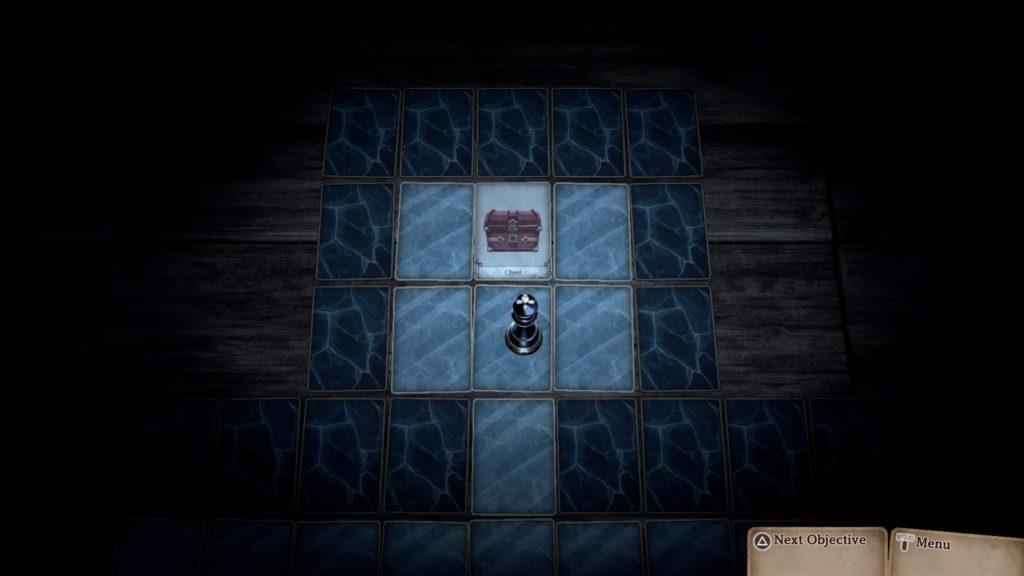
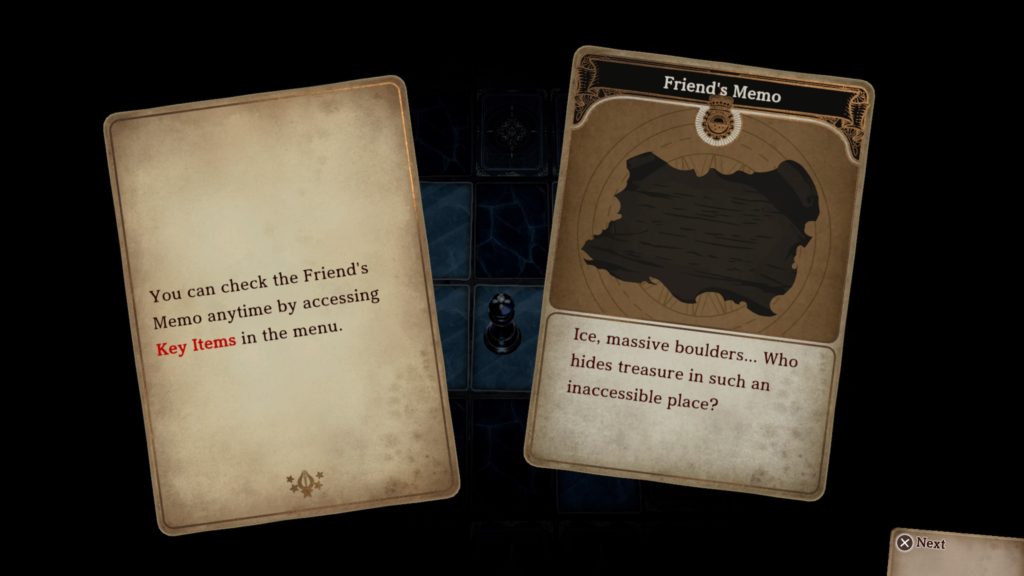
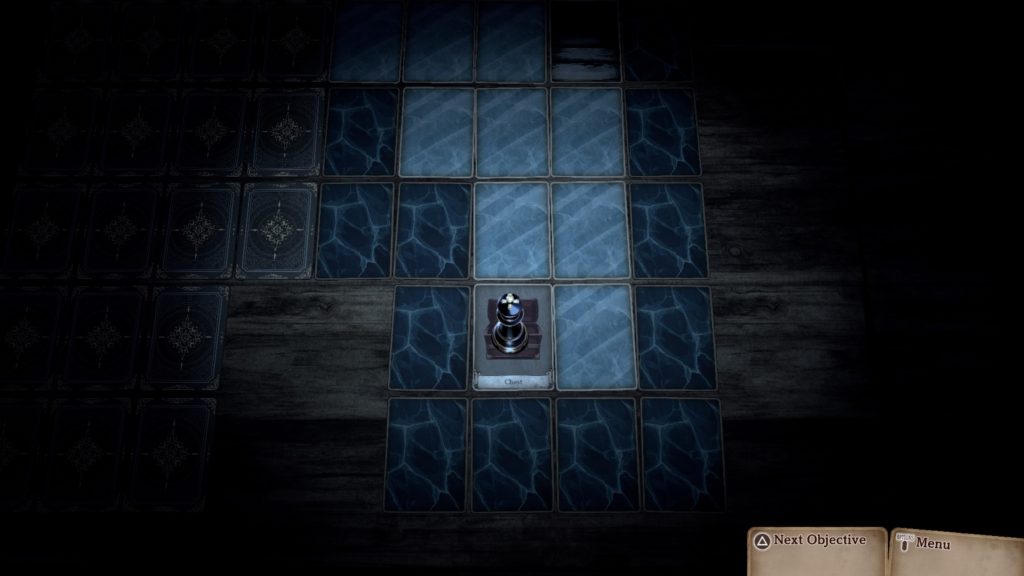
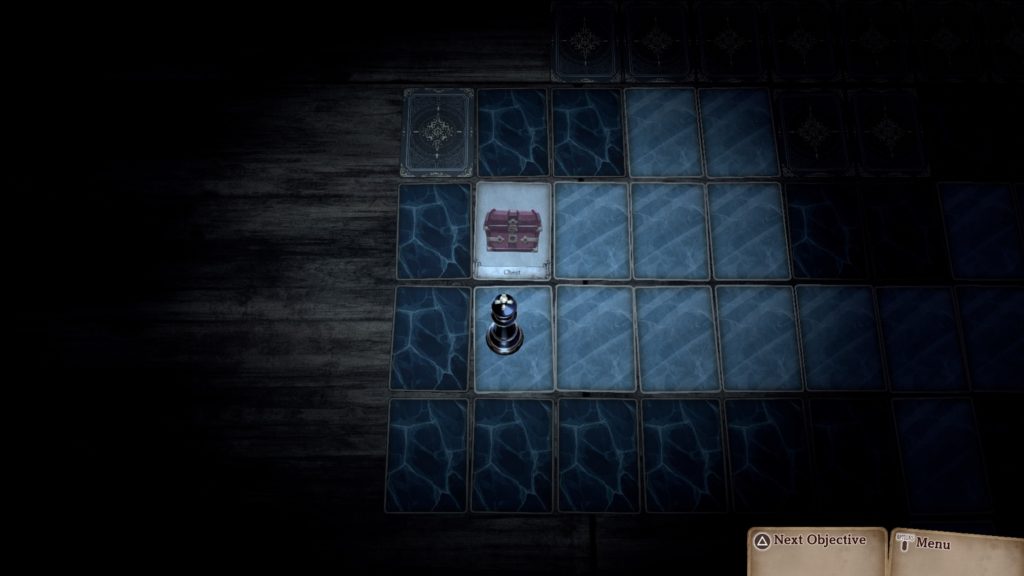
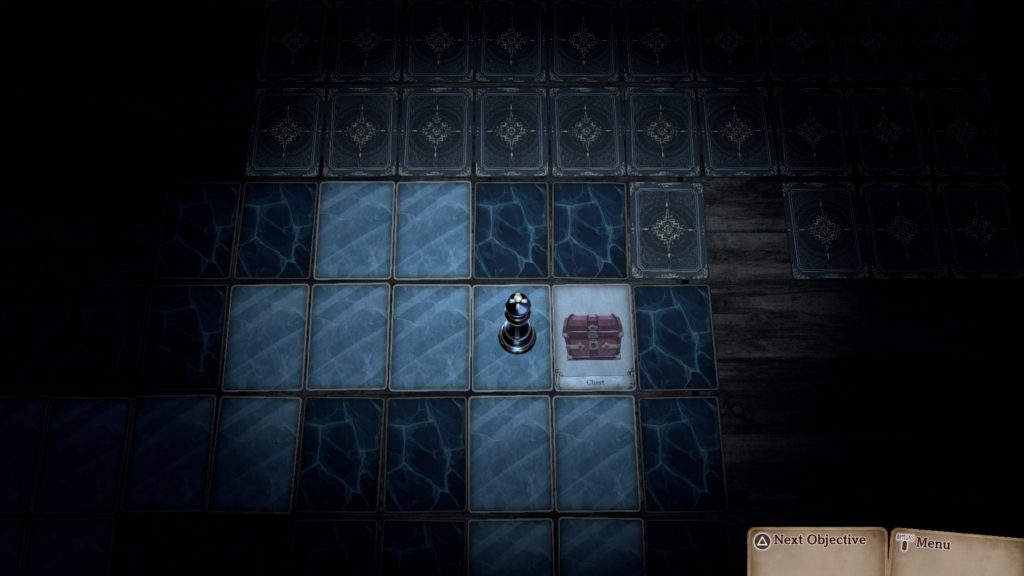
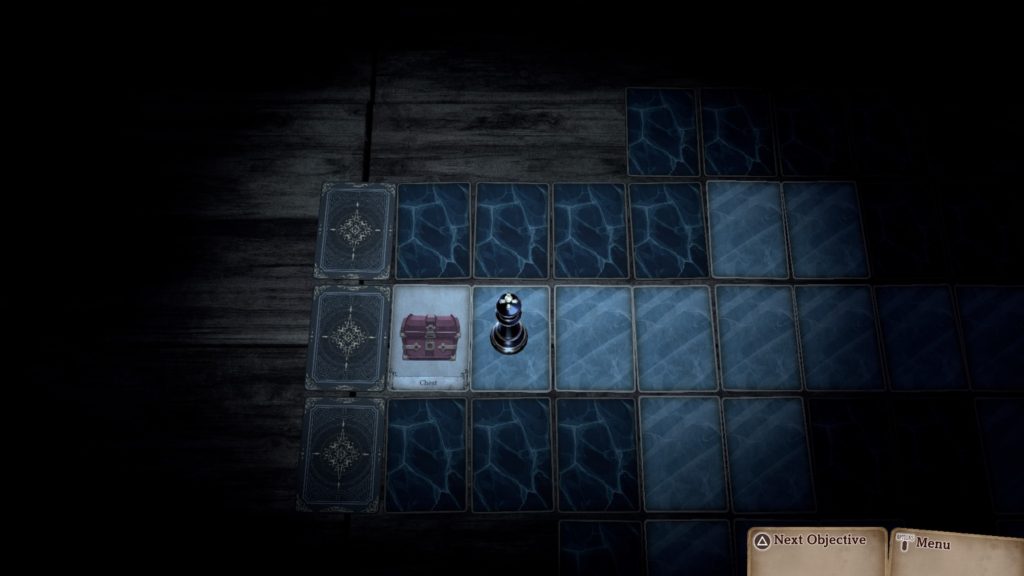
After you fall down the long hill, you’ll be in a construction site. Examine the Memory Shard – Treasure at the Construction Site! right in front of it then enter the building.
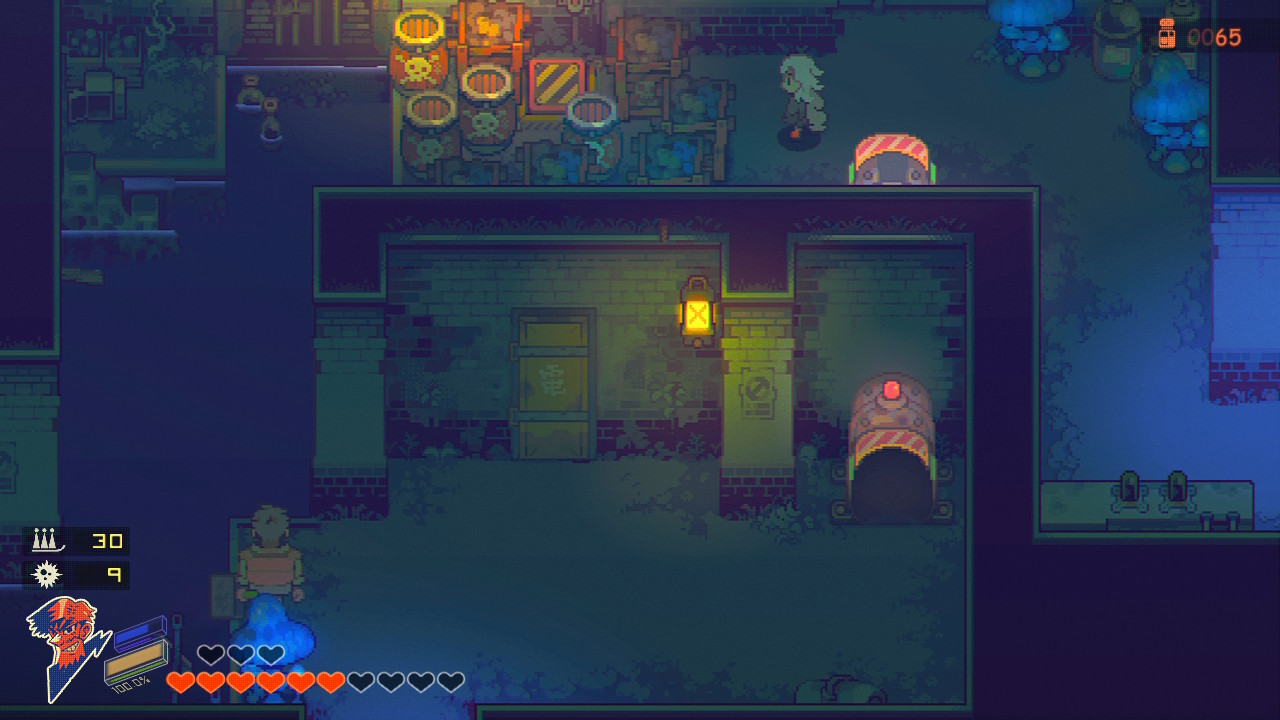
Deserted Factory

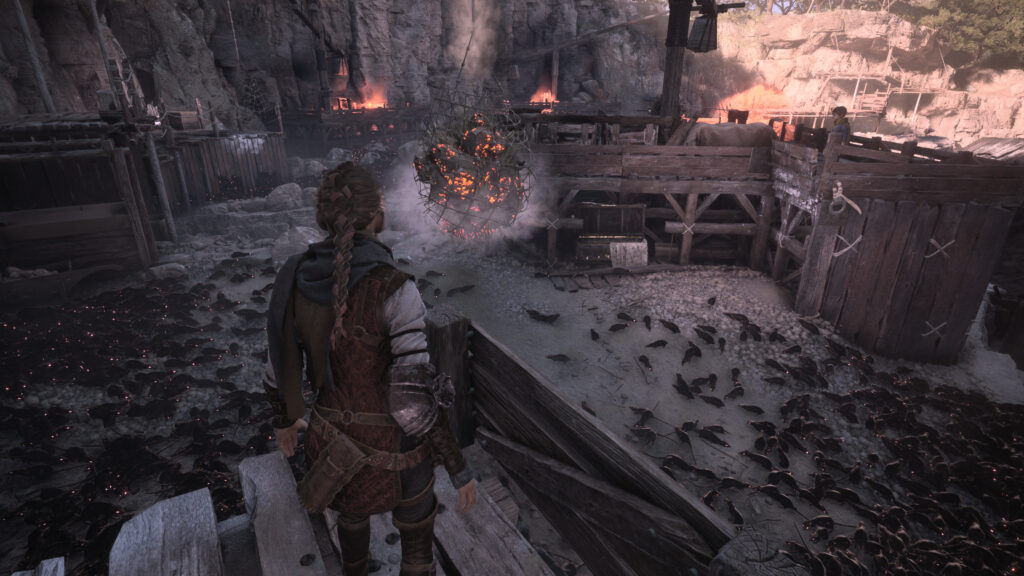
When you gain control of Yuma, pass by the conveyor belts and enter the next room. After a brief cutscene, continue through the factory. To get away from the zombies… Use sound. Head forward a short ways then interact with the tablet on the ground.

With the zombies distracted, head forward and interact with the bones. Once the cutscene ends, continue making your way through the factory. Once again you’ll have to distract the zombies using the robot then interact with the remains on the floor. Continue with the guided tour until you reach Fake Zilch. He’ll reveal more information.

Kurumi will then disappear and you’ll begin your search for her. Head down the stairs to find a tablet on the ground. Activate it then interact with the remains the zombies were munching on. You’ll see a mysterious figure on the stairs so follow it.
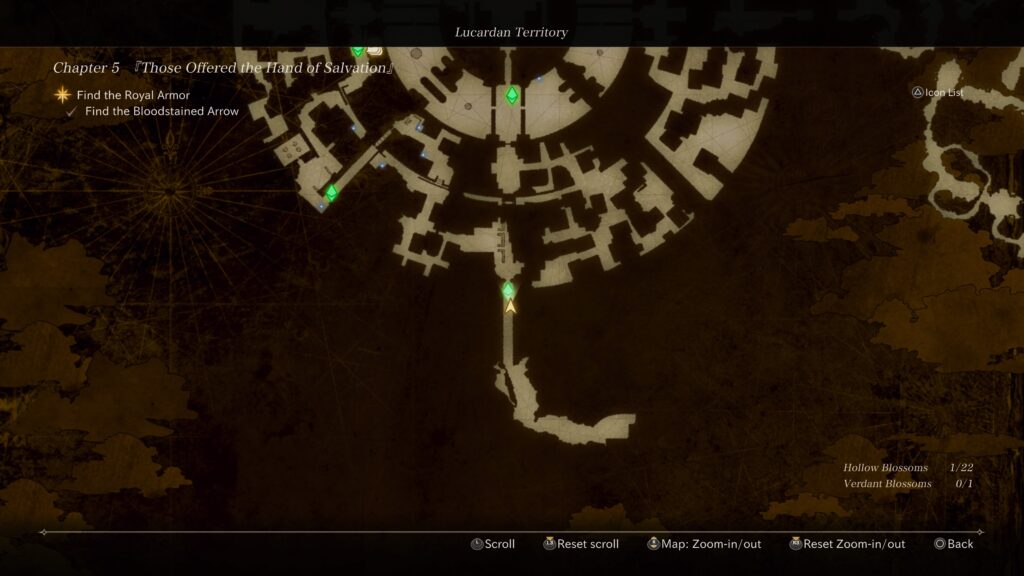
Abandoned Village

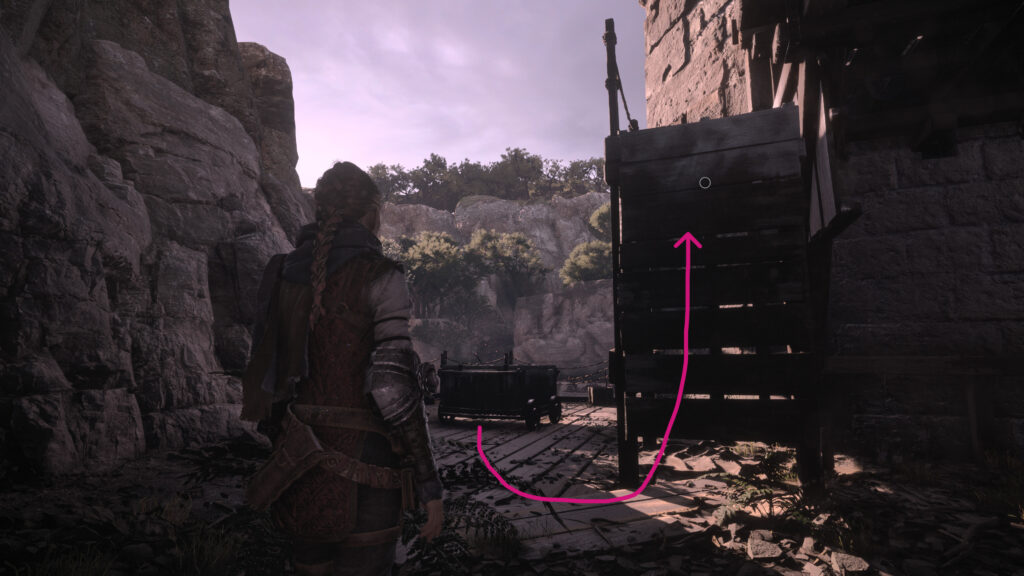
You’ll follow the figure out of the building and down a tunnel. Eventually you’ll reach a destroyed gate. Interact with this gate to enter the underground facility.

Abandoned Lab

Follow the corridor to reach Dr. Huesca and speak with him. When you regain control, continue heading deeper into the facility. In the control room, speak with the man wearing a white suit. Afterwards, continue following the path. Once the cutscene ends, return to the Factory.

Deserted Factory

Inside the factory continue with the rest of the tour. Note that you can speak with Fink the Slaughter Artist for some optional dialog / insight into what happened. You’ll find him at a dead end before the corpse of Fubuki. After you inspect the corpse, speak with Kurumi. Speak with her again when you’re ready to proceed. After witnessing the truth, head through the door to enter the refrigerator. Inspect the corpse’s packet to gain more knowledge. Leave the refrigerator and exit the factory.

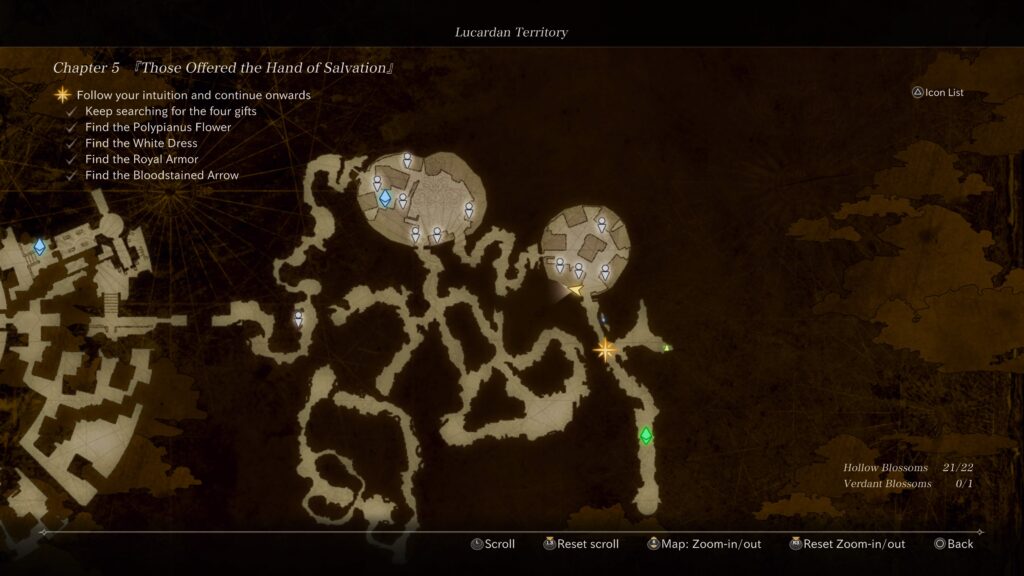
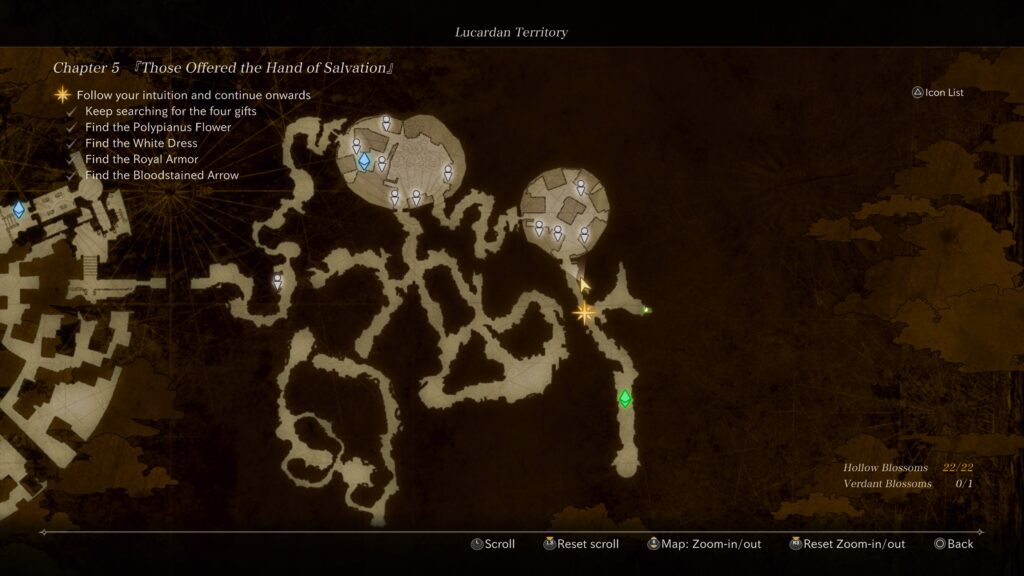
Abandoned Village (Narrow Path)

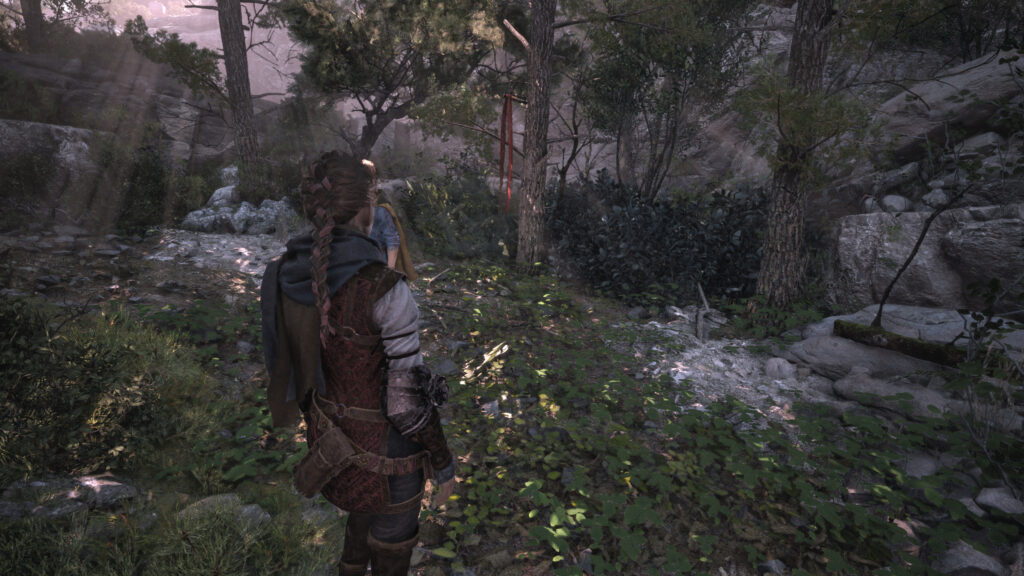
Follow the path and cross over the red bridge. Look to your right to find the Memory Shard – Beyond the Red Bridge on a rock. Continue forward a short way. Just before you reach the building, look to your left to find the Memory Shard – Princess Kaguya in the Bamboo Grove in the bamboo.

Mind-Cleansing Bath

Enter the building and press the red button on the wall. With more truths revealed, you’ll enter the Mystery Labyrinth.

Mystery Labyrinth

Once in the Mystery Labyrinth, head down the long hall and enter the doorway at the end just like always! As you continue through Kanai Ward, you’ll be presented with your first question! Once you answer it, continue through Kanai Ward to find more!

QuestionSolution Key / Answer
What was the cause of Amaterasu and Kanai Ward’s development?Homunculus Research
Why did the Unified Government request the homunculus research?For military purposes

REASONING Death Match

StatementSolution Key / Repel
Homunculi are just a fantasyRepel
It was a complete failureHomunculus Experiment Report Memo

Mystery Labyrinth Options

QuestionSolution key
Who is the person with the “world’s greatest mind”?Memo on Corpse
What occurred at Kanai Ward in the name of scientific research?Project: Homunculus
What was done in Kanai Ward for the sake of research?Blood Test for All Residents
What was created from Project: Homunculus?Kanai Ward’s Residents
What happened as a result of Project: Homunculus?The Blank Week Mystery

Shinigami Puzzle

QuestionAnswer
All of Kanai Ward’s residents were _ _ _ _ _ _ _ during the Blank WeekR – E – P – L – A – C – ED

Reasoning Death Matches

StatementSolution Key / Repel
They couldn’t have been swappedRepel
Their memories would be totally different tooHomunculus Characteristics
There wouldn’t be a gap in their memories!Defective Homunculus
No one was killed by the homunculi The Doctor’s Confession Video

Mystery Labyrinth Options

QuestionAnswer
What is the reason for the unending rain in Kanai Ward?To block out the weakness of the homunculi
Where do Kanai Ward’s dead end up?Rural village
What is the source of nutrition for Kanai Ward residents?Meat buns

Shinigami Puzzle

QuestionAnswer
Kanai Ward residents’ _ _ _ _ blood is evidence of their physical abnormality.P – I – N – K

Deduction Denouement

With all the mysteries solved, it’s time to put everything together. To solve how the whole crime played out, you’ll need to create the book. The table below lists which Solution Key goes on which page. When you’re done a scene will play out going through the whole incident.

PageSolution
Part 01 The Beginning of ThingsHomunculi
Part 02 Running Project: Homunculus (Left)Dr. Huesca
Part 02 Running Project: Homunculus (Right)Blood Test
Part 03 Defective Homunculus DefectsSunlight
Part 04 “The Blank Week Mystery” (1)Rain Cloud Generator

Battle with Mystery Phantom Makoto

QuestionAnswer
When did Makoto arrive at Kanai Ward?Three years ago
What was happening in Kanai Ward when Makoto arrived?The Blank Week Mystery
What did Makoto do to protect Kanai Ward?Isolation
What did Makoto do as the CEO?Ended homunculus research
What crime did Makoto commit?Mass kidnapping
The Master Detectives were assembled…To oust Yomi

Shinigami Puzzle

QuestionAnswer
What is Makoto?HO – MU -NC – UL – US

Battle with Mystery Phantom Makoto Cont.

QuestionAnswer
Where was Makoto born?UG research facility
Makoto’s DNA is based on…Number One

Spot Selection

For this spot selection, you’ll need to identify what feels out of place? The answer is the cut on his left arm!

Battle with Mystery Phantom Makoto Cont. Again

Questionanswer
How did Makoto enter the Mystery Labyrinth?Coalescence
Who used coalescence?Makoto
Yuma’s true identity is…Number One
Who gave up their identity as Yuma Kokohead?Ramen Stand Owner

After your battle with Makoto, press the quick time event prompts that trigger when Shinigami busts through the door.

Last Stand

For this event, you’ll need to repel all the statements each time they appear on the screen. After the first repelling of the statements, you’ll need to pick who the real Makoto is. The answer is the one who has a sword! For this Last Stand, you’ll also need to correctly press the quick time event prompts that occur after you repel the statements. At the end, you’ll have to make a choice. Make your selection! After the lengthy cutscene, the chapter will conclude!

For more guides on Master Detective Archives: Rain Code, click here!

Fire Emblem Engage Logo
Guides

Fire Emblem Engage – Chapter 5 Walkthrough

by NightlyGamingBinge in

Below is a walkthrough for Chapter 5: Retaking the Castle in Fire Emblem Engage!

Fierne Castle

After the lengthy cutscene at the start of the chapter, you’ll engage in a battle where your ultimate goal is to defeat Nelucce. You can find the below items during this battle!

ItemObtained
ArmorslayerIn a chest / dropped by the thief that nabbed it
ObstructIn a chest / dropped by the thief that nabbed it
Seraph RobeDefeat Nelucce

After the battle, you’ll receive 10,000G from Firene and will be in Firene Castle. Explore the area, speaking with the units and collecting items. When you’re done, leave the area and travel to the Somniel.

Intermission: The Somniel

During your travels to the Somniel, a cutscene will trigger. Afterwards, check out the newly opened smithy and boutique. If you have amiibos, scan them at the gazebo to receive items and rewards! Please note that you can only scan 5 per day. As always, speak with everyone, collect all the items and visit your beloved guardian spirit. Be sure to also check out the bulletin board! When you’re ready, exit to the World Map.

Click here for the next walkthrough on Chapter 6 in Fire Emblem Engage!

Guides

Digimon Story Cyber Sleuth – Chapter 5 Walkthrough

by NightlyGamingBinge in

Below is a walkthrough for Chapter 5: The Search Continues: Yuuko Kamishino in Digimon Story Cyber Sleuth: Complete Edition.

Toyosu Condos

When you regain control of your Sleuth, travel to Toyosu Condos and head to the end of the walkway. Interact with the door to Yamashina’s door to trigger an event where you’ll be sent to Shibuya.

Shibuya

Travel to Shibuya then make your way to the Shibuya Records Entrance and approach Shibuya Records. You find Chika under the giant yellow sign Speak with her for a quick event. Before exiting the area, if you head to the left of the record store, you may find a Digimon Medal on the ground.

EDEN Entrance

Head to an access point and use it to log in to EDEN Entrance. Head up two flights of stairs and speak with the three guys with a lock above their heads using the “Nile Corporation” keyword. Takumi on the left will have the information you seek. Exit EDEN and return to the detective agency to trigger an event. After it ends, head to the DigiLab.

DigiLab

Speak with Mirei to receive the Stealth Hide hacking skill and trigger an event. Return to the detective agency and use the access point there to travel to Kamishiro Enterprises.

Kamishiro Enterprises

As you reach the area an event will trigger. After regaining control of your sleuth, activate the Stealth Hide then head to the left of Yuuko and interact with the guy wearing a suit standing in front of the monitor to be prompted to perform a Connect Jump. Before doing that, you may want to head to the right side of the area before the receptionist to find a Digimon Medal.

Digital Network

Work your way through the network to reach the other side. Below is a list of the Digimon that can be found here if you want to spend some time scanning them.

Digimon

  • Bukamon
  • Gabumon
  • Nyaromon

Avalon Server

Work your way through the Avalon Server. Make sure to collect the three chests along the way and scan any Digimon you’re interested in. Once you step on the teleport pad on the other side of the area, an event will trigger. Afterwards, use the “Code Scan” Hacking Skill on the file straight ahead. This will kick off another event leading to a fight against our favorite rock star and his two virus type BlueMeramon. Defeating him triggers another event after which you’ll be awarded 1,000 CSP and complete the chapter.

Digimon

  • Falcomon
  • Salamon
  • Starmon
  • Waspmon
  • Wormmon

Click here for a walkthrough on Chapter 6: Serial Disappearances in Akihabara in Digimon Story Cyber Sleuth: Complete Edition.

A Plague Tale Requiem Walkthrough
Guides

A Plague Tale: Requiem – Chapter 5 Collectible Walkthrough

by MrsChappie in


Below is a walkthrough for the collectibles found during Chapter V: In Our Wake in A Plague Tale: Requiem. Make sure to always pick up a knife if you see one so you can open the secret chests!


Souvenir: The Stag’s Roar

After pushing the boat free from the debris, follow the path into the forest. When you come to the fork in the path, head right.

Follow the path until you find a red ribbon in the tree.

Plague Tale Requiem souvenir

After the event, you’ll automatically receive the souvenir.


Tool

As you try to make your way to the ship, you’ll come to an area surrounded by rats where you’ll have to use multiple cranes to maneuver. The tool can be found in a chest under the central platform with the crane that spins all the way around it.


Souvenir: Huuugooo!

After working your way through the crane puzzle, you’ll come to a workbench just before the path leading to the dock. Look up to find a ladder behind held by a chain.

Hit the chain with your slingshot, causing it to fall. Climb on up and interact with Lucas to automatically receive the souvenir.


Secret Chest / Tool

After you cross the water using a wooden raft and destroy the counterweight in the building, the chain will snap and you’ll have to look for another way to return to the ship. Exit this building then swing around the back to find a fence you can squeeze between.

Do so then climb up the ladder to find this secret chest! Open it to find a tool!


Hugo’s Collection: Anemone

After finding the above chest, continue forward a short way to reach a bridge. Under it you’ll find a cart. Move the cart under the ledge behind the cart then use the cart to climb up.

Use your slingshot to knock down a board held by a chain.

Follow the path climbing up the slide of a cliff to find the flower.


Click here for the next walkthrough on Chapter 6 in A Plague Tale: Requiem!


Guides

Valkyrie Elysium – Lucardan Territory Hollow and Verdant Blossoms

by MrsChappie in


Below is a guide on where to find the hollow and verdant blossoms around the Lucardan Territory in Valkyrie Elysium. For the purpose of this guide, all of the blossoms were obtained during the Chapter 5: Those Offered the Hand of Salvation main quest.


Distant Young Girl

At the start of the chapter, head forward a short way hugging the left side of the path. This blossom will be on a higher ledge overlooking the bridge to the city.


Black Fortress Fitz

This blossom can be found along the path east of the first Storage Camp.


Fickle Widow

From the previous blossom, head up the nearby stairs then take a left to find this blossom under an overhang.


Veteran Fitz

This blossom can be found on the second level of a building just before the lever that opens up the path to the second Storage Camp.


Servant Einar

From the second Storage Camp (Outer Wall), drop down to the area to the right of the Storage Camp then look under the structure to find the blossom.


Royal Professor Victor

From the Second Storage Camp, follow the linear path north to reach a wall with some stairs heading up. Instead of taking the stairs up, follow the alley to the end to find the blossom.


Tireless Lookout

From the third Storage Camp, head north through the big wooden doors then take a right heading under the gate. Head up the stairs and the blossom will be behind the tree across the dry pool.


Girl Who Believed in the Future

To the right of the fourth Storage Camp (Main Gate), use Eygon to break the barrier then head inside and go under the overhang to find the blossom.


Freckled Girl

This can be found on the east side of the throne room just north of the fourth Storage Camp (Main Gate).


Jubilant Johann

This can be found in the courtyard to the west of the throne room near a Soul Tree.


Thoughtful God of Fire

This blossom can be found by the fifth Storage Camp (Rear Entrance). Above the northern gate, use the Soul Chain to reach it.


Tense Boy

This blossom can be found just before the sixth Storage Camp (Cathedral).


Starlight Historian

This blossom can be found in the cathedral just past the sixth Storage Camp.


Deceived Lord

After exiting the cathedral, take a left and head up the stairs to find the blossom at the top.


Carefree Goods Bearer

This blossom can be found just past Armand but before the entrance to the cave.


Glib Fifth-Class God

This blossom can be found north of Armand in the cave.


Soul-Manipulating Goddess

This blossom can be found just before the The Northern Marches Settlement on the eastern side of the area.


Barbarous Fourth-Class God

This blossom can be found at the top of a set of stairs in the center of the settlement.


Loyal Old Man

This blossom can be found on the snowy path leading to the far eastern part of the settlement.


Handmaid of the Gods

This blossom can be found on the far eastern side of the settlement.


Father of Three

This blossom can be found near the exit on the far southeastern side of the settlement.


Lover-Turned-Boar

From the above blossom, exit the settlement to find this blossom on a hillside. You’ll need to use a Soul Chain to reach it.


Verdant Blossom

From the above blossom, continue heading south. Use Kristoffer to break the barrier then grab the blossom.


Click here for the next guide on the locations of the blossoms in the Romalian Territory of Valkyrie Elysium!


Guides

Valkyrie Elysium – Chapter 5 Relic Walkthrough

by MrsChappie in


Below is a walkthrough for the locations of the relics in Chapter 5 of Valkyrie Elysium.


Find the Bloodstained Arrow

At the start of the chapter, head a short ways forward and cross the bridge. This relic will be on the bridge just before the gate leading to the town.


Find the Royal Armor

This relic can be found in the garrison, which is just past the second Storage Camp (Outer Wall). You’ll need to defeat the enemies in the area to obtain the key to unlock the door.


Find the White Dress

This relic can be found in the throne room just north of the fourth Storage Camp (Main Gate). Before reaching the relic, you’ll need to defeat the enemies in this room, including a dragon.


Find the Polypianus Flower

This relic can be found in the cathedral, which is just past the sixth Storage Camp.


Voice of Cards: The Beasts of Burden
Guides

Voice of Cards: The Beasts of Burden – Chapter 5 Walkthrough

by MrsChappie in


Below is a walkthrough for Chapter 5 in Voice of Cards: The Beasts of Burden.


Village of Light

At the beginning of the chapter, speak with your companions then leave the town.


Roving Market

Head north to the new location of the Roving Market and enter it. Once inside, speak with the Wandering Merchant to trigger an event. This time he will want to see a Venomslime at least 2 stars or above. If you do not already have this card, the Venomslime can be found in the Lake of Fire and Desert. As a reward, you’ll receive a Quality Omnisalve and the Established Monster Tamer Certificate. The Established Tamer trophy will also trigger!


Speak with the Wandering Merchant again to trigger another event. This time he will want a Gargoyle with at least 2 stars. If you do not have this card, the Gargoyle can be found in the Ruined Edifice. As a reward, you’ll receive a Freezestay Ring and the Skilled Monster Tamer Certificate. The Skilled Tamer trophy will also pop!


Wasteland

Make your way northeast to the glowing card. To clear the snow away, let the Flame Primal at it! Afterwards, proceed to the Cave and enter the Snowfield.


Snowfield

Once in the Snowfield, head forward a short way to trigger a quick cutscene. Afterwards, head forward again to trigger another cutscene. Select that you’d “Better make it snow-worthy!” then “Steel Primal”. Sandskiff Mk.III is now up and running!


Chests

  • 1500G
    • Western edge of area

  • Bill of Godly Fortune
    • Southeastern corner of area

  • Chunky Gold Nugget
    • Eastern edge of area

  • Supreme Inspirilixir
    • North central part of the area


Events

  • Open-Air Stall
    • Stop by
      • Roll the dice to determine at which price you can sell your items
    • Keep Walking
  • Dark Warrior – Northeast of Icevale
    • You can fight him if your strong enough! (We were not strong enough yet!)


Endwall

Once you’re done exploring Snowfield, interact with the Endwall card up in the northeast.


Icevale

When the cutscene concludes, you’ll be be in Icevale. Speak with the Old Woman. After the cutscene concludes, head up to the Cabin. Choose whoever you’d like to help the Old Woman as she will suggest you get her a flower. Exit the town.


Snowfield

Head directly north of town to find the Solnivea flower card. Once you have it, return to Icevale.


Icevale

Enter the cabin. The next day you’ll have to make a choice about what to do. Select “Attempt to Scale the Endwall”. Afterwards, return to the cabin to check on the Old Woman. Next, interact with the glowing card on the southeastern side of the town. When the cutscene concludes, exit town.


Snowfield

Wander around Snowfield fighting enemies until you come across the Treant. We found ours on the second encounter with an enemy so it shouldn’t take you too long! Defeat the creature then Pulche will want you to defeat 5 more. Again, set out in search of them. Once you defeat all of them, return to where you previously picked the flower and pick another one. Afterwards, return to Icevale. When the cutscene ends, exit the village to trigger a cutscene.


Endwall

Once in the Snowfield, make your way to the Endwall. For how to scale it, select “Upgrade the Sandskiff!” to turn the sandskiff into Sandskiff Mk.IV! When the cutscene concludes, head forward and enter Endwall 44F. On the western side of the area sits a chest containing a Quality Omnisalve.

Continue north then swing around to the center of the northern area. Head up the path to the very north to find a chest containing a Gemstone Ring.

Once you collect the chest, follow the path east to trigger an event. You’ll receive the Friend’s Memo key item, detailing the location of a treasure.

Head to the very northeastern corner to find a set of stairs leading to Endwall 45F. Take them then head directly south to find a chest containing Omnipanacea.

Afterwards, back track to the north then continue following the path to trigger a cutscene with a Fairy. After the cutscene concludes, a fight with two monsters will trigger. Defeat them then continue forward to reach the Endwall – Midpoint. Once at the Midpoint, follow the linear path up then enter Endwall 72F. Travel west to find a chest with a Bill of Godly Fortune inside.

In the center of the area, you’ll find a chest with a Soothstone.

Keep heading through the area until you trigger a cutscene with a Fairy warning you of the Frost Primal. When it concludes, you’ll be attacked by some monsters. Defeat them then continue heading forward and enter the Endwall – Upper Reaches. Avoid the snowballs as you make your way north to Endwall 99F. A chest on the northwestern side of this area contains a Ring of Sharpness.

When you’re ready, make your way to the southwest side to reach the stairs leading to Endwall – Top. Enter this area to trigger a cutscene. Select that “They’re both acting funny…” Afterwards, a fight will trigger. Defeat both of the enemies using only Al’e and L’gol. After you defeat them, head directly north to encounter the Frost Primal. It has 34 attack, 280 HP and 18 defense. It uses a move that restores it HP by 20 periodically so it was a LONG fight. Please note that it is weak to fire! Defeat it then head north to the glowing card to trigger a cutscene that finishes this chapter.


Click here for the next walkthrough for Chapter 6 in Voice of Cards: The Beasts of Burden!


Eastward – Chapter 5 Heart Orb Locations

by Chappie in


Below is a guide on where to find the Heart Orbs in Chapter 5 of Eastward.


Lowtown

You’ll come across the chest containing this Heart Orb during The Aftermath quest. It will be in the northeastern part of a room full of miasma monsters hidden behind a bookshelf you’ll have to move.


Eastward
Guides

Eastward – The Aftermath Walkthrough

by Chappie in


Below is a walkthrough for The Aftermath Chapter 5 quest in Eastward.


Another Weird Dream

Speak to the guys then go to the breakroom on the southeastern side of the room to find a chest with 3 tokens. Head deeper into the mine via the southwestern path and speak with Digguh. Next, take the southcentral path and speak to Yohn. Go through the central path heading south in the next area then keep heading forward. When you reach the raft, push the raft into the water and use it to reach the other side. Now just keep following the path until you trigger a dialog event.


Head to Lowtown

Exit Rocket Mansion and head for Dragon Market for a dialog event. When it concludes, take care of the zombies in the area. After defeating one zombie, the rest sprout tentacles. When they have all been defeated, another dialog event triggers.


Find John

Head to the Dragon Market with Sam to trigger a dialog event.


Save the Two Brothers…Again!

Enter Lowtown and follow the path north through the next area then head east for a dialog event. Follow the path deeper into Lowtown until you reach a room that locks after you enter the room. Defeat the enemies then head to the next area. Sperate John and Sam, taking Sam through the tunnel. Switch to John and hit a floating bomb along the left side of the room over the water to explode the barrels on the other side. Change back to Sam then step on the platform allowing John to head through.

Proceed to the next area then split up John and Sam again. Send Sam through the tunnel the switch to John and use the floaty bomb to clear the way for Sam. Keep doing this as you move Sam to the end of the room and flip the switch at the back of the room to unlock the doors and head to the next area. Keep moving forward until you reach an area full of miasma creatures. Head to the northwestern part of the area and move the bookshelf there to find a chest with a Heart Orb. Head to the next area and take the north path before the eastern exit to the next area to find a chest with 50 salt. Move to the next area and grab the chest with 3 eggs then head to the north side of the area to find another chest with an advanced gear part then proceed to the next area.

Stock up on headline items at the vending machine if you want then blow the barrels up and head through the crack in the wall. When you pass through the next doorway, you’ll be locked in a room full of crates and explosive barrels. Defeat the enemies to unlock the door (you can use Sam to stun them and John to finish them off) then head through. You should now be in a room with a stove and fridge. Save the game and cook something if you’re getting hungry. Move to the next area for a dialog event leading to a boss fight. Shoot the boss with Sam’s ability and dodge the attacks. After some time passes another dialog event occurs leading to another fight. You’ll want to dodge the boss and shooting it with Sam’s fully charged ability when able.  After you deal some good damage to the beast, it will spawn miasma that you’ll also have to dodge. It will take 5 fully charged attacks to defeat the boss. When it finally goes down a dialog event triggers.


Click here for the Eastward Bound quest guide!