Starfield Logo
Guides

How to Complete the Absolute Power Starfield Mission

by NightlyGamingBinge in

Welcome to our guide for the Absolute Power Starfield mission!

PLEASE NOTE: Some of the planets referenced in our guides and walkthroughs may not match up with yours due to how Starfield was created. In these situations, what you do and the places you visit on those planets should still be the same.

Starting Absolute Power

Absolute Power is one of the faction missions for the Crimson Fleet. You’ll start it automatically after completing The Best There Is mission.

Absolute Power Objectives

Travel to Neon

For the Absolute Power Starfield mission, travel to Neon in the Volii System on planet Volii Alpha. Once you’re there, stroll over to Madame Savage’s Place by heading through the door to the left of Mining League. Inside, go to the second level to find Estelle and speak with her. She’ll tell you what you need to do then send you on your merry way.

Locate Evidence to Extort Ayumi Komiko (Optional)

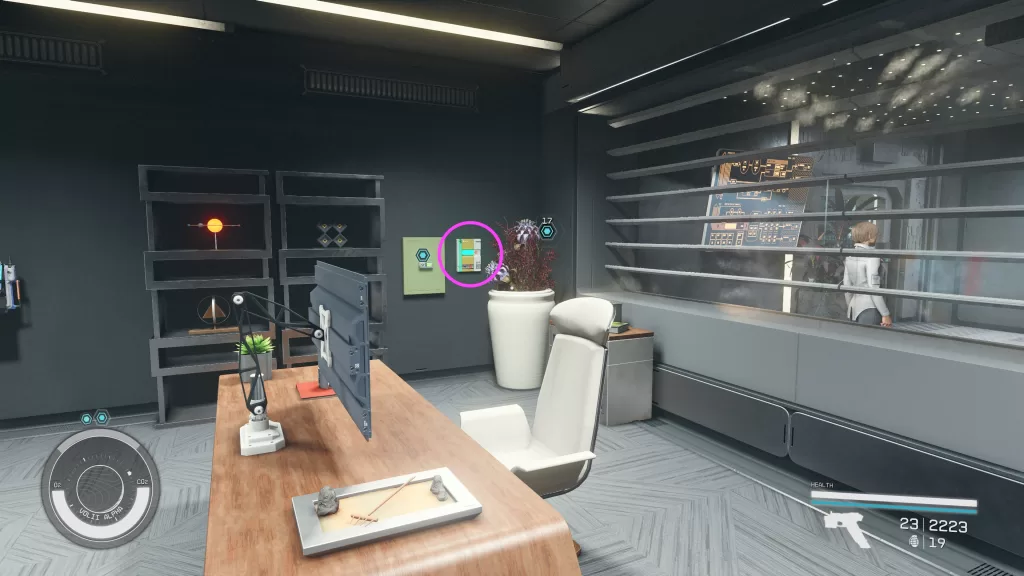
To find evidence, travel to the Trade Tower and use the elevator to reach Generdyne Industries. Speak with Ji Nashida behind the desk asking about his boss and persuading him to help you out. This will grant you access to her office where you’ll be able to loot the Meeting with Bayu (Evidence) slate from her safe (which Ji unlocked). Before grabbing the slate, make sure to activate the switch to the right of it closing the blinds. That way the nearby security guard won’t catch you stealing the evidence.

Absolute Power Starfield Mission Evidence to Extort Ayumi Komiko

Ask Myka About Ayumi Komiko’s Whereabouts

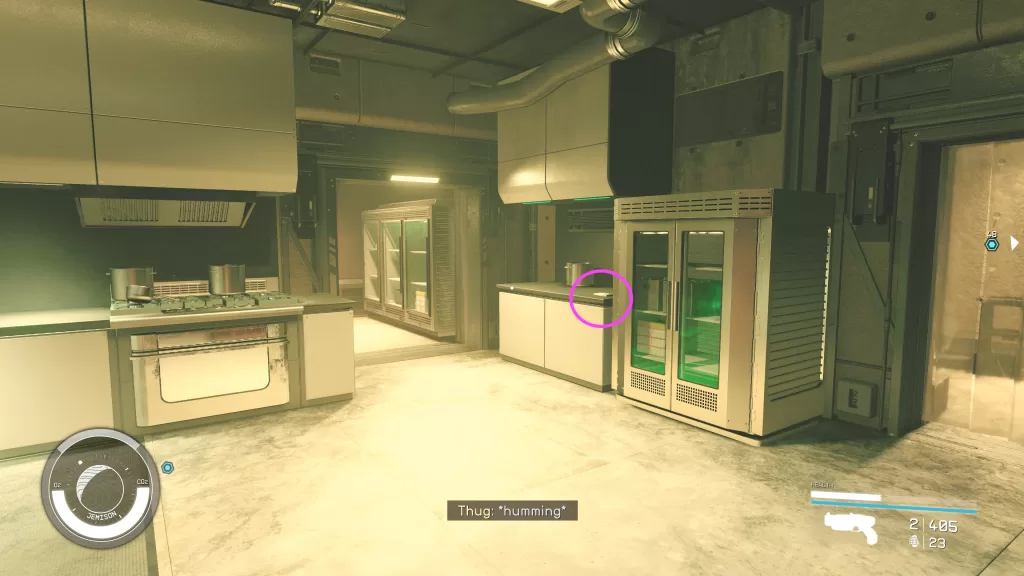
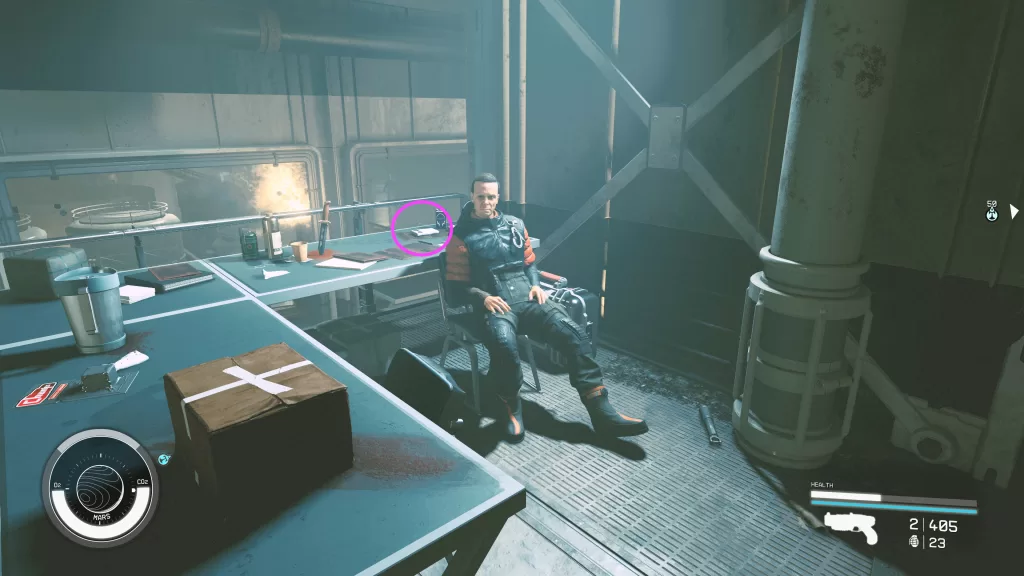
At the Neon Core, head through the EBBSIDE door to the right of the Emporium to reach Euphorika. Head inside and speak with Myka behind the bar asking her about Ayumi. She’ll be defensive and tell you to shove off which you can counter by saying you’re with the Crimson Fleet. She’ll cave and tell you that Ayumi can be found in the Members’ Lounge then say if you want to there, you’ll need to buy a membership for 5000 credits. Enter the lounge via using the pass on the door across from Myka. Walk up the stairs to find Ayumi in the back. You can kill her and take the pass from her or use the evidence you found to make her hand it over willingly.

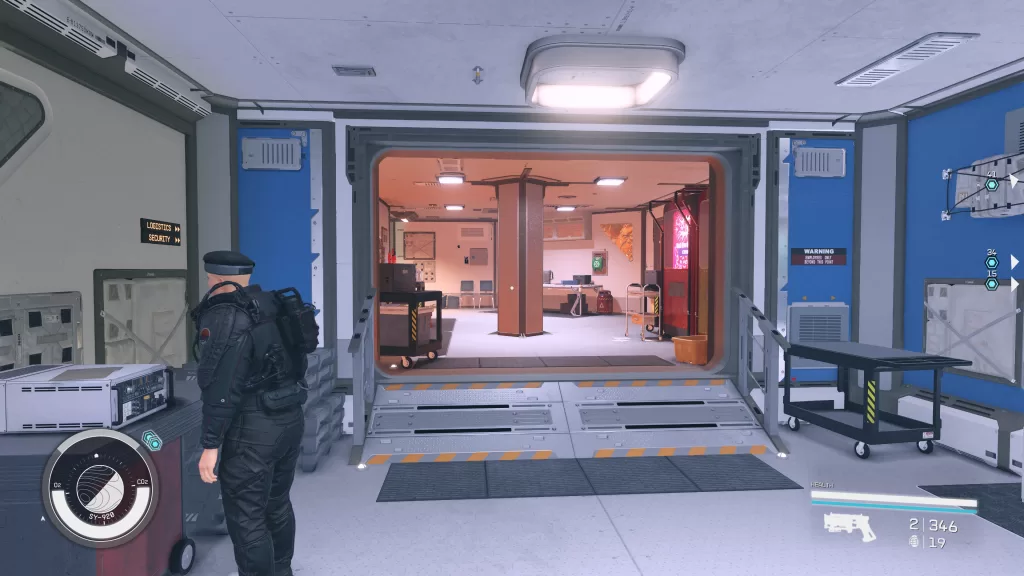
Enter Genedyne Through the Storage Entrance

With the pass in your possession, travel to the Underbelly and head to Generdyne Industries. Go around the right side of the building to find a locked door. Use your pass to gain entry to the building.

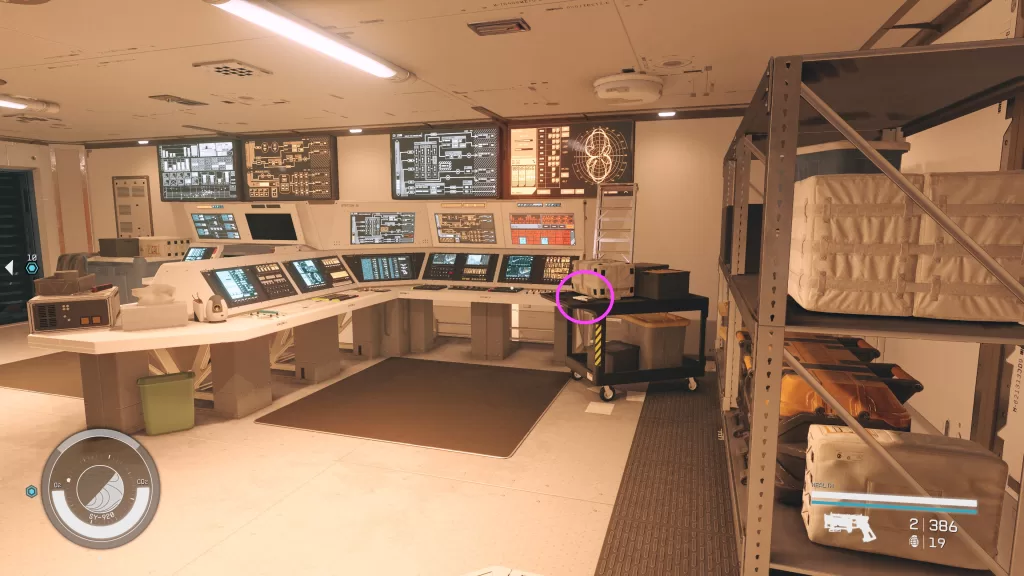
Obtain the Conduction Grid Data

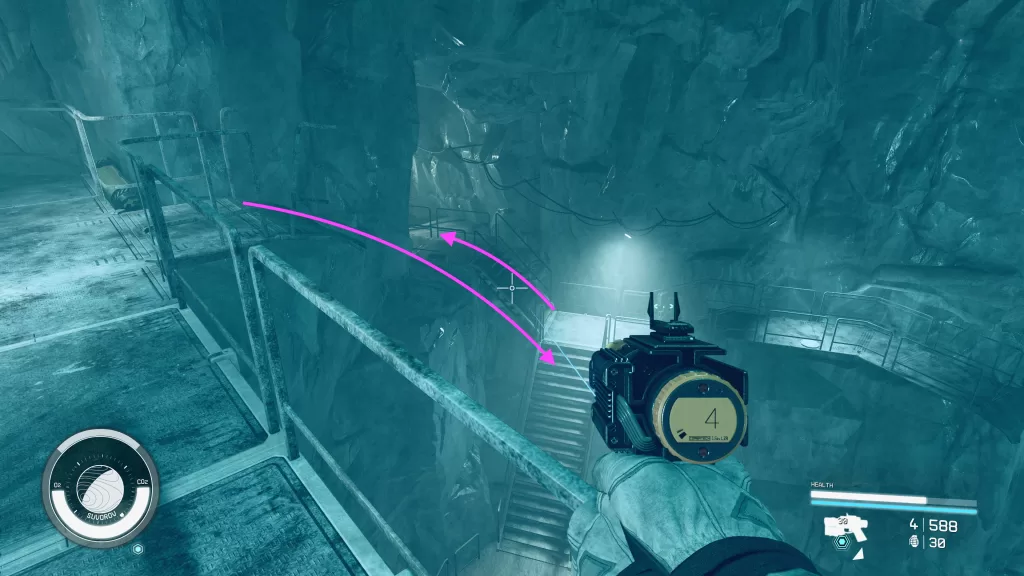
Use the nearby vent to sneak into the main area of the facility then continue sneaking following the objective. Make sure to go slowly and keep an eye out for the guards and robots patrolling the area. When you reach the Conduit Control Room, head through the doorway and hug the left wall to reach the maintenance tunnel. Follow that to reach a room with a guard standing nearby. You’ll need to hug the left wall sneaking past the guard. Behind the computer the employees are working on, you’ll find a vent that will take you to just outside the Master Control Room. To the left of the Master Control Room is another vent you’ll want to enter.

Genedyne Conduction Grid Data Vent

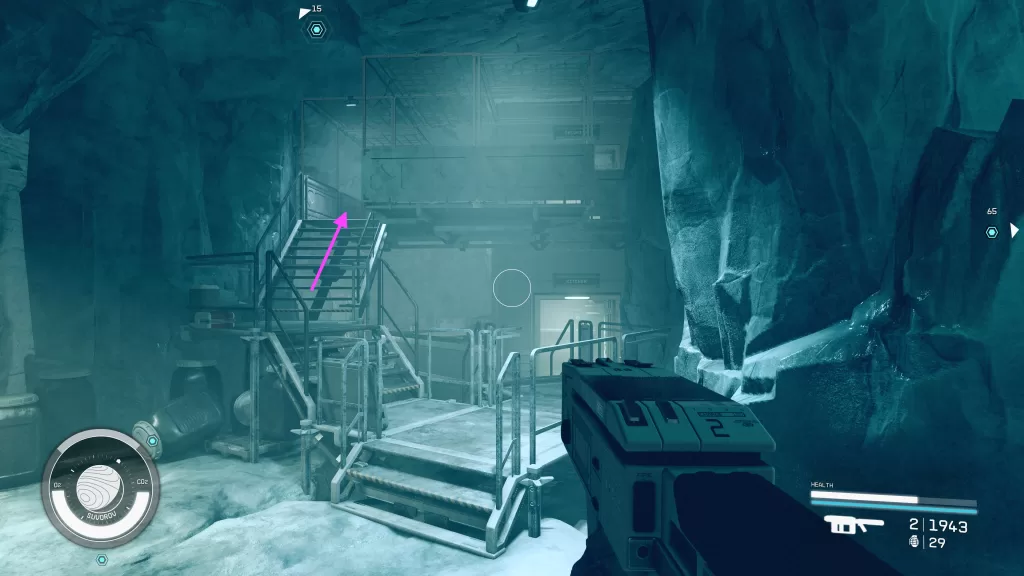
Follow along the duct then drop down at the end and head through the doorway on the left. Follow the hallway to the end then take a left to reach Power Storage. Use the elevator there to reach the Power Core Computer terminal where you’ll want to download the Conduction Grid Plans.

Locate Breyson Bayu

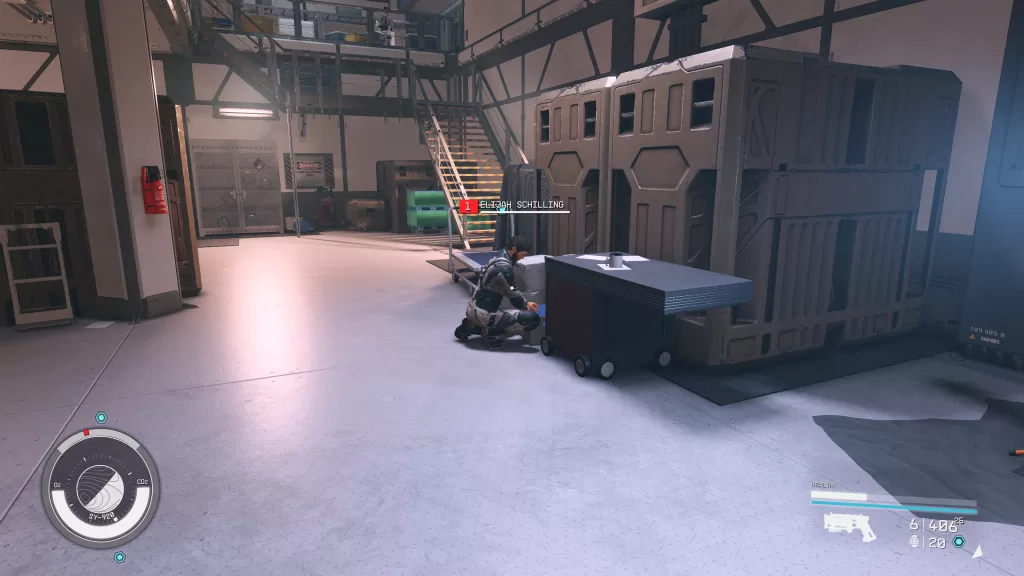
Head west through the room and up the stairs. Cross the room and pass through the doorway on the other side. Take a right and enter the vent straight ahead. Follow along the shaft and you should come out facing the Research Director’s Office. Head into this office. There will be another vent behind the desk. Use it to reach Breyson Bayu’s office then head inside.

Speak with Breyson who will happily hand over his password. Access his terminal and download the Decryption Routine. While you’re there, also make sure to upload Estelle’s virus. You’ll then be able to use the elevator in the office to reach Trade Tower outside of the Astral Lounge.

Return to Estelle

Enter the Astral Lounge and use the VIP Elevator to reach the balcony. Enter Booth 2 to speak with… Benjamin Bayu!! He will want to know who is profiting from the virus that Estelle had us upload. In doing so, Bayu will let you leave the city. You’ll then be presented with a choice. You rat out Estelle, tell him it was Breyson or say it’s you. If you give up Estelle or tell him it was Breyson, they will be dealt with. As Delgado asked you not to ruin the relationship with Estelle, then going you’ll want to go with Beryson if you choose this route. Otherwise, telling him it was you will result in a bounty getting put on your head (we went with that option).

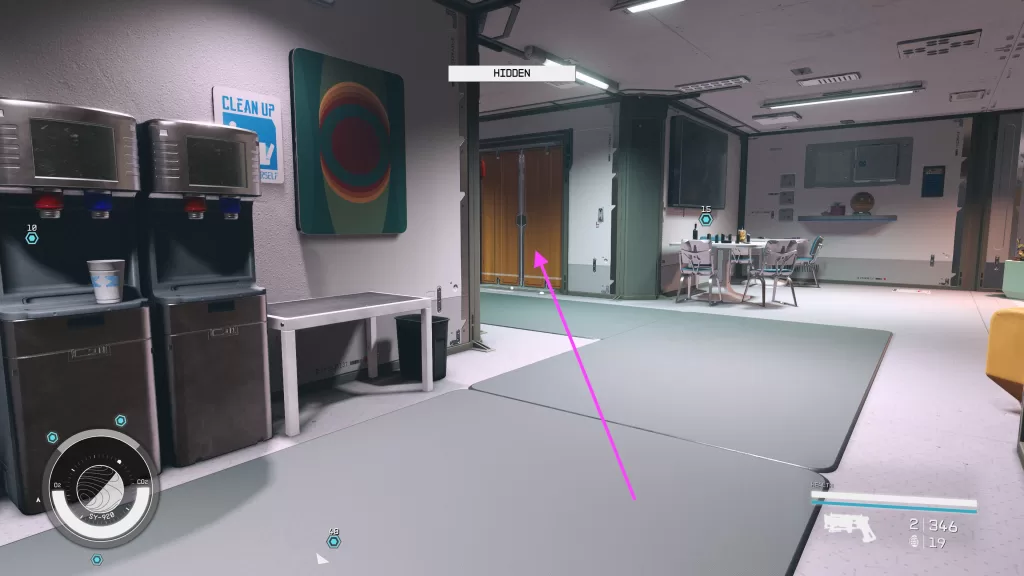
Locate Estelle at Madame Sauvage’s Place

Leave the Astral Lounge and head back to Madame Sauvage’s Place. Head through the door to the left of the bar to find Estelle. Speak with her.

Return to the Key

With the job in Neon done, make your way back to the Key and speak with Naeva. This will complete the mission and you’ll be rewarded with 350 EXP and some credits.

For more Starfield guides and walkthroughs, click here!

Starfield Logo
Guides

How to Complete The Best There Is Starfield Mission

by NightlyGamingBinge in

Welcome to our walkthrough for The Best There Is Starfield mission!

PLEASE NOTE: Some of the planets referenced in our guides and walkthroughs may not match up with yours due to how Starfield was created. In these situations, what you do and the places you visit on those planets should still be the same.

Starting The Best There Is

The Best There Is is one of the faction missions for the Crimson Fleet. You’ll start it automatically after completing the Breaking the Bank mission.

The Best There Is Objectives

Meet Naeva and Jasmine on the Key

For The Best There Is Starfield mission, you’ll need to travel to the Key in the Kryx System. Once you arrive, head to Ship Services and speak with Naeva.

Meet Huan Daiyu in New Atlantis

Travel to New Atlantis then head to the Well. Make your way to the eating area above Kay’s House to find Huan. Speak with the smuggler then head downstairs to Kay’s kitchen to find the Huan’s Talk (Evidence) on a counter in the kitchen.

Return to the spaceport and board her ship, the Jade Swan. Cimb up to the cockpit and speak with Huna there. She’ll give you the low down then tell you once you leave, you can’t come back until the mission is done. Tell her when you’re ready to go.

Board SY-920

After the ship docks at the station, speak with Huan to learn some more about it then board SY-920.

Gain Access to Barracks to Find a Uniform

Once on SY-920, head to the northeastern part of the cargo bay. Take the elevator there down.

Starfield Best There Is Elevator

Head straight and look to the right to spot an orange door at the top of some stairs with an intercom nearby. Interact with the intercom to call the captain then listen to the UC Cargo Haulers to learn that Elijah dropped his key.

Elija Schilling

Speak with him on the southwestern part of the building then head to the forklift to spot the SY-920 Maintenance Keycard next to a guard. You’ll need to speak with him to make him move then you can collect the keycard. Go back to the orange door near the intercom and use the keycard to open it.

Remember for this part you must be sneaky! Save often in case you get caught! Head down the hallway and enter the storage room. From there you can access the vents following them up a ramp to reach a bathroom. Exit the bathroom then take a right down the hall followed by a left. Enter the first room on the right to find the uniform on a desk.

Best There Is Starfield Mission Where to Find Uniform

Make sure to equip it so you no longer have to be stealthy. Exit the room taking a right then follow the hallway around. You should reach a set of stairs leading to the Lounge and Mess Hall. Head down the stairs then follow the path until you reach the split. With the Mess Hall on your right, go left to the Secure Access door past the Cargo Bay. When stopped by the guard, tell him you are reporting for duty. He will let you through.

Head over to the Command Bay elevator and interact with the card reader. Ride the elevator then use the nearby intercom to call Huan. There are two ways to do this next part. You can use a clearance code to reach the Archives by passing through the Operations Center or you can sneak to the Archives using the vents.

Access Code Route

Head for the Security Room. If you get stopped by a guard, you’ll need to persuade them to let you go.

Best There Is Access Code Route

Once you’re in Security, hack the novice lock on the Clearance Code Computer. You’ll need to grab the code based on the last name of the uniform you’re wearing. Ours was Ensign Ziremi’s Uniform so the code is ZX321D. Use that code to access the Operations Center. Cross the room to reach the Archives and head inside.

Vent Route

Look for the Utility Room next to the Operations Center then head inside.

Best There Is Vent Route

Climb up the stairs in the back of the room to find the vent. Follow the shaft to reach the rafters over the operation room. You can then follow the rafters to reach another vent that will end up in the Archives.

Locate the ComSpike

Once in the Archives, use the Data Access Computer in the back of the room and select UCE-86 ComSpike. Make sure to go through all of the options so you can upgrade your clearance level. You’ll then need to return to the elevators and take the one to Engineering Bay 4. You can use the intercom there to speak with Huan once more.

Afterwards, head down to Room 04. Make sure to grab the Eubanks & Woods (Evidence) on a crate in the back of the room then speak with Dr. Gabriel Vogel.

Best There Is Burden of Proof Evidence

He’ll tell you that the ComSpike is actually a ship. You’ll then be able to persuade him to let you test pilot it or you can betray Huan and use that as a chance to sneak out with it.

Betray Huan

Doctor Vogel will alert the Commander to find and detain Huan. In the back room where you located the Eubanks & Wood (Evidence), enter the vent to find a locker room on the other side. Retrieve the SY-920 Pilot’s Space Suit from the bench and equip it.

Make your way to the docking port and enter the Prototype Ship parked at Docking Port 8. Afterwards, return to the Key! Surprise!!! Huan is waiting in the Operations Center and boy will you get an earful! She of course won’t trust you anymore. With your tail between your legs, head upstairs and speak with Del. He on the other hand doesn’t seem to care that you ratted Huan out to Dr. Vogel.

Persuade

If you persuade him, he’ll give you a password. Make sure to collect and equip the SY-920 Pilot’s Space Suit from the location shown above. When stopped by security, tell them your flight has been approved. Head across the room to the Flight Control room.

Go up the stairs and use the terminal to add the ComSpike to the test flight list. You’ll then be free to head to Docking Port 8 and board the Prototype Ship. Jump in the pilot’s seat, undock from the station and deliver it to the Key. Once on the Key, head to the Last Nova and locate Huan by the bar. Speak with her to get that drink then head to the Operations Center and speak with Delgado. Huan apparently sung nothing but praises about us to them and Del congratulates us on a job well done.

Proceed to the UC Vigilance

After your conversation with Del, return to the UC Vigilance to update the commander. This will complete the Best There Is Starfield mission and you’ll be rewarded with 250 EXP and some credits.

For more Starfield guides and walkthroughs, click here!

Starfield Logo
Guides

Divided Loyalties Starfield Mission: Andreja

by NightlyGamingBinge in

Welcome to our guide for the Starfield Divided Loyalties mission!

PLEASE NOTE: Some of the planets referenced in our guides and walkthroughs may not match up with yours due to how Starfield was created. In these situations, what you do and the places you visit on those planets should still be the same.

Starting Divided Loyalties

Divided Loyalties is a companion mission you’ll receive from Andreja after raising her affinity high enough by making choices she likes.

Divided Loyalties Objectives

Reach Akila City

For the Divided Loyalties mission, you’ll first need to travel to Akila City on Akila in the Cheyenne System. Enter the city then head for Aggie’s which can be found on the north side of town.

Aggie's for Divided Loyalties Andreja Mission

Inside a conversation will start with Andreja. When it concludes, speak with Aggie and ask about Eren then follow up with Andreja afterward.

Travel to Hyla II

Now that we have Eren’s last known location, travel to Hyla II in the Hyla System east (and slightly south) of Cheyenne. Land at the Eren’s Camp marker then speak with Andreja. Use your scanner to locate Eren’s Camp making your way there. You’ll need to deal with a group of Zealots currently occupying the camp. When everything is clear, follow Andreja. After she gets done talking, enter the main building and head up to the third floor. Read Eren’s Slate on the desk then have a word with Andreja once more. Behind the slate, make sure to pick up the Va’Ruun Scripture 04 magazine!

Divided Loyalties Va'Ruun Scripture 04 Magazine

Travel to The Den

Set a course for The Den orbiting Chthonia in the Wolf System. Board the Den then speak with Rayna Marquest on the top level asking about Jaeda. She knows where she is, but you’ll have to persuade her to tell you. You can also speak with Orval about her in the bar down below. He will provide Jaeda’s location for 1,000 credits. Either way, once you get Jaeda’s location set out after her.

Reach Jaeda’s Last Known Location

Plot a course for Groombridge (or a different system if yours is different). Once you reach the orbit, you’ll be hailed by a Raptor. During the conversation, a few Zealot ships will join you. Take them out and you’ll be hailed by Raptor again afterwards. Board her ship to have a confrintation with Jadea. When it ends, return to your ship to fight and take down the Zealot Captain. Speak with Andreja after the battle to get your next heading.

We’d recommend making a save before heading to the Derelict Station. During that portion of the quest, Andreja dissapeared and we were unable to get her back. The only thing that worked (on console) was to go back to an old save before the station.

Travel to the Derelict Station

Make your way to the Muphrid System head to Starstation UCN-48 orbiting Muphrid IV. Dock at the station then follow Andreja doing as she says. She will lead you to Tomisar for a confrontion. You’ll then have a couple options. Angreja will want to kill Tomiasr, you can offer to do it for her or tell her to send the evidence to the council. If you pick the first or second option, then Andreja will never be able to return home. Picking the last option, leaves Tomisar alive with the hope that he will be punished by the council.

Accompany Andreja to the Lodge

Speak with Andreja after making your choice then take her back to the Lodge. Head back to her room (near yours) and speak with her again. During this conversatoin you’ll get the choice to keep her a friend or start a relationship with her. The Divided Loyalties mission will complete after you make your choice. You’ll be rewared with 250 EXP and some credits.

For more guides and walkthroughs on Starfield, click here!

Starfield Logo
Guides

How to Complete the Doctor’s Orders Starfield Mission

by NightlyGamingBinge in

Welcome to our guide for the Doctor’s Orders Starfield mission!

PLEASE NOTE: Some of the planets referenced in our guides and walkthroughs may not match up with yours due to how Starfield was created. In these situations, what you do and the places you visit on those planets should still be the same.

Starting Doctor’s Orders

Doctor’s Orders is one of the faction missions you can pick up for the Crimson Fleet. To start this mission, speak with Samina Mizrah at her clinic on The Key and ask her about the supply issue.

Doctor’s Orders Objectives

Speak to Gennady Ayton at the Clinic

For the Doctor’s Orders mission, travel to the Narion System and head to the Clinic orbiting Deepala. Dock with the station then head through reception to the office to find Gennady (he’ll be wandering around nearby if he’s not there). Talk with him and ask about the supplies to which he’ll respond that he wants to stop the deal. In order to get the supplies you’ll need to persuade him to follow through. After doing so, he’ll tell you where the supplies are and hand you some keys. Before you leave, make sure to grab the Gennady Ayton (Evidence) from a stack next to a computer desk in the corner of the Office area.

Burden of Proof Gennady Ayton (Evidence) at the Clinic

Get the Medical Supplies

Exit the office and head right down the hall following it right. When you reach the end, there should be a group of four chairs against a wall. The chest with the supplies can be found just past the doorway to their right.

Doctor's Orders Starfield Medical Supplies

Return to Samina at the Key

Return to the Key in the Kryx System and return to Samina then speak with her to hand over the supplies. This will complete the Doctor’s Orders Starfield mission and you’ll be rewarded with 100 EXP and some credits.

For more Starfield guides and walkthroughs, click here!

Starfield Logo
Guides

How to Best Complete the Starfield Echoes of the Past Mission

by NightlyGamingBinge in

Welcome to our guide for the Starfield Echoes of the Past mission!

PLEASE NOTE: Some of the planets referenced in our guides and walkthroughs may not match up with yours due to how Starfield was created. In these situations, what you do and the places you visit on those planets should still be the same.

Starting Echoes of the Past

Echoes of the Past is one of the missions for the Crimson Fleet faction. You’ll start it automatically after completing the Rook Meets King mission.

Echoes of the Past Objectives

Proceed to the Surface of Suvorov

For the Echoes of the Past Starfield mission, you’ll need to travel down to planet Survorov and land at the Lock. Approach Delgado to get things started. Follow along the ice path to reach the Lock taking out the enemies that spawn along the way. When you reach the outer door, speak with Delgado. He’ll open the door allowing you to enter, but your companion will have to wait outside.

Continue Exploring the Lock

Follow the group through the Lock. When you reach the big open room, you’ll be ambushed by the same creatures from outside. Deal with them then speak with Del. Take Mathis and head for the control room to the south. Speak with him after the roof caves in. him who will want to team up to take out Delgado. Answer however you like then head through the nearby loose panel. Follow the linear path through a couple of rooms to reach the control room where Del we’ll be trying to reach you through the intercom. Interact with it to get your order then examine the Transfer Area Control Workstation nearby. Access the Security Controls and use them to override the lockdown.

Head through the newly opened Secure Access door and down the stairs into the intake room. Interact with the Prisoner Intake Workstation. Access the Power System Controls and activate the auxiliary power for D-Block. Continue heading forward to reach the guard tower overlooking the cell block. In the tower, your new buddy will ask you again about his proposal. Again, answer how you like then interact with the D-Block Post Workstation. Make sure to check out all of the files so you can pick up some of the optional objectives along with the cell block that Kryx was placed in.

Locate the Cache in Cell D-02-106

You’ll need to backtrack a little bit to reach cell D-02-106. Head back along the path you took to reach the guard tower looking for the broken section of stairs in the image below.

Jump off that section to the stairs below and follow the stairs up. Take a left going up another set of stairs brining you to a split.

The right has another set of stairs leading down and the left leads to Cell D-02-106. Take the right set of stairs down then take a right at the bottom to spot the kitchen. Across from the Kitchen, you’ll find the Showers. In one of the lockers, you’ll find the Kryx’s Journal Entry 04 magazine.

Kryx's Journal Entry 04

Exit this room and face the Kitchen. You’ll want to take the stairs on the left just before the Kitchen to reach the Security Room.

Starfield Echoes of the Past computer to unlock D-02-106 cache

Inside you’ll find a switch on the wall that unlocks cell D-02-106. You can then return to the split and head to the cell to access the cache.

Open Cells in D-Block Section 3

Head back up to the guard tower and jump across the broken walkway. Head down the stairs, take a right then follow that with another right to reach the D-Block Section 03 Cell Release Switch. Interact with it to open Kryx’s cell then make your way there and head inside (it should be the next cell on the left). Activate the lamp then choose the first option to pry open the base. Listen to the Best Laid Plans slate that you find there.

Search Carter’s Locker

Head back to the Kitchen near block D section 2 to find the showers. This is where you previously found the Kryx’s Journal Entry 04 magazine. Use the code you got for Carter’s Locker to open it. Grab the Carter’s Gig slate to listen to it. Exit the showers and head left passing through the kitchen.

You’ll then need to cross over to the north side of the area to reach Ventilation. Enter the room interacting with the Maintenance Access Computer on the other side. Use it to open the door to the closet on your left. Head inside and interact with the loose panel then follow the tunnel to eventually end up in the Warden’s Office. Delgado will be in an adjacent room trying to hail you on the intercom. Interact with it to speak with him to tell the bossman what you found. He’ll then open the way to the shuttle bay for you. Before leaving, make sure to grab the Warden’s Log evidence.

You’ll also need to speak with Mathis. Head to the Shuttle Bay and be prepared for a fight. You’ll need to secure the area before you can enter the ship. This time the bugs will be accompanied by their ridiculously high level queen.

Travel to the Key

Once the pests have been exterminated, fly back up to the Key and speak with Delgado in the Operations Center. Hand over the slate and he’ll reward you with a legendary pistol. You’ll then be given your next task. Make your way to the Last Nova (under the Operations Center) and speak with Mathis there. When you’re done, locate Naeva in the same place and chat her up.

Report Mission Progress on the UC Vigilance

Leave the Key and head back to the UC Vigilance in the Sol System. Dock with the ship then head to Commander Ikande to update him on your progress. The mission will be completed afterwards and you’ll be rewarded with 350 EXP and some credits.

For more Starfield guides and walkthroughs, click here!

Starfield Logo
Guides

Rook Meets King Starfield Mission

by NightlyGamingBinge in

Welcome to our guide for the Rook Meets King Starfield mission!

PLEASE NOTE: Some of the planets referenced in our guides and walkthroughs may not match up with yours due to how Starfield was created. In these situations, what you do and the places you visit on those planets should still be the same.

Starting Rook Meets King

Rook Meets King is one of the faction missions for the Crimson Fleet. You’ll start this mission automatically after completing the Deep Cover mission.

Rook Meets King Objectives

Rendezvous with the Astraea at Europa

For the Rook Meets King Starfield mission, you’ll first need to travel to the Astraea orbiting Jupiter’s moon, Europa. Hail the ship to begin conversing with Naeva Mora. She’ll tell you that in order you join THE Crimson Fleet, you’ll need to complete a task for her.

Find the Ragana Near Enceladus

Plot a course for Saturn’s moon Enceladus to find the Ragana. You’ll receive a hail asking why you are there. If you are trying to minimize casualties, you can pick the UC SysDef option. Otherwise, you can use the Crimson Fleet option or just attack the ship. If you board the ship, speak with Dimitri. This will give you the options to resolve this issue without violence, convince him to kill Austin or attack them all.

Return to Naeva in Europa’s Orbit

When the issue has been dealt with, return to the Astraea. As soon as you reach it, some Ecliptic Fighters will show up. Deal with them then hail the Astraea. Report that Rake was taken care of to be given the coordinates to the Crimson Fleet’s base.

Report to the Vigilance

Head back to the UC Vigilance orbiting Mars’ moon Phobos and board it. Follow the recruit to the Operations Center and speak with Commander Ikande.

Travel to the Key

Return to your ship and set a course for the Key orbiting Suvorov in the Kryx system. Dock with the station then board it.

Speak to Naeva

Speak with Navea nearby after the two Crimson Fleet members finish their business. After the conversation, follow her for a tour of the Key ending at Shinya Voss.

Speak to Shinya Voss

After speaking with him, take the elevator behind him to reach the Operations Center. Locate and speak with Delgado to officially join the Crimson Fleet. He’ll then give you your first set of instructions. The Rook Meets King Starfield mission will complete and you’ll be rewarded with Pirate Swashbuckler Gear, Grey Leather Jumpsuit, 250 EXP and some credits.

For more guides and walkthroughs on Starfield, click here!

Starfield Logo
Guides

Deep Cover Starfield Mission

by NightlyGamingBinge in

Welcome to our guide for the Deep Cover Starfield mission! Deep Cover is one of the faction missions for the Crimson Fleet.

**PLEASE NOTE: Some of the planets referenced in our guides and walkthroughs won’t match up with yours due to how Starfield was created. In these situations, what you do and the places you visit on those planets should be the same. **

How to Start Deep Cover

Commit a Crime

To start the mission, commit a crime then let the UC escort you to the UC Vigilance. You’ll be taken to a cell and Commander Ikande will show up to interrogate you. Work your way through his dialog then accept the offer when presented. You’ll then need to follow the guard to the operations center. Speak with the commander there to get the details on the mission.

Finish Grunt Work

Alternatively, finish the Grunt Work faction quest then Commander Tuala will just give you this quest and have you report to the UC Vigilance. Once you board, speak with Sysdef Guard who welcomes you aboard the ship then follow him to the command center. Take the elevator up then speak with Commander Ikande.

Speak to Lt. Toft

No matter how you started the Deep Cover Starfield mission, you’ll need to speak with Lt. Toft after being briefed by Commander Ikande.

Proceed to Cydonia

Head to your ship and set a course for Cydonia on Mars in the Sol System. Once you land, make your way to the Trade Authority and speak with Saoirse Bowden. She’ll tell you that the stuff is too hot to handle but for a small fee of 1,000 credits, she’ll set up a buyer for you.

Speak to Adler Kemp at the Broken Spear

Make your way over to the Broken Spear bar to locate and speak with Adler Kemp. Choose to give him the sample when prompted. Before agreeing to move the product, you’ll need to settle a matter for Adler. Make sure to pick up the Naeva Meetup (Evidence) on the table behind him for the Burden of Proof mission.

Recover Karl Fielding’s Debt

Make sure this quest is active so you can track down Karl Fielding (for us he was near the Luxe Condos in the residential area). Speak with Karl about his debt. After you remind him who Adler is, you’ll have a couple of options. You can pay the debt for him, persuade him to pay up or attack him and take it afterward. How you do it doesn’t matter, just make sure to deliver the credits to Adler. He’ll then invite you to join the fleet. After you accept, the Deep Cover Starfield mission will complete. You’ll be rewarded with 250 EXP and some credits.

For more guides and walkthroughs on Starfield, click here!

Starfield Logo
Guides

How to Complete the Apex Predator Starfield Mission

by NightlyGamingBinge in

Welcome to our walkthrough for the Apex Predator Starfield mission!

PLEASE NOTE: Some of the planets referenced in our guides and walkthroughs may not match up with yours due to how Starfield was created. In these situations, what you do and the places you visit on those planets should still be the same.

Starting Apex Predator

Apex Predator is a faction mission for the United Colonies that you can begin by speaking with Percival at the TMD Headquarters on Mars in the Sol System after competing the A Legacy Forged mission.

Apex Predator Objectives

Collect Samples

For the Apex Predator Starfield mission, you’ll first need to travel to the Stone Pillars on Groombridge VIII-a, a moon of Groombridge VIII in the Groombridge system. Once there, mark your mission as active then follow the objective markers to the specific beasts you need to gather the samples from. If you use a non lethal gun you can retrieve the samples without killing the creatures!

Return the Samples

Return to the TMD HQ on Mars in the Sol system then hand the samples over to the United Colonies Xenobiologist, which will complete the mission!

Post Mission

Please note this mission is repeatable! Just speak with Percival to get the location for more samples. You’ll go collect the samples then return them for rewards!

For more Starfield guides and walkthroughs, click here!

Starfield Logo
Guides

How to Complete the Preventive Action Starfield Mission

by NightlyGamingBinge in

Welcome to our walkthrough for the Preventive Action Starfield mission!

PLEASE NOTE: Some of the planets referenced in our guides and walkthroughs may not match up with yours due to how Starfield was created. In these situations, what you do and the places you visit on those planets should still be the same.

Starting Preventive Action Starfield Mission

The Preventive Action Starfield mission is started automatically after completing the A Legacy Forged UC faction mission if you sided with Vae Victis and kept his involvement a secret.

Preventive Action Starfield Mission Objectives

Collect the Details on the Target

For the Preventive Action Starfield mission, you’ll first need to interact with the Transfer System on the wall next to the secure access door.

Eliminate the Target

After collecting the slate, head to the Deserted Ecliptic Garrison on Belwah, a moon of Navaha in the Cheyenne system. Once there, head into the camp and take out the Ecliptic forces. When you take down the Rogue Asset, the Preventive Action Starfield mission will complete!

Post Mission

Please note this is a repeatable mission. After you’ve completed the Preventive Action Starfield mission, you’ll be able to return to Vae Victis to collect the slate for the next target. Keep taking out the threats, earning both EXP and credits for completing the missions.

For more Starfield guides and walkthroughs, click here!

Starfield Logo
Guides

How to Complete the A Legacy Forged Starfield Mission

by NightlyGamingBinge in

Welcome to our walkthrough for the A Legacy Forged Starfield mission!

PLEASE NOTE: Some of the planets referenced in our guides and walkthroughs may not match up with yours due to how Starfield was created. In these situations, what you do and the places you visit on those planets should still be the same.

Starting A Legacy Forged

The A Legacy Forged Starfield mission will automatically begin after completing the Hostile Intelligence faction mission.

A Legacy Forged Objectives

Speak to Vae Victis

For the A Legacy Forged mission, you’ll first need to speak with Vae Victis in the basement of the MAST building in New Atlantis on Jemison in the Alpha Centauri system. During this discussion, you’ll learn who was behind the attacks. You can either side with Sanon or turn the culprit in. Thankfully, you don’t need to make an actual decision regarding this just quite yet!

Speak with Hadrian and Percival

Once you’ve finished speaking with Sanon, head up to the Cabinet Chambers / Interstellar Affairs floor and speak with Hadrian. You’ll now have to make a decision on whether or not you’re going to lie about her father’s involvement.

Tell the Truth About Her Father

If you tell Hadrian that her father was behind the attacks, she’ll be angry with him and say that he further sullied their name. In telling her the truth, you’ll be locked in to telling the cabinet the truth as well!

Lie About her Father

If you lie and tell her it was Orlase, she will believe you. Percival will be surprised as it was his former coworker but not entirely shocked. He asks you if you’re absolutely sure.

Address the Cabinet

During this address, you’ll need to determine the fate of Vae Victis, the Lazarus Plant and the Terrormorphs.

Vae Victis’ Involvement

Disclose Vae Victis’ Involvement

During the address to the cabinet, you’ll need to tell Abello it was Vae Victis who organized the attacks. If you already told Hadrian about her father’s involvement then attempt to lie to the Cabinet during this address, she will tell you that her father doesn’t deserve our protection and will tell the Cabinet herself about his involvement. Abello will want evidence to back this up and you’ll need to play the Emergency Recorder Snippet. She will launch a full investigation and you’ll be given a chance to request that his life be spared if you wish. Abello won’t see why someone with UC blood on their hands would merit leniency but will note our request when the decision is made. Alternatively, you can leave it up to the Cabinet or agree that the world will be a better without Vae Victis in it. Both options are essentially the same.

Lie About Vae Victis’ Involvement

During the address to the cabinet, you’ll need to lie to Abello and tell her that it was Orlase. She and the cabinet will believe you and bring up the fact that they received a report recently stating he was killed by us. Abello will ask if we suspected him in the attacks and you’ll say essentially no. She’ll give you a small reprimand (that has no actual consequences) of not bringing him in alive so they could bring him to justice but will then quickly follow up with how she’s happy that he was dealt with before he could do any more harm.

How to Deal with Lazarus Plant

Agree with Abello that UC Secures Plant

Abello will be happy and nothing else is mentioned.

Other Factions Should be Involved in Securing Plant

Abello and Yasin won’t see the value in doing this as they believe the other faction will just have more ammunition against them so you’ll need to convince them. Andreja likes the “It’d demonstrate to the Collective the UC isn’t planning to secretly use this down the line.” option.

Destroy Plant

Abello will want convincing of why another species needs to be wiped out besides the Terrormorphs. Andreja likes the “Destroying it – and asking the Freestar Collective to help – proves the UC has no ill intentions.” option.

How to End the Terrormorphs

Use Aceles to Kill Terrormorphs

This option is considered the safe option however it’s a slow process. Bolder, better and brighter future is the general consensus.

Use Microbes to Kill Terrormorphs

This option is considered the fastest option. There are concerns that there is an incredibly low chance the microbe could cause problems to humans and other species and that the Terrormorphs could develop a resistance to it. Andreja dislikes using microbes to kill the Terrormorphs.

Do Nothing as Destroying Lazarus Plant is Sufficient

This option will only be available if you selected to destroy the Lazarus Plant when discussing it with the Cabinet. Abello will dismiss this as she believes they have a responsibility to still wipe out the Terrormorphs in case someone reopens Pandora’s box in the future. You will be forced to select either Aceles or microbes!

A Legacy Forged Conclusion

No matter your choices during the address, you, Hadrian and Percival will receive Class One Citizenship as a reward. This new level of citizenship will allow you to enjoy ample credit disbursement, additional reduction on the cost of Colonial goods and the penthouse at Mercury Tower in the Residential District!

Post Mission Activity

Exposed Vae Victis’ Involvement

After you complete the A Legacy Forged Starfield mission, you’ll receive an activity to speak with Speak to Commander Tuala. For earning your Class One Citizenship, he’ll hand you 12,000 credits! You’ll then be given the choice of several new missions: run a Vanguard mission (Vanguard: Safer Skies), take on some Terrormorphs (Vanguard: Bug Hunt), help Percival with new alien threats (Apex Predator) or none at all!

Hid Vae Victis’ Involvement

Besides, getting an activity to speak with Commander Tuala, you’ll receive an additional activity to speak with Vae Victis about working together. Please note this activity is only available if you chose to side with him and hid his involvement during the A Legacy Forged mission. For this activity, make your way to him in Subsection Seven then begin speaking with him about the work he’s offering. You’ll agree to help him eliminate a “threat” to the UC, officially starting the Preventive Action mission.

For more Starfield guides and walkthroughs, click here!