Welcome to NGB and our Borderlands 3 guide on the Promethea Echo Logs. Here you’ll find all the locations of these logs!
Quick Links
Promethea Echo Logs
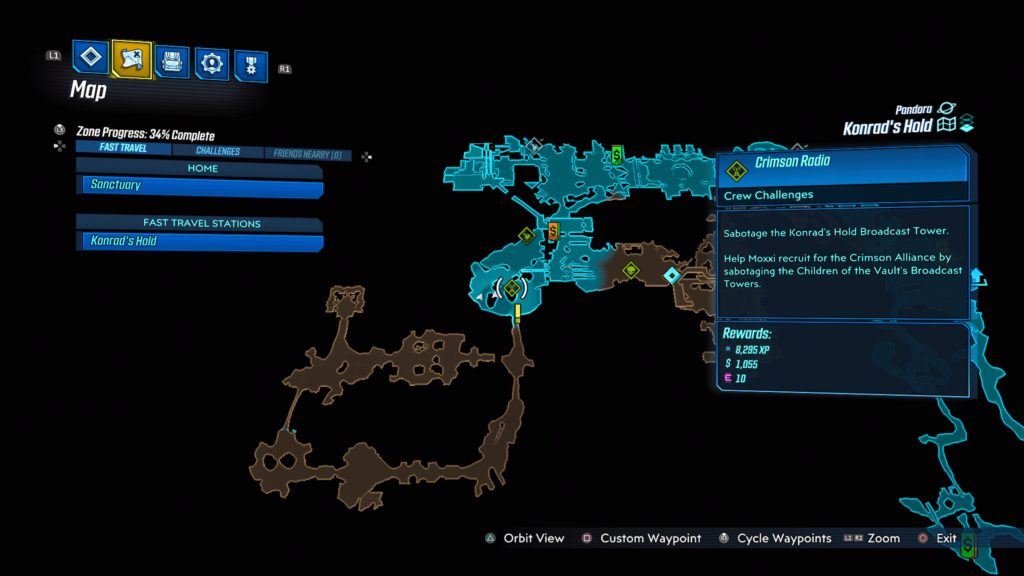
Meridian Outskirts
Marcus Munitions (Part 3)
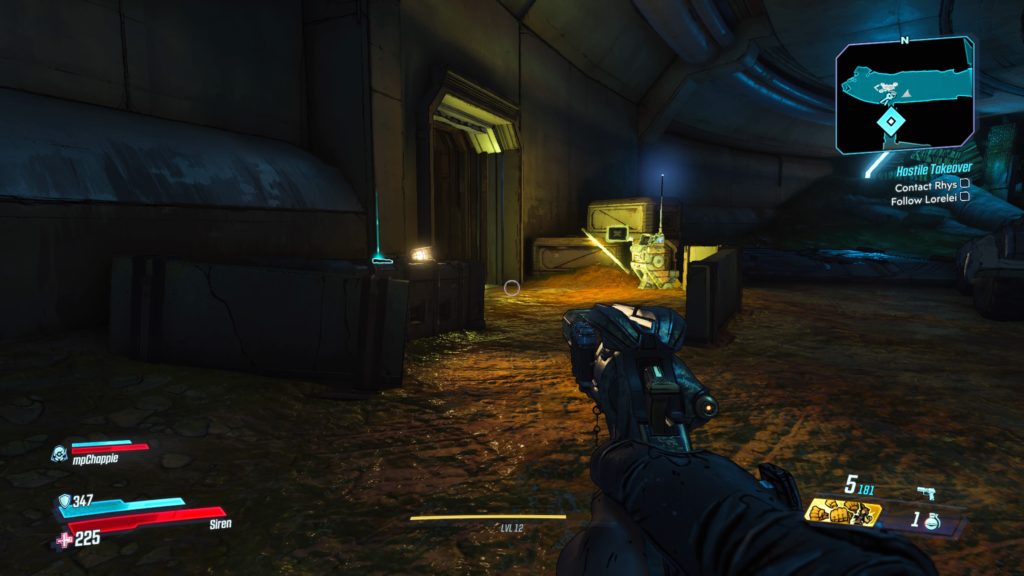
This log is located on a metal crate just before the civilian camp that Lorelei takes you to during the Hostile Takeover main mission (near a Catch-A-Ride).
Marcus Munitions (Part 1)
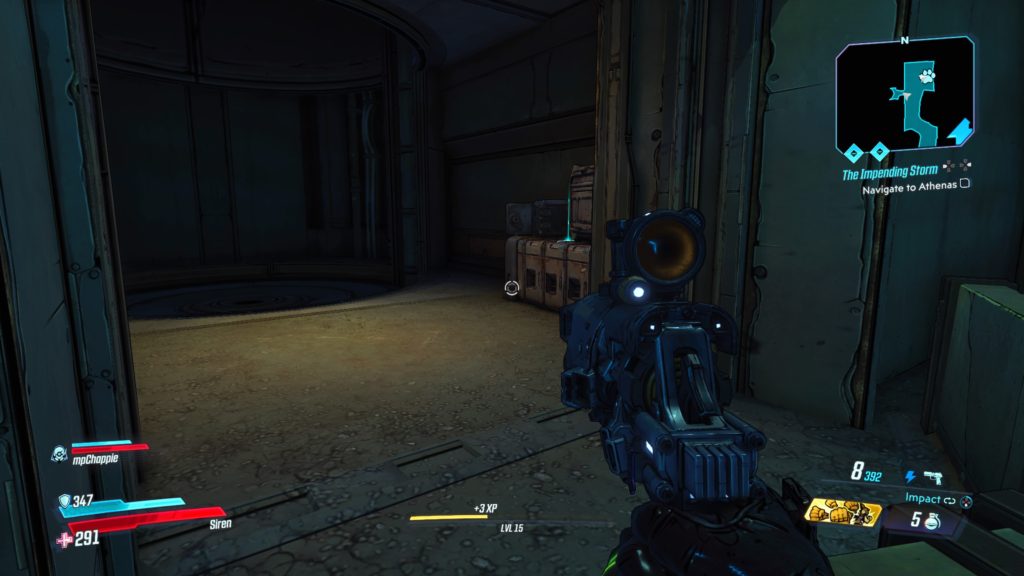
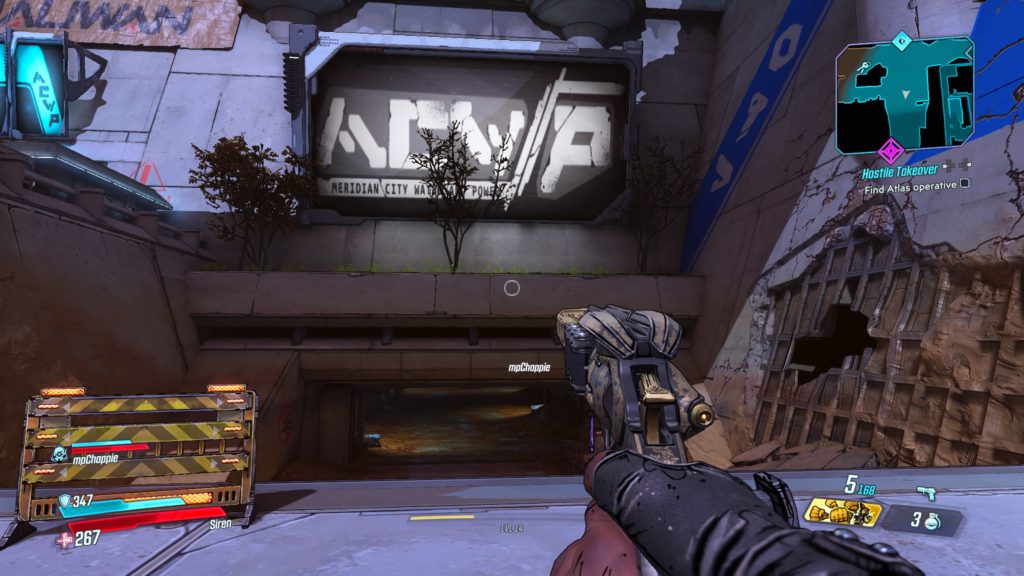
Located in a tunnel across (north) of Fort Pissoff (contains the Meridian Outskirts fast travel station) on a metal crate near the elevator leading to the top of the bridge. You can reach it after completing the Hostile Takeover main mission.
Occupational Hazard
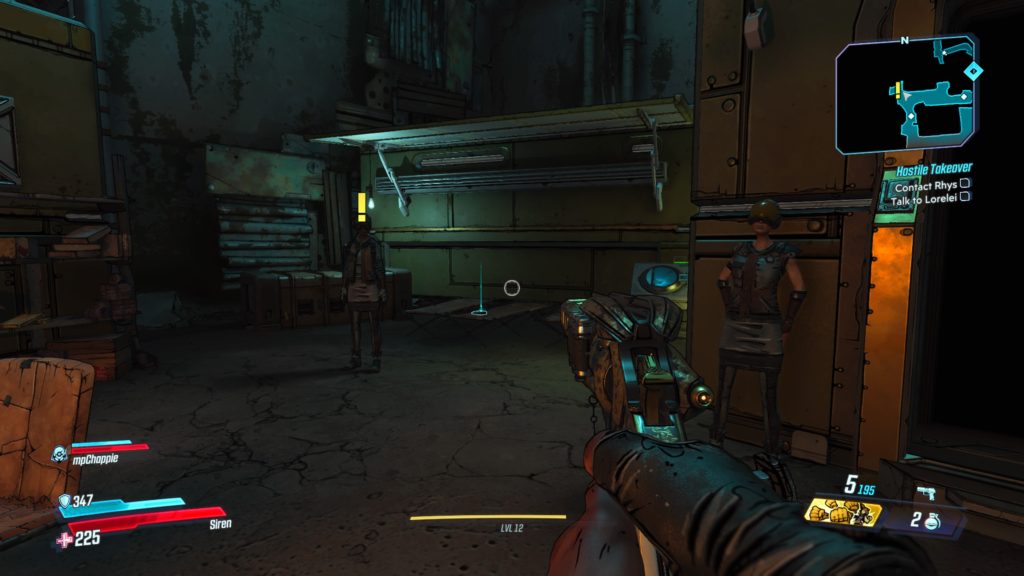
This log is located on a cot behind Ziff in the area just before the Meridian Metroplex map transition.
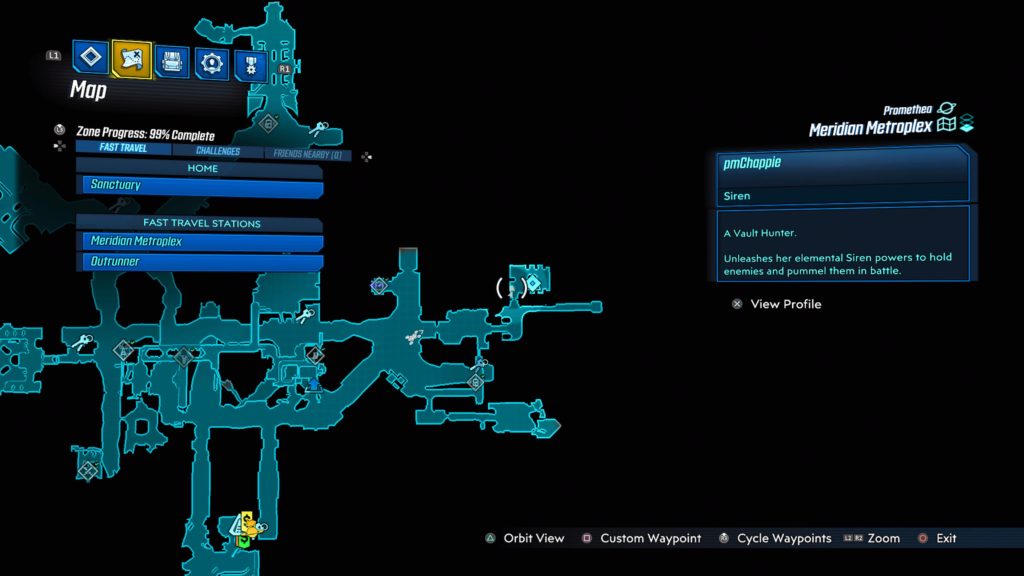
Meridian Metroplex
Sitrep
This log is located near some steps next to a door in the middle of a bunch of buildings directly north of the Meridian Metroplex fast travel station.
Morning Meridian

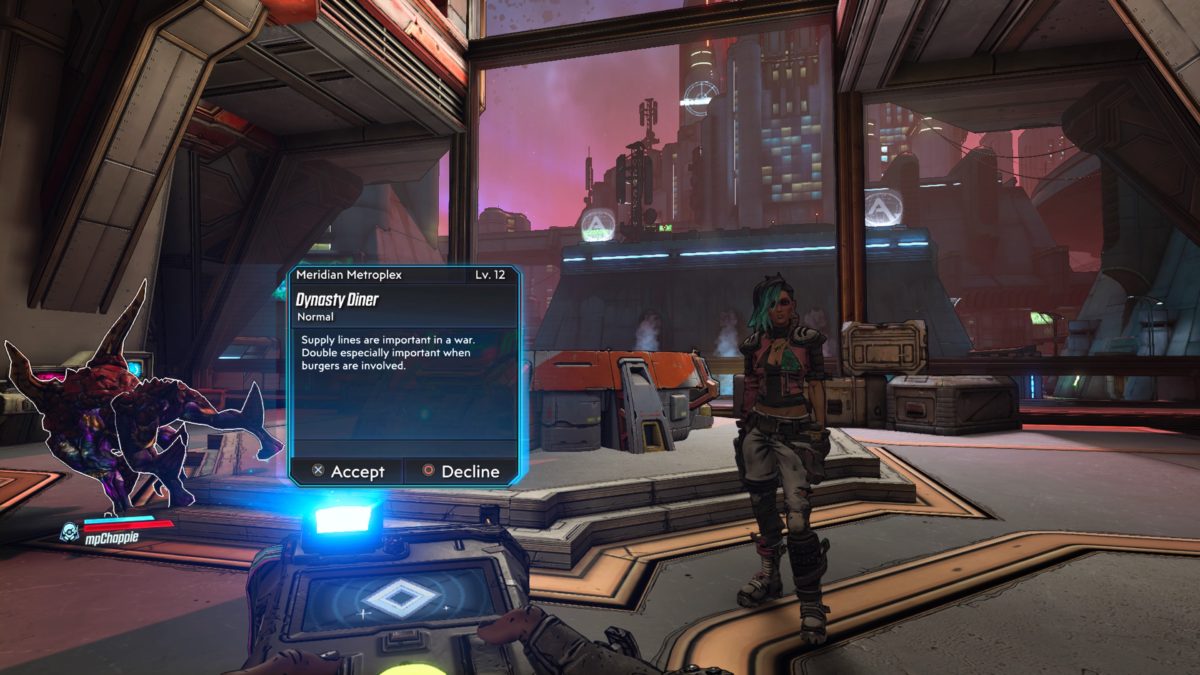
This log is located on the ground in front of a building with a billboard advertising Vault Hunters The Motion Picture. The building is on a bridge near the center of the map close to where you find Beau during the Dynasty Diner side mission.
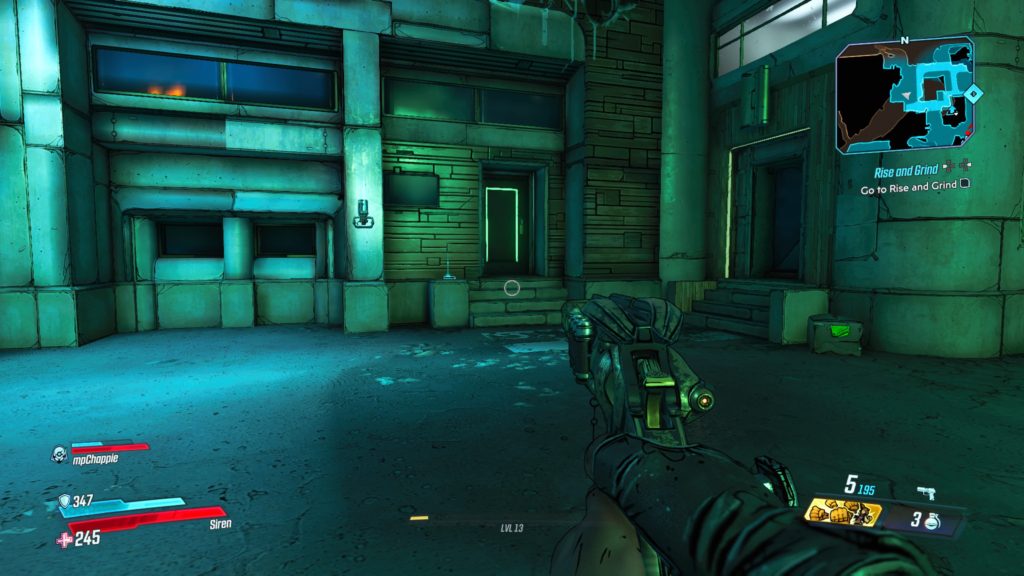
Daily Grind
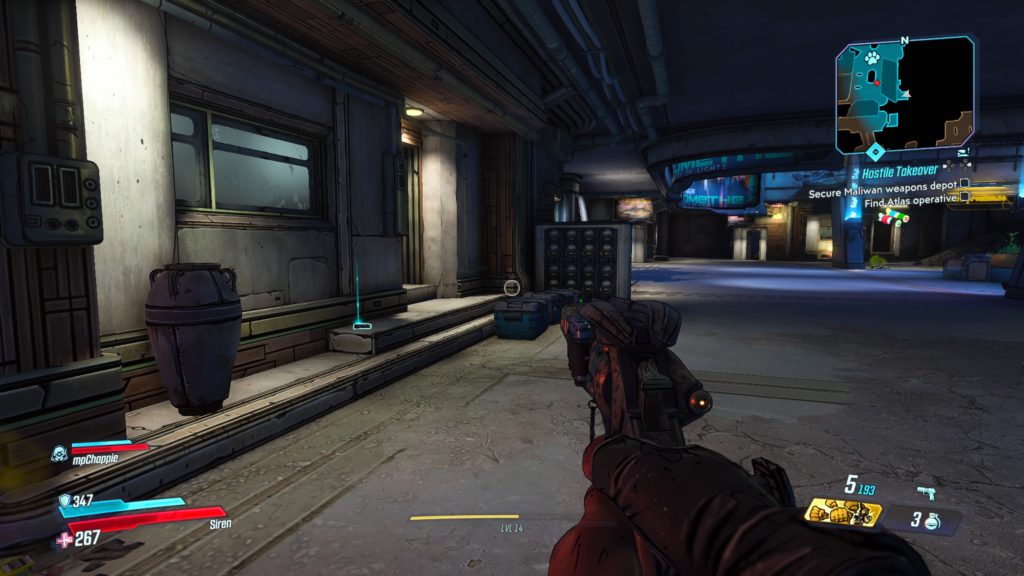
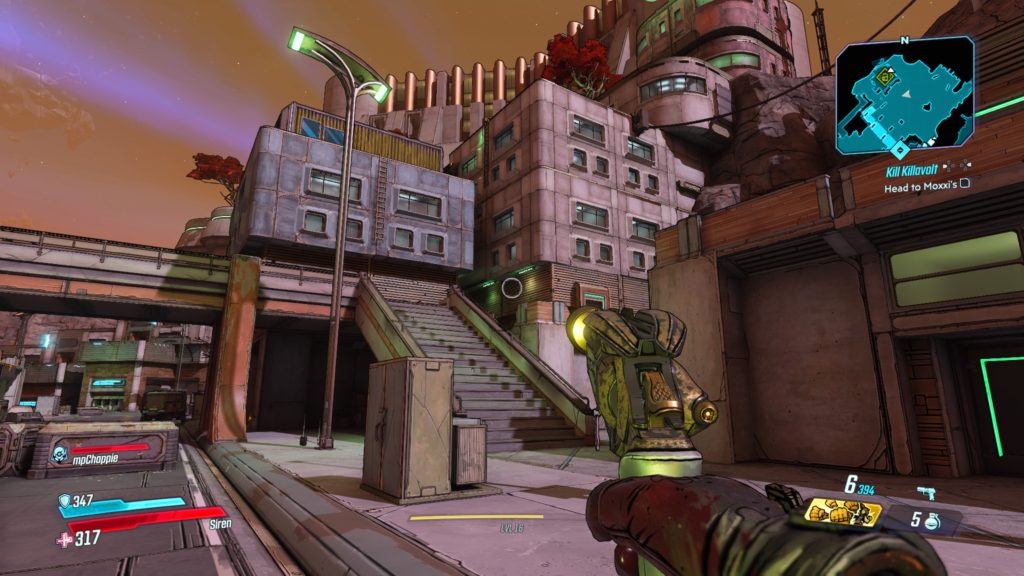
This log is located on the ground next to a door just before the Maliwan Weapons Depot in Meridian Mercantile on the western side of the map, which you access during the Hostile Takeover main mission.
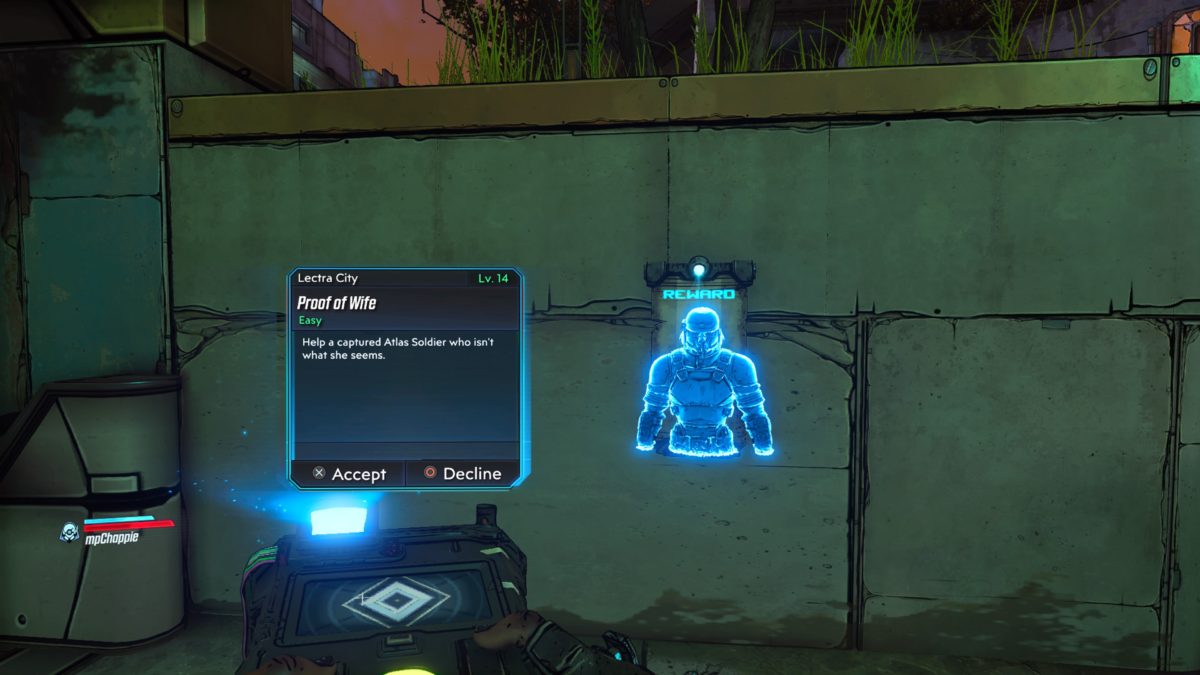
Lectra City
Lashley (Part 1)
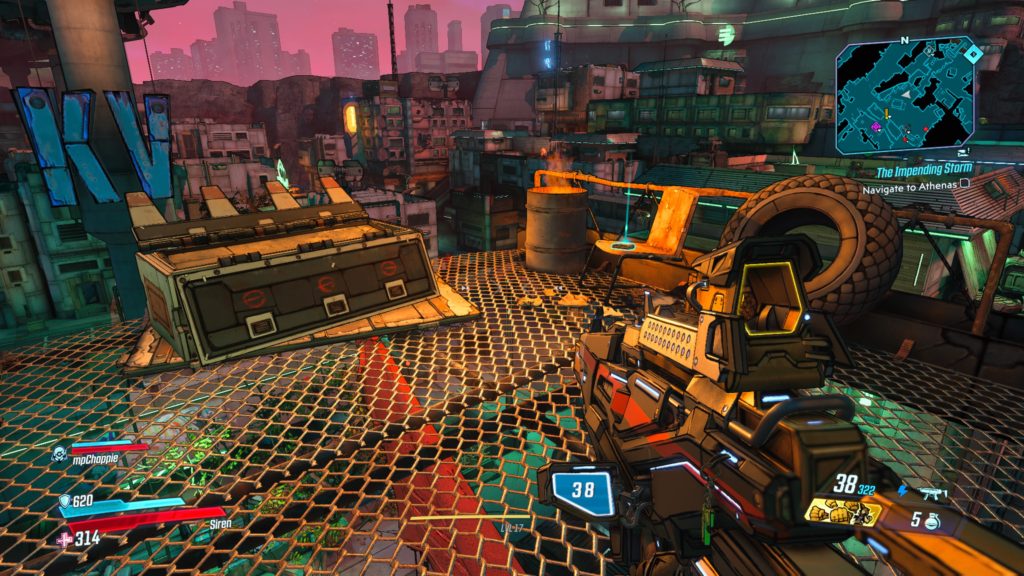
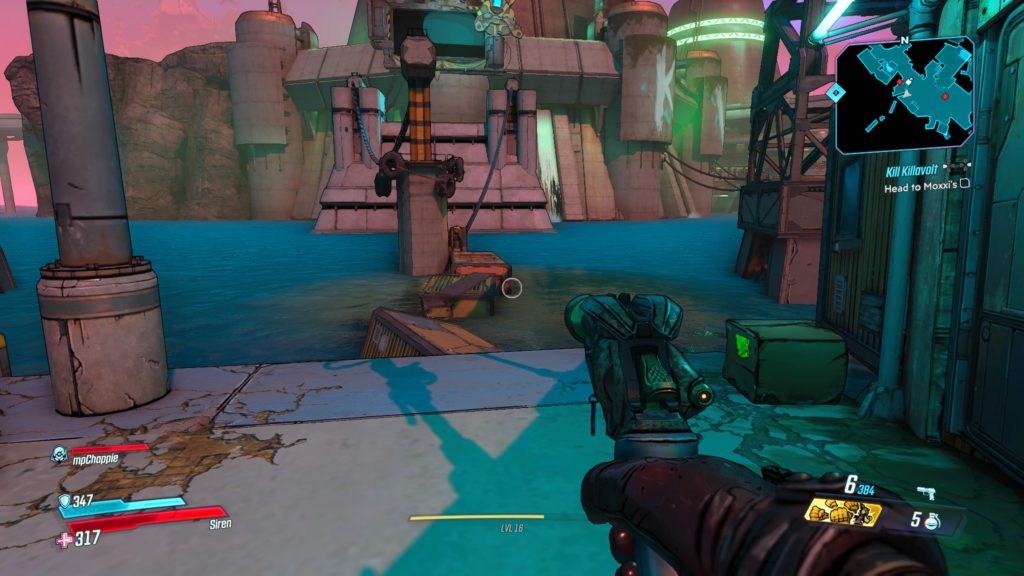
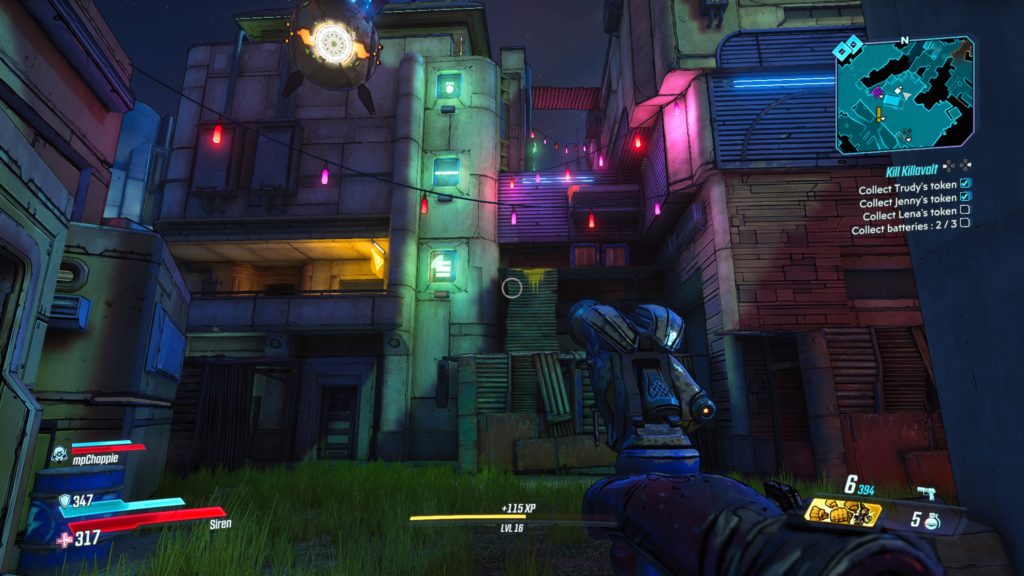
This log is located near the center of the map on a platform near the top of a bridge support. See the map below for the exact location. To reach it, you will have to climb up to the roof of an adjacent building to jump across to it. This is close to where you fought Trudy during the Kill Killavolt side mission.
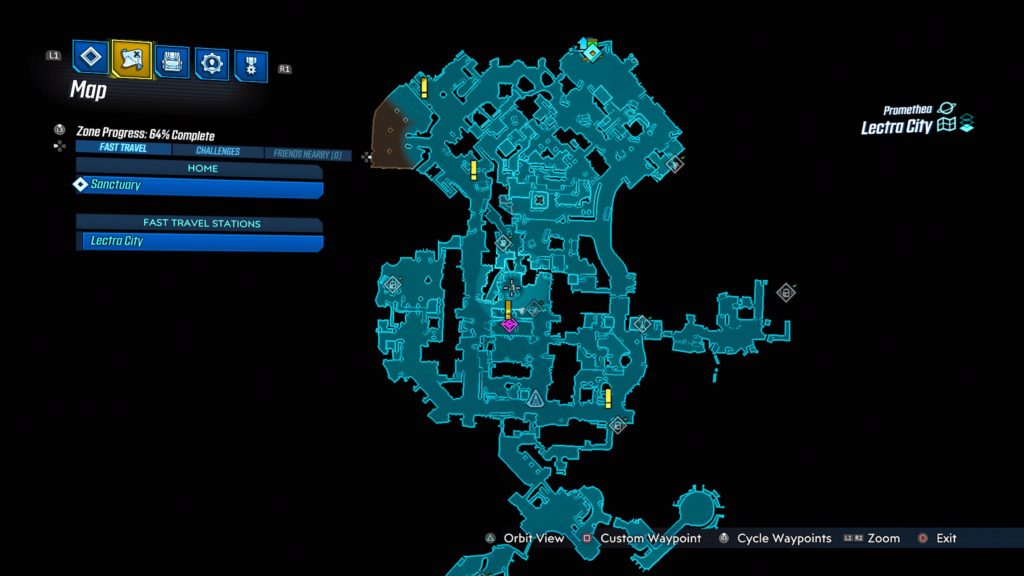
Lashley (Part 2)

This log is located on a rooftop south of where the Lectra City Broadcast Tower Crimson Radio Crew Challenge was. See the map below for the exact location.
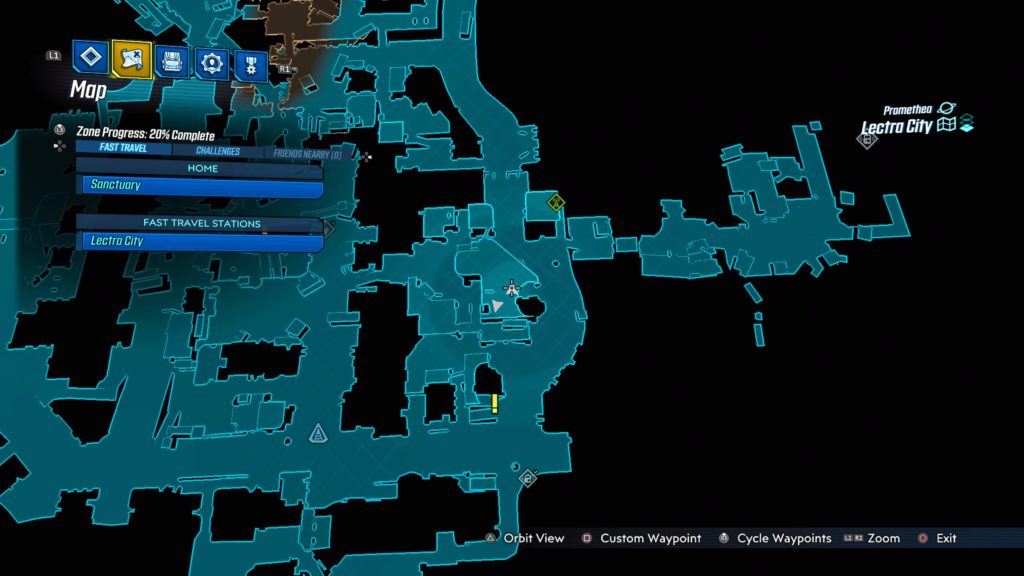
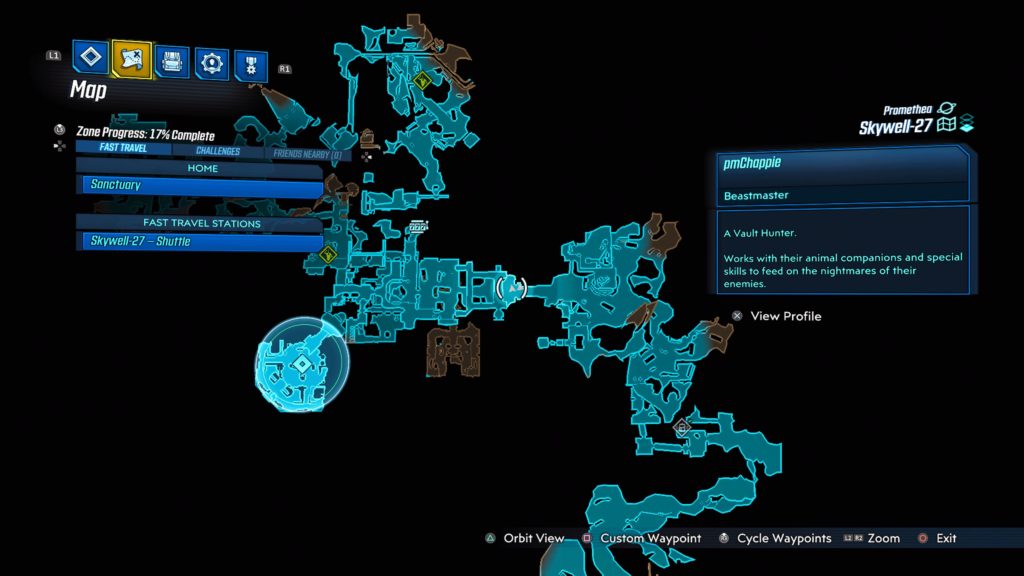
Skywell-27
Back-Up
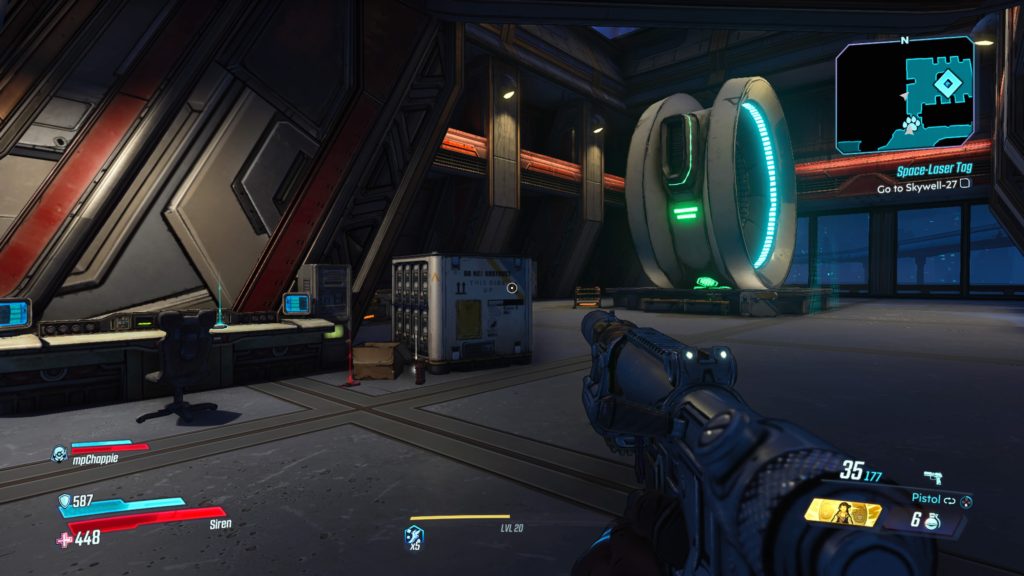
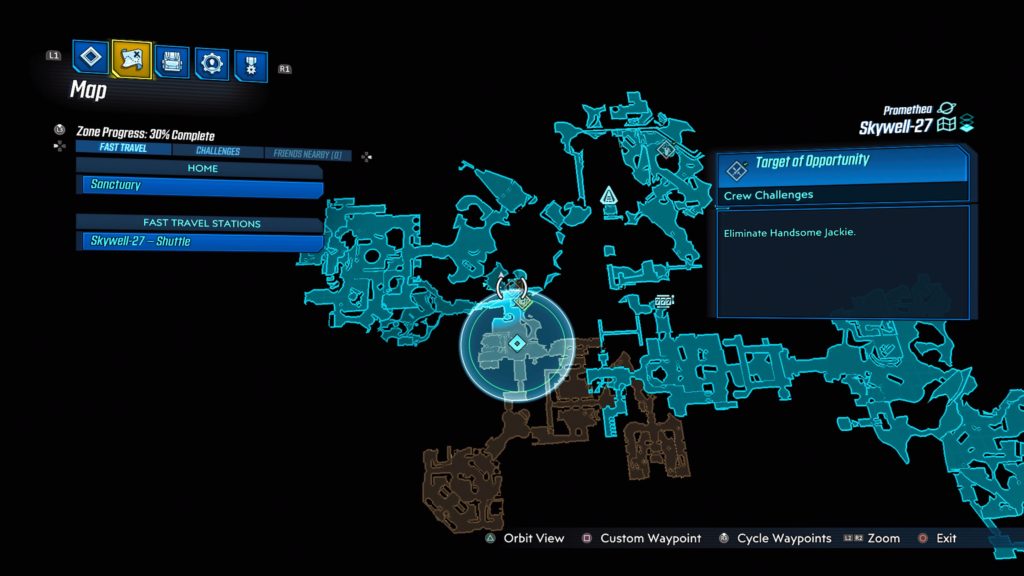
This log is located in the most northeastern building on the map where you borrow the Maliwan shuttle during the Space-Laser Tag main mission (at the Skywell-27 map transition) on a desk near the entrance. See the map below for the exact location.
Laser Technician
This log is located past the giant circular door in Sector 1 that leads to the elevator in the Maliwan facility. See map below for the exact location. To reach it, jump on top of the light located on the right side of the room next to a dump truck under a bridge. Jump on top of the bridge and head left to find the log laying on a table in a small room.
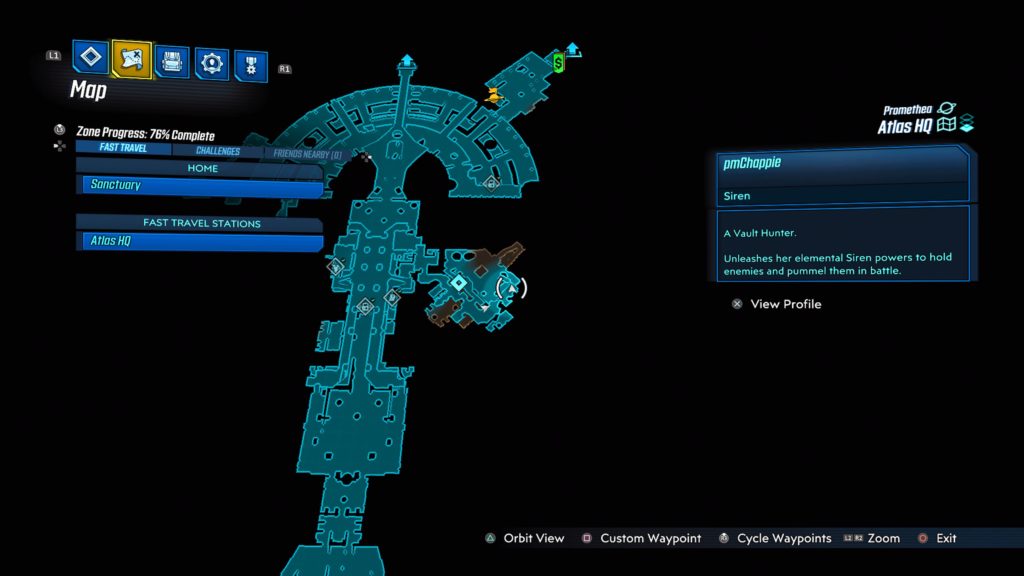
Atlas HQ
Bloodbath on the Zanara
This log is located near the entrance to the Courtyard of Innovation coming from the Atlas Campus. You will walk up a flight of stairs to arrive in the courtyard with giant turrets. Take a left (heading south) at the top of the stairs and follow the wall to the end. The log will be located on a metal crate.
Friends in Invisible Places
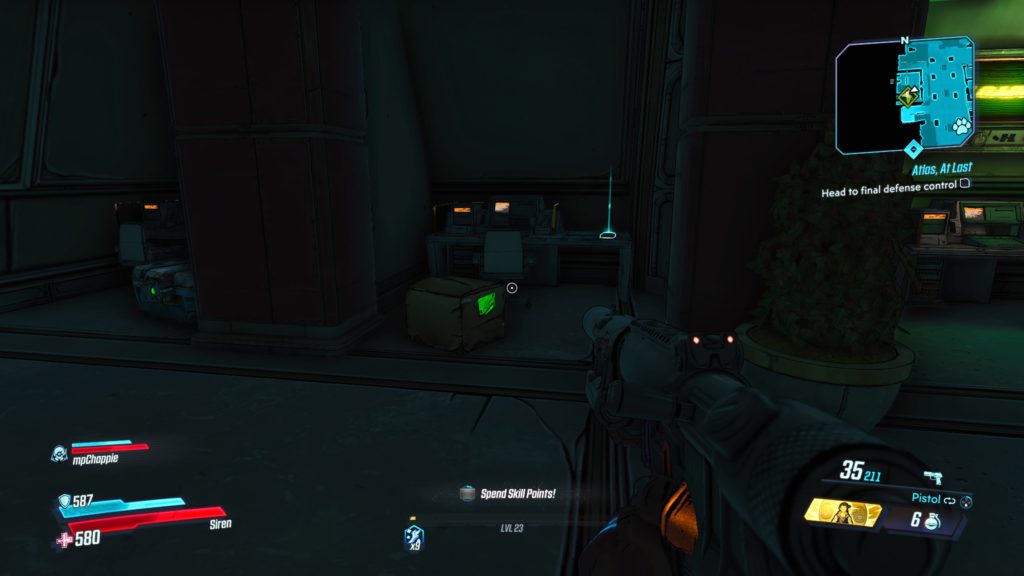
This log is located in Atlas Tower. Enter Atlas and head forward, past the spinning gold ball, then under the red ATLAS sign in the middle of the walkway. Enter the first room on the right to find this log on a desk in the back of the room.
Terry’s Science Dairy (Part 1)
This log is located in the Skunkworks Lab. You can find it during the Ratch’d Up side mission on a cushioned bench. See map below for the exact location.
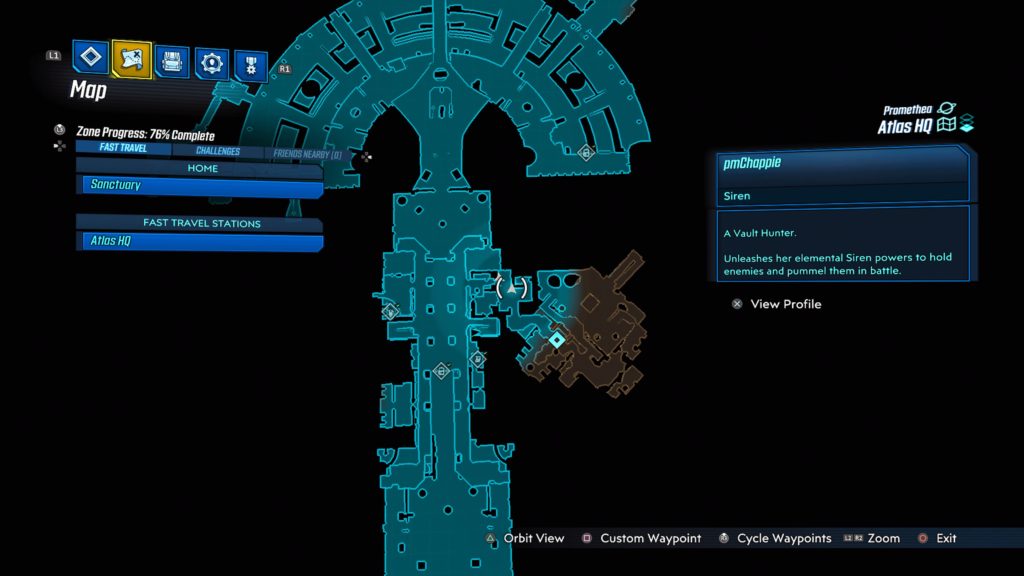
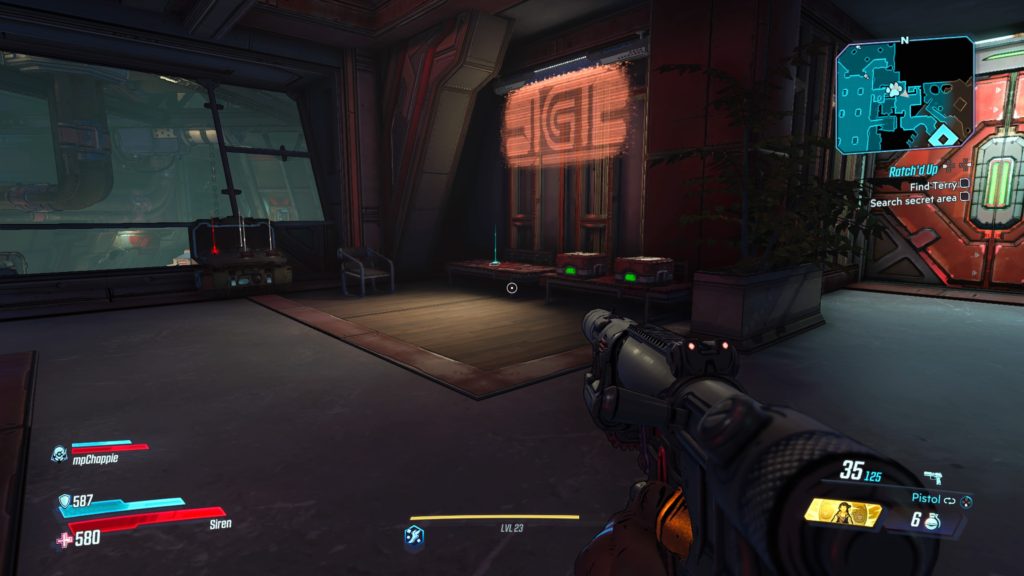
Terry’s Science Dairy (Part 2)
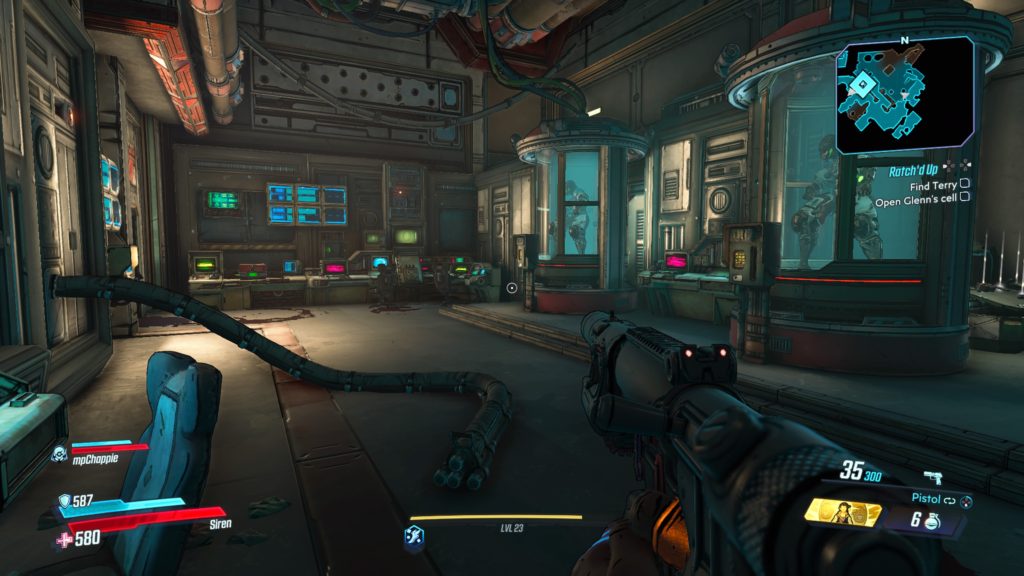
This log is located in the Skunkworks Lab. You can find it during the Ratch’d Up side mission laying on a console in a room with the two cylinder tanks. See map below for the exact location.
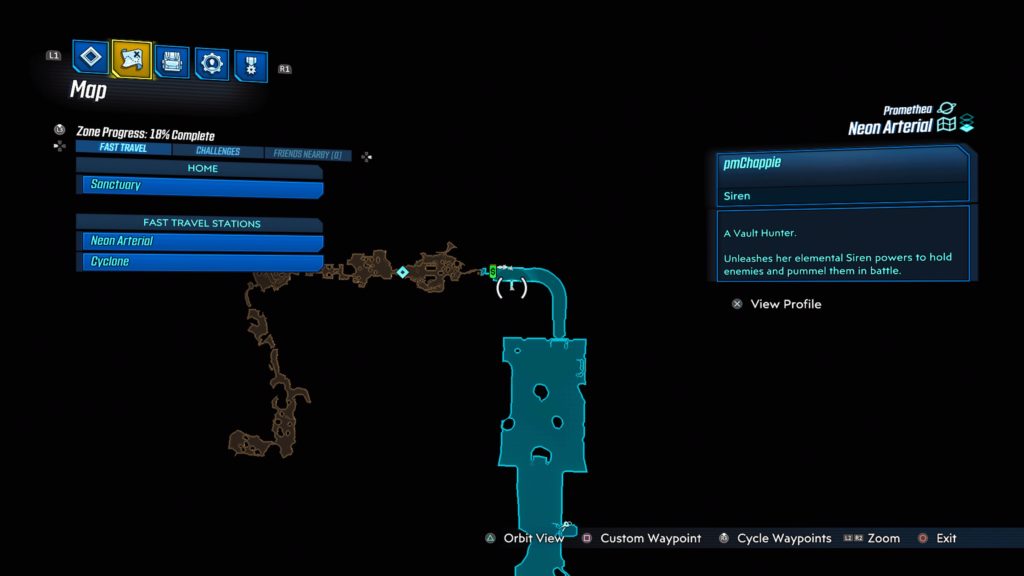
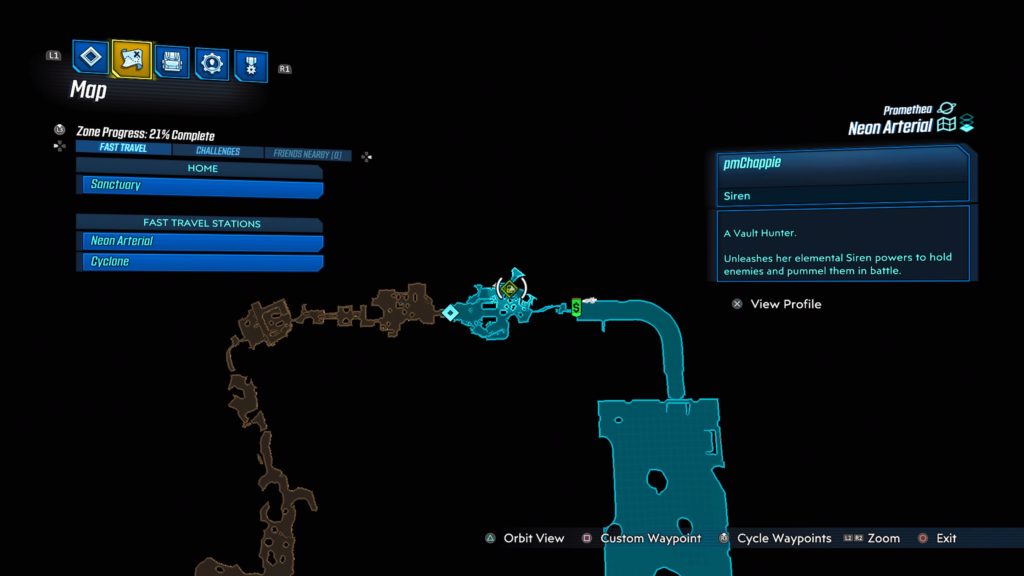
Neon Arterial
Below (Part 1)
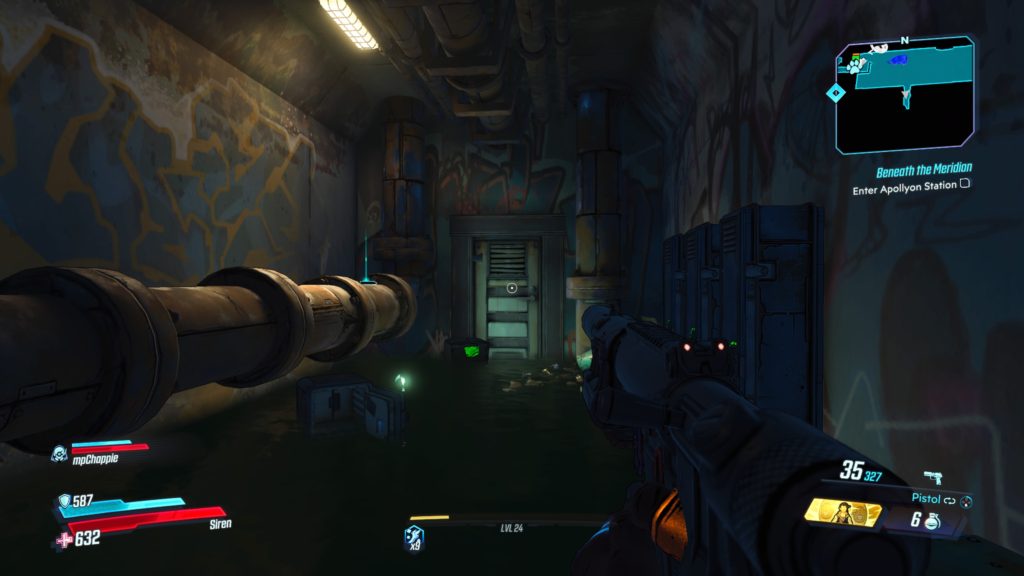
This log is located on a pipe in a tunnel with a dead end just before Apollyon Station. You will come here during the Beneath the Meridian main mission. See the map below for the exact location.
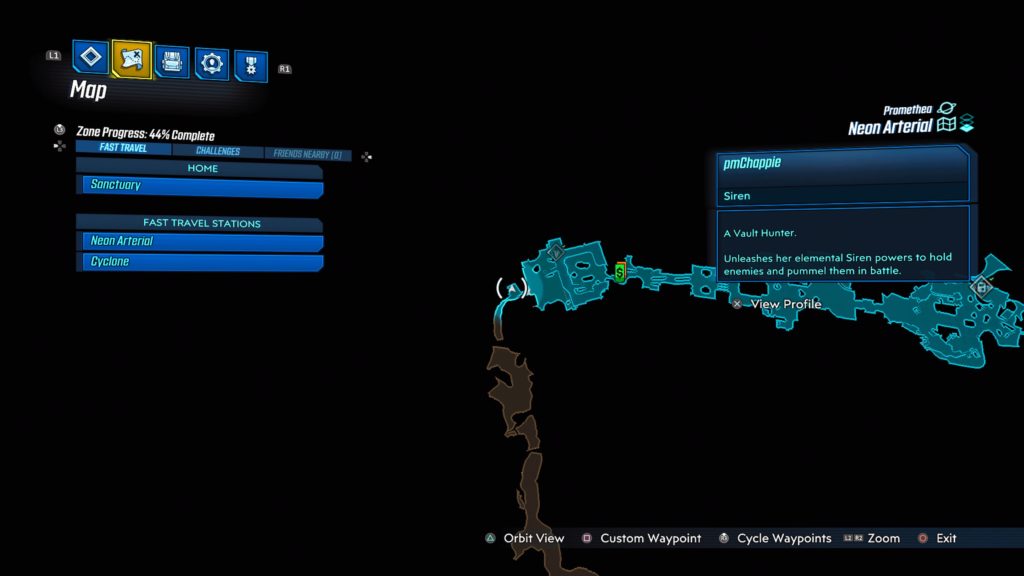
Below (Part 2)
This log is in Apollyon Station on a couch next to some stairs just before the vending machines and Green Diamond Platform. See the map below for the exact location.
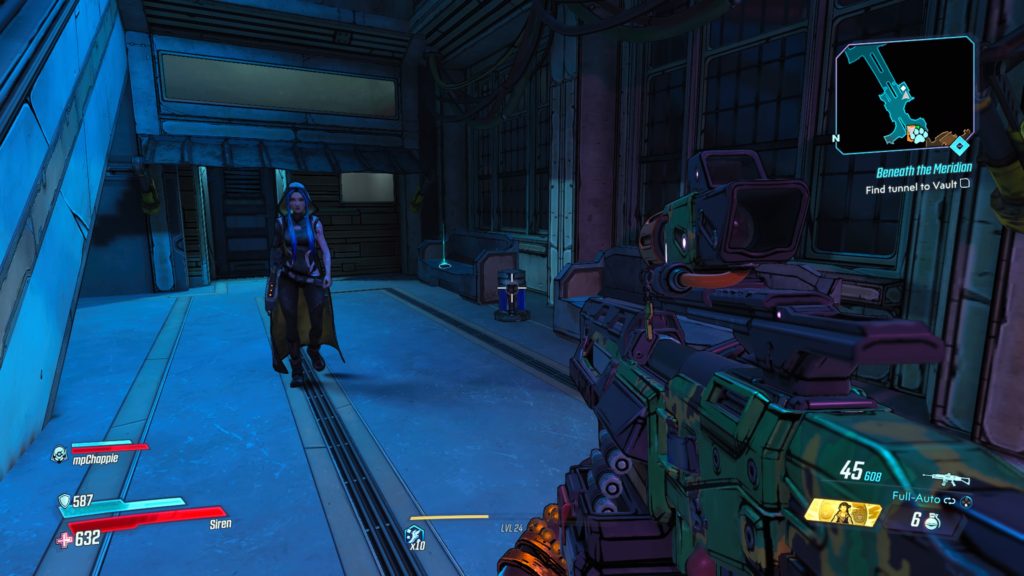
Below (Part 3)
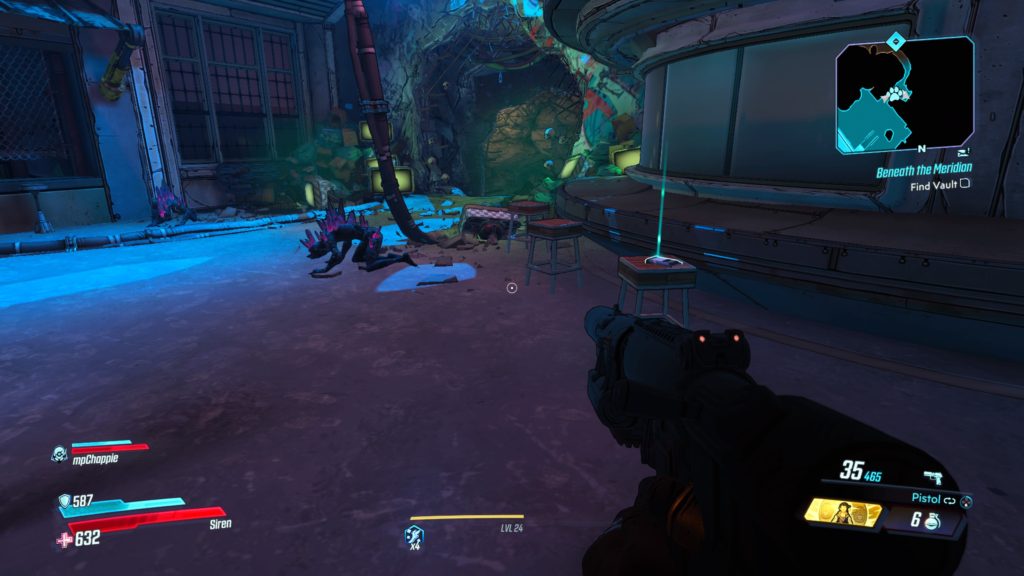
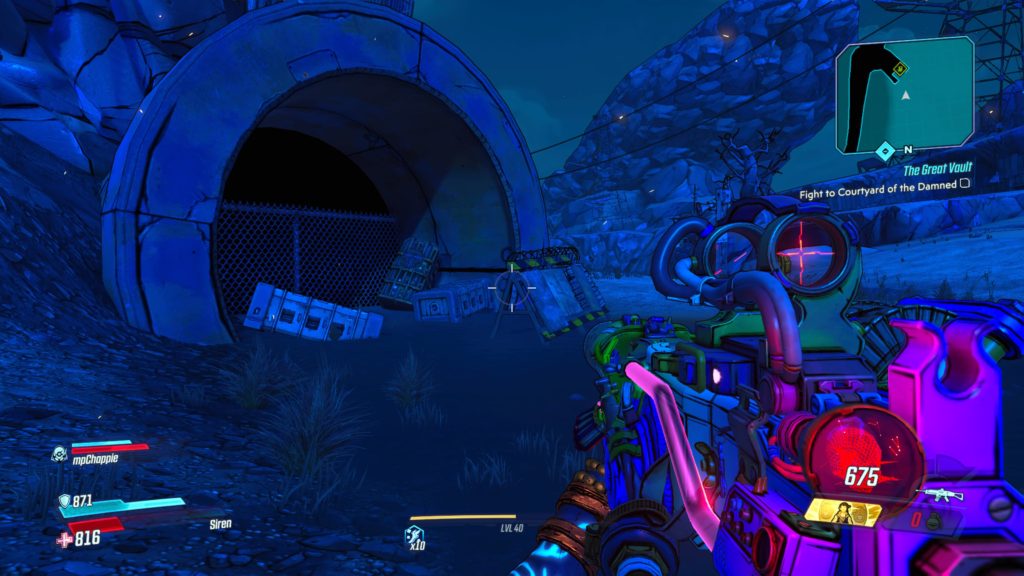
This is log is located on a barstool just before the tunnel leading to the vault in the Green Diamond Platform. See the map below for the exact location.
More Borderlands 3 Guides and Walkthroughs
Check out our Borderlands 3 Guides and Walkthroughs for more help!