Guides

Borderlands 3 – Sell Out Walkthrough

by Chappie in

Welcome to NGB and our Borderlands 3 walkthrough on the Sell Out side mission. Here you’ll find everything you’ll need to breeze through this mission!

Sell Out Walkthrough

How to Start Sell Out

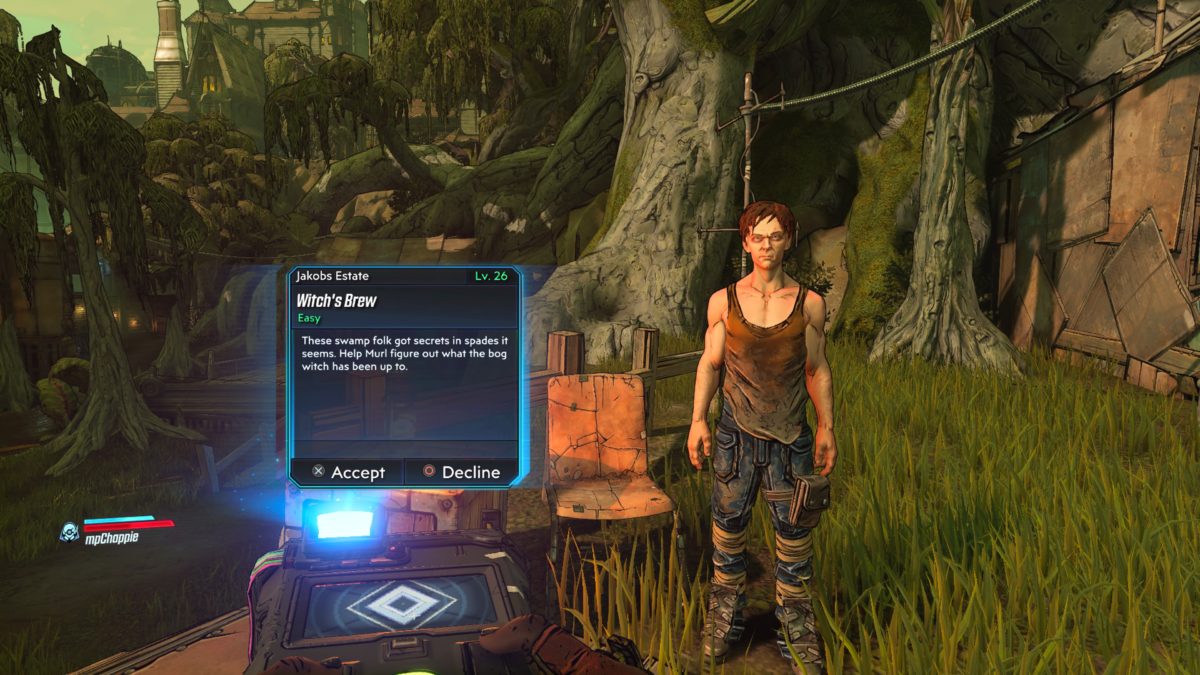
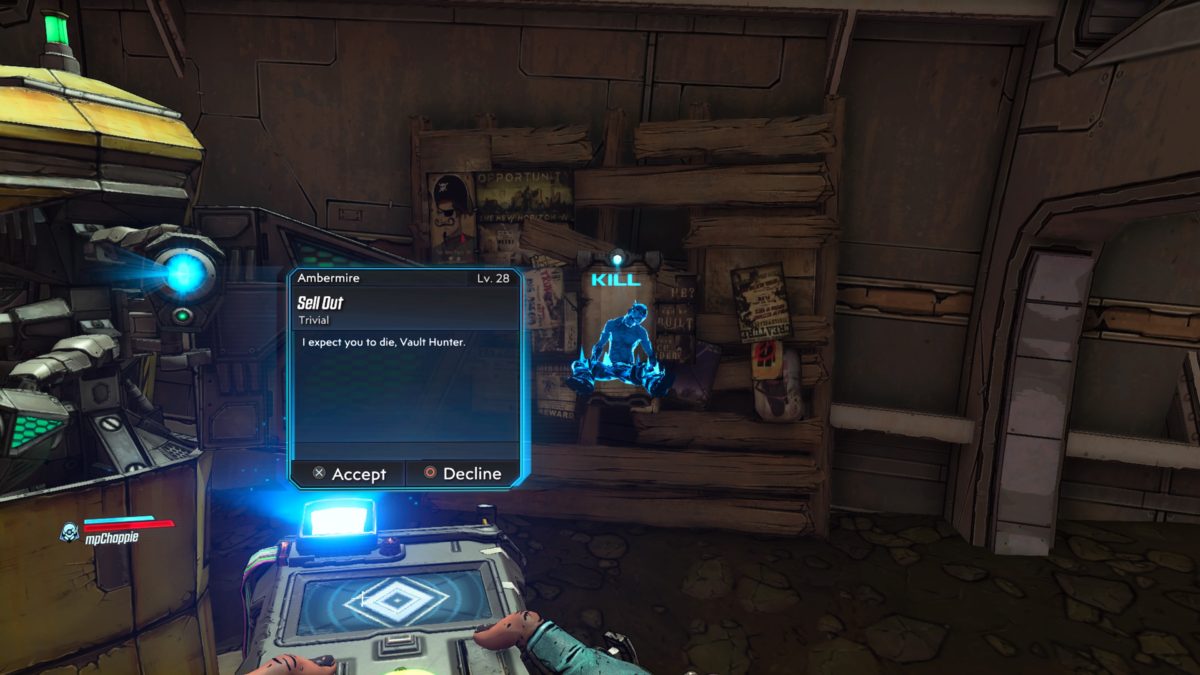
To begin the Sell Out side mission in Borderlands 3, you’ll need to inspect the bounty board next to the revival station at Ambermire on Eden-6 near the middle of the map.

Sell Out Objectives

Use Obvious Death Trap or Destroy 5 Cameras

We chose to destroy all five cameras and got cash.  If you choose to kill yourself, you might get a gun. After you make your choice, the Sell Out mission will conclude.

More Borderlands 3 Guides and Walkthroughs

Check out our Borderlands 3 Guides and Walkthroughs for more help!
Guides

Borderlands 3 – Capture the Frag Walkthrough

by Chappie in

Welcome to NGB and our Borderlands 3 walkthrough on the Capture the Frag side mission. Here you’ll find everything you’ll need to breeze through this mission!

Capture the Frag Walkthrough

How to Start Capture the Frag

To begin the Capture the Frag side mission in Borderlands 3, you’ll need to talk to Clay at Reliance in Floodmoor Basin on Eden-6.

Capture the Frag Objectives

Go to Tyreen’s Camp

Follow the objective to the northern part of Floodmoor Basin.

Kill Team Tyreen

Defeat the enemies.

Activate Payload

Head to the back of Tyreen’s camp and activate the payload located on a deck next to a blue building.

Escort Payload

Follow the bomb, shooting the transporter as needed.

Go to Troy’s Camp

Follow the objective to arrive at Mudhaven.

Kill Team Troy

Defeat the enemies.

Drop the Load

Flip the switch for the anti-climatic results.

Talk to Clay

Head back to Reliance and talk to Clay to complete the Capture the Frag mission.

More Borderlands 3 Guides and Walkthroughs

Check out our Borderlands 3 Guides and Walkthroughs for more help!

Guides

Borderlands 3 – Rumble in the Jungle Walkthrough

by Chappie in

Welcome to NGB and our Borderlands 3 walkthrough on the Rumble in the Jungle side mission. Here you’ll find everything you’ll need to breeze through this mission!

Rumble in the Jungle Walkthrough

How to Start Rumble in the Jungle

To begin the Rumble in the Jungle side mission in Borderlands 3, you’ll need to inspect the dead body in The Green Labyrinth at the Voracious Canopy on Eden-6.

Rumble in the Jungle Objectives

Go to Scientific Outpost

Follow the path north taking a left at the warning sign to reach the outpost.

Clear Jabber Infestation

Eliminate all the Jabbers in the outpost.

Find Clues

There is a clue at each of the Jabber infestation sites.  Pick up all three clues.

Find Failurebot

The bot is located in the shed south of The Terradome.  You will need to shoot the lock off the building to access it.

Follow Failurebot

Follow the bot north out of the outpost.

Find Scientists

Keep heading north until you come across a cage with a corpse soaked in blood.

Collect Echo

Pick up the Echo Log in the cage.

Find Jabber Tribe

Keep following the path north until you come across some more Jabbers.

Prove Yourself

Complete the trails of ability, strength and wisdom to prove yourself.

Complete Trial of Agility

Follow the objective to the tallest point in the tree village.

Complete Trial of Strength

Defeat the champions.

Complete Trial of Wisdom

Jumping into the pit of fire completes this objective.

Go to the Platform of Wisdom

Follow the objective to the platform.

Jump Into the Chasm

Take the plunge!

Speak to Jabber King

Talk to King Bobo the Almighty.

Take Echo

Grab the Echo Log from the King.

Find Secret Lab

Head west from the Jabber village following the objective.

Find Echo Log

The log is located in the cage hanging in front of the entrance to the lab. Jump on the two cages to the right of the door and face the hanging cage. Shoot the lock off of it and jump in to collect the echo log.

Investigate Bunker

Go to the entrance of the bunker.

Talk to Scaleon

Talk to the creature in the Scaleon collective.

Prove Yourself

Defeat the enemies.

Issue Challenge

Head up to the Scaleon queen to challenger her on behalf of the Jabbers.

Return to Science Outpost

Head back to the science outpost and talk to the robot near The Terradome.

Enter Terradome

Head into The Terradome.

Kill Queen iOsaur

Eliminate the queen.

Kill King Bobo

Eliminate the king.

Talk to Triumpbot

Talk to the robot to complete the Rumble in the Jungle mission.

More Borderlands 3 Guides and Walkthroughs

Check out our Borderlands 3 Guides and Walkthroughs for more help!

Guides

Borderlands 3 – Swamp Bro Walkthrough

by Chappie in

Welcome to NGB and our Borderlands 3 walkthrough on the Swamp Bro side mission. Here you’ll find everything you’ll need to breeze through this mission!

Swamp Bro Walkthrough

How to Start Swamp Bro

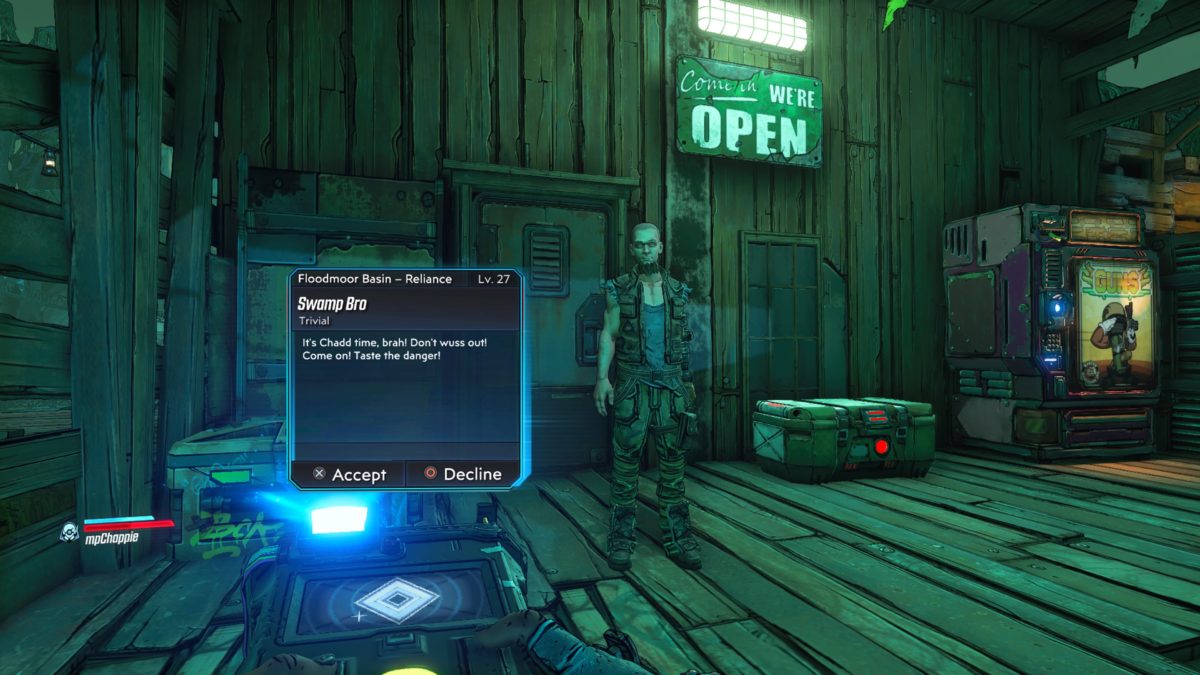
To begin the Swamp Bro side mission in Borderlands 3, you’ll need to talk to Chad at Reliance in Floodmoor Basin on Eden-6.

Swamp Bro Objectives

Follow Chadd

Follow Chadd out of Reliance to the nearby swamp.

Kill Grogs

Help Chadd kill three Grogs.

Grab Grog Guts

Loot the fallen Grogs to pick up their guts.

Give Grog Guts to Chadd

Hand over the guts to Chadd.

Follow Chadd

After Chadd lathers himself up, follow him to further into the swamp.

Kill Ravagers

Kill the three Ravagers attacking Chadd.

Revive Chadd

The action got a little too extreme for poor old Chadd.  Interact with him to bring him back to life for more extremeness.

Follow Chadd

Follow Chadd back to Reliance.

Answer the Call of Danger

Interact with Chadd to answer the call.

Go to Lover’s Leap

Jump down to the left of the caution sign then climb up the ladder on the wooden platform to Lover’s Leap.  Walk out on the diving board.

Jump!

Take the leap!

Revive Chadd

Again, resurrect Chadd so he can live for more extremes.

Get Fuel Cans

For yet another extreme stunt, follow the objectives to pick up the fuel cans for the rocket booster.  With your back to the elevator, the first can is on a dock to the left.  The next can is located near a shack at the top of the rock directly in front of you from the previous fuel can.  The final can is located in the shark’s mouth hanging from a shack a short way ahead.

Attach Fuel Cans to Boosters

Head back to the elevator and attach the fuel cans to the base of the structure.

Shoot Igniter

Shoot the red button in the middle of the platform.

Get Chadd’s Righteous Loot

Head back to where you first met Chadd and loot the chest next to the vending machine to complete the Swamp Bro mission.

More Borderlands 3 Guides and Walkthroughs

Check out our Borderlands 3 Guides and Walkthroughs for more help!
Guides

Borderlands 3 – Dynasty Dash: Eden-6 Walkthrough

by Chappie in

Welcome to NGB and our Borderlands 3 walkthrough on the Dynasty Dash: Eden-6 side mission. Here you’ll find everything you’ll need to breeze through this mission!

Dynasty Dash: Eden-6 Walkthrough

How to Start Dynasty Dash: Eden-6

To begin the Dynasty Dash: Eden-6 side mission in Borderlands 3, you’ll need to interact with the bounty board at Reliance in Floodmoor Basin of Eden-6.

Dynasty Dash: Eden-6 Objectives

Pick up Delivery Burgers

Pick up the burgers.

Deliver Burgers

Follow the objectives to deliver the burgers in a timely manner.

With 9:00 Remaining

Deliver the burgers with 9 minutes remaining to get an extra reward.

With 5:00 Remaining

Deliver the burgers with 5 minutes remaining to get an extra reward.

With 2:30 Remaining

Deliver the burgers with 2.30 minutes remaining to get an extra reward.

Return to Beau’s Sign Spinner

Head back to the sign spinner and talk with him to complete the Dynasty Dash: Eden-6 mission.

More Borderlands 3 Guides and Walkthroughs

Check out our Borderlands 3 Guides and Walkthroughs for more help!

Guides

Borderlands 3 – Dynasty Dash: Floodmoor Basin Walkthrough

by Chappie in

Welcome to NGB and our Borderlands 3 walkthrough on the Dynasty Dash: Floodmoor Basin side mission. Here you’ll find everything you’ll need to breeze through this mission!

Dynasty Dash: Floodmoor Basin Walkthrough

How to Start Dynasty Dash: Floodmoor Basin

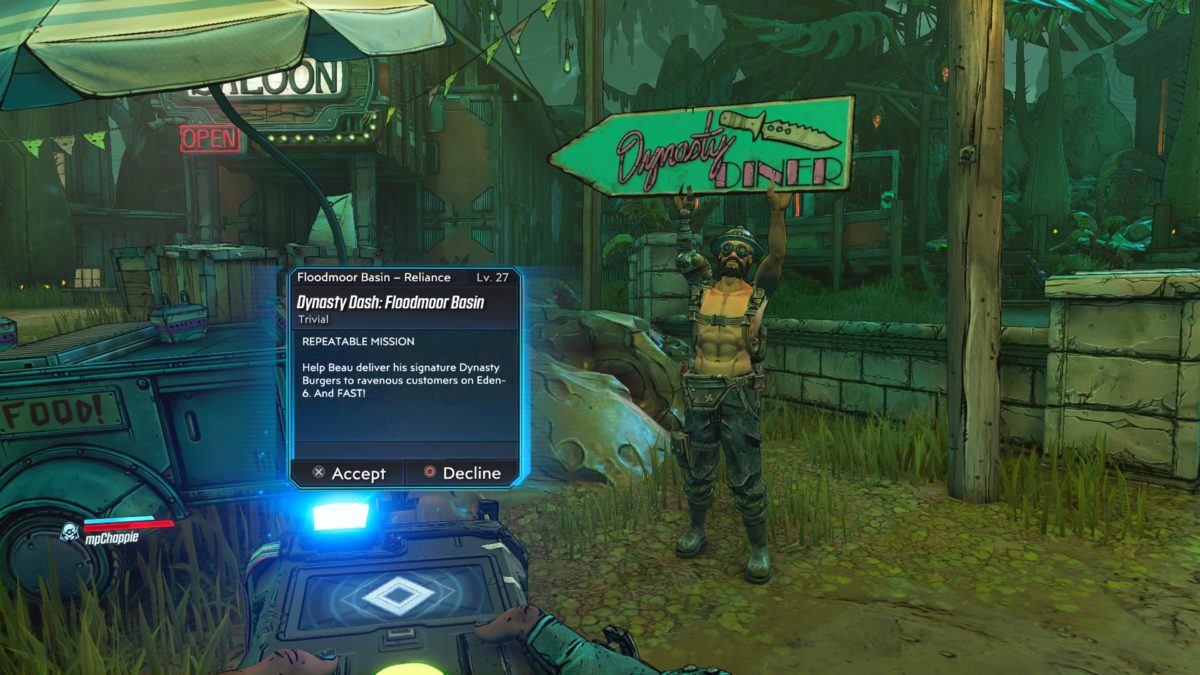
To begin the Dynasty Dash: Floodmoor Basin side mission in Borderlands 3, you’ll need to interact with the sign spinner at Reliance in Floodmoor Basin of Eden-6. Please note this is a repeatable mission!

Dynasty Dash: Floodmoor Basin Objectives

Pick up Delivery Burgers

Pick up the burgers.

Deliver Burgers

Follow the objectives to deliver the burgers in a timely manner.

With 9:00 Remaining

Deliver the burgers with 9 minutes remaining to get an extra reward.

With 5:00 Remaining

Deliver the burgers with 5 minutes remaining to get an extra reward.

With 2:30 Remaining

Deliver the burgers with 2.30 minutes remaining to get an extra reward.

Return to Beau’s Sign Spinner

Head back to the sign spinner and talk with him to complete the Dynasty Dash: Floodmoor Basin mission.

More Borderlands 3 Guides and Walkthroughs

Check out our Borderlands 3 Guides and Walkthroughs for more help!
Guides

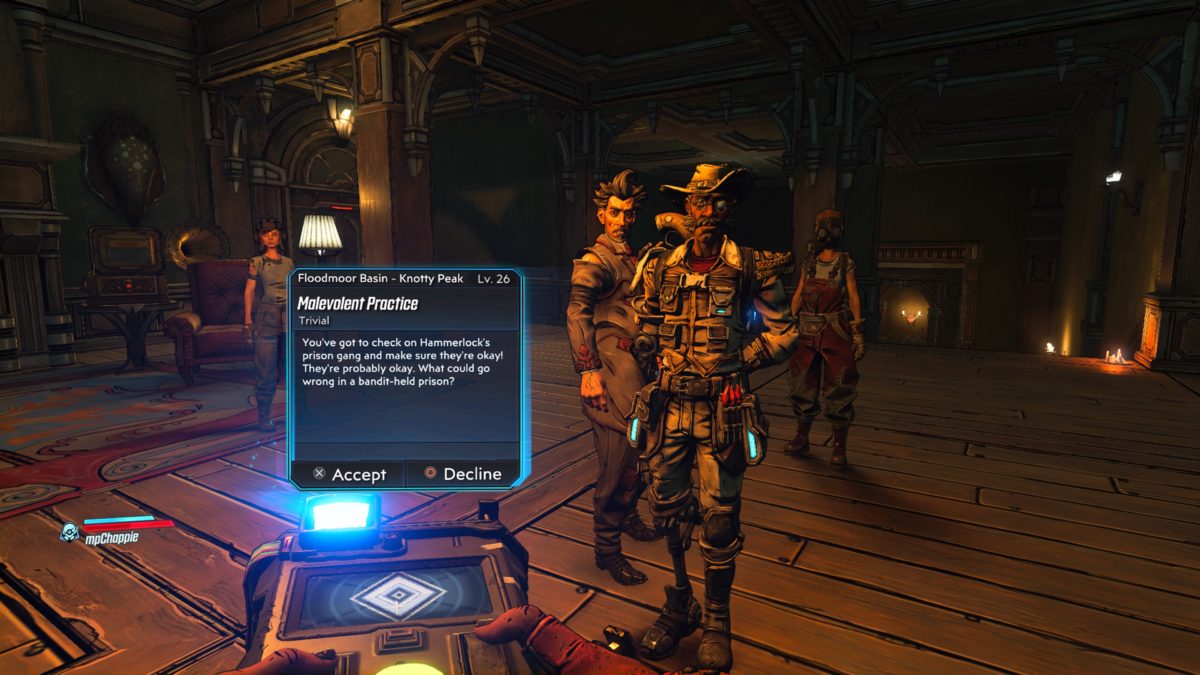
Borderlands 3 – Malevolent Practice Walkthrough

by Chappie in

Welcome to NGB and our Borderlands 3 walkthrough on the Malevolent Practice side mission. Here you’ll find everything you’ll need to breeze through this mission!

Malevolent Practice Walkthrough

How to Start Malevolent Practice

To begin the Malevolent Practice side mission in Borderlands 3, you’ll need to talk to Sir Hammerlock at Knotty Peak in Floodmoor Basin on Eden-6 after completing the Lair of the Harpy main mission.

Malevolent Practice Objectives

Go to the Anvil

Travel to the Anvil.

Find Hammerlock’s Gang

Collect all four clues.

Search for First Clue

Follow the objective a short ways north of the Typhon Log to locate Jensen’s Echo Log. Pick it up.

Search for Second Clue

Follow the objective north to Hector’s Lament (the area you first met Brick) to be attacked.

Kill Anointed Duo

Defeat the Anointed Duo.

Shatter Anointed Duo

Melee the Anointed Duo into dust.

Pick Up Second Clue

Pick up Vercuvio’s Echo Log.

Search for Third Clue

Keep following the path to arrive at a helipad. Inspect the body on the pad.

Kill Anointed X-4

Defeat the flaming ball of fire.

Shatter Anointed X-4

Melee the crystal man into little pieces.

Pick Up Clue

Pick up Beckett’s Echo Log.

Search Dean’s Cell for Fourth Clue

Follow the objective to arrive at Dean’s cell in the next building. Grab Dean’s Echo Log on the bed.

Find Dean

Follow the objective through the prison to find Dean in a cell.

Talk to Dean

Talk to Dean in his cell.

Kill the Anointed Alpha

Defeat the Anointed Alpha.

Open the Jail Cell

Press the button at the guard desk to open the cell.

Talk to Dean

Talk to Dean to complete the Malevolent Practice mission.

More Borderlands 3 Guides and Walkthroughs

Check out our Borderlands 3 Guides and Walkthroughs for more help!
Guides

Borderlands 3 – Irregular Customers Walkthrough

by Chappie in

Welcome to NGB and our Borderlands 3 walkthrough on the Irregular Customers side mission. Here you’ll find everything you’ll need to breeze through this mission!

Irregular Customers Walkthrough

How to Start Irregular Customers

To begin the Irregular Customers side mission in Borderlands 3, you’ll need to interact with the bounty on the board in Reliance at Floodmoor Basin on Eden-6 after reclaiming the town during The Guns of Reliance main mission.

Irregular Customers Objectives

Go to the Witch’s Peat

Head to the Witch’s Peat which is a short distance from Knotty Peak.

Kill Jabbers

Kill the Jabbers around the Witch’s Peat.

Kill Apollo

Apollo will show up after you defeat all of the Jabbers. Eliminate him with your Vault Hunter skills.

Collect Coolant Valve

Pick up the valve that Apollo dropped.

Place Coolant Valve

Attach the valve to the generator.

Flip Break Switches

Flip on all three the breaker switches.

Go to the Witch’s Peat

Head for the bar. When you reach the front door, Artemis busts through.

Kill Artemis

Eliminate Artemis to complete the Irregular Customers mission.

More Borderlands 3 Guides and Walkthroughs

Check out our Borderlands 3 Guides and Walkthroughs for more help!

Guides

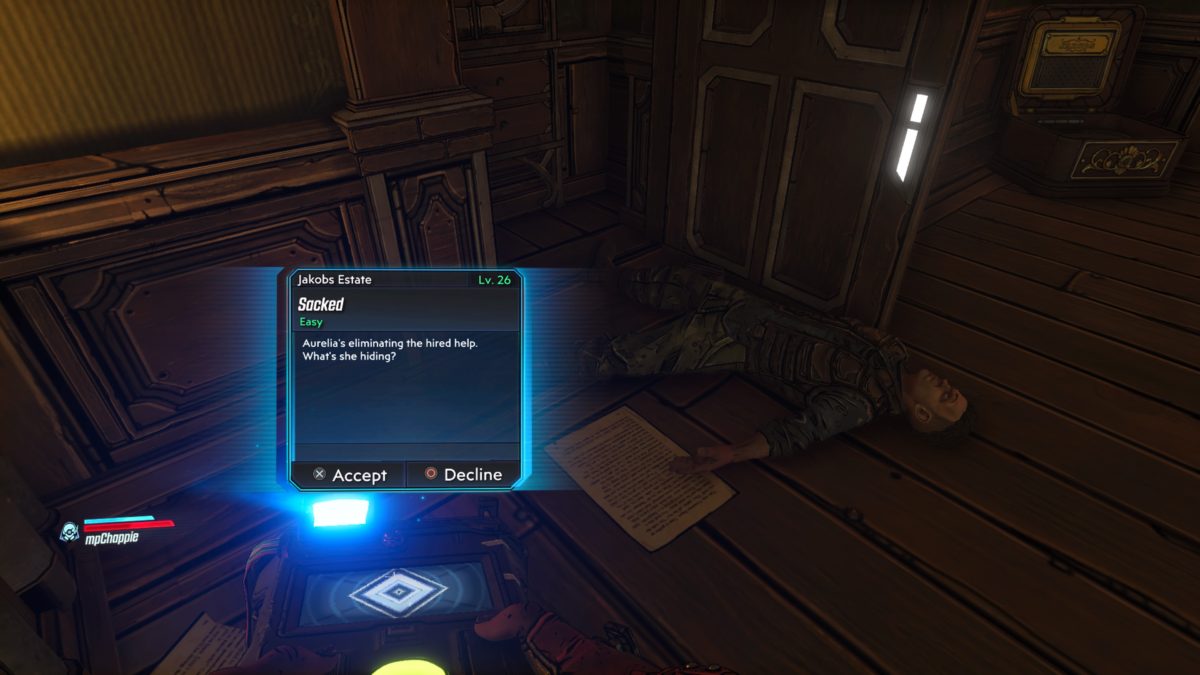
Borderlands 3 – Sacked Walkthrough

by Chappie in

Welcome to NGB and our Borderlands 3 walkthrough on the Sacked side mission. Here you’ll find everything you’ll need to breeze through this mission!

Sacked Walkthrough

How to Start Sacked

To begin the Sacked side mission in Borderlands 3, you’ll need to open the closet door in the first floor bedroom of Jakobs Manor on Eden-6 and examine the corpse that pops out.

Sacked Objectives

Search for Clue

Interact with the statue bust next to the locked Jakobs chest near the table with the phonograph. Press the green button that was hidden under the bust.

Unlock Chest

Shoot the targets above the three busts.

  • Bookshelf left of the bed
  • Bookshelf across from the office desk
  • Table in the hallway next to a red chair

Open Chest

Open the chest.

Get Recording

Pick up the Echo Log in the chest.

Search Servant’s Quarters

Work your way through the manor until you reach the servant’s quarters in Ancestor’s Hall.

Search Dead Body

Search the body lying in the pool of blood on the floor of the Servant’s Quarters.

Take Eviction Notice

Grab the eviction notice on the floor next to the body.

Find Clues Underneath Jakobs Estate

Find all of the clues in the Cellar and Grotto.

Search Cellar

Head to the Cellar under Jakobs Manor (passed the Grotto) and look for the New You Station. With your back to the station, look at the wooden platform holding barrels above the tunnel entrance to spot “A Poem Filled With Love” laying on one of the barrels. Pick it up.

Search Grotto

Make your way to the open area of the Grotto and locate the central pillar. Collect the “Shopping List” sitting on a crate at its base.

Search Deeper in Grotto

Keep heading east into the Grotto until you reach the far support pillar. Collect the “Pink Slip” sitting on a crate at its base.

Find and Talk to Clare

Go to the building near the fast travel station and talk to Clare who is drinking her sorrows away.

Search Abandoned Shack

Go to the western part of Leery Hamlet and locate the abandoned shack. Inspect the bed to find a hidden safe. Open it and grab the Echo Log.

Go to Wainwright

Return to Wainwright at Floodmoor Basin’s Knotty Peak and talk with him to complete the Sacked mission.

More Borderlands 3 Guides and Walkthroughs

Check out our Borderlands 3 Guides and Walkthroughs for more help!
Guides

Borderlands 3 – Witch’s Brew Walkthrough

by Chappie in

Welcome to NGB and our Borderlands 3 walkthrough on the Witch’s Brew side mission. Here you’ll find everything you’ll need to breeze through this mission!

Witch’s Brew Walkthrough

How to Start Witch’s Brew

To begin the Witch’s Brew side mission in Borderlands 3, you’ll need to talk to Murl a short distance away from the Jakobs Estate fast travel station on Eden-6.

Witch’s Brew Objectives

Meet Azalea

Follow the objective to northern Leery Hamlet to arrive at Azalea’s residence. Blow into the pipe to summon.

Follow Pippie

Follow Pippie across the bridge near Azalea’s house to enter the Grotto. Continue following Pippie around the Grotto collecting the mushrooms it digs up.

Gather Green Swamp Bloom

Pick up 3 green swamp blooms that Pippie digs up.

Gather Red Swamp Bloom

Pick up 3 red swamp blooms that Pippie digs up.

Return to Azalea

Return to Azalea’s magic pipe and use it to summon her.

Deposit Green Blooms

Drop the green blooms into the bubbling cauldron.

Kill Mutated Tink

Kill the Mutated Tink that emerges the cauldron.

Speak to Murl

Head back to Murl and talk with him.

Deposit Red Blooms

Open the door to Murl’s shack and drop the red blooms into his bubbling cauldron.

Take the Black Flame

Grab the Black Flame from Murl.

Destroy Azalea’s Vat

Return to Azalea’s domain and shoot the vat with the Black Flame.

Destroy Azalea’s Vat

Head through Azalea’s gate and destroy her 4 remaining vats.

Kill Azalea

Head to the center of the Unhallowed Bog to locate Azalea and put her down.

Return to Murl

Head back to Murl and talk with him to complete the Witch’s Brew mission.

More Borderlands 3 Guides and Walkthroughs

Check out our Borderlands 3 Guides and Walkthroughs for more help!