Borderlands 3
Guides

Borderlands 3 – The Homestead Walkthrough

by Chappie in

Welcome to NGB and our Borderlands 3 walkthrough on The Homestead side mission. Here you’ll find everything you’ll need to breeze through this mission!

The Homestead Walkthrough

How to Start The Homestead

To begin The Homestead side mission in Borderlands 3, you’ll need to talk to Ma in The Homestead at the northern part of the map in The Splinterlands on Pandora.

The Homestead Objectives

Collect Fuse

Head to Logan’s Spar (west Typhon Log)  and make your way to the broadcast tower to find the fuse in a fuse box.

Collect Wind Turbine Core

Follow the objective to the southwestern part of the map arriving at the Rave Cave. Head to the back to find the wind turbine core.

Return to Ma

Return to The Homestead and talk with Ma.

Install Wind Turbine Core

Head to the small building near the giant bar at the back of the property to locate the wind turbine. Install the core into it.

Place Fuse

Head over to the gate at the main entrance and install the fuse.

Return to Ma

Head back to Ma and talk with her to complete The Homestead mission.

More Borderlands 3 Guides and Walkthroughs

Check out our Borderlands 3 Guides and Walkthroughs for more help!

Guides

Borderlands 3 – Life of the Party Walkthrough

by Chappie in

Welcome to NGB and our Borderlands 3 walkthrough on the Life of the Party side mission. Here you’ll find everything you’ll need to breeze through this mission!

Life of the Party Walkthrough

How to Start Life of the Party

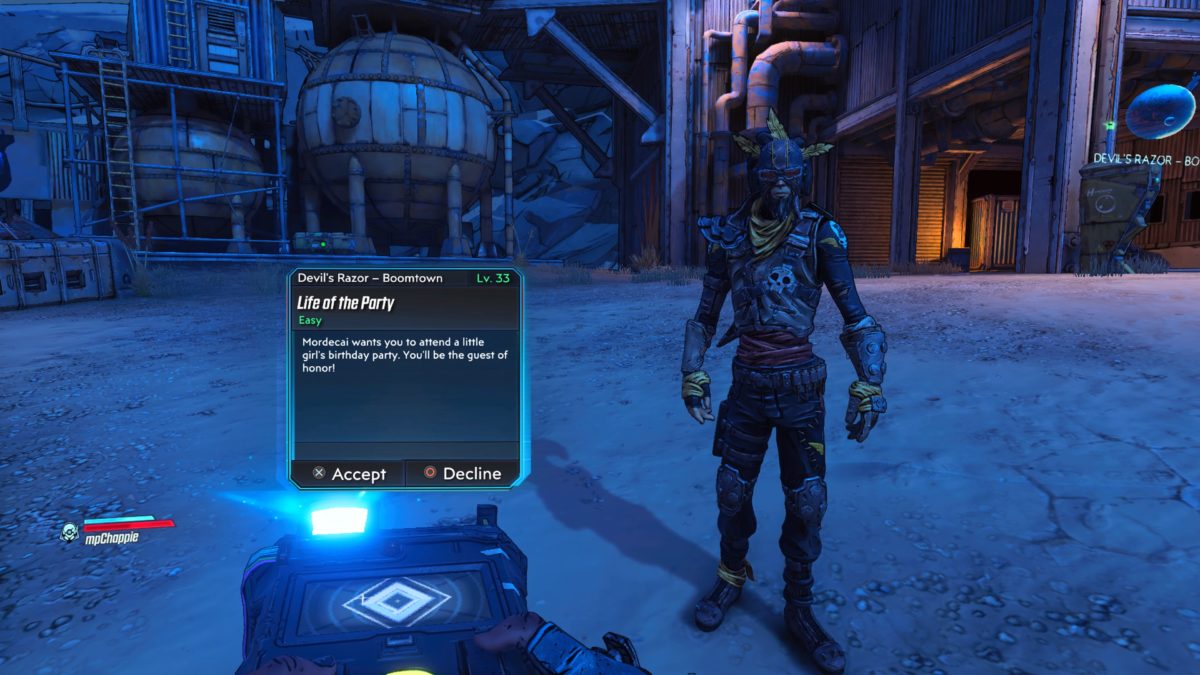
To begin the Life of the Party side mission in Borderlands 3, you’ll need to talk to Mordecai in Boom Town after competing the Boom Boom Boomtown side mission. Boom Town can be found in the Devil’s Razor on Pandora.

Life of the Party Objectives

Collect Special Flowers

Follow the objective to the northern central part of the map (north of the Legendary Hunt) to locate and collect the flowers in Phalanx Pass.

Meet Mordecai

Head to the eastern part of the map to arrive at a bridge filled with balloons. Head a across the bridge and up the path to reach Mordecai at the Lonely Pillar.

Place Flower on Grave

Put the flowers on the grave.

Talk to Hirschim

Talk to Hirschin near the grave.

Attend the Party

Head up the hill to attend the party.

Have Some Cake or Break Gracey’s Record

Eat at least two piece of cake. You can break Gracey’s record, but Modecai will not be amused.

Tell Hirschim You’re Full

Talk to Hirschim after you eat at least two pieces of cake.

Move to Grenade Range

Head over to the grenade range to get started.

Throw Grenades or Break Gracey’s Record

Throw 5 grenades. You can break Gracey’s record if you wish.

Tell Hirschim You’re Tired

Talk to Hirschim when you are done.

Move to Shooting Range

Head over to the shooting range to get started.

Pat Bobsie to Start Challenge

Pat Bobsie to start the shooting challenge.

Let Record Stand or Break Gracey’s Record

You can beat Gracey’s record or not.

Break Mordecai’s Record

Get more kills then Mordecai.

Talk to Hirschim

Talk to Hirschim to update the objective.

Destroy Pinata

Melee the pinata to destroy it competing the Life of the Party mission.

More Borderlands 3 Guides and Walkthroughs

Check out our Borderlands 3 Guides and Walkthroughs for more help!
Guides

Borderlands 3 – Sheega’s All That Walkthrough

by Chappie in

Welcome to NGB and our Borderlands 3 walkthrough on the Sheega’s All That side mission. Here you’ll find everything you’ll need to breeze through this mission!

Sheega’s All That Walkthrough

How to Start Sheega’s All That

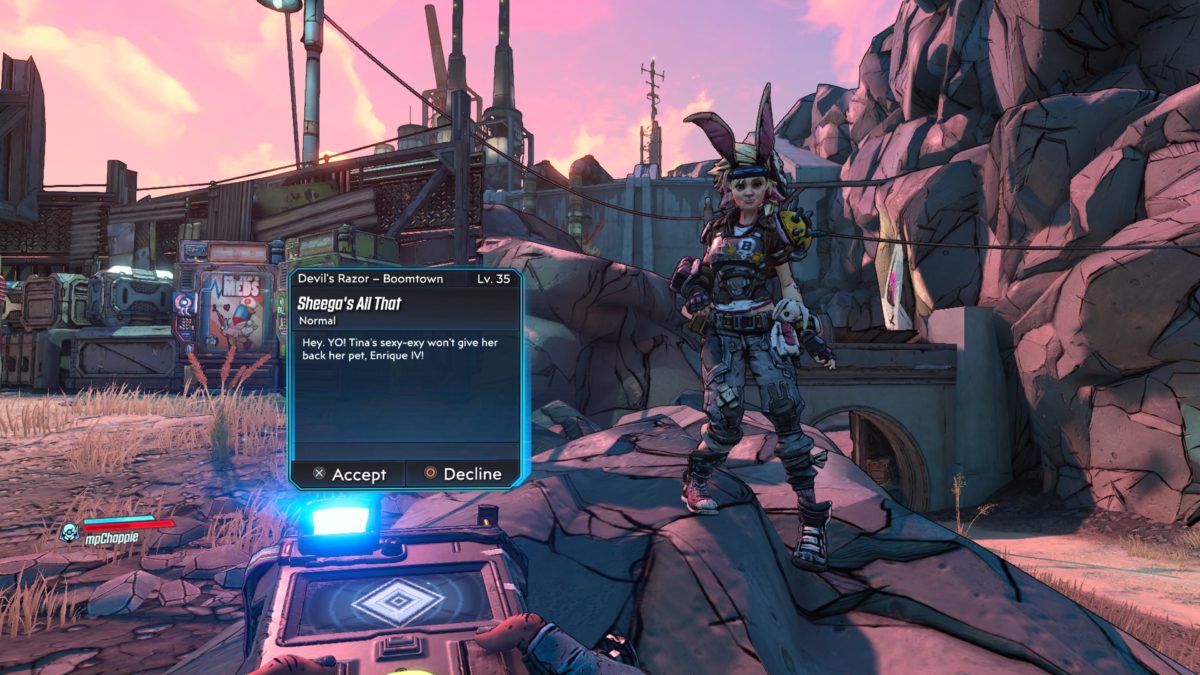
To begin the Sheega’s All That side mission in Borderlands 3, you’ll need to talk to Tina in Boom Town after completing the Boom Boom Boomtown side mission. Boom Town can be found in the Devil’s Razor on Pandora.

Sheega’s All That Objectives

Take Decorations

Take the decorations from Tina.

Go to Sheega’s

Head to Sheega’s located in the northern part of the map.

Place Decorations

Place Tina’s decorations around Sheega’s Kennels.

Ring Doorbell

Ring the doorbell after placing the decorations.

Kill Skags

Kill all of the skags.

Melee a Decoration

Melee one of the decorations you put up.

Search Cages for Enrique IV

Enter the kennels and check out the cages for Enrique IV.

Feed Enrique IV

Grab some food from the metal cylinder.

Kill Sheega

Eliminate Sheega.

Open Back Gate

Head to the back and use the key pad to open the gate.

Return to Tina

Head back to Boom Town and talk to Tina to complete the Sheega’s All That mission.

More Borderlands 3 Guides and Walkthroughs

Check out our Borderlands 3 Guides and Walkthroughs for more help!
Guides

Borderlands 3 – Buff Film Buff Walkthrough

by Chappie in

Welcome to NGB and our Borderlands 3 walkthrough on the Buff Film Buff side mission. Here you’ll find everything you’ll need to breeze through this mission!

Buff Film Buff Walkthrough

How to Start Buff Film Buff

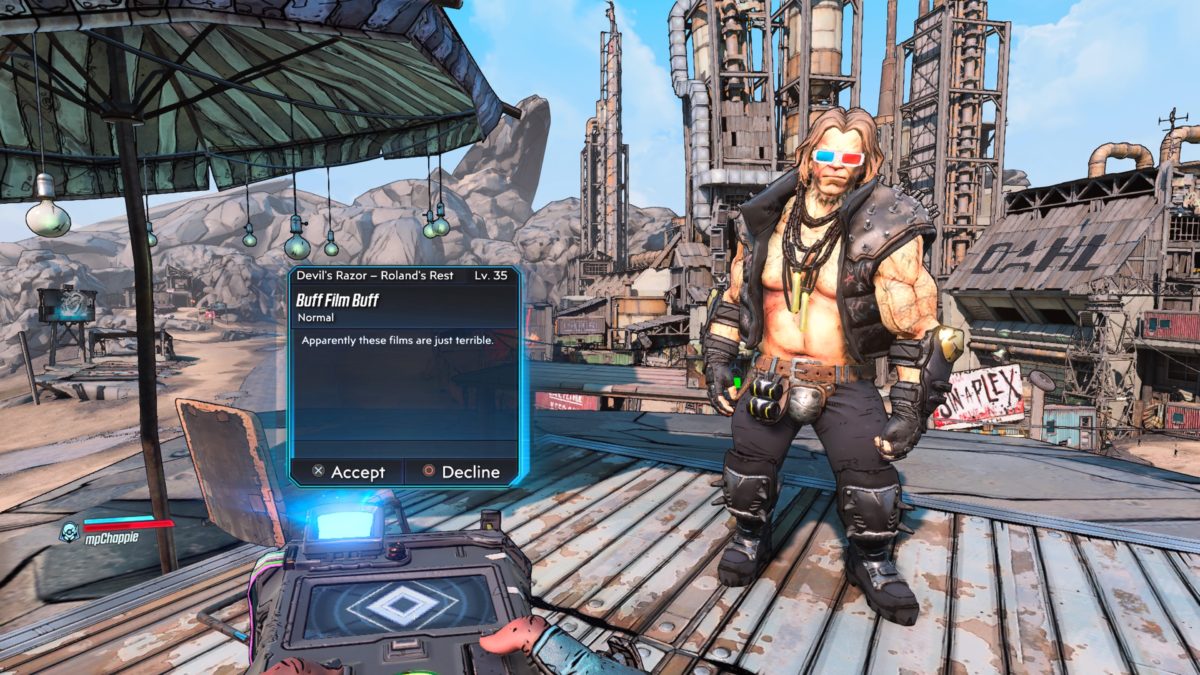
To begin the Buff Film Buff side mission in Borderlands 3, you’ll need to talk to Buff on Buff’s Bluff in the Devil’s Razor on Pandora.

Buff Film Buff Objectives

Search Trash Cans

Head to the Sin-A-Plex and search the trash cans.

Pick Up Echo Drive

Grab the echo drive from the trash can.

Find Projector Room

Head to the top of the Sin-A-Plex to find the projector.

Attach Echo Drive

Attach the echo drive to the projector.

Kill Rohner

Head back to the ground level and deal with Rohner and his goons.

Find Replacement Bulb

Head to the northeastern side of the Sin-A-Plex to locate a giant metal door. Use the wheel on the right side of the door to open it. Head in and grab the bulb.

Replace Projector Bulb

Head back to the projector room and replace the bulb.

Talk to Buff Film Buff

Return to Buff and talk with him to complete the Buff Film Buff mission.

More Borderlands 3 Guides and Walkthroughs

Check out our Borderlands 3 Guides and Walkthroughs for more help!
Guides

Borderlands 3 – Dynasty Dash: Pandora Walkthrough

by Chappie in

Welcome to NGB and our Borderlands 3 walkthrough on the Dynasty Dash: Pandora side mission. Here you’ll find everything you’ll need to breeze through this mission!

Dynasty Dash: Pandora Walkthrough

How to Start Dynasty Dash: Pandora

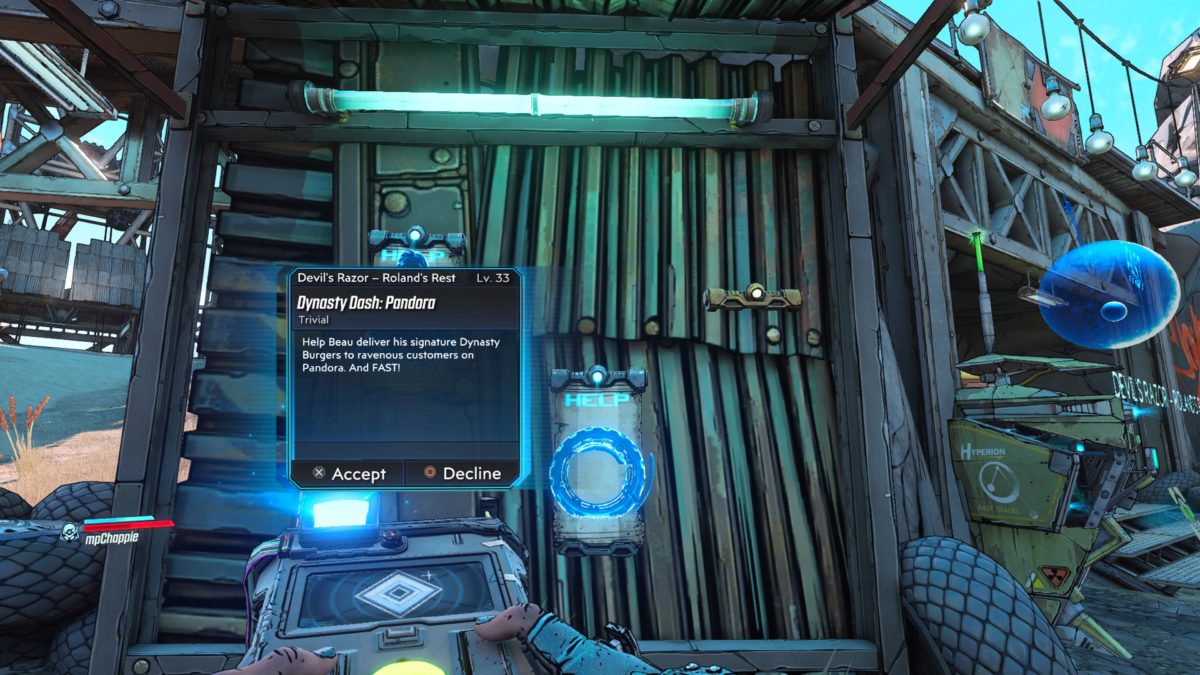
To begin the Dynasty Dash: Pandora side mission in Borderlands 3, you’ll need to interact with the bounty board at Roland’s Rest in the Devil’s Razor on Pandora.

Dynasty Dash: Pandora Objectives

Pick up Delivery Burgers

Head to the sign spinner and pick up the burgers.

Deliver Burgers

Follow the objectives to deliver the burgers in a timely manner.

With 9:00 Remaining

Deliver the burgers with 9 minutes remaining to get an extra reward.

With 5:00 Remaining

Deliver the burgers with 5 minutes remaining to get an extra reward.

With 2:30 Remaining

Deliver the burgers with 2.30 minutes remaining to get an extra reward.

Return to Beau’s Sign Spinner

Head back to the sign spinner and talk with him to complete the Dynasty Dash: Pandora mission.

More Borderlands 3 Guides and Walkthroughs

Check out our Borderlands 3 Guides and Walkthroughs for more help!
Guides

Borderlands 3 – The Feeble and the Furious Walkthrough

by Chappie in

Welcome to NGB and our Borderlands 3 walkthrough on The Feeble and the Furious side mission. Here you’ll find everything you’ll need to breeze through this mission!

The Feeble and the Furious Walkthrough

How to Start The Feeble and the Furious

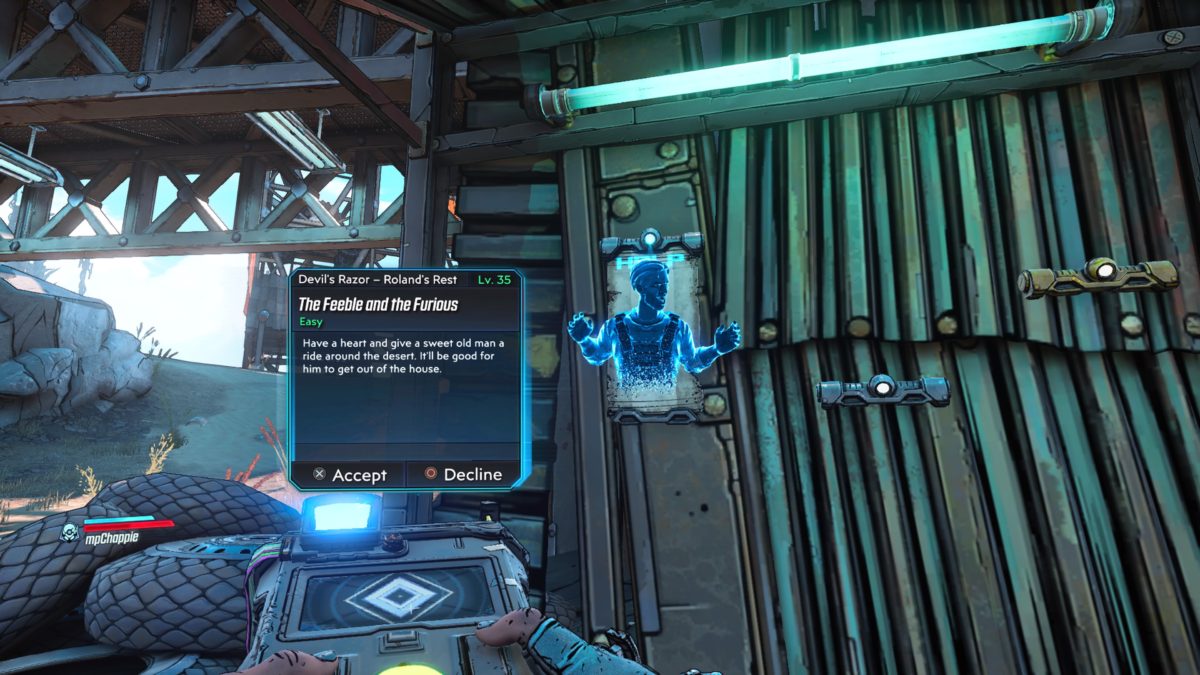
To begin The Feeble and the Furious side mission in Borderlands 3, you’ll need to interact with the bounty board at Roland’s Rest at the Devil’s Razor on Pandora.

The Feeble and the Furious Objectives

Talk to Lizzie

Head to Mesa Marron in the north-central region of the map.

Drive Pappy’s Jalopy

Jump in the vehicle with Pappy.

Run Errands

Follow the objective.

Collect Intact Milkpods

Defeat the Milky Knights and Prawns to collect the milkpods.

Meet Coin Dealer

Follow the objective to Dahl Refinery.

Find Coin Dealer

Head into Dahl Refinery through an open drainage pipe and inspect the dead body.

Collect Coins

Head further into the refinery and defeat the bandits.  Afterwards, pick up the five coins that are laying around in various locations at the refinery.

Get Back in the Car!

Head back to the vehicle and jump in.

Drive to the Dentist

Follow the objective west to arrive at Dental Dan’s Mouth House.

Knock on Door

Head up and bang on the door.

Kill Dental Dan

Defeat the guy that busts through the door.

Take Dental Dan’s Teeth

Pick up the teeth dropped by Dental Dan.

Get Back in the Car!

Head back to the vehicle and jump in.

Take Pappy Home

Drive the ungrateful guy back home.

Talk to Lizzie

Talk to her to receive your cash and complete The Feeble and the Furious mission.

More Borderlands 3 Guides and Walkthroughs

Check out our Borderlands 3 Guides and Walkthroughs for more help!
Guides

Borderlands 3 – ECHOnet Neutrality Walkthrough

by Chappie in

Welcome to NGB and our Borderlands 3 walkthrough on the ECHOnet Neutrality side mission. Here you’ll find everything you’ll need to breeze through this mission!

ECHOnet Neutrality Walkthrough

How to Start ECHOnet Neutrality

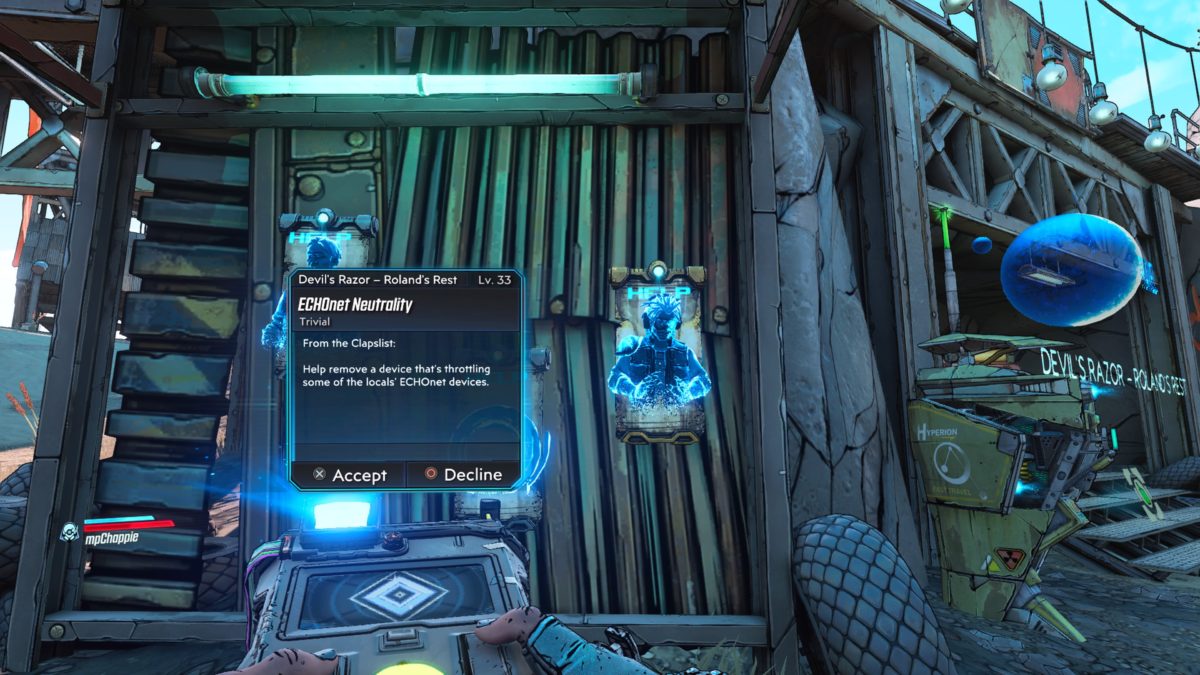
To begin the ECHOnet Neutrality side mission in Borderlands 3, you’ll need to interact with the bounty board at Roland’s Rest in the Devil’s Razor on Pandora.

ECHOnet Neutrality Objectives

Talk to Edgren

Head to Roland’s Rest and talk to Edgren who is inside a shipping container.

Go to ECHO Repeater Center

Follow the objective along the cliff north of Roland’s Rest to reach the large satellite dishes in ECHOnet 37.

Locate UG-THAK

The UG-THAK is located in the tower in the middle of the area with small satellite dishes on top.  Head to the back of the building near where the pipe is sticking out of the ground to find some wooden boards to shoot.  Melee the boards and then enter the building to find the terminal straight ahead.

Destroy UG-THAK

Head to the right of the terminal and shoot the machine in the middle of it.

Kill COV

Defeat all the enemies.

Open Tubes

Follow the objectives to interact with the wheels to open all five tubes.

Destroy UG-THAK

Shoot the machine again.

Talk to Edgren

Head back to Roland’s Rest and talk to Edgren to complete the ECHOnet Neutrality mission.

More Borderlands 3 Guides and Walkthroughs

Check out our Borderlands 3 Guides and Walkthroughs for more help!
Guides

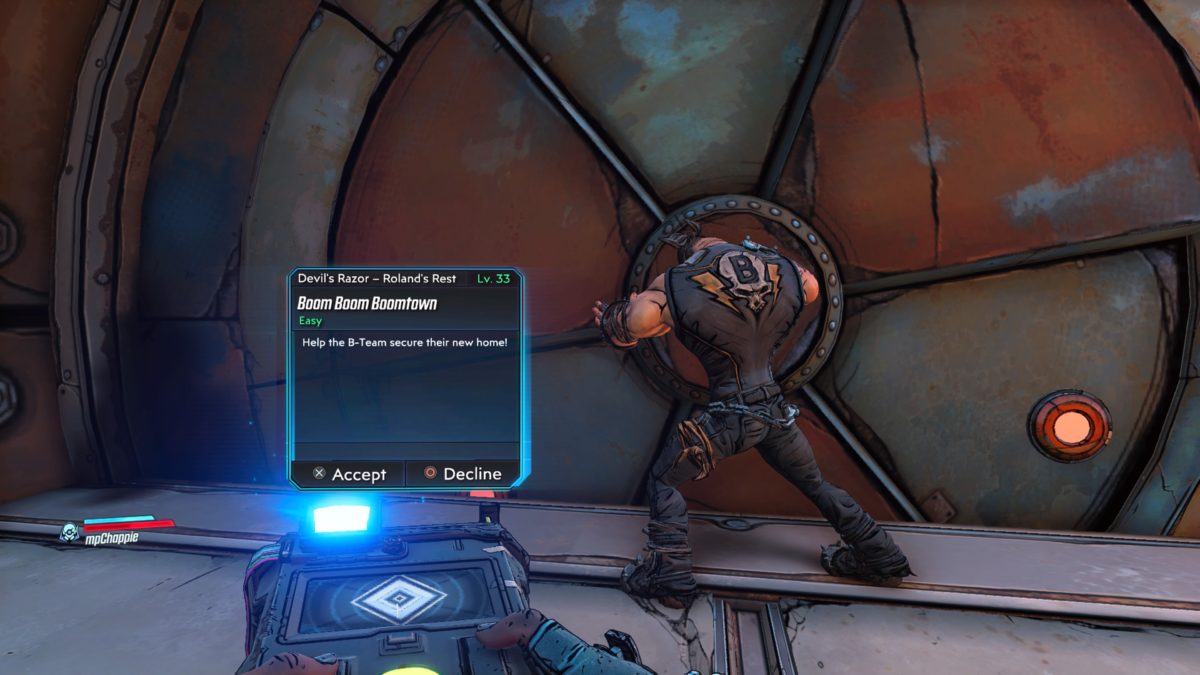
Borderlands 3 – Boom Boom Boomtown Walkthrough

by Chappie in

Welcome to NGB and our Borderlands 3 walkthrough on the Boom Boom Boomtown side mission. Here you’ll find everything you’ll need to breeze through this mission!

Boom Boom Boomtown Walkthrough

How to Start Boom Boom Boomtown

To begin the Boom Boom Boomtown side mission in Borderlands 3, you’ll need to talk to Brick near the northeastern part of the map in the Devil’s Razor on Pandora.

Boom Boom Boomtown Objectives

Talk to Tina

Head up to Tina and talk with her to get this party started.

Ground Slam the Bomb

Head to the top of the nearby stairwell. Then jump off the top and slam down on the bomb.

Talk to Brick

Head back down to Brick and talk with him to open the tunnel.

Detonate Bomb

Enter the tunnel and shoot the bomb to make it explode.

Eliminate COV Invaders

Head to the nearby town and take out the COV.

Talk to Tina

Talk to Tina after clearing out the COV to complete the Boom Boom Boomtown mission.

More Borderlands 3 Guides and Walkthroughs

Check out our Borderlands 3 Guides and Walkthroughs for more help!
Guides

Borderlands 3 – Pandora’s Next Top Mouthpiece Walkthrough

by Chappie in

Welcome to NGB and our Borderlands 3 walkthrough on the Pandora’s Next Top Mouthpiece side mission. Here you’ll find everything you’ll need to breeze through this mission!

Pandora’s Next Top Mouthpiece Walkthrough

How to Start Pandora’s Next Top Mouthpiece

To begin the Pandora’s Next Top Mouthpiece side mission in Borderlands 3, you’ll need to talk to Ellie on Sanctuary after completing the Cold as the Grave main mission.

Pandora’s Next Top Mouthpiece Objectives

Find Entry Requirements

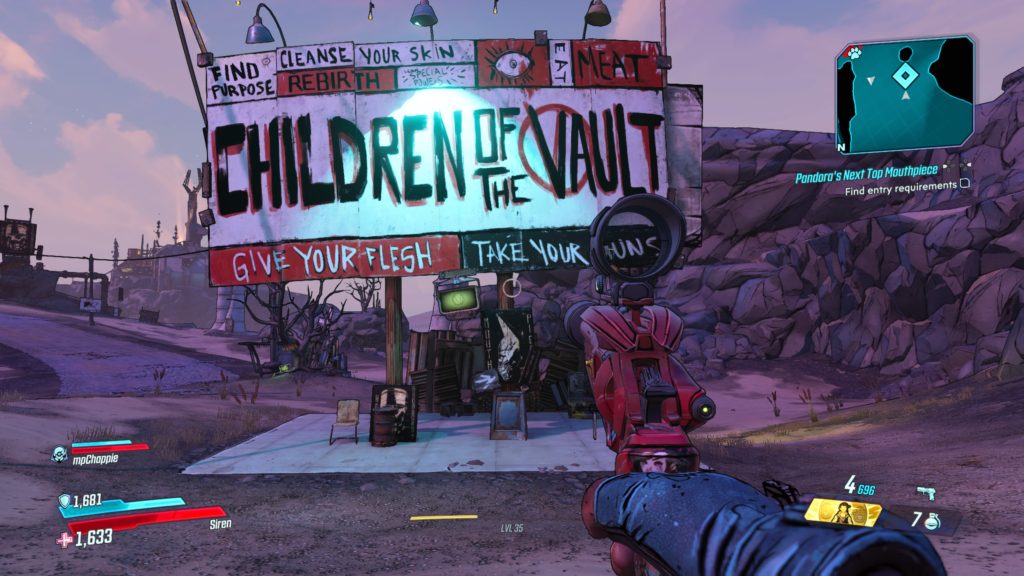
Travel to Ascension Bluff on Pandora and make your way to the Children on the Vault billboard that is located southeast from the fast travel station. Grab the information echo attached to it.

Pandora's Next Top Mouthpiece

Steal Hammerclan Banner

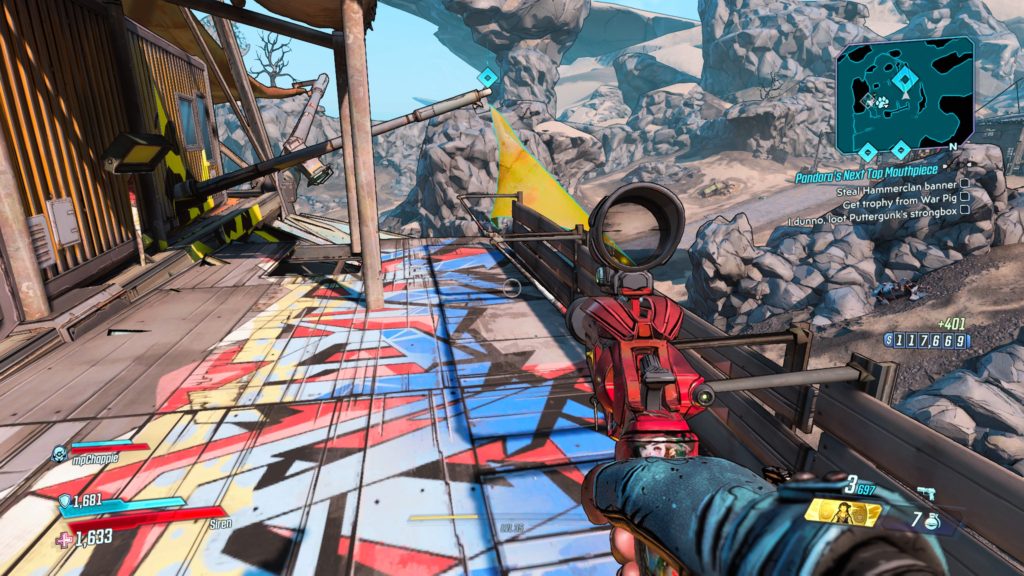
Head to the Ascension Bluff Broadcast Tower site (The Sty) can climb up to the top of it. The banner will be hanging on the front of the tower on the other side of the broadcast satellite.

Borderlands 3 Pandora's Next Top Mouthpiece

Get Trophy from War Pig

Follow the objective to War Pig and take him out to get the trophy.

I Dunno, Loot Puttergunk’s Strongbox

Head to Puttergunk’s Perch northwest of the Spit Respite Typhon Log and locate the shack at the objective. Follow the cable from the power box to locate a target and shoot it. This will open the door allowing you to enter and loot the strongbox.

Bring Trophies to Holy Broadcasting Center

Go to the Holy Broadcasting Center.

Deposit Trophies

Put the trophies into the deposit box.

Stop Pandora’s Next Top Mouthpiece

Eliminate all of the bandits in the Holy Broadcast Center.

Kill (Brand New) Mouthpiece

Eliminate the new Mouthpiece.

Play Mouthpiece’s Organ

Head to the Organ in the back of the room and interact with it.

Find the Secret Stash

Enter the newly opened door to the right of the organ to find the secret stash.

Return to Ellie

Head back to Sanctuary and talk with Ellie to complete the Pandora’s Next Top Mouthpiece mission.

More Borderlands 3 Guides and Walkthroughs

Check out our Borderlands 3 Guides and Walkthroughs for more help!

Guides

Borderlands 3 – Raiders of the Lost Rock Walkthrough

by Chappie in

Welcome to NGB and our Borderlands 3 walkthrough on the Raiders of the Lost Rock side mission. Here you’ll find everything you’ll need to breeze through this mission!

Raiders of the Lost Rock Walkthrough

How to Start Raiders of the Lost Rock

To begin the Raiders of the Lost Rock side mission in Borderlands 3, you’ll need to talk to Claptrap in the Cargo Bay on Sanctuary after completing the Going Rouge main mission.

Raiders of the Lost Rock Objectives

Talk to Miles Brown

Head to Reliance in Floodmoor Basin on Eden-6 and talk to Miles Brown by the vending machines.

Track Thief

Head to the Ambermire entrance near the fast travel station and locate the 139.377 Brownrock near the small set of steps. Pick it up.

Follow the Trail

Keep following the path until you reach the vending machines. You will come across another 139.377 Brownrock to collect. Keep following the rock trail, collecting them as you go. Eventually, you will arrive at the central eastern part of the region in Curltail Warren.

Kill Jabbers

When the door opens, eliminate the Jabbers.

Collect 139.377 Brownrocks

Follow the path to locate the rocks on pedestals. Collect all four of them.

Kill King Gnasher

Eliminate King Gnasher and his followers.

Collect “Abigail”

Collect the rock that King Gnasher drops.

Return to Miles Brown

Head back to Miles and talk with him to complete the Raiders of the Lost Rock mission.

More Borderlands 3 Guides and Walkthroughs

Check out our Borderlands 3 Guides and Walkthroughs for more help!