Guides

Borderlands 3 – Wildlife Conservation Walkthrough

by Chappie in

Welcome to NGB and our Borderlands 3 walkthrough on the Wildlife Conservation side mission. Here you’ll find everything you’ll need to breeze through this mission!

Wildlife Conservation Walkthrough

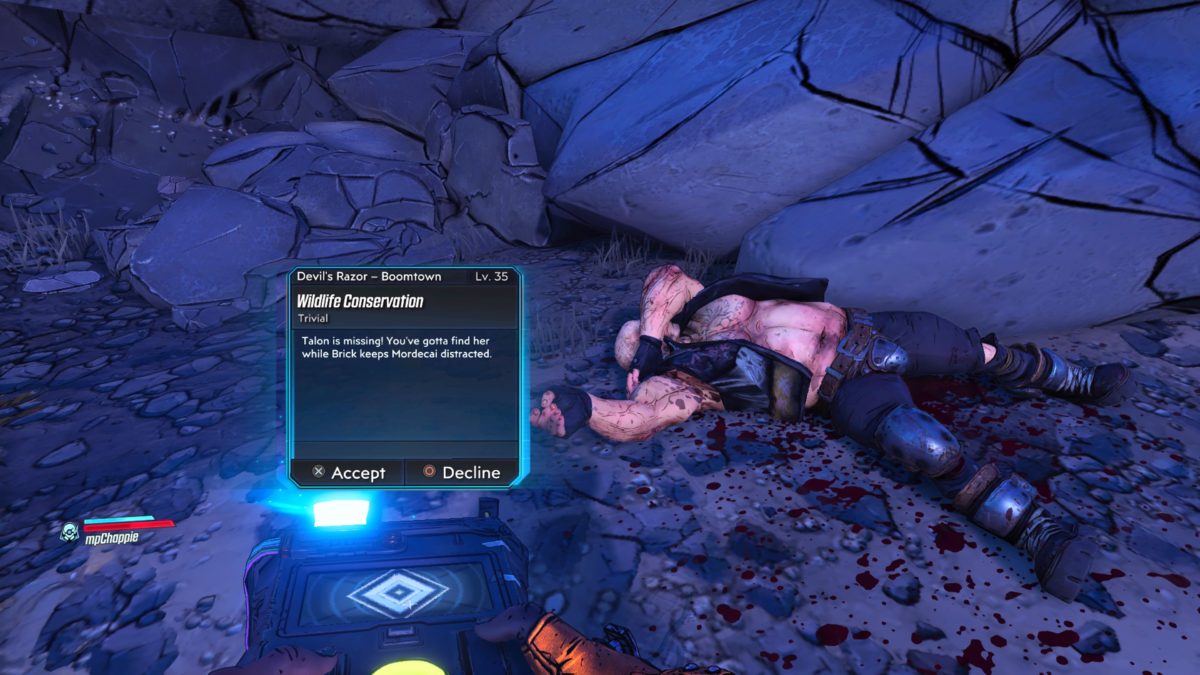
How to Start Wildlife Conservation

To begin the Wildlife Conservation side mission in Borderlands 3, you’ll need to inspect the dead body on the ground across from the vending machines at Konrad’s Hold fast travel station on Pandora.

Wildlife Conservation Objectives

Look for Talon

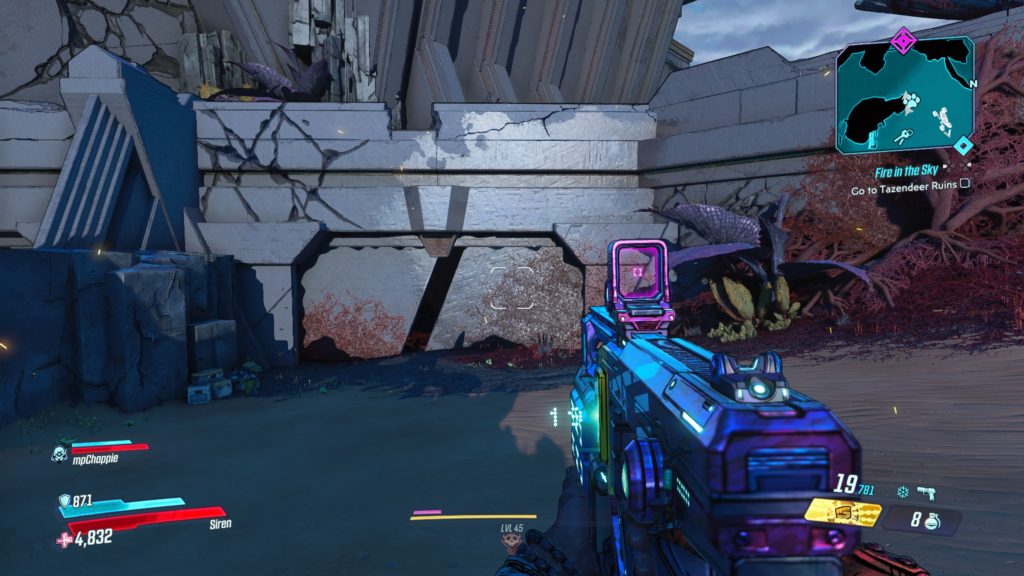
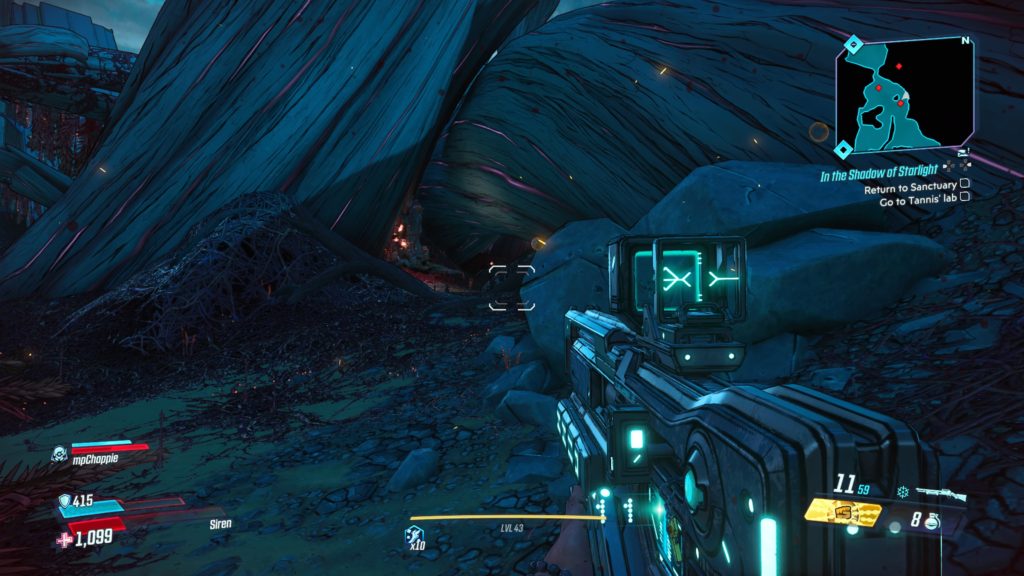
To find Talon, head through the mine.

Follow Blood Trail

Follow the blood trail into the mines.  Take care of the Varkids then flip the lever next to the metal door on the mine track.
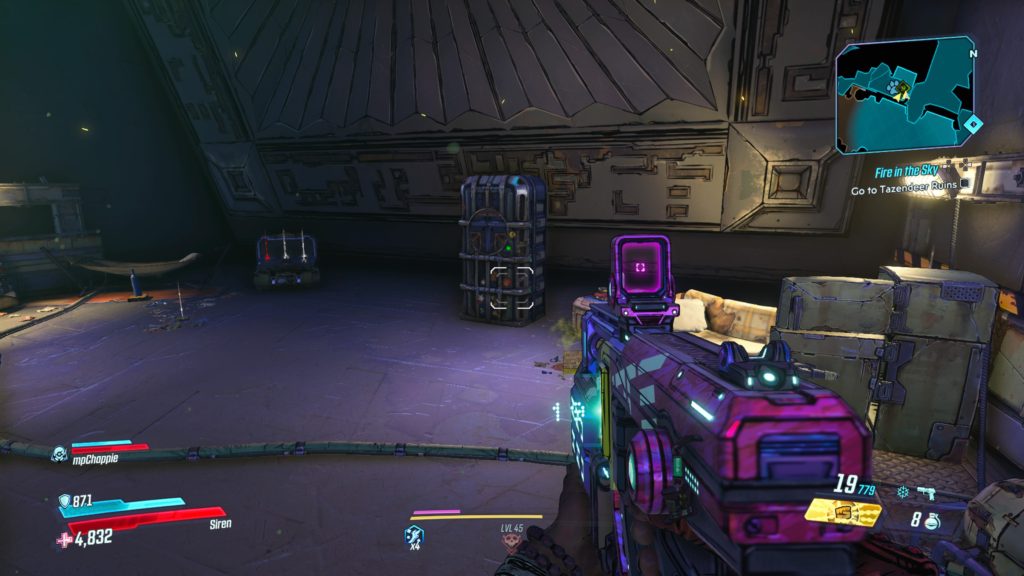
Collect Explosives

Pick up the explosives laying around.

Load Explosives Into Cart

Head near the entrance of the mine and put the explosives into the minecart.

Launch Minecart

Give the minecart a little push.

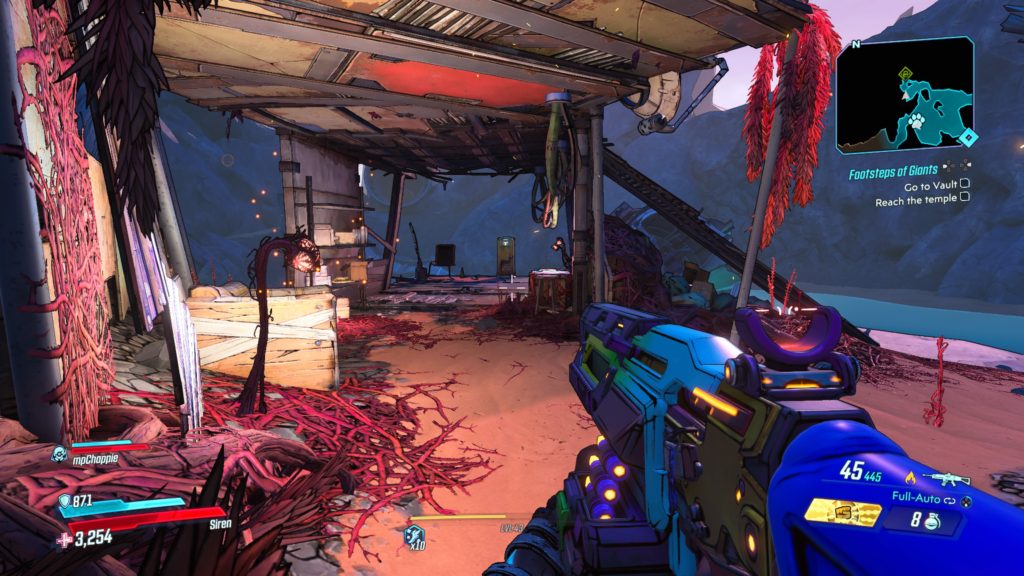
Follow the Blood Trail

Keep following the blood trail further into the mine.
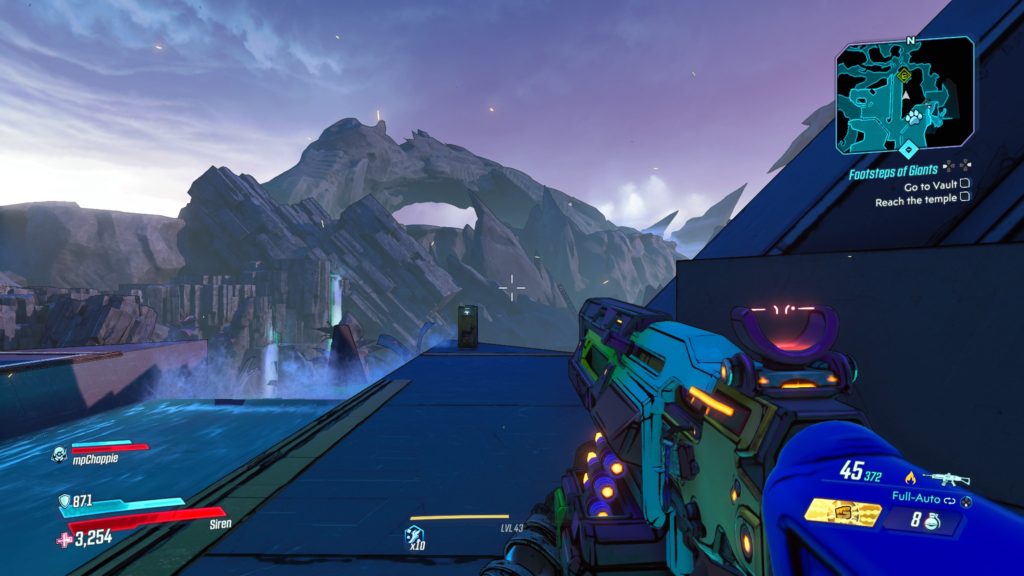
Follow Talon

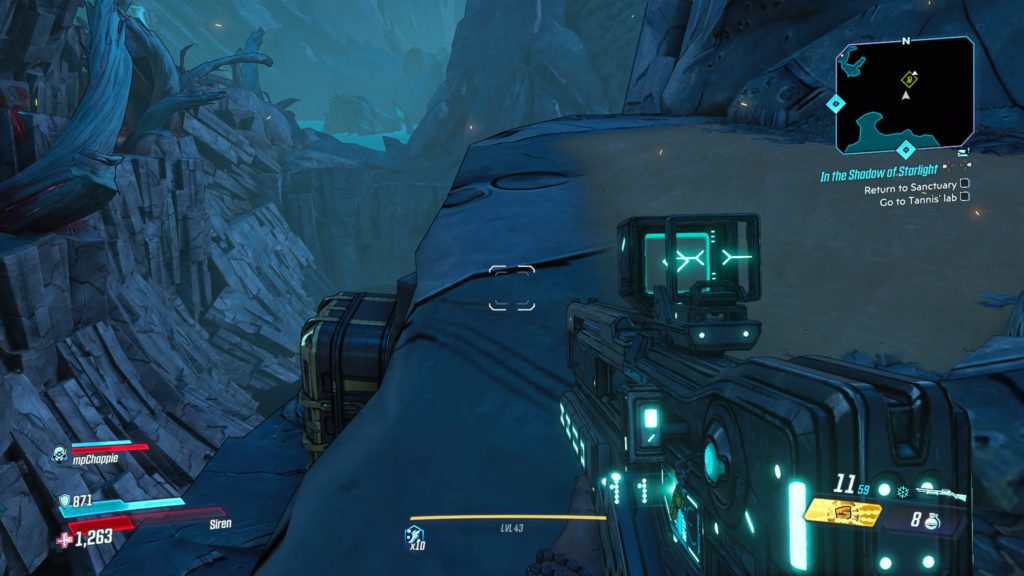
Follow after Talon, heading deeper into the mine until you emerge.

Go to Devil’s Razor

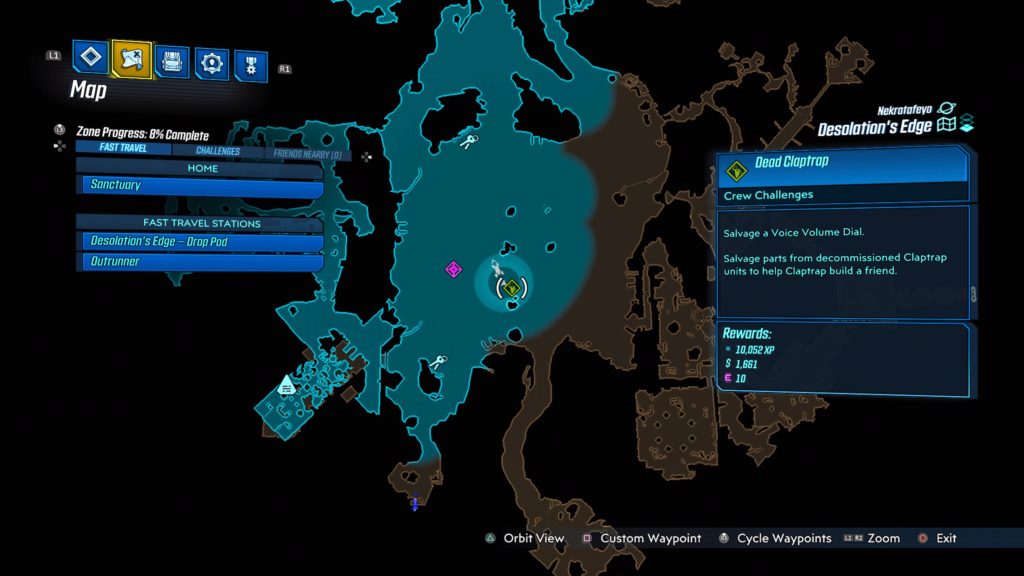
Follow the objective to the fast travel station.

Speak to Brick

Head over to Boom Town and talk to Brick.

Follow Brick

Follow after Brick to find Mordecai.

Speak to Mordecai

Talk to Mordecai to complete the Wildlife Conservation mission.

More Borderlands 3 Guides and Walkthroughs

Check out our Borderlands 3 Guides and Walkthroughs for more help!

Guides

Borderlands 3 – Kill Tarantella Walkthrough

by Chappie in

Welcome to NGB and our Borderlands 3 walkthrough on the Kill Tarantella side mission. Here you’ll find everything you’ll need to breeze through this mission!

Kill Tarantella Walkthrough

How to Start Kill Tarantella

To begin the Kill Tarantella side mission in Borderlands 3, you’ll need to interact with a bounty poster on Sanctuary after completing the Blood Given main mission.

Kill Tarantella Objectives

Kill Tarantella

Head to The Splinterlands to find Tarantella.  From the Chop Shop fast travel station, head north into the search area.  Princess Tarantella II will be easy to spot as she is so big.

More Borderlands 3 Guides and Walkthroughs

Check out our Borderlands 3 Guides and Walkthroughs for more help!

Borderlands 3
Guides

Borderlands 3 – Locations of All the Nekrotafeyo Echo Logs

by Chappie in

Welcome to NGB and our Borderlands 3 guide on the Nekrotafeyo Echo Logs. Here you’ll find all the locations of these logs!

Quick Links

Nekrotafeyo Echo Log Locations

Tazendeer Ruins

No Coming Back (Part 2)

Nekrotafeyo Echo Log

This log is located on a metal crate in An Eternal Silence during the Footsteps of Giants main mission on the south side of the large room. See the map below for the exact location.

Nekrotafeyo Echo Log location on map

No Coming Back (Part 1)

Nekrotafeyo Echo Log

This log is located on the rock ledge to the left of where you need to dig out the Vault Key during the Footsteps of Giants main mission in The Blind Mill. See the map below for the exact location.

Nekrotafeyo Echo Log location on map

More Borderlands 3 Guides and Walkthroughs

Check out our Borderlands 3 Guides and Walkthroughs for more help!

Borderlands 3
Guides

Borderlands 3 – Nekrotafeyo Crimson Radio Crew Challenge

by Chappie in

Welcome to NGB and our Borderlands 3 guide on the Nekrotafeyo Crimson Radio Crew Challenge. Here you’ll find all the locations needed to complete this challenge!

Quick Links

Nekrotafeyo Crimson Radio Crew Challenge Locations

Desolation’s Edge

Desolation’s Edge Broadcast Tower

Nekrotafeyo Crimson Radio Crew Challenge

This broadcast tower is located in a Maliwan base on the southeastern part of the map on top of a tower. You can reach it by climbing on the wall with a light next to it and using that to jump up on the storage container next to the tower. See the map below for the exact location.

Nekrotafeyo Crimson Radio Crew Challenge location on map

Desolation’s Edge Broadcast Tower 2

Nekrotafeyo Crimson Radio Crew Challenge

This broadcast tower is located in the northeast part of the Conquerors on top of a Maliwan outpost. See the map below for the exact location.

Nekrotafeyo Crimson Radio Crew Challenge location on map

Tazendeer Ruins

Tazendeer Ruins Broadcast Tower

Nekrotafeyo Crimson Radio Crew Challenge

This broadcast tower is located in the southern part of the map, west of the vault in a Maliwan outpost. To reach it, you will have to jump on top of the crate on the right side of the building and use that to reach the roof. See the map below for the exact location.

Nekrotafeyo Crimson Radio Crew Challenge location on map

More Borderlands 3 Guides and Walkthroughs

Check out our Borderlands 3 Guides and Walkthroughs for more help!

Borderlands 3
Guides

Borderlands 3 – Nekrotafeyo Typhon Logs and Dead Drop Caches

by Chappie in

Welcome to NGB and our Borderlands 3 guide on the Nekrotafeyo Typhon Logs and Dead Drop Crew Challenges. Here you’ll find all the locations needed to complete this challenge!

Quick Links

Nekrotafeyo Typhon Logs and Dead Drop Crew Challenges Locations

Desolation’s Edge

A Testament to Longing

Nekrotafeyo Typhon Log

This log can be found at the back of the Testament to Longing on the south side of the map. See the map below for the exact location.

Nekrotafeyo Typhon Log map location

The Conqueror

Nekrotafeyo Typhon Log

This log can be found overlooking the eastern part of the Conqueror on a small cliff. To reach it you will have to head through the Strain on the southeast side of the map or enter the cave on the eastern part of the Conqueror that is used as the route to find Typhon. See the map below for the exact location.

Nekrotafeyo Typhon Log map location

The Wake of Doubt

Nekrotafeyo Typhon Log

This log can be found in Typhon’s camp on the way to the machine during the First Vault Hunter main mission. See the map below for the exact location.

Nekrotafeyo Typhon Log location on map

Desolation’s Edge Dead Drop Cache

Nekrotafeyo Typhon Log

This cache is located under the Twilight Arcade in the southwestern part of the map. To reach it, you will have to melee some red vines on the side of the temple. The cache will be in a side room, through a waterfall.

Tazendeer Ruins

The Last House

Nekrotafeyo Typhon Log

This log can be found under a metal shack overlooking a lake in the Last House area located in the north of the map. See the map below for the exact location.

Nekrotafeyo Typhon Log location on map

Charnel Keep

Nekrotafeyo Typhon Log

This log can be found in the northern part of the map, east of the fast travel station close to the path you travel during the Footsteps of Giants main mission near a stream. See the map below for the exact location.

Nekrotafeyo Typhon Log location on map

Vault of the Serpent

Nekrotafeyo Typhon Log

This log can be found in the Vault of the Serpent near Typhon’s bed. See the map below for the exact location.

Nekrotafeyo Typhon Log location on map

Tazendeer Ruins Dead Drop Cache

Nekrotafeyo Typhon Dead Drop Cache
Nekrotafeyo Typhon Dead Drop Location
Nekrotafeyo Typhon Dead Drop Cache

This cache is located in Charnel Keep at the central northern area of the map. It will be off the beaten path, so to reach it look for a small opening under some vegetation that will lead you to the cache. When you emerge, take a left and carefully drop down off the cliff to the ledge below.

More Borderlands 3 Guides and Walkthroughs

Check out our Borderlands 3 Guides and Walkthroughs for more help!

Borderlands 3
Guides

Borderlands 3 – Nekrotafeyo Dead Claptrap Crew Challenge

by Chappie in

Welcome to NGB and our Borderlands 3 guide on the Nekrotafeyo Dead Claptrap Crew Challenge. Here you’ll find all the locations needed to complete this challenge!

Quick Links

Nekrotafeyo Dead Claptrap Crew Challenge Locations

Desolation’s Edge

The Conqueror (Voice Volume Dial)

Nekrotafeyo Dead Claptrap Crew Challenge

This claptrap can be found next to the remains of a Maliwan ship in the big area of the Conqueror. See the map below for the exact location.

Nekrotafeyo Dead Claptrap Crew Challenge Desolation's Edge Map

Quietus Pike (Figurative Speech Adapter)

Nekrotafeyo Dead Claptrap

This claptrap is stuck in a fly tap plant on a path near the map transition to the Tazendeer Ruins. You will come this way during the Footsteps of Giants main mission. See the map below for the exact location.

Nekrotafeyo Dead Claptrap location on map

Tazendeer Ruins

Cadenza in Two Parts (Heat Vents)

Nekrotafeyo Dead Claptrap

This claptrap can be found caught in some red vines on the western part of the map (northeast of the fast travel station). See the map below for the exact location.

Nekrotafeyo Dead Claptrap location on map

Cadenza in Two Parts (Rotator-Cuff Module)

Nekrotafeyo Dead Claptrap

This claptrap is located near the base of a waterfall on the eastern side of the map. See the map below for the exact location.

Nekrotafeyo Dead Claptrap location on map

The Pyre of Stars

Sarcasm Module

Nekrotafeyo Dead Claptrap

This claptrap can be found during the In the Shadow of Starlight main mission and is located next to an ammo chest. See the map below for the exact location.

Nekrotafeyo Dead Claptrap location on map

More Borderlands 3 Guides and Walkthroughs

Check out our Borderlands 3 Guides and Walkthroughs for more help!

Guides

Borderlands 3 – Let’s Get It Vaughn Walkthrough

by Chappie in

Welcome to NGB and our Borderlands 3 walkthrough on the Let’s Get It Vaughn side mission. Here you’ll find everything you’ll need to breeze through this mission!

Let’s Get It Vaughn Walkthrough

How to Start Let’s Get It Vaughn

To begin the Let’s Get It Vaughn side mission in Borderlands 3, you’ll need to talk to Zahnzi who is located at the Festival Grounds in Carnivora on Pandora.

Let’s Get It Vaughn Objectives

Follow Zahnzi

Follow Zahnzi through the door.

Go to Podium

Head towards the main stage.

Listen to Rules

Listen to Vaughn talk.

Complete Trivia

If you get the answers correct, you get loot.  The answers are as follows:

  • Vaughn
  • Troy
  • Vaughn
  • Tyrene
  • Vaughn

Kill Opposition

Defeat the enemies.

Talk to Zahnzi

Talk to Zahnzi on stage to complete the Let’s Get it Vaughn mission.

More Borderlands 3 Guides and Walkthroughs

Check out our Borderlands 3 Guides and Walkthroughs for more help!

Guides

Borderlands 3 – The Homestead (Part 3)

by Chappie in

Welcome to NGB and our Borderlands 3 walkthrough on The Homestead (Part 3) side mission. Here you’ll find everything you’ll need to breeze through this mission!

The Homestead (Part 3) Walkthrough

How to Start The Homestead (Part 3)

To begin The Homestead (Part 3) side mission in Borderlands 3, you’ll need to talk to Pa at The Homestead in The Splinterlands on Pandora after completing The Homestead (Part 2) side mission.

The Homestead (Part 3) Objectives

Follow Pa to the Barn

Follow Pa to the huge barn.

Start Up Ol’Bessie

Enter the bar and flip the lever on the right side of the barn.

Open First Valve

Open the valve on the left side of the barn.

Open Second Valve

Open the valve on the other side of the barn.

Melee Third Valve

Head up into the rafters to located and melee the third valve.

Open Last Valve

Climb up higher in the barn and shoot the final valve.

Climb to Roof

Head up to the roof to find Bessie.

Activate Ol’ Bessie

Pull the lever on the roof to activate Bessie.

Kill Bandits

Defend the Homestead from the bandit attack.

Return to Pa

Head to the porch and talk to Pa to complete The Homestead (Part 3) mission.

More Borderlands 3 Guides and Walkthroughs

Check out our Borderlands 3 Guides and Walkthroughs for more help!

Guides

Borderlands 3 – The Homestead (Part 2) Walkthrough

by Chappie in

Welcome to NGB and our Borderlands 3 walkthrough on The Homestead (Part 2) side mission. Here you’ll find everything you’ll need to breeze through this mission!

The Homestead (Part 2) Walkthrough

How to Start The Homestead (Part 2)

To begin The Homestead (Part 2) side mission in Borderlands 3, you’ll need to talk to Ma at the Homestead in The Splinterlands on Pandora after completing The Homestead side mission.

The Homestead (Part 2) Objectives

Go to Spring

Head to the western part of The Homestead and press the button near the gate door to open it. Head through the gate and follow the path until you reach the spring.

Kill Vermilingua

Eliminate the enemy.

Revive Pa

Help Pa up.

Search Poop for Explosives

Search the poop piles looking for dynamite.

Place Explosives

Place the explosive near the blockage.

Detonate Explosives

EXPLOSIONS!

Return to Ma

Return to Ma back at The Homestead and talk with her to complete The Homestead (Part 2) mission.

More Borderlands 3 Guides and Walkthroughs

Check out our Borderlands 3 Guides and Walkthroughs for more help!

Guides

Borderlands 3 – Just Desserts Walkthrough

by Chappie in

Welcome to NGB and our Borderlands 3 walkthrough on the Just Desserts side mission. Here you’ll find everything you’ll need to breeze through this mission!

Just Desserts Walkthrough

How to Start Just Desserts

To begin the Just Desserts side mission in Borderlands 3, you’ll need to talk to Beatrice near some vending machines in the center of the map in The Splinterlands on Pandora.

Just Desserts Objectives

Collect Spiderant Eggs

Follow the objective to the southwestern region of the map to locate a Spiderant den. Enter the den and collect the eggs. They will be in shiny pods scattered on the ground. Shoot the pods to release the eggs.

Collect Barrel of Gunpowder

Head east from Beatrice to reach a fenced-in area with a giant skull shooting flames out of its nose. Climb up the ladder next to the skull to find the gunpowder.

Deliver Ingredients to Beatrice

Return to Beatrice and hand over the goods.

Collect “Candles”

Head to the back of Beatrice’s house and open the door to find the candles on a wooden table.

Return to Beatrice

Head back around front and open the front door to find Beatrice. Talk with her.

Collect Cake Layers

Pick up the three cake layers off of the tables.

Deliver Cake

Follow the objective south to arrive at a cave with a metal door blocking the way.

Assemble Cake

Put the cake together on the mine cart.

Place Candles

Add the candles to the cake.

Ring Doorbell

Ring the doorbell on the door.

Light Candles

Light the candles on the cake.

Melee Cake

Give the cake a good shove.

Wait for it…

Just relax for a minute.

Talk to Beatrice

Return to Beatrice and talk with her to complete the Just Desserts mission.

More Borderlands 3 Guides and Walkthroughs

Check out our Borderlands 3 Guides and Walkthroughs for more help!