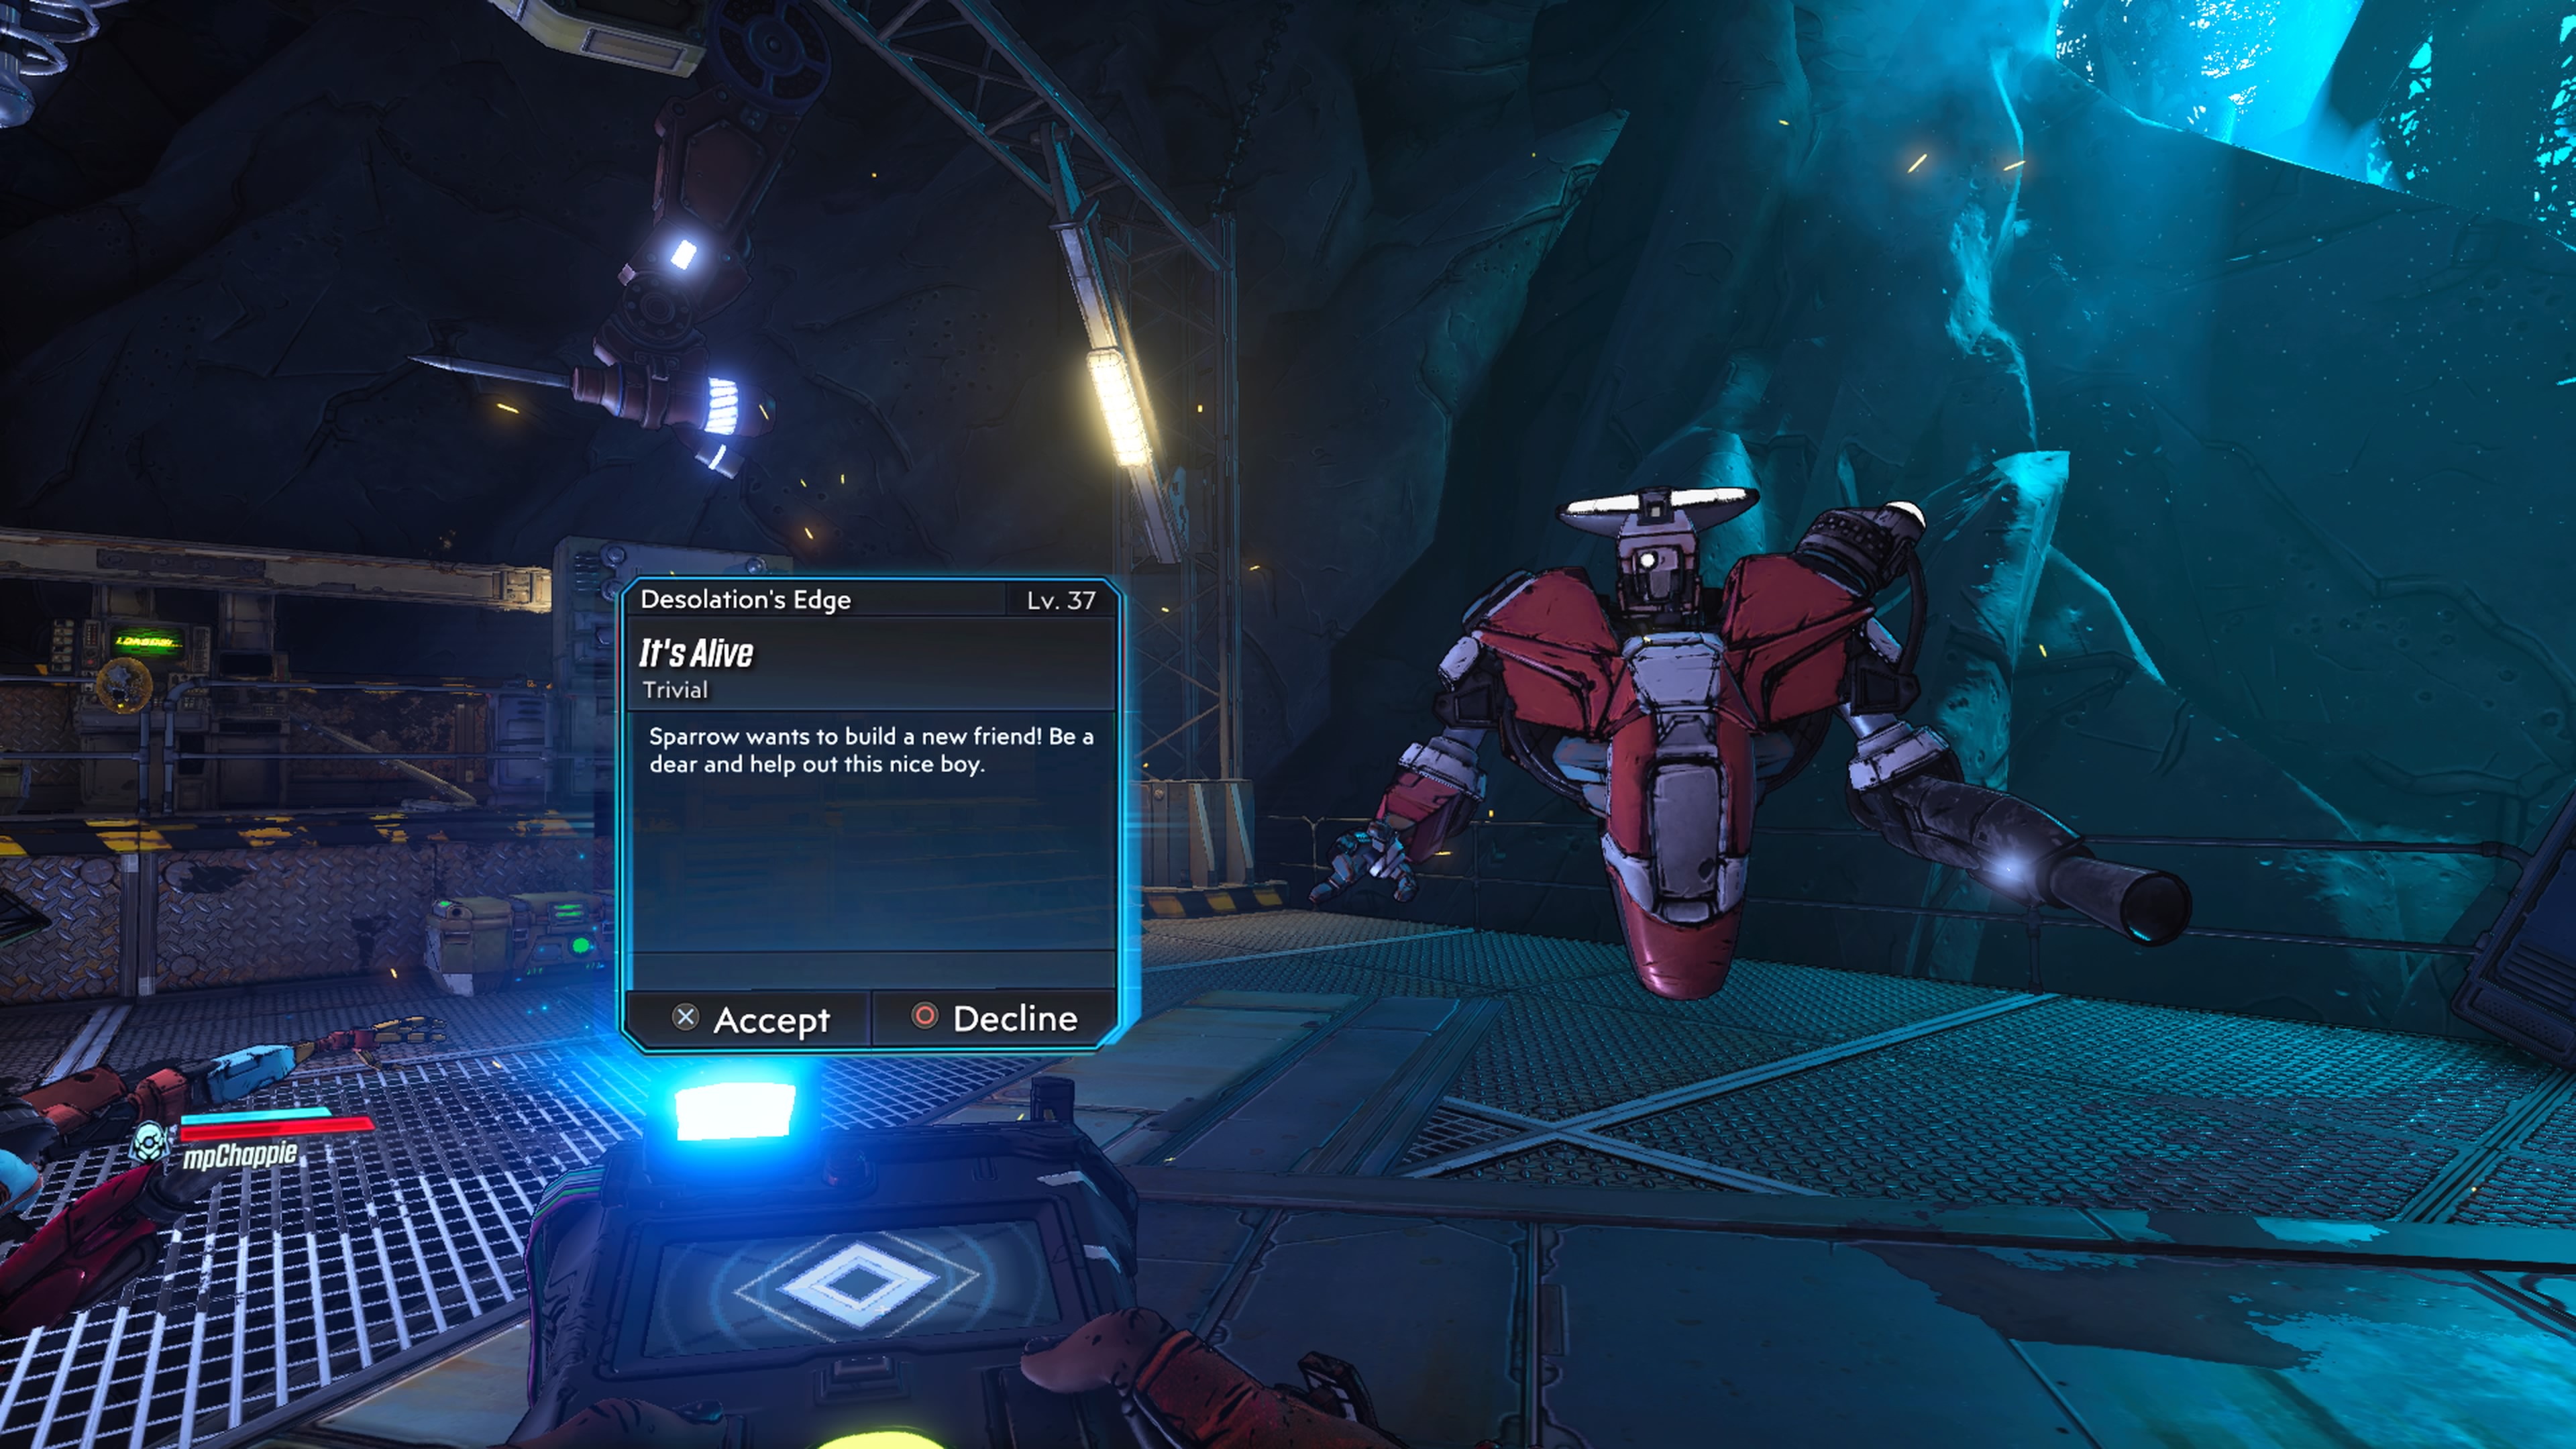
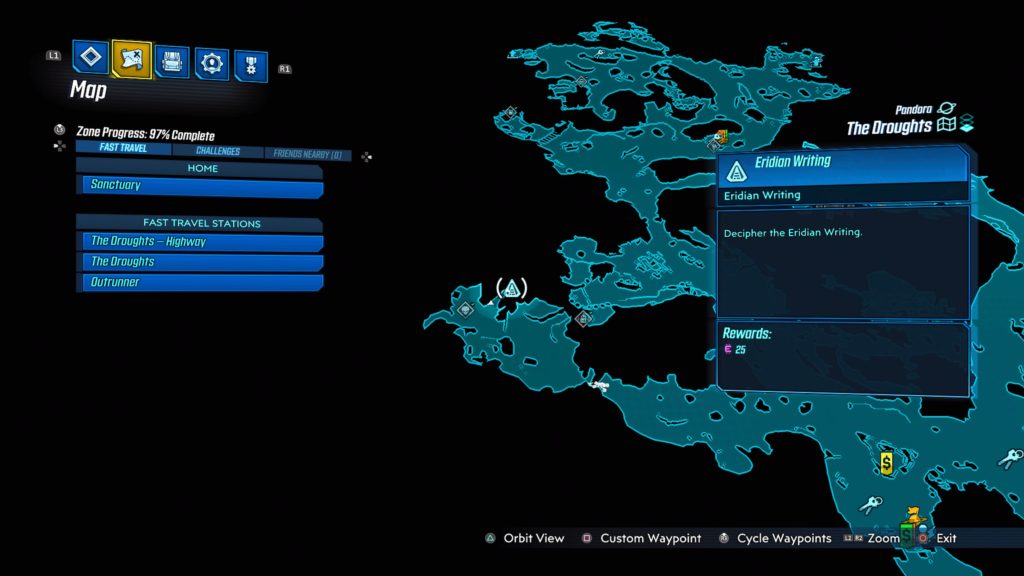
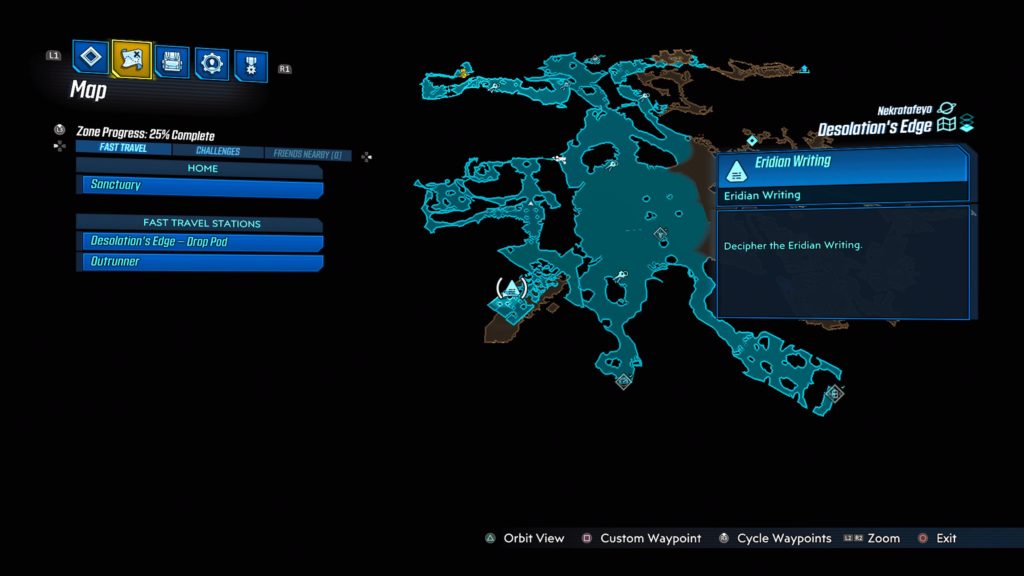
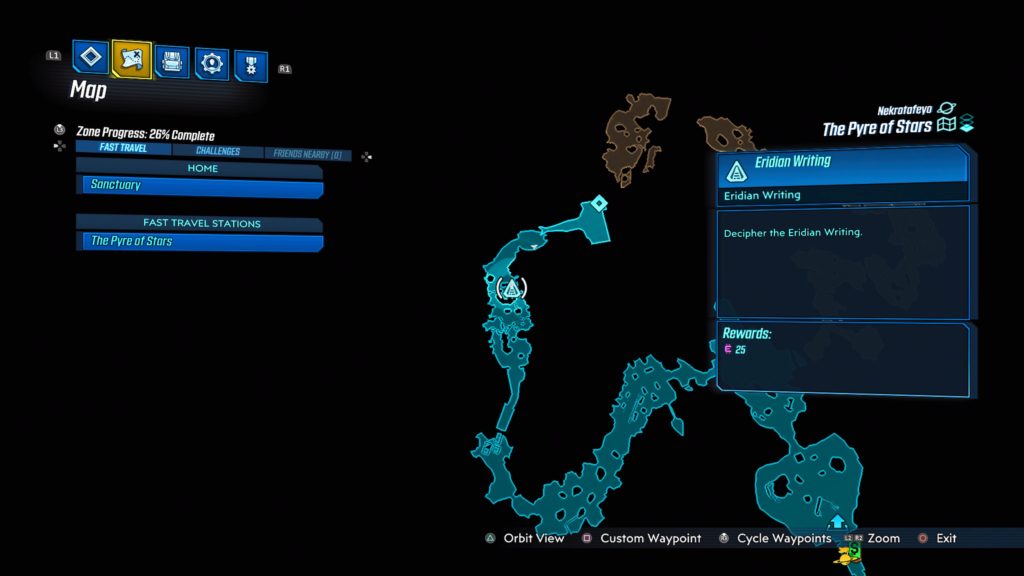
Location: Nekrotafeyo – Desolation’s Edge
Obtained: Talk to Sparrow after completing the story
Objective(s):
- Get Rocket Parts
- Get Detonator
- Go to Tazendeer Ruins
- Clear Mailwan from Old Base
- Recover Typhon Echo Logs
- Shoot Echo Log
- Kill Omega Mantakore
- Assemble Rocket
- Place Echo Logs in Rocket
- Place Detonator
- Launch Rocket
- Talk to Sparrow
Get Rocket Parts
Collect the rocket parts from the platform that Grouse is on.
Get Detonator
Grab the detonator from the same area as the rockets.
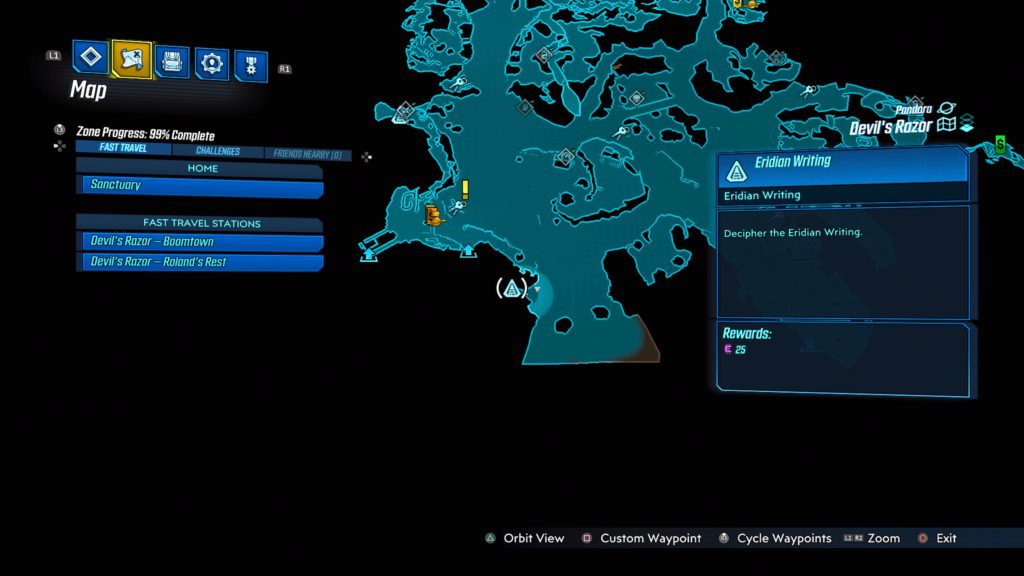
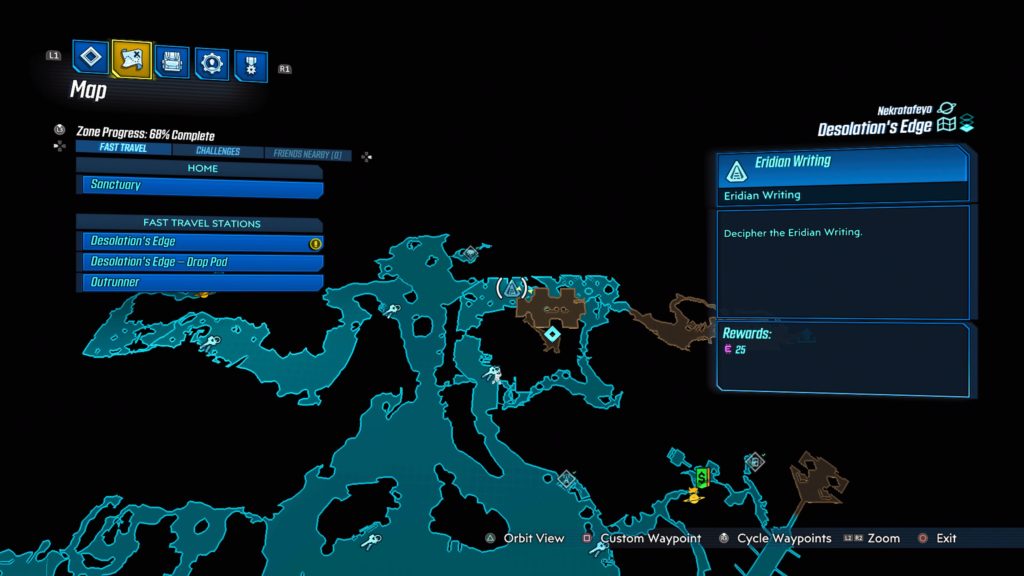
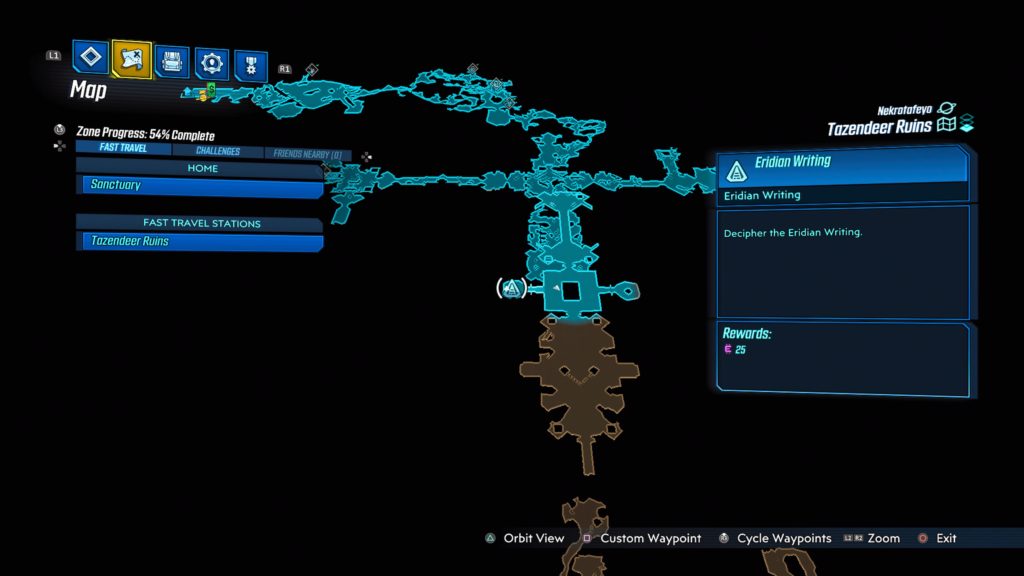
Go to Tazendeer Ruins
Travel to the Tazendeer Ruins to update the objective.
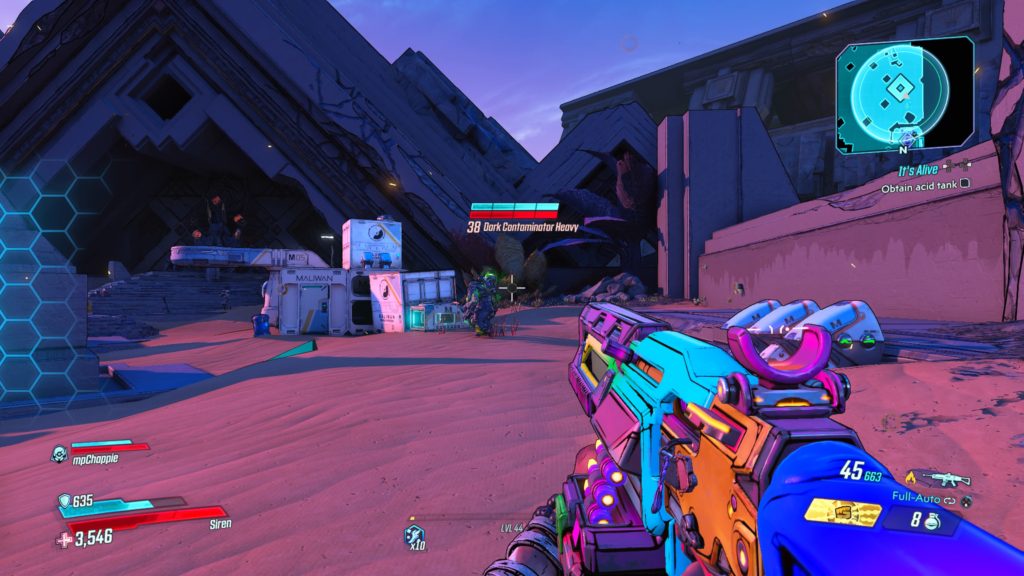
Clear Mailwan from Old Base
Follow the objective northeast to arrive at the Maliwan occupied Old Base in the Last House area. Clear them out.
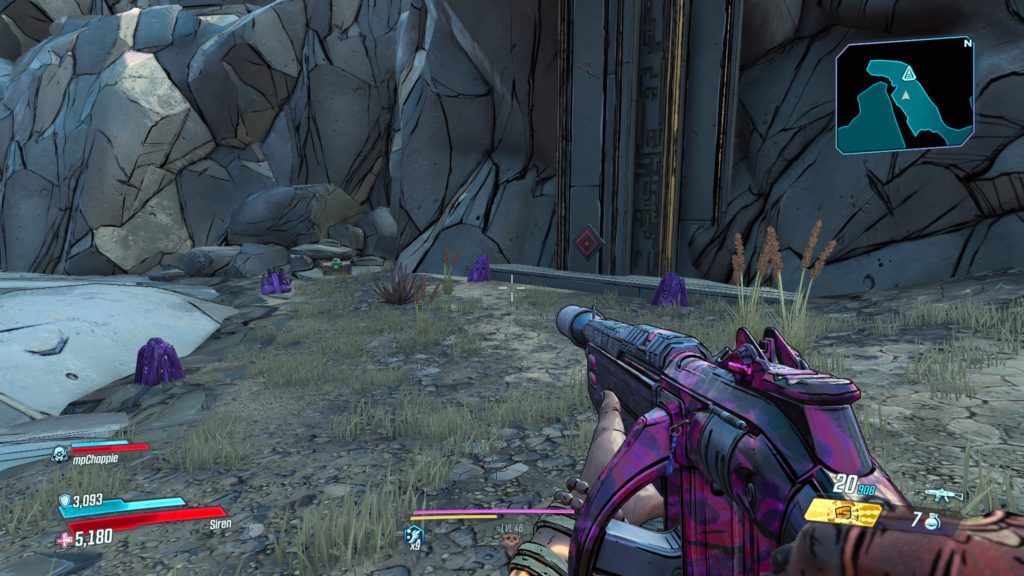
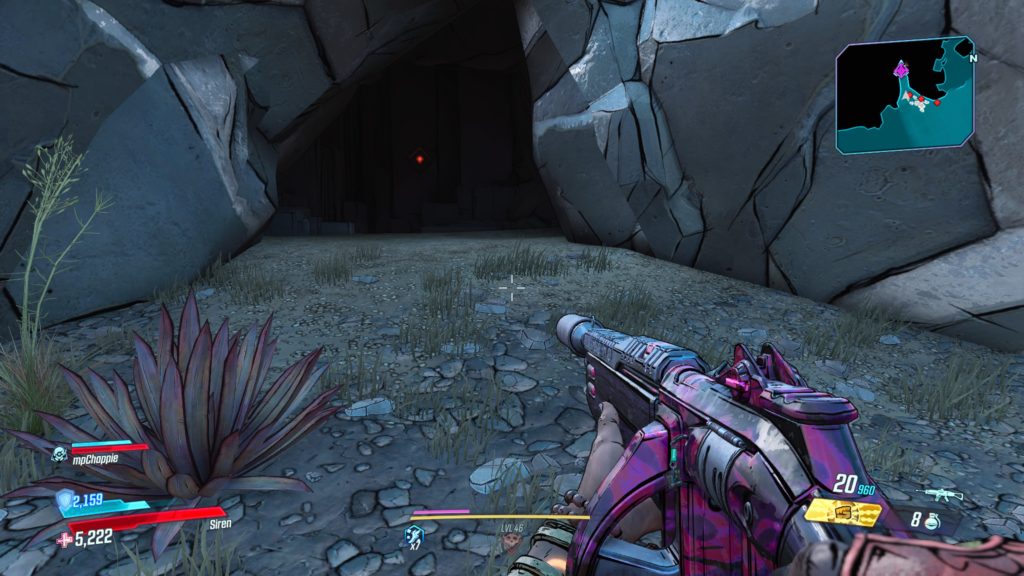
Recover Typhon Echo Logs
Pick up the log dropped from the last enemy. Find and collect the other two logs.
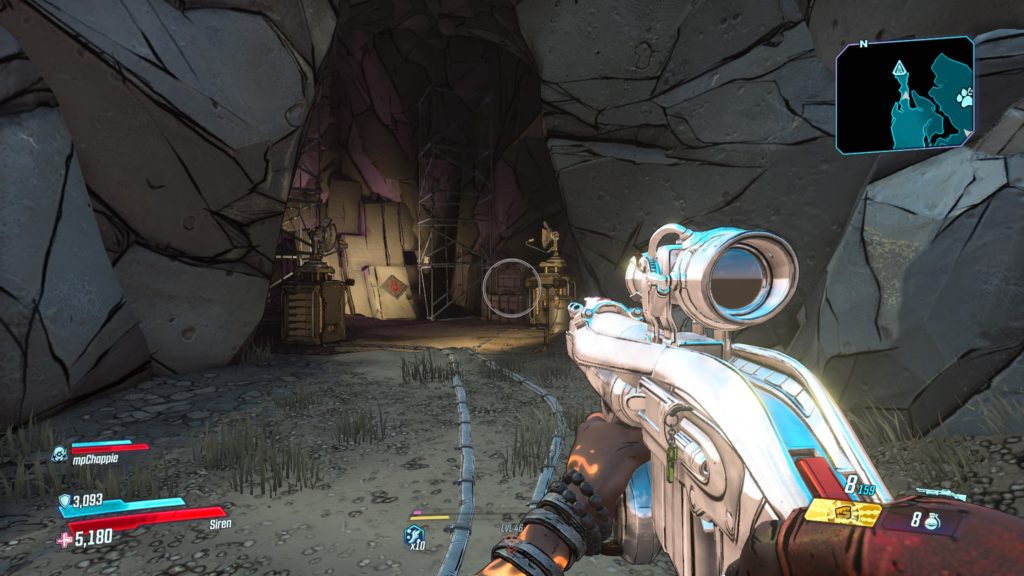
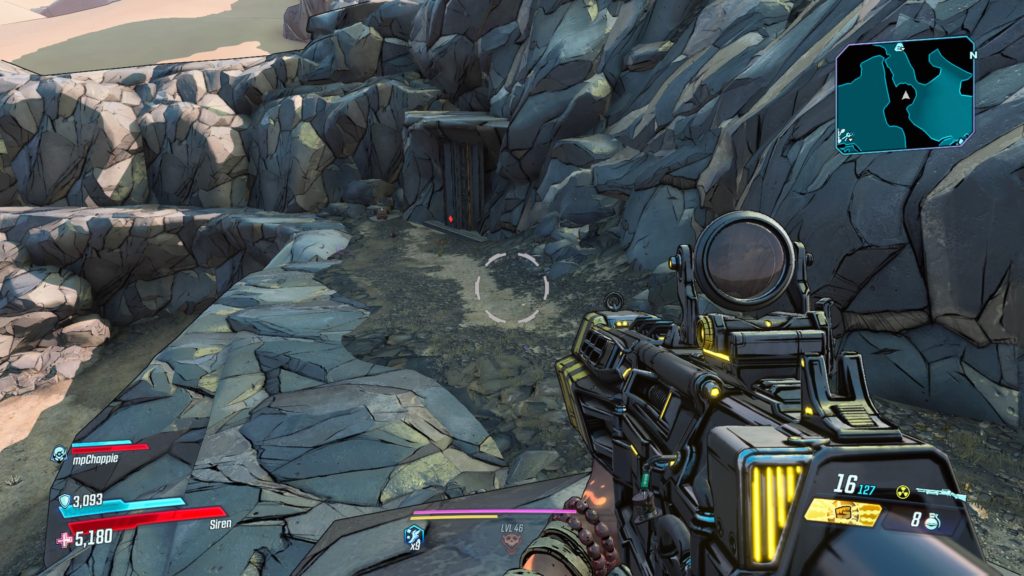
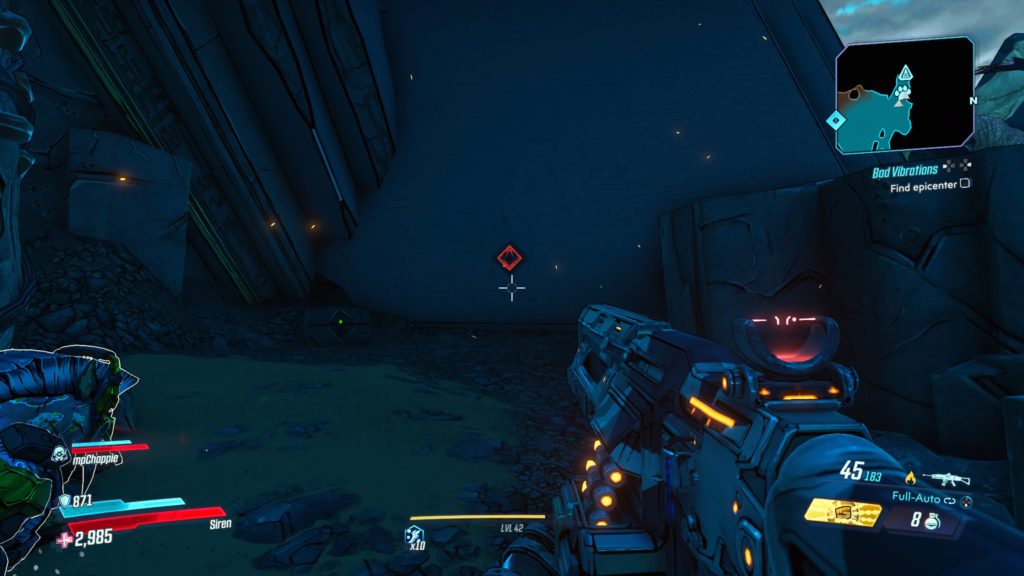
Shoot Echo Log
Shoot the echo log off of the metal scaffolding.
Kill Omega Mantakore
Eliminate the Mantakore to find the final log.
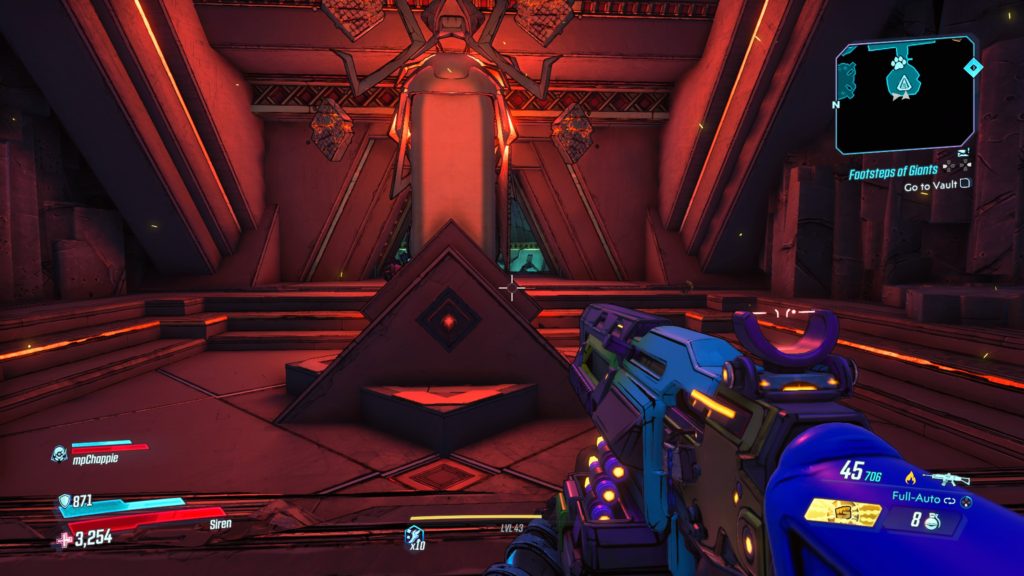
Assemble Rocket
Follow the objective to the target location and assemble the rocket.
Place Echo Logs in Rocket
Put the echo logs in the rocket.
Place Detonator
Put the detonator on the roof of the old house.
Launch Rocket
Send Typhon’s rocket into the sky.
Talk to Sparrow
Head back to Sparrow at the research center and talk with him to complete the mission.