Welcome to NGB and our walkthrough for the Access is Key mission in Starfield! This guide will walk you through starting the mission and detail the necessary steps for its completion. If you need help with a specific mission objective, check the quick links section to easily find the information needed.
Some of the planets referenced in our guides and walkthroughs may not match yours due to how Starfield was created. In these situations, what you do and the places you visit on those planets should remain the same.
Access is Key is one of the faction missions for Ryujin Industries. You’ll automatically begin this mission after completing the A New Narrative mission.
Access is Key Walkthrough
Travel to the Clinic
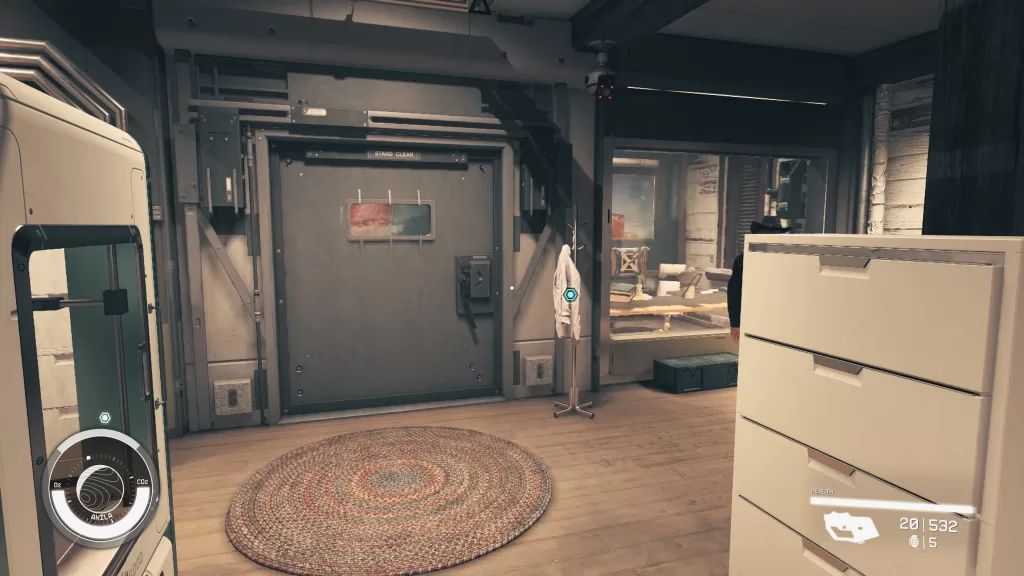
Travel to the Clinic orbiting Deepala in the Narion System. For a disguise, wear a suit or security guard uniform.
Retrieve the Security Keycard
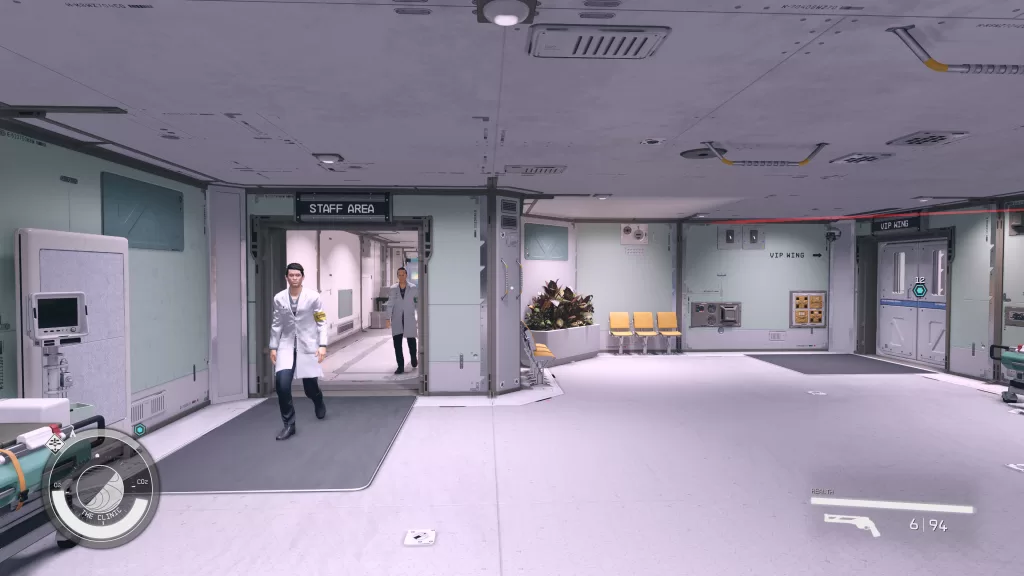
Once inside, head forward passing the reception desk and take a left entering the Staff Area. In the Staff Area, continue forward and enter Storage. Once in Storage, take a right and head up the stairs. At the top speak with the Freestar Security Chief. You’ll be able to persuade her to hand over her card.
Return to Imogene
Head back to Ryujin Tower and speak with Imogene to complete the mission. As a reward, you’ll receive 2500 Credits and 150 XP.
Additional Starfield Guides and Walkthroughs
Be sure to check our main Starfield Guides and Walkthroughs page for additional content on Starfield, such as additional guides to assist you during your adventures in the Settled Systems!
Welcome to NGB and our walkthrough for the A New Narrative mission in Starfield! This guide will walk you through starting the mission and detail the necessary steps for its completion. If you need help with a specific mission objective, check the quick links section to easily find the information needed.
Some of the planets referenced in our guides and walkthroughs may not match yours due to how Starfield was created. In these situations, what you do and the places you visit on those planets should remain the same.
A New Narrative is one of the faction missions for Ryujin Industries. You’ll automatically begin this mission after completing the One Step Ahead faction mission.
A New Narrative Walkthrough
Travel to Akila City
Travel to Akila City on Akila in the Cheyenne System. Once there, make your way to Laredo Firearms on the southern side of town.
Plant the Confidential Files
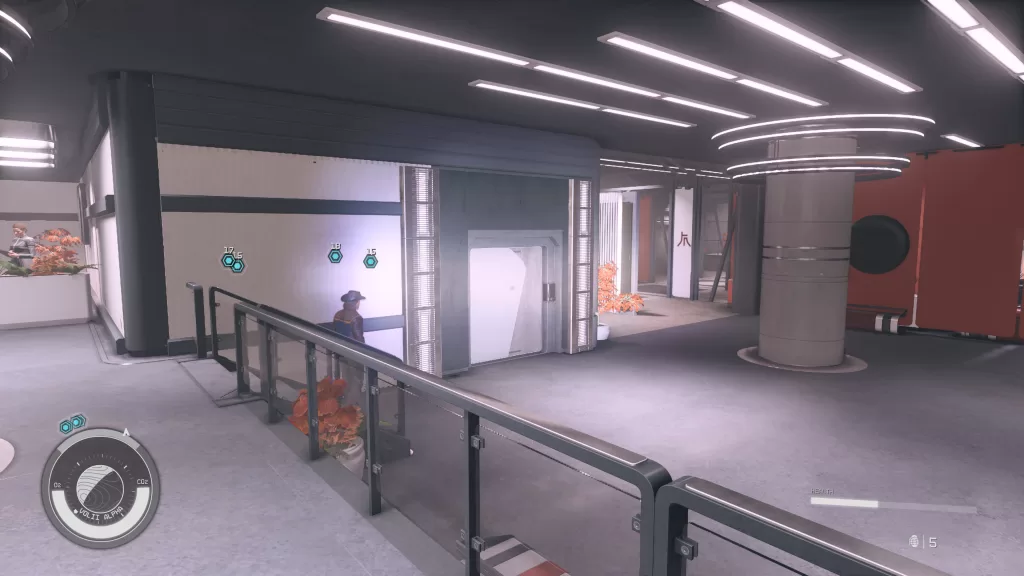
Once in Laredo Firearms, walk up to the second floor to find a locked door (novice).
Your goal is to get through this door and into the chest without being seen. There is an employee in this room that does not leave! We waited for him to sit down at his desk and were able to do this undetected. Once in the chest, go into your inventory and plant the Confidential Files.
Return to Imogene at Ryujin Tower
Report back to Imogene on your job well done! As a reward for being undetected, you’ll receive 2500 credits, Hippolyta (aid) and 100 XP.
Additional Starfield Guides and Walkthroughs
Be sure to check our main Starfield Guides and Walkthroughs page for additional content on Starfield, such as additional guides to assist you during your adventures in the Settled Systems!
Welcome to NGB and our walkthrough for the One Step Ahead mission in Starfield! This guide will walk you through starting the mission and detail the necessary steps for its completion. If you need help with a specific mission objective, check the quick links section to easily find the information needed.
Some of the planets referenced in our guides and walkthroughs may not match yours due to how Starfield was created. In these situations, what you do and the places you visit on those planets should remain the same.
One Step Ahead is one of the faction missions for Ryujin Industries. You’ll automatically begin this mission after completing the Back to the Grind faction mission.
One Step Ahead Walkthrough
Upload the Program at CeltCorp
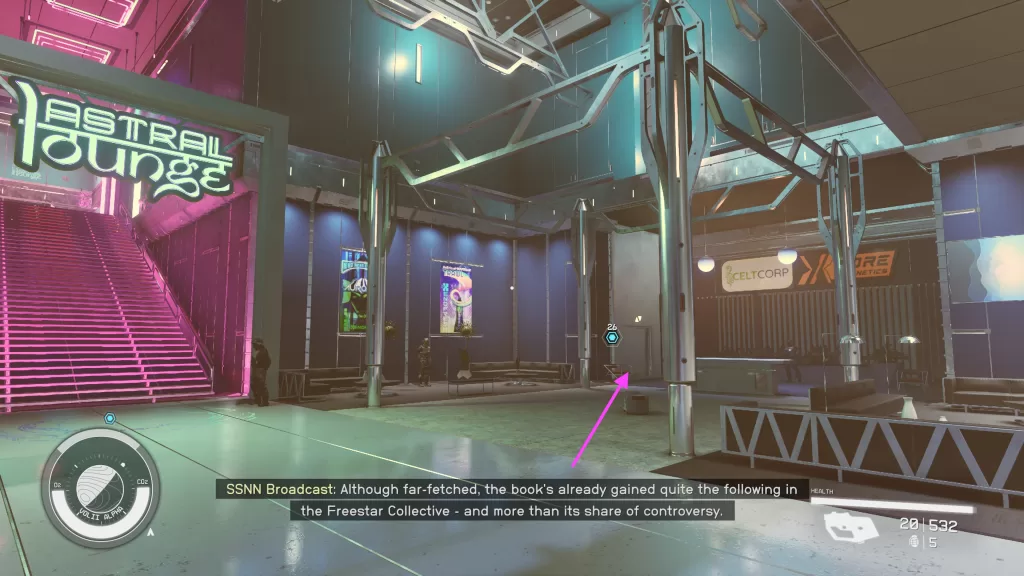
Exit Ryujin Industries and make your way straight ahead. At the end of the path you’ll spot neon pink stairs leading up to Astral Lounge. Just before these stairs, take a right to find CeltCorp.
Enter the elevator and take it up to the CeltCorp floor. Head inside and locate the cubicles to find the computer you’ll need to use to upload the program.
Please note this computer is locked (novice), so you’ll need to use a Digipick to gain access! Try to avoid detection as it results in a bounty!
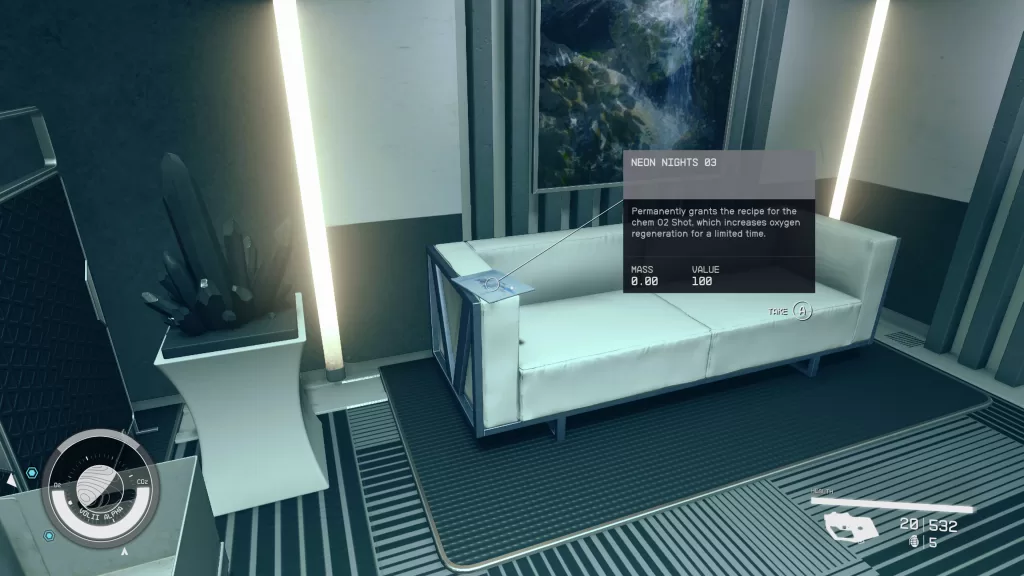
After unlocking the computer, select “Upload Program”. Before you leave, make sure to grab the Neon Nights 03 from the arm of the couch in the cubicle area.
Return to Imogene at Ryujin Tower
Report back to Imogene to complete the mission. She’ll inform you that clean work (meaning no problems) equals maximum payout! If you weren’t caught, you’ll receive 100 XP and 1000 credits.
Additional Starfield Guides and Walkthroughs
Be sure to check our main Starfield Guides and Walkthroughs page for additional content on Starfield, such as additional guides to assist you during your adventures in the Settled Systems!
Welcome to NGB and our walkthrough for the Hard Luck mission in Starfield! This guide will walk you through starting the mission and detail the necessary steps for its completion. If you need help with a specific mission objective, check the quick links section to easily find the information needed.
Some of the planets referenced in our guides and walkthroughs may not match yours due to how Starfield was created. In these situations, what you do and the places you visit on those planets should remain the same.
Hard Luck is one of the misc. missions you can pick up in Neon on Volii Alpha in the Volii System. To start the mission, speak with Clover MacKenna at CeltCorp. You’ll need to take the elevator to the right of Astral Lounge to reach this floor.
Hard Luck Walkthrough
(Optional) Find Clover’s Diary
Head to the cubicles in CeltCorp to find Clover Mackenna’s Diary on a desk.
Convince Saburo to Take the Loan
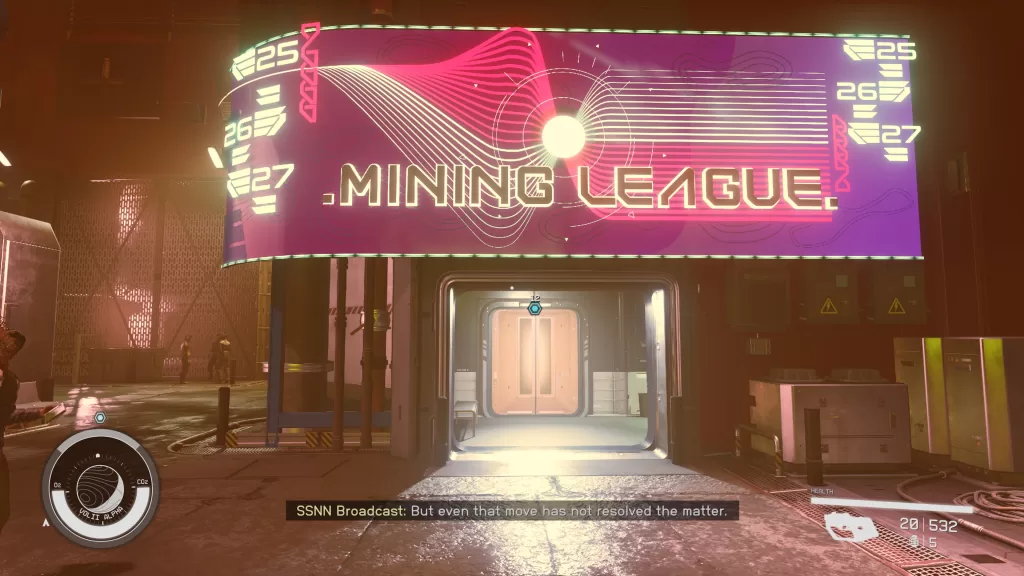
Make your way to the Mining League building directly across from Trade Authority.
Speak with Saburo Okadigbo behind the counter. If you offer to help him, you’ll start the Saburo’s Solution mission, which is independent of this mission! To continue with the Hard Luck mission, tell him Clover MacKenna offered to pay his debt. You’ll have several options:
[Clover’s Slate] Read this. It might change your mind.
He had no idea of her feelings as she was so professional. He’ll accept the money.
[Persuade] You should take the money.
He’ll accept the money if you successfully persuade him.
Fair enough.
Nothing happens and you’ll have to pick one of the above options.
Return to Clover
No matter your choice, report back to Clover to complete the quest. As a reward you’ll receive 100 XP and 2000 Credits.
Additional Starfield Guides and Walkthroughs
Be sure to check our main Starfield Guides and Walkthroughs page for additional content on Starfield, such as additional guides to assist you during your adventures in the Settled Systems!
Welcome to NGB and our guide for the Back to the Grind mission in Starfield! This guide will walk you through starting the mission and detail the necessary steps for its completion. If you need help with a specific mission objective, check the quick links section to easily find the information needed.
Some of the planets referenced in our guides and walkthroughs may not match yours due to how Starfield was created. In these situations, what you do and the places you visit on those planets should remain the same.
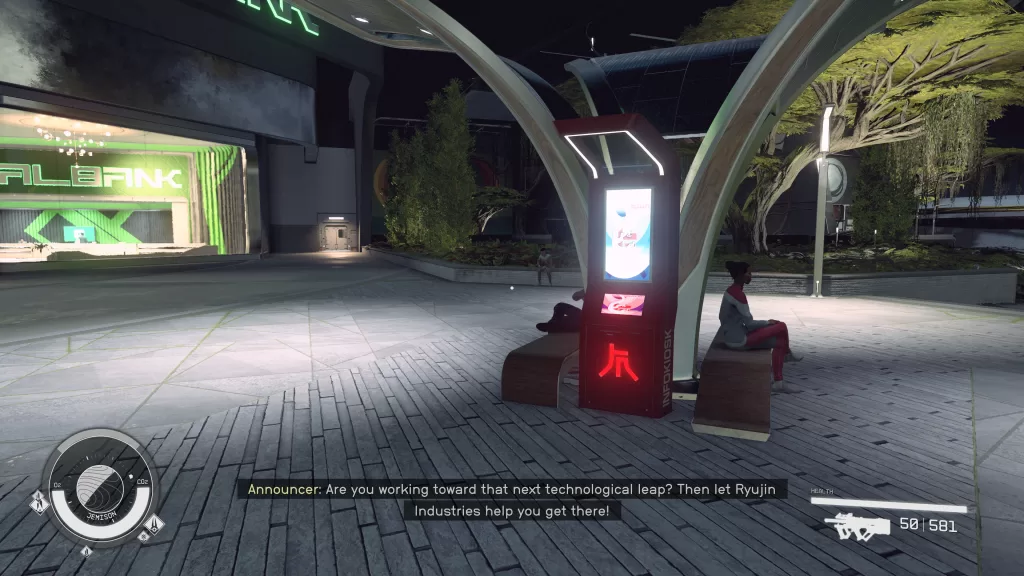
Back to the Grind is one of the faction missions for Ryujin Industries you can pick up at New Atlantis. To start, travel to the Commercial District and approach the Ryujin Industries Kiosk near GAL Bank. Once the kiosk starts talking to you, you’ll receive the quest.
Back to the Grind Walkthrough
Apply for a Job at a Ryujin Industries Kiosk
Interact with the kiosk to begin the job application. Your answers on this application do not matter so select whichever responses you’d like!
Travel to Neon on Volii Alpha in the Volii System
Board your ship and travel to Neon Core on Volii Alpha in the Volii System.
Attend Your Interview at Ryujin Tower
Once there, enter the Ryujin building on the east side of Neon Core. Head straight forward to reach the elevator then take it to the Operations floor. Check in with Lane Garza behind the reception desk. She ask if you have any questions and if you’d like her to show you the way to the Imogene’s office. It’s up to you but either way make your way to Imogene’s office to begin the interview. Once you arrive, take a seat to begin the questions. Select which ever responses you’d like as she’ll hire you anyway!
Pick up Coffee at TerraBrew
Get this woman a coffee!! Exit the building and head straight ahead, passing the Trade Authority. Just before GAL Bank you’ll find Terrabrew Coffee. Speak with the employee behind the counter and tell her you’re here to pick up an order for Imogene Salzo. Tomo will interrupt you and cause a scene. Eventually, he’ll pull a gun on you and you’ll need to either persuade him to stand down or attack him. Once you’ve dealt with Tomo, make sure to grab the coffee from the TerraBrew Employee.
Talk to Imogene
Return to Imogene’s office in Ryujin Tower and speak with her. She’ll scold you for being late and you’ll have several options to give her for your excuse.
If you tell her you ran into an ex-employee, she’ll be happy you told her as they were informed about the situation before we arrived. If you choose any of the other options, she’ll tell you that she knows of your deception and explain how they already knew. No matter which one you choose however, at the end of the conversation, you’ll be promoted!
Meet the Team
Exit Imogene’s office and head down the short flight of stairs. Enter via the door at the bottom to reach the conference room the team is convening in.
Once inside, speak with everyone!
Talk to Imogene
After meeting the team, report back to Imogene to complete this mission. As a reward, you’ll receive 250 XP, Reconstim (aid) and some credits.
Additional Starfield Guides and Walkthroughs
Be sure to check our main Starfield Guides and Walkthroughs page for additional content on Starfield, such as additional guides to assist you during your adventures in the Settled Systems!
Welcome to NGB and our guide for the Starfield Blast Zone mission! In this guide, we’ll cover how you can start the Blast Zone mission and what steps you’ll need to take to complete it. If you’re here looking for help with a particular objective, please check out our quick links section which can help point you to the right section!
Blast Zone is one of the misc. missions you can pick up in Akila City on planet Akila in the Cheyenne System. To start the mission, you’ll need to enter the city and wander around until a guard randomly starts talking about Mr. Tate. This will add an activity to speak with Mr. Tate which leads to the mission.
Starfield Blast Zone Mission Guide
Talk to Mr. Tate
In Akila, you’ll find Ngodup Tate speaking with a Prospective Buyer in front of The Core Resistance. Listen to their conversation then speak with him afterwards. If you wish, you can purchase one of two properties: Core Manor for 78000 credits or Midtown Home for 45000. To continue this quest tell him you’re not interested in purchasing one. He’ll then ask you about your mining experience. Tell him you’d be happy to help out!
Clear Out the Hard Rock on Tate’s Land
Head to the east side of Akila to find six hard rocks scattered around the area. You” want to use a Cutter on them to break them up.
Report back to Ngodup Tate
Once all the rocks have been cleared, return to Tate. As a reward, you’ll receive 50 XP and some credits!
Welcome to NGB and our walkthrough for the Starfield Back to Vectera mission! In this walkthrough, we’ll cover everything you need to know to complete the mission. If you’re here looking for help with a specific mission objective, please check out the quick links section which should be able to point you to the right section! Back to Vectera is one of the main missions you’ll need to complete to beat the game. To start it, simply complete The Old Neighborhood main mission and you’ll obtain it automatically.
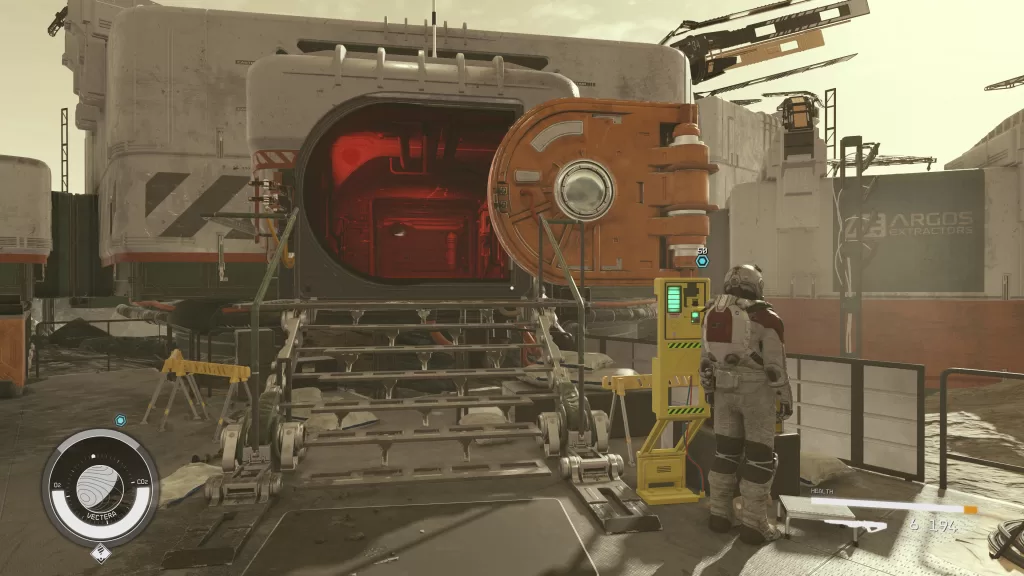
Head out to space then set course to the Narion System. You’ll want to land at Argos Extractors Mining Outpost on Vectera (orbiting planet Anselon) so you can check in on Barrett. Disembark the ship then speak with Lin who is waiting for you. After the conversation, head over to the comms building off to the right and flip the switch to get inside.
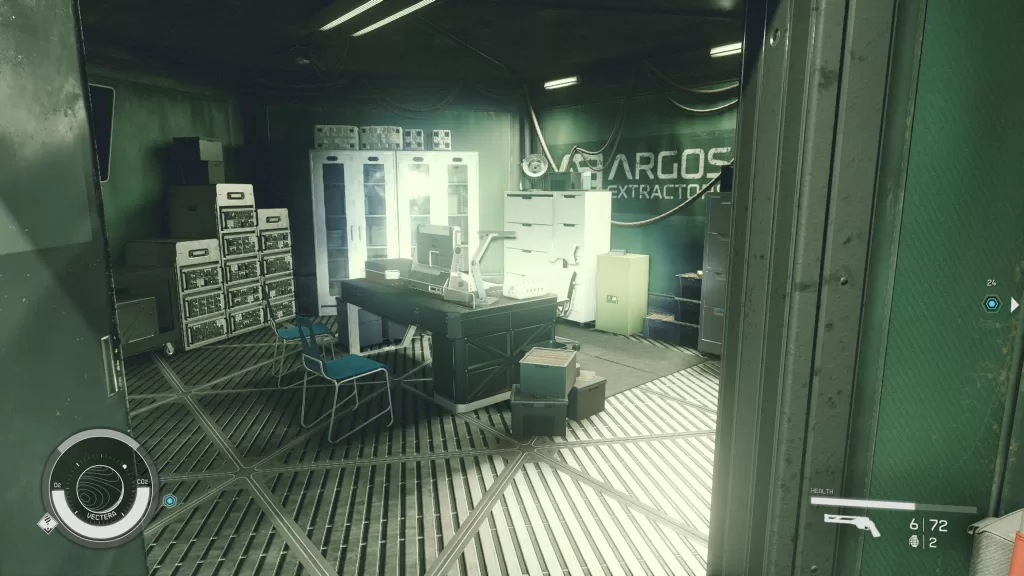
After entering the building, head through the door on the right. In this next room enter the room on the left (left of the Industrial Workbench) to find the Vectera Control Room Key on a desk.
Work your way to the back of the building and use the key to open the door leading to the Comms equipment. Head inside then interact with the Communications Computer. Select “Look for a Power Source” and some more objectives will show up on your hud. Leave the building and search the three things listed below to find the power cells. If you have the Outpost Engineering skill, then you’ll have an option to jury-rig the power being able to skip the need for a power source all together.
Grab one from Lin
Examine the robot near Lin
Examine the medical bed in the main facility
Return to the comms system and place the cells in the Power Receptacle. This will power up the equipment allowing you to access the Communications Computer. Select the Emergency Transmission to listen to a transmission from Barrett. Head back outside and speak with Lin and she’ll give you the coordinate hidden in Barrett’s transmission. As a side objective, you can also recruit Lin to join your crew.
Before leaving the coms building, locate the cutter create in the storage room and loot Heller’s Cutter from it. Its a bit better than the regualr cutter and weighs less too. Additionally, you can find the Trackers Primer 05 magazine in the bunk area on an end table.
Travel to Valo System
Return to your ship and plot a course for the Valo System. Once there head to the moon marked by the objective and land at the Crashed Ship. Exit your ship and head for the crashed ship, northeast of your position.
When you reach the wreckage, locate and speak with Heller. After the conversation, you’ll gain the optional objective of recruiting him to your ship by speaking with him again. To progress the mission, open your inventory and listen to Emergency Transmission 02.
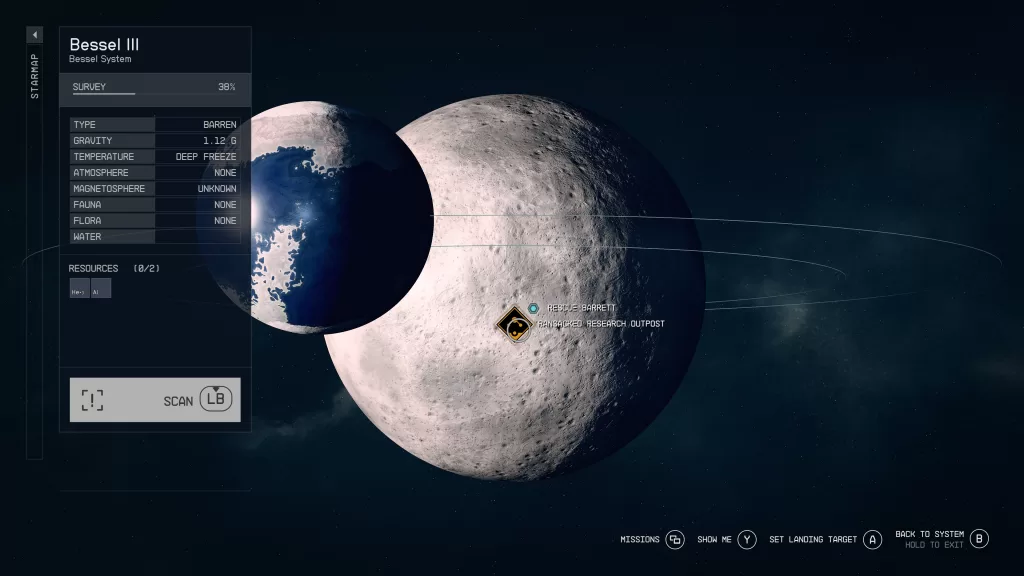
Travel to Bessel III
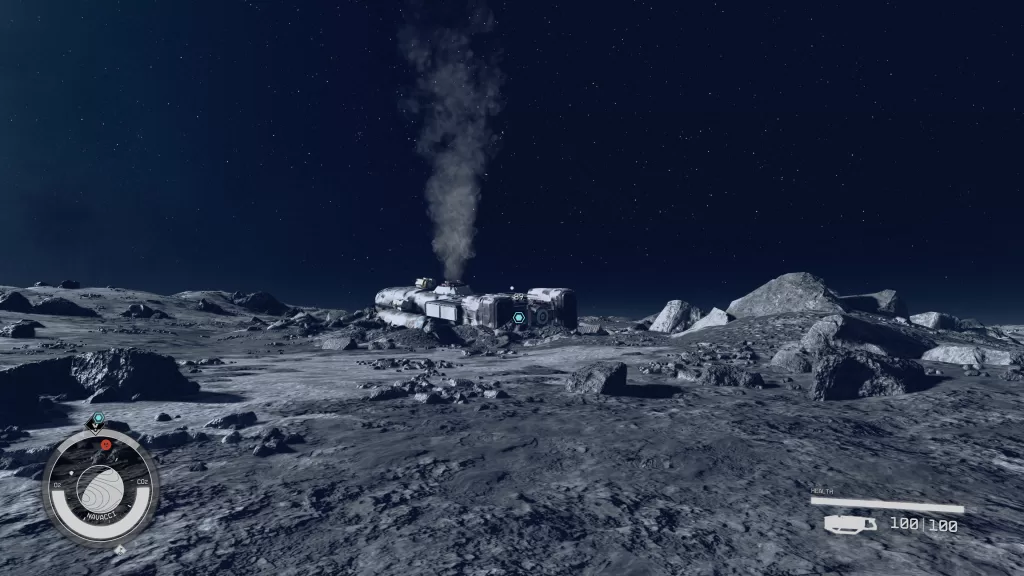
Head back to the ship then plot your next course for Bessell III in the Bessel System and land on the Ransacked Research Outpost. Exit your ship and head northwest to arrive at a Crimson Fleet Outpost. Deal with the members of the fleet stationed outside (while watching out for the turrets). When they are taken care of enter the Crimson Fleet Outpost.
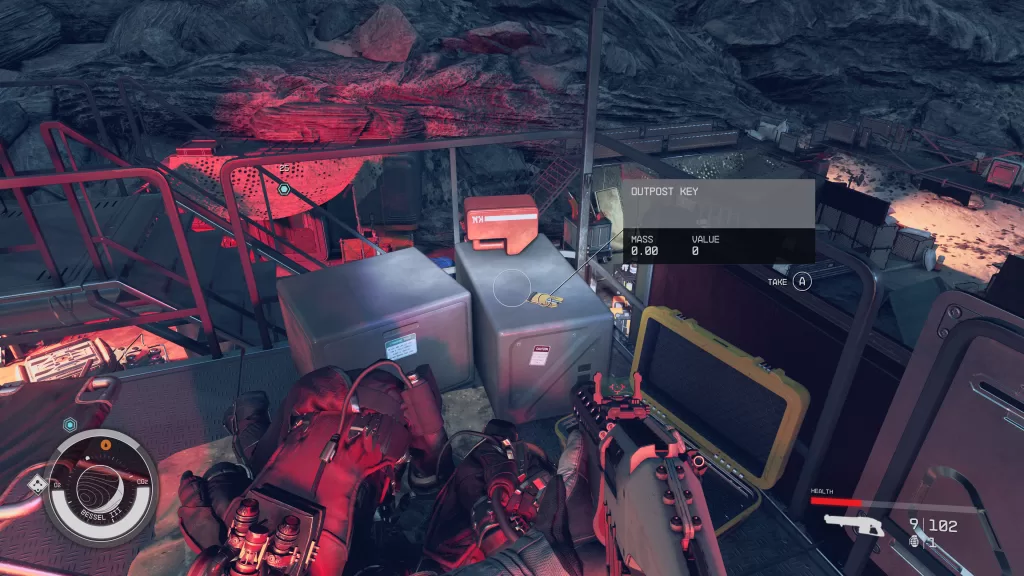
NOTE – To the left of the outpost is a locked building that requires an Outpost Key to enter. You can find one on top of the tallest structure in the middle of the outpost. It will be on a crate across from the Space Suit Workbench.
Rescue Barrett
Once inside the outpost, follow the path forward down multiple ramps. At the bottom, you’ll find a doorway leading to the room in the center of the structure where Barrett resides. Before entering the room, check the cart (that has a weapon crate) to the left of the door to find a journal entry that permanently adds an effect.
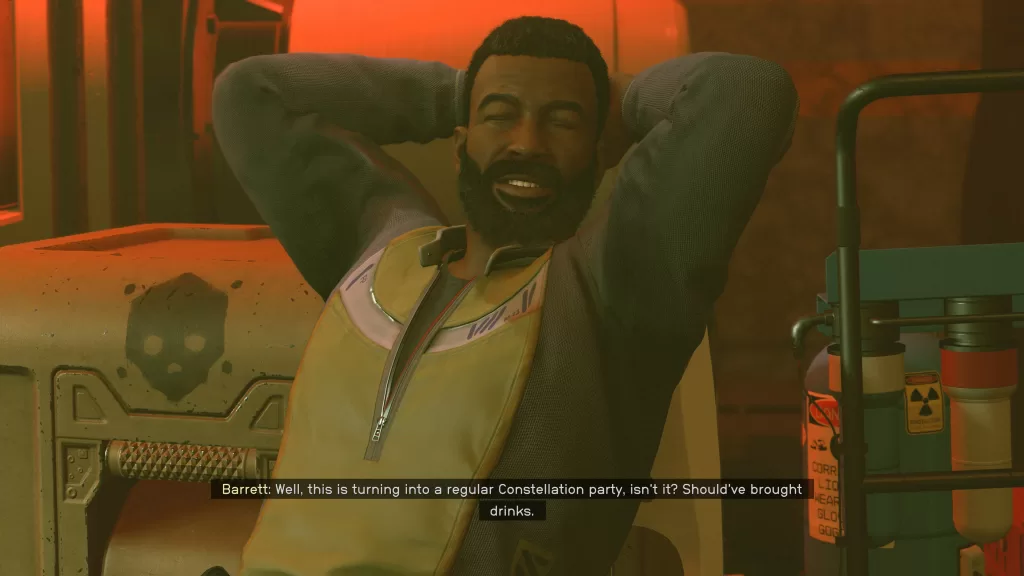
When you’re ready, head in to begin a conversation with Barrett and his captors. They will demand a ransom of 4000 credits for his freedom. You can choose to pay it or if you brought Sara, there will be an option for her to pay the ransom using some of Constellation’s funds. There is also the option to persuade them to just let Barrett go or you can just kill them all! If you choose to attack the pirates, Barrett won’t be too happy about it after.
If this is an NG+ run, you’ll have a unique option that will cause Barrett’s captors to let him go without any hassle.
Return to the Lodge
Regardless of what happens, you can chat with Barrett afterward. You’ll then be free to return to the Lodge in New Atlantis. Once there, head into the Library and watch the scene play out. Speak with Barrett after and the mission will compete. As a reward, you’ll receive 350 EXP, some credits and Barrett will become a party member.
Welcome to NGB and our guide for the First to Fight, First to Die mission in Starfield! This guide will walk you through starting the mission and detail the necessary steps for its completion. If you need help with a specific mission objective, check the quick links section to easily find the information needed.
Some of the planets referenced in our guides and walkthroughs may not match yours due to how Starfield was created. In these situations, what you do and the places you visit on those planets should remain the same.
How to Start the First to Fight, First to Die Mission
First to Fight, First to Die is one of the faction missions you’ll have to complete during the Freestar Collective questline. You’ll start it automatically after you complete the On the Run Freestar Collective faction mission.
First to Fight, First to Die Walkthrough
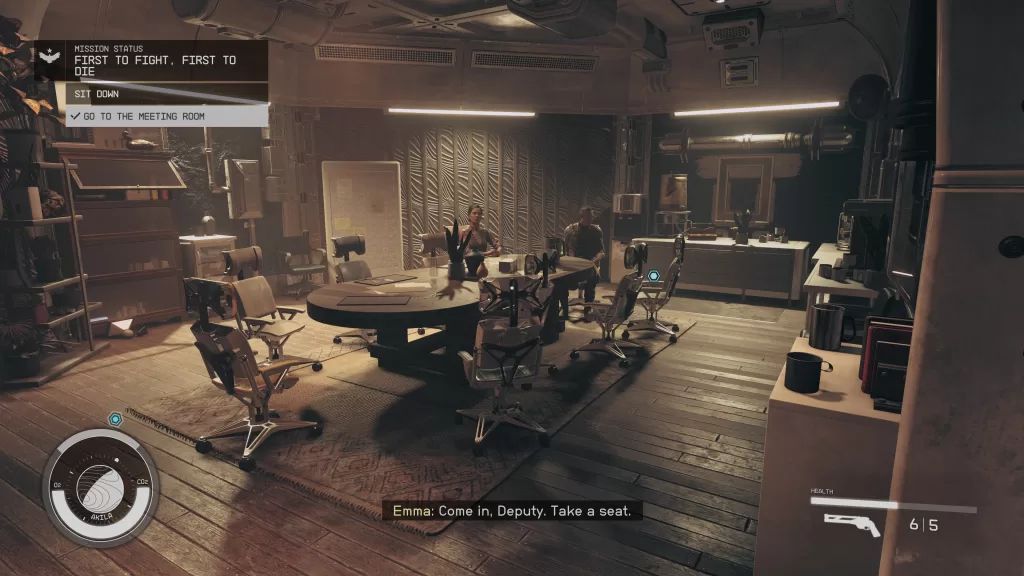
Go to the Meeting Room
Make your way to the meeting room on the same floor as Alex Shadid and take a seat next to the Marshal.
Emma will give you an update on other farms and Daniel will go over your progress so far. Toward the end of the conversation, Alex will bust in saying he got a lead. Daniel will then give us our next destination.
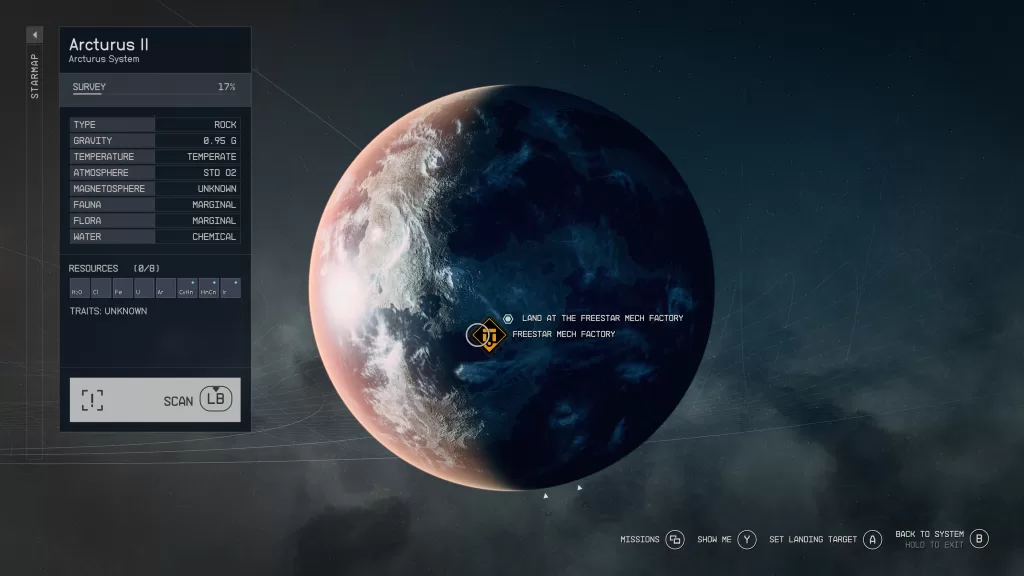
Travel to Arcturus II
Head back to your ship and plot a course for Arcturus II in the Arcturus System. Upon reaching orbit, you’ll be attacked by two of The First F ships. After you take care of them, two more show then two more again for a total of 6 enemy ships you’ll have to shoot down. Once they are all taken care of, you’ll be free to land at the Freestar Mech Factory.
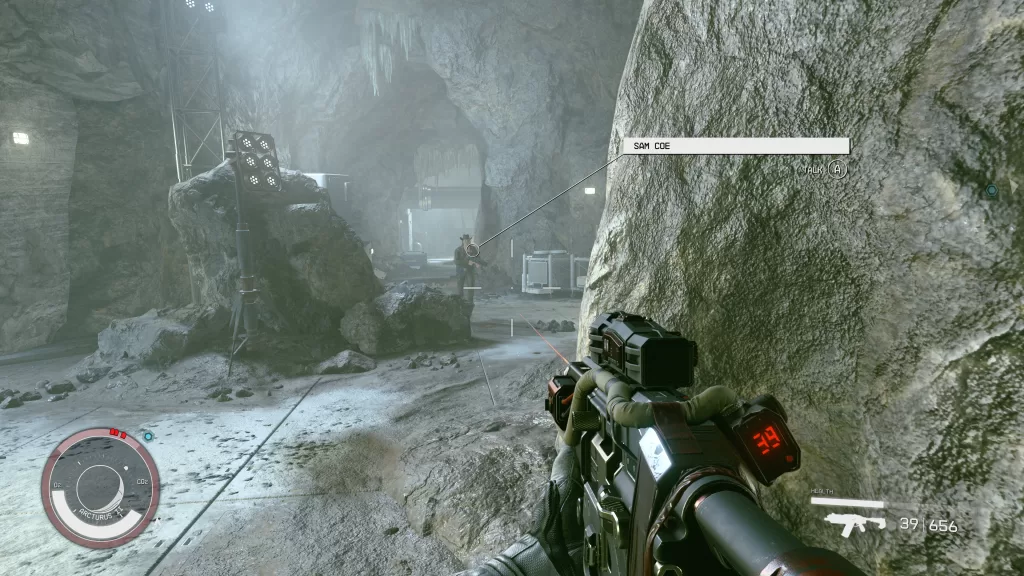
Confront Paxton Hull
After landing your ship, follow the path up to the factory, but keep your scanner handy as the way is littered with mines. When you reach the doors, Paxton will talk to you via intercom. When he’s done, you’ll be free to head inside and confront the major.
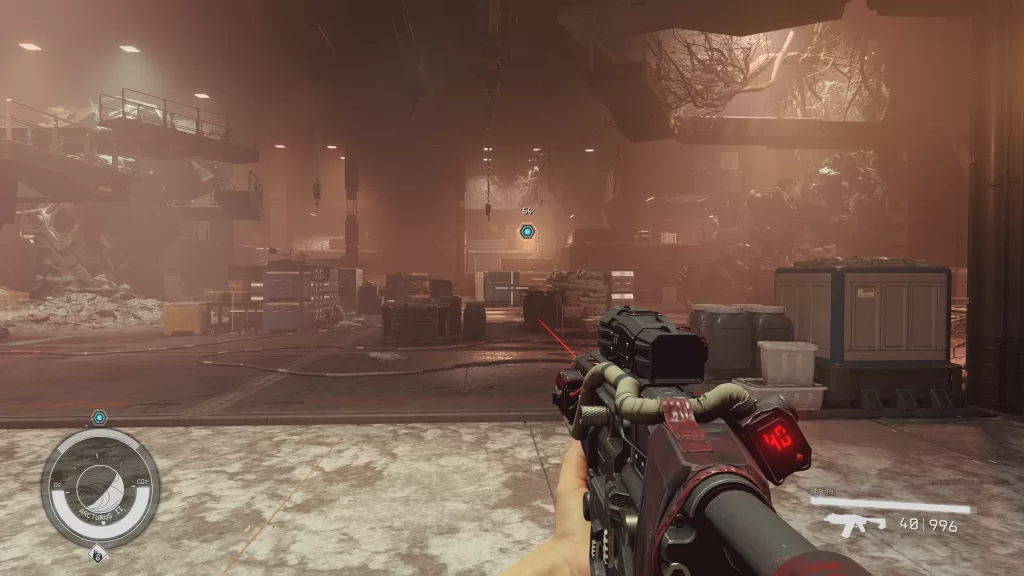
Freestar Mech Factory
In this first section of the factory, as you approach the door, you’ll be jumped by the First. Take care of them then travel through the smelting area.
Mech Factory – Smelting
In smelting, you’ll have to work your way down the hallway, again fighting more of the First. At the other end, there will be a control room overlooking the smelter. Cross through the smelter room dealing with the First and their turrets along the way. On the other side, head through the door leading to the assembly.
Mech Factory – Assembly
Just as in the previous room, keep working your way deeper into the factory while dealing with the onslaught of the First. When you reach the end of the assembly, you’ll finally arrive at the Command Center.
Mech Factory – Command Center
Head up the stairs then go through the first door on the left. This is an ammo room with weapons and ammo where you can stock up a bit. Proceed down the hallway, up the ramp and through the doors to finally reach the major with the rest of his men. Time to show them the full might of the Rangers! After you take down Paxton and his men, go talk to him. You’ll finally learn who hired him to take over the farms and he’ll even give you evidence to back it up… before he comes at you one last time. You’ll need to put him down for good. Loot him to get the Elevator Exit Key and blow this taco stand. The First to Fight, First to Die mission will then complete!
Additional Starfield Guides and Walkthroughs
Be sure to check our main Starfield Guides and Walkthroughs page for additional content on Starfield, such as additional guides to assist you during your adventures in the Settled Systems!
Welcome to NGB and our guide for the On the Run mission in Starfield! This guide will walk you through starting the mission and detail the necessary steps for its completion. If you need help with a specific mission objective, check the quick links section to easily find the information needed.
Some of the planets referenced in our guides and walkthroughs may not match yours due to how Starfield was created. In these situations, what you do and the places you visit on those planets should remain the same.
On the Run is one of the faction missions you’ll have to complete during the Freestar Collective questline. You’ll get this mission automatically after completing the Shadow In Neon mission.
On the Run Walkthrough
Go to Red mile
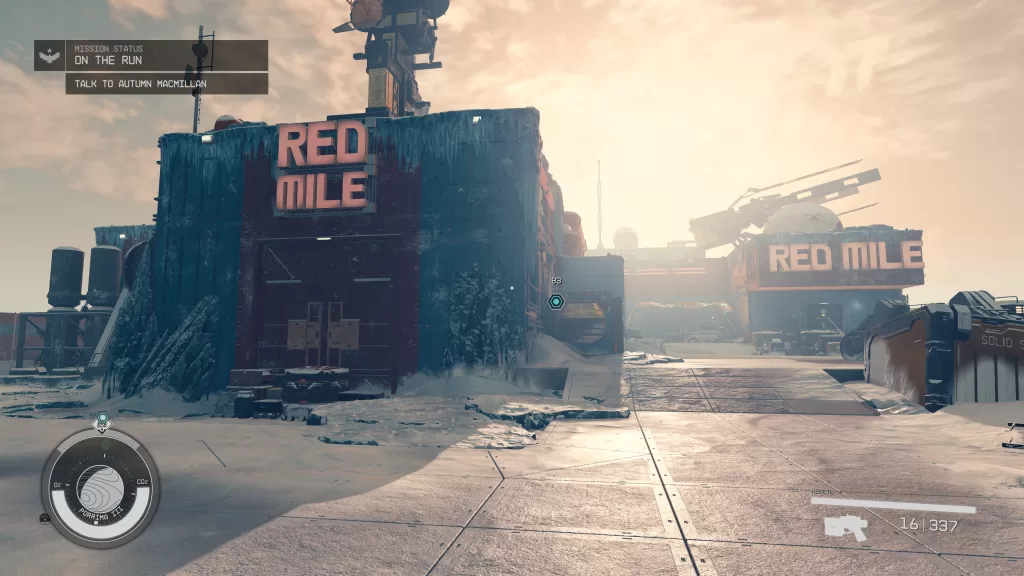
Set a course for Red Mile which is located in the Porrima System on planet Porrima III. After landing, head inside and speak with Autumn MacMillan at the bar. Ain’t she a real peach? After the conversation, follow behind and sit at the table with her contact. This will begin a conversation resulting in you getting to run the Red Mile (yay!).
Talk to Mei Devine
Head over to Mei near the entrance of the bar to have a little chat. You can ask her about the history of the Red Mile but what you’re really after it Marco. If you agree to enter the Red Mile, she will gladly give you Marco. Tell her whenever you’re ready to go to start the Red Mile. Follow her to the red door then listen to her speech. When it’s over the door opens up and it’s showtime!
Run the Red Mile
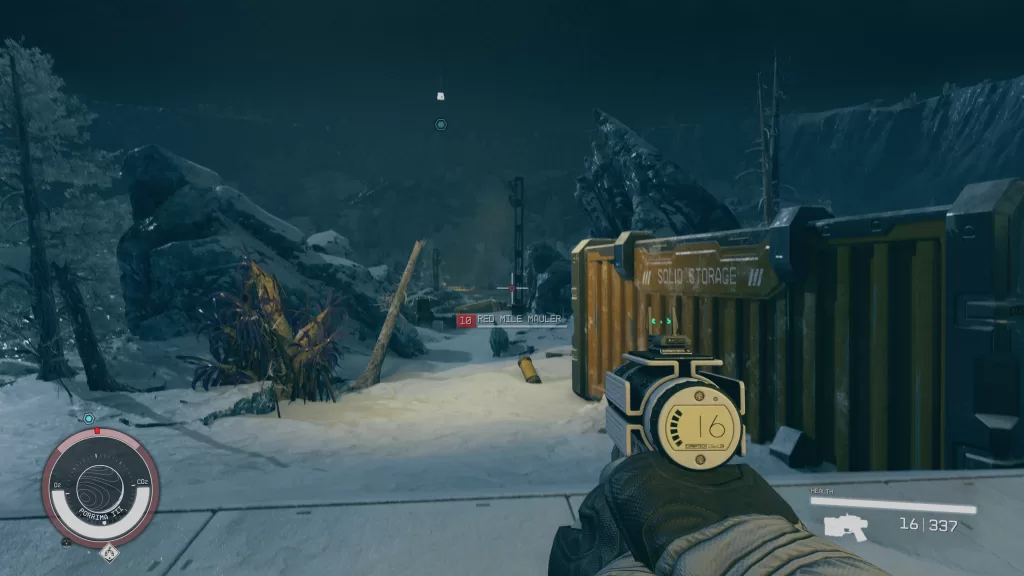
To beat Red Mile, you’ll need to run to the southern part of the course and press a red button. Between you and the button is a ton of maulers that will attack you on sight. Oh and after you press the red button, more spawn and Mei will tell you that you need to make it back to the entrance to win. So book it back north and reach the elevator to be done. The jetpack can come in handy here to help you cover more ground.
Once you complete the Red Mile, speak with Mei again. She’ll keep to her word by setting up a meeting with Marco for you. Head over to Ranger MacMillan and talk with her as well then return to Mei who will give you Marcos coordinates.
Go to Codos
Return to the ship and set a course for Codos in the Cheyenne System (it’s one of the moons that orbit Akila) where you’ll want to land at Fortuna.
Approach the ship then head inside and make your way to the back of the ship to find Marco. Speak with him then show your badge and say you’re looking for answers. He will tell you who the boss is and say he’ll give you more information if you allow him to operate without interference from the Rangers. You can agree to his demands, he will attack you or you can attack him.
If you choose to agree to his demands, then he will hand over the slate and you’ll leave. Later when talking with Emma and the Marshal, they will say it’s up to you to keep his nose clean. If you decide to attack him, then you’ll have to fight your way through all of the mercs on the ship. Kill him first and the turret in his office. You can then use a keycard on Marco (along with the slate you need for the mission) to open his vault which contains a lot of goodies. There is also a terminal in there you can use to have the turrets attack everyone.
Give the Encrypted Slate to Alex Shadid
Head back to the Rock in Akila City and hand the slate over to Alex. This will complete the mission and you’ll be rewarded with 350 EXP and 7300 credits.
Additional Starfield Guides and Walkthroughs
Be sure to check our main Starfield Guides and Walkthroughs page for additional content on Starfield, such as additional guides to assist you during your adventures in the Settled Systems!
Welcome to NGB and our guide for the Surgical Strike mission in Starfield! This guide will walk you through starting the mission and detail the necessary steps for its completion. If you need help with a specific mission objective, check the quick links section to easily find the information needed.
Some of the planets referenced in our guides and walkthroughs may not match yours due to how Starfield was created. In these situations, what you do and the places you visit on those planets should remain the same.
Surgical Strike is one of the faction missions you’ll have to complete during the Freestar Collective questline. You’ll get this mission automatically after completing the Shadow In Neon mission.
Surgical Strike Walkthrough
Go to the Clinic
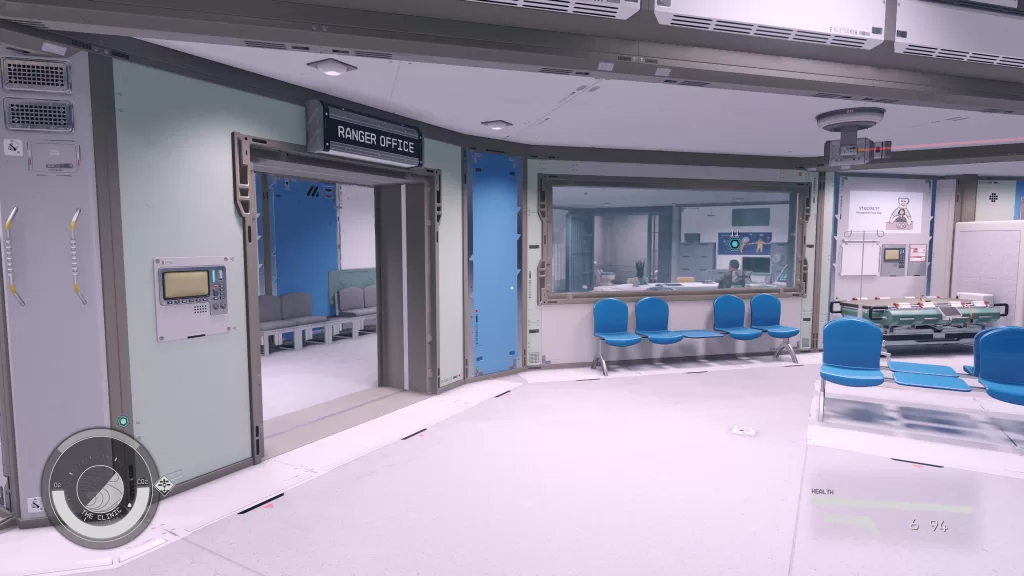
To reach the Clinic, you’ll need to travel to the Starstation orbiting the planet Deepala in the Narion System. When you get there dock and disembark from your ship then head for the Ranger Office in the lobby. Once there, speak with Ben Armistead. After making your introductions, follow behind as he leads you to Ari.
Talk to Ari Miller
Speak with Ari and tell him you’re looking for Maya Cruz. Follow him over to his terminal where he can access the patient records. After he searches through the records, speak with him again. He’ll then give you the names of two patients to speak with. If you happen to have the Security perk, then you’ll have another option to search for the source of the system disruption which becomes an optional objective.
Talk to Jane Nakamori
Jane can be found in the first room past the office. Head inside and speak with her. She’ll tell you she’s a courier whose ship was attacked by pirates. She was rescued and put into intensive care two days ago. If you persuade her for some more info, she’ll tell you that she’s actually an information broker and came to the hospital to steal some secrets she can sell for a load of credits. She’ll offer to pay you 1,000 credits for your silence or you can turn her into Ranger Armistead.
Talk to Candance Doolin
Candace’s room is two rooms over from Jane’s. Head inside and speak with her. She’ll complain about her husband some then tell you she’s been there for 3 months and they still don’t know what’s wrong with her.
(Optional) Search for the Source of the System Disruption
Head into the Ranger Office and access the Freestar Rangers Terminal. Select “Admin Access”, “Active Processes” then “Query: Disruptor Mk4” to trace the disruption source to the VIP Wing.
*If you don’t have the security perk, then speak with both patients and return to Ari afterward. He’ll then give you the name Catalina Rivera who is staying in the VIP wing.*
Gain Access to the VIP Wing
To gain access to the VIP Wing you have two options: Convince Titus Cassidy to let you in or steal the extra pass from his office. If you go the first route, he’ll automatically let you in if you have the Medical skill. Otherwise, you’ll need to pass a persuasion check to convince Titus to give you access. If that fails or you’re feeling like some light thievery, you can steal a VIP Wing Keycard from the safe in his office. You can find both Doctor Cassidy and his office in the Staff Area. Once you have the keycard, use it to access the VIP Wing from the lobby.
Talk to Catalina Rivera
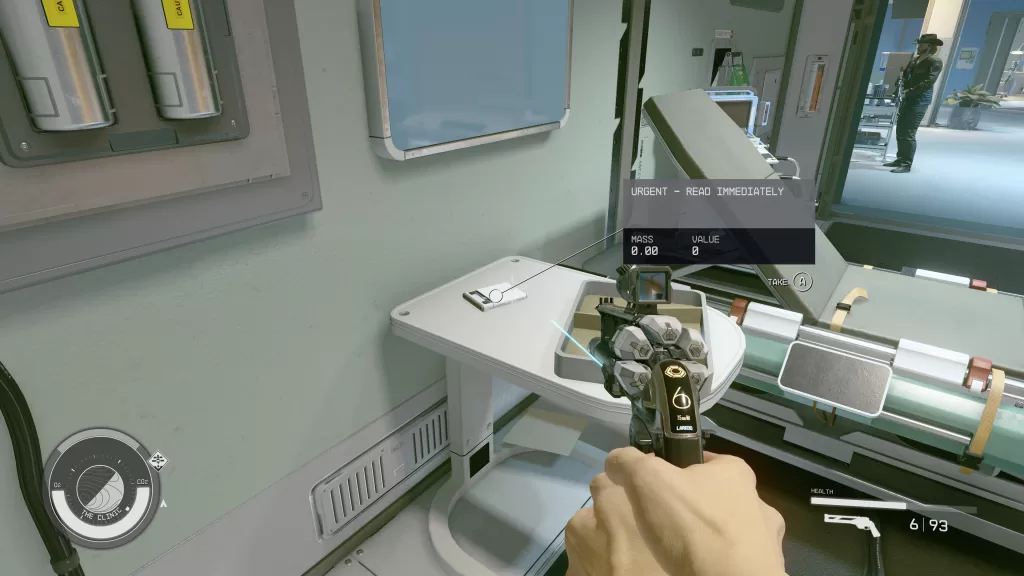
Upon entering the VIP Wing, you’ll be attacked by a ceiling turret. Deal with it then press on to Catalina’s room. Enter the room, but back out real quick as there is a mine planted near the bed that will go off. Go over to the nightstand near the wall and read the Urgent – Read Immediately slate.
Go to Sakharov
Maya got a head start, but she won’t get away. Set a course for the Sakharov System. This will place you in an asteroid field near planet Bonner housing Maya’s base, Eklund Excavation Site Cl25. Head there, dock and board it.
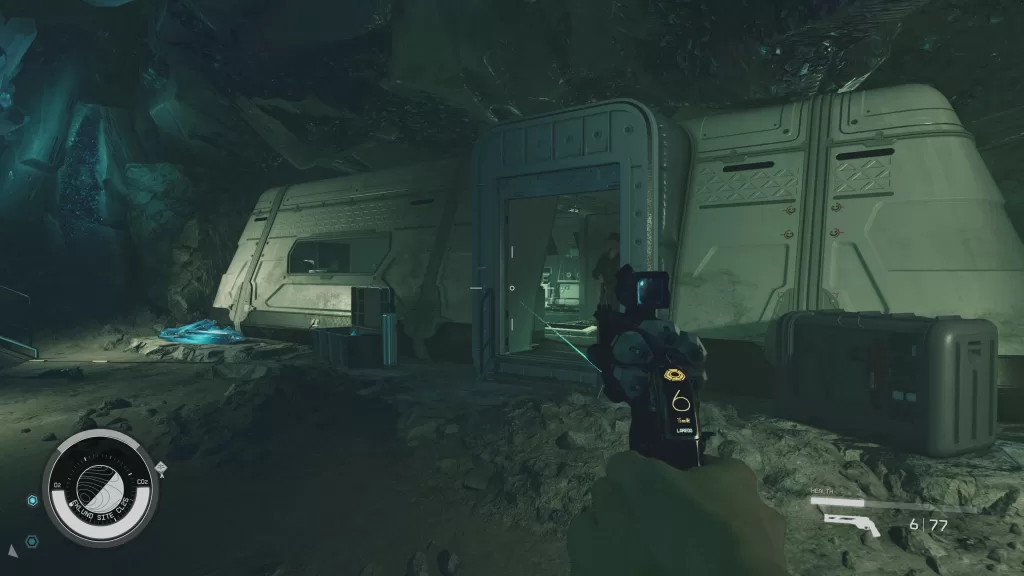
Investigate the Abandoned Asteroid Mine
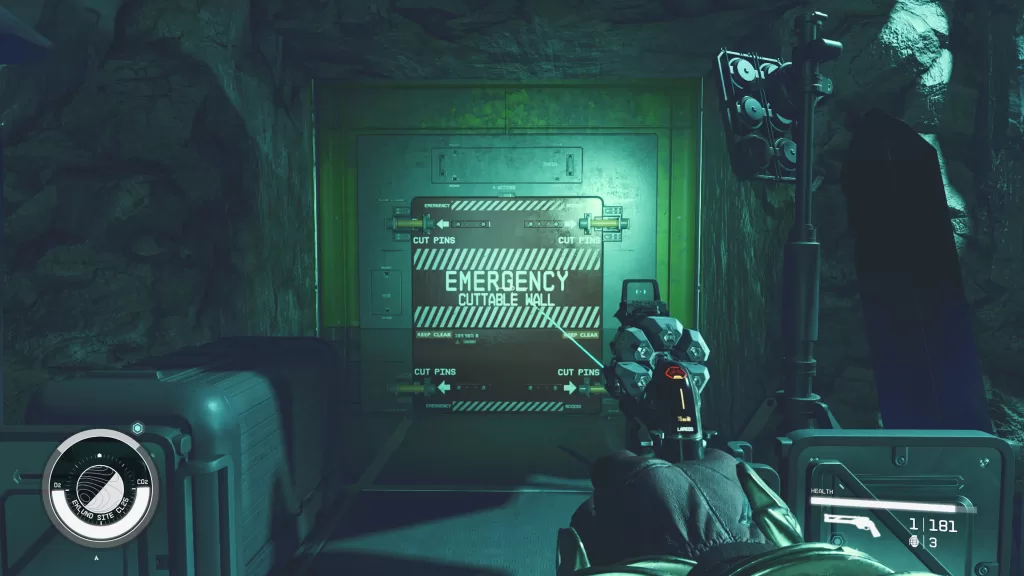
Head into the facility where Maya will greet you on the intercom. There are some side rooms you can explore if wish. When you’re ready, head north into the mine. You’ll need to use a cutter to open the Emergency Cuttable Wall allowing you to proceed. The wall will literally tell you where to cut!
Just past the door, you’ll find some insects and a robot. After that, you should arrive in a giant cavern. On the right side (south) there will be a building with a terminal inside you’ll need to hack to open the door blocking the way forward. It will be guarded by a level 20 robot. This cavern is also home to more of the insects from before.
Head through the newly opened door and keep going forward until you reach an even larger cavern filled with turrets and robots. In the center of the room will be some stairs that will take you up to a room at the top. Deal with the robots and turrets then make your way to the top of the stairs. You’ll need to use your cutter again to open the emergency cuttable wall. As soon as it falls, Maya will attack you. Defeat then speak with her. You can let her live and she’ll give you an encrypted slate with the info you need on it. You can also kill her and loot it off of her afterward.
Give the Encrypted Slate to Alex Shadid
There is an elevator in Maya’s room that will take you back down to the bottom of the cavern. From there you can open another door that leads to Maya’s workshop that could have some good loot there. You’ll then be able to take an elevator that back up to the entrance of the facility or you can just fast travel. Return to Akila City in the Cheyenne System then head to the Rock and give the slate to Alex. This will complete the mission and you’ll be rewarded with 350 EXP and 7300 credits.
Additional Starfield Guides and Walkthroughs
Be sure to check our main Starfield Guides and Walkthroughs page for additional content on Starfield, such as additional guides to assist you during your adventures in the Settled Systems!
Search
This site uses cookies. By continuing to use this website, you are giving consent to cookies being used. For more information on cookies, view our Privacy Policy.OkPrivacy Policy