Welcome to our guide for the Worlds Apart mission in Starfield! Worlds Apart is one of the companion missions you’ll get from Barrett. This guide will walk you through starting the mission and detail the necessary steps for its completion. If you need help with a specific mission objective, check the quick links section to easily find the most relevant information for you.
Some of the planets referenced in our guides and walkthroughs won’t match up with yours due to how Starfield was created. In these situations, what you do and the places you visit on those planets should be the same.
To start the mission, you’ll need to have completed the Unity main mission and also have leveled up Barrett’s affinity a bit. He’ll then want to speak with you about taking him to a temple so he can get his own powers.
Worlds Apart Walkthrough
Take Barrett to Planet
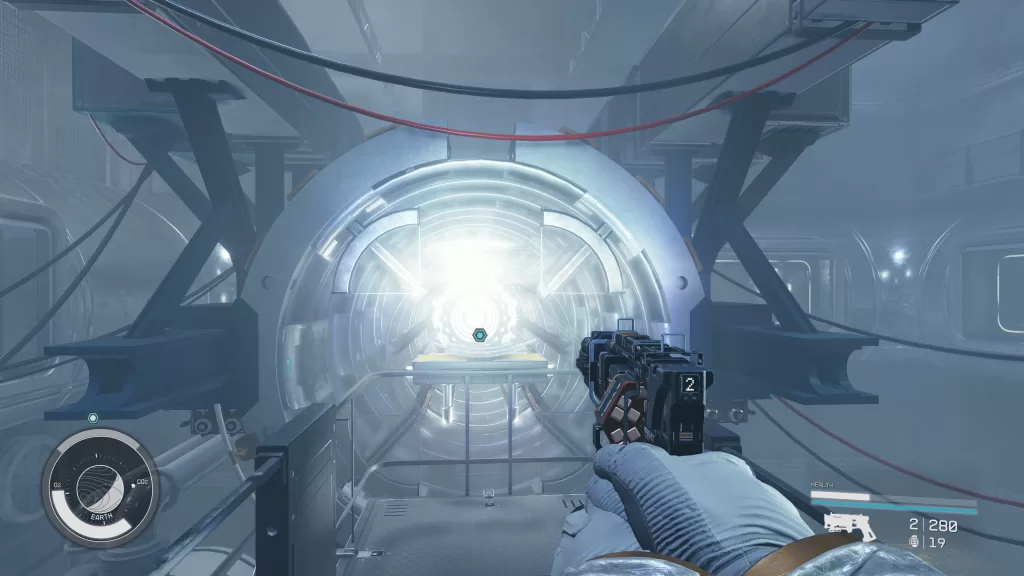
The planet that you take Barrett to is most likely randomized. Ours had us bringing him to Bessel III-B orbiting Bessel III in the Bessel System. Travel to your planet and land at Temple Sigma. Use your scanner to locate the temple and make your way there. You’ll then need to complete the puzzle and enter the rings yourself.
Speak with the Barretts
After being sent outside, let Barrett do his thing then speak with him afterward and exhaust all of their dialog options.
Defend Against the Starborn
After conversing with the pair, the Starborn attack. Deal with them then tie in with Barrett. This will complete the mission and you’ll be rewarded with 250 EXP.
Welcome to our guide walkthrough for the Unearthed mission in Starfield! This guide will walk you through starting the mission and detail the necessary steps for its completion. If you need help with a specific mission objective, check the quick links section to easily find the most relevant information for you.
Some of the planets referenced in our guides and walkthroughs won’t match up with yours due to how Starfield was created. In these situations, what you do and the places you visit on those planets should be the same.
Unearthed is one of the main missions you’ll need to complete to beat the game. You’ll start this mission automatically after completing the In Their Footsteps main mission.
Unearthed Walkthrough
Go to Nova Galactic Research Station
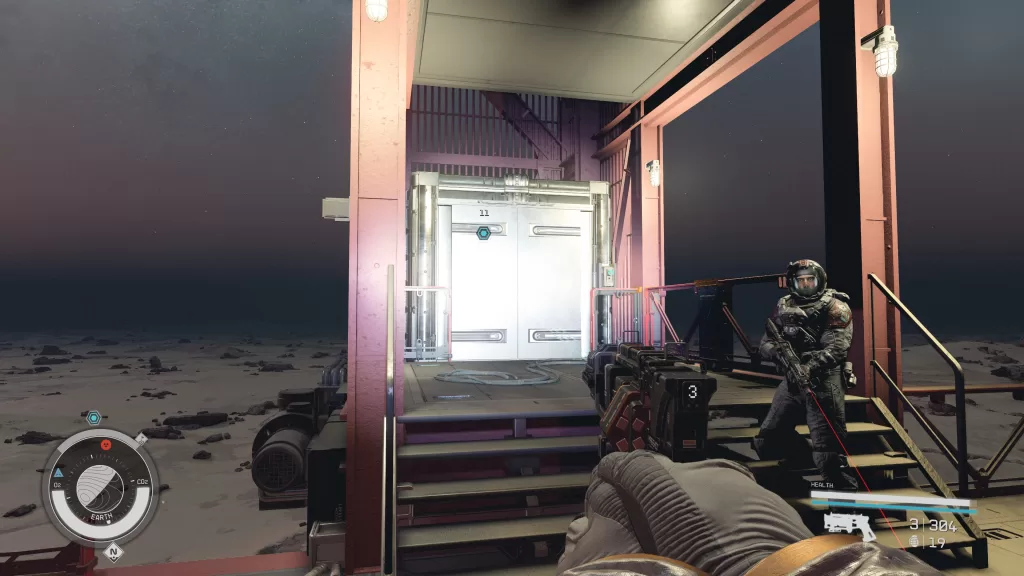
Travel to the Luna orbiting Earth in the Sol System and land at the Nova Galactic Research Station. Approach the research station and head inside using the key that the Emissary gave you.
Investigate the Research Station
Inside the station, interact with the Nova Galactic Research terminal on the desk looking at both files on it. Before heading up to the roof, there are 6 Moon Base Slates you can collect. Their locations are listed below:
Moon Base Slate 1 – On a crate in the storage area through a blue door on the other side of the 1st floor
Moon Base Slate 2 – In a charger on the desk across from the one with a research terminal
Moon Base Slate 3 – In a locker in the storage area through a blue door on the other side of the 1st floor
Moon Base Slate 4 – On a stand in a storage room across from the workout equipment on the 1st floor
Moon Base Slate 5 – In a charger on the counter in the break room on the 1st floor
Moon Base Slate 6 – On a desk on the second level in the room with the research terminal
With all the slates now in your possession, make sure to grab the Restricted Equipment Key from the desk next to the Nova Galactic Research terminal. This key will unlock the Science Crate on the second level of the building. Once everything has been collected, exit the research station and jump up to the roof. Play the recording at the base of the antenna to get our next heading… NASA on Earth!!!
Go to NASA
Set a course for Earth landing at the NASA Launch Tower then approach the tower. Climb up the tower until you reach an elevator.
Follow the power cords to a nearby room where you’ll need to place a power cell in the receptacle to power up the elevator. Luckily there are a couple of power cells in the room you can use. Return to the elevator and use it to enter the Launch Facility.
Find Information
Make your way to the other side of the room. You’ll find a NASA Research Computer on the desk next to the door. Access it then view both files and all of the attachments on the Access Station Logs.
Afterward, head through the nearby door and proceed further into the facility. After you pass the museum area, you’ll find yourself in a bathroom with a tunnel in it. Read “Judith – Personal Recording” then head down the tunnel.
Eventually, you’ll head through a doorway with “Lab” written across the top. In this room, it will seem like a dead end, however, you can use the rock ramp to reach the second level.
Follow the hallway to reach a power switch. Flip it then backtrack around the corner and flip the switch next to the red secure access door. Keep going until you reach another red secure access door.
This will require a power cell to open. Thankfully there will be a lot in this room. Keep heading down the linear path until you need to slip through a cracked door.
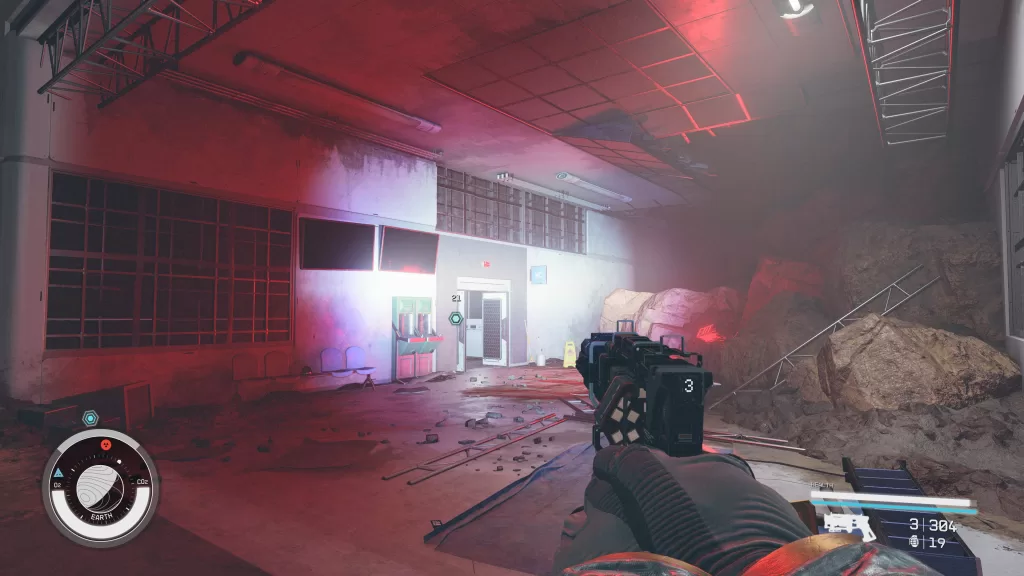
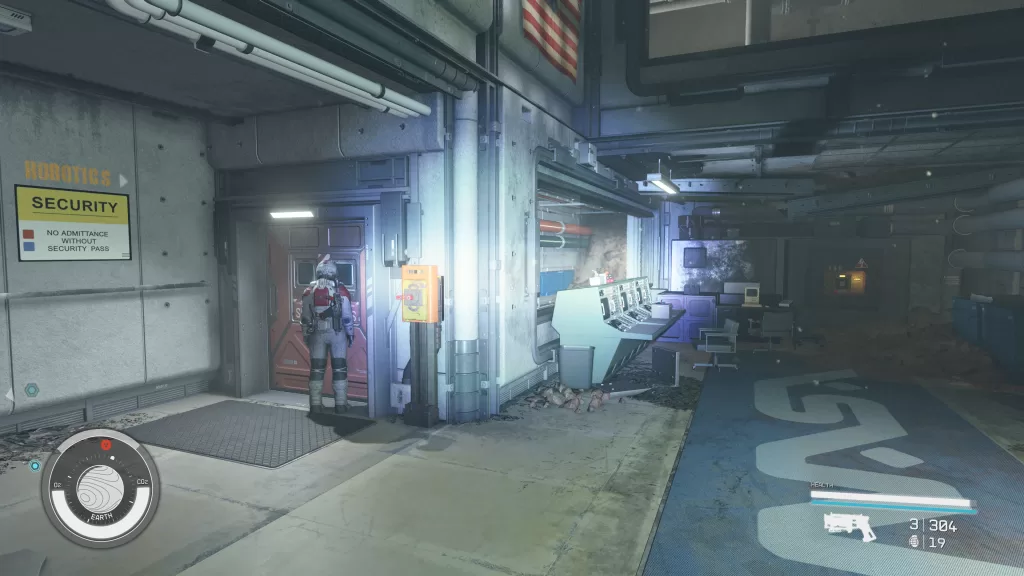
This room will be filled with a handful of turrets and a robot. To proceed forward, you’ll need to power up a gate. The controls for it can be found on the north side of the room. When you reach the room, interact with the Power Switch on the wall to restore power. There is also a terminal there you can break into to disable to the turrets.
When you’re ready, activate the switch to the right of the big metal doors to raise the gate the pass through it. Follow along the tunnel to emerge in a storage area. Locate the desk and interact with the NASA Research Computer on it. View all of the files and any attachments.
When you’re finished, head through the nearby white door. Jump down the elevator shaft then float to level B2. Head through the white door there then take a left down the hallway. Look for the nearby desk and access the NASA Research Computer on it.
Check all of the files and any attachments then press the button on the desk. Grab the NASA Maintenance Key on the desk next to the computer then head back down the hallway. Near the B2 elevator shaft, you’ll find a door.
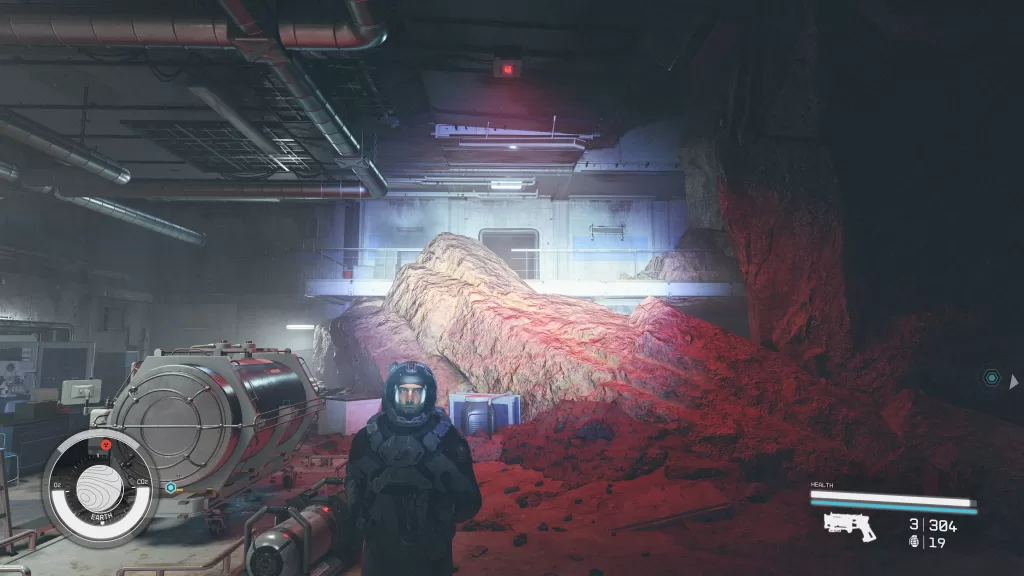
Head inside to find a room filled with pipes. Use them to reach B3. Use the cutter to knock down the red Emergency Cuttable Wall. Head through the door across the way then take a left. Flip the switch then enter the door. Head up the stairs to reach the artifact secured in the middle of the room.
As soon as you do, the Emissary and Hunter will say they need to talk and that other Starborn have come for the artifact. Fight your way out of the facility then meet up with them outside. Approach them to begin dialog where you’ll have to pick a side: The Hunter, the Emissary or neither. If you pick the Hunter or Emissary, then the one you pick will help you out in a future mission. If you don’t side with either, then you’re on your own. After you make your choice, you’ll be rewarded with 4500 EXP.
Complete Unearthed
For this last objective, you’ll need to complete the Unearthed main mission. Doing so will complete the Unearthed mission rewarding you with EXP and the Calibrated Constellation Spacesuit.
Welcome to our guide walkthrough for the Final Glimpses mission in Starfield! This guide will walk you through starting the mission and detail the necessary steps for its completion. If you need help with a specific mission objective, check the quick links section to easily find the most relevant information for you.
Some of the planets referenced in our guides and walkthroughs won’t match up with yours due to how Starfield was created. In these situations, what you do and the places you visit on those planets should be the same.
Final Glimpses is one of the main missions you’ll need to complete to beat the game. You’ll start this mission automatically after completing the In Their Footsteps main mission.
Final Glimpses Walkthrough
Return to the Lodge
Head back to the Lodge and speak with the team (through Vlad) in the Library to catch them up with everything that happened. After that’s done, speak with Vlad to get the locations for the remaining two artifacts. The game will also warn you that you’ll need a ship that can jump 21LY to reach them.
Obtain A Ship With A 21LY Grav Jump Range
If you don’t have a ship with a 21 Grav Jump Range, then you’ll need to pick on up. You can purchase ships at a staryard or starport in a city. It will cost between 200K-350K credits. You can also try to upgrade the Astrodyanmics perk or assign Sarah to your ship to get more range. We purchased a new ship from the Stroud-Eklund Staryard orbiting Deepala in the Narion System.
Go to Freya III
Travel to the Freya System at the northeastern corner of the starmap. Upon reaching the system, you’ll pick up a distress signal through a satellite. This will start the Entangled main quest. You’ll need to complete it for this objective.
Go to Location
For this location, set a course for the place indicated by your objective marker. It will be different for everyone! Once you land at the location, head to the artifact then take out the Starborn guarding it.
Once you collect both artifacts, the mission will complete. You’ll be rewarded with EXP.
Welcome to our Silent Hope Materials Guide! In this guide, we’ll cover all of the materials in Silent Hope and where you can find them. Materials are needed to craft new weapons and accessories to help you take on stronger enemies as well as to cook food to give your character buffs while diving deep into the Abyss.
Silent Hope Materials
In the table below, we’ve listed all the Silent Hope materials and how to obtain each item. If the material is dropped by an enemy, we’ve included which enemies the item can be looted from!
Welcome to NGB and our guide on the Starfield Entangled mission! This guide will walk you through starting the mission and detail the necessary steps for its completion. If you need help with a specific mission objective, check the quick links section to find the most relevant information easily.
Some of the planets referenced in our guides and walkthroughs won’t match up with yours due to how Starfield was created. In these situations, what you do and the places you visit on those planets should be the same.
Entangled is one of the main missions you must complete to beat the game. You’ll pick it up automatically during the Final Glimpses main mission.
Starfield Entangled Mission Guide
Investigate the Distress Signal
Land at the Nishina Research Station on Freya III, exit the ship the head to the research station. Approach the building and speak with Ethan Hughes. After the conversation enter the building. You’ll then need to follow Hughes to the Director. Along the way, something weird will happen and you’ll have to deal with some pests then meet Raphael. Continue heading to the Director’s office. You’ll start up a conversation with her automatically upon entering the room.
Get to the Lab
When that’s done, follow Maria. After teleporting again, head down to Raphael and speak with him. He’ll give you a keycard and send you to the lab. Use it to unlock the nearby pantry. Keep following the path until you teleport into Ethat’s Security Office. Speak with him and you’ll get a persuasive option for something to fight the bugs. If you are successful, he’ll give you a rare experimental shotgun. Head through the main hall and fight your way to the lab. Speak with Maria there then follow her instructions to be sent to the other universe. Loot the Probe Control Unit on the counter there, and then calibrate it using the distortion. This will send you back to Maria.
Speak to Director Patel
Exit the lab and head down the hall to the director’s office the speak with her. She’ll tell you that you can only save 1 universe and ask which one you intend to save. This isn’t the actual choice, so you’re not locked into which one you tell her. If you are curious, saving the residents of this universe means that you lose out on Raphael. If you choose to save him, then Director Patel and everyone else will disappear. Raphael will be able to recruited to your ship later though. Before using the elevator, stop by the Clinic on the 1st floor to get some supplies from Dr. Barakova. She’ll give you 2 med packs and 2 trauma packs. If you head to the Dining Hall, there will be a sign in one of the hallways that will you to the clinic.
Take the Elevator
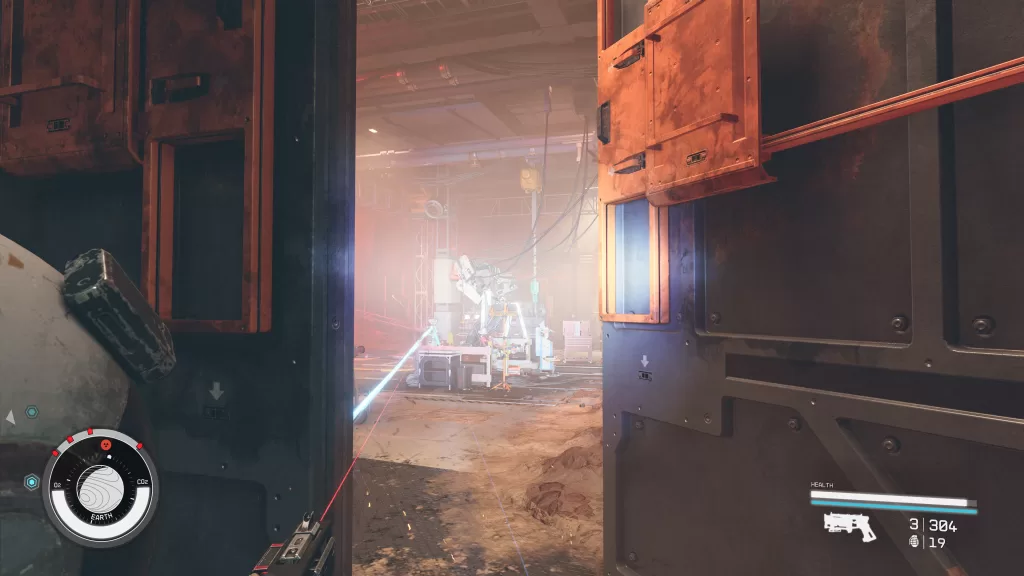
To find the elevator, make your way to the main hall. Calibrate with the distortion to swap universes then take the elevator down to the research level. Following the objective, you’ll need to swap back and forth your dimensions to reach the keycard in the other universe. Then continue swapping as you head deeper into the facility The path is fairly linear, so you shouldn’t get lost. A thing to note: in the current universe, you’ll have to fight your way past turrets and robots in addition to dealing with the bugs in the other universe.
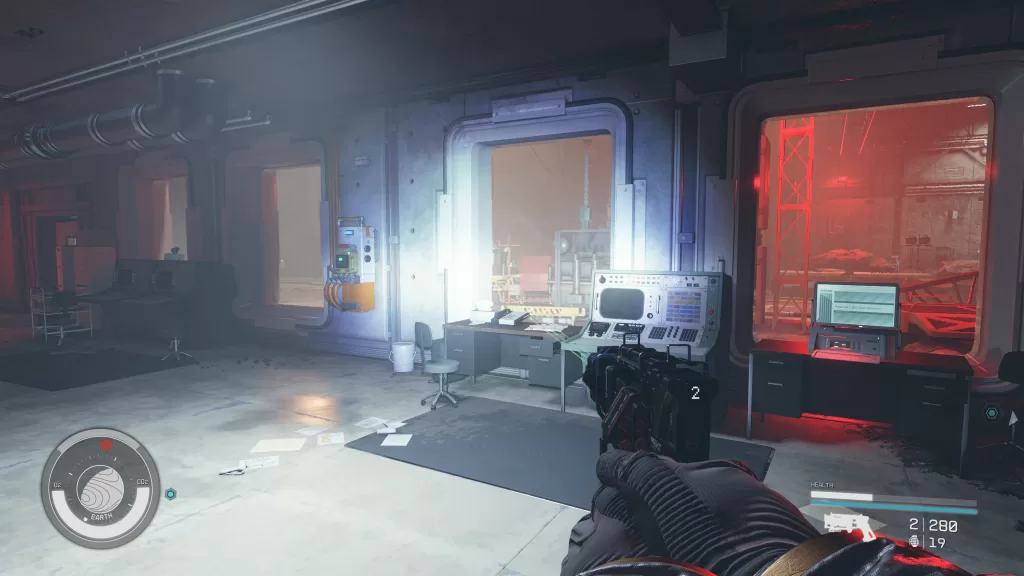
The next story-related thing you’ll encounter is the Facilities computer in the primary universe. Access it then view the Security System and Remote Alarm Control files. You’ll be able to override the lockdown and disable the alarm. Continue reading further until you reach the room in the below image. Switch to the other universe to access a side room with Utility Closet Keycard inside. Switch back then head to the other side of the big room to find the Utility Closet and access another distortion to travel back to the other universe to gain access to the server room. Head back to the primary universe to access the Accelerator Mainframe Computer to override the lockdown.
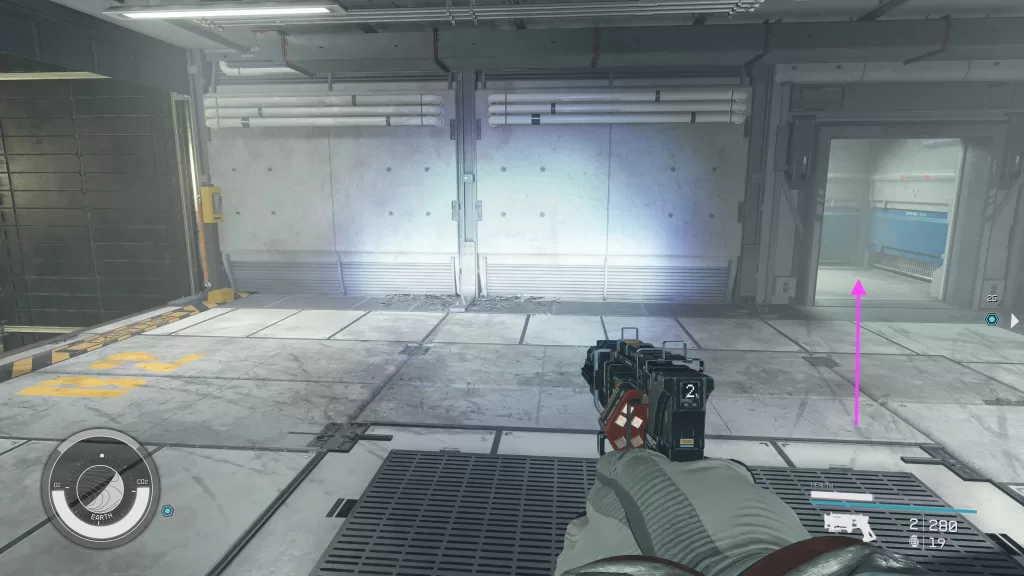
With the lockdown ended, head to the Accelerator Control room (in the primary dimension) and access the computer to override another lockdown. Exit the Control Room and head to the southeastern part of the big room heading through the Access Tunnel doorway.
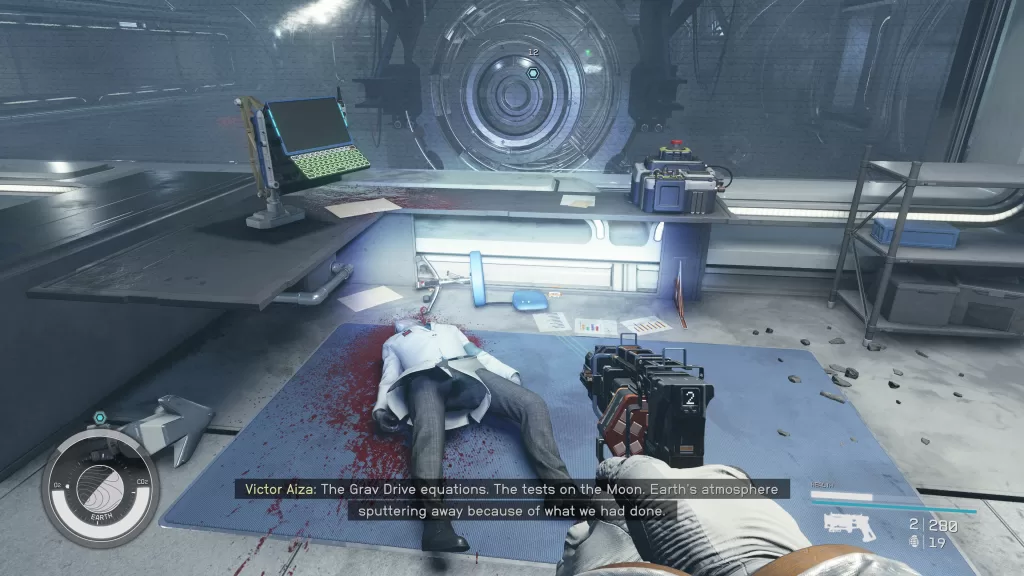
Proceed forward again switching between universes to reach the Storage Room Computer. Use it to override the storage section lockdown. This will allow you to finally reach the experiment room, where you’ll need to choose whom to save. Switch to that universe then interact with the 7 power interlocks and finally the emergency shutdown control to disable the probe. You’ll then be able to retrieve the artifact.
Talk to the Director / Raphael
Head to either the Director or Raphael and speak with them to complete the mission. If you choose to save Raphael, he can be recruited to work at an outpost or ship. Saving the director and the rest of the inhabitants rewards you with a legendary spacesuit and helmet. You’ll also receive 800 EXP and some credits.
Welcome to NGB and our guide for the Missed Beyond Measure mission in Starfield! This guide will walk you through starting the mission and detail the necessary steps for its completion. If you need help with a specific mission objective, check the quick links section to find the most relevant information easily.
Some of the planets referenced in our guides and walkthroughs won’t match up with yours due to how Starfield was created. What you do and the places you visit on those planets should be the same in these situations.
How to Start the Starfield Missed Beyond Measure Mission
Missed Beyond Measure is one of the main missions you’ll need to complete to beat the game. You’ll be given this mission by Noel in the Lodge shortly after completing the High Price to Pay main mission.
Starfield Missed Beyond Measure Guide
Wait for the Service
The memorial service will take place over 5 UT days, so you’ll need to wait until that many days pass. If you head to your room in the Lodge, you can interact with the bed and choose to wait until the service starts.
Attend the Memorial Service
Head down to the Library to start the service (you’ll also get the option to sleep for another 24 hours to skip that, but why would you want to do that?). After Matteo’s poem, approach the podium and say a few words of your own. Then, the rest of the team will take turns as well. When they are finished, speak with each of them and visit the memorial portrait. When you’re done, leave the lodge to complete the Missed Beyond Measure mission. You’ll be rewarded with 750 EXP.
Welcome to NGB and our guide on the Starfield In Their Footsteps mission! This guide will walk you through starting the mission and detail the necessary steps for its completion. If you need help with a specific mission objective, check the quick links section to find the most relevant information easily.
Please note that some of the planets referenced in our guides and walkthroughs won’t match yours due to how Starfield was created. What you do and the places you visit on those planets should be the same in these situations.
How to Start the Starfield In Their Footsteps Mission
In Their Footsteps is one of the main missions you’ll need to complete to beat the game. You’ll start this mission automatically after completing the Unity main mission.
Starfield In Their Footsteps Guide
Hail the Scorpius
As soon as you reach the Oborum Prime System, you’ll run into the Scorpius, which will trigger some dialog. When it concludes, dock with the Scorpius and board the vessel.
Talk to the Hunter
Approach the Hunter and Emissary to begin a conversation. Exhaust all dialog options, and then you’ll be free to talk to them both individually afterward. As you begin to leave, the Emissary will stop you and send you to Earth’s moon to see what’s there with your own eyes. This will complete the In Their Footsteps Starfield mission, and you’ll be rewarded with 750 EXP in addition to some resources.
Additional Starfield Guides and Walkthroughs
Be sure to check our main Starfield Guides and Walkthroughs page for additional content on Starfield where you’ll find plenty of guides and walkthroughs to assist you during your adventures in the Settled Systems!
Welcome to NGB and our guide for the Starfield Unity mission! This guide will walk you through starting the mission and detail the necessary steps for its completion. If you need help with a specific mission objective, check the quick links section to find the most relevant information easily.
PLEASE NOTE: Some planets referenced in our guides and walkthroughs might not match yours due to how Starfield was created. What you do and the places you visit on those planets should be the same in these situations.
Unity is one of the main missions you must complete to beat the game. You’ll start this mission automatically after completing the High Price to Pay main mission.
Starfield Unity Mission Guide
Talk to Keeper Aquilus
Head to the Sanctum Universum on the west side of the MAST District to find Keeper Aquilus. Speak with him then follow Matteo and Aquilius into the building. Speak with him once more in his office.
Talk to the Va’Ruun Prisoner
To reach the prisoner, travel to the Spaceport and head to the UC Security Office. Head to the back of the office to find the holding cells. Speak with Mir’za there.
Talk to the House of Enlightenment
You can find the House of Enlightenment in the Well across from the UC Security Office. Head inside and speak with Andy Singh.
Return to Keeper Aquilus
Head back to the Sanctum Universum in the MAST District and speak with the Keeper to get the location of where you need to go.
Go to Indum II
Head back to your ship and set a course for the Indum System west (and slightly south) of Alpha Centauri. Head to Indum II and land at Pilgrim’s Rest. After touching down on the planet, make your way to Pilgrim’s Rest. Start out by locating and reading the 5 journals listed below.
Pilgrim’s Writing 1 – on a crate next to the Medical Kit in the main building
Pilgrim’s Writing 2 – on a white container under the canopy behind the main building
Pilgrim’s Writing 3 – on a counter in the greenhouse behind the main building
Pilgrim’s Writing 4 – on a cart in the greenhouse behind the main building
Pilgrim’s Writing 5 – on the desk near the locked room in the main building
After reading all of the journals, enter the main building and use the Pilgrim’s Computer to unlock the locked door. Choose the options listed below to unlock the door.
What is Unity?
People are necessary. But people are madness.
Myself
In stopping. In embracing compassion.
Now that you’re in the room, grab the magazine from the shelf to the left to the bed then read the Pilgrim’s Final Writing on the end table near the head of the bed. This will give you your next destination.
Find the “Scorpion’s Sting” on Hyla II
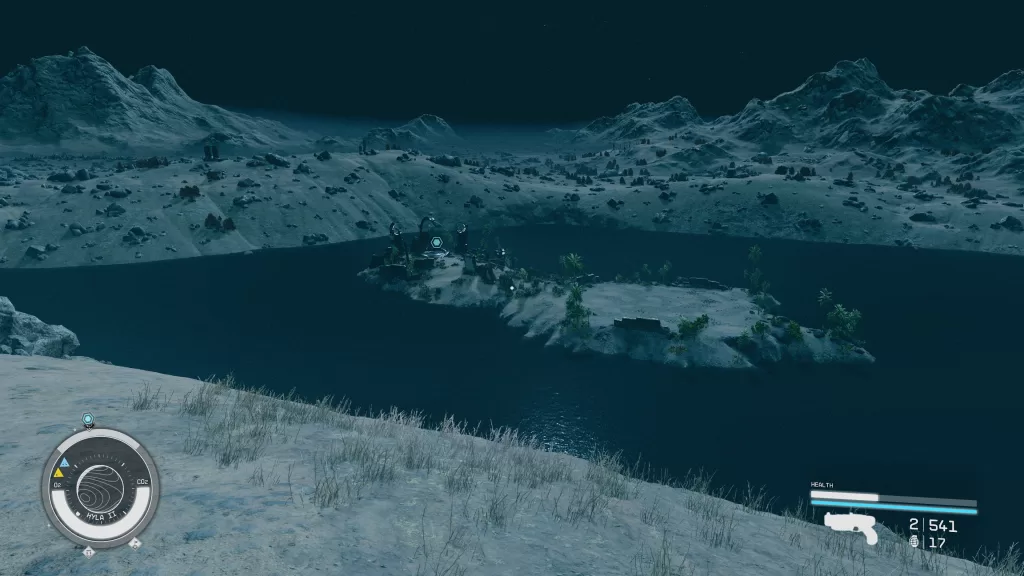
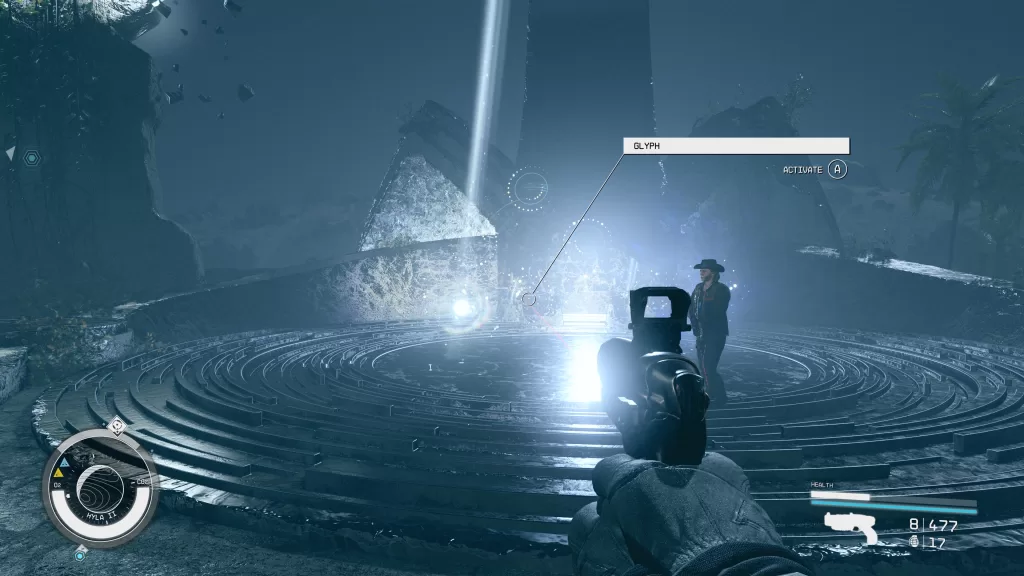
Return to your ship and travel to the Hyla system with Hyla II as your destination. Land at the Ancient Ruins then use your scanner to locate the ruins on an island surrounded by water. Swim there using your jetpack as much as you can because you will lose health in the water. After reaching the island, approach the Scorpion’s Tip. Deal with the creatures surrounding then interact with the glyphs. You’ll need to use them to move the light to the far left of the star constellation design in the image on the floor in the middle of the giant circular floor.
Go to the Last Star of the Scorpius Constellation
Head back to your ship and plot a course for the Oborum Prime System (near Olympus). Once you reach the system, the Unity Starfield mission will be completed and you’ll be rewarded with 800 EXP.
Welcome to NGB and our walkthrough for the High Price to Pay mission in Starfield! This guide will walk you through starting the mission and detail the necessary steps for its completion. If you need help with a specific mission objective, check the quick links section to find the most relevant information easily.
Please note that some of the planets referenced in our guides and walkthroughs won’t match yours due to how Starfield was created. In these situations, what you do and the places you visit on those planets should be the same.
How to Start the Starfield Hight Price to Pay Mission
High Price to Pay is one of the main missions you’ll need to complete to beat the game. You’ll get this mission automatically after completing the No Sudden Moves main mission.
Starfield High Price to Pay Mission Guide
Speak to Noel
Talk with Noel in the Lodge to learn that the Eye has gone dark. You’ll then receive communication from the Hunter who says he’s on his way and you’ll also learn that your highest rated companion has been injured. The game will then present you with a choice. You can head to the Eye to save your companion or you can stay at the Lodge and defend the artifacts. If you choose the Eye, then your second highest companion will die at the Lodge. You will need to make your choice quickly because you’ll be forced to do the Lodge route when the Hunter shows up.
Defend the Lodge
If you choose to stay at the Lodge, then Noel will get to work removing the artifacts. After a minute or so, you’ll need to check on Walter who has been attacked by the Hunter. You’ll then need to hold the Hunter off to let Noel work. She’ll tell you to follow her when she’s done and head down to the basement. There is a secret door there that will take you to the Well. Run through the Well with the Hunter in pursuit to reach the elevator and take it to the Spaceport. Once there, head for your ship and take off into orbit.
In Orbit, the Hunter will approach you on his ship the Scorpius. You’ll be able to question him after which he will leave. Travel to the Eye and check in on your companions. You’ll immediately find your highest rated companion dead. Check up on the other three then speak with Noel when you’re done. You’ll then be given the artifacts to keep on your ship. Return to your ship and interact with the new Armillary Screen in your cockpit to build an Armillary. With that done, land on New Atlantis and head back to the Lodge then speak with Matteo to complete the mission. You’ll be rewarded with 800 EXP, some credits and a Superior Constellation Pack.
Go to the Eye
If you decide to go to the Eye, you’ll need to leave through the front door. Your about to be dead companion will ask you where you going and you can tell them to the Eye. Once outside, you’ll be able to fast travel to it in orbit. Dock and board the Eye, interact with all your companions there to make sure they’re okay. After that, return to the Lodge where you’ll find your second highest affinity character has been terminated. Check up on Matteo, Vasco and Walter. Walter will tell you about a secret door in the basement. Head there and use it to reach the Well. Follow that path to find Noel and speak with her. This will trigger the Hunter to attack. Follow Noel and flee into the Well heading for the elevator to take you to the Spaceport. From there you’ll need to make it to your ship and take off.
In Orbit, the Hunter will approach you on his ship the Scorpius. You’ll be able to question him after which he will leave. Travel to the Eye and dock there then speak with Vladimir. You, him and Noel will decide it’s best that the artifacts stay with you and Noel will hand them over. Return to your ship and interact with the new Armillary Screen in your cockpit to build an Armillary. With that done, land on New Atlantis and head back to the Lodge then speak with Matteo to complete the mission. You’ll be rewarded with 800 EXP, some credits and a Superior Constellation Pack.
Welcome to NGB and our walkthrough for the No Sudden Moves mission in Starfield! This guide will walk you through starting the mission and detail the necessary steps for its completion. If you need help with a specific mission objective, check the quick links section to find the most relevant information easily.
PLEASE NOTE: Some of the planets referenced in our guides and walkthroughs won’t match yours due to how Starfield was created. In these situations, what you do and the places you visit on those planets should be the same.
How to Start the Starfield No Sudden Moves Mission
No Sudden Moves is one of the main missions you’ll need to complete in order to beat the game. You’ll start it automatically after completing the Short Sighted main mission.
Starfield No Sudden Moves Mission Guide
Talk to Vladimir
Speak with Vladimir on the Eye to learn about another collector snatching up an artifact. He’ll then ask you to steal it from him along with his chosen companion. Let Vlad know when you’re ready to head out. Also, note that starting this quest will lock the person Vladimir chose as your companion for the remainder of the mission.
Travel to Scow
Return to your ship and set a course for Procyon V-b orbiting Procyon V in the Procyon A System (northwest of the Eye). You’ll find the Scow flying around in the moon’s orbit. As you approach the ship, you’ll get the option to disable its engines. If you do this, you’ll have to fight the ship and its accompanying turrets. Also you can hail the ship. To board, you’ll need to persuade them, attack them, or have your companion convince them to let you on.
Find Captain Petrov
As you embark on the ship, you’ll be stopped by Tao Xun. Continue working your way up the ship to find the captain on his fancy couch. Before approaching Captain Petov, speak with Erin September, Raptor, and Bull. You can pay them credits to learn more about the ship and even back you up if things turn south.
Approach the Captain and speak with him to strike up a conversation. You’ll then have the option to attack him or persuade him to show you to the vault. Before proceeding, know that it’s very hard to steal the artifact from the vault without alerting the rest of the ship. Two guards are guarding the path to the vault (and an emergency door you can bring down with a cutter), who will turn hostile if you approach. The best method for us (unless you want to murder and loot everyone) is to convince Petrov to show you to the vault and then steal the artifact. Take his health down to zero, and he will beg for his life. Tell him to call off his guards or apologize for taking the artifact by force. He’ll let you go either way, and you won’t have to fight anyone. You will, however, get a 500-credit bounty.
Add the Artifact to the Collection
Head back to the Lodge and add the artifact to the table in the Library. This will complete the No Sudden Moves Starfield mission, and you’ll receive 750 EXP.
Make sure you save after completing the No Sudden Moves mission. There is a major choice coming up!!
This site uses cookies. By continuing to use this website, you are giving consent to cookies being used. For more information on cookies, view our Privacy Policy.OkPrivacy Policy