Below is a walkthrough on the main quests in Baldo The Guardian Owls! Please note that it’s also in the order that we did them in!
Meet Baldo’s Grandpa
From the starting point, follow the path west. Head inside the house with a donkey outside to trigger a cutscene and the Meet Baldo’s Grandpa trophy.
Talk to Mrs. Iaddina
Exit grandpa’s house and head northeast. Just before the starting area, take the stairs down and follow the path on the right. Walk across the small bridge then enter the house. Proceed through the house and exit out the back to reach Iaddina. Speaking with her will trigger the Talk to Chickwoman trophy! She will also give you a side quest to find her missing chickens!
The Abandoned Owl Tower
Head northwest from Iaddina to come to the store. Speak with the boy to the left of the store to learn that he spotted a chicken in the area. Afterwards, a brief scene will trigger showing the chicken heading into Owl Tower. Make your way there and head inside to trigger The Abandoned Owl Tower trophy. To get out of the tower, you’ll need to push the 2 stone owls onto the golden squares on the floor. Next, head to the decorated tile on the floor in front of one of the eyes and tell Yuna to wait. Head to the other decorated tile on the floor in front of the other eyes and stand there to trigger a cutscene. Once it’s done, head to the guardian symbol in the middle of the floor and play the Guardian’s Horn, revealing a ladder. Climb up it. Again, play the Guardian’s Horn on the guardian symbol when prompted by the owl to reveal a door.
Kidoge Village Chests
- Scatia Mushroom
- 2nd level of grandpa’s house
- 10 Dindi

-
- This chest is located in the fenced in area to the west of Abandoned Owl Tower. Push the box to the cliff containing the Abandoned Owl Tower then head to the raised land and jump onto the box then into the fenced area.
- Spicy Bread
- In the house next to the above chest
A Hidden Path
Head to the Abandoned Mine in the southwestern part of the area then go inside. Avoid the bats as they damage you and speak with your grandpa at the dead end. Next, stand on the guardian symbol and use your Guardian’s Horn. You’ll receive A Hidden Path trophy!
The Lost Galleon
Click here for a walkthrough on this dungeon! Once you complete this dungeon, you’ll receive The Lost Galleon trophy!
The Farmer and the Old Shovel
Speak with the man hoeing outside of grandpa’s house to obtain this quest. Next, travel southeast of him following the signs for Calo Cabbage Patch to find Zirra in her water fields. Look for the strip of tan along the bank to enter the water then speak with Zirra. She’ll need you to return to the farmer near grandpa’s house and ask him for the shovel. Do so and this will earn you The farmer and the old shovel trophy!
Rodia Town
Head northwest of Conci the shield vendor’s house to trigger a brief scene in which Luna will give you this quest. Look to the left of Conci’s house to find a box on the other side of the water tower. Push it to reveal a set of stairs leading down. Climb on down then unlock the spider gate. Head forward a short when then climb up the ladder. Follow the path west to reach Haneko Plain. There will be a lizard here that you must fight and defeat. This lizard can be quite difficult so be careful! Once it’s defeated, head south to find a guardian symbol on the ground next to a large owl statue. Use your Guardian Horn and play the Owl Song to cause it to light up. This will unlock a fast travel point for later!
Afterwards, make your way back north and go through the gates. Head straight ahead and use the bridge to cross the river. Continue straight along the path to reach a map transition right after which you’ll meet Moiro and he’ll give you a side quest! Keep pressing forward to trigger a brief scene in which Luna says that we must find another way. She’ll run away and fall down a hole. Unfortunately, you cannot just drop down the hole after her so head back to the bridge leading to Rodia Town. Take a left in front of the bridge and follow the path left (south) along the river. Drop down the grassy cliffs to reach a dark brown area with archways. Follow the archways southwest then head across the stone bridge to find Junpei. Defeat the plant that lunges to save the boy who will then tell you about a secret passage into Rodia Town! When fighting this enemy, it’s extremely helpful to have a shield to block its lunging attacks. Once you deflect the attacks, hit it with your sword. After you hear about the well, continue forward through the bamboo and head along the river to find the well. Climb down it to reach The Underground! Click here for a guide on The Underground dungeon! Once you reach the town, you’ll receive the Rodia Town trophy!
Find Ranotto the Minstrel
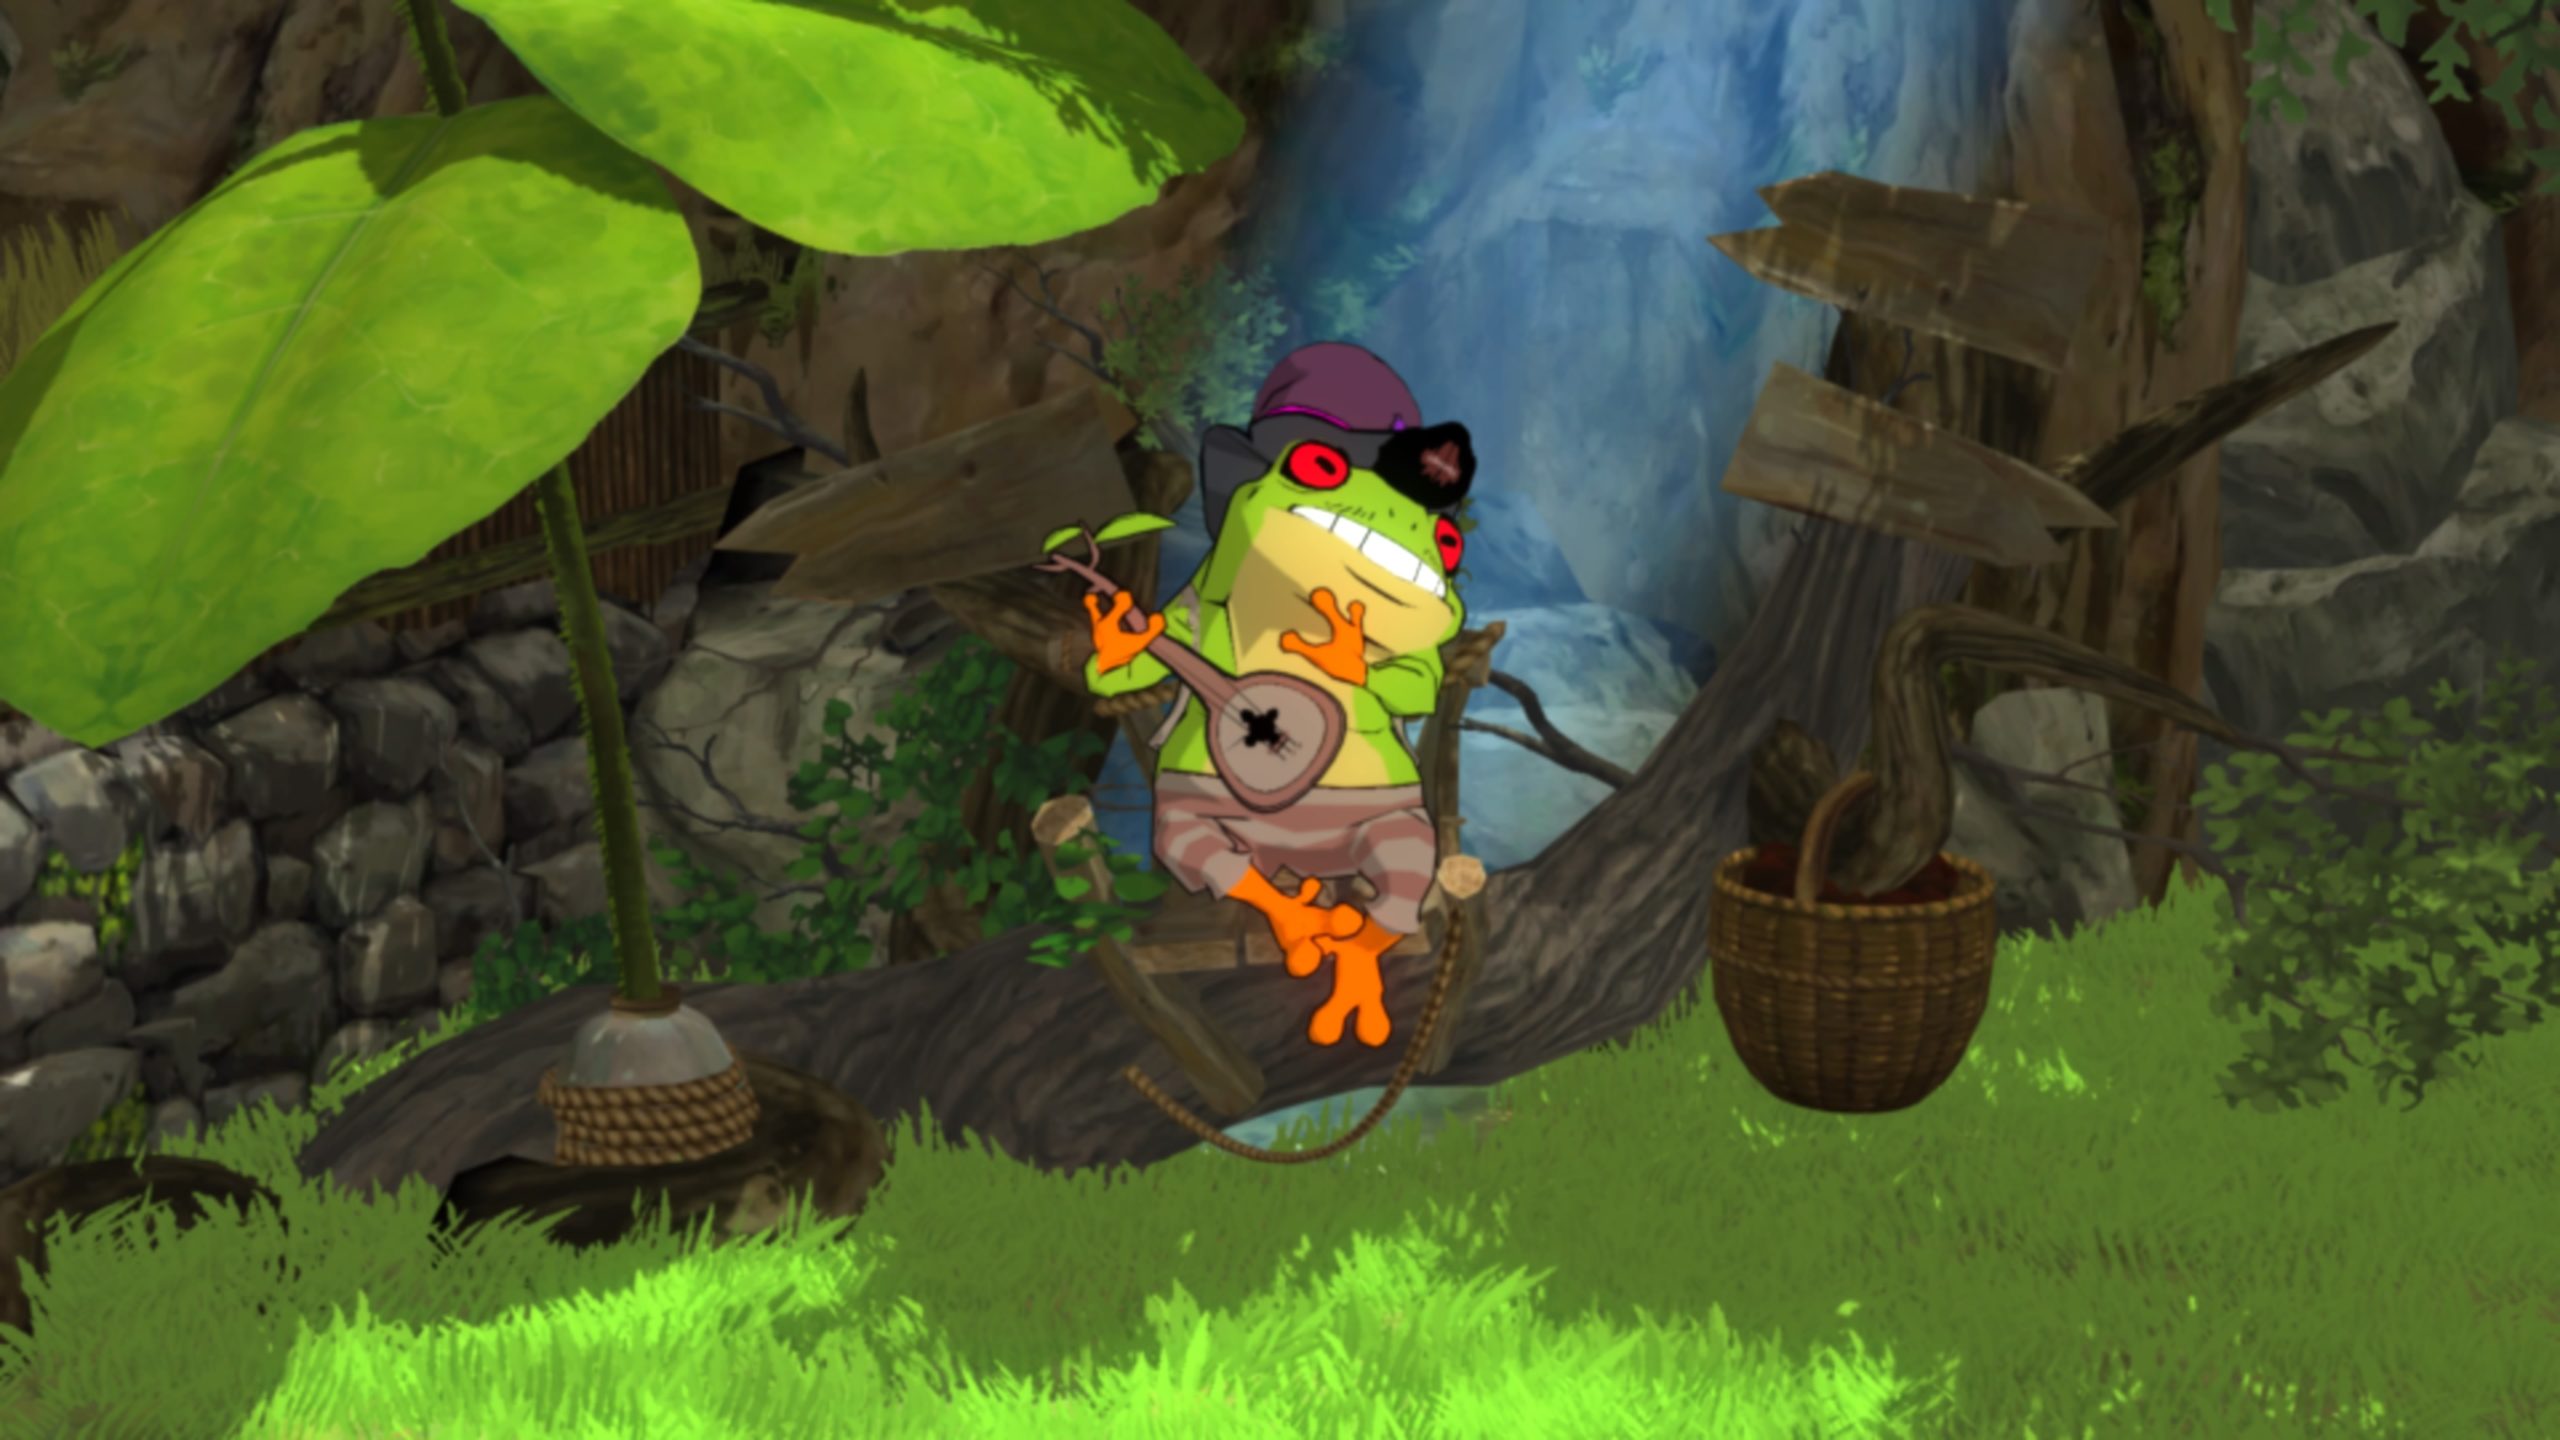
Exit the Abandoned Owl Tower to trigger a scene with Luna after which you’ll receive the quest. In Haneko Plain, travel to the northeastern side of the area to find a frog with a musical instrument wearing a top hat! Speak with him, and he’ll teach you the Song of the Wind. The quest will complete and you’ll earn the Ranotto the Minstrel trophy.
Set Luna Free
During the Rodia Town main quest, Luna will fall down a hole and you won’t be able to follow her. Instead, head to the bridge leading to Rodia and follow the path to the left of it. Keep heading left / south hugging the cliff until you come across a dark doorway next to a set of stairs leading up.

Head into the darkness to find Luna! She’ll need you to get a key that she buried by the windmill in Rodia. You can get into Rodia by going through The Underground dungeon. Once in Rodia, head south to find the windmill that has an old lady sweeping in front of it. Dig up the disturbed dirt using your shovel to receive the Maluna’s Villa Key.

With the key in hand, follow the signs to Maluna’s Villa, which is south. Click here for a guide on the Maluna’s Villa dungeon! Once you complete the dungeon and receive the key, return to Luna and set her free! You’ll receive the Set Luna Free trophy!
Cosetta the Lost Dog
You’ll automatically receive this quest after completing the Set Luna Free quest. Head to Rodia Town and look in the street near the textile merchant’s shop to find the dog. Cosetta will run off again, and you can find her in the Rodia Royal Cemetery, which is down the path to the left of the restaurant. Once in the cemetery, head up the stairs straight ahead and go past the tombstones and fountain. Grab a pot then head up the stairs and to the right side. Throw the pot over the balcony onto the pressure point to release the gate.
Make your way to this little fenced in area and push the tombstone aside to raise the gate blocking the door. Head through the door and kill the rats inside. (The chest in this room contains 10 Dindi and is accessible after completing Savoca Prison.) Press forward through the next door to reach the outside again. Speak with the man Cosetta is barking at to obtain some valuable info and the Cosetta the Lost Dog trophy.
Meet Luna in Rodia Town
You’ll automatically receive this quest after completing the Set Luna Free quest. Return to Rodia Town via the main bridge. Make your way to Odessa the herbalist’s shop, which is in the northeastern part of town. Head to the bottom of her store to find an exit leading to her garden. Dig up the left most plot to find a set of stairs leading down. Climb on down and follow the path to arrive in the Royal Gardens. Click here for a guide on the Royal Gardens / The Underground / Castle dungeon! After you complete the dungeon and find Luna, you’ll receive the Meet Luna in Rodia Town trophy!
Treasure for Tero
The quest is obtained automatically after completing the Cosetta the Lost Dog quest. After you complete Meet Luna in Rodia Town, you’ll be able to obtain the Ancient Royal Item from a chest. Click here for a guide on how to obtain this item! Once you obtain the item, exit the castle and head to Tero in the cemetery. Speak with him to receive the Savoca Prison Key and the Treasure for Tero trophy!
Savoca Prison
To reach Savoca Prison, travel south to the Calo Cabbage Patch. Once you reach the water field, head north and follow the field all the way around until you reach a large tree (just after swinging around the field and heading south). Enter the water field at this tree and head south. Exit at the first available bank to reach a wooden fence with greenery in the middle of it as pictured below.

Use your sword to remove the greenery and proceed forward. Head into the water again using the only available bank. Once in the water, make your way north and go through the first narrow opening. Stick close to the narrow strip of grass jutting out into the water to find an opening in the grass that you can slip through. Do so then head south until you reach the main land. Exit the water then head north and push the box out of the way to open up the shortcut to Kidoge Village. Next, head all the way south until you reach the dead end. There will be greenery here that you can cut down with your sword to continue forward. Follow the path forward to reach Ridijo Canyon / Savoca Prison. Click here for a guide on Savoca Prison! After you finish the Savoca Prison dungeon, you’ll receive the Savoca Prison trophy and directions from Encore to go to Bobo Temple.
The Burners
After completing the Set Luna Free quest, speak with the Blacksmith in Rodia Town. He’ll need his burners in the basement turned back on. After you complete the Savoca Prison quest, return to the Blacksmith and speak with him. He’ll give you the key to the basement. Head outside and swing around the building to go downstairs and open the door.
Upon entering the basement, you’ll trigger the Basement Burners dungeon. Click here for a guide on how to complete this dungeon. After you finish the dungeon, you’ll receive The Basement Burners trophy! Any time you need tools repaired or adapted, you can bring them to him.
The Flock of Sheep
Head north a short ways from Ranotto to transition to Solino Valley where you’ll find a man. Speak with him to learn that his dog is missing and he needs his dog to move the sheep. Finish the Cosetta the Lost Dog quest then return to Solino Valley for a quick cutscene after which the quest will complete.
The Owl Village
This quest was automatically received after completing The Lost Galleon quest. After you complete Meet Luna in Rodia Town, you’ll be able to explore the castle. Click here for a guide on how to receive the second Owl Village Key! Once you obtain the key, make your way to the northern part of Pansa Hills.
You’ll go past Ursula’s Mill and then will need to follow the signs for Camaro Woods. You’ll know you’re in the spot when you see a bunch of snow. Head up the mountain using the coat from the Kangmi Fur side quest, the coat bought outright from Jafar in Rodia Town or just a bunch of healing items. After you head up a snowy slope and eventually cross a tree branch, you’ll come to a tower missing half a symbol.

The key you have on you will automatically be placed in the missing spot. Next, head down the tree to the right (east) of you to find the second tower with half a key.
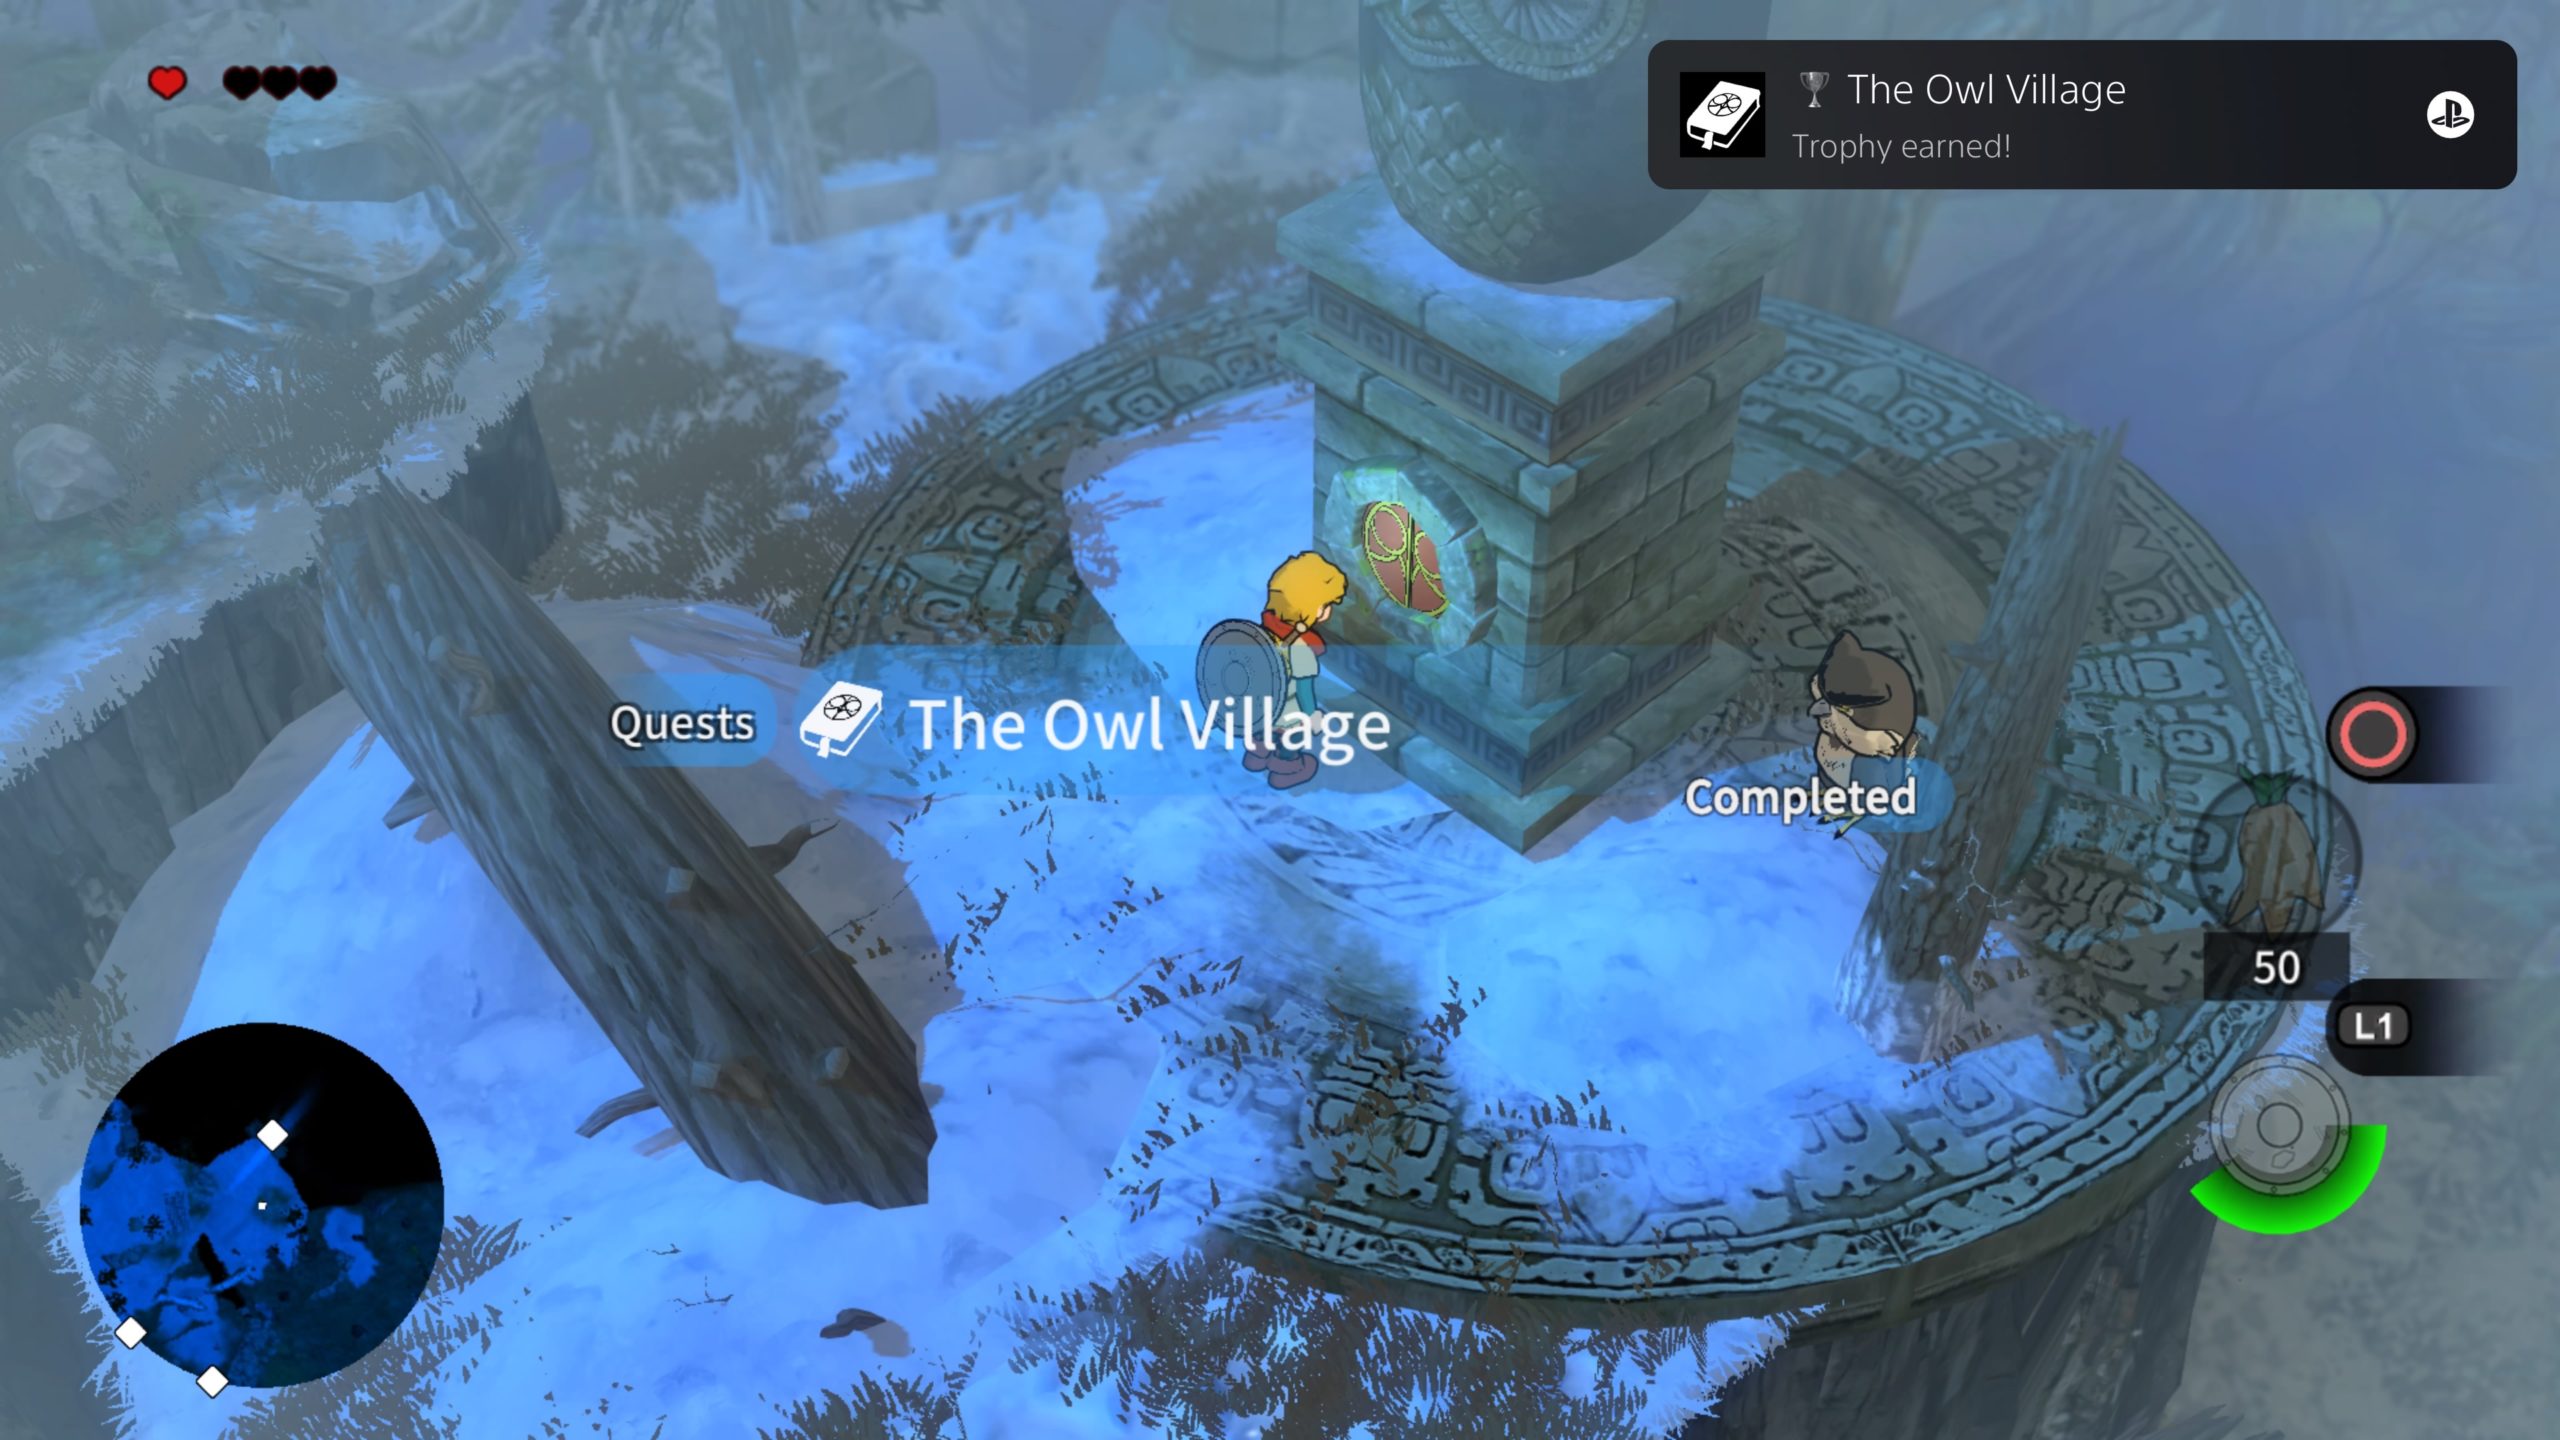
As you approach it, the other key will automatically go into the slot and Encore will talk to you. Head through the archway behind the second tower to trigger a cutscene where you’ll enter the Owl Village. Once inside, use your horn on the guardian symbol on your left to unlock the fast travel point. Continue forward across the tree branch and head all the way up to the top, stopping in at the houses along the way to speak to the owls and gain new side quests! Once at the top, a cutscene with Encore will trigger. You’ll receive an Owl Feather with instructions to give it to Maneko the Witch.
Saraia and the medallion
Complete the Saraia side quest. For a guide on it, click here!
The Ancient Lever
You’ll receive this quest after reaching a certain point in The Underground. Click here for a guide on this! Topazzo will tell you that one lever is missing. You’ll need to find his sister Topa in Jacu Oasis. She’ll be dressed in red and her house is the tallest in Jacu Oasis with a big windmill on top. He suggests that the blacksmith might be able to help us turn the rod she’ll give us into a lever to replace the missing one. Furthermore, he’ll say that we need something to resist the incredible heat during the day but at night we should be prepared for the extreme cold. Since it’s still night in the game, you’ll need to prepare for the cold. As such a Kangmi Coat is in order. Click here for a guide on how to get one from the Kangmi Fur side quest! Once you’re prepared for the cold, travel to the Bobo Temple fast travel point then exit this area via the western map transition. Keep heading southeast, working your way through the map transitions, until you reach a place called Garduo Rocks. When you’re here, follow the path straight and cross the wooden bridge. Climb up to the tall rock immediately to the north of you to find a fast travel point. Make your way to the southeastern map transition. In the next area, you’ll again need to continue making your way to the southeastern map transition to trigger a cutscene for the Mauri Desert. Follow the dark path in the sand. You’ll pass a Minisio’s Map Shop along the way.
Be sure to stop in and grab the map for the desert! Eventually, you’ll reach Jacu Oasis! Speak with Topa, who is wearing all red to receive the ancient rod and complete the quest. Before this rod can be used as a lever, it’ll need to be fixed by the blacksmith in Rodia.
The Mechanism
You’ll receive this quest after completing The Ancient Lever quest. In order to fix the ancient rod given to you by Topa in Jacu Oasis, you’ll need to head to the blacksmith in Rodia. He’ll fix it for you and the quest will complete.
The Owl Bomb
You’ll receive this quest after completing Meet Luna in Rodia Town. To make progress on this quest, you’ll need to head to Bobo Temple / The Underground. For a guide on this area, click here! After you complete the quests for The Ancient Lever and The Mechanism, you’ll then be able to continue in The Underground. Click here for the next guide on The Underground, Maluna’s Second Castle Gardens and the Abandoned Royal Mansion! Once you obtain the Owl Bomb in the Abandoned Royal Mansion, the quest will complete.
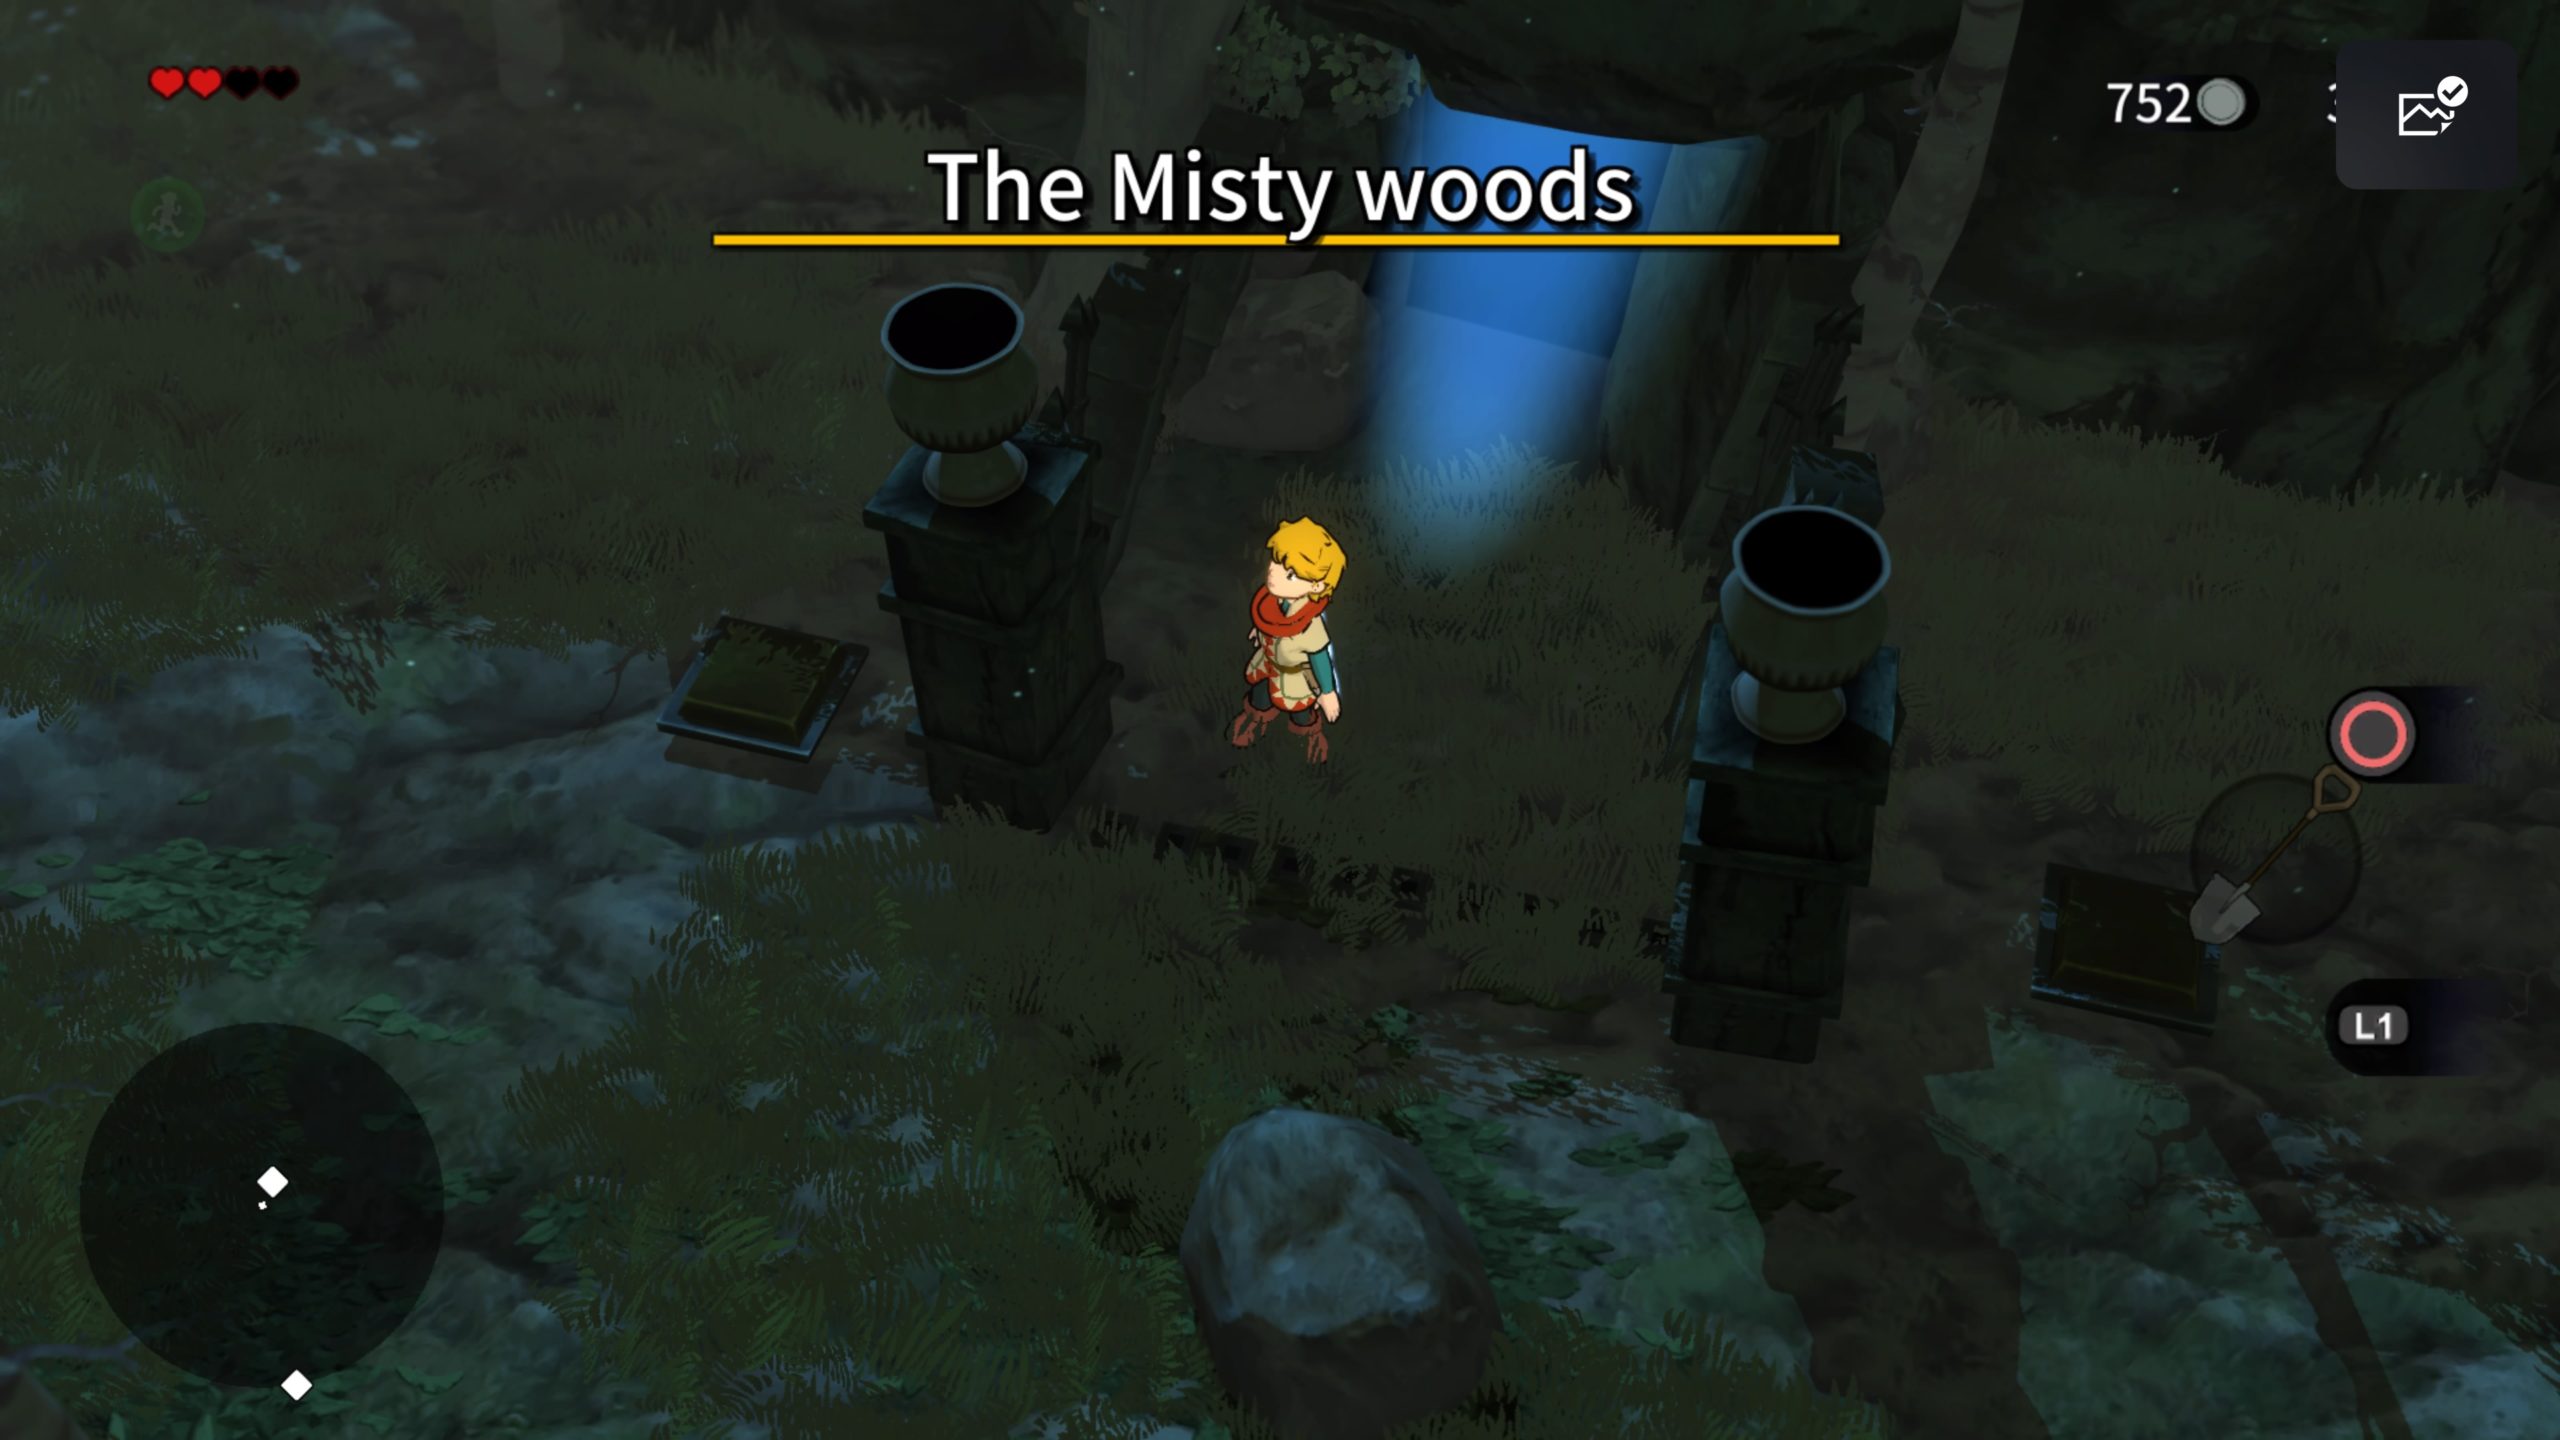
Maneko the Witch
To reach Maneko, head to Bobo Temple and take the northwestern map transaction to arrive in The Misty woods. Head directly north, passing a building until you reach a gate with 2 pressure points.
Carry the nearby pumpkin a little bit southwest of the gate to one of the pressure points then stand on the other to cause the gate to open. Proceed inside and push the stack of crates against the back wall so you can return this way.

Head up the blast of air then follow the path to Maneko’s house.
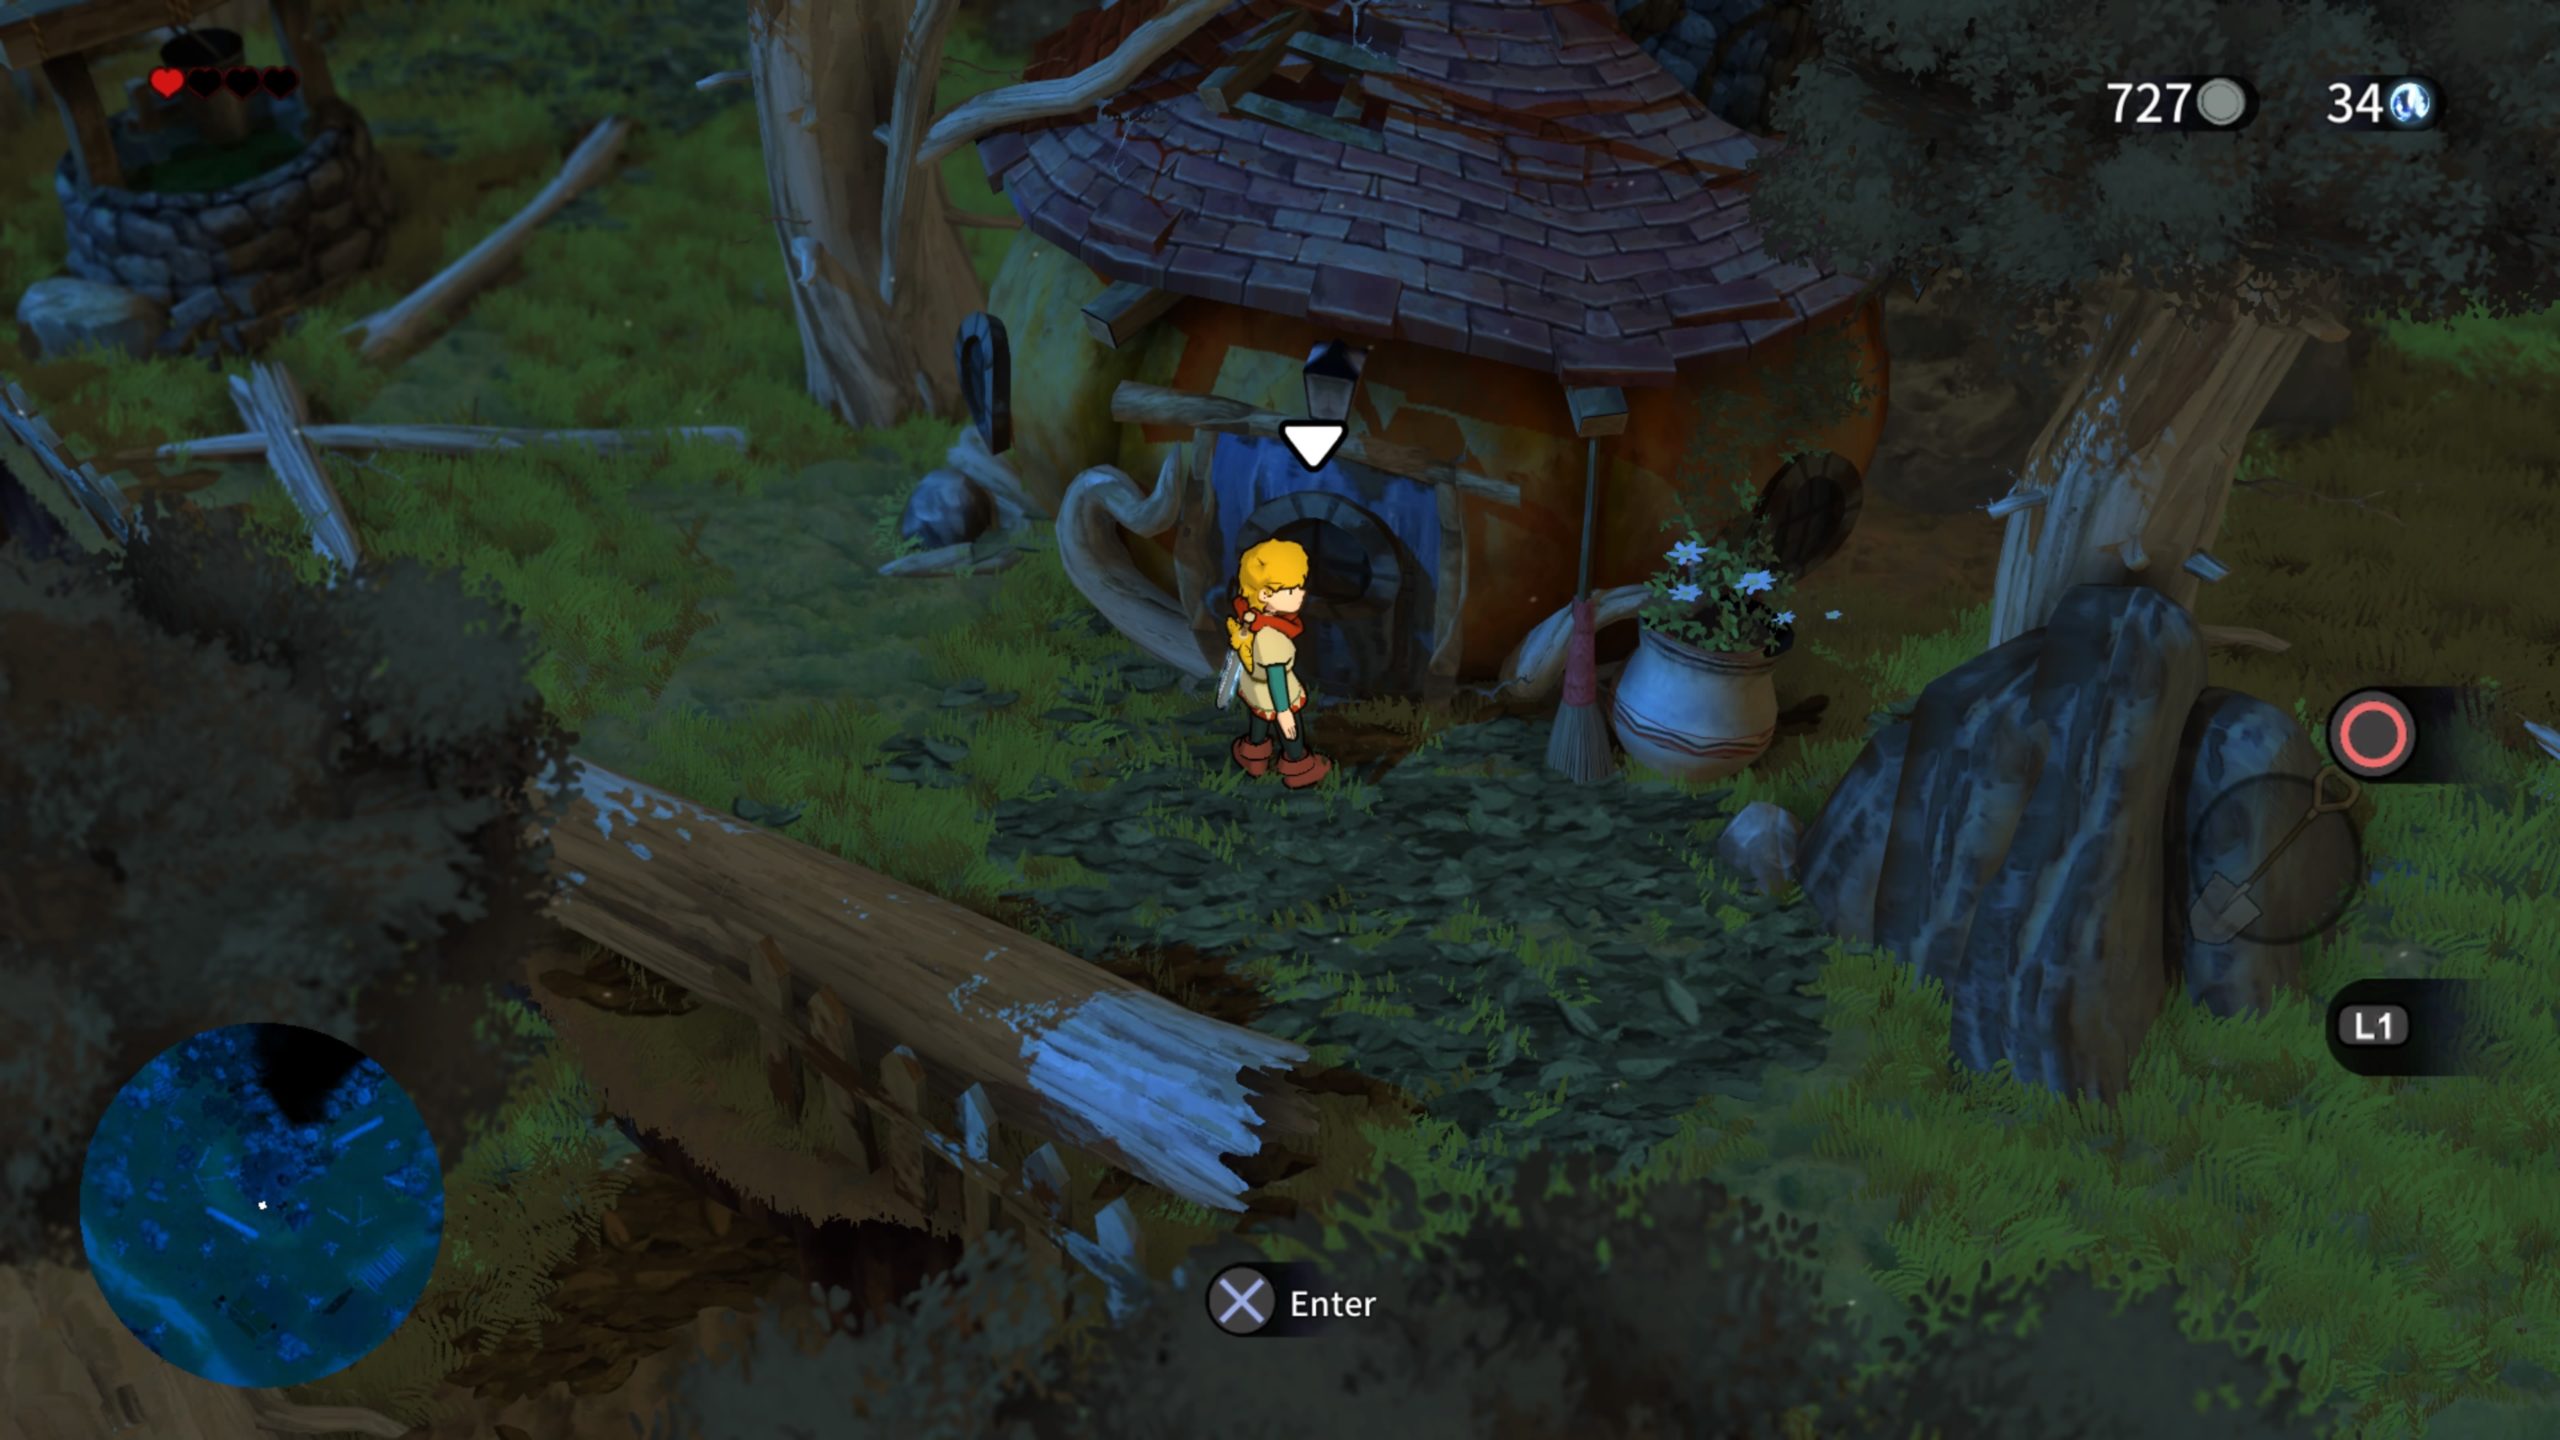
Speak with Maneko in her house to complete this quest. Afterwards, she’ll tell you to bring her an Owl Feather in exchange for a potion that will let us talk to cats.
Looking for the apprentice in Naneko Town
You’ll receive this quest after completing the Maneko the Witch quest. It’s now time to set off for Naneko Town. To find the town, just follow the large stones with pawprints. More specifically, exit Maneko’s house and head down the stairs. Make your way to the southeastern map transition, following signs for the Dry Land. Follow along the river to the map transition. In the next area, cross the water via the bridge and head to the map transition in the northwestern corner to find Naneko Town. Speak with Amu (very large white kitty sitting on a throne) to complete the quest and receive a Rat Tribe Crest.
Camuria the Cat
You’ll receive this quest after completing the Looking for the apprentice in Naneko Town quest. It’s now time to set off for Rodia Town to find the rat tribe. You won’t be able to complete this quest until after you receive an Owl Bomb. In order to save Camuria, you’ll need to complete The Bakery Pantry dungeon. Click here for a guide on this dungeon!
Rodia Town Owl Tower
You’ll receive this quest after completing The Owl Bomb. Head to the path in Rodia Town leading to the library. Look for a wooden crate blocking an entrance underneath a circular stone face. Use the bomb to blow it up then proceed inside.

Walk along the thin wooden path and use the bomb to blow up the stone. When you get to the end, again use the bomb to blow a hole through the doorway. Go on through then once again use the bomb to destroy the barrier blocking the path. When you use the key on the door ahead, the quest will complete!
TBD Order Wise
The Owl Furnace
You’ll receive this quest after obtaining the Great Owl Furnace Key. For a guide on how to obtain this key, click here!
Save Luna
You’ll receive this quest after completing The Owl Bomb…
Cacia, the Rodia Town Architect
This quest is received after completing the Savoca Prison quest…
The Great Ramo
Speak with the lady inside the inn in Rodia…
Ursula the Miller
Speak with Odessa the Herbalist in Rodia to obtain this quest. She will have you ask her sisters Ursula and Maneko for help. Both are in Pansa Hills…
The Dust of Renewing
Speak with Odessa the Herbalist in Rodia to obtain this quest. She needs Dust of Renewing…
Owl King Gokuro
You’ll receive this quest after completing The Owl Village…