Below is a guide on the Savoca Prison dungeon. You’ll come here during the Savoca Prison main quest! As a warning, this dungeon is extremely long, involves A LOT of backtracking and is just plain frustrating!! Before you begin, make sure you have plenty of time and patience!! 🙂 On a side note, if you speak to the man next to the horse at the beginning of the area, he’ll suggest that there are some books at Rodia Library that can be helpful for Savoca Prison. Click here for a guide containing these books!
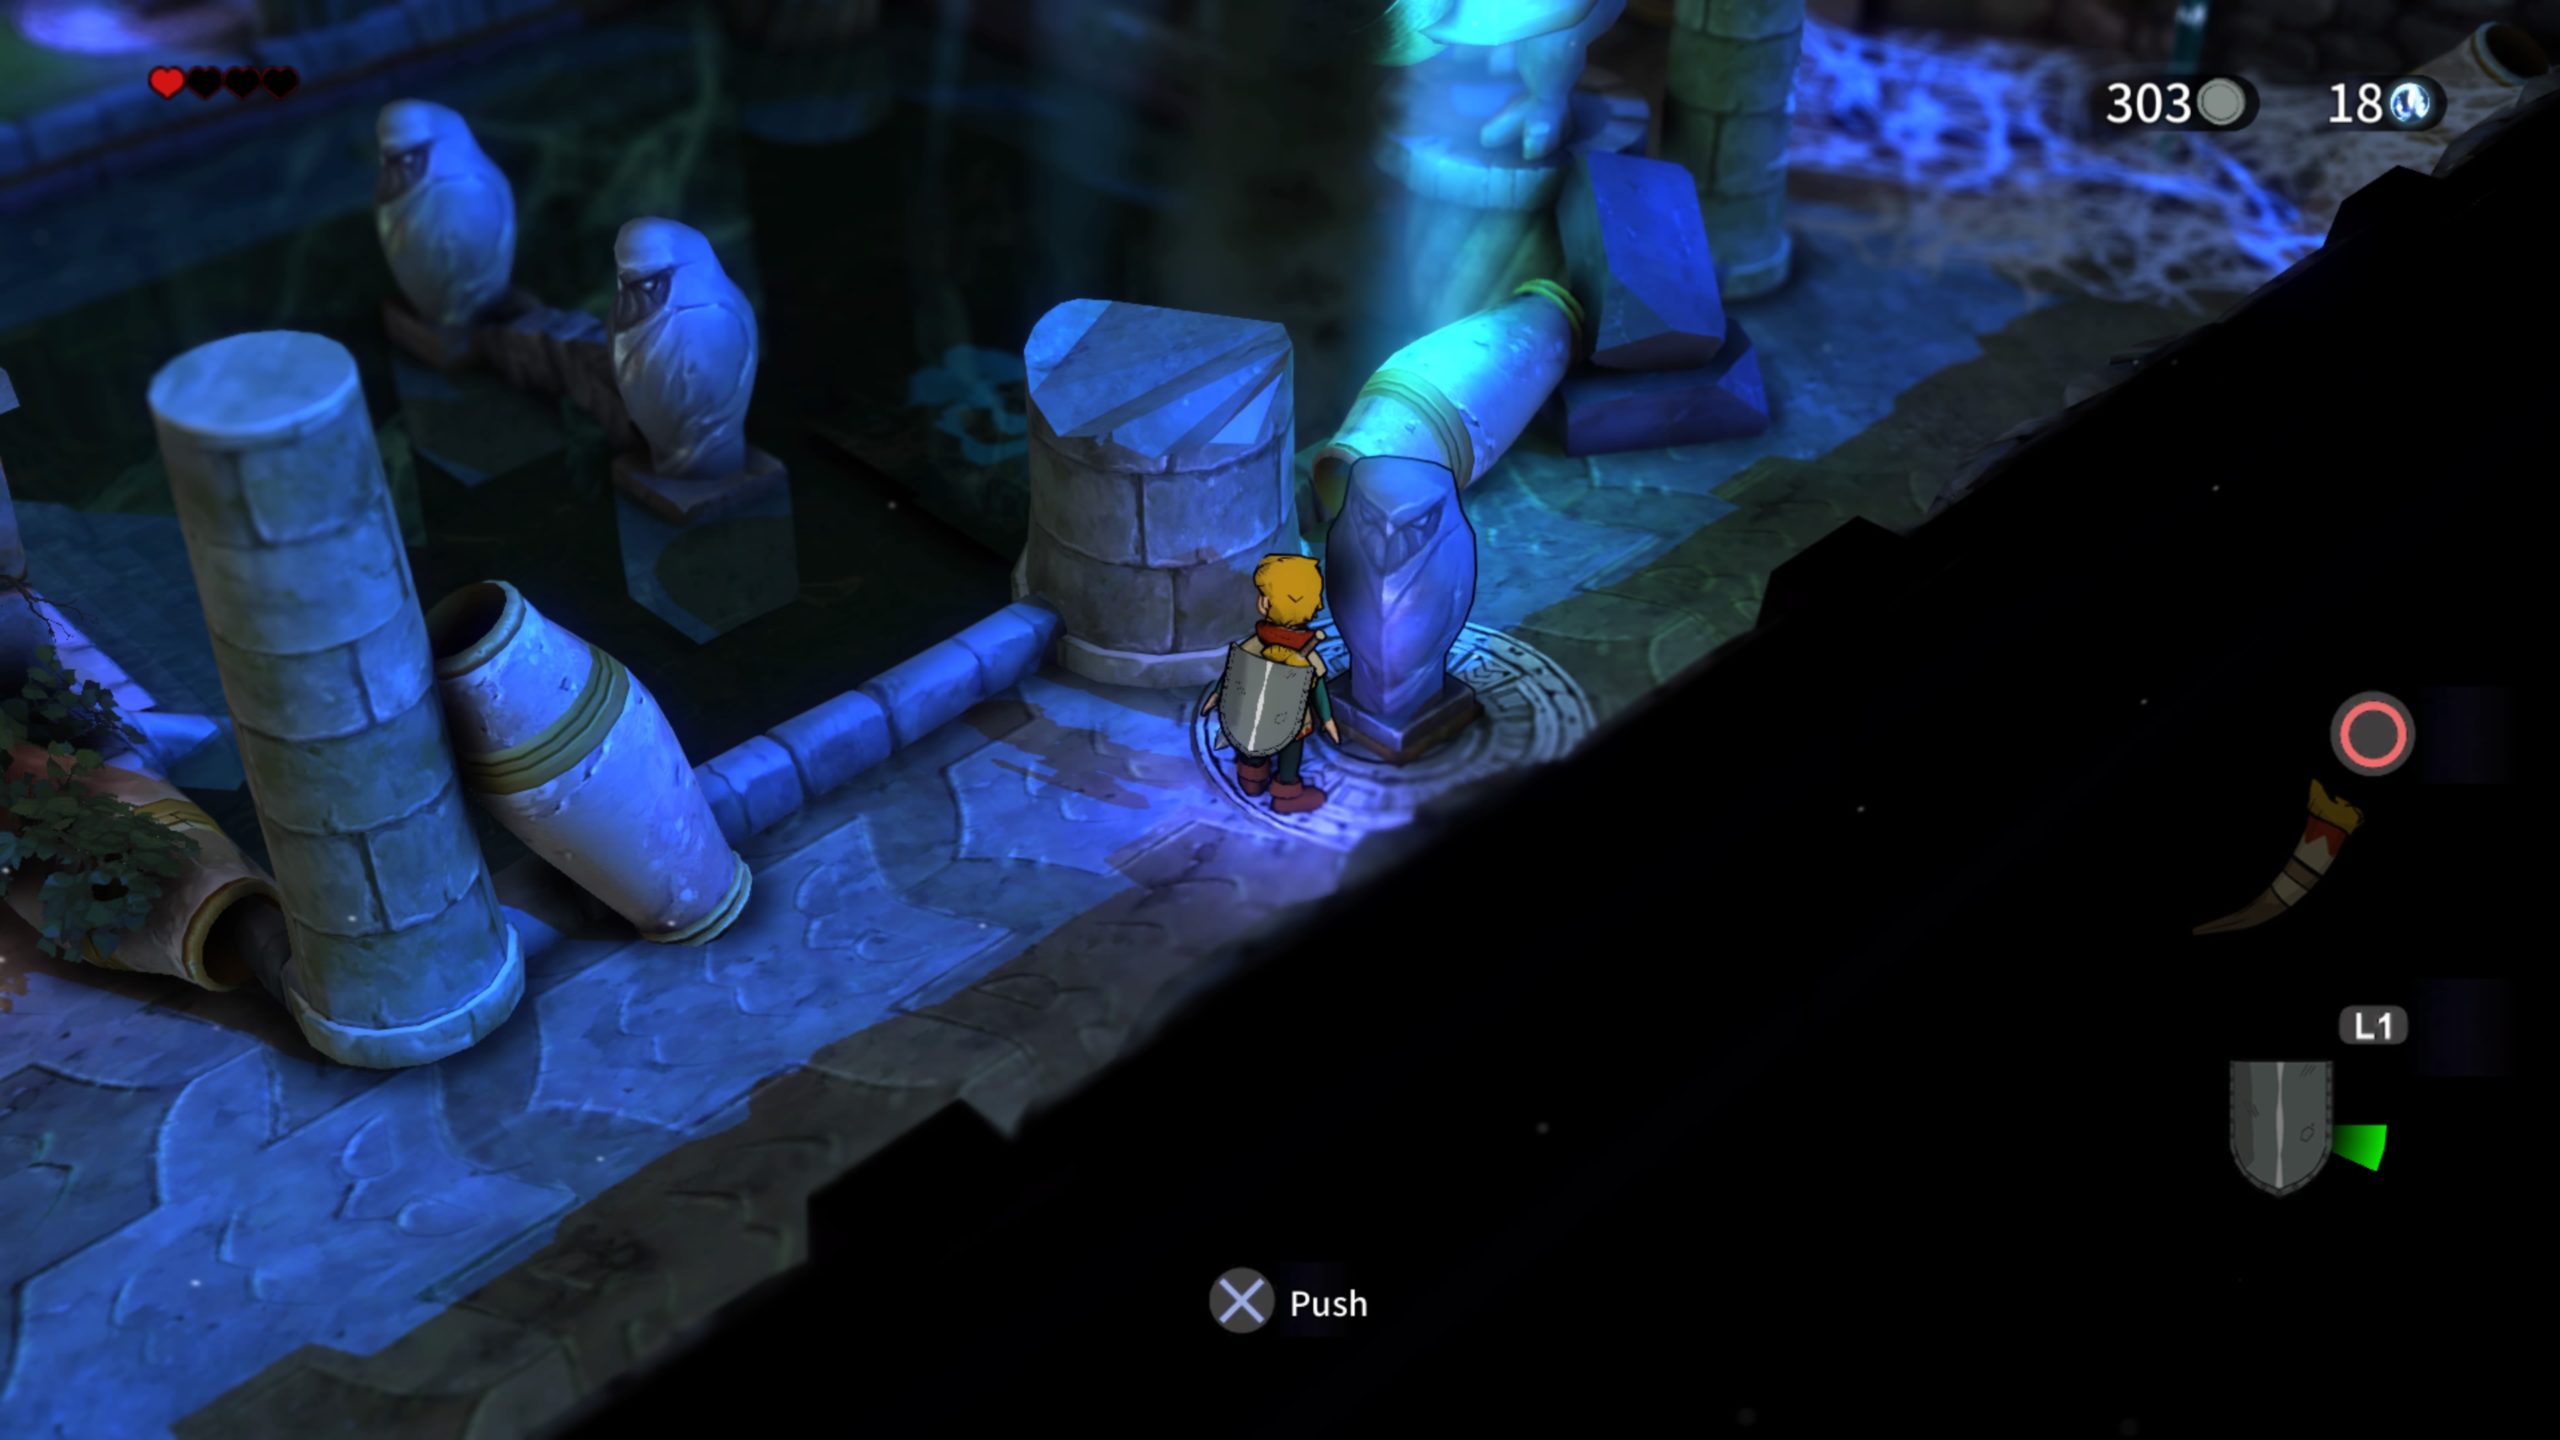
Once inside the prison, head north hugging the wall to reach a dark opening in it. Go through it then look for the guardian symbol on the floor in this room and use your Guardian Horn to reveal a door. Proceed forward through it to reach Cunzato. There will be a puzzle in this room which involves pushing the owl statues onto the pressure points on the floor. Click here for a guide on how to complete this puzzle!
Next, follow the water southwest until you meet some children standing by the map transition. Head across the bridge then make your way to the north of the small island to find Encore sitting next to a locked tower. After the interaction, unlock the door then head inside to begin the Savoca Prison dungeon!
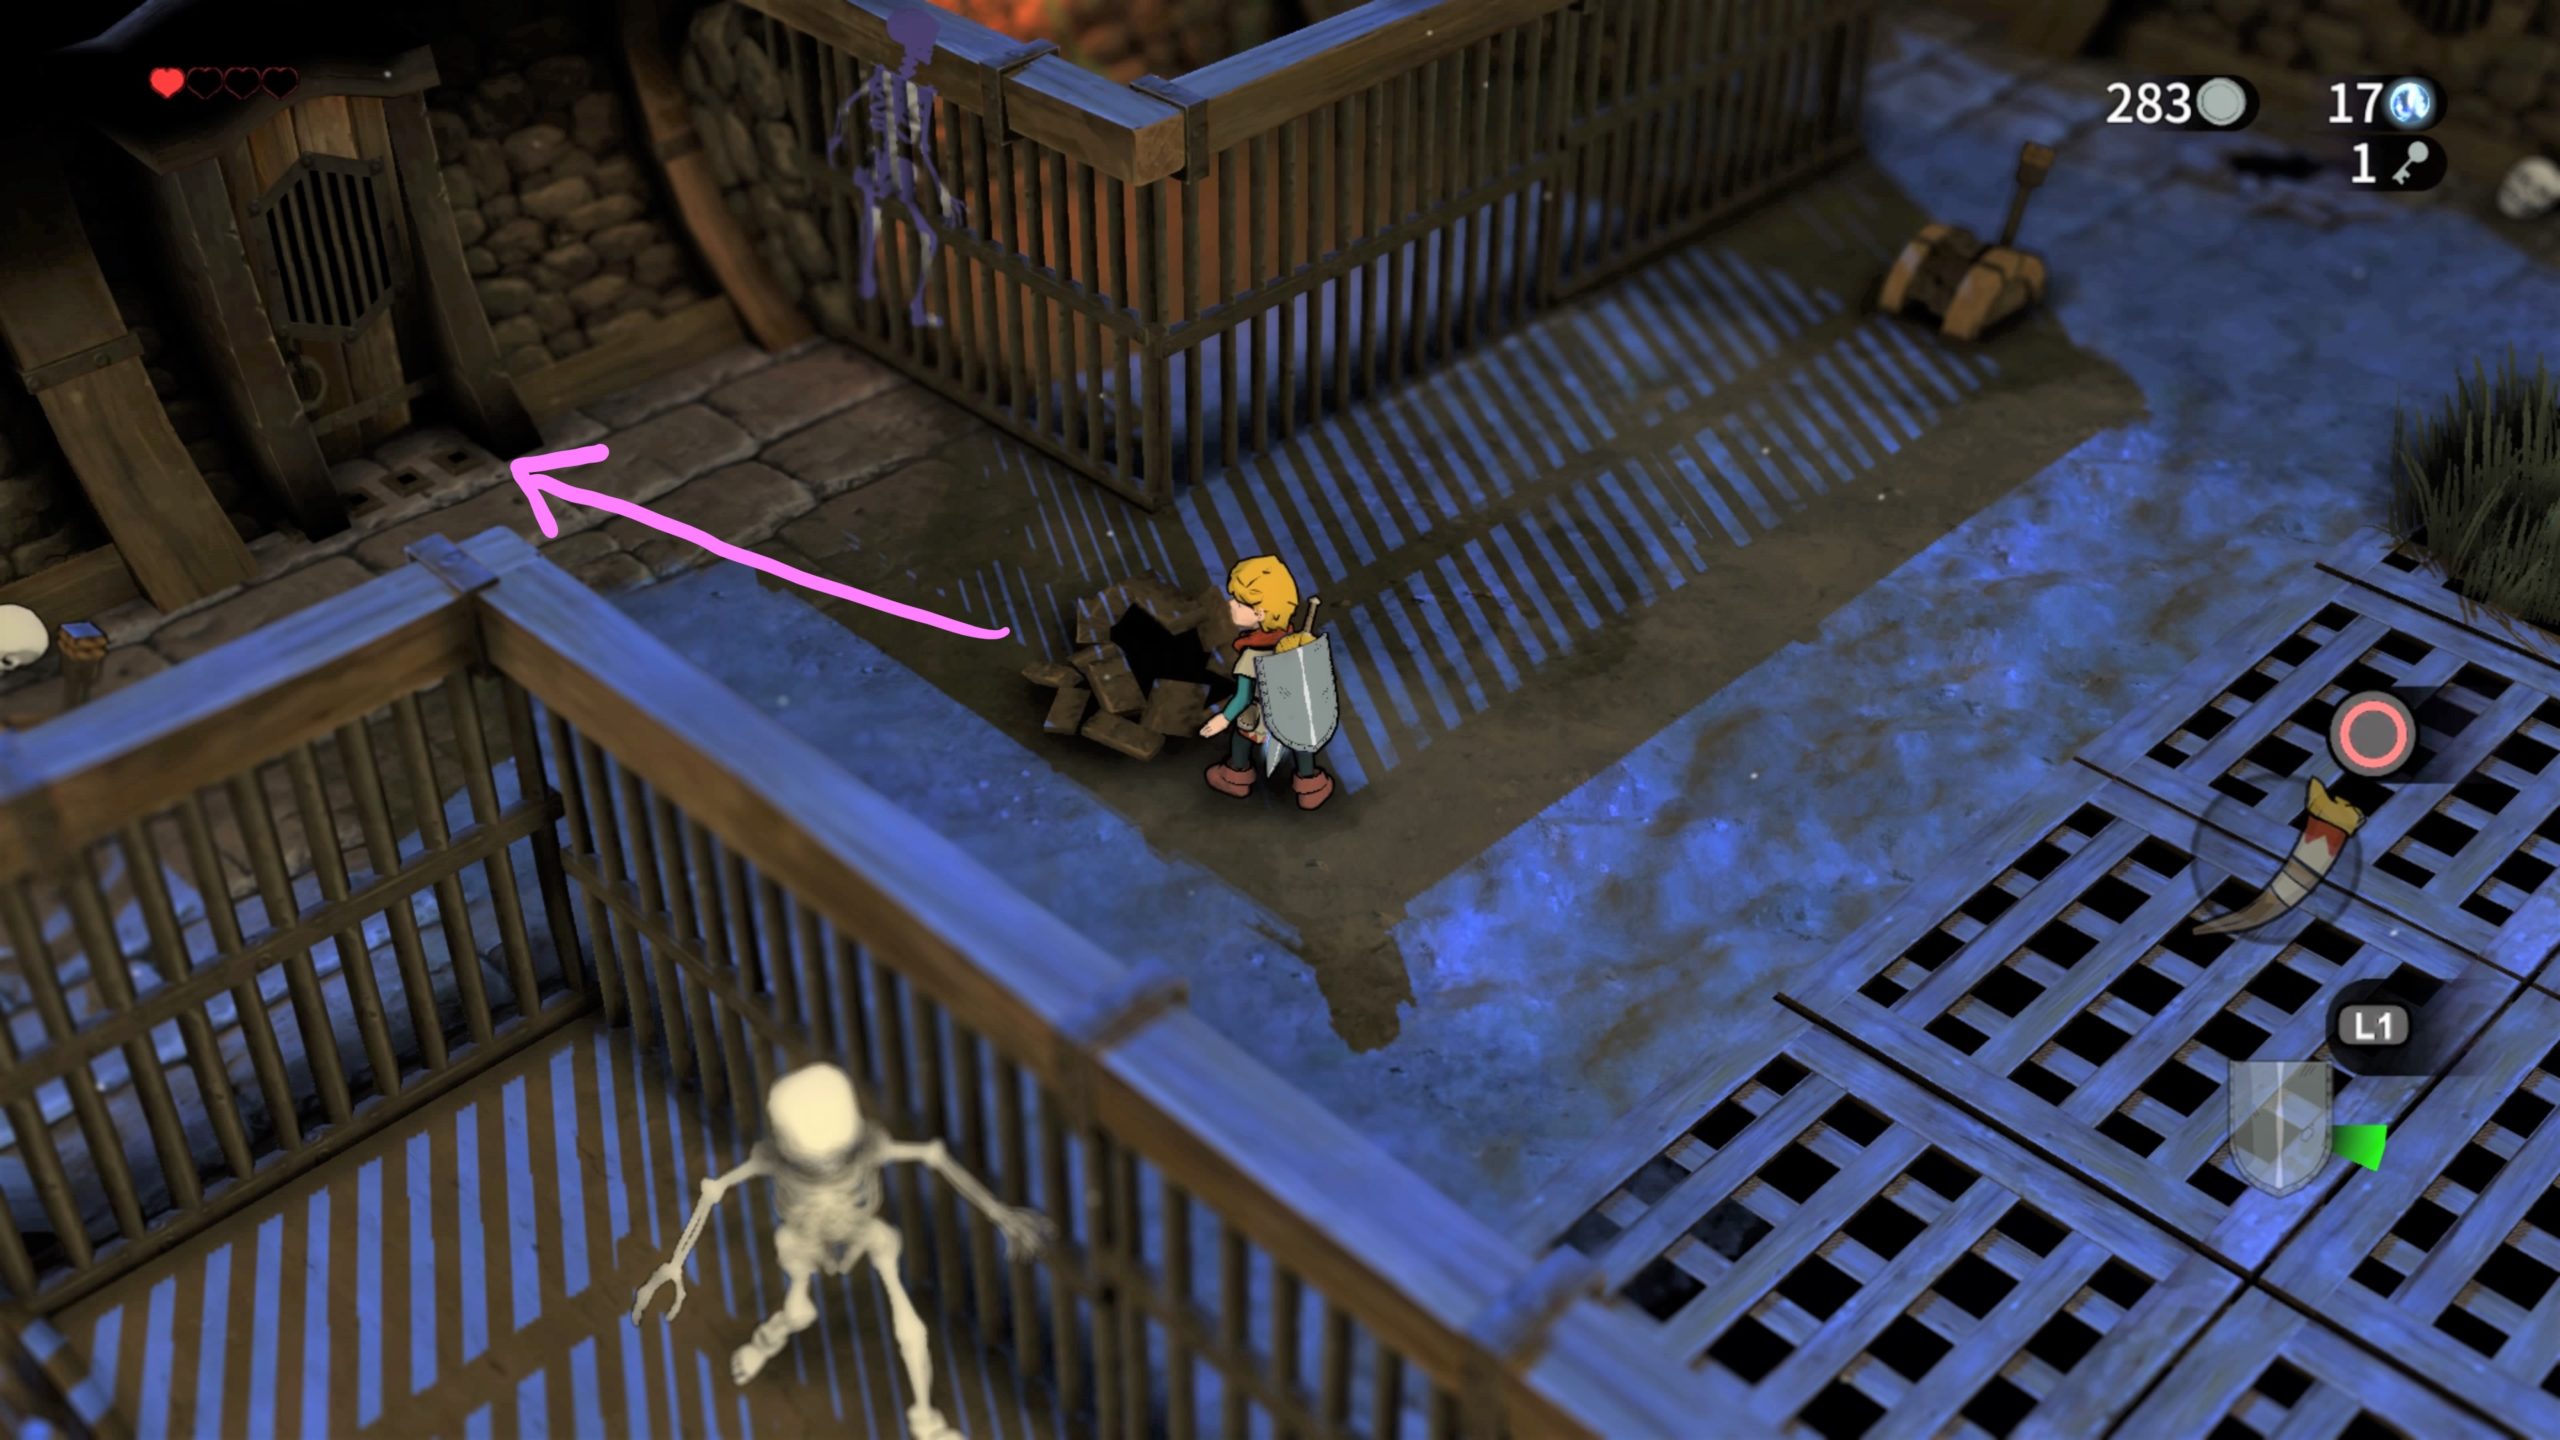
In the first room, stand on the guardian symbol and use your horn to open the way forward. In the far right corner of the screen, push the stone out of the way to reveal a path.
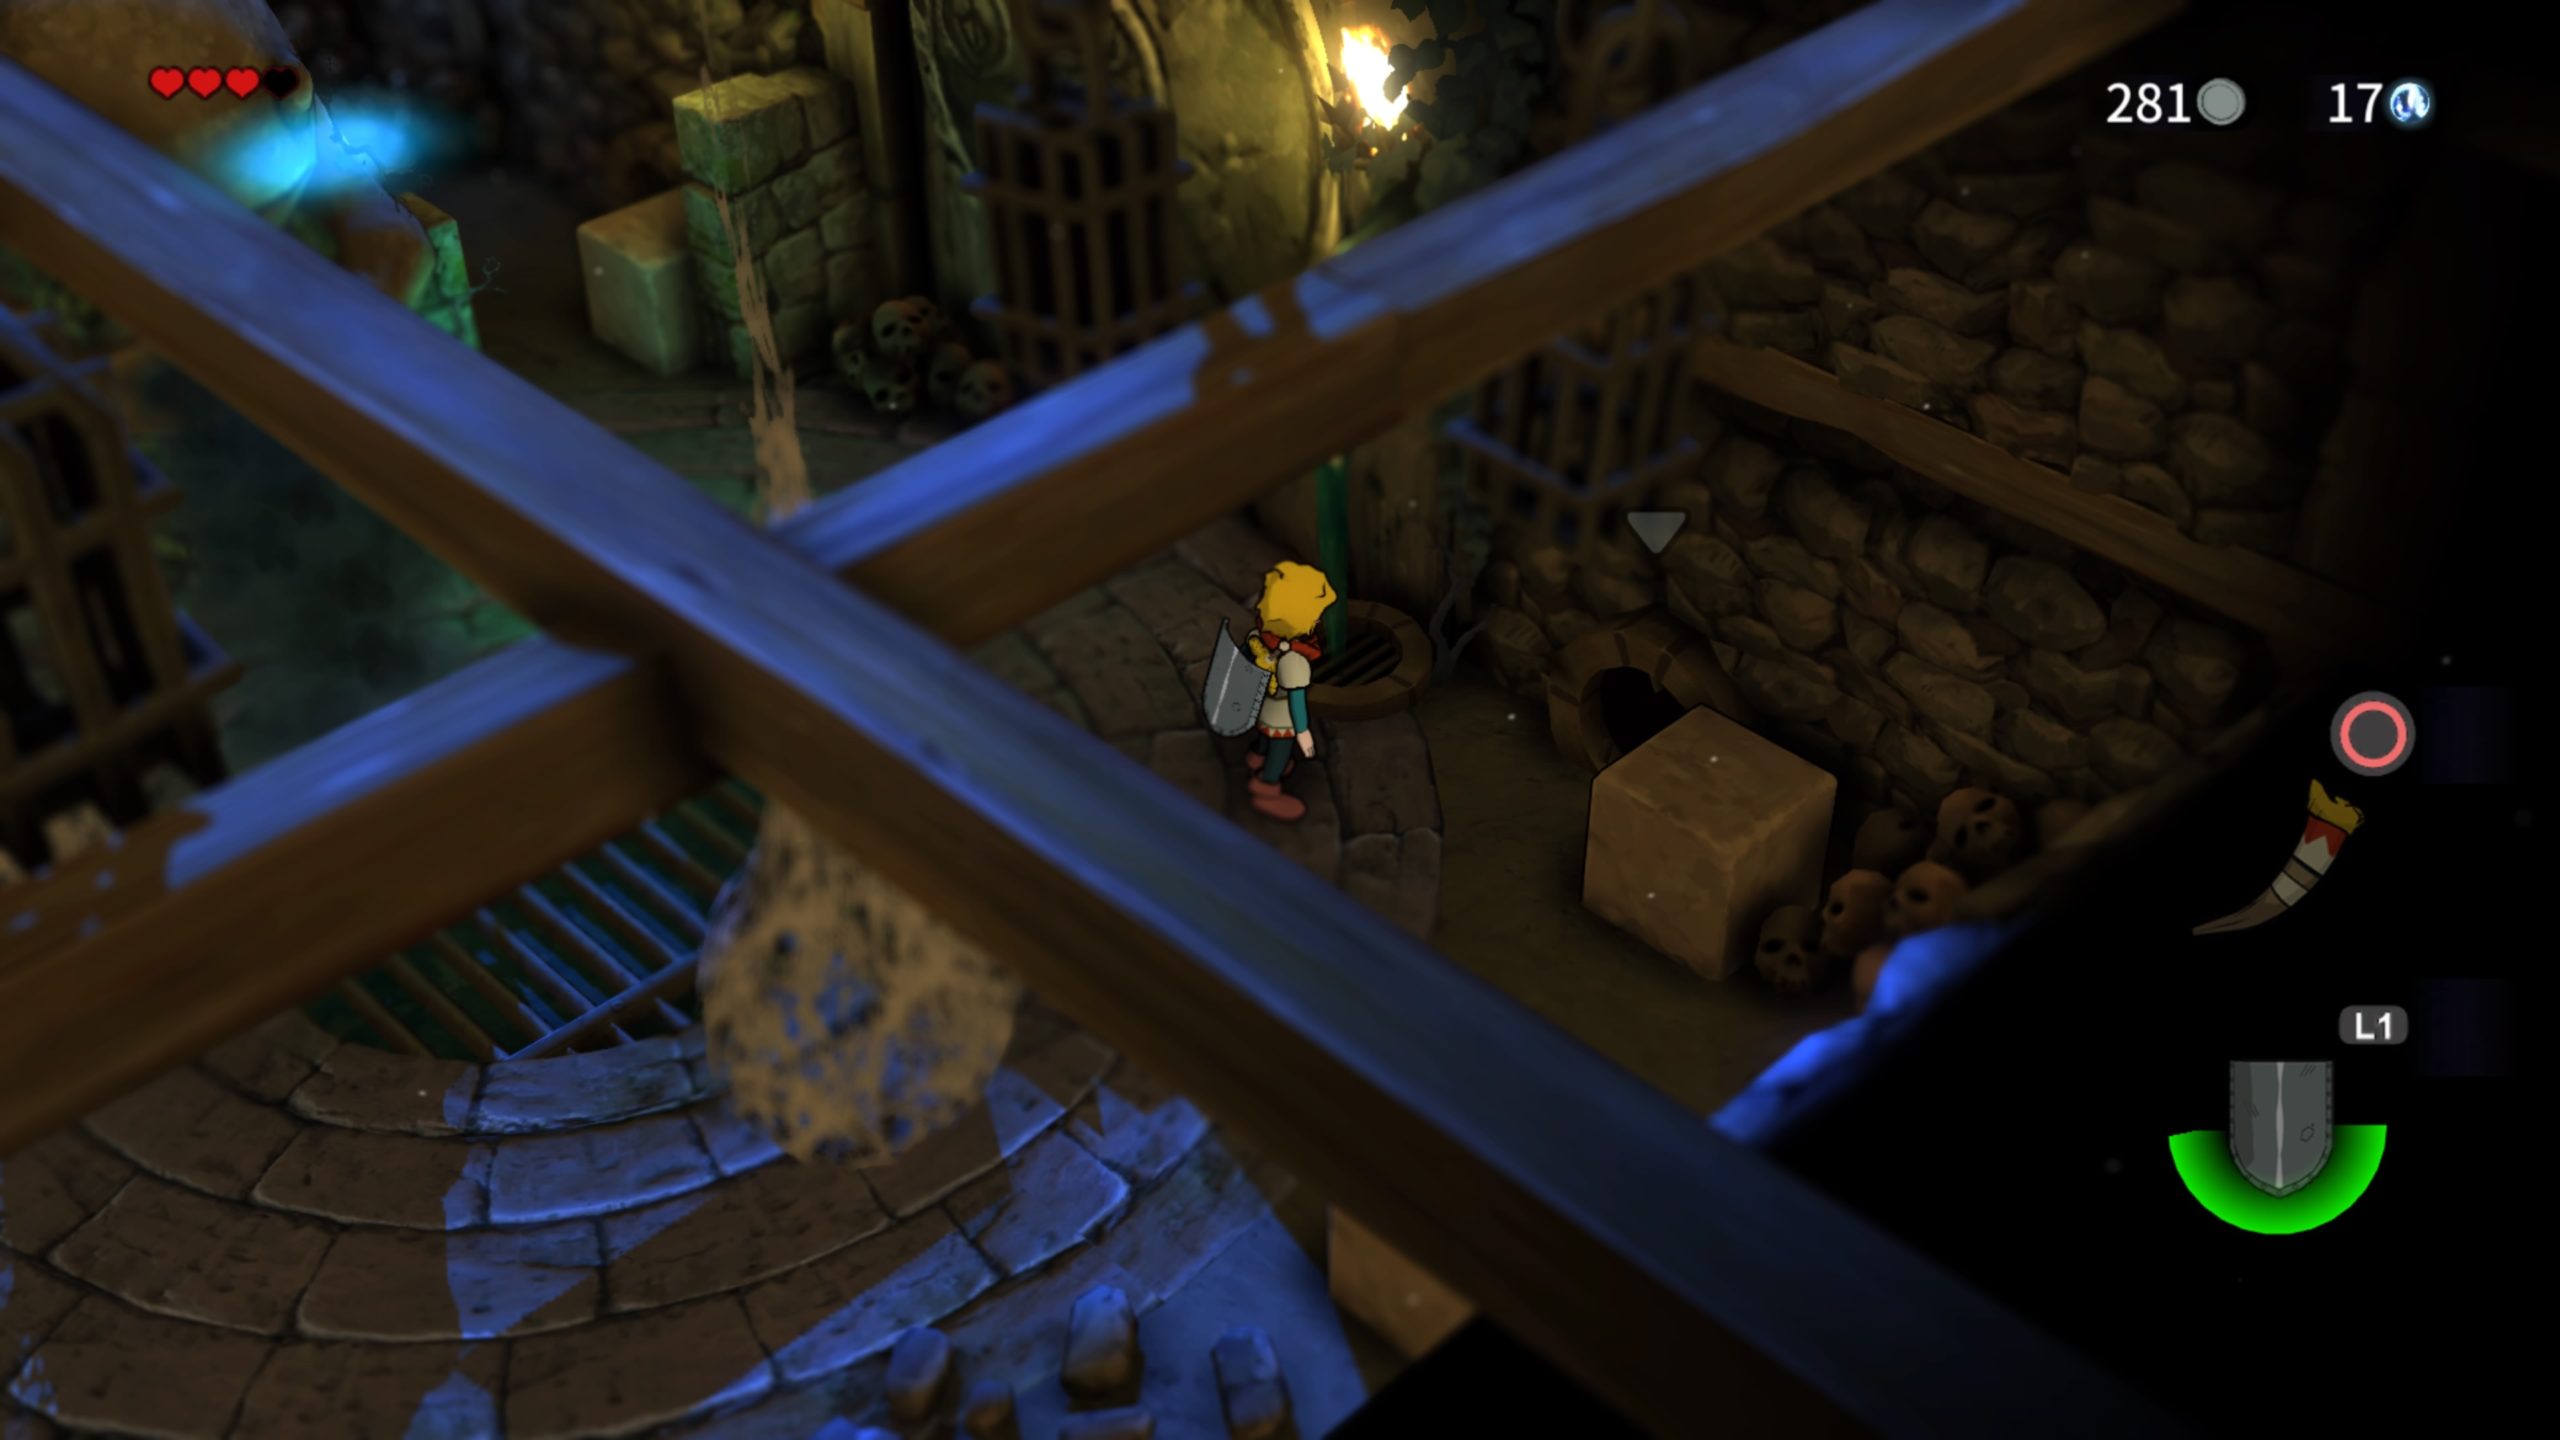
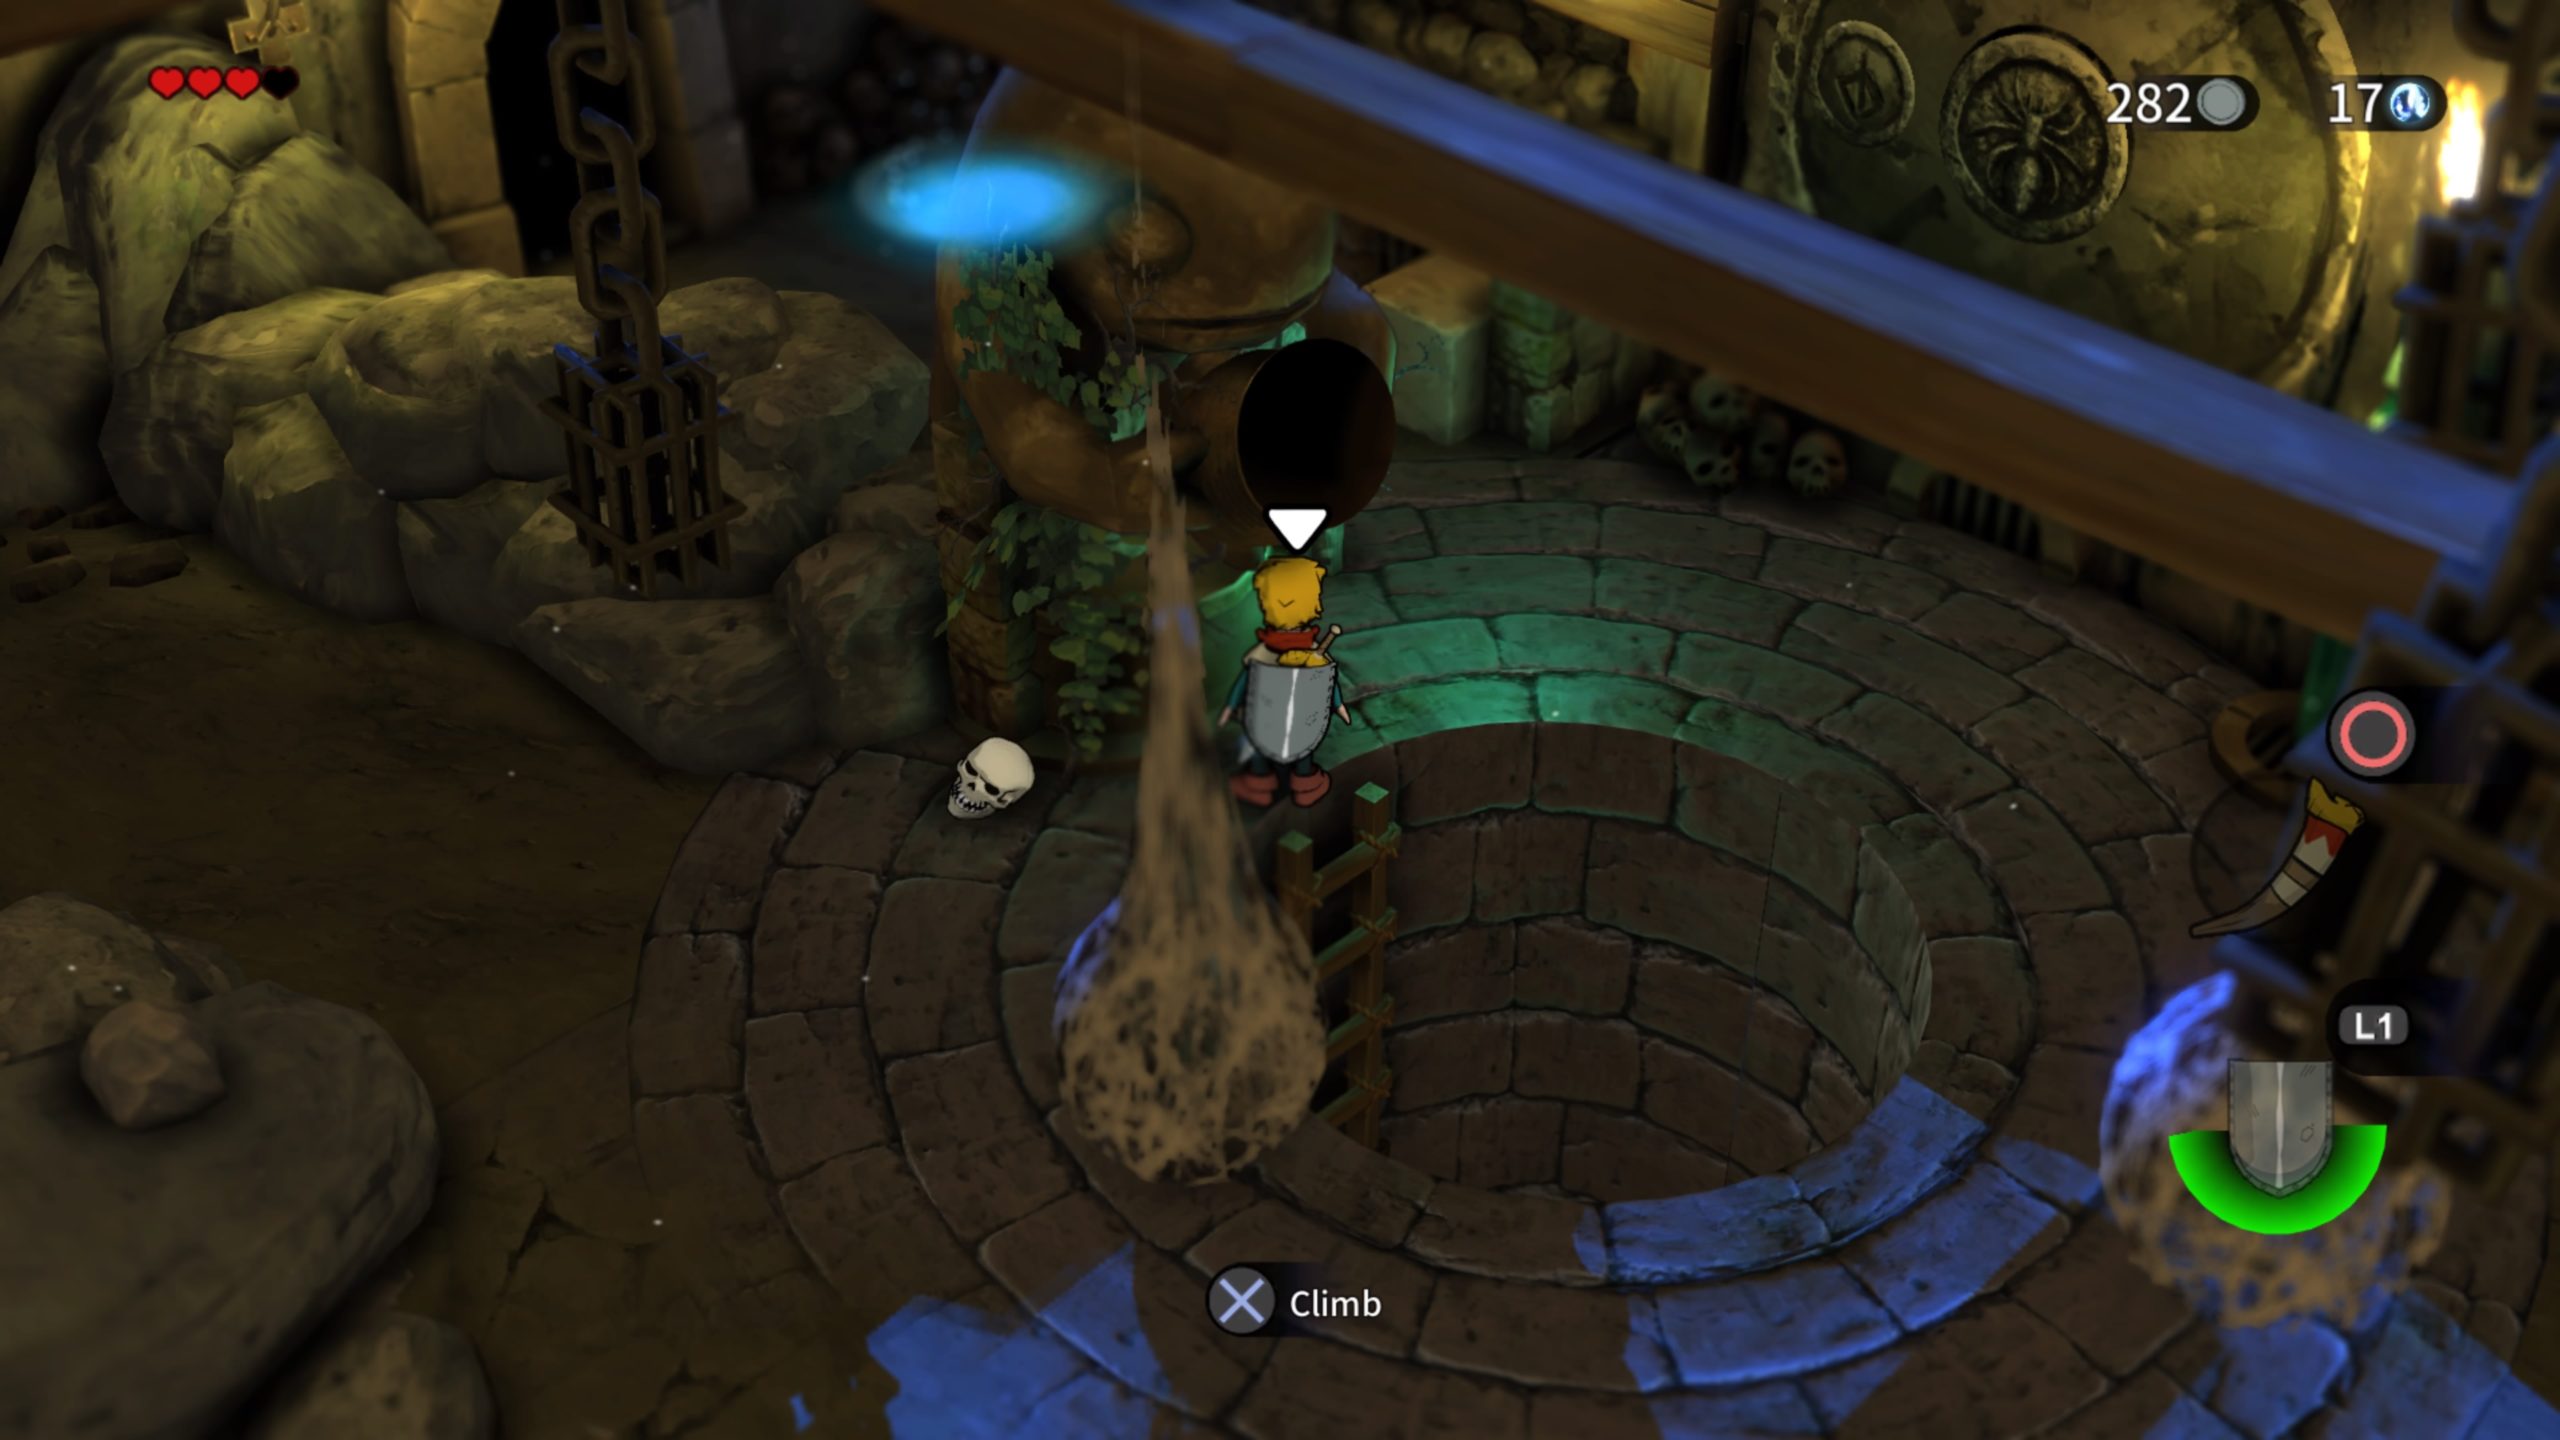
Go on through then take out the bugs. Exit this room via the door on the back left side. Defeat the skeleton inside and throw its skull at the lever. Exit this room and the next to return to the starting room. On the left side of this room, push the stone out of the way to reveal a hidden area. Crouch through this room, taking out the bugs, and press forward through the door into the next room. Defeat the skeleton and throw its skull at the lever. Return to the main room and climb down the hole in the middle of the room.
Take care of the 2 skeletons and spiked tentacles in this area. When you head down the narrow path, be mindful of the white creature on the other side as it does a fair amount of damage. You might want to bring a skull with you and throw it at the creature to knock it down. After it’s been defeated, head to the bottom left side of the screen and cut the bushes to reveal a ladder heading down.

Cross the bridge on the north side of the screen and defeat the skeleton. Head through the door on the north side next to a spewing fountain then defeat the spiders inside.

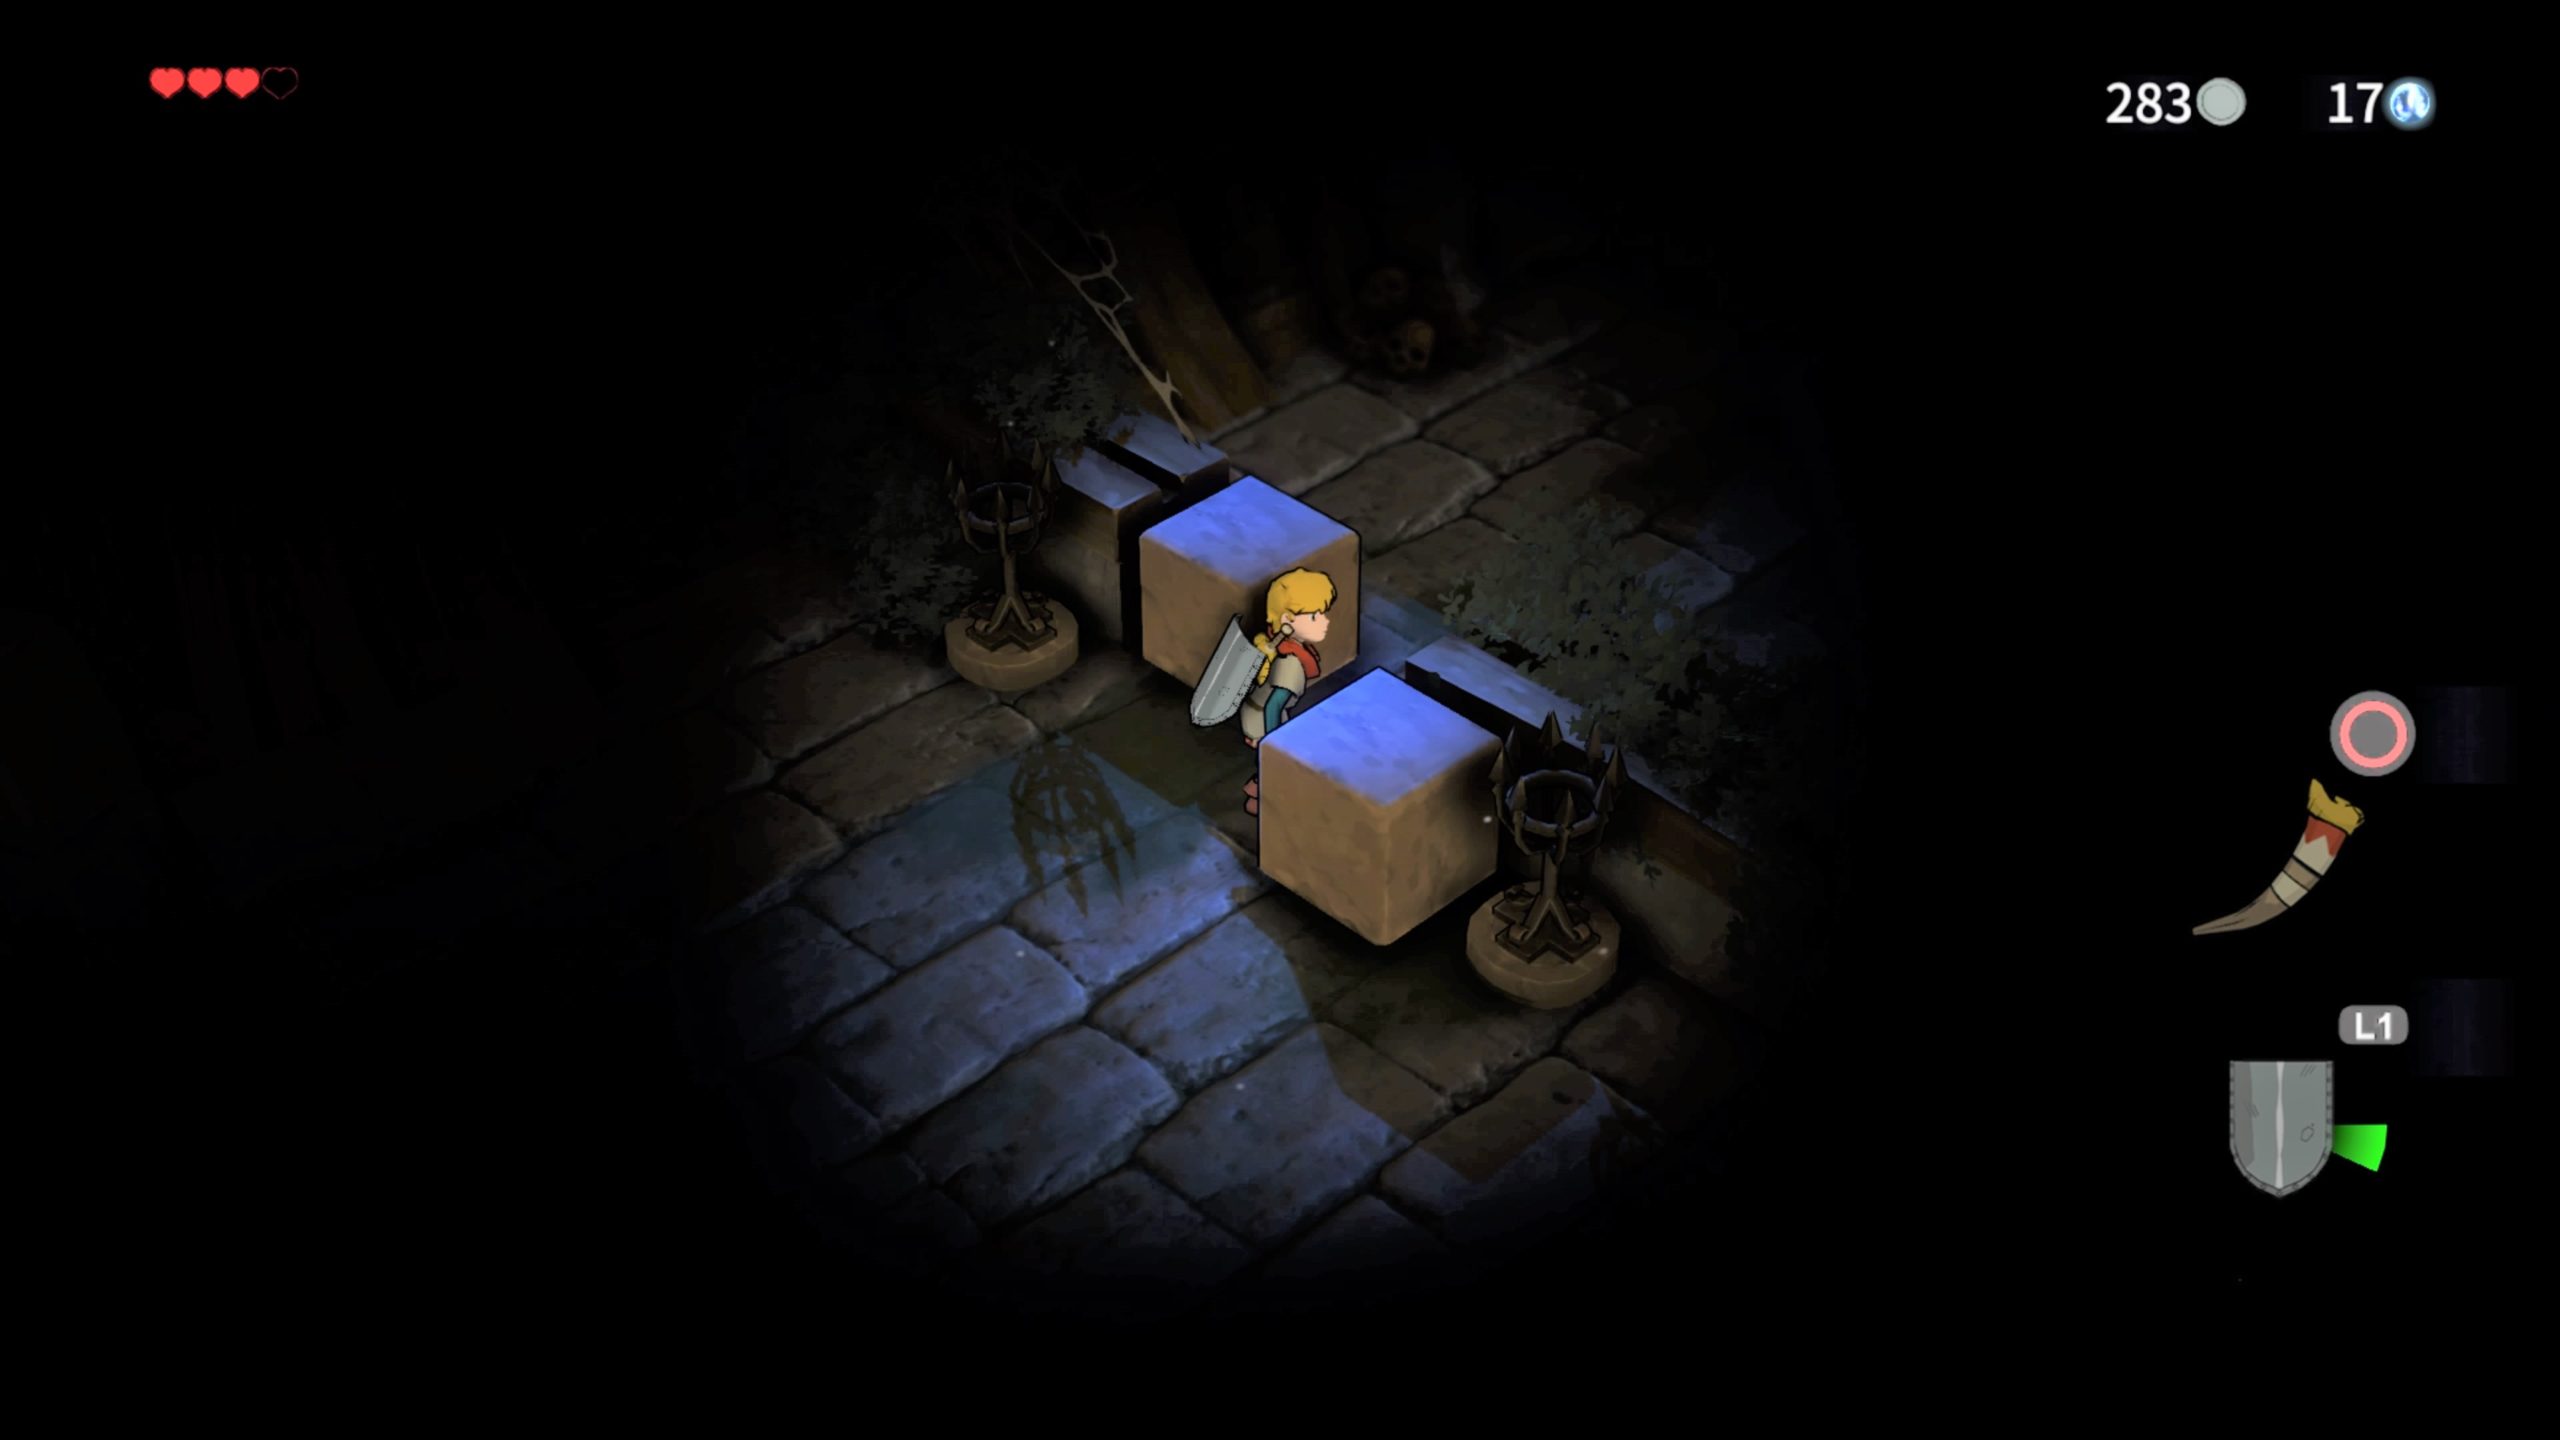
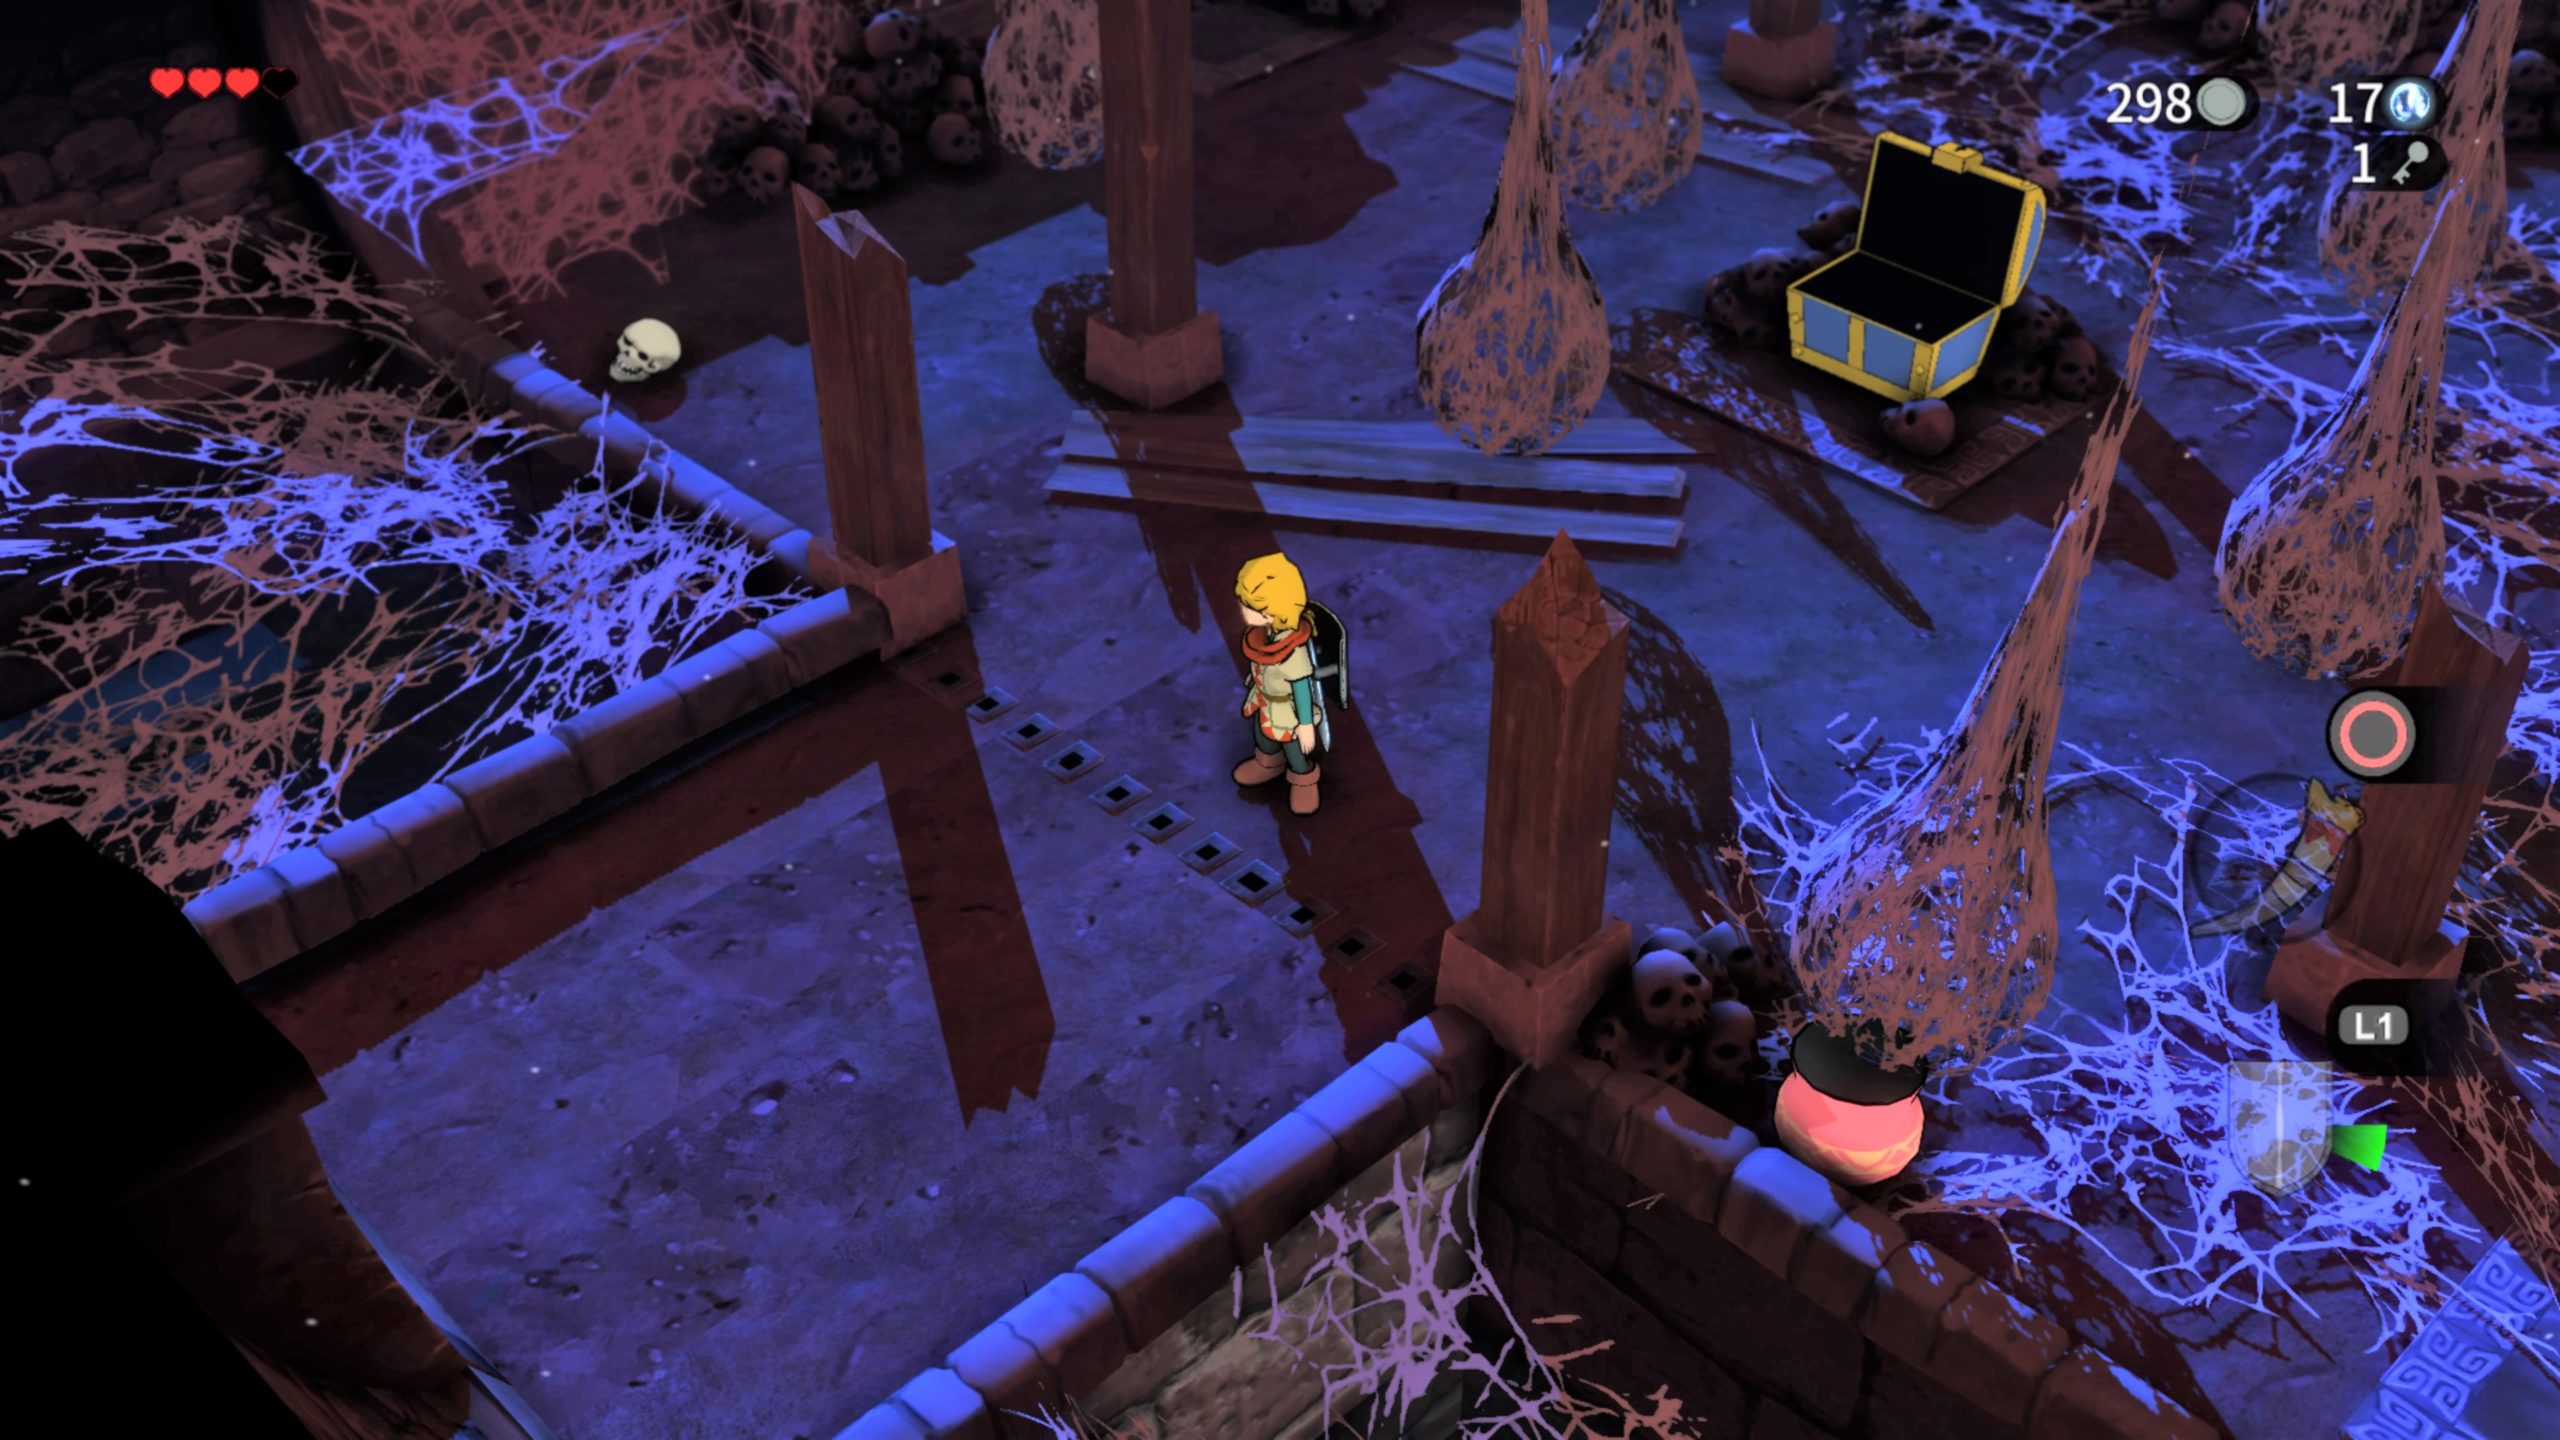
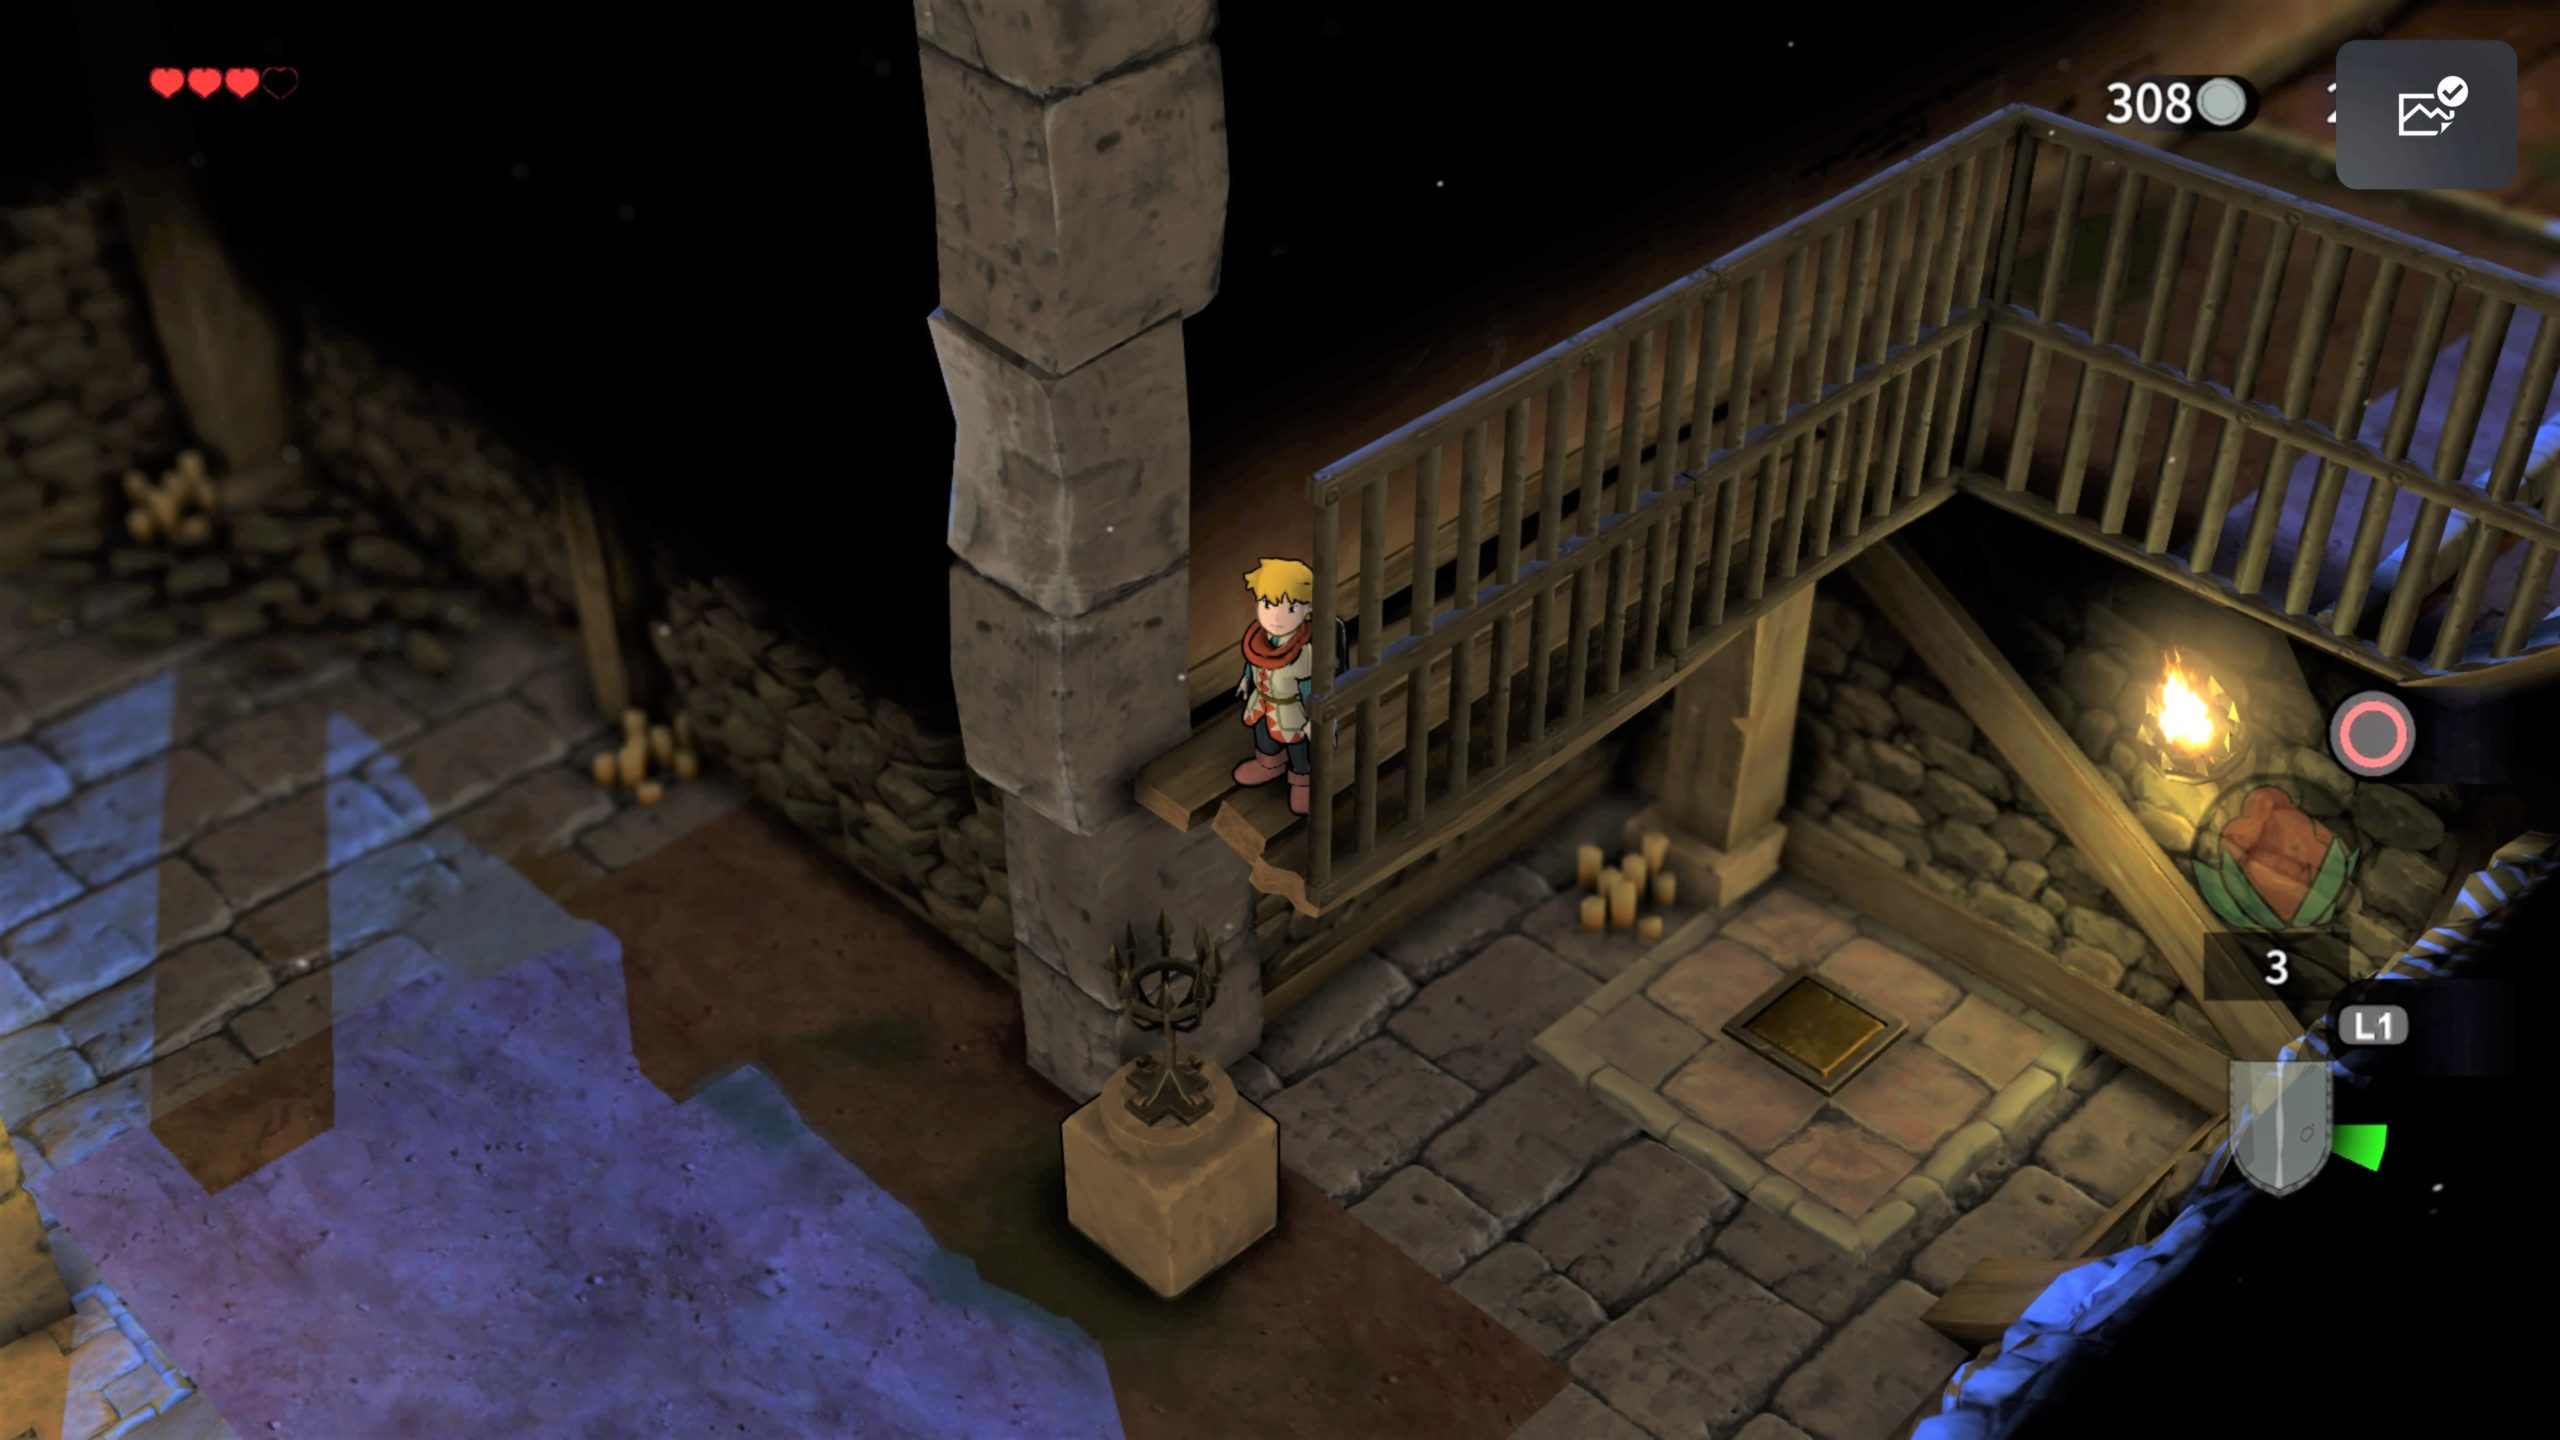
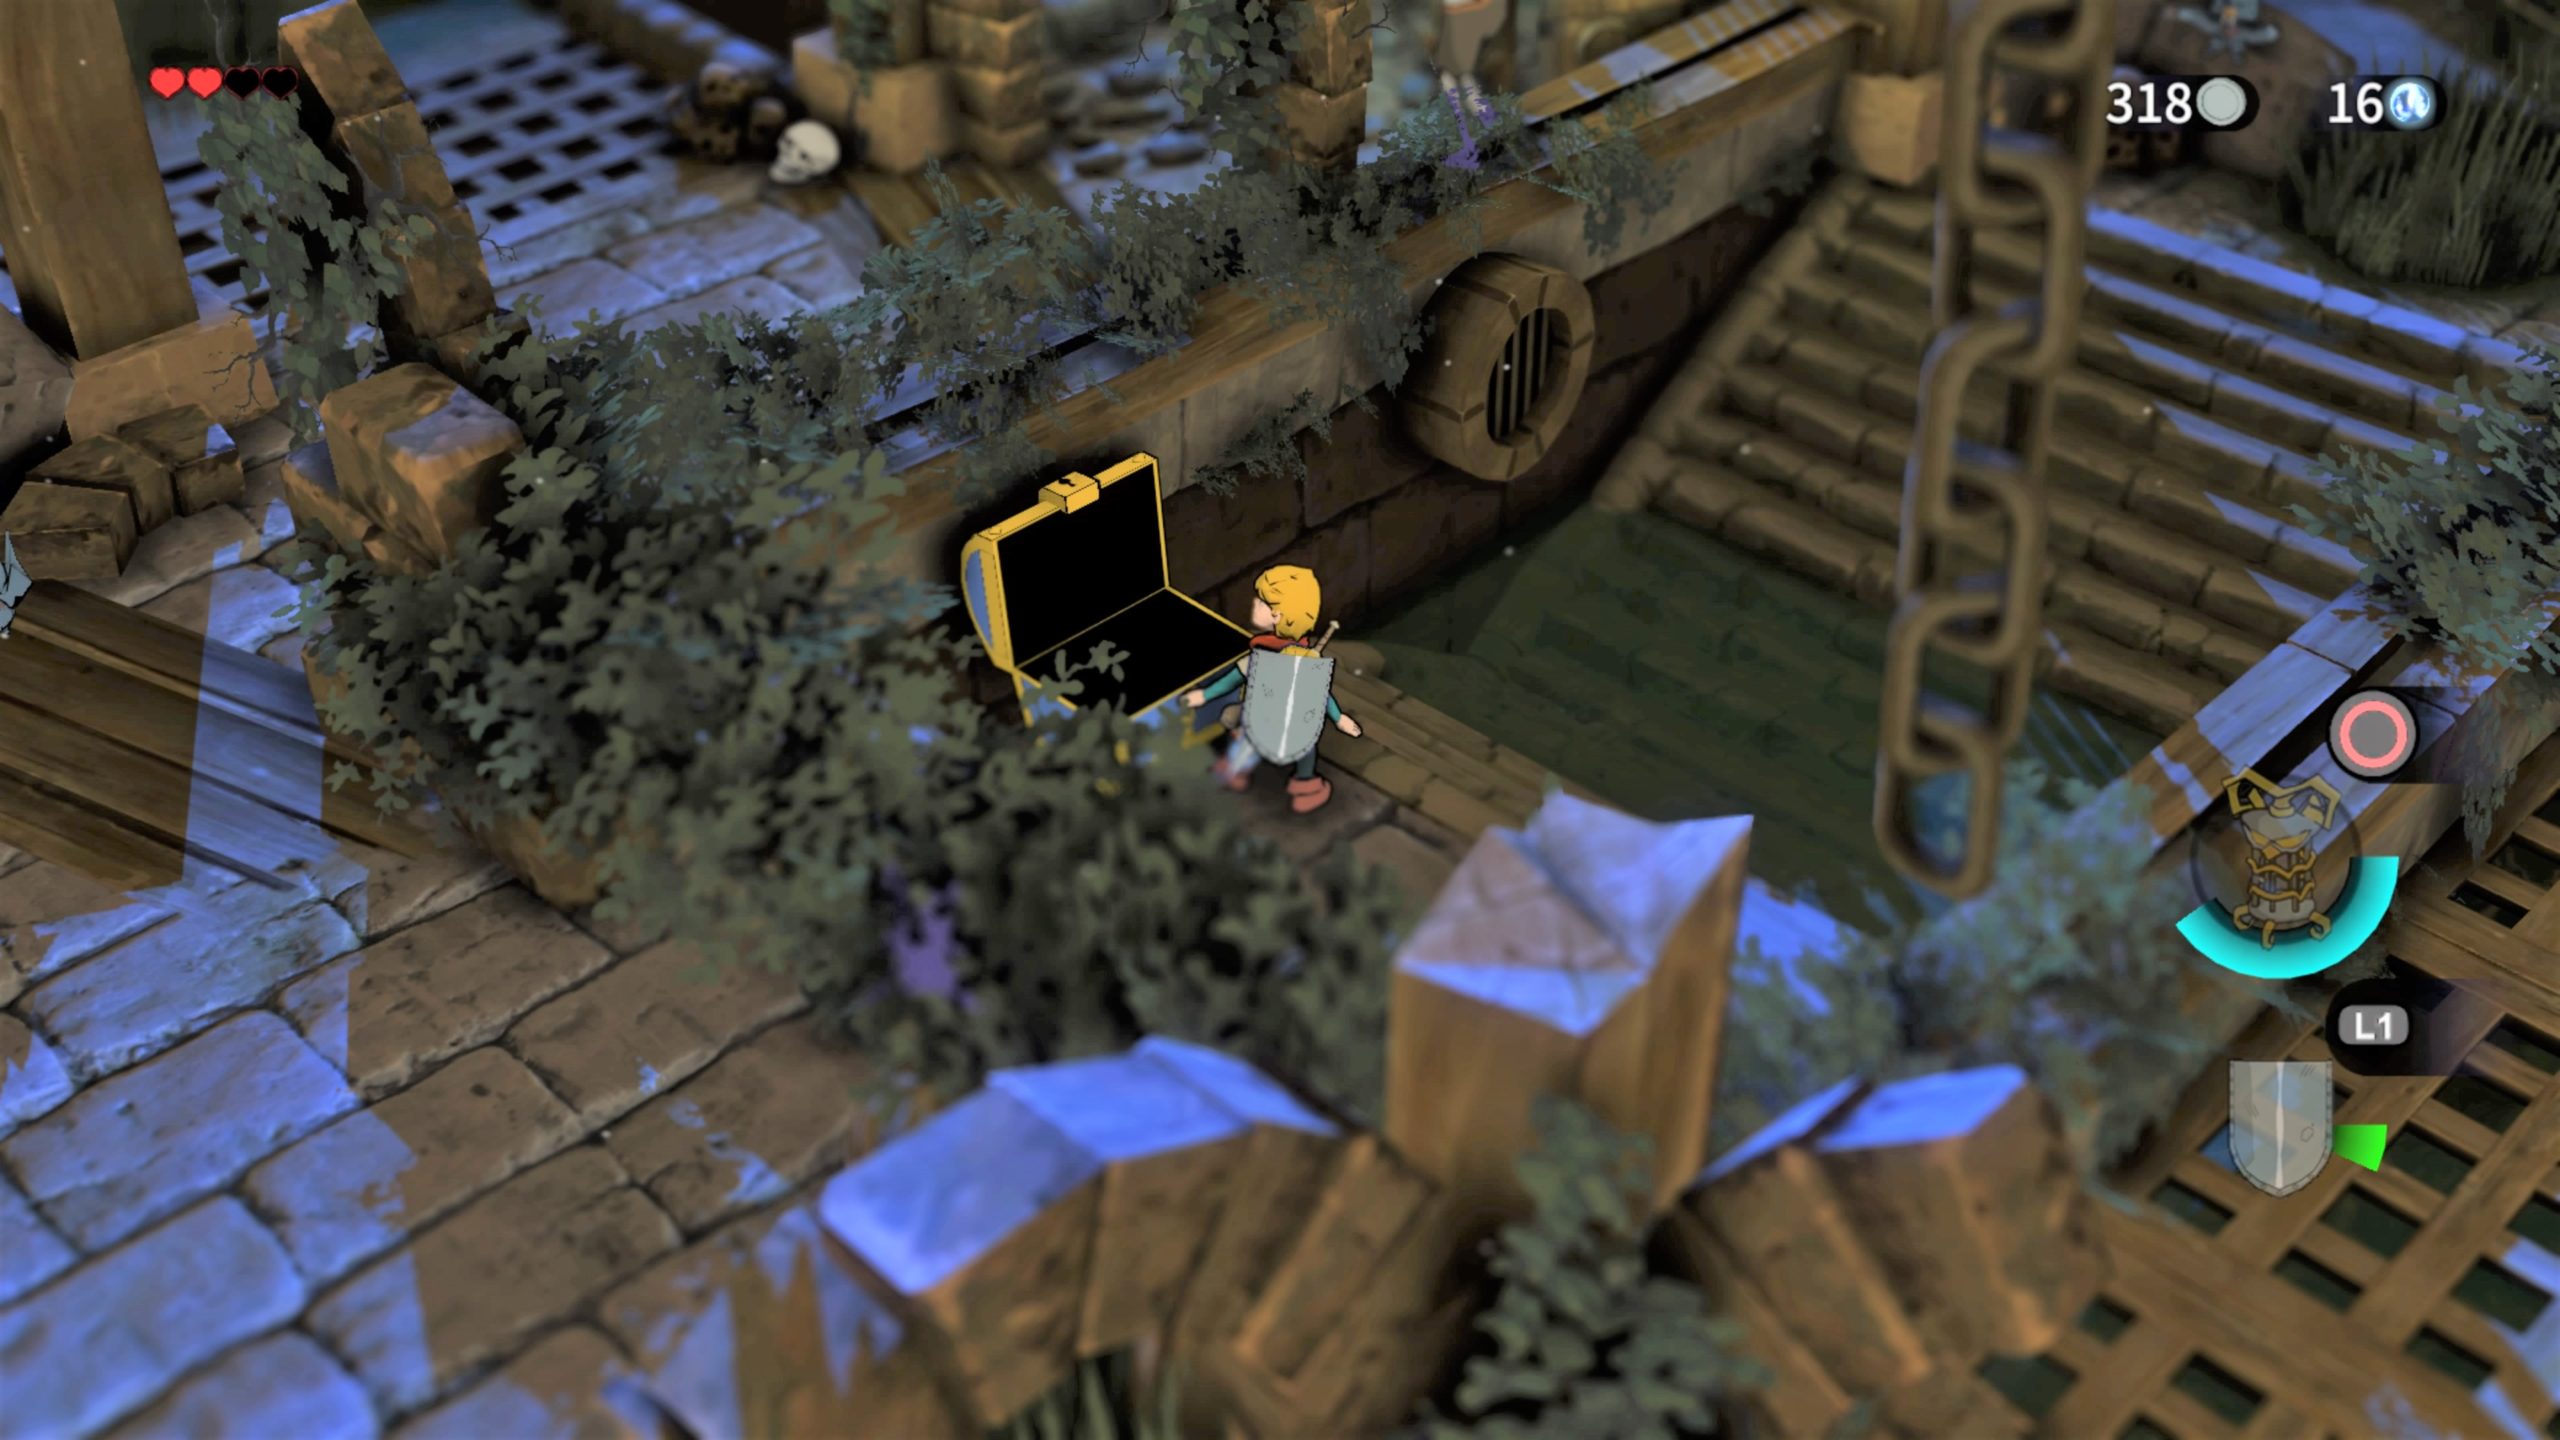
Head through the middle door (the one next to the set of stairs) and defeat the 2 spiders to receive a chest containing Turo Root. Exit this room then head through the door up the stairs on the left side. Avoid the hanging egg sack as it will kill you if you touch it and press forward. You’ll come to another egg sack that you’ll need to avoid as well. When the wooden path becomes solid ground, you’ll notice a door at the bottom of the screen. Go through it then down the stairs and continue forward, passing both hanging egg sacks. Make your way through the door on the bottom left. Go diagonally right to find a door just before an archway. Enter through it and defeat the 2 white creatures. When they get that aura around them, you must throw something at them to break it. Try to take on each separately instead of both at once. After you defeat them, a chest will drop down containing a Dungeon Key! Head through the next door in the top right part of the screen. Once inside, push the left block up and the right block to the right so you can continue down the path.
You’ll come to another 2 stones blocking the way. Push the one on the north side straight ahead then push the one on the east side to the east to pass through. In this next room there are 3 cages. You must open each cage, lure a hugger inside then shut the cage. Once each cage has a skeleton in it, a door will open. Head through it.
In this next room you must dodge 2 spinning spiked towers. The easiest way to do this is hug the left wall. In the grass along the left wall, you’ll find a lever. Hit it then head through the door on the left.

Once you head through this door, it will lock behind you. Unfortunately the only way to leave this room is to kill all the red spiders while dodging the hanging egg sacks. You must do this as quickly as possible since the red spiders just keep respawning. I found it was best to stand in the middle of the room to complete this task! Once all have been killed, a chest will drop containing 10 Dindi. Head through the door and defeat the 2 skeletons inside to cause a chest with 5 Dindi to appear. Return to the previous room and head through the open area to the southwest that was previously blocked by a gate.
Throw skulls at the 2 levers in the next room then push the blocks on the northwest side of the room out of the way for later. Grab 3 skulls and place them on the 2nd block in the water. Stand on the 2nd block and throw a skull at each lever to create a path leading to the left. Grab the third skull and bring it with you on the newly created path to the other side of the room.

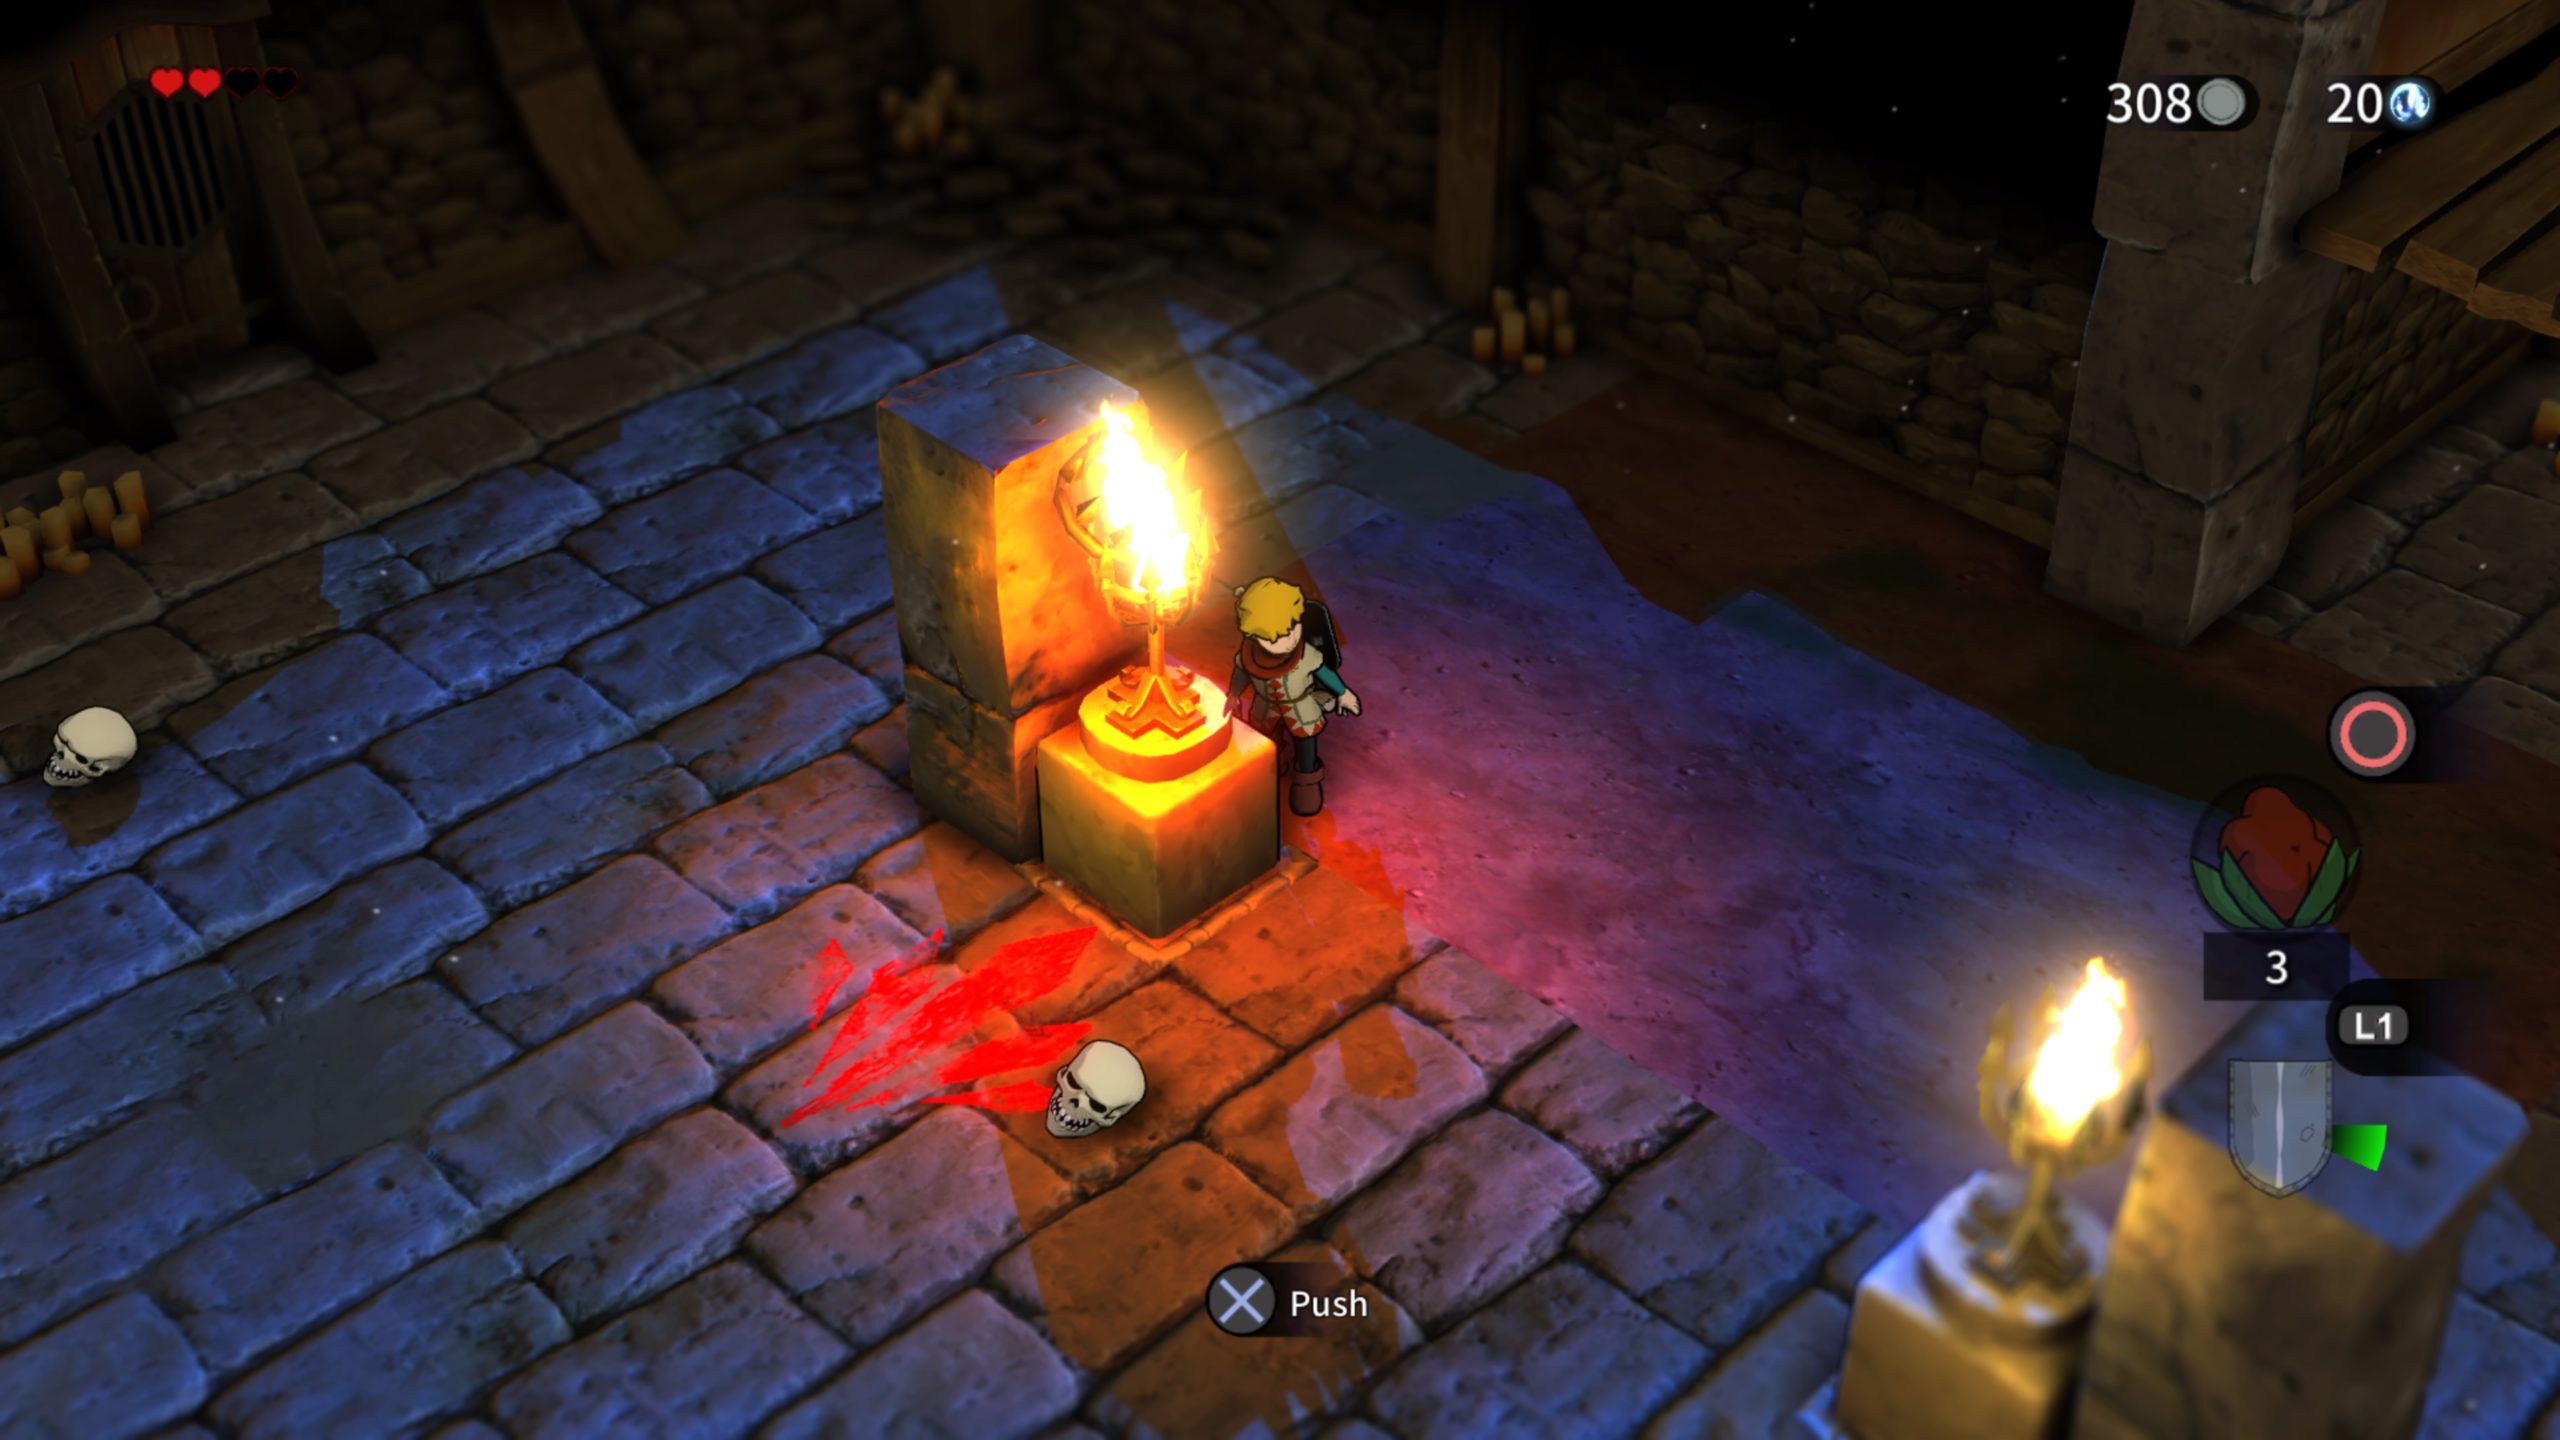
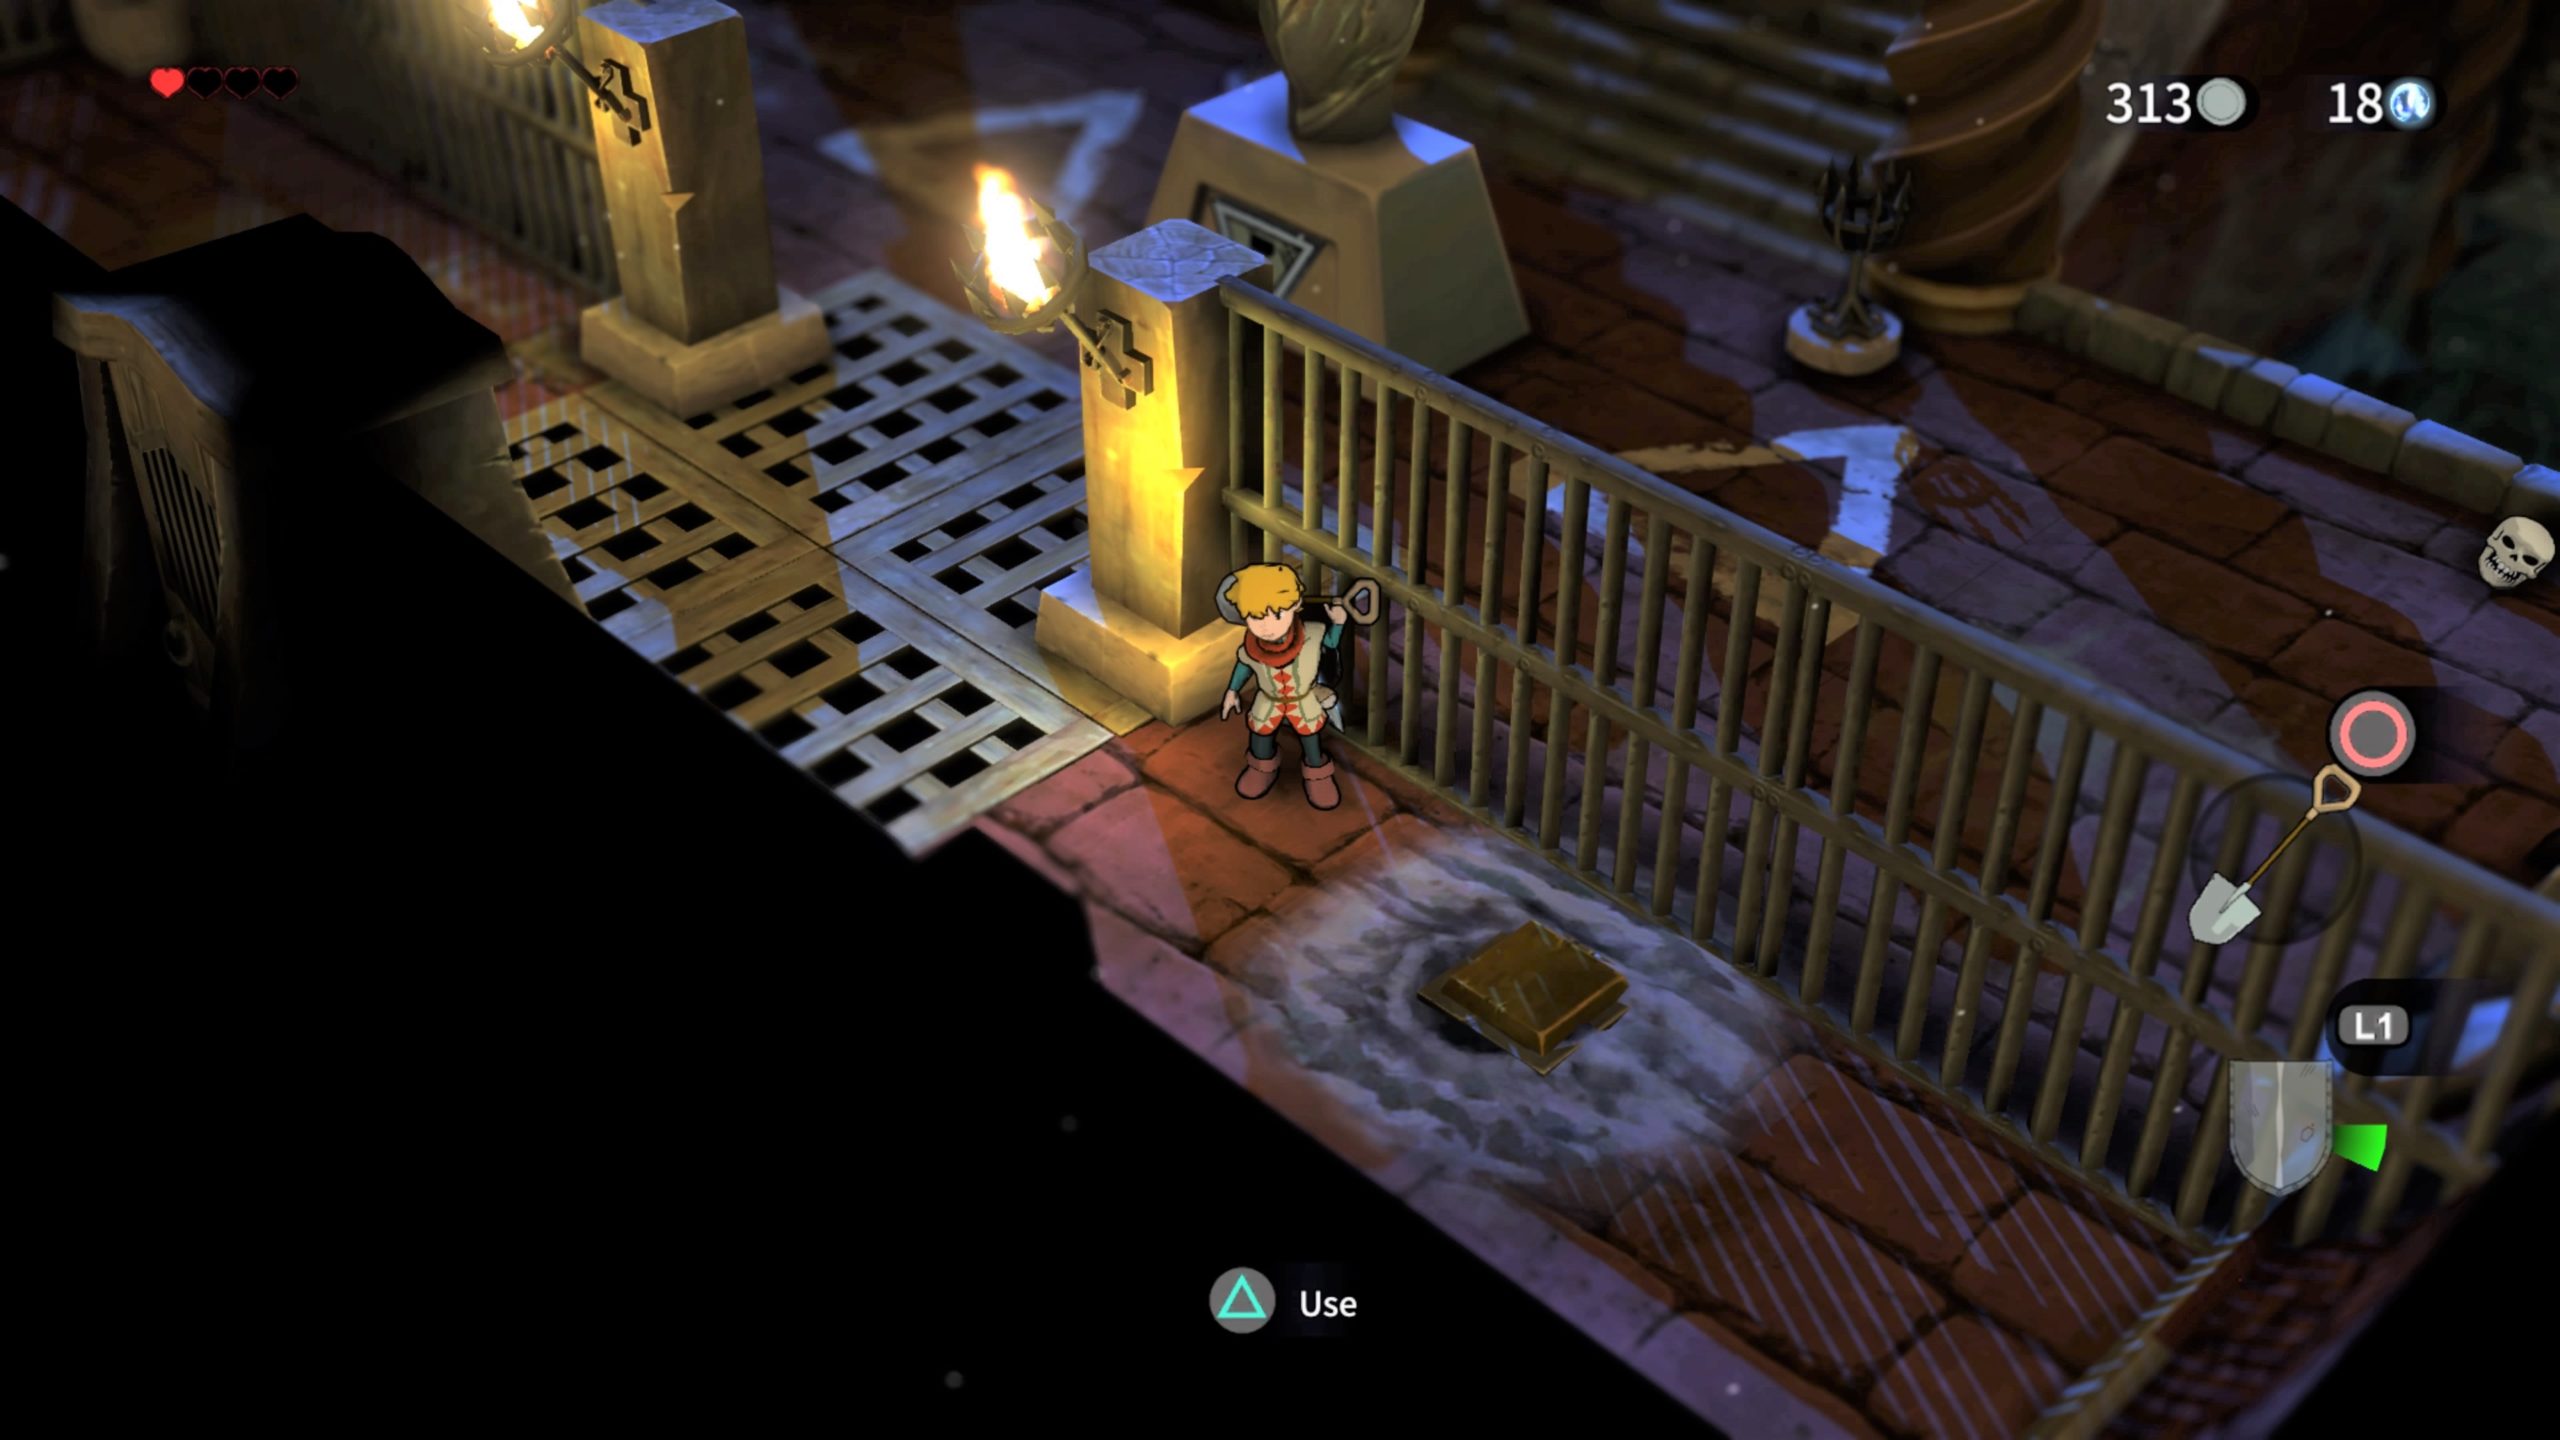
Throw it at the lever down there. This will drop the gates allowing you to access the chest containing a Dungeon Key! Next, head through the door on the far east side of the room. Head north and push the unlit brazier on the stone to the lit brazier by the door. Once it’s lit, head south and follow the path north at the T. Push this unlit brazier on a stone to the lit brazier by the door to light it.

When both are lit, a path will open. Head southeast and divert to the patch to the southwest. At the end of this short path, there will be a switch you need to stand on.

Backtrack back down the path, take a right and open the locked door. Once inside push the 2 owl statues onto the circles with a guardian symbol on each side of the water.
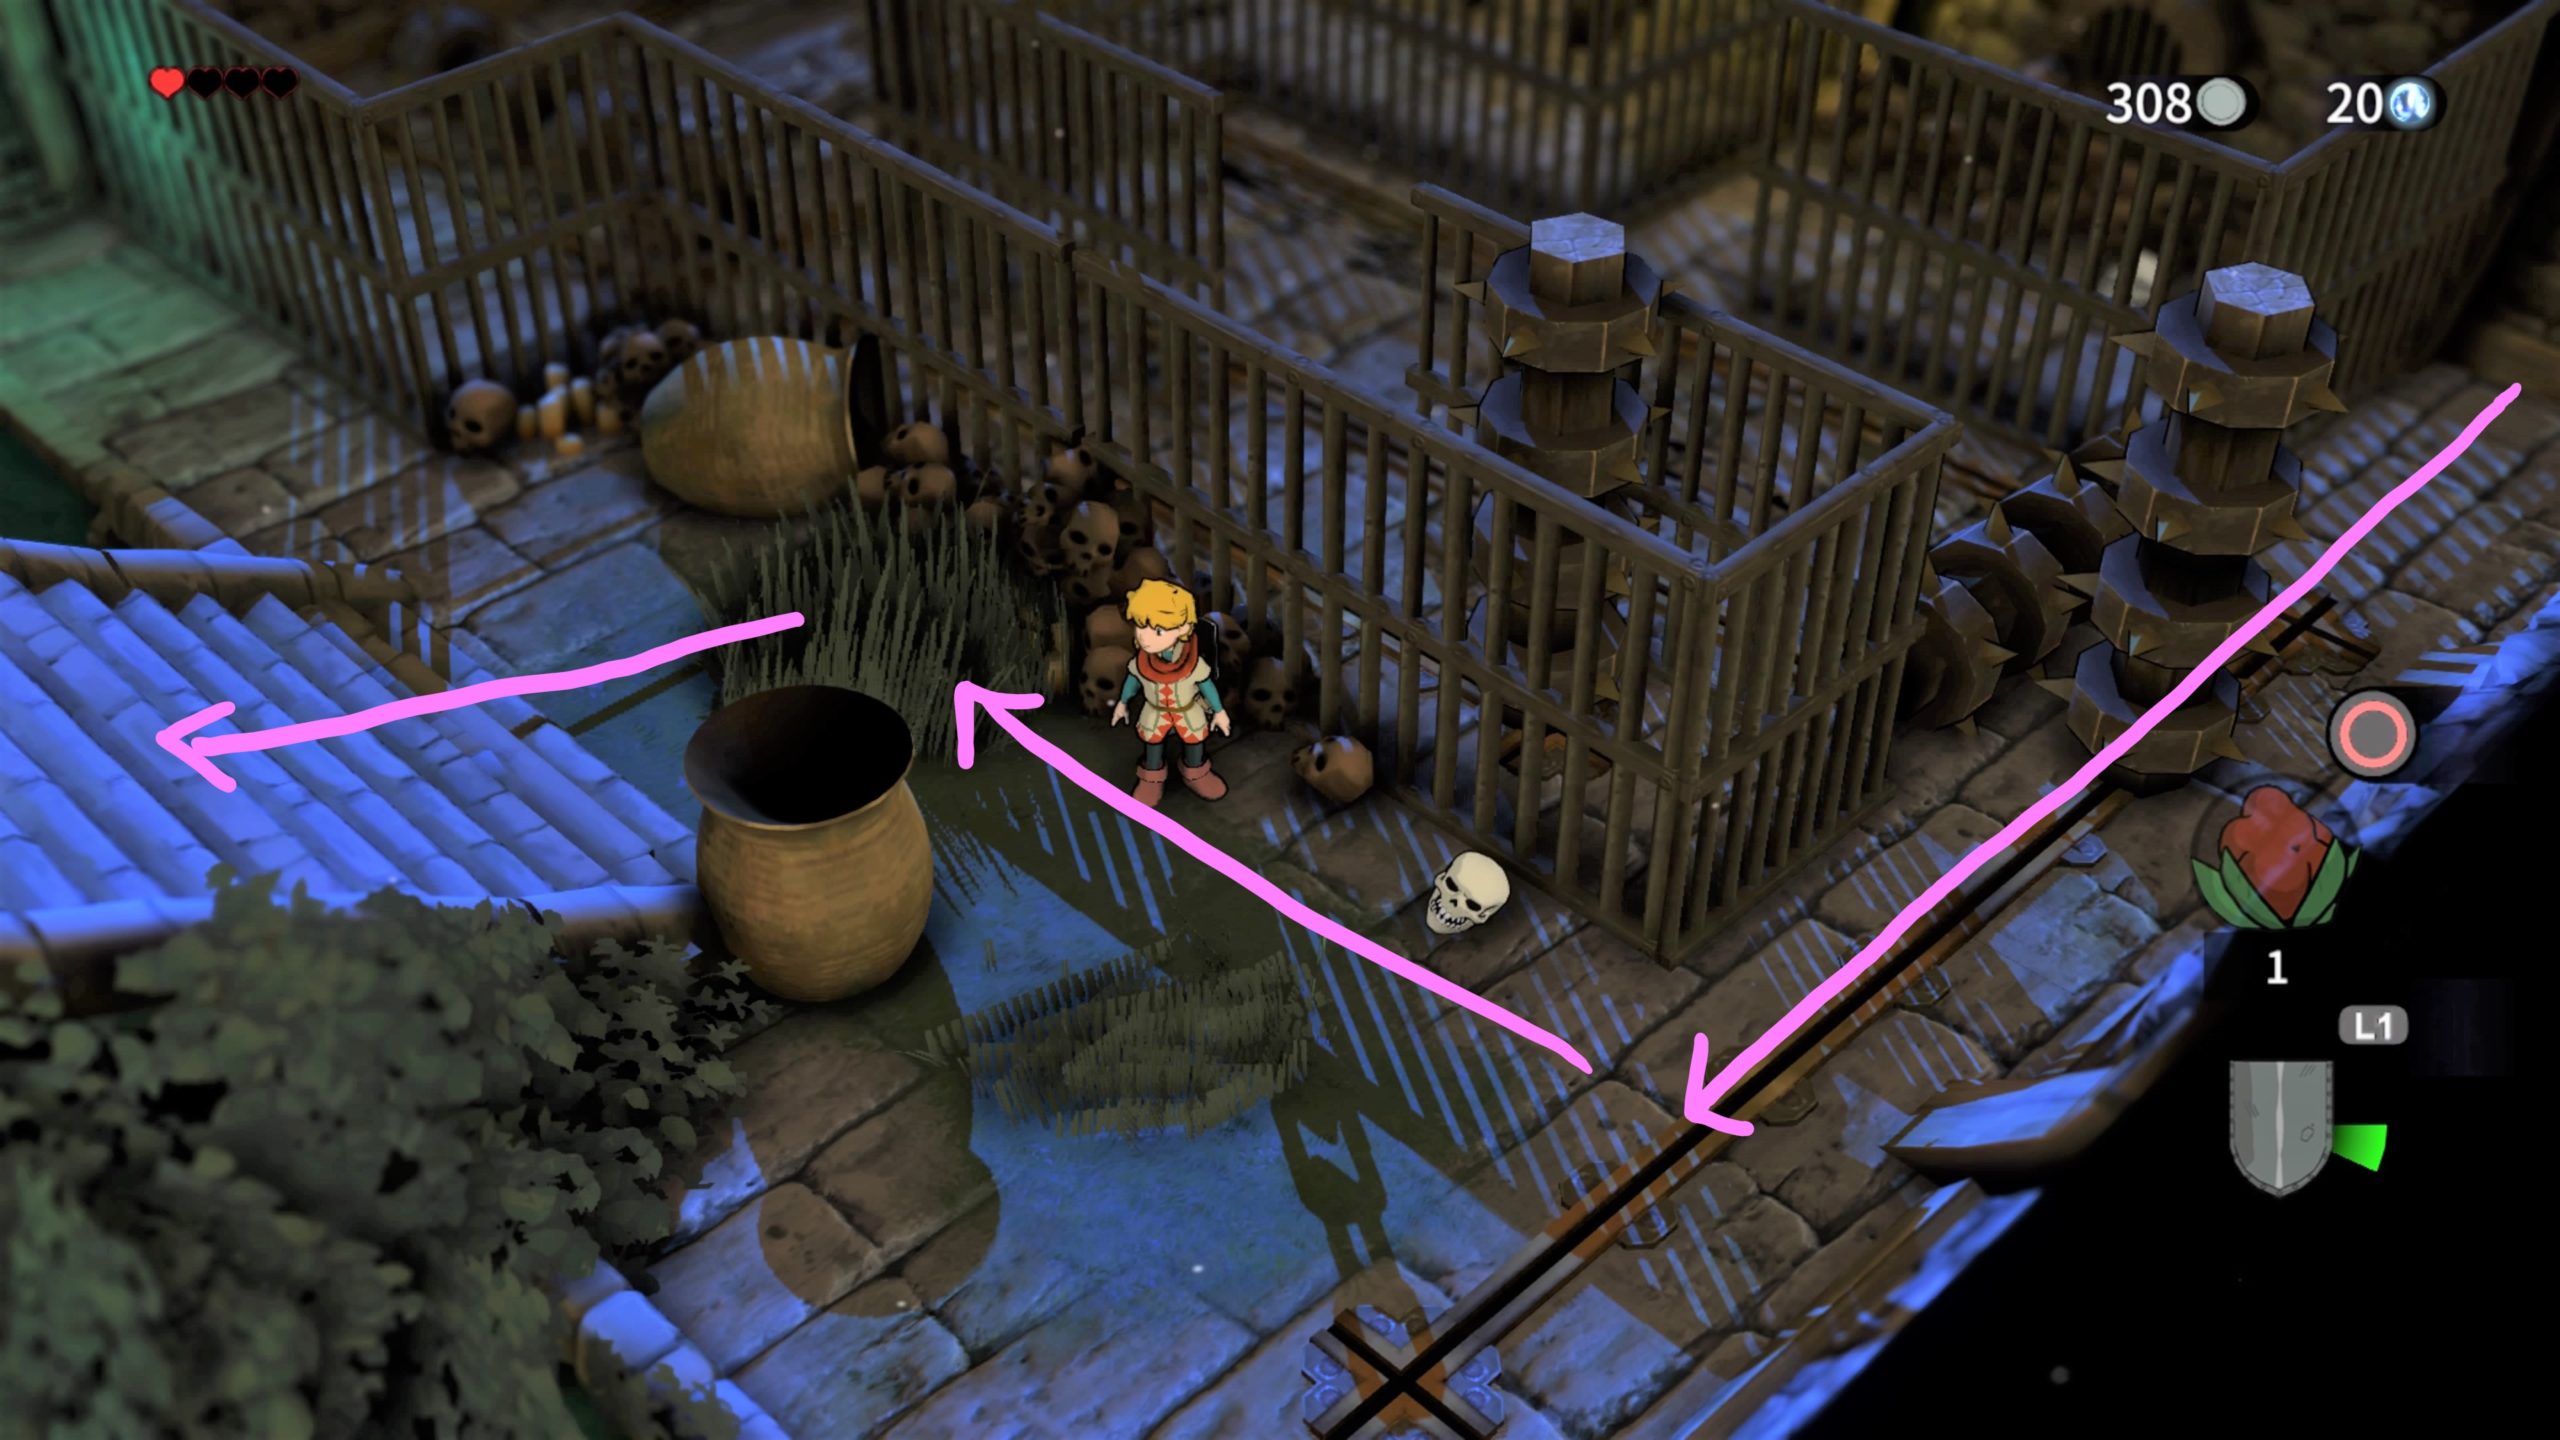
Exit the room and continue heading east. Squeeze through the narrow back and dodge the hanging egg sack. Loot the chest to receive a Turo Root. Return to the room where you had to cage the skeletons. They will of course be reset now so just ignore them and head to the top right corner of the room. Head north, passing the spiders and hanging sacks, and go through the locked door at the end of the hall.

In this room there will be a bunch of spinning towers. Stand on the pressure point on the right then run through all the towers to reach the other side before time runs out. Once past the spinning towers, head through the door on the right and stand on the pressure point in the northeast corner. Return to the spinning tower room and head through the door up the stairs.

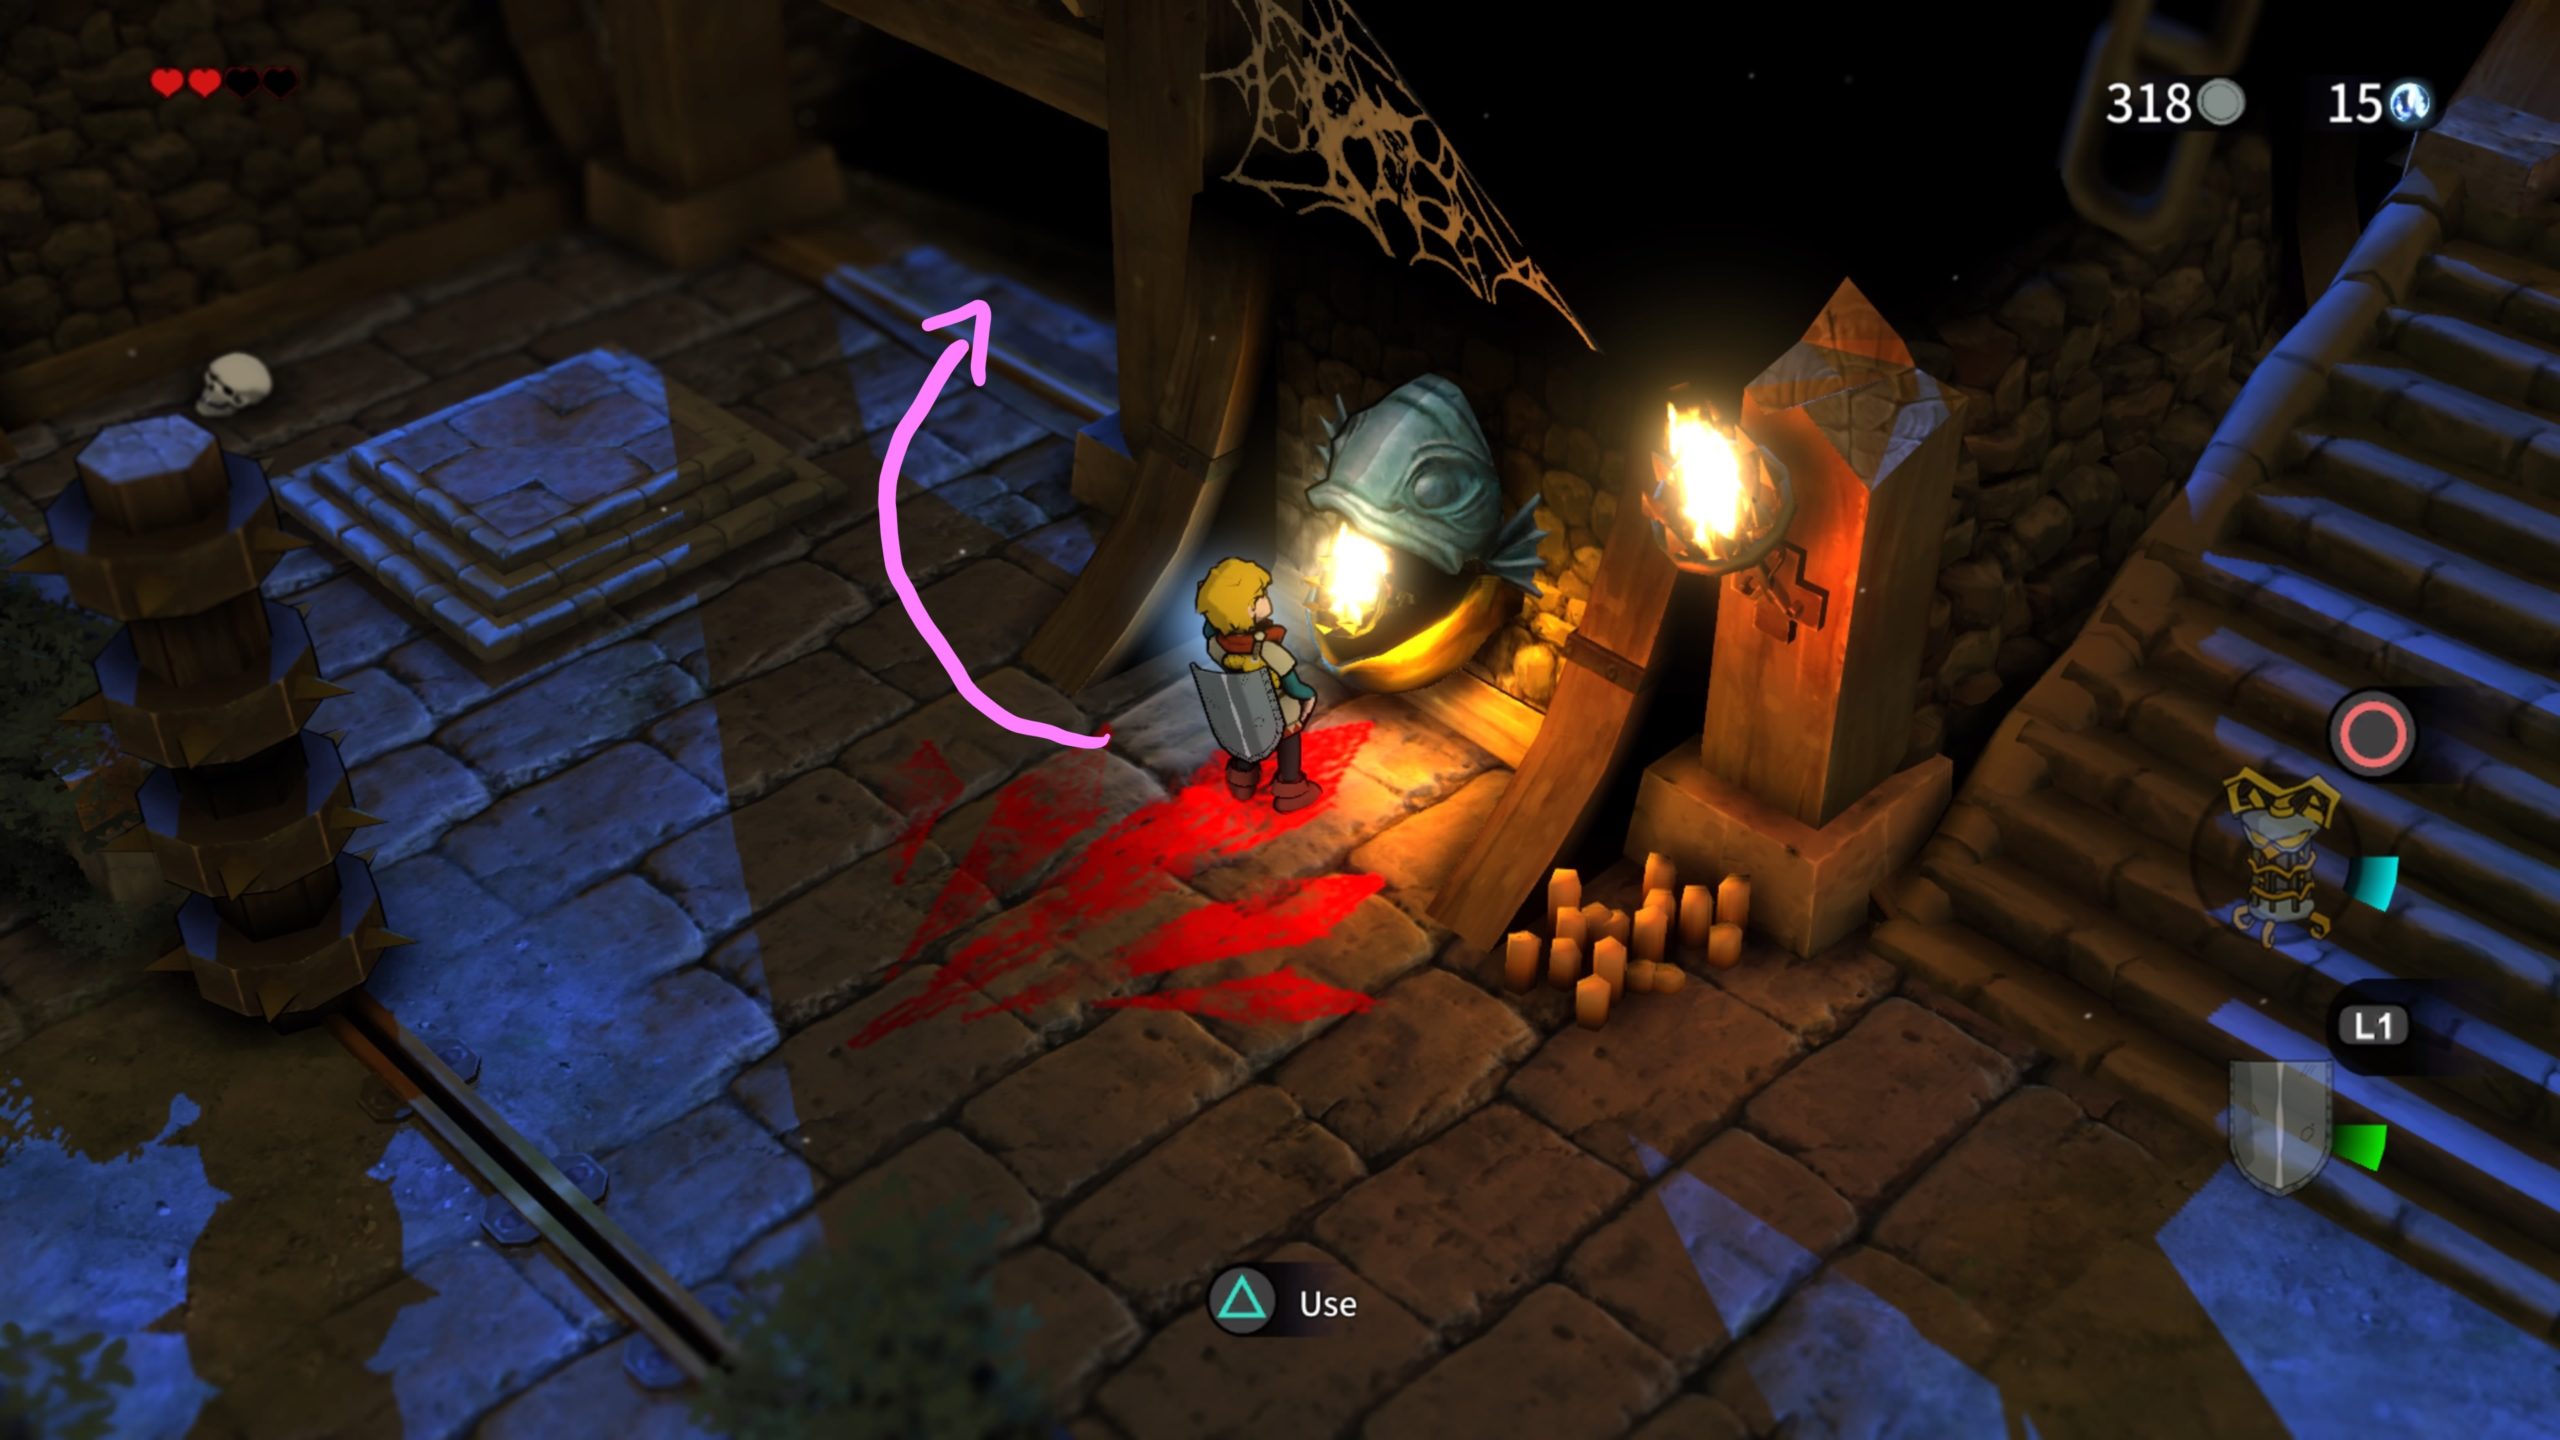
Follow the path, passing through all the spinning towers, in this dark hallway and enter through the door at the end. Defeat the skeletons in this room for a chest containing 5 Dindi to spawn. Exit the room and pick up the flaming pot. Use it to light the braziers along the walls in the hallway. Once all braziers are lit, a gate will fall. Use the pot to burn the cobwebs in front of the newly opened path.
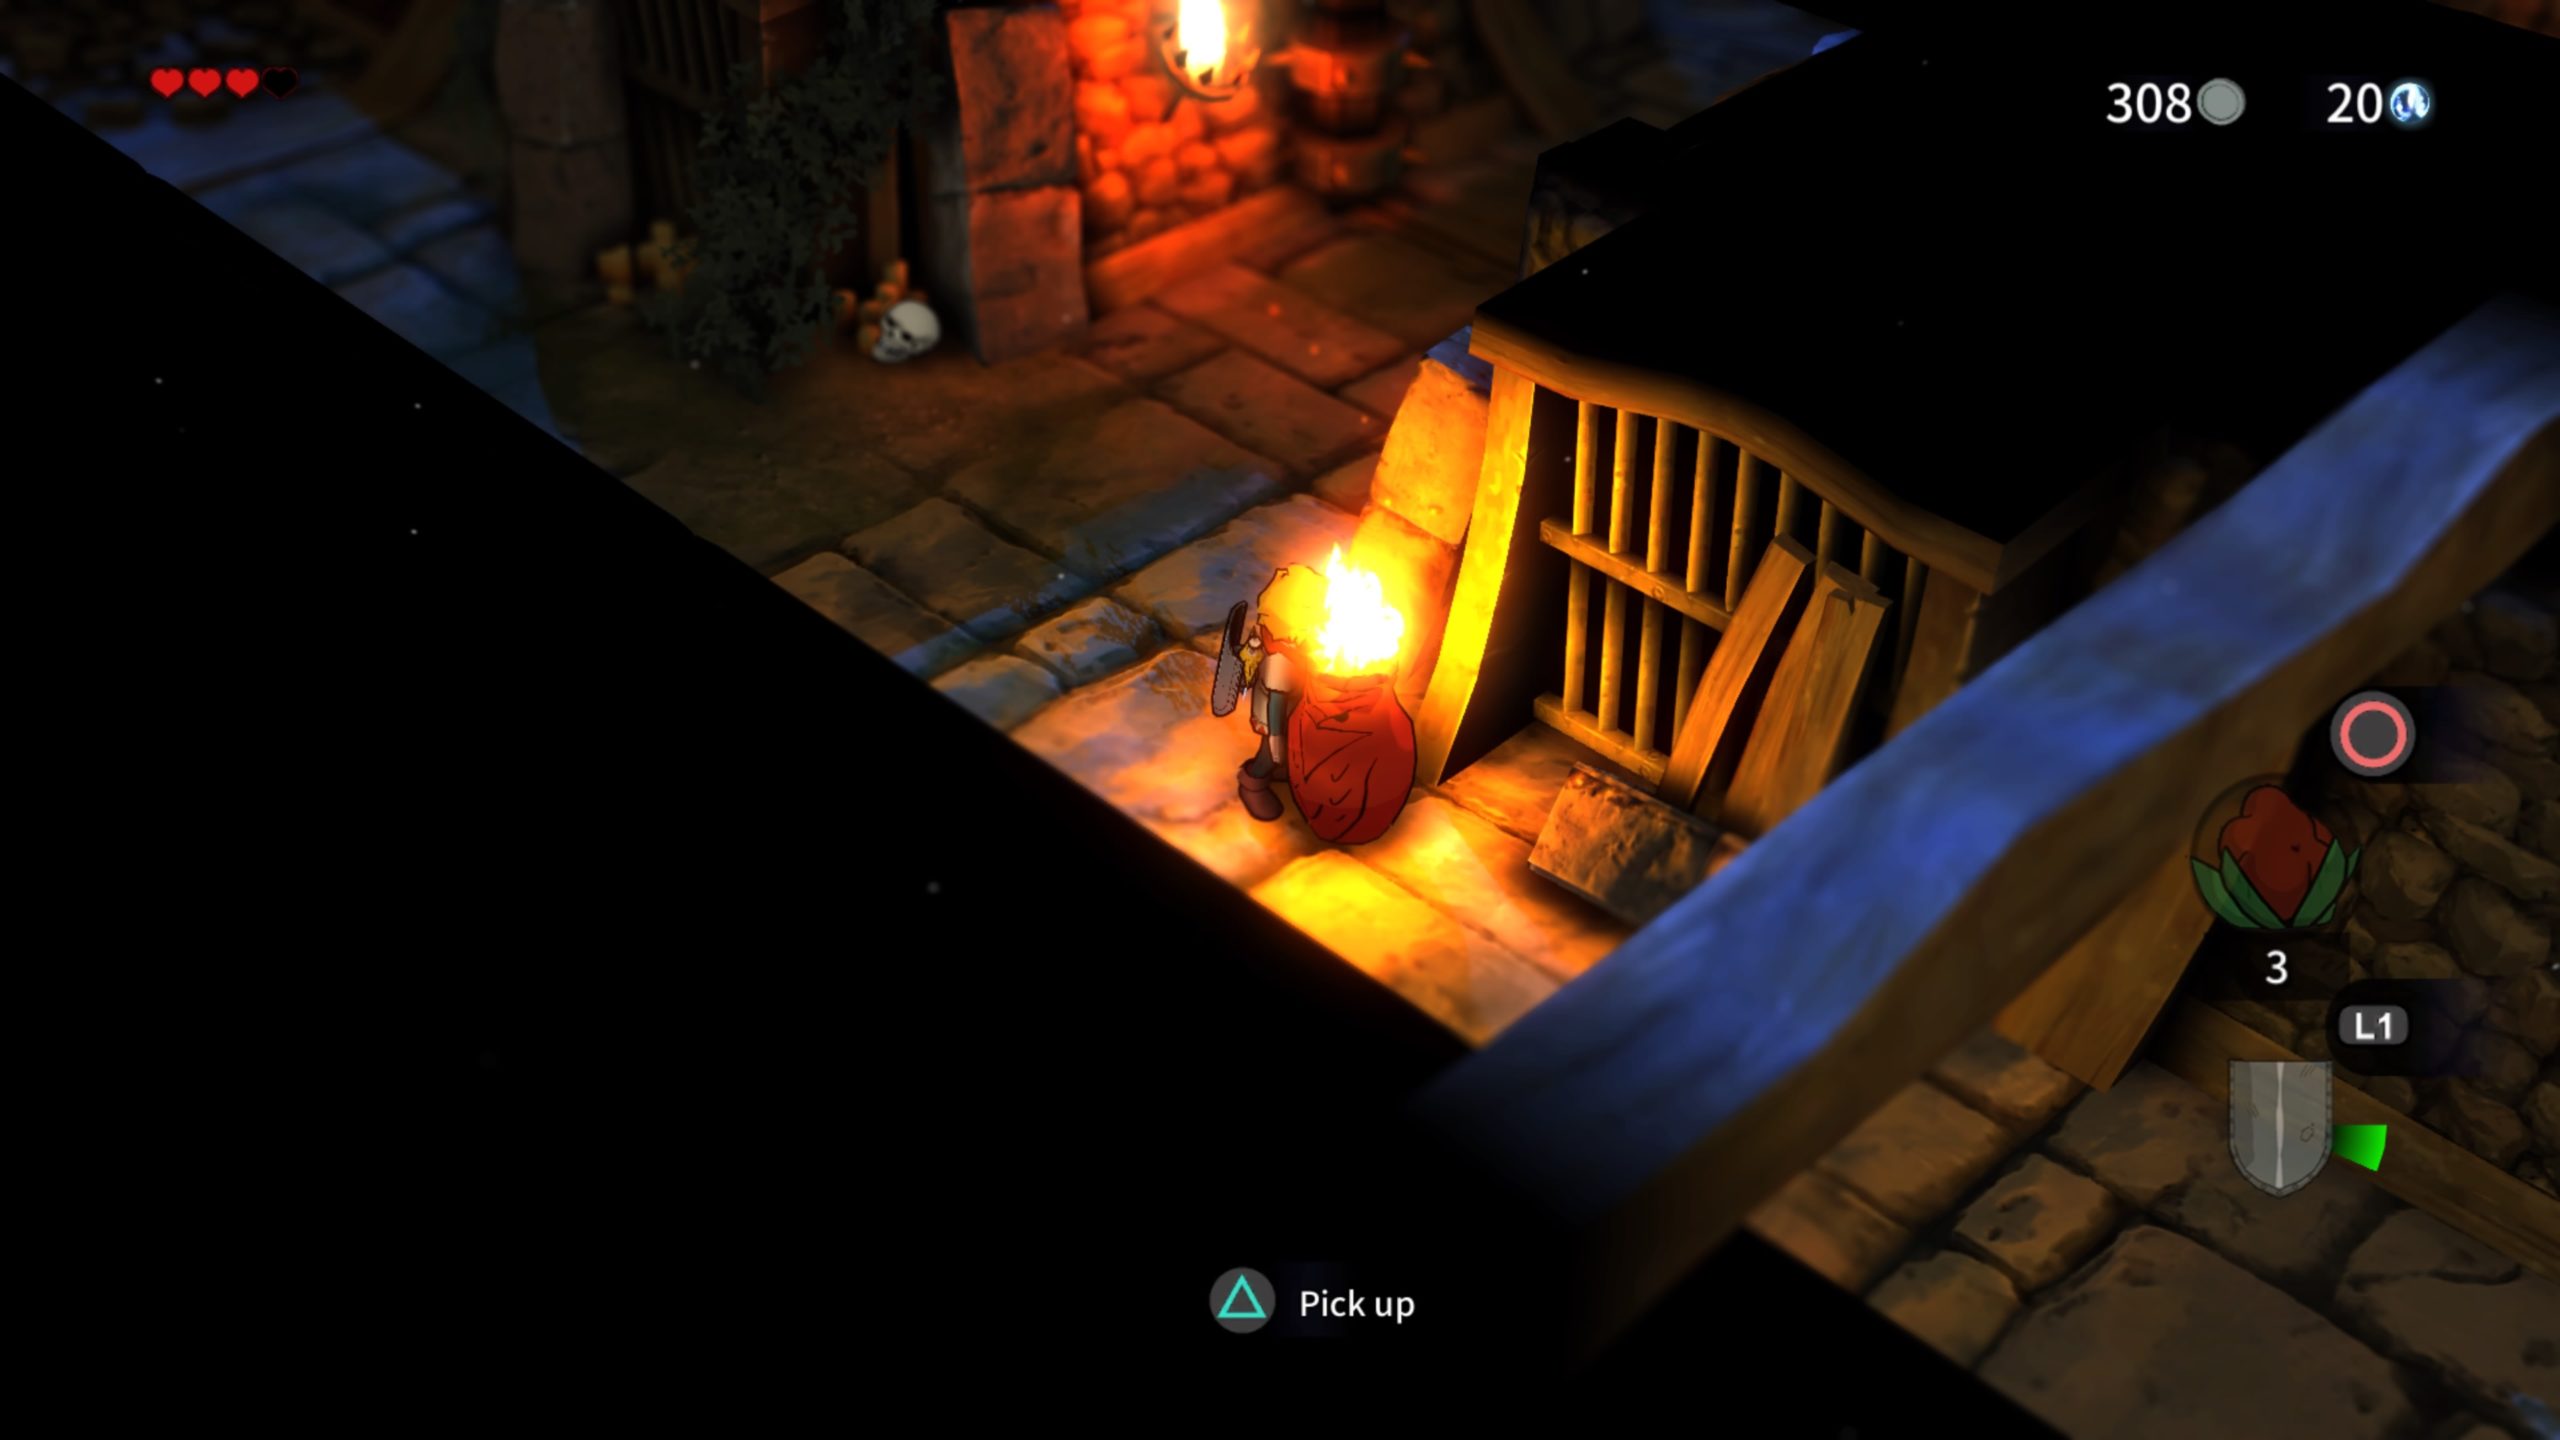
Open the door then push the unlit brazier to the far left. It will drop down to the room before and you can follow in pursuit.
Defeat the 3 skeletons in here then push the brazier to the left side underneath a lit brazier.
Afterwards, head through the newly opened path and enter the door. When you run across the bridge, you’ll need to be fast and run right down the middle to prevent falling. Make your way through the spinning towers of death.

Push the lever at the end to drain the water. Head down the stairs and step on the pressure point to open the door. Now that the water has rescinded, it’s time to do some backtracking all the way to the room where you had to push the 2 owl statues! The water will now be cleared away so you can proceed down the stairs in that room.

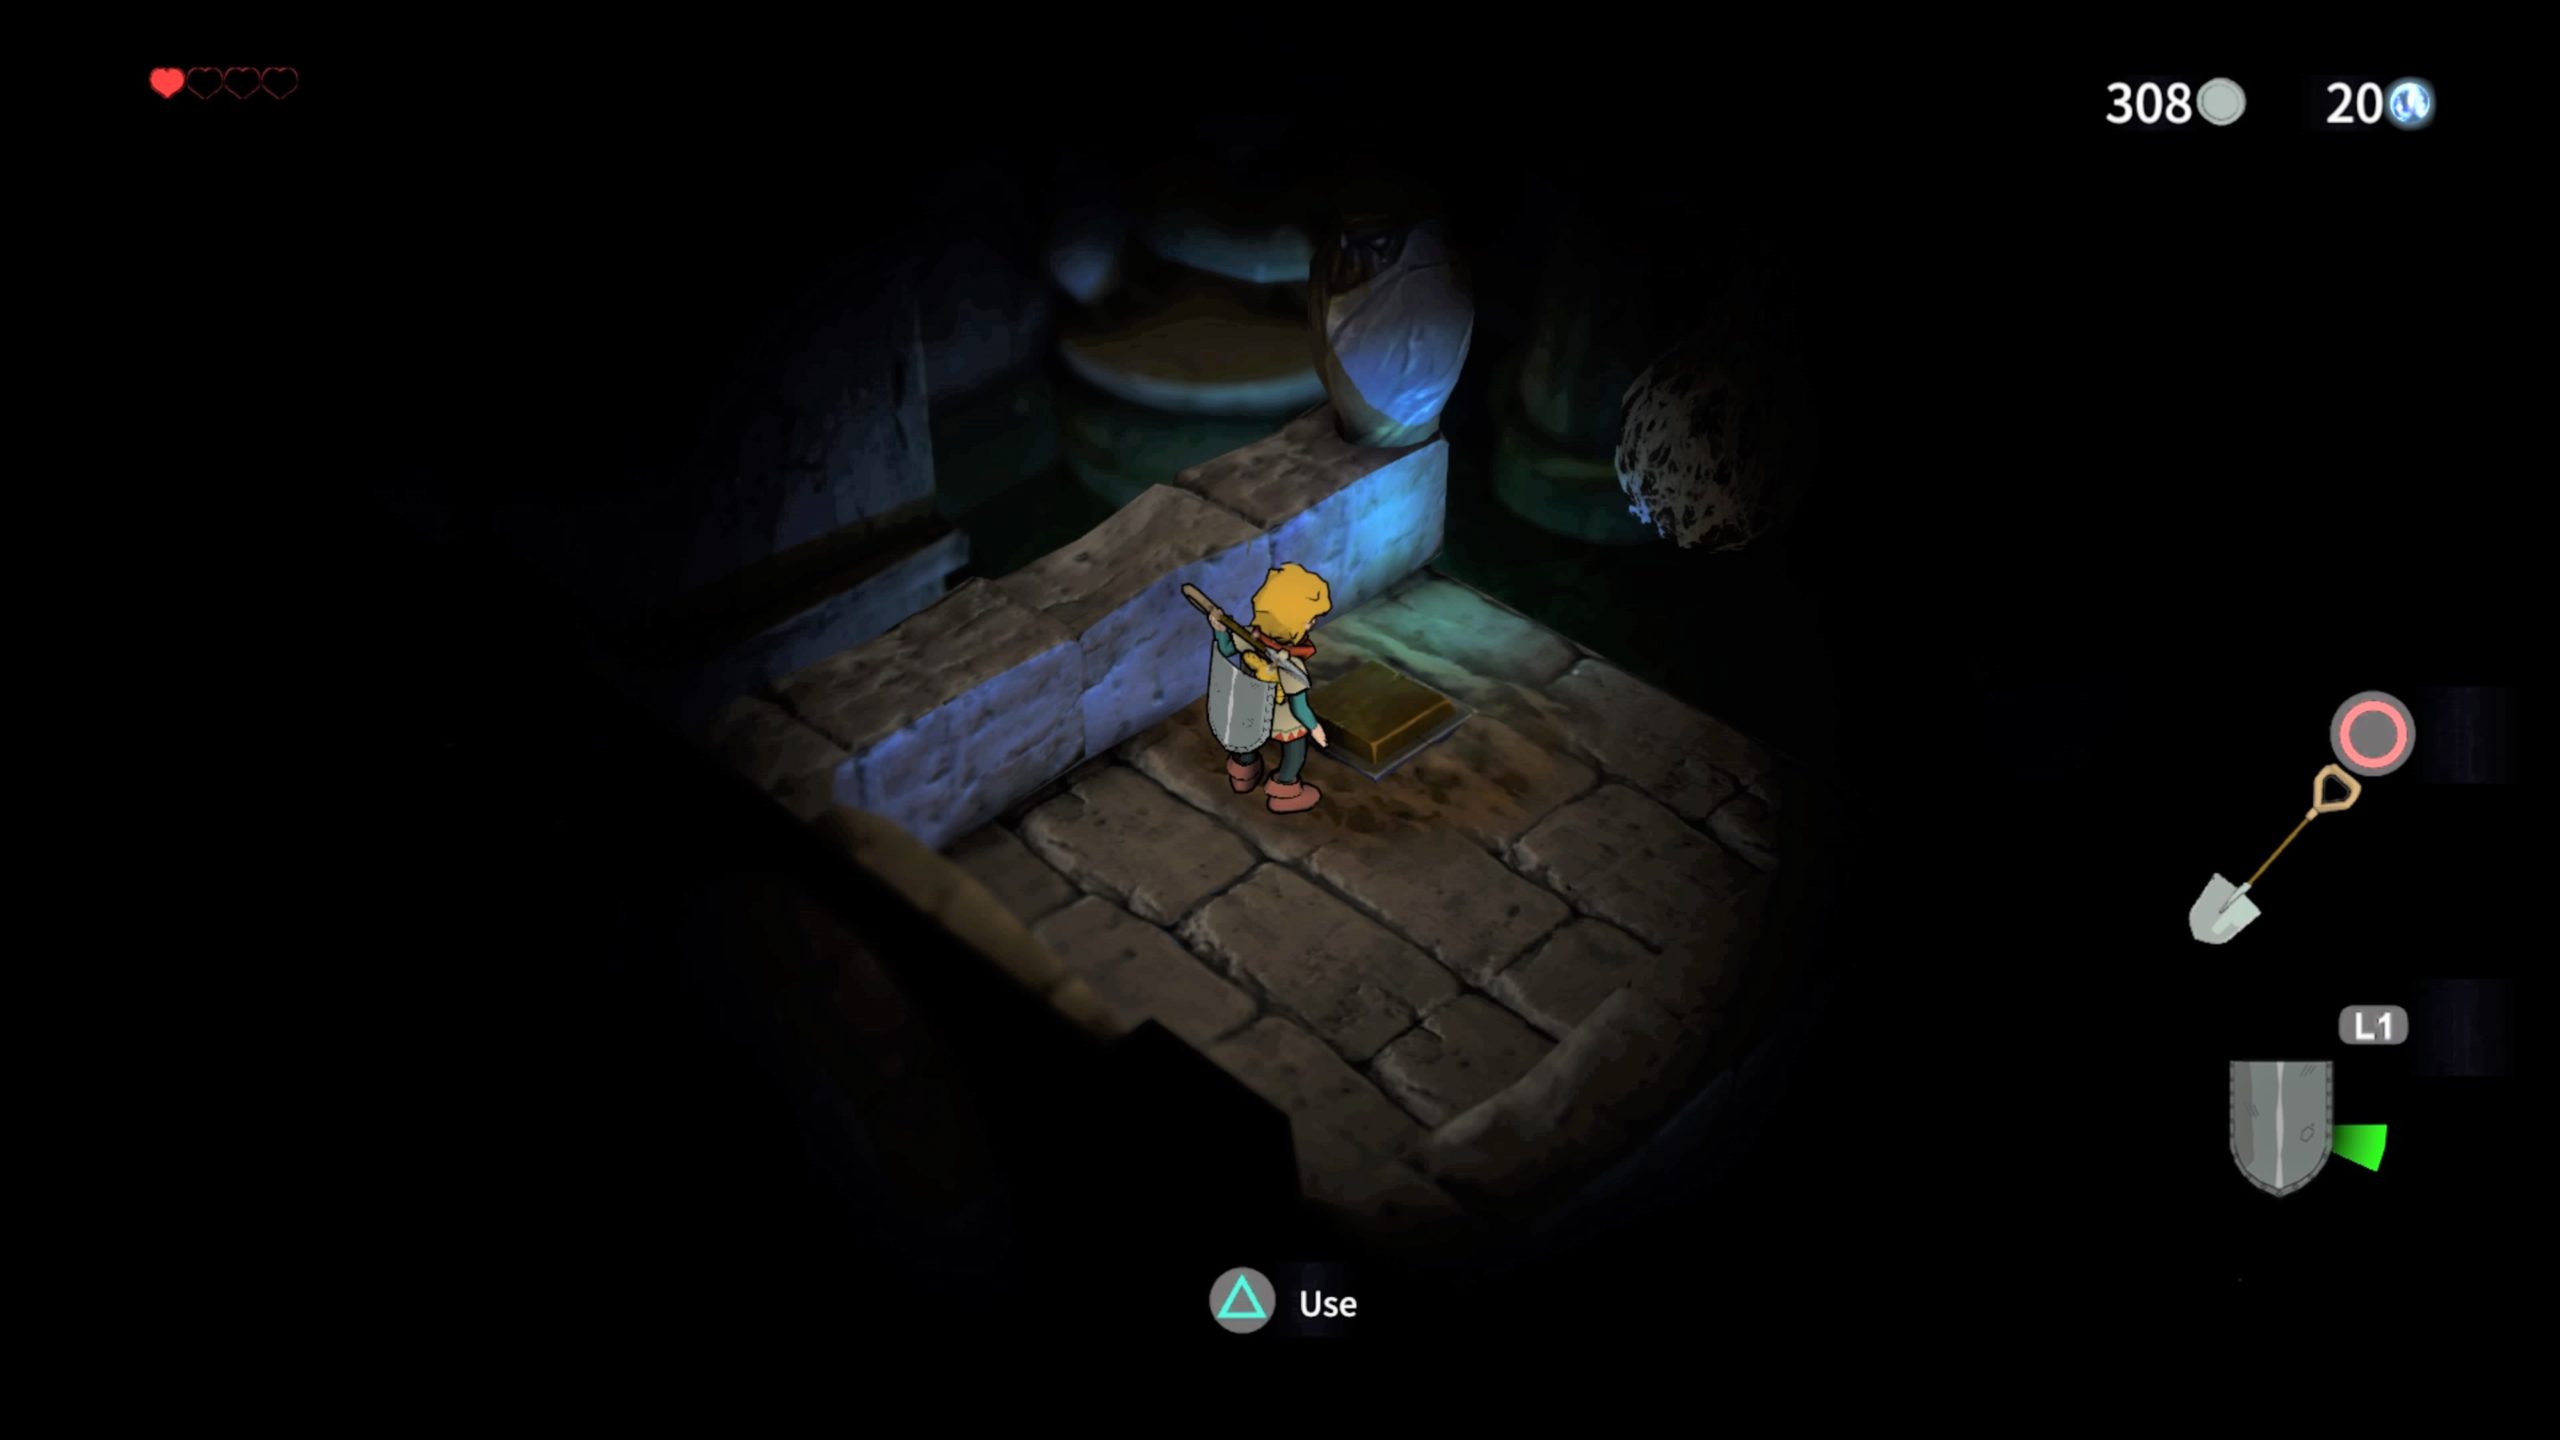
Dig up the pressure point on the left side just before the gap and step on it to reveal a bridge.
As it goes with essentially every part of this dungeon, it’s going to be tricky and extremely frustrating to cross! Before the time runs out, you’ll need to cross the bridge while dodging the sacks of doom. In the next room, kill the spiders first. Step on the first switch (one closest to the lever) on the left side then hit the lever. Next, stand on the first switch on the right. Afterwards, stand on the second switch on the left. Lastly, stand on the second switch on the right. Run all the way to the back far left and roll onto the moving platform to reach the guardian symbol on the ground. Use your horn to spawn a chest containing a Sacred Fire. Use the fire to burn the webs on the left to continue. Exit this room and use the fire to light both braziers to bring up the bridge. Cross back over and exit the owl statue room. When you reach the hallway, follow the path west to reach a burnable spider web. Continue following the path to find a chest with 5 Dindi.
In the room where you caged the skeletons, head through the door on the bottom right side. To unlock the chest in this room, dig up a pressure point across from the chest and place a skull on it.
Loot the chest to receive a Pira Pear. Next, light the 2 braziers. Head through the doorway in the gated area with the chest to reach a hallway. Head northwest, avoiding the sack, and use the fire to burn the cobwebs. Open the chest to obtain a Pira Pear. Continue heading west and go through the door to arrive in the hanging sack room. The chest in this room contains a Turo Root. Good thing to note here is that the fire also burns the sacks!!! Exit through the western door and go through the small room to reach the room with the ladder leading up. The chest in here contains a Pira Pear.
Return to the room that had the lever where you changed the water level and revert it back. Next, return to the starting area where the above chest was located. Head through the door to the north of this chest and keep pressing north until you reach an area with wooden platforms over the water. Head to the right to locate a chest containing 10 Dindi. Stand on the pressure point across from the chest to lower the gate.
In the room where you caged the skeletons, head through the door on the top right side. Unlock the chest to receive a Turo Root. Continue down the hall and go through the door to arrive in the room with the spinning spiked towers. Stand on the platform to the right first then the left. It will show you the back left platform in a brief scene. Quickly run to it to reveal an unlit brazier in the mouth of the fish. Light it then go through the newly opened path.
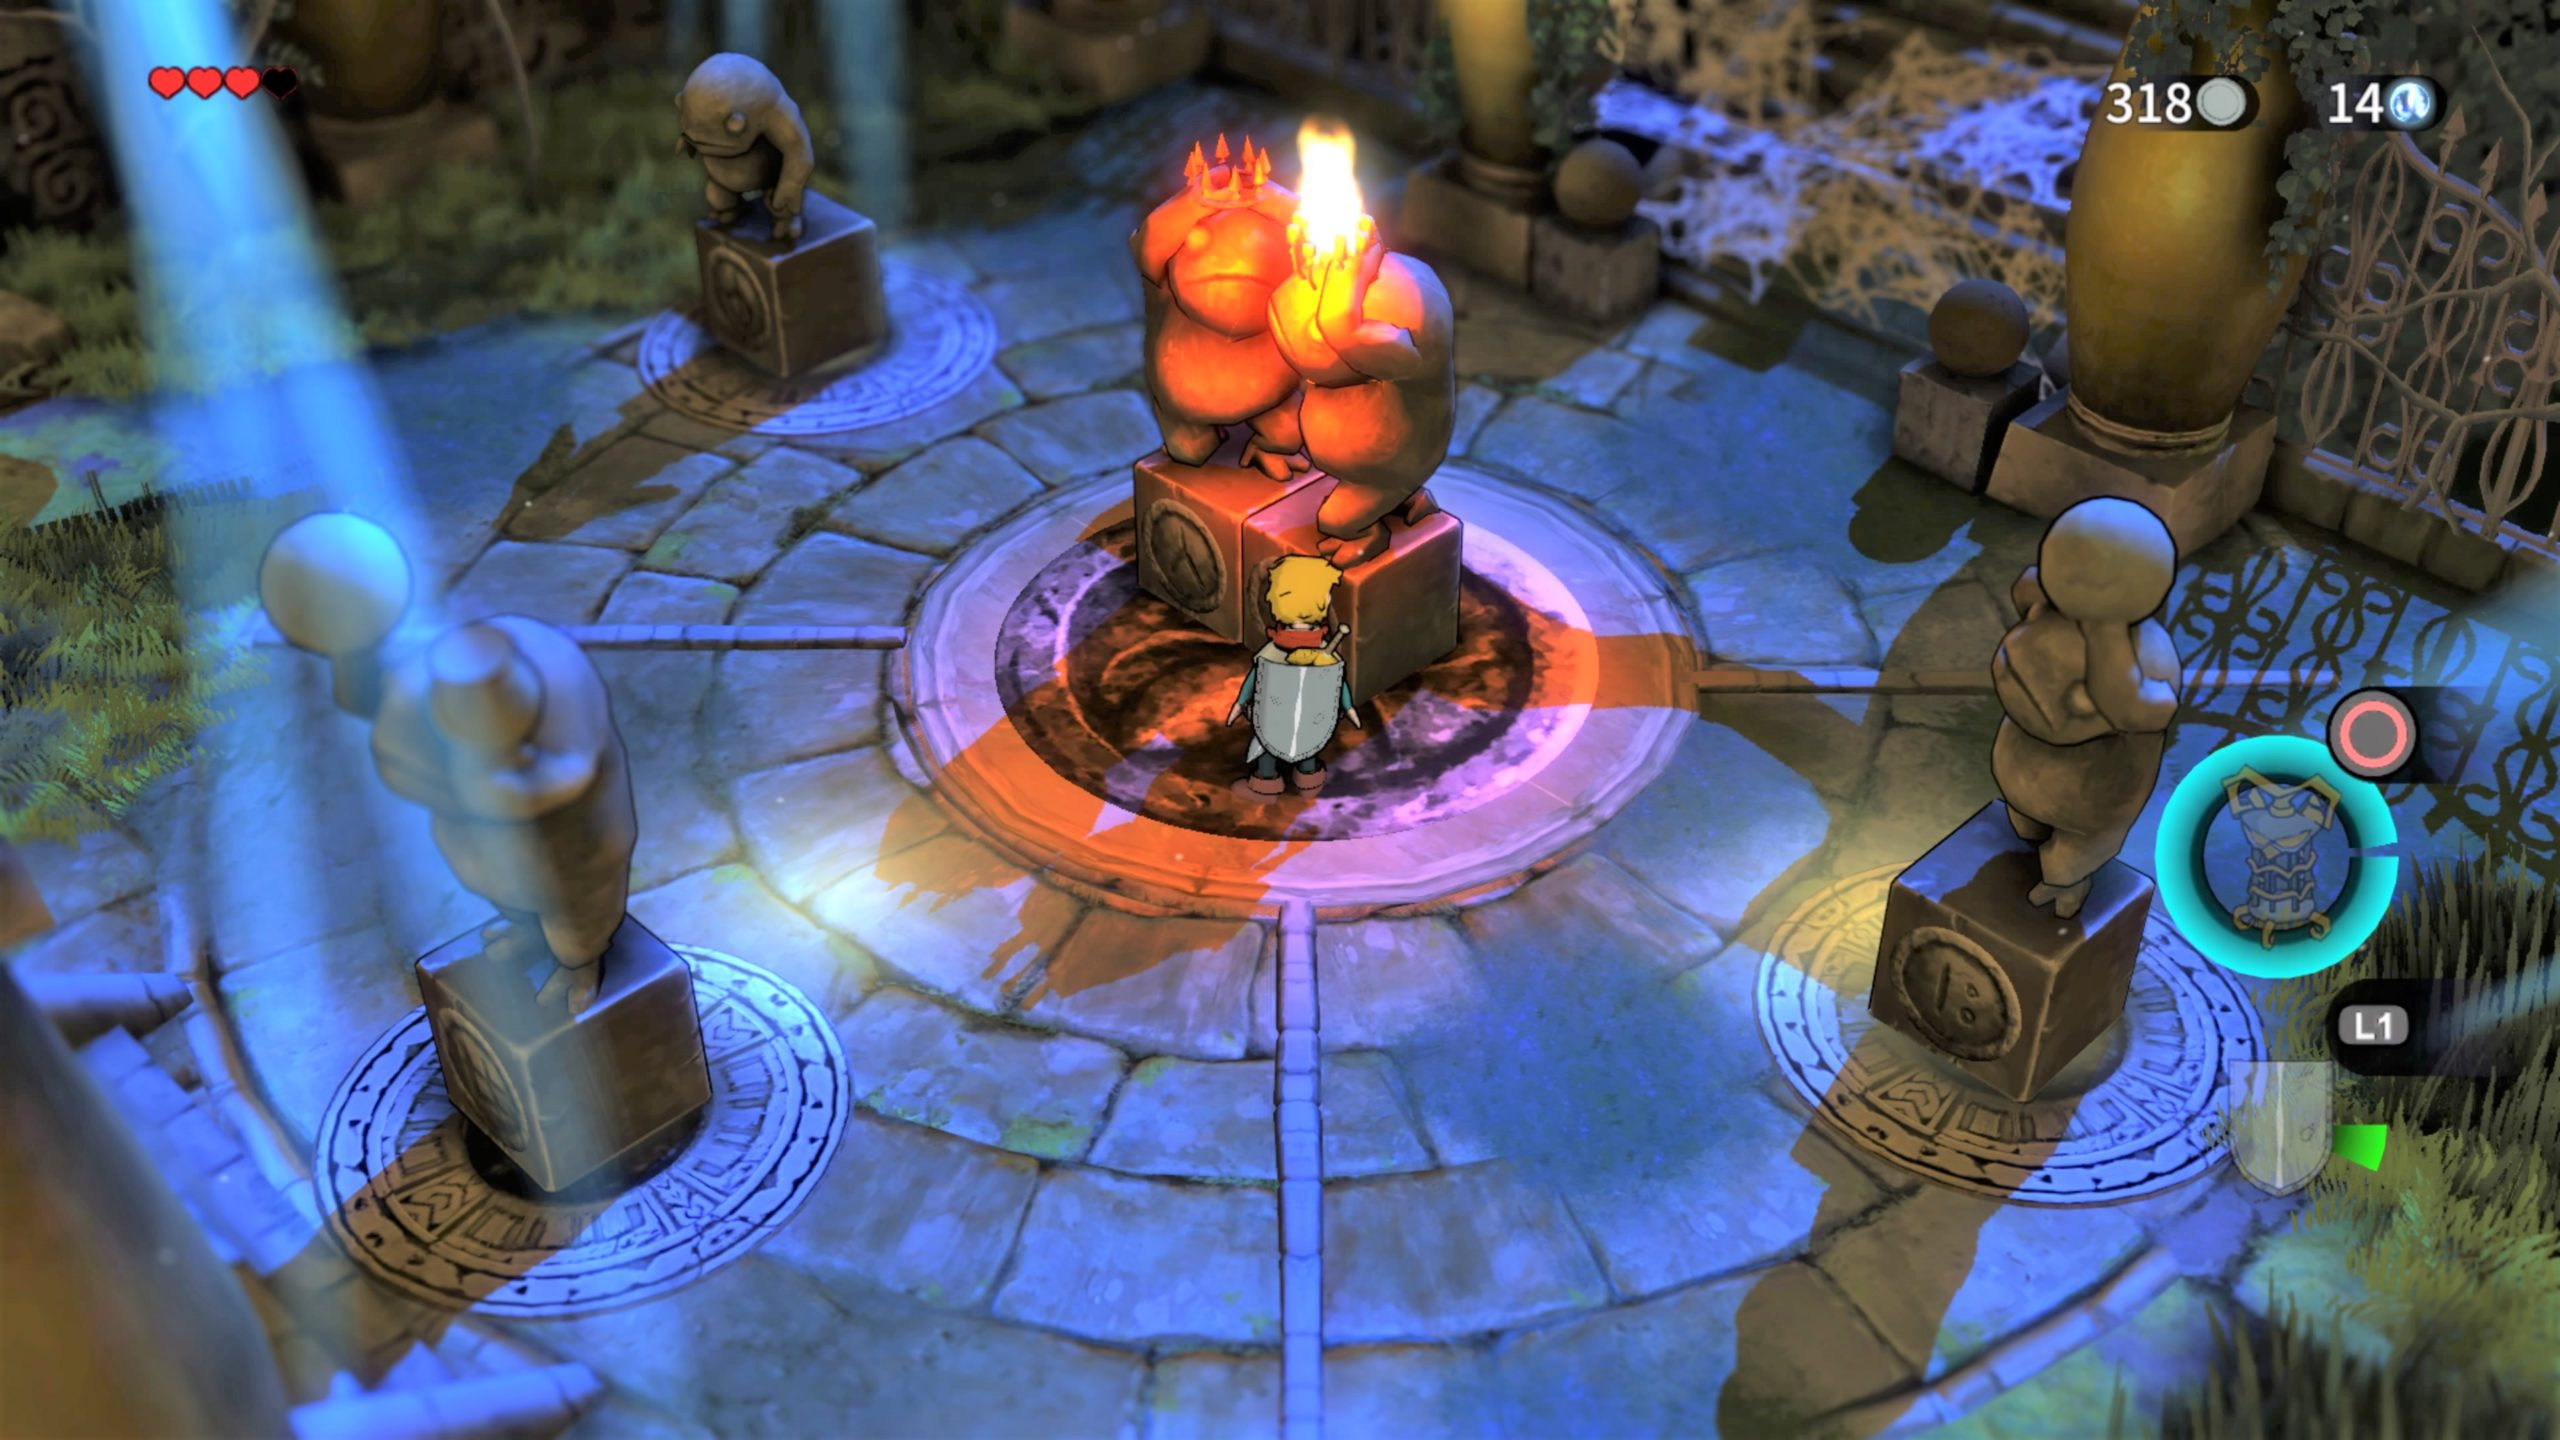
Defeat the 4 spiders inside. Arrange the statues as shown in the image below to unlock the chest containing the Triangle Owl Key.
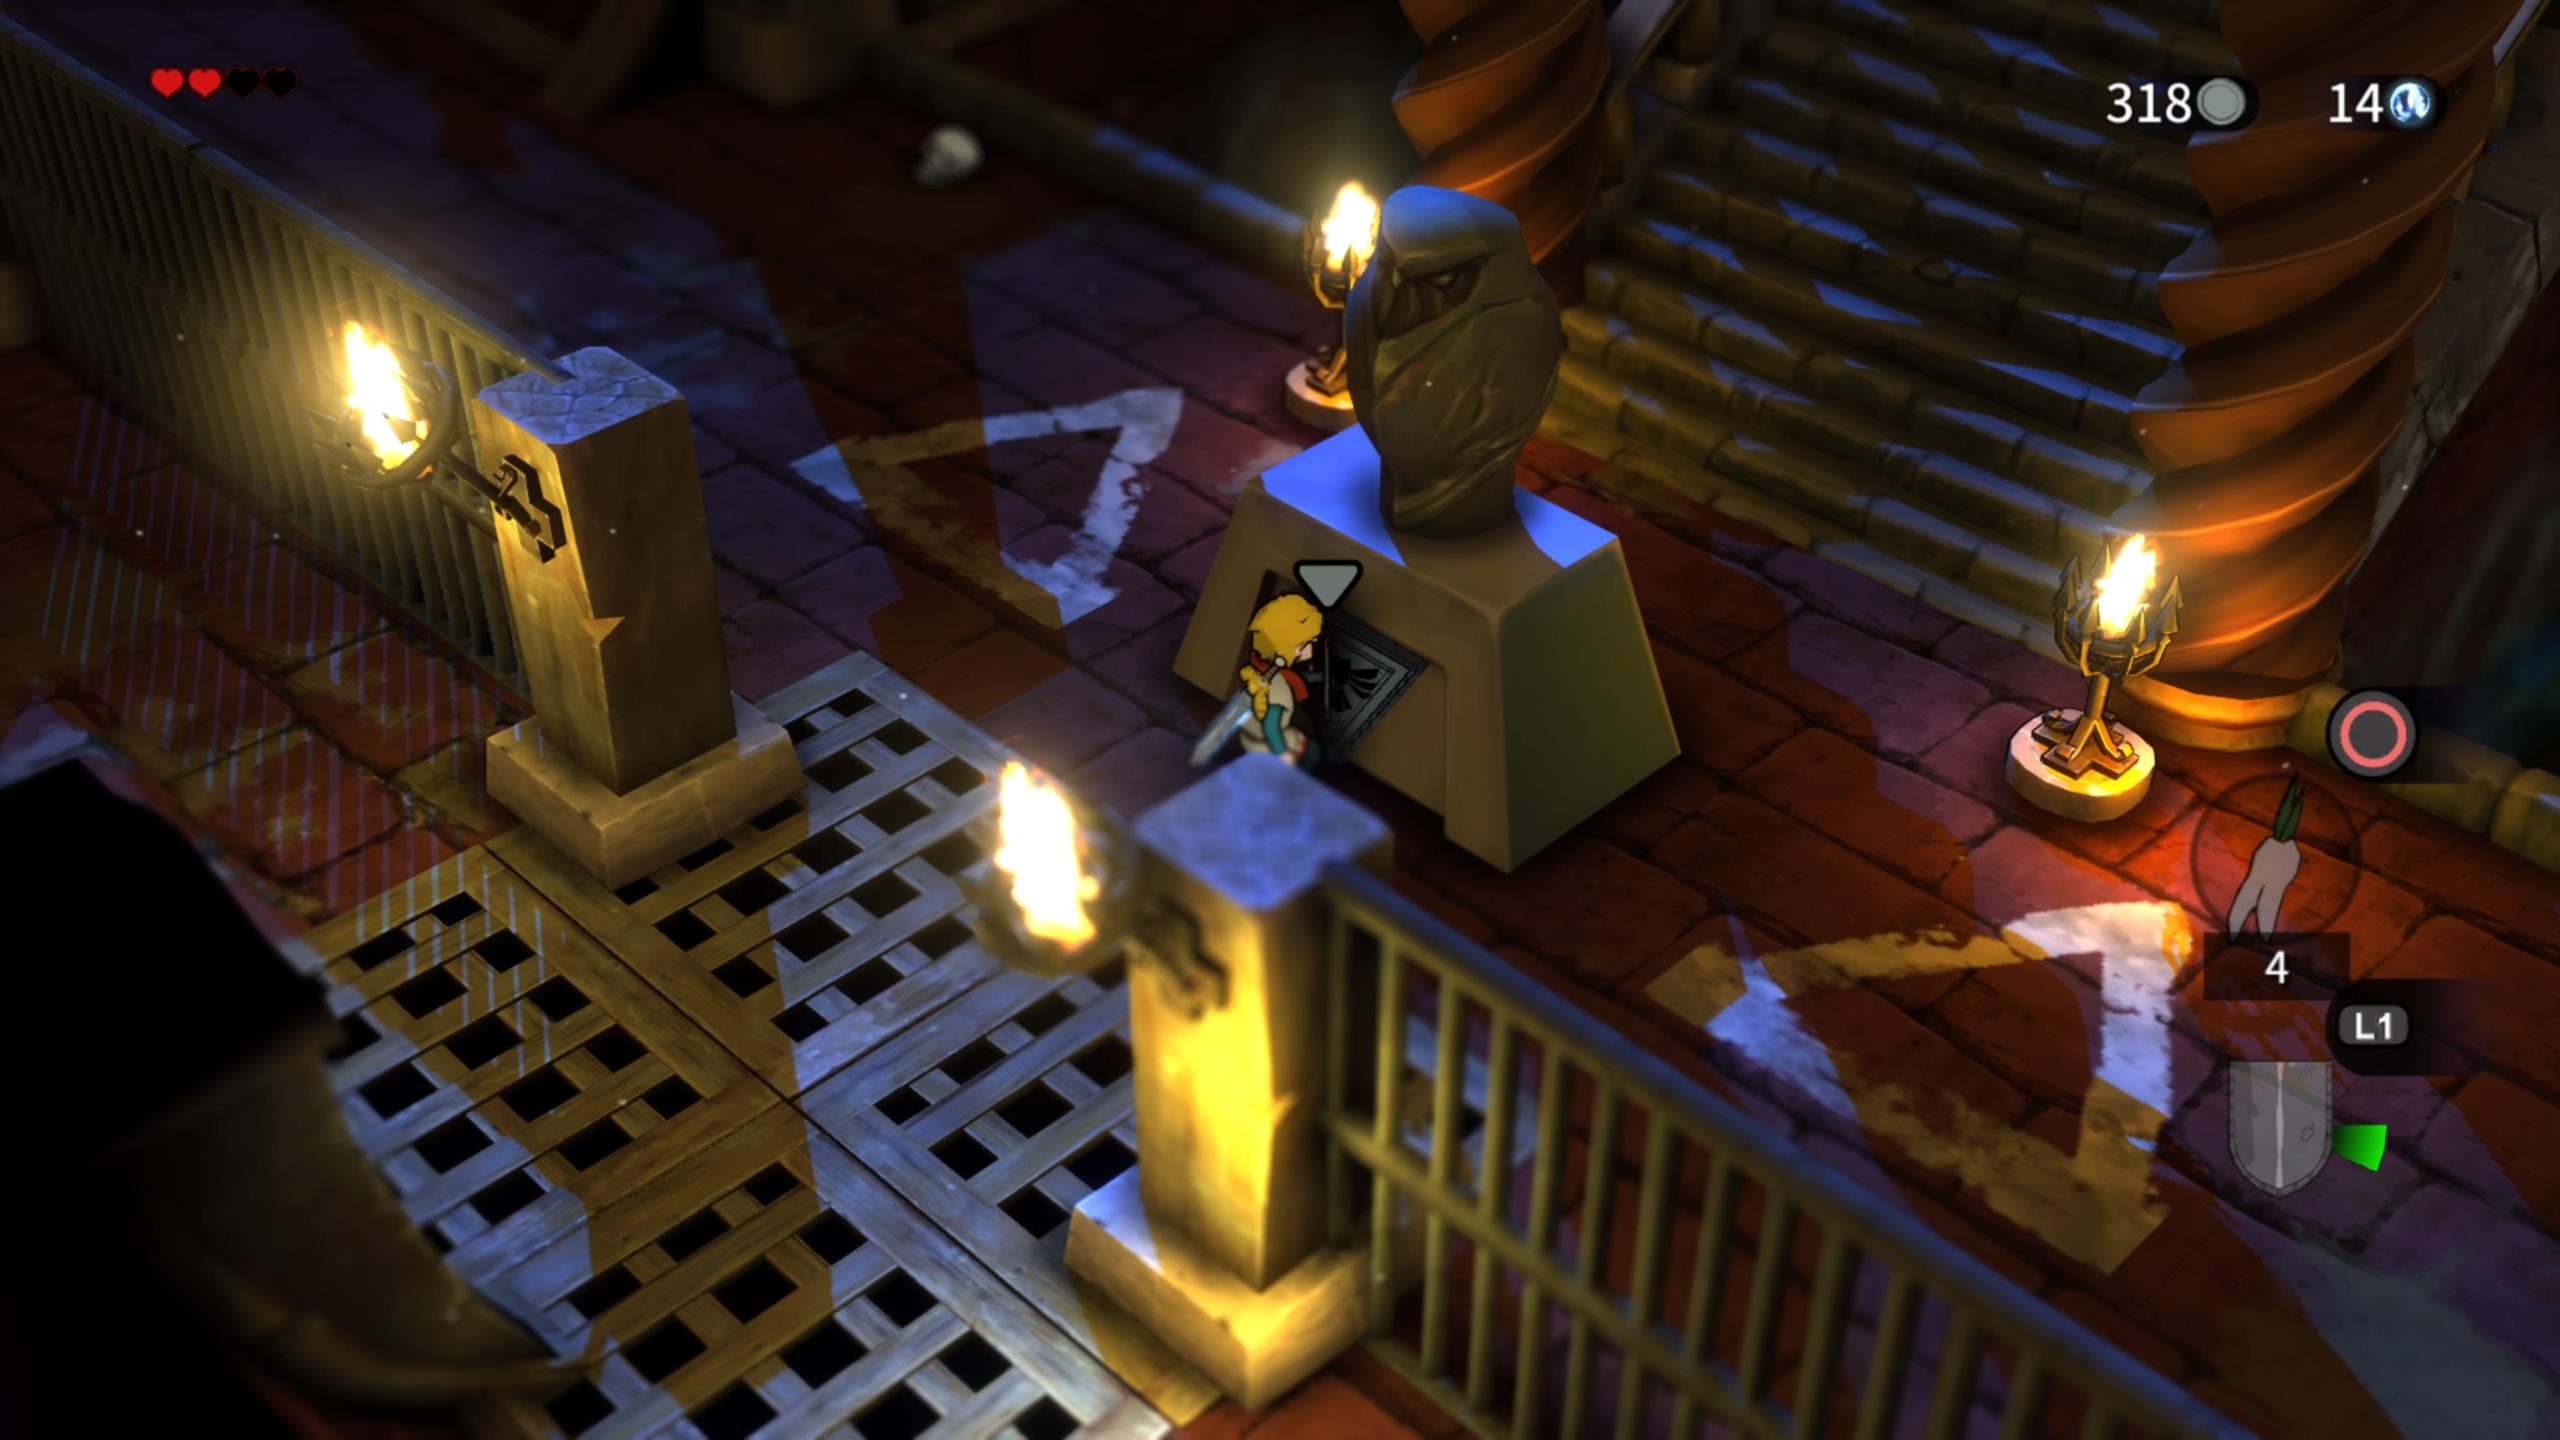
In the room where you caged the skeletons, head through the door on the bottom right side and place the Triangle Owl Key in the appropriate slot.
This will open the red door at the top of the stairs. Next comes the boss fight with the spider queen! As with everything else in this place, the spider is a nightmare. Watch her 3 rapid fire webs. If they hit you, you’ll be unable to move. It is possible to get out of it but by the time this stun wears off, she’ll have most likely killed you already. The trick to this one its to hit the lever in the back left corner of the room. This will cause the hanging sack near the gate to lower next to a brazier. When she is close to it, light the brazier to cause a blast which will topple the spider. Hit her with the sword repeatedly. Repeat this strategy of lighting the brazier to knock her over until she does a special move where she summons 3 skeletons by shooting light beams out of her body. Quickly dispose of them then return to the brazier strategy! She’ll eventually hang from her web in the center of the room and shoot webs at you. Dodge them. When she comes down, brazier strategy. She’ll do a move where she does a ground attack. Watch out for this one as it takes away 2 of your hearts if you get hit. When you defeat her, you’ll complete this nightmare of a dungeon!