Welcome to NGB and our Unicorn Overlord guide on the Unicorn Overlord main quest!
How to Start the Unicorn Overlord Quest
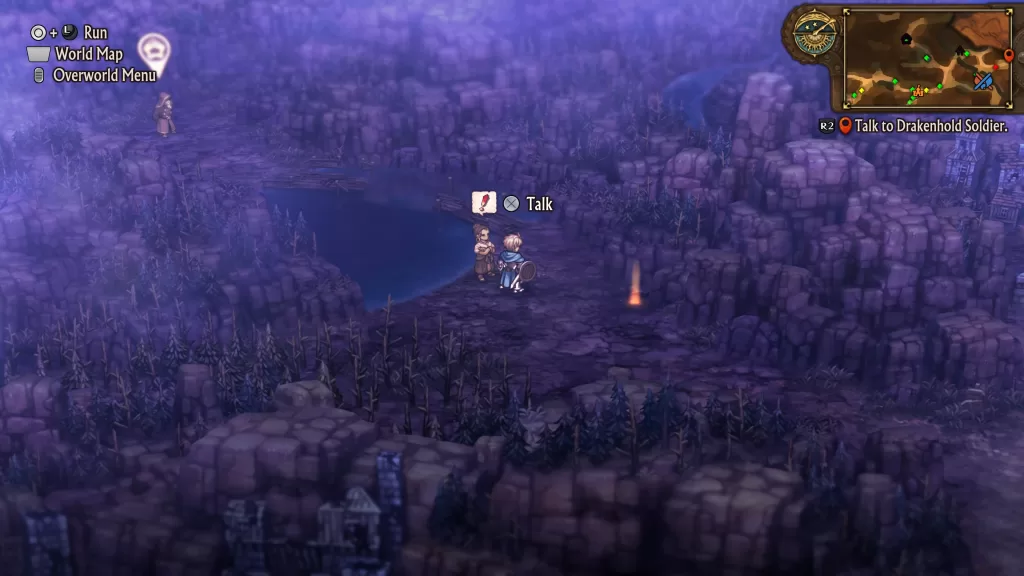
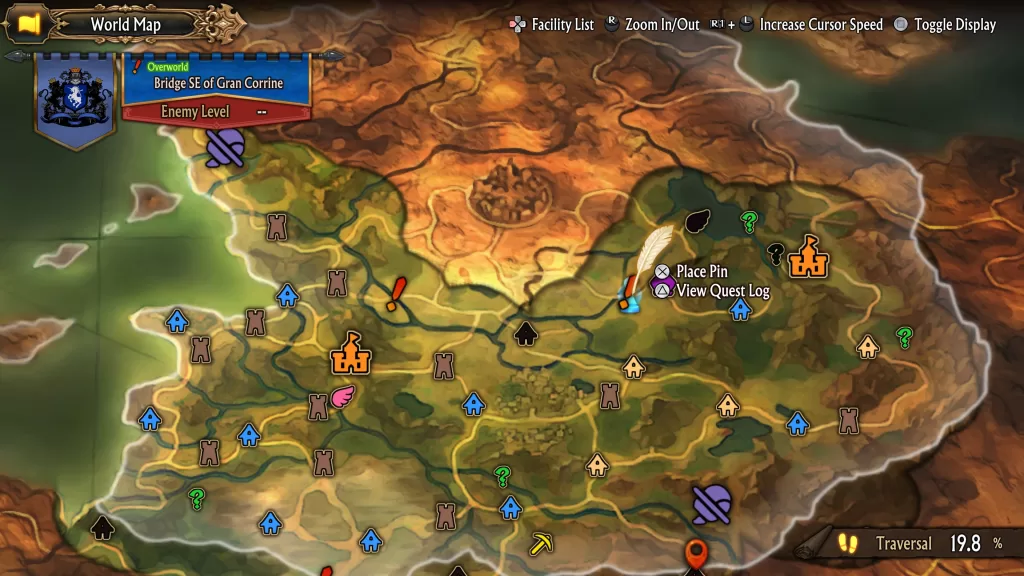
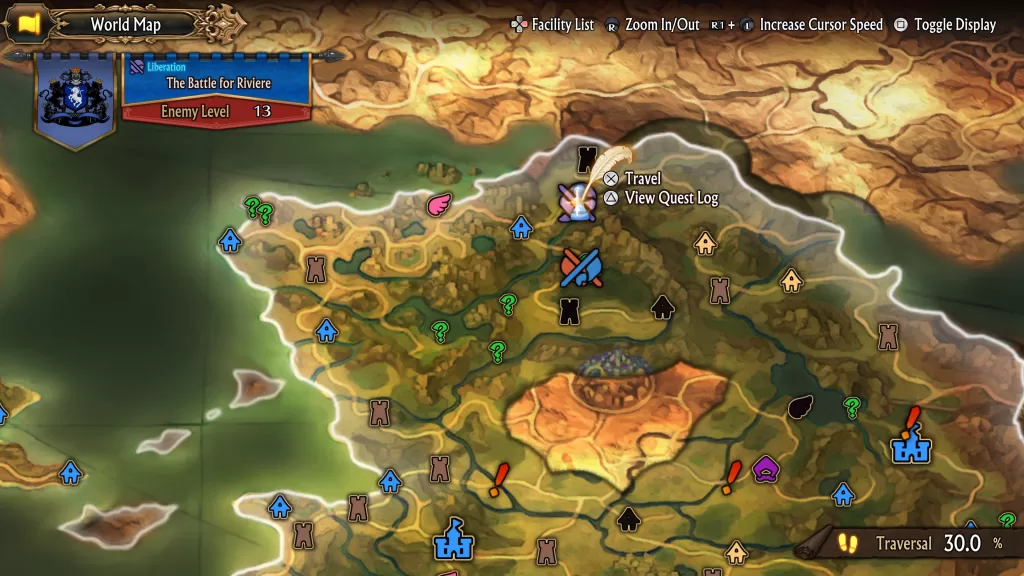
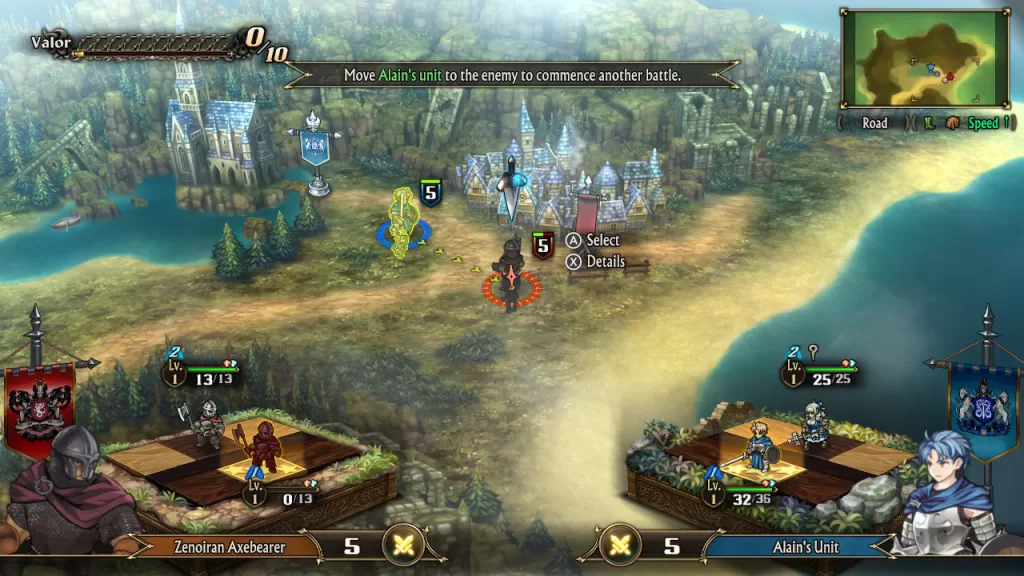
You’ll automatically begin the Unicorn Overlord main quest early in the game if you approach the route to Gran Corrine.
Battle Prep Phase
For this battle, you’ll facing most if not all of the advanced classes. Check out our table below to find out their weaknesses when planning your units!
| Enemy Units | Weaknesses |
|---|---|
| Arbalist / Shieldshooter | Clerics |
| Cleric / Bishop | Hunters |
| Dark Knight / Doom Knight | Flying foes |
| Elven Archer | Fighters |
| Elven Fencer | Swordfighters |
| Featherbow | Archers |
| Feathershield | Archers |
| Featherstaff | Archers |
| Feathersword | Shieldshooters |
| Fighter / Vanguard | Warriors / Magick attacks – Witches / Sorceress / Wizards / Sorcerers / Elven Fencers |
| Gladiator / Berserker | Calvary / Thieves |
| Gryphon Knight / Gryphon Master | Archer classes / Swordfighters |
| Housecarl / Viking | Fragile – No weaknesses |
| Hoplite / Legionnaire | Witches / Wizards / Warriors |
| Hunter / Sniper | Fighters / Hoplites |
| Knight / Great Knight | Flying foes / Thieves |
| Paladin | Flying foes |
| Radiant Knight / Sainted Knight | Flying foes |
| Sellsword / Landsknecht | Thieves |
| Soldier / Sergeant | Hoplites / Fighters |
| Shaman / Druid | Clerics |
| Swordfighter / Swordmaster | Archers |
| Thief / Rogue | Hunters / Swordfighters |
| Warrior / Breaker | Thieves / Gladiators |
| Werebear | Armored classes / Gryphon Masters |
| Werefox | Sorceresses / Swordmasters |
| Wereowl | Archers |
| Werewolf | Hoplites / Fighters |
| Witch / Sorceress | Radiant Knights / Hunters |
| Wizard / Warlock | Radiant Knights / Hunters |
| Wyvern Knight / Wyvern Master | Hunters / Arbalists / Witches |
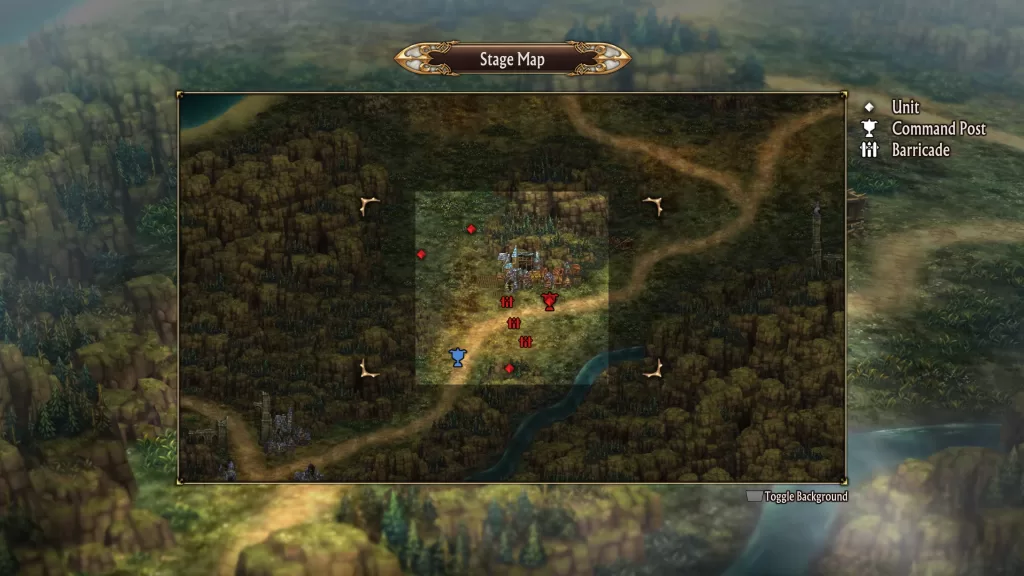
Battle Stage
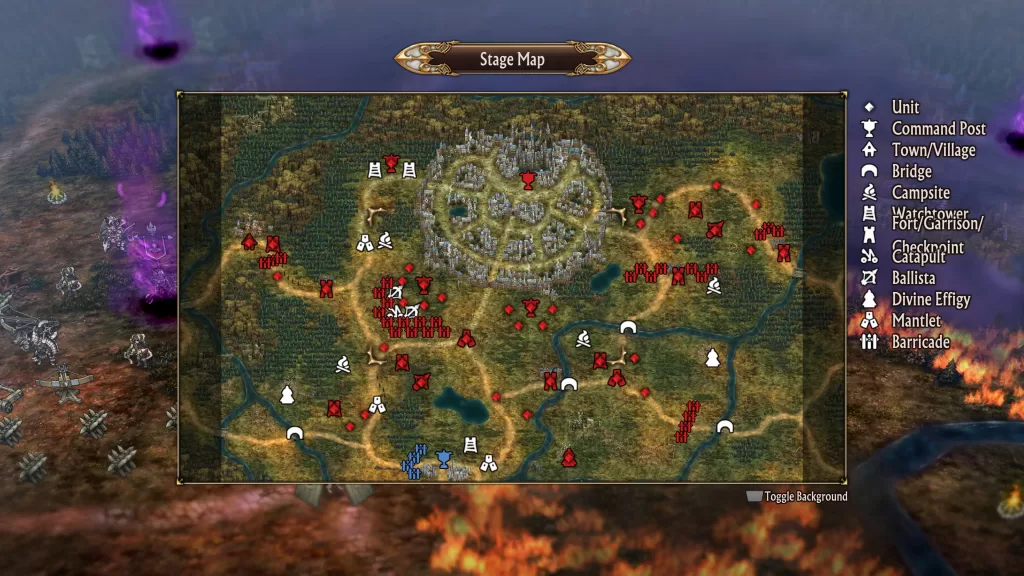
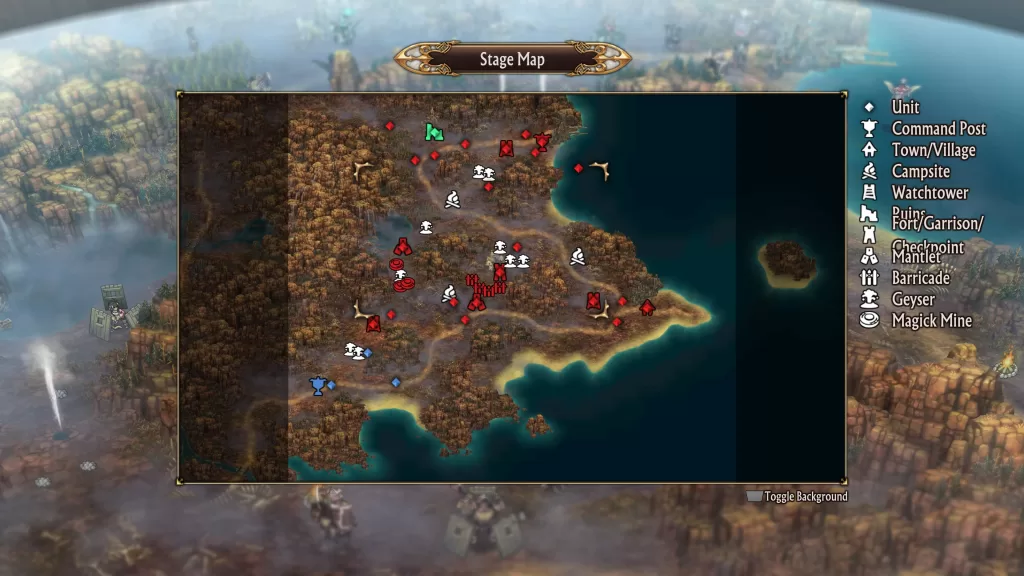
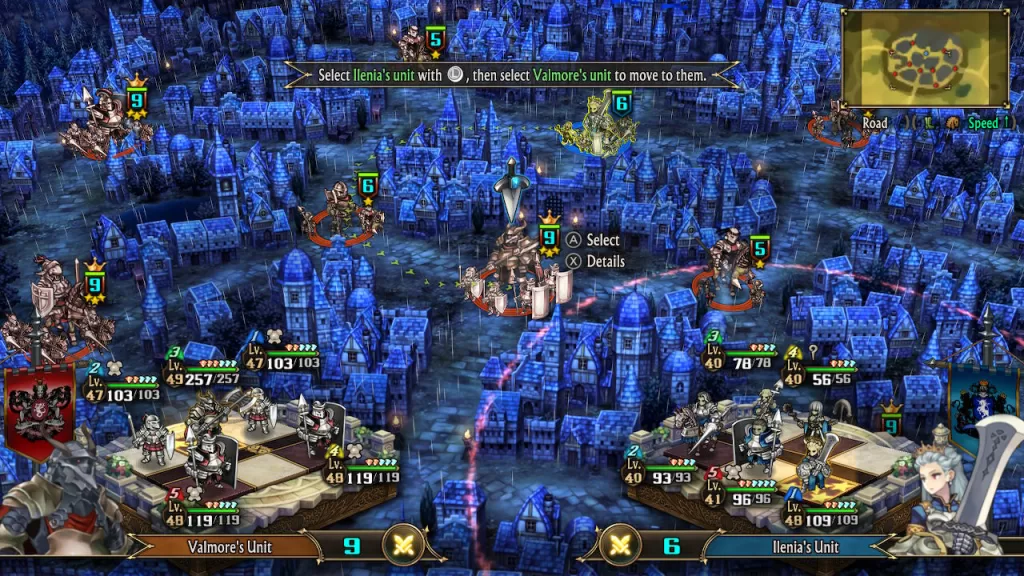
When you load into the map, you’ll find yourself in the southern part of the area with the enemy’s Command Post in the far north. It will be protected by a dark mist, preventing you from accessing it. There will be 4 additional Command Posts outside of the city walls, each led by one of Galerius’ generals. You’ll need to defeat them all first before taking on Galerius. Scattered between you and them are tons of enemies with all the bells and whistles (watchtowers, ballista, barricades, effigies and mantlets).
After you take down one of the banners, the Drakenguard soldiers will show up in the northeastern corner to provide assistance. If you’re quick enough to reach the Bestral enemies in the northwestern corner and speak with them, they will also join the cause!
When you approach the northeastern enemy commander, she’ll spawn 2 additional troops with watchtowers to support her. When you approach the Command Post to the front left of the castle, they’ll spawn units that will jump into the catapults and attack you at point blank range. The northwestern post will summon Magick Mines to protect itself.
Once you’ve defeated all 4 of the Command Posts outside of the castle wall the miasma will clear and Galerius will make his grand entrance at Gran Corrine. Once he enters the field, he’ll activate his ability which allows him to take control of your units’ minds. You can counter this using the Cleansing Skill that Alain will learn during the fight. Basically, then make your way into the castle and defeat Galerius.
Afterwards, a cutscene will trigger and another battle will ensue. Basically you’ll be in the middle of the city and you’ll need to take down Baltro who will be accompanies by Galerius and all 4 of his generals.
Unicorn Overlord Quest Rewards
For completing Unicorn Overlord, you’ll receive the following rewards:
- Holy Unicorn Shield
- Fevrite
- Cornia Reborn
Unicorn Overlord Guides and Walkthroughs
For more Unicorn Overlord guides and walkthroughs, click here!