Below is a walkthrough for Chapter 10 of The Quarry. Please note that your choices, QTEs and collectibles found will impact the story. We highlighted the options we chose during our playthrough in orange. Keep in mind that we kept everyone alive and collected as many collectibles as we could!
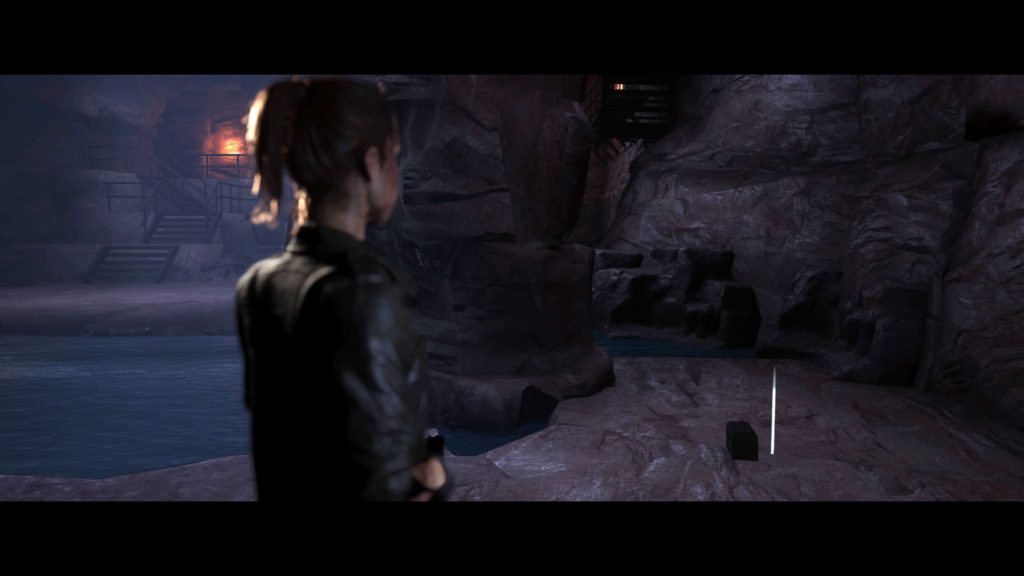
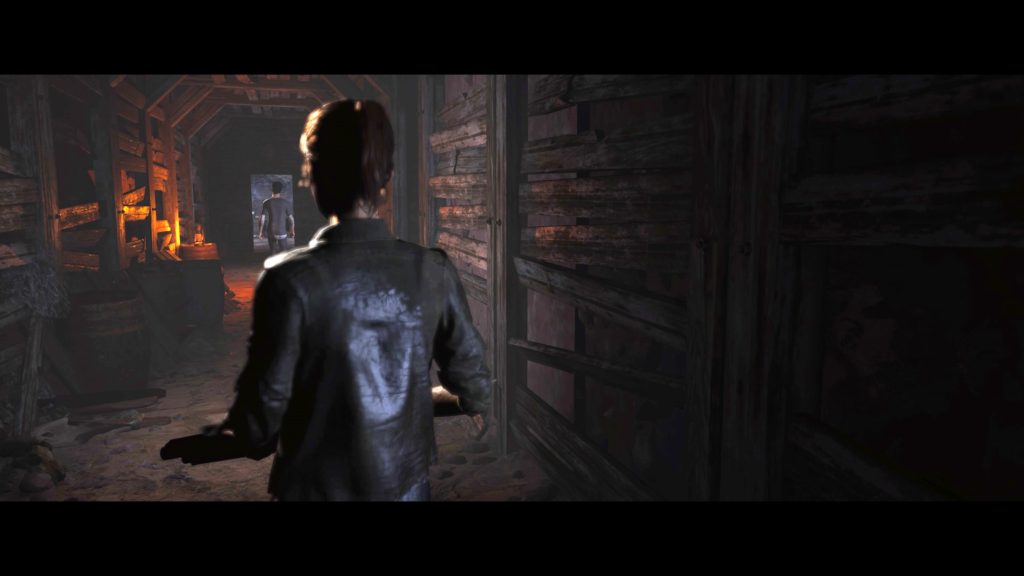
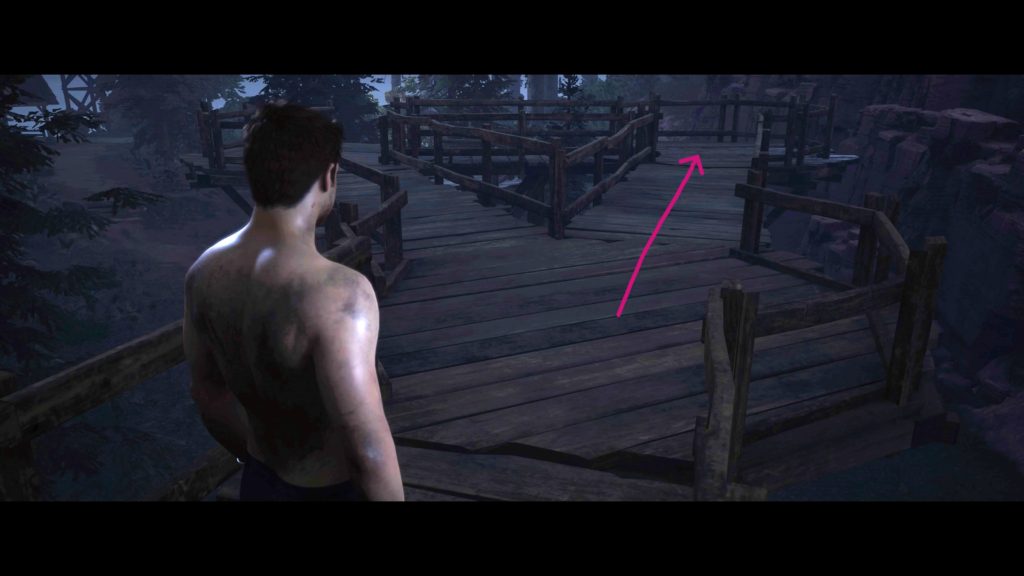
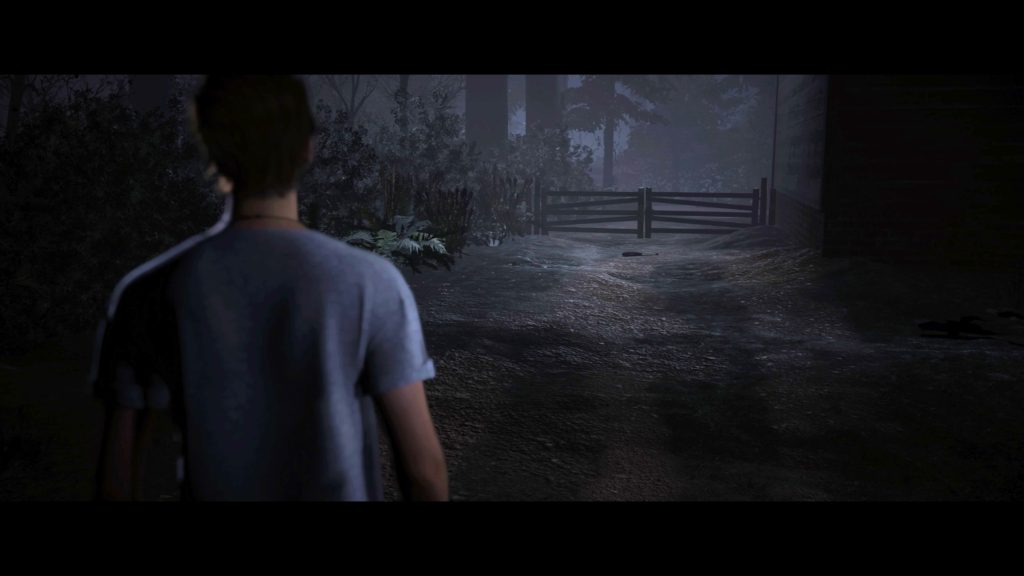
You’ll start off this chapter playing as Max. Follow the path until a cutscene triggers when you reach the stairs.
Stay
Swim to Shore
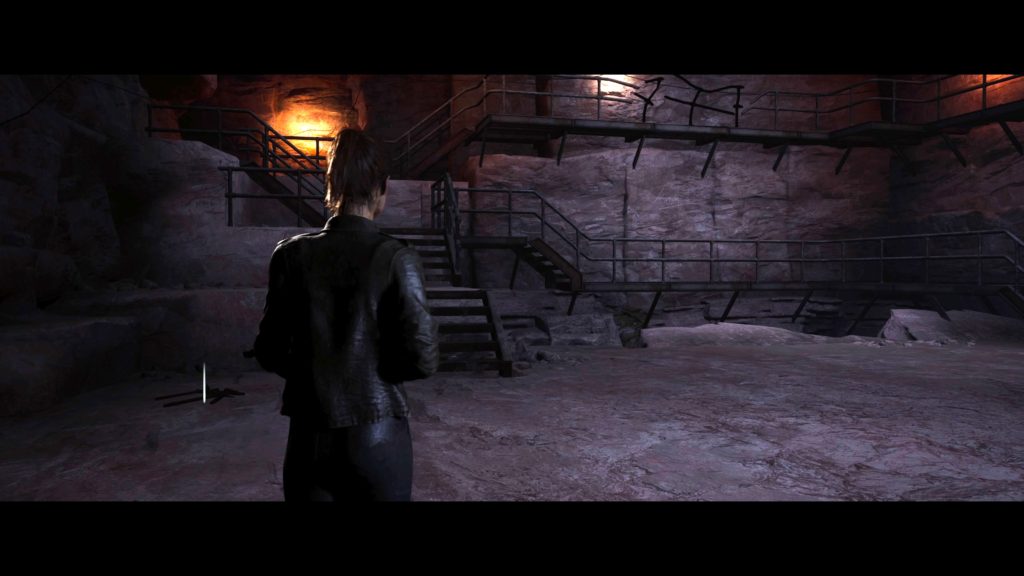
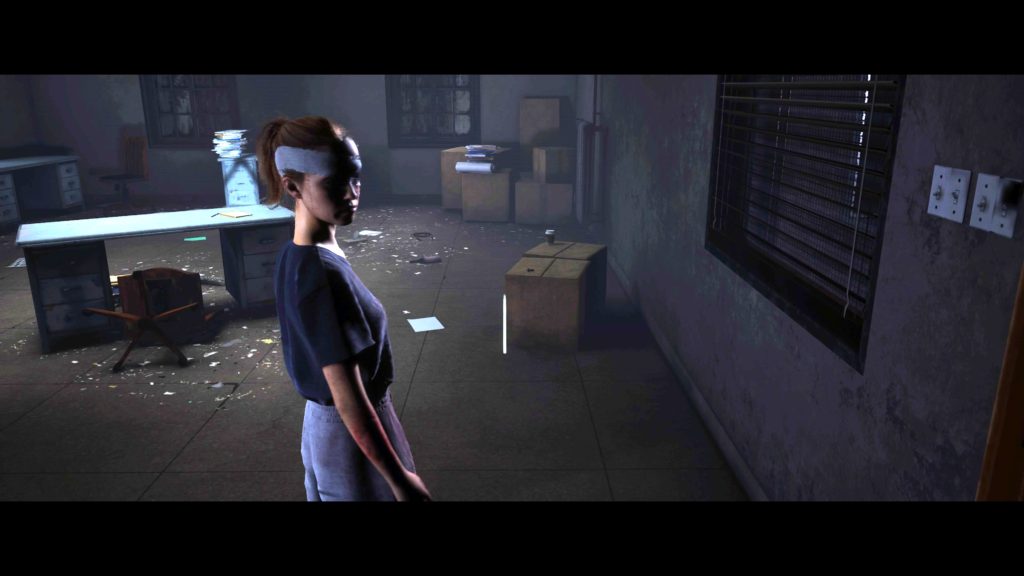
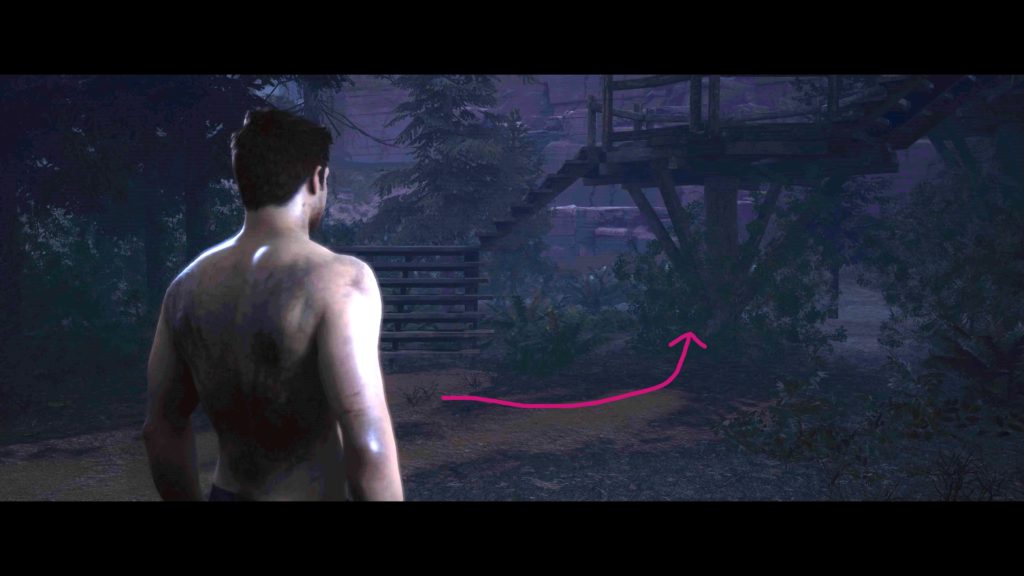
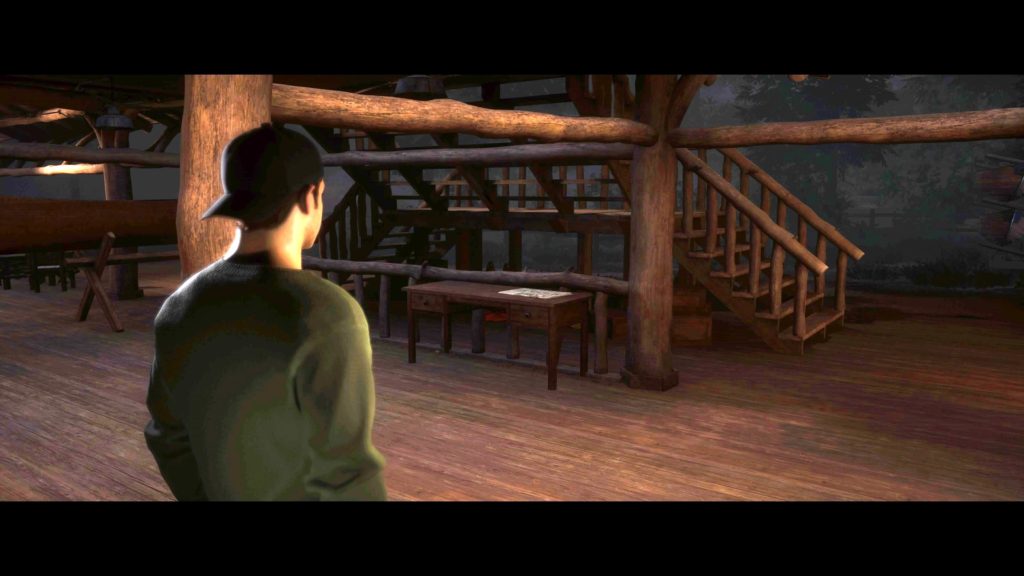
Next up, you’ll get to play as Kaitlyn. Head up the stairs right in front of you.
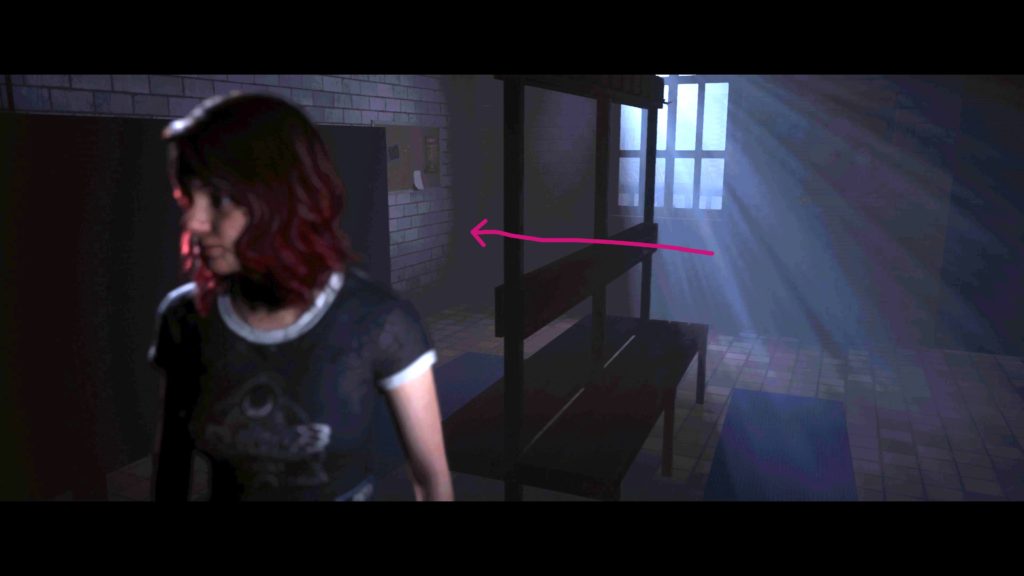
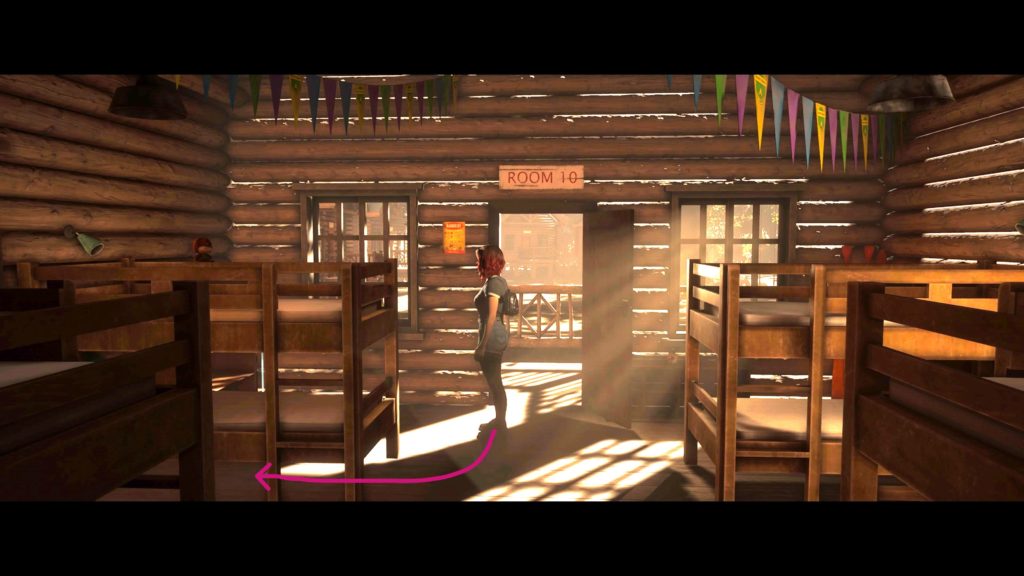
At the top, take a left and keep heading left until you find a bunk room just before a set of stairs. Enter this room to find the Camp Letter clue on the ground in front of the bunk beds.
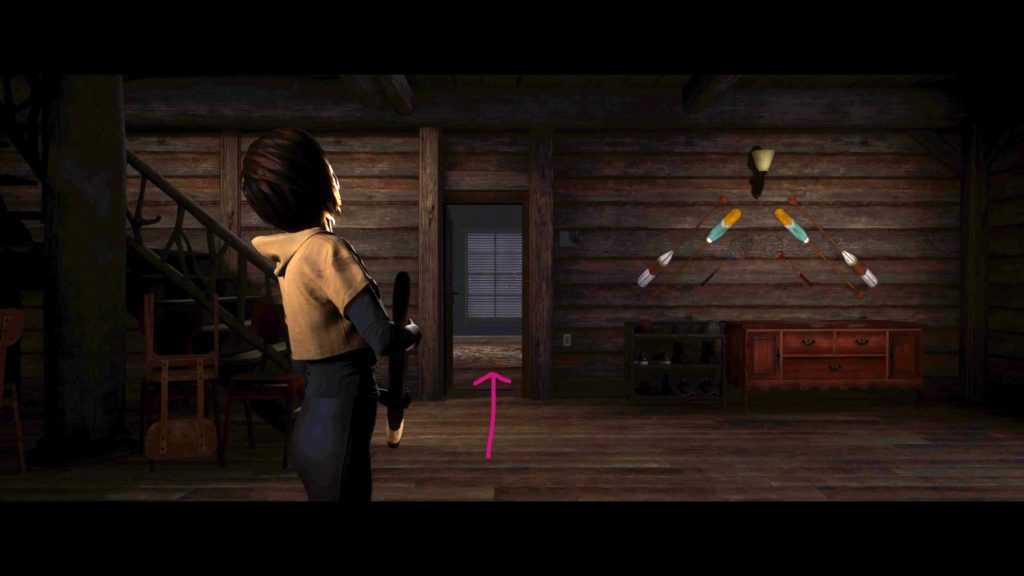
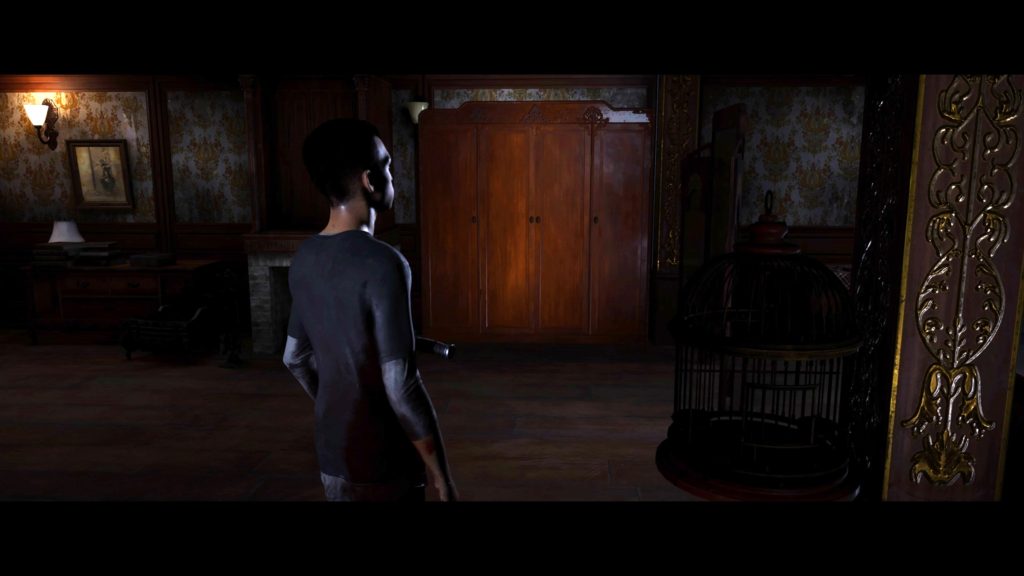
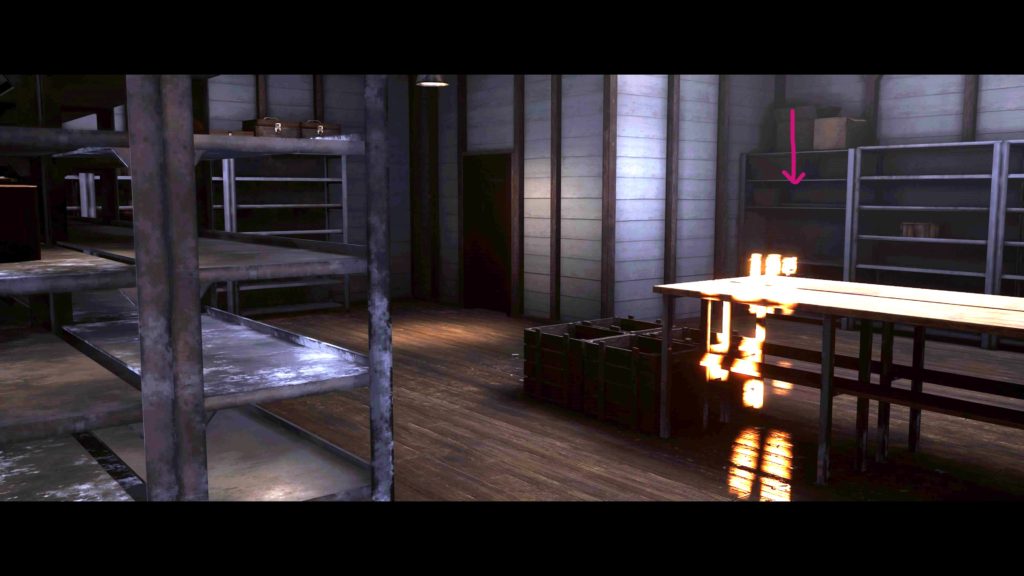
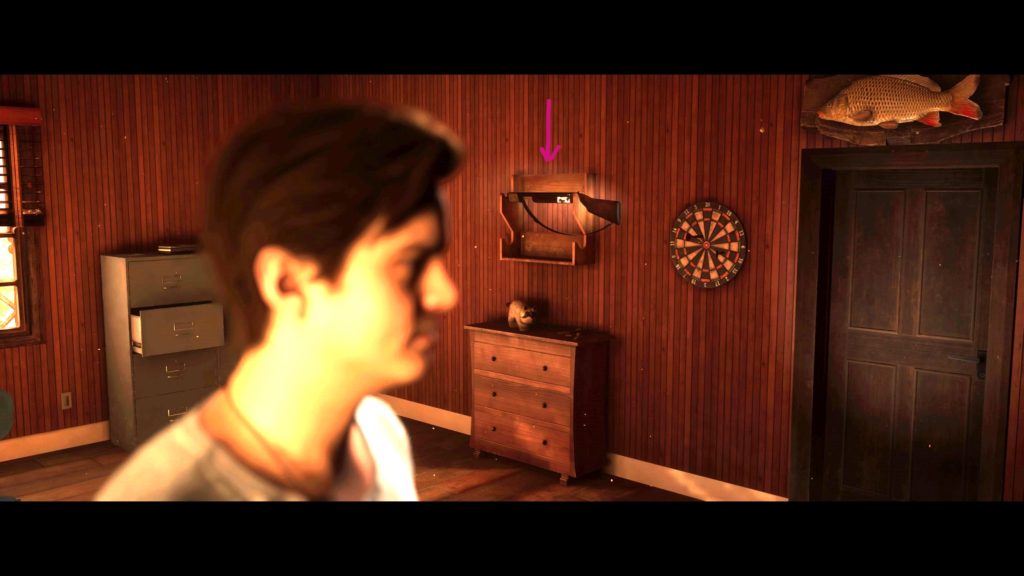
Exit this room and head up the stairs immediately on the right. Take a left and hug the right side of the room to find The High Priestess tarot card.
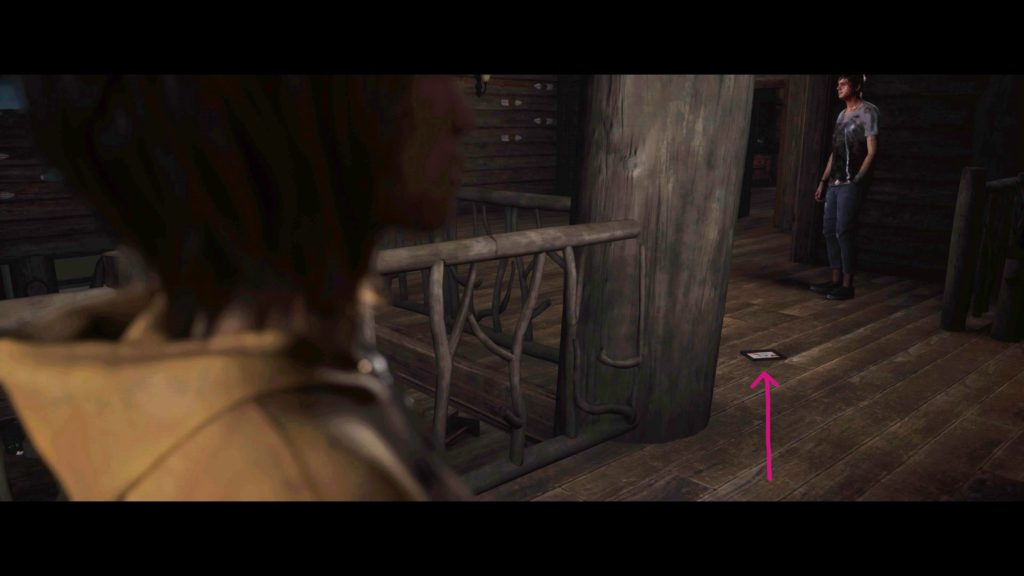
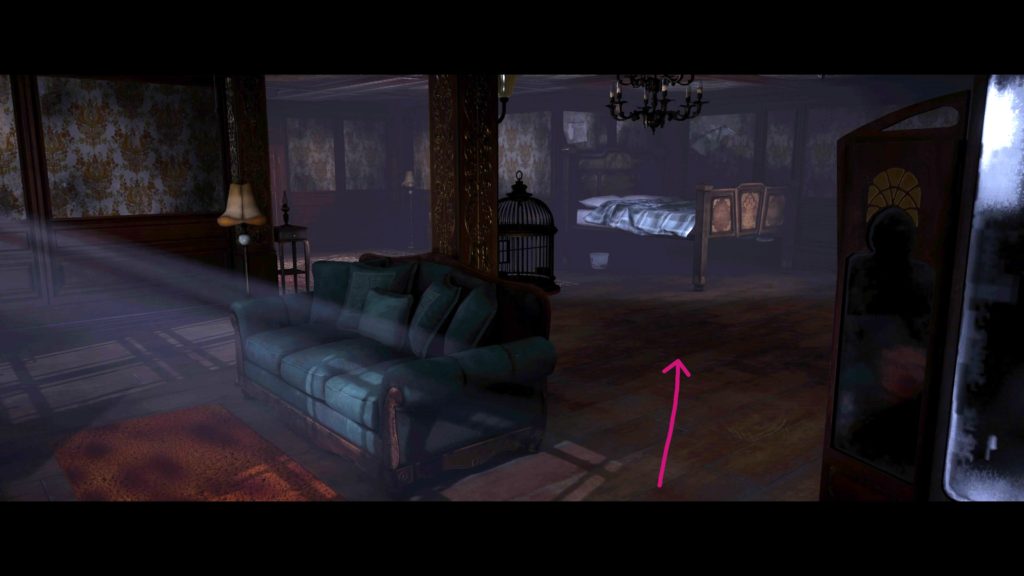
Head down the stairs and inspect the item on the ground in front of the couch for some interesting dialog regarding dog tags.
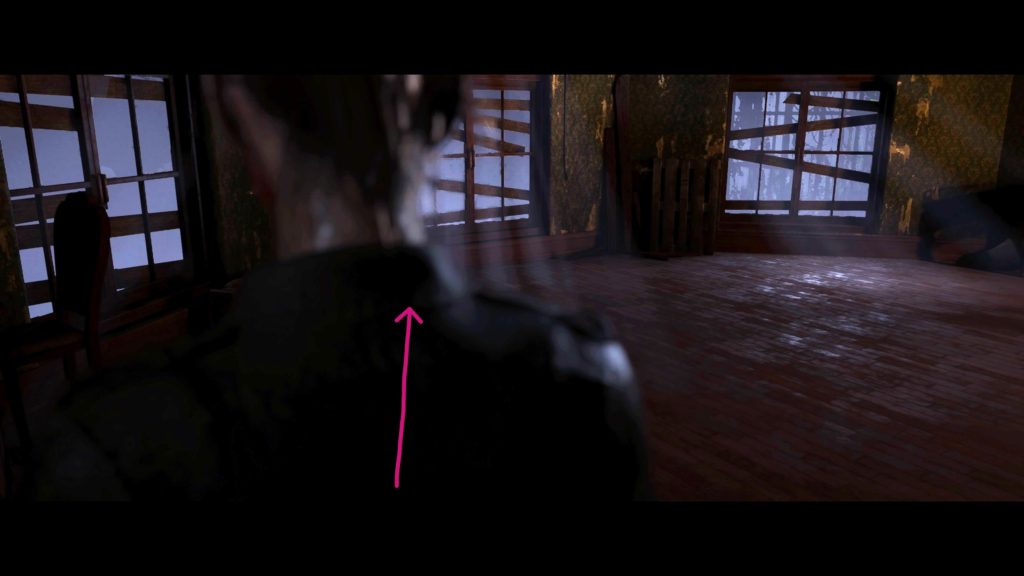
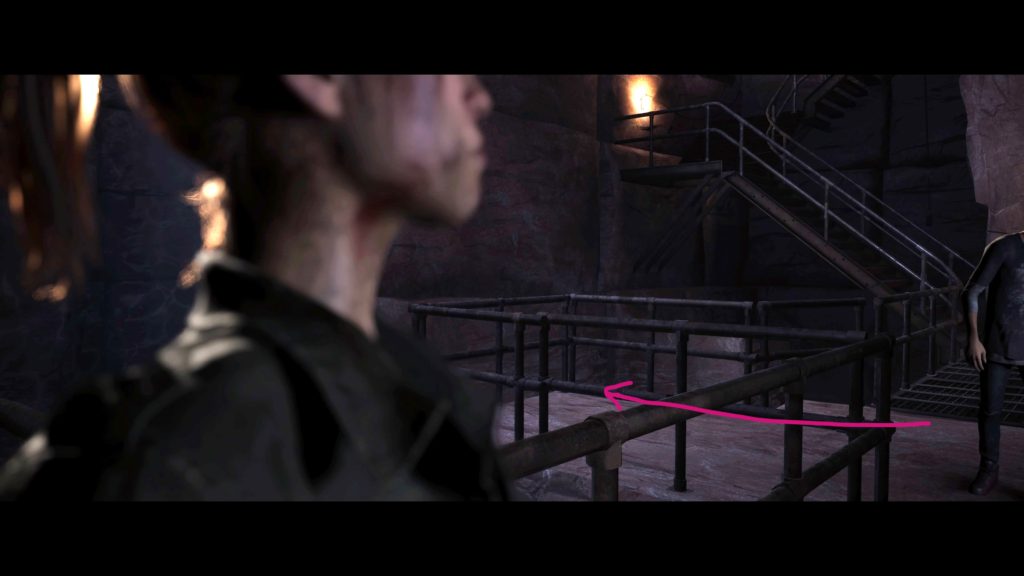
On this same level, head past the stairs and inspect the railing to find the Ancestral Portrait clue.
After examining the painting, you’ll have an option.
Keep Looking
Prepare for Attack
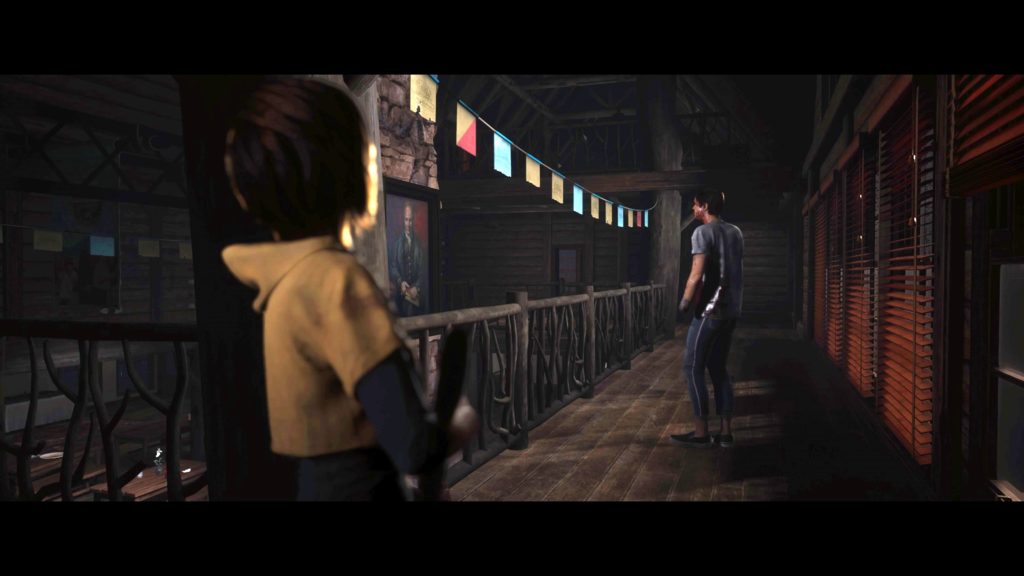
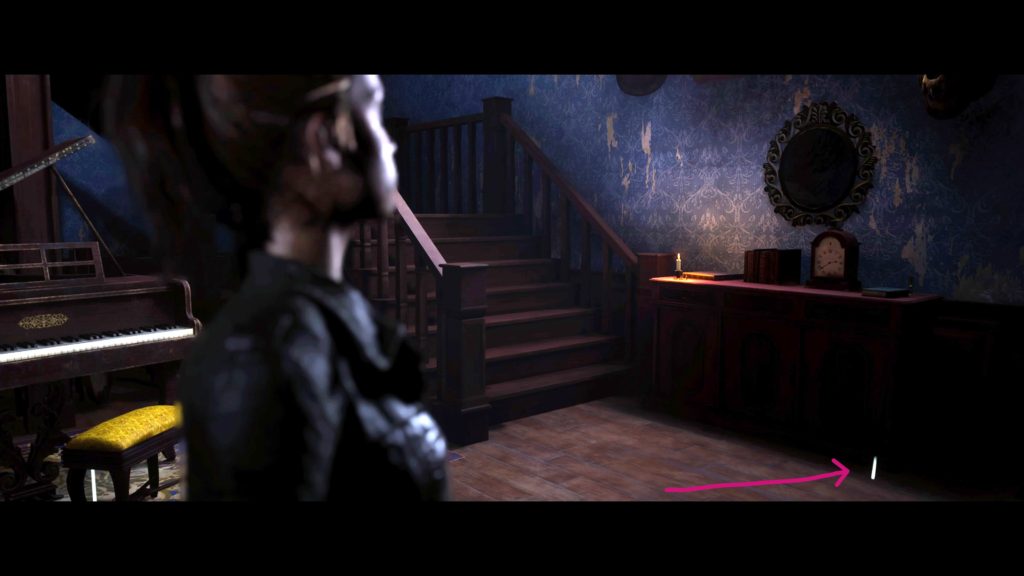
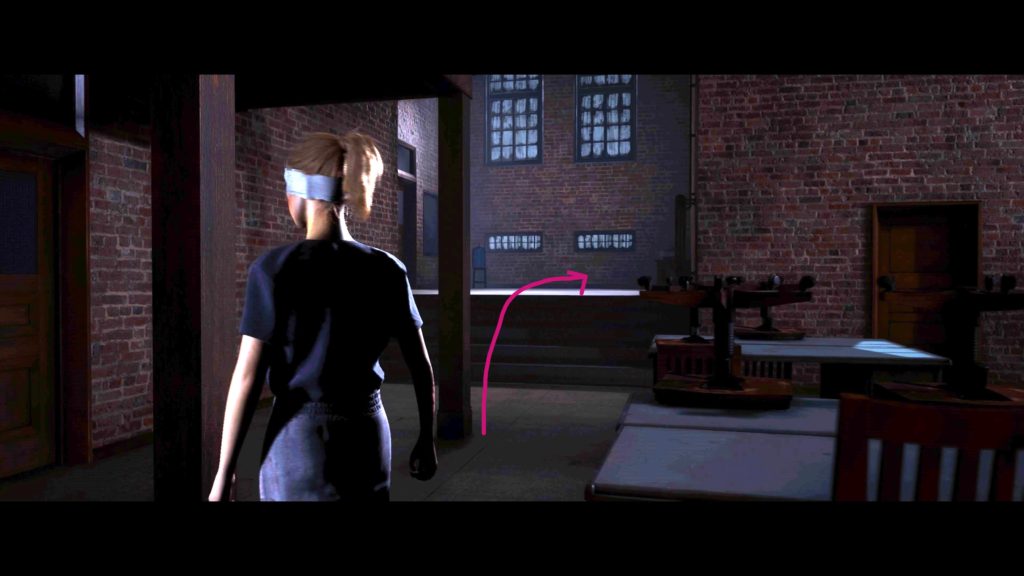
Head forward a short ways to find the Ticket Stub clue just before the next set of stairs leading down.
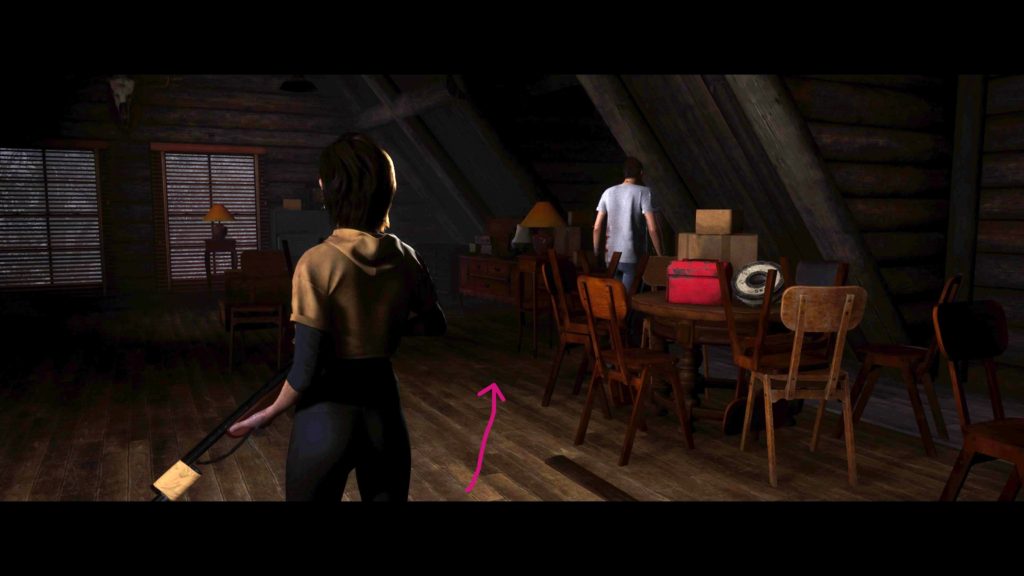
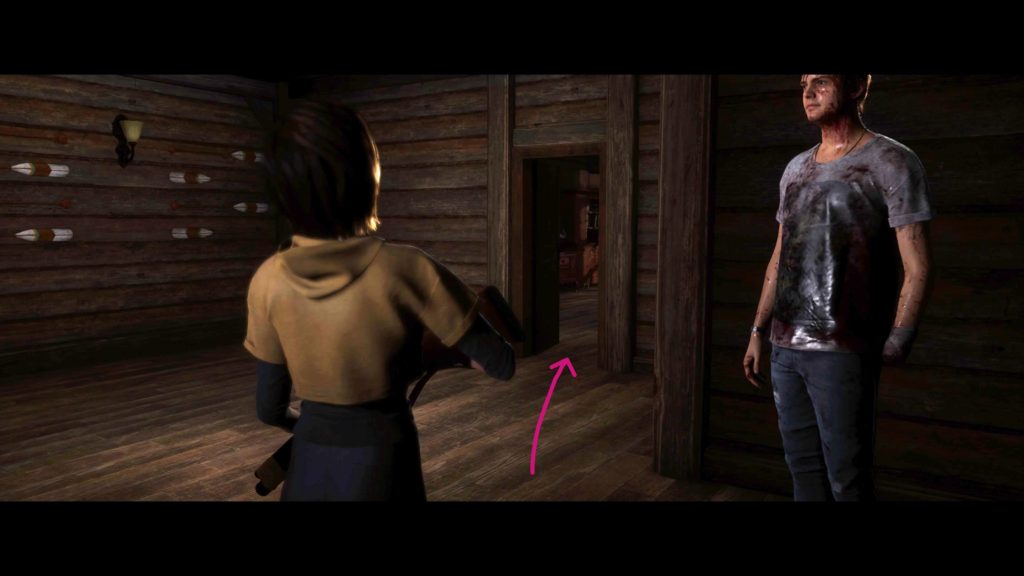
Keep heading forward into the next room.
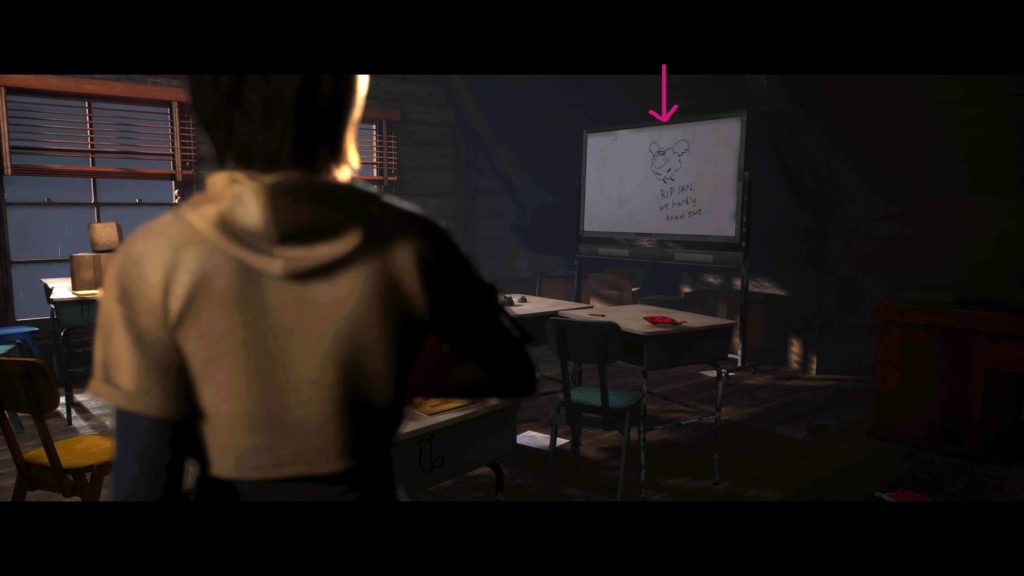
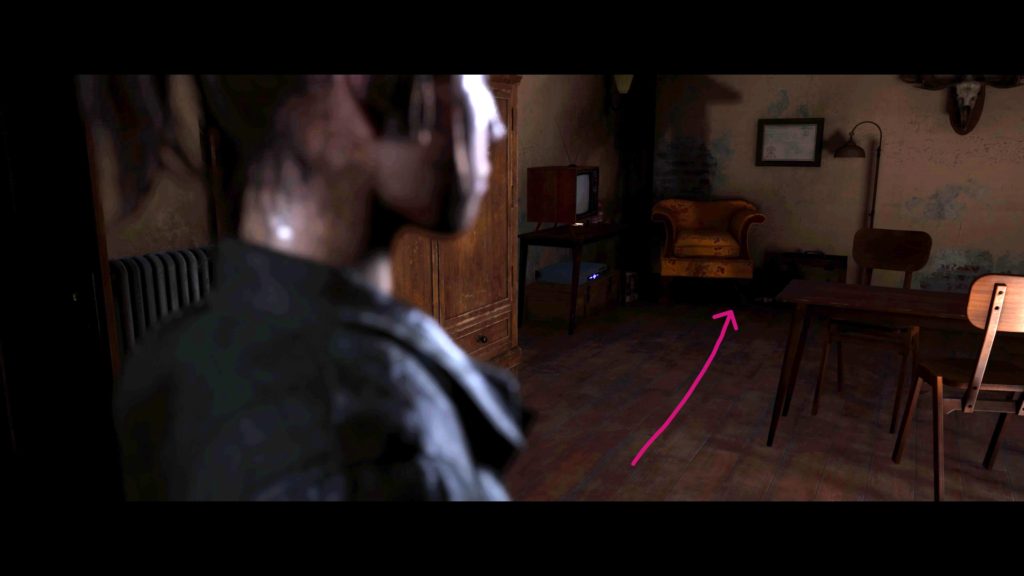
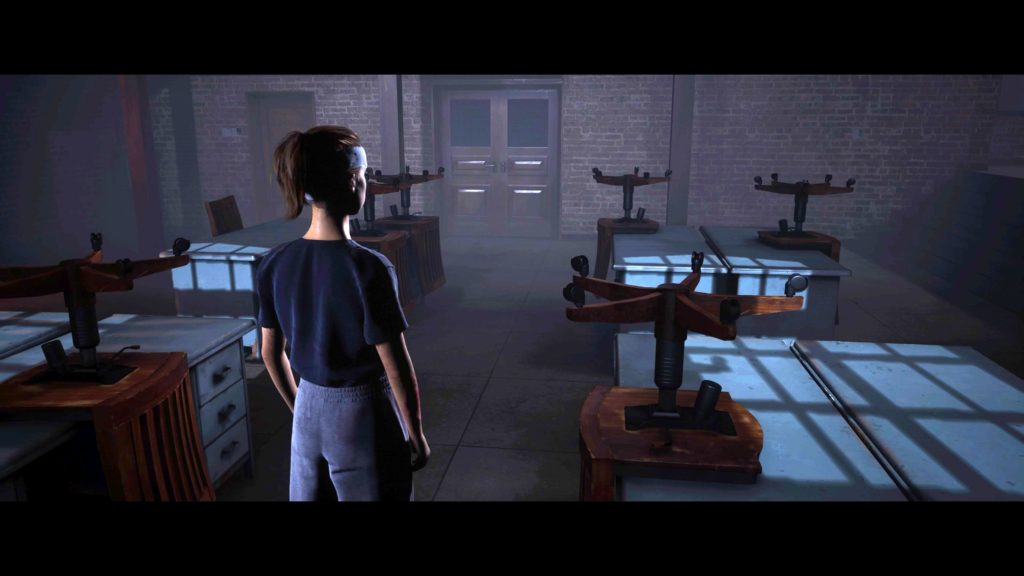
Pass through this room to reach a classroom. Inspect the whiteboard to receive the Chalkboard Doodle clue.
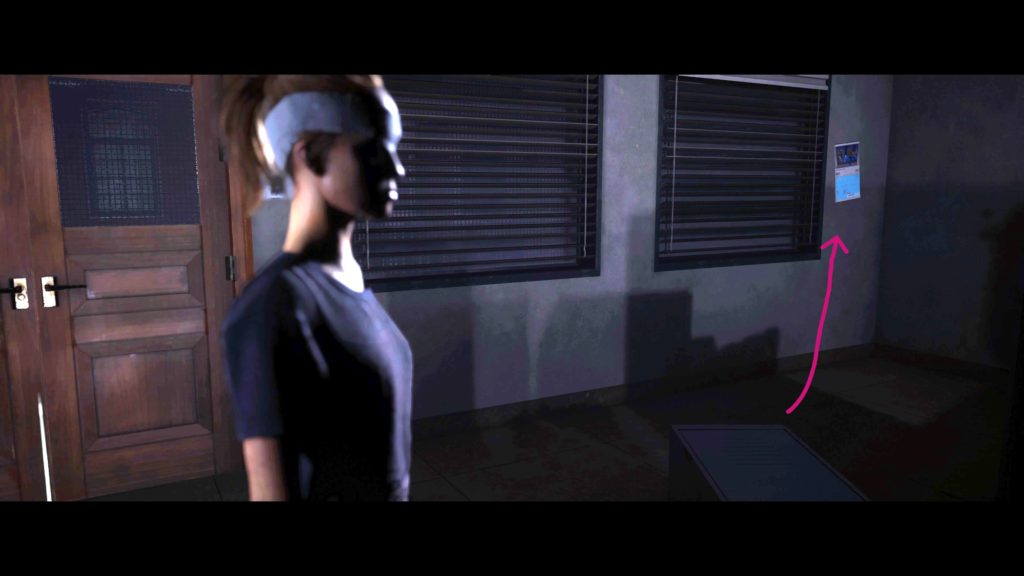
Exit the classroom and head up the stairs immediately on your left. At the top of the stairs, turn right and inspect the couch to receive the Inscribed Jewelry clue.
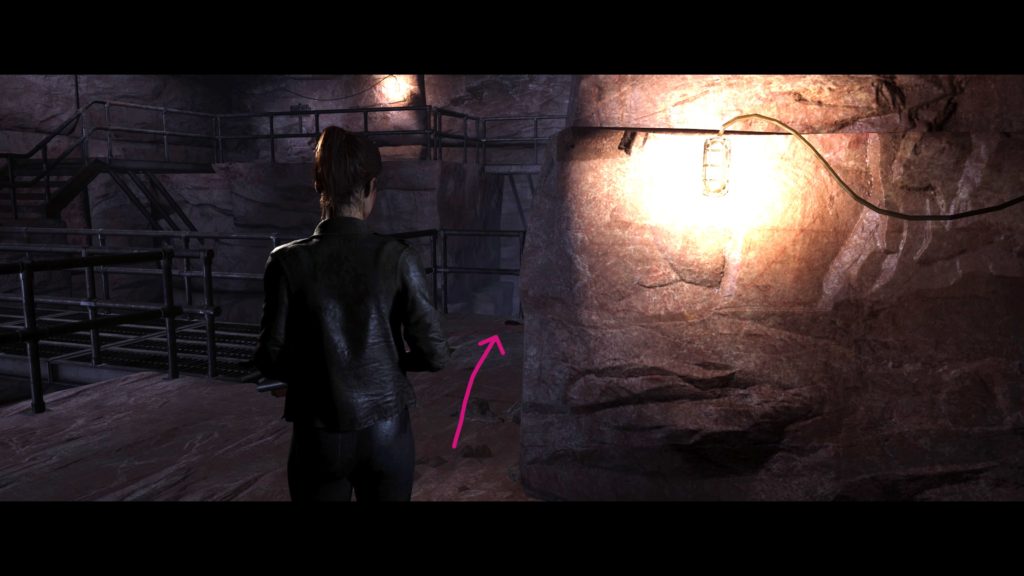
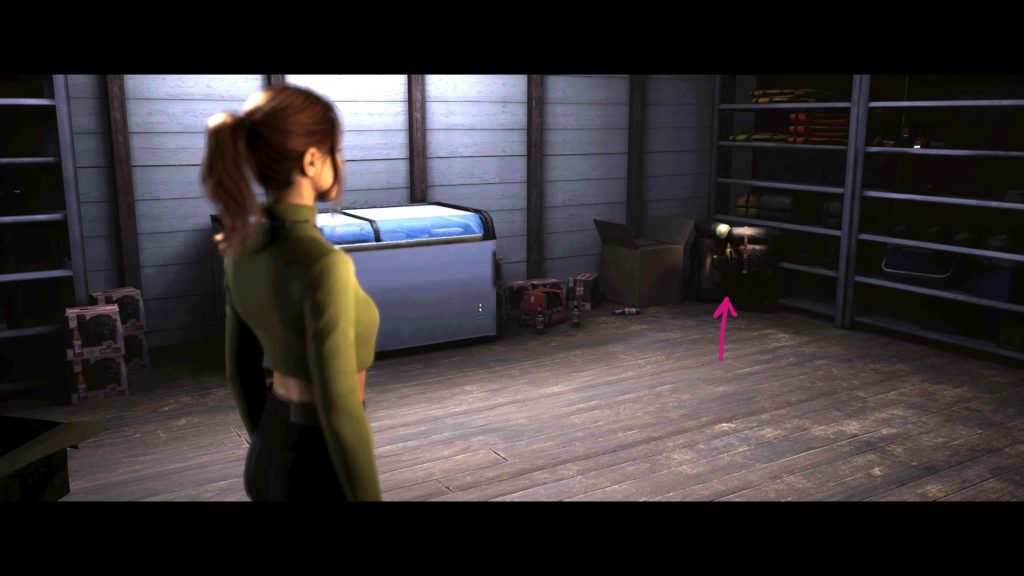
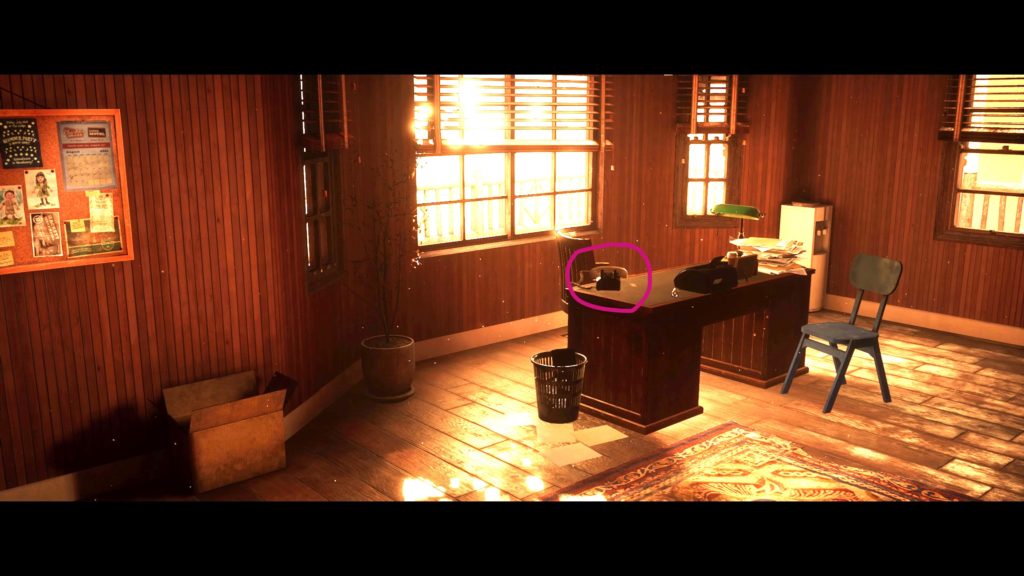
Head across the floor to the other side and inspect the cardboard box to find the Trail Cam Footage evidence.
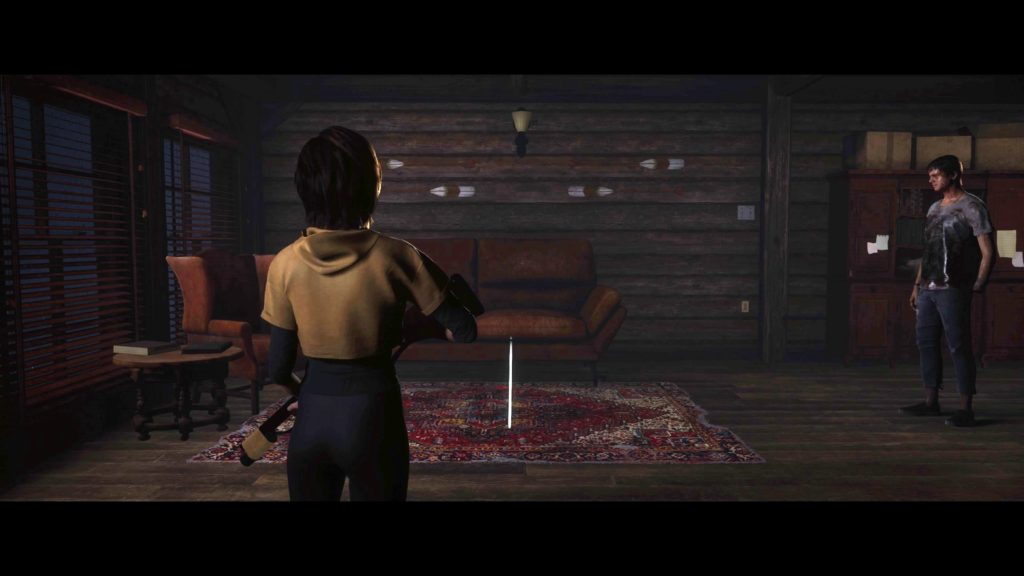
Return to the portrait.
Keep Looking
Prepare for Attack
Run
Wait
Beam
Window
Smash X
Run
Hide
Investigate
Run
Press R2 to shoot the werewolf (kills Caleb Hackett)
For the next scene, you’ll be in the car.
Inquisitive “What exactly happened 6 years ago?”
Accusatory “How did you do it?”
QTE: Right
Grab Gun
Take Wheel
Take Cover
Grab Gun
QTE: Down
Determined “Let’s fucking do this”
Bitter “This isn’t the end”
Take Vial
Give to Ryan
Annoyed “You think?”
Probing “Who was she?”
Reflective “That’s why you’ve been hunting him”
Mean “We could just kill Caleb”
Press X to Raise Gun (We didn’t because we need him to kill Travis for the Family Matters trophy.)
QTE: Right (You must miss this QTE if you want Travis to die.)
Press R2 to shoot the werewolf (Silas dies and you’ll receive The White Wolf trophy!)
Below is a walkthrough for Chapter 9 of The Quarry. Please note that your choices, QTEs and collectibles found will impact the story. We highlighted the options we chose during our playthrough in orange. Keep in mind that we kept everyone alive and collected as many collectibles as we could!
The first cutscene is with Dylan and Kaitlyn!
Depressed “No one will treat me the same”
Positive “I guess it is kinda unique”
Curious “Think we missed our shot?”
Reflective “Need some me time”
During the next scene with Abi and Emma, you’ll have the below choices.
Annoyed “Cut it out, Emma”
Curious “Why are you so positive?”
Friendly “Oh, please”
Curious “Is that why you do videos?”
When you’re Laura, you’ll have the below options.
Smash X (this will kill Ma)
QTE: Right (to avoid getting shot!)
Press X to Pull Knife (We DID NOT do this!)
When you gain control of Ryan, head straight ahead, going past the couch and interact with the small table next to the mirror to receive the Kaylee’s Letter evidence.
Head between the couch and the mirror towards the bed to find the Death tarot card.
Interact with the cabinet (aka wardrobe closet) behind the mirror to open then close it.
Also interact with the bed to find a pail with a lovely surprise in it! The door to the right of the bed is locked but you can peer through the keyhole. When you’re ready to progress, interact with the door to the left of the bed.
Block Door
Hide
Under bed
In cabinet
Hold Breath Event (Hold X until there is no red on the screen!)
Smash X (to cause the cupboard to fall thus blocking the door)
Next up you’ll play as Laura and have the below choices.
Hide
Run
Hold Breath Event (Hold X until there is no red on the screen!)
When you gain control of Laura, interact with the wall at the bottom of the stairs straight in front of you to receive the Hunting Trophy Wall clue.
Head up the stairs and go straight across to the room with the desk. In this room, head to the corner with the TV and inspect the wall next to the chair to get the Hackett Family Tree clue.
Exit this room and head to the next room via the hallway. In this room, head straight ahead to the windows and grab The Sun tarot card.
When you’re ready to proceed, approach the door to trigger a cutscene. Laura will get shot but it will not kill her since she is becoming a werewolf.
QTE: Left
QTE: Left
QTE: Left
Attack
Run
Smash X (Pa will die)
You’ll play as Ryan next.
QTE: Left
QTE: Right
Hold Breath Event (Hold X until there is no red on the screen!)
Press X to Stab
Sympathetic “It’s not your fault…”
Mocking “I didn’t want to say it…”
Accept
Decline
Press X to Pull Away (We did not do this because we wanted Ryan to live!)
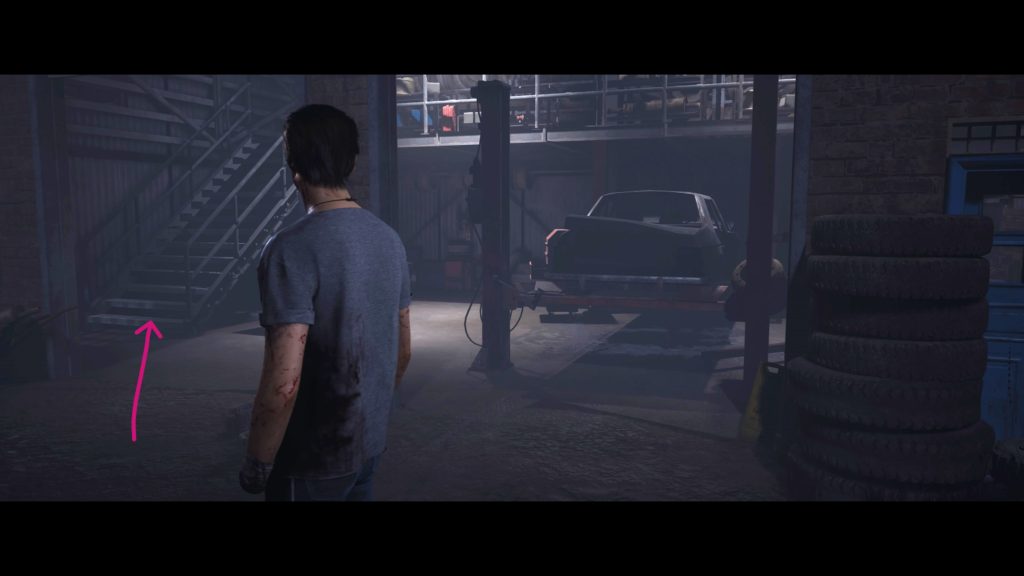
The next scene takes place in the Scrapyard with Dylan and Kaitlyn. When you gain control, head to the garage on the right side. Once in the garage, head up the stairs and follow the path to the end to find the Scrapyard Notice clue.
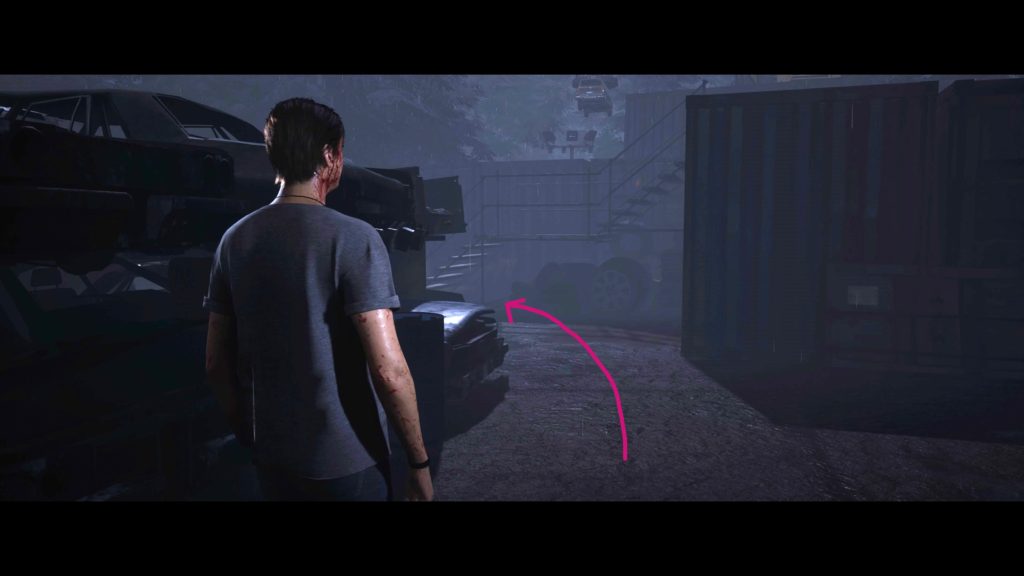
Head back downstairs and press the button on the table in the garage to make the metal gates open. Head inside this area to find multiple paths. Take the path directly in front of you. A brief cutscene will trigger involving a light overhead breaking. When this does, look directly in front of you to find a metal staircase.
Take the stairs up then turn left. Take another left in front of the container to find the Judgment tarot card.
Turn around and go around the container to find a set of stairs. The yellow crane will be directly in front of you. Take them down then turn left and look for a green sign to get the Discarded Signage clue.
Once you have all the collectibles, approach the stairs leading up to the yellow crane to trigger a cutscene.
Anxious “Can I have the gun?”
Encouraging “Watch my back”
Warn Kaitlyn
Lift car
QTE: Up (Dylan will raise the car with Kaitlyn in it)
Slam Car
Sound Horn
Smash X (Dylan lights the blowtorch)
QTE: Left (Dylan burns the werewolf)
Smash X (Dylan drops car on werewolf)
When you gain control of Abi, head straight ahead and take a right. Hug the right wall to find The Hierophant tarot card in front of the stairs.
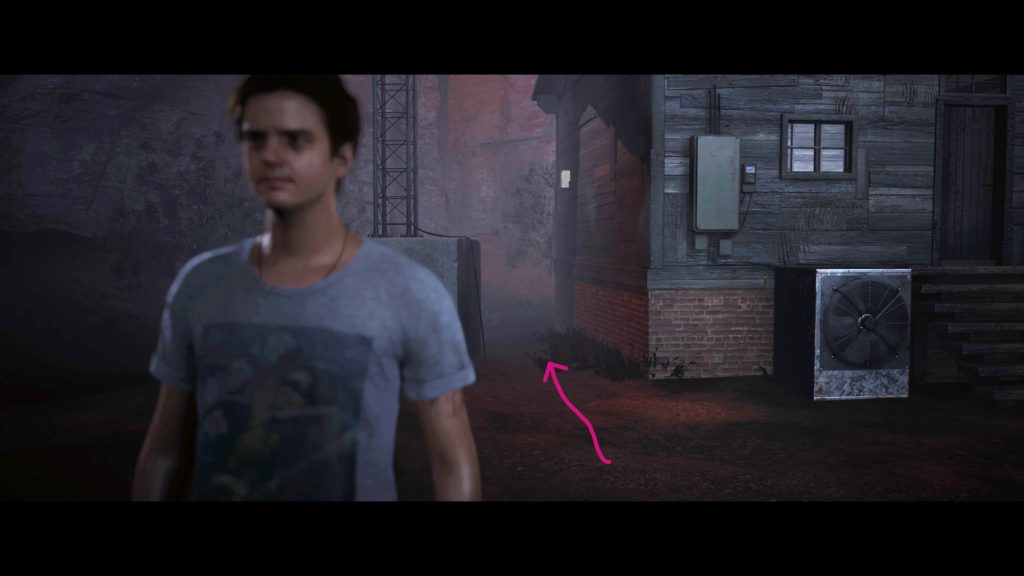
Turn around and head away from the stairs. Go straight to the fuse box next to Emma. It is directly across from the stairs. Interact with it to find some Silver Shells.
Next, head up the ladder.
The next scene is with Laura and Ryan. Head forward to trigger some cutscenes.
Press R2 to shoot the werewolf (Chris Hackett dies)
Mean “In what world would I help you?”
Suspicious “Why should I trust you?” (You’ll earn the Above the Law trophy for Travis and Laura agreeing to work together.)
The scene will cut out to the old woman. This time it’s different when she sees The Hierophant tarot card. It will trigger a cutscene that happened in the past. Be prepared for a QTE event!
Below is a walkthrough for Chapter 8 of The Quarry. Please note that your choices, QTEs and collectibles found will impact the story. We highlighted the options we chose during our playthrough in orange. Keep in mind that we kept everyone alive and collected as many collectibles as we could!
First up for this chapter is a scene in the pool house!
Commanding “I said shut up!”
Uncertain “Kaitlyn, what do I do?”
Unconvinced “All this over a poem?”
Curious “You said you heard a woman”
Suspicious “What are you doing?”
Aggressive “I’ll shoot you”
Guarded “What makes you think I know?”
Mean “I wouldn’t tell you”
Sarcastic “Have you thought about not killing him?”
Compassionate “Maybe there’s another way”
Friendly “Chris has nothing to do with this”
Aggressive “No way you’re going alone!”
Suspicious “This doesn’t feel right”
Inquisitive “Have you been there?”
Provoking “I should ask you the same thing”
Reflective “No one knows anybody”
Angry “Whose side are you on?”
Compassionate “I get it, he’s your friend”
When you gain control of Laura, head to the other side of the lake away from the stairs to find the Miner’s Lunchbox clue.
Next, make your way to the left side of the entrance of the stairs to find the Old Quarry Tools clue.
Head on up the stairs and follow the path forward. There will be a brief cutscene where the railing falls down. Keep heading forward a short way, hugging the left side, to find The Lovers tarot card in the nook just before the tall set of stairs.
Head up the stairs to trigger a cutscene.
QTE: Right (for Ryan to catch Laura)
Head up the stairs and approach the large rock column in the path. On the left side of it just before then next metal walkway, pick up the Scarred Flesh evidence that is on the ground.
Keep pressing forward until Ryan and Laura start talking.
Patient “You know that’s not what I meant”
Inquisitive “What box would that be?”
Smash X
After smashing X, you’ll head into a tunnel. The Wheel of Fortune tarot card option will automatically pop up. Grab it!
When you’re ready to head forward, interact with the door! The scene will switch to Kaitlyn.
Dismissive “We have to keep moving”
Honest “My bad…”
Mean “Got something better to do?”
Encouraging “I need you”
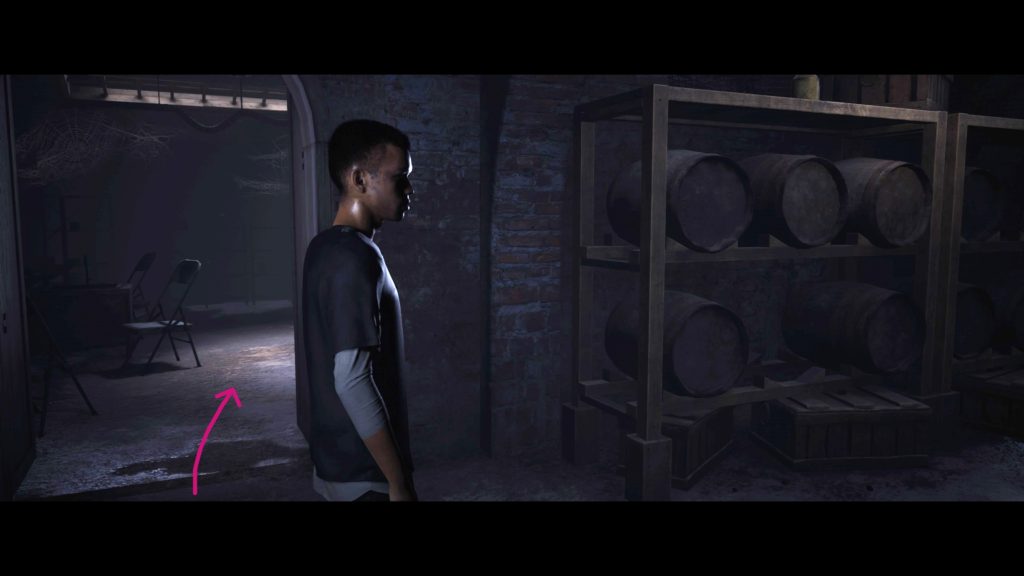
After you gain control of Ryan in the basement, immediately turn left and enter a side room. Hug the right side to find The Empress tarot card.
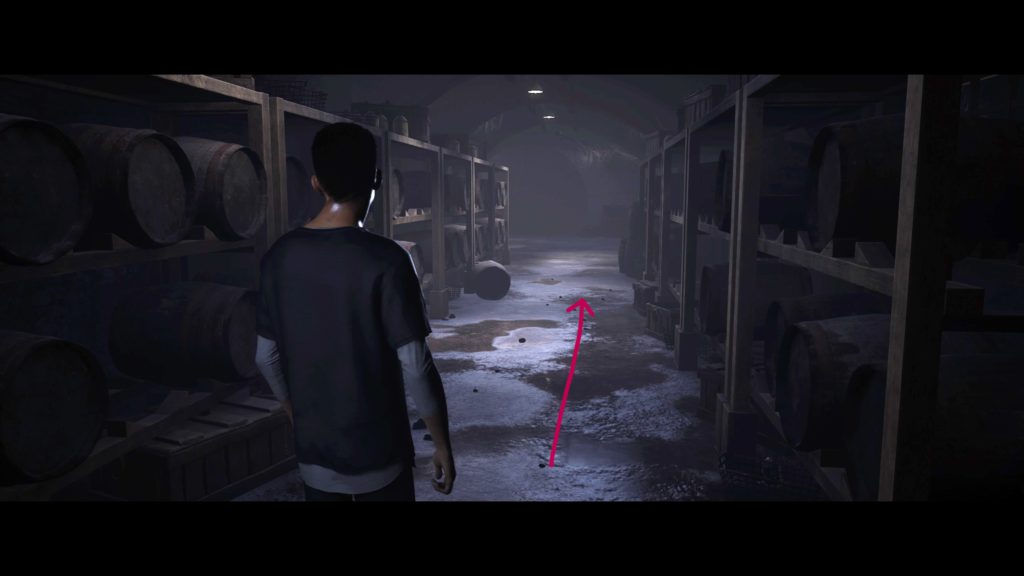
In this same room, interact with the distillery machine to find the Rum Still clue. Backtrack to where you started and follow the path straight to find The Emperor tarot card.
When you’re ready to continue, approach the red tunnel.
QTE: Down (to avoid slipping)
Press X to open cage (We didn’t because the cage is electric!)
Press X to Stop Laura (Otherwise she’ll shoot Nick)
Help Jacob
Leave Jacob
Breaker 1
Breaker 2
Breaker 3
Breaker 4
Continue
Breaker 1
Breaker 2
Breaker 3
Breaker 4
Jacob will be released from the cage and the chapter will conclude! Back to the old woman you go! Choose to either move on or see more it does not matter.
Below is a walkthrough for Chapter 7 of The Quarry. Please note that your choices, QTEs and collectibles found will impact the story. We highlighted the options we chose during our playthrough in orange. Keep in mind that we kept everyone alive and collected as many collectibles as we could!
Press X to Call Out? (We didn’t because we figured it would do no good since we’re captive.)
Compliant “Laura Kearny”
Angry “Eat shit”
Angry “I’m no saying shit”
Compliant “Fine”
Annoyed “That sheriff’s badge doesn’t mean a lot”
Intrigued “Okay sheriff”
Pleading “Please stop trying to intimidate me”
Angry “Stop fucking around”
Press X to Lash Out? (We chose not to! Figured it wouldn’t do much good. Either way, he’ll just take you back to the cell. If you do lash out, the cop won’t like you.)
Concerned “Are you okay?”
Dismissive “Screaming isn’t going to help”
Disappointed “I was hoping you might know”
Suspicious “He wanted me to confess”
Sarcastic “Don’t need your permission”
Compliant “Sorry sir”
Worried “Leave him alone!”
Stern “Calm down Max”
When you gain control of Laura, head straight ahead about half way to the bed then turn around (like you’re heading back to the bars) for the camera angle to change. You’ll be able to grab The World tarot card! Next, inspect the wall on the right to receive the Scrawled Limerick clue. (You might have already gotten this clue the first time you explored the cell!)
When you’re ready to progress, interact with the wall to the left of the bed then interact with the bed.
Fearful “We’ll answer your questions”
Aggressive “What’s that supposed to mean?”
Serious “Are you okay?”
Playful “How did it go?”
Suspicious “Some kind of set-up”
Reflective “He’s not acting like a kidnapper”
Encouraging “This isn’t forever”
Frustrated “Lighten up”
Empathetic “I’m sorry, Max”
Sarcastic “Maybe, Sorry I lied to you?”
Aggressive “Ryan, shut the fuck up”
Calm “You want answers?”
Reckless “We’ve go to escape”
Curious “What if we get on his good side?”
Resigned “Escape is the only way”
Optimistic “I think we should try”
Understanding “We’ve been awful”
Skeptical “Really?!”
Press X to Call for Help? (We chose not to because we wanted her to see him turn.)
Clinical “Tell me what you’re feeling”
Compassionate “I’m here”
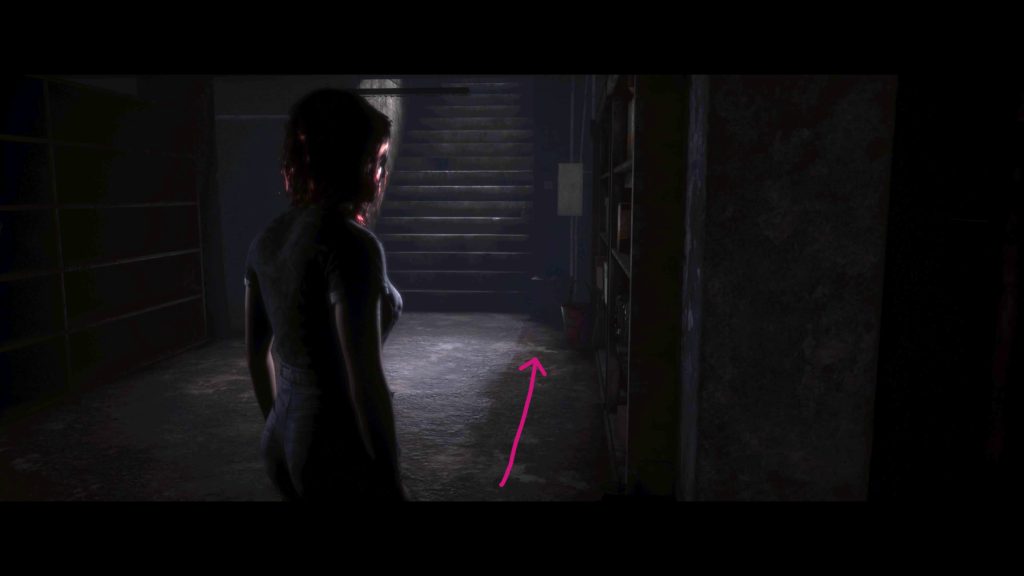
When you gain control of Laura, exit the cells into the main room of the police station. Go through the tables to find The Chariot tarot card.
Head up the staircase to the second floor. Head into the first room on the left and inspect the card on the bulletin board. (Need this for the computer password downstairs.)
Exit this room and continue down the balcony to the next one on the left. In this room, inspect the Charred Sheriff’s Badge clue on the cardboard box.
Exit this room and head to the next one. Interact with the locker in this room to find a syringe.
Also in this room face the door then head to the right to find a calendar on the wall. Inspect it! (Need this for the computer password downstairs.)
Head downstairs then go up the small stairs then look in the corner of the room to find the Cease & Desist Letter evidence.
Head into the office across from this clue and interact with the computer. You’ll receive the Bizarre Yet Bonafide Podcast clue. You’ll also receive the Bizarre Yet Bonafide trophy! With all the collectibles found, return to your cell. On the left side of the bed, interact with the wall to hide the syringe. When you’re ready, interact with the bed.
Go to sleep
Continue looking
Honest “I won’t leave Max”
Determined “We’ve got unfinished business”
Curious “How is your family involved?”
Confident “Let’s end it”
Press X to Take Gun? (We chose NOT to do this as we wanted to hear the rest of the story.”
Confused “Why didn’t you kill it?”
Concerned “Am I infected?”
Cynical “I don’t believe you”
Encouraging “So what’s the plan?”
Resigned “I believe him”
Apprehensive “I’m not sure”
Empathetic “That wasn’t you”
Resigned “It’s not like you’re in control”
QTE: Up (to catch the falling cup so they don’t hear you)
QTE: Left (to stab Travis with the syringe)
Anxious “Not until Chris is dead”
Reassuring “Hell yeah we are”
Honest “They’re not there now”
Reassuring “They’re probably fine”
Show Bite
Hide Bite
Pleading “Please let me go!”
Threatening “I’ll call the cops”
With that, the chapter concludes! The old woman will greet you again. Make you’re selection to move on or see more.
Below is a walkthrough for Chapter 6 of The Quarry. Please note that your choices, QTEs and collectibles found will impact the story. We highlighted the options we chose during our playthrough in orange. Keep in mind that we kept everyone alive and collected as many collectibles as we could!
When you gain control of Jacob, turn slightly to your left and go up the wooden stairs.
When the path splits, take the right one and head straight ahead to the end to find a camera. Interact with it to obtain the Memory Card clue.
Head down the nearby stairs and swing left. Head to the wooden support beams to find the Justice tarot card.
Next, continue down the path to trigger a cutscene.
Startled “You scared me!”
Delighted “Am I glad to see you!”
Apologetic “Shit, sorry!”
Defensive “Hey, I’m trying to keep us alive!”
QTE: Right
Hide
Run
Hold Breath Event (Hold down X until the screen is no longer red)
Pull free
Pry open
The scene will switch back to Kaitlyn at the pool now.
Compassionate “You okay?”
Rational “Should we do something?”
Press X to Intervene?
Help Nick
Comfort Abi
When you’re Abi, you’ll be able to explore the pool house. Head past the row of sinks to the right of Nick then turn left to find the showers. The Moon tarot card can be found in the third shower.
Once you get the card, leave the shower stall and head left to the end of the hallway. In front of the window, interact with the locker to receive the Spooky Drawling clue.
Once you get the clue, turn around and head straight ahead hugging the left wall to find the Campers Photo clue on the bulletin board by the window.
With everything explored, return to Nick and talk to him.
Calm “I’ve really enjoyed spending time with you”
Aggressive “I don’t know what’s going on with you”
Compassionate “I do like you”
Apprehensive “You’re different”
Press R2 to shoot him (He survives and so does Abi!)
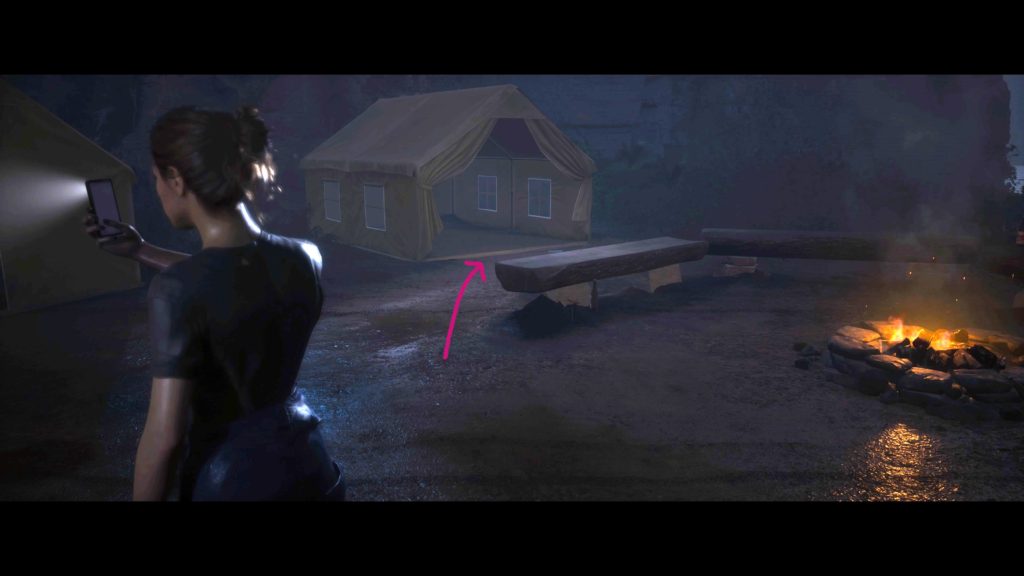
Next up is Emma! When you gain control, look right to find two tents. Head in front of the open tent to find the Kid’s Letter Home clue!
Progress down the path which forks. It doesn’t matter which path you take as they both have no collectibles and lead to the same place. At the end of the path atop the hill a cutscene will trigger.
Press X to run (We DID NOT because we wanted to see what would happen with the hunters.)
The scene will switch back to the pool house.
Anxious “I just don’t get it”
Reassuring “You did what you had to”
Suspicious “Who is it?”
Afraid “Go away”
Interested “I’m gonna open the door”
Suspicious “I don’t trust her”
With that, this chapter ends. The lady once again greets you and reviews the tarot cards. Decide if you want to move on or see more.
Below is a walkthrough for Chapter 5 of The Quarry. Please note that your choices, QTEs and collectibles found will impact the story. We highlighted the options we chose during our playthrough in orange. Keep in mind that we kept everyone alive and collected as many collectibles as we could!
During the scene with Nick and Abi, you’ll have the following choices:
Grateful “I’m okay”
Compassionate “How are you?”
Press X to Speak Up (We did not do this as we wanted to stay quiet!)
Reassuring “We’ll be fine, just be careful”
Cautious “Don’t go it’s dangerous”
When you’re Kaitlyn, you’ll have the below choices.
QTE: Right
QTE: Left (We didn’t do so the big guy can throw blood on her to protect her.)
QTE: Left (We didn’t do so the big guy can throw blood on her to protect her.)
Shoot the big guy holding the table so he drops a clue you can pick up later!
When you’re with Nick and Abi again, you’ll have the below choices.
Insecure “I’m pouring my heart out here”
Confident “Don’t worry about Kaitlyn”
Intrigued “I thought things would go further”
Bitter “You’re hard to read”
Hide
Run
Hold Breath Event! (Hold X until the red on the screen stops!)
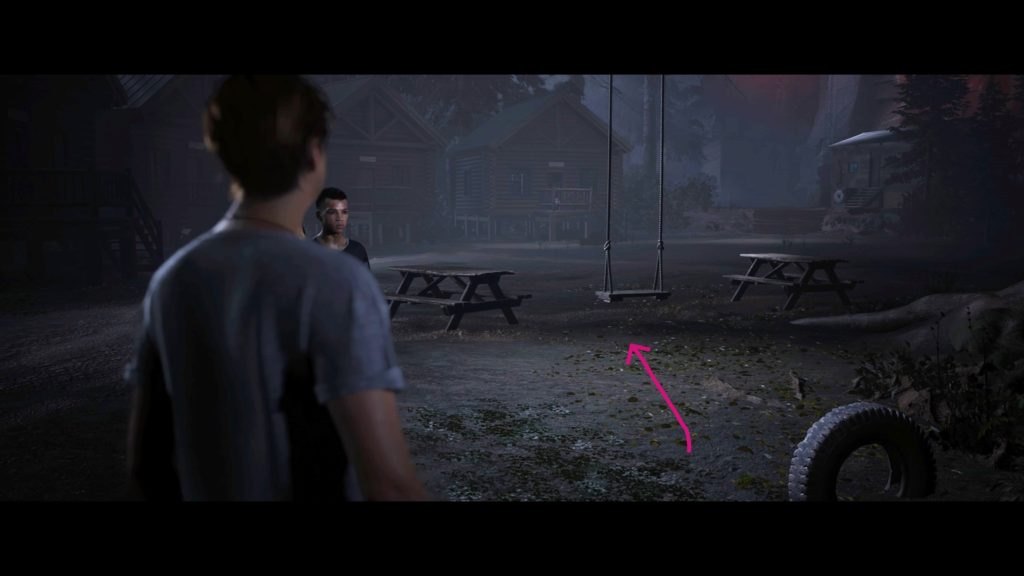
Follow the path through the forest. After crossing the little bridge leading to the cabins, stick to the left side to find a bear trap near a gate. Interact with it to find the Triggered Bear Trap clue.
Next, head toward the swing hanging from the big tree in the middle of the cabins and walk between the 2 picnic tables to have the camera angle change revealing The Devil tarot card.
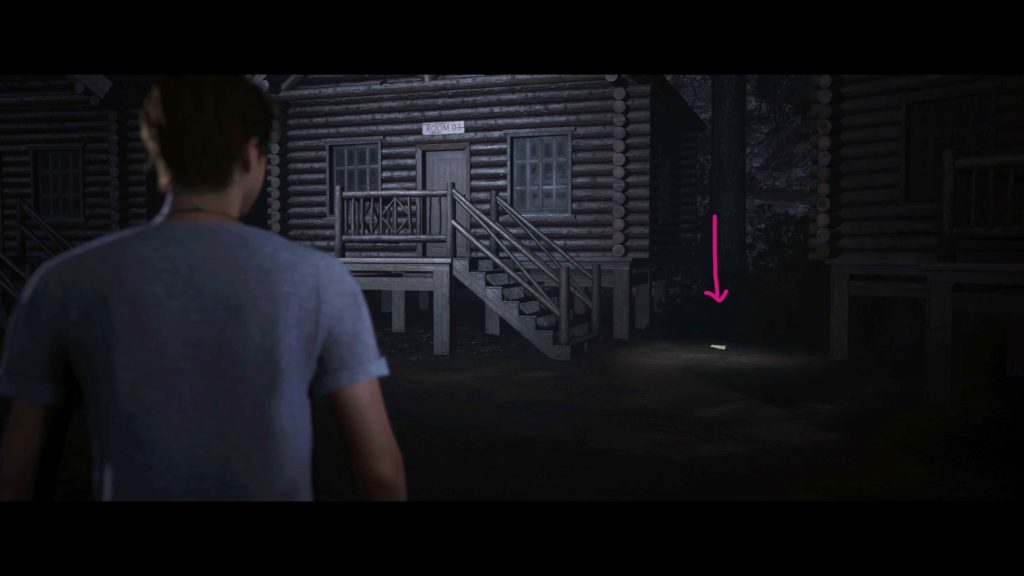
Head across the way Room 03 to find the Letter to Camp Nurse clue on the ground next to the cabin.
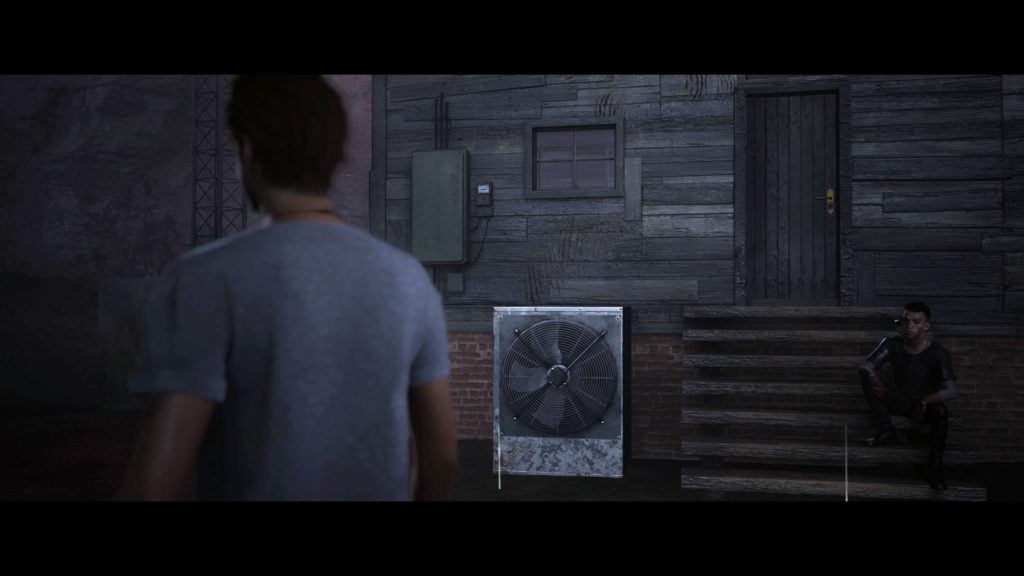
Follow Ryan past the ring of cabins to the Radio Hut but don’t go inside just yet. To the left of the door, interact with the claw marks on the wall just above the silver fan. You’ll receive the Claw Marks evidence.
Before interacting with the door of the Radio Hut, swing left around the corner of the building to find The Hermit tarot card.
When you’re done exploring, speak with Ryan.
Uncertain “Gimme a minute”
Confident “All good”
Dismissive “Don’t think it’ll help”
Interested “How do you know this stuff?”
Reassuring “They might not mean us”
Concerned “That’s totally us”
Aggressive “Fuck you!”
Apologetic “I wasn’t sure”
Press R2 to Shoot (We didn’t do this!)
Desperate “Anything we can do?”
Aggressive “We gotta kill it”
Supportive “Do it!”
Apprehensive “We gotta kill it”
Urgent “Hurray!
Calm “Take a breath”
Desperate “Okay. Just hang on”
Terrified “No way!”
Shotgun
Chainsaw (You’ll earn the Just a Flesh Wound trophy!)
Uncertain “I don’t know”
Reassuring “We’re okay for now”
With that the chapter concludes. As always you’ll get to talk with the woman again.
Below is a walkthrough for Chapter 4 of The Quarry. Please note that your choices, QTEs and collectibles found will impact the story. We highlighted the options we chose during our playthrough in orange. Keep in mind that we kept everyone alive and collected as many collectibles as we could!
When Ryan is with Nick, you’ll have the below choices.
Press X to Apply pressure?
Smash X
Frustrated “You’re an idiot”
Dismissive “Why”
Press X to Call out
Press R2 to shoot (We chose not to shoot because it’s Jacob!)
Press R2 to shoot (We chose not to shoot because it’s Jacob!)
Questioning “What happened to you?”
Concerned “Where’s Emma?”
Press X to Let Go (We did not choose this as Jacob wasn’t the best shot earlier.)
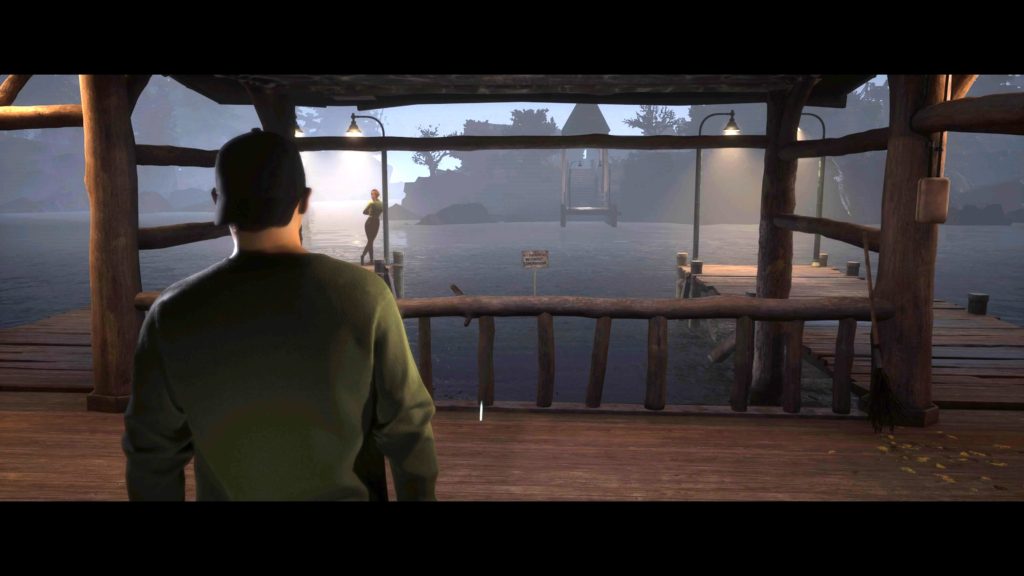
When you’re Emma, head down to the end of the dock that’s behind you. A quick scene of someone using binoculars across the lake will play. When it concludes, keep heading to the end of the dock.
When the camera angle changes, you’ll be able to grab The Magician tarot card. Keep pressing forward. As you approach the tall staircase leading up, a cutscene will trigger. At this fork in the road, head to the path on the right of the stairs.
Walk forward to get the below choice.
Aggressive “Actually no, we’re not cool”
Reflective “It’s better as a memory”
Follow the path a short ways hugging the left side to find a campfire across from a ladder. Inspect it to receive the Box of Matches clue.
Backtrack to the tall stairs instead of interacting with the ladder and take them up. Follow the path until a cutscene triggers with the below choice.
Annoyed “Jacob’s problem…”
Compassionate “I hope Abi’s okay”
Continue all the way to the treehouse. Before interacting with the door, interact with the window to the left of the door to receive the Police Car Keys clue.
Now interact with the door to head inside the treehouse.
Open Trapdoor
Search Bag
Use Bear Spray
Use Taser
Press X to Take Photo (In taking the photo you’ll receive the Attack Photo evidence.)
QTE: Down
Smash X
Run
Spray
QTE: Up
QTE: Up
Block Door
Use Trapdoor
Use Bear Spray
Use Trapdoor
QTE: Down
QTE: Down
Smash X
Don’t sit back and relax quite yet once it switches over to the other Hacketteers! When the door opens to the lodge, quickly spam the X button to receive the Strength tarot card!
You’ll also have the below choices!
Optimistic “I hope they’re gonna be okay”
Cautious “Do you think it has their scent?”
Hopeful “That’s good news!”
Paranoid “You don’t know that”
Determined “Call the cops”
Curious “Do we have to be specific?
Dismissive “You sure you didn’t hang up?”
Suspicious “That’s weird”
Aggressive “You gotta be crazy”
Calm “Only temporary”
Defensive “Does she need it?”
Aggressive “Give her your gun”
Keep Gun
Give Gun
When you’re Emma again, you’ll have the below choices.
Reel Slowly
Reel Quickly
Press X to Speed Up? (We did not press this as we did not want it to make a lot of noise!)
With that, this chapter will conclude! The old woman will speak to you. Select either option.
Below is a walkthrough for Chapter 3 of The Quarry. Please note that your choices, QTEs and collectibles found will impact the story. We highlighted the options we chose during our playthrough in orange. Keep in mind that we kept everyone alive and collected as many collectibles as we could!
When you gain control of Abi, take a left at the small side path.
When the camera angle changes, continue forward a short ways then take another left at the next path.
A brief cutscene will trigger and a lady will say “They took everything from me”. Head straight ahead to find The Tower tarot card.
Continue heading straight to trigger another cutscene.
Press X to Call Back
Evasive “Too much smoke”
Honest “Got a little intense”
Cautious “About what happened…”
Direct “So you and Emma…”
Kiss
Run to Camp
Help Nick
QTE: Up
Hide
Run
Smash X
Press X to Climb Tree? (WE DID NOT! We didn’t want to get trapped up in the tree. Instead, she’ll hide behind a rock.)
Breath Holding Event! Hold X down until the screen is no longer red
When you gain control of Jacob, move forward and the camera angle will change. Grab The Star tarot card. Across the the tarot card, look on the small wooden table to find the North Kill Gazette clue.
Across from the table look between the two docks (Emma is standing on the one on the left) to find the No Swimming Sign clue.
In the Boathouse, head past all the tables to find the Old Camp Photo clue tacked on the wooden beam.
When you’re ready, head up the stairs and interact with the empty towel rack. Next, head back down to Emma for some choices.
Enthusiastic “Cannonball!”
Accusatory “Ask Nick”
Press X to Splash
Sentimental “I don’t want this to end…”
Flirt “Take a photo of me”
Dive In
Help Abi
Grab
Surface
QTE: Up
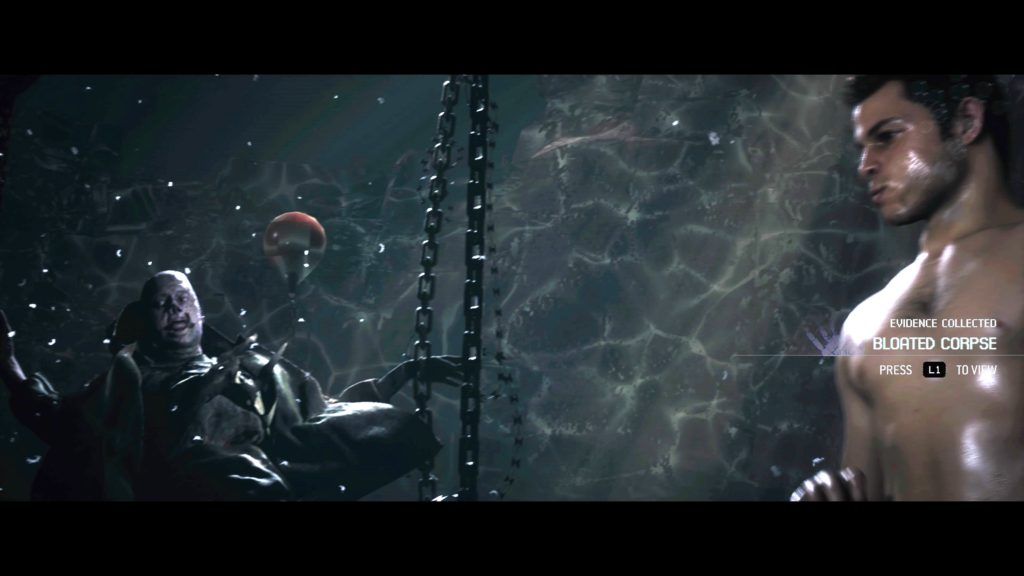
On the way up, Jacob will bump into the Bloated Corpse evidence.
Pull
Detangle
Impatient “What happened?”
Worried “Where’s Nick?”
Reluctant “You should do it”
Assertive “I’ve got this”
Take Shortcut
Follow Path
QTE: Up
QTE: Up
QTE: Left
QTE: Smash X
Take Shortcut
Follow Path
QTE: Up
QTE: Left
QTE: Left
QTE: Up
QTE: Right
Shout?
Press R2 to shoot (He doesn’t die but just takes the hit and walks away.)
When you’re Jacob, you’ll have several options.
Press X to Call Out? (We didn’t as the noise didn’t seem human!)
Smash X
Threatening “Who the fuck are you?”
Pleading “Let me down”
Press X to Throw Dirt? (We didn’t. He’ll smear blood on you, which will protect you from the monsters.)
With that Chapter 3 concludes! You’ll see the older woman again.
Below is a walkthrough for Chapter 2 of The Quarry. Please note that your choices, QTEs and collectibles found will impact the story. We highlighted the options we chose during our playthrough in orange. Keep in mind that we kept everyone alive and collected as many collectibles as we could!
During the first scene with Jacob and Emma, you’ll have the choice to kick down the door.
Kick it
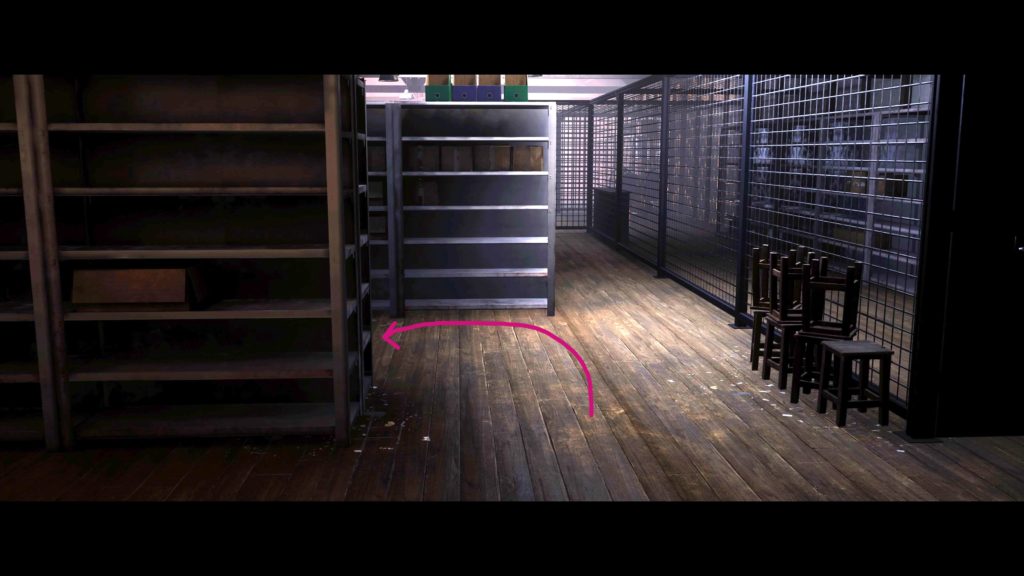
Once you gain control of Emma in the Camp Store, head straight ahead and look on the backside of the shelves to your left to find the Damaged Memorabilia clue.
Keep following the maze until you find a shelf where a clown mask is in a box.
Scare Jacob
Leave Props
It doesn’t matter what you choose here as he doesn’t get scared. Keep making your way to the end of this large area. Just before the door, there will be a large wooden table. Look on the shelves to find the Lodge Renovation Plans clue.
After you’re done exploring, interact with the door.
Kick Door
Call Jacob
Once inside, head to the right of the freezer to find the Torn Bags clue.
To the right of the camping bags, interact with the gun on the floor. You’ll receive not only the gun but a code as well. Exit the room then hug the left side of the room. There will be an opening in the cage that you can go through. Do so then head straight down to bypass the maze of shelves. Unlock the door then continue to the entrance of the Camp Store.
Take Fireworks
Leave Fireworks
Affectionate “What are butterpops?”
Judgmental “Aren’t those for kids?”
When you’re in Mr. H’s office charging the phone, you’ll have a choice.
Dismissive “Let me guess…”
Friendly “What are you listening to now?”
When you gain control of Dylan, interact with the gun on the wall.
You’ll then be presented with a choice.
Serious “What if we need it?”
Playful “What if bears crash the party?”
Next, interact with the phone on the desk next to the trash can. You’ll be presented with another choice.
Flirt “So I can ask you on a date”
Sarcastic “Nice for somebody to call you”
Now it’s time to interact with the picture on the desk to receive the Family Photo clue.
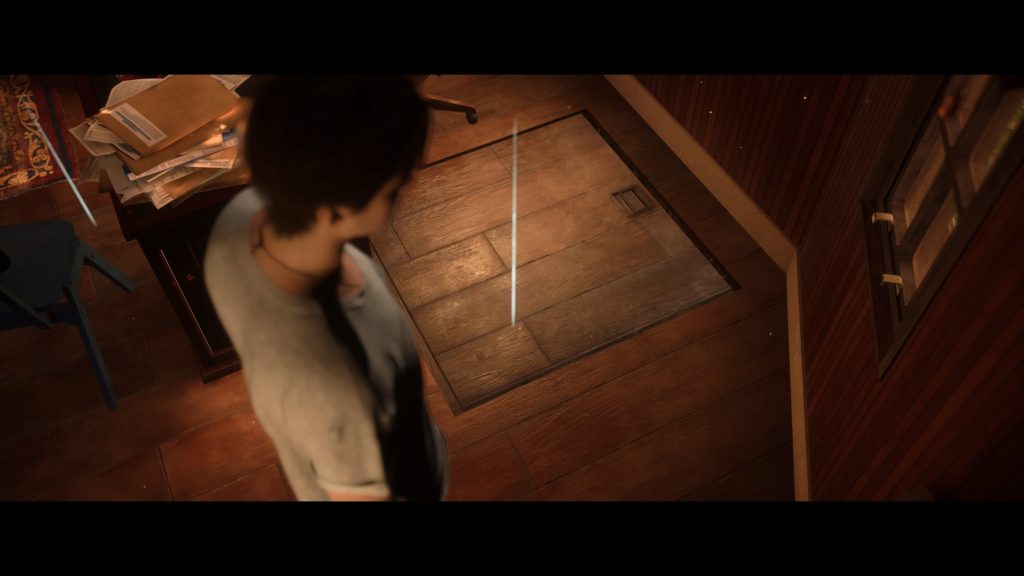
Afterwards, interact with the trap door behind the desk.
You’ll get some options.
Playful “Secret sex dungeon”
Suspicious “Guess it goes to the basement”
Shut Trapdoor
Climb Down
Playful “Ring ring!”
Dismissive “He’ll never know”
After you go through all of the above options, you’ll receive the Counselor’s Ledger clue. With everything explored, interact with the door across from the desk next to the gun. Ryan will then throw you the keys. To catch them, successfully complete the QTE.
QTE: Up
Interact with the closet to find a secret path where you’ll receive the below choice.
Mischievous “So he was looking for bigfoot”
Interested “Maybe he listens to that podcast?”
When you’re done exploring, return to the charging phones and interact with them.
Head to Party
Continue Exploring
Head to the party when you’re ready to proceed. You can choose either path however, you’ll have to play whatever path you don’t choose in a different playthrough to get all the collectibles! This is where you’ll have to decide whether you want to get the Decked Out trophy (collect all tarot cards) or the Meddling Kids! trophy (collect all clues). Both paths are listed below with their collectibles.
Shady Glade (clues)
Rocky Road (tarot card)
Rocky Road
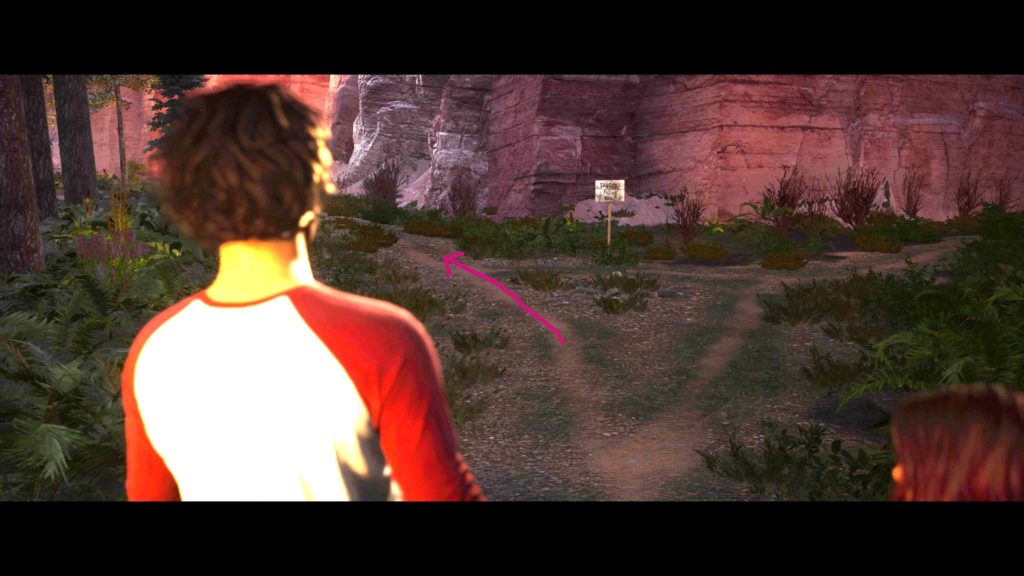
When you reach the sign that says “Danger Falling Rocks” take the left path.
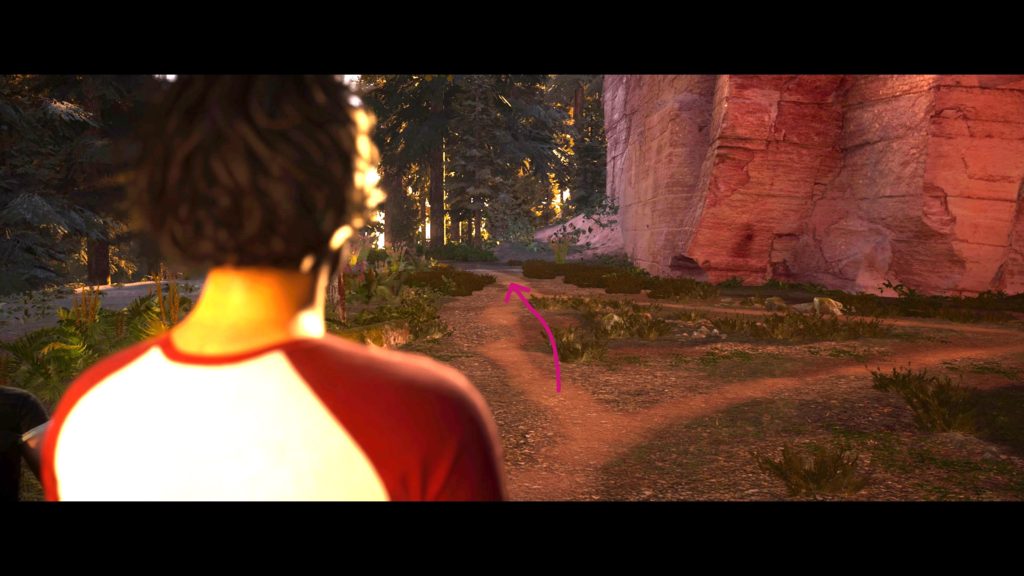
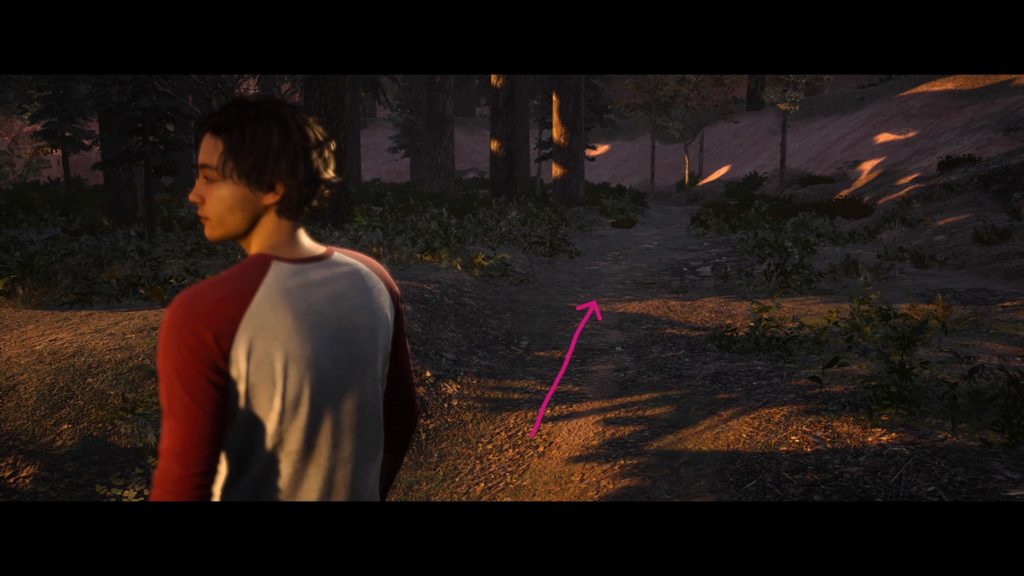
While on this left path, the camera angle will change and you’ll be able to grab The Hanged Man tarot card. Keep pressing forward and the path will split again. Take the left path again.
Eventually a cutscene will trigger.
Pedantic “I wouldn’t call it that, exactly…”
Uncertain “I’m not sure we’re supposed to know”
Head forward, going down some stairs, to trigger another cutscene. (Skip the Shady Glade section and go to “Rocky Road / Shady Glade” section!)
Shady Glade
When you gain control, head to the right side and follow the path closest to the dirt wall. You’ll eventually find the Trail Camera clue!
From the last clue, turn slightly left then follow the main path until you spot a metal box on the right side of the path. Interact with it to receive the Ranger Box clue!
Keep heading through the woods to reach a fence to trigger another cutscene.
Rocky Road / Shady Glade
No matter what path you take (Rocky Road or Shady Glade), you’ll still get to the same cutscene where Abi sits down to draw across from the fence.
Sincere “You’re really good”
Playful “Do me!”
When the baby pig comes out, you’ll have a choice.
X to save Abi
Immediately after there will be a tutorial introducing a breath holding event.
Hold breath by holding X until the red is gone from the screen
Cheerful “Imagine the story…”
Pedantic “It’s actually a boar…”
When you’re Kaitlyn, you’ll have several choices.
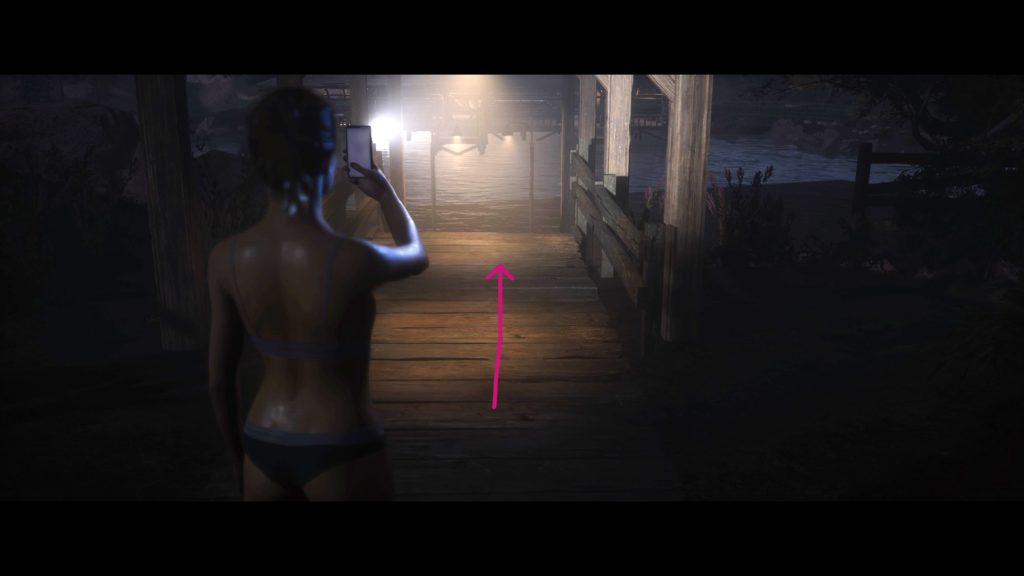
Press X to take a photo where you’d like
Playful “The HOG of Hackett’s Quarry?”
Serious “You both okay?”
Stern “Not leaving you with a gun”
Mocking “Not a great idea”
When Nick and Jacob are talking, you’ll have several choices.
Evasive “How’s things with Emma?”
Hopeful “It was okay”
Shoot the bottles and/or watermelons.
Friendly “Good game”
Gloating “Butterpops theme”
When everyone is sitting around the campfire, you’ll have multiple choices.
Press X to interrupt Abi from answering
Truth “I’m an open book”
Dare “Gimme what you got”
Mischievous “The Hag of Hackett’s Quarry”
Honest “I needed some advice”
Kaitlyn
Jacob
Chapter 2 concludes here and you’ll visit the old woman again.
Below is a walkthrough for Chapter 1 of The Quarry. Please note that your choices, QTEs and collectibles found will impact the story. We highlighted the options we chose during our playthrough in orange. Keep in mind that we are trying to keep everyone alive and collect as many collectibles as we can!
At the vary beginning of the chapter, you’ll be presented with a choice:
Cynical “They’ll get over it”
Reflective “You never know”
When you gain control of Jacob, head to the right of the van to find Emma’s bracelet (path choice) on the ground near the gate.
Next, head to the front of the van and keep following the fence to find the Hunting Notice clue just before the other vehicle.
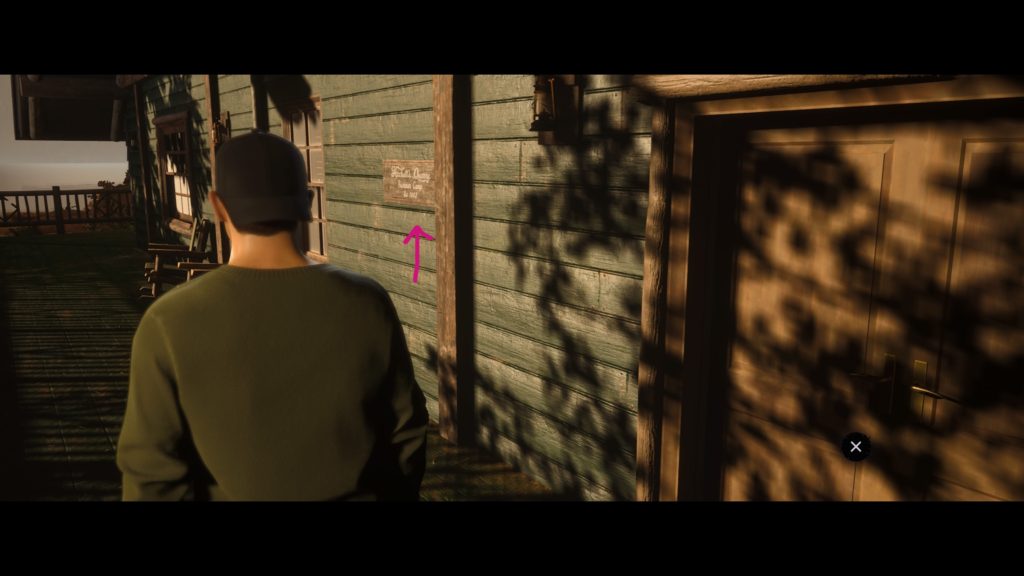
Head up the stairs of the building to trigger a brief cutscene at the door. When it ends, turn left and interact with the plaque on the left side of the door to receive the Camp Plaque clue!
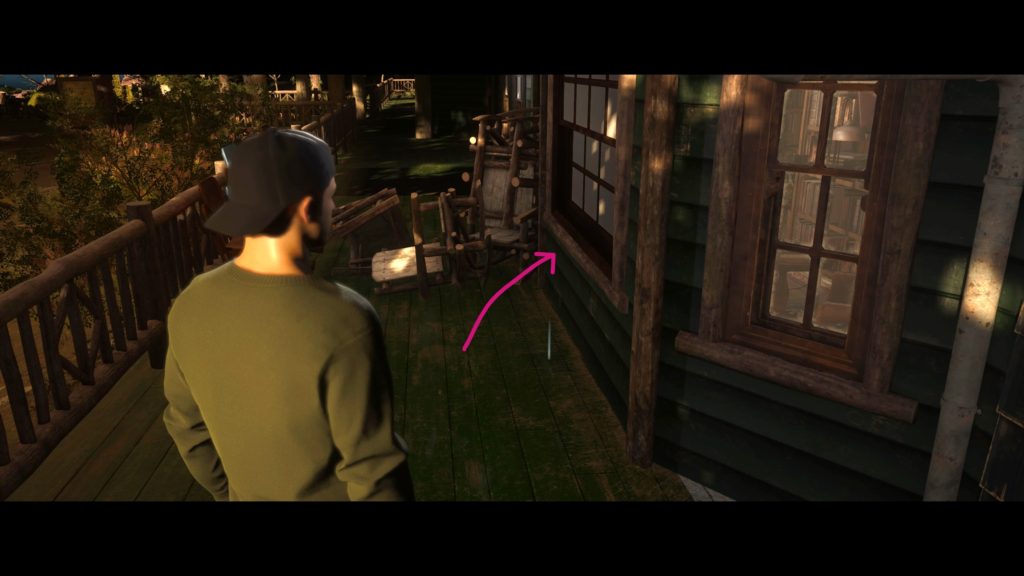
Continue left around the porch and enter the building via the window.
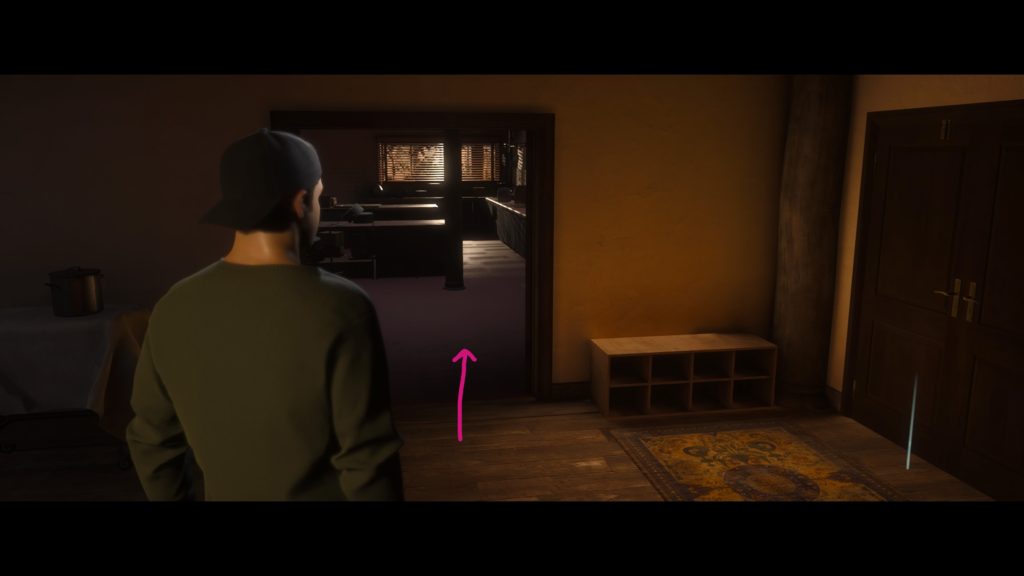
Once inside, head through the room to reach the large dining hall. Hug the right wall to find a door you can unlock. We chose to unlock The kitchen will be right next to this door. Enter the kitchen then grab the Temperance tarot card!
After grabbing the card, exit the room and head straight ahead to the stairs and retrieve the bags. After you touch the bags, a cutscene will trigger and you’ll have to make a choice.
Defensive “Mind your own business”
Playful “What about you?”
Smug “I knew it”
Mischievous “Sexy?”
Defeated “Maybe I like it”
Brave “It’s just a fling”
Break Fuel Line
Steal Rotor Arm
Quickly after, you’ll have the choice to catch the phone the boys throw down to you with a QTE.
QTE: Up
You’ll then have a choice.
Friendly “At least I got some”
Annoyed “Back off dipshit”
When playing as Abigail, you’ll get to high five Emma with a QTE.
QTE: Up
Right after that you’ll have a choice.
Leave Bags
Break In
Once in the cabin, head left of the front door to find Izzy’s stuffed animal on a bookshelf.
You’ll get a choice.
Keep
Leave
Also in this cabin, head to the back left of the cabin to find the Newspaper Headline Scrap clue on the ground underneath the window between the bunk beds.
Leave the cabin then head left to find a building with a radio in it. Approach the crow sitting on the green box on the front left side of the building to scare it away.
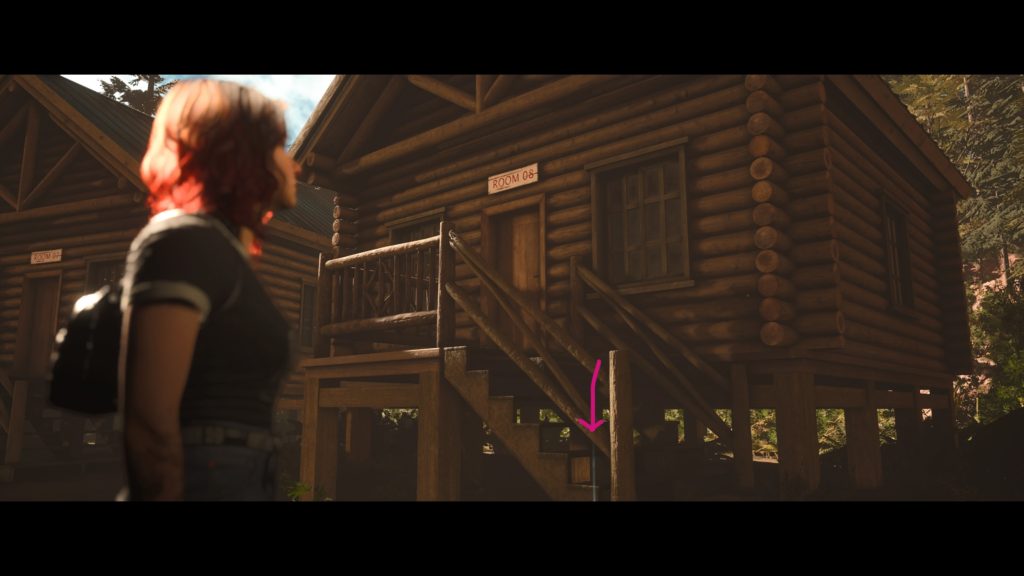
Afterwards, head right to find the Camp Song Recording clue outside of Room 08 at the base of the stairs.
Next, head towards the center of the area. Next to the swing, inspect the tree to trigger the Evidence tutorial and find the Empty Vial evidence.
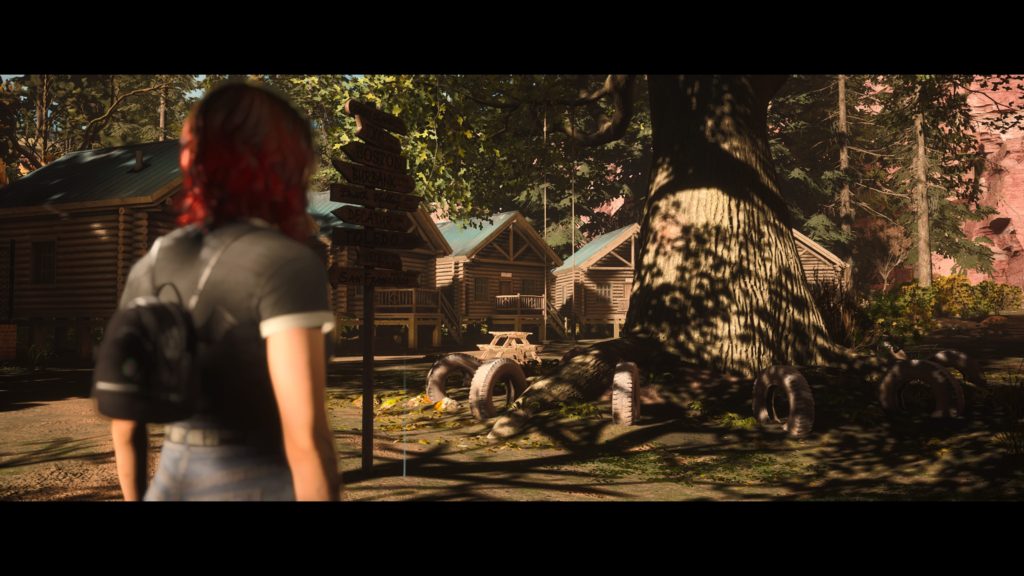
Near the tall tree in the center, you’ll find the directions sign post that is the Information Signpost clue!
After you’re done exploring, approach Emma who is leaning against a golf cart just past a little bridge behind Room 05.
Uncertain “Not just yet…”
Enthusiastic “Let’s do it”
When driving the cart, do the QTE to avoid the rocks.
QTE: Right
On the ride, you’ll have some more choices.
Back to Lodge
Scenic Route
Sarcastic “How could they live without you?”
Supportive “I believe you”
When you regroup, you’ll have even more choices.
Nudge
Protective “Mind your own business”
Friendly “Is it about me?”
Defensive “Better than yours”
Supportive “You should’ve seen the kids”
Understanding “No worries”
Annoyed “No fair!”
Listen to Podcast
Eavesdrop
Concerned “Is everything okay?”
Frustrated “This is important to me”
Apologetic “I didn’t realize”
Indifferent “It was just a little fun”
Inquisitive “Why”
Understanding “I get it”
After the van doesn’t start, Mr. H will hop out and will go around to the front of the van. He’ll then throw the keys to Ryan who can catch them via the QTE.
QTE: Up
Compliant “Yeah, sure”
Uncertain “Seriously?”
Curious “What are you talking about?”
Insistent “We follow Chris’s instructions”
Apprehensive “He did seem freaked out”
Supportive “He was just concerned for us”
Defensive “Someone’s got to give a shit”
Dismissive “Whatever, man”
After this Chapter 1 concludes and you’ll visit the guide/fortune teller again.
This site uses cookies. By continuing to use this website, you are giving consent to cookies being used. For more information on cookies, view our Privacy Policy.OkPrivacy Policy