Below is a walkthrough for Chapter 7 of The Quarry. Please note that your choices, QTEs and collectibles found will impact the story. We highlighted the options we chose during our playthrough in orange. Keep in mind that we kept everyone alive and collected as many collectibles as we could!
- Press X to Call Out? (We didn’t because we figured it would do no good since we’re captive.)
- Compliant “Laura Kearny”
- Angry “Eat shit”
- Angry “I’m no saying shit”
- Compliant “Fine”
- Annoyed “That sheriff’s badge doesn’t mean a lot”
- Intrigued “Okay sheriff”
- Pleading “Please stop trying to intimidate me”
- Angry “Stop fucking around”
- Press X to Lash Out? (We chose not to! Figured it wouldn’t do much good. Either way, he’ll just take you back to the cell. If you do lash out, the cop won’t like you.)
- Concerned “Are you okay?”
- Dismissive “Screaming isn’t going to help”
- Disappointed “I was hoping you might know”
- Suspicious “He wanted me to confess”
- Sarcastic “Don’t need your permission”
- Compliant “Sorry sir”
- Worried “Leave him alone!”
- Stern “Calm down Max”
When you gain control of Laura, head straight ahead about half way to the bed then turn around (like you’re heading back to the bars) for the camera angle to change. You’ll be able to grab The World tarot card! Next, inspect the wall on the right to receive the Scrawled Limerick clue. (You might have already gotten this clue the first time you explored the cell!)

When you’re ready to progress, interact with the wall to the left of the bed then interact with the bed.
- Fearful “We’ll answer your questions”
- Aggressive “What’s that supposed to mean?”
- Serious “Are you okay?”
- Playful “How did it go?”
- Suspicious “Some kind of set-up”
- Reflective “He’s not acting like a kidnapper”
- Encouraging “This isn’t forever”
- Frustrated “Lighten up”
- Empathetic “I’m sorry, Max”
- Sarcastic “Maybe, Sorry I lied to you?”
- Aggressive “Ryan, shut the fuck up”
- Calm “You want answers?”
- Reckless “We’ve go to escape”
- Curious “What if we get on his good side?”
- Resigned “Escape is the only way”
- Optimistic “I think we should try”
- Understanding “We’ve been awful”
- Skeptical “Really?!”
- Press X to Call for Help? (We chose not to because we wanted her to see him turn.)
- Clinical “Tell me what you’re feeling”
- Compassionate “I’m here”
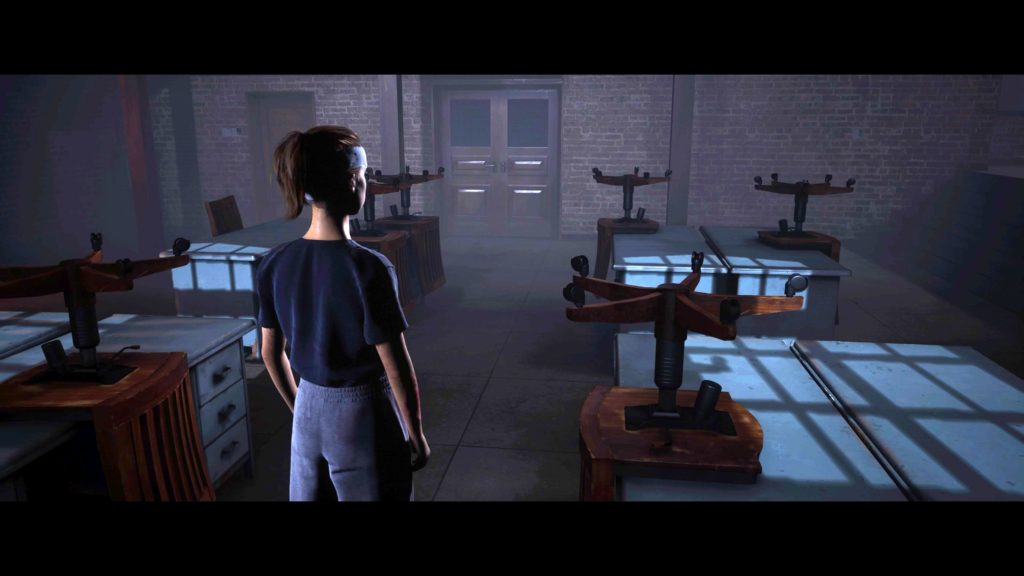
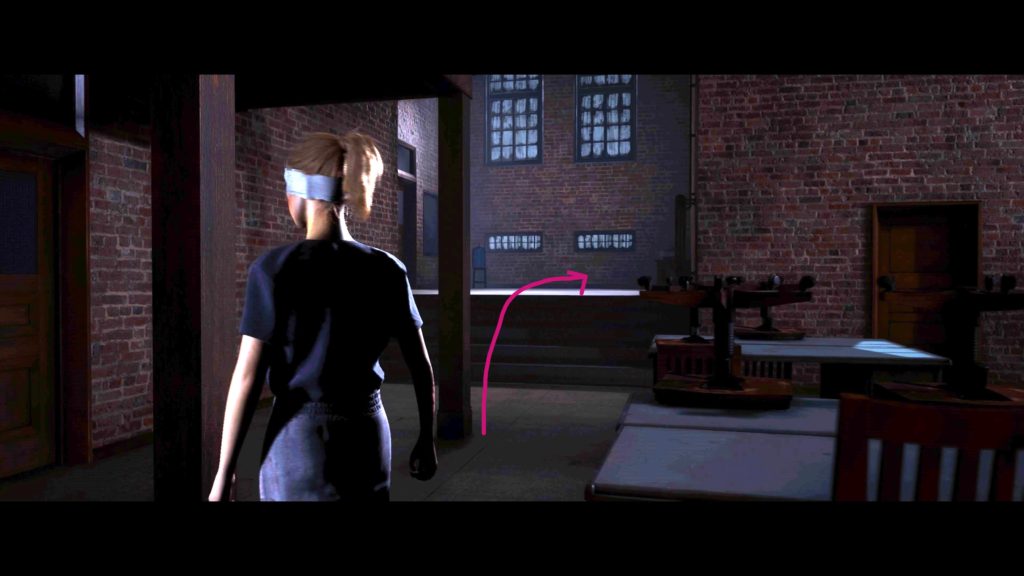
When you gain control of Laura, exit the cells into the main room of the police station. Go through the tables to find The Chariot tarot card.
Head up the staircase to the second floor. Head into the first room on the left and inspect the card on the bulletin board. (Need this for the computer password downstairs.)

Exit this room and continue down the balcony to the next one on the left. In this room, inspect the Charred Sheriff’s Badge clue on the cardboard box.
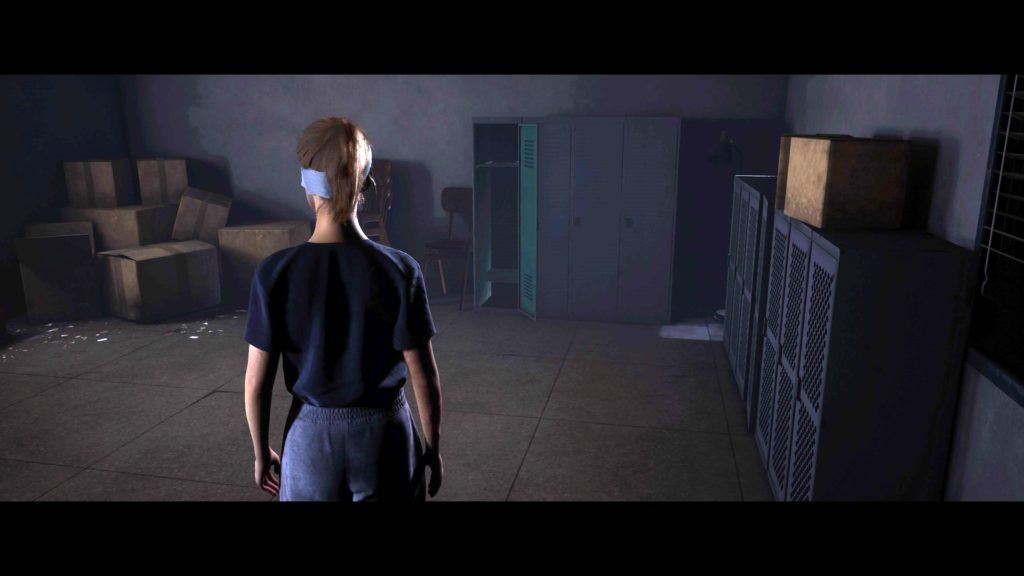
Exit this room and head to the next one. Interact with the locker in this room to find a syringe.
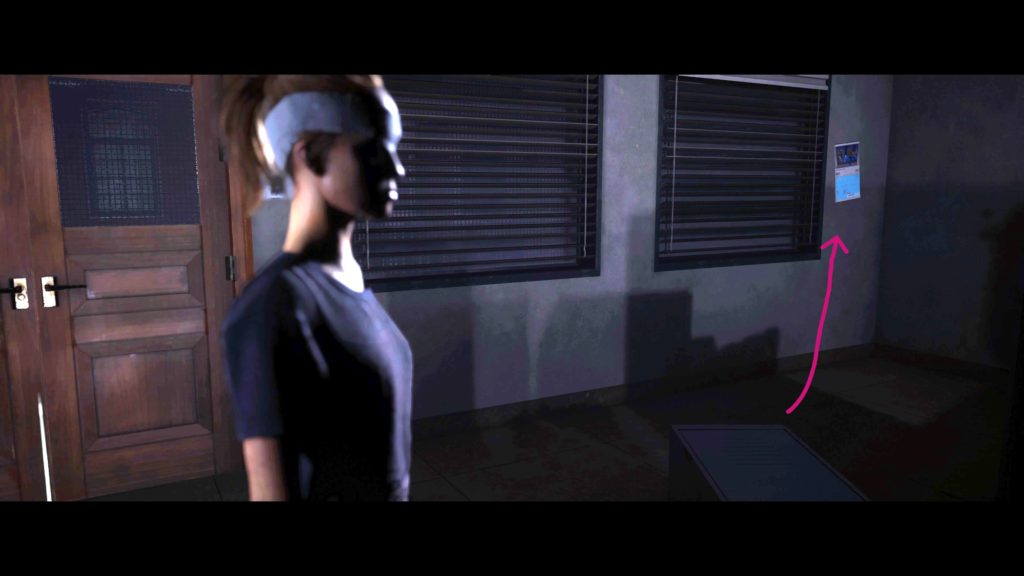
Also in this room face the door then head to the right to find a calendar on the wall. Inspect it! (Need this for the computer password downstairs.)
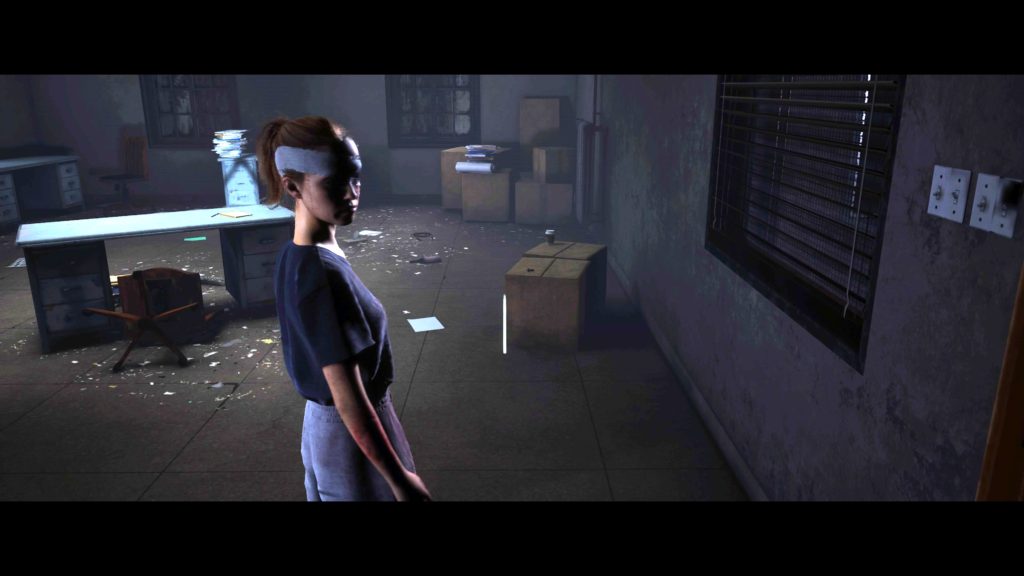
Head downstairs then go up the small stairs then look in the corner of the room to find the Cease & Desist Letter evidence.
Head into the office across from this clue and interact with the computer. You’ll receive the Bizarre Yet Bonafide Podcast clue. You’ll also receive the Bizarre Yet Bonafide trophy! With all the collectibles found, return to your cell. On the left side of the bed, interact with the wall to hide the syringe. When you’re ready, interact with the bed.
- Go to sleep
- Continue looking
- Honest “I won’t leave Max”
- Determined “We’ve got unfinished business”
- Curious “How is your family involved?”
- Confident “Let’s end it”
- Press X to Take Gun? (We chose NOT to do this as we wanted to hear the rest of the story.”
- Confused “Why didn’t you kill it?”
- Concerned “Am I infected?”
- Cynical “I don’t believe you”
- Encouraging “So what’s the plan?”
- Resigned “I believe him”
- Apprehensive “I’m not sure”
- Empathetic “That wasn’t you”
- Resigned “It’s not like you’re in control”
- QTE: Up (to catch the falling cup so they don’t hear you)
- QTE: Left (to stab Travis with the syringe)
- Anxious “Not until Chris is dead”
- Reassuring “Hell yeah we are”
- Honest “They’re not there now”
- Reassuring “They’re probably fine”
- Show Bite
- Hide Bite
- Pleading “Please let me go!”
- Threatening “I’ll call the cops”
With that, the chapter concludes! The old woman will greet you again. Make you’re selection to move on or see more.
Click here for the next walkthrough for Chapter 8 in The Quarry!