Below is a walkthrough for Chapter 2 of The Quarry. Please note that your choices, QTEs and collectibles found will impact the story. We highlighted the options we chose during our playthrough in orange. Keep in mind that we kept everyone alive and collected as many collectibles as we could!
During the first scene with Jacob and Emma, you’ll have the choice to kick down the door.
- Kick it
Once you gain control of Emma in the Camp Store, head straight ahead and look on the backside of the shelves to your left to find the Damaged Memorabilia clue.
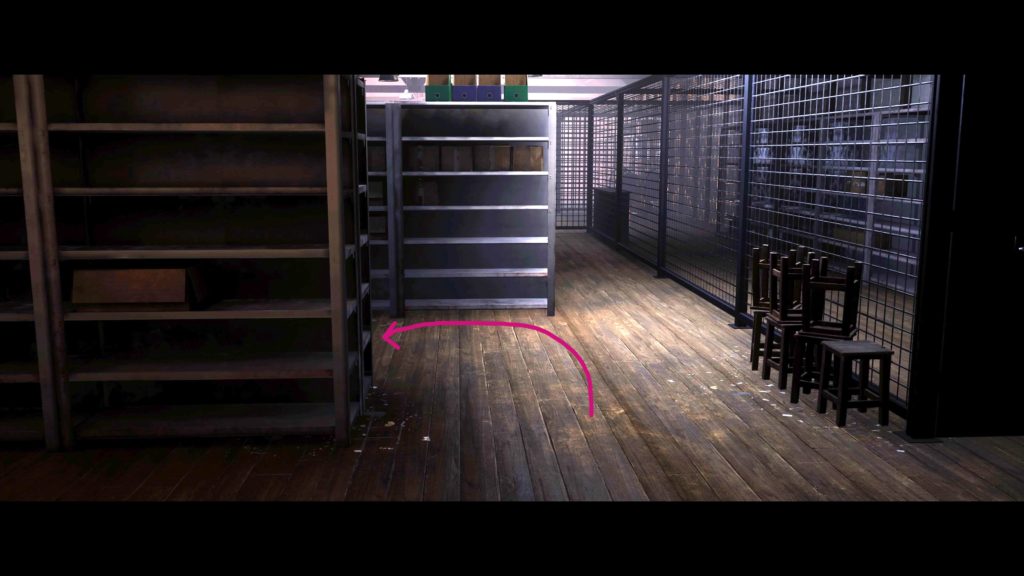
Keep following the maze until you find a shelf where a clown mask is in a box.
- Scare Jacob
- Leave Props
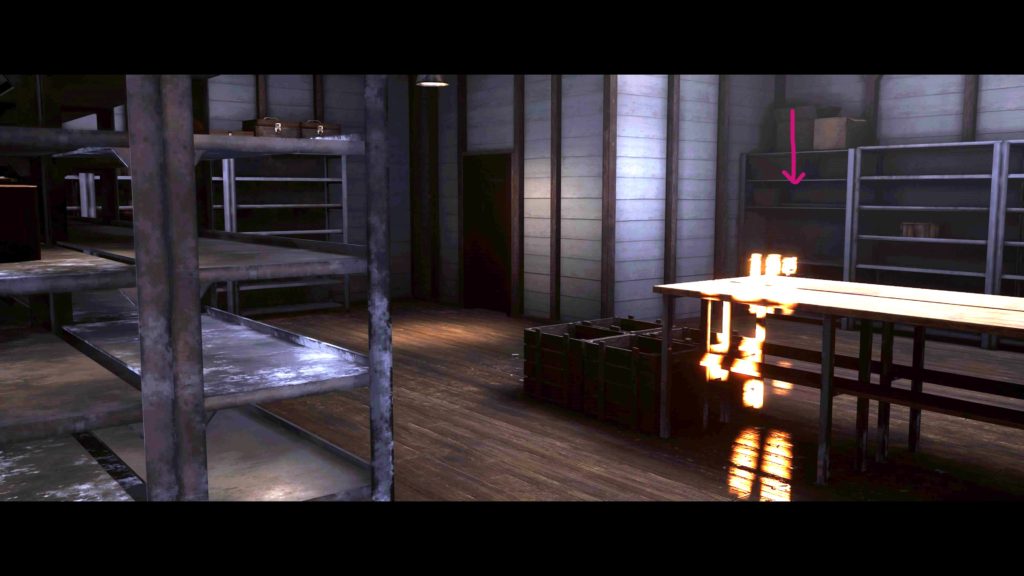
It doesn’t matter what you choose here as he doesn’t get scared. Keep making your way to the end of this large area. Just before the door, there will be a large wooden table. Look on the shelves to find the Lodge Renovation Plans clue.
After you’re done exploring, interact with the door.
- Kick Door
- Call Jacob
Once inside, head to the right of the freezer to find the Torn Bags clue.
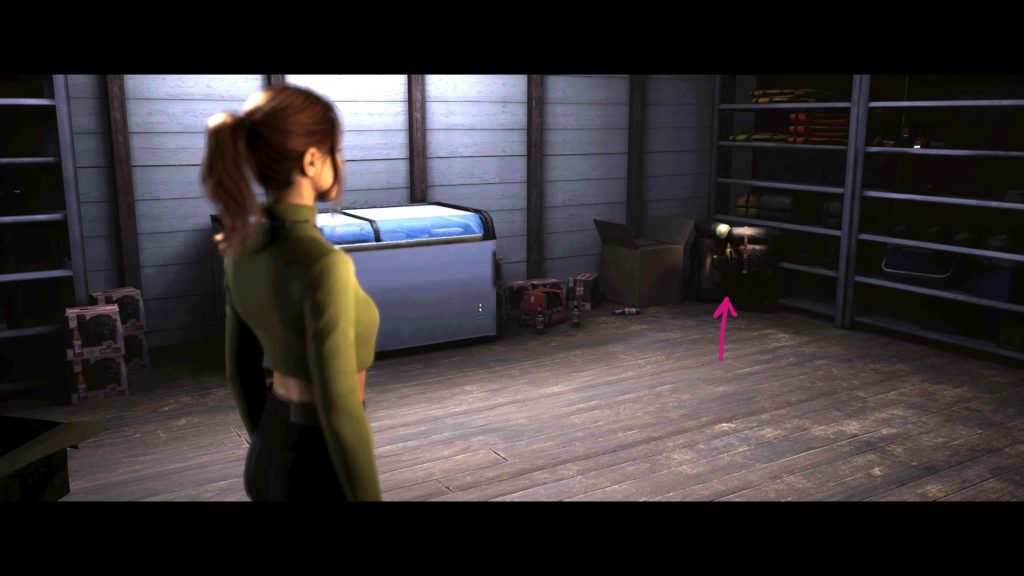
To the right of the camping bags, interact with the gun on the floor. You’ll receive not only the gun but a code as well. Exit the room then hug the left side of the room. There will be an opening in the cage that you can go through. Do so then head straight down to bypass the maze of shelves. Unlock the door then continue to the entrance of the Camp Store.
- Take Fireworks
- Leave Fireworks
- Affectionate “What are butterpops?”
- Judgmental “Aren’t those for kids?”
When you’re in Mr. H’s office charging the phone, you’ll have a choice.
- Dismissive “Let me guess…”
- Friendly “What are you listening to now?”
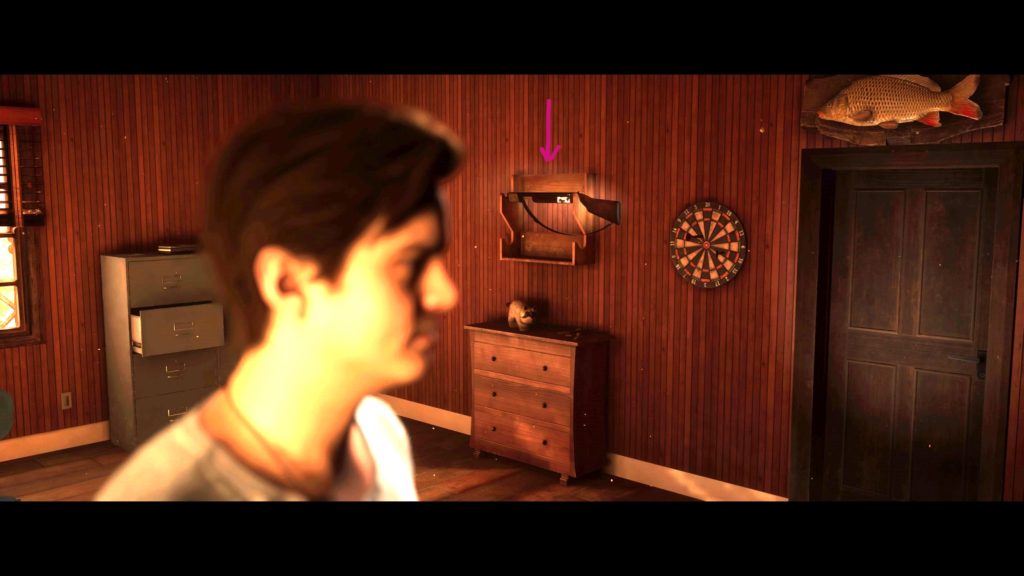
When you gain control of Dylan, interact with the gun on the wall.
You’ll then be presented with a choice.
- Serious “What if we need it?”
- Playful “What if bears crash the party?”
Next, interact with the phone on the desk next to the trash can. You’ll be presented with another choice.
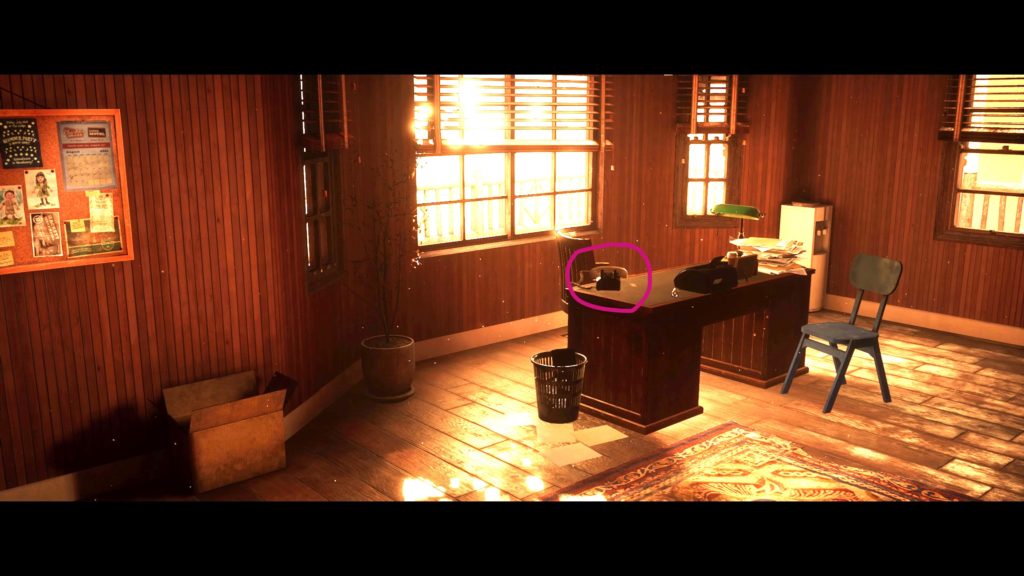
- Flirt “So I can ask you on a date”
- Sarcastic “Nice for somebody to call you”
Now it’s time to interact with the picture on the desk to receive the Family Photo clue.

Afterwards, interact with the trap door behind the desk.
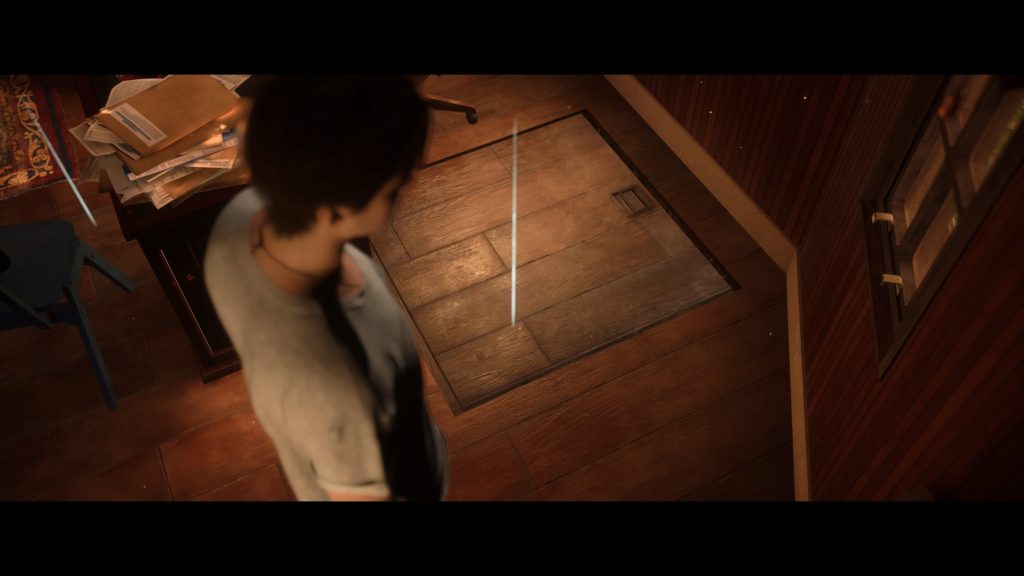
You’ll get some options.
- Playful “Secret sex dungeon”
- Suspicious “Guess it goes to the basement”
- Shut Trapdoor
- Climb Down
- Playful “Ring ring!”
- Dismissive “He’ll never know”
After you go through all of the above options, you’ll receive the Counselor’s Ledger clue. With everything explored, interact with the door across from the desk next to the gun. Ryan will then throw you the keys. To catch them, successfully complete the QTE.
- QTE: Up
Interact with the closet to find a secret path where you’ll receive the below choice.
- Mischievous “So he was looking for bigfoot”
- Interested “Maybe he listens to that podcast?”
When you’re done exploring, return to the charging phones and interact with them.
- Head to Party
- Continue Exploring
Head to the party when you’re ready to proceed. You can choose either path however, you’ll have to play whatever path you don’t choose in a different playthrough to get all the collectibles! This is where you’ll have to decide whether you want to get the Decked Out trophy (collect all tarot cards) or the Meddling Kids! trophy (collect all clues). Both paths are listed below with their collectibles.
- Shady Glade (clues)
- Rocky Road (tarot card)
Rocky Road
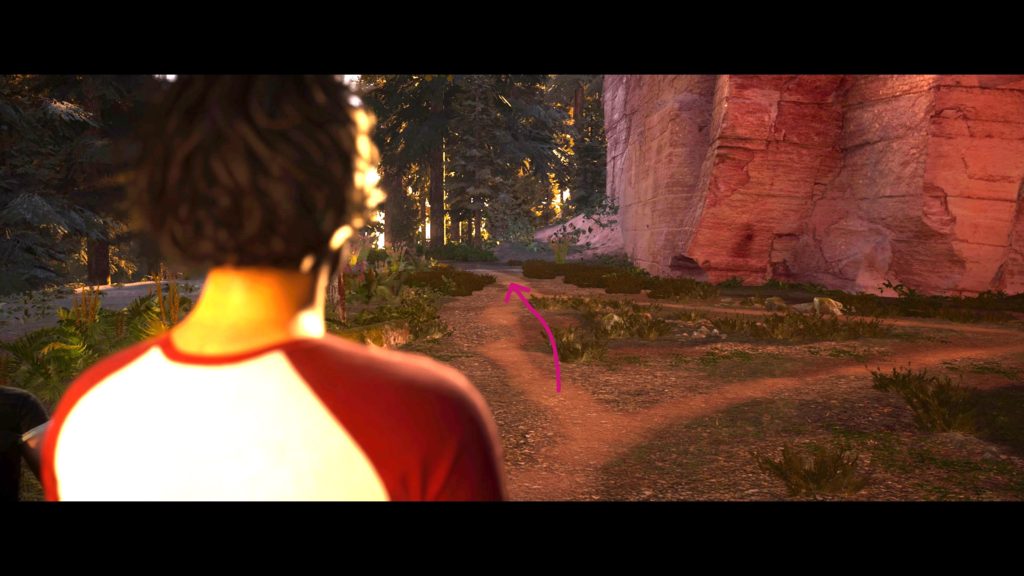
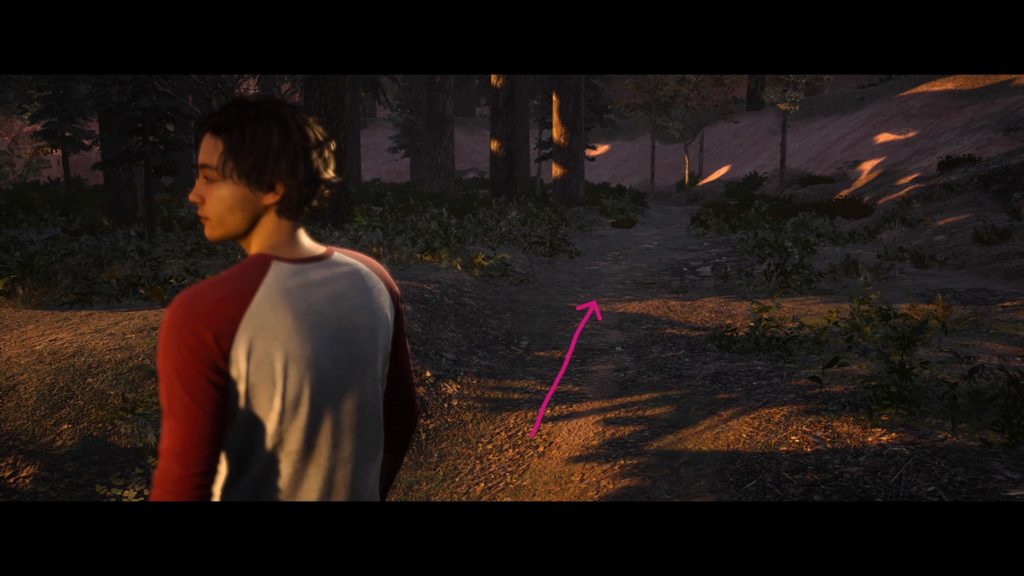
When you reach the sign that says “Danger Falling Rocks” take the left path.
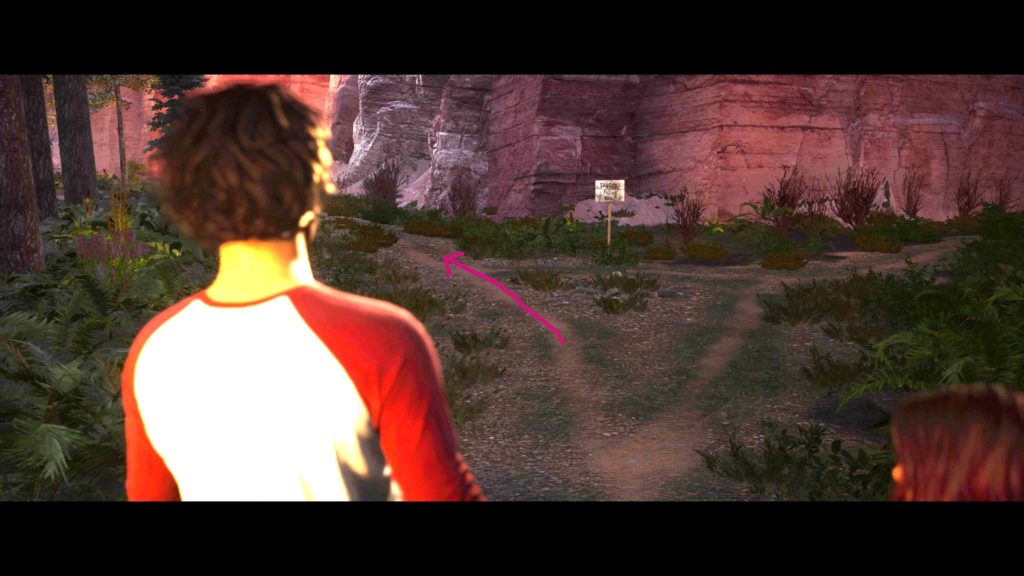
While on this left path, the camera angle will change and you’ll be able to grab The Hanged Man tarot card. Keep pressing forward and the path will split again. Take the left path again.
Eventually a cutscene will trigger.
- Pedantic “I wouldn’t call it that, exactly…”
- Uncertain “I’m not sure we’re supposed to know”
Head forward, going down some stairs, to trigger another cutscene. (Skip the Shady Glade section and go to “Rocky Road / Shady Glade” section!)
Shady Glade
When you gain control, head to the right side and follow the path closest to the dirt wall. You’ll eventually find the Trail Camera clue!
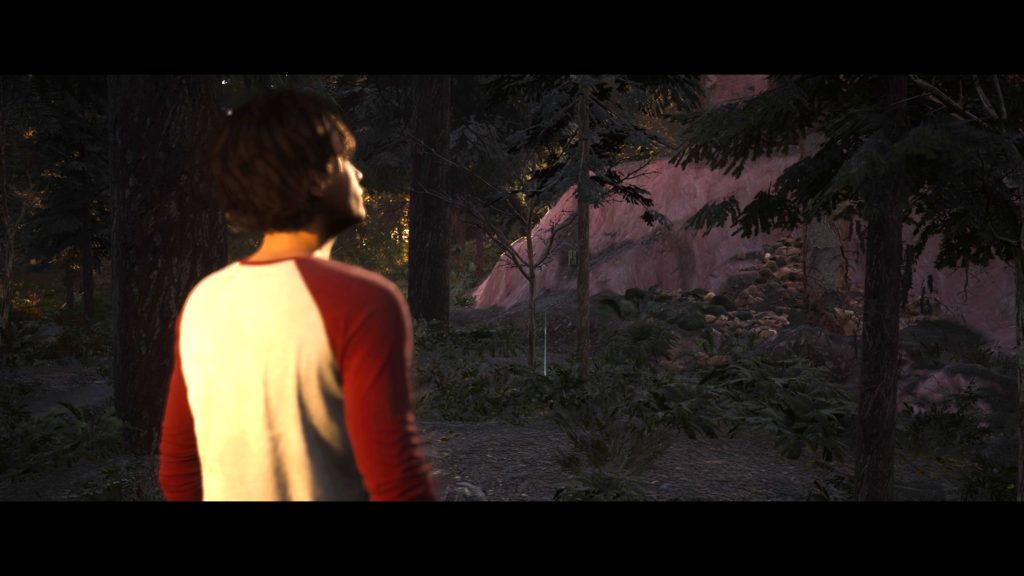
From the last clue, turn slightly left then follow the main path until you spot a metal box on the right side of the path. Interact with it to receive the Ranger Box clue!

Keep heading through the woods to reach a fence to trigger another cutscene.
Rocky Road / Shady Glade
No matter what path you take (Rocky Road or Shady Glade), you’ll still get to the same cutscene where Abi sits down to draw across from the fence.
- Sincere “You’re really good”
- Playful “Do me!”
When the baby pig comes out, you’ll have a choice.
- X to save Abi
Immediately after there will be a tutorial introducing a breath holding event.
- Hold breath by holding X until the red is gone from the screen
- Cheerful “Imagine the story…”
- Pedantic “It’s actually a boar…”
When you’re Kaitlyn, you’ll have several choices.
- Press X to take a photo where you’d like
- Playful “The HOG of Hackett’s Quarry?”
- Serious “You both okay?”
- Stern “Not leaving you with a gun”
- Mocking “Not a great idea”
When Nick and Jacob are talking, you’ll have several choices.
- Evasive “How’s things with Emma?”
- Hopeful “It was okay”
- Shoot the bottles and/or watermelons.
- Friendly “Good game”
- Gloating “Butterpops theme”
When everyone is sitting around the campfire, you’ll have multiple choices.
- Press X to interrupt Abi from answering
- Truth “I’m an open book”
- Dare “Gimme what you got”
- Mischievous “The Hag of Hackett’s Quarry”
- Honest “I needed some advice”
- Kaitlyn
- Jacob
Chapter 2 concludes here and you’ll visit the old woman again.
- Move On
- See More
Make your choice (doesn’t matter) either way!
Click here for the next walkthrough on Chapter 3 in The Quarry!