Welcome to NGB and our Shin Megami Tensei V (SMTV) Vengeance walkthrough on the To the Empyrean / Temple of Eternity main quest! Here we’ll cover everything you’ll need to breeze through this quest and finish the game!
To the Empyrean Walkthrough
After completing The Three Keys main quest, head to the Umayabashi leyline then follow the bridge south to reach Honjo. Once in Honjo, follow the path to the objective to trigger a cutscene. If playing SMTV Vengeance, please note that there is a husk along the way! Use the glowing object to move to the Temple of Eternity!
Temple of Eternity Collectibles
In the Temple of Eternity, you can obtain the following items from the chests:
1F
Adramelech’s Essence x1
Balm of Life
Seal Gem
Sleep Gem
Repulse Bell x2
Grimoire x2
Kali’s Essence x1
Bead Chain
Vasuki’s Essence x1
2F
Charge Gem x2
Critical Gem x3
Arioch’s Essence x1
Attack Mirror x1
Magic Mirror x1
Chakra Drop
Ongyo-Ki’s Essence x1
Odin’s Essence x1
3F
Concentrate Gem x3
Chi You’s Essence x1
Chakra Pot x1
Mada’s Essence x1
Amrita Shower
Make your way through the temple to reach 4F. A cutscene will trigger followed by a boss fight with a Level 78 Metatron. He has no weaknesses, resists Fire, Ice, Electric and Force and blocks Light. Defeat him to receive a Large Glory Crystal and his essence! He will also unlock for fusion. Head through the doors behind Metatron to continue forward.
SMTV Vengeance only: After the leyline, a fight with Level 80 Ichiro Dazai and Abdiel will trigger. Ichiro Dazai is weak to Ice, resists Light and Dark and blocks Fire. He uses Fire attacks and can inflict Confusion, Sleep and Mirage. He also reflects Magic attacks and lowers stats. Abdiel is weak to Light, resists Ice, Electric and Force, and reflects Dark. She has a severe dark attack that hits the whole party and can increase the damage of her next attack and adds Pierce effect. She uses physical attacks and can boost all her and Ichiro’s stats.
Empyrean Collectibles
In Empyrean, you can find the following chests:
Phys Dampener
Whittled Goat
Sandalphon’s Essence x1
Gospel x1
Grimoire x3
Vishnu’s Essence x1
Bead Chain
Magic Mirror x1
Chakra Pot
Attack Mirror x1
Beelzebub’s Essence x1
Balm of Life
If you did all of Demeter’s subquests, you’ll be able to speak with her to obtain “A Plot Revealed”. For this subquest, you’ll fight a Level 86 Zeus. He is weak to Force and blocks Electric, Light and Dark. He uses Electric, Physical and Almighty skills. After you defeat him, you’ll unlock Zeus as a fusion, receive Demeter’s Essence x1 and Demeter will join your party.
After pressing forward past Demeter, a battle will trigger with 3 Level 79 Melchizedek. They are weak to Force, block Dark and drain Light. Continue along the path to be stopped by yet another demon. This time you’ll be challenged by Level 80 Sraosha. Sraosha is weak to Force, resists Electric and drains Light.
Along the path, speak to Maria to receive The Noble Queen subquest. You’ll only be able to obtain this quest if you have the Seed of Life, which you obtain from Sophia in the World of Shadows after fusing 75% of the demons. Accepting her quest will trigger a fight with a Level 81 Danu. She is weak to Dark, blocks Light and resists Electric, Force, Ice and Fire. She uses Light, Physical and Almighty attacks. She can heal and put your party to sleep. During the fight, she’ll summon Level 78 Mandrakes into the fight. They are weak to Fire. Defeat them to complete the subquest. As a reward, you’ll receive 150,000 Macca and Lady Danu will unlock for fusion.
As you approach the second leyline (Path to the Throne), a fight with a Level 81 Alilat will trigger. It resists Light and Dark. After the leyline, head up the stairs to trigger a cutscene followed by a boss fight based on your decision.
SMTV: For us it was a Level 83 Abdiel. She is weak to Ice, drains Electric and blocks Dark. Halfway through the fight, she’ll summon a Depraved Wing and Depraved Arm. The Depraved Wing casts a reflect all magic on Abdiel while the Depraved Arm increases her accuracy and evasion. The wing is weak to electric and the arms is weak to light. Defeat the boss to continue the cutscene. Afterwards, follow the path forward to trigger another boss fight. For us it was against a Level 83 Tsukuyomi. He is weak to Fire, drains Ice and resists Electric. During battle, he’ll create copies of himself. Defeat him to continue the cutscene.
SMTV Vengeance: For us it was a Level 83 Tiamat who is made up of 4 parts. The Tiamat part resists all but Ice, which she drains, and uses all Ice attacks. The Dragon Head is weak to Light and Dark and drains Ice. It uses Physical attacks. Goat Head is weak to Physical and drains Ice. It uses Fire, Electric and Force attacks. Camel Head is weak to Fire, Electric and Force and drains Ice. It uses Light and Dark attacks. Every time you defeat a head, it steals HP from Tiamat, so focus your attention on the heads! For round 2 of the fight, you’ll face Level 84 Tehom who is weak to all but Physical and has severe attacks for all elements. After the first turn, she’ll change her resistances and will continue doing so throughout the entire fight! Afterwards, continue to the realm beyond the earth and the heavens to fight Level 85 Lucifer. He resists Physical, blocks Fire, Ice, Electric and Force and drains Light. He has all elemental attacks except Light and Dark.
Welcome to NGB and our Shin Megami Tensei V (SMTV) Vengeance walkthrough on The Three Keys main quest! Here we’ll cover everything you’ll need to easily breeze through this quest! Please note this guide has been updated to reflect the content from both SMTV and SMTV Vengeance!
The Three Keys Walkthrough
SMTV only: Upon accepting The Three Keys main quest, Panagia Tao will join your party and Amanozako will accompany you. When you’re ready, approach the Umayabashi leyline in the southern part of Taito to trigger a cutscene. You can trigger another cutscene by speaking with Nuwa in Asakusa Main Street.
SMTV Vengeance only: After completing the Chase Through Shakan main quest, return to Tokyo and speak with Koshimizu in the Bethel Meeting Room. Exhaust all his dialog options to learn more! Afterwards, try and exit the building for another quick event. Next, you’ll need to travel to the Jouin High School Dorm then go up to the roof. During the cutscene that follows, you’ll have the option of gaining a new ally. When the cutscene ends, you’ll officially start The Three Keys main quest and will be transported Taito!
Taito Demons and Collectibles
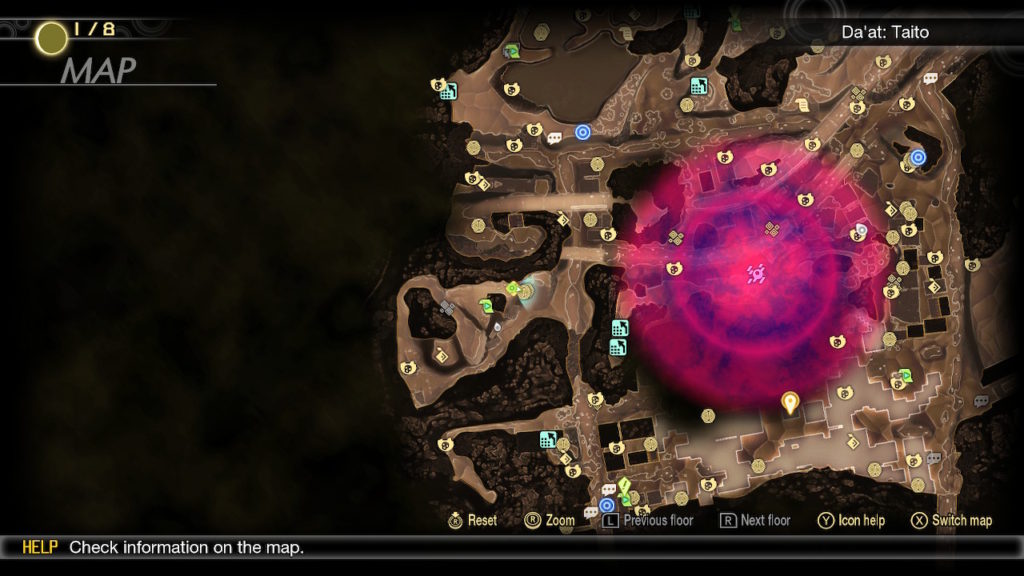
Abscesses
Kurame
Demons
Weaknesses
Resists
Blocks
Level 59 Mitra
Ice
Dark
Light
Level 59 Yatagarasu
Dark
Force
Light
Level 59 Throne
Ice / Dark
Fire / Light
Azumabashi
Demons
Weaknesses
Resists
Level 67 Yamata-no-Orochi
Electric
Fire / Ice
Asakusa
Demons
Weaknesses
Level 63 Rangda
Fire / Electric / Light
Ueno Park
Demons
Weaknesses
Resists
Blocks
Level 61 Scathach
Electric
Light
Force
Level 61 Cybele
Electric
Fire
Light
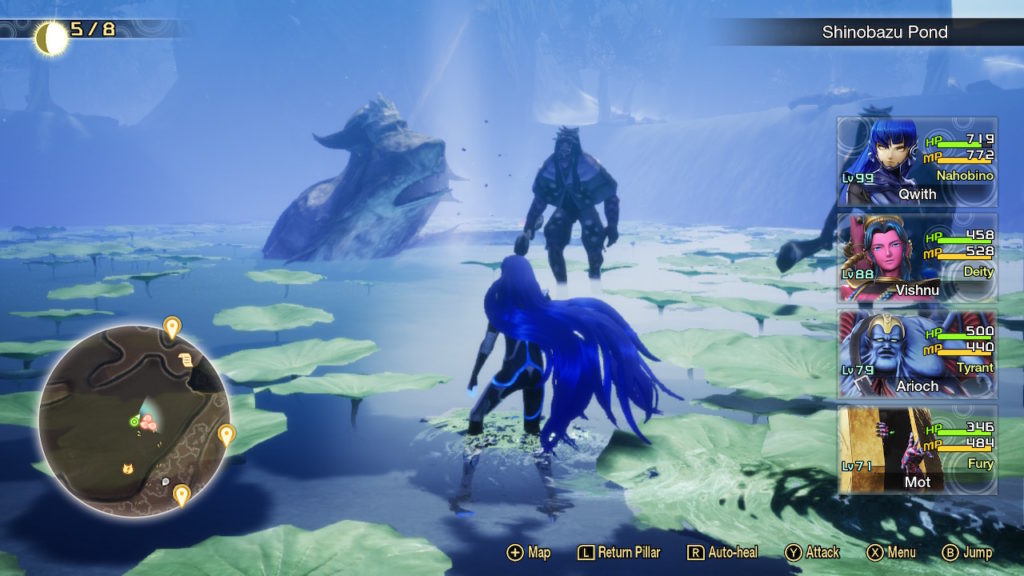
Shinobazu Pond
Demons
Weaknesses
Resists
Blocks
Level 65 Atavaka
Ice
Light / Dark
Level 65 Skadi
Fire
Ice
Dark
Level 65 Siegfried
Force / Dark / Light
Level 65 Barong
Force / Dark
Electric / Light
Motoasakusa
Demons
Weaknesses
Resists
Blocks
Level 99 Slime
Fire / Ice / Electric / Force / Light
Level 99 Pixie
Dark
Force
Level 99 Preta
Fire / Force / Light
Dark
Level 99 Onmoraki
Fire
Taito Demons
Cerberus
Clotho
Decarabia
Fafnir
Fuu-Ki
Girimekhala
Hecatoncheires
Loup-garou
Nebiros
Queen Medb
Rangda
Sui-Ki
Throne
Titania
Yamata-no-Orochi
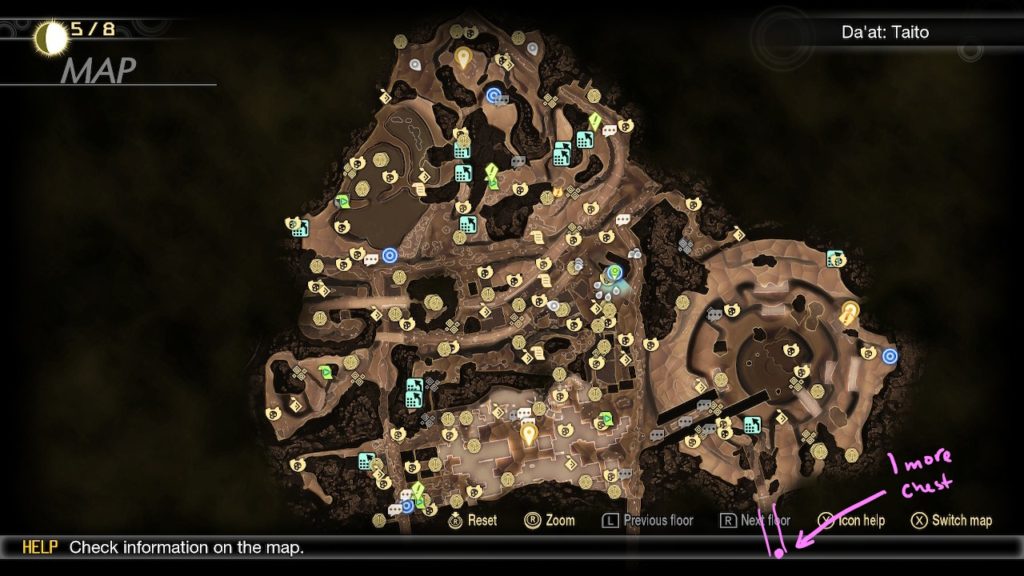
Taito Chests
Alice’s Essence x1
Ananta’s Essence x1
Aogami Type-0 Essence x1
Aogami Type-9 Essence x1
Aogami Type-10 Essence x1
Arahabaki’s Essence x1
Atropos’s Essence x1
Barong’s Essence x1
Camael’s Essence x1
Cerberus’s Essence x1
Chimera’s Essence x1
Clotho’s Essence x1
Cybele’s Essence x1
Decarabia’s Essence x1
Futsunushi’s Essence x1
Fuu-Ki’s Essence x1
Ganesha’s Essence x1
Garuda’s Essence x1
Girimekhala’s Essence x1
Hecatoncheires’s Essence x1
Ishtar’s Essence x1
Lachesis’s Essence x1
Lilith’s Essence x1
Loki’s Essence x1
Loup-garou’s Essence x1
Mara’s Essence x1
Melchizedek’s Essence x1
Mitra’s Essence x1
Mot’s Essence x1
Nebiros’s Essence x1
Norn’s Essence x1
Okuninushi’s Essence x1
Queen Medb’s Essence x1
Rangda’s Essence x1
Scathach’s Essence x1
Seth’s Essence x1
Skadi’s Essence x1
Sui-Ki’s Essence x1
Surt’s Essence x1
Thor’s Essence x1
Throne’s Essence x1
Titania’s Essence x1
Amrita Shower x2
Soma x1
Bead
Bead Chain x1
Chakra Pot
Chakra Pot
Whittled Goat
Balm of Life x2
Life Drain Gem x3
50,000 Macca
60,000 Macca
Grimoire x3
Grimoire x3
100 Glory
100 Glory
100 Glory
100 Glory
100 Glory
100 Glory
100 Glory
100 Glory
100 Glory
100 Glory
100 Glory
100 Glory
100 Glory
100 Glory
100 Glory
100 Glory
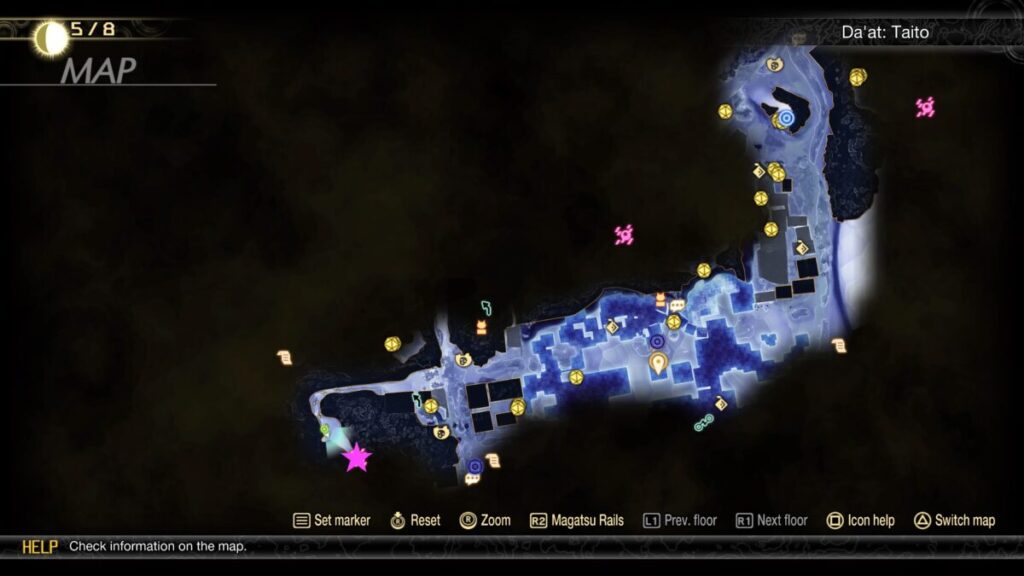
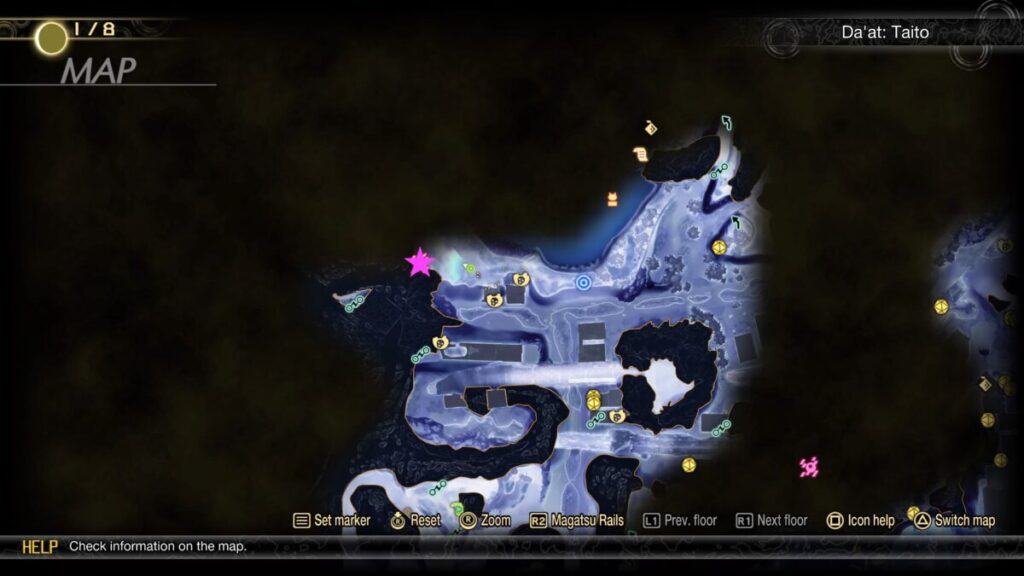
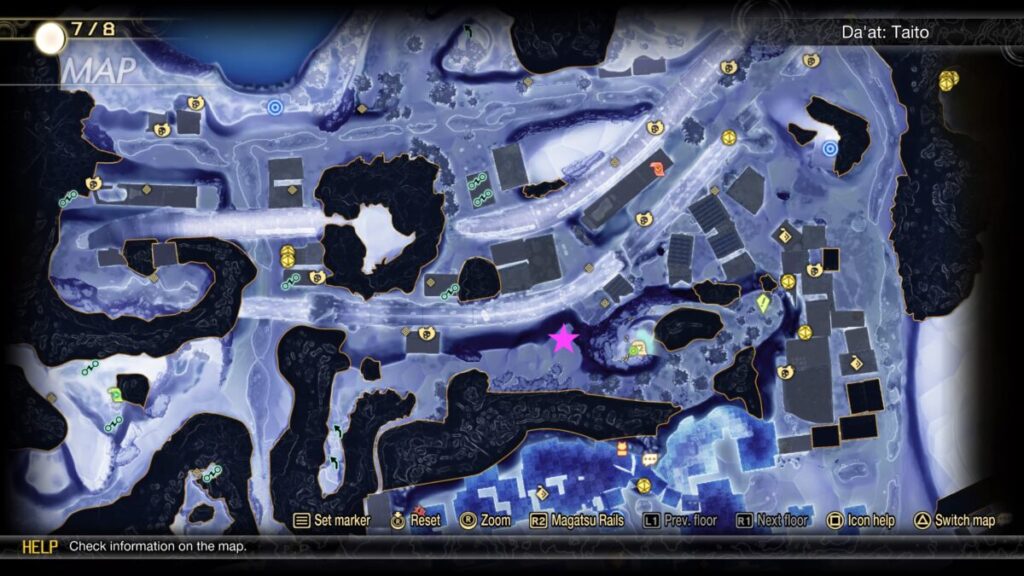
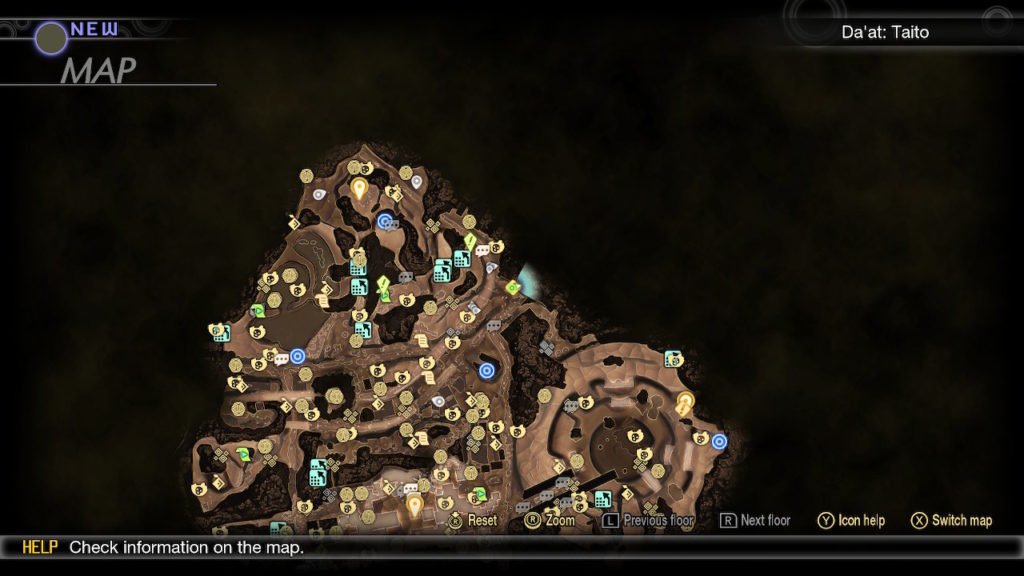
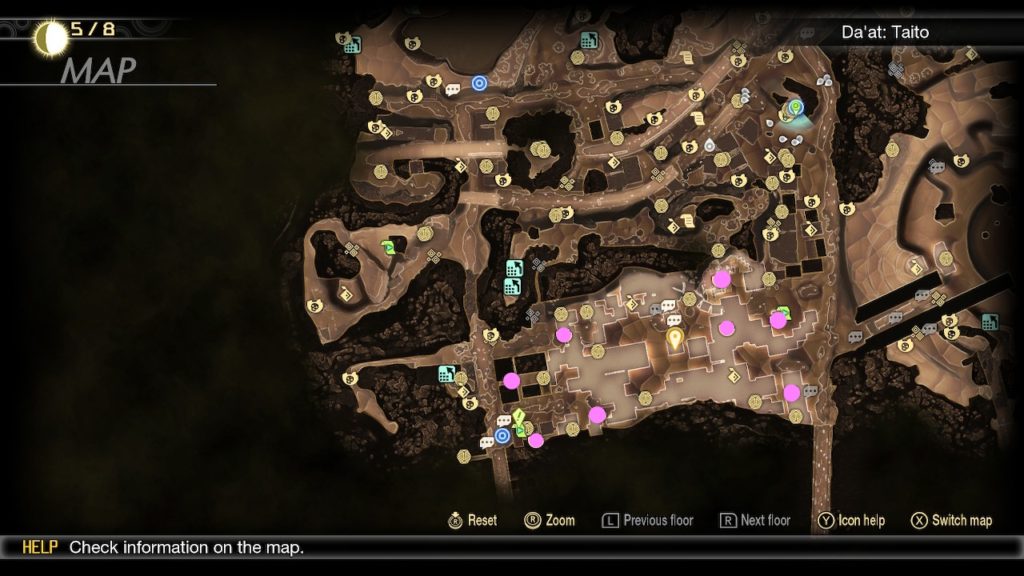
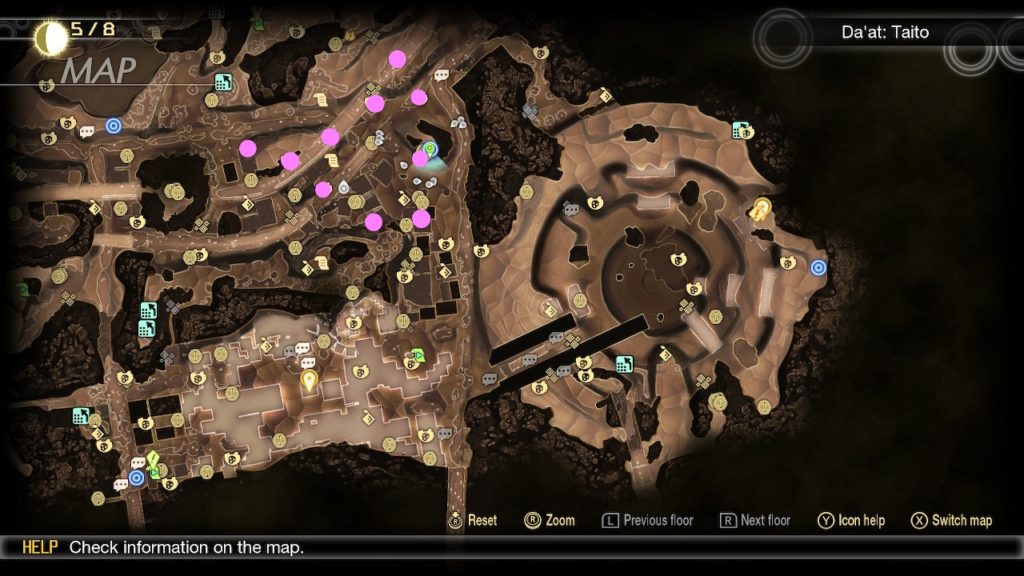
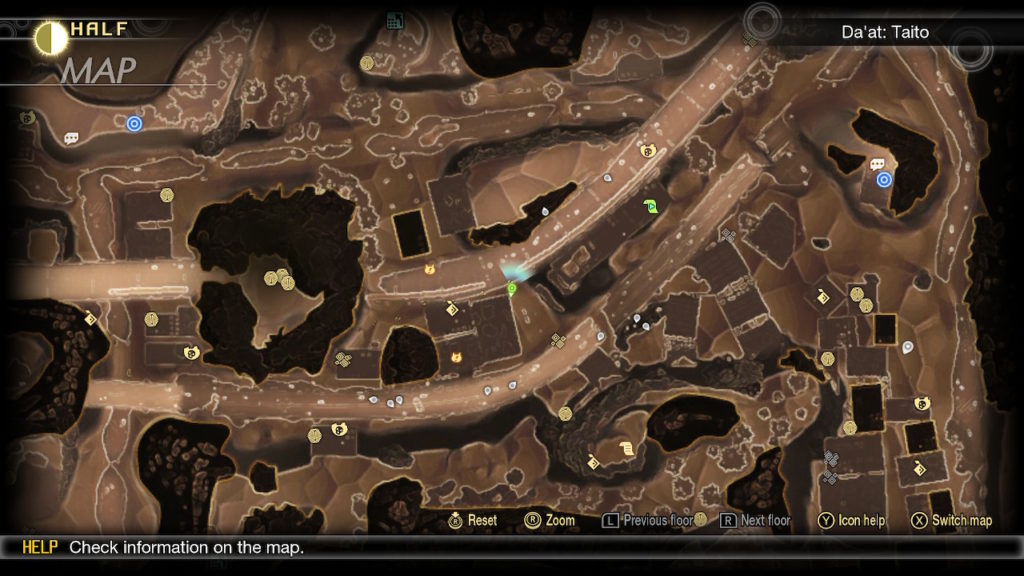
Taito Miman
For a more detailed guide on the locations of all 50 of the Miman in Taito, click here!
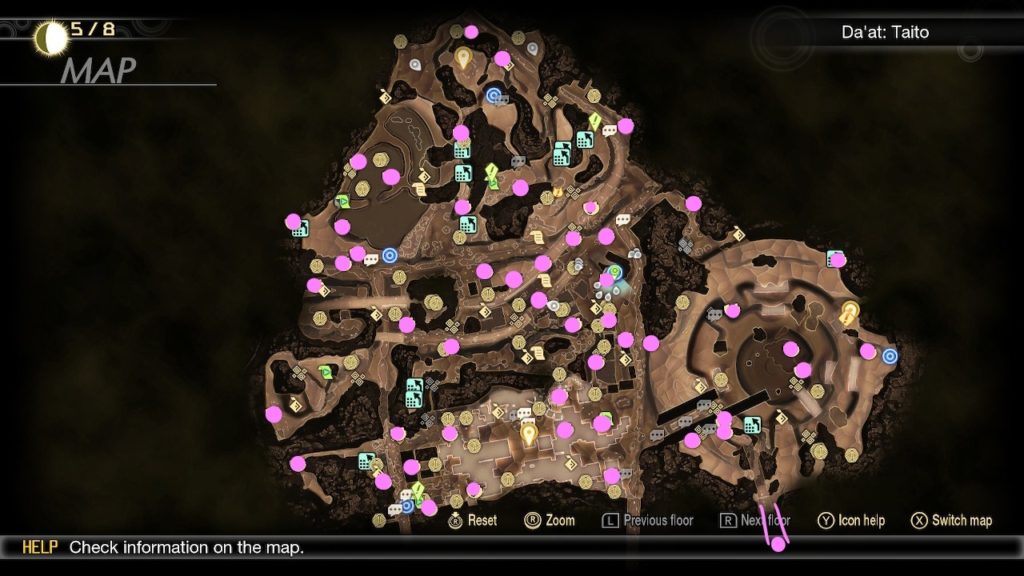
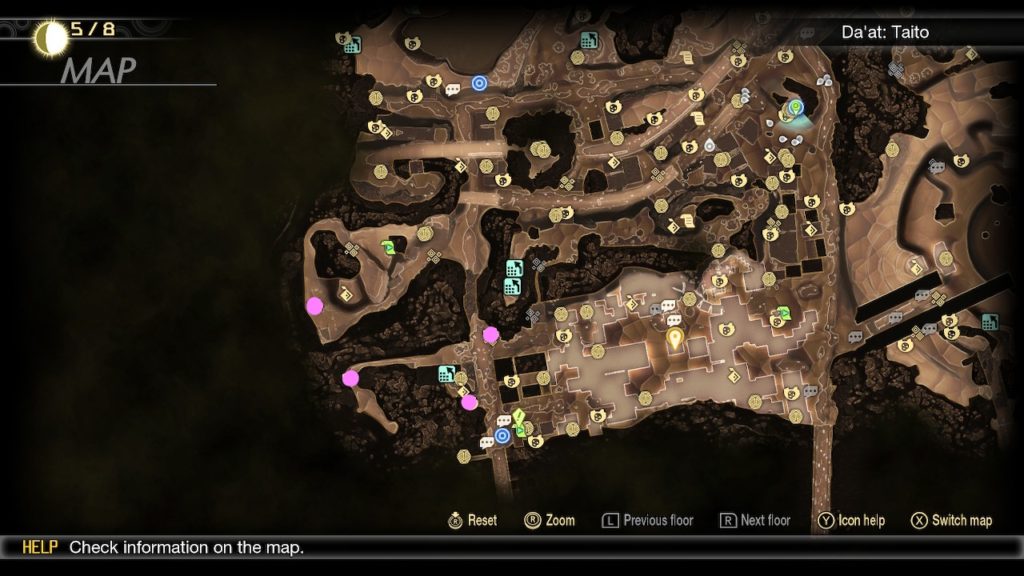
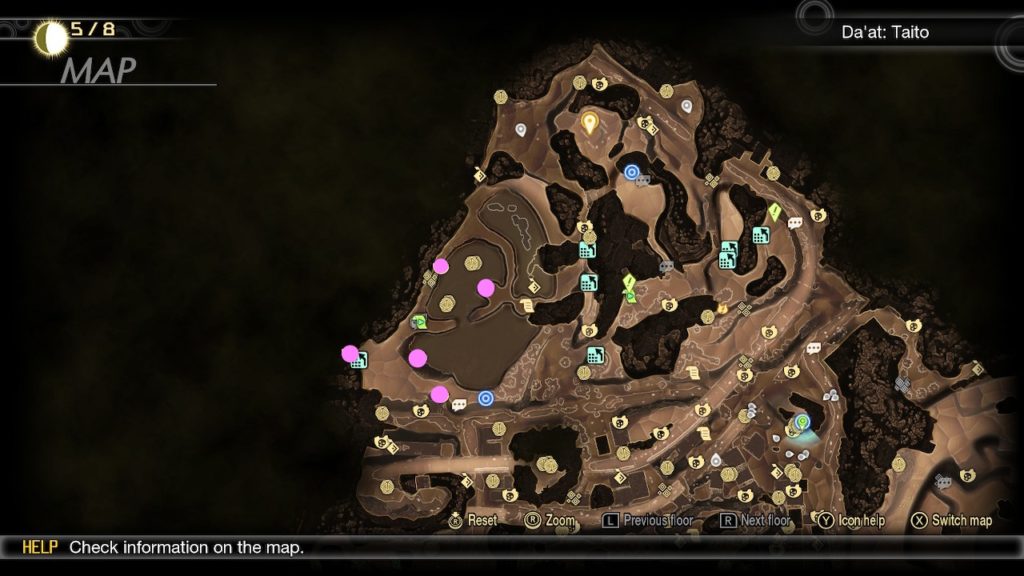
Taito Power Absorption Points
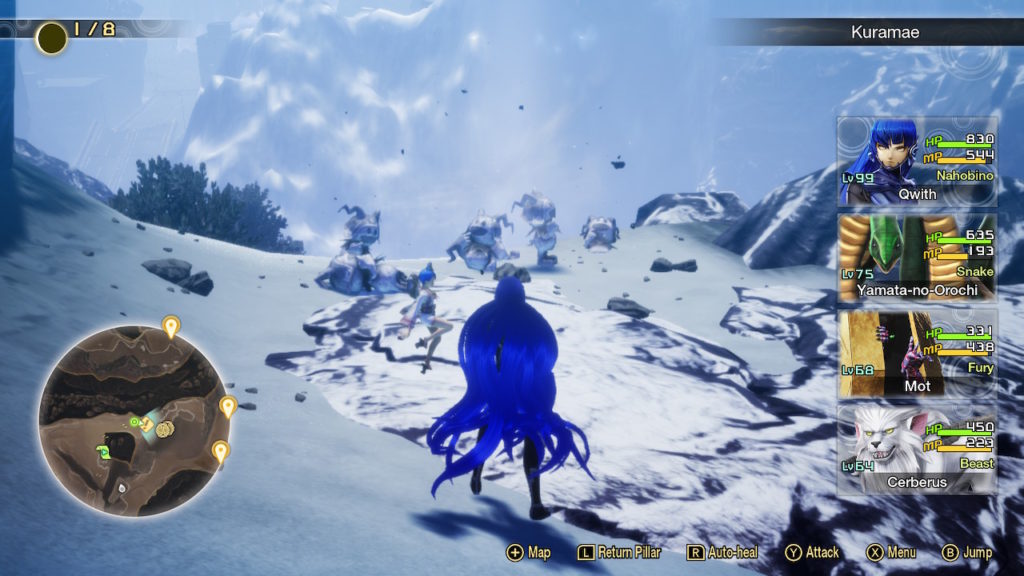
Western side of Taito in Kuramae
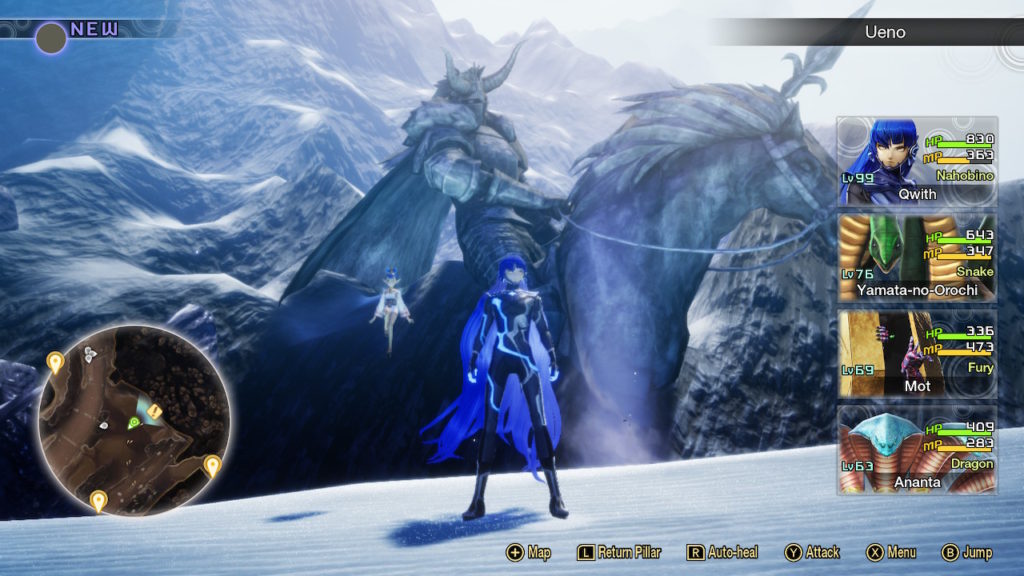
Northern side of Taito in Ueno
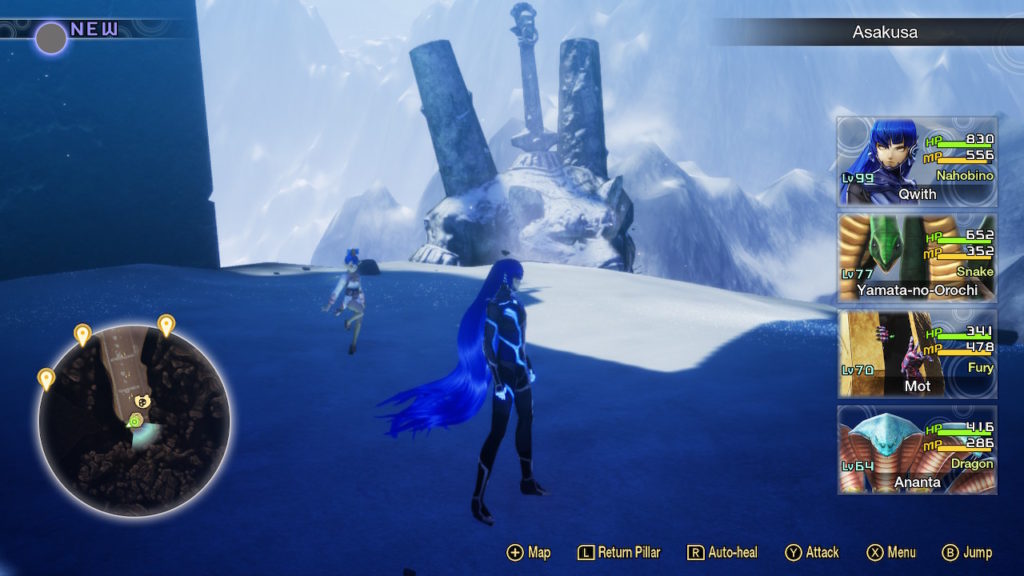
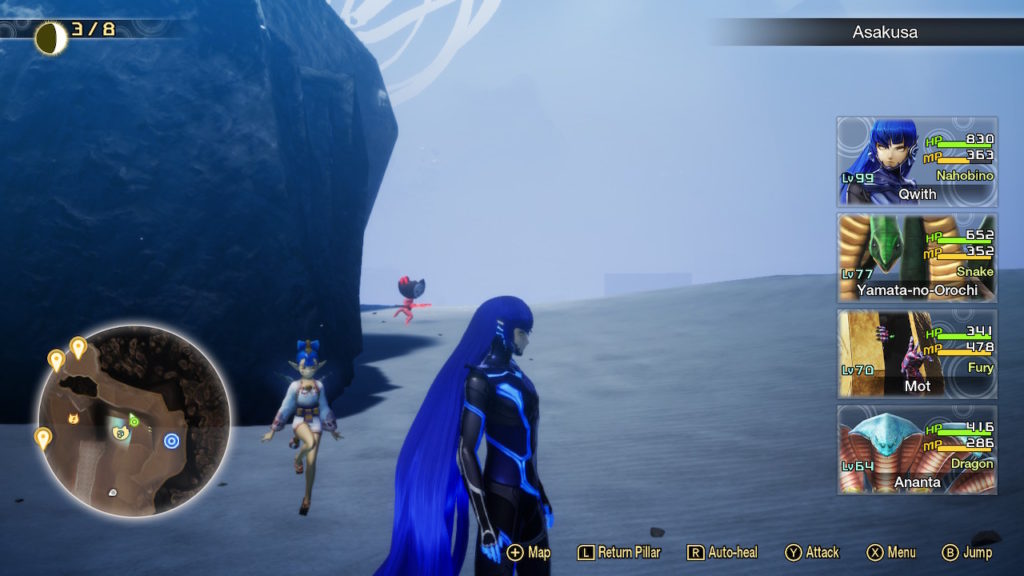
Southern side of Taito in Asakusa
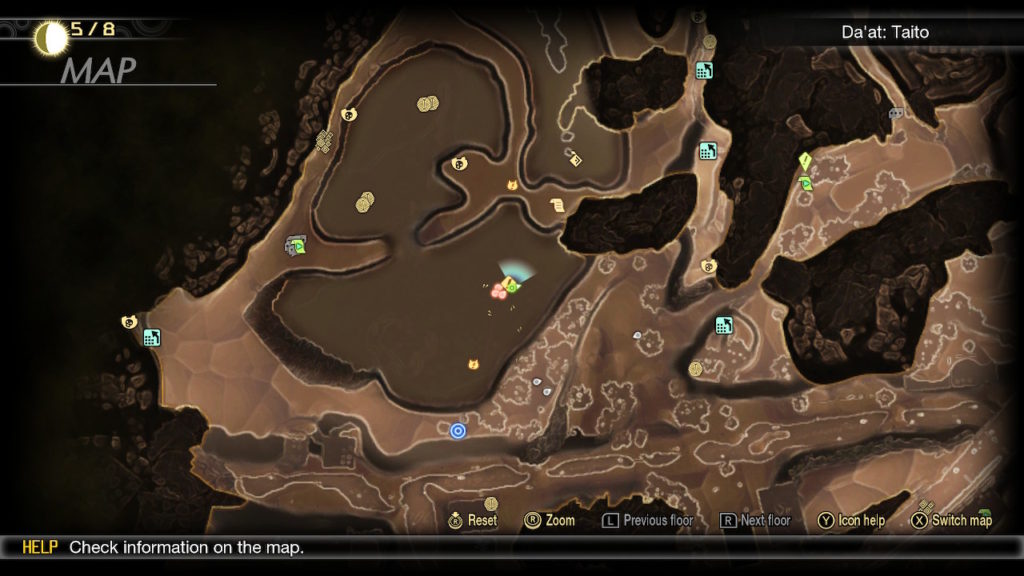
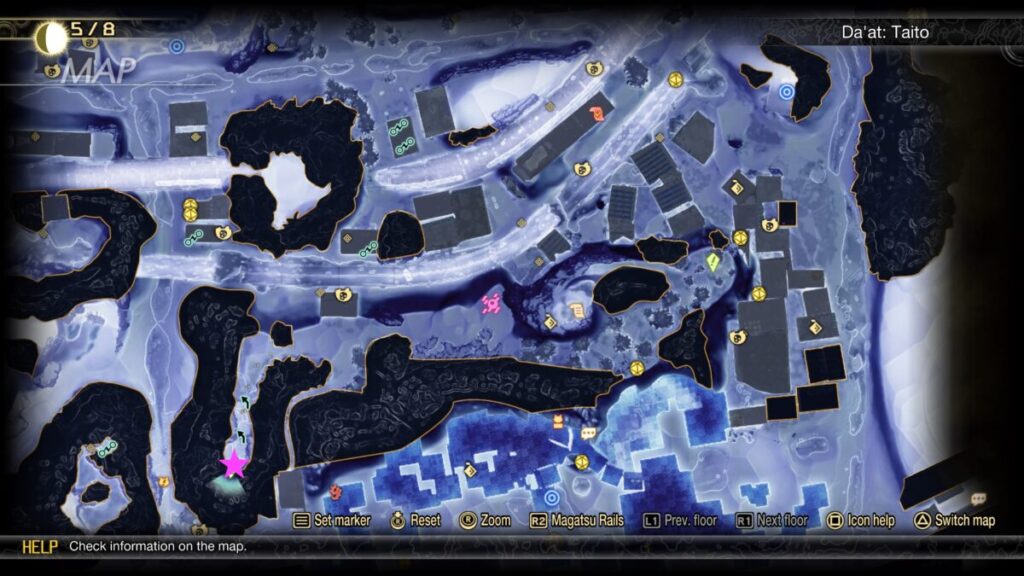
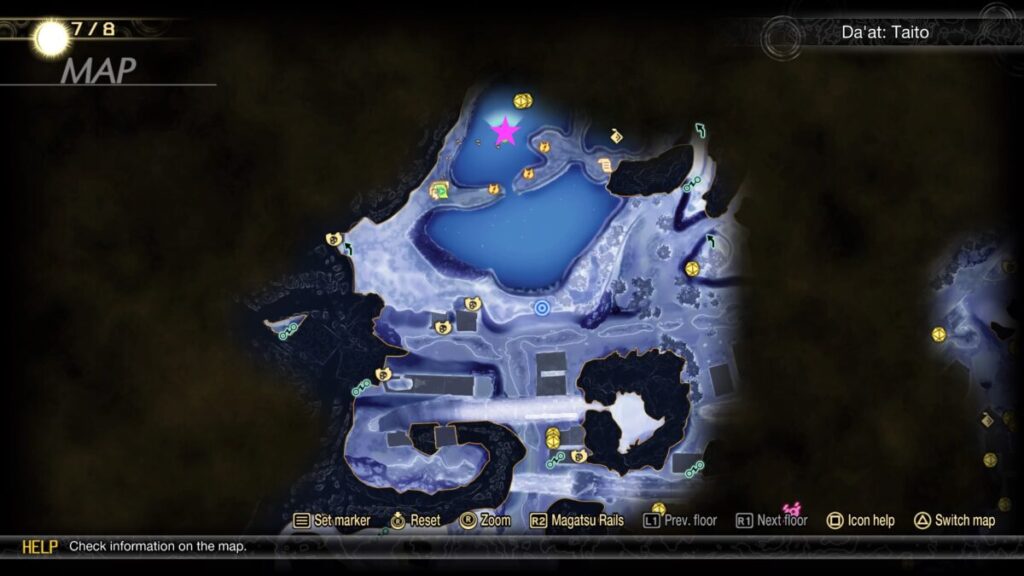
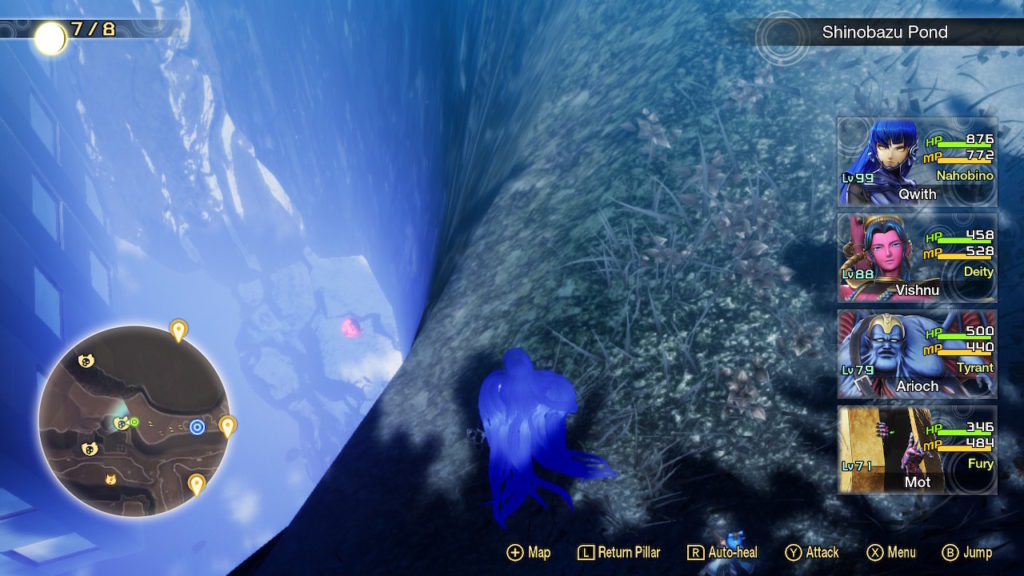
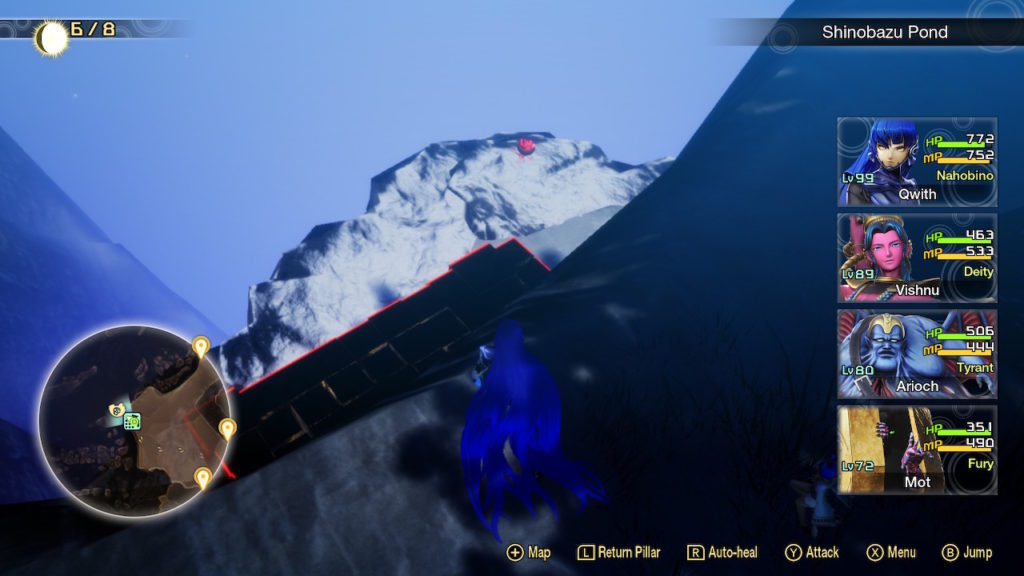
In the middle of the pond at Shinobazu Pond
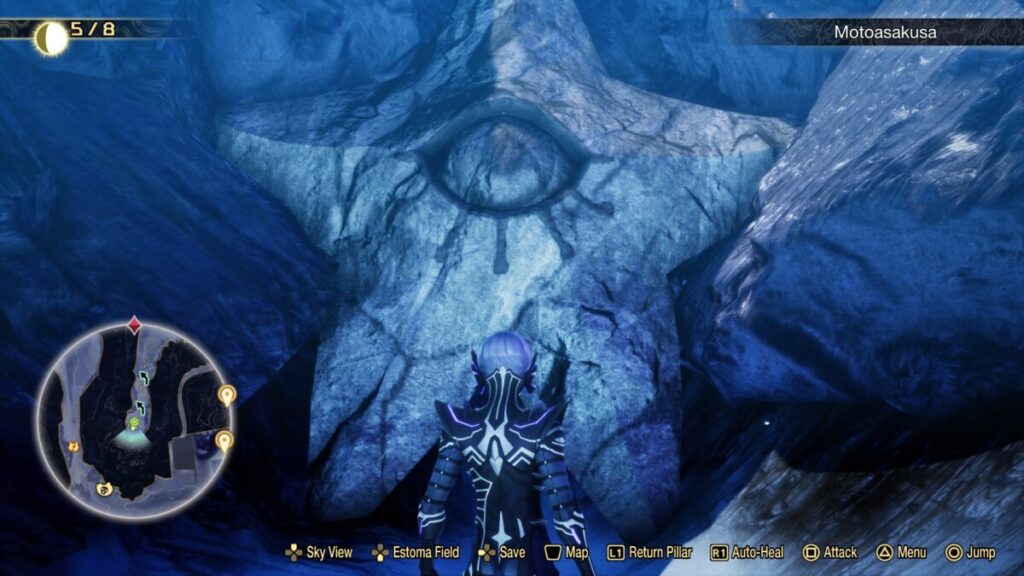
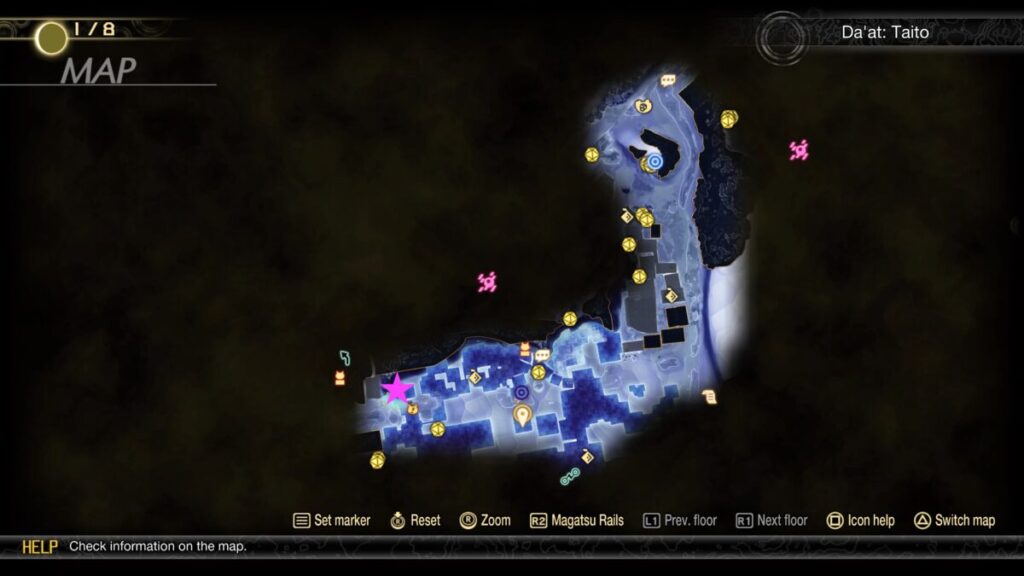
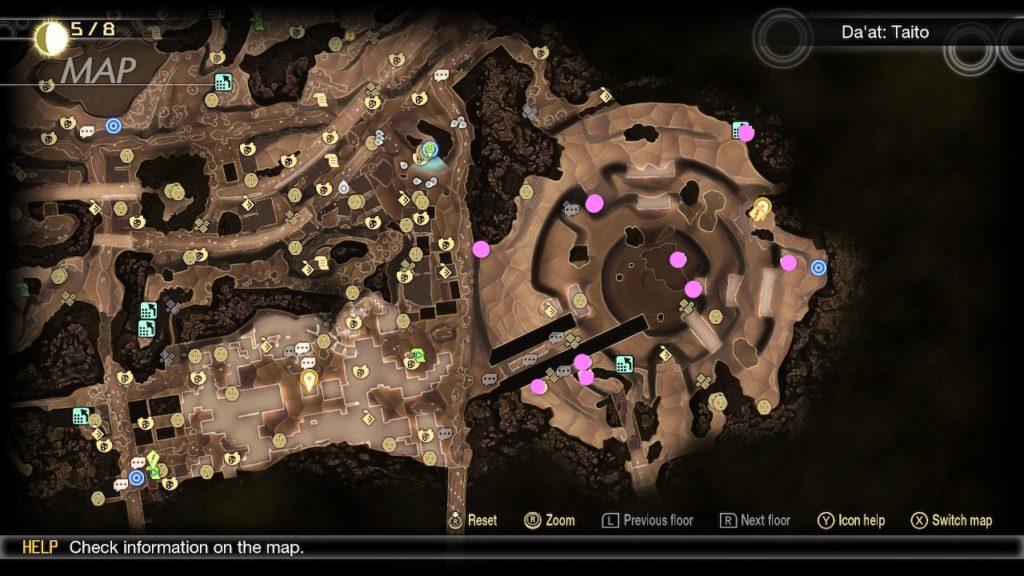
In Motoasakusa
Taito Husks
Komagata – Aogami Type-10 Essence
Shinobazu Pond
The Three Keys Walkthrough Cont.
When you’re ready to progress with the main quest, you’ll need to make your way to the objectives on the map. At these objectives, you’ll defeat the below enemies to retrieve the keys. Once you’ve collected all the keys, The Three Keys quest will complete!
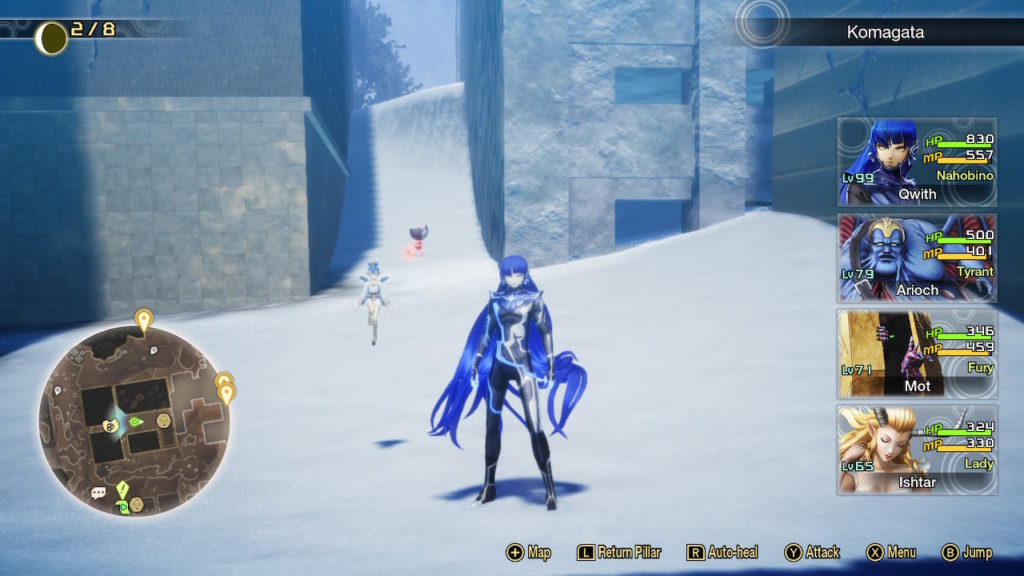
Komagata
Approach the objective near the Komagata leyline to trigger a cutscene that leads to a battle with a Level 72 Odin. He’s weak to Force, repels Electric and blocks Dark and Light. He uses Physical, Electric and Ice skills. Defeat him to receive the Key of Harmony and unlock his fusion.
SMTV Vengeance: During this fight, you’ll fight both Odin and Zeus! Odin is weak to the above. Zeus is weak to Force and blocks Electric, Light and Dark. He uses Electric, Almighty and Physical skills.
Asakusa
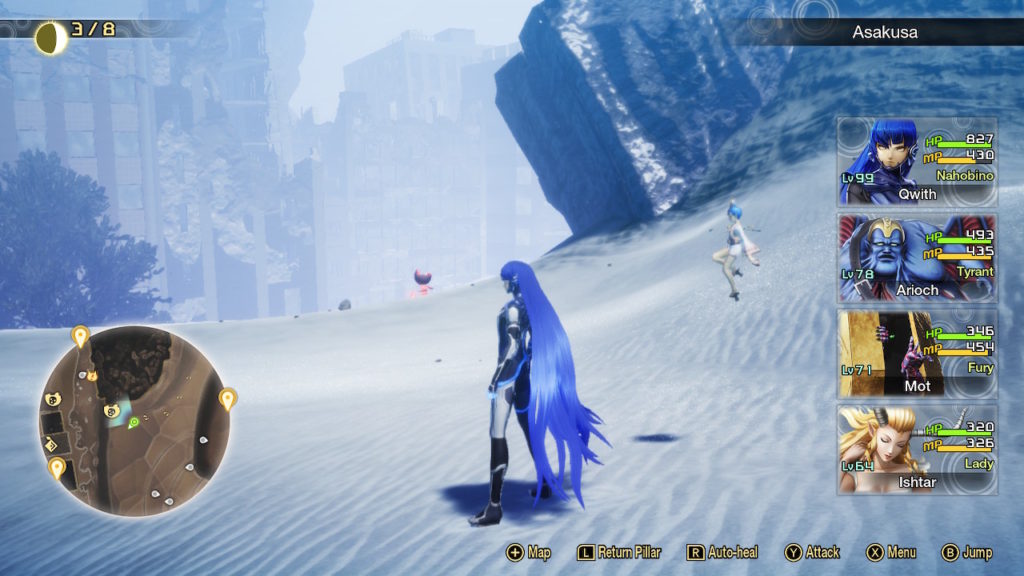
SMTV only: Approach the objective near the Asakusa leyline to trigger a cutscene that leads to a battle with a Level 72 Vasuki. She is weak to Fire, repels Ice and resists Dark. She uses Physical, Ice and poison skills. Defeat her to receive the Key of Austerity and unlock her fusion. The portal behind Vasuki leads to Shiva. If you enter the portal, a cutscene will trigger followed by the option to accept A Universe in Peril subquest. Accepting this quest will automatically lead to a fight with the Level 96 Shiva. He’s weak to Ice, drains Fire and Electric, resists Physical, Light and Dark. He uses severe, all party hitting Physical, Fire, Electric and Almighty skills and can summon allies.
SMTV Vengeance only: As you approach the objective near the Asakusa leyline, a cutscene will trigger leading to a fight against Level 72 Beelzebub. It is weak to Fire, resists Ice and Light, blocks Dark and drains Electric. It uses Dark, Ice and Force severe skills. It also uses a medium Electric skill and can remove your buffs and apply debuffs to your party. It also gets 3 attacks each round.
Ueno Park
SMTV only: Approach the objective near the Ueno Park leyline to trigger a cutscene that leads to a battle with a Level 72 Zeus. He is weak to Force and blocks Electric, Light and Dark. He uses Electric, Almighty and Physical skills. Defeat him to receive the Key of Benevolence and unlock his fusion.
Welcome to NGB and our Shin Megami Tensei V (SMTV) Vengeance guide on the locations of the Taito Miman. The locations below are listed in alphabetical order!
Taito Miman
Asakusa Miman
Miman 1
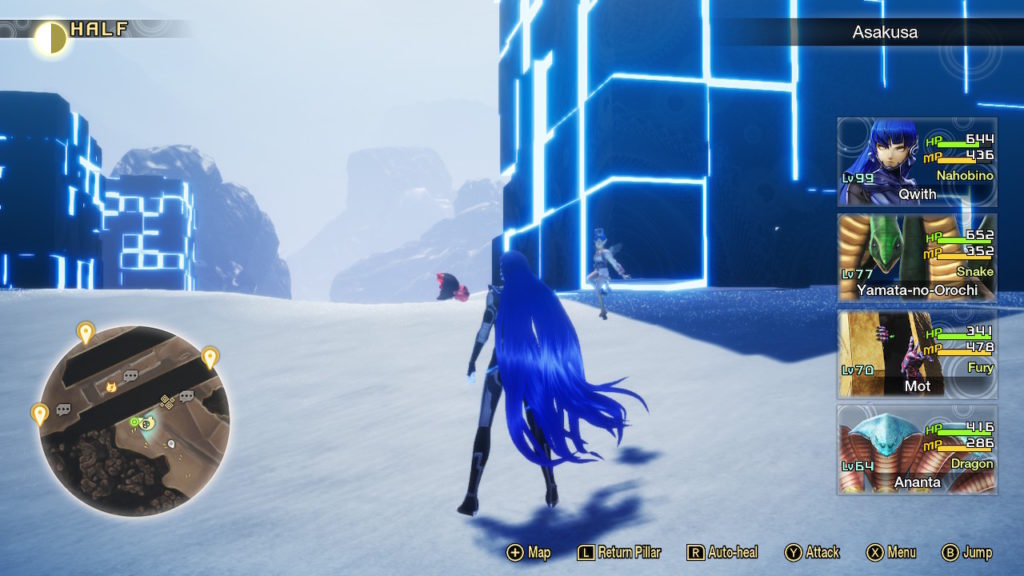
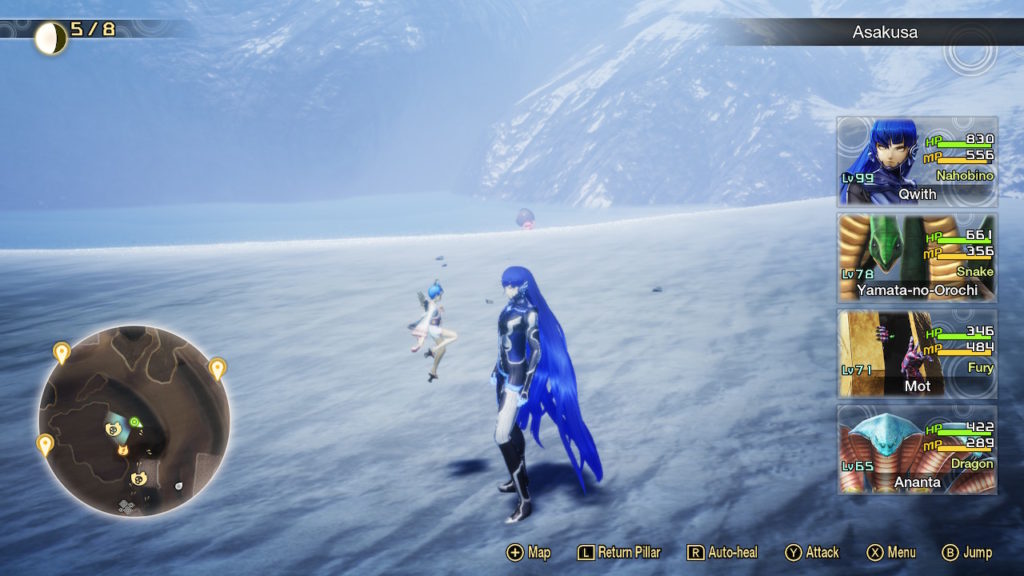
Located directly west of the Asakusa leyline next to a giant rock.
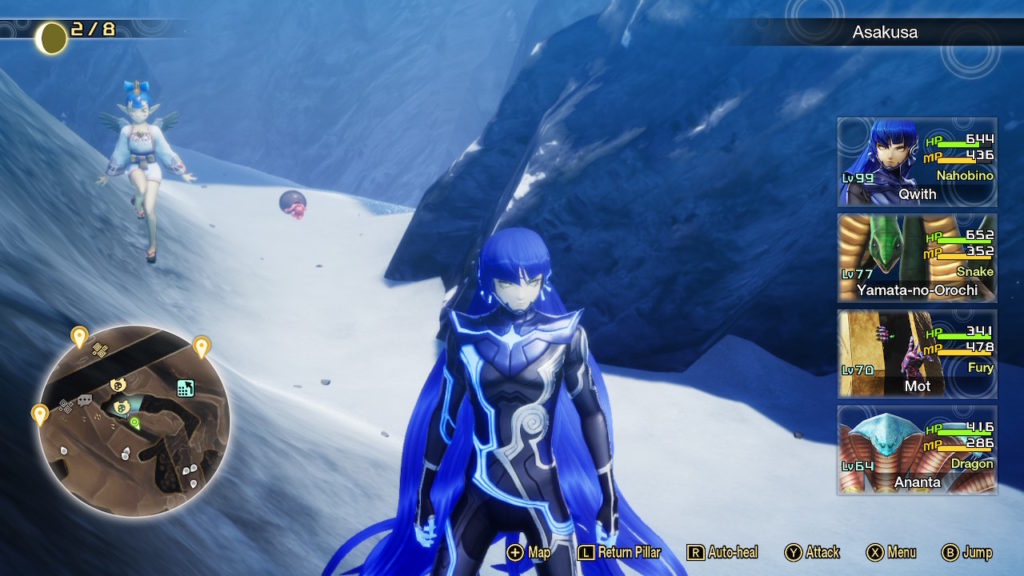
Miman 2
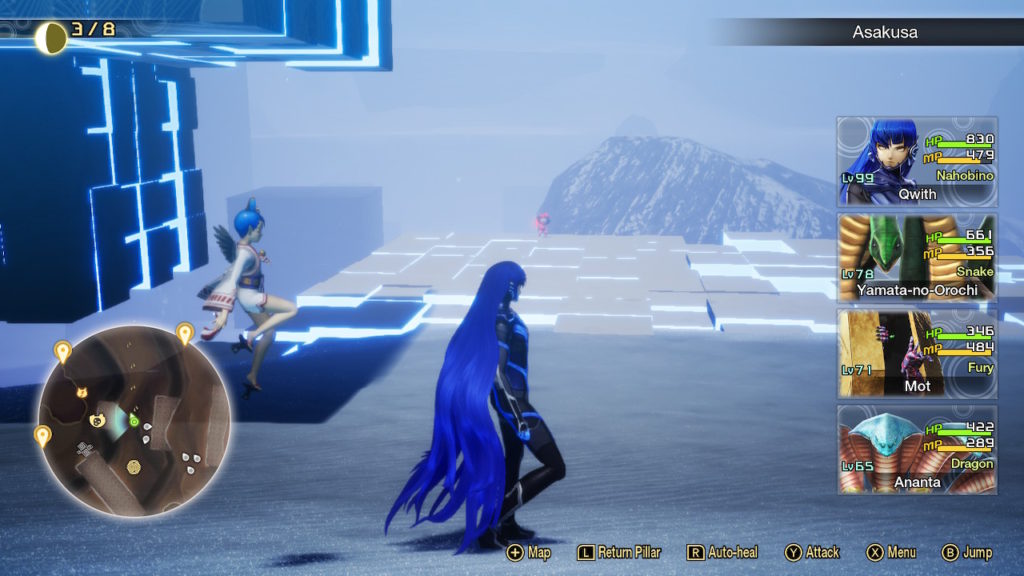
Located on the southwestern side of Asakusa next to a giant block.
Miman 3
Located in a rocky crevice on the southwestern side of Asakusa.
Miman 4
Located on the very southern tip of Asakusa.
Miman 5
Located on the southwestern side of Asakusa after going up a ledge.
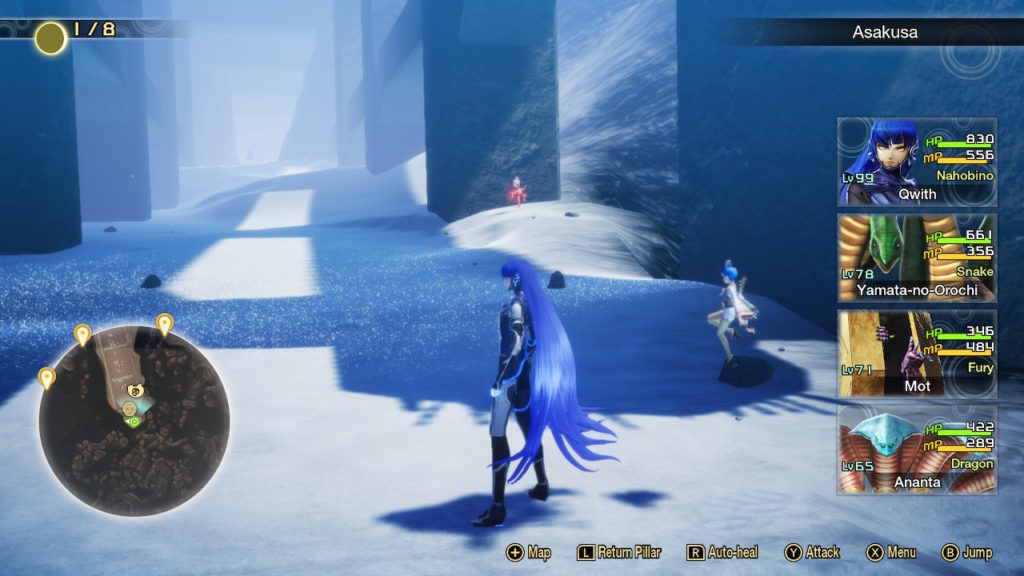
Miman 6
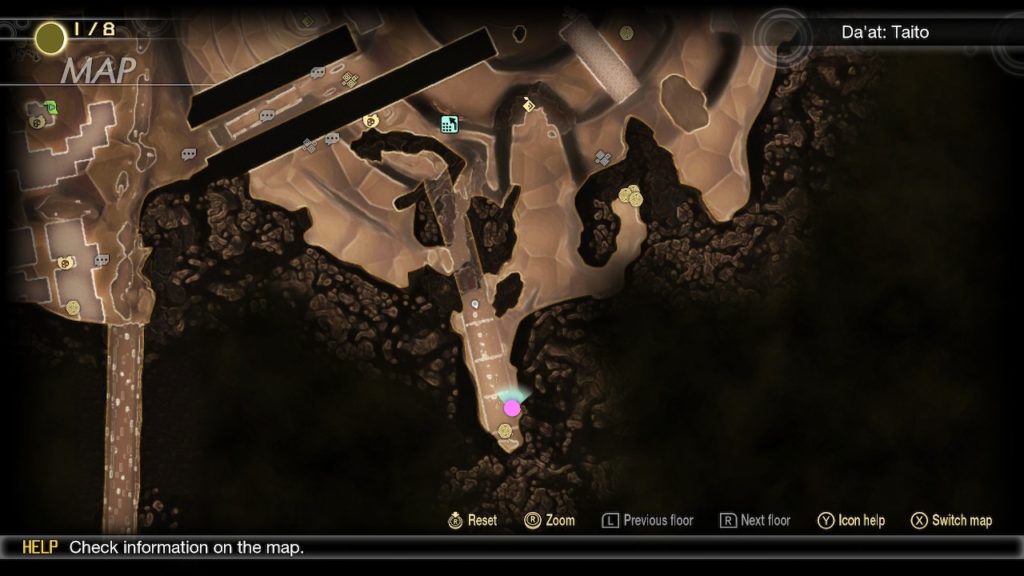
Located near the center of the pit.
Miman 7
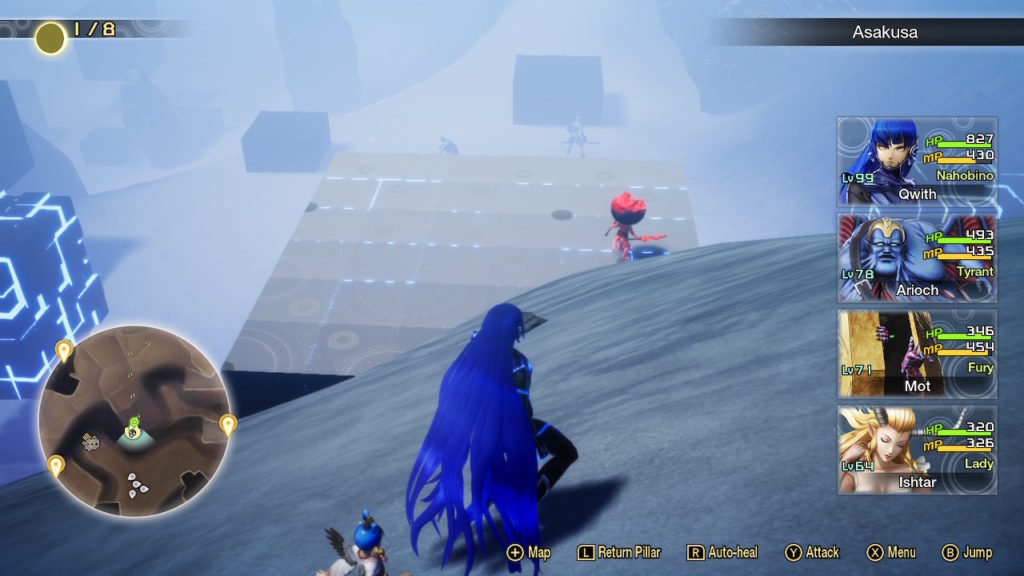
Located on the eastern side of the pit overlooking it.
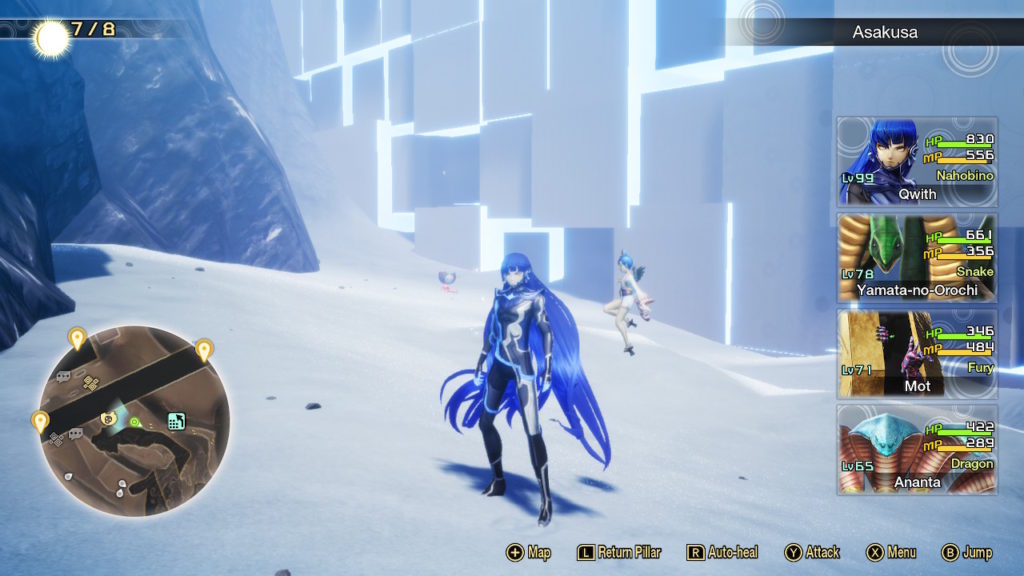
Miman 8
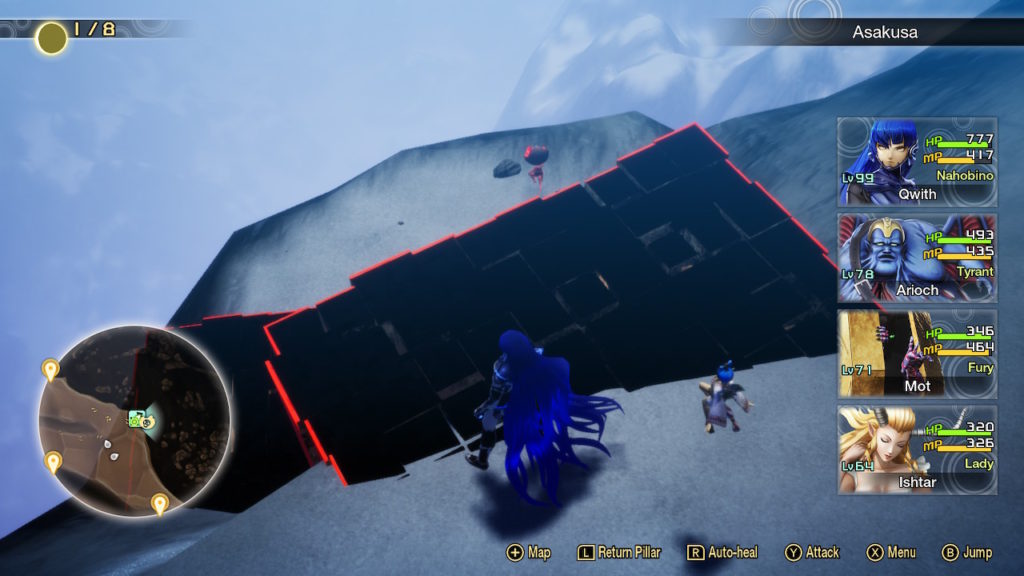
Located along the map’s edge in the northern part of this area. To reach it, you’ll climb down two ledges.
Miman 9
Located on top of a cube in the northwestern part of this area.
Miman 10
Located on a cliff overlooking the northwestern part of this area.
Iriya Miman
Miman 1
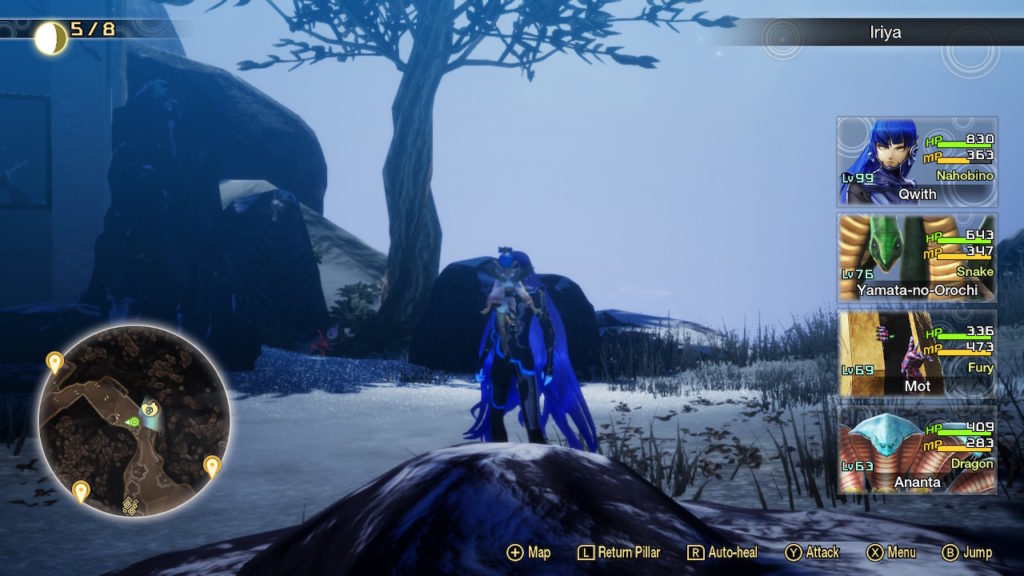
Located on the side of a building next to a tree.
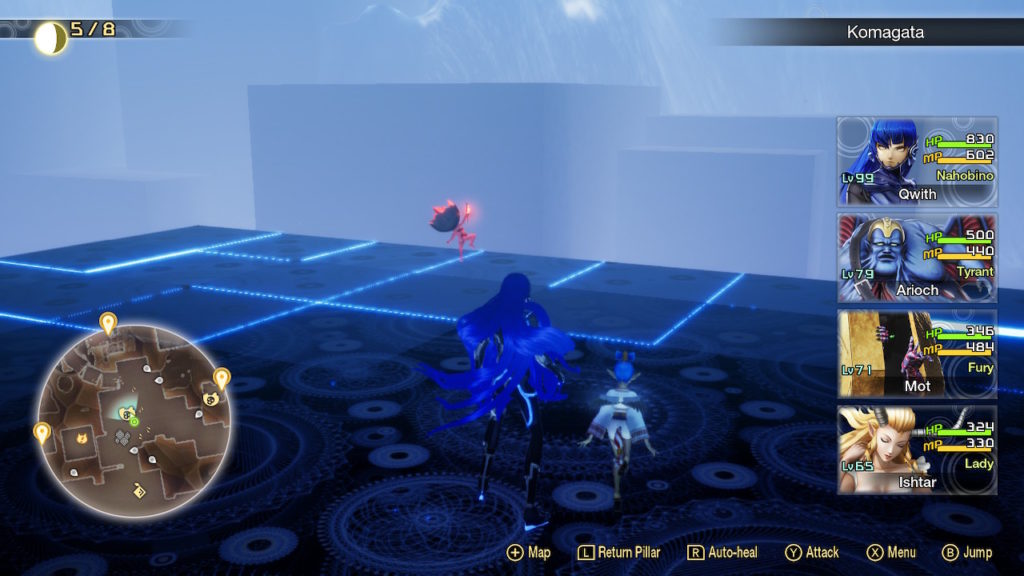
Komagata Miman
Miman 1
Located behind the cubes just southwest of the Asakusa Main Street leyline.
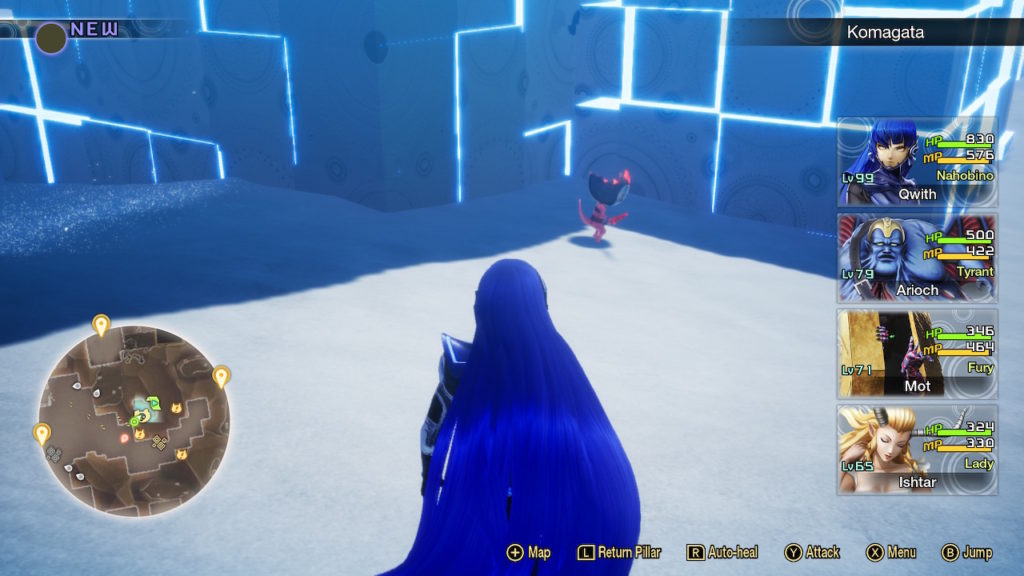
Miman 2
Located on a snow slope in the space between 4 buildings on the southwestern side of Taito.
Miman 3
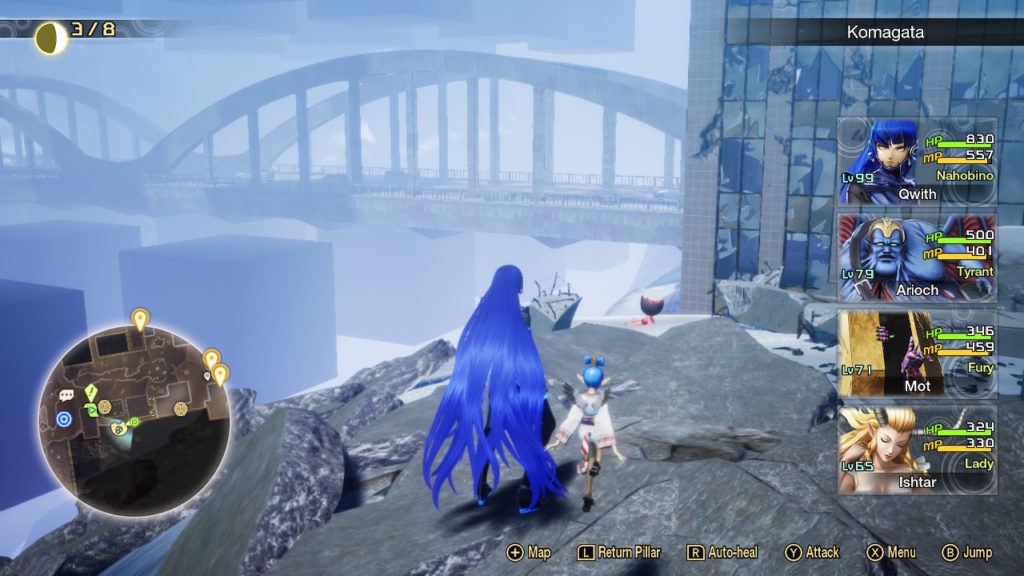
Located on a cliff along the map’s edge overlooking a distant bridge.
Miman 4
Located on a cube ledge. You’ll have to climb the orange lit cubes next to Macabre on the northern part of the street to reach this higher level.
Miman 5
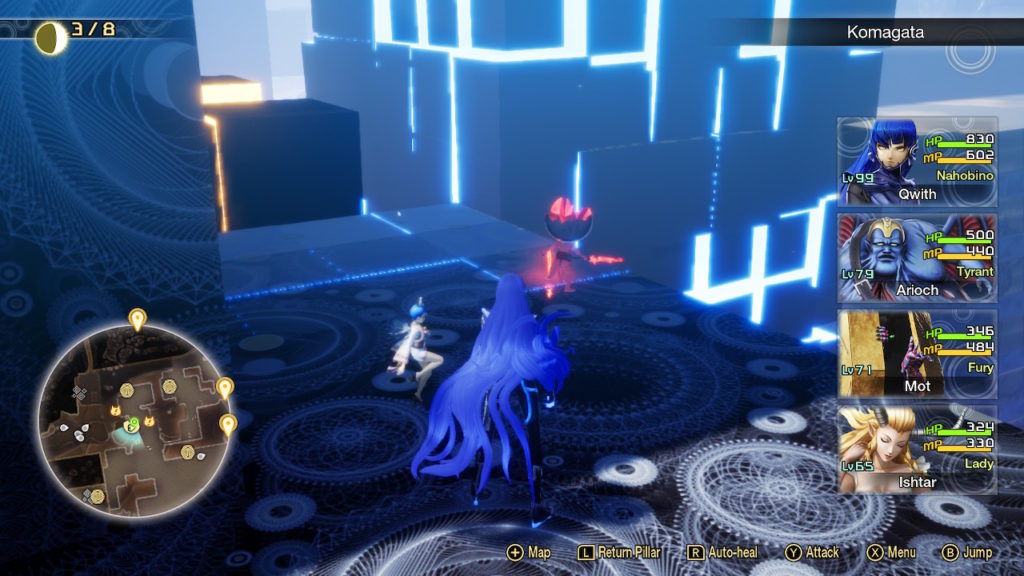
Located on a bluish white lit cube. To reach it, you’ll need to jump from a higher cube.
Miman 6
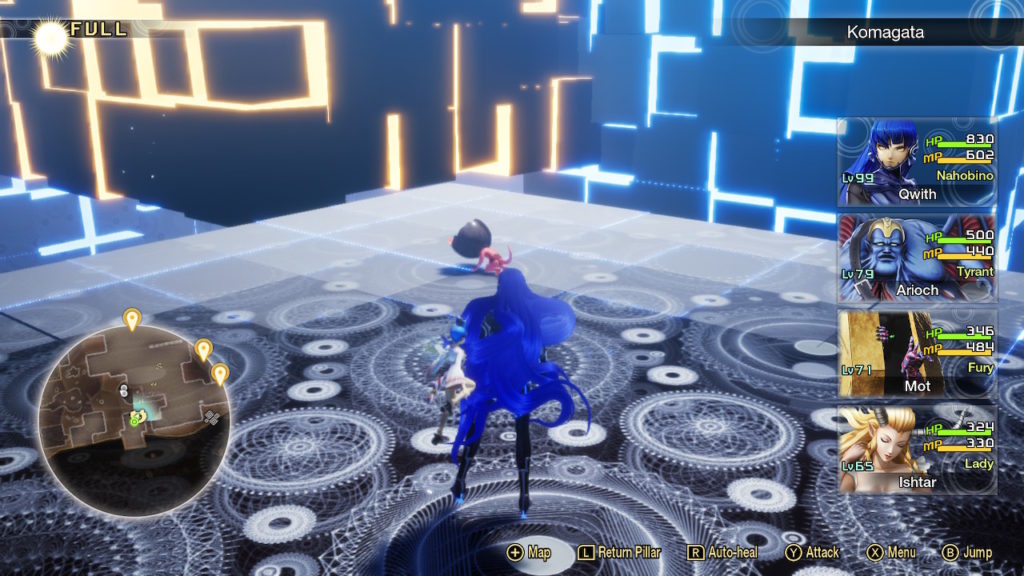
Located on a bluish white lit cube. To reach it, you’ll need to jump from a higher cube near the Komagata leyline.
Miman 7
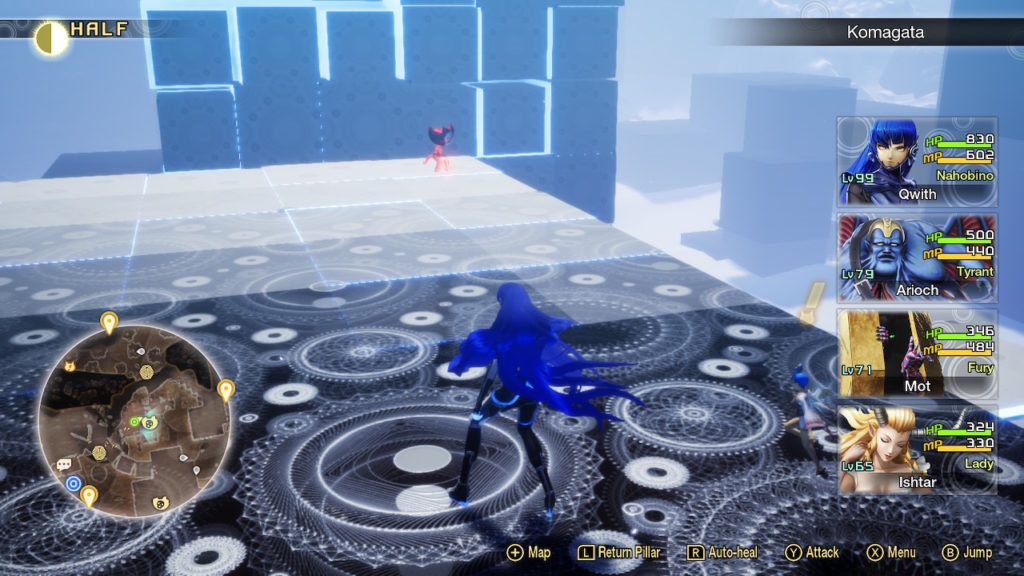
Located on a bluish white lit cube. To reach it, you’ll need to jump from a higher cube near the Komagata leyline.
Miman 8
Located on the ground behind the cubes next to Dominion.
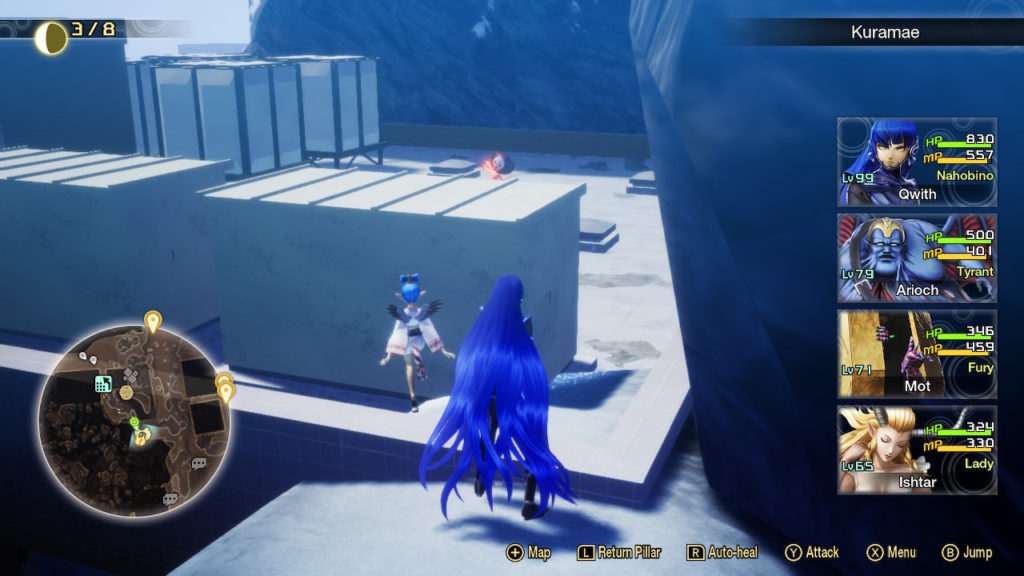
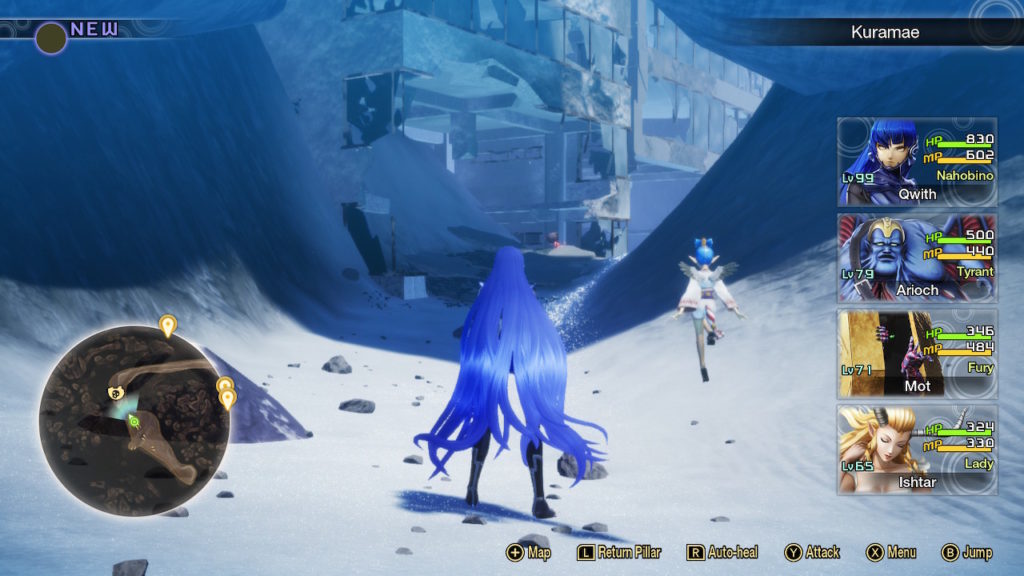
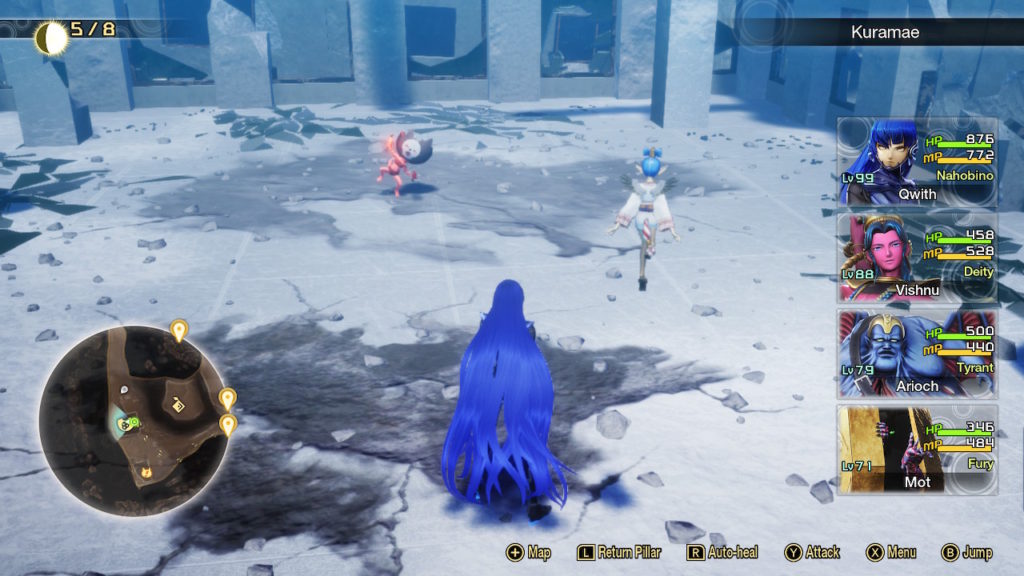
Kuramae Miman
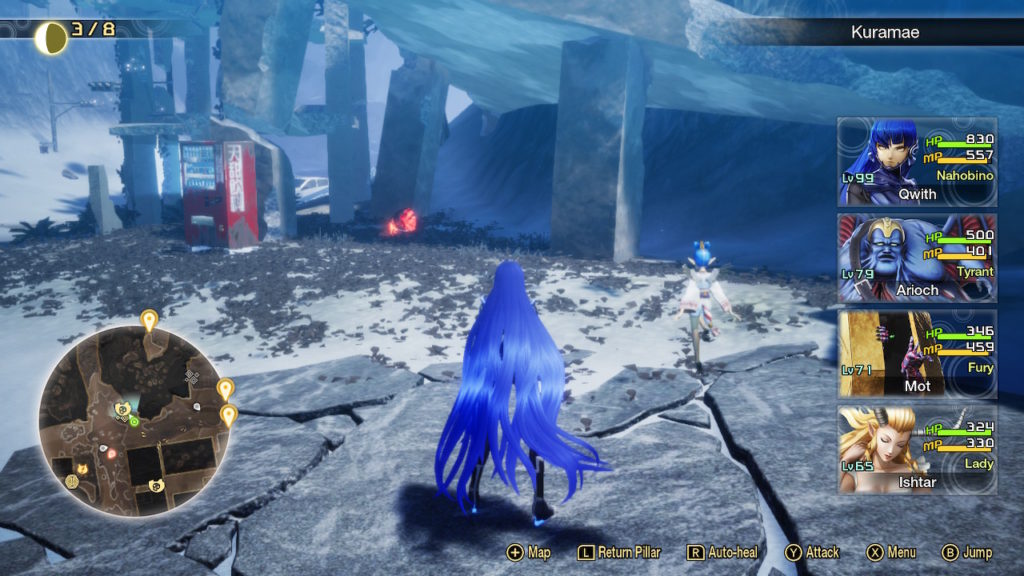
Miman 1
Located next to a vending machine under a ruined building.
Miman 2
Located high on a rooftop on the western side of Kuramae. To reach it, you’ll need to climb up the ledge behind the buildings.
Miman 3
Located on the western side of Kurame along the narrow path.
Miman 4
Located on a building along the map’s western edge.
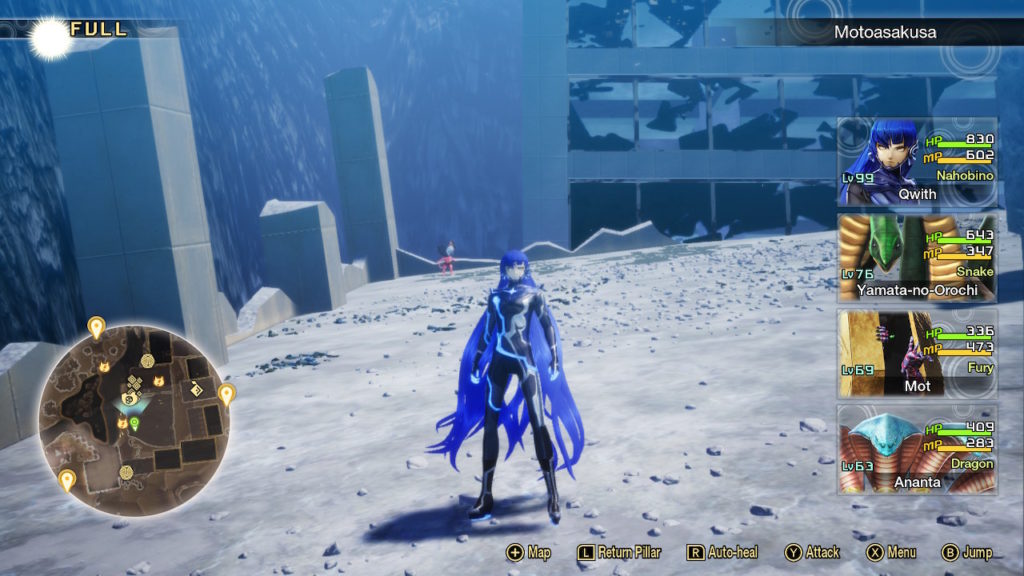
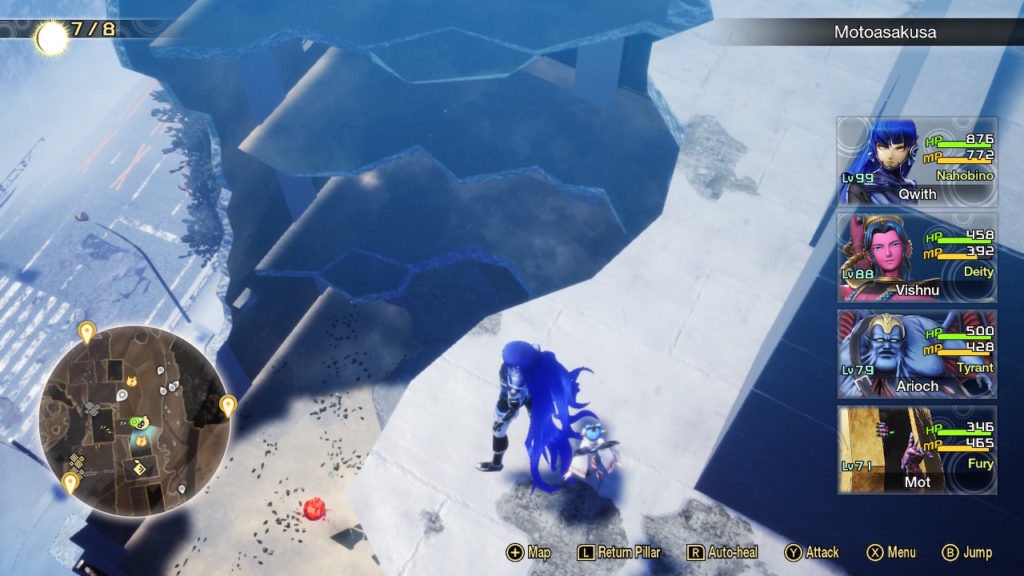
Motoasakusa Miman
Miman 1
Located on the top of a slanted building.
Miman 2
Located in the broken section at the top of a skyscraper. To reach it, you’ll have to drop down from the cliff above then make your way across the rooftops.
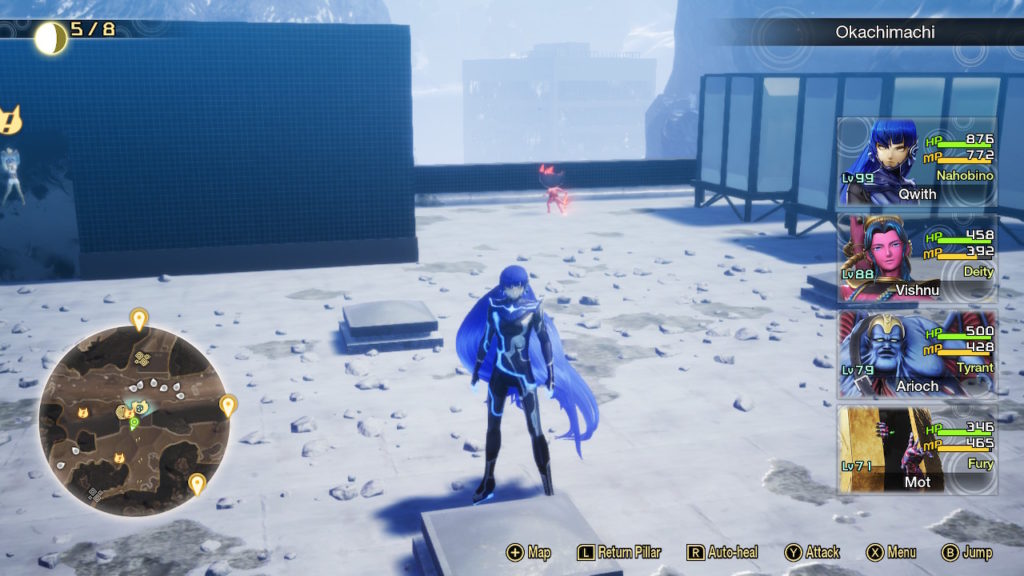
Okachimachi Miman
Miman 1
Located on a rooftop.
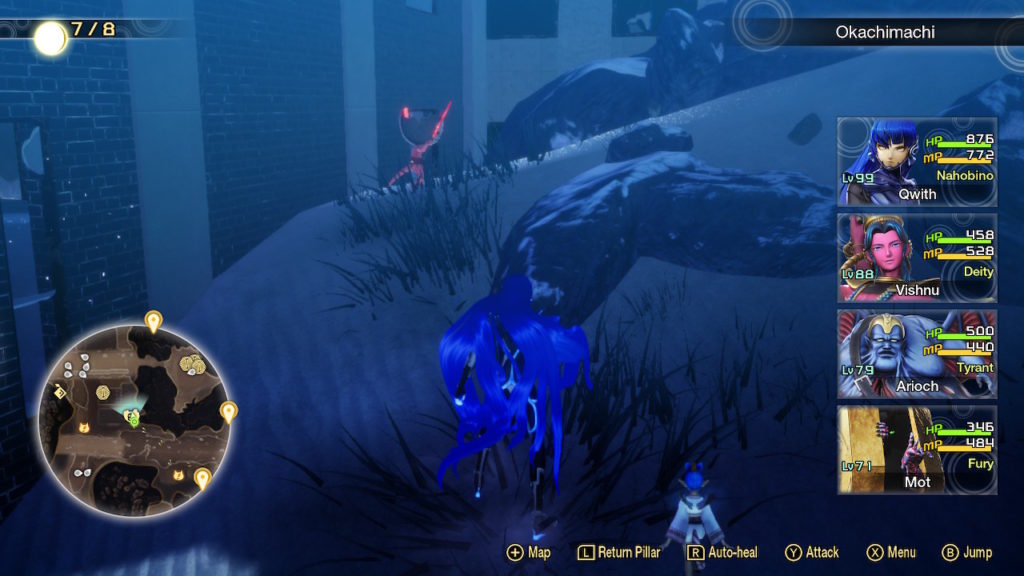
Miman 2
Located between 2 building on the eastern part of the broken highway.
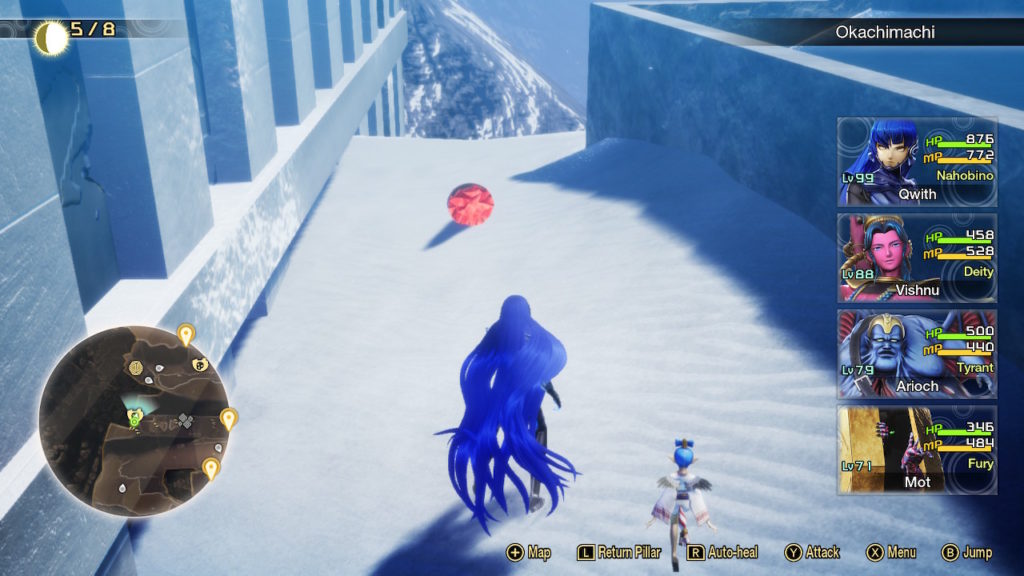
Miman 3
Located on the rooftop of a skyscraper along the western edge of the map.
Miman 4
Located behind a building west of the Shinobazu Pond leyline.
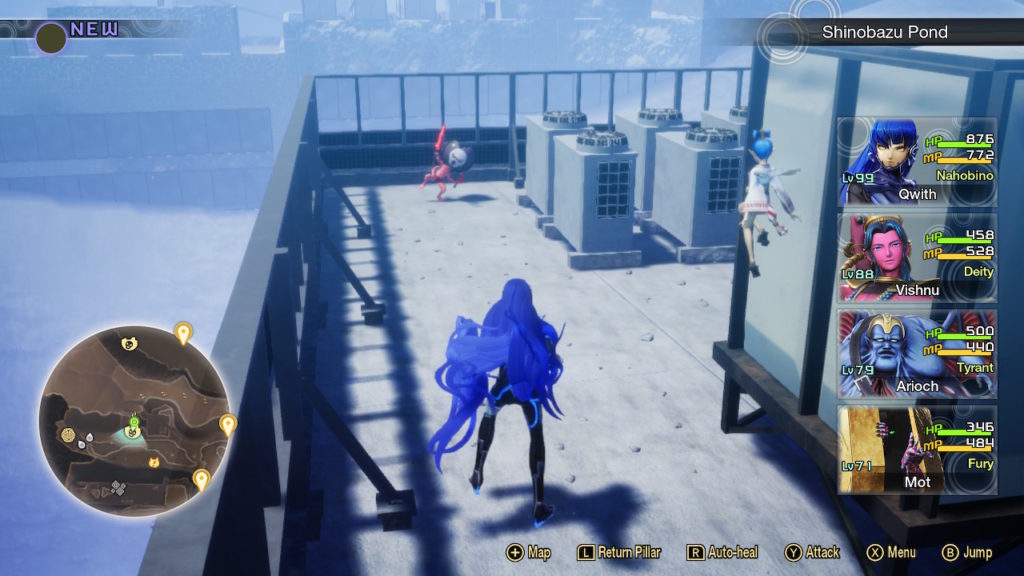
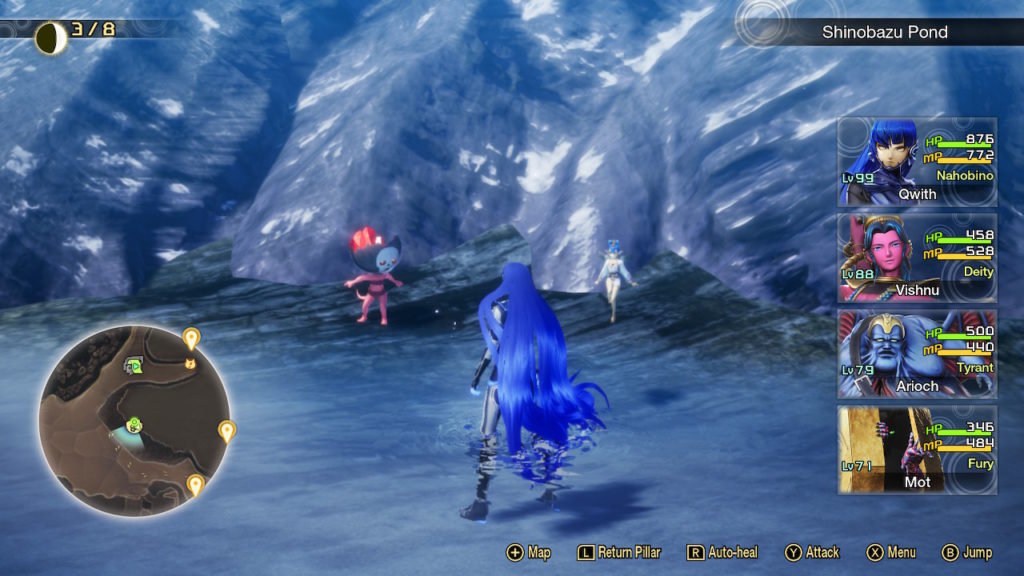
Shinobazu Pond Miman
Miman 1
Located on a roof west of the Shinobazu Pond leyline.
Miman 2
Located on the western side of the pond west of the Shinobazu Pond leyline.
Miman 3
Located on the far western part of the area on a cliff overlooking the abyss.
Miman 4
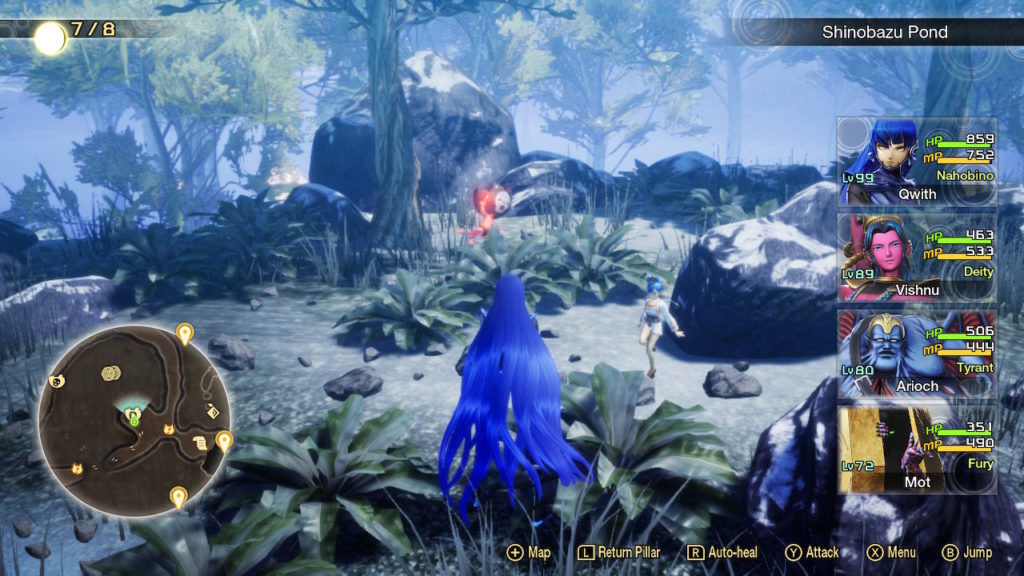
Located next to a tree in the middle of all the ponds.
Miman 5
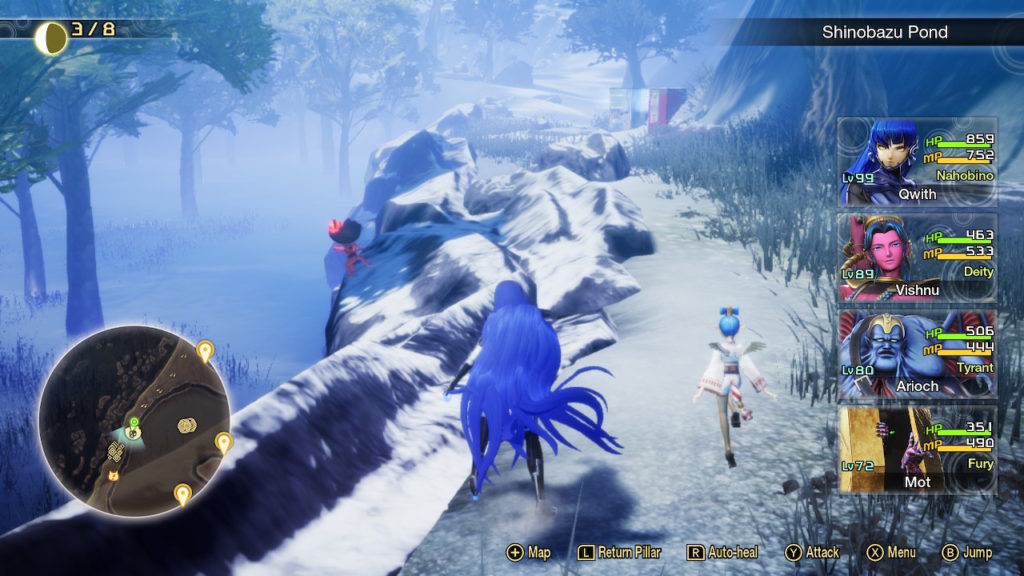
Located on a cliff overlooking the pond on the western side.
Ueno Miman
Miman 1
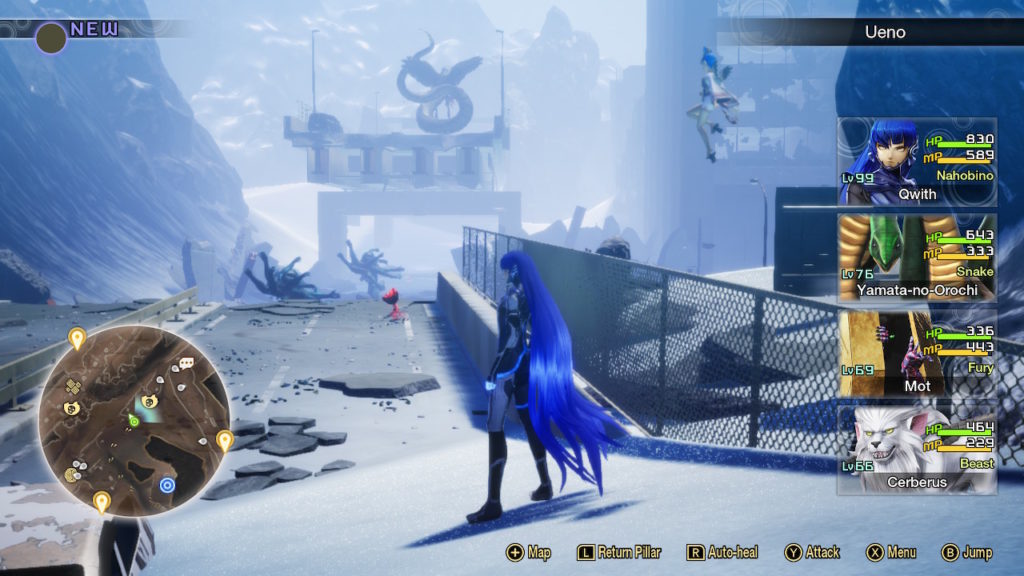
Located on the same rooftop as the Ueno leyline.
Miman 2
Located on the broken road north of the Ueno leyline.
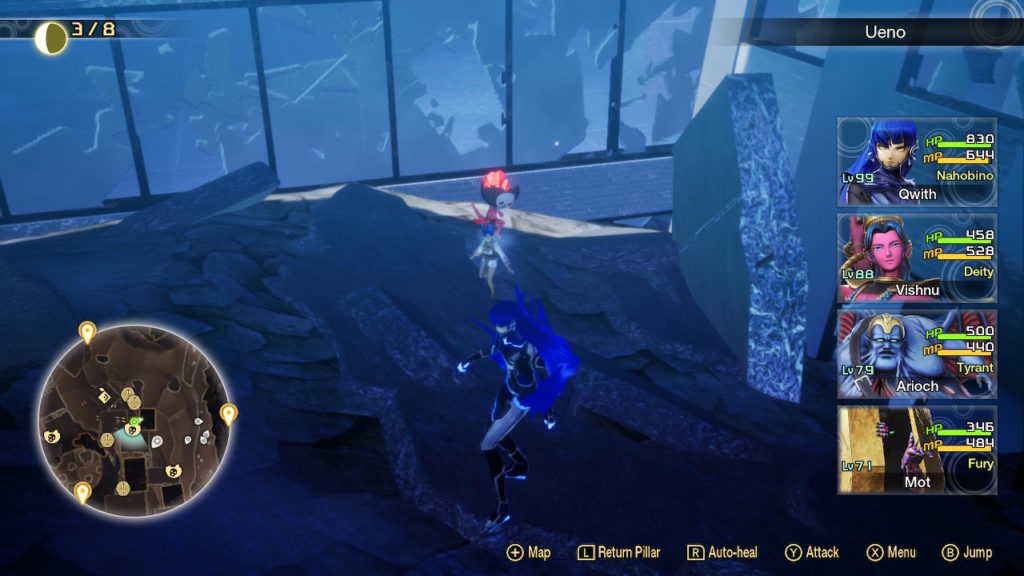
Miman 3
Located under the road southwest of the Ueno leyline.
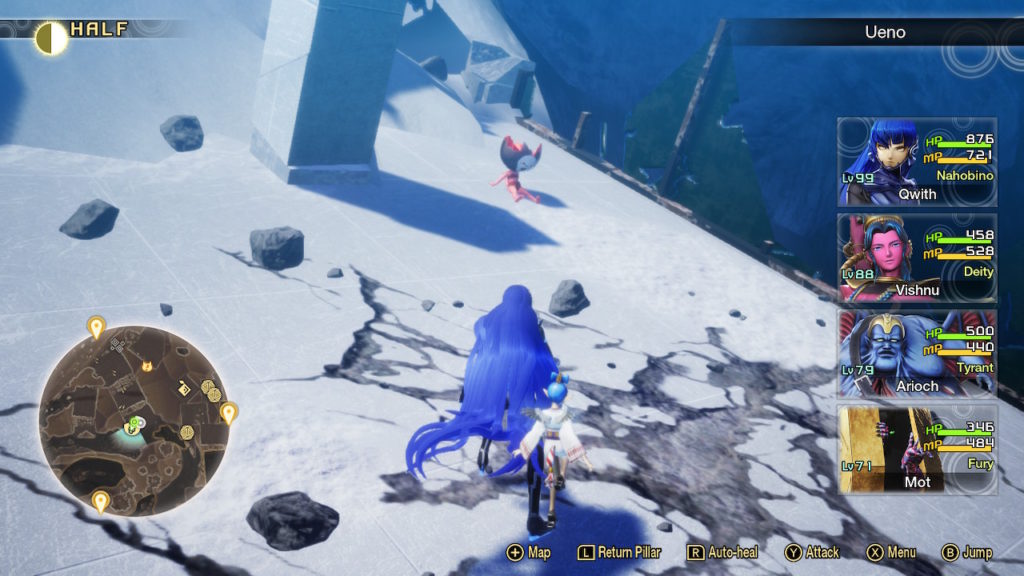
Miman 4
Located in a ruined building south of the Ueno lyeline.
Miman 5
Located on the roof of a building. To reach it, you’ll have to climb up the broken section of highway then jump onto a slanted building. Once on the building jump across the gap in the slanted building to reach the second half containing the Miman.
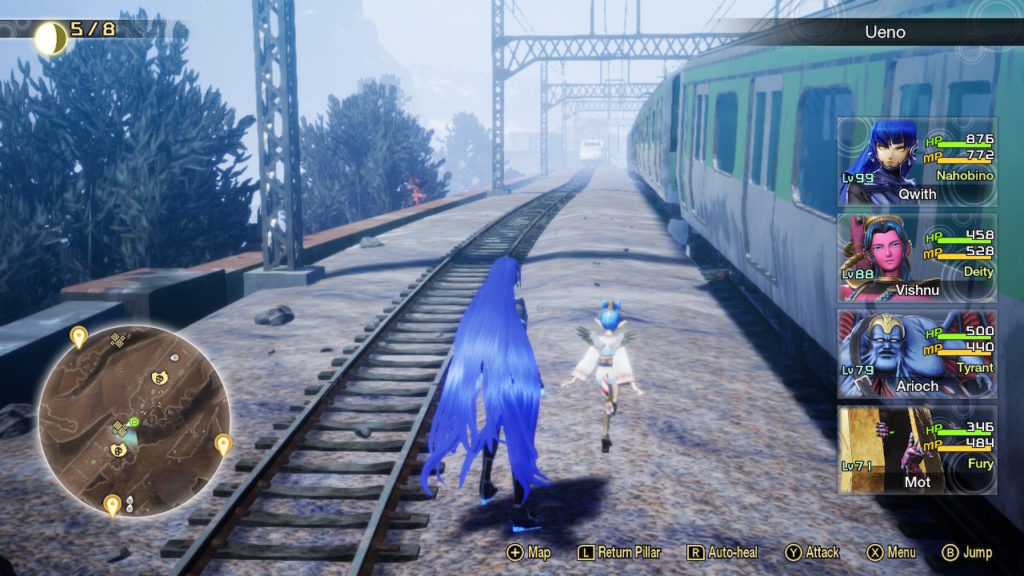
Miman 6
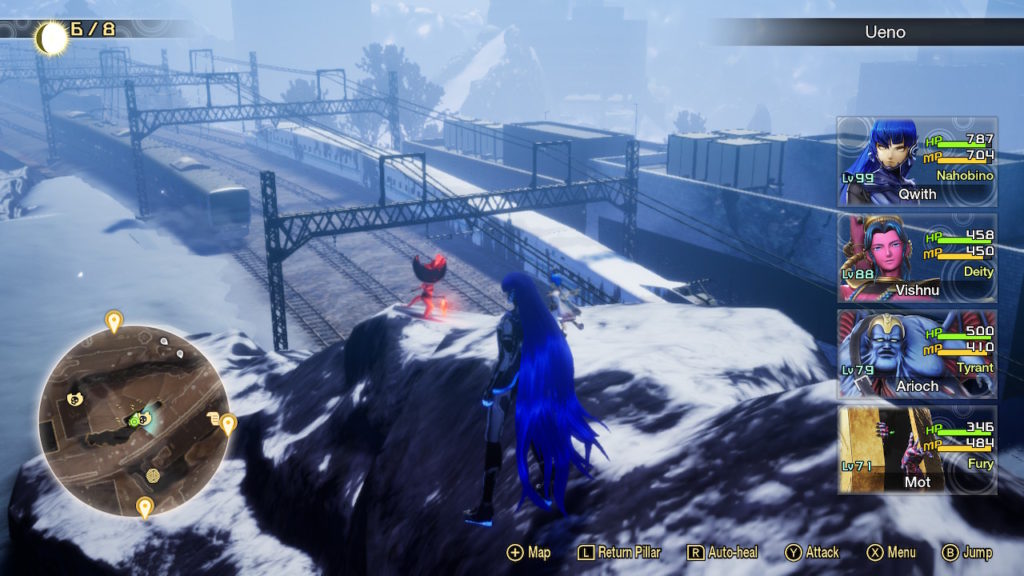
Located on the train tracks bridge near a train.
Miman 7
Located on a rock pile overlooking the train tracks.
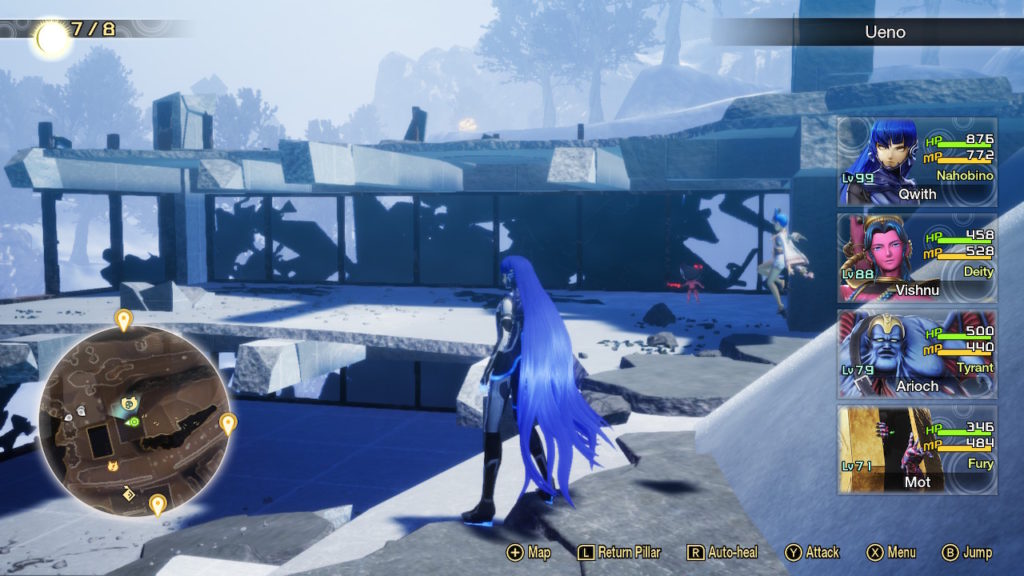
Miman 8
Located in a ruined building. It is accessible by the snowy area next to the previous Miman.
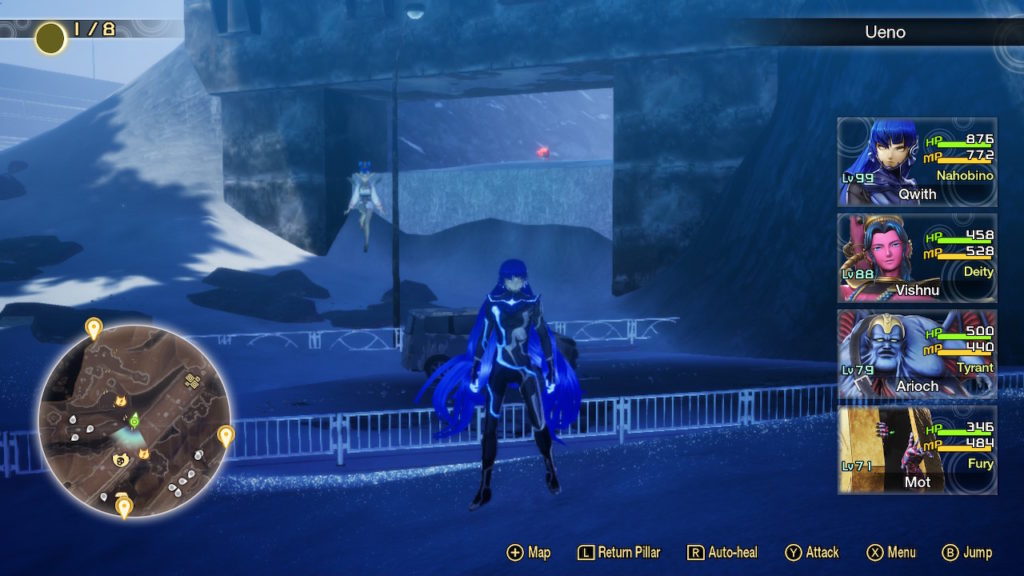
Miman 9
Located under the train tracks near the tracks’ support beams. To reach it, there is a gap on the southern side of the tracks where you can slip under them. It is southwest of the Miman.
Miman 10
Located under the train tracks. To reach it, there is a gap on the eastern side of the tracks. It is northeast of the Miman.
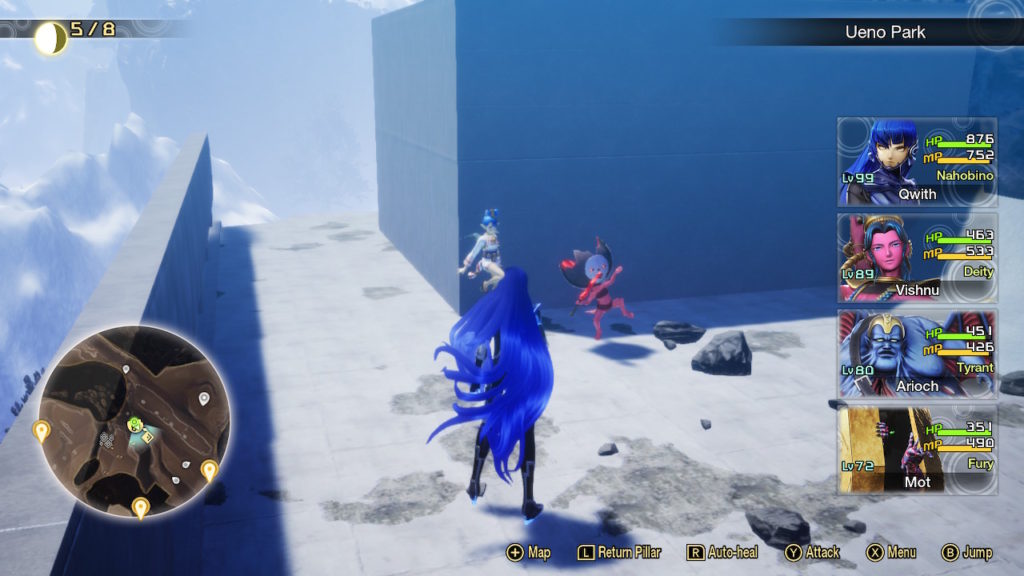
Ueno Park Miman
Miman 1
Located next to the water.
Miman 2
Located on a rooftop to the north of the Ueno Park leyline.
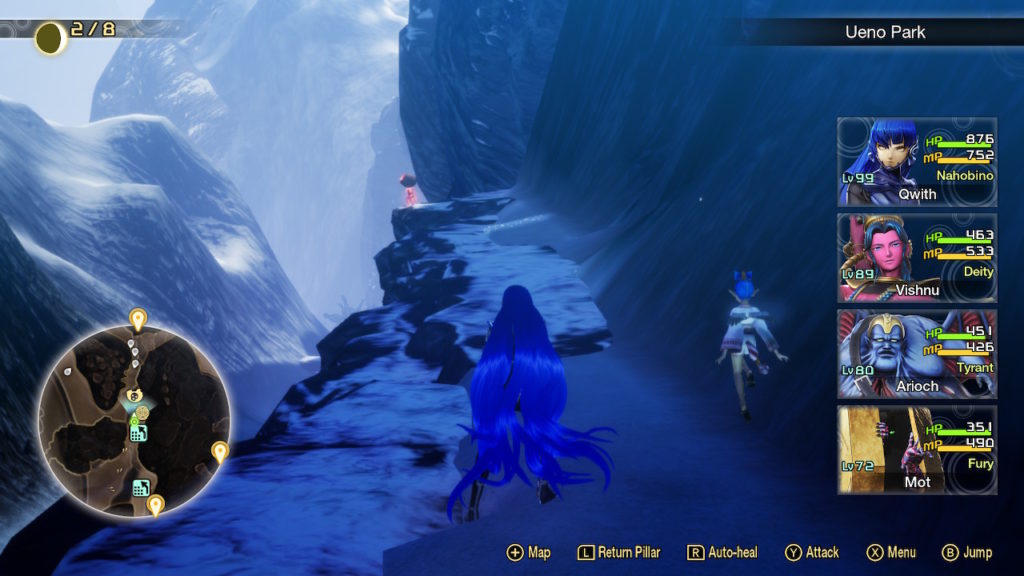
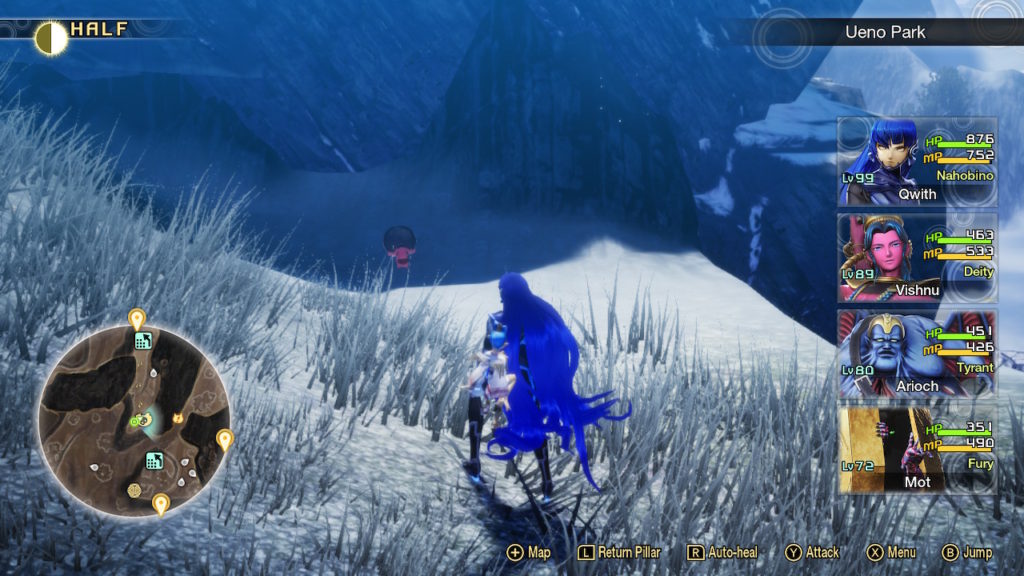
Miman 3
On a cliff overlooking Shinobazu Pond.
Miman 4
From the previous Miman, follow the path south to find this Miman on a cliff overlooking the area.
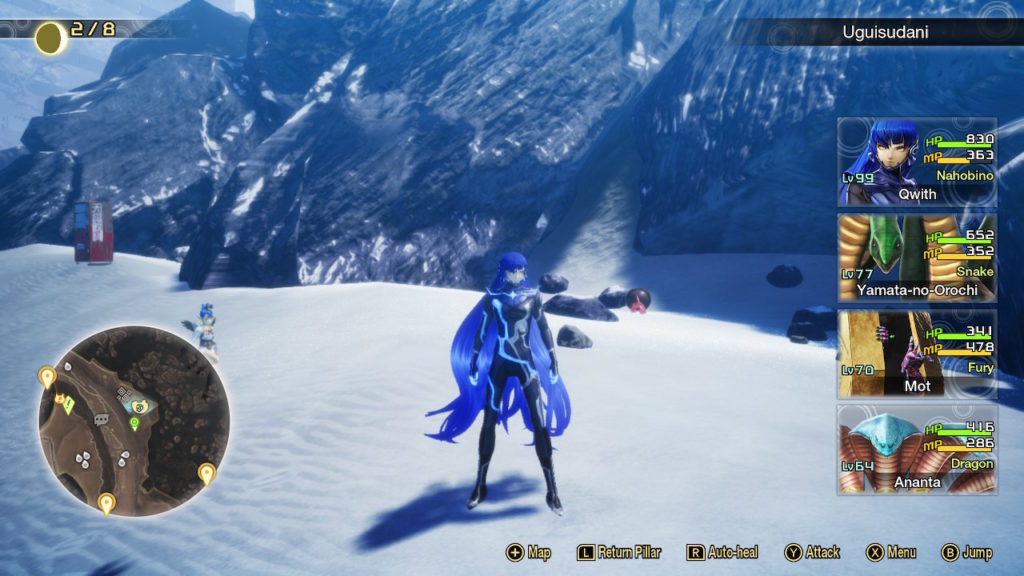
Uguisudani Miman
Miman 1
Located along the map’s edge near a vending machine.
Miman 2
Located in the northern part of the area at the base of a cliff next to some train tracks.
Shin Megami Tensei V Guides and Walkthroughs
For other Shin Megami Tensei V (SMT 5) guides and walkthroughs, click here!
Welcome to NGB and our Shin Megami Tensei V (SMTV) Vengeance guide on the Taito subquests. Here you’ll find everything you’ll need to easily breeze through these quests!
Your little helpers can find Amrita Showers. You can also obtain them from chests. Once you find 2, hand them over to complete the quest.
A Princess in a Pickle
Client: Kaya-no-Hime – Ueno
Reward: Chakra Pot x1
Summary: Find 2 Beads
You most likely already have the Beads on you! They can be obtained from chests from the previous areas. Once you have 2, hand them over to Kaya-no-Hime to complete the quest.
A Universe in Peril
Client: Shiva – Asakusa
Reward: ?
Summary: Defeat Shiva
During the story, you’ll have to obtain the Key of Austerity from Vasuki near the Asakusa leyline. After you defeat her, you’ll be able to enter a portal behind Vasuki that leads to Shiva. If you enter the portal, a cutscene will trigger followed by the option to accept this subquest. Accepting this quest will automatically lead to a fight with the Level 96 Shiva. He’s weak to Ice, drains Fire and Electric, resists Physical, Light and Dark. He uses severe, all party hitting Physical, Fire, Electric and Almighty skills and can summon allies.
Abaddon’s Assault
Client: Kurama Tengu – Shinobazu Pond
Reward: Grimoire x3
Summary: Eliminate Abaddon north of Ueno Park
Abaddon is Level 61 and can be found in the northwestern corner of Ueno Park. It is weak to Electric, blocks Fire and resists Dark. It uses Physical and Ice attacks. It can also cause poison and mirage. Defeat it then return to Kurama Tengu to complete the quest.
An Incentive for Incense
Client: Loa – Asakusa
Reward: Bead Chain x1
Summary: Find 2 Balm of Life for Loa
Balm of Life can be acquired from previous areas’ chests. When you have 2, return to Loa to hand them over. This action will complete the quest!
Brawny Ambitions III
Client: Hare of Inaba – Ueno Park
Reward: Curative Cattail x1
Summary: Introduce Okuninushi to Hare of Inaba
The Brawny Ambitions III subquest can only be found in SMTV Vengeance. In order to summon Okuninushi, you’ll need to defeat the Kunitsukami of Kanda-no-yashiro in the Virtual Trainer and complete the quest associated with it. Once you’ve done the Special Training: The Kunitsukami, you’ll be able to fuse Okuninushi using the following demons:
Yurlungur / Yatagarasu
Flaemis / Kushinada-Hime
Qing Long / Sui-Ki
Alternatively, you can go to the World of Shadows and do a Reverse Compendium Fusion to see if you have any other options. After you fuse Okuninushi, make your way to the Ueno Park leyline and speak with the Hare of Inaba to complete the Brawny Ambitions III subquest.
Downtown Rock ‘n Roll
Client: Ippon-Datara – Ueno
Reward: Critical Gem x3
Summary: 10 Dragon Scales
Ippon-Datara can be found on a rooftop that is reachable by jumping to it from the train tracks. To receive Dragon Scales, defeat Fafnir and Yamata-no-Orochi in Komagata. Once you’ve gotten 10, return to Ippon-Datara to complete the quest. You’ll also receive Fafnir’s Essence.
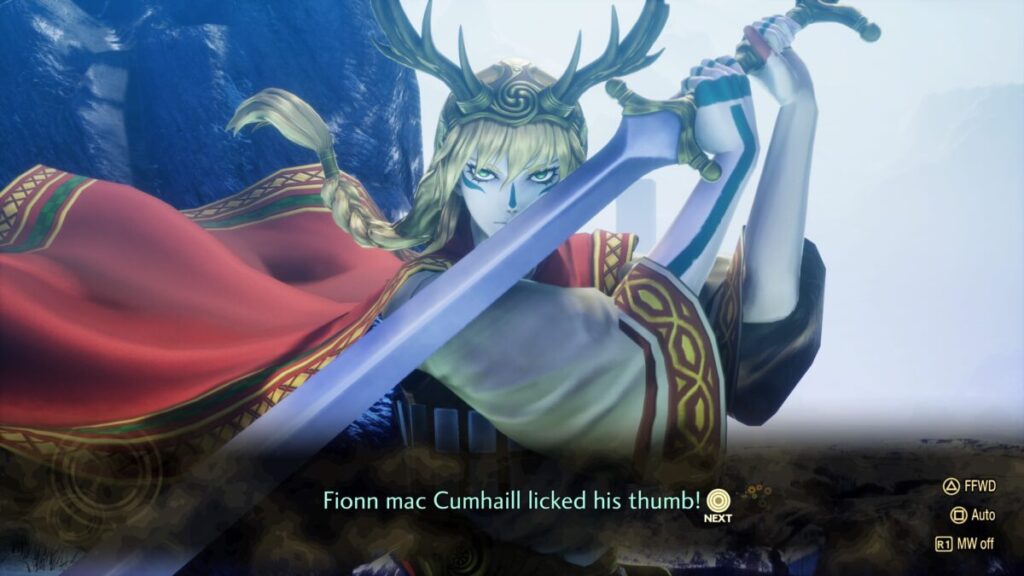
Fionn’s Resolve
Client: Fionn mac Cumhaill – Motoasakusa
Reward: Battle Sutra x1
Summary: Defeat Fionn mac Cumhaill
Accepting the quest will automatically begin a fight with Level 66 Fionn mac Cumhaill. He’s weak to Electric and blocks Fire and Light. Defeat him to complete the quest. He will also unlock for fusion!
God of Old, Devourer of Kin
Client: Saturnus – Ueno Park
Reward: Fire Sutra x2
Summary: Eliminate Zeus
The God of Old, Devourer of Kin subquest can only be found in SMTV Vengeance. After completing The Three Keys main quest, return to Saturnus who will then attack you. Level 73 Saturnus is weak to Ice, resists Dark, blocks Light and drains Fire. He uses a combination of Fire and Physical attacks.
Heroes of the Celts
Client: Fionn mac Cumhaill – Demon Haunt
Reward: Eye of Balor x1
Summary: Bring Fionn mac Cumhaill to meet the great Celtic hero Cu Chulainn at Shinobazu Pond
The Heroes of the Celts is a SMTV Vengeance subquest only! You’ll first need to have done his other subquest (Fionn’s Resolve) to recruit him. Once you do, you’ll then be able to find and speak with him in the Demon Haunt. After accepting the quest, make your way over to Shinobazu Pond and speak with Cu Chulainn. You’ll then be tasked with collecting 9 Four Leaf Clovers before time runs out. Be wary of the fairies that can put you to sleep as time will advance while your unconscious! After you’ve collected enough clovers, return to Cu Chulainn to complete the Heroes of the Celts subquest!
In Defense of Tokyo
Client: Futsunushi – Ueno Park
Reward: Strength Balm x2
Summary: Defeat Adramelech
After accepting the quest, head to the Umayabashi leyline and enter the nearby building to find Adramelech. Speak with him and choose the option to support the other side. This will start a fight with him. He’s Level 71, weak to Ice and blocks Fire and Dark. Defeat him then return to Futsunushi to complete the quest. He will also join your party!
Keeper of the North
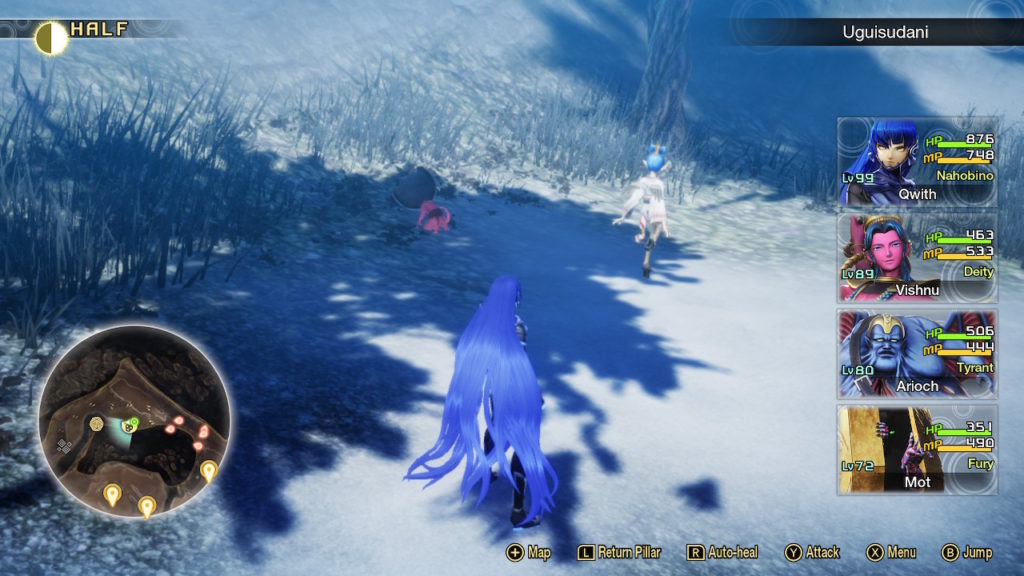
Client: Bishamonten – Uguisudani
Reward: Large Glory Crystal x1
Summary: Defeat Bishamonten
After completing The Ancient Guardian subquest, head to the Ueno Park leyline. Once there, make your way east to Uguisudani to find Bishamonten. Speak with him to begin a battle. He’s Level 65 Bishamonten, weak to Ice and blocks Fire and Light. He uses Fire, Physical and Almighty skills. Defeat him to complete the quest. You’ll also receive his essence.
Maker of Myth
Client: Siegfried – Azumabashi
Reward: Blessed Fan x1
Summary: Defeat Garuda (Recommended Level: 72)
Make your way to the objective in Motoasakusa and wait for Garuda to fly by. Attack it to begin the fight against the Level 80 Garuda. It’s weak to Electric, resists Light and drains Force. It uses a Force attack that hits the whole party and has a skill that can raise it Accuracy/Evasion for 3 turns. It also has a Physical attack that hits all foes, ignores resistance, Pierces and always lands Critical hits. After you take down Garuda, return to Siegfried in Azumabashi.
On Bended Knees
Client: Yatagarasu – Ueno
Reward: Yatagarasu’s Essence x1
Summary: Give it 3 Ambrosia
Ambrosia can be collected from chests. Once you have 3, hand them over to complete the quest.
The Bull God’s Lineage
Client: Demeter – Kuramae
Reward: Gospel x1
Summary: Defeat Baal atop the mountain in Tennozu
Travel to the Tennozu Leyline Fount in Shinagawa then head to the top of the mountain to the east. It is reachable via the highway. Once you reach the top, the game will mention the presence of a powerful demon. Choose the option to stay. A cutscene will trigger. We refused his offer and a fight with a Level 69 Baal. He is weak to Ice, resists Force and Fire, blocks Light and reflects Electric. He uses Electric, Fire, Physical and Almighty skills. He’ll use Ice Block to protect his weakness and has a skill that can confuse the party. Defeat him to receive the Deity Talisman then return to Demeter to complete the quest. Baal will also unlock for fusion!
The Destined Leader
Client: Kurama Tengu – Honjo
Reward: Destruction Sutra x1
Summary: Assist his companion at Tokyo Tower
Travel to Tokyo Tower leyline in Minato then head north to find Kurama Tengu. Speak with him to learn some interesting facts then return to the leyline. Fast travel to the Nagatacho leyline and speak with the nearby Amanozako. Have her follow you then head to Kurama Tengu in front of Tokyo Tower. We refused to hand her over. As such, we engaged in a battle with Level 75 Zaou-Gongen and Level 69 Kurama Tengu. Zaou-Gongen is weak to Electric and resists Fire, Light and Dark. He uses Fire, Physical and Almighty skills. Kurama Tengu is weak to Electric and blocks Force. Defeat them both in battle to receive the Fury Talisman and complete the quest. Zaou-Gongen will unlock for fusion and Amanozako will join your party.
The Egyptians’ Fate
Client: Dominion – Asakusa Main Street
Reward: Small Glory Crystal x5
Summary: Investigate Khonsu at Odaiba in Minato
Travel to the Odaiba Leyline Fount in Minato then follow the path towards the objective. Once there a fight will ensue with a Level 62 Seth. It is weak to Ice, resists Light and Dark and blocks Electric. It uses Physical, Electric and Force skills. It can also inflict confusion on the party. Defeat it then keep following the highway to reach a pyramid where you’ll sense a powerful presence. Choose stay to trigger a cutscene leading to a fight with a Level 64 Khonsu. It’s weak to Ice, resists Fire and blocks Light. It uses Fire, Light and Physical attacks. It can also heal itself. When you defeat it, you’ll have the option to kill it or not. We chose not to!
Please note that in this area you can find the following chests:
100 Glory
Lahmu’s Essence x1
Grimoire x2
Balm of Life x1
100 Glory
Zaou-Gongen’s Essence x1
Chakra Pot
Amrita Shower x1
100 Glory
Yamata-no-Orochi’s Essence x1
Bead Chain
After you defeat both demons and are done exploring the area, return to Dominion to complete the quest.
The Heartbroken
Client: Incubus – Asakusa Main Street
Reward: Lavish Demon Box x2
Summary: Deliver 4 Balms of Life
The Heartbroken subquest is a SMTV Vengeance only subquest! Once you’ve gotten the Balms of Life, return to Incubus to complete the quest.
The Holy Ring
Client: Melchizedek – Honjo
Reward: Herald Talisman x1
Summary: Place the Angel Ring in the container at the center of Asakusa then imbue the Angel Ring with the power of the 3 seraphim
Travel to Asakusa leyline in Taito then make your way to the center of the giant pit. Speak with Melchizedek then place the Angel Ring to trigger a battle with Level 74 Raphael, Gabriel and Uriel. Raphael is weak to Fire, resists Electric and blocks Force and Light. He uses Force skills and can heal. Gabriel is weak to Electric, resists Fire and blocks Ice and Light skills. She uses Light and Ice skills. Uriel is weak to Ice, resists Electric and blocks Fire and Light. He uses Electric, Fire and Physical attacks. Defeat the trio to complete the quest! You’ll also unlock Raphael, Gabriel and Uriel’s fusions.
The Raid on Tokyo
Client: Adramelech – Umayabashi
Reward: Magic Balm x2
Summary: Defeat Futsunushi
Speak with Adramelech near the Umayabashi leyline to accept the quest then travel to Ueno Park leyline and make your way south. Speak with Futsunushi and choose to support the other side to start a fight. Futsunushi is Level 69, weak to Dark and blocks Light. He uses Physical attacks and can increase his critical chances. After you defeat him, return to Adramelech in Umayabashi to complete the quest. He’ll also join your party!
The Sleeping Sands
Client: Sandman – Komagata
Reward: Amrita Shower x1
Summary: Find 2 Sleep Gems
Your companion can point out these sleep gems. Once you’ve collected both gems, hand them over to the Sandman to complete the quest.
The Winged Sun
Client: Amon – Ueno
Reward: Tyrant Talisman x1
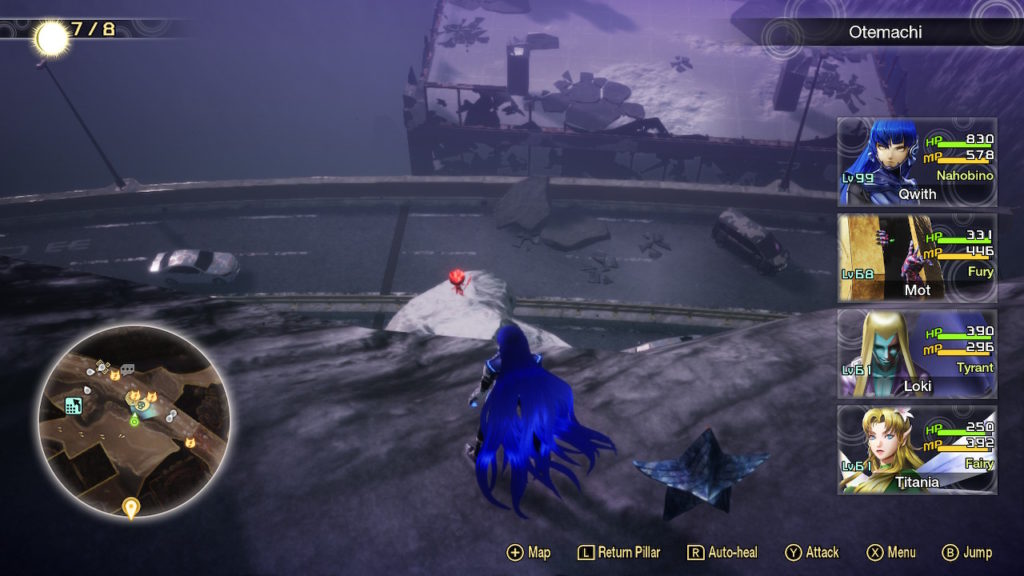
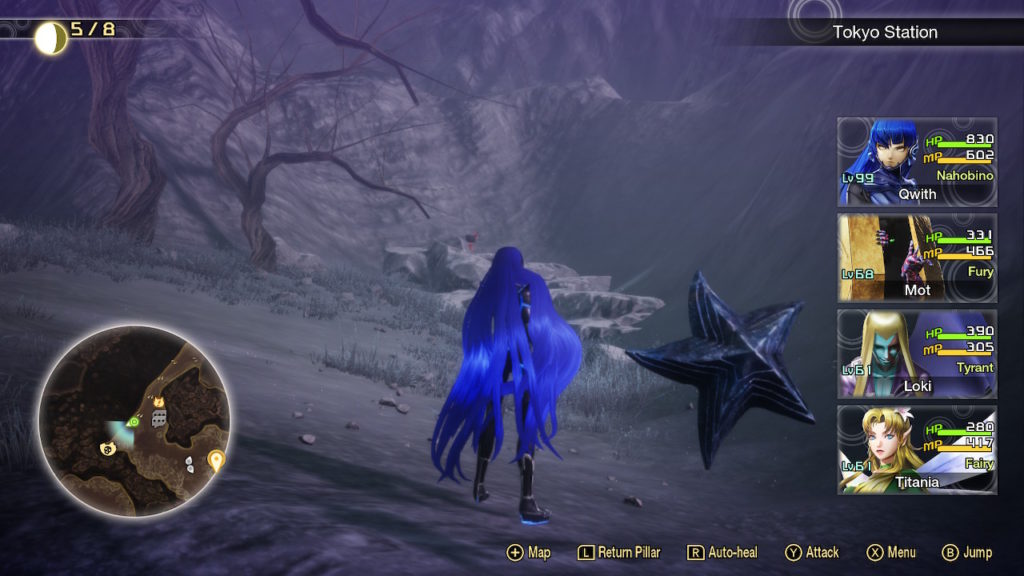
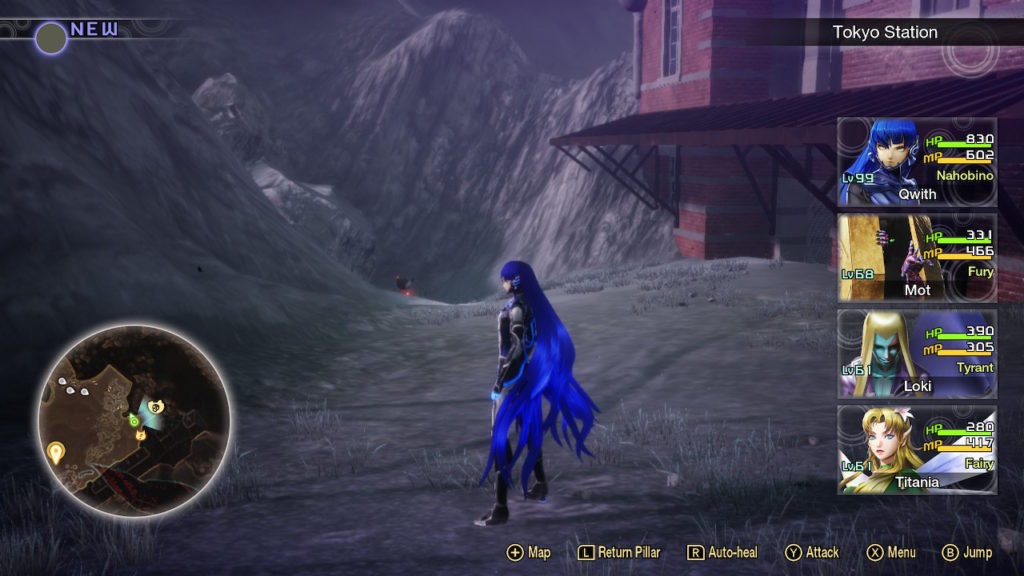
Summary: Retrieve the Winged Sun Crest that was stolen by 2 enemies that are in front of Tokyo Station in Chiyoda
Speak with Amon after completing The Egyptians’ Fate subquest to accept this quest. If playing the original SMTV, then make your way to Tokyo Station in Chiyoda. From the leyline, follow the path southwest. If playing SMTV Vengeance, head to the northern part of Shinjuku in Kabukicho. As you approach the objective, you’ll be prompted about the presence of a powerful demon. Select to stay to begin the fight with a Level 71 Asura and Level 71 Mithras. Both are weak to Ice. Asura repels Fire, blocks Light and resists Dark. He uses Physical, Fire and Almighty skills. Mithras drains Fire and blocks Light. He uses Fire, Light, Physical and Almighty skills. Defeat them then return to Amon. Speak with him then cut the backstabbing snake down. He is Level 73, weak to Ice, drains Fire and resists Dark, Light and Physical. He uses Fire and Physical attacks. He can also inflict confusion on the party. Defeating him will complete the quest. Asura, Mithras and Amon will also unlock for fusion!
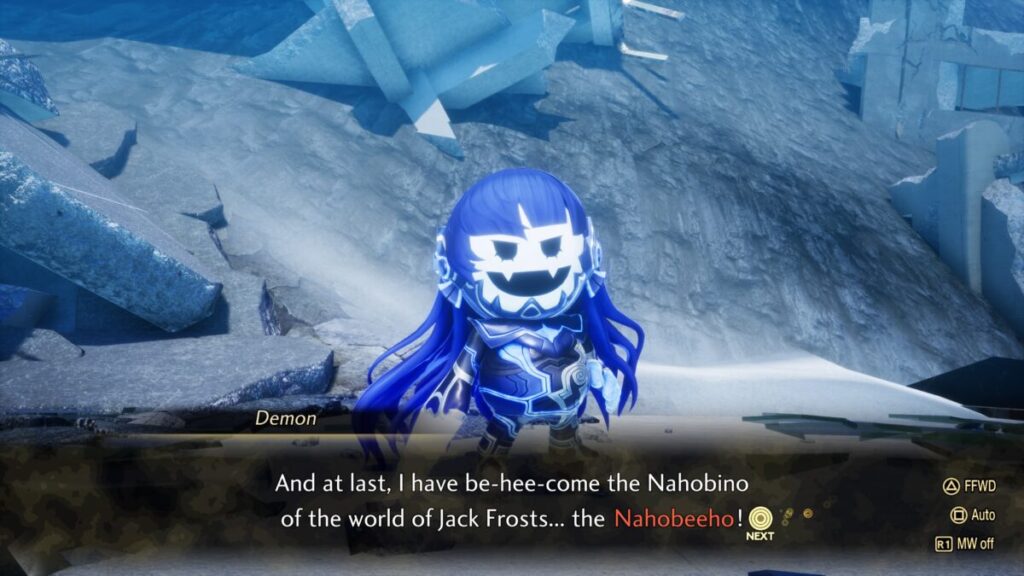
Wannabee-ho Nahobino
Client: Nahobeeho – Kuramae
Reward: Miracle Ice x1
Summary: Give advice on how to scout demons for Nahobeeho’s team
When you gain control of Nahobeeho, speak with the demons with the conversation bubbles above their heads. After speaking with all the demons, the Wannabee-Ho Nahobino quest will complete and you’ll unlock Nahobeeho for fusion!
Shin Megami Tensei V Guides and Walkthroughs
For other Shin Megami Tensei V guides and walkthroughs, click here!
Welcome to NGB and our Shin Megami Tensei V (SMTV) Vengeance walkthrough on the Tokyo area and Adiel boss. Here you’ll find everything you’ll need to easily breeze through this area.
With Arioch defeated, return to the Bethel Meeting Room in Tokyo. After the revealing cutscene, head to the dorms to trigger another cutscene. When you’re ready, head to the Terminal Room and approach the terminal in the middle. After the discussion, interact with the terminal use it to head to the Tokyo Diet Building’s Terminal Room. A long cutscene will trigger. When it ends, speak with each of the beings in the Summit Conference Hall.
Afterwards, a fight with the Level 58 Abdiel will occur. She is weak to Dark, resists Electric and Force and repels Light. She uses Physical, Light and Fire attacks. Defeat her to finish the cutscene.
Next, head to the Bethel Meeting Room and approach the trio to trigger yet another cutscene. When it concludes attempt to leave the room to be stopped by Ichiro. After the cutscene, approach the terminal in the center of the room. You’ll then need to make your way to the dorms. After the cutscene, you’ll receive The Three Keys main quest!
Welcome to NGB and our Shin Megami Tensei V (SMTV) Vengeance) walkthrough on the Demon King’s Castle main quest! Here you’ll find everything you’ll need to easily breeze through this quest!
After completing The Augmented Goddess main quest, you’ll teleport to the Demon King’s Castle using the red beam.
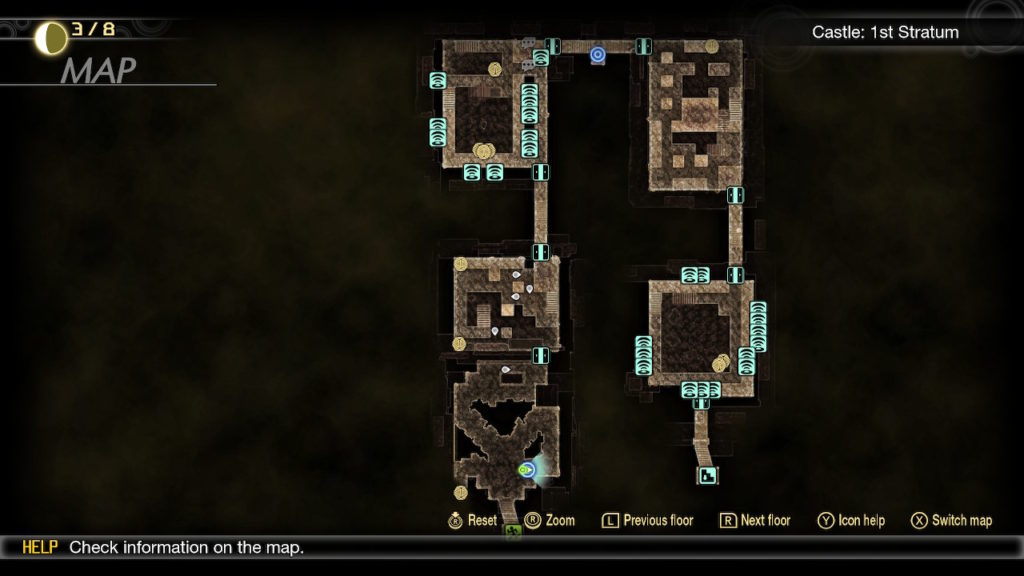
Castle: 1st Stratum Demons and Collectibles
Castle: 1st Stratum Demons
Nue
Orobas
Castle: 1st Stratum Chests
Grimoire x2
Chakra Drop x4
Dispel Charm x1
Yurlungur’s Essence x1
30,000 Macca
Magic Mirror x1
Light Gem
Cu Chulainn’s Essence x1
Amrita Shower x1
Phys Dampener
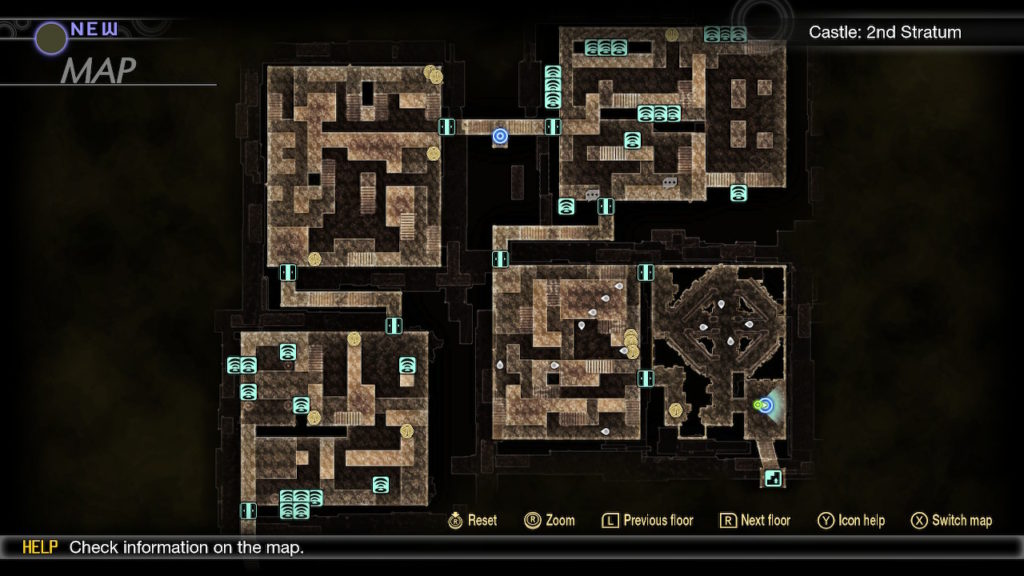
As you explore the Castle: 2nd Stratum, you’ll find angel corpses in the central western part of the area. You’ll also receive a warning of a demonic power ahead. Continue up the stairs to trigger a cutscene leading to a fight with Level 53 Chernobog. He’s weak to Light and blocks Dark. After you defeat it, Fury Chernobog will unlock for fusion.
Castle: 2nd Stratum Demons and Collectibles
Castle: 2nd Stratum Demons
Kin-Ki
Nue
Orobas
Pazuzu
Castle: 2nd Stratum Chests
Muscle Drink x2
Moloch’s Essence x1
Hydra’s Essence x1
Critical Gem x2
Light Shard
Grimoire x2
Nue’s Essence x1
Chernobog’s Essence x1
Bead Chain x1
Phys Dampener
Purge Charm x1
Chakra Pot x1
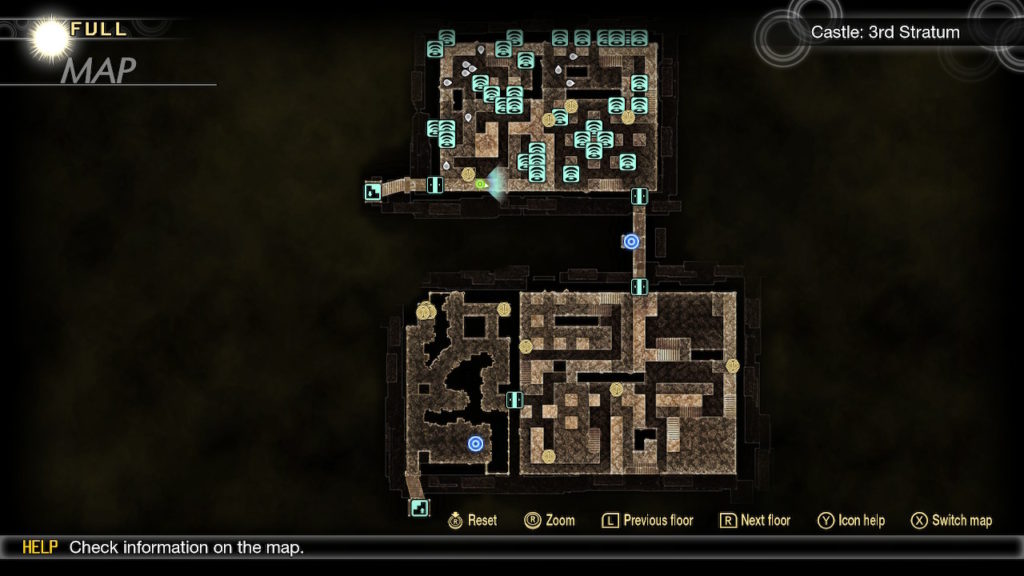
When you approach the area slightly northeast of the leyline, a cutscene will trigger. Afterwards, you’ll be able to continue exploring the 3rd Stratum area!
Castle: 3rd Stratum Demons and Collectibles
Castle: 3rd Stratum Demons
Flauros
Kin-Ki
Nue
Yurlungur
Castle: 3rd Stratum Chests
Ambrosia x2
Pazuzu’s Essence x1
Life Drain Gem x2
Kin-Ki’s Essence x1
Bead
Flauros’s Essence x1
40,000 Macca
Charge Gem x2
Attack Mirror x1
Elec Gem
Whittled Goat x1
Concentrate Gem x2
Elec Gem
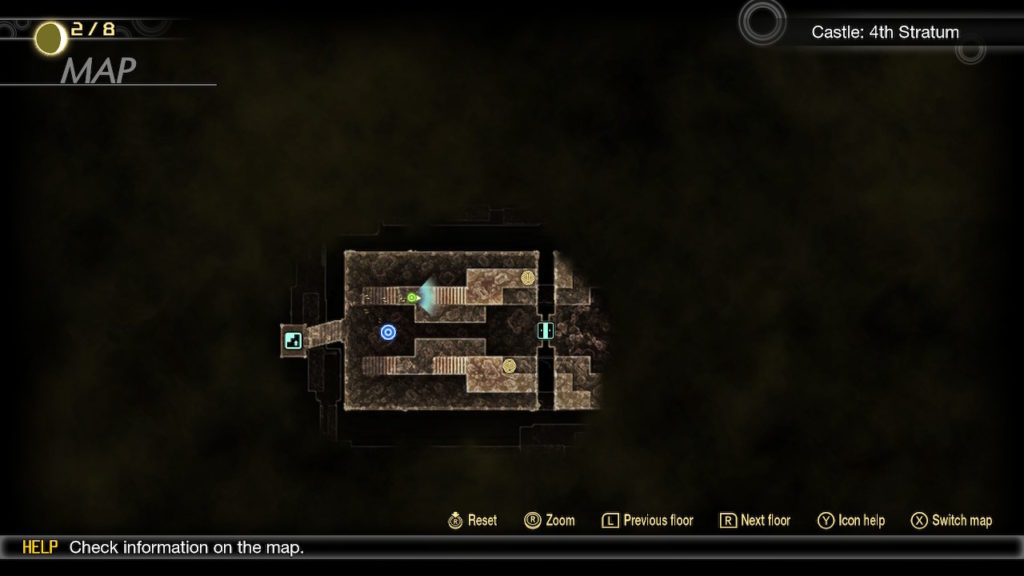
As you approach the doors in the center of Castle: 4th Stratum, you’ll be warned that a powerful demon is ahead. Loot the below chests before proceeding through the doors.
Castle: 4th Stratum Collectibles
Castle: 4th Stratum Chests
Balm of Life x1
Atavaka’s Essence x1
When you’re ready to progress forward, head through the doors. A cutscene will trigger followed by a fight with a Level 55 Arioch and 2 Level 54 Decarabia. Arioch is weak to Electric, resists Force and Dark and repels Ice. He also uses Physical and Ice attacks. Decarabia is weak to Light and blocks Dark. It also uses Fire skills. After you defeat them, Tyrant Arioch will unlock for fusion.
Welcome to NGB and our Shin Megami Tensei V (SMTV) Vengeance guide on the locations of the Miman at Kanda Bridge, Otemachi, Ochanomizu and Tokyo Station.
Kanda Bridge Miman
Miman 1
Located on the southeastern side of Kanda Bridge.
Miman 2
Located between 2 climbable platforms on the southwestern side of Kanda Bridge.
Miman 3
From the previous Miman, climb up the 2 platforms to reach an area with support columns. It can be found immediately on your right.
Miman 4
Located on a rock ledge overlooking the highway. To reach it you’ll have to drop down onto the ledge from Otemachi.
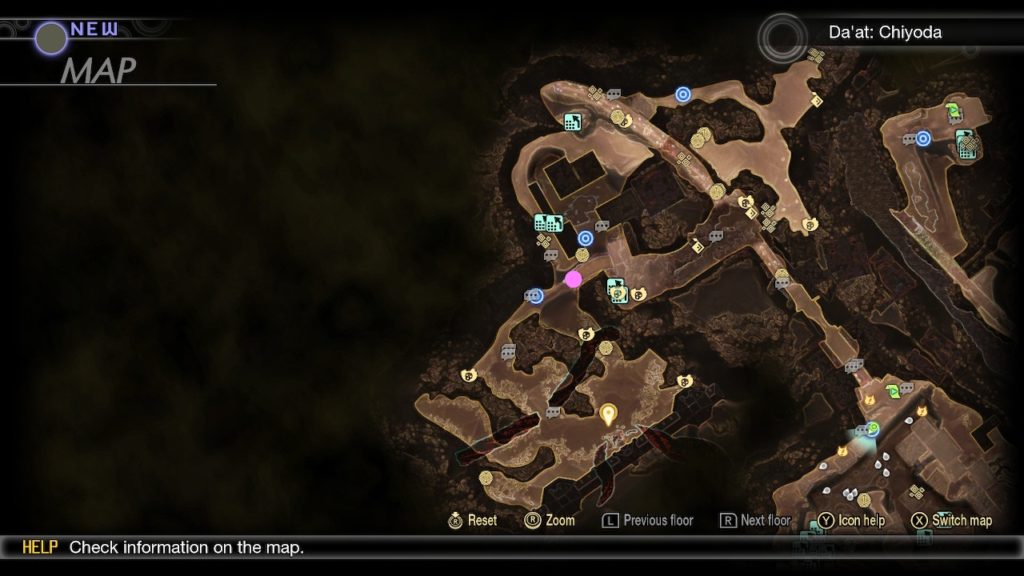
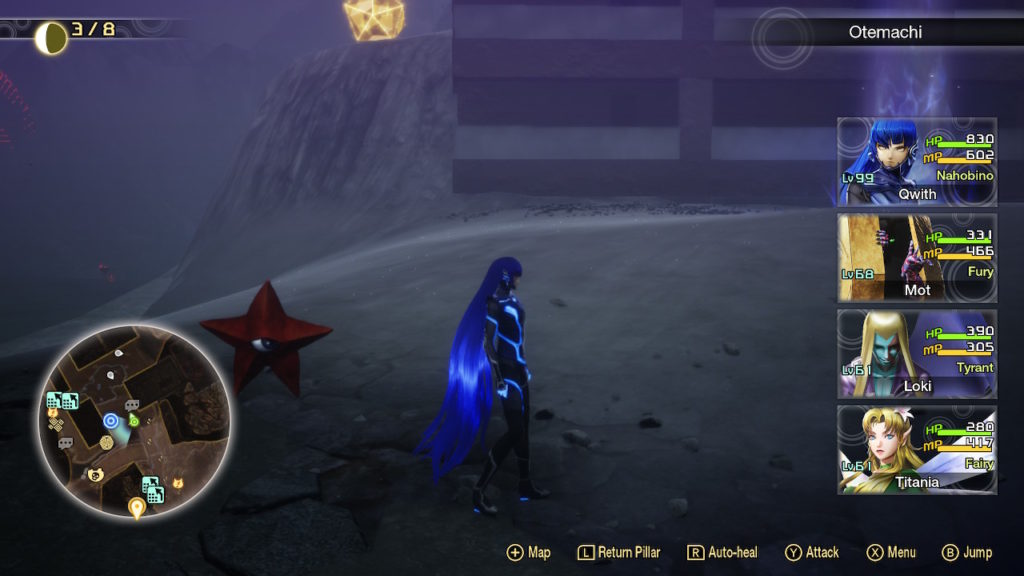
Otemachi Miman
Miman 1
Located between the Otemachi and Tokyo Station leylines.
Ochanomizu Miman
Miman 1
Located under the ruins of a destroyed building on the southern tip of Ochanomizu.
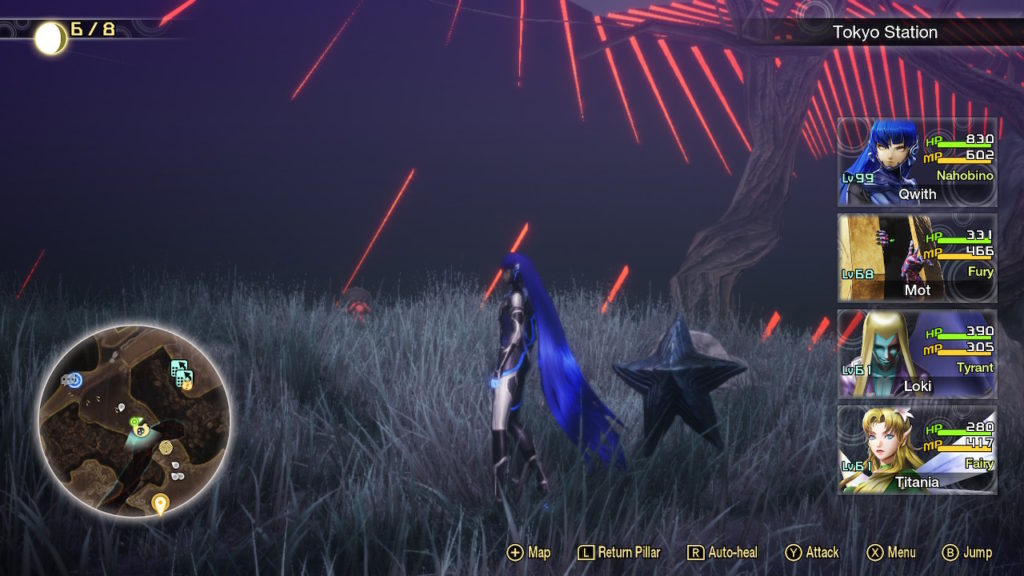
Tokyo Station Miman
Miman 1
Located southeast of the leyline near the red and black structure.
Miman 2
Located on some rocks southwest of the leyline.
Miman 3
Located next to the northern side of the building.
Welcome to our Shin Megami Tensei V (SMTV) Vengeance walkthrough on the Hellfire Highway main quest. Here you’ll find everything you’ll need to breeze through this quest!
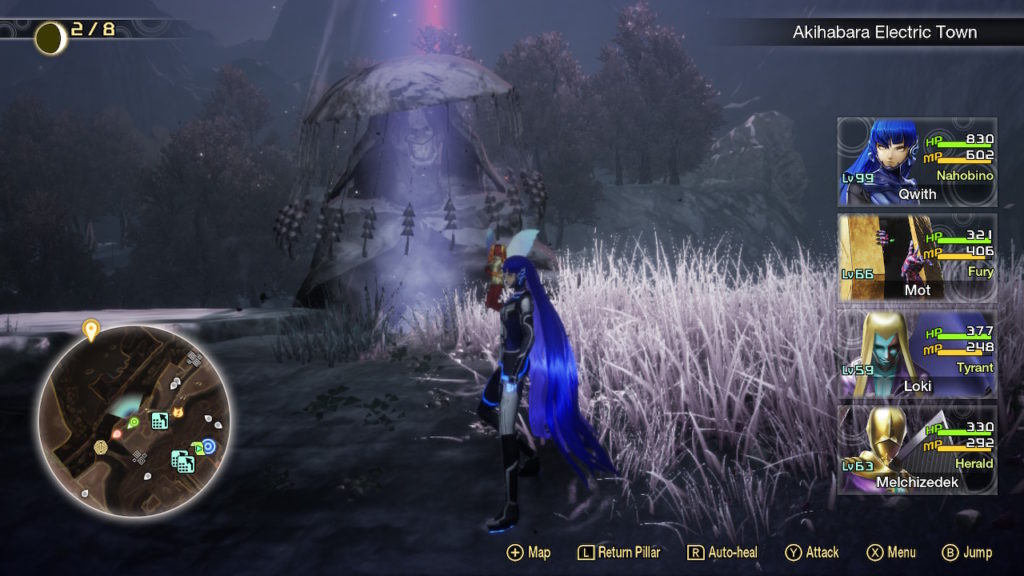
After speaking with the two angels in front of the wall of fire in Awajicho, skirt the northeastern side of the map to reach the train tracks on the eastern side. Once on the tracks, drop down to the train tracks below and continue east to reach Akihabara. Grab the Akihabara leyline then proceed forward a short way to trigger a boss fight with Level 46 Shohei Yakumo. He is weak to Dark and resists Physical and Electric. He also uses Physical and Electric skills.
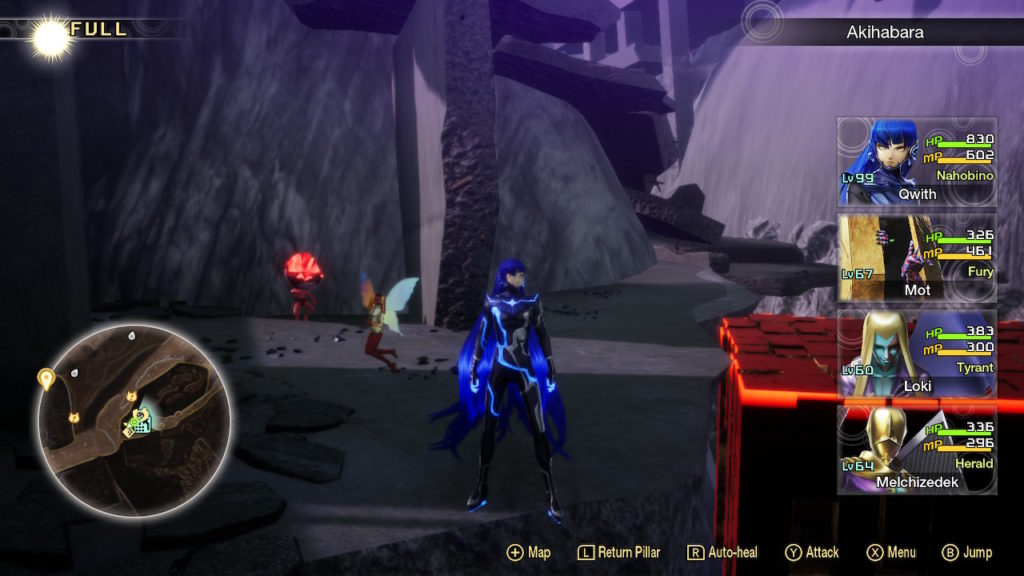
After you defeat the boss, head to the eastern Abscess in Sotokanda to fight a Level 46 Cu Chulainn and Level 46 Dakini. Cu Chulainn is weak to Electric, resists Physical and blocks Force. Dakini is weak to Ice and Light and resists Physical and Fire.
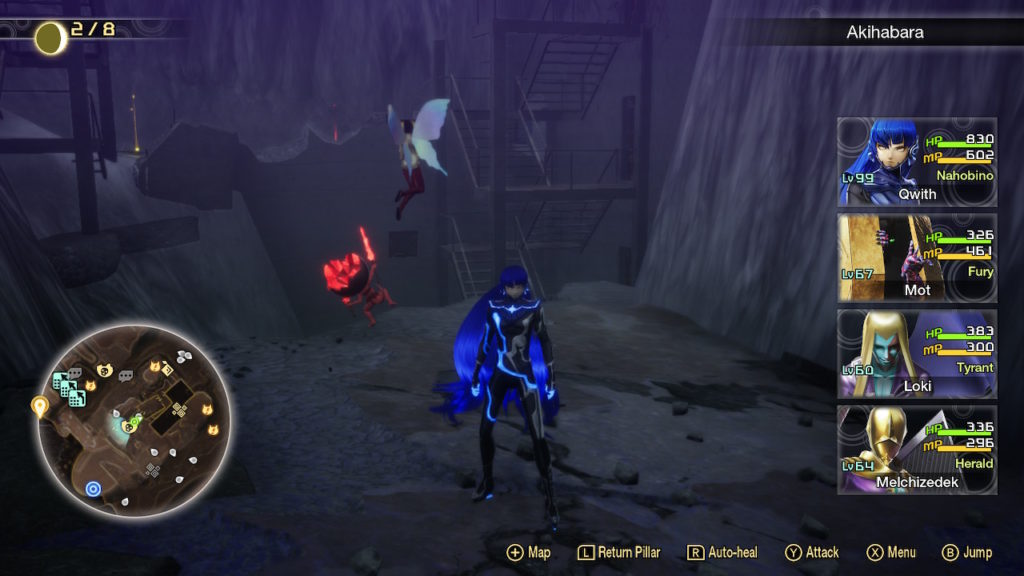
The second Abscess is located in Akihabara Electric Town. Approach it to trigger a fight with a Level 47 Silky, Level 47 Saravati and Level 47 Kushinada-Hime. Silky is weak to Fire and blocks Ice. Saravati is weak to Fire and blocks Ice. Kushinada-Hime is weak to Dark and blocks Light.
With the map unlocked, explore the area to find the below collectibles!
Akihabara / Sotokanda / Akihabara Electric Town / Suehirocho / Ochanomizu / Kanda-no-yashira Demons and Collectibles
Akihabara / Sotokanda / Akihabara Electric Town / Suehirocho / Ochanomizu / Kanda-no-yashiro Demons
Anzu
Kaiwan
Naga Raja
Orthrus
Ose
Akihabara / Mansei Bridge / Akihabara Electric Town / Suehirocho / Kanda-no-yashiro Chests
80 Glory
Sukuna-Hikona’s Essence
Orthrus’s Essence x1
Dionysus’s Essence x1
80 Glory
Mishaguji’s Essence x1
Grimoire x2
Chakra Pot x1
Ose’s Essence x1
Aogami Type-7 Essence x1
Akihabara / Sotokanda / Akihabara Electric Town / Suehirocho / Ochanomizu / Kanda-no-yashiro Miman
For a more detailed guide on the locations of the Miman in these areas, click here!
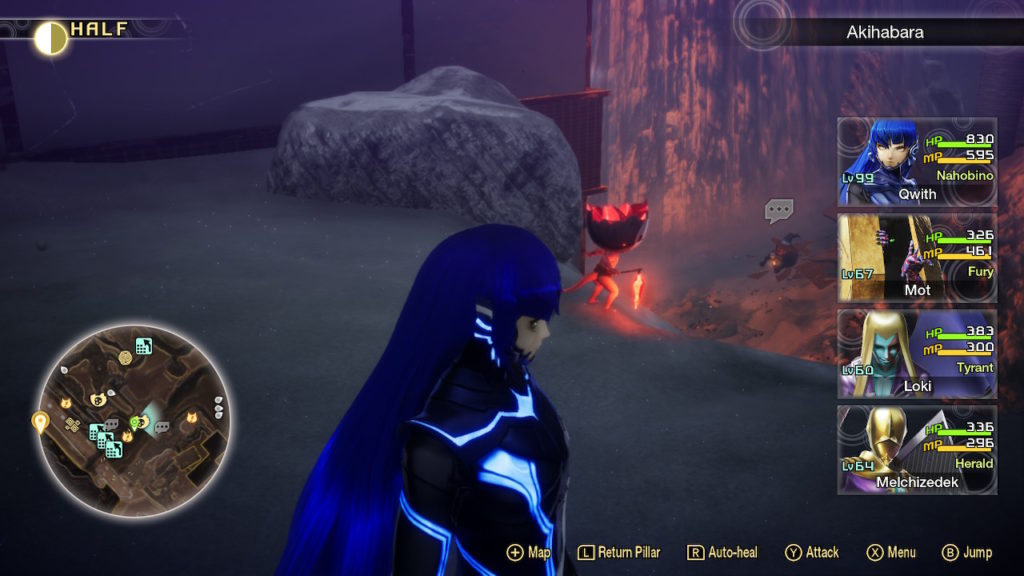
The demon power absorption point can be found west of the Akihabara Electric Town leyline.
When you’re ready to progress with the story, travel to the objective past Akihabara Electric Town in a place called Kanda-no-yashiro. As you approach the trio, a cutscene will trigger and you’ll receive the Akiha-Gongen Talisman. Return to the wall of flames in Awajicho. After the dialog, press forward towards the fire to trigger a cutscene leading to a fight with a Level 49 Surt! He’s weak to Ice and drains Fire. He also uses Physical and Fire attacks and can counter Physical attacks. Defeat him to complete the quest! Afterwards, Surt will unlock for fusion.
Welcome to NGB and our Shin Megami Tensei V guide on the Miman found around Akihabara, Sotokanda, Akihabara Electric Town, Suehirocho, Ochanomizu and Kanda-no-yashiro in Shin Megami Tensei V (SMTV).
Akihabara Miman Locations
Miman 1
Located just east of the Akihabara leyline.
Miman 2
Located in a ruined building northeast of the Akihabara leyline.
Miman 3
Located in the area with the really long staircase.
Miman 4
Located on a cliff directly north of the Mansei Bridge leyline. To reach it, you’ll have to drop down onto the cliff from the nearby building.
Sotokanda Miman Locations
Miman 1
Located next to a tree on the slope on the eastern side of the area.
Miman 2
Located in a rocky ravine.
Akihabara Electric Town Miman Locations
Miman 1
Located on a roof that is in between the Mansei Bridge leyline and Akihabara Electric Town leyline.
Miman 2
Located under the bridge on the western side of Akihabara Electric Town.
Miman 3
Located on the narrow ledge between a building and a cliff just south of the Akihabara Electric Town leyline.
Miman 4
Located on a rooftop west of the Akihabara Electric Town leyline. To reach it, you’ll have to climb up the 2 ledges directly north of this leyline.
Suehirocho Miman Locations
Miman 1
Located on a rooftop.
Ochanomizu Miman Locations
Miman 1
Located under the bridge.
Kanda-no-yashiro Miman Locations
Miman 1
Located in a cluster of trees just past the trio of demons.
This site uses cookies. By continuing to use this website, you are giving consent to cookies being used. For more information on cookies, view our Privacy Policy.OkPrivacy Policy