Like a Dragon Infinite Wealth Logo
Guides

Infinite Wealth Downtown Chinatown District Five Photo Rally

by NightlyGamingBinge in

Welcome to NGB and our Like a Dragon Infinite Wealth Downtown Chinatown District Five Photo Rally guide. Here we’ll cover where you can find each of the pictures for the Downtown / Chinatown / District Five Photo Rally! Capturing all 15 photos and bringing them to Alo-Happy will reward you will the 3-star Fluffy Maracas.

How to Start the Waikiki Photo Rally

To kick off the Photo Rally, just keep playing the main story until you hit Chapter 5. Then, focus on the main objectives until you head to Alo-Happy Tours. That’s where you’ll dive into substory 31 Let’s Get Alo-Happy! Once you wrap that up, you can dive into substory 32 Tropical Photo Rally, which is when Photo Rally becomes available.

Waikiki Photo Rally Photos

1. Wall Art: Octopus

Area: District Five

Hint: Wall Graffiti in District Five

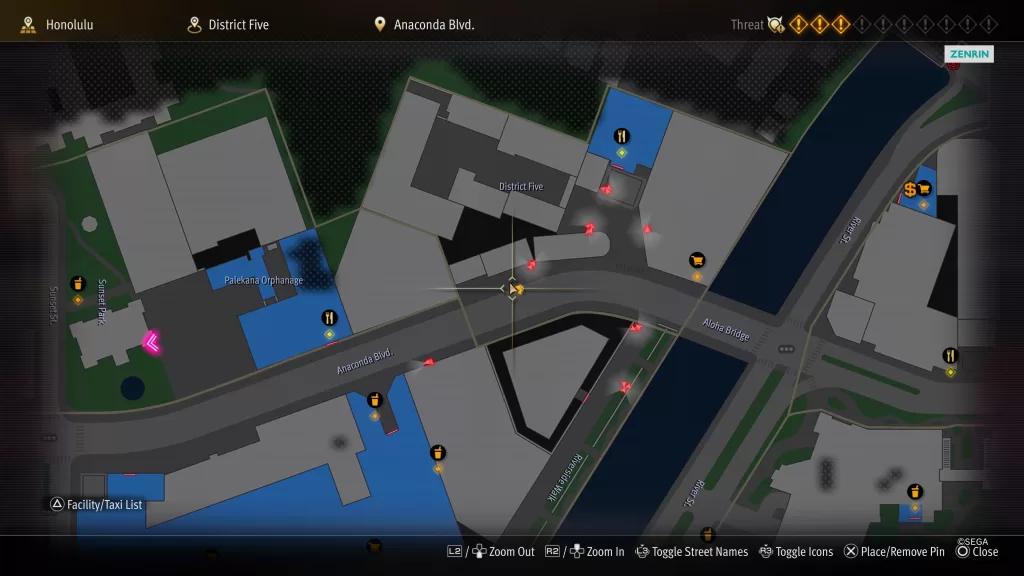
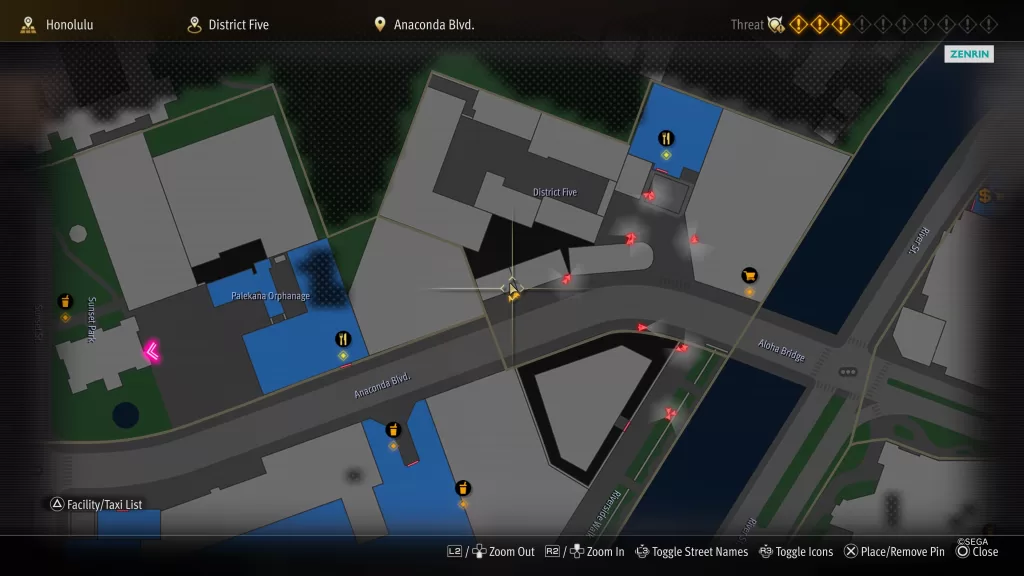
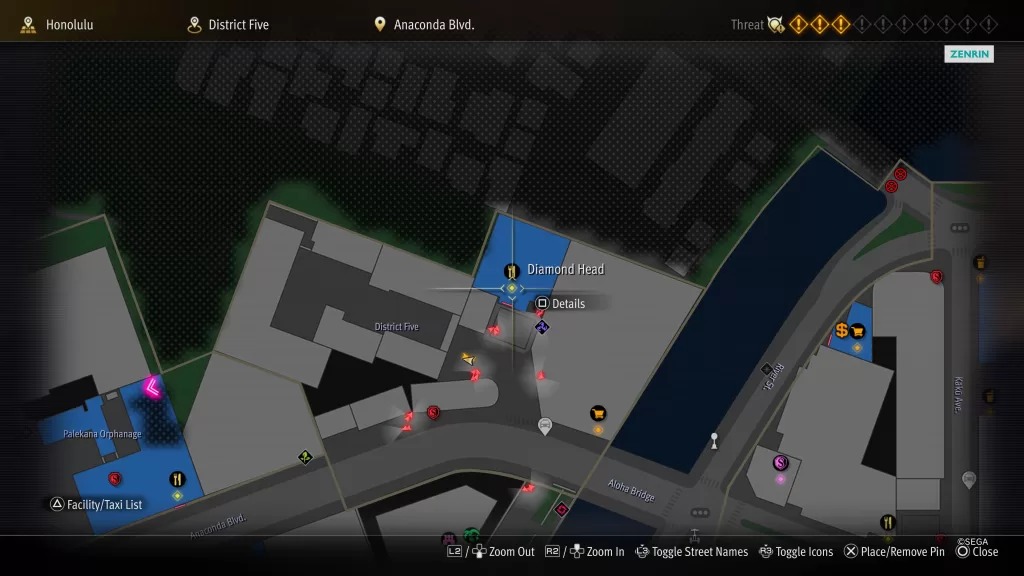
On the wall to the left of the District Five main entrance by Diamond Head

Infinite Wealth Downtown Chinatown District Five Photo Rally Wall Art Octopus

2. Buster’s Pizza

Area: District Five

Hint: One Mismatched Slice

On the window of Buster’s Pizza along Anaconda Blvd

Infinite Wealth Downtown Chinatown District Five Photo Rally Busters Pizza

3. Club Guilty

Area: District Five

Hint: Cuffed Nightspot

The neon sign of Club Guilty along Anaconda Blvd

Infinite Wealth Downtown Chinatown District Five Photo Rally Club Guilty

4. Handcuffs & Gloves

Area: District Five

Hint: Inside Ruins

In a rundown building to the left of Club Guilty along Anaconda Blvd

Infinite Wealth Downtown Chinatown District Five Photo Rally Handcuffs & Gloves

5. Soramame’s Beans

Area: Downtown

Hint: Store Shelf Mascot

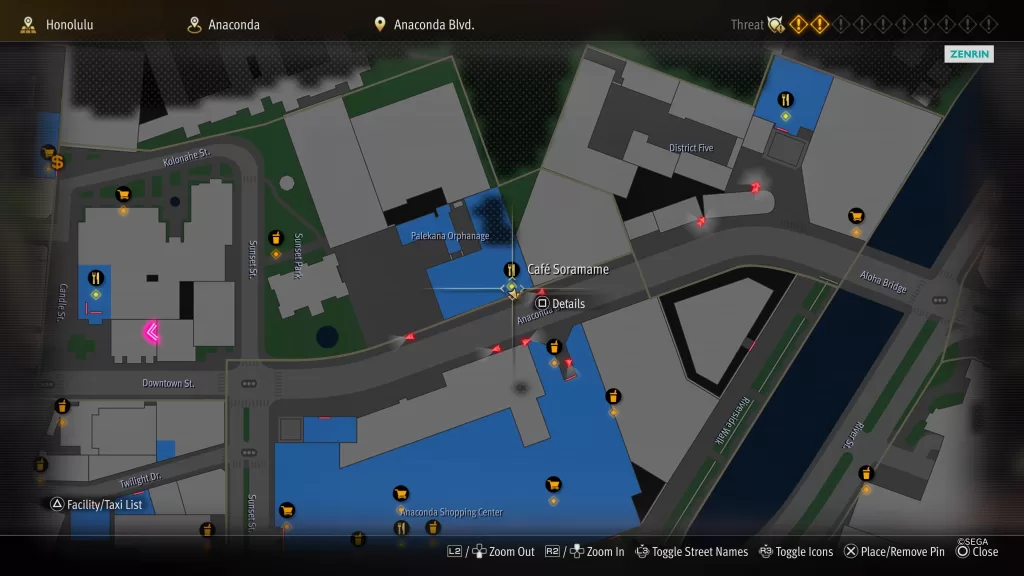
In Cafe Soramame on a shelf to the right of the counter

Infinite Wealth Downtown Chinatown District Five Photo Rally Soramame's Bean

6. Downtown Fountain Square

Area: Downtown

Hint: Streetside Water Installation

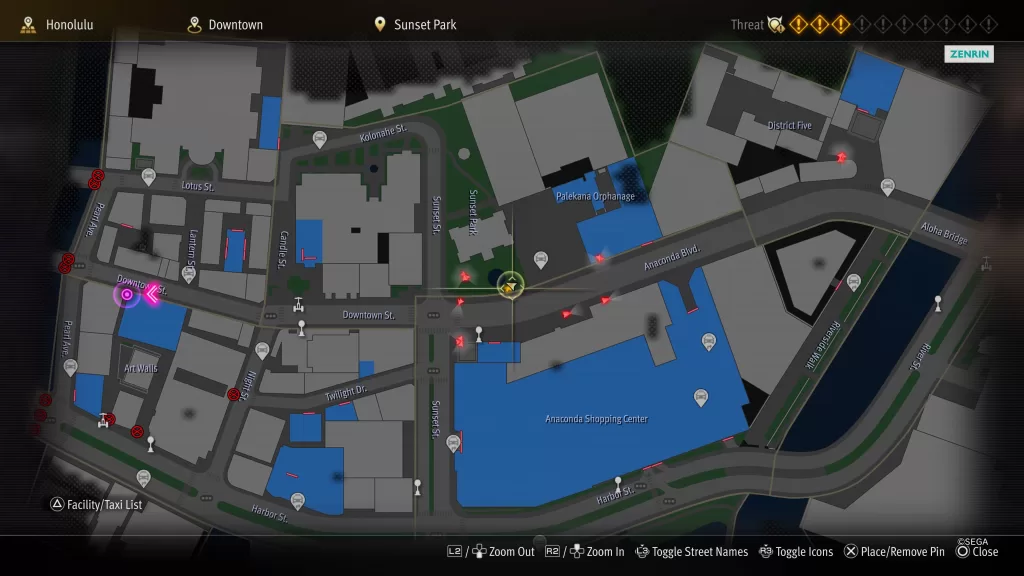
On the north side of Anaconda Blvd. just south of Sunset Park

Infinite Wealth Downtown Chinatown District Five Photo Rally Downtown Fountain Square

7. Spa Fountain Square

Area: Downtown

Hint: Streetside Water Installation

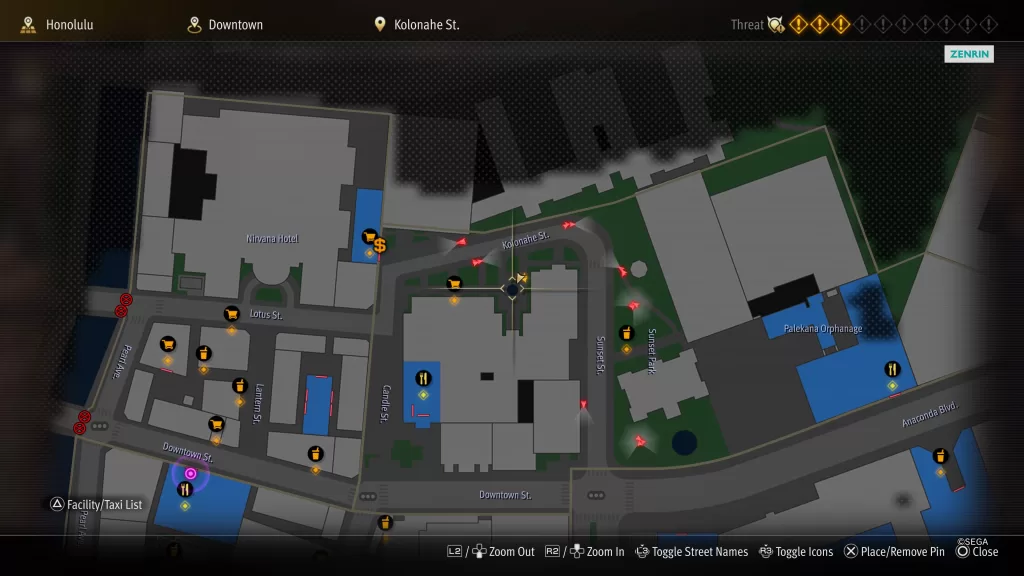
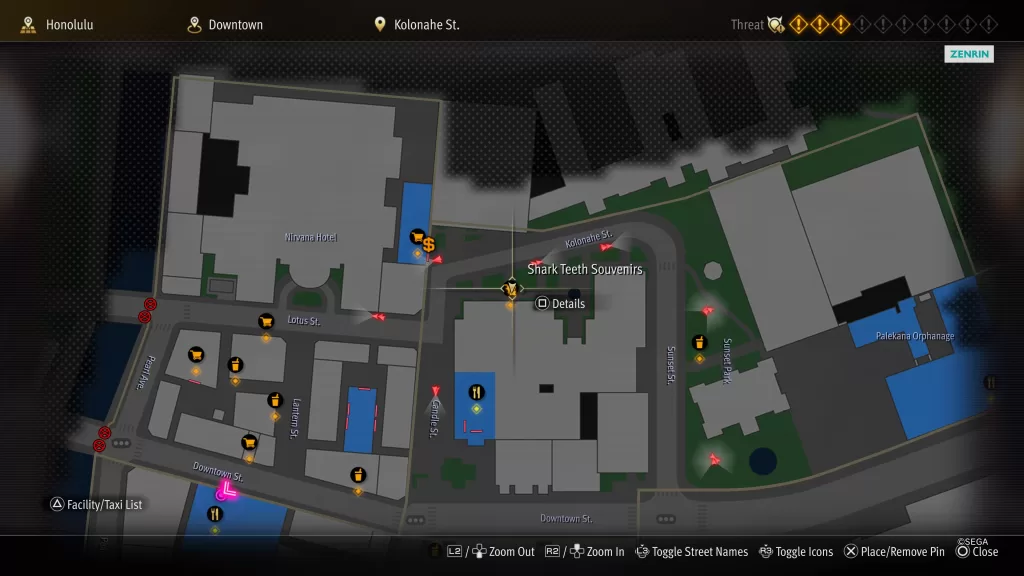
Fountain along Kolonahe St east of Shark Teeth Souvenirs

Infinite Wealth Downtown Chinatown District Five Photo Rally Spa Fountain Square

8. Shark Teeth Souvenirs

Area: Downtown

Hint: Serrated Storefront

Shark Teeth Souvenirs on Kolonahe St

Infinite Wealth Downtown Chinatown District Five Photo Rally Shark Teeth Souvenirs

9. Panda Pads

Area: Chinatown

Hint: Chinese Weapons Dealer

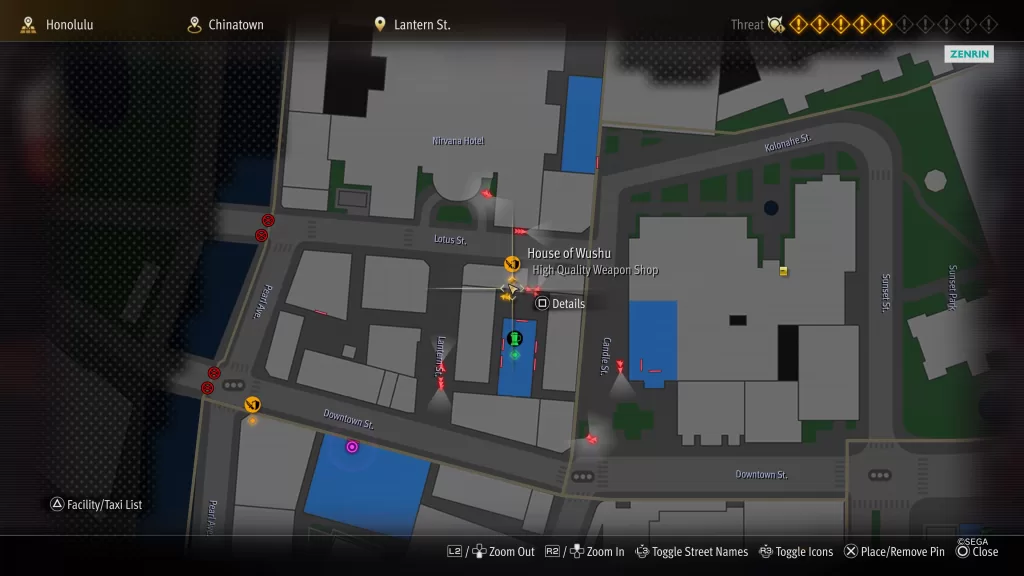
At the House of Wushu shop accessible by Golden Grace Greengrocer

Infinite Wealth Downtown Chinatown District Five Photo Rally Panda Pads

10. Nirvana Hotel

Area: Chinatown

Hint: Sign of Bliss

In front of Nirvana Hotel

Infinite Wealth Downtown Chinatown District Five Photo Rally Nirvana Hotel

11. Miss Ginseng

Area: Chinatown

Hint: Herbal Store Mascot

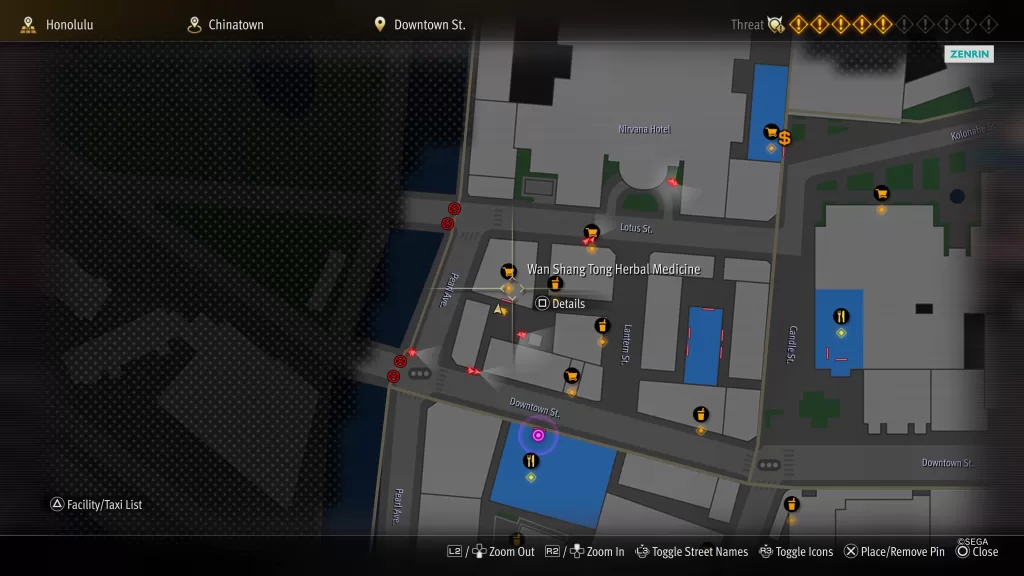
Near the entrance to Wan Shang Tong Herbal Medicine

Infinite Wealth Downtown Chinatown District Five Photo Rally Miss Ginseng

12. Mahjong Parlor Entrance

Area: Chinatown

Hint: Elevator Panda

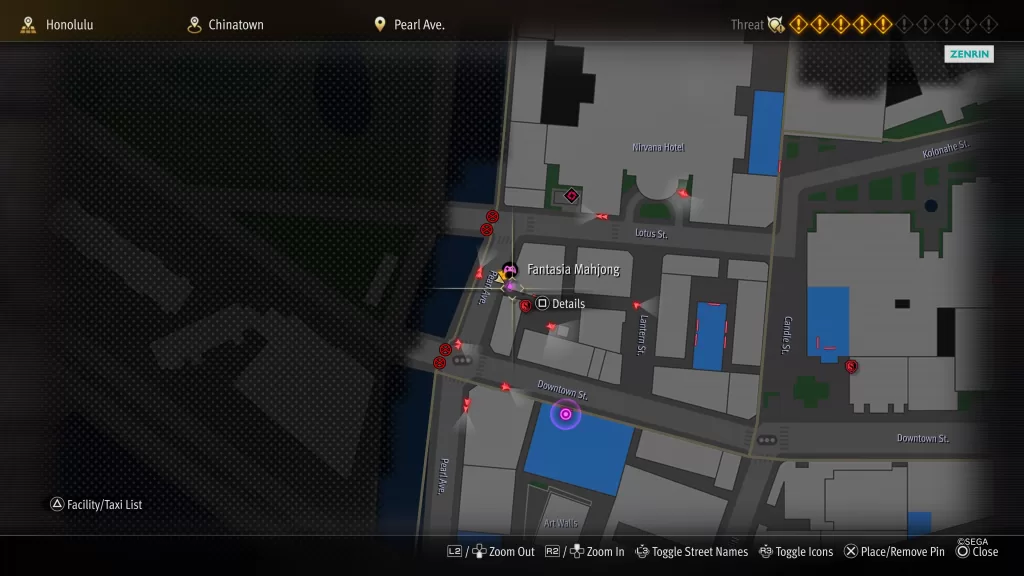
The panda hanging above the elevator that leads to Fantasia Mahjong

Infinite Wealth Downtown Chinatown District Five Photo Rally Mahjong Parlor Entrance

13. Another Bottle

Area: Chinatown

Hint: Local Liquor Market

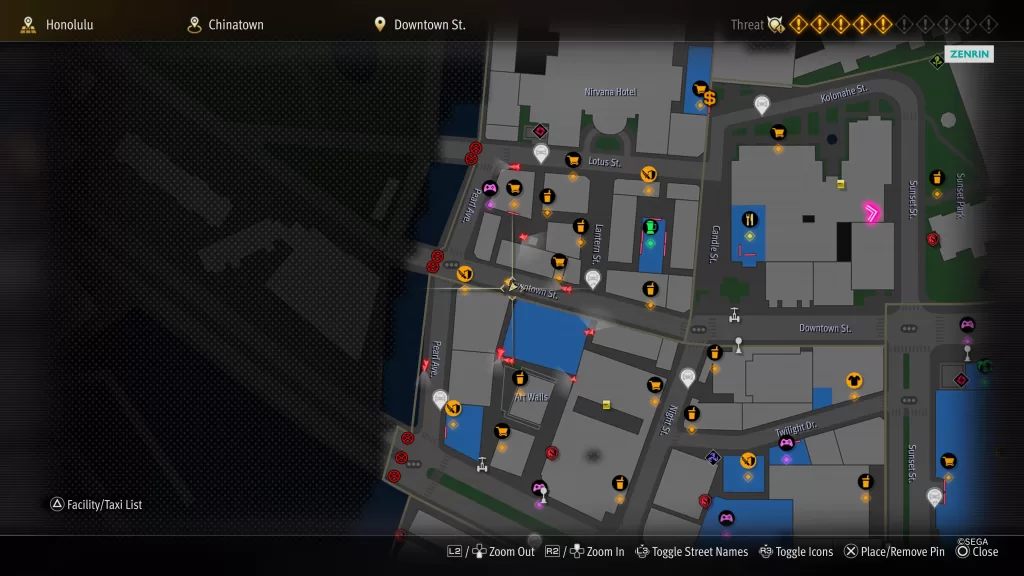
On Downtown St.

Infinite Wealth Downtown Chinatown District Five Photo Rally Another Bottle

14. Fantasy Smoothies

Area: Chinatown

Hint: Hole-in-the-Wall Smoothie Shop

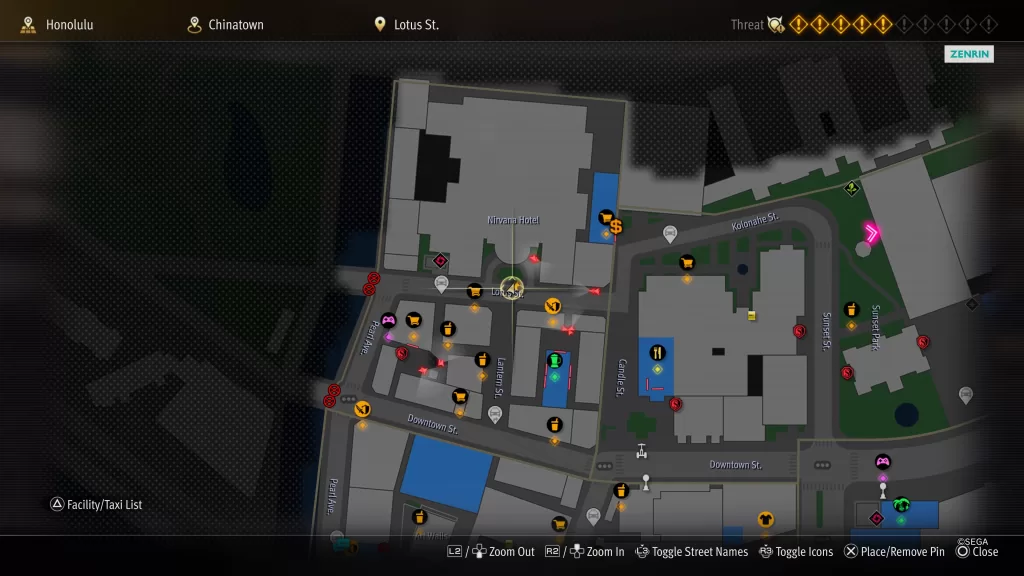
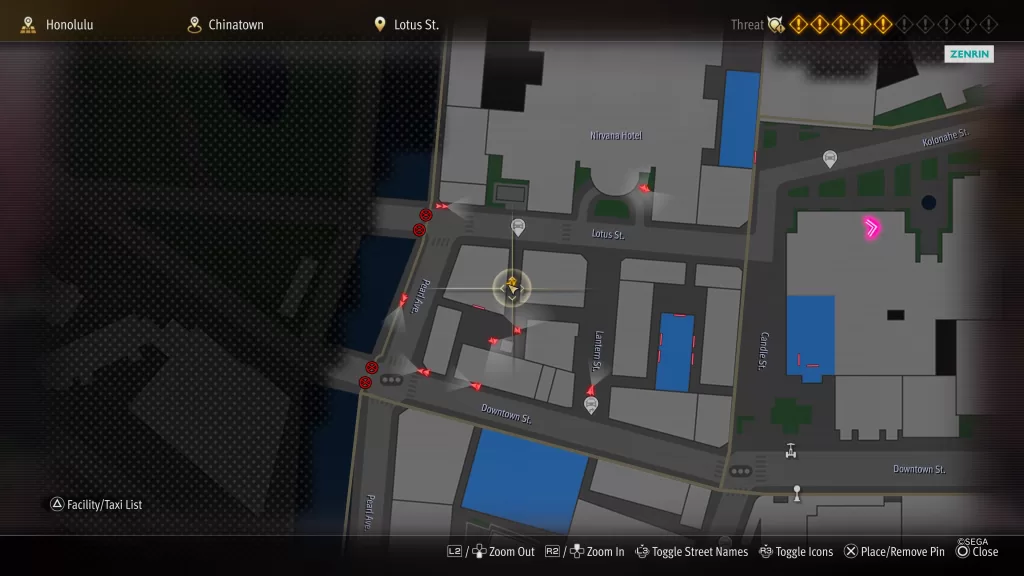
In the alley between Pearl Ave. and Lantern St.

Infinite Wealth Downtown Chinatown District Five Photo Rally Fantasy Smoothies

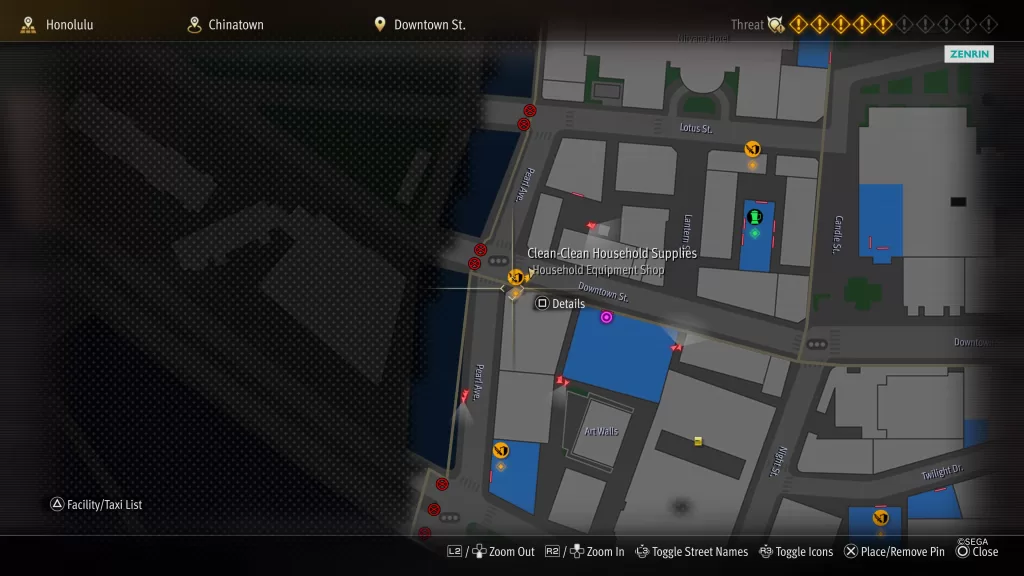
15. Clean-Clean Household Supplies

Area: Chinatown

Hint: Umbrellas on a Corner Store

The umbrellas on the north side of Clean-Clean Household Supplies along Downtown St

Infinite Wealth Downtown Chinatown District Five Photo Rally Clean-Clean Household Supplies

More Like a Dragon Infinite Wealth Guides

For more Like a Dragon Infinite Wealth guides and walkthroughs, click here!

Echo Generation
Guides

Echo Generation – Part 3 Walkthrough: Downtown, Prom Queen Boss

by MrsChappie in


Below is our Part 3 walkthrough of Echo Generation!


After using the Bus Pass to reach Downtown, head north and speak with the lady holding flowers. She’ll need your help with crossing the road so agree to help Grandma Patel. Next, head west in the crosswalk until you reach the other side. While you’re on this side of the street, enter Video Busters. Examine the bubble gum machine on the north side by the gorilla and purchase Gumballs for $1.00. Speak with Aarius in the second aisle from the door. He wants to film the first sequence in the forest behind the pet cemetery later tonight. In the southwestern corner, examine the Buy 2 Get 1 sign and purchase the Mashup Poster for $20.00. (You’ll want to hang this poster in the treehouse on the wall.) In the northwestern corner there is an Alien Cutout on sale for $500. Even though you don’t have enough money for it, go ahead and purchase it! The guy behind the counter will give it to you for free since he was just going to throw it out. Behind the counter, interact with the Robot Action Figure. If you have $50, buy it otherwise you’ll have to wait (we have to wait!).


Exit the store then continue north on the west side of the street. Speak with the man in front of Tea Tunes. Unfortunately, you won’t be able to enter unless you’re on the list. To get on the list someone who is already on the list must vouch for you by bringing you in personally or lending you their special item.


Head back to the east side of the street and enter Bookatorium. Here you’ll need to buy some books for some outstanding requests from Maple Town, specifically Quantum Physics Book for $50 in the display in the center of the room and Robonix Magazine for $250 on the southern display. Since you’ll get the Robonix Magazine as part of the story, just pick up the Quantum Physics Book! Speak with the unhelpful cashier just for fun. Then continue exploring the store. You’ll find the Porto Book for $100 in the travel section. It looks like this book will be for your mom. In the history section, retrieve the Heavy Encyclopedia on the ground to the left of the t-rex. Enter the bookshelves to the right of the t-rex to find a Juice Box, Apple and Sandwich. Interact with the Superhero Cutout to learn that you can take it if the cashier wasn’t looking. In the comics section, examine the bookshelf to purchase the Ground Pound move for $1.75. On the display in the center of the comics section, purchase the Easy Swing move for $4.95.


Exit the store and make your way north to the large building which is the school. Speak with the kid in front who will offer to let you buy his Ice Cream for $20. It’ll allow you to damage certain targets for 50 damage and will give you an achievement. If you’d like, purchase it.


Since the front doors of the school are locked, head to the east side of the school to find a window you can enter. Do so then make your way through the classroom to the hallway. On the right side of the hallway you can examine the vending machine and purchase the following items from the Tuck Shop:

  • Juice Box x3 for $1.25 each
  • Apple x3 for $3.00 each
  • Sandwich x3 for $2.50 each

Head to the far west side of the hallway and trespass into the room which is the Principal’s Office! Examine the lost and found box in the southwestern corner to receive the Swing Throw move. Examine the principal’s desk to retrieve the Principal’s House Key.


Exit the room and continue down the hall to the north to stumble across the next boss. This creature with long hair has 120 HP and has a move that steals your skill points so be prepared. Defeat the Prom Queen to receive a Book Coupon which is good for one book at the Bookatorium!


Continue heading north down the hallway to find an Apple on the table at the end. Across from the table, pick up the Firecracker from the ground.


Exit the school and head to the Bookatorium to use your coupon! Speak with the cashier to hand it over then head to the display on the south side of the room to retrieve the Robonix Magazine! Next, drop the Heavy Encyclopedia into the spot where the train comes out of the floor. Return to the school and enter the Principal’s Office. On the desk, examine the phone and use it to call the Booktaorium. Return to the Bookatorium and steal the BC-22 Volt Repair Book from the display near the door. Also, take the Superhero Cutout in the back near the comics section.


Exit the book shop and return to Grandma Patel. Speak with her then help her cross to the other side of the street. Speak with her again to receive the Potted Flower. Next, head to the guy standing in front of Tea Tunes to show him the Potted Flower. Speak with him again then choose to enter Tea Tunes. Once inside, pick up the Stack of Cups from the empty table. Speak with the woman at the other table to find out that she’ll teach you something if you give her Bubble Tea that isn’t mango. If you speak with the cashier, you can purchase Mango Bubble Tea that adds 10 Skill Points for $10. After you receive the option to purchase this item, he’ll tell you that he’s currently out of other flavors. Interact with the counter and choose to go behind it. Examine the silver object on the counter against the wall and place the Stack of Cups. Interact with the silver box again to learn that if you had some flavoring you can use it to make your own Bubble Tea!


Exit the shop and return to Grandma Patel. Speak with her to receive the Cat Fight move. It’s time to leave Downtown so return to the bus stop and interact with the pole next to it. Choose to go back to Suburb.
 

Click here for the Part 4 walkthrough on Maple Town and the School Principal Boss!


The Last of Us Part 2
Guides

The Last of Us Part II – Weapons

by Chappie in


Downtown

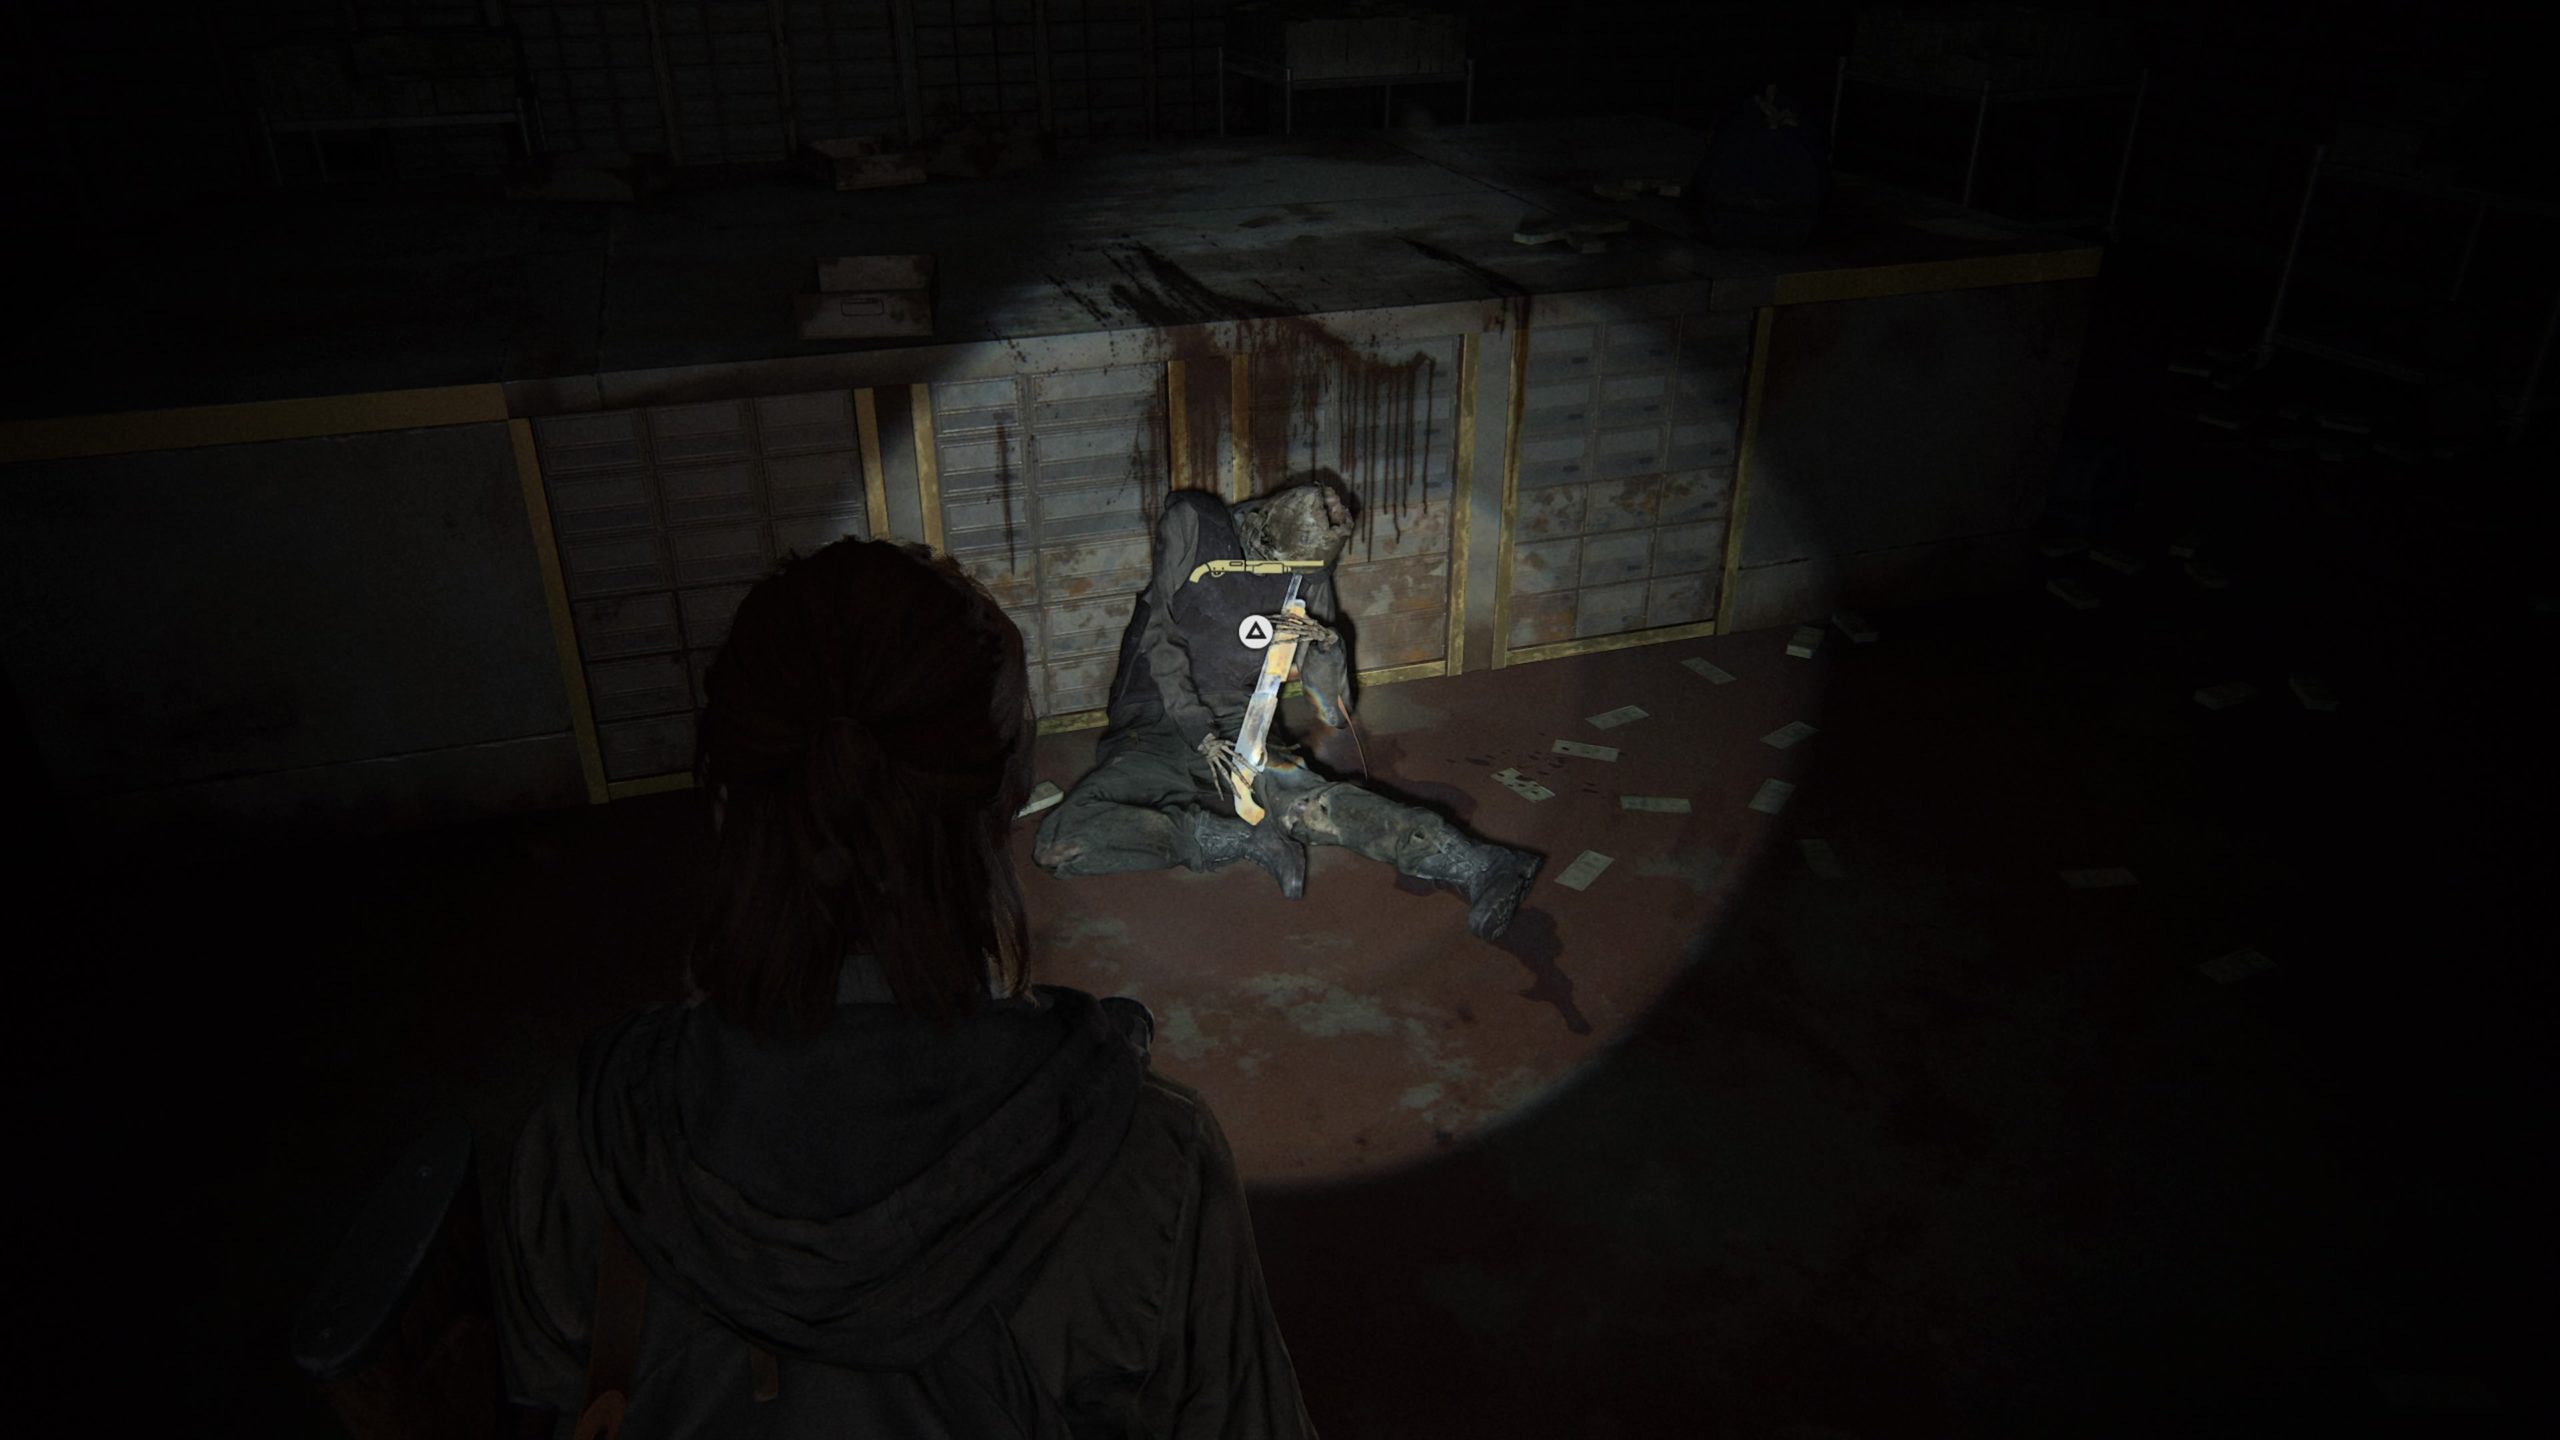
Pump Shotgun

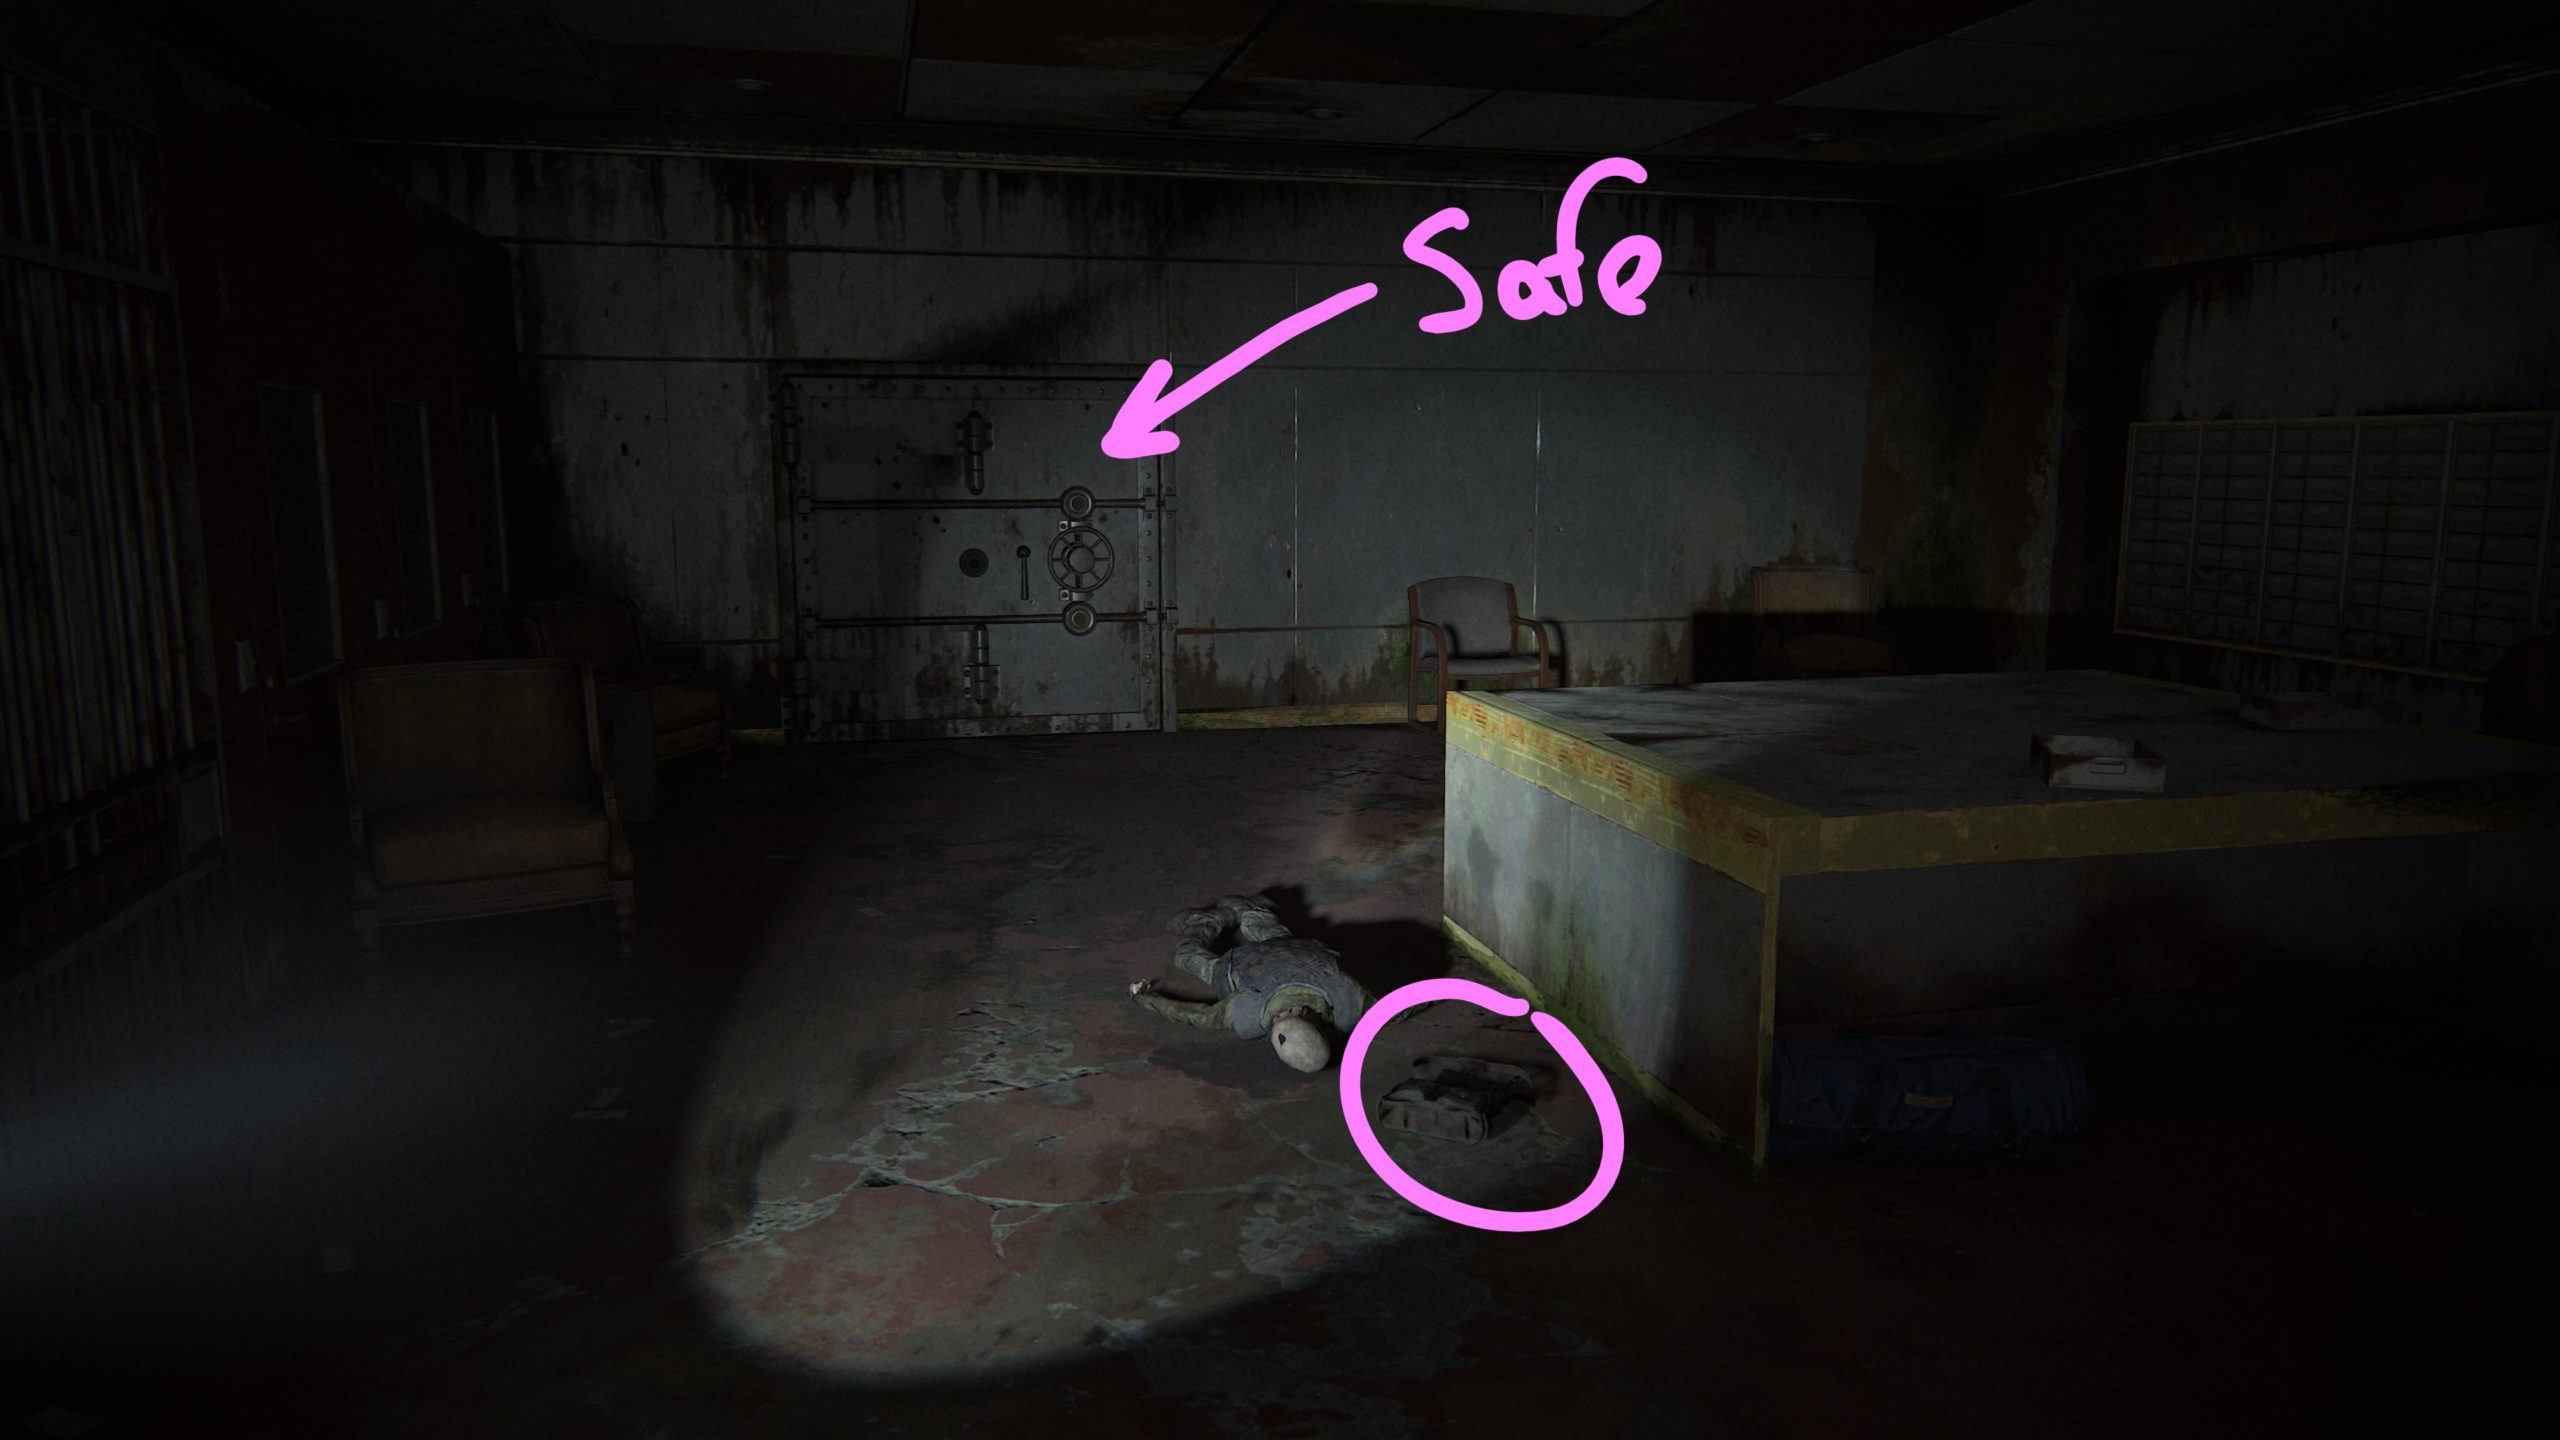
This gun is found on a corpse at the bank on James Street in the room with all the safety deposit boxes.


Stun Bomb

This can be found in a drawer on a military lookout when you enter/exit the dome.


Capitol Hill

Trap Mine

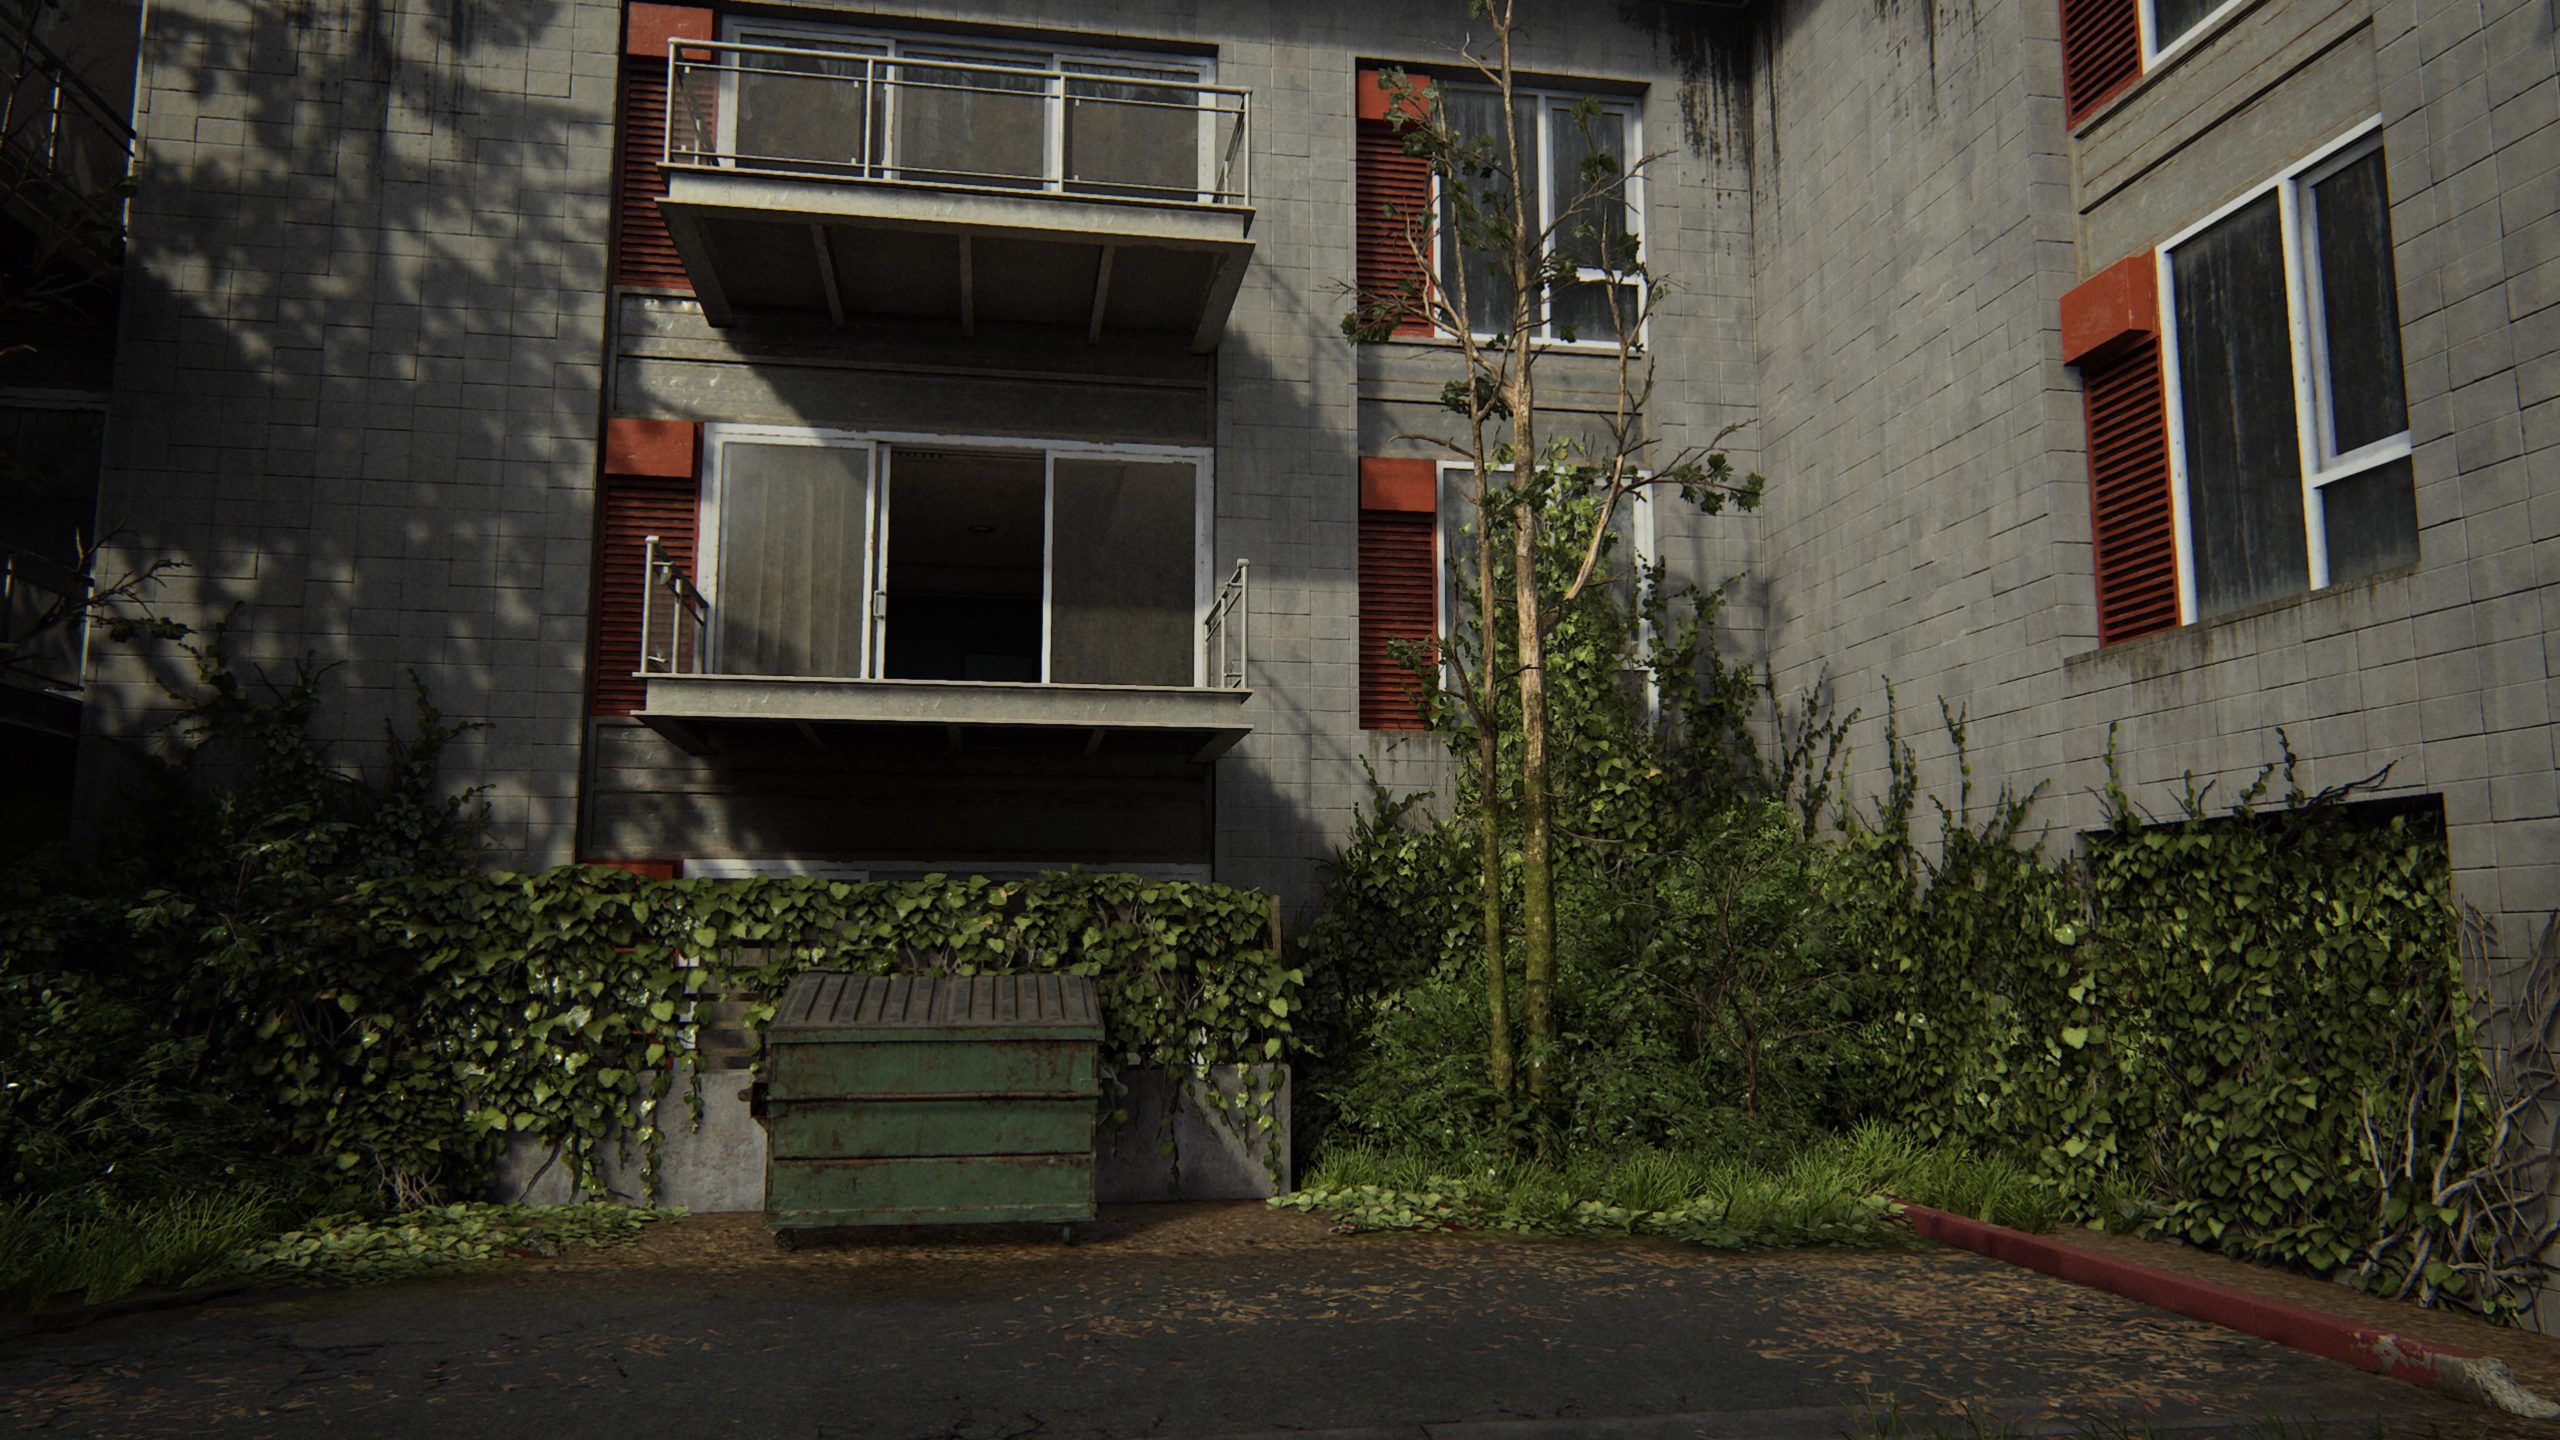
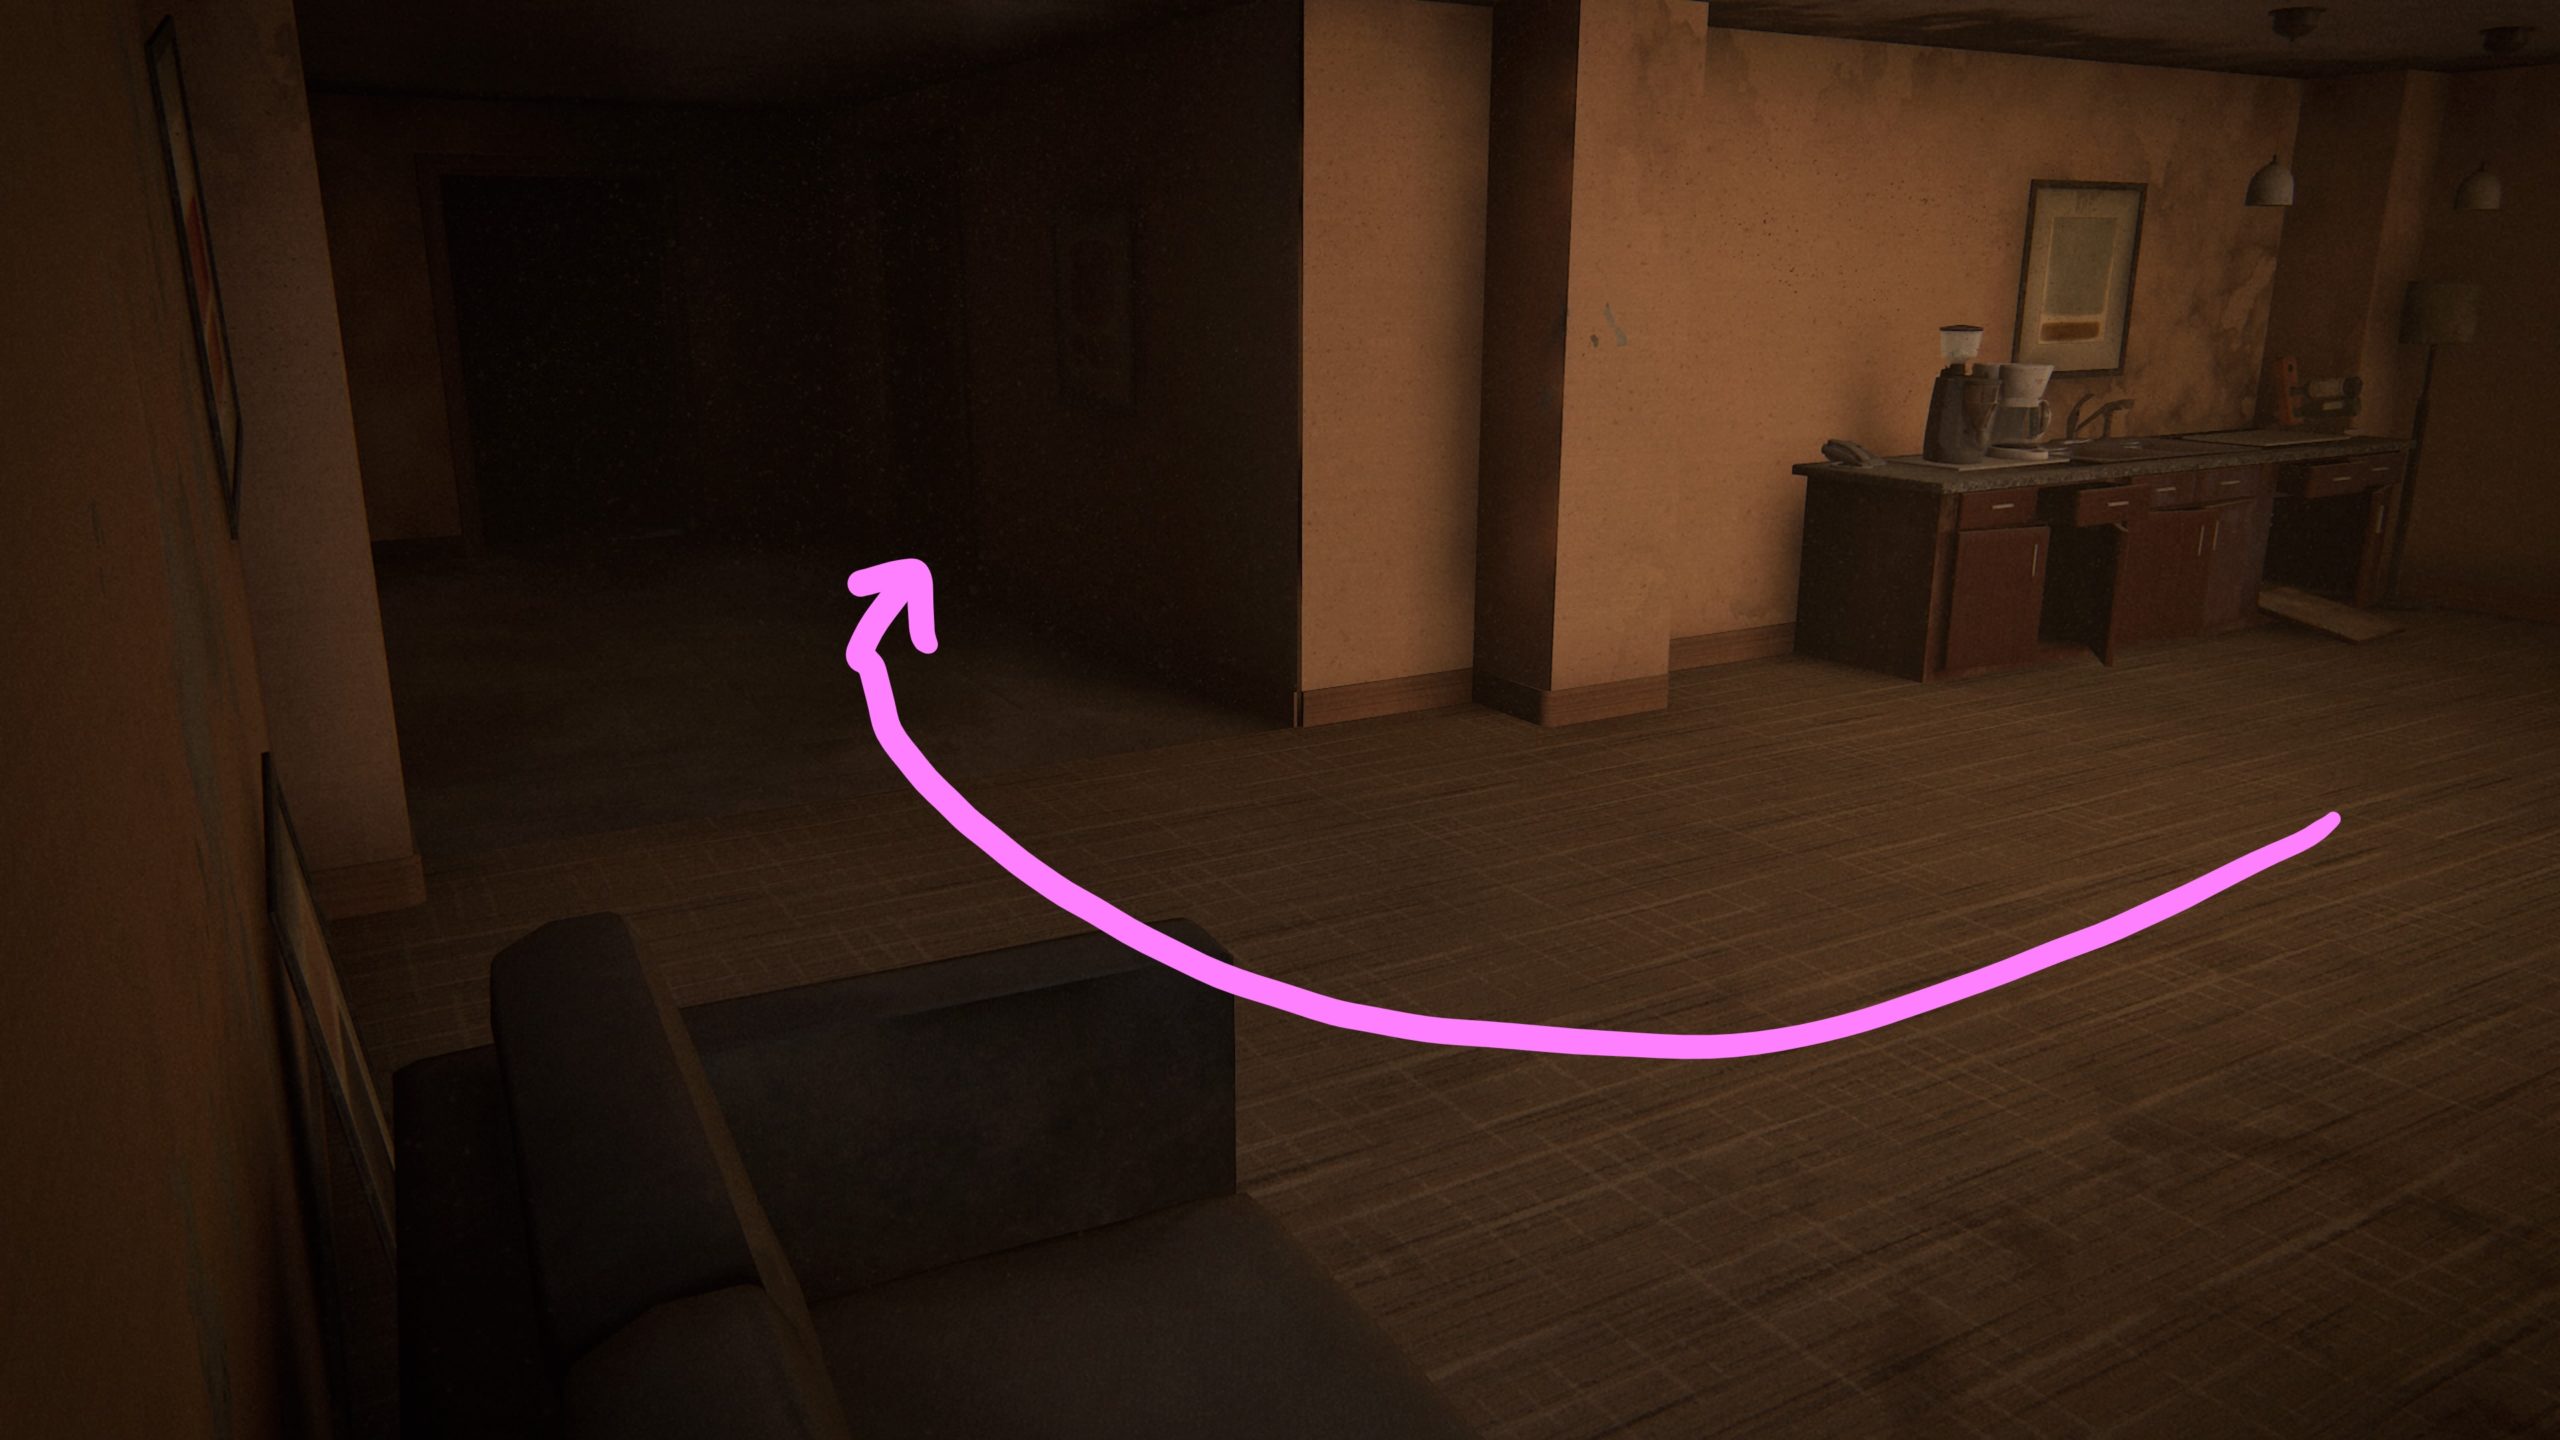
To reach this collectible, interact with the green dumpster to the right of the inn and drag it underneath an accessible balcony. Climb up to the balcony then enter the hotel room. The weapon can be found on the bed with the red and white comforter in the inn.


Hillcrest

Bow

This weapon is obtained automatically as part of the story.


On Foot

Hunting Pistol

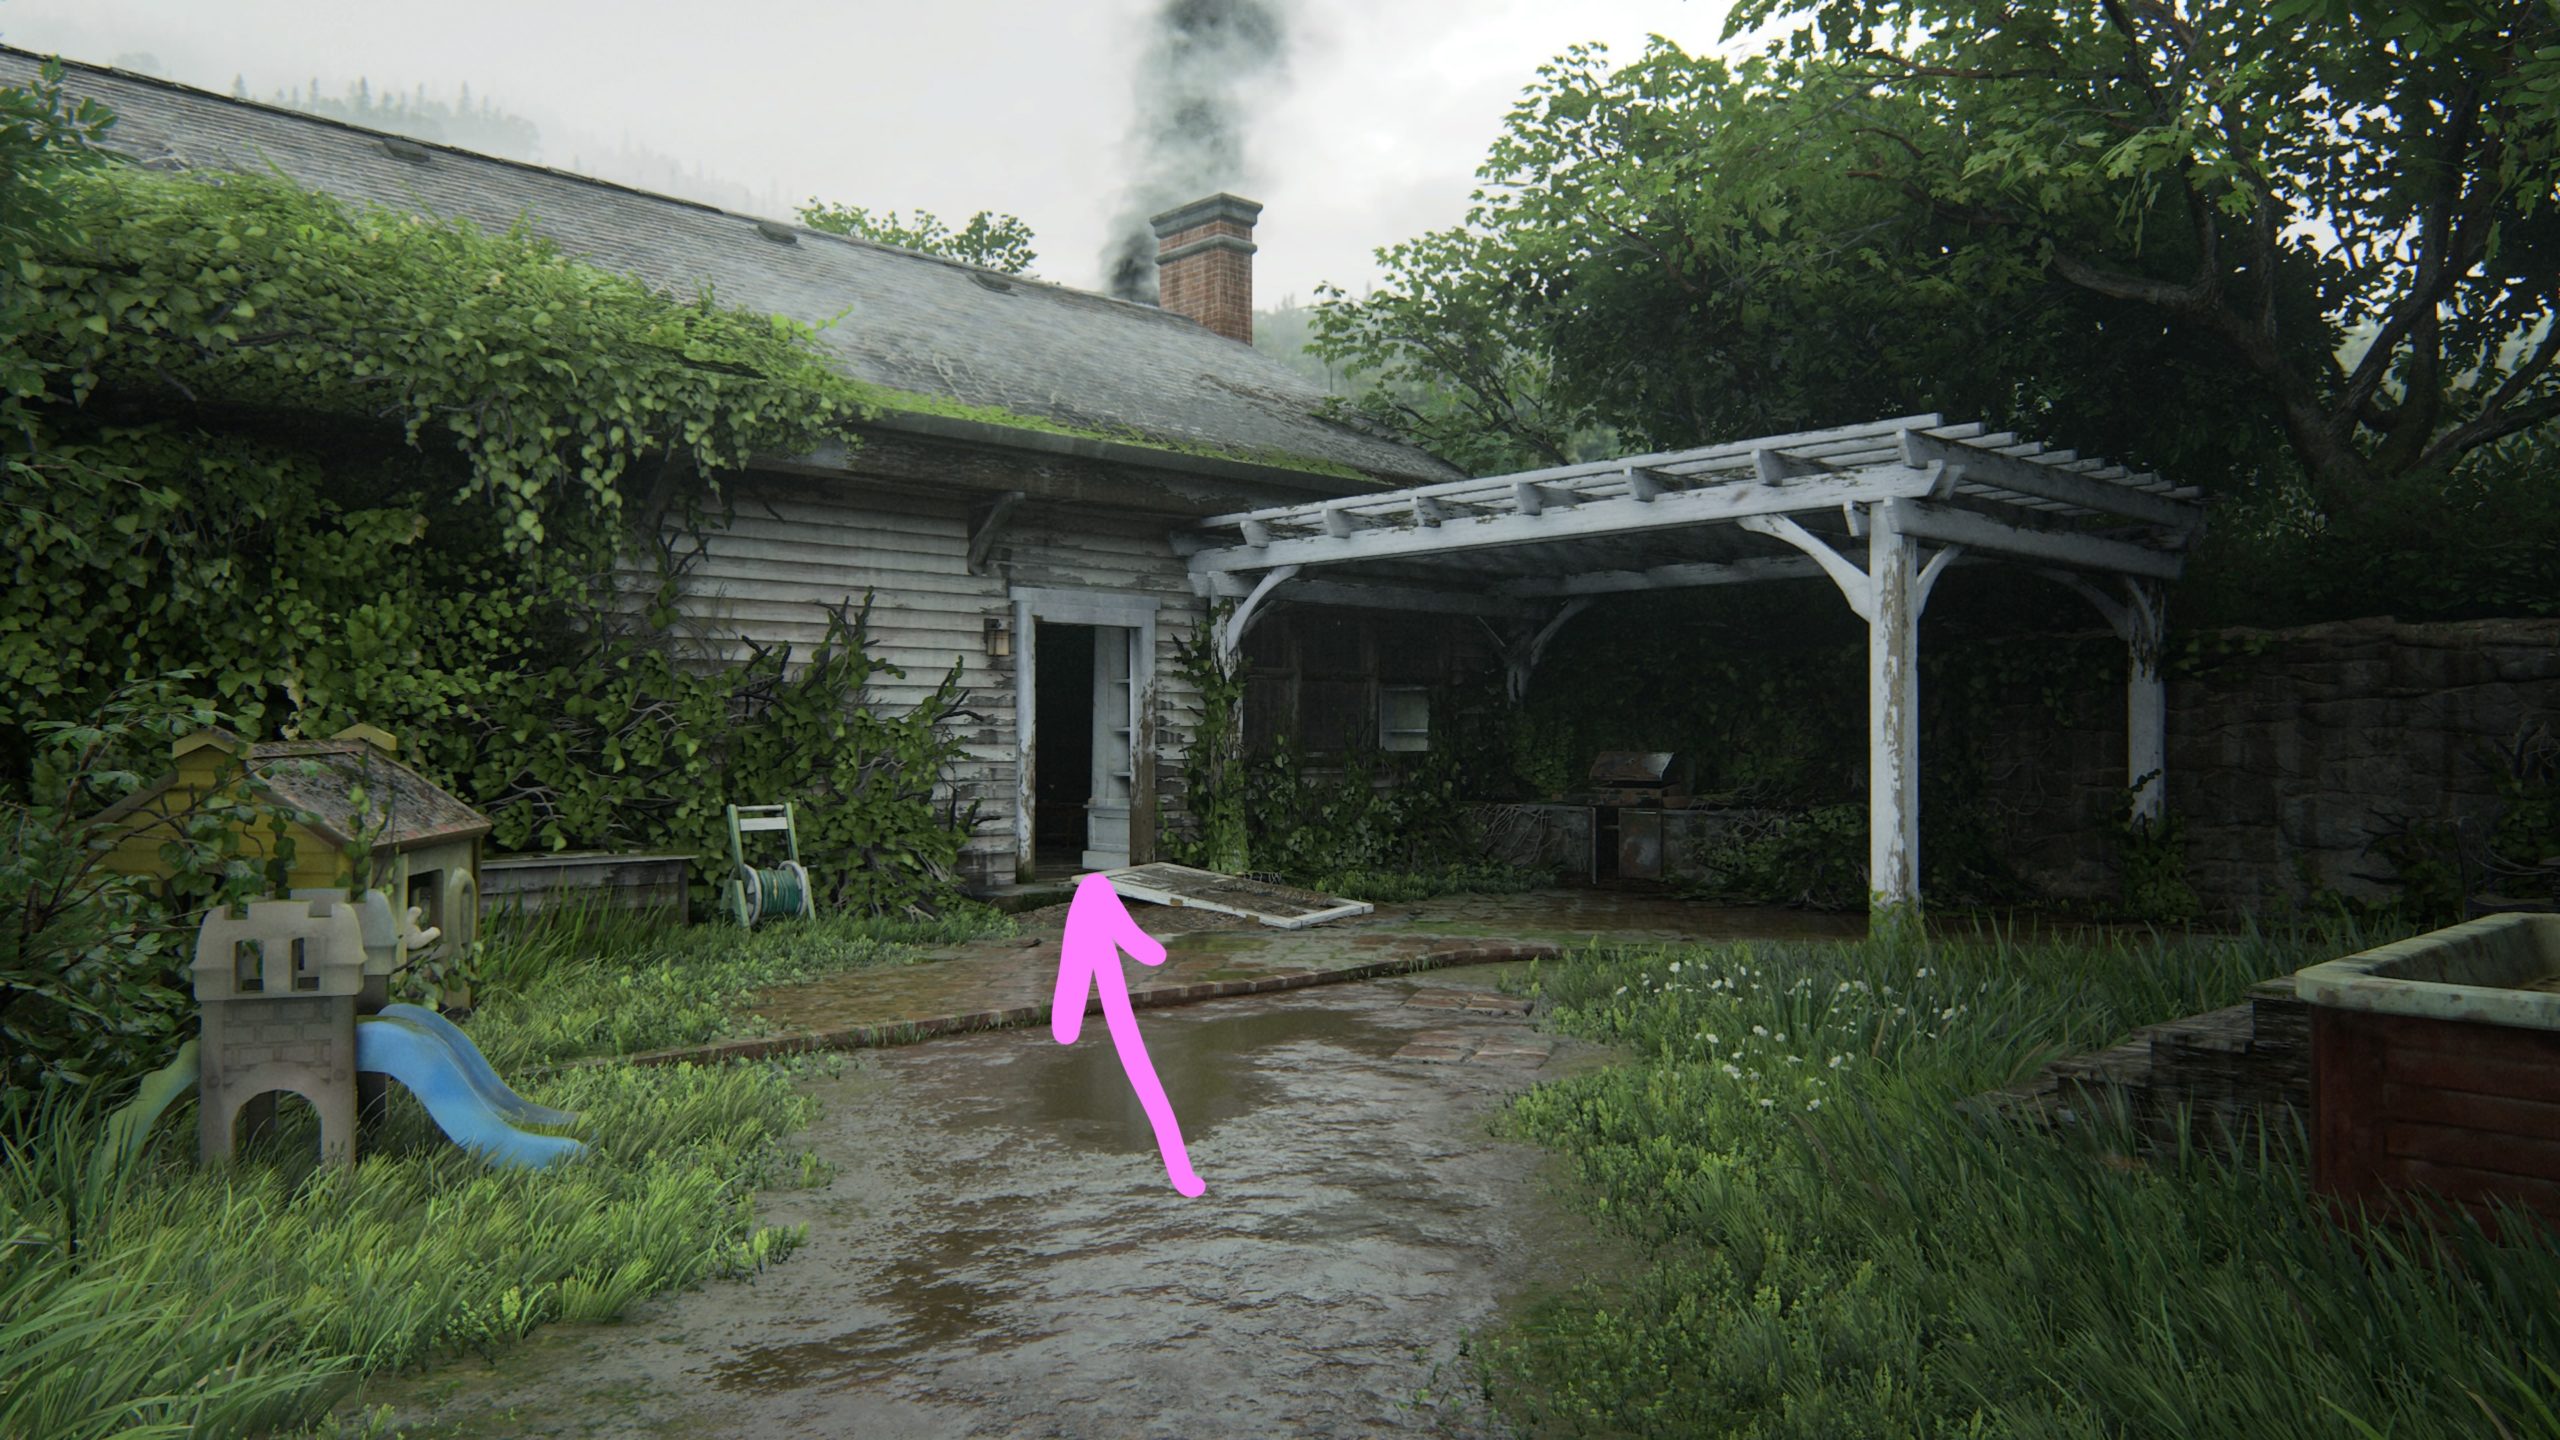
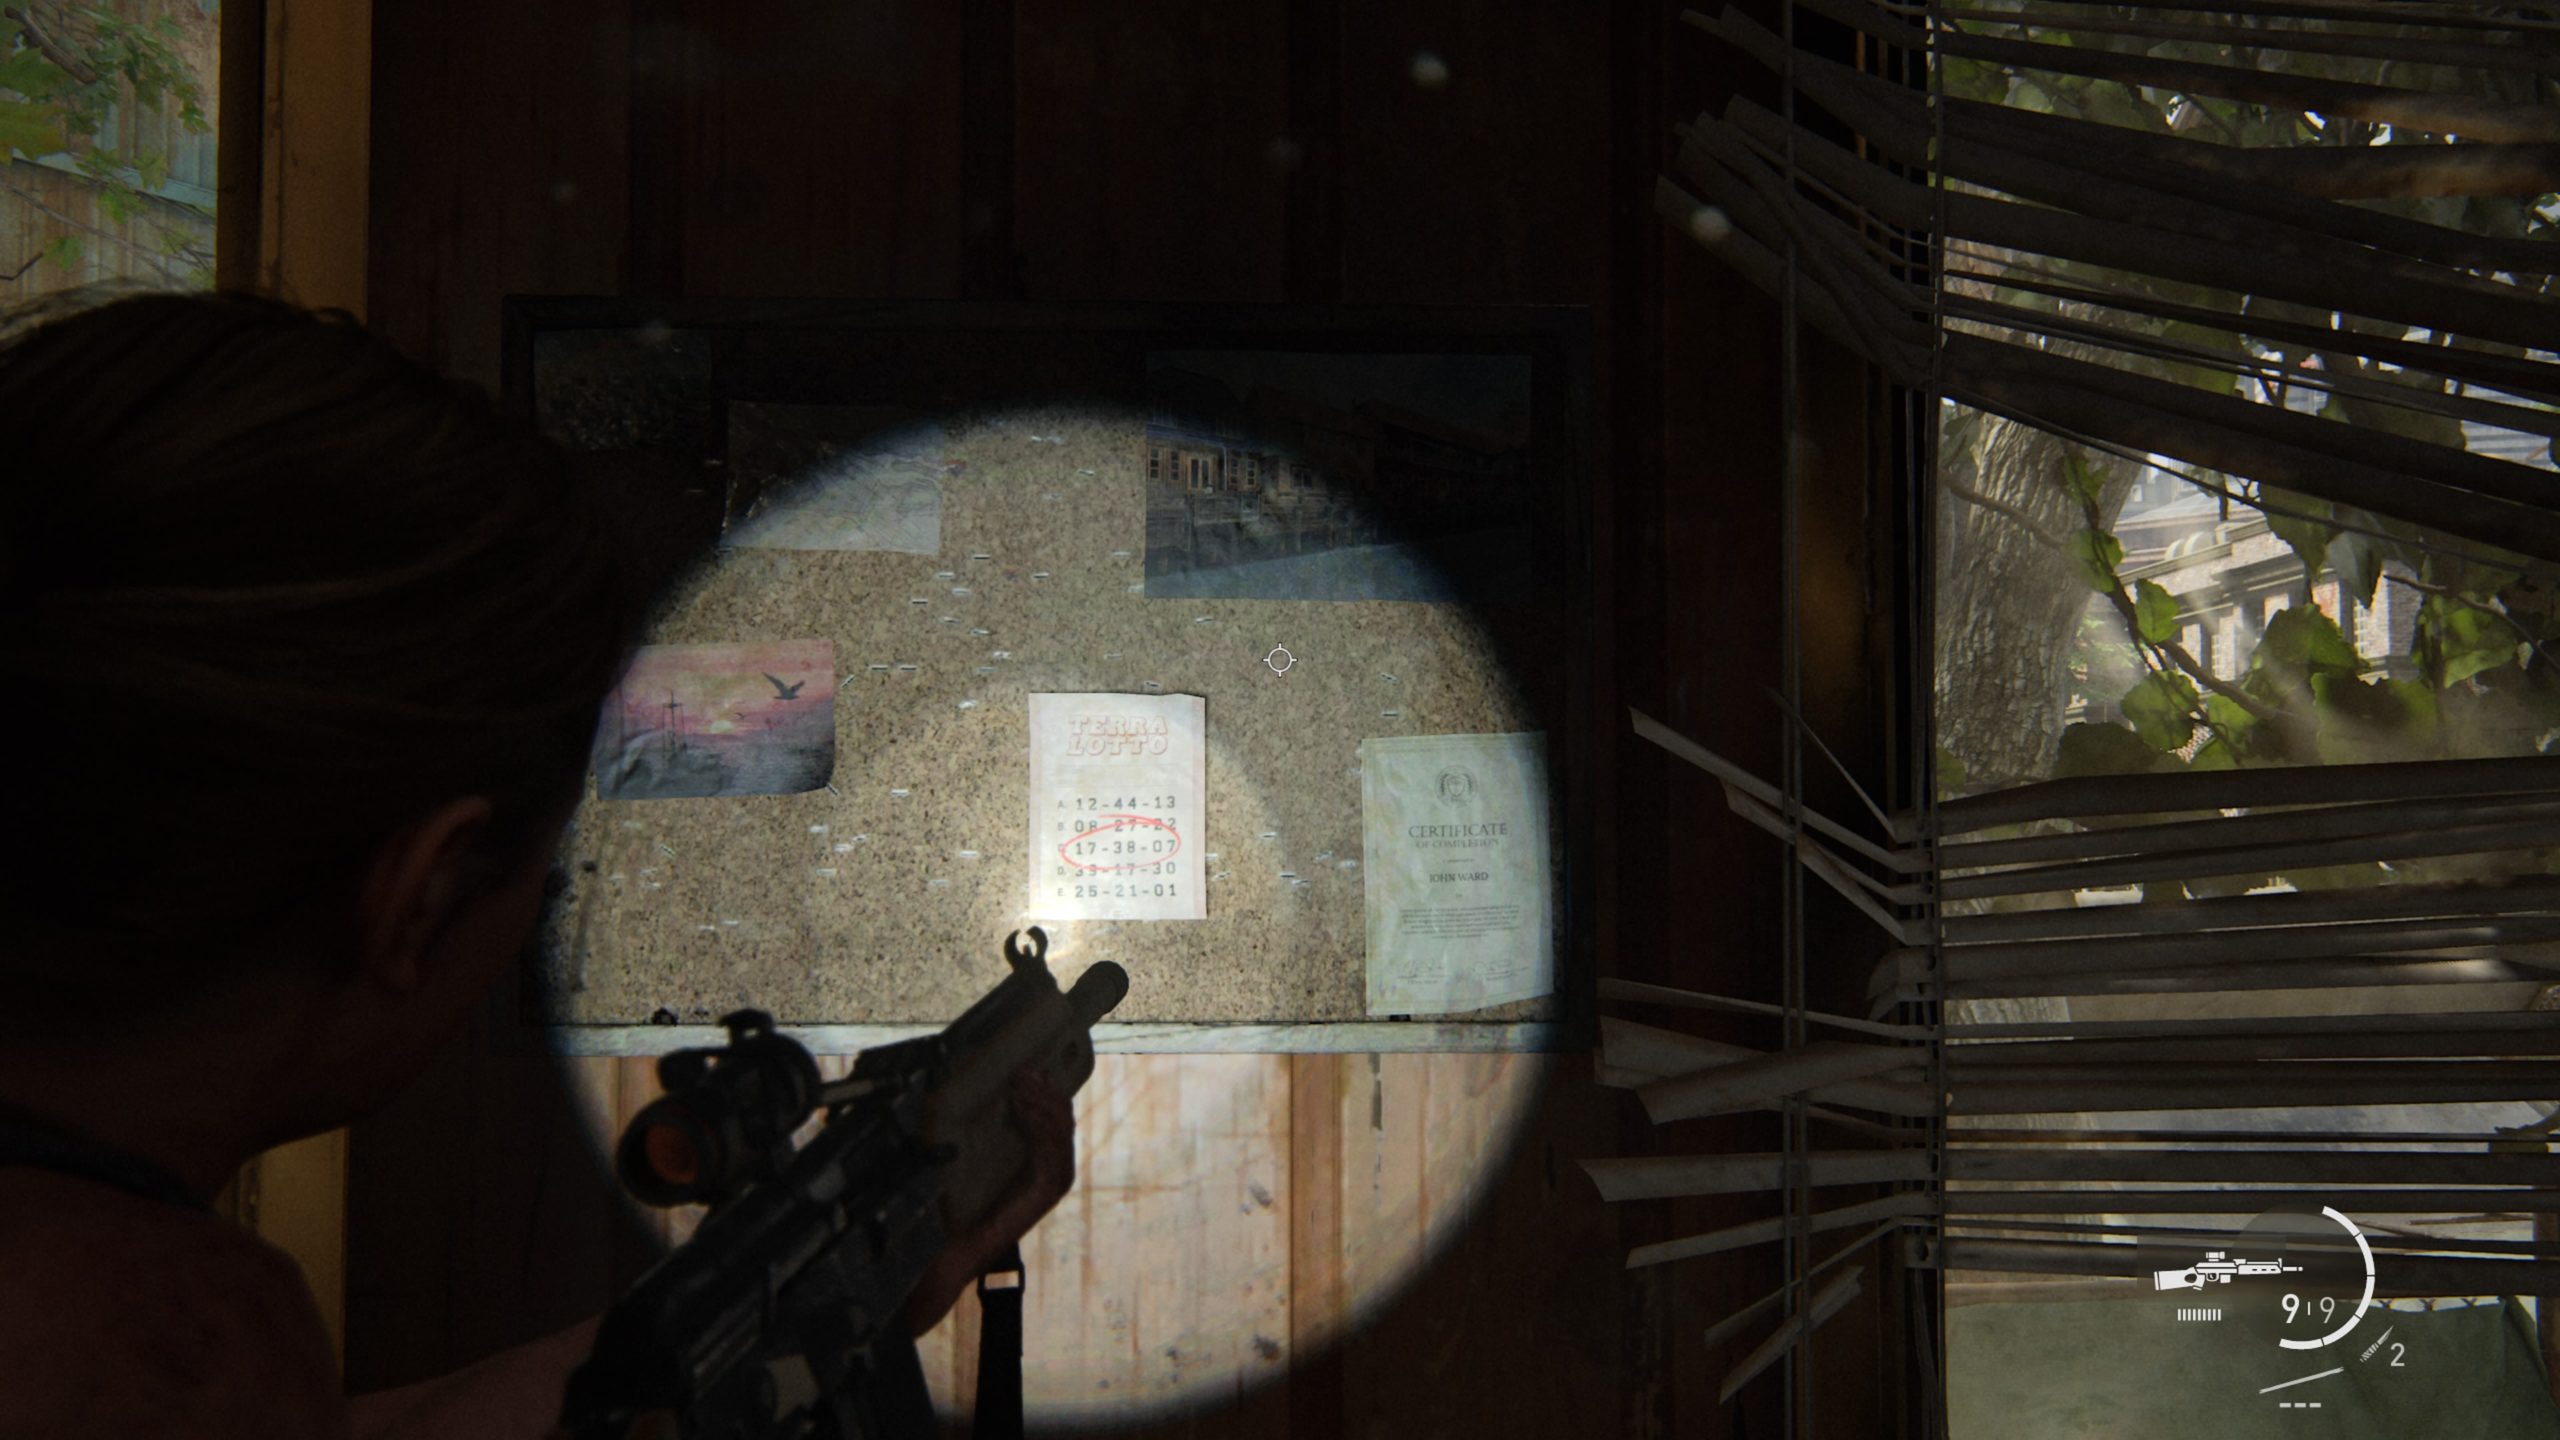
This pistol can be found in a safe located in the building across from the rusty construction trailer. To reach the safe, you will need to enter the crack in the wall. The safe combo is 17-38-07, which can be found on a lottery ticket on the bulletin board in the trailer.


Hostile Territory

Double Barrel Shotgun

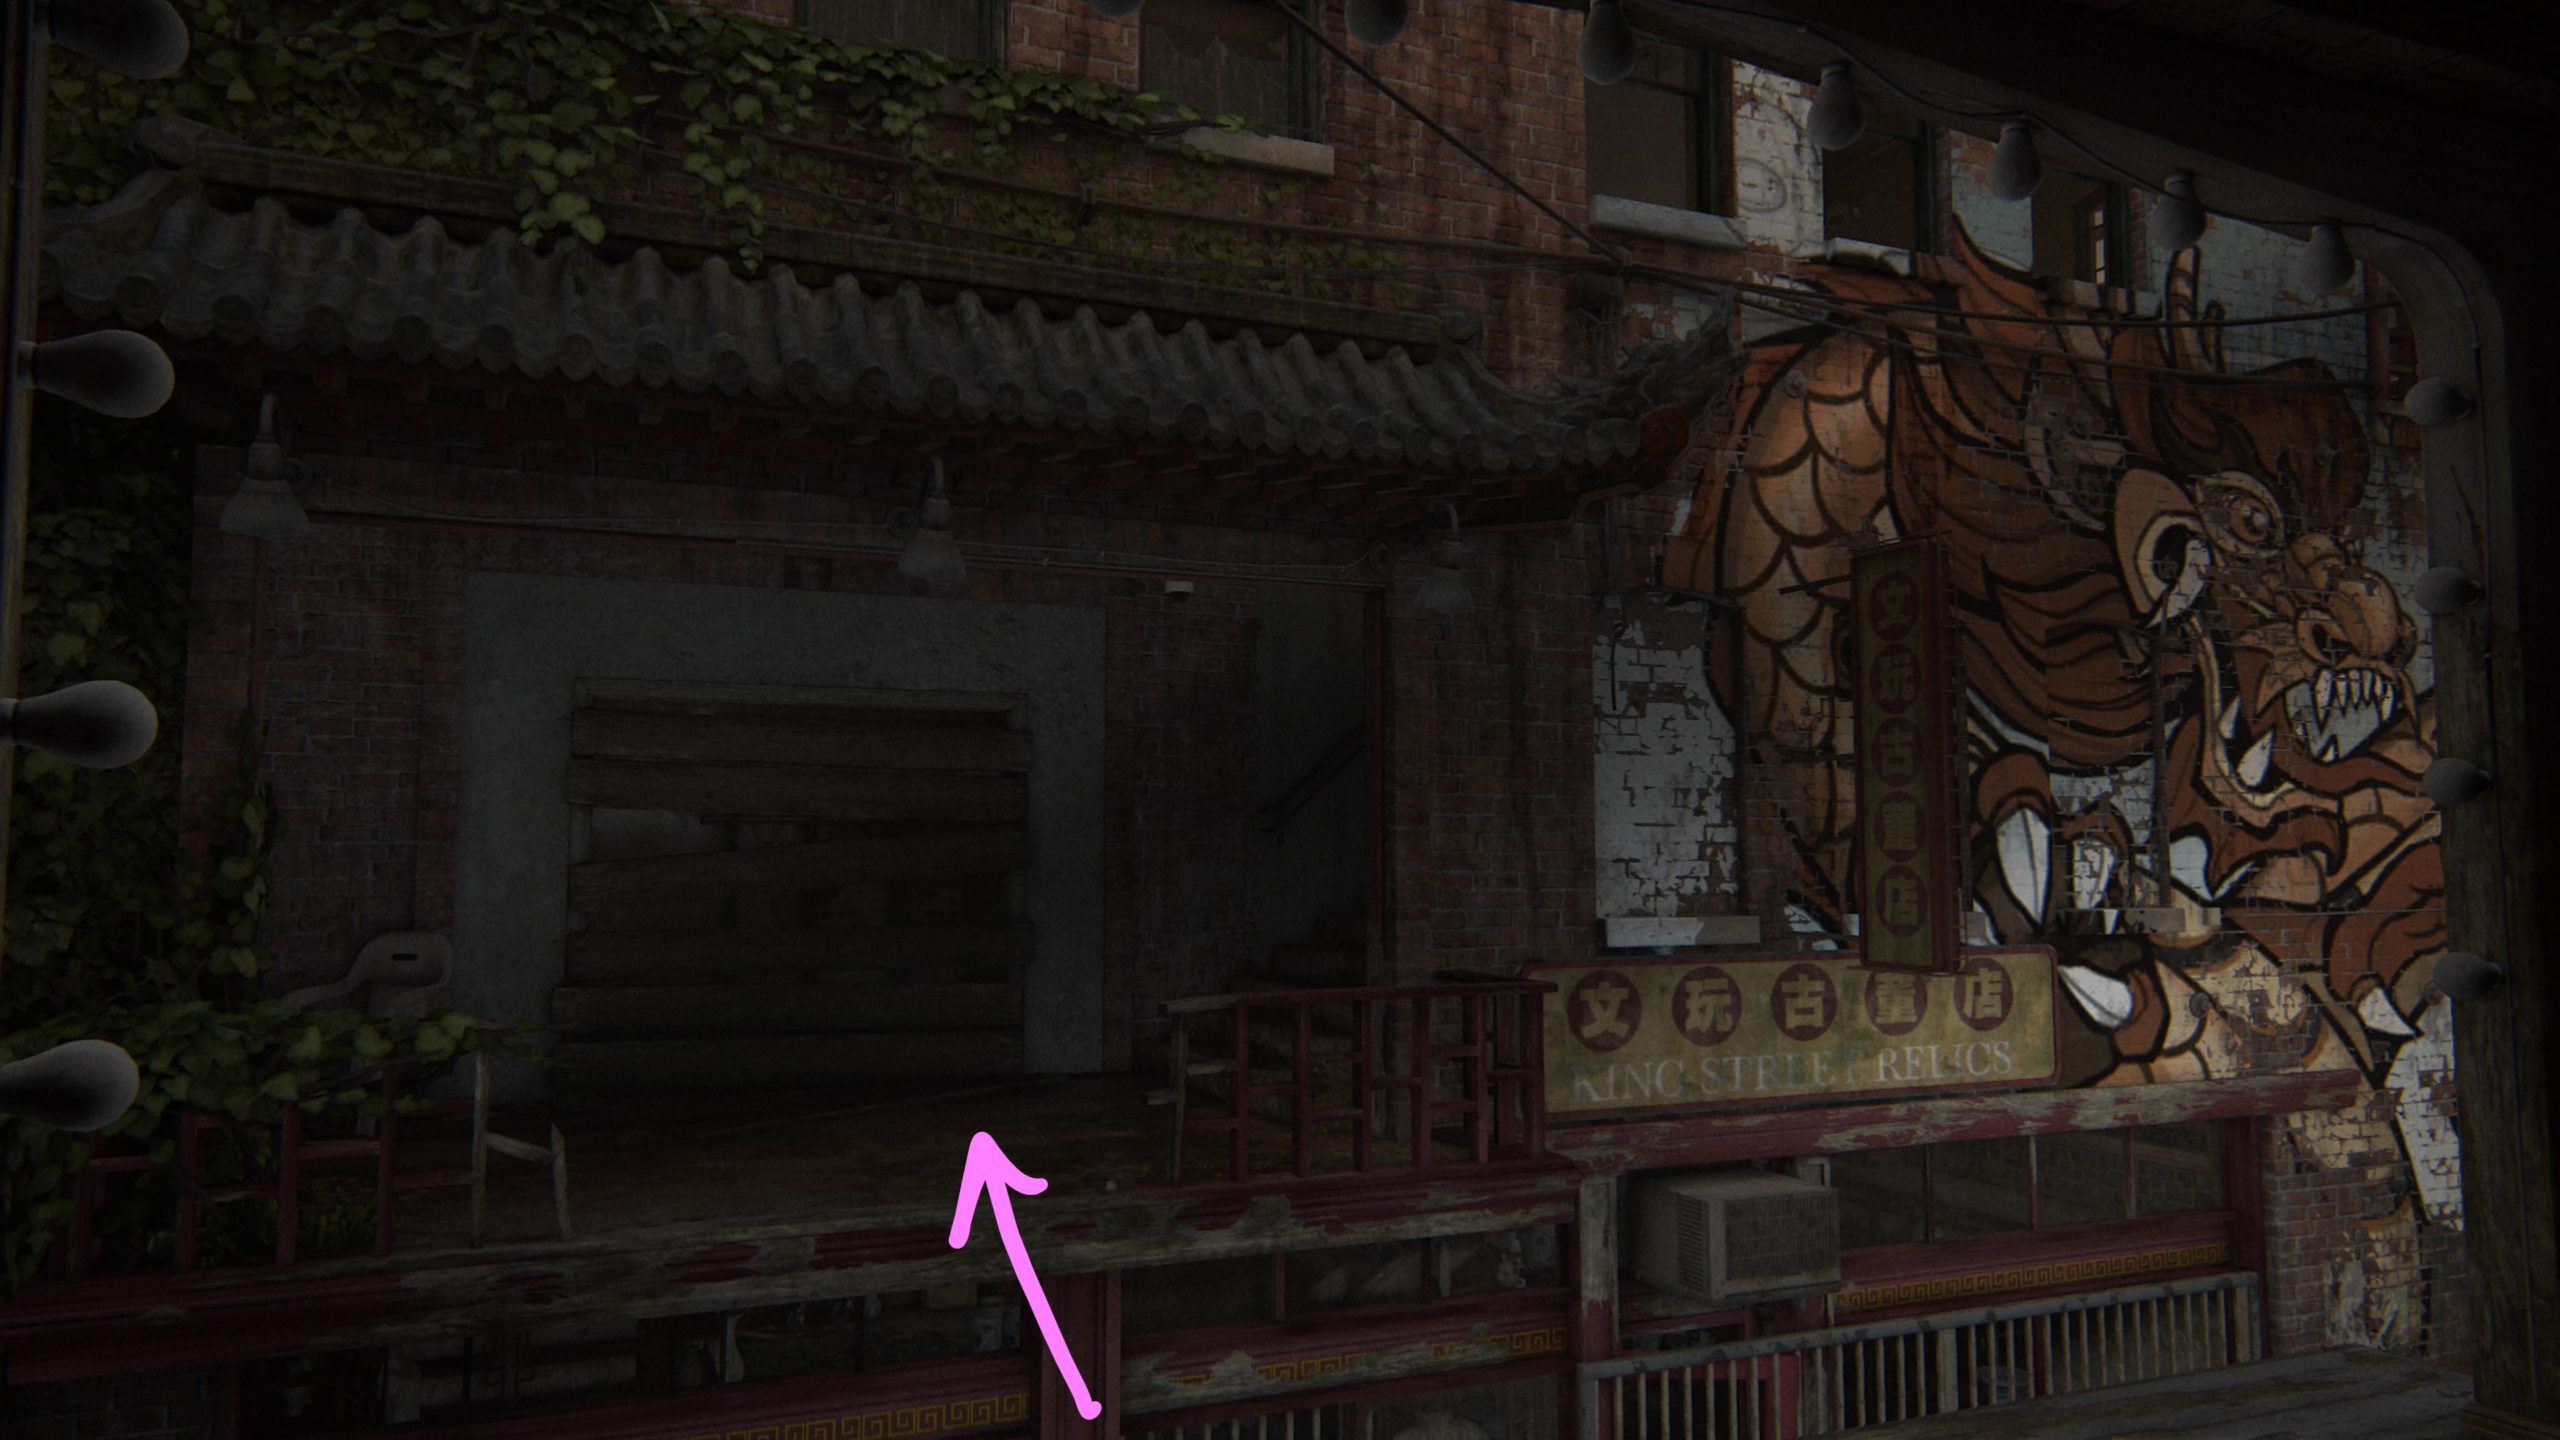
To reach this gun, use the stairs leading up in the Ruby Dragon, defeat the two Clickers in there then jump across to King Street Relics. After you drop down the hole in the floor, grab the gun from behind the counter.


The Coast

Crossbow

This weapon is obtained automatically as part of the story.


The Descent

Flamethrower

After getting attacked by the Infected growing in the wall, follow the path around and jump down to a lower level. Enter through the doorway and turn right following along the windows then jump across the gap in the floor to the room across the way. You will be attacked by a Clicker. Defeat it then keep heading forward through the room. Take a right at the dead end towards a dark hallway. Take a right and squeeze through a cracked door to enter a bathroom. From there, cross over a narrow metal beam and duck through a small opening in the wall. The weapon will be on a corpse to the left in this room.


The Resort

Silenced Submachine Gun

This is obtained automatically as part of the story.


The Last of Us Part 2
Guides

The Last of Us Part II – Safe Locations

by Chappie in


Below is a guide on all the safe locations in The Last of Us Part II!


Patrol

Greenplace Market

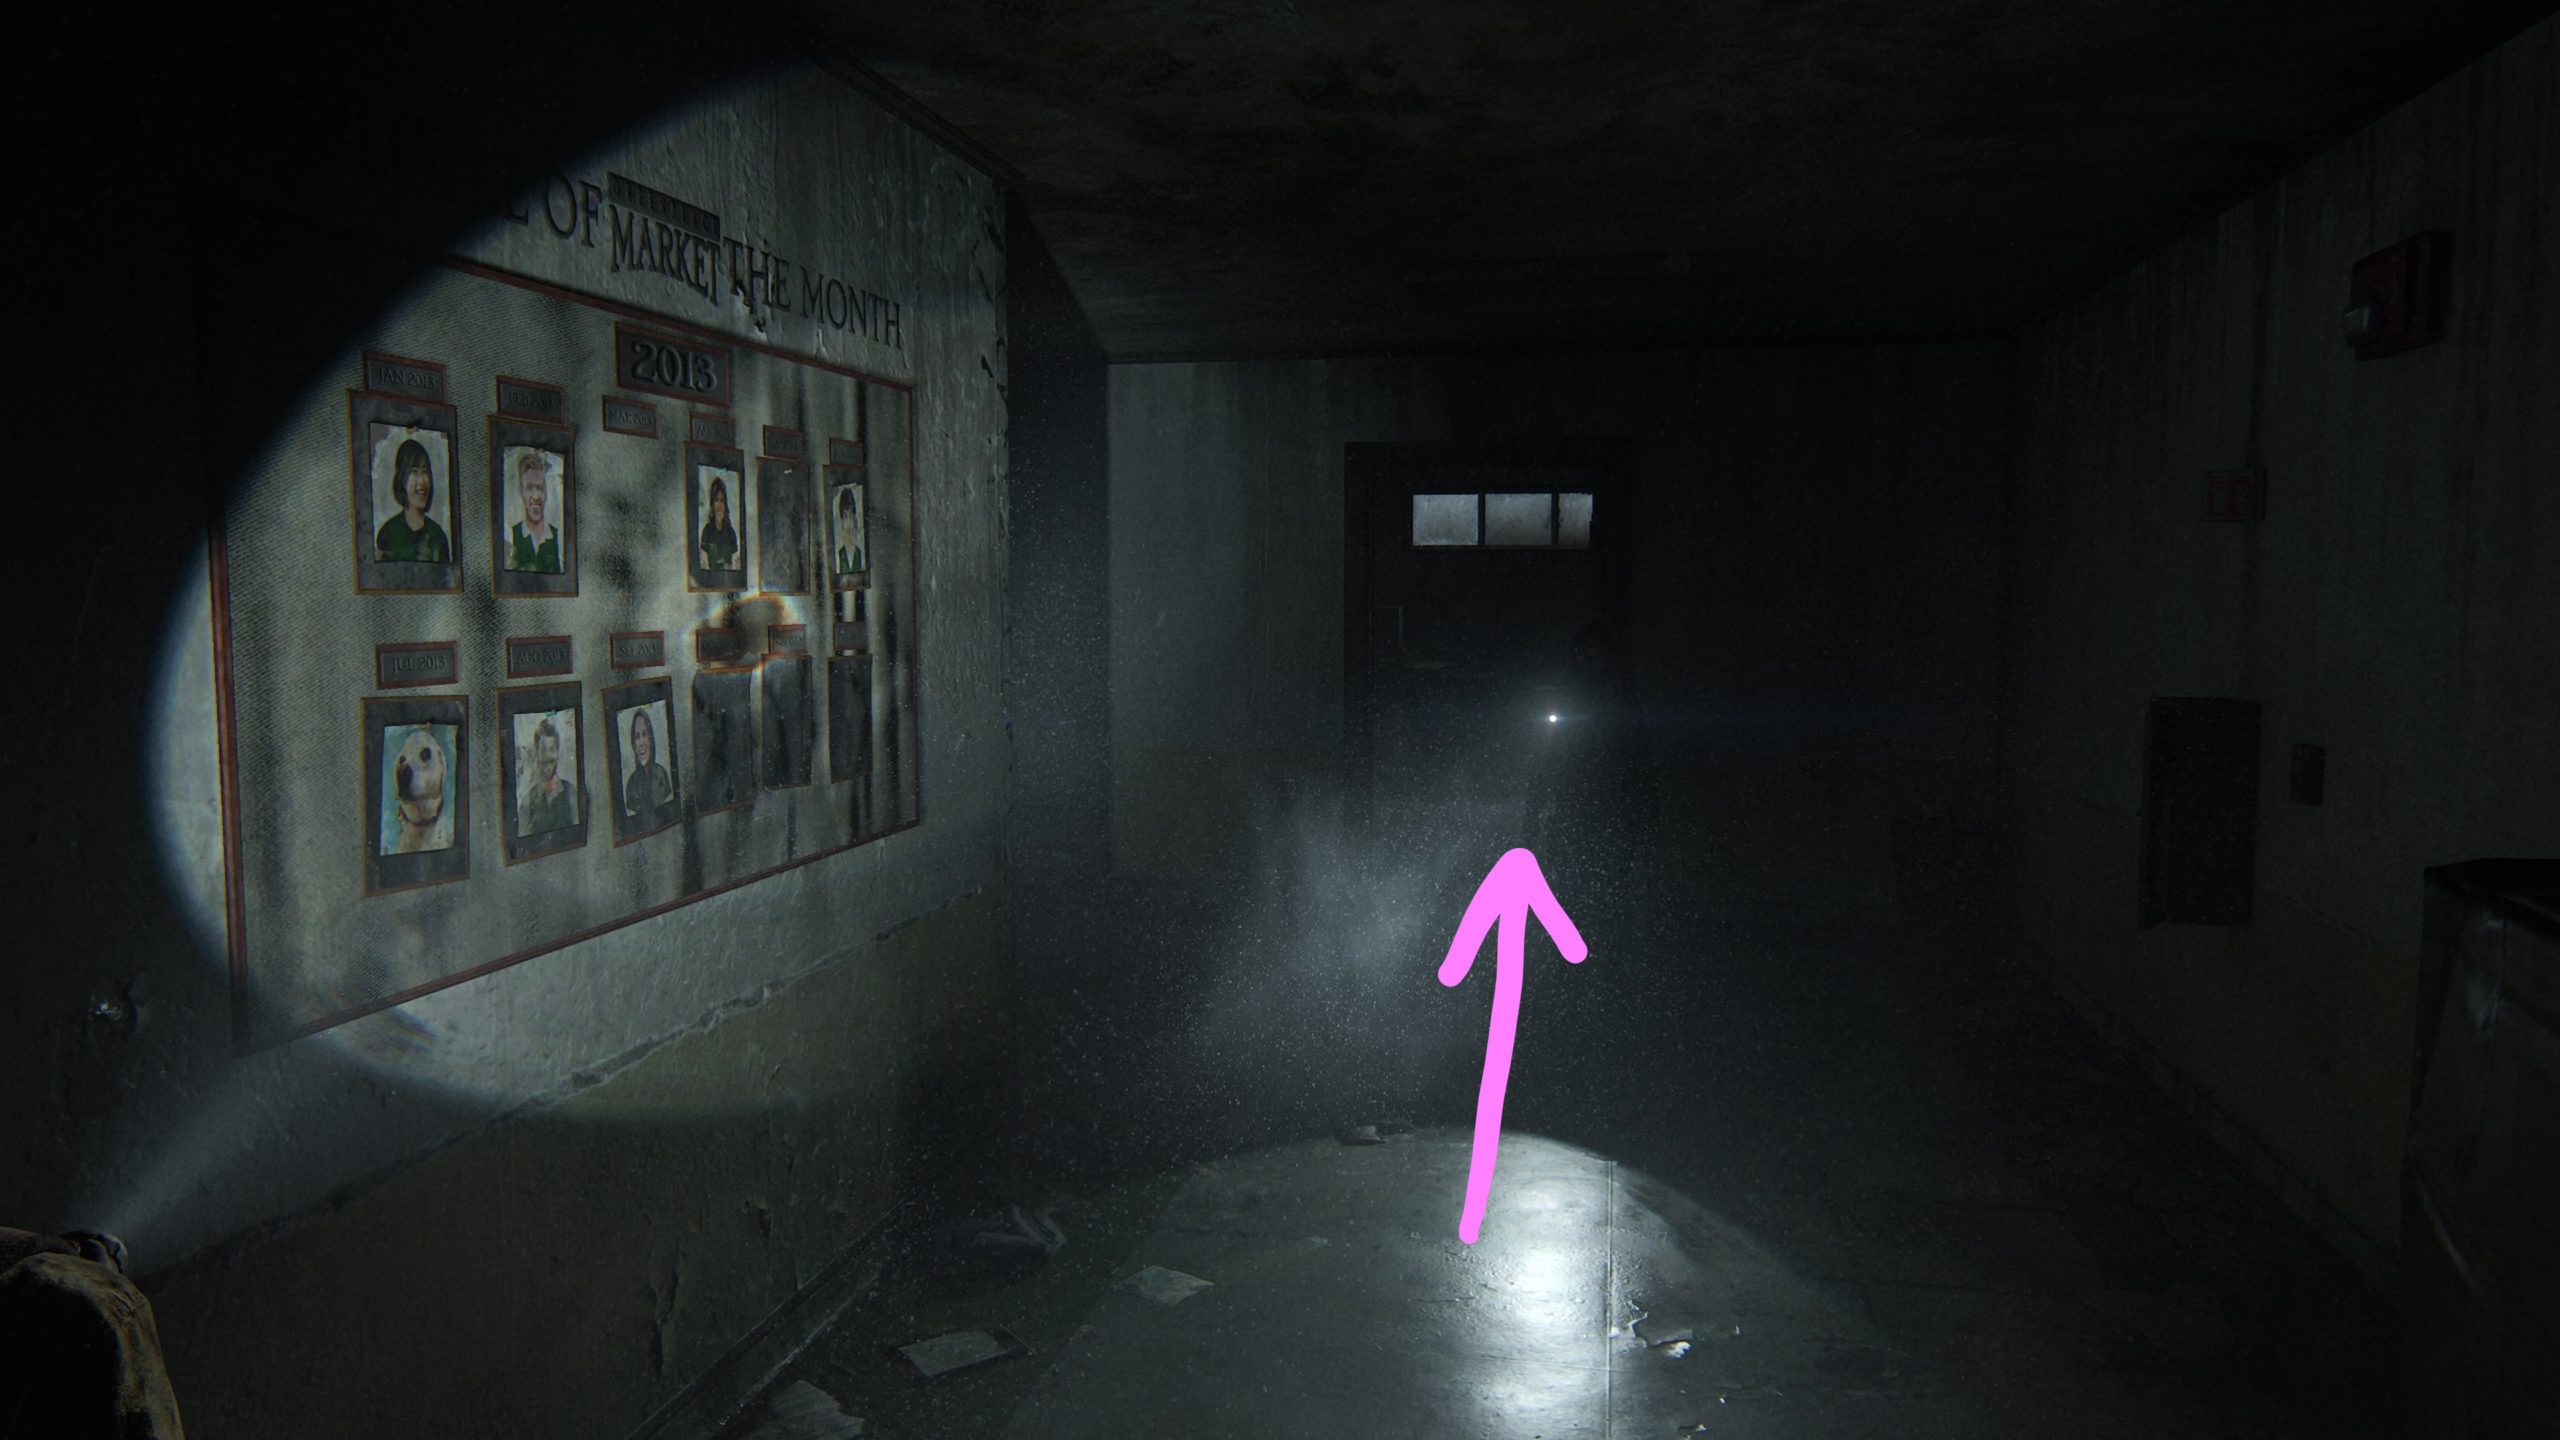
As part of the story, you’ll put on your face masks then will need to proceed through a crack in the wall. There will be an Employee of the Month board in front of you on the wall. Turn right down the hallway and head through the door straight ahead to find the safe in the room. The code is 07 20 13. The Good Boy Combo artifact says that the combination to the safe is the month that Mina’s goodest boy got Employee of the Month. If you head to the Employee of the Month board outside of the room, you’ll see the “goodest boy” got employee of the month in 07/2013.


Downtown

Bank

The safe is the bank vault located in the bank on James Street. The code to get into the vault is 60-23-06, which can be found on the artifact called Bank Heist Plans.


Gate West 2

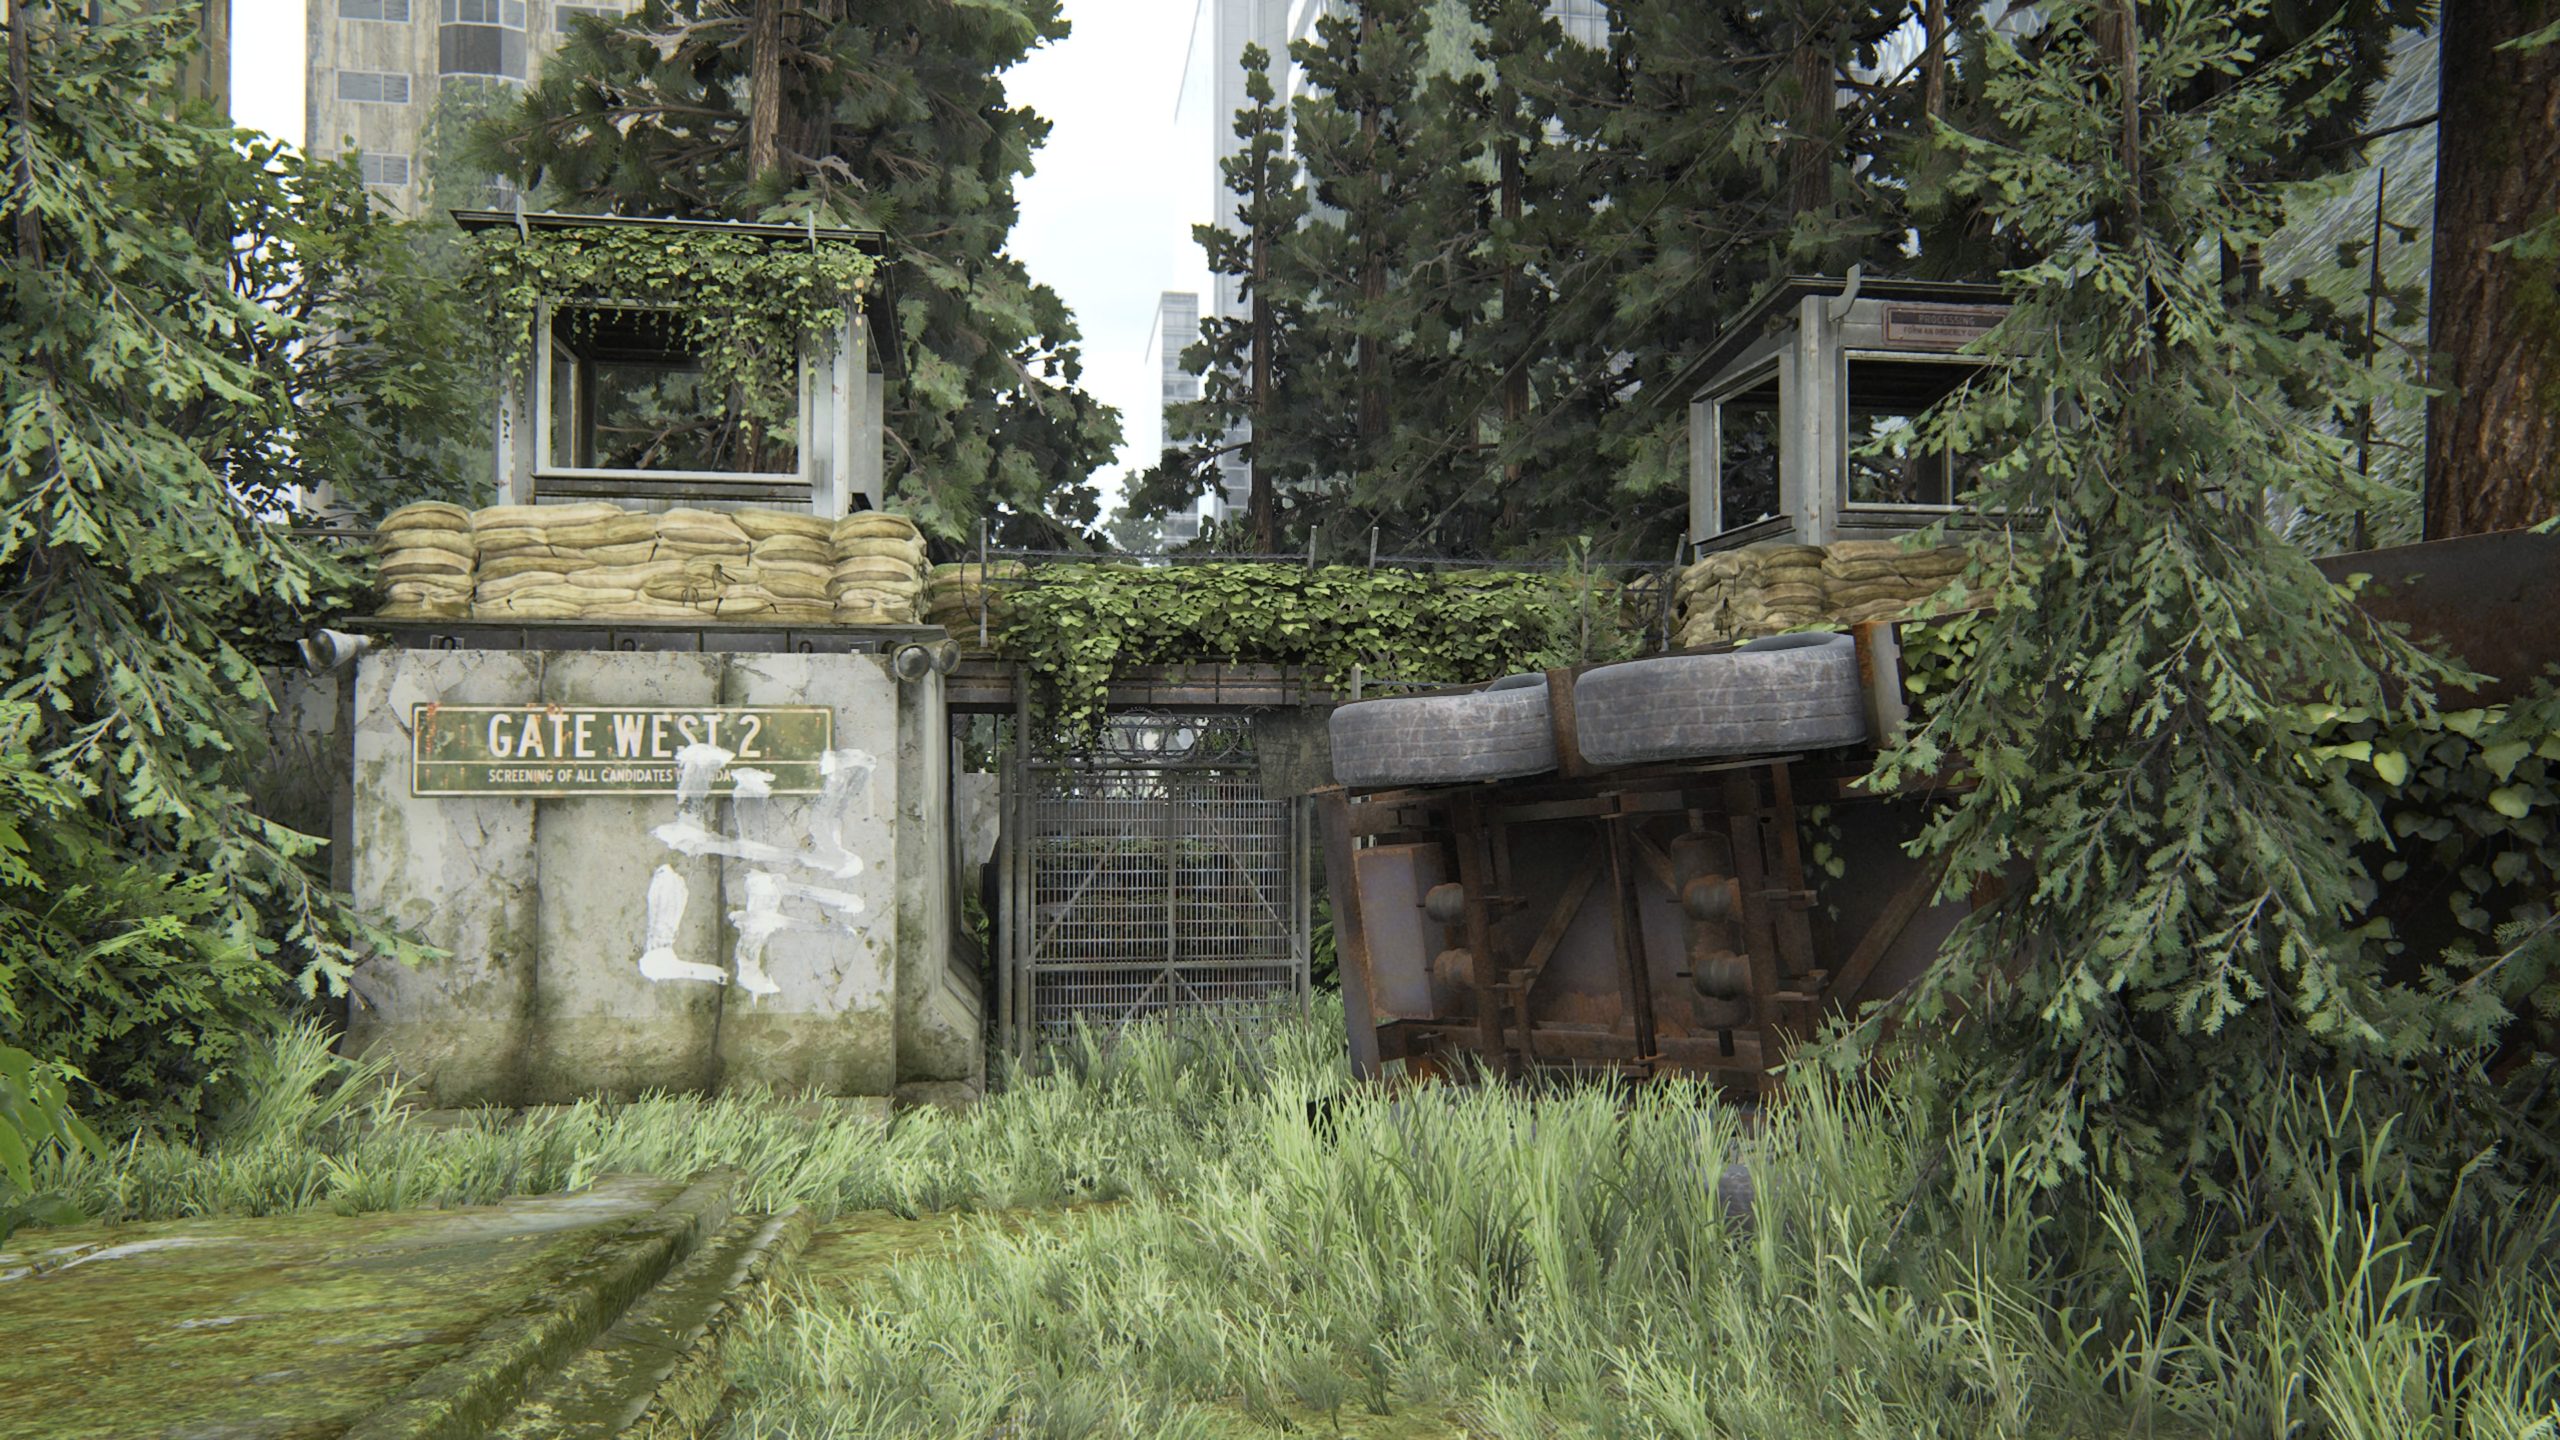
This safe is located behind Gate West 2 (Madison Street) on a porch. The code to open the safe is 0451.


Capitol Hill

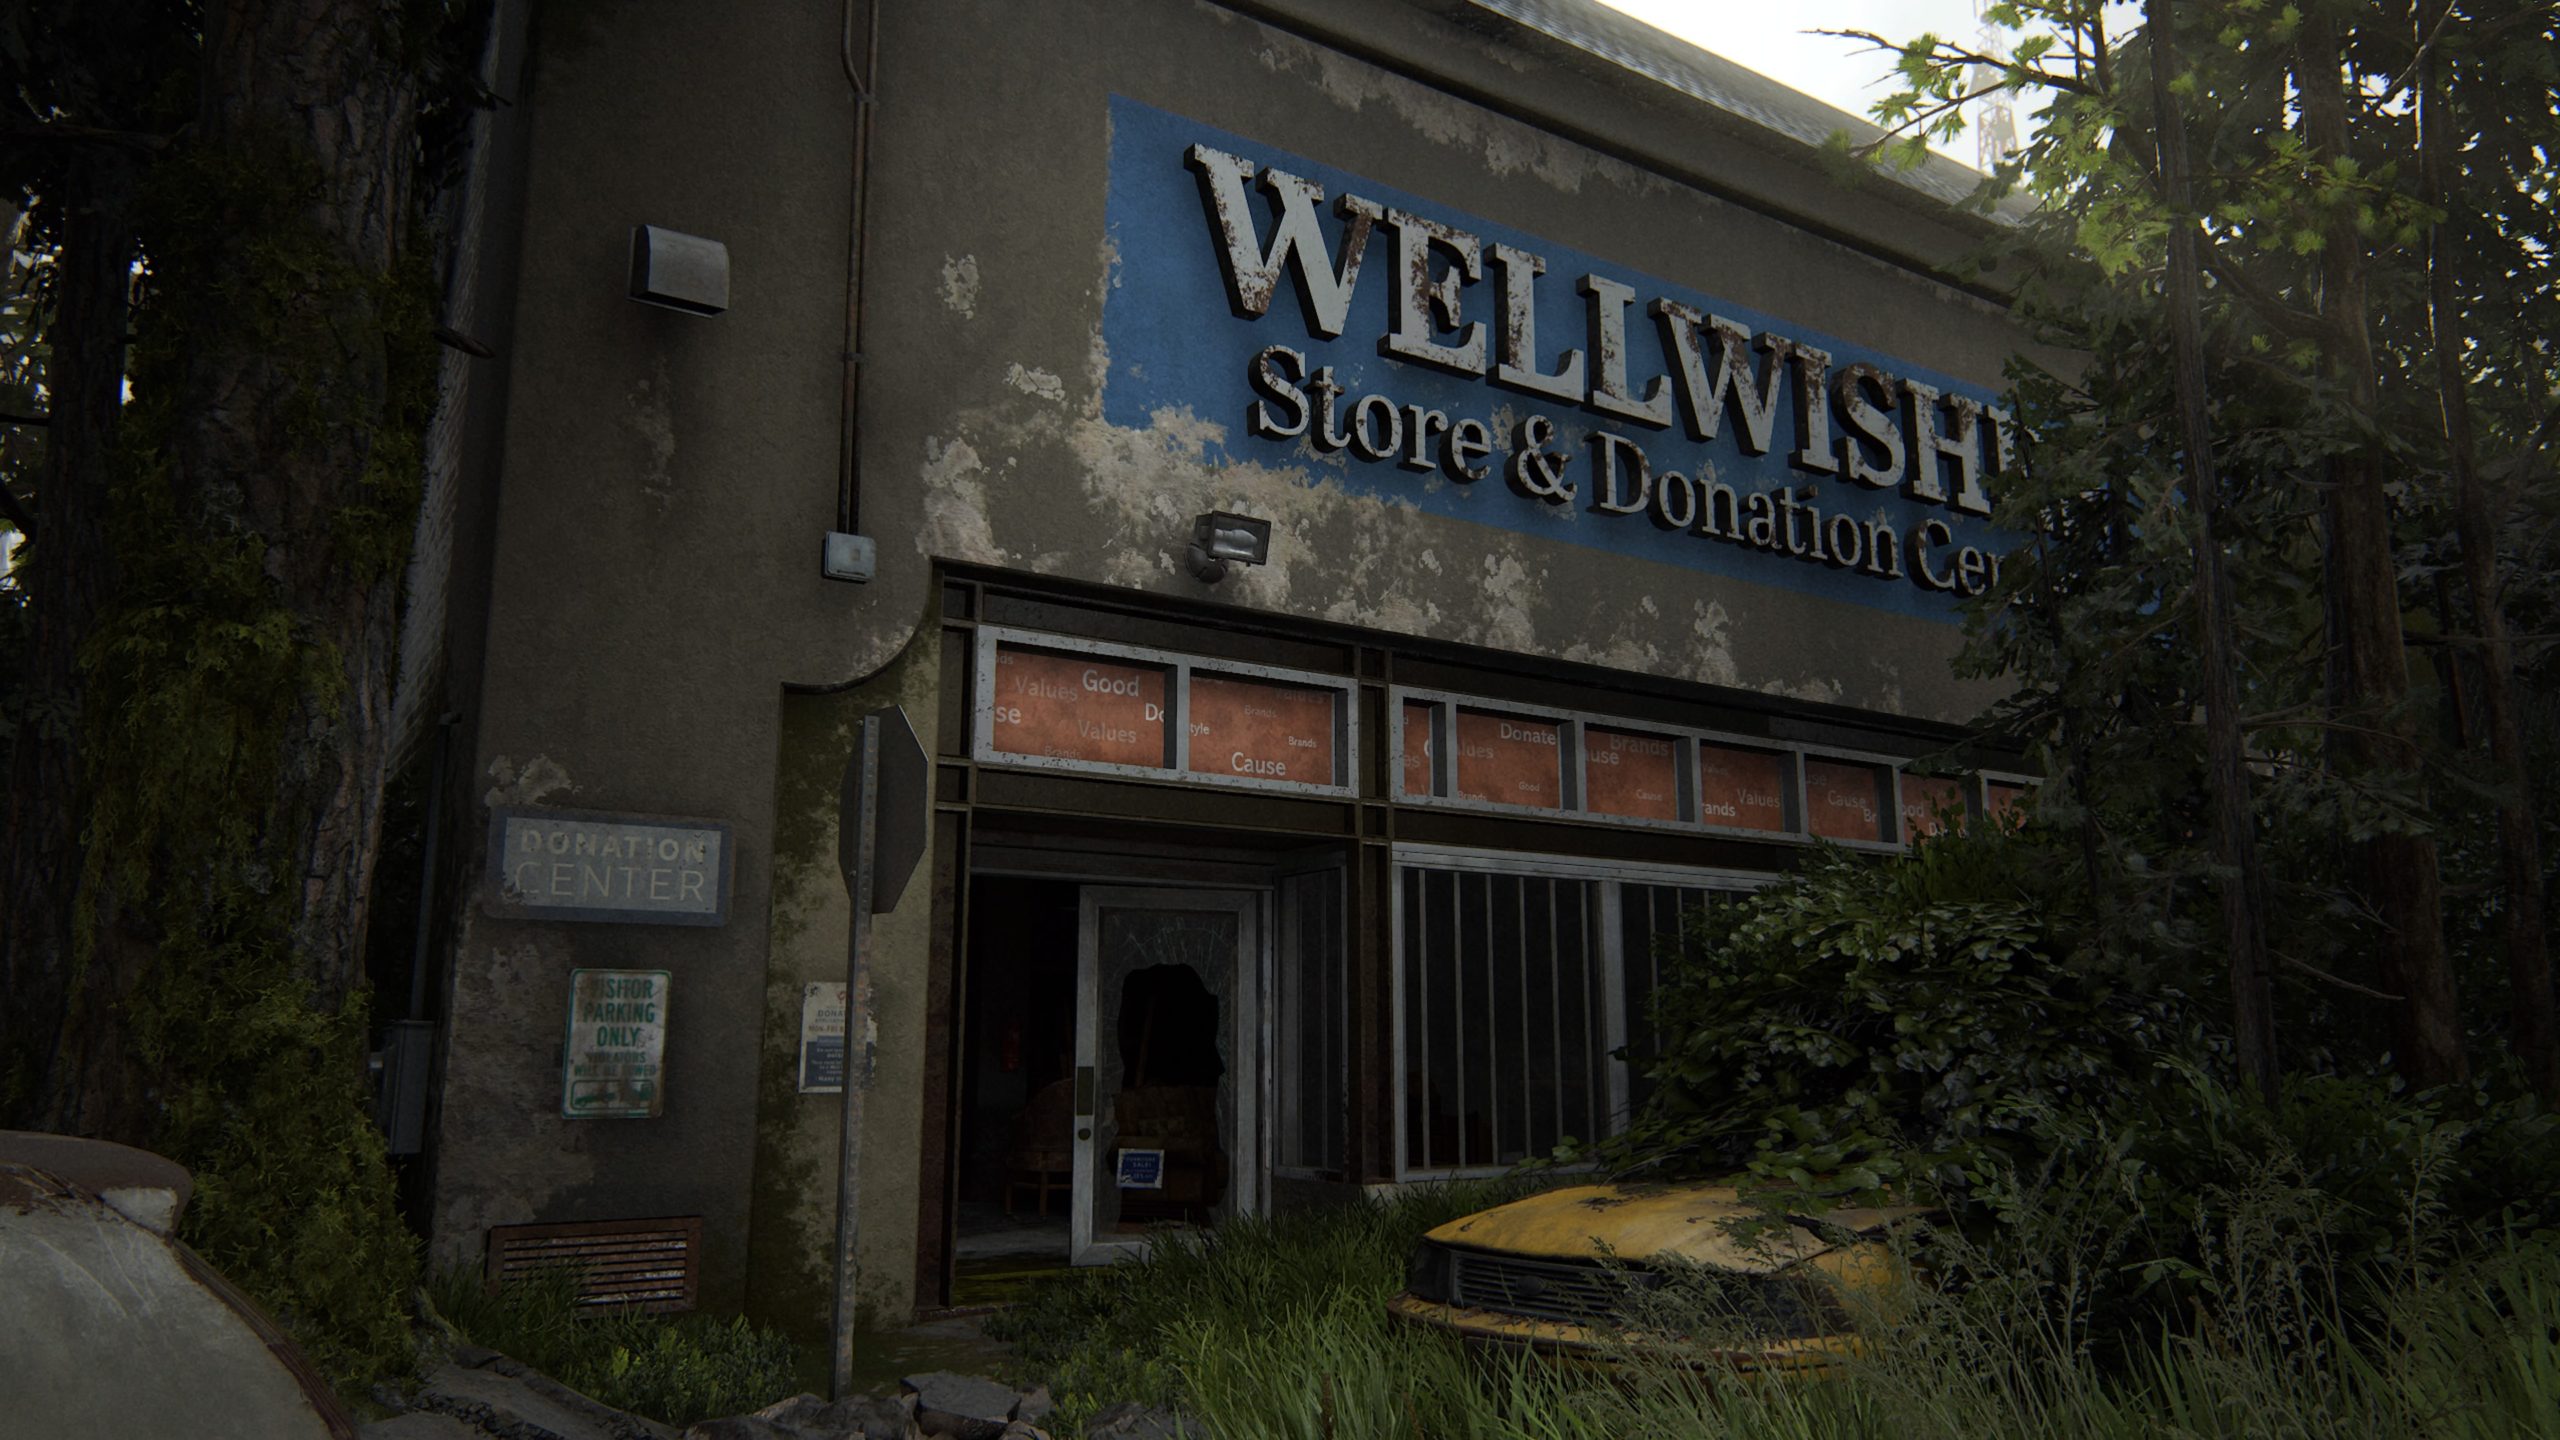
Well Wishes Store & Distribution Center

The safe can be found in the back room of the Well Wishes Store & Donation Center. The combo to the safe is 550133, which can be found in the writing on the bathroom wall.


Hillcrest

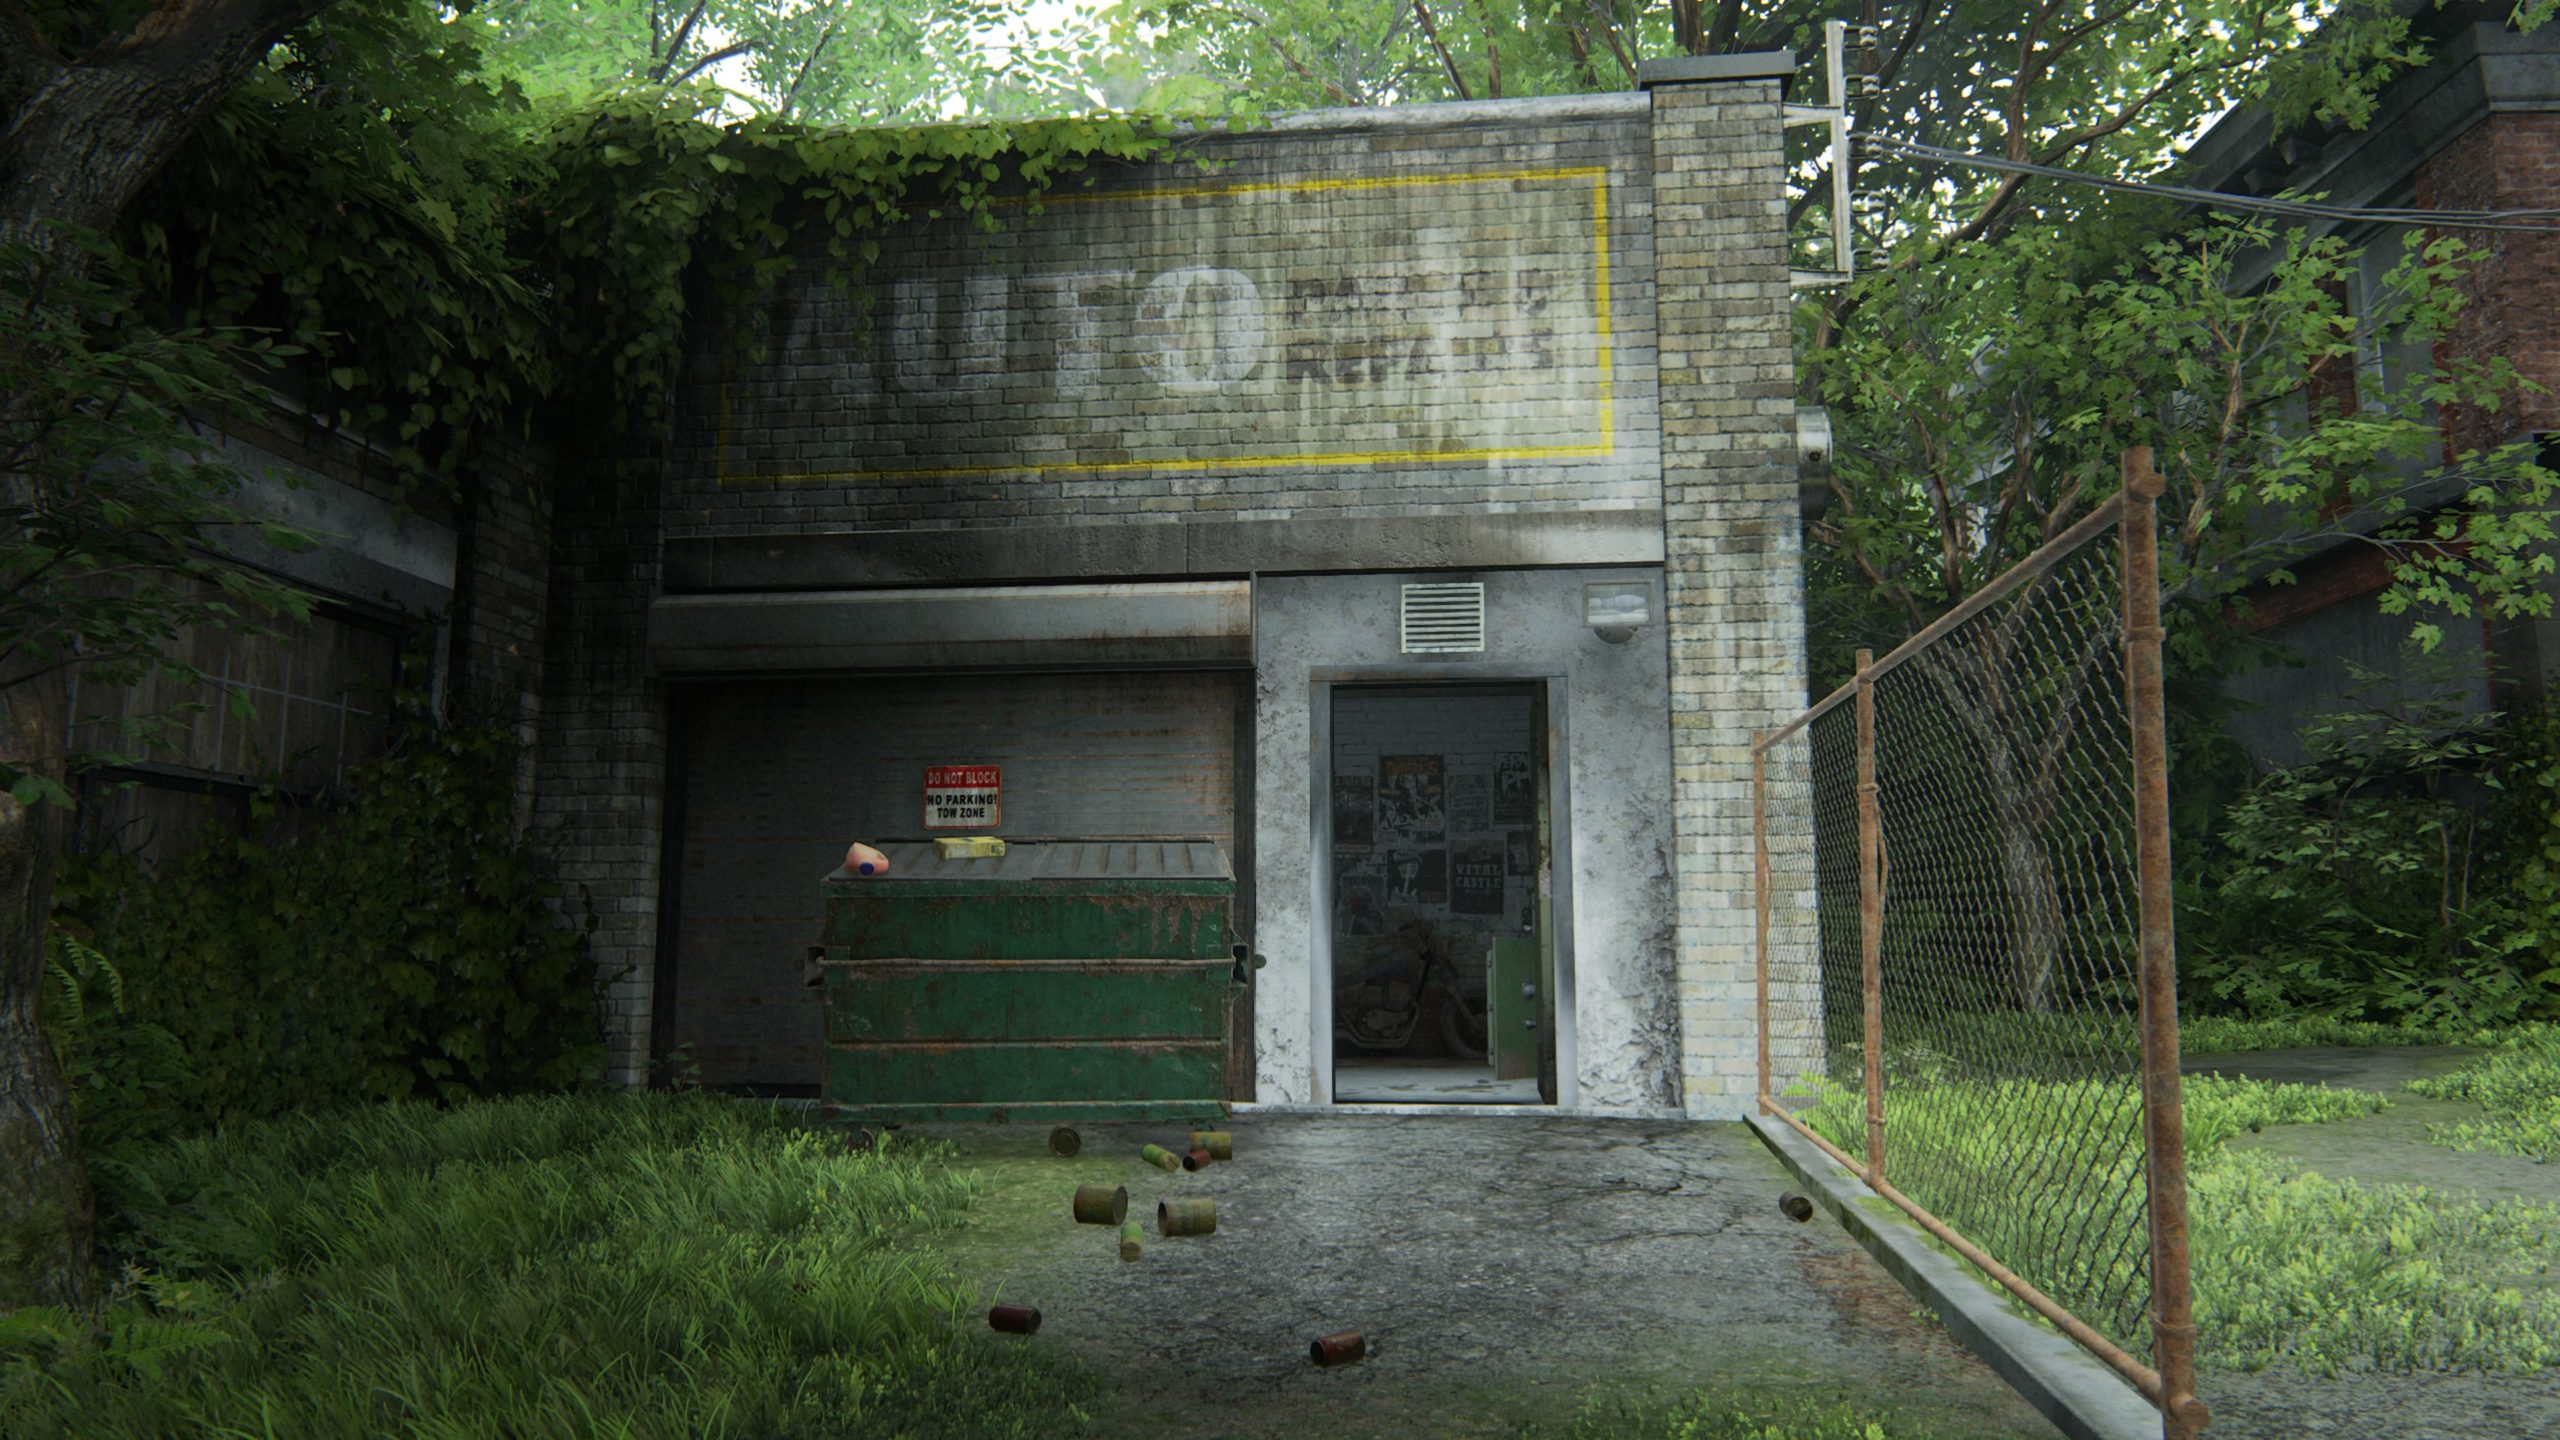
Auto Parts & Repairs

In the alley behind Velvet Tattoo, you’ll come across a green dumpster blocking a door. Pull the dumpster away then proceed through the door. *NOTE: There are four Infected waiting for you inside!* The safe is located on the other side of the door. The code to get into the safe is 30-82-65.


The Seraphites

Apartment Building

The safe can be found in the above bedroom in the closet. The code to enter the safe is 08-10-83. You can inspect the calendar next to the bed to get their anniversary. The code is the date of their anniversary followed by the month of their anniversary then the actual year of their anniversary (2013- 30 since it’s their 30th anniversary = 1983).


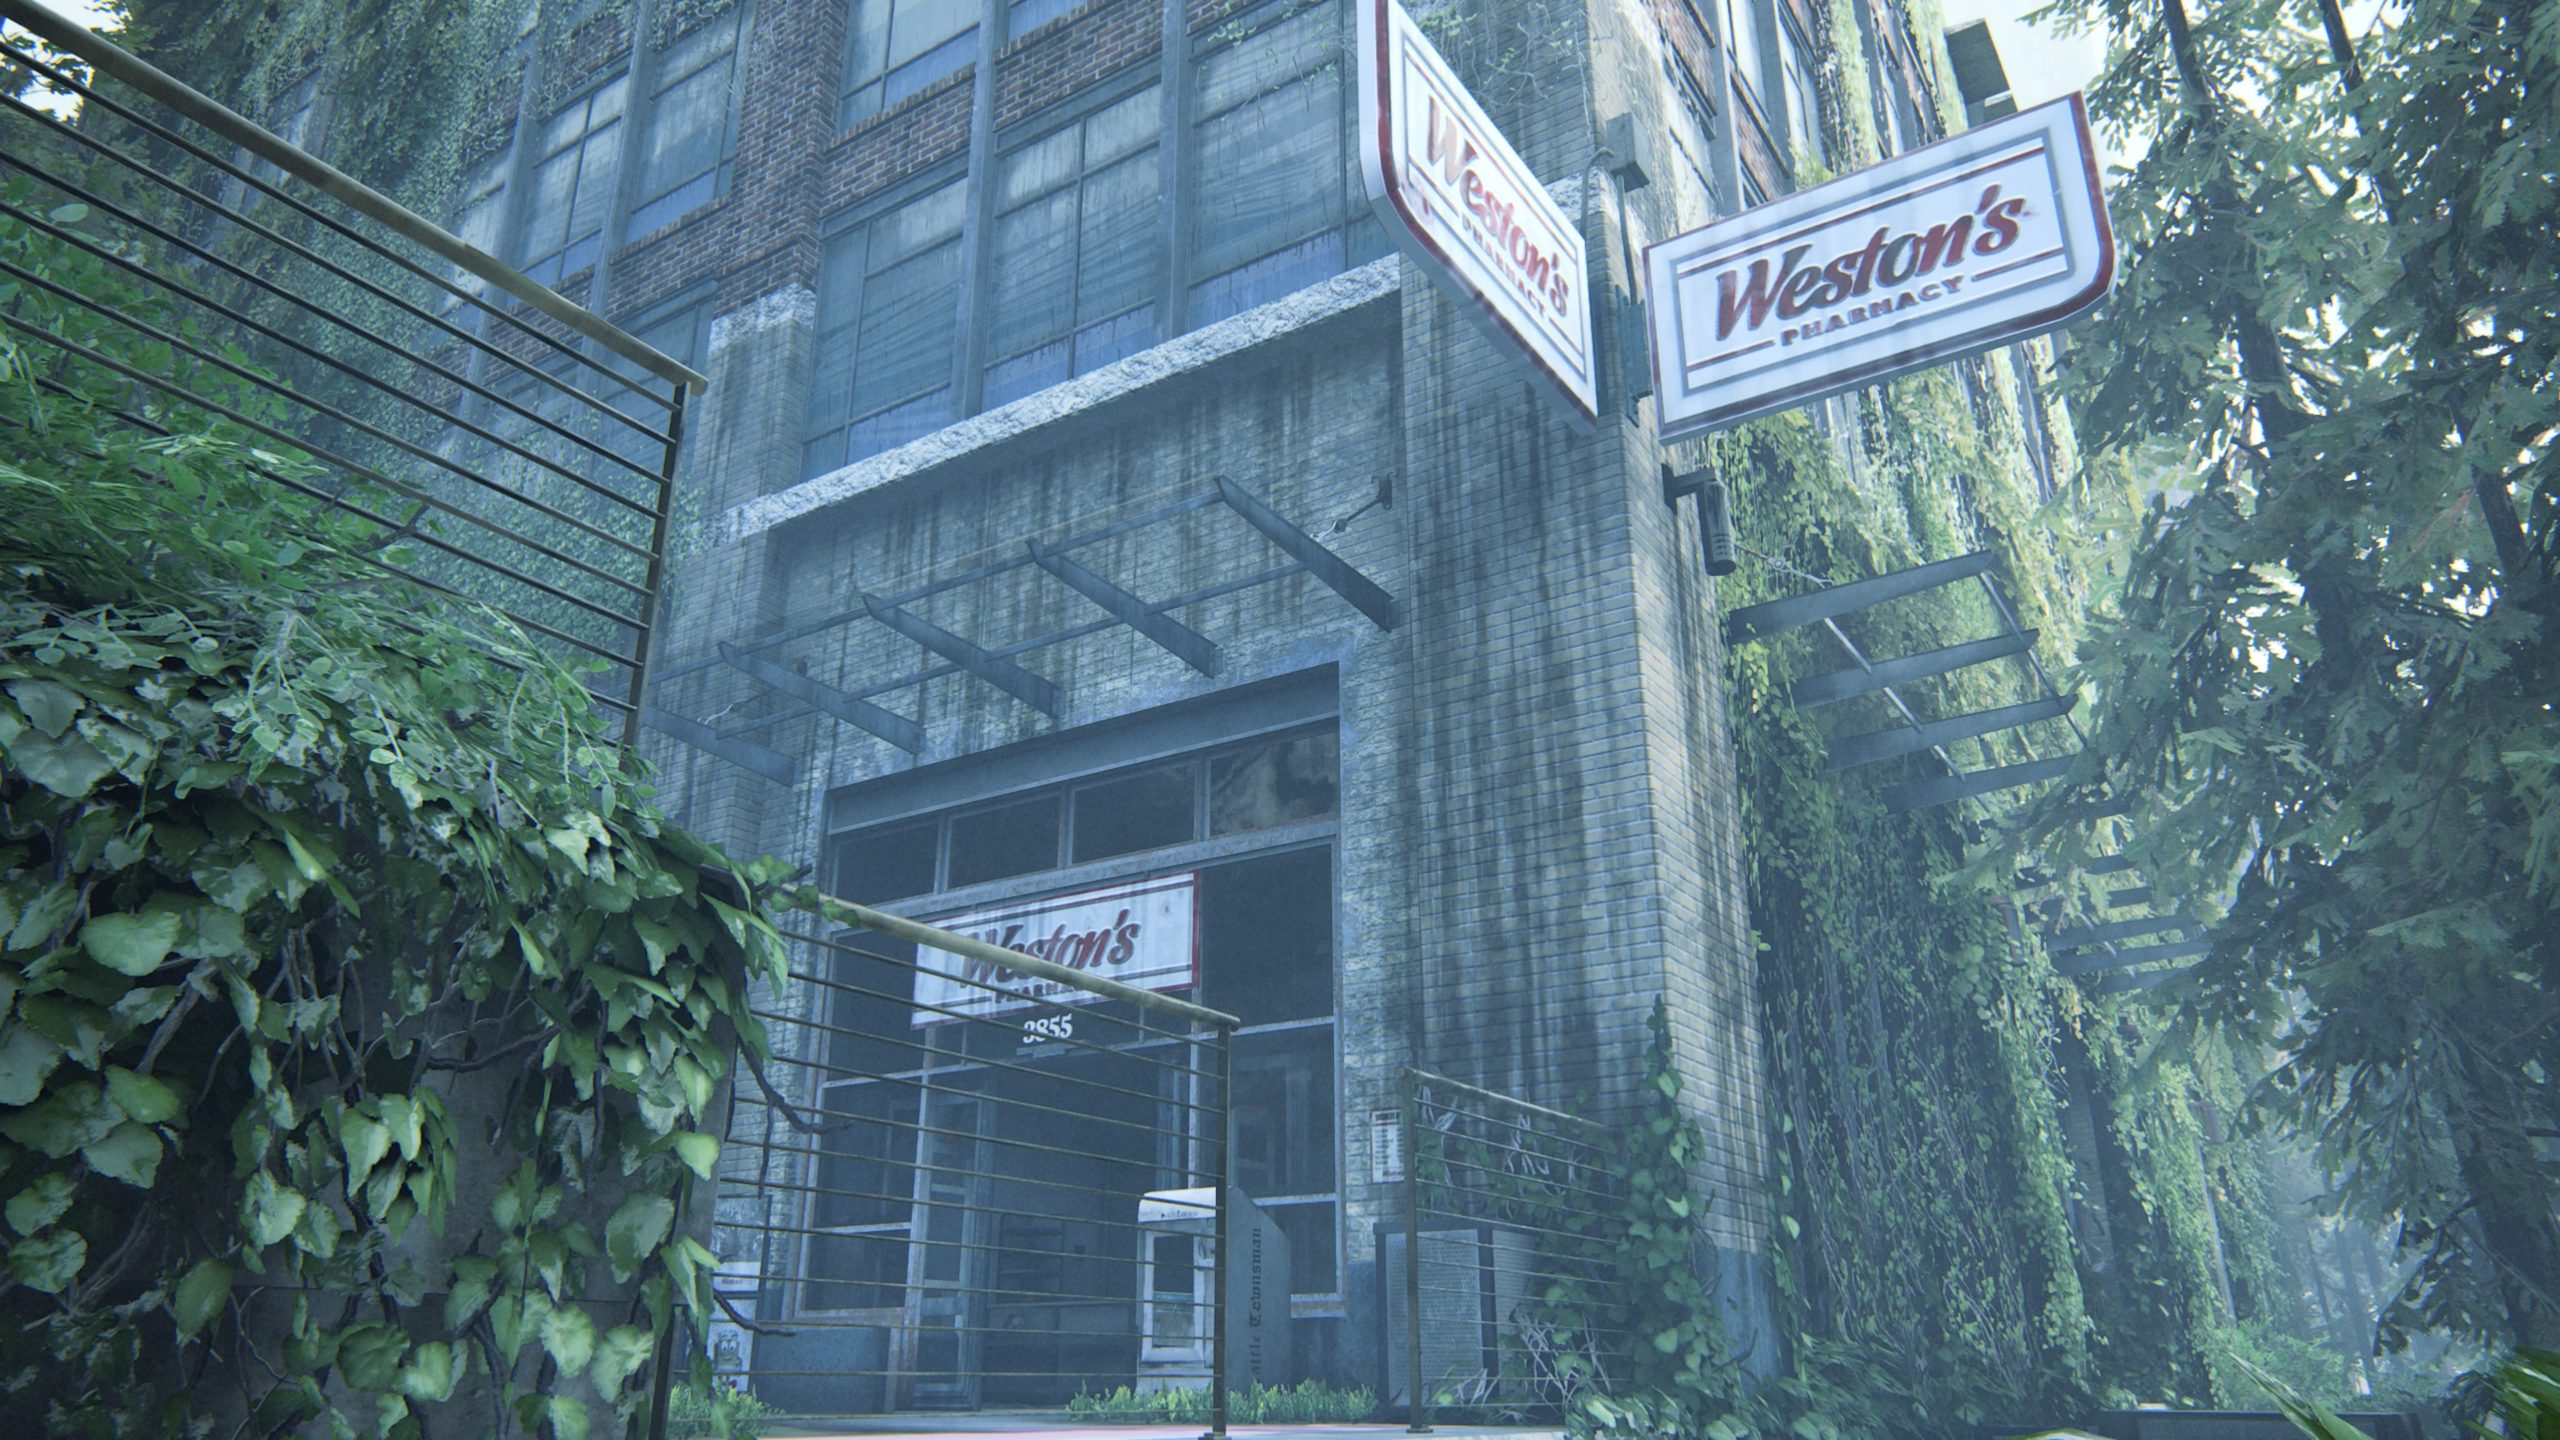
Weston’s Pharmacy

The safe can be found in Weston’s Pharmacy. To reach it, you will need to crawl through a hole in the wall in the middle of the store. The safe code is 38-55-23, which can be obtained from the artifact.


The Flooded City

Building

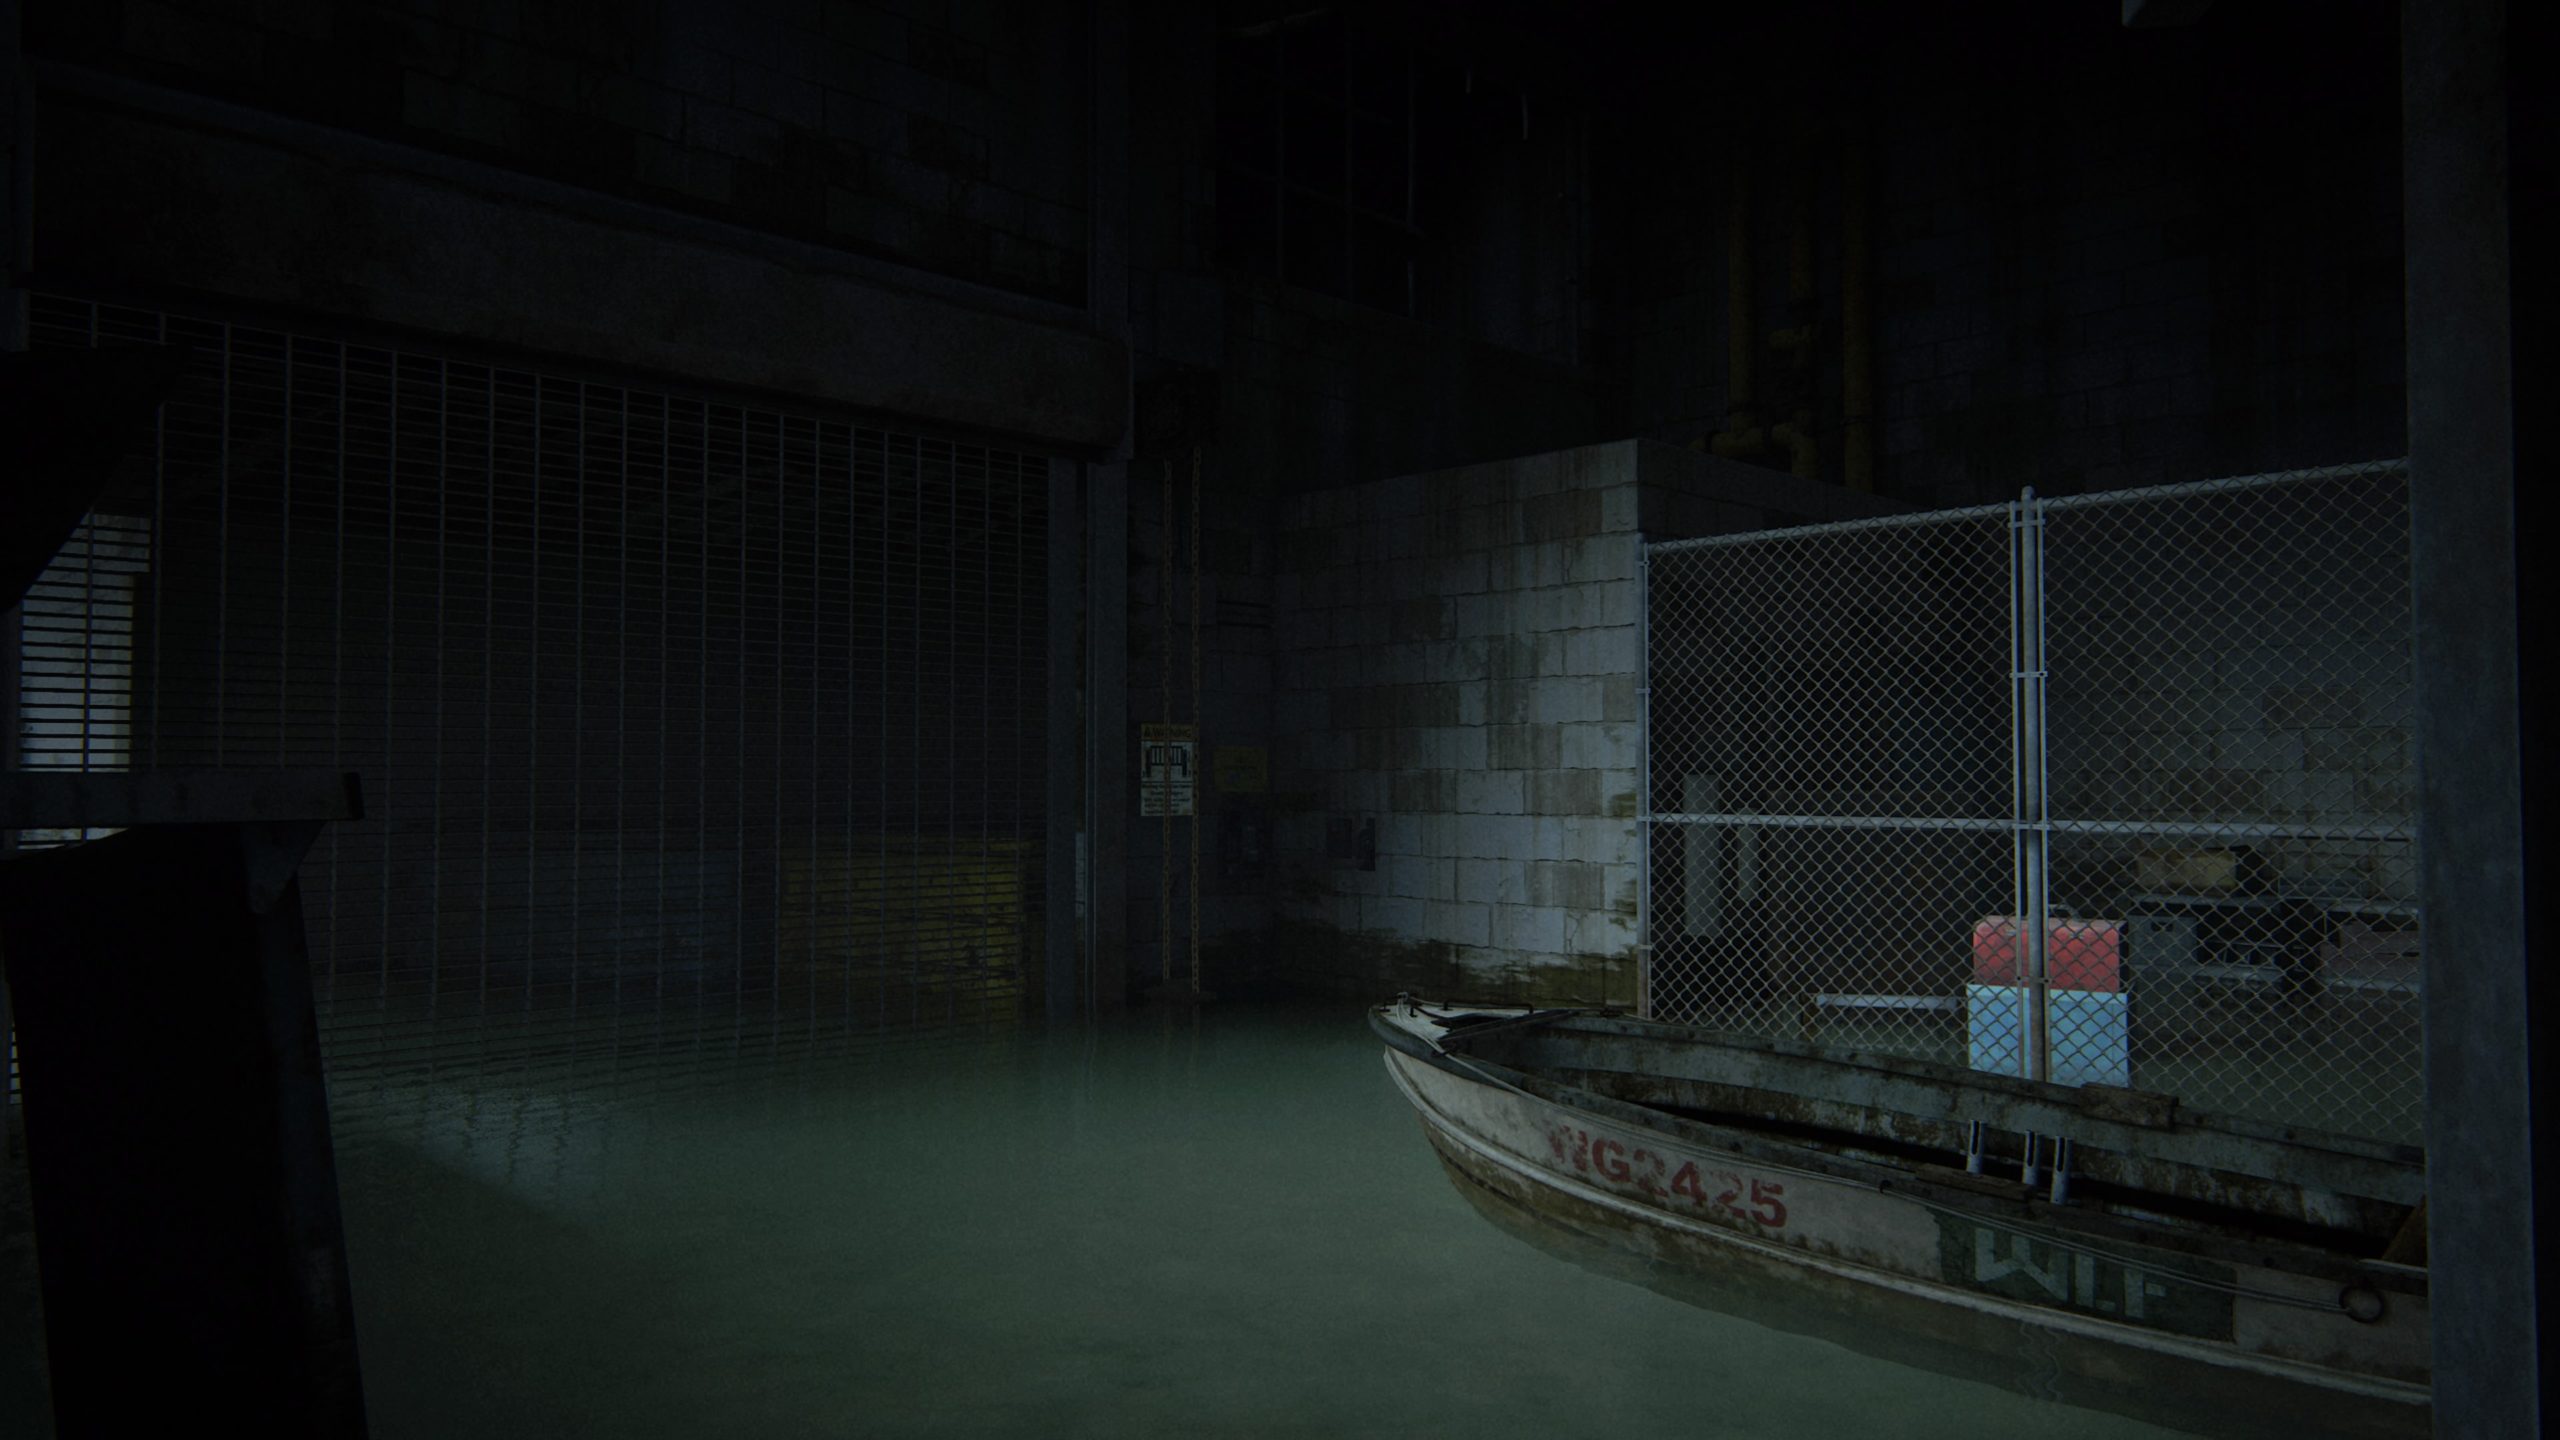
The safe can be found in the locked cage to the right of where you parked the boat to use the chain to open the gate as part of the story. To reach this room, head up the stairs on the left side of the room then pull the cart out of the way to reveal a hole. Crawl under the debris then jump through the open window. Hop down to get inside the cage. The safe code is 70-12-64, which can be found on the Stash Note artifact.


On Foot

Building

The safe is located in the building across from the rusty construction trailer. To reach the safe, you will need to enter the crack in the wall. The safe combo is 17-38-07, which can be found on a lottery ticket on the bulletin board in the trailer.


Hostile Territory

Jasmine Bakery

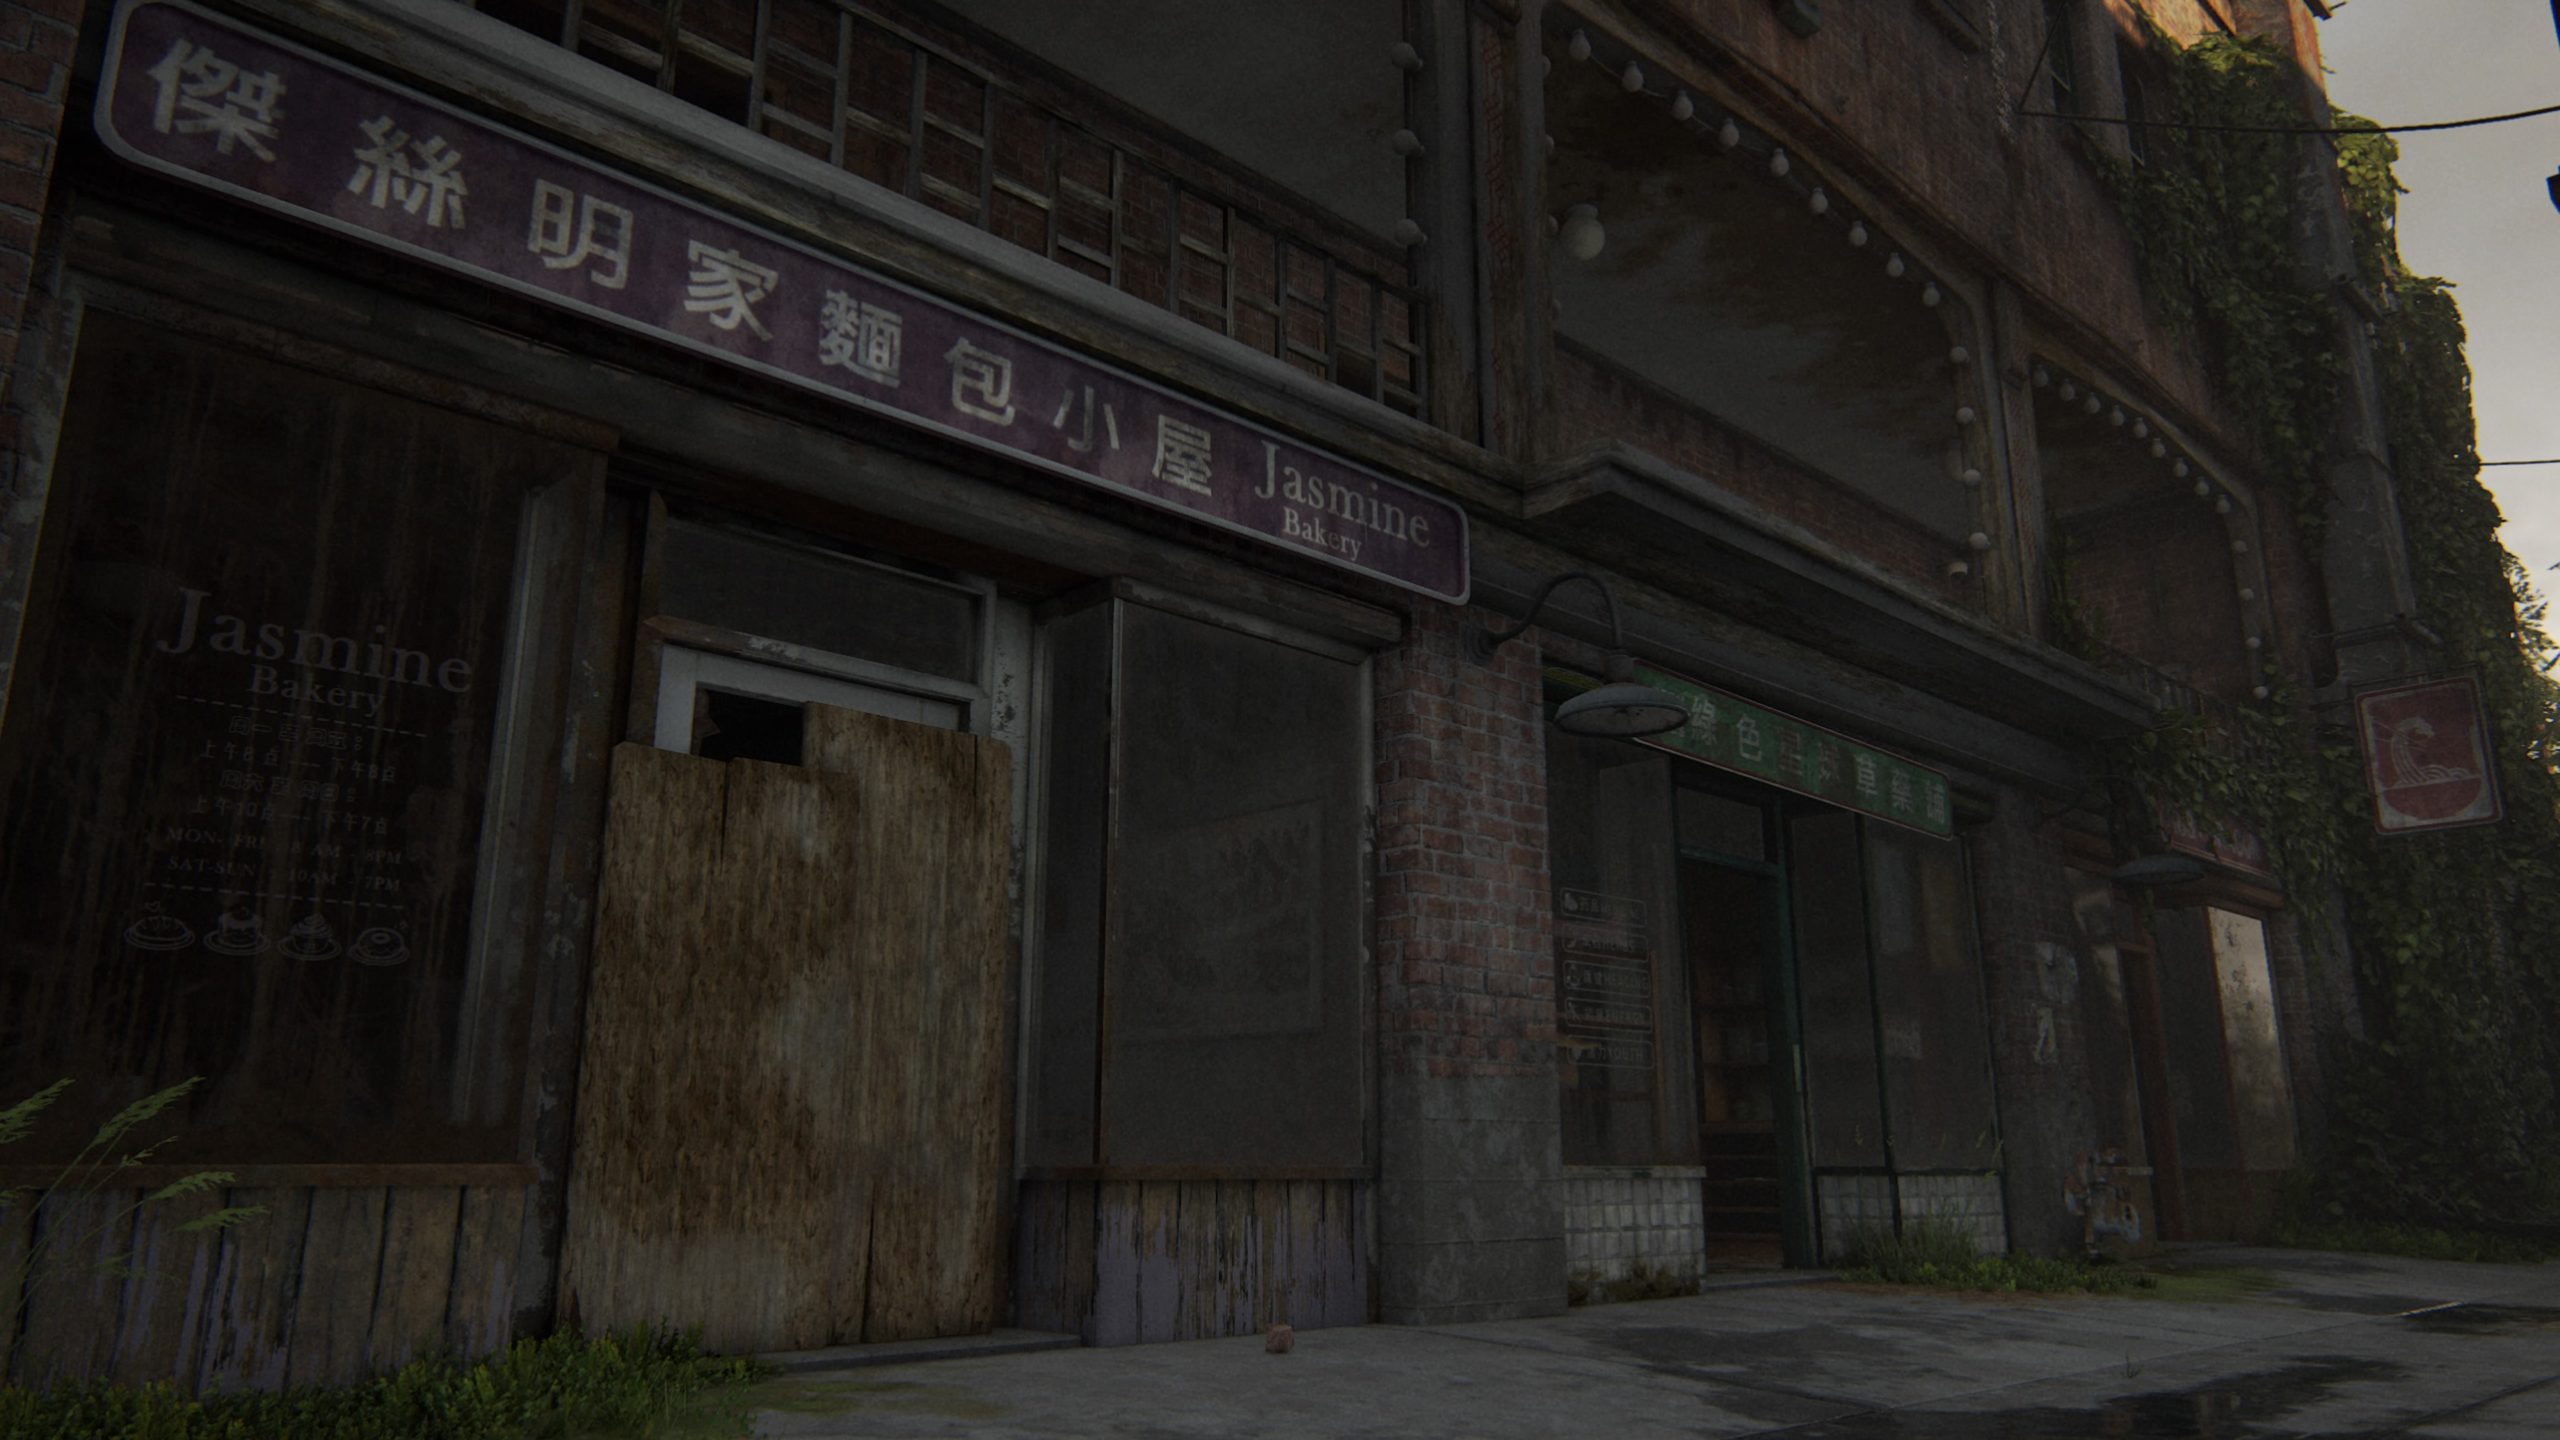
The safe can be found in Jasmine Bakery. To get inside, break the window then head behind the counter to find the safe. The safe code is 68-96-89.


The Coast

WTA Ship

The safe can be found in the helm of the ship, which is at the very top of the ship. The safe code is 90-77-01, which can be obtained from reading the Mutiny Note artifact.


The Shortcut

Apartment Building

After Abby sees the tall building with the sky bridges again, you will need to jump from the road to a balcony of an apartment. The artifact can be found inside this apartment in the bedroom. The safe code is 30-23-04, which can be found using the Neighbor Exchange artifact.


The Descent

Hotel Blacray

The safe is located in the green door across from the gym. The safe code is 12-18-79, which can be found on the free WIFI sign on the wall in the gym.


The Last of Us Part 2
Game Guides

The Last of Us Part II Guides

by Chappie in


Below are guides and walkthroughs for The Last of Us Part II.


Collectibles


Chapter Guides for All Collectibles