Below are the Echo Logs that can be found throughout the Bounty of Blood DLC in Borderlands 3!!
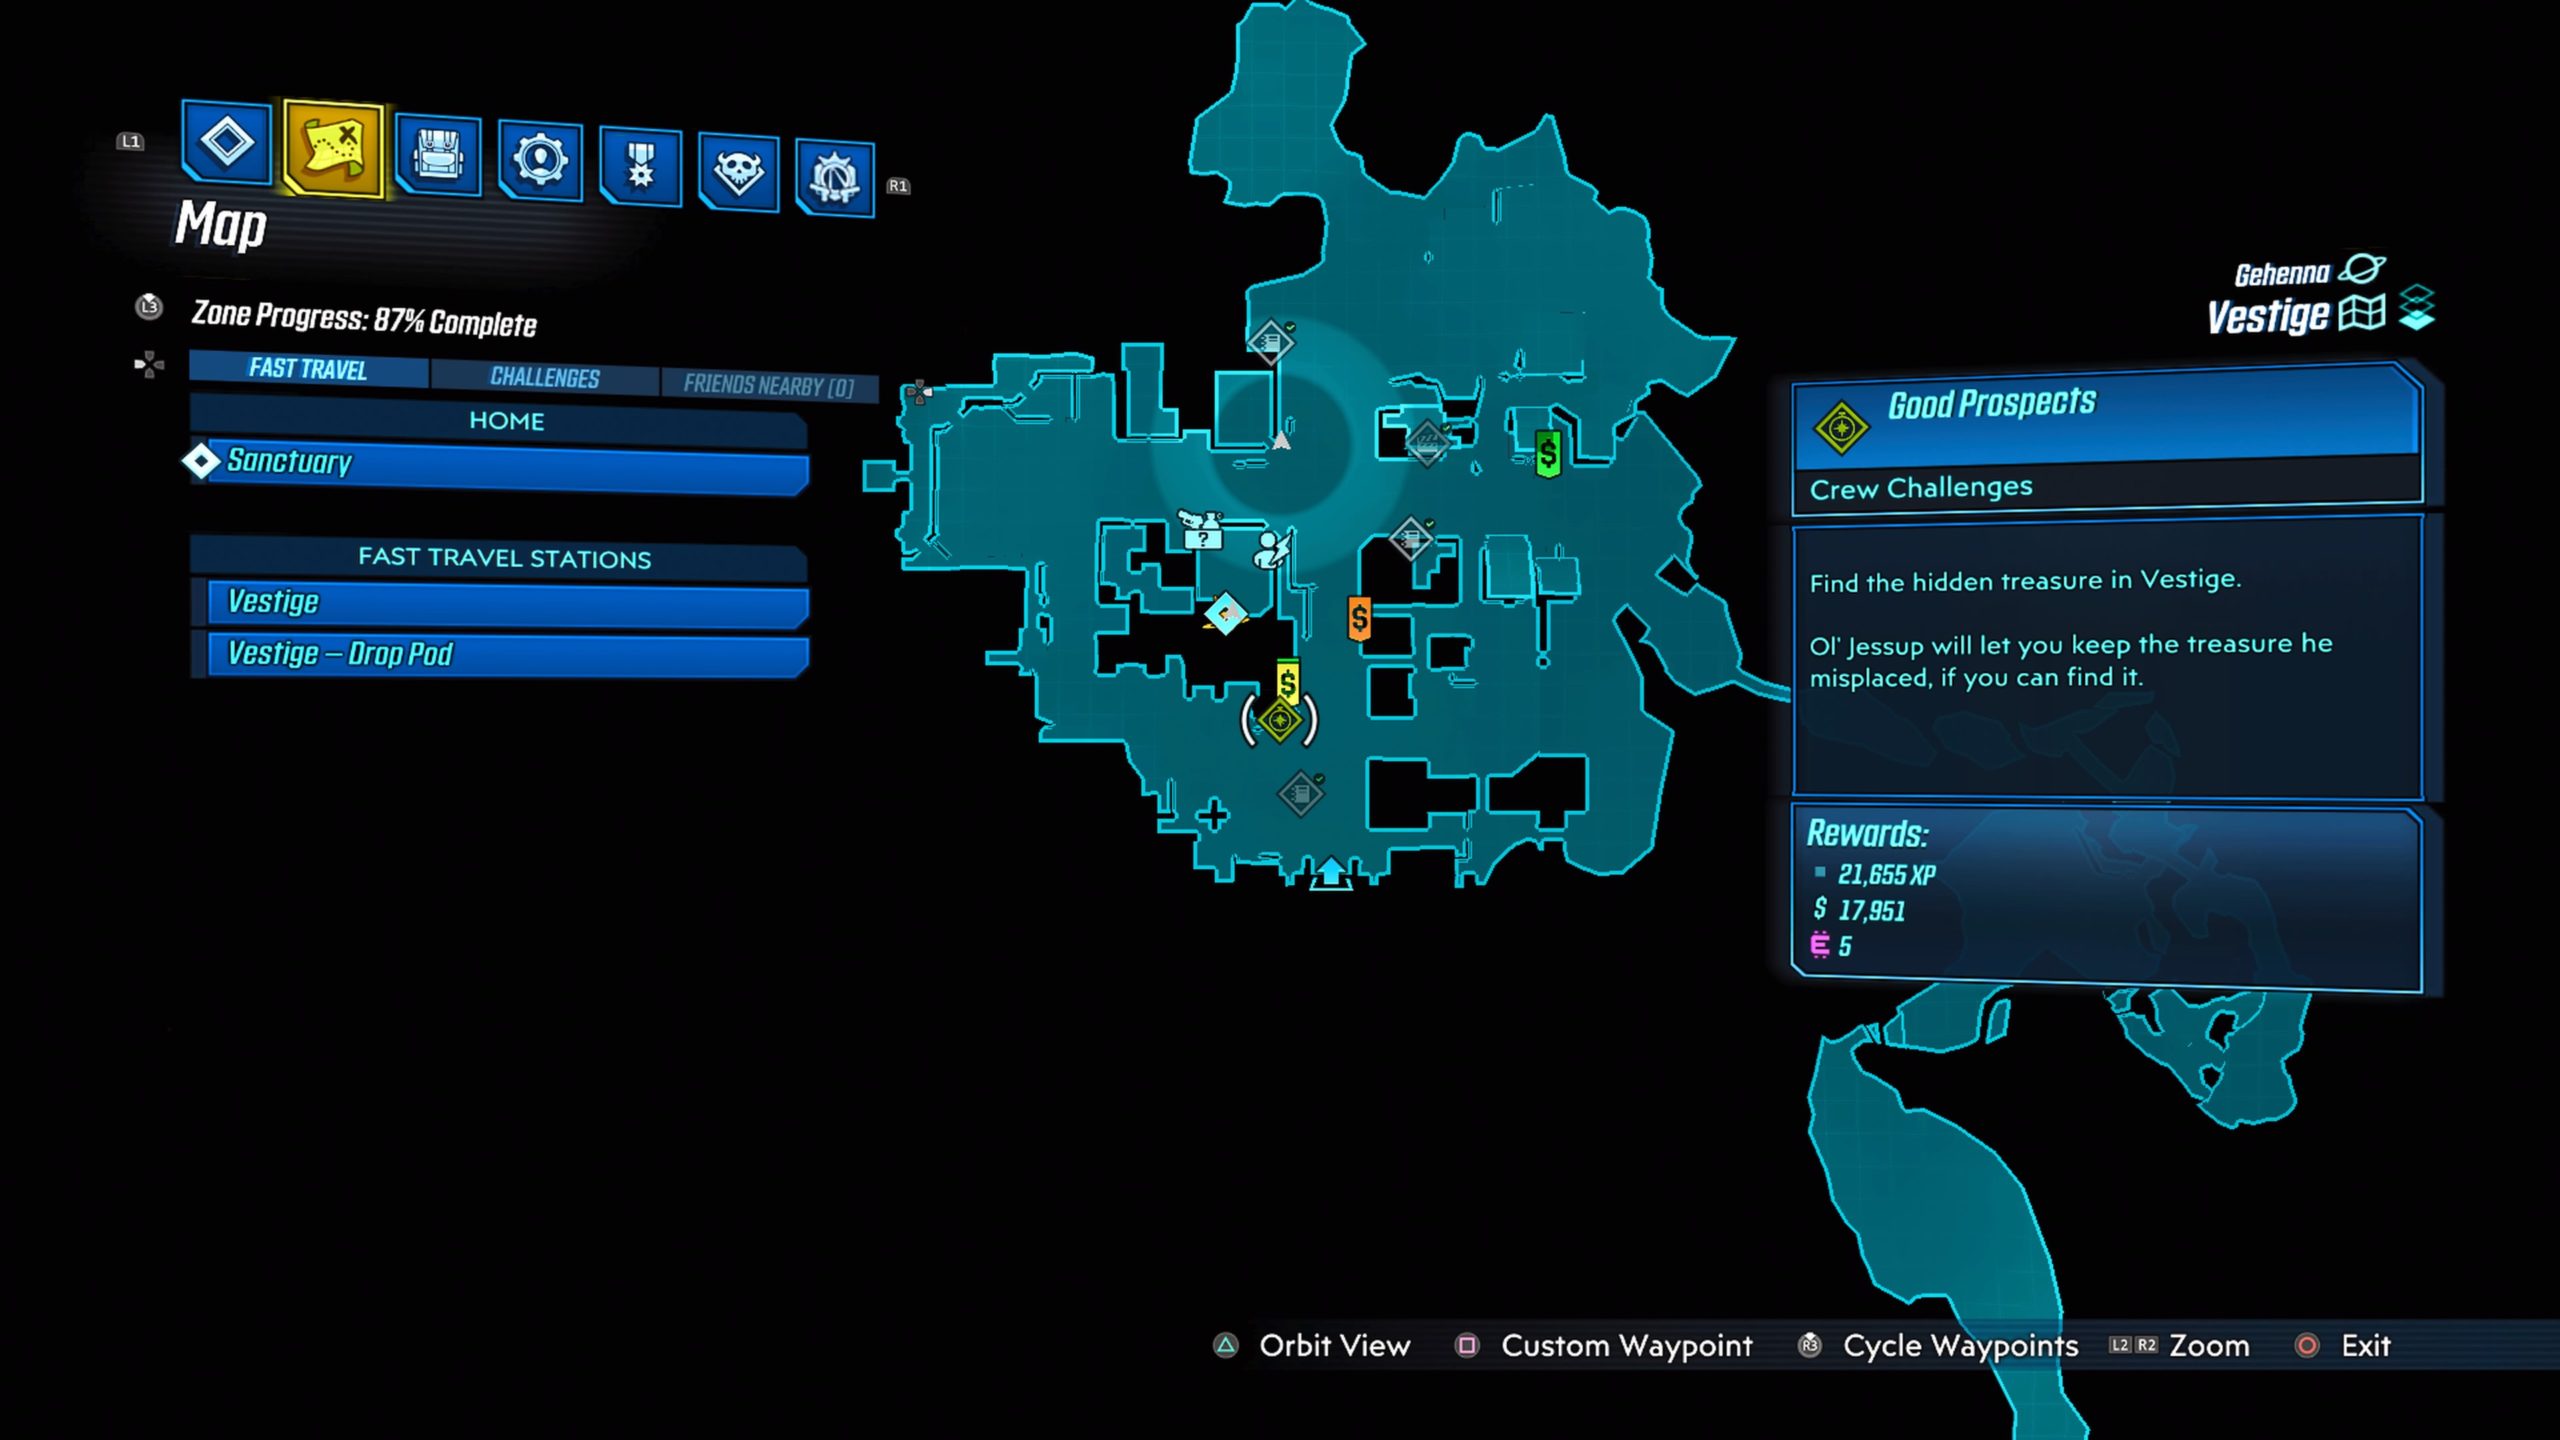
Vestige
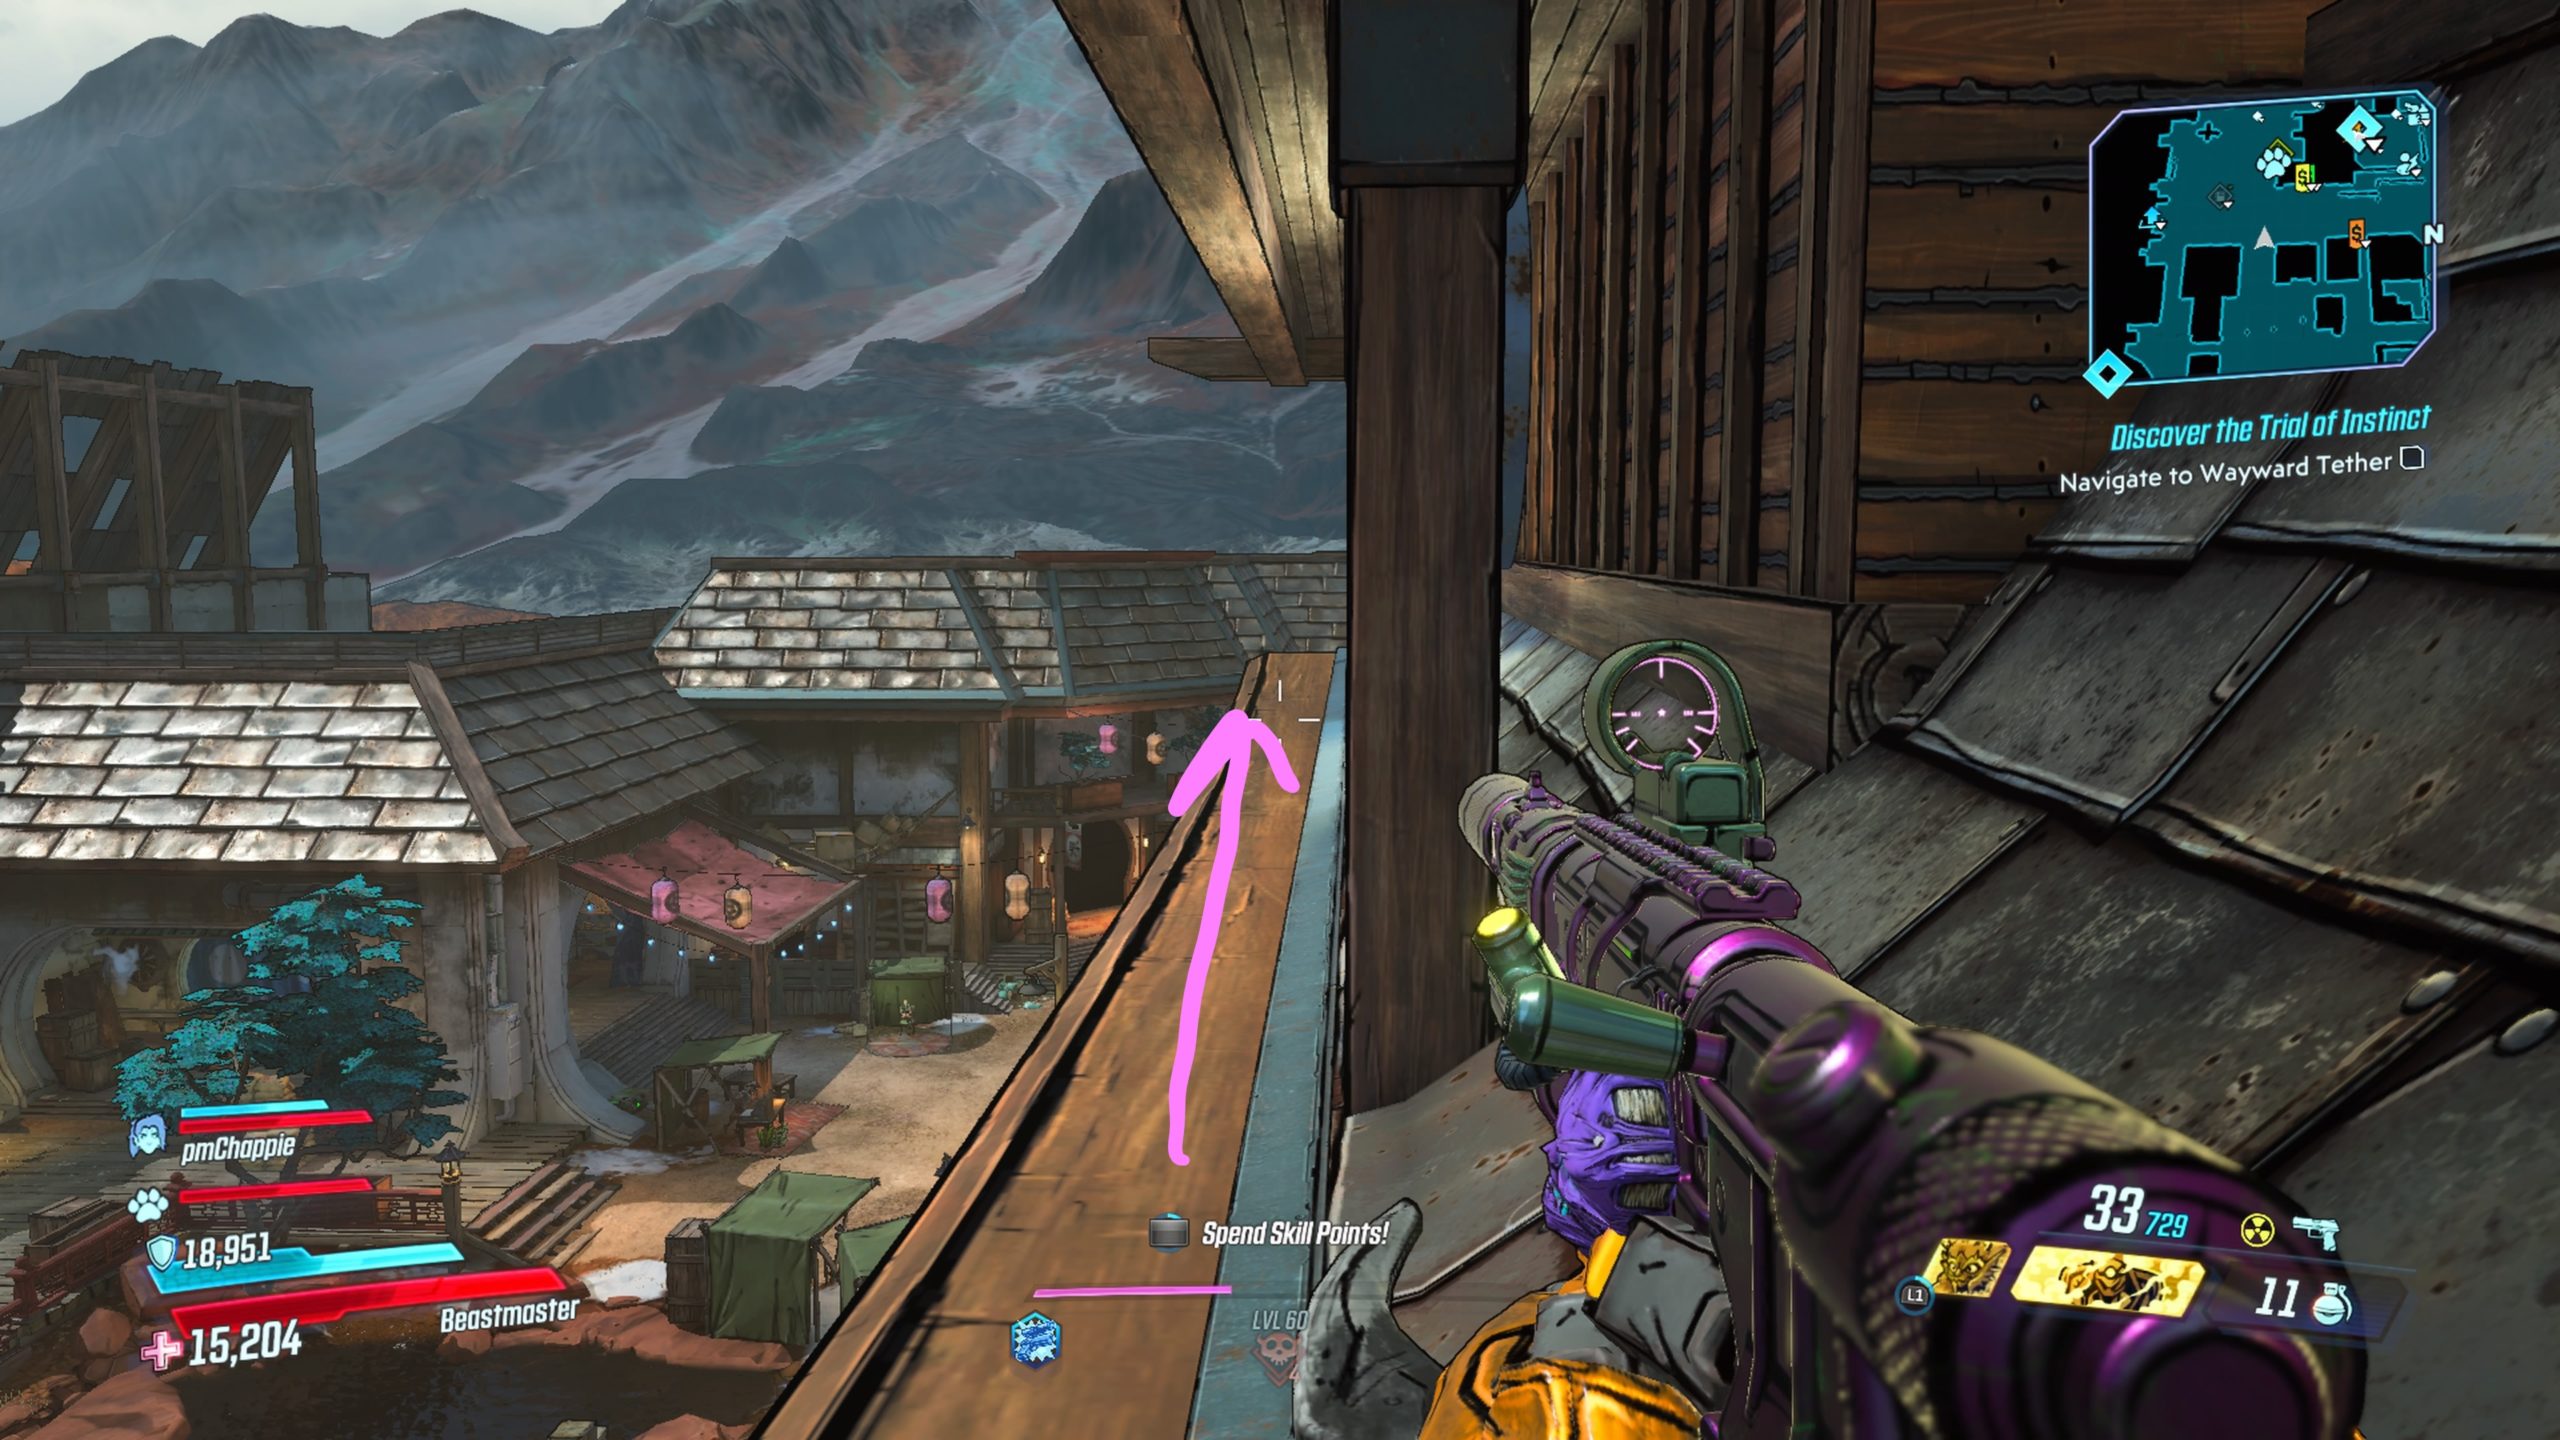
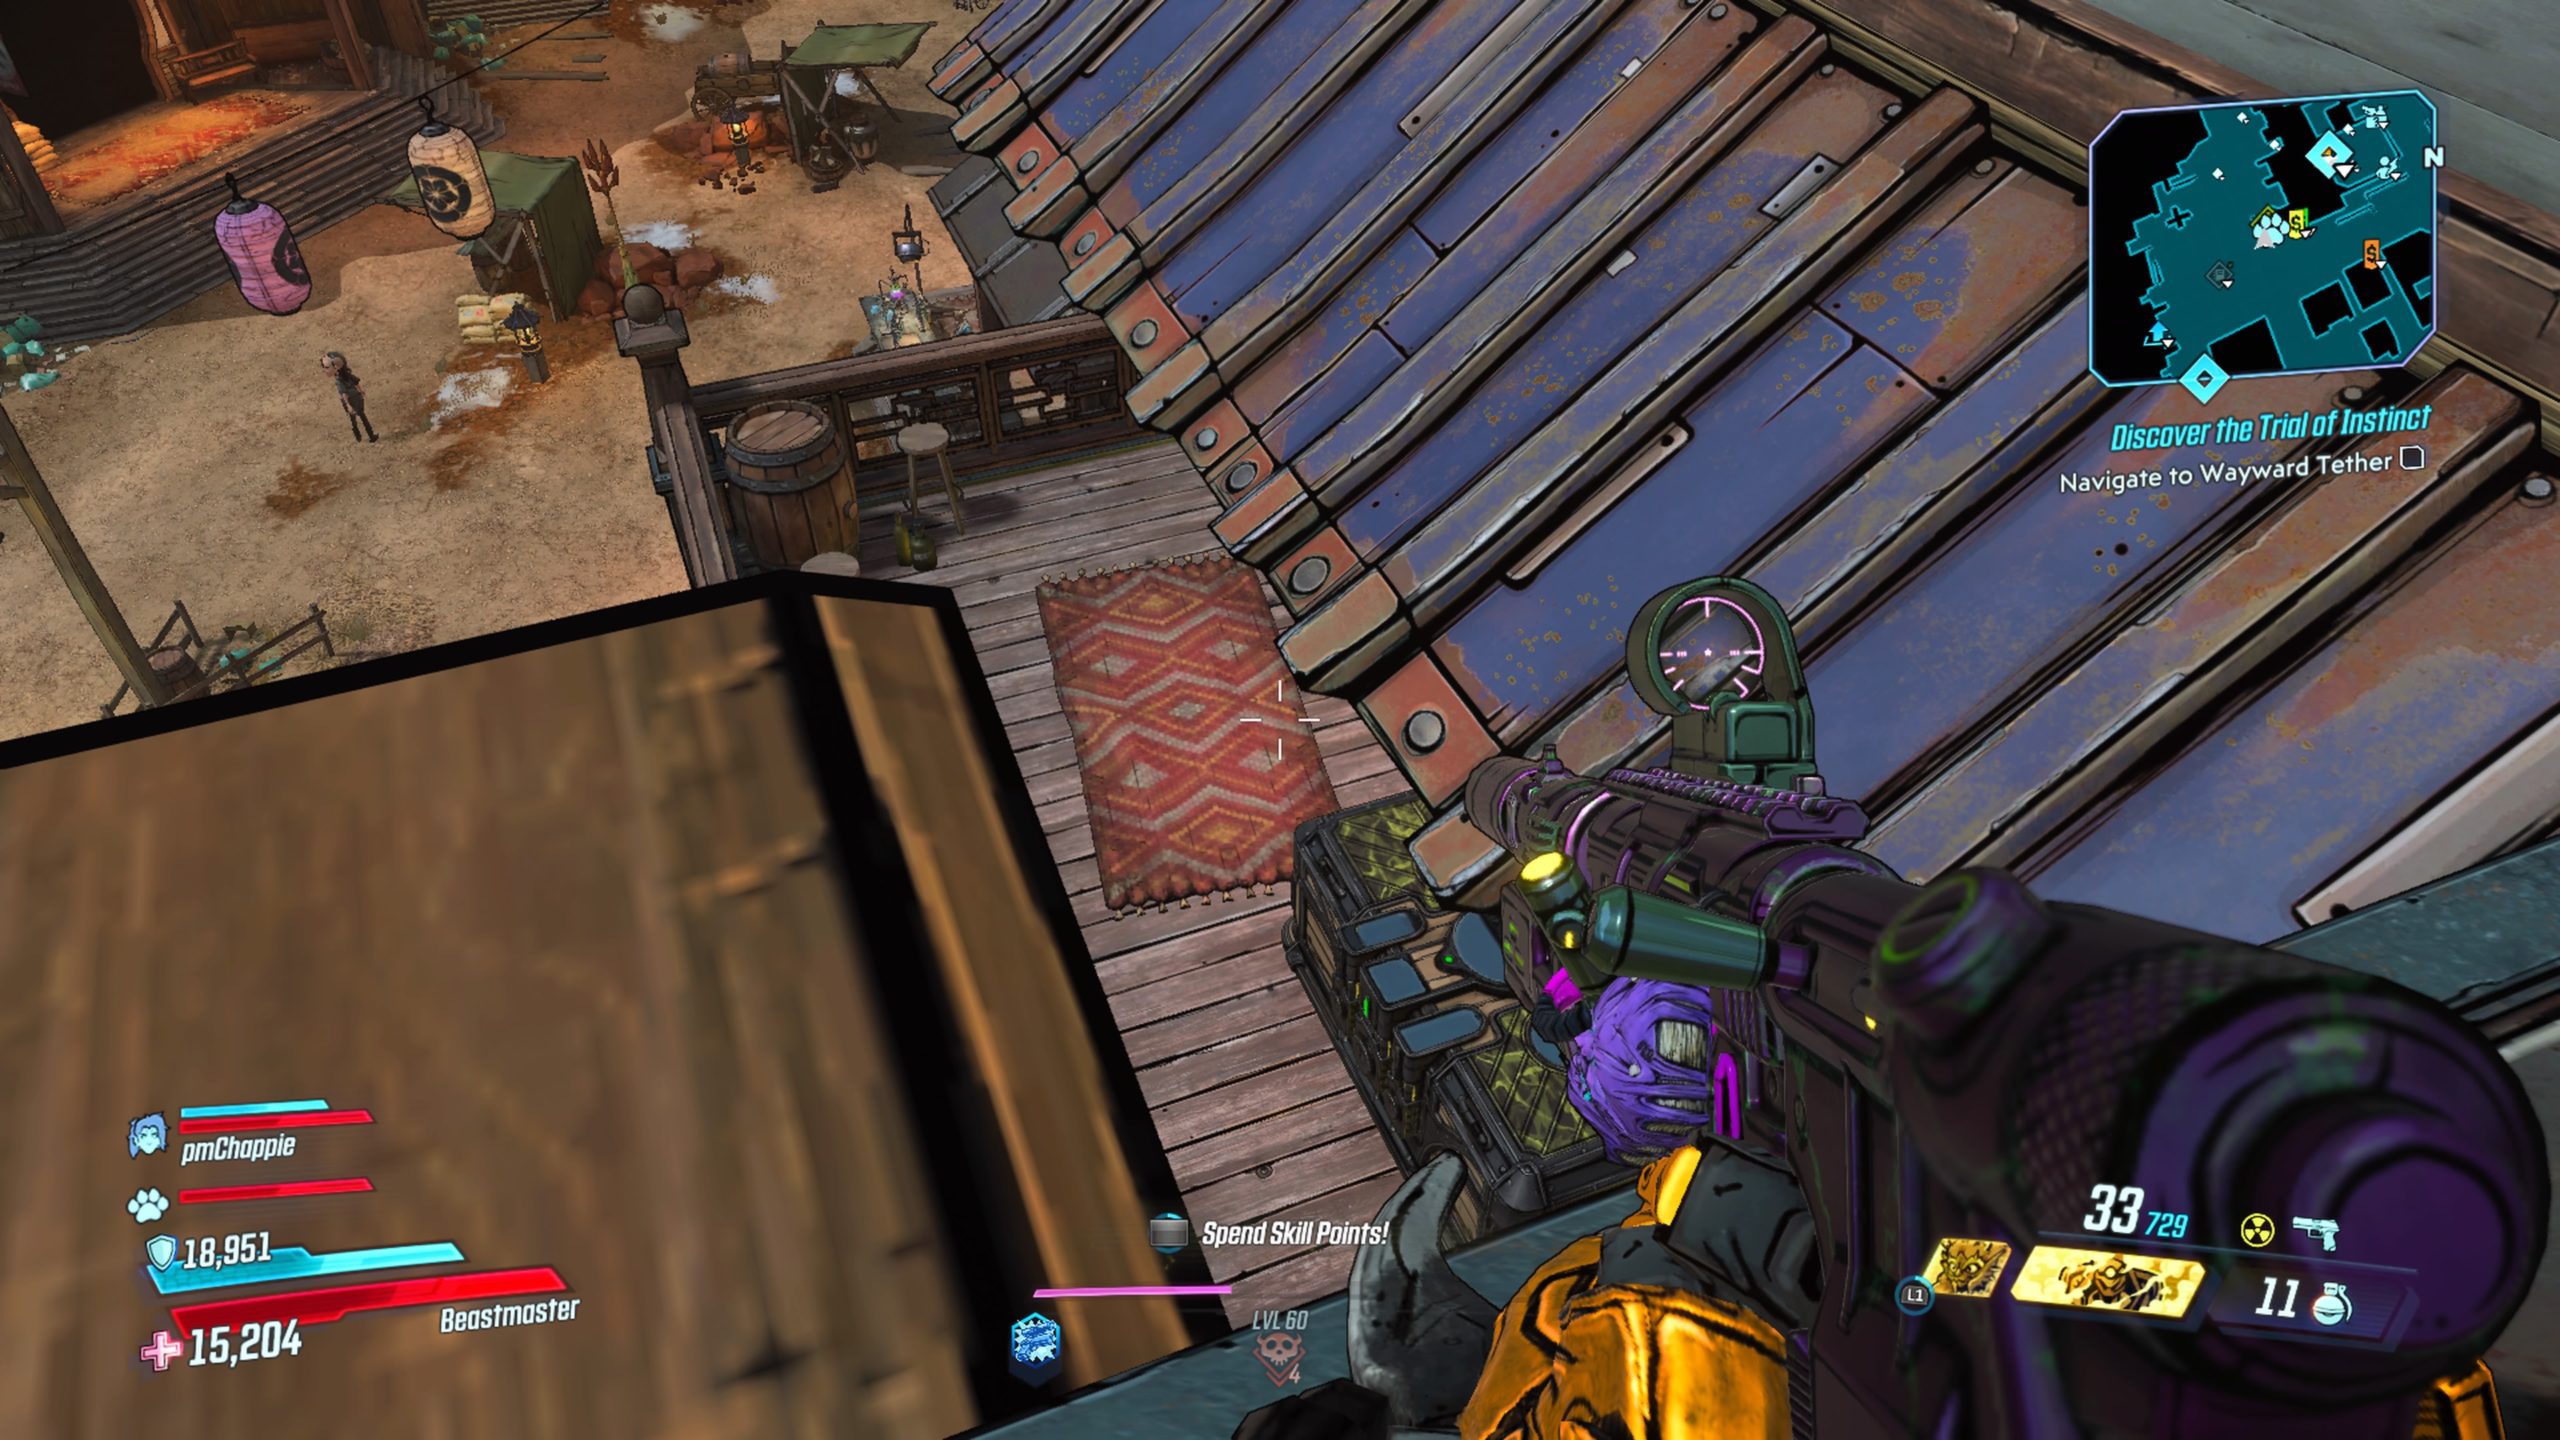
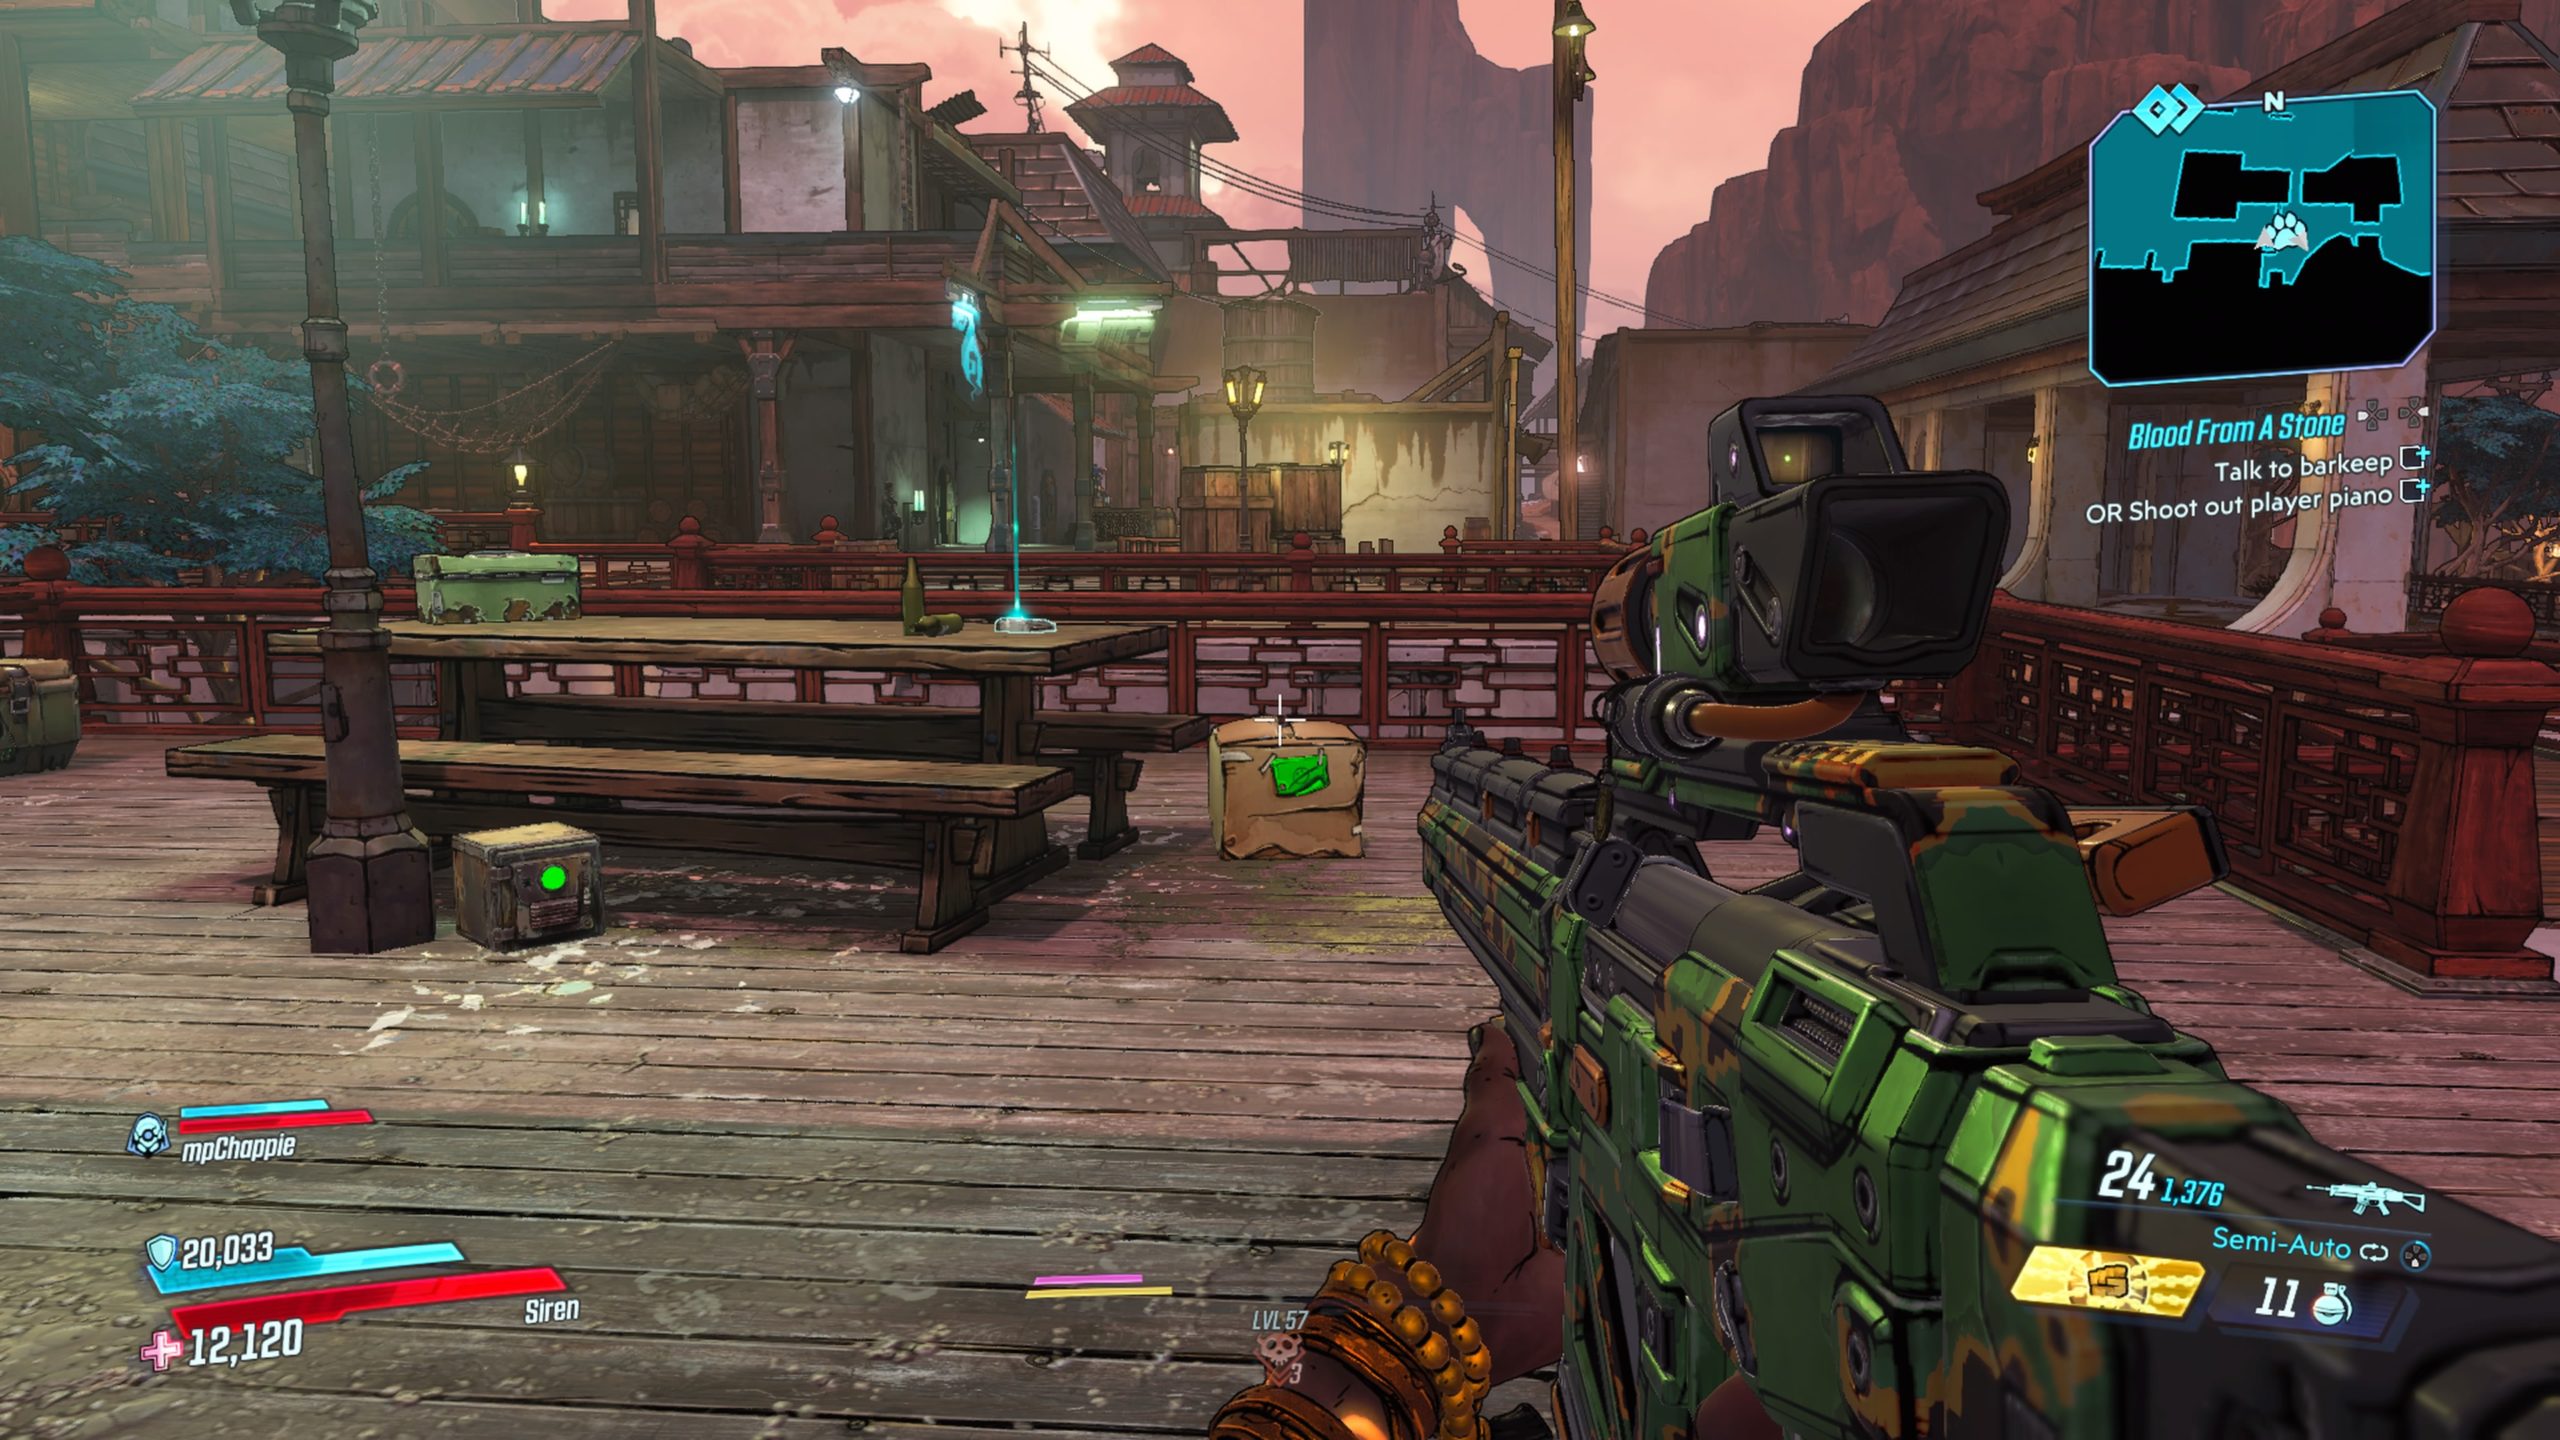
Pact with a Devil

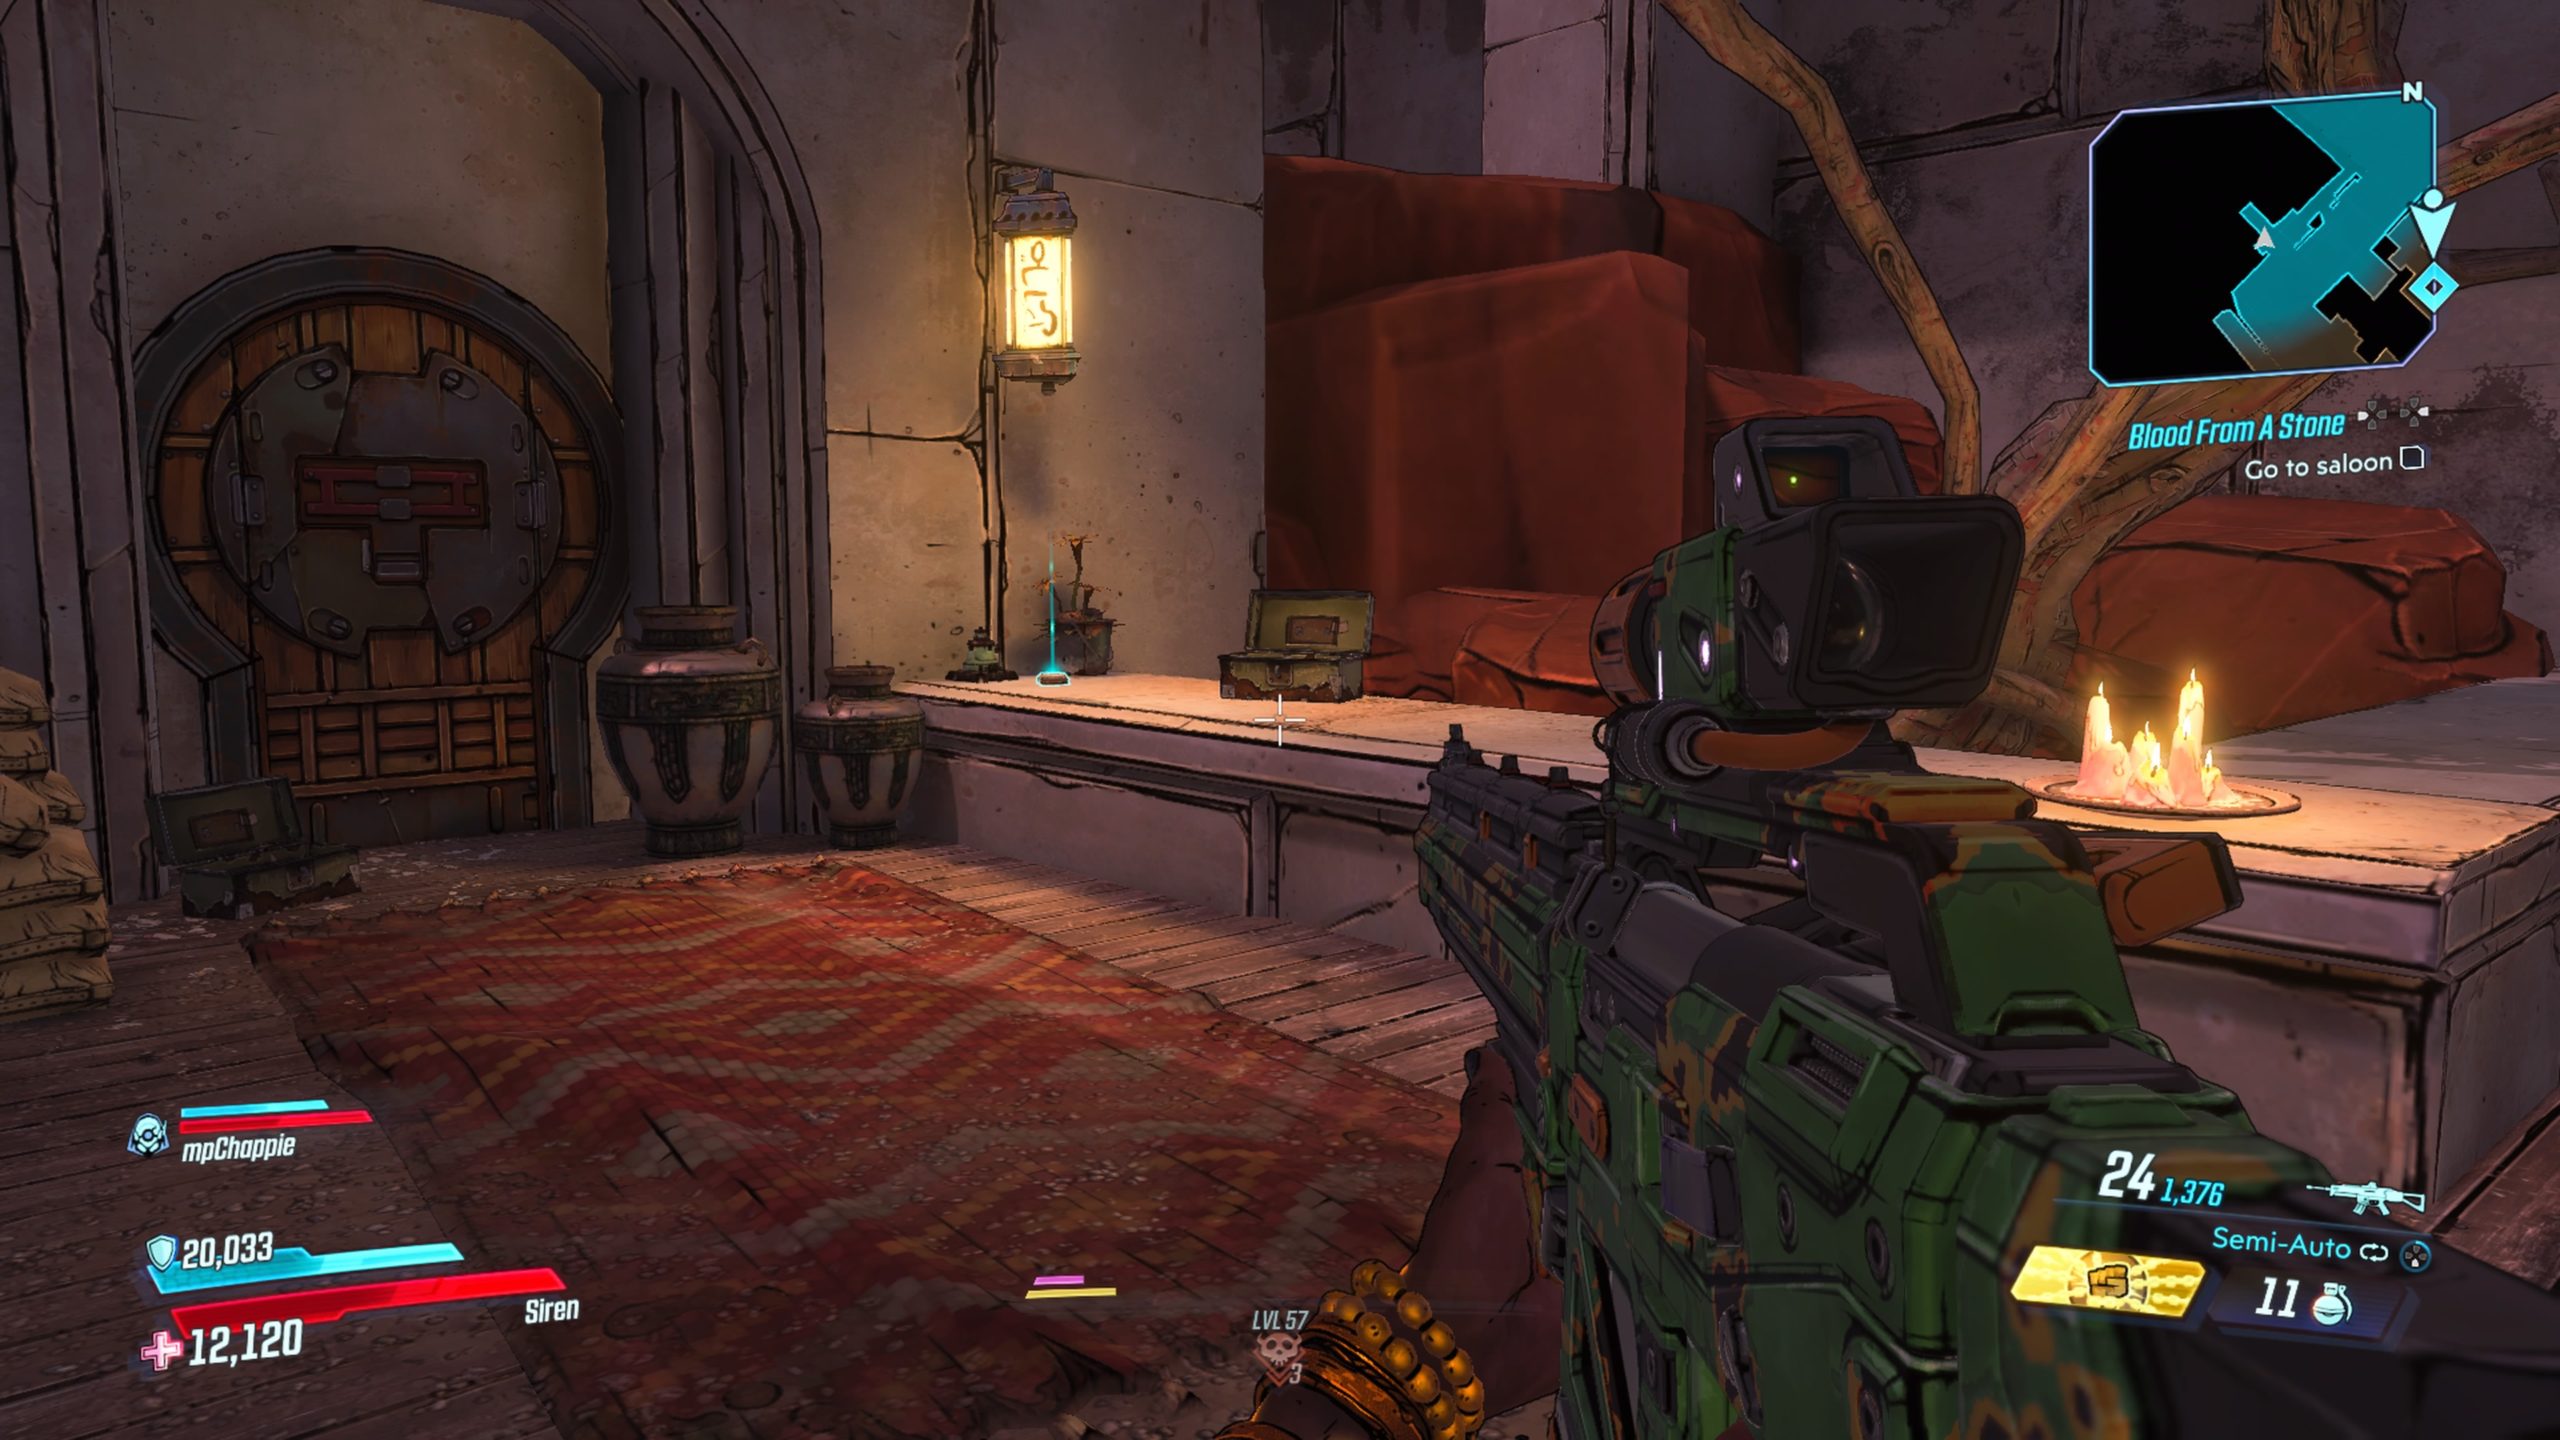
This can be found in the town of Vestigee. The Echo Log is located on a ledge near Gatherday Market.
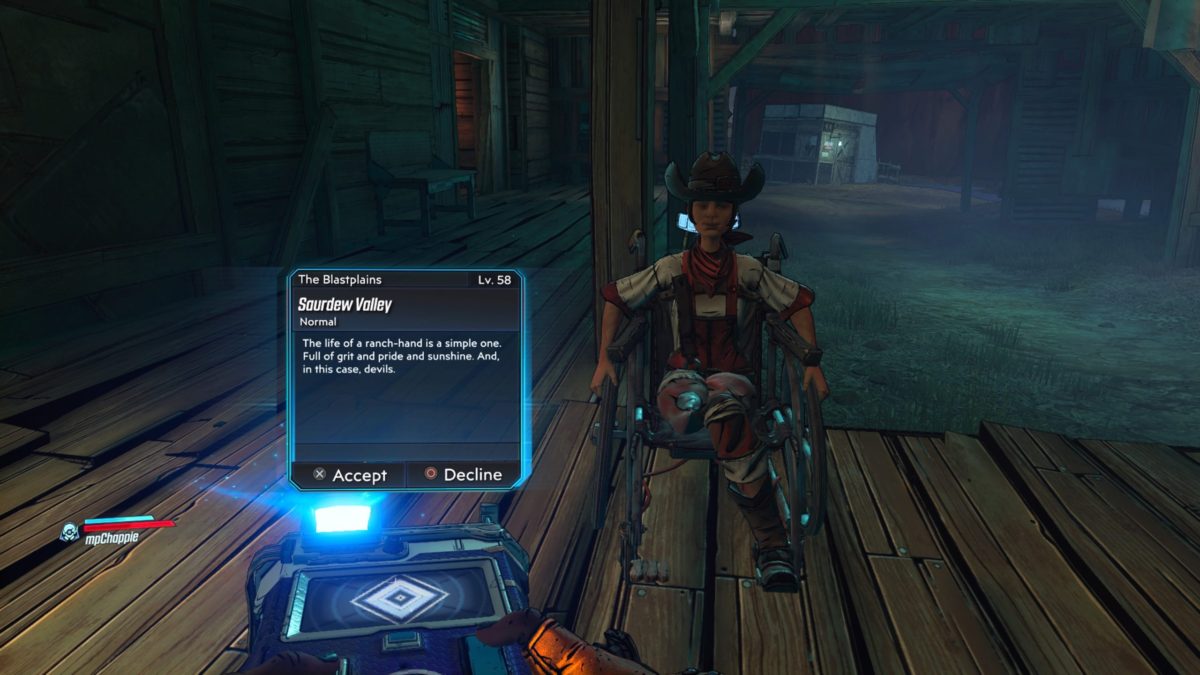
A Sheriff’s Protection
This is located on a picnic table on the south side of the map near the Blastplains map transition.
Bury the Hatchett
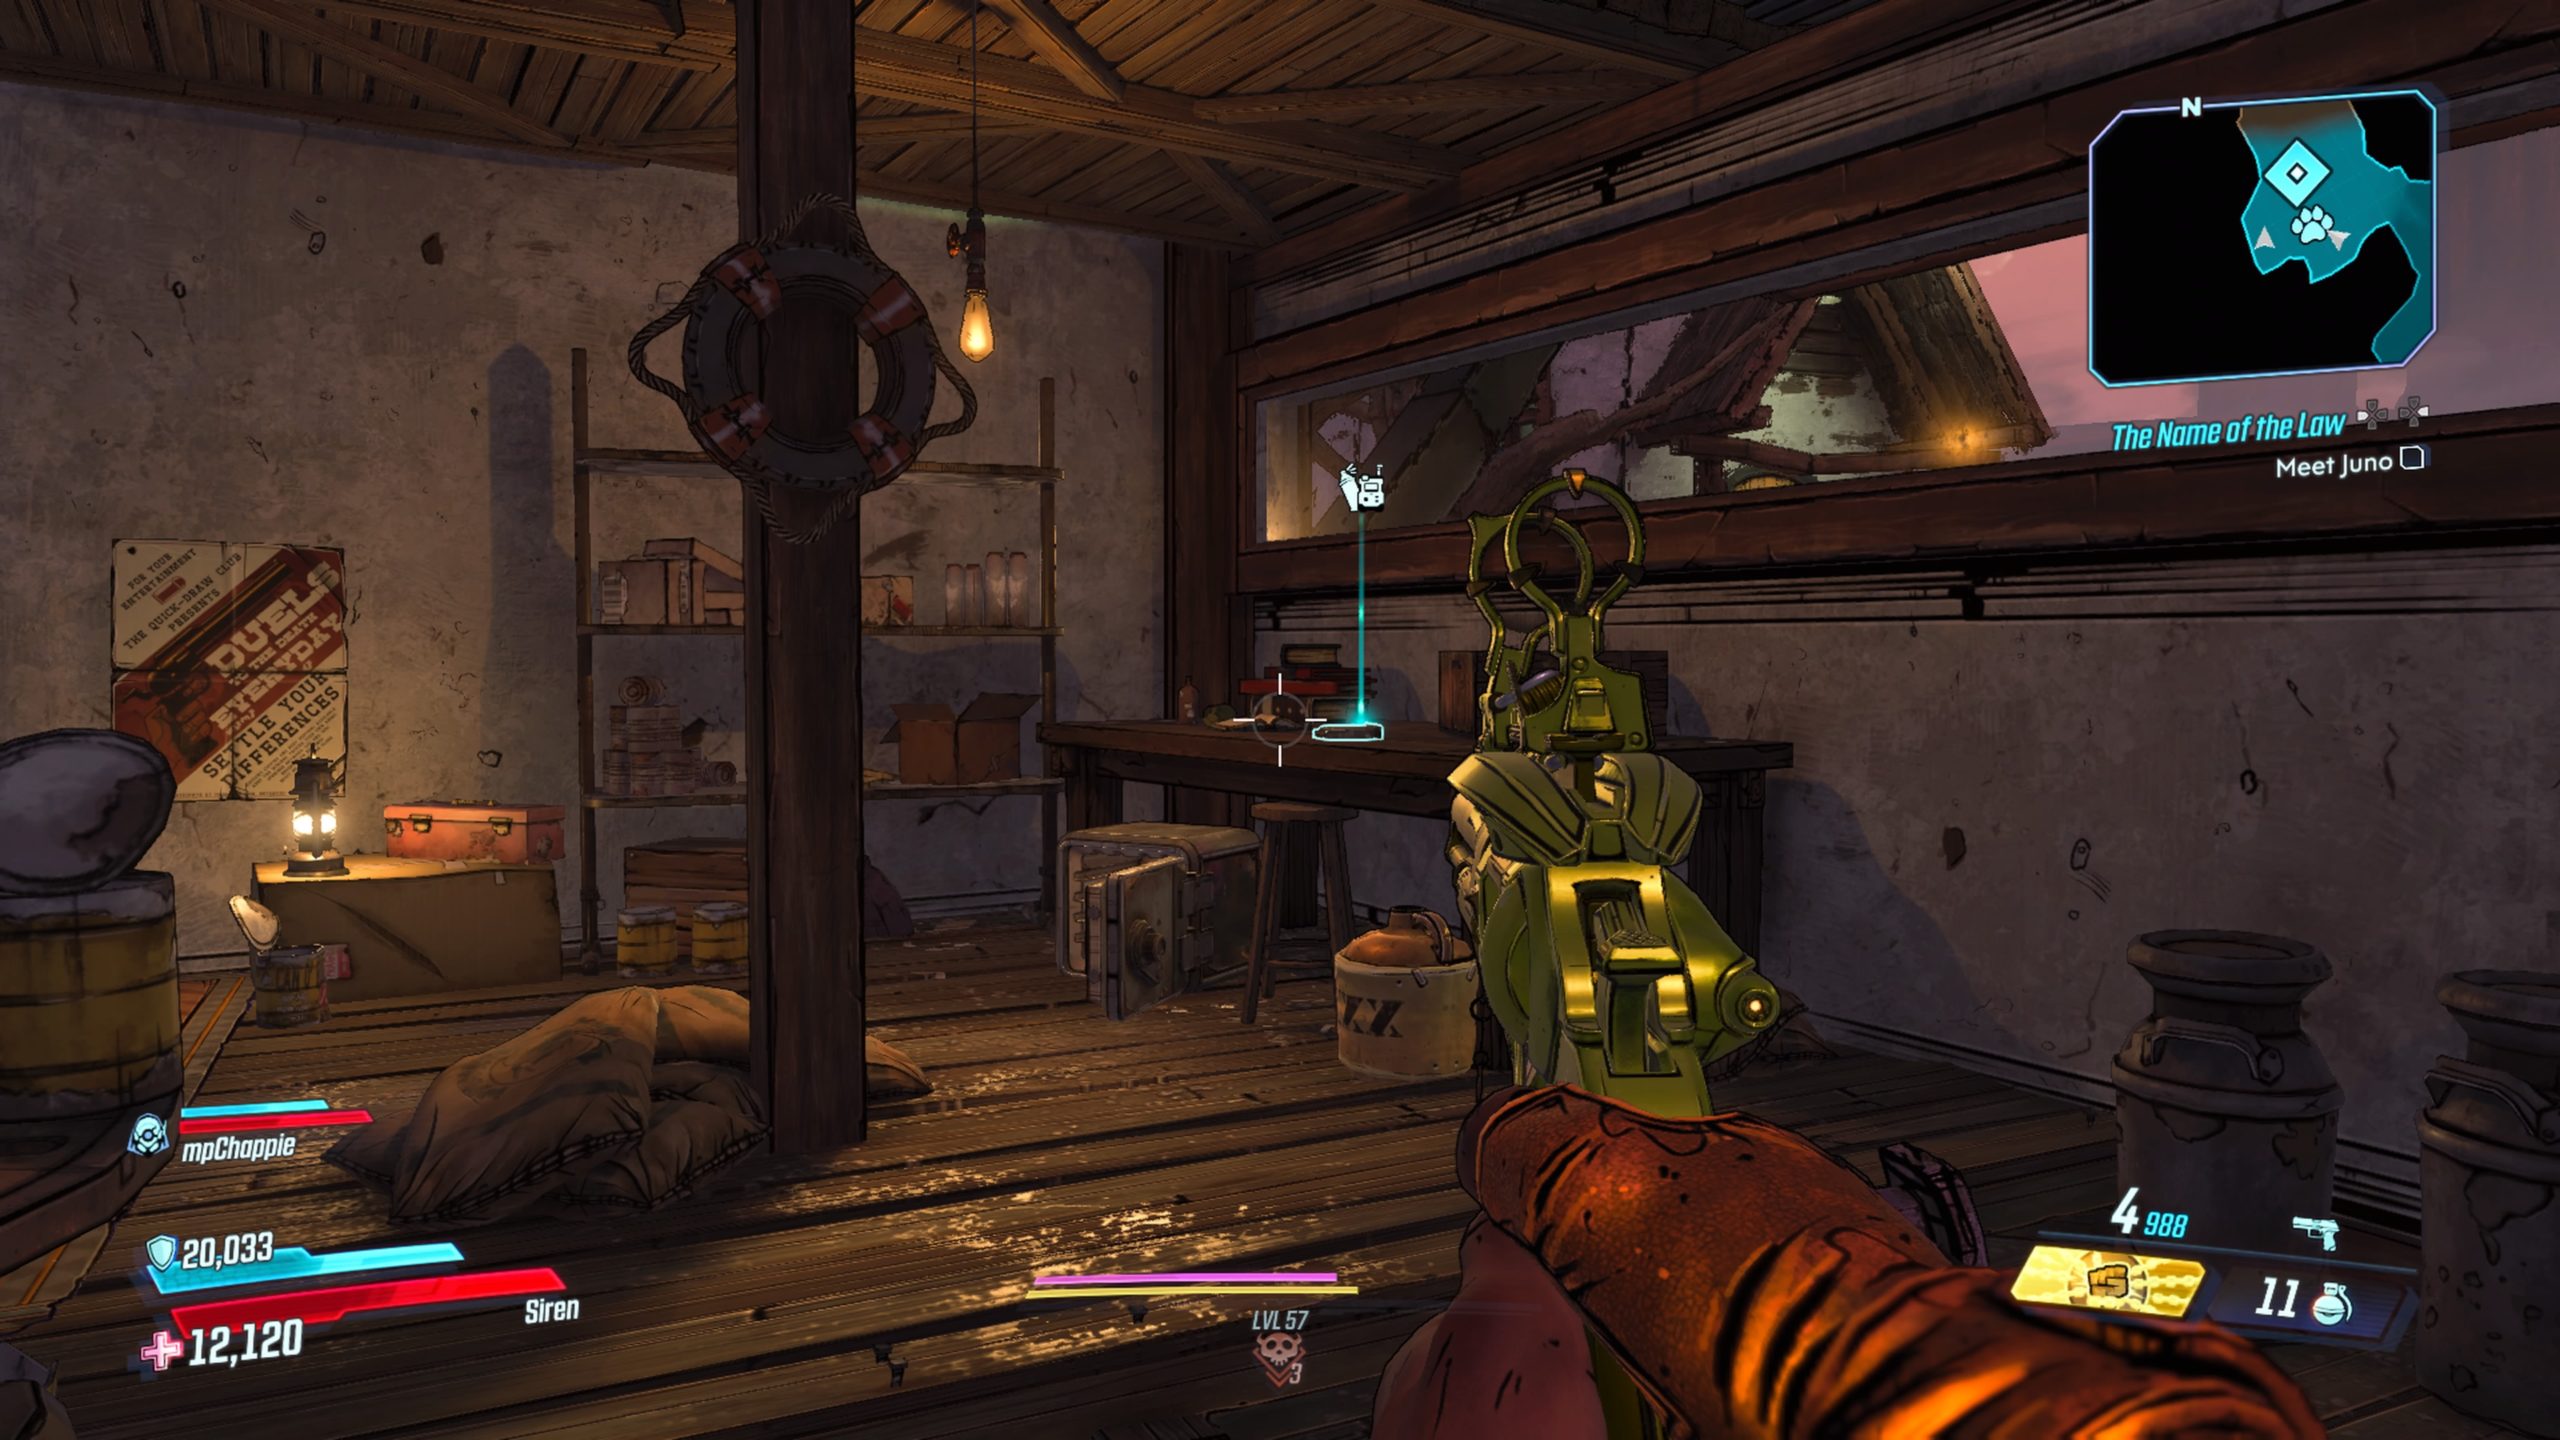
This log is located in Juno’s room in the northern part of Vestige.
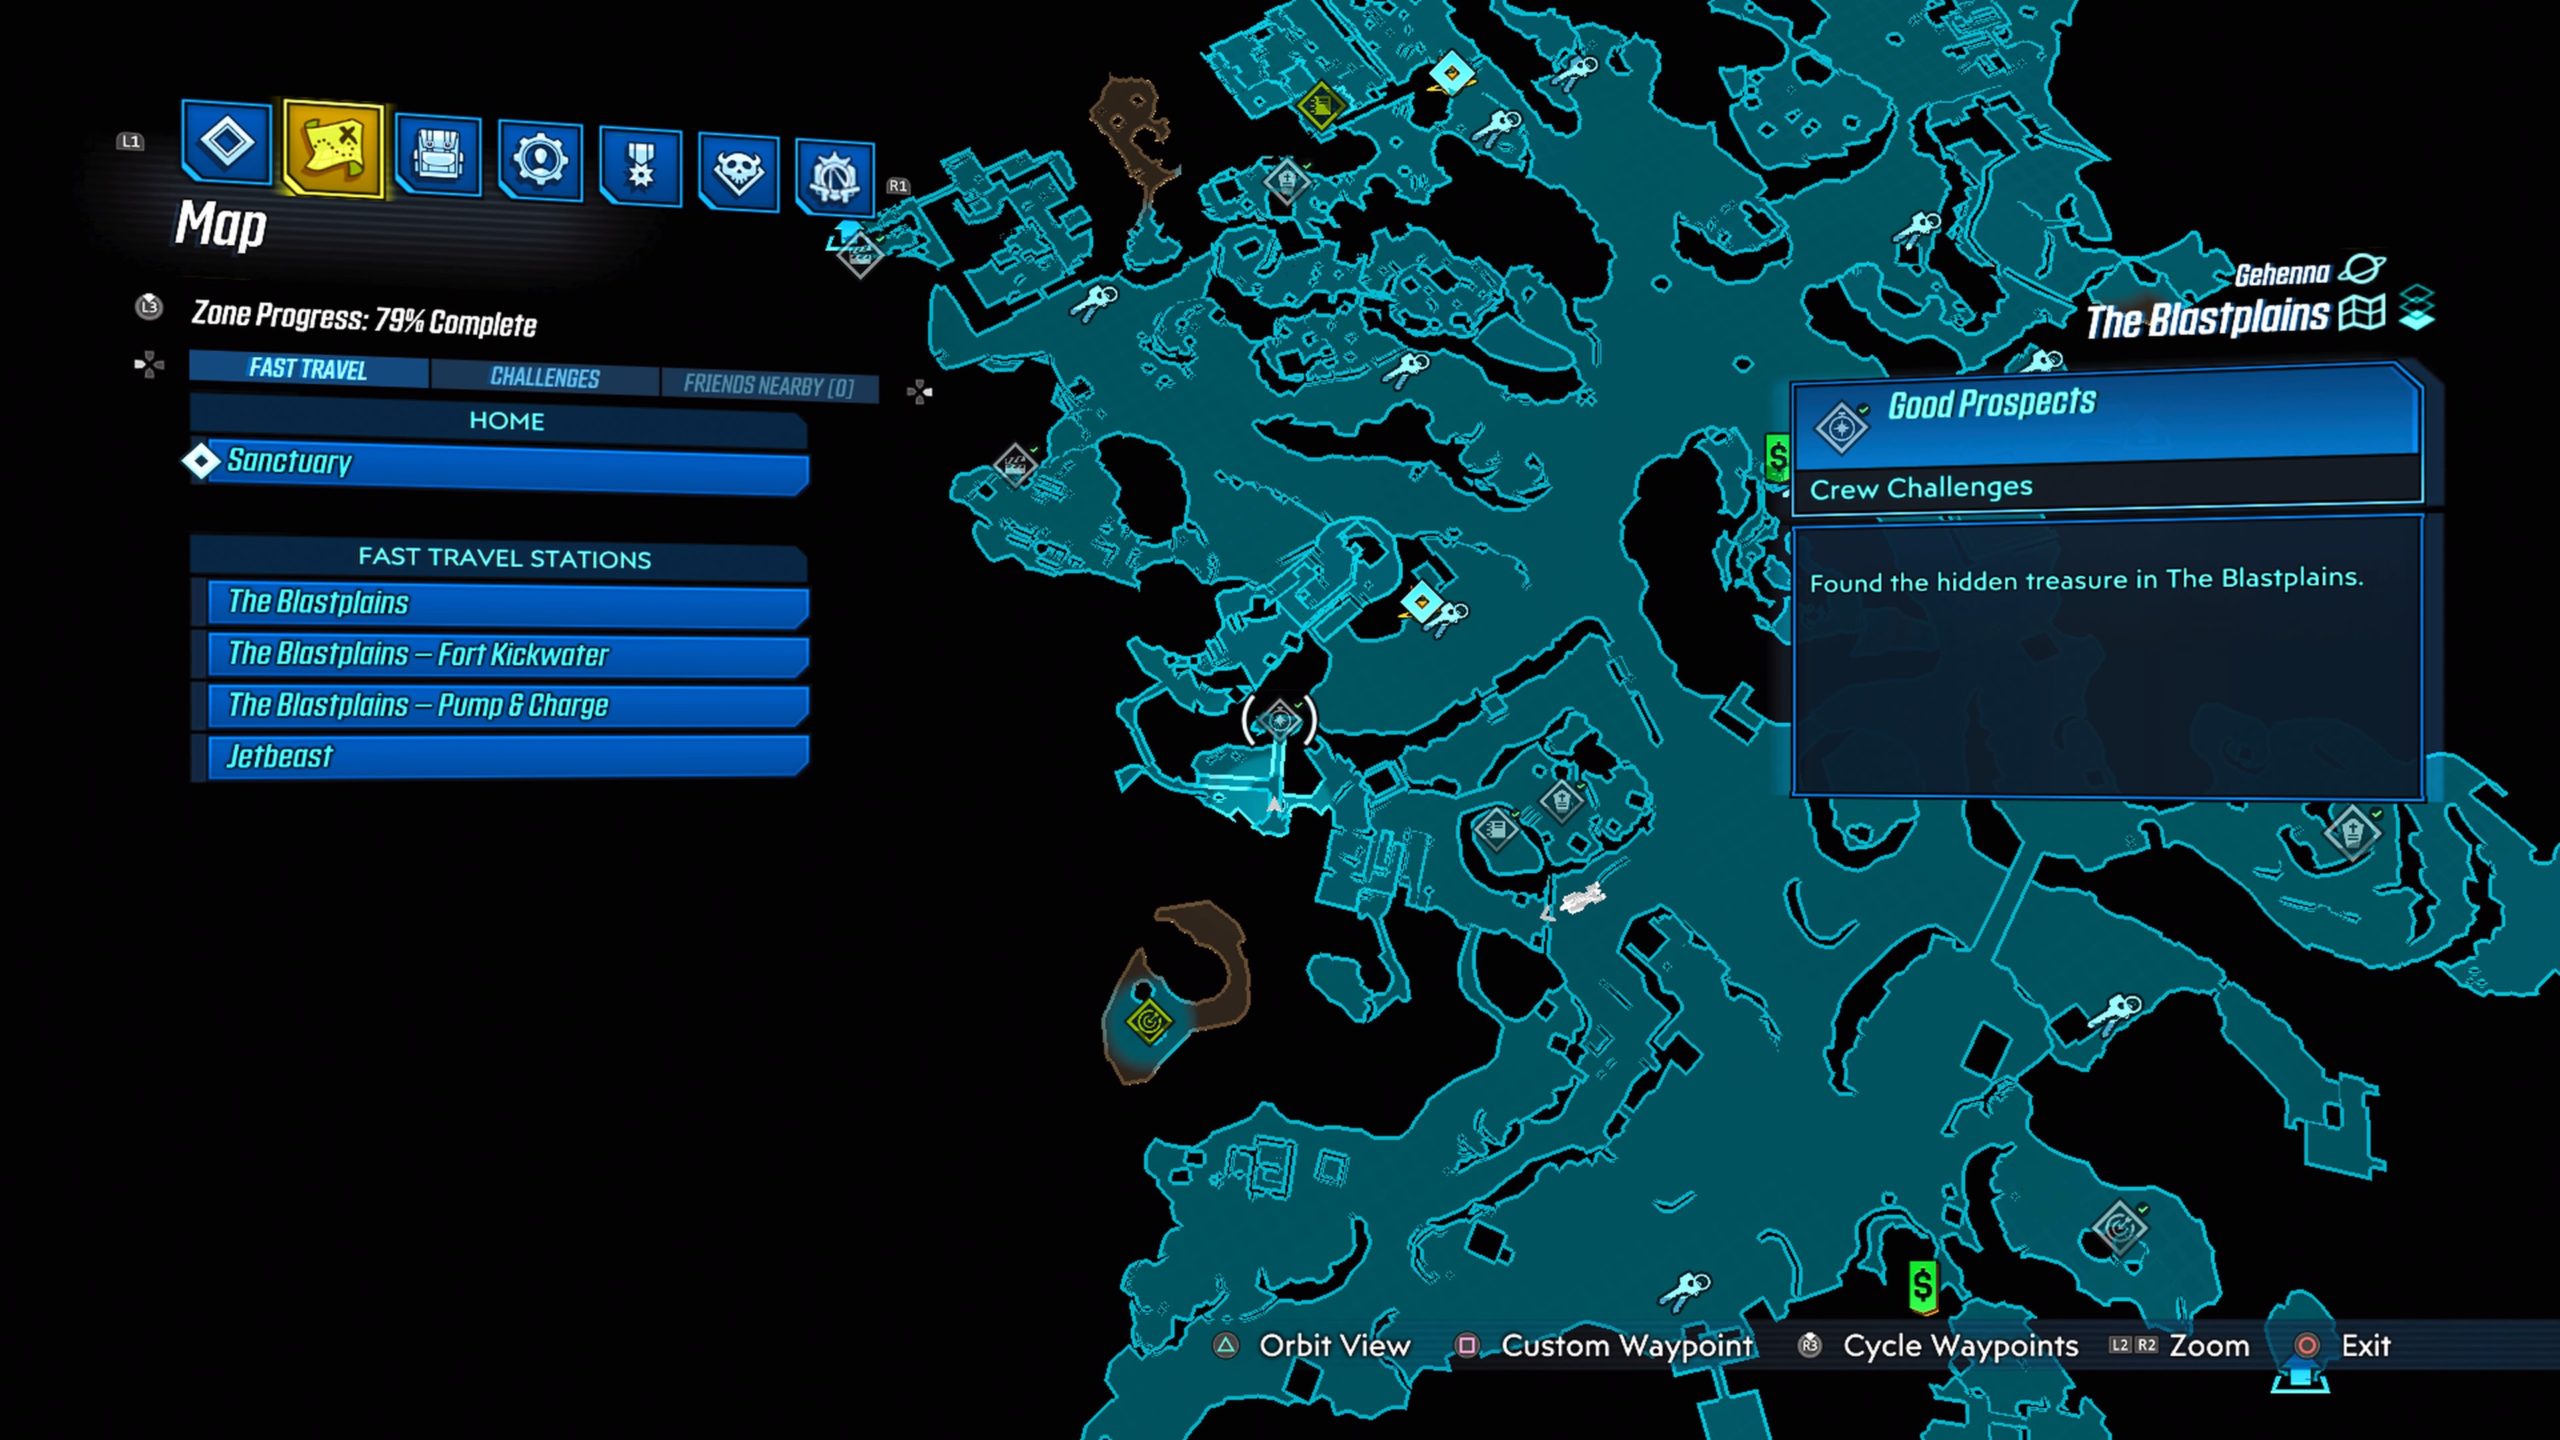
The Blastplains
Come Sunup

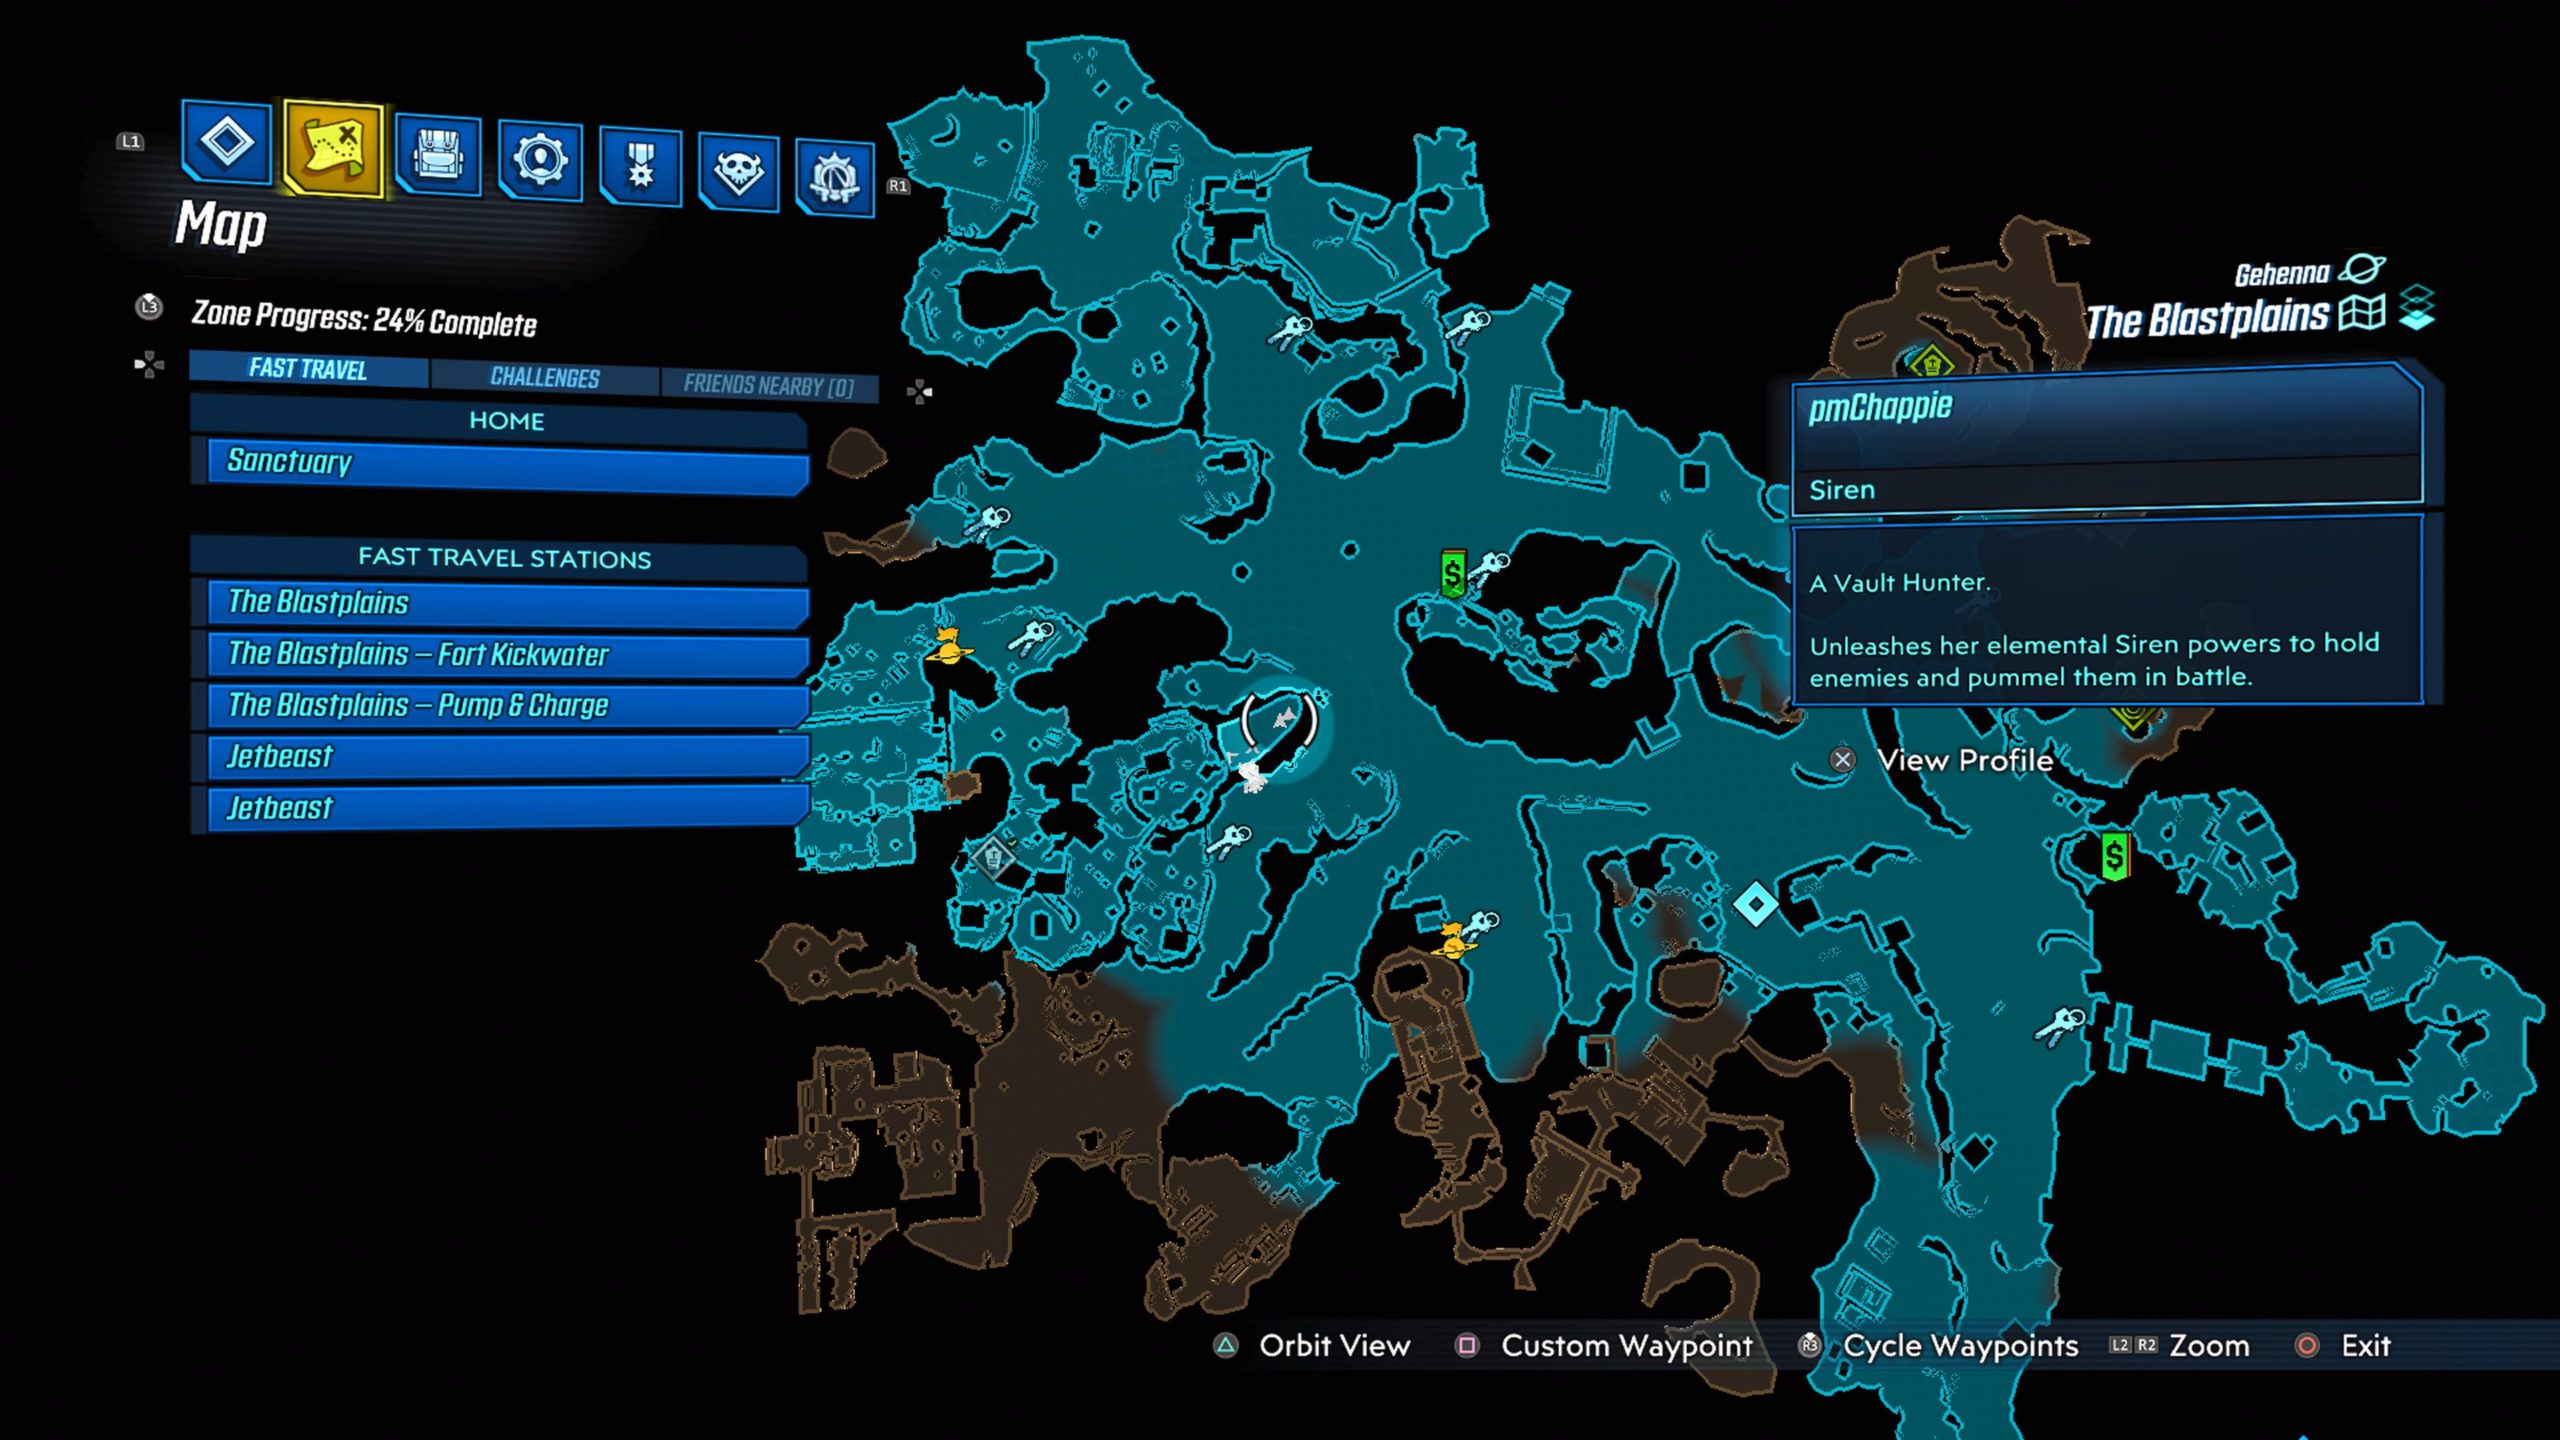
This log is located on a table in The Blastplains.
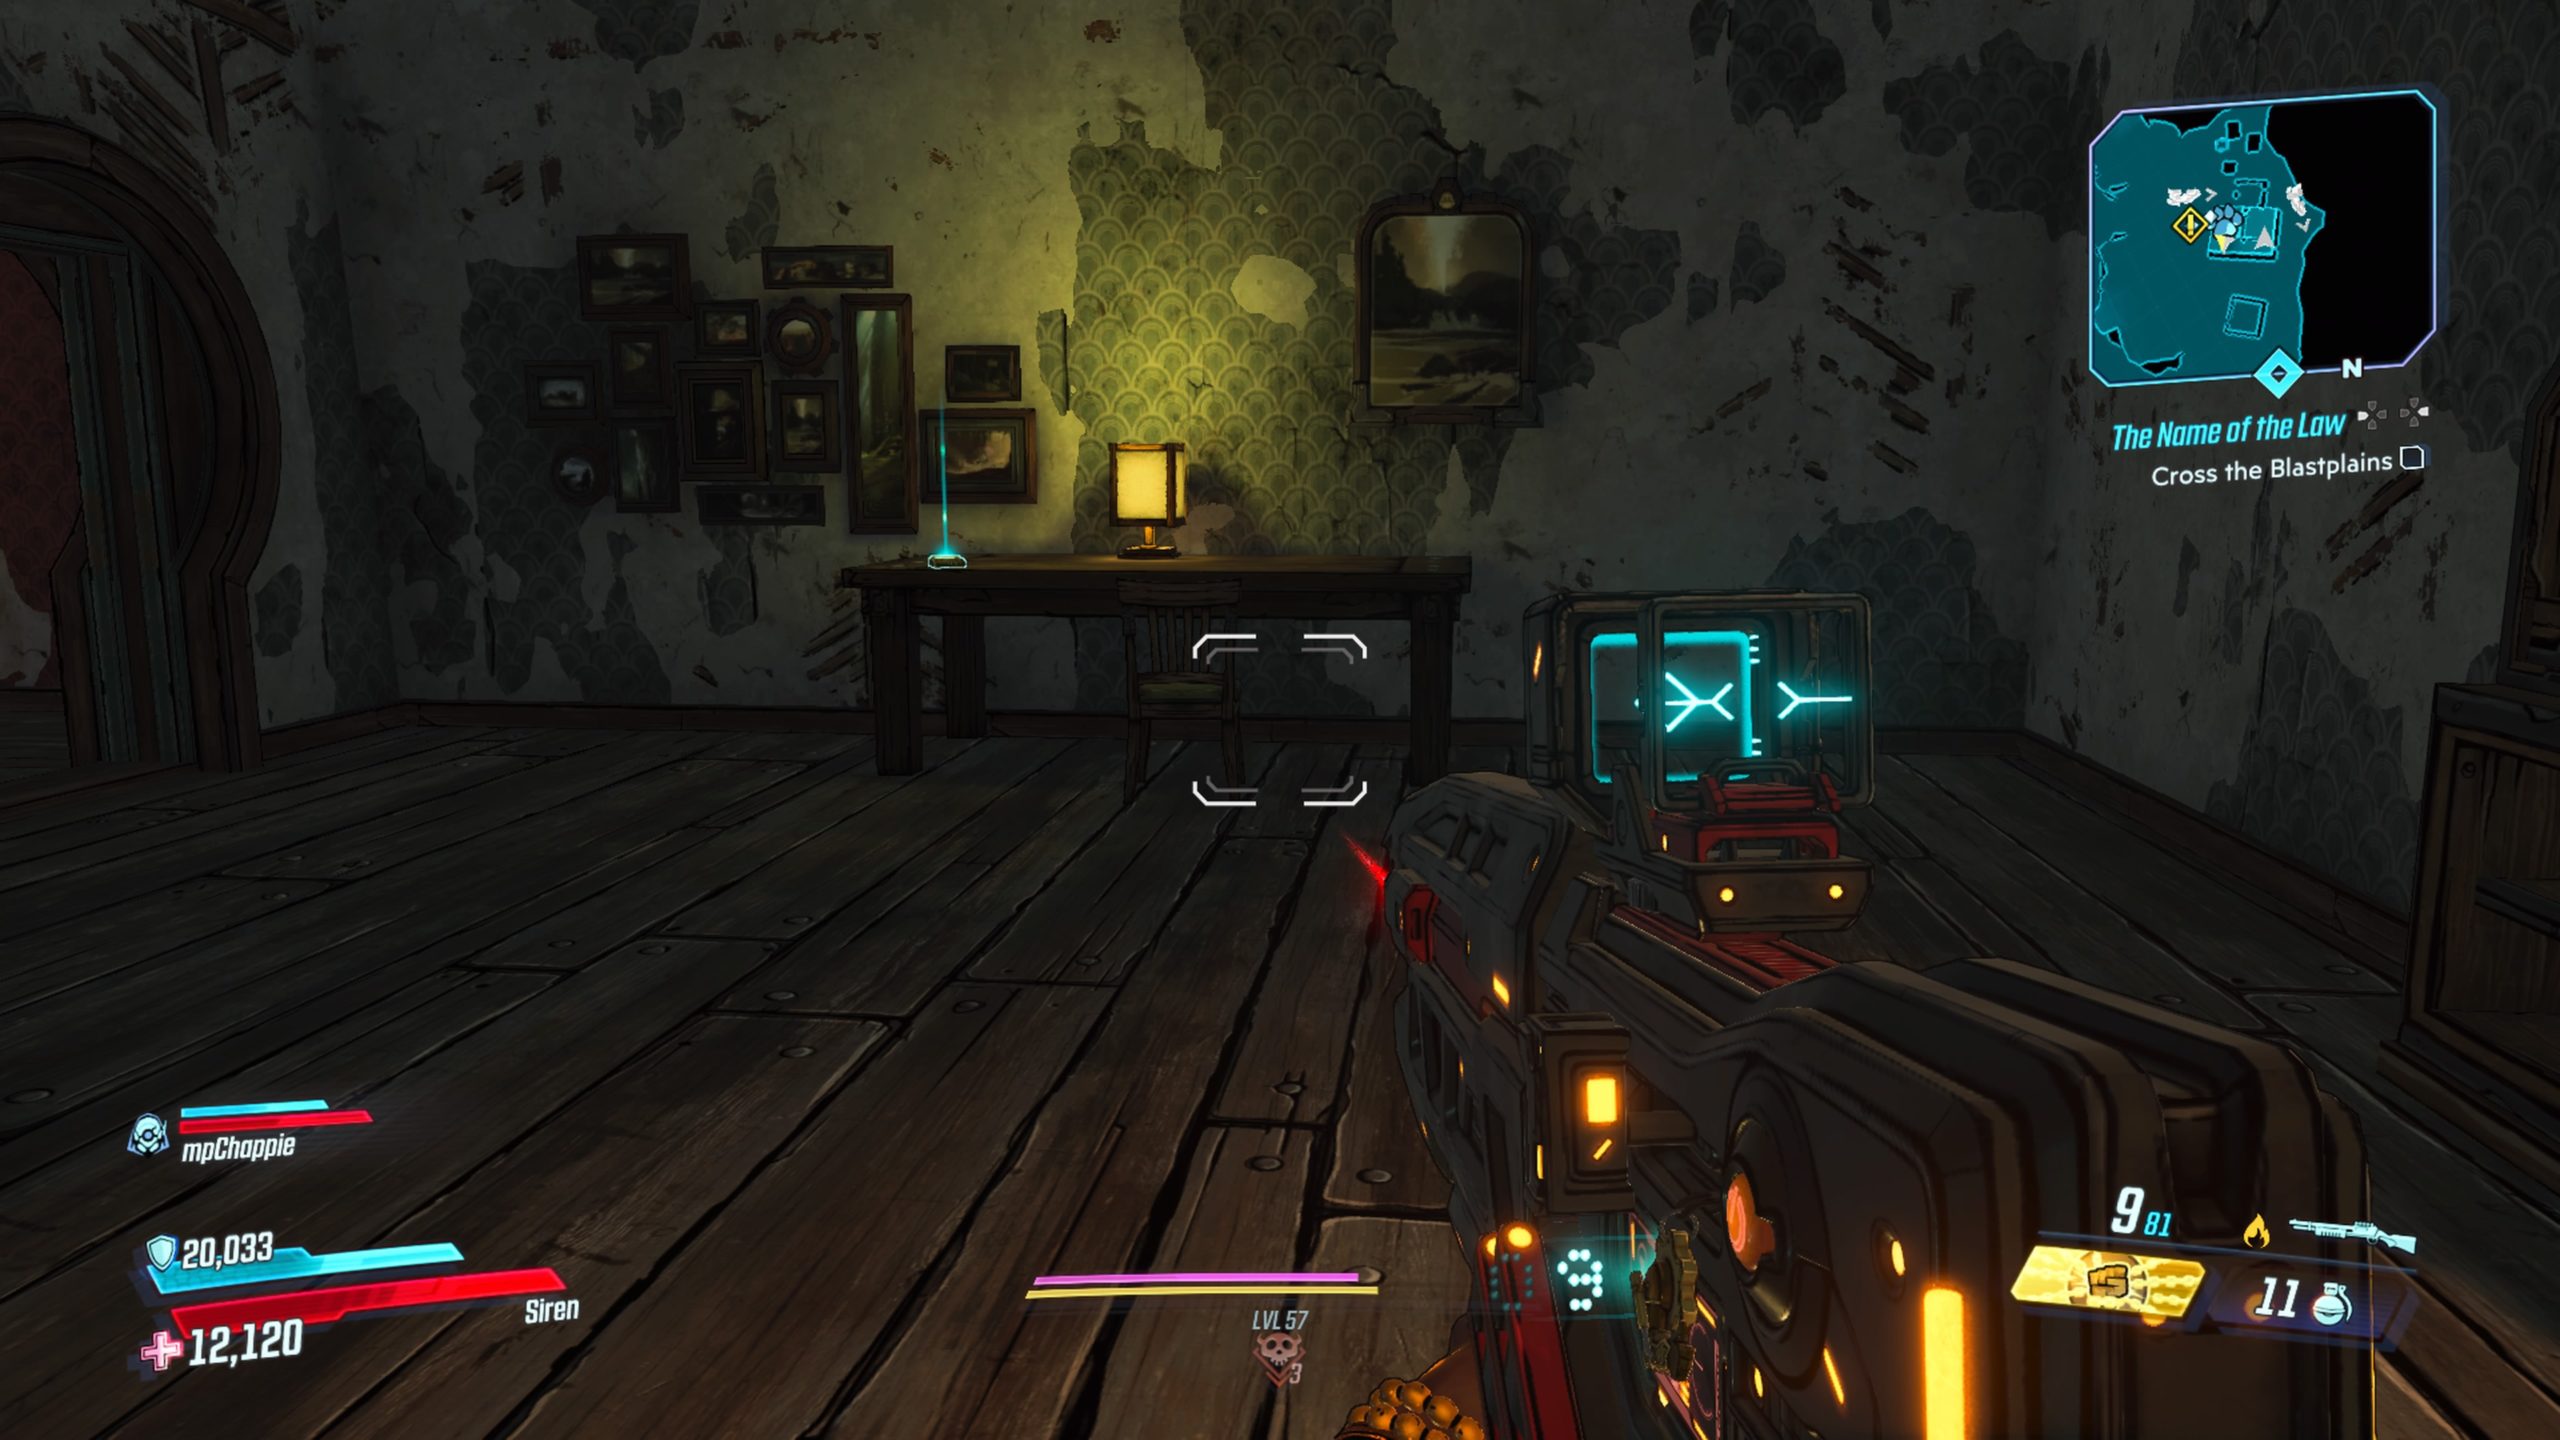
Live and Die


This log can be found in the center of the map next to a building on a chair.
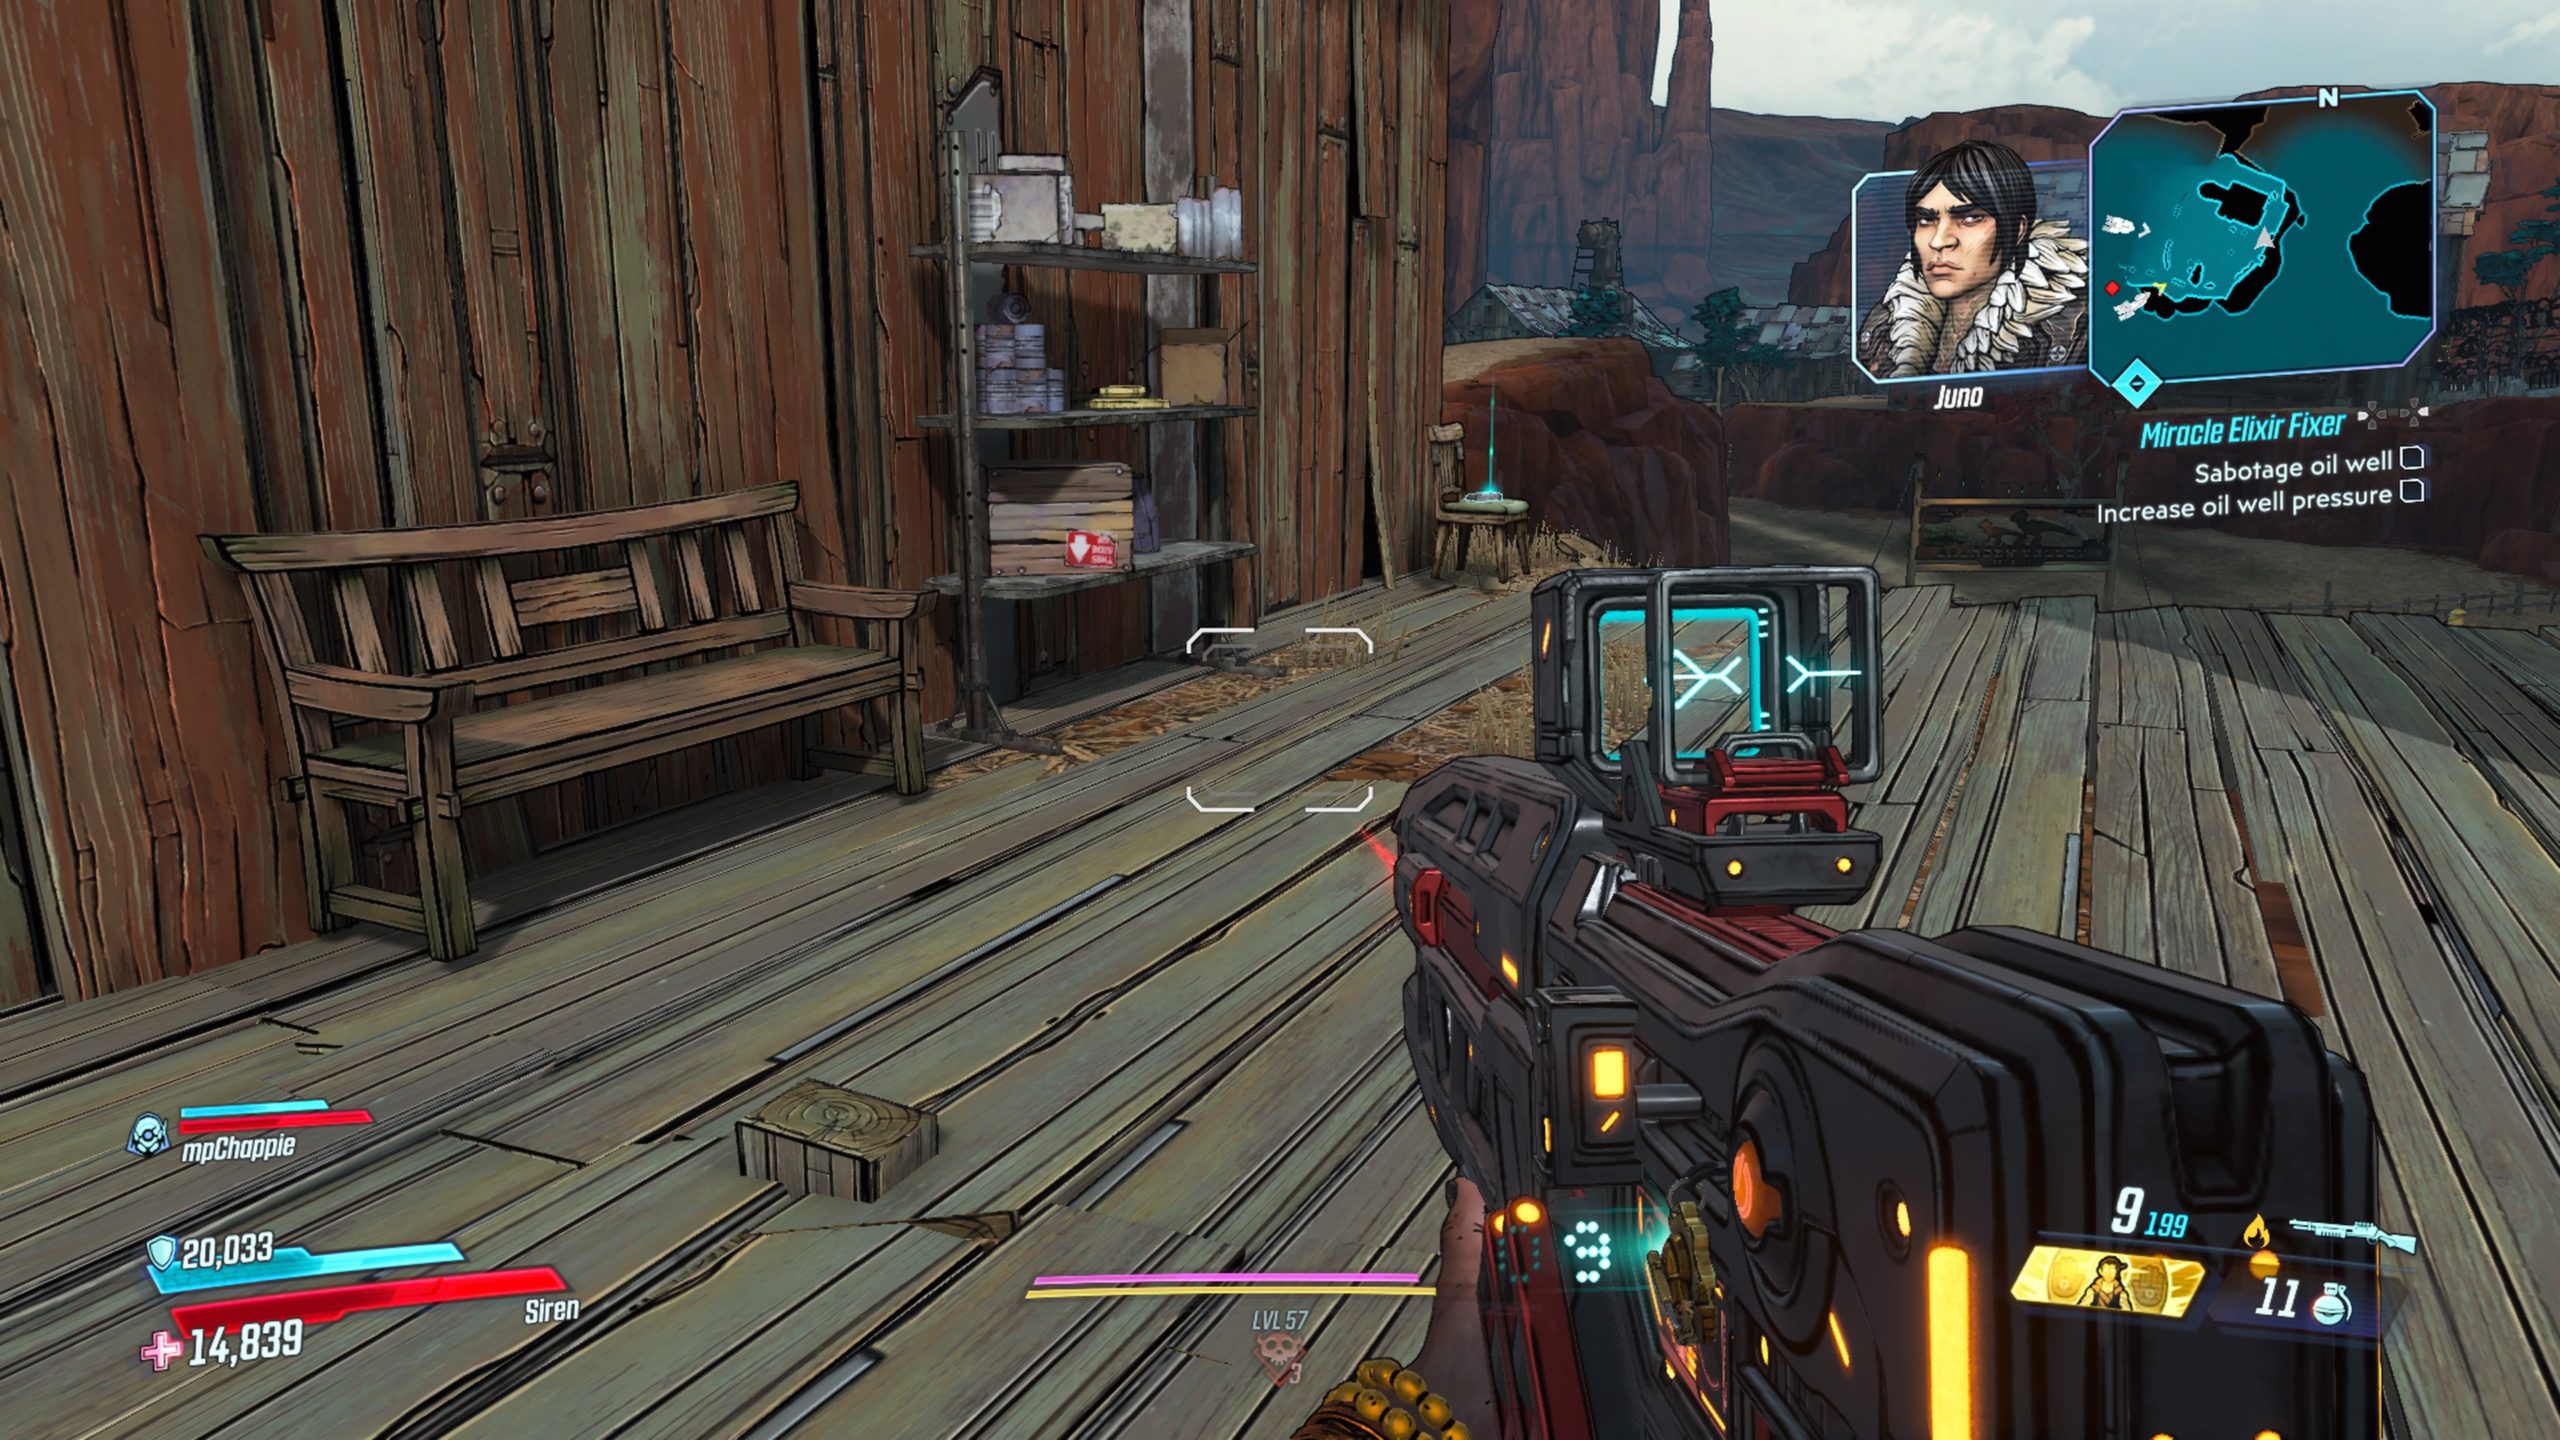
Doc Stanley’s Miracle Elixir Ad #3


This can be found during the Miracle Elixir Fixer side quest. It is located in the conference room where you kill Doc Stanley.
Doc Stanley’s Miracle Elixir Ad #1

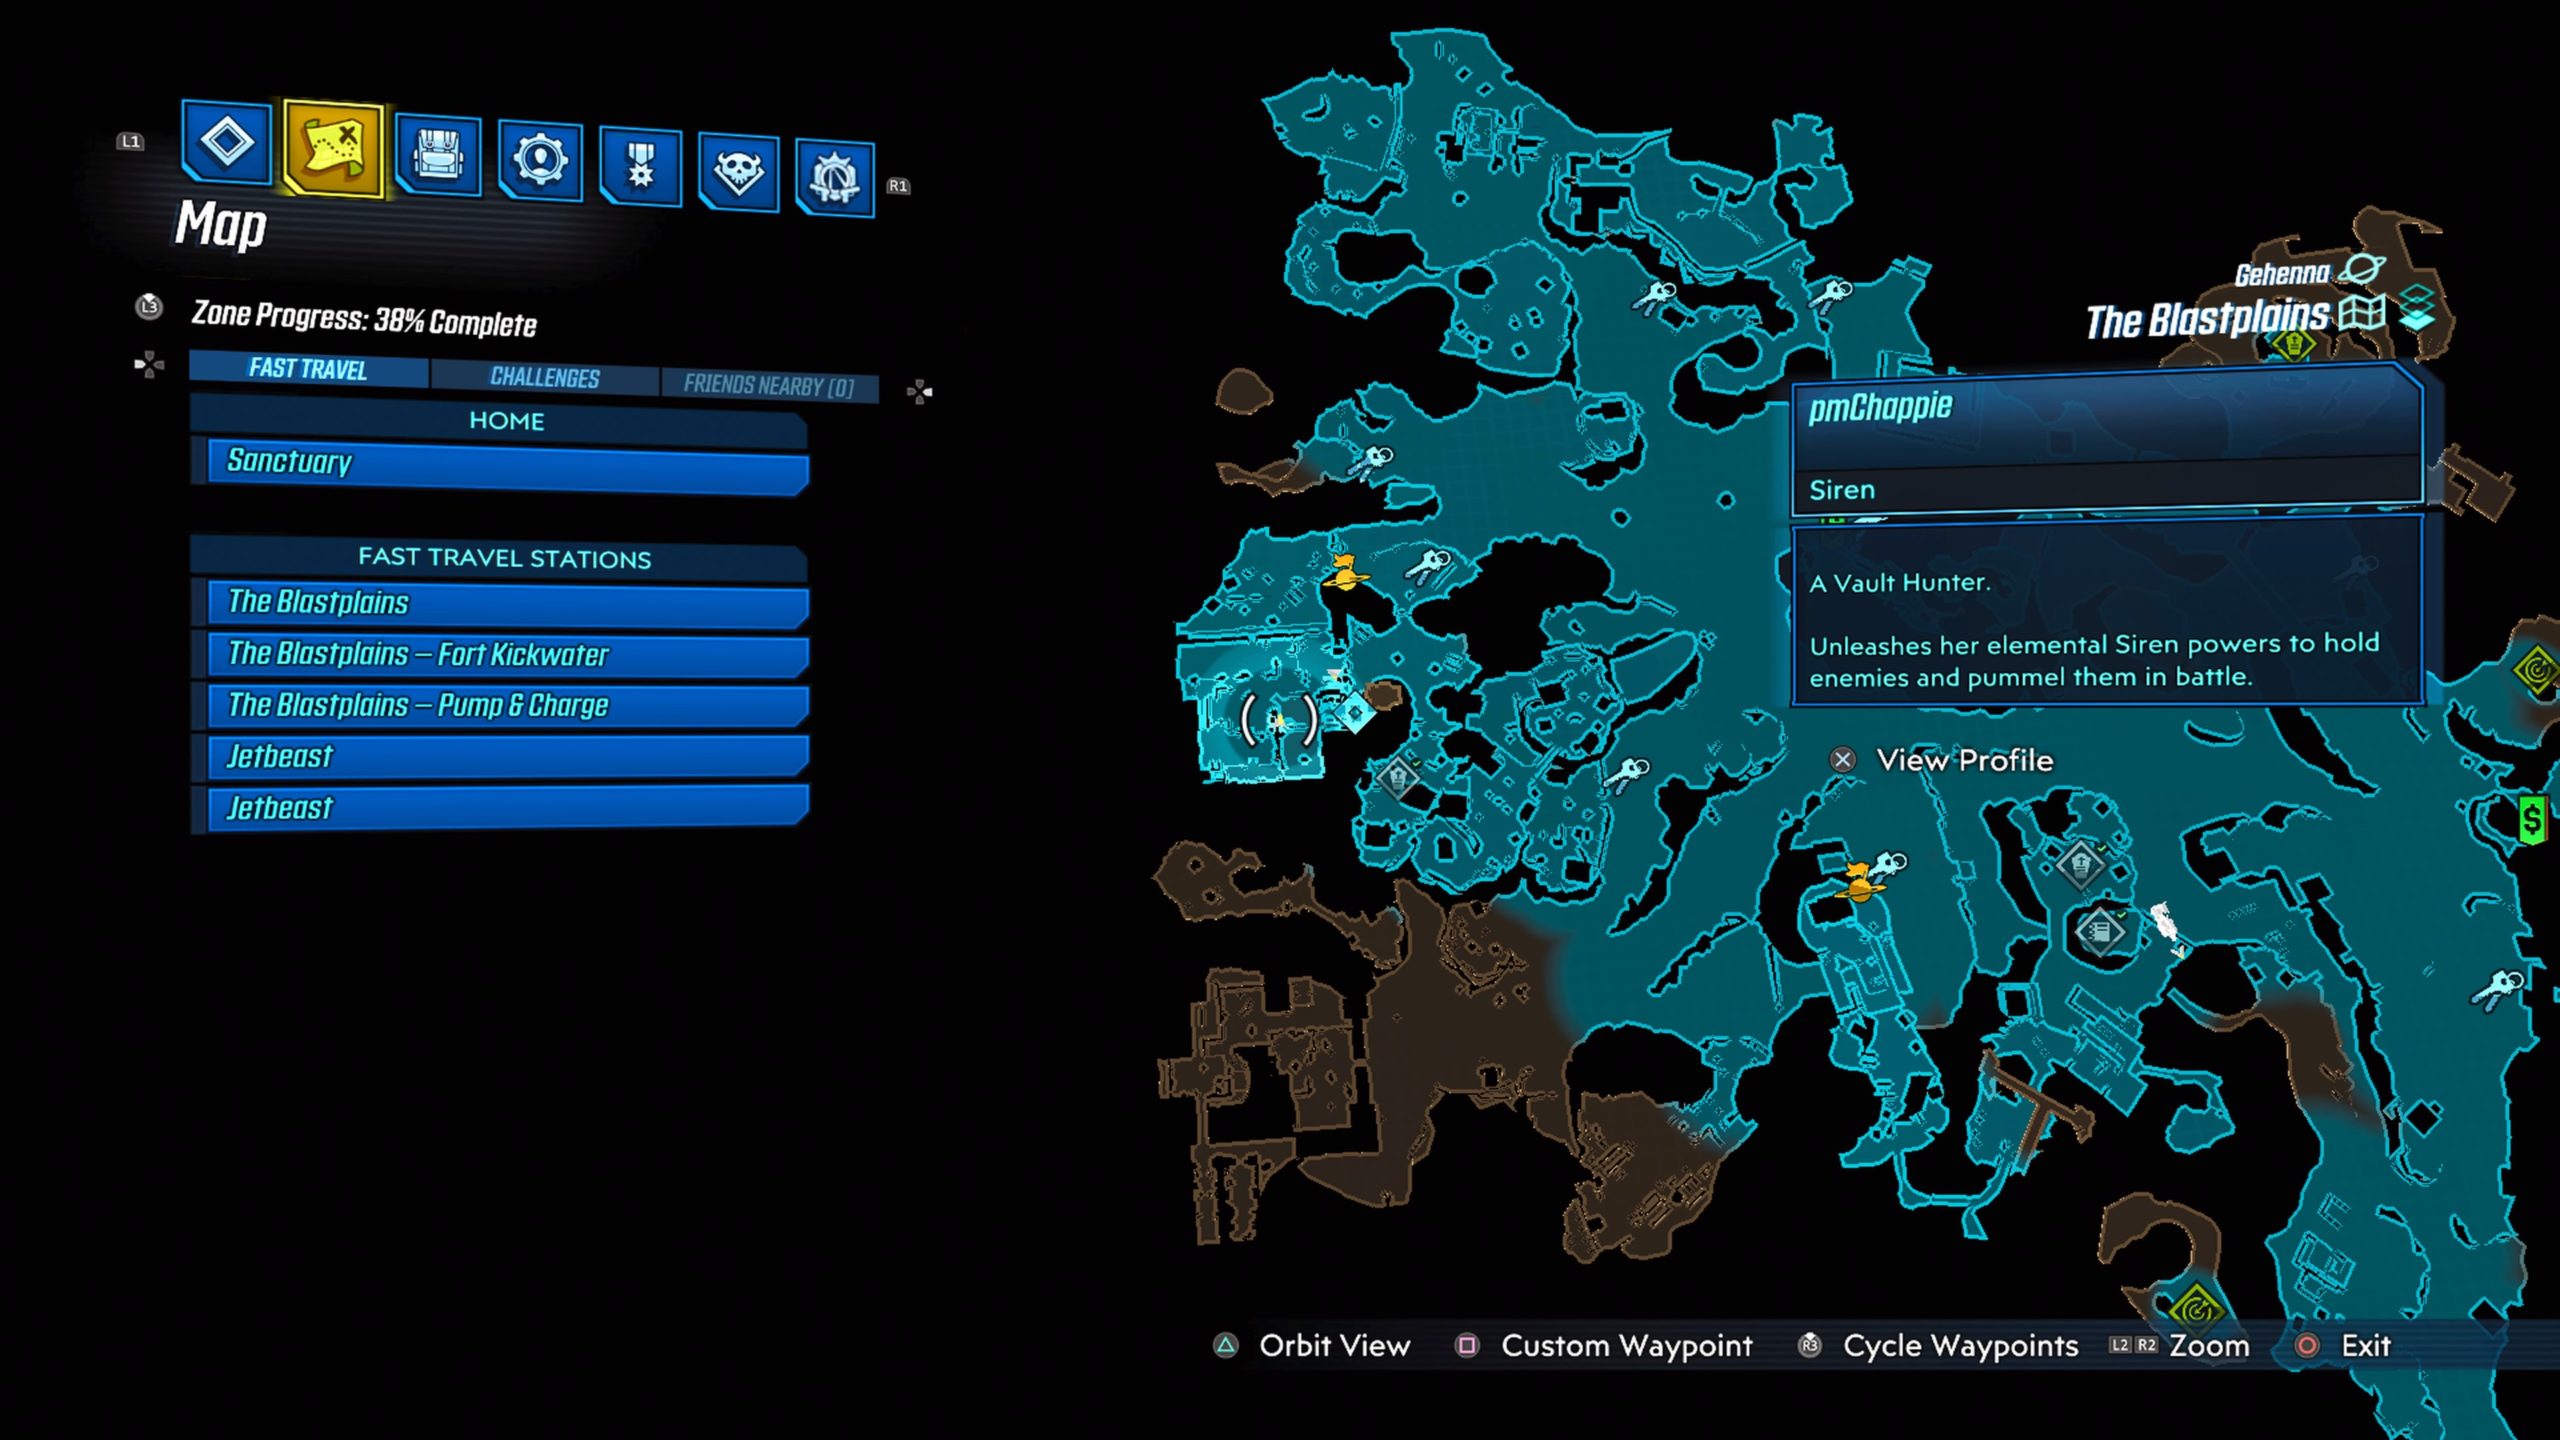
This log can be found behind a small shack next to a Jakobs chest near Fort Kickwater.
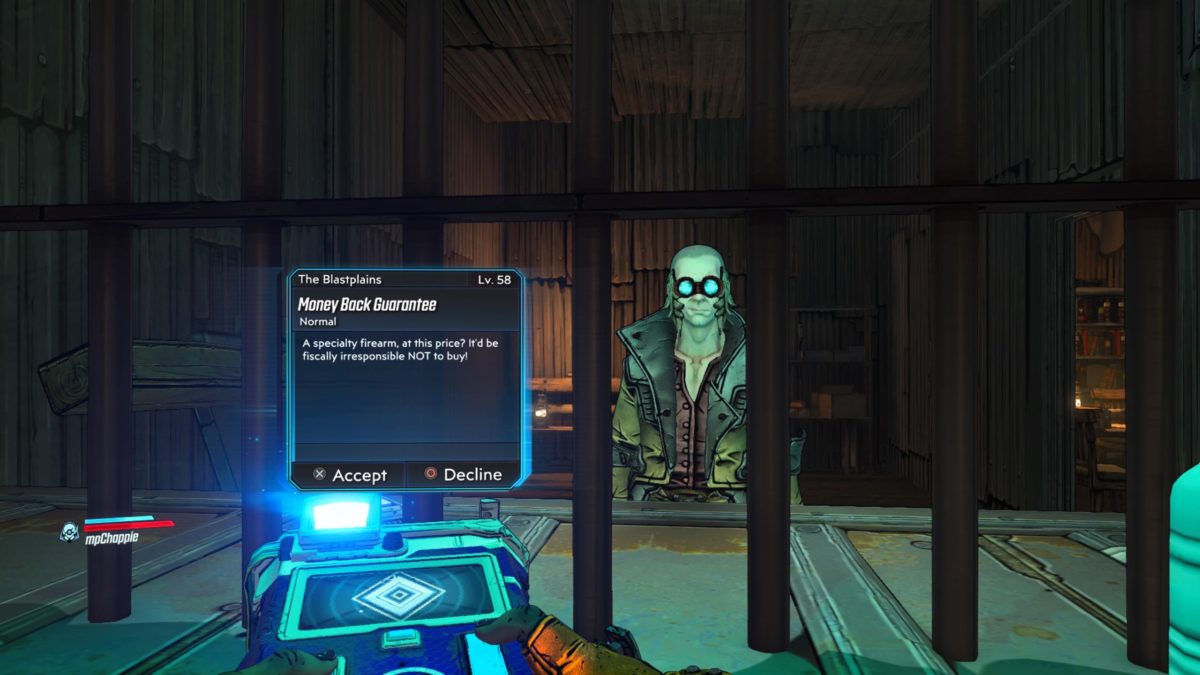
On Your Mark
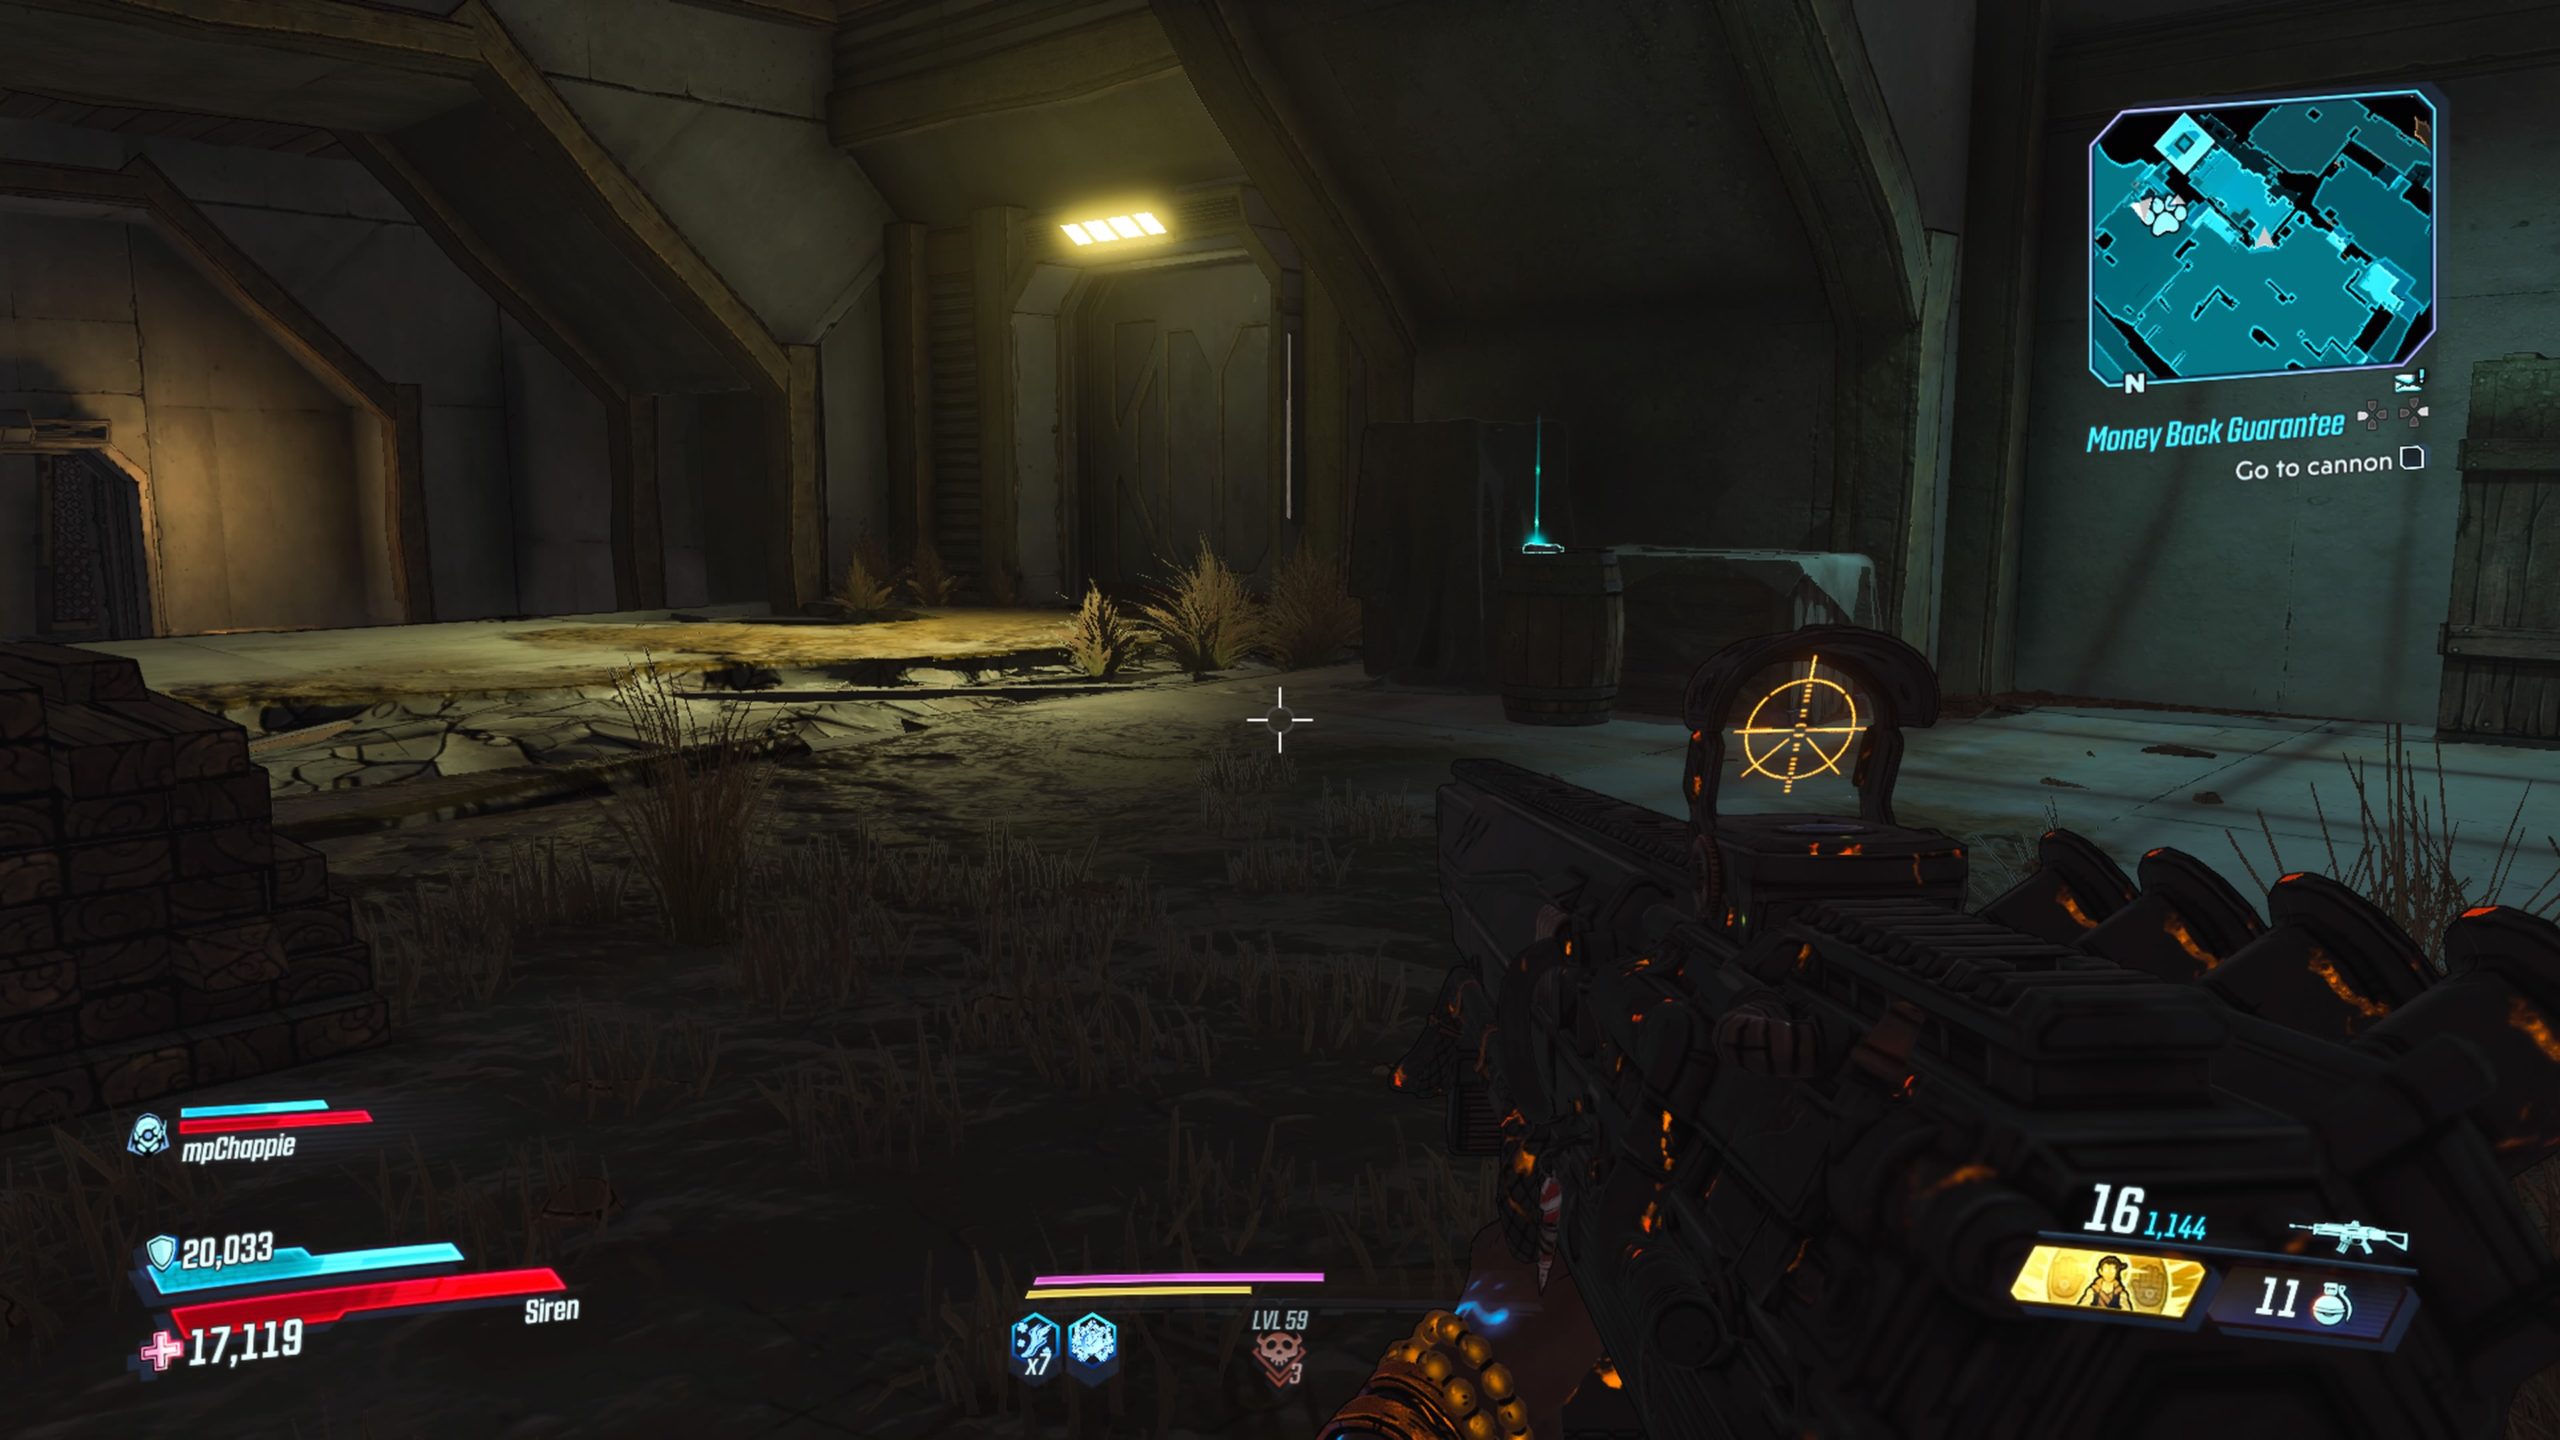
This log can be found on a barrel in a room leading to the cannon at Fort Kickwater, which is accessible during the Money Back Guarantee side quest.
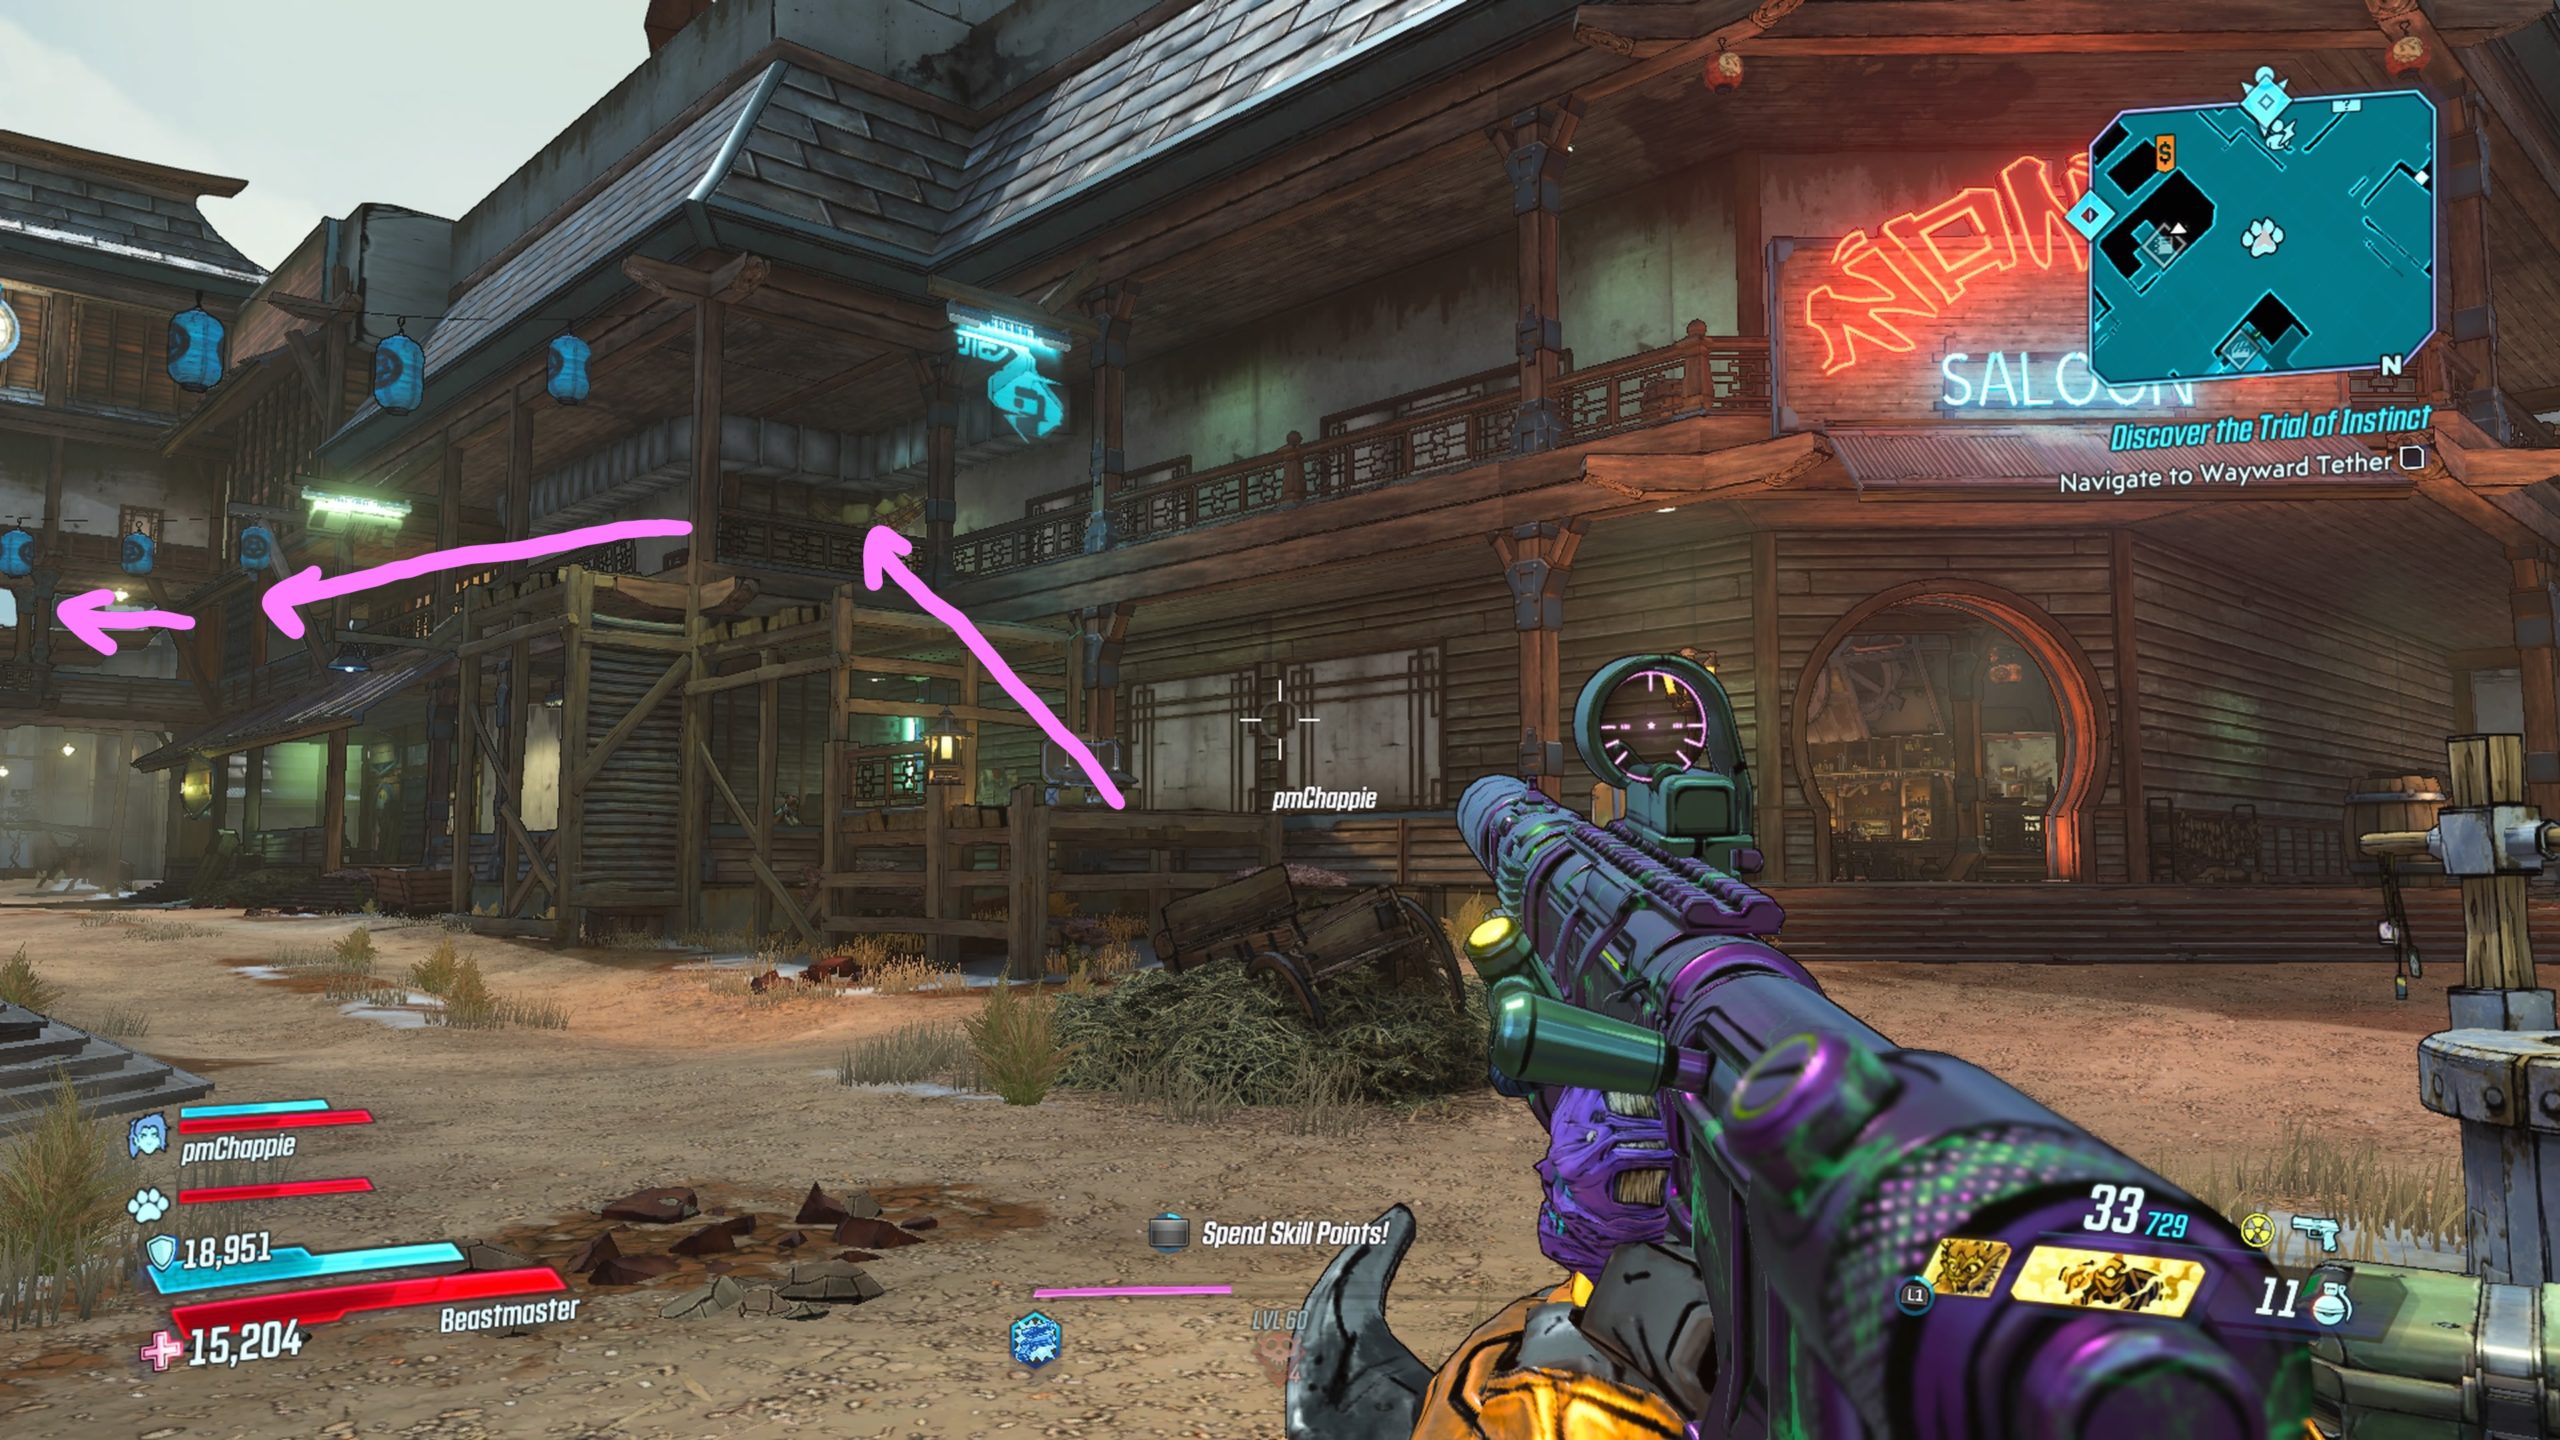
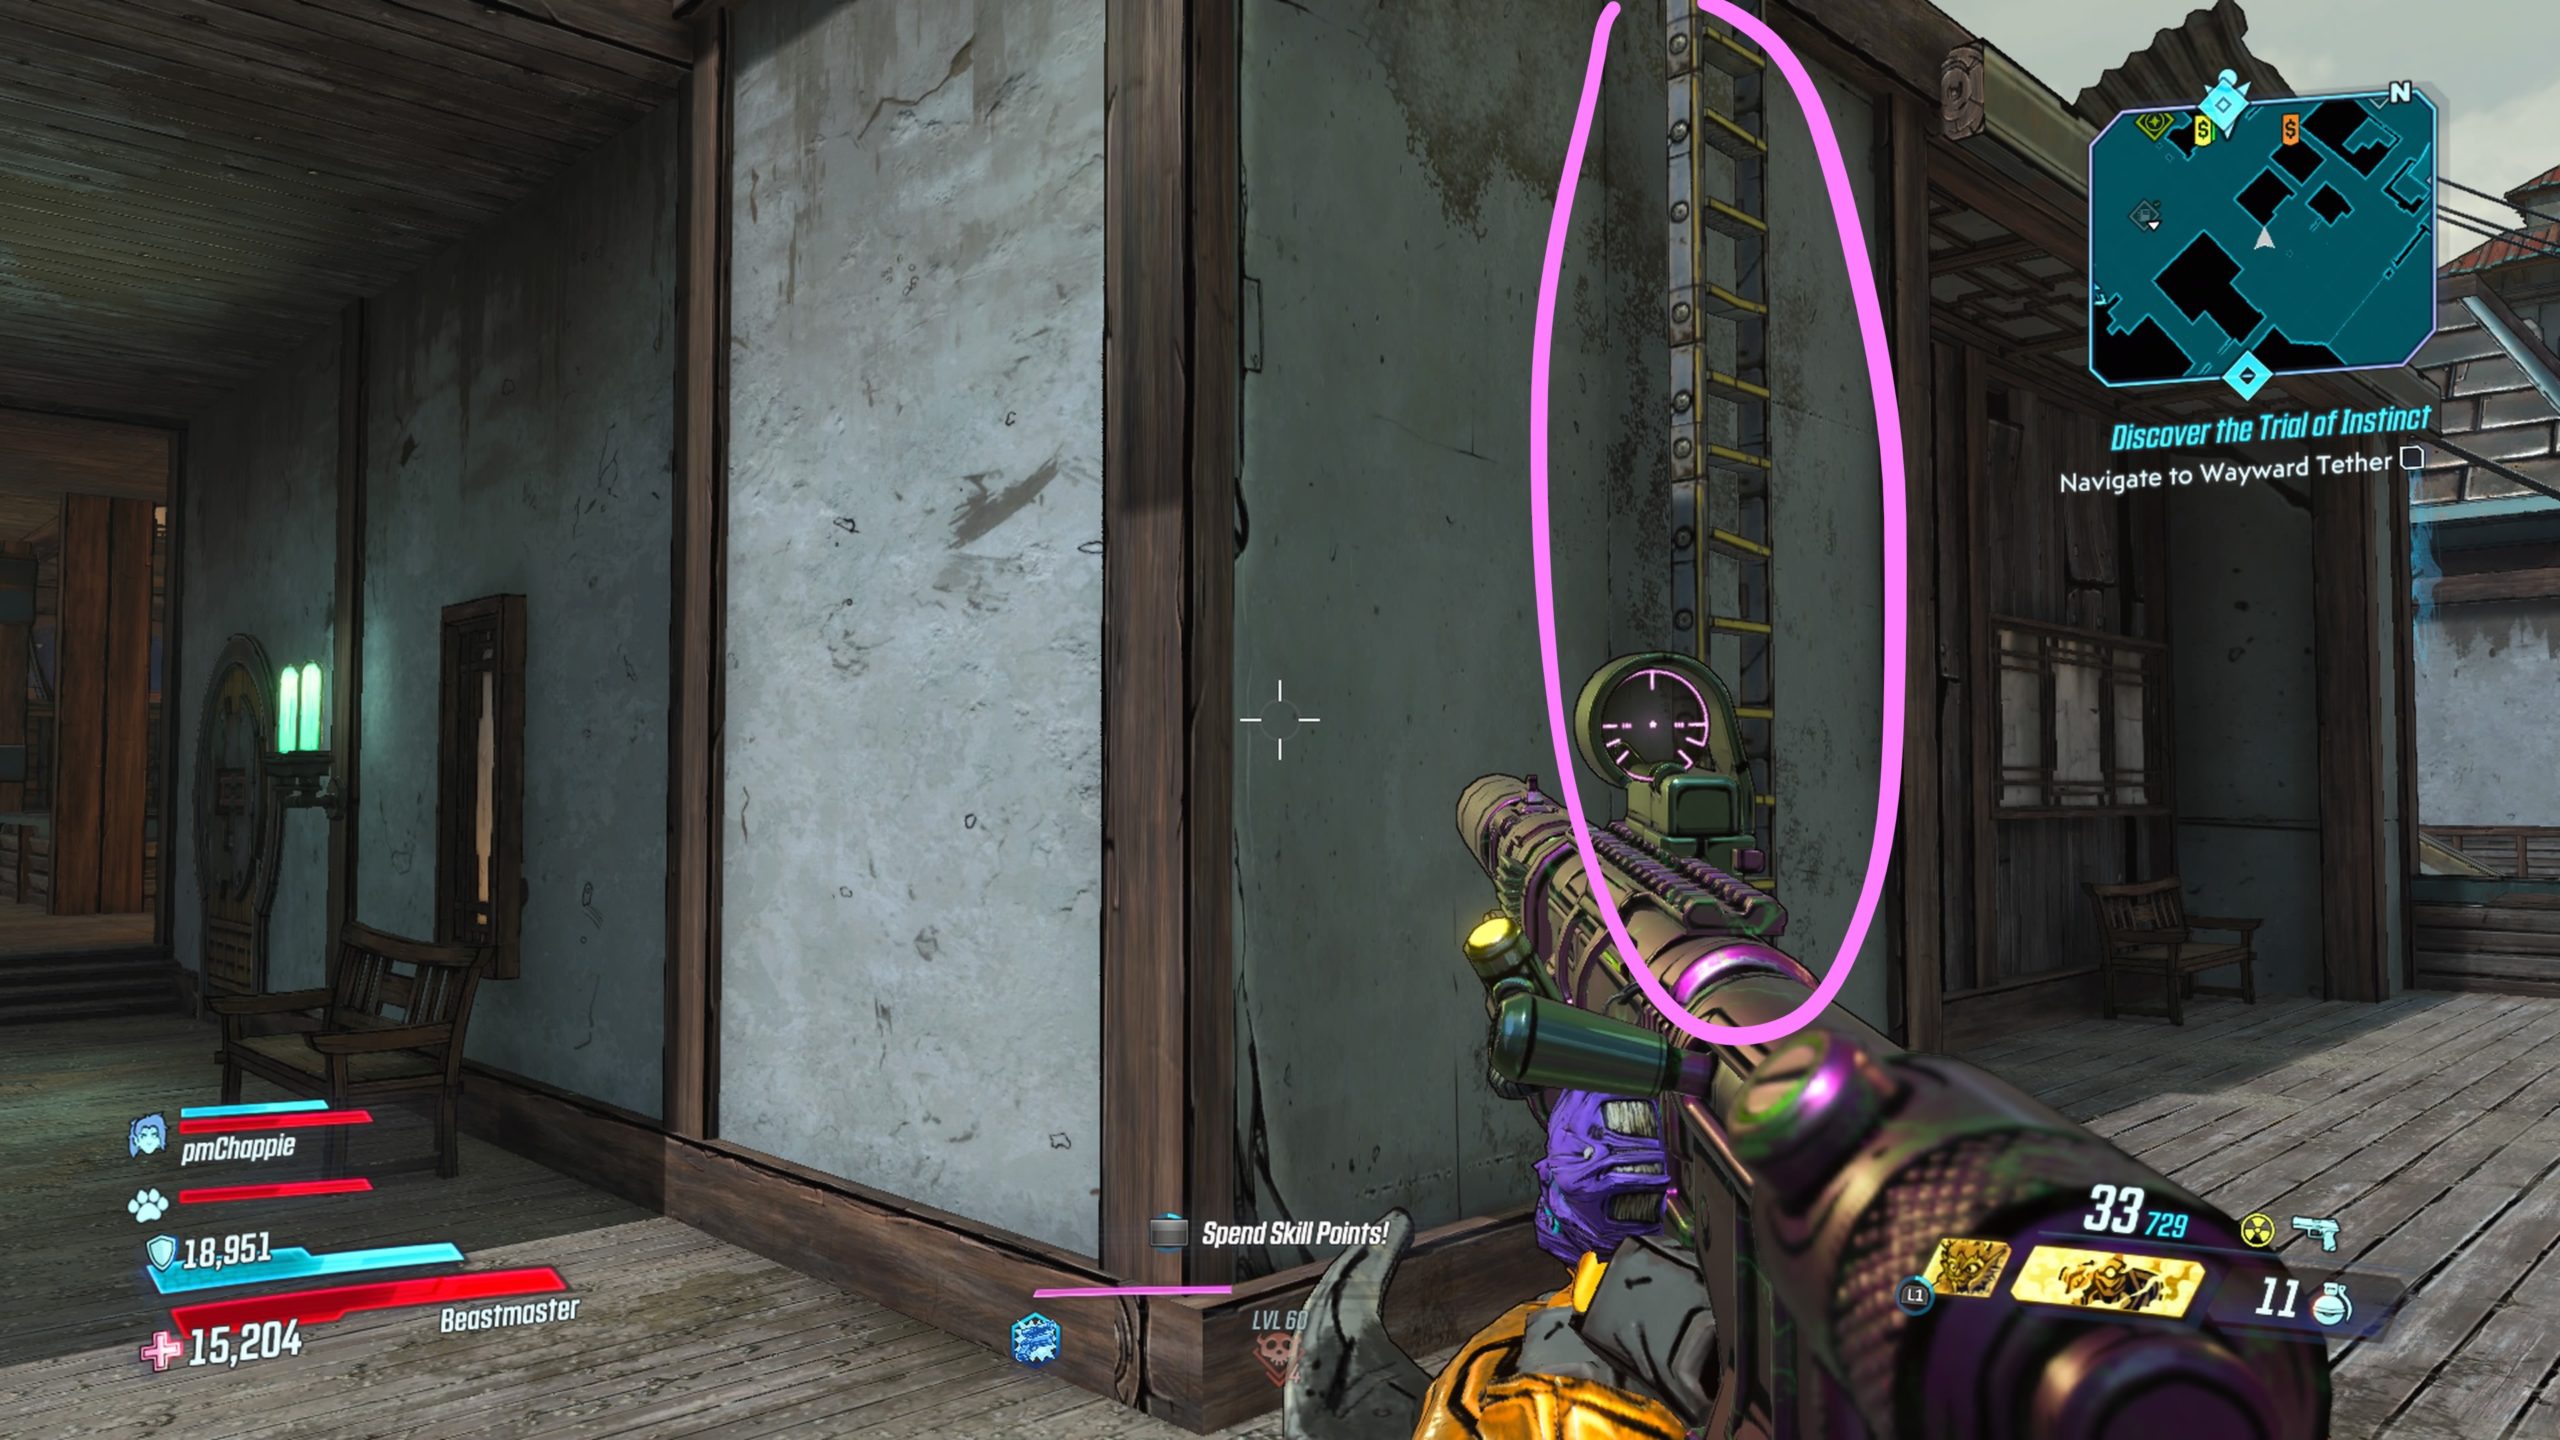
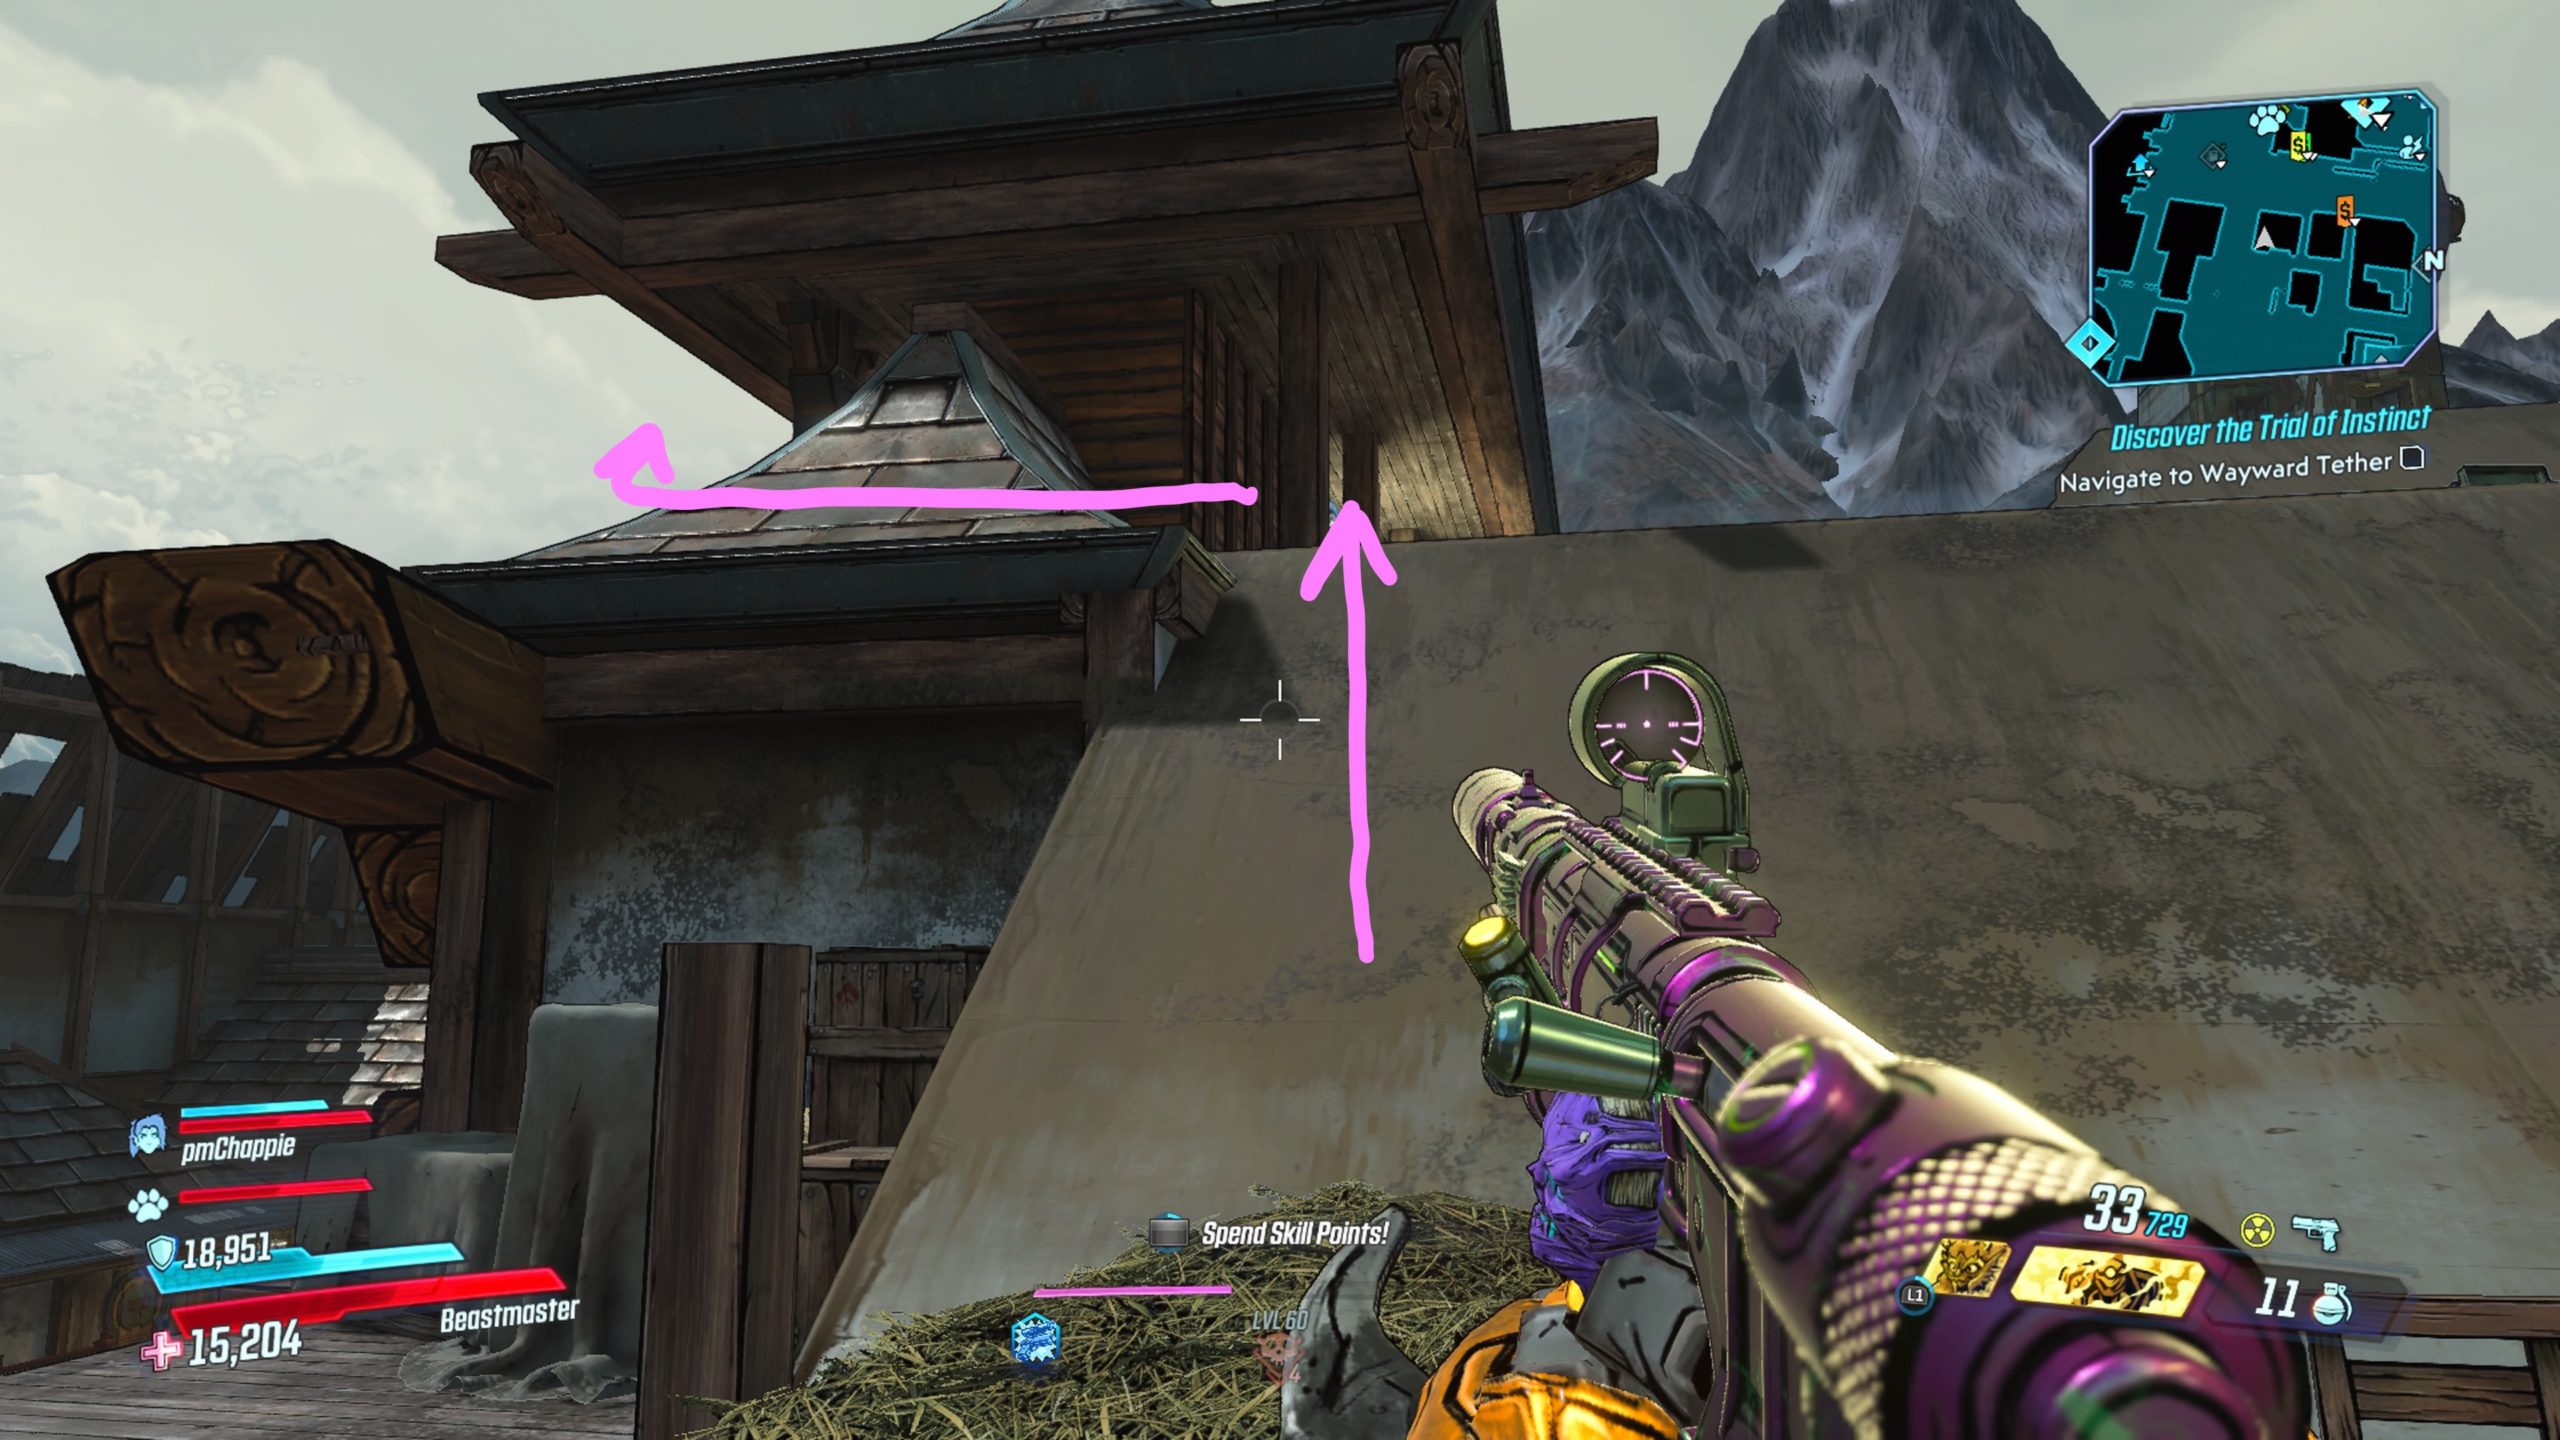
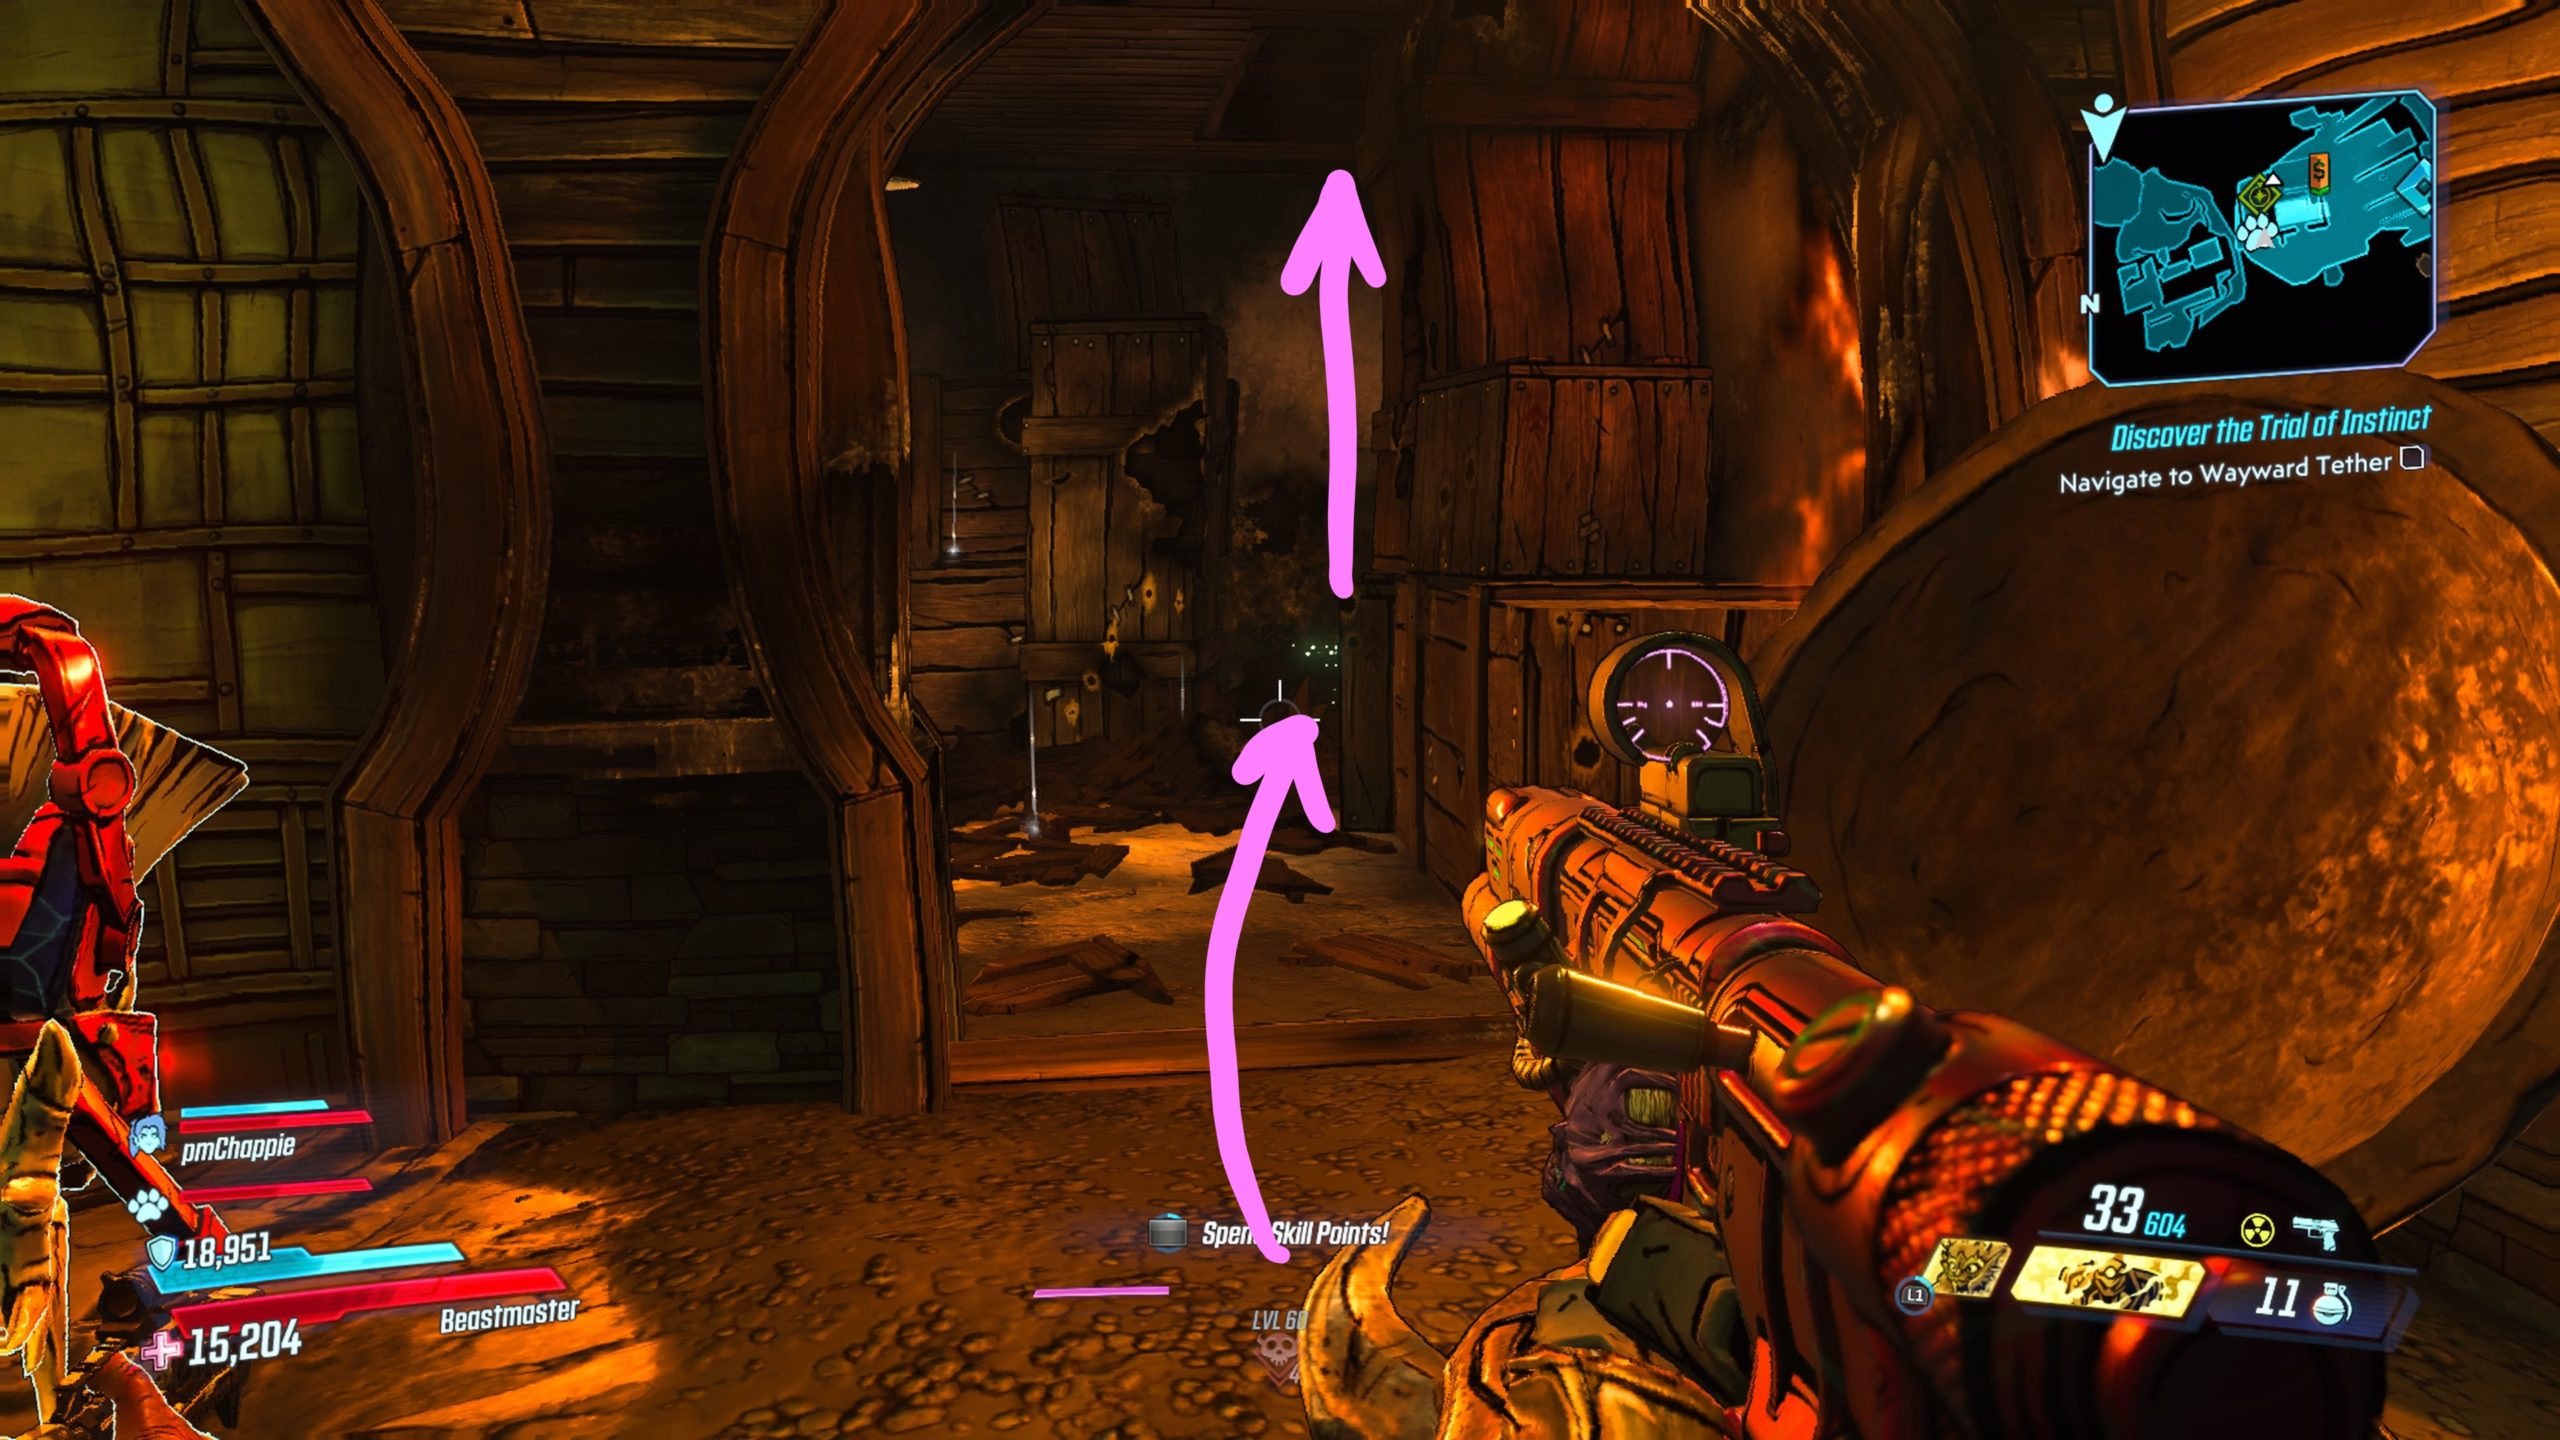
Shedding Skin
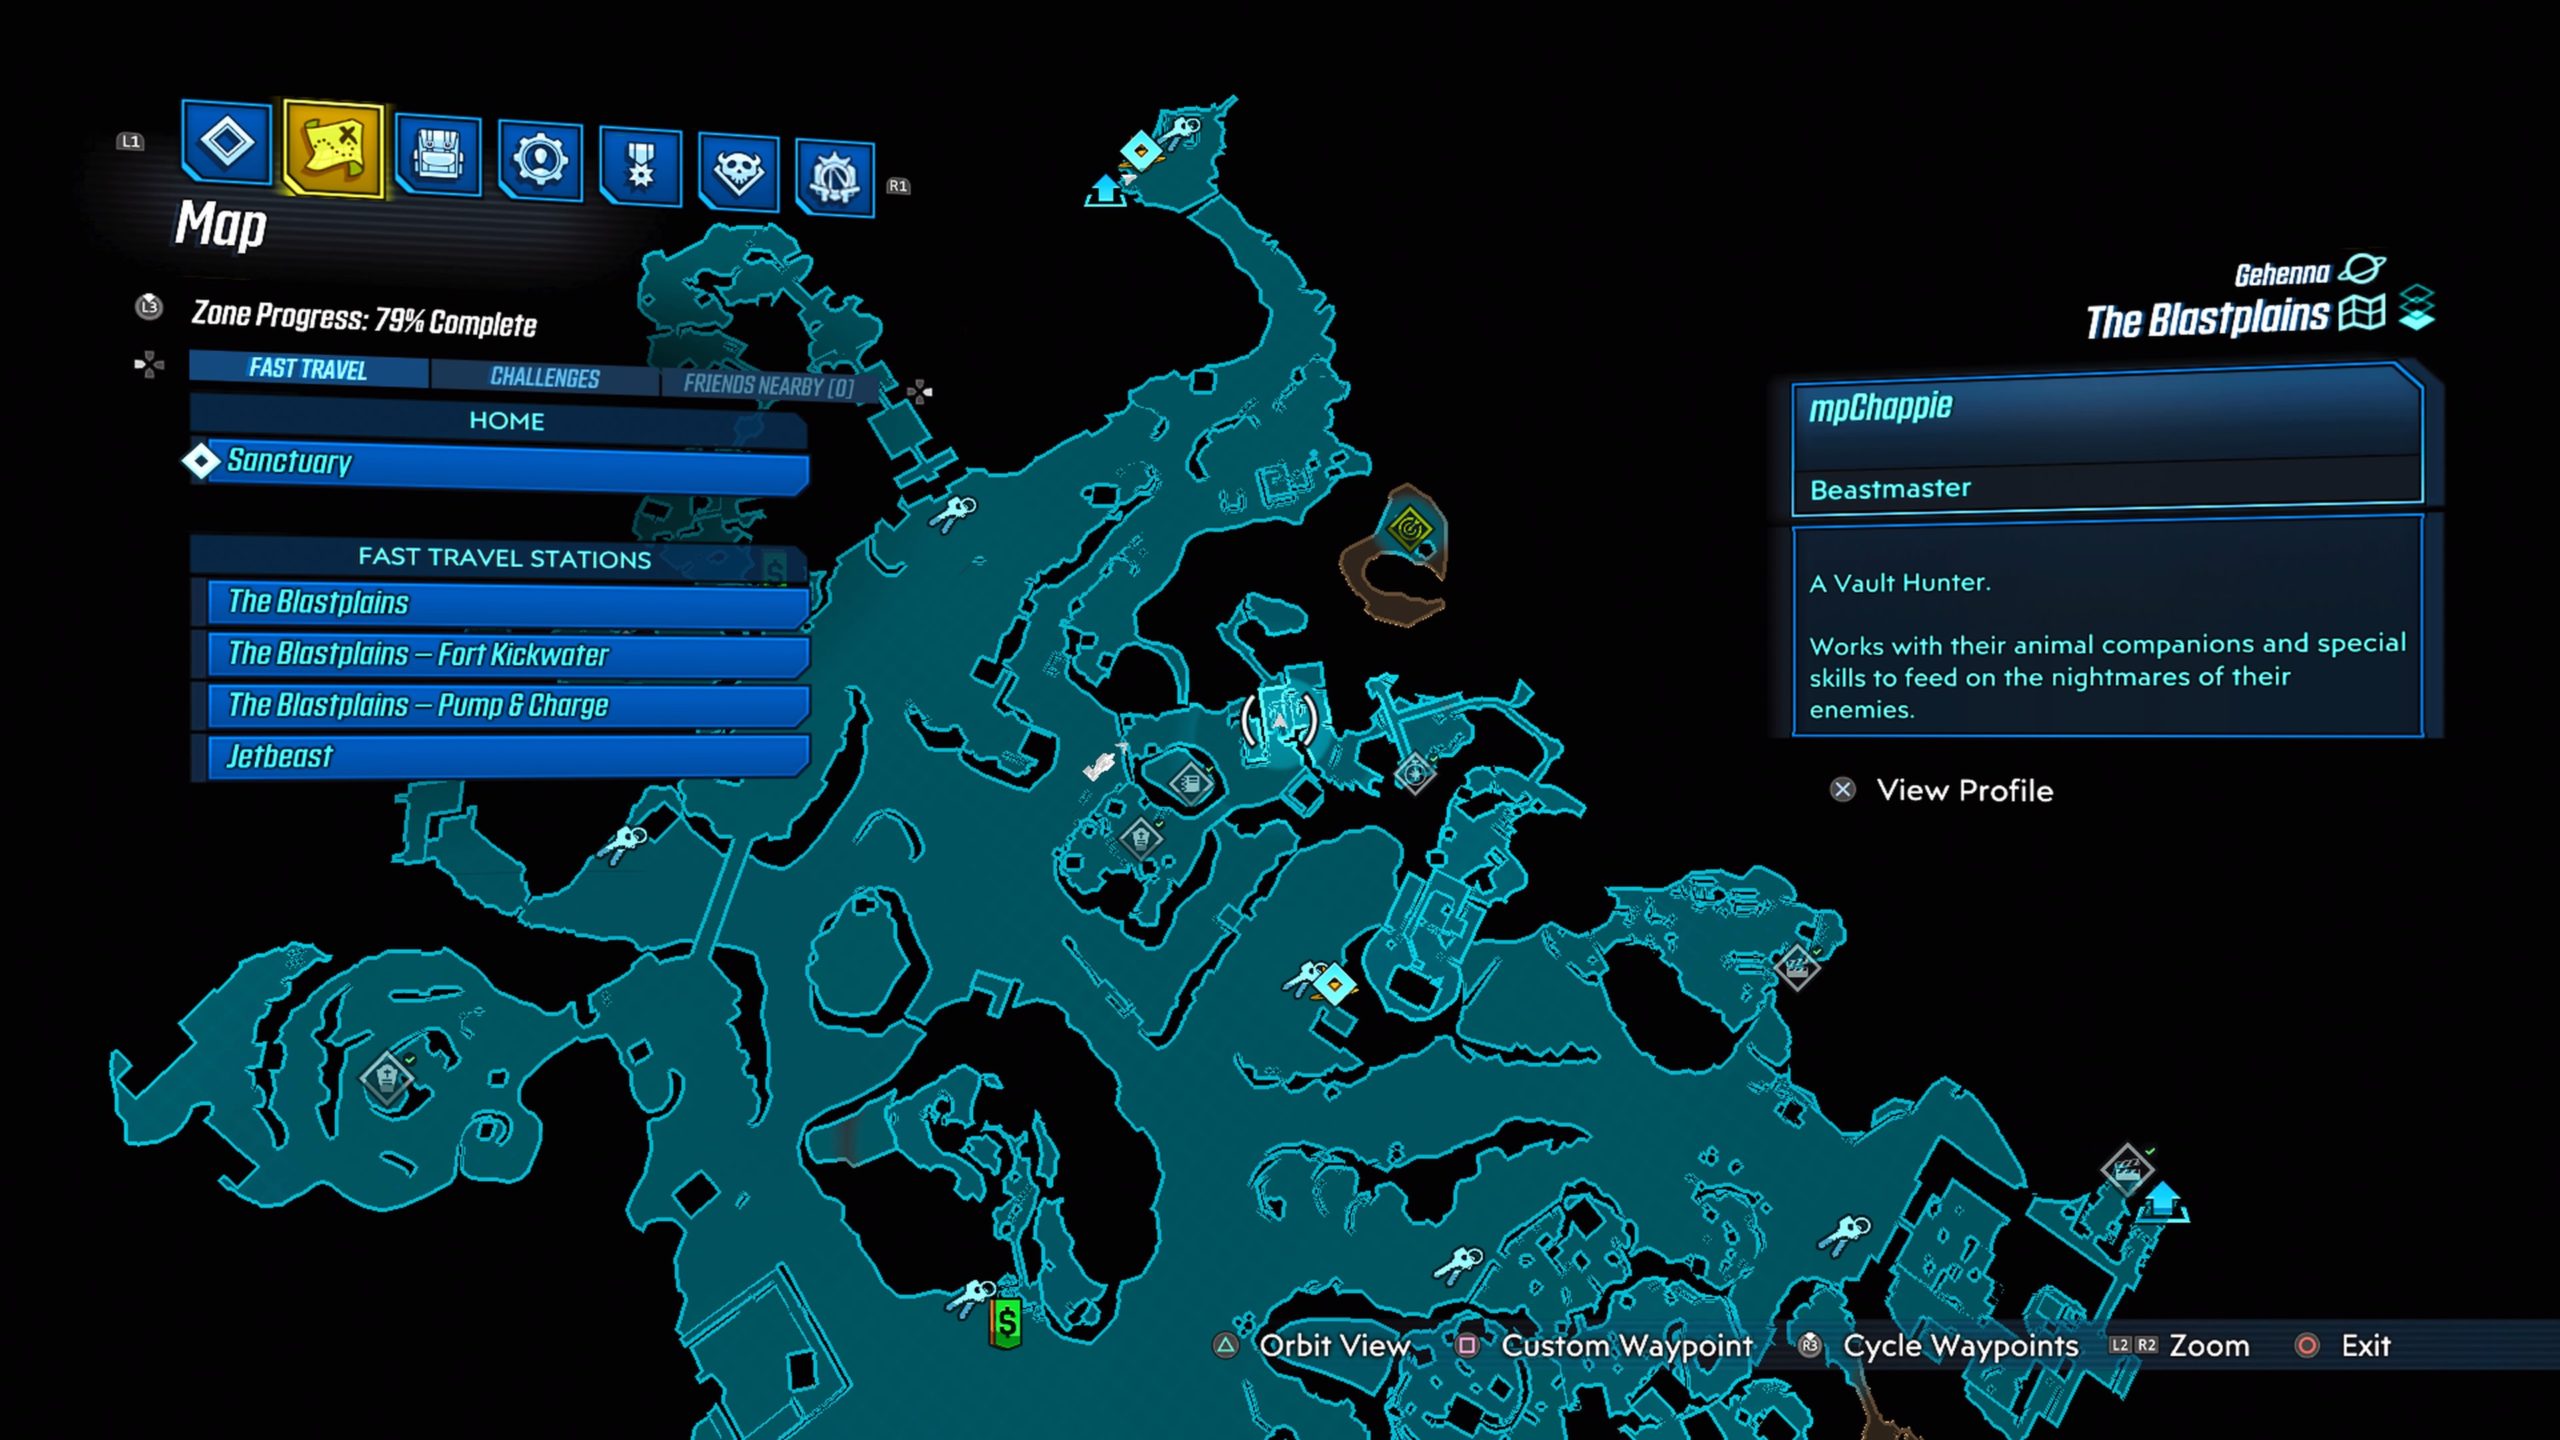
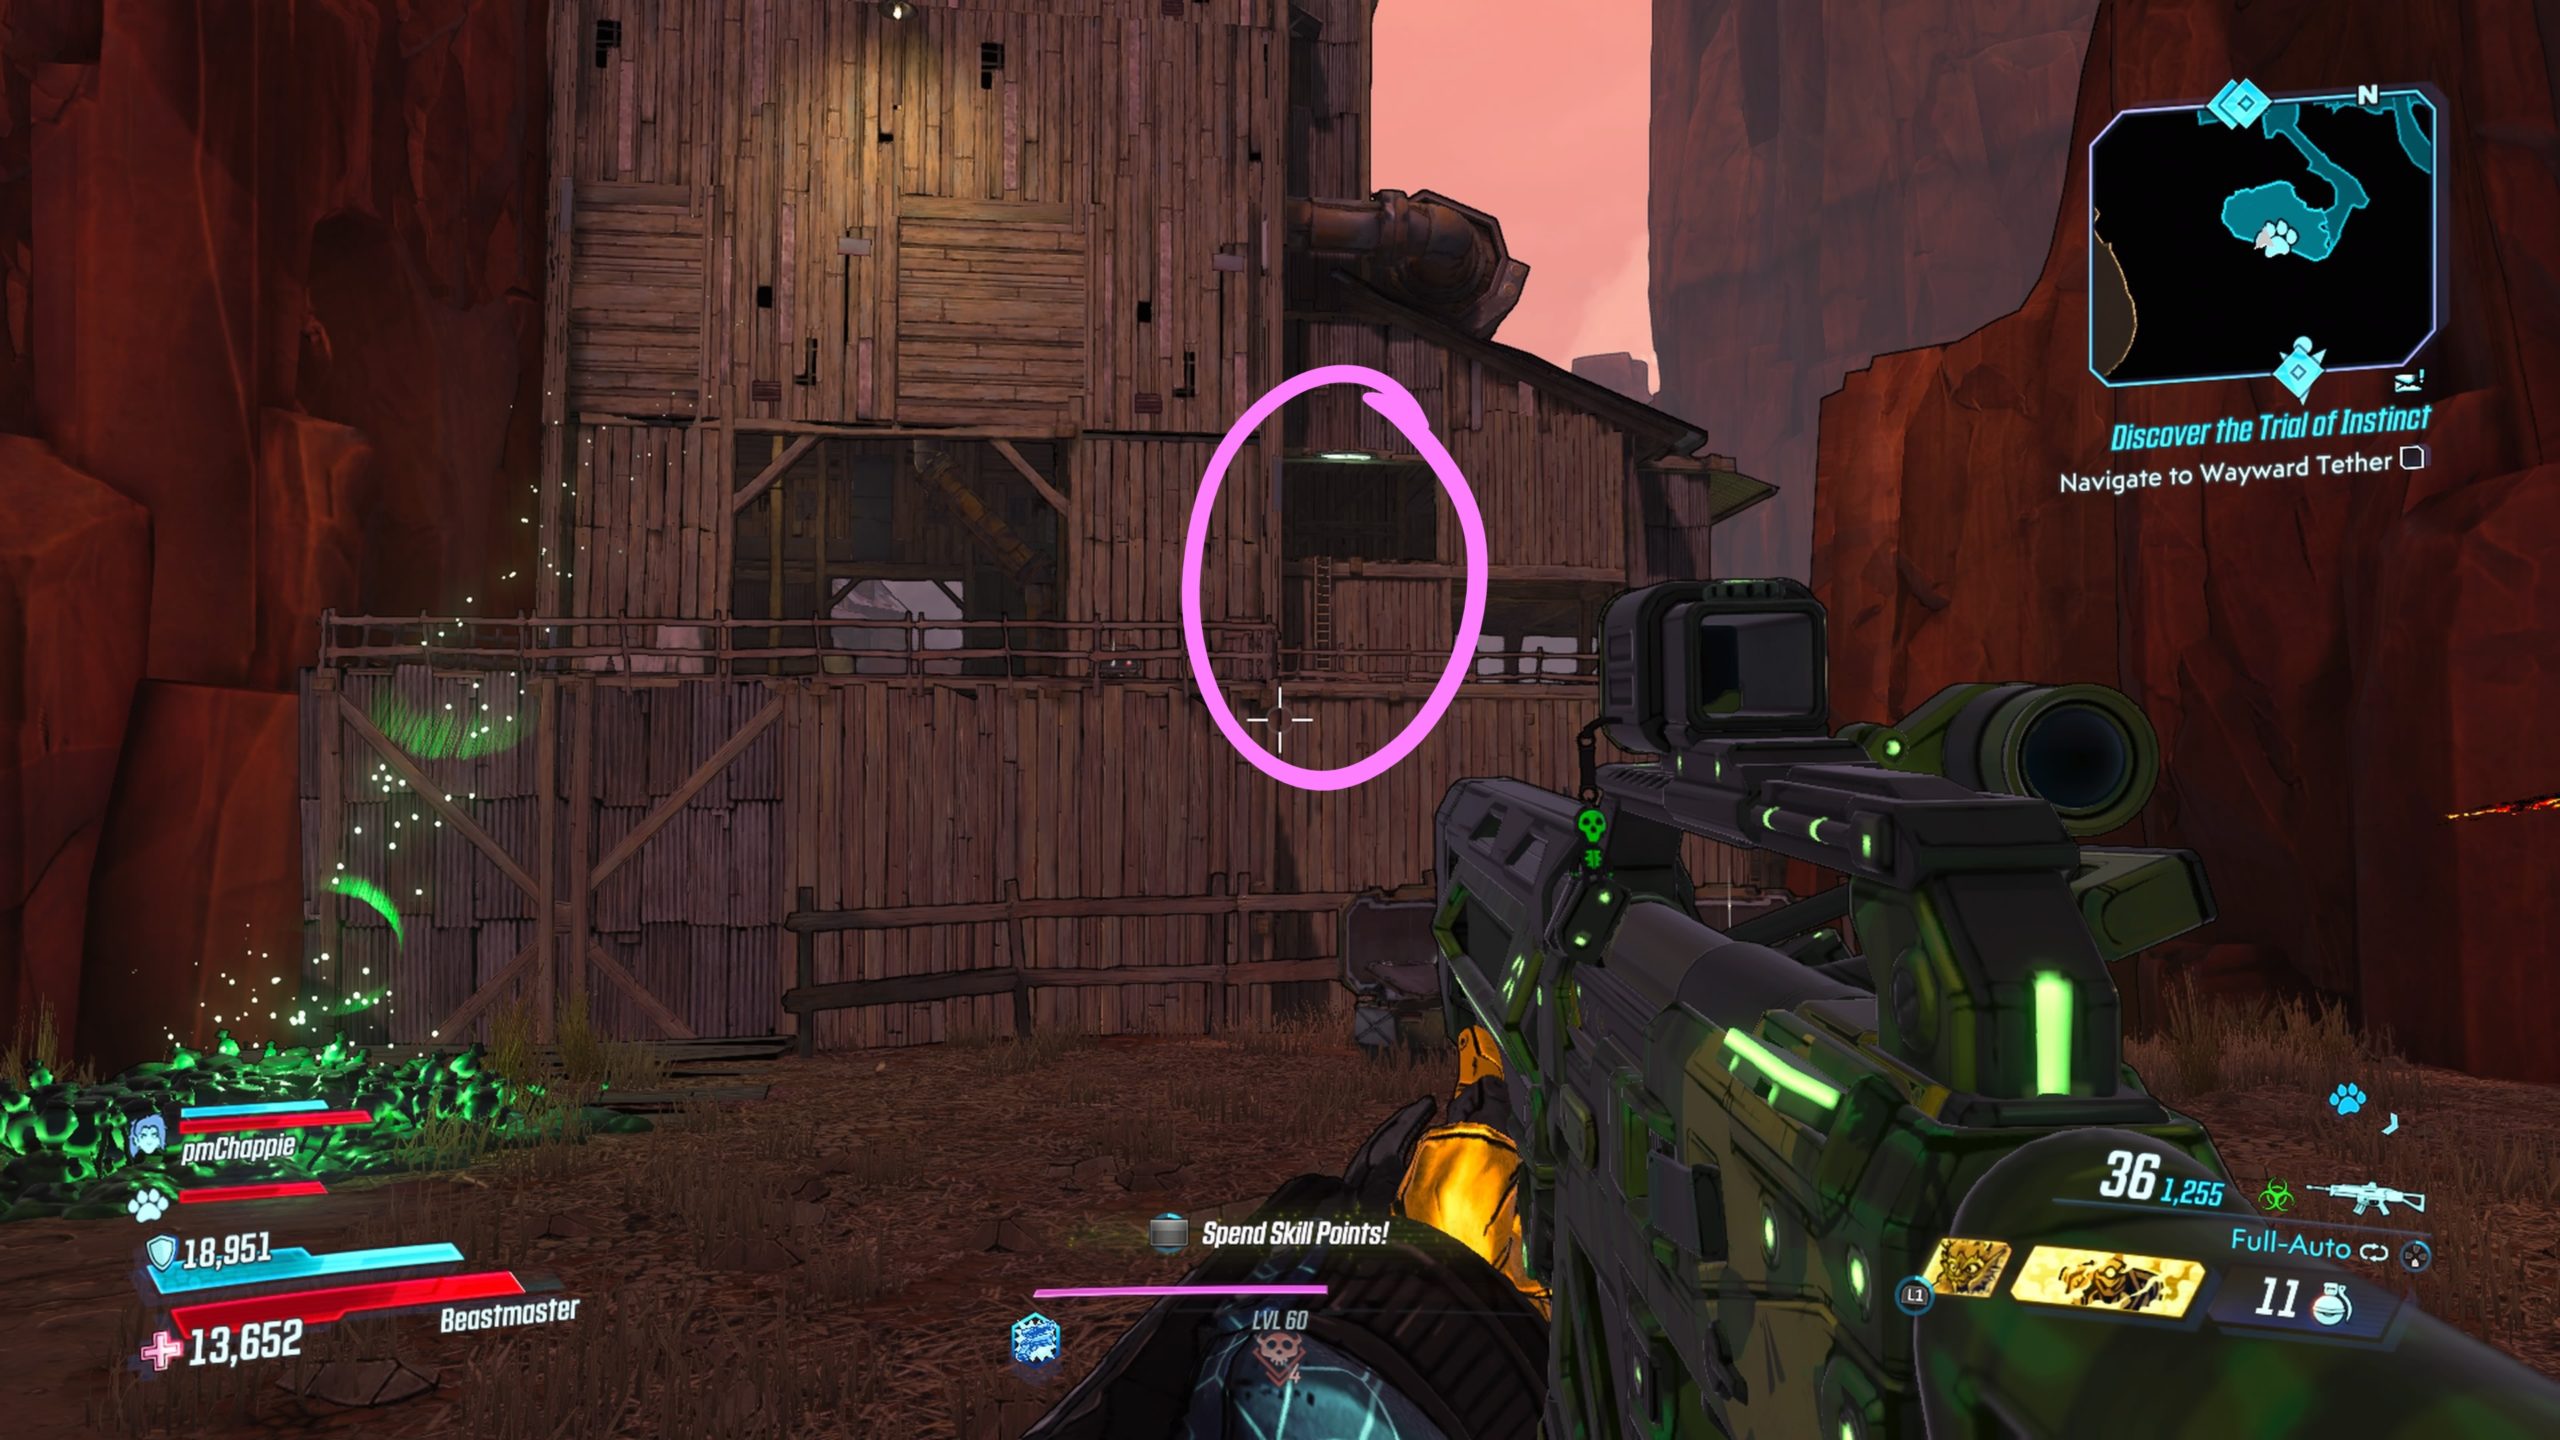

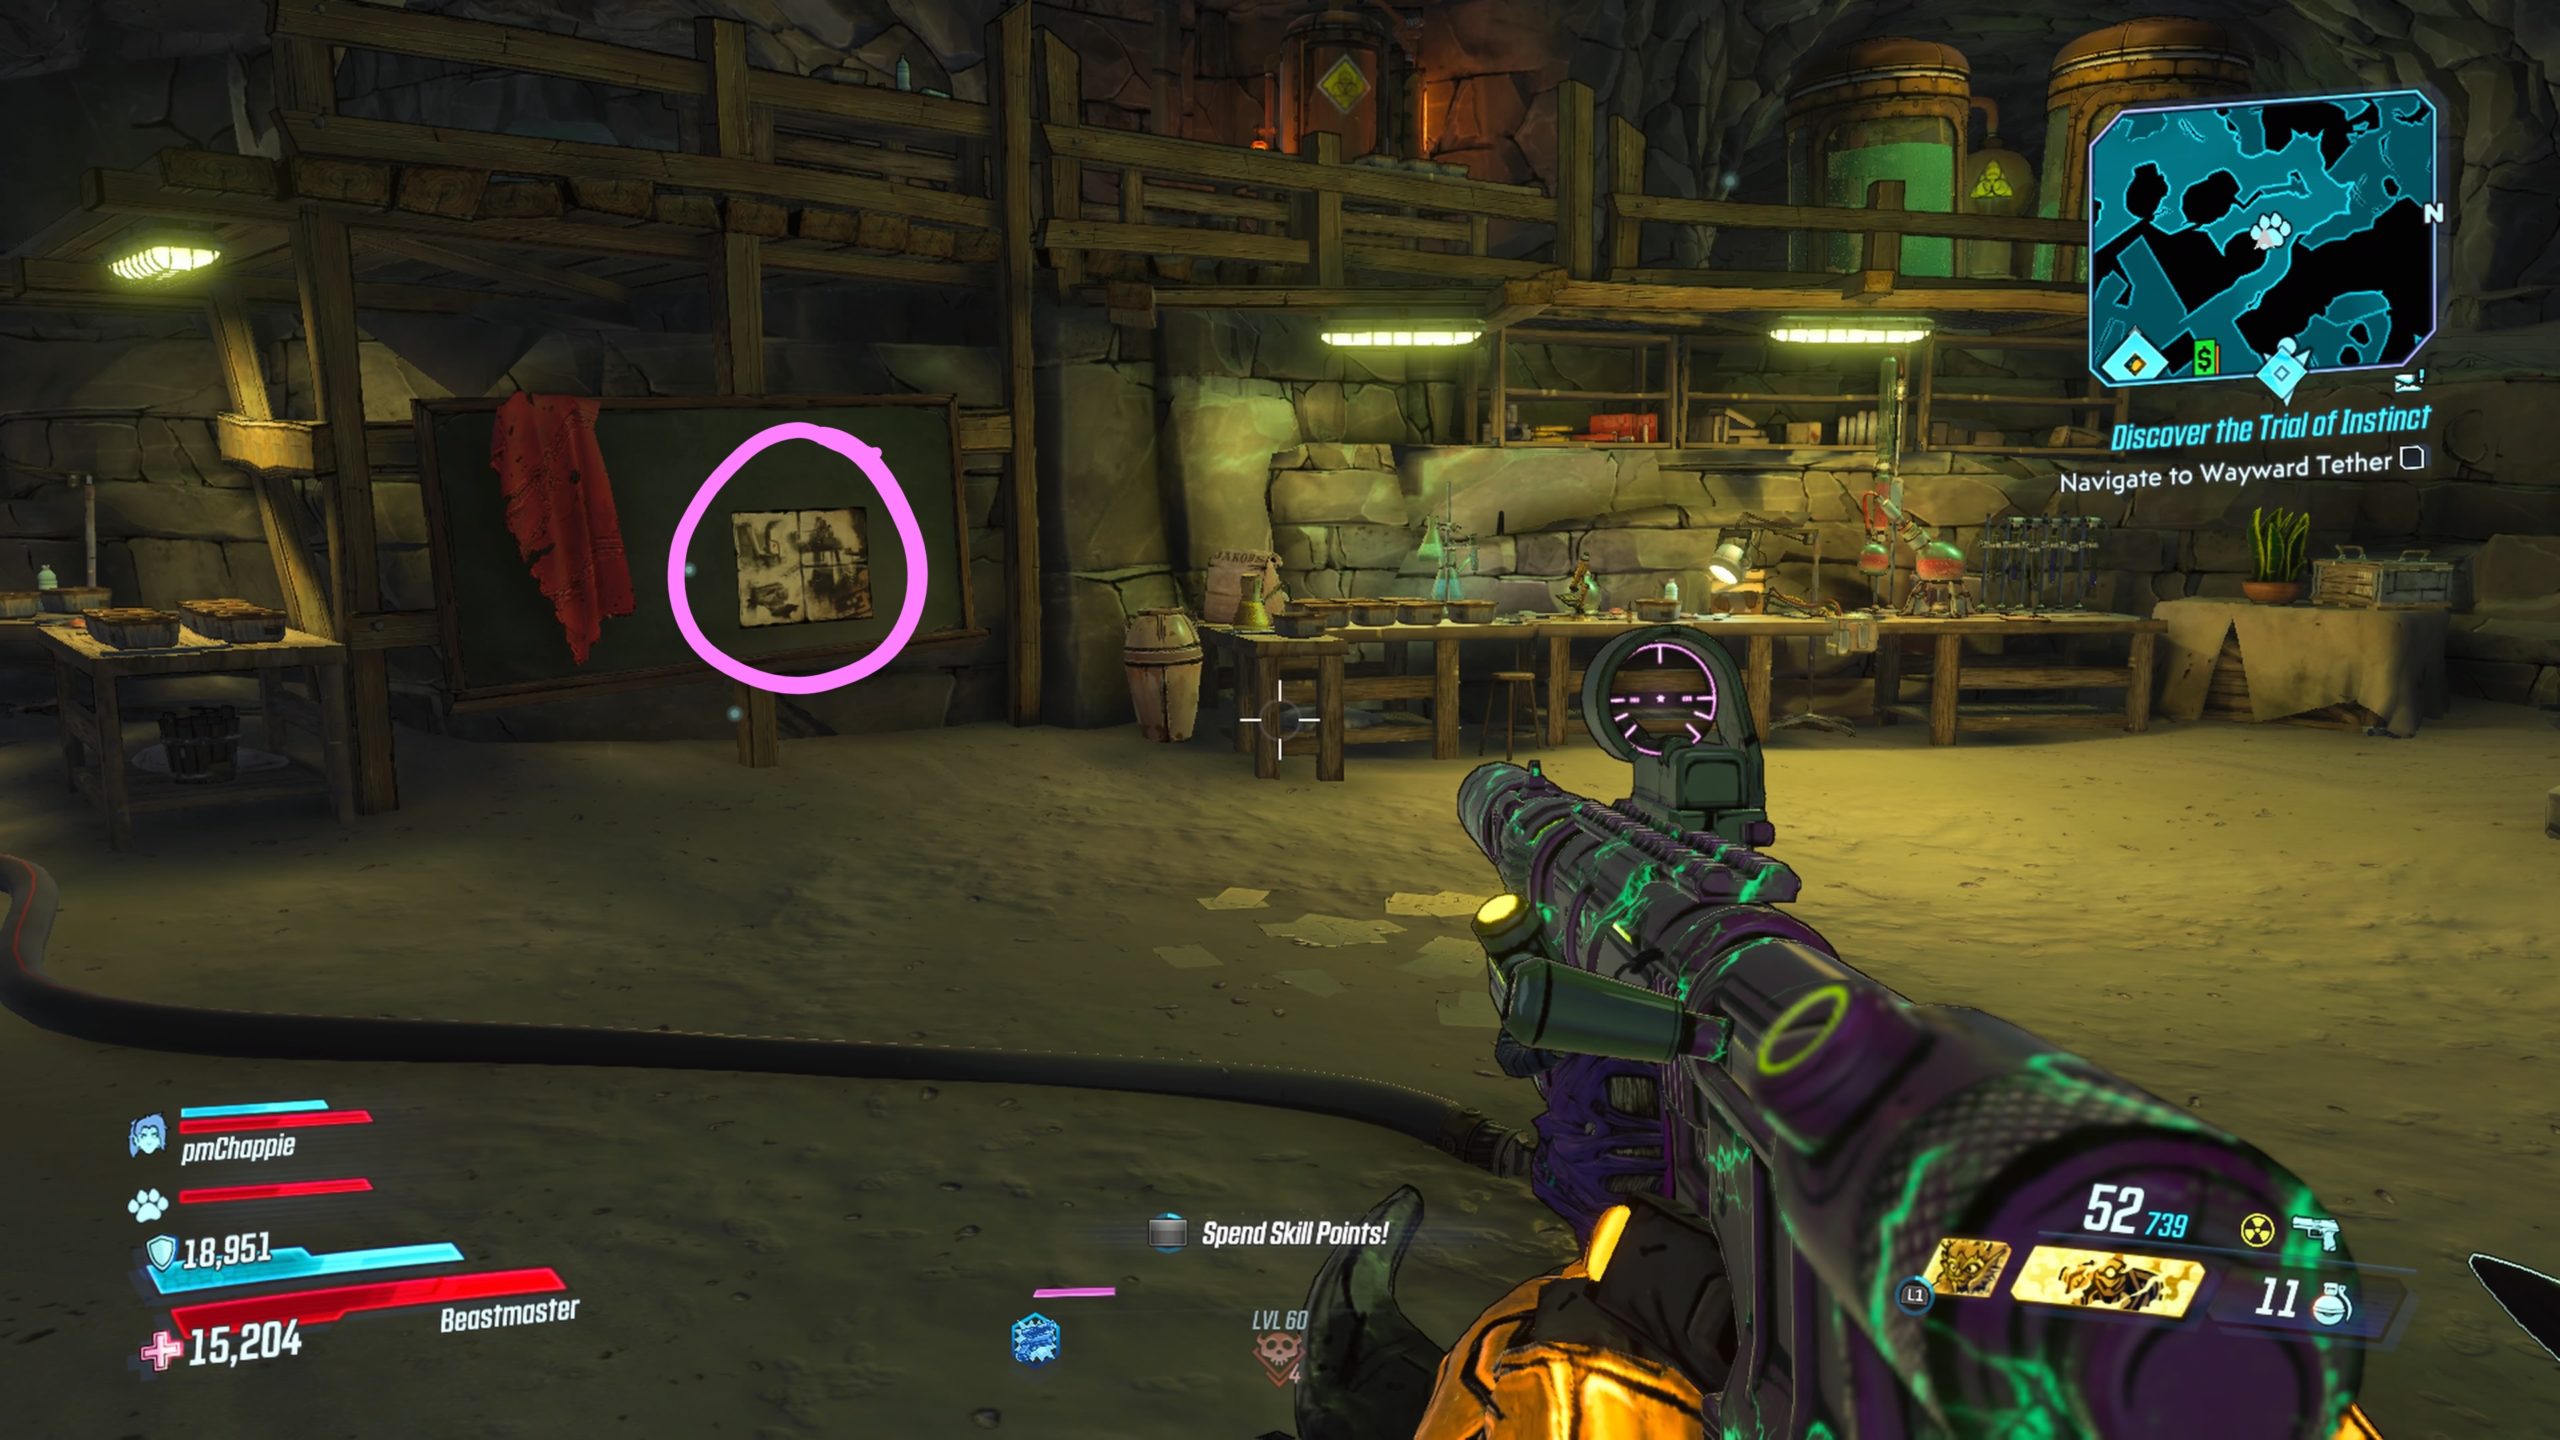
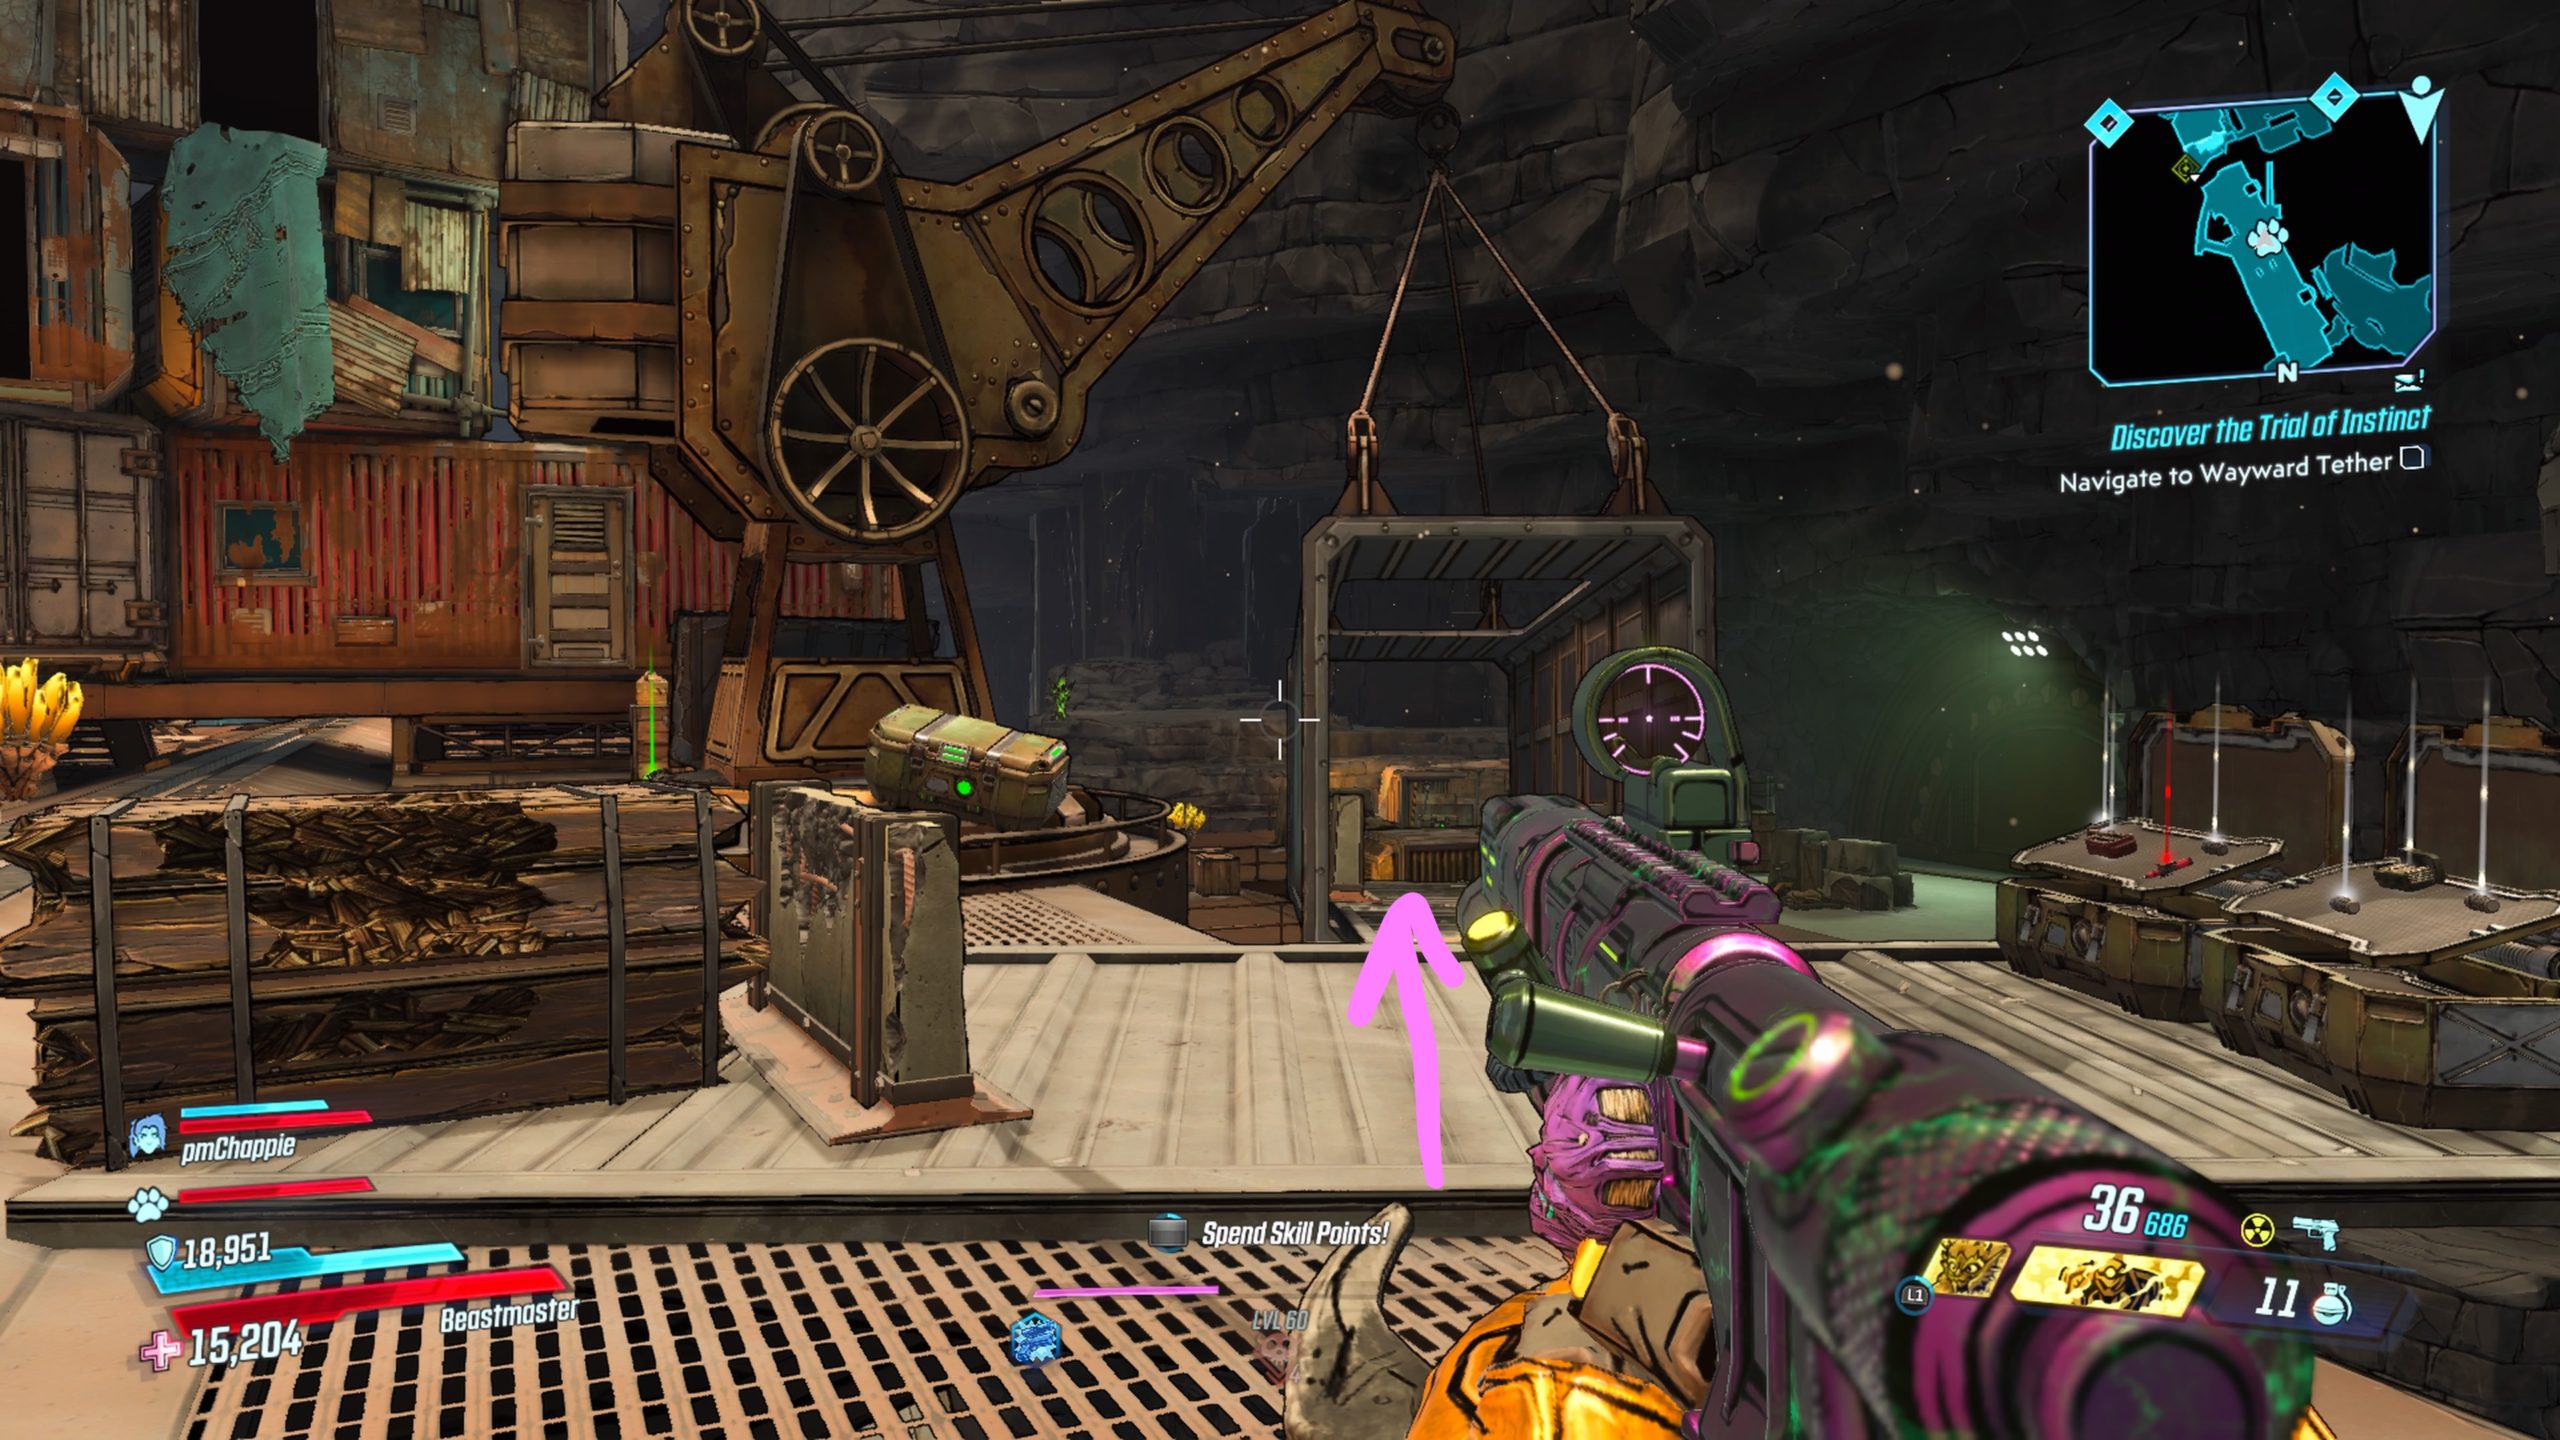
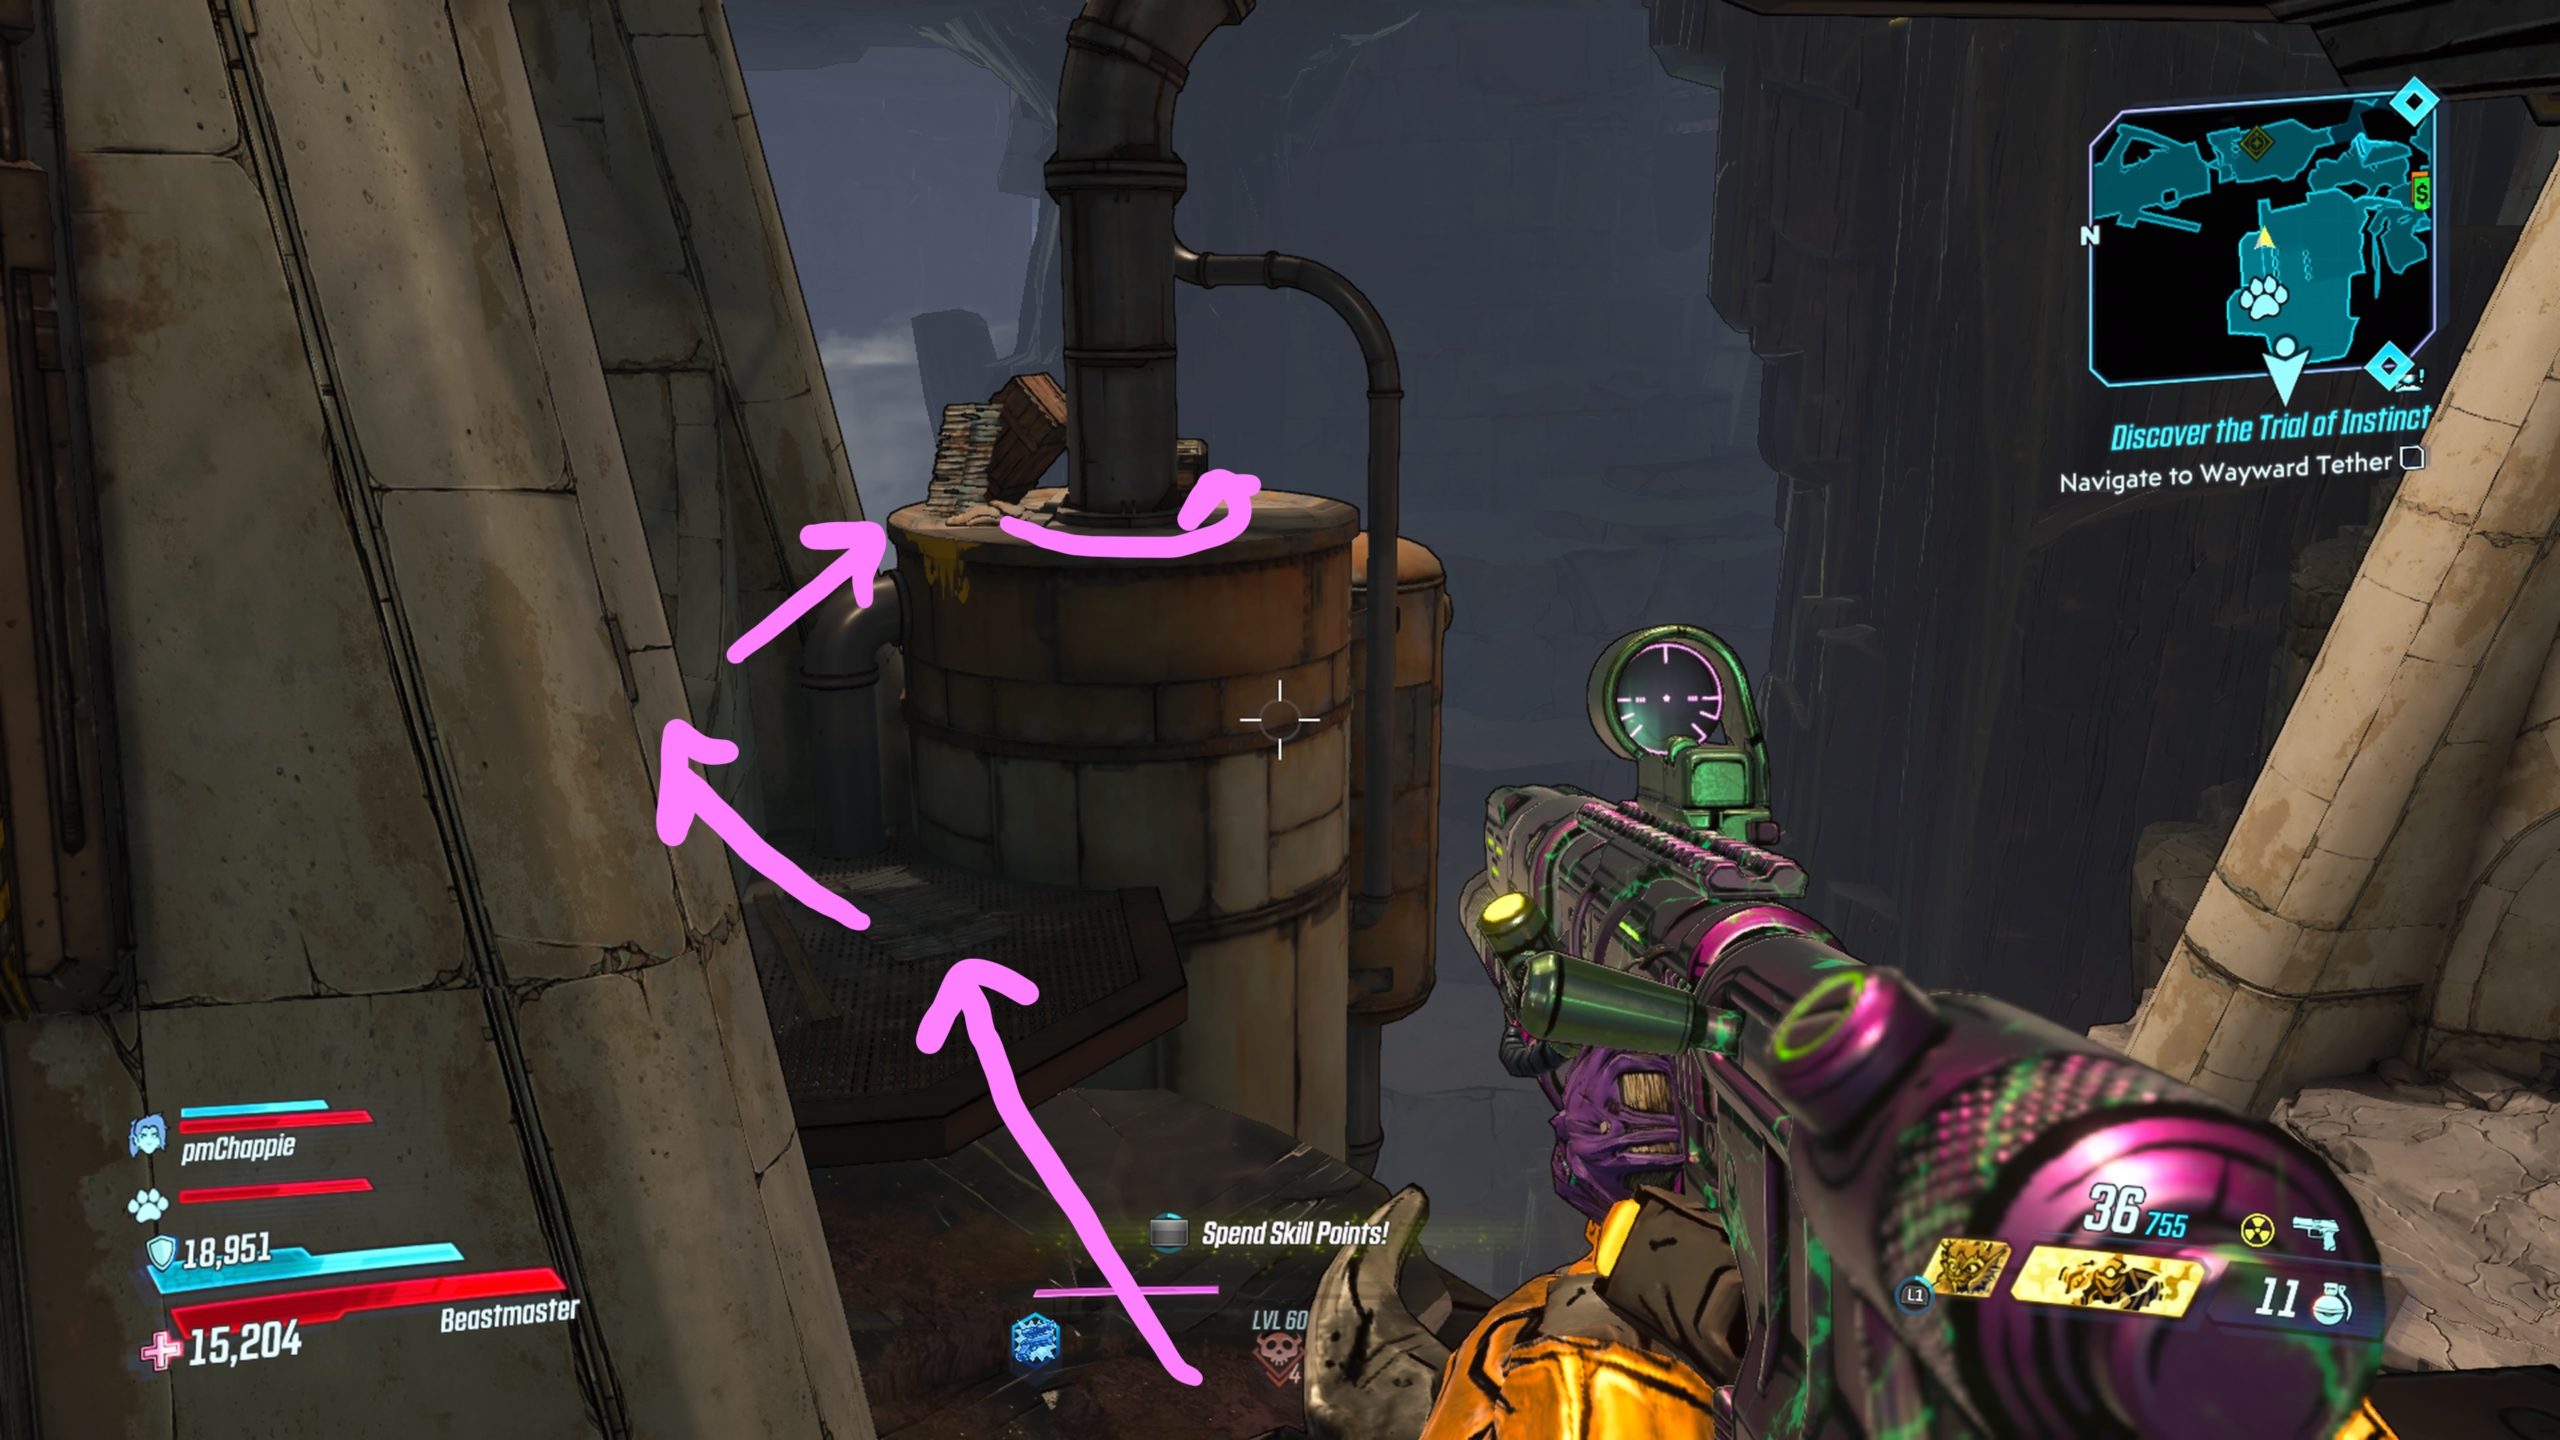
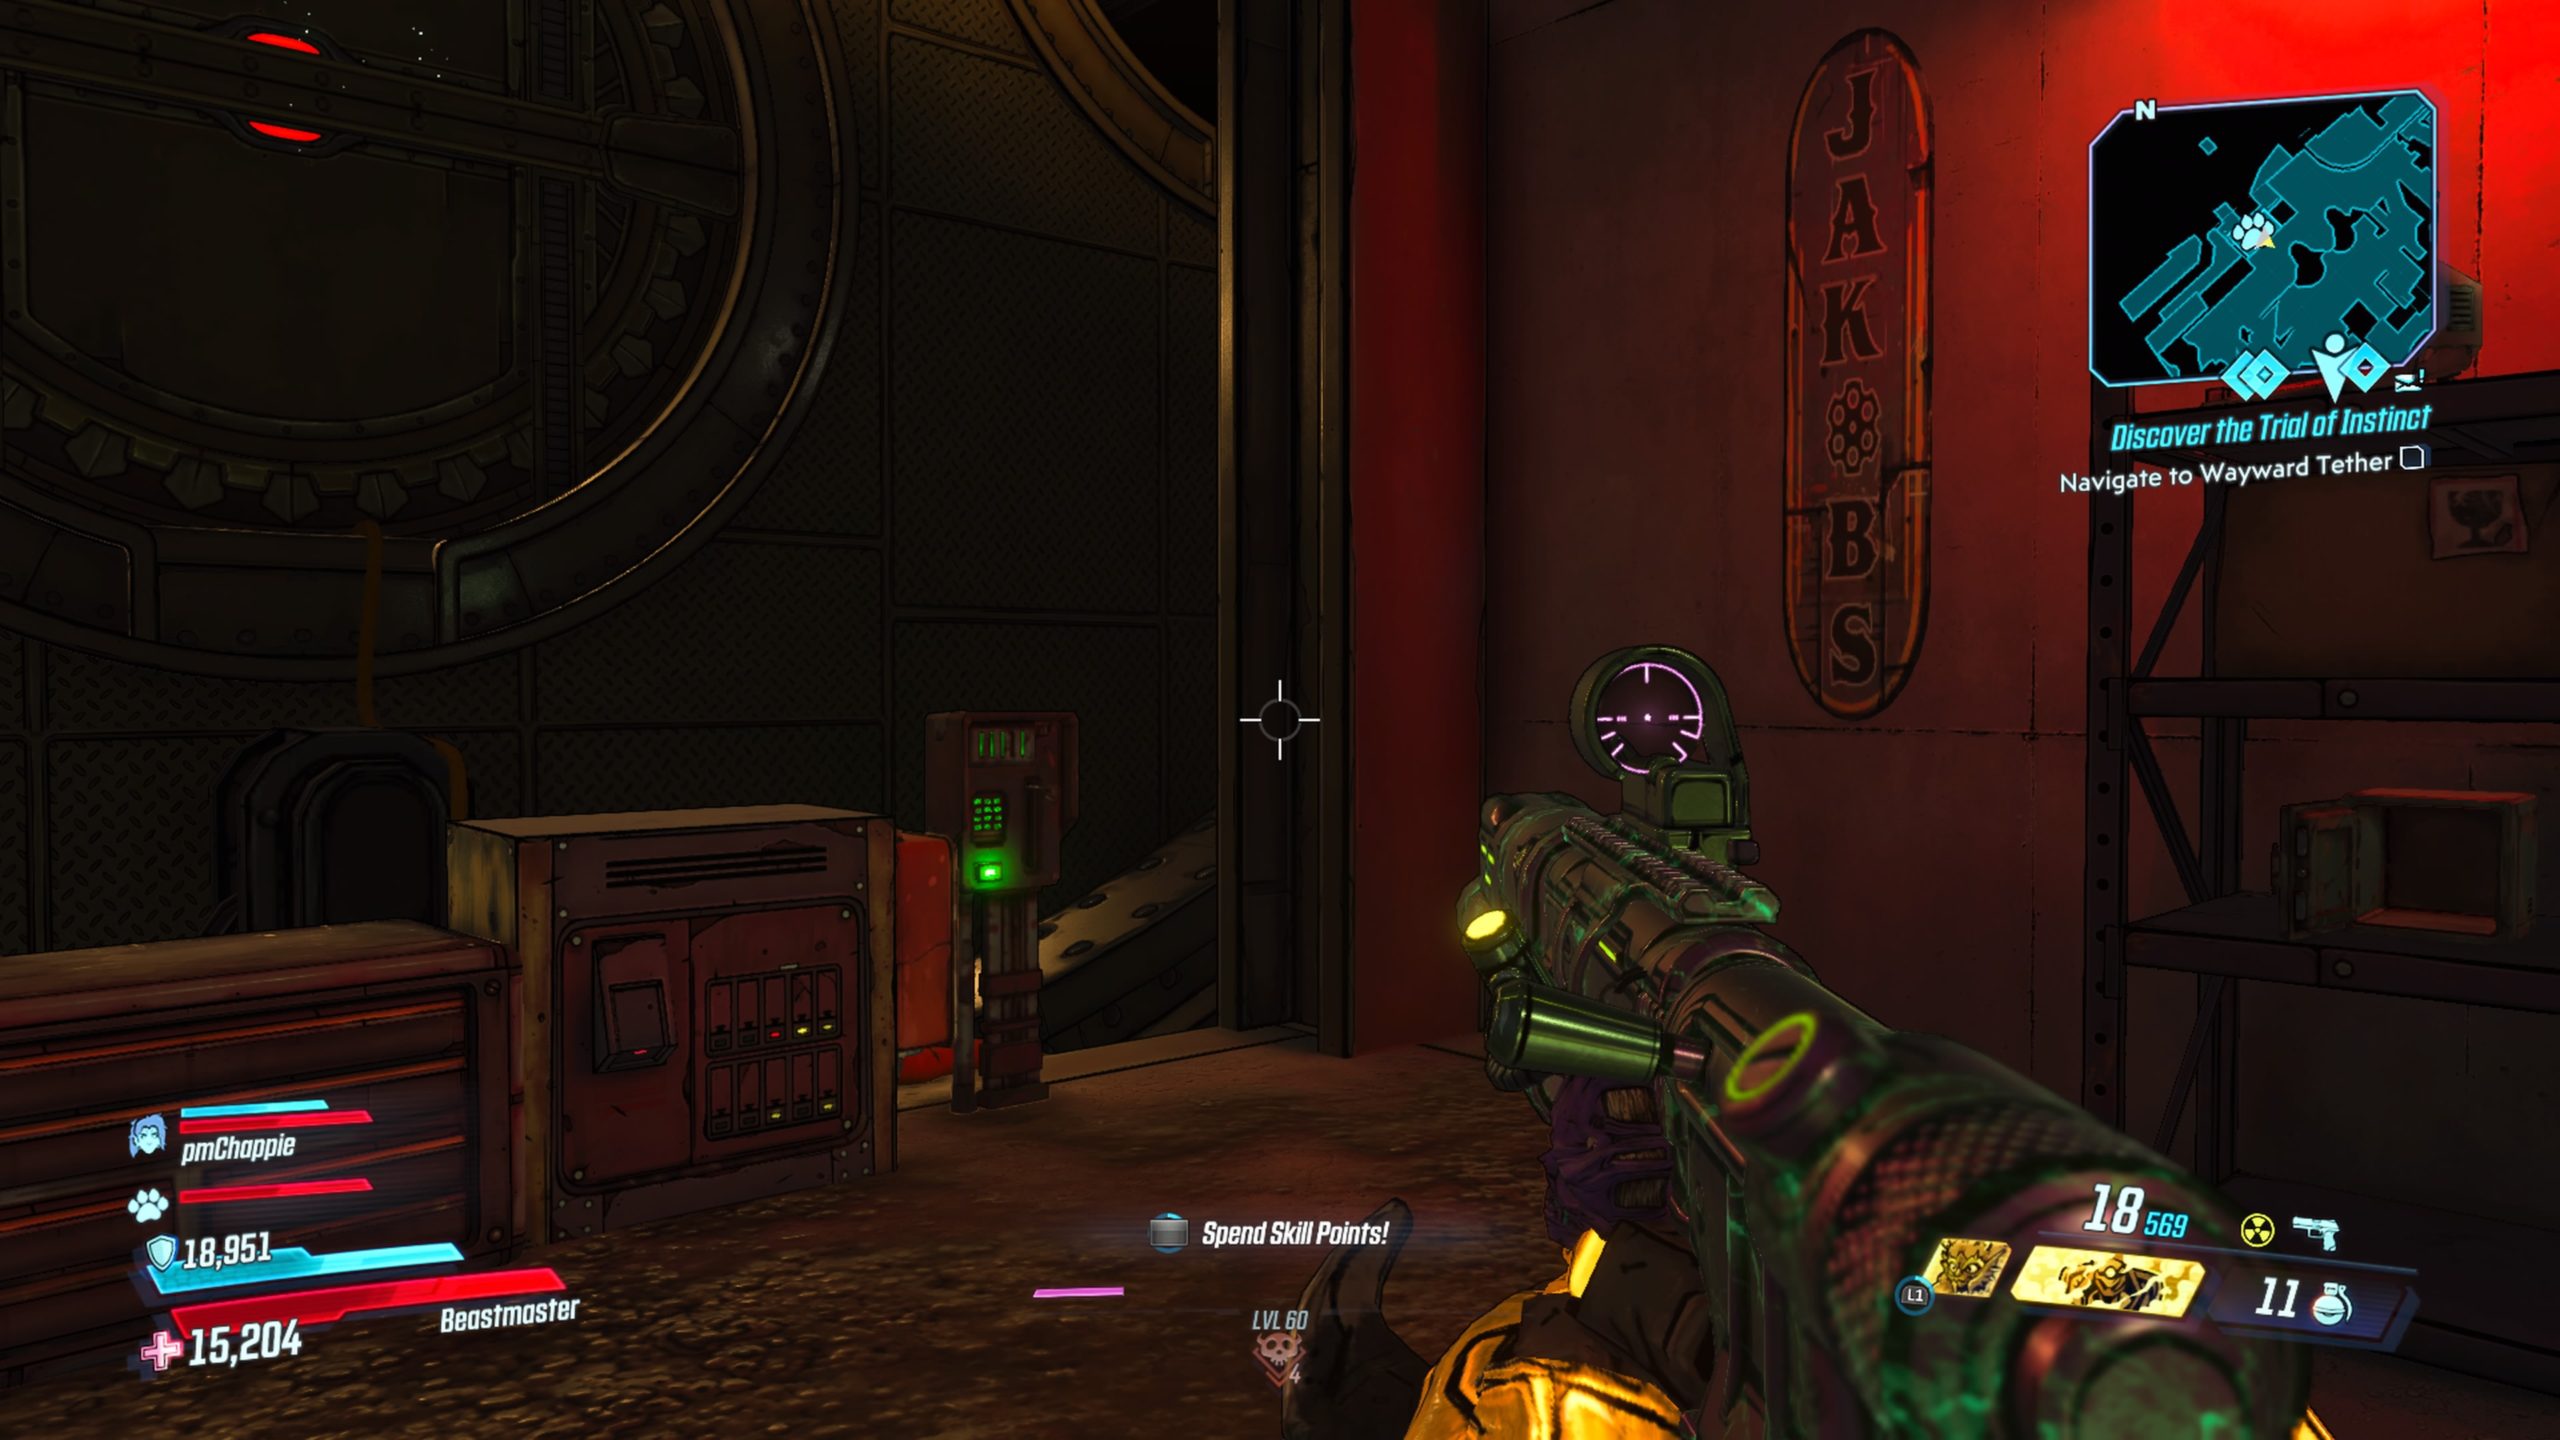
This log can be found in a barn in Amplecore Veins, which is a camp southeast of the Pump & Charge fast travel station. To reach it, climb up the ladder to the right of the building then proceed into the room. The log will be on a table in the small room to the left.
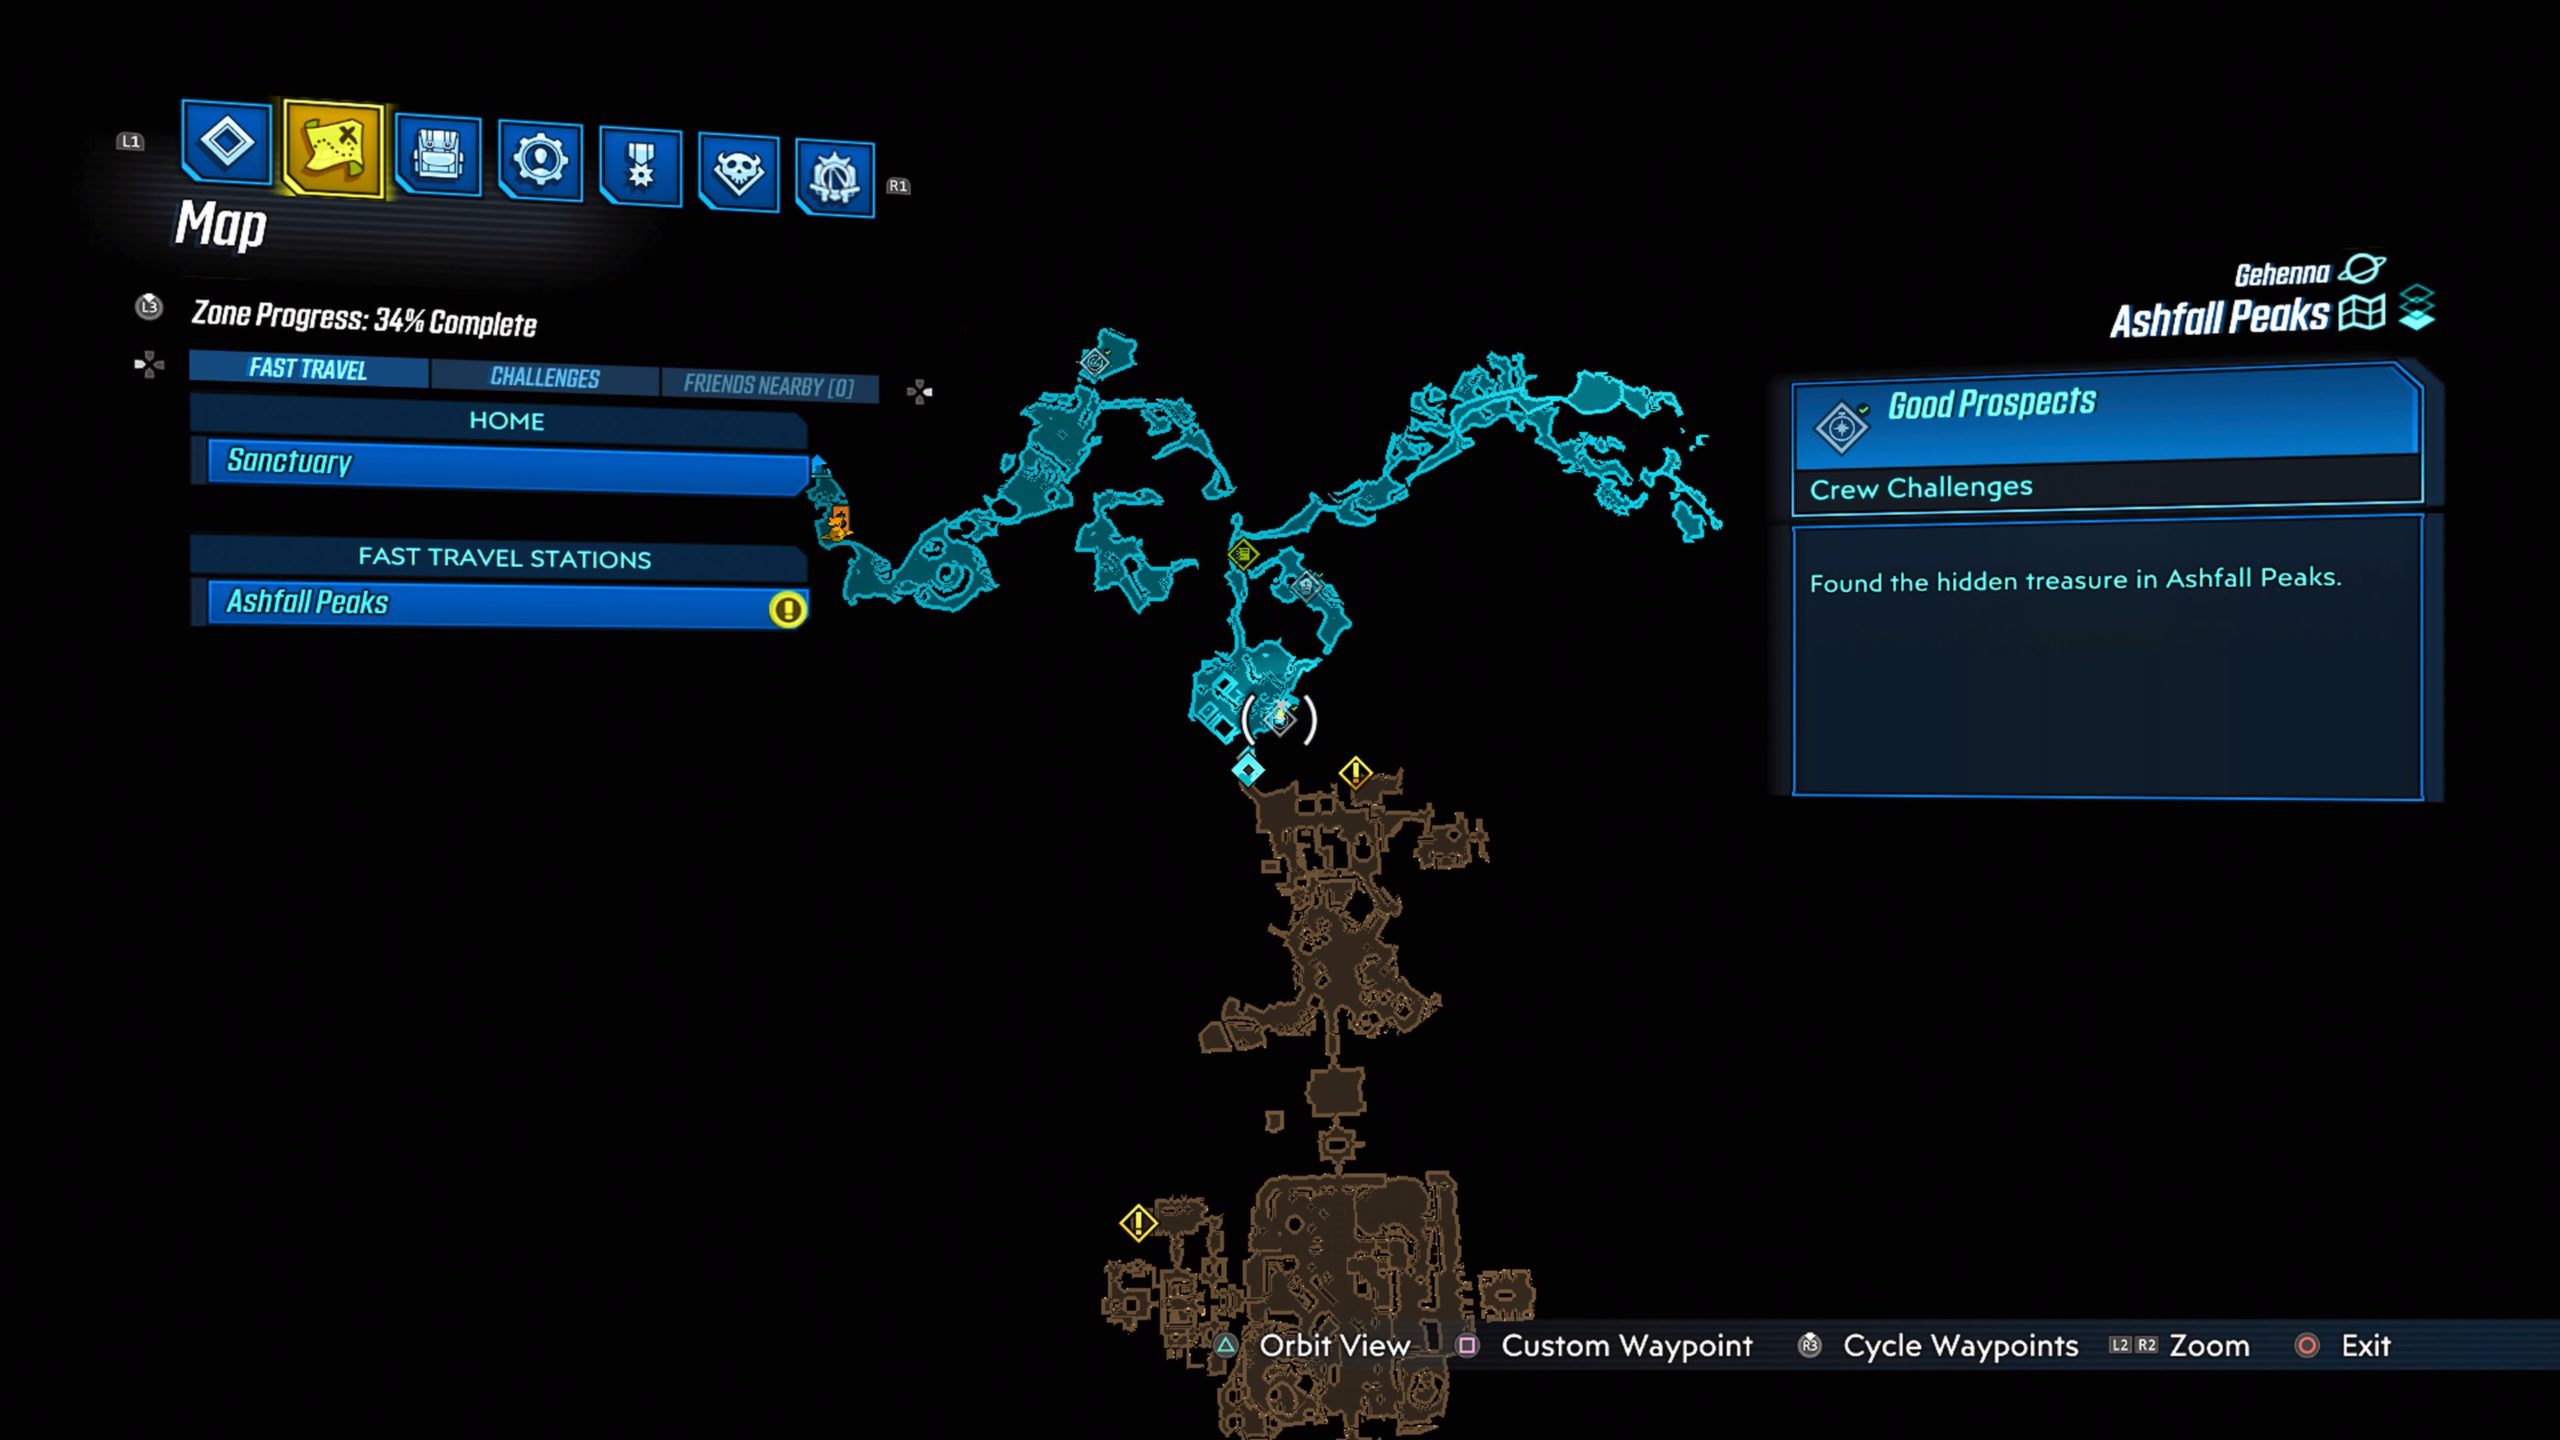
Ashfall Peaks
Squeaky Clean
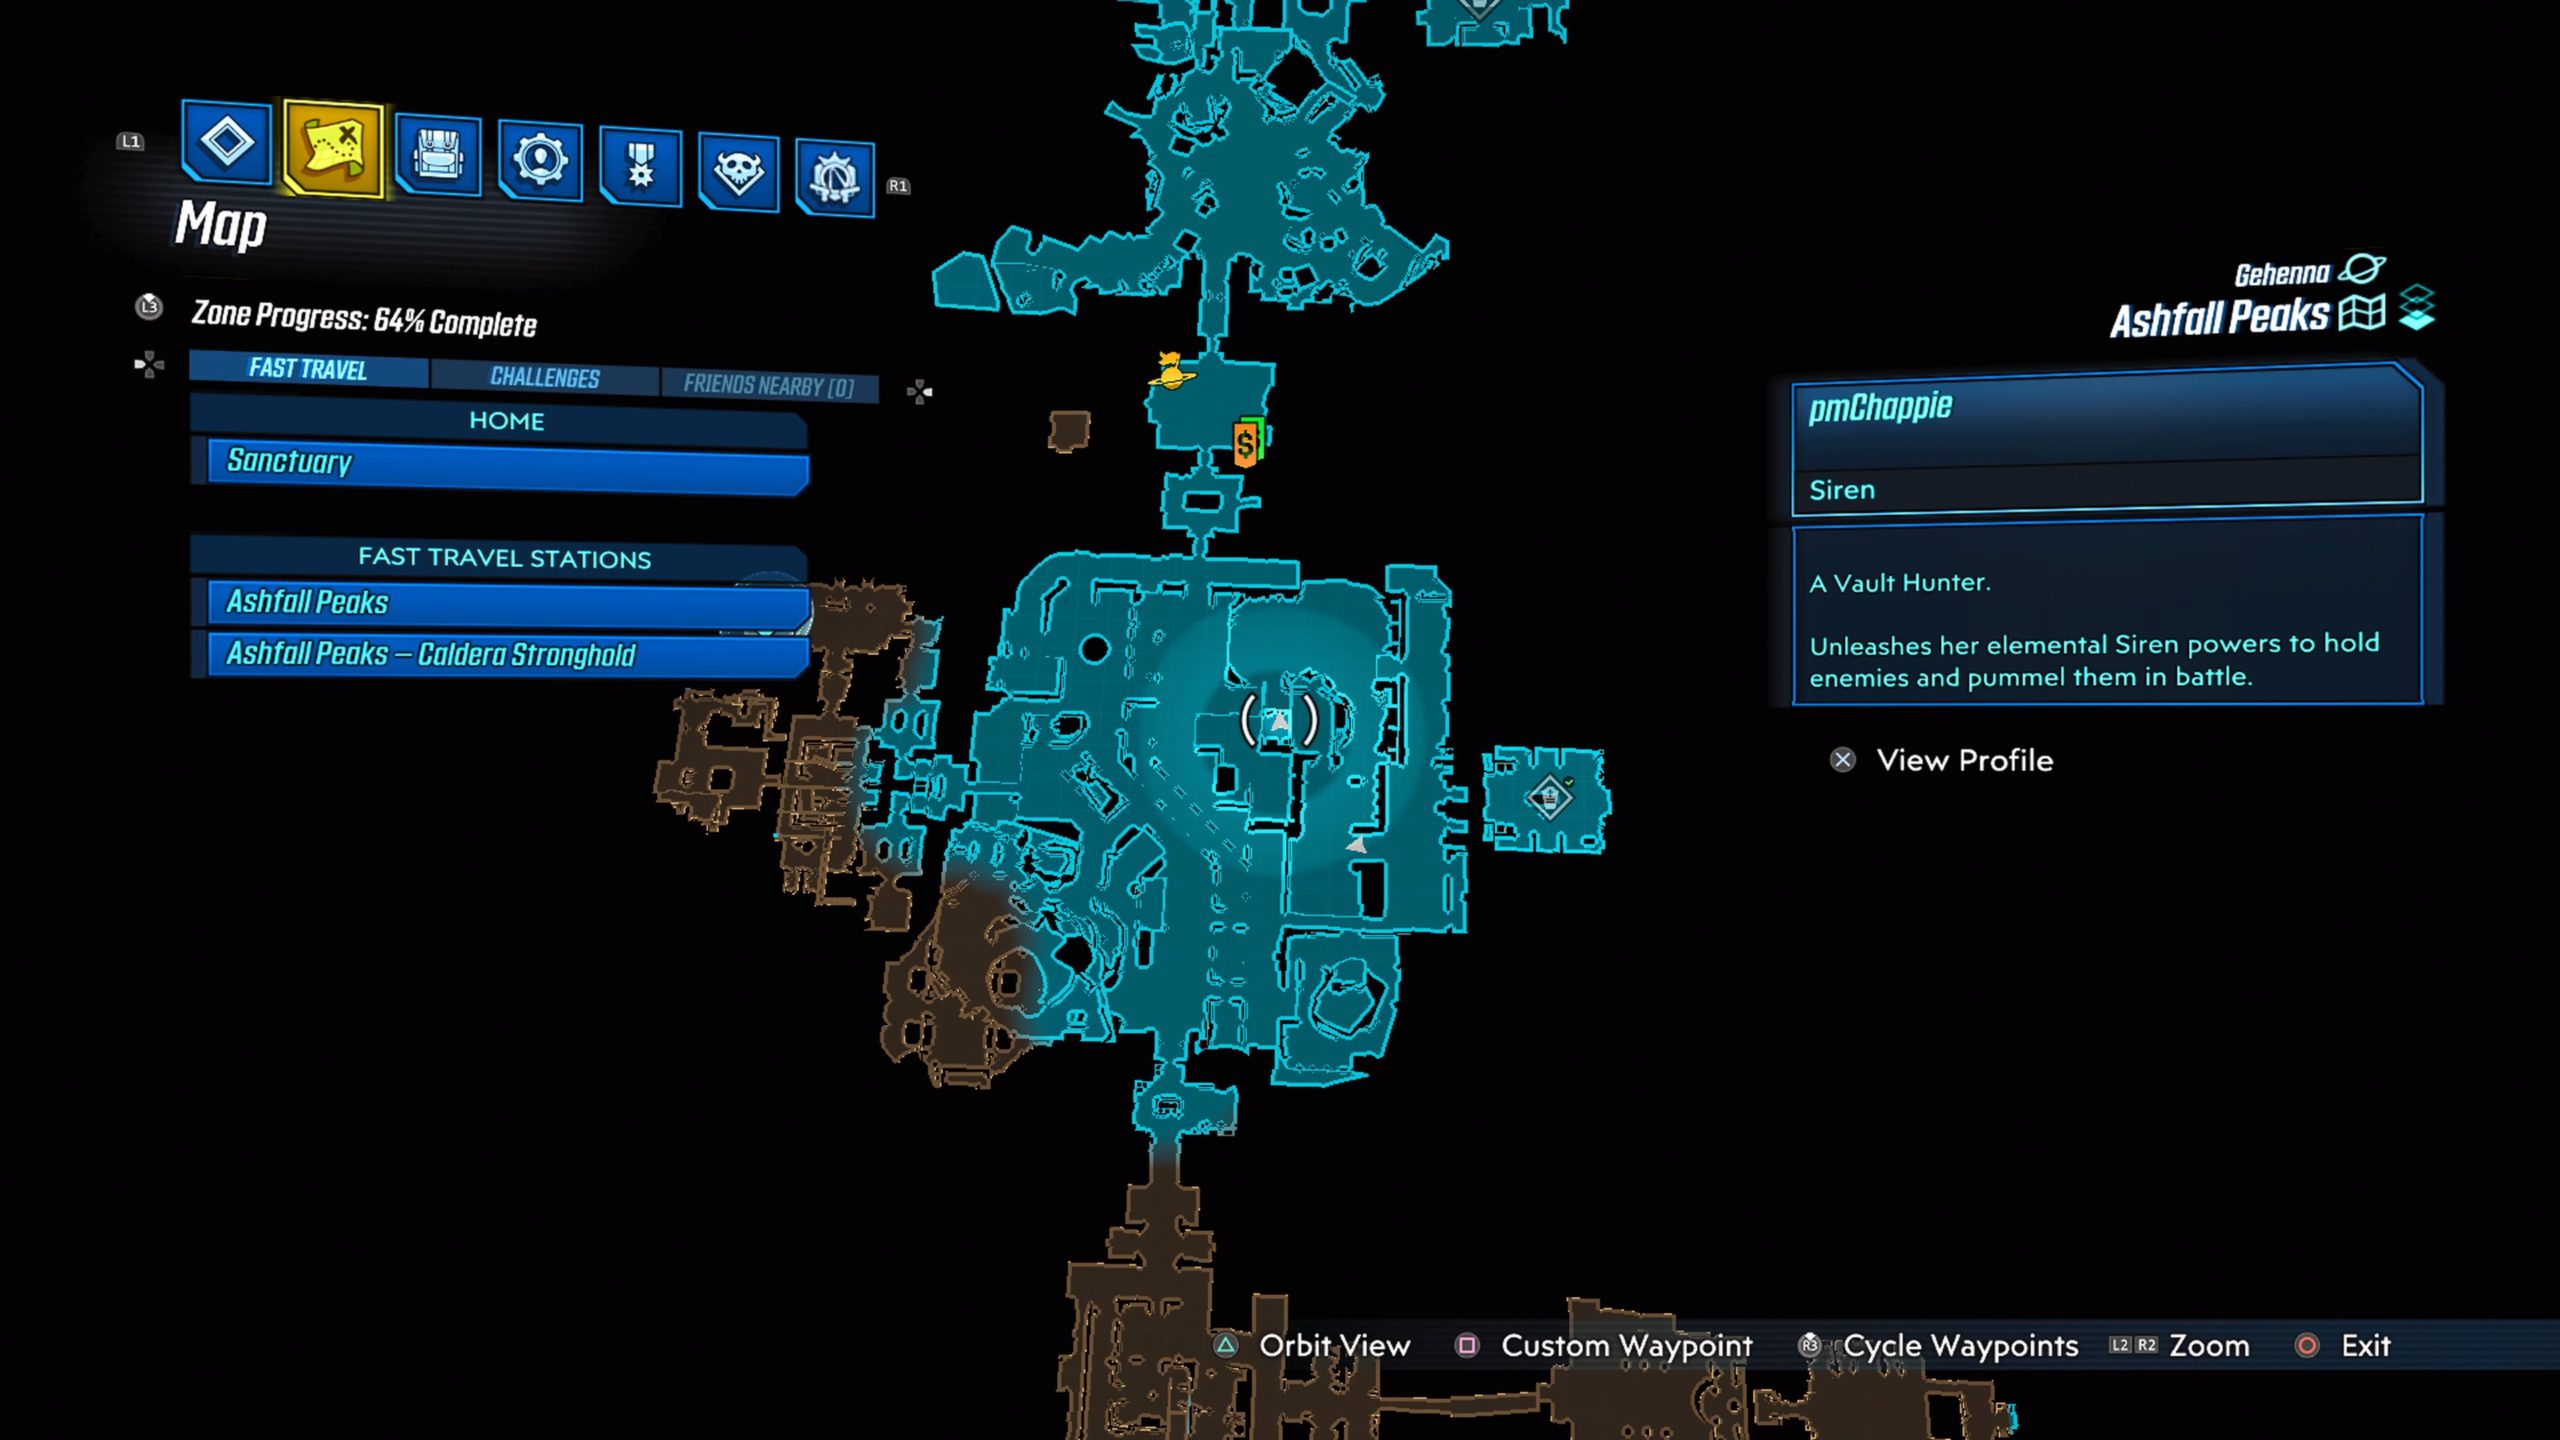

This log can be found in The Devil’s Greatroom in Caldera Stronghold in the tallest structure, which is climbable via a ladder.
Moonlight Sonata

This can be found in a small hidden room to the west of the Caldera Stronghold fast travel station. To reach this secret room, enter the Devil’s Greatroom and head inside the tallest building to find a portal. The portal will take you to a hidden/secret room containing the log.
Obsidian Forest
Close Quarters


This log can be found in Tallyway Station on a bench before entering the first building you come across with two circular doors.
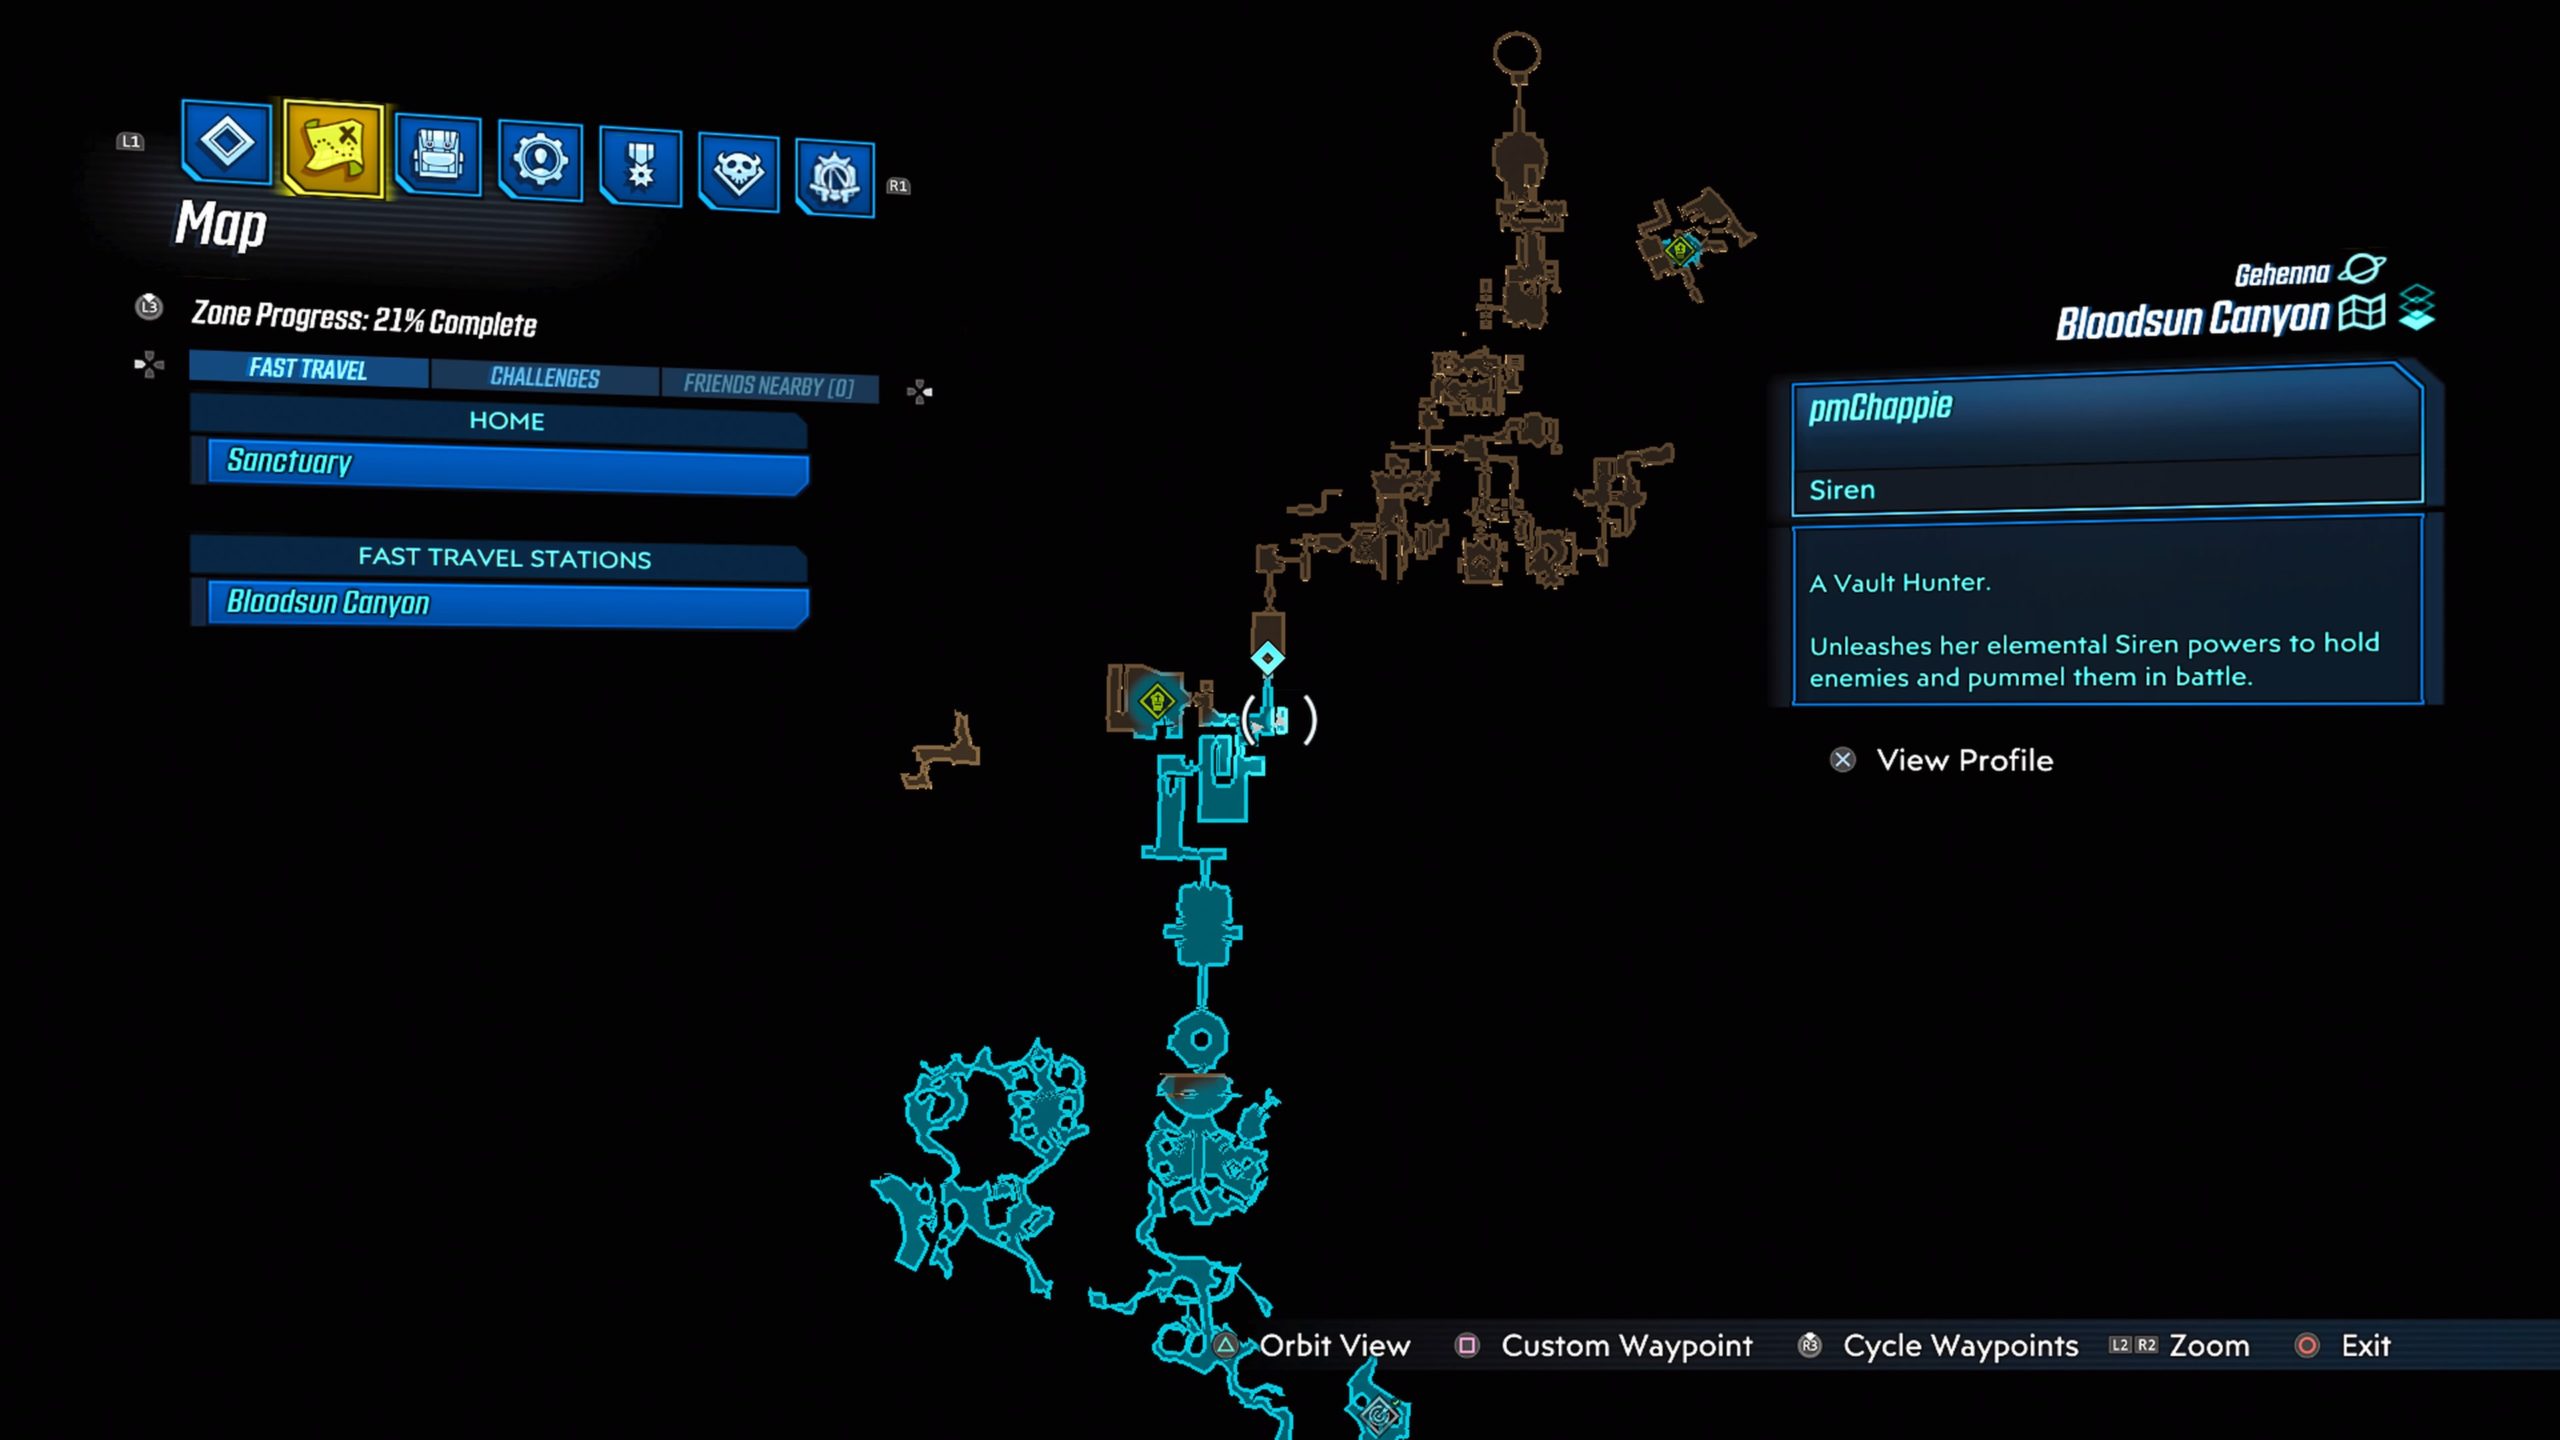
**NAME UNKNOWN** (We picked it up before getting the name…sorry!!)

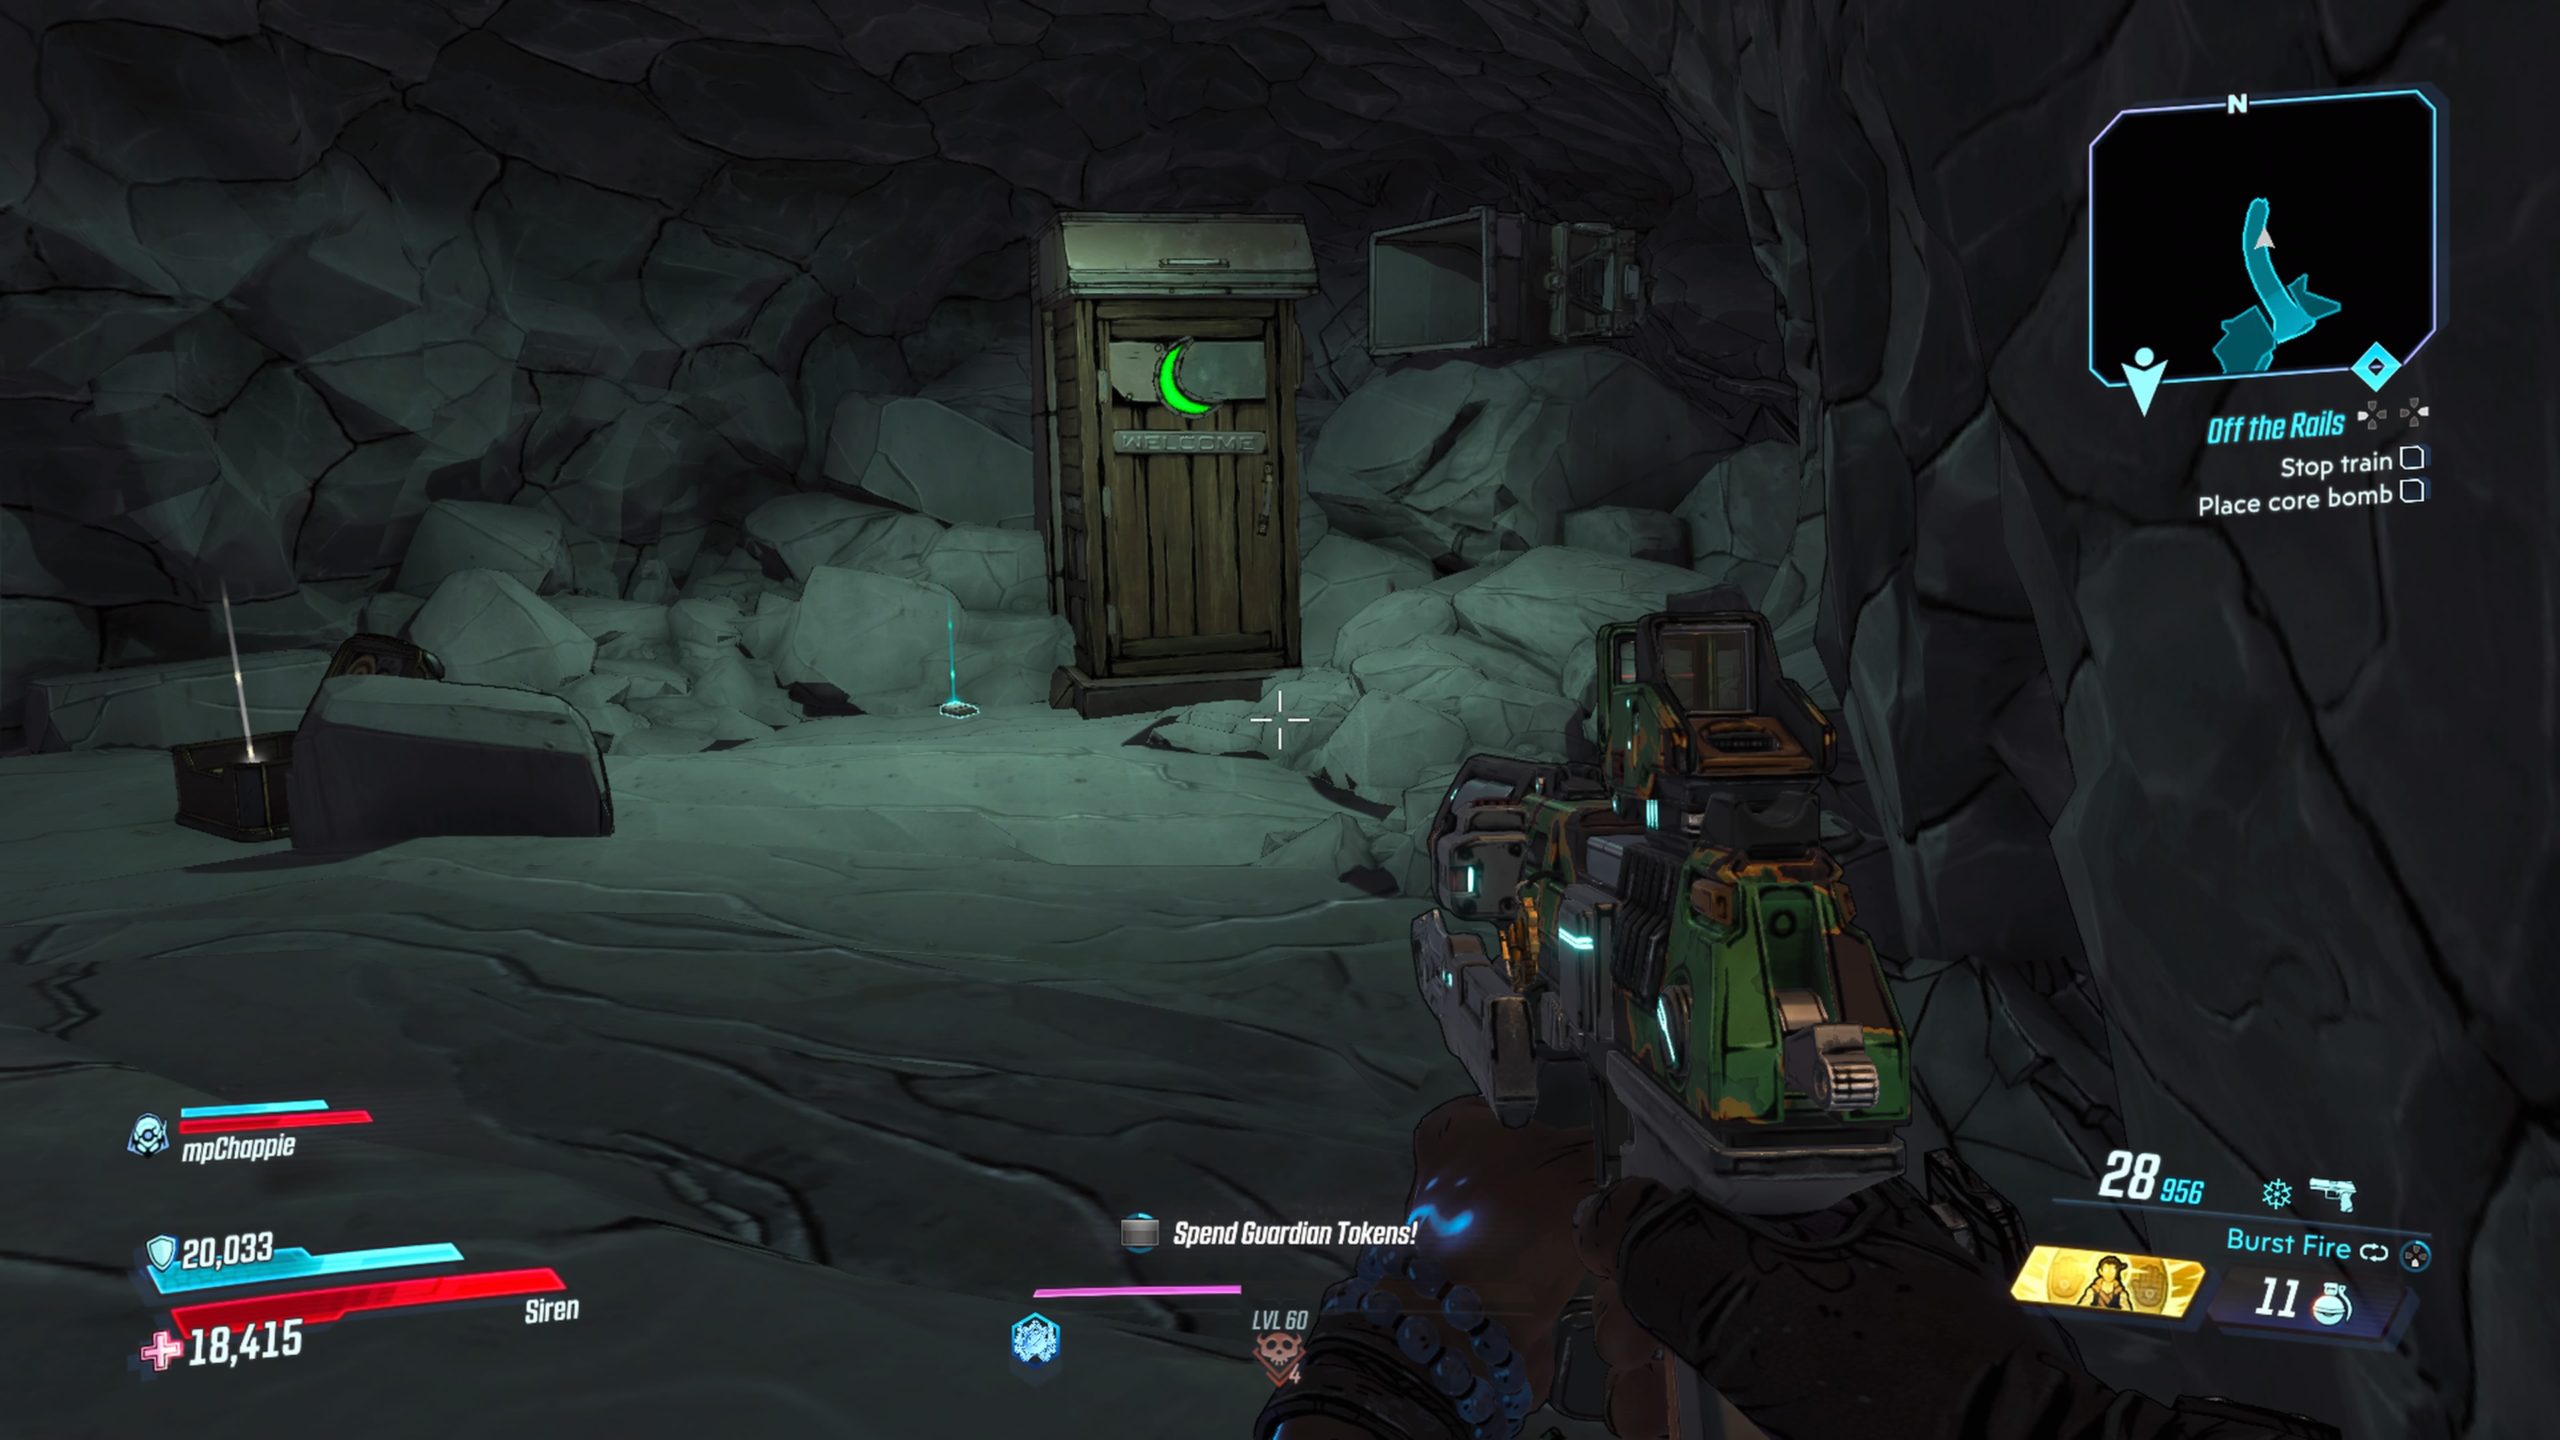
This log can be found in The Last Dig. To reach it you will need to punch some wooden boards block the path across a corrosive pond. The log will be located next to an outhouse.
A Mother’s Gift
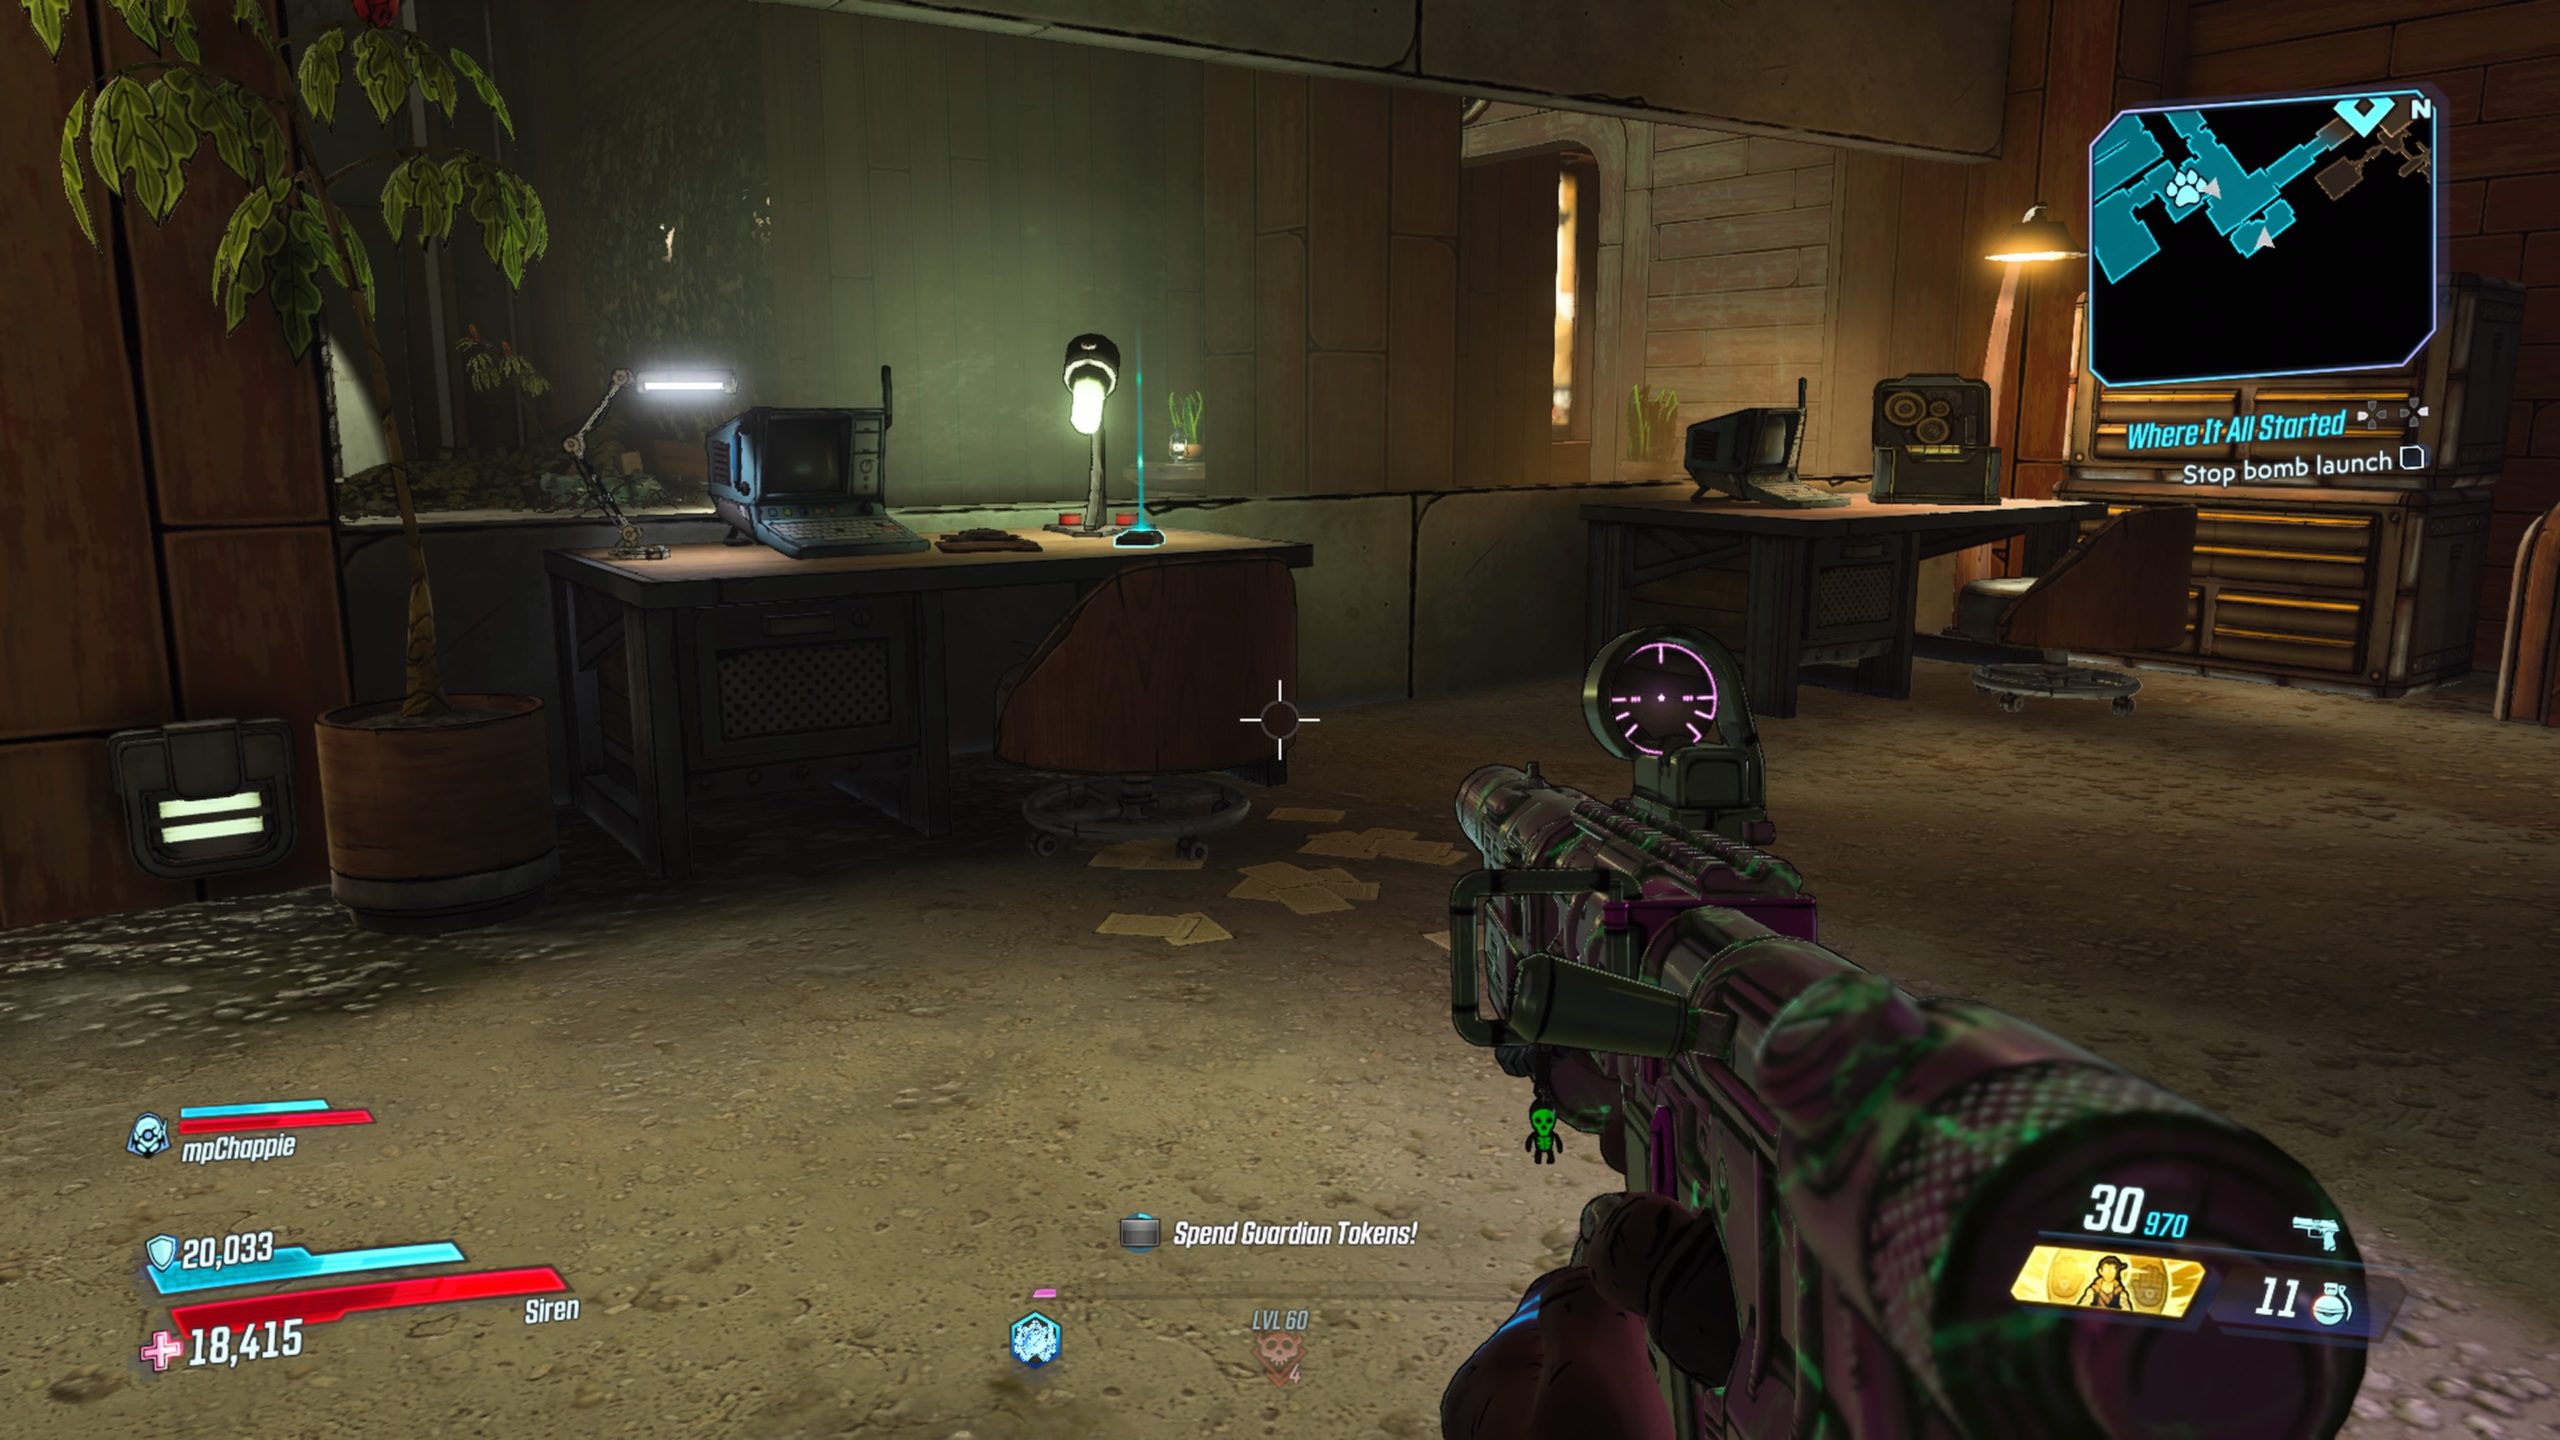
This log is located on a desk in Accounts Unpayable.
Facility Filcher
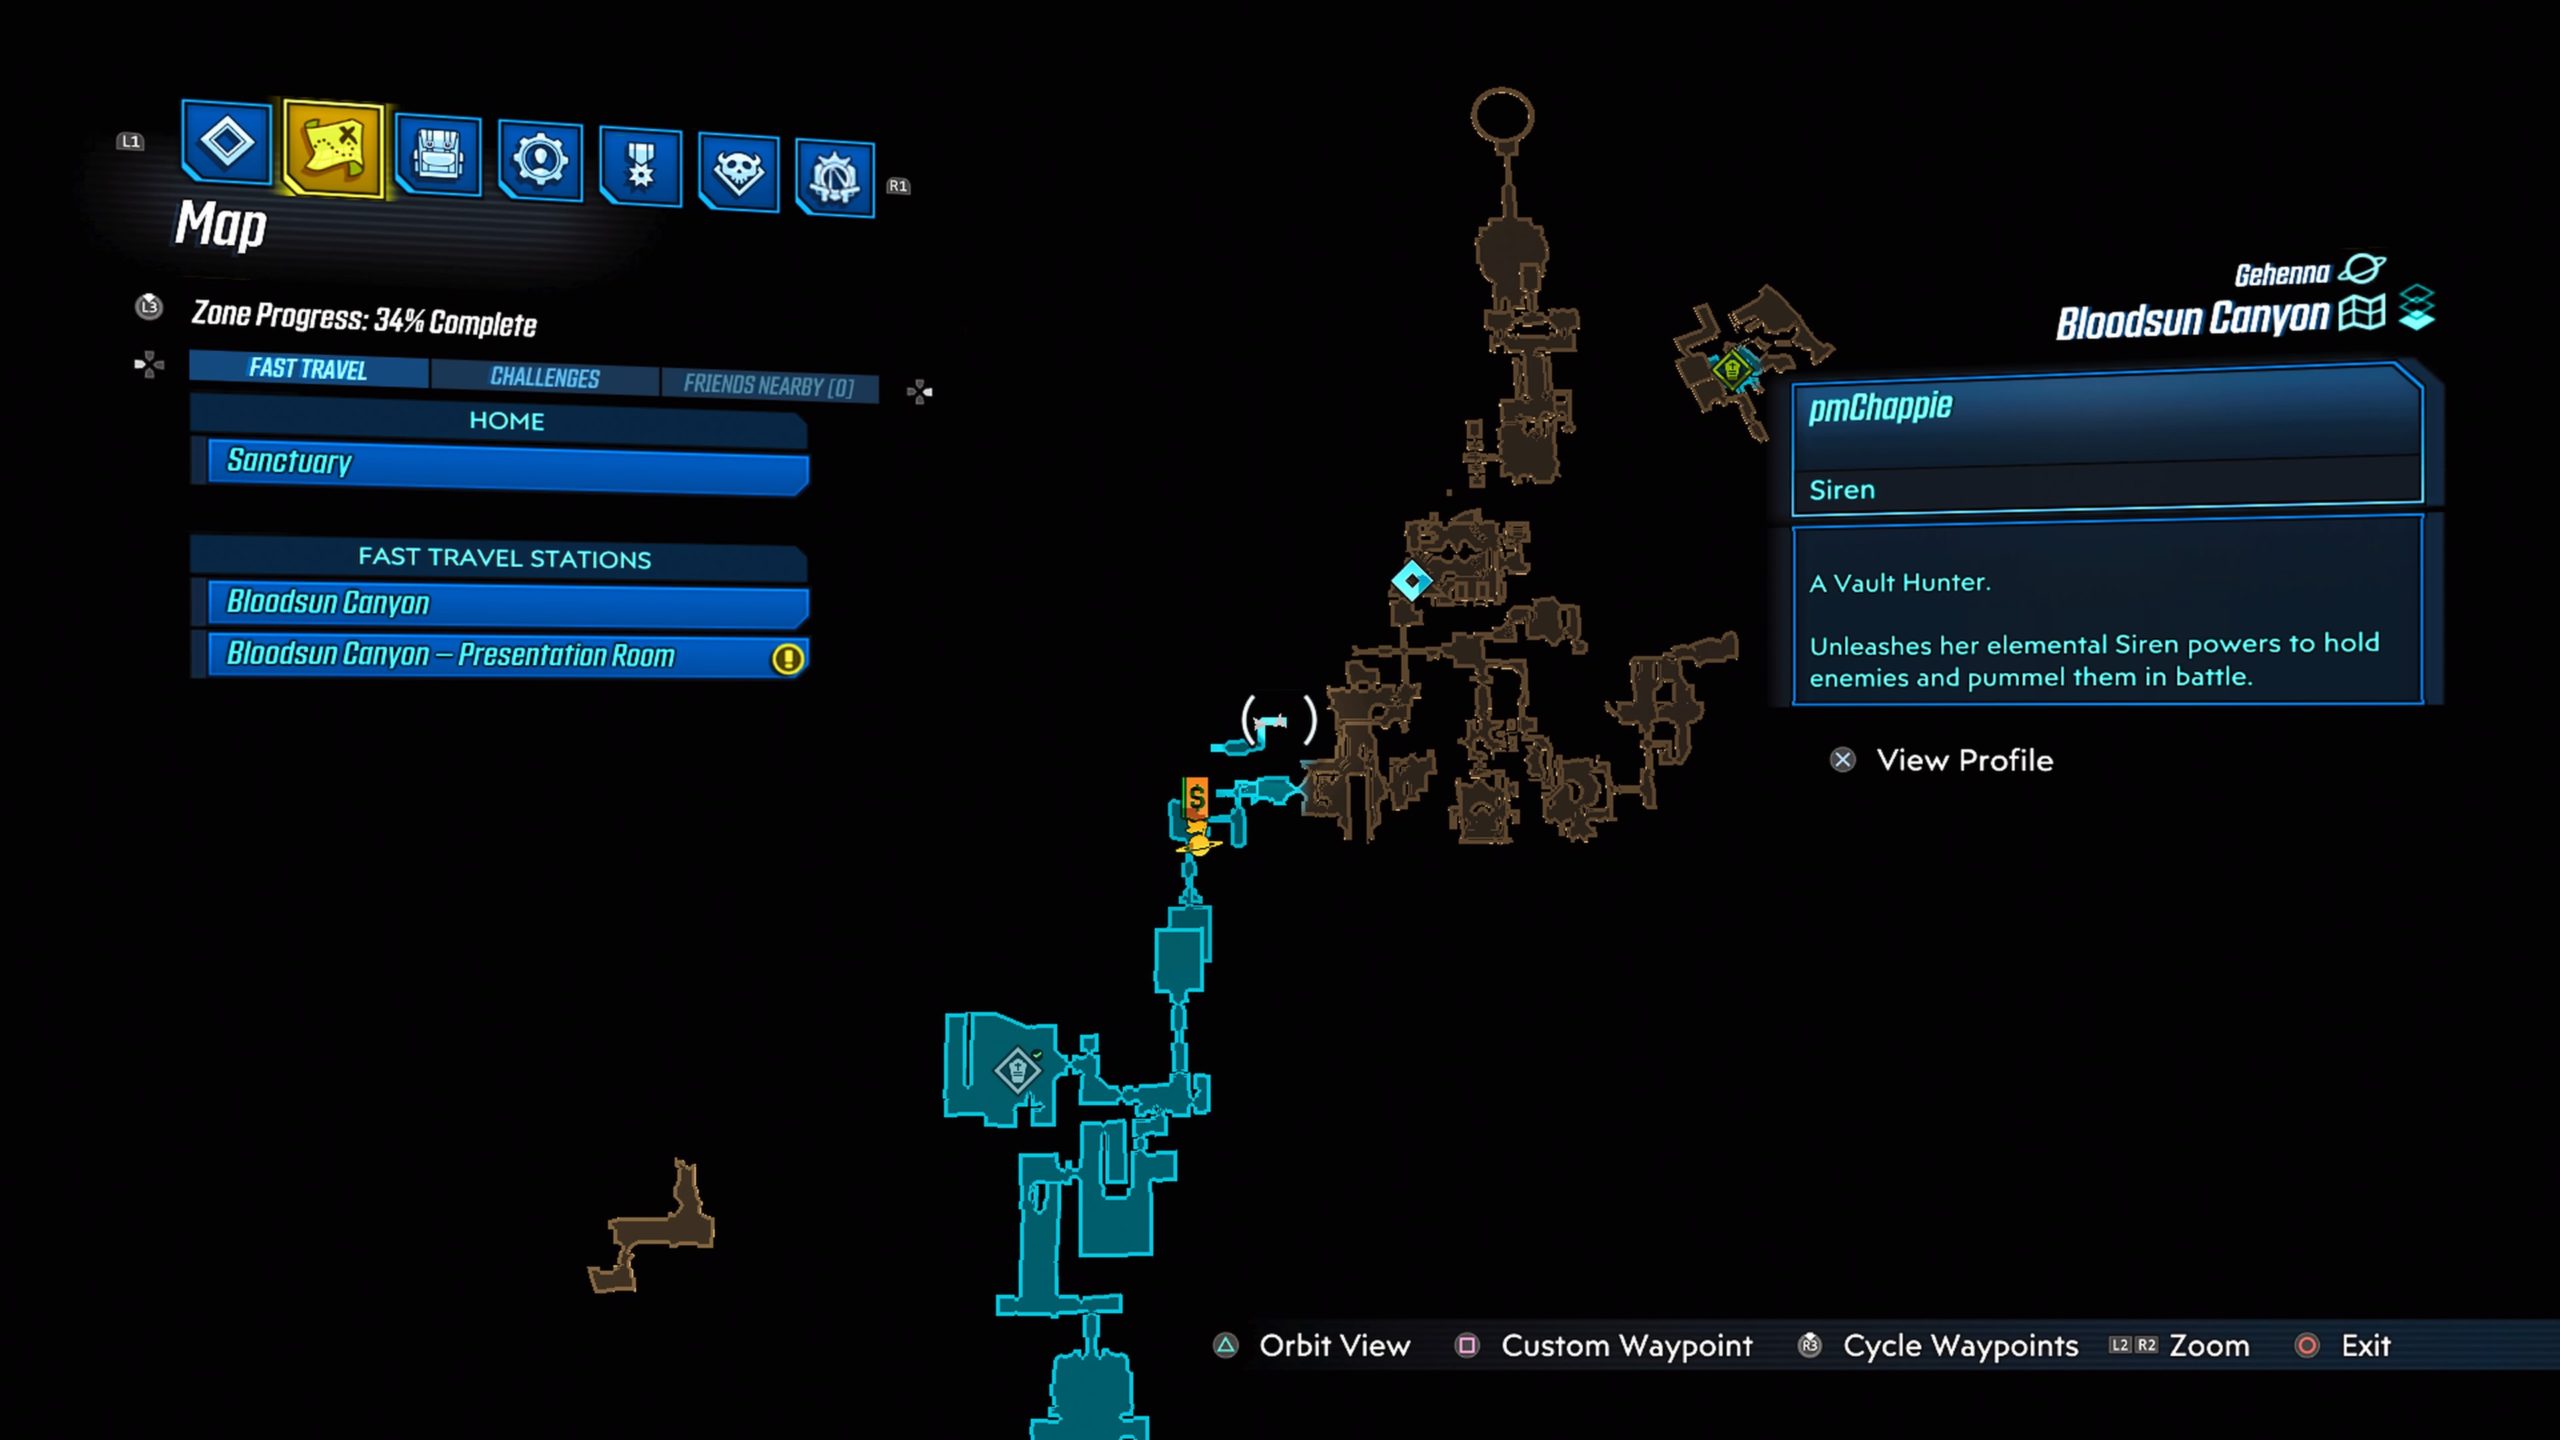

This log is located in the Presentation Room. From the Presentation Room fast travel point, continue forward until you reach a large open room. Look left to find a portal. Run and jump to it to get sucked in. The log will be located on the other side of the portal.
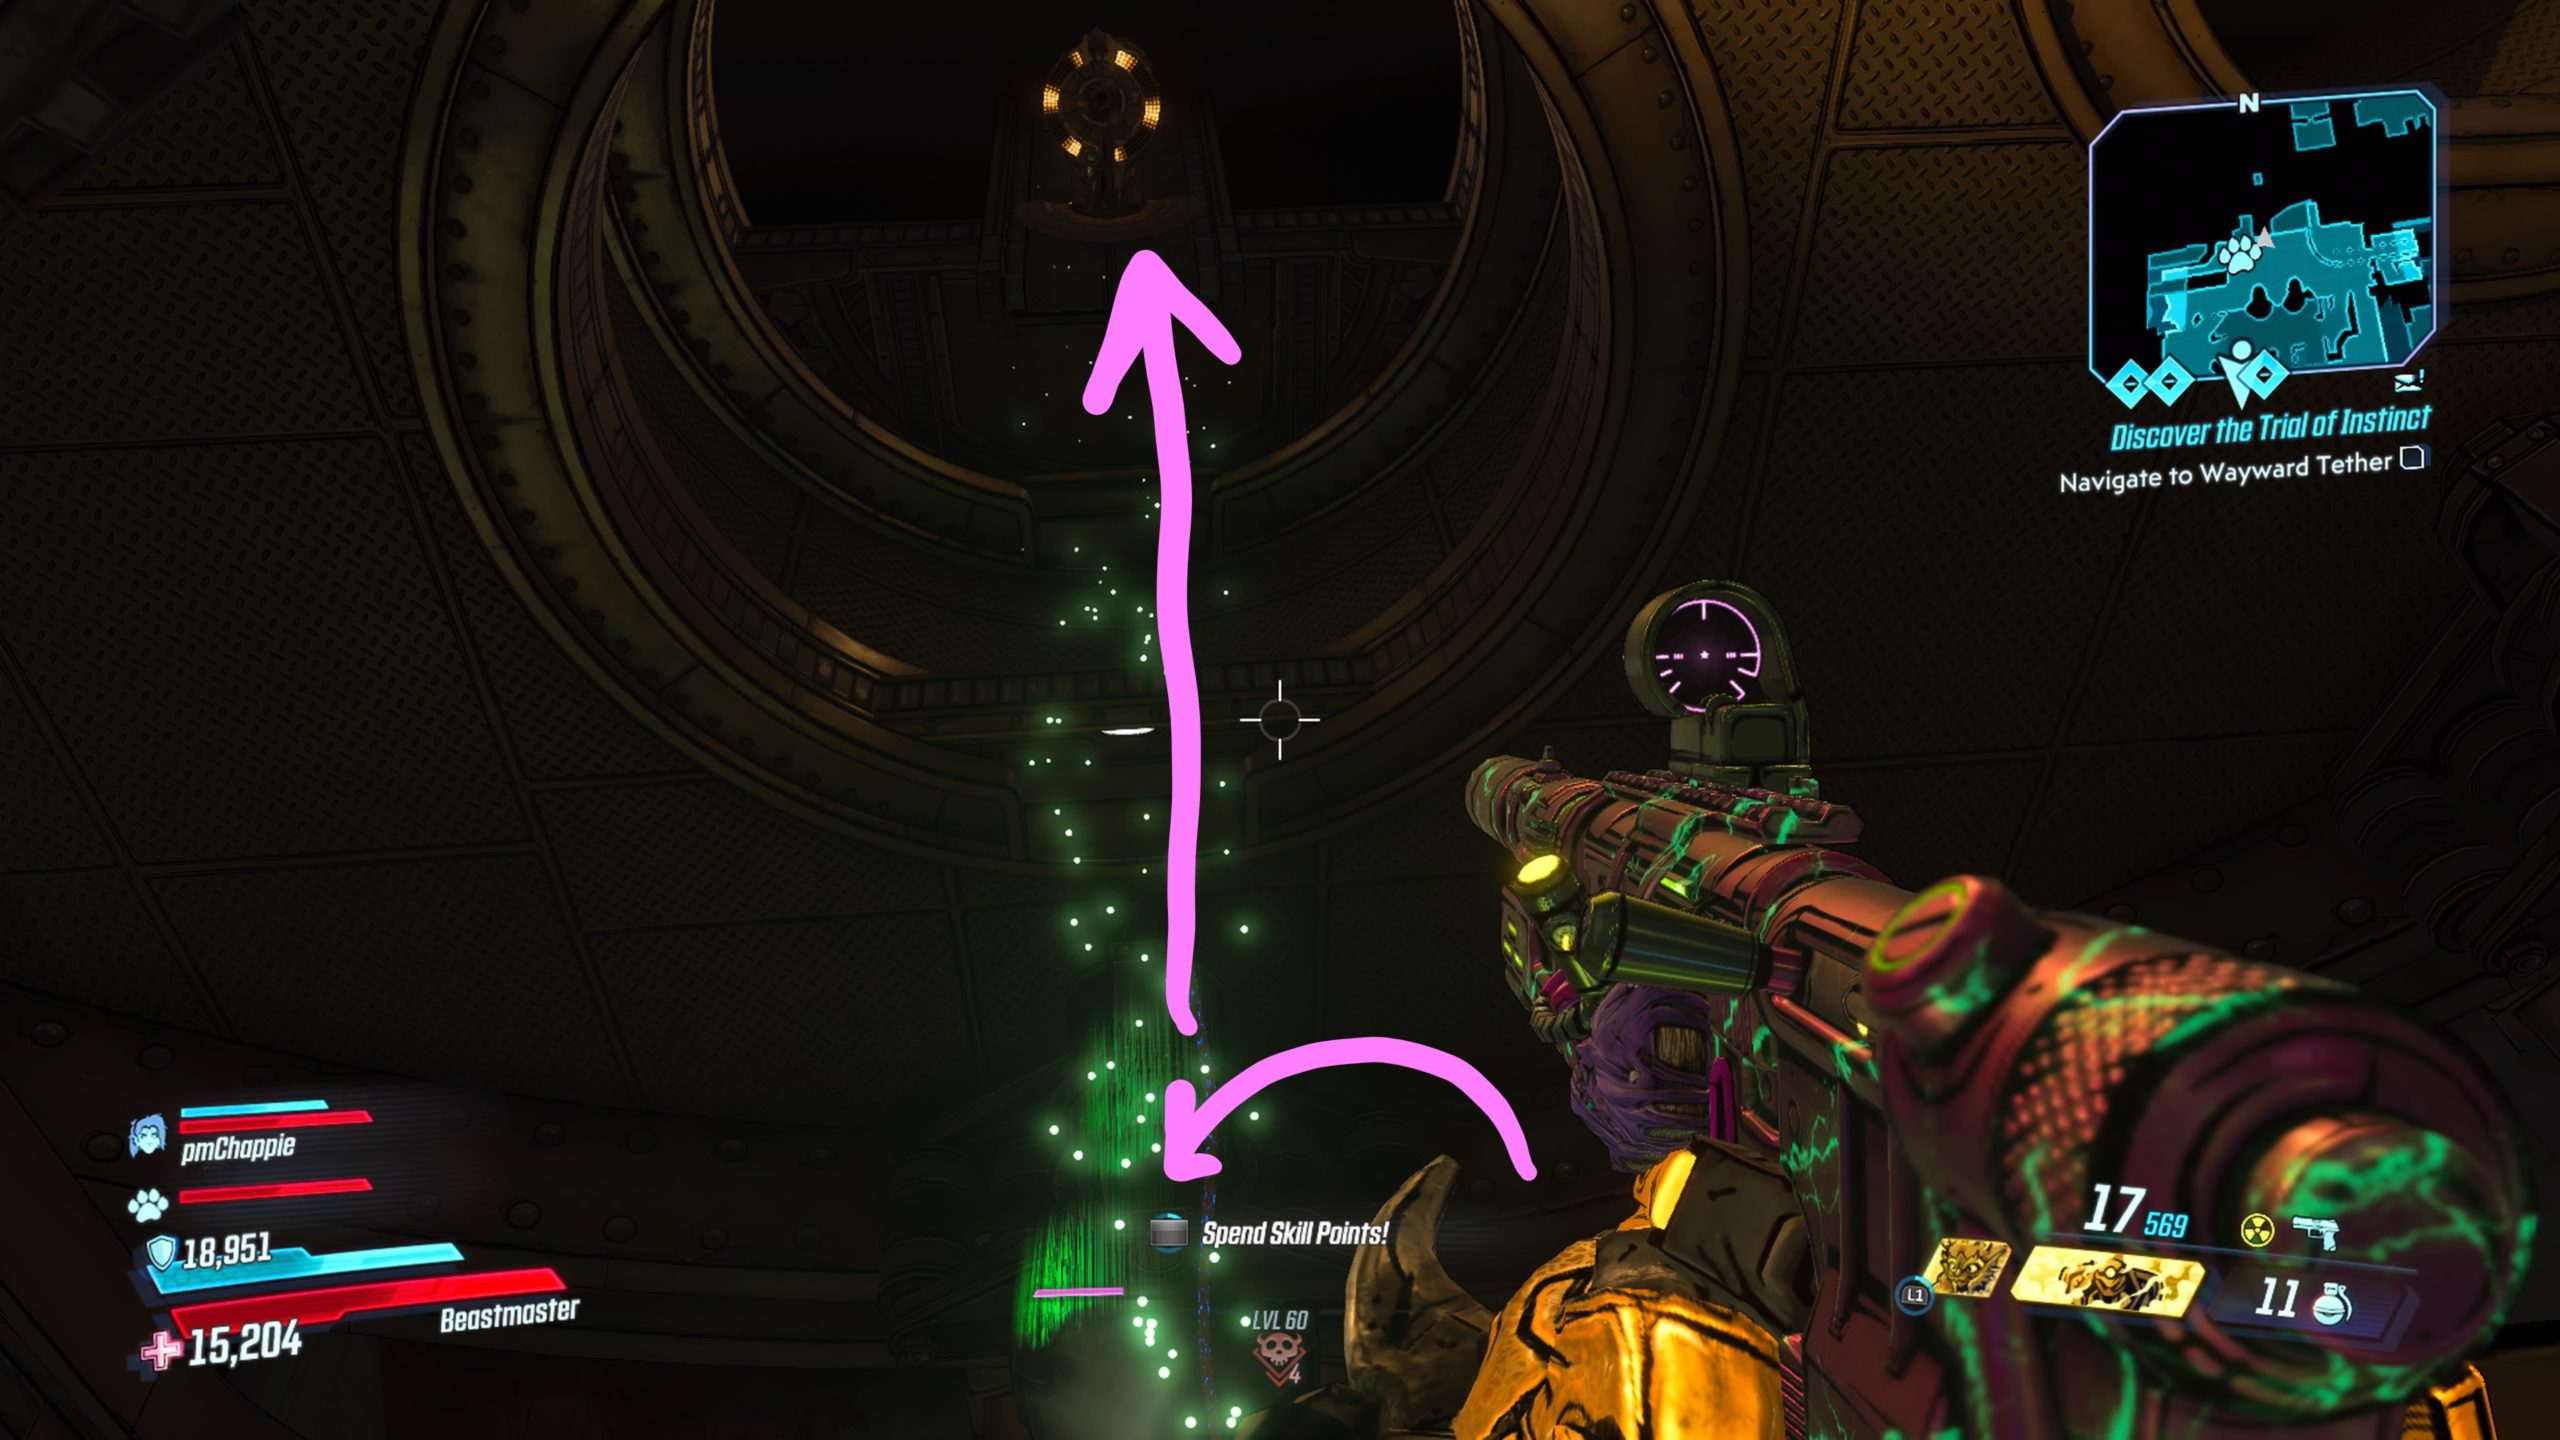
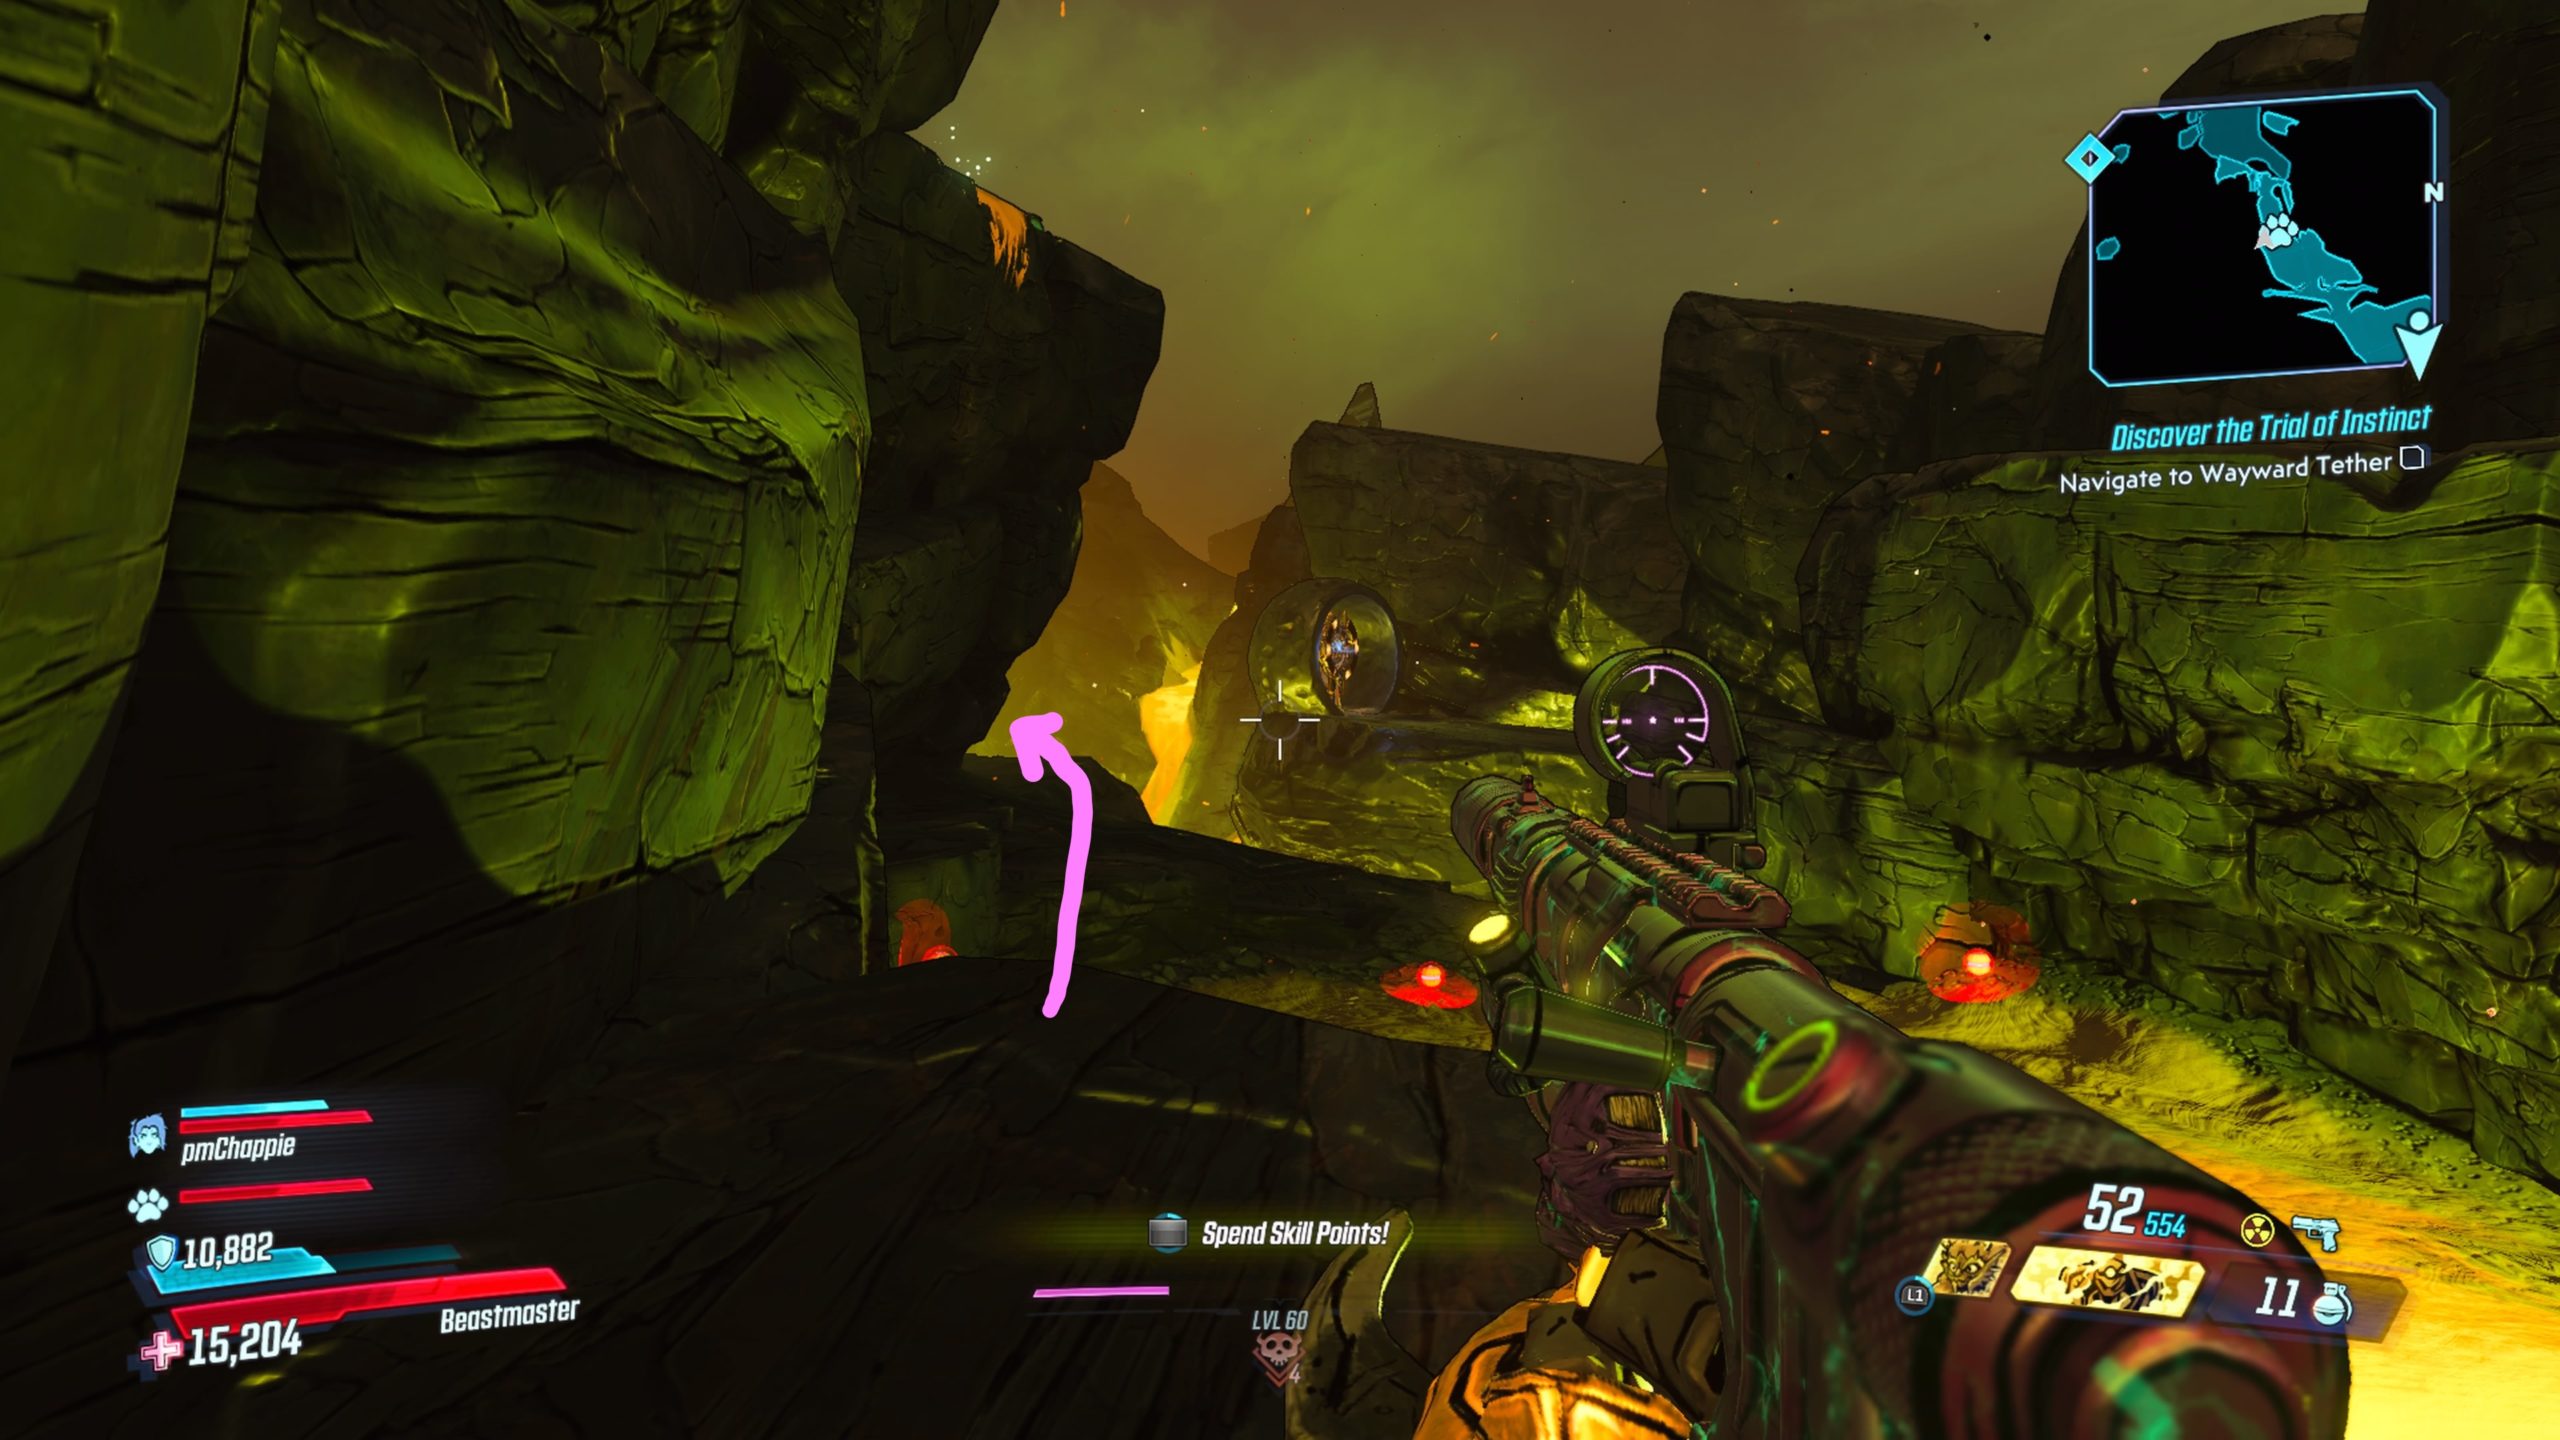
Powerful Smells
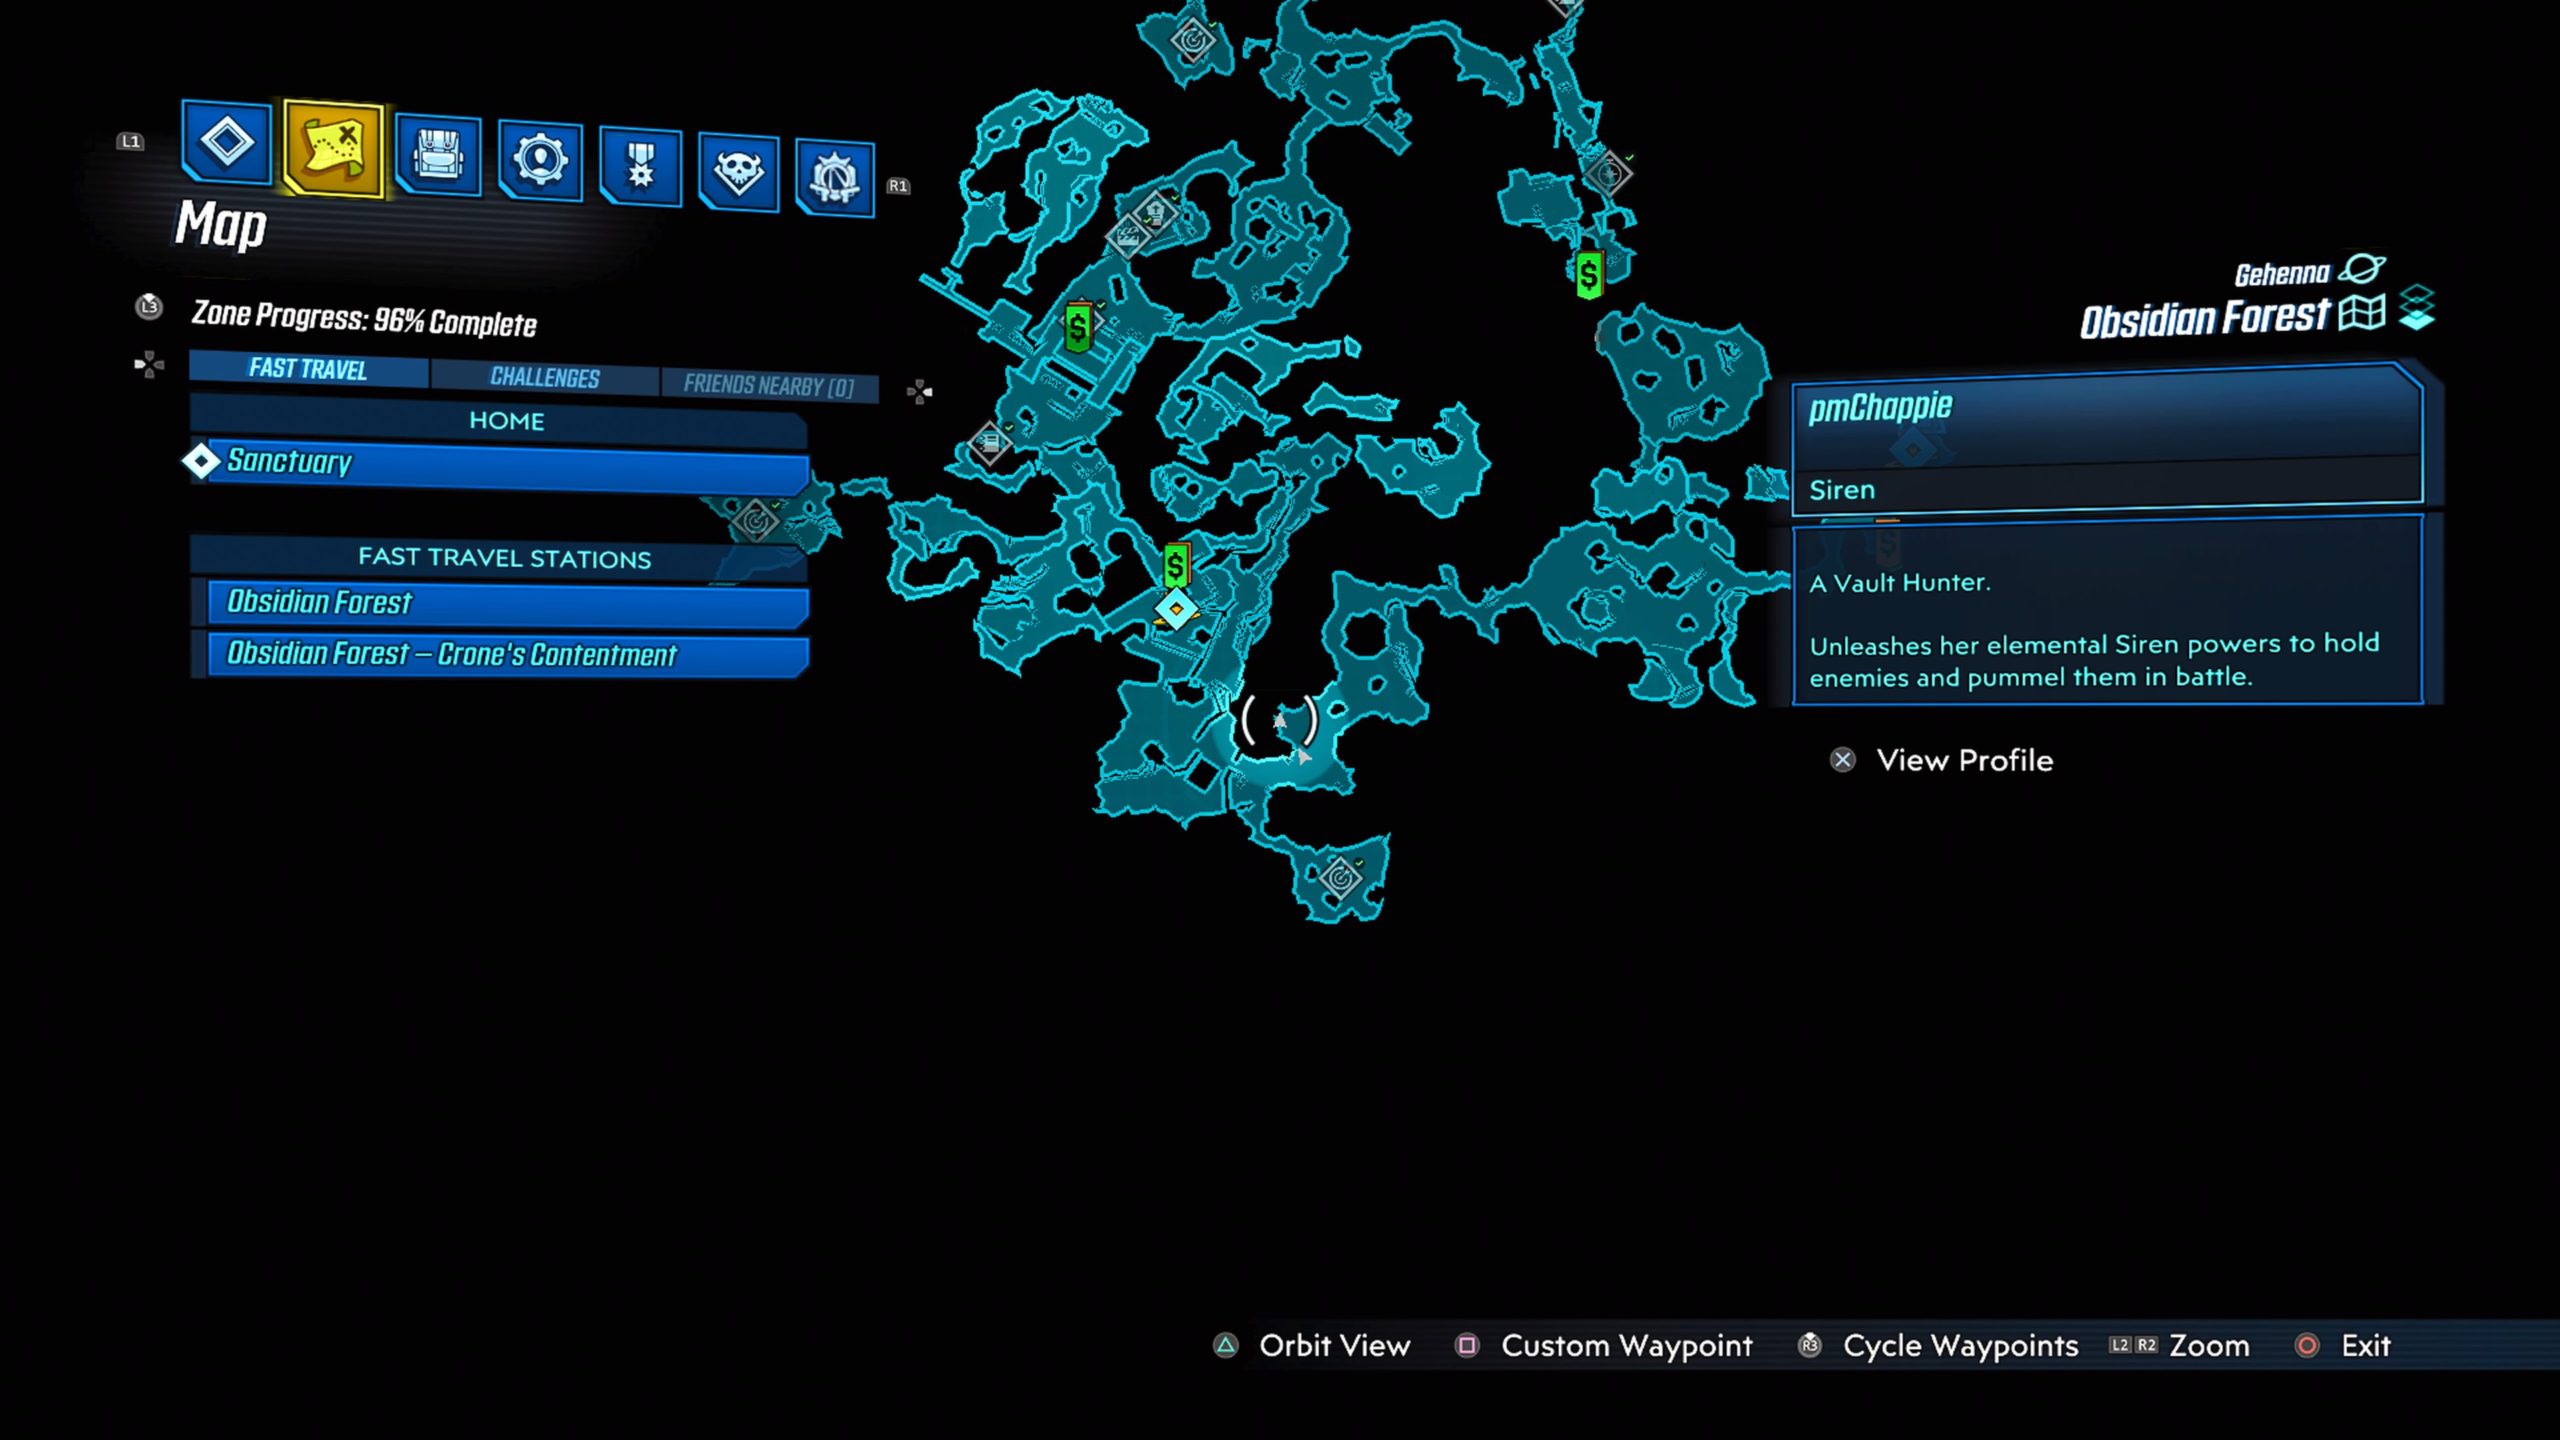
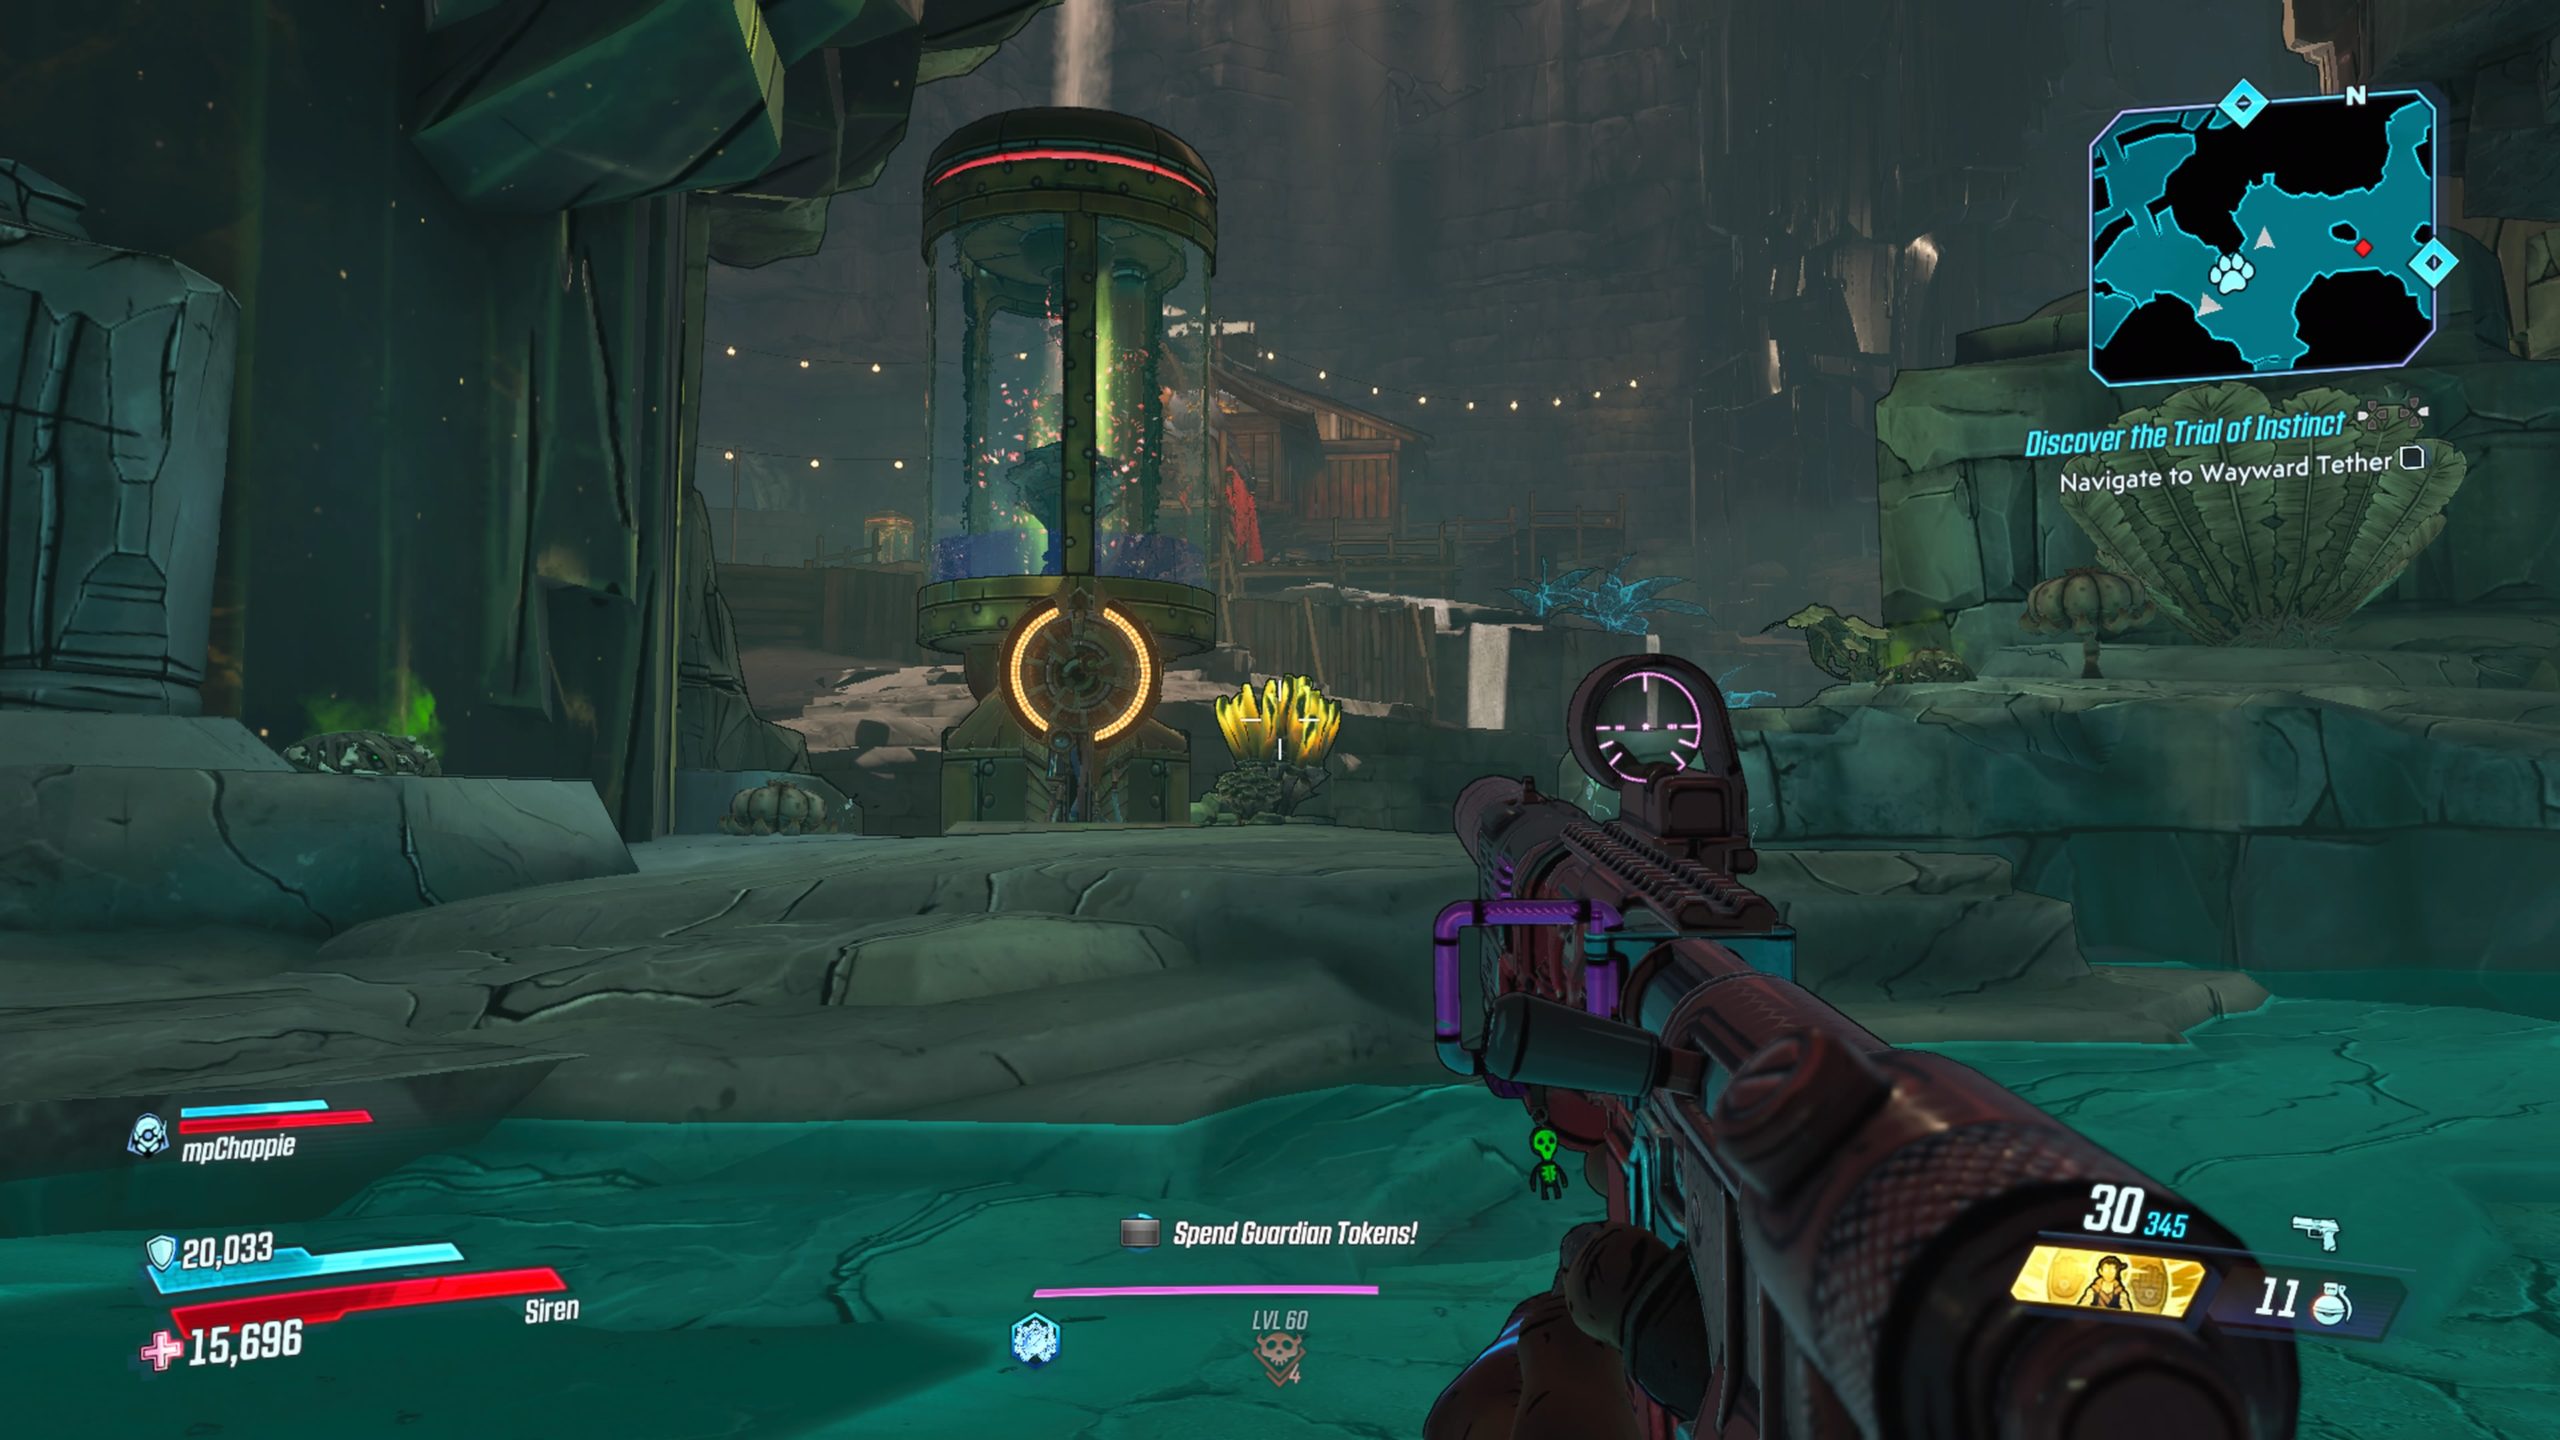
This log can be found in a hidden area in Crone’s Contentment that is reachable via a portal. The portal can be found north of the Crone’s Contentment fast travel station in a cavern filled with devils. See the above picture for the location of the portal.