A Dragon Debrief
This quest becomes obtainable during the Stop Ranrok and Rookwood main objective after learning the Transformation spell. Head to the Three Broomsticks in Hogsmeade to find Poppy. Speak with her to discuss the next steps. This will complete the quest.
Poached Egg
After some time passes from the previous quest, Poppy will reach out via owl post and tell you to meet her in Hogsmeade at the town circle near the North Hogsmeade Floo Flame during the say. Speak with her there to be transported to the area with the dragon’s nest.
Once at the nest, follow the southeastern path heading towards the den. When you reach the bridge, look to the left near a tent to find a poacher’s corpse with a note on it. To continue on, use Reparo on the bridge then head across. Keep following the linear path until you trigger an event. Use the cover to head towards the doorway under the dragon. Continue following along the path dodging the dragon’s fireballs eventually coming to another bridge. Use Reparo on it then cross to finally reach the dragon’s nest and return the egg. Talk with Poppy afterward to return to Hogsmeade to complete the quest.
The Poacher’s House Call
After some more time passes, you’ll be able to check up on Poppy who can be found down a path near the Beasts Classroom Floo Flame in the Bell Tower Wing. Speak with her to complete the quest.
Surprise Meeting
You’ll be able to start this quest during the Stop Ranrok and Rookwood main objective after receiving the Headmistress Speaks main quest. Travel to the middle of the Forbidden Forest northeast of Jackdaw’s Tomb and speak with Poppy there. This will trigger a cutscene ending with the quest completed.
The Centaur and the Stone
This quest will become available when Poppy sends you an owl after some time passes from the previous quest. Travel to Irondale in the Feldcroft Region then head west out of town to locate Poppy. Speak with her then head inside the Moonstone Garden. Proceed down the stairs then break through the southern door. Pass through the doorway and continue to follow the path until you reach a room rectangular room with symbols on the walls. The doors will have 2 symbols and there will be 4 symbols under some handles. You’ll need to use Accio to pull the handles of the symbols on the doors to cause them to open. 2 of the doors have moths behind them you’ll need to open the gate. Another door has a collection chest behind it. Collect the moths and put them on the dials near the door then blast them with Depulso until they open.
Head into the next area to find two more dials and a door on the west side of the room that requires 3 moths to open. Spin the dial near the door to raise a bridge then spin the dial on the northwest side of the room to raise a moth out of the water. Cast Arresto Momentum on the dial then run across the room and grab the moth from the water and place it on the door. Next, grab the other two to open the door.
Before heading through, jump in the water on the south side. Look for the dive point and use it. Follow the path until you reach a room with enemies. Defeat them then head south to find an area with a collection chest. Return to the room where you defeat the enemies and use the eastern path to return to the room with the symbols on the walls. Head through the moth door you previously opened and deal with the enemies. Follow the path to the end to find a diving point. Use it the follow that path up to the tree to find the Scholar’s Moonstone. Speak with Poppy then head over to the stone and place the moonstone inside of it. Speak with Poppy afterward to learn more about her. Collect the moonstone then speak with her again to complete the quest.
It’s in the Stars
You’ll receive this quest after some time passes from the previous quest. Travel to the Forbidden Woods to find Poppy near where the Centaurs were (close to Jackdaw’s Tomb). Speak with Dorran there to learn the location of the Snidgets. This will complete the quest.
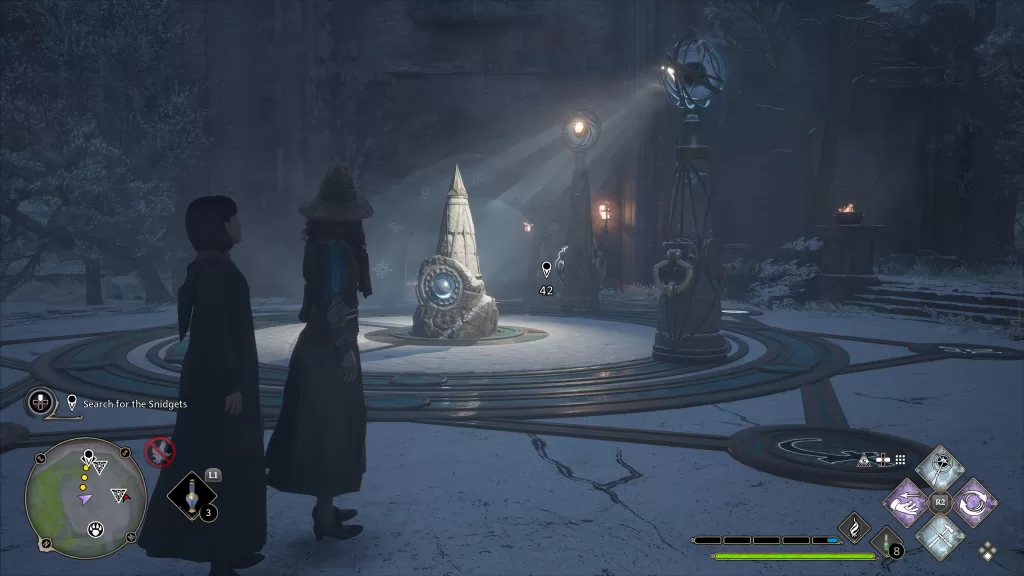
A Bird in the Hand
This quest becomes available almost immediately after the previous one (you may have to cycle the time of day to receive it). Travel to the forest south of Brocburrow and speak with Poppy there. Afterwards, follow the southeastern path to reach Dorran. Speak with Dorran to learn what to do next. Place the moonstone on its pedestal then move the pillars so that their shadow covers the images that are glowing on the door. This will allow you to enter the Gilded Perch.
Follow the path heading further in the Gilded Perch. When you come to a bright room with trees, look for a block you can move to on the second level. Bring the block down then cast Levioso on it to reach the upper level and follow the walkway around to find a collection chest. You can then continue following the path under the tree in the next room to a dead end.
Once here, use Revelio to locate the two cubes and place them on the panels on the floor matching the symbols on the cubes. Then cast a fire and ice spell matching the symbols to open the way forward. Heading into the next room will cause a fight with the poachers. Defeat them all then unlock the door to the Snidget sanctuary and head inside for a cutscene. This will complete the quest.
Poppy Blooms
Wait for some time to pass to receive this quest. Travel to the Great Hall and speak with Poppy there to complete the quest and Poppy’s relationship questline.