Welcome to NGB and our FF7 Rebirth Grasslands Region World Intel Guide! Here we’ll cover all the world intel for the Grasslands in FF7 Rebirth, including Remnawave Towers, Combat Assignments, Summon Crystals, Lifesprings, Protorelic, etc. The FF7 Rebirth Grasslands region consists of a town called Kalm and the surrounding areas! In Kalm, you’ll be able to increase your bonds of friendship with party members via dialog options and play against Queen’s Blood opponents to earn cards. Keep in mind that you can also purchase Queen’s Blood cards from venders in the Grasslands. For a guide on where to purchase these cards, click here!
Kalm
You’ll want to do all the below things in Kalm before meeting Aerith at the clock tower during Chapter 2, otherwise, you’ll have to wait until a bit later in FF7 Rebirth to return!
Bonds of Friendship Dialog Options
| Party Member | Location | Statement | Best Answer |
|---|---|---|---|
| Aerith | In front of the Maghnata Books. You’ll speak with her there as part of the story. | Wanna climb the clocktower together? | Sure. Let’s. |
| Barret | In a bar on the north side of town | Not gonna have a drop til Seventh Heaven’s back up and runnin’. | First one’s on me. |
| Red XIII | Near the entrance to town on the southwest side | One can never be too careful with Shinra. | I knew I could count on you. |
| Tifa | In Town Square in front of the inn | This tank remind you of anything? | The place I made that promise to you. |
Queen’s Blood Opponents
For the Queen’s Blood players exact locations and the rewards you’ll receive for defeating them, click here!
- Ned
- Nene
- Zahira
Grasslands Region
Before exploring the Grasslands in Chapter 2, we recommend pushing forward with the story until you finish up at Bill’s Ranch and unlocked your Chocobo. This will make traveling MUCH easier, plus you’ll unlock the Remnawave Towers, Combat Assignments, Summon Crystals, Lifesprings and Protorelic which are all scattered around the Grasslands!
Grasslands World Intel Quick Links
Towers
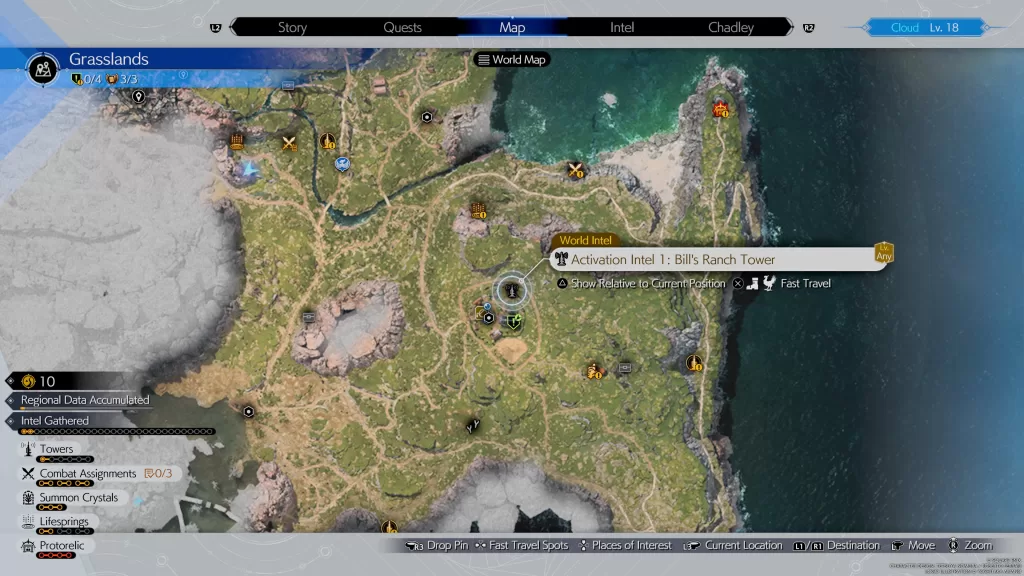
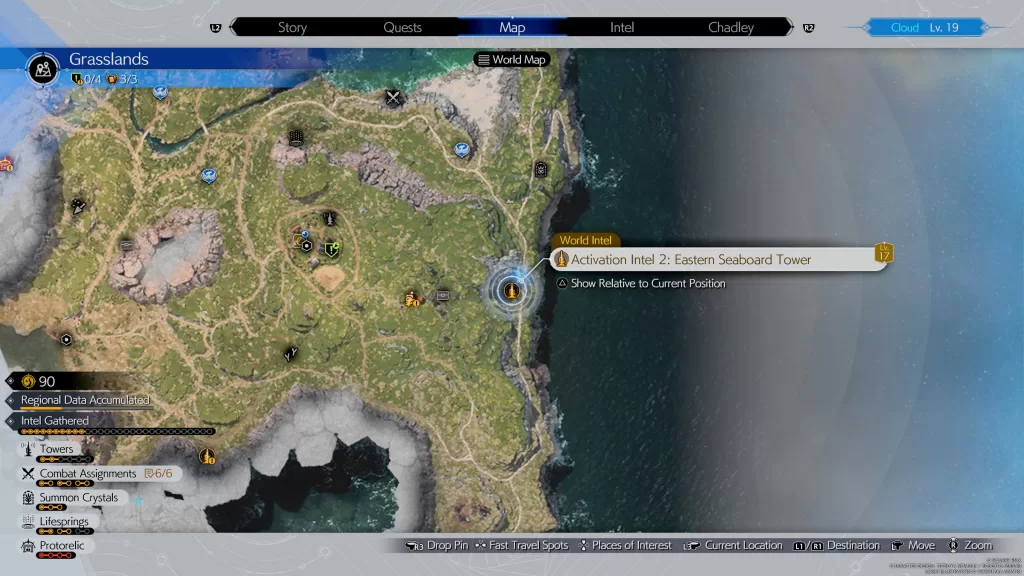
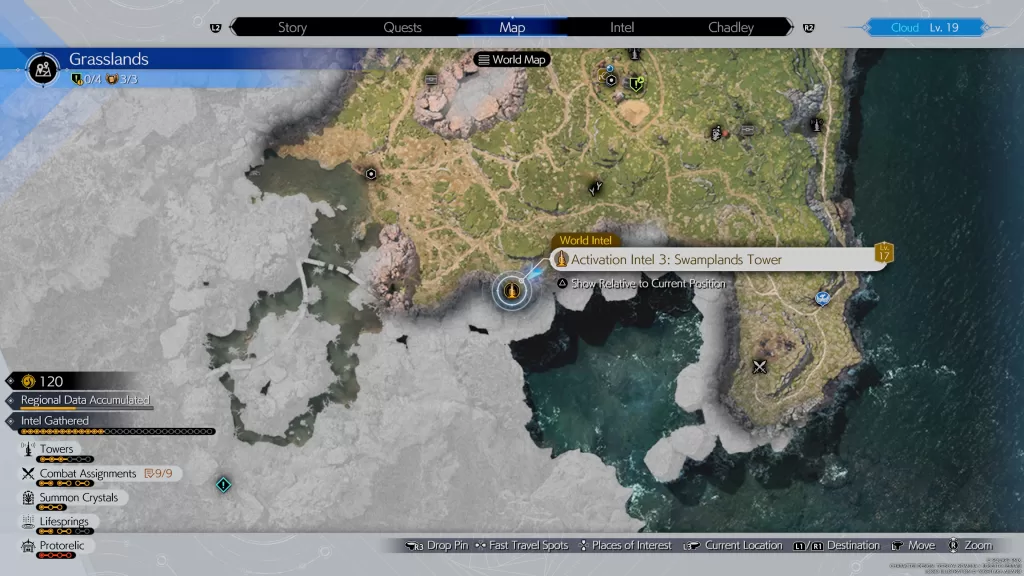
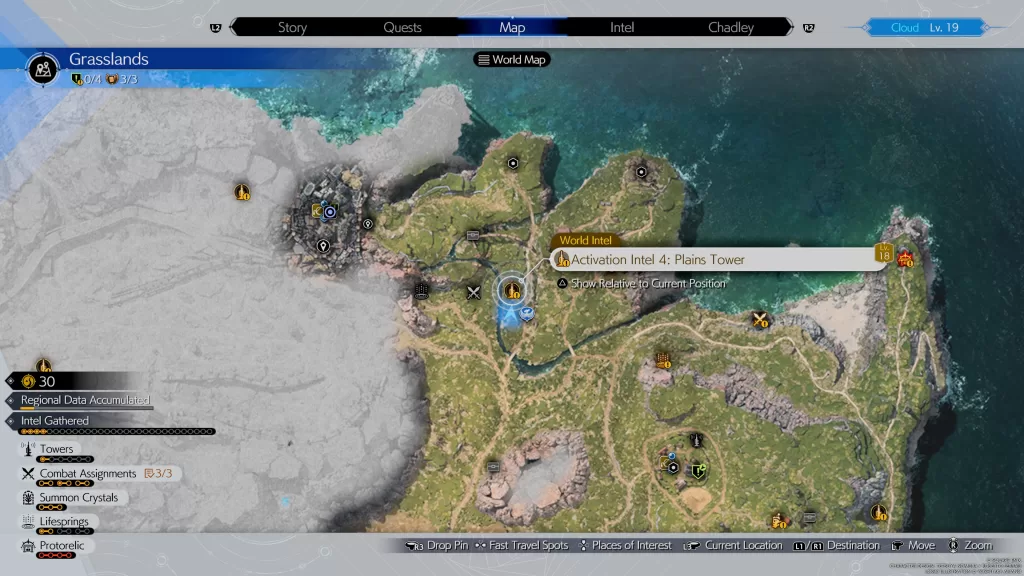
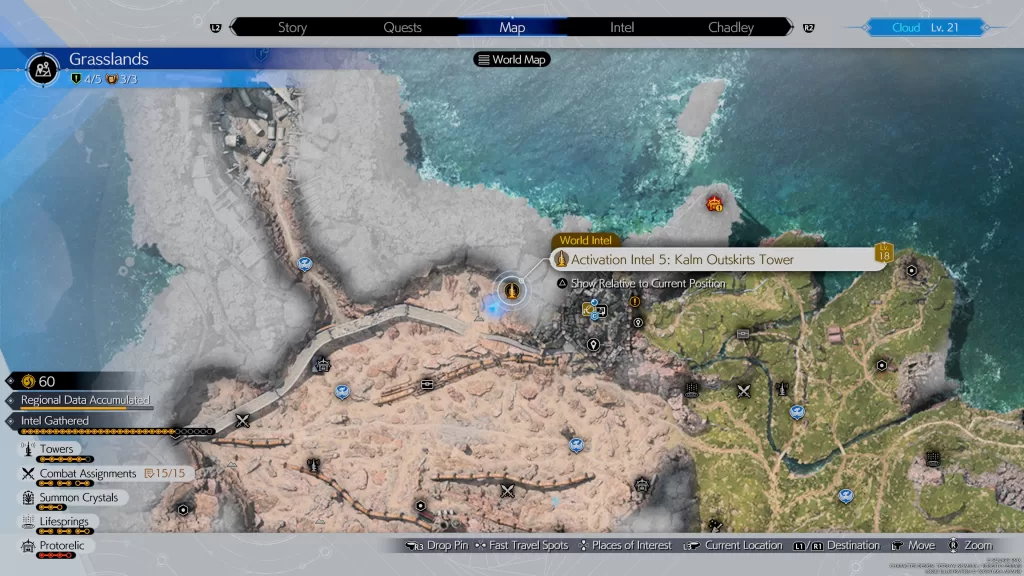
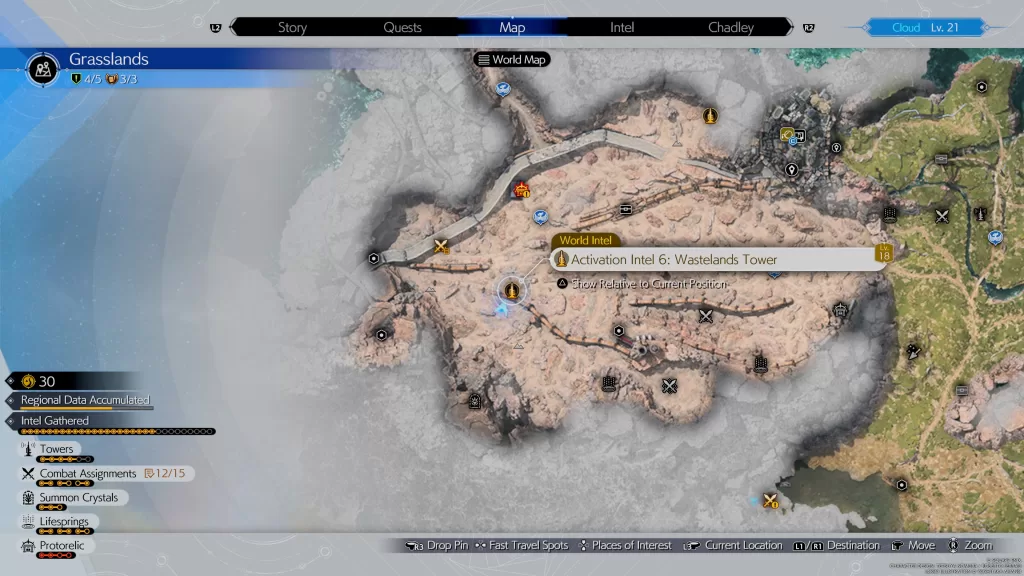
Once you discover a Remnawave Tower, you’ll need to interact with the red button to activate the tower. To reach this button, you may need to defeat enemies surrounding a tower. Sometimes the button will be on the ground level and other times you’ll need to scale the tower to reach it.
Activation Intel 1: Bill’s Ranch Tower
Activation Intel 2: Eastern Seaboard Tower
Activation Intel 3: Swamplands Tower
Activation Intel 4: Plains Tower
Activation Intel 5: Kalm Outskirts Tower
Activation Intel 6: Wastelands Tower
Combat Assignments
For Combat Assignments in Final Fantasy VII Rebirth, you’ll need to defeat a group of enemies while completing the stated combat objectives! These guys won’t show up on the map by default. You’ll need to approach their location to get a notification about them.
Fiend Intel 1: Voracious and Venomous
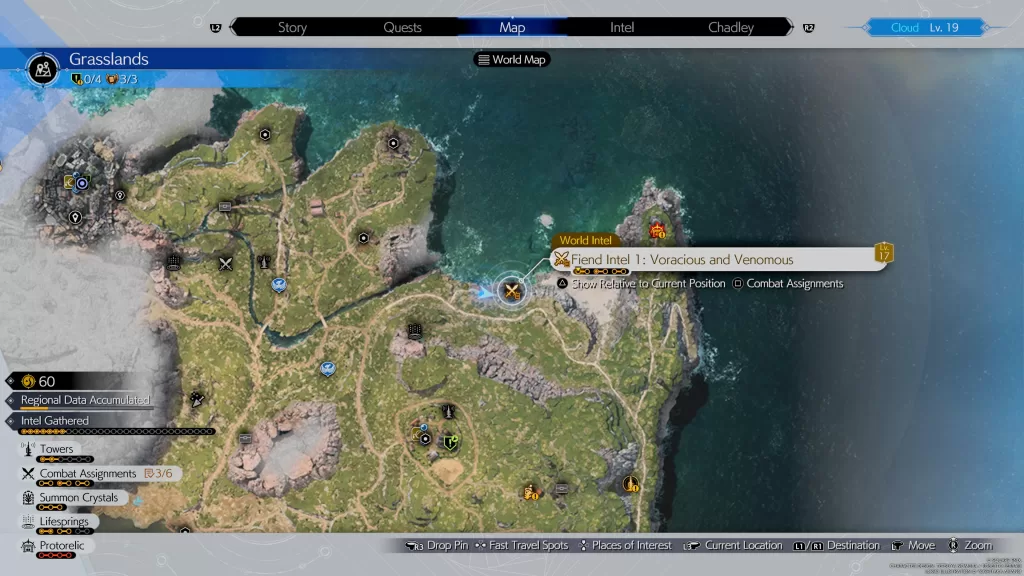
- Combat Objectives:
- Pressure an enemy
- Stagger an enemy
- Avoid being poisoned
Fiend Intel 2: Bearer of Grudges
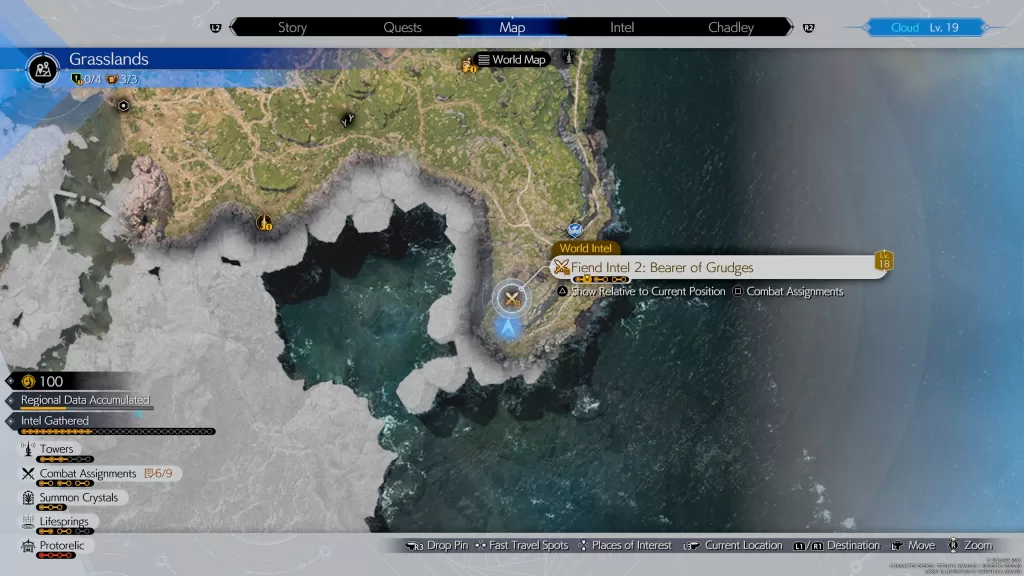
- Combat Objectives:
- Pressure an enemy
- Stagger an enemy
- Defeat all enemies within the time limit
Fiend Intel 3: Keepers of the Burrow
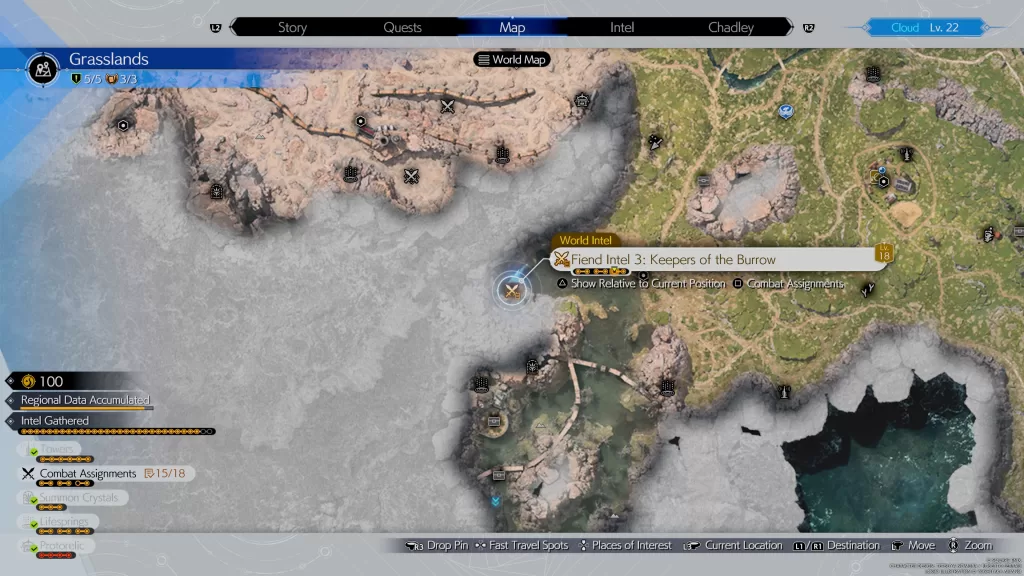
- Combat Objectives:
- Pressure both fire and ice imbued enemies
- Stagger an enemy
- Defeat all enemies within the time limit
Fiend Intel 4: Wailing Weed

- Combat Objectives:
- Prevent enemies from using Quick Nap
- Stagger an enemy
- Defeat all enemies within the time limit
Fiend Intel 5: Picky Eater
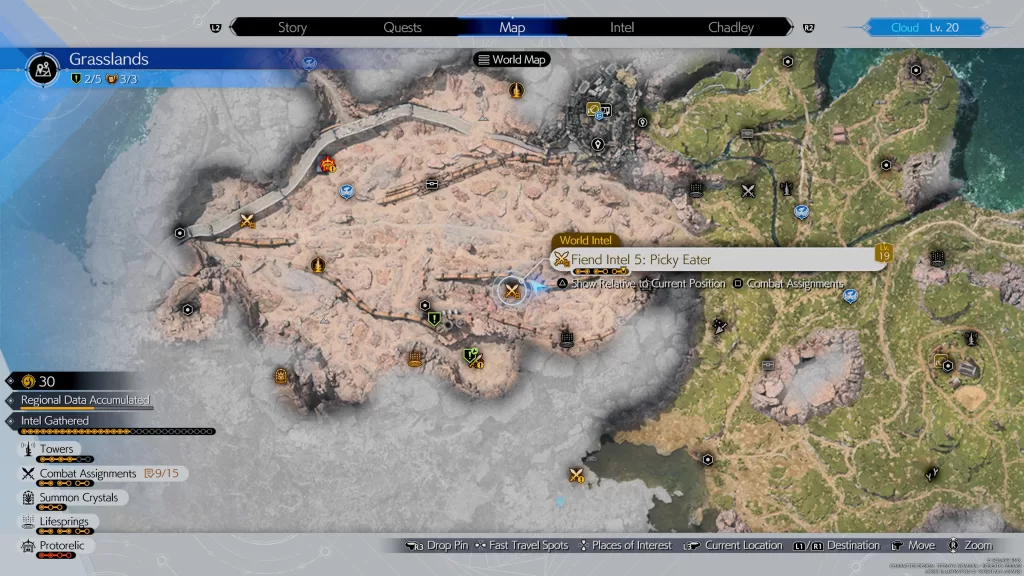
- Combat Objectives:
- Pressure an enemy
- Staffer an enemy
- Defeat all enemies within the time limit
Fiend Intel 6: Voltaic Canine
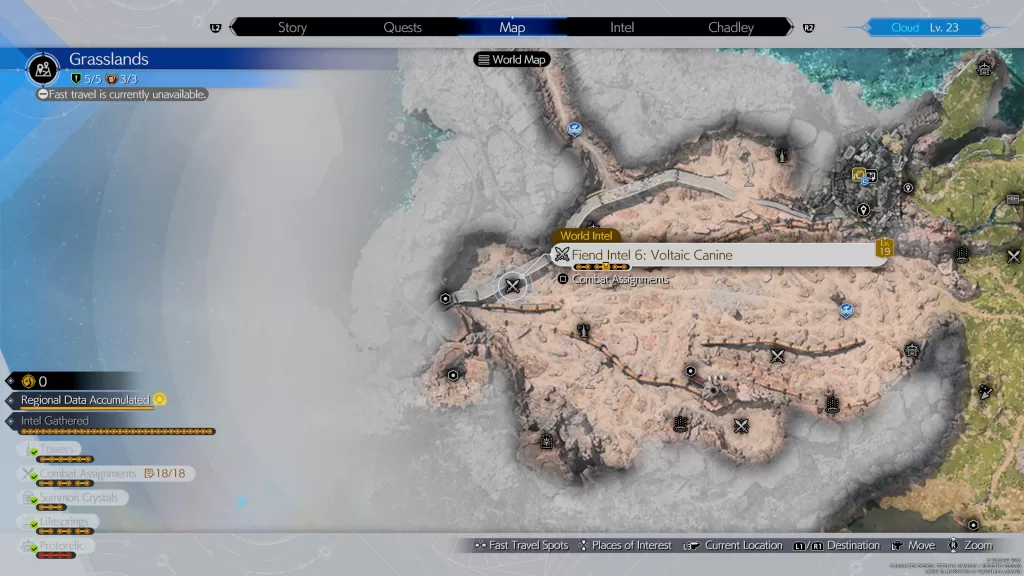
- Combat Objectives:
- Pressure an enemy
- Stagger an enemy
- Defeat all enemies within the time limit
To pressure an enemy, you’ll need to use the Poison Materia on Red XIII to cast Bio on an enemy.
Summon Crystals
To complete the Summon Crystals, you’ll need to memorize the position and necessary timing for a series of points. When the points disappear, you’ll need to make inputs at the correct times to replicate the memory matrix. If you succeed, you’ll weaken the summon in its combat trial and strengthen its corresponding materia.
Divine Intel 1: Titan Sanctuary a

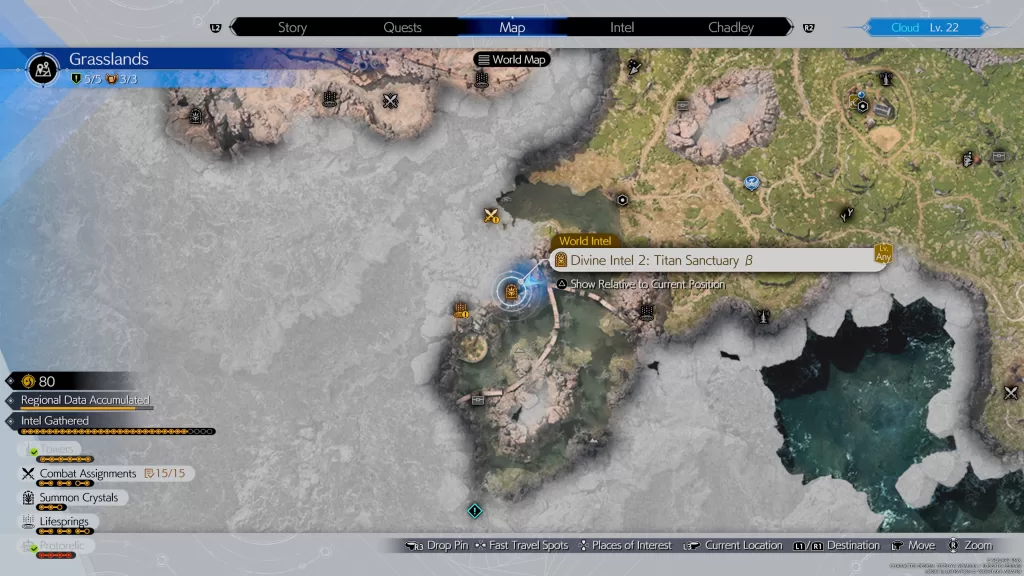
Divine Intel 2: Titan Sanctuary B
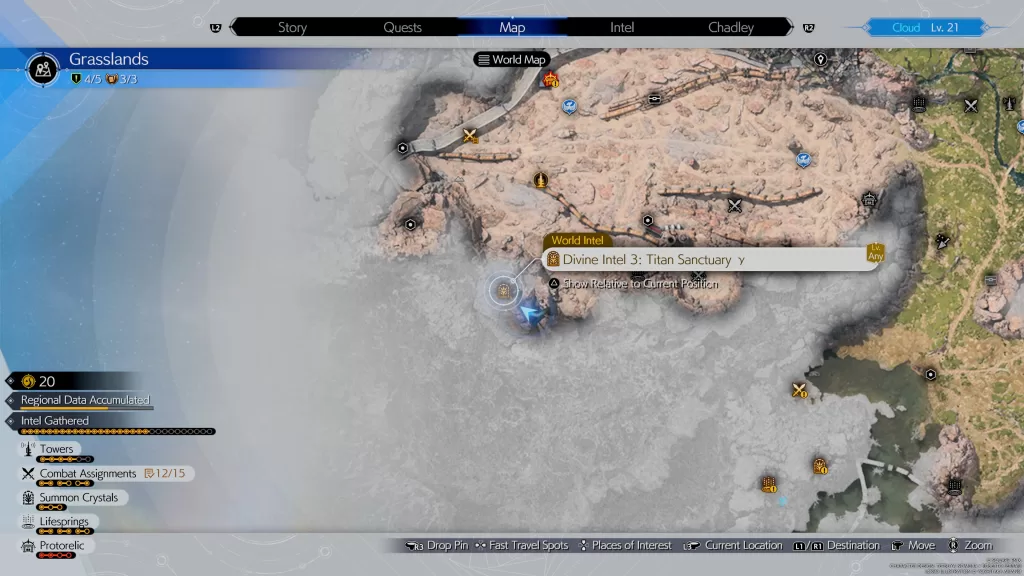
Divine Intel 3: Titan Sanctuary y
Lifesprings
Interact with the giant crystals and press the button when prompted to complete the Lifesprings. While at each Lifespring, be sure to also collect the cache of materials around the crystal!! Every two Lifesprings will unlock a new intel on the map for you to investigate.
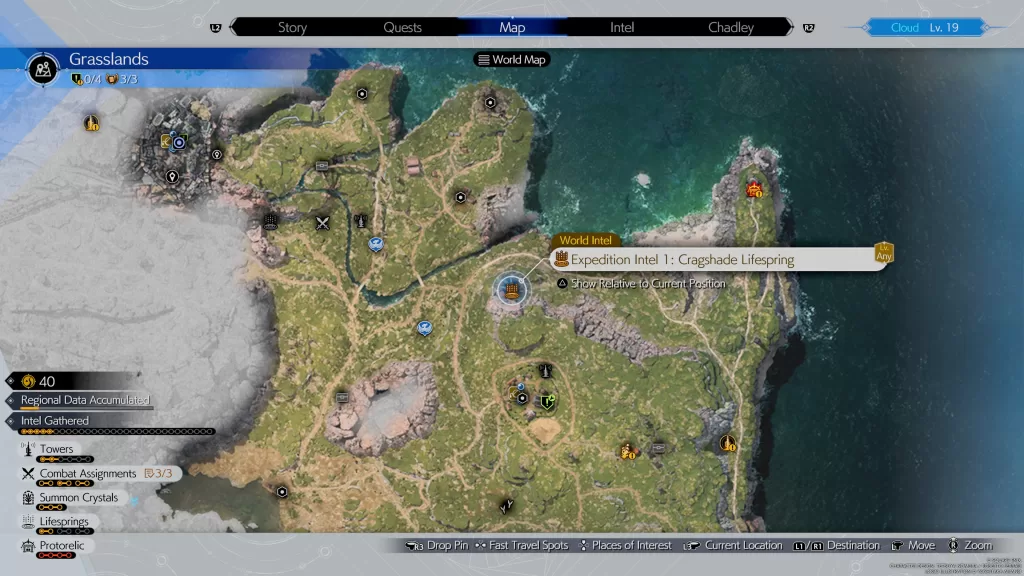
Expedition Intel 1: Cragshade Lifespring
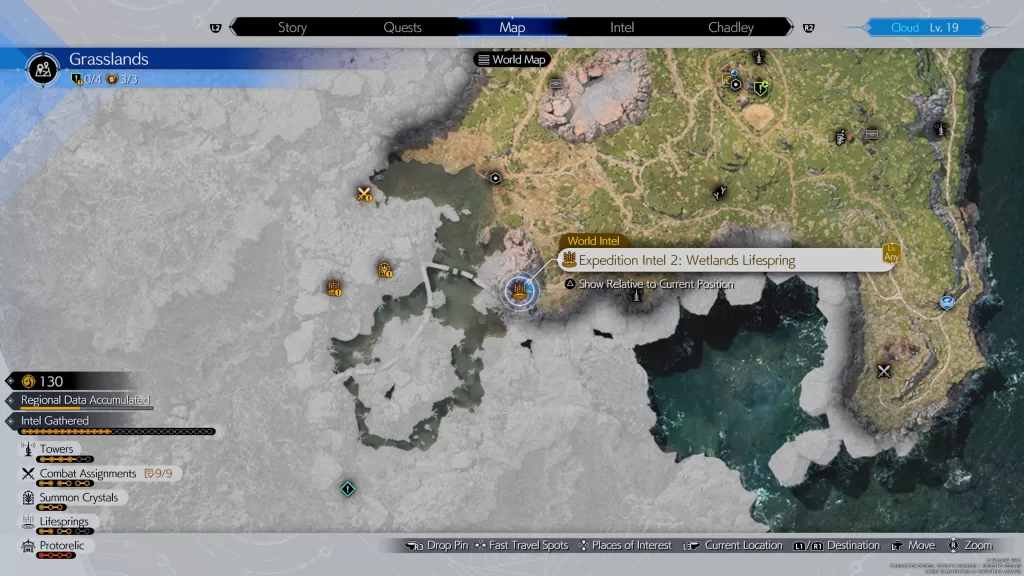
Expedition Intel 2: Wetlands Lifespring
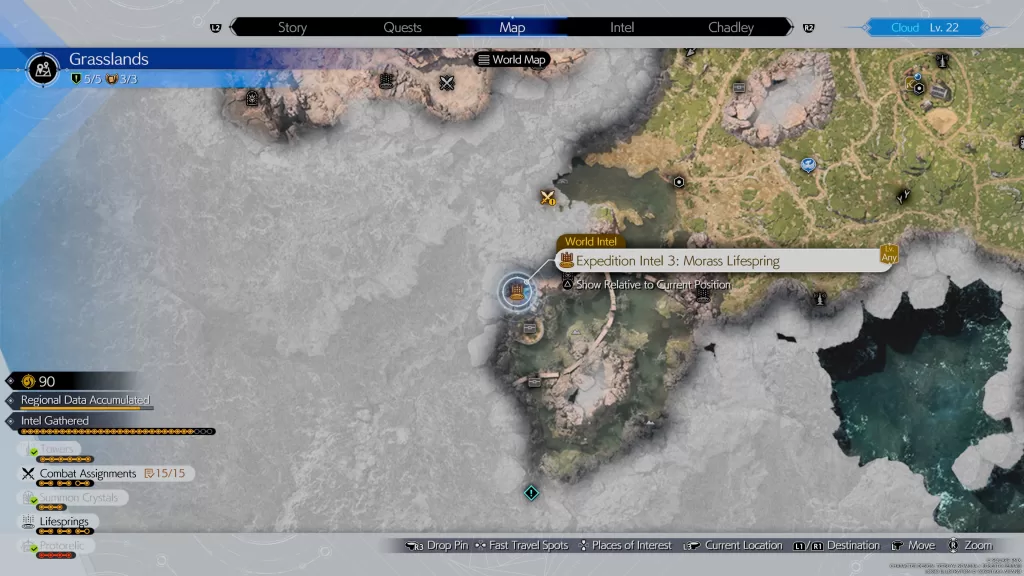
Expedition Intel 3: Morass Lifespring
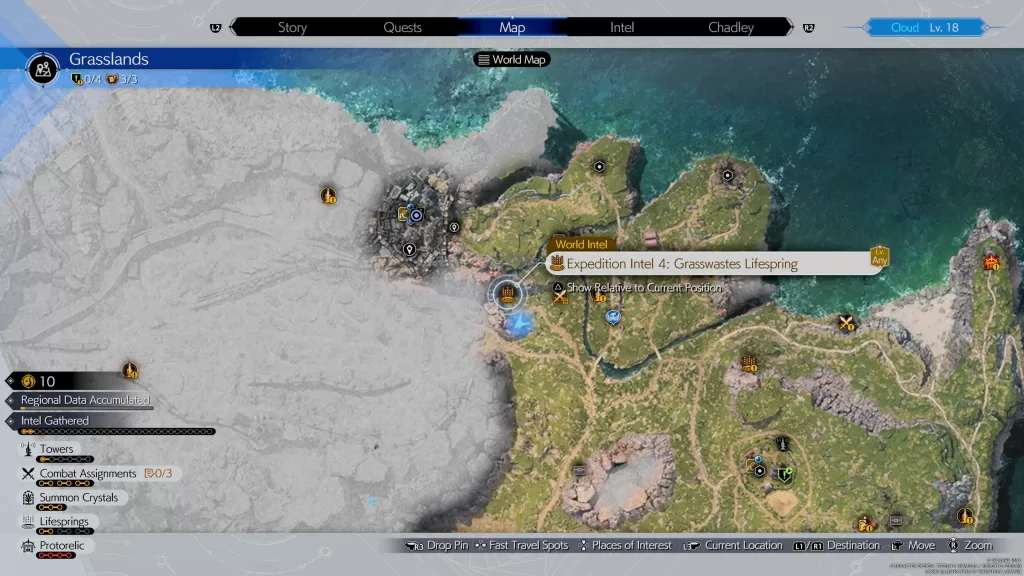
Expedition Intel 4: Grasswastes Lifespring
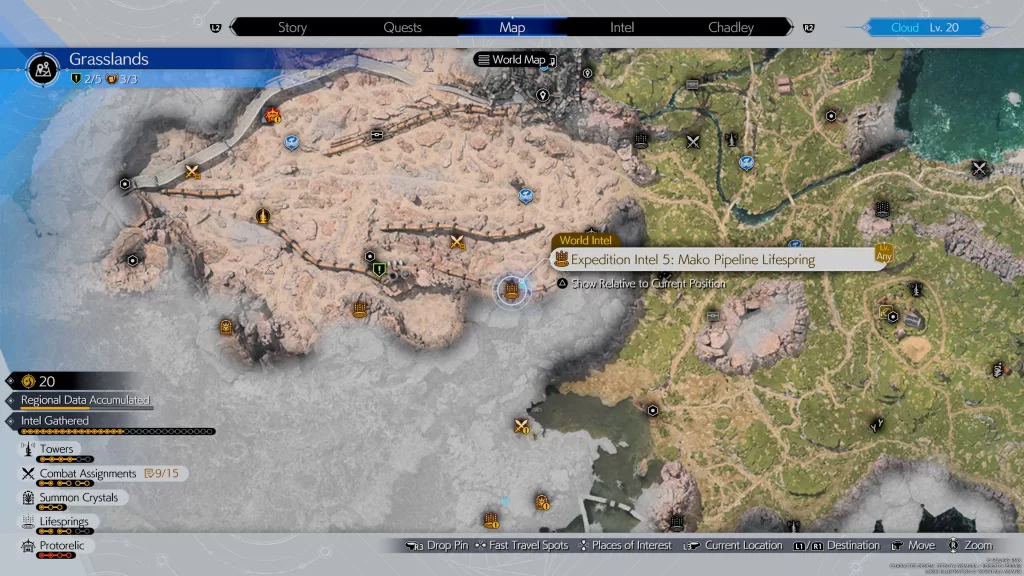
Expedition Intel 5: Mako Pipeline Lifespring
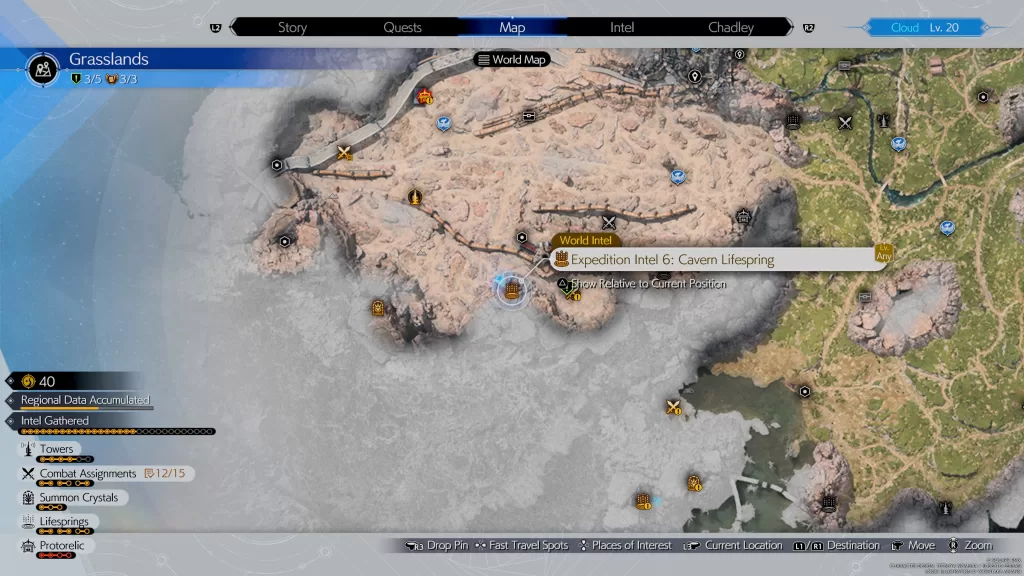
Expedition Intel 6: Cavern Lifespring
Protorelic
The Protorelic can be obtained after completing the questline! This questline in the Grasslands consists of four separate intel locations that unlock as you do each one.
Phenomenon Intel 1: Coastal Lookout
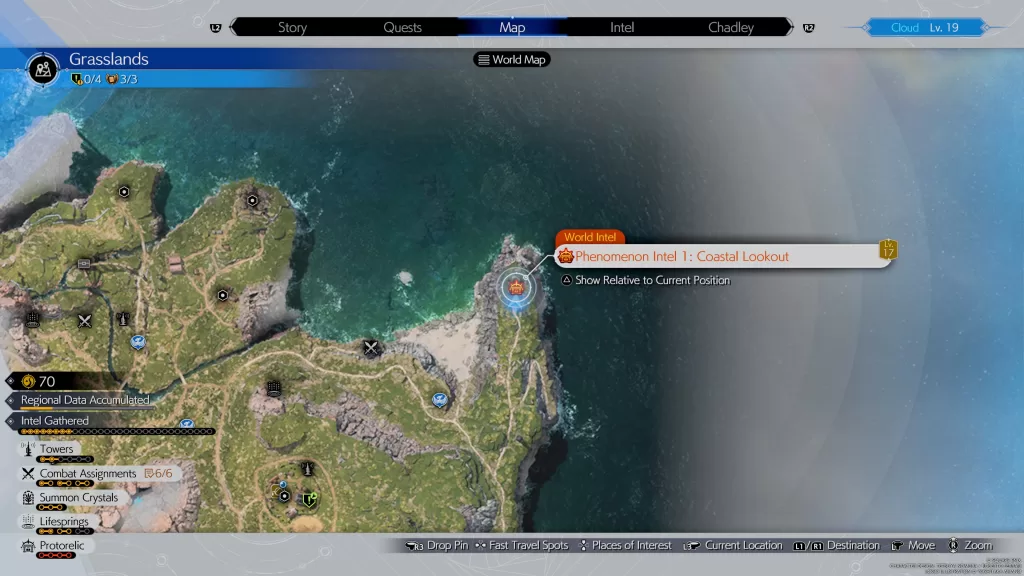
To get inside the Coastal Lookout, you’ll need to crouch under a hole in the fence. Once inside, scale the wall to the left of the locked door to reach the roof. Once on the roof you’ll encounter some bandits!! After getting nowhere with the conversation, you’ll engage in battle with them. Defeat the decoys then Chadley will reveal where to go next!
Phenomenon Intel 2: Pipeline Management Facility
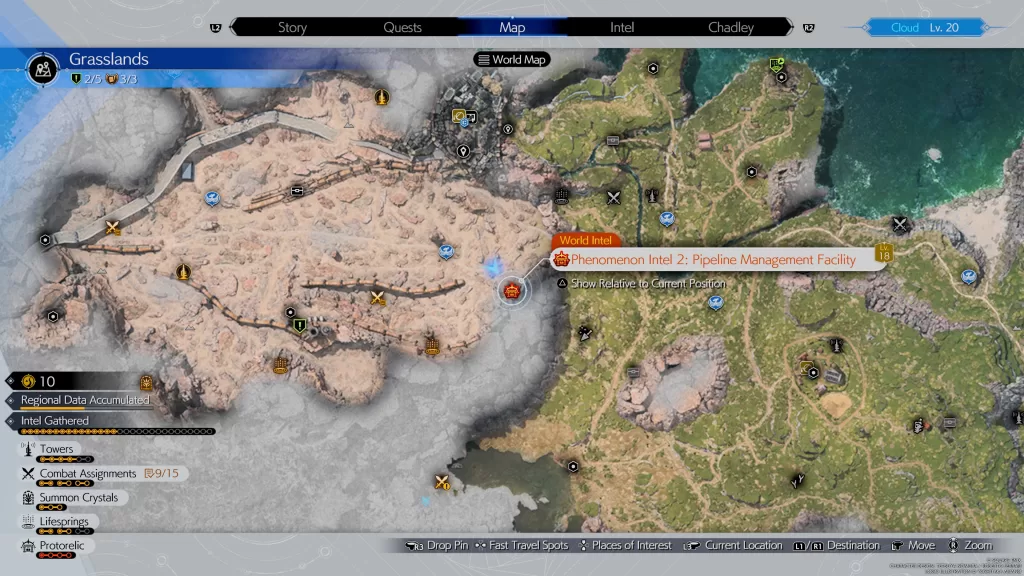
You’ll receive this intel after completing the Phenomenon Intel 1: Coastal Lookout. Head to the western part of the Grasslands south of Kalm to find the Pipeline Management Facility. Once you arrive, approach the shipping containers to receive a tutorial on how to sneak. Sneak your way into the main building near where Beck and the other goons are grouped around a fire. Next, you’ll need to head outside the building and jump up the metal column to reach an upper level.
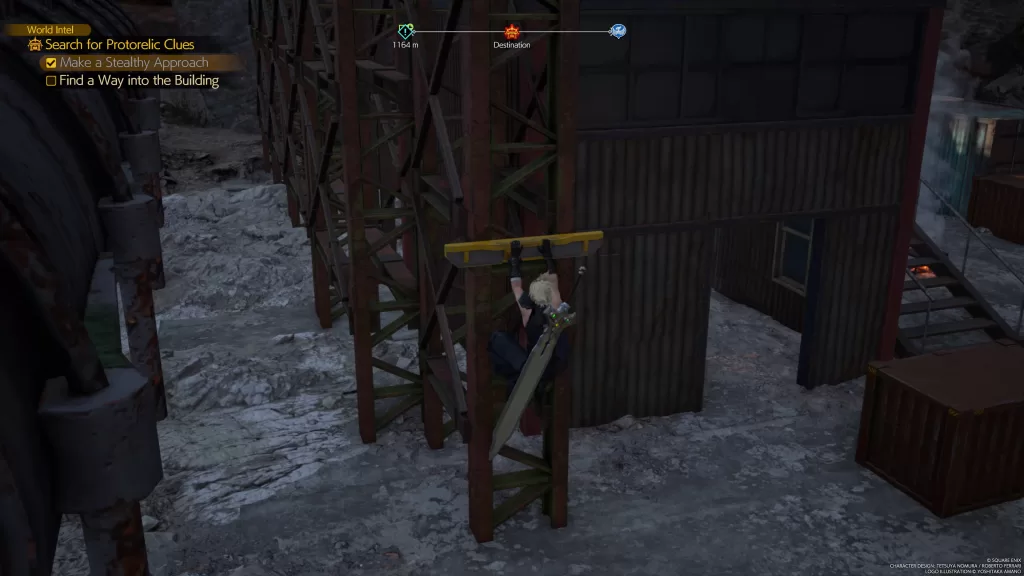
Afterwards, climb up the ladder to reach the roof then slide down the pole to engage with the bandits. The others will make their escape with the treasure and leave the decoys behind as bait.
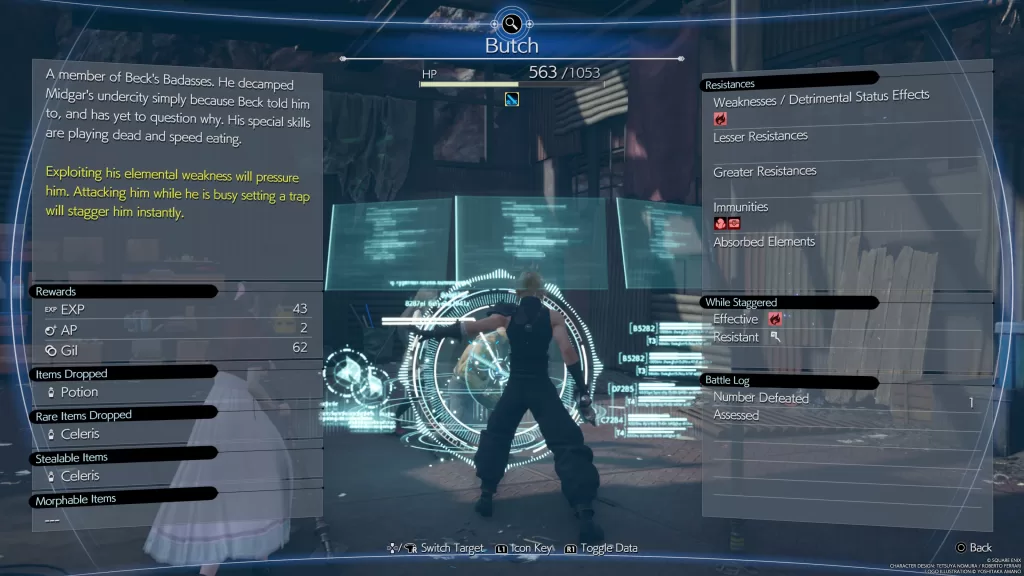

Defeat him in battle to receive your next heading from Chadley.
Phenomenon Intel 3: Abandoned Republic Factory
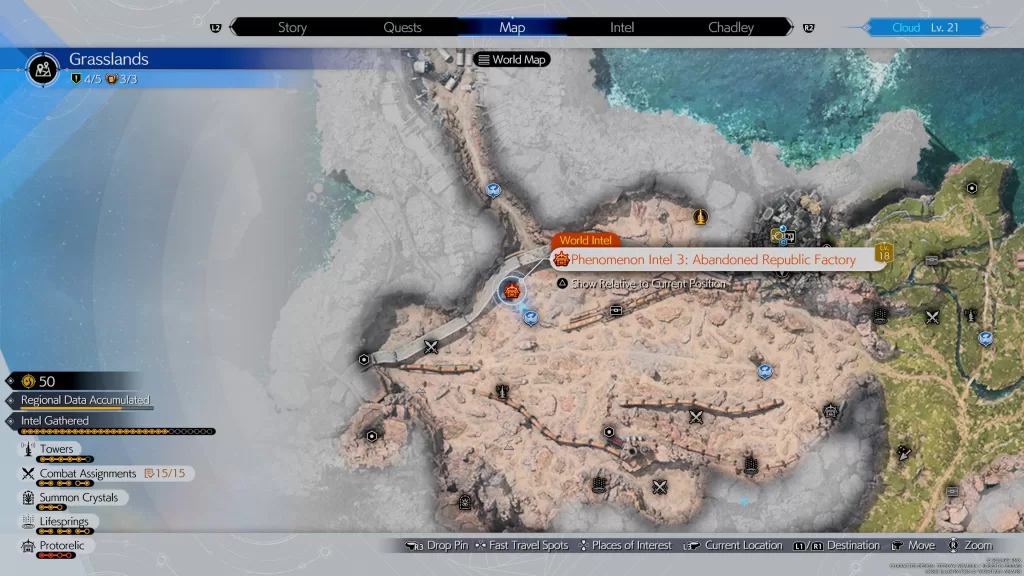
When you reach this area, enter the building on the north side via the garage doors. You’ll then encounter the gang again! During the cutscene, you’ll have to select who has the treasure. Burke is the correct answer!! Afterwards, you’ll need to defeat the bandits then hop on your chocobo and pick up the scent in the corner by the dumpster.
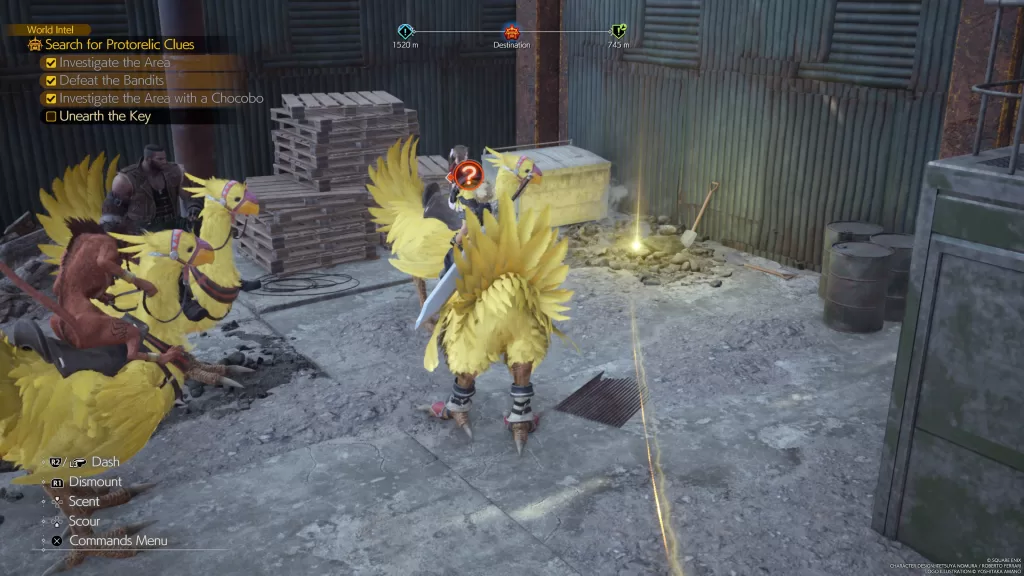
Follow the trail to unearth the key at the end.
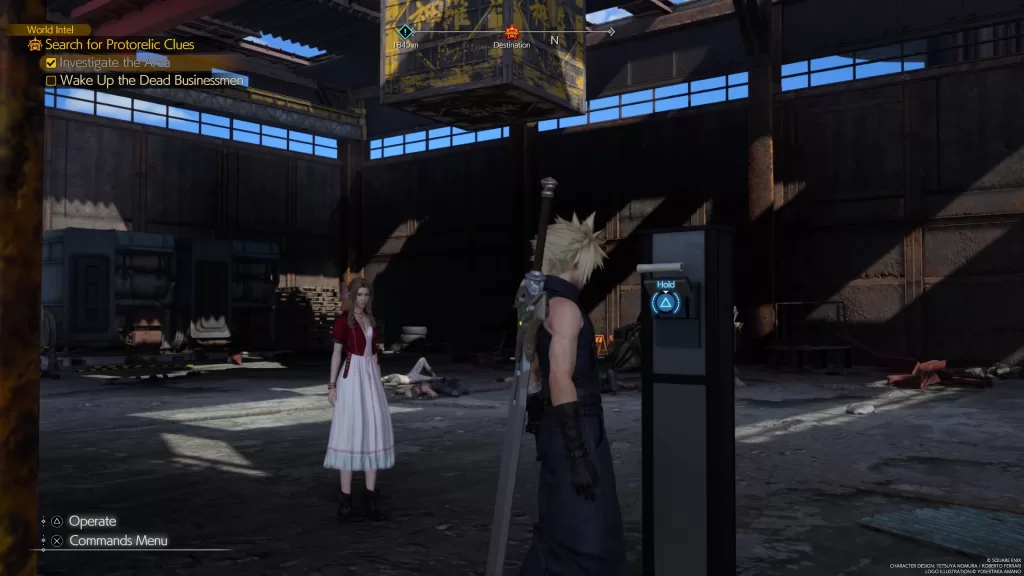
Phenomenon Intel 4: The Hideout
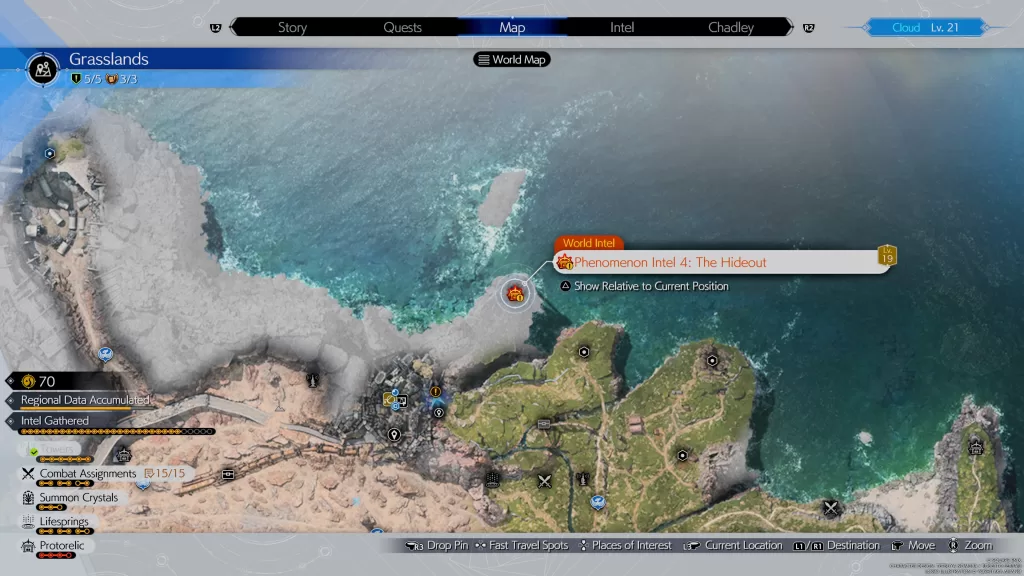
To reach the Hideout, you’ll need to travel to the Kalm Air-Raid Shelter then head north along a cliff. This will bring you to a locked gate. Use the key you previously received to open this gate then follow the path to reach the Hideout. Crouch under the garage door to find Beck’s Badass Bandits playing dead. If you look above them, you’ll notice a yellow crate above them. Look for the switch next to the garage doors to drop this crate on them!
You can try talking it out, however, it will of course end with violence. Take out the bandits. At the end, you can pay them 2,000 Gil for the treasure so the bandits can attempt a fresh start. As a reward, you’ll receive Beck’s Protorelic.
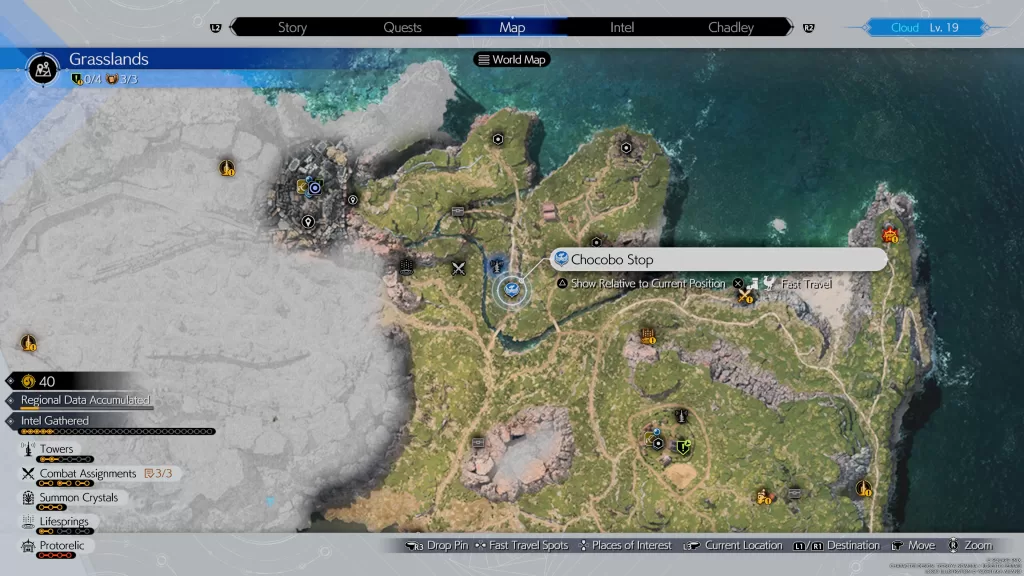
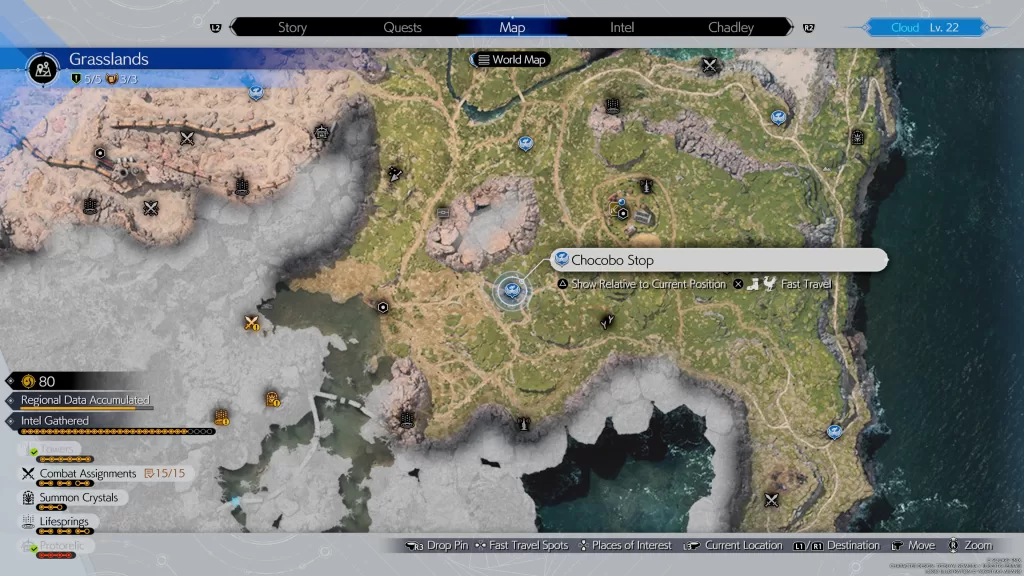
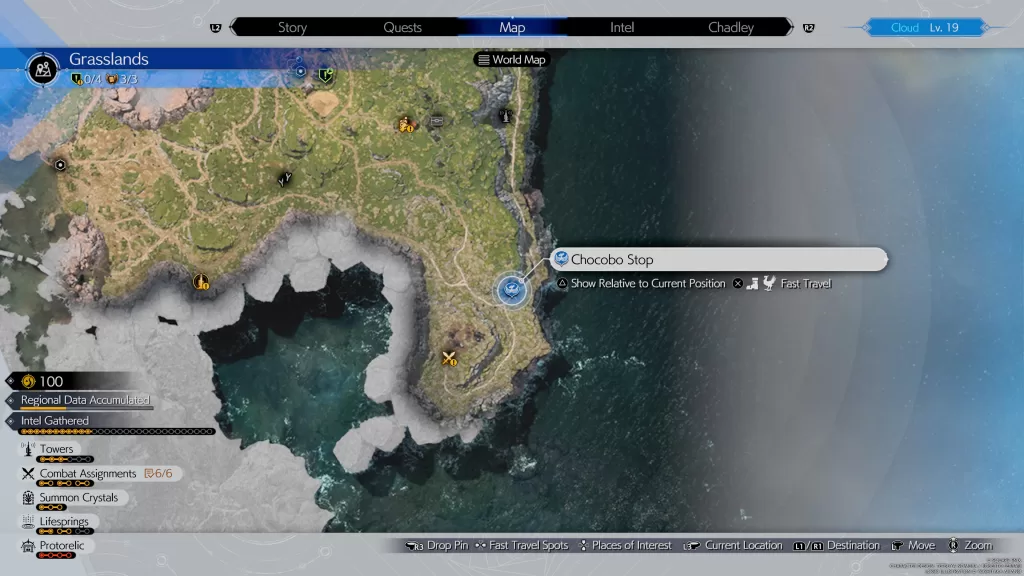
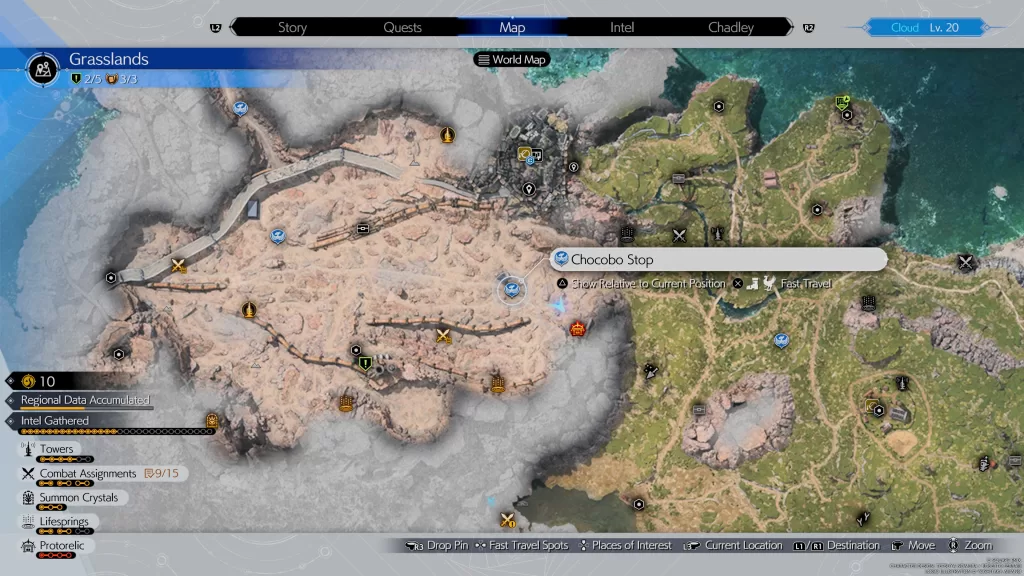
Chocobo Stops
The Chocobo Stops are convenient fast travel locations! To fix a stop, interact with the sign to pick it up! By fixing a Chocobo Stop, you’ll receive a Golden Plume, which you can trade to Chloe at Bill’s Ranch for Chocobo armor. Please note, you cannot fix the Chocobo Stop until you’ve received your own at Bill’s Ranch.
Excavation Intel
The Excavation Intel will appear on your world map after you’ve completed a couple of Lifesprings. Every 2 Lifesprings will give you a new Excavation Intel.
Excavation Intel 1: Bygone Settlement
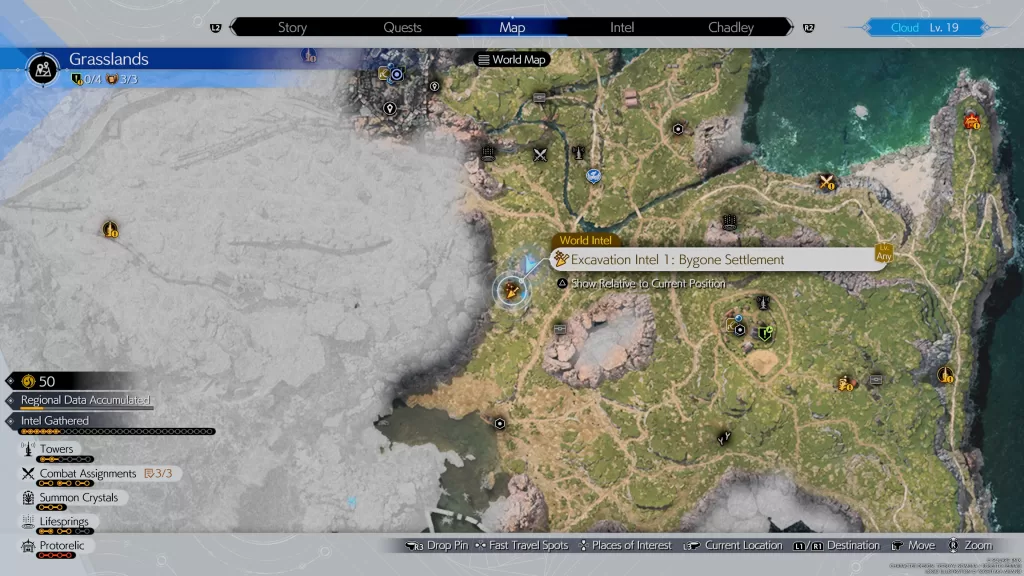
The Excavation Intel 1: Bygone Settlement will unlock after completing 2 Lifesprings. For this intel, you’ll need to use your chocobo to dig up 3 relics.
Excavation Intel 2: Pipeline Depository

This intel will unlock after completing 6 Lifesprings! To complete it, you’ll need to use your chocobo to dig up 3 artifacts.
Moogle Intel
Moogle Intel: Prairie Moogle
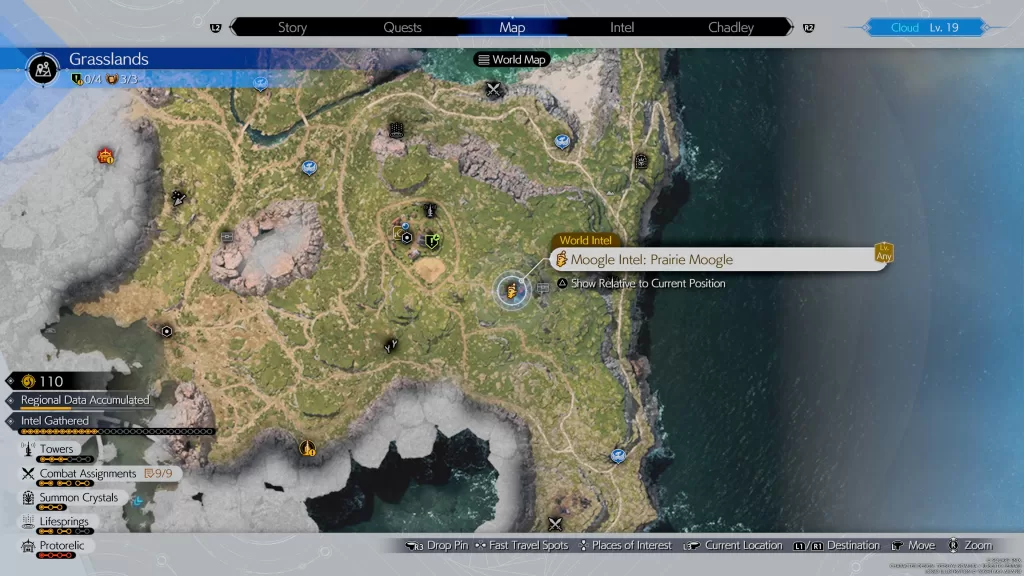
Interact with the door at the base of the giant mushroom to enter the mogstool. The Moogle Merchant will need your help wrangling the 5 Mooglets. Once you’ve successfully rounded up all the Mooglets, you’ll be able to exchange Moogle Medals for items at the Moogle Emporium.
Cache Locations
Cache locations can be found throughout the Grasslands. When you encounter one, you’ll need to find all the chests there to have it marked as complete.
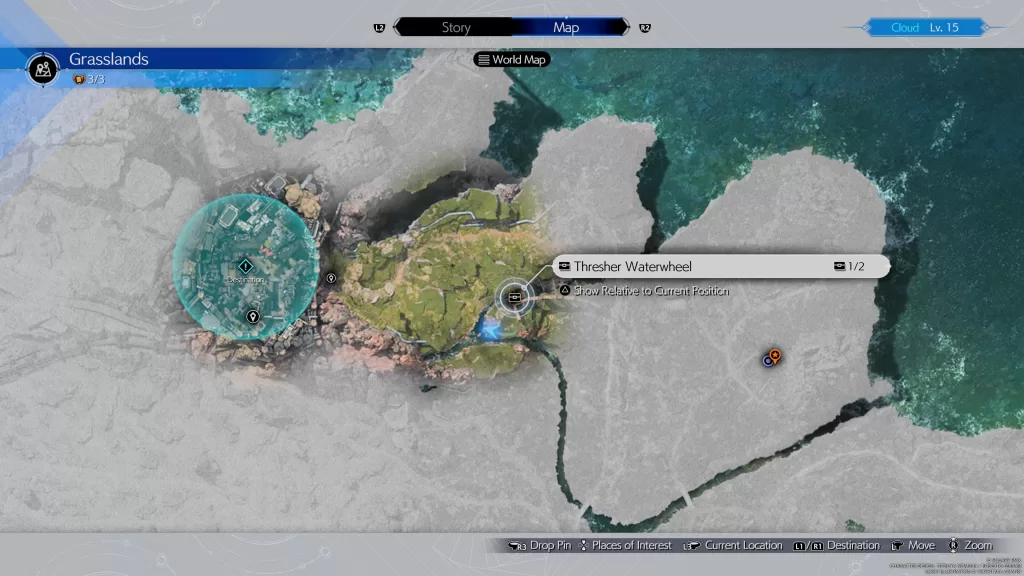
Thresher Waterwheel
- 2 chests
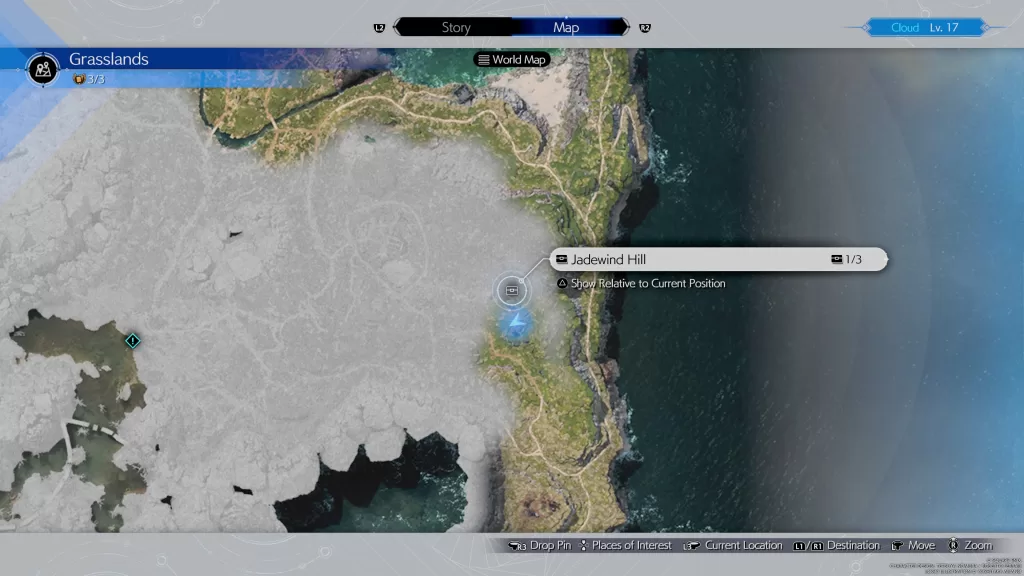
Jadewind Hill
- 3 chests
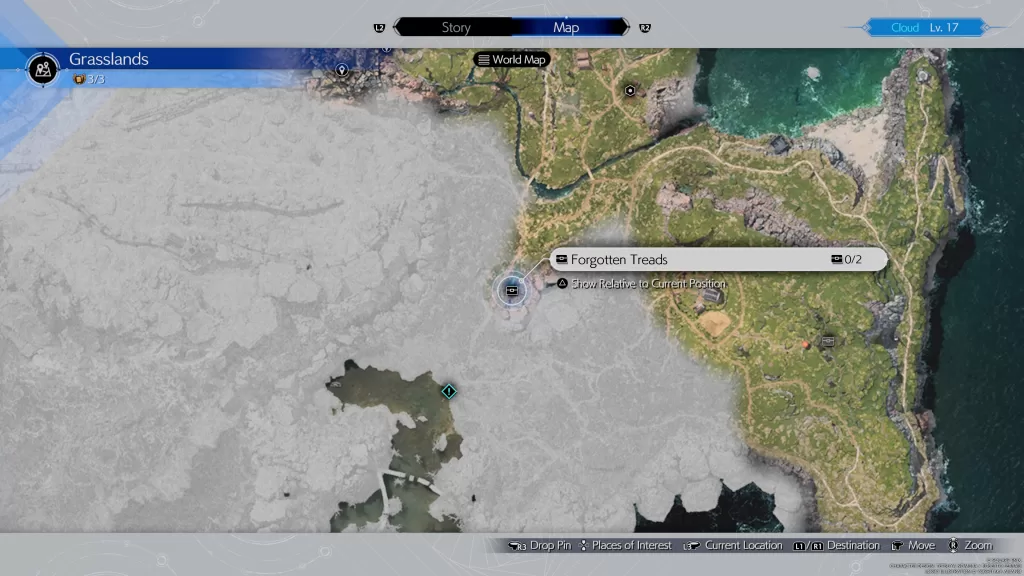
Forgotten Treads
- 2 chests
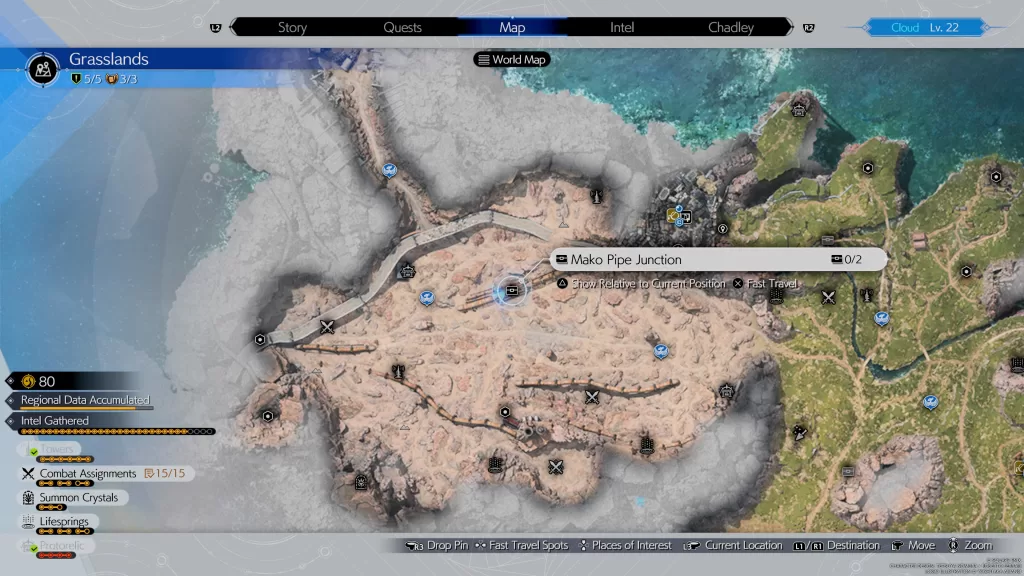
Mako Pipe Junction
- 2 chests
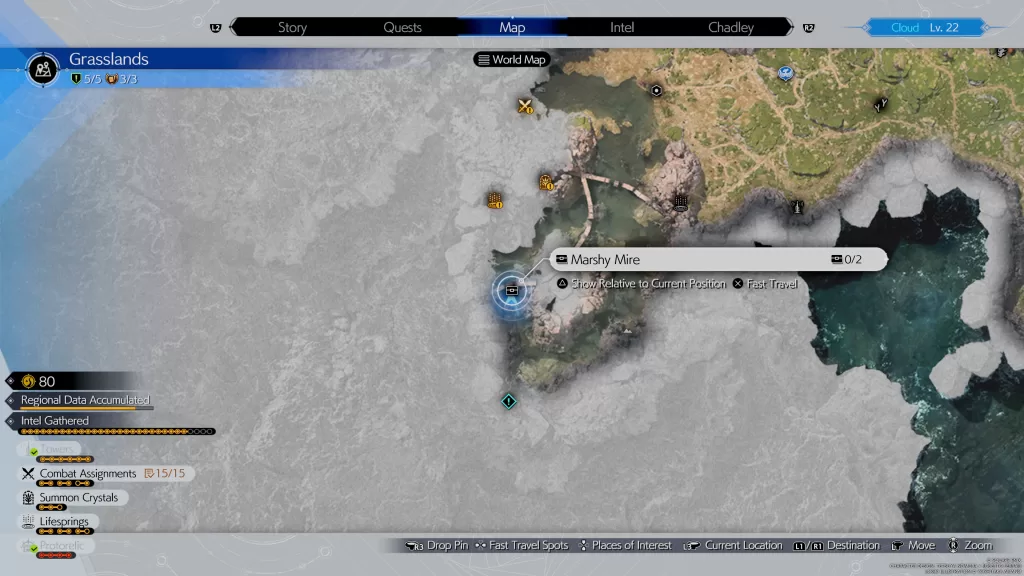
Marshy Mire
- 2 chests
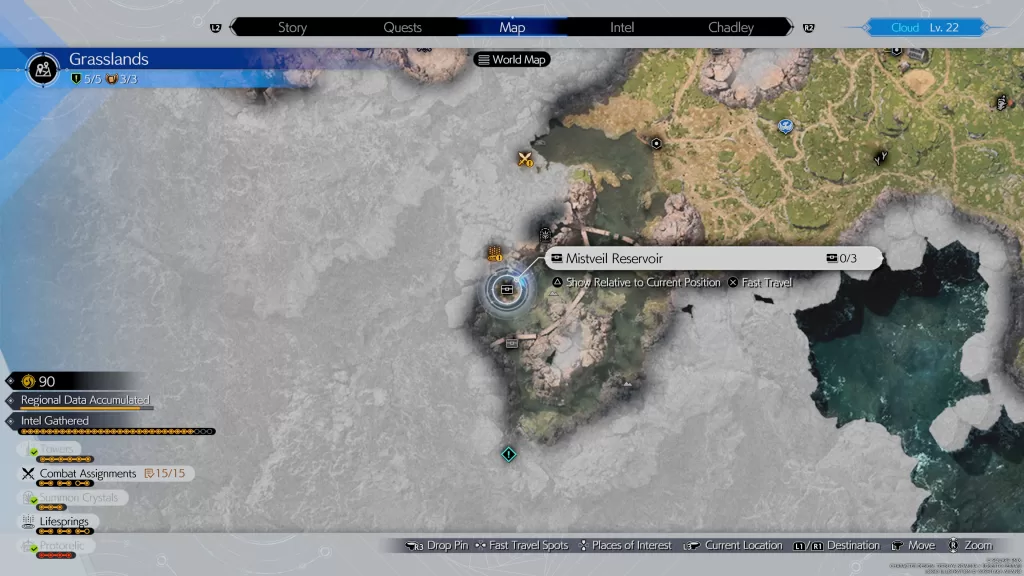
Mistveil Reservoir
- 3 chests
FF7 Rebirth Guides and Walkthroughs
For more Final Fantasy VII Rebirth guides and walkthroughs, click here!