Welcome to NGB and our FF7 Rebirth Junon Region World Intel Guide! Here we’ll cover all the world intel for Junon in FF7 Rebirth, including Remnawave Towers, Combat Assignments, Summon Crystals, Lifesprings, Protorelic, etc. The FF7 Rebirth Junon region consists of 2 towns called Under Junon and The Crow’s Nest and the surrounding areas! In Under Junon, you’ll be able to increase your bonds of friendship with party members via dialog options and play against Queen’s Blood opponents to earn cards. Keep in mind that you can also purchase Queen’s Blood cards from venders in Junon. For a guide on where to purchase these cards, click here!
Under Junon
Bonds of Friendship Dialog Options
In this table, you’ll find all the Bonds of Friendship dialog options for each party member along with the best answer in Chapter 4. Giving the best answer will reward you with the most bond points for that party member in a given conversation. You’ll be able to speak with your party members during the Respite Main Scenario after retiring to the inn.
| Party Member | Location | Statement | Best Answer |
|---|---|---|---|
| Aerith | Under Junon – In the inn | Do you remember the first time we met? | You shoved a flower at me. |
| Barret | Under Junon – In the inn | What do you think Yuffie wants with us? | Your autograph. |
| Red XIII | Under Junon – In the inn | I doubt I’ll smell Shinra till it’s too late. | We’ll manage. |
| Tifa | Under Junon – In the inn | Do you remember a guy named Emilio? | The general store kid? |
Queen’s Blood Opponents
In this table, you’ll find all the players you can challenge to Queen’s Blood during Chapter 4 along with the rewards you’ll receive!
| Players | Locations | Rewards |
|---|---|---|
| Isabelle | Under Junon – At the tavern on the patio | #96 Shiva |
| The Moore Twins | Under Junon – In the residence up the stairs to the right of Armentis | #21 Ogre |
| Zogan | Under Junon – At the docks in the Coastline | #24 Zemzelett |
Crow’s Nest
Queen’s Blood Opponents
| Players | Locations | Rewards |
|---|---|---|
| Cameron | Crow’s Nest – In the southeastern building | #113 Midgardsormr |
| Michaela | Crow’s Nest – In the southern part of the town on the walkway diagonally from the Community Noticeboard | ##27 Mindflayer |
| Neil | Crow’s Nest – Near the northern entrance of town on the east side of the path on a wooden deck | #30 Flametrooper |
Junon Region
Before exploring Junon in Chapter 4, we recommend pushing forward until you unlock the Mountain Chocobo, Belle. This will make traveling MUCH easier, plus you’ll be able to reach all the Remnawave Towers, Combat Assignments, Summon Crystals, Lifesprings and Protorelic which are all scattered around Junon!
Junon World Intel Quick Links
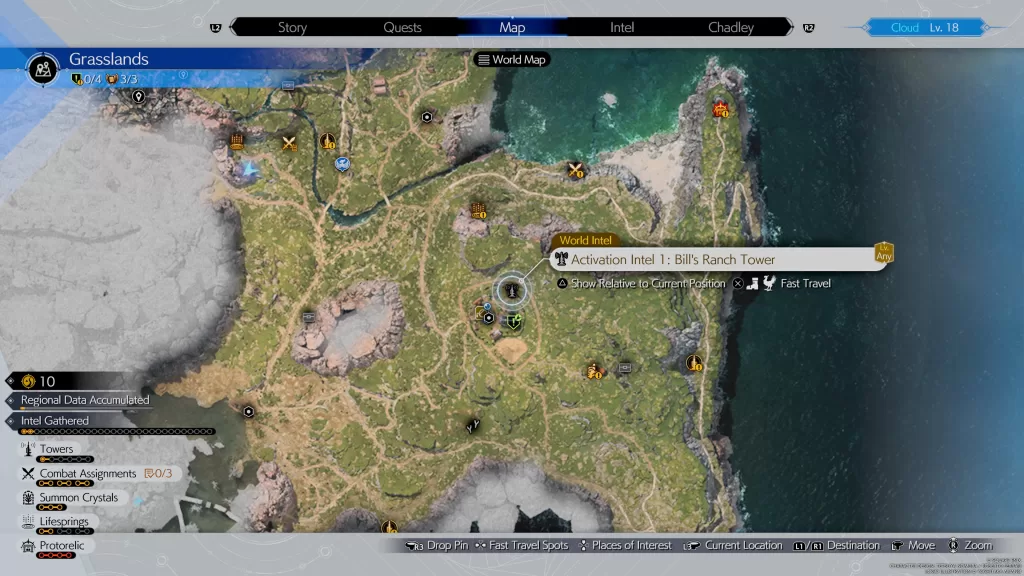
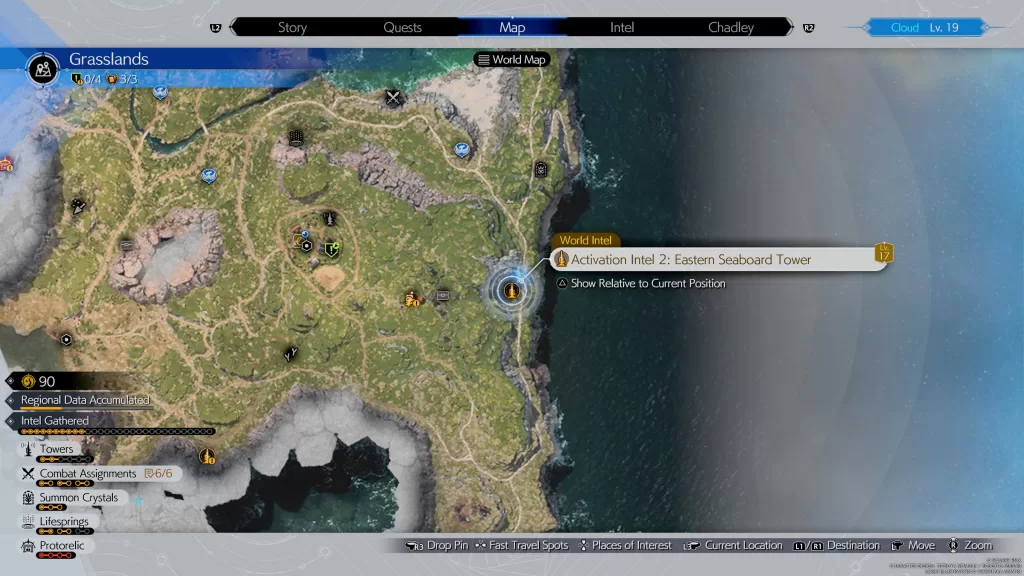
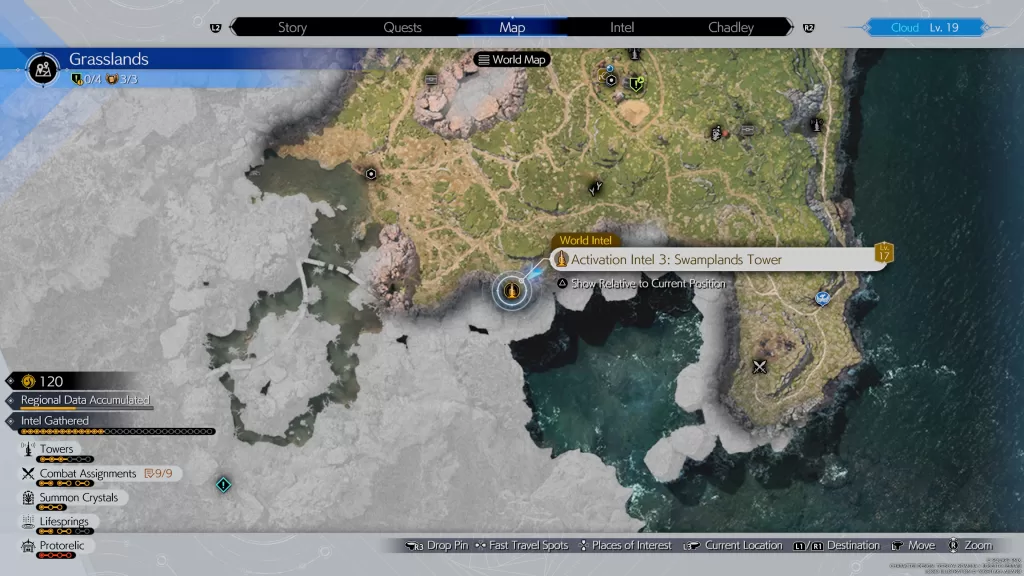
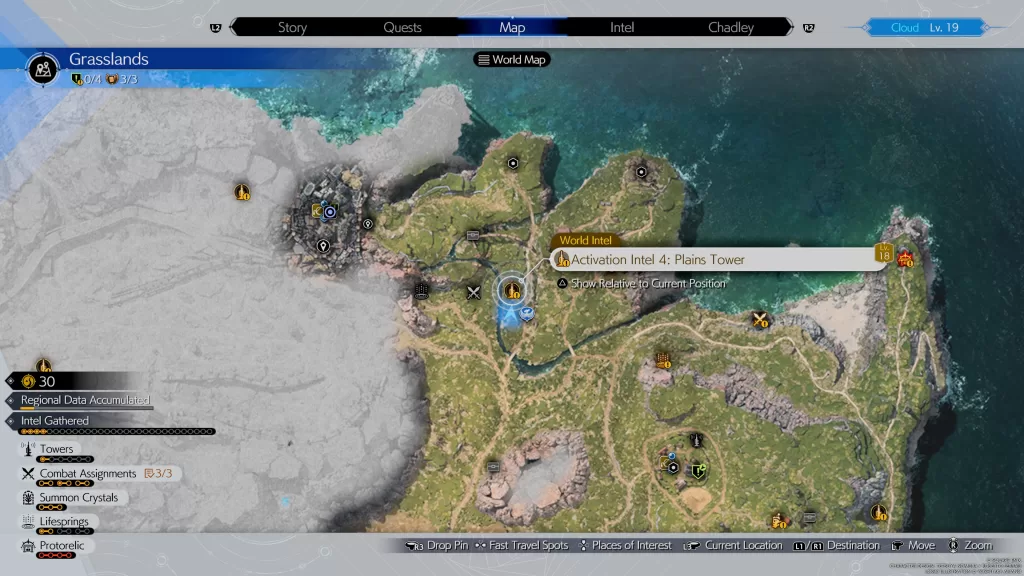
Towers
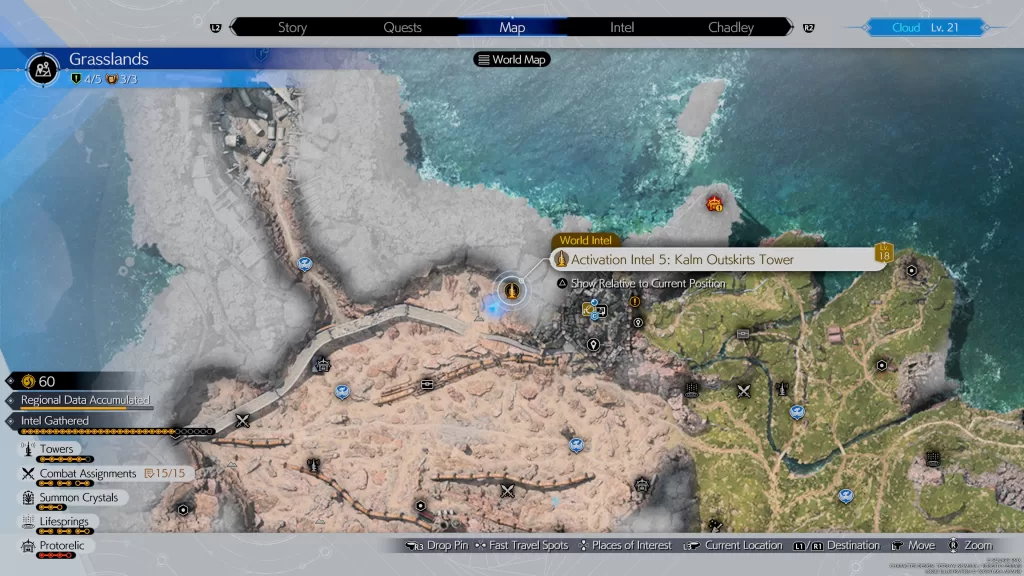
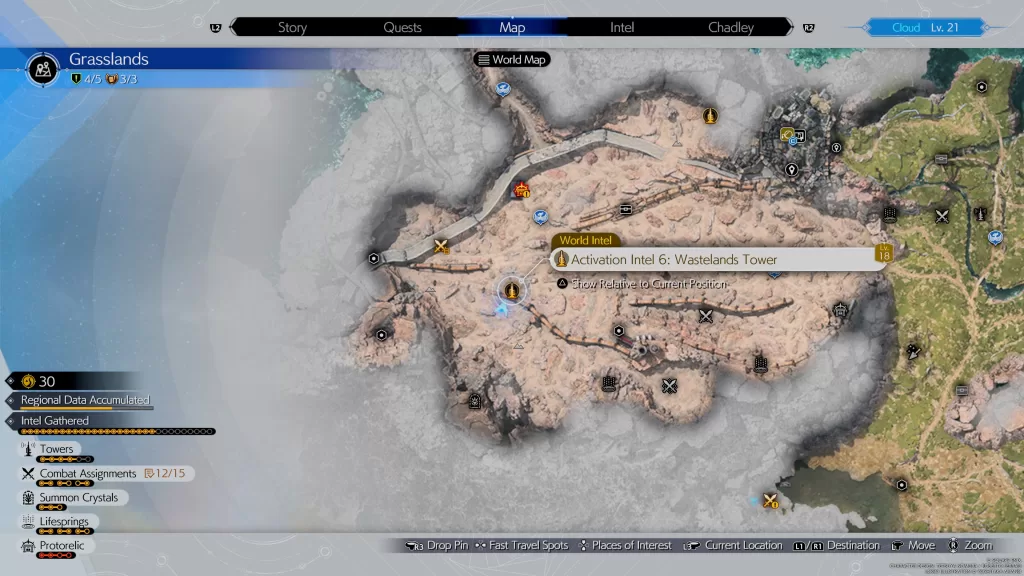
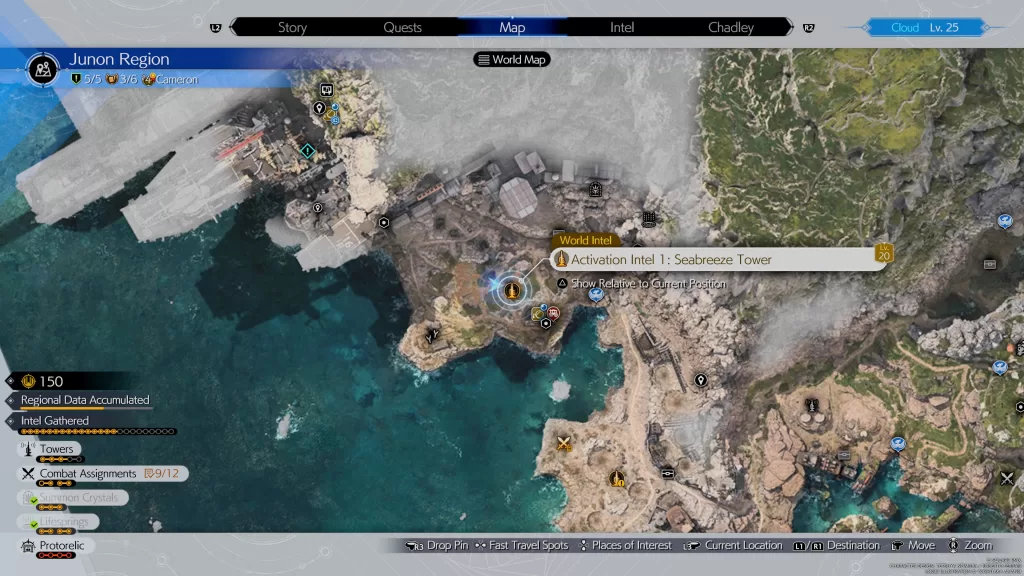
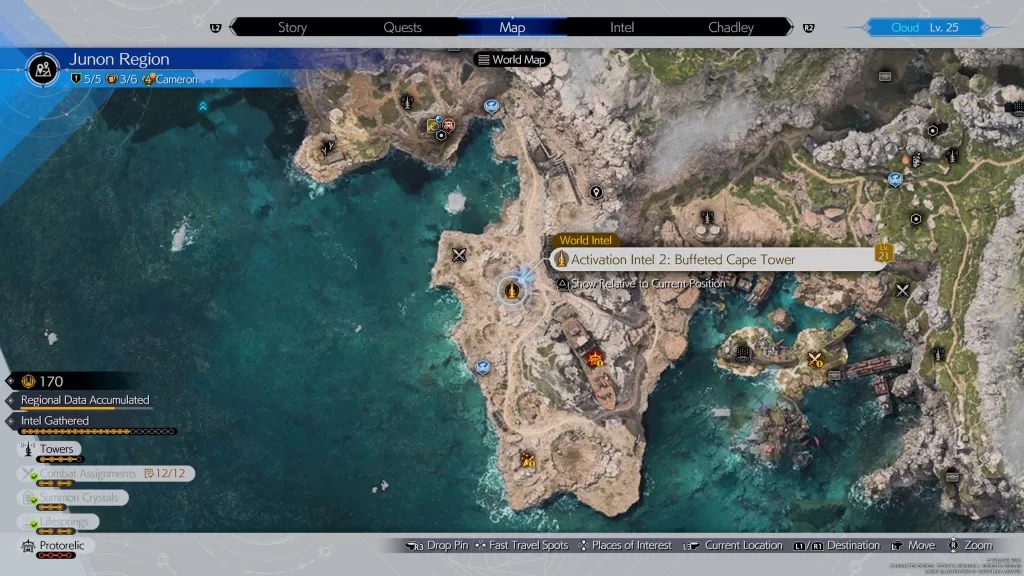
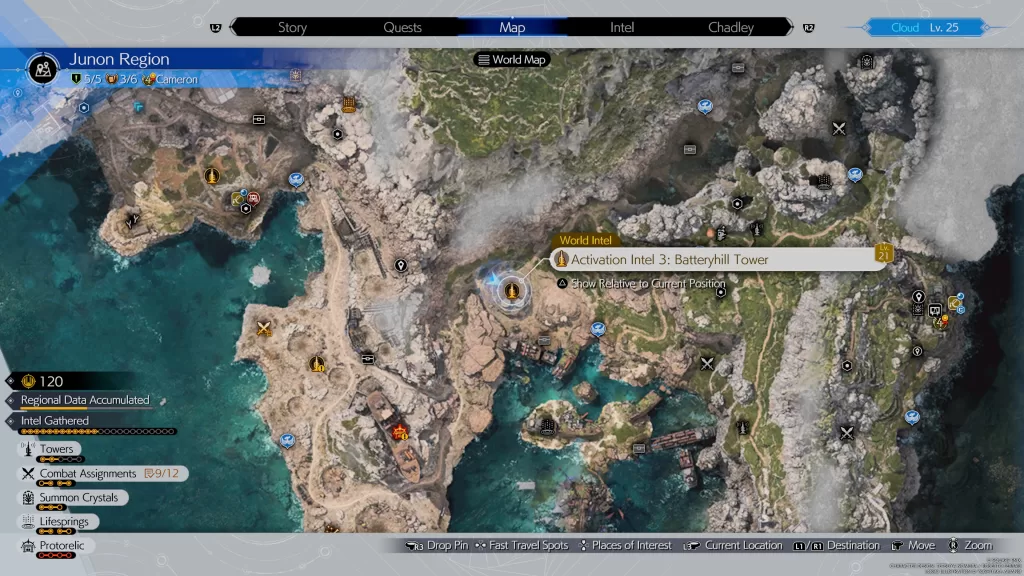
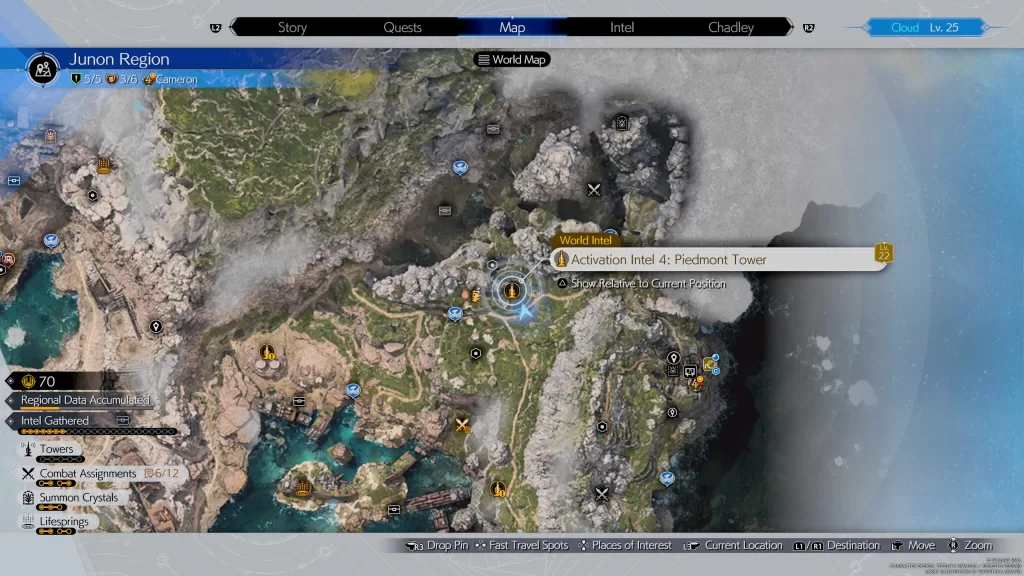
Once you discover a Remnawave Tower, you’ll need to interact with the red button to activate the tower. To reach this button, you may need to defeat enemies surrounding a tower. Sometimes the button will be on the ground level and other times you’ll need to scale the tower to reach it.
Activation Intel 1: Seabreeze Tower
Activation Intel 2: Buffeted Cape Tower
Activation Intel 3: Batteryhill Tower
Activation Intel 4: Piedmont Tower
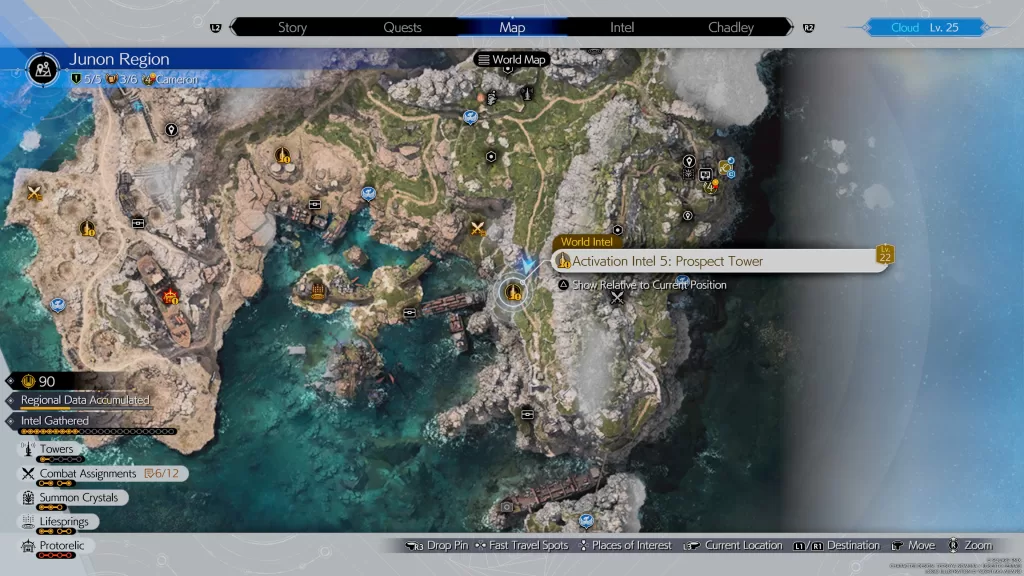
Activation Intel 5: Prospect Tower
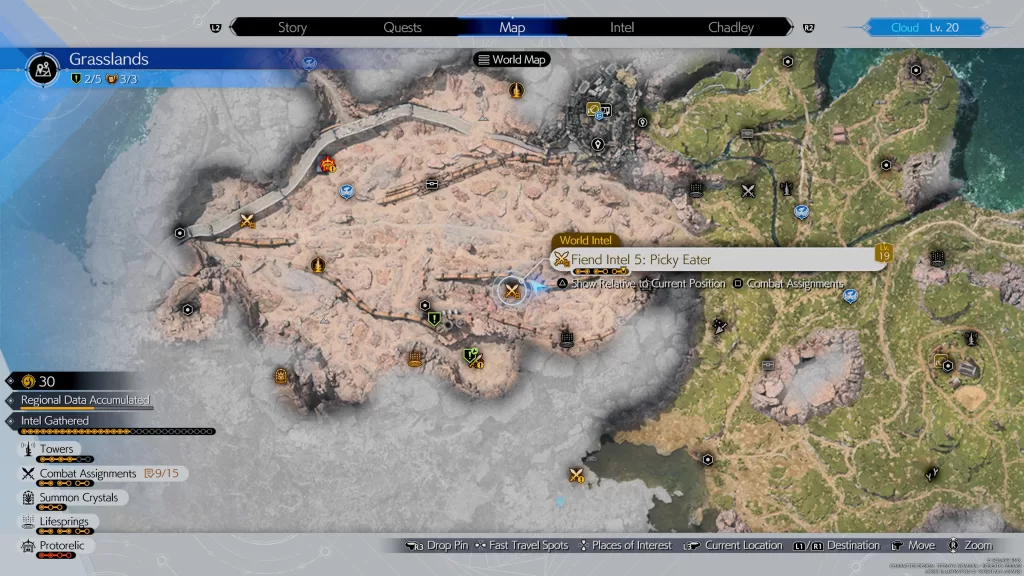
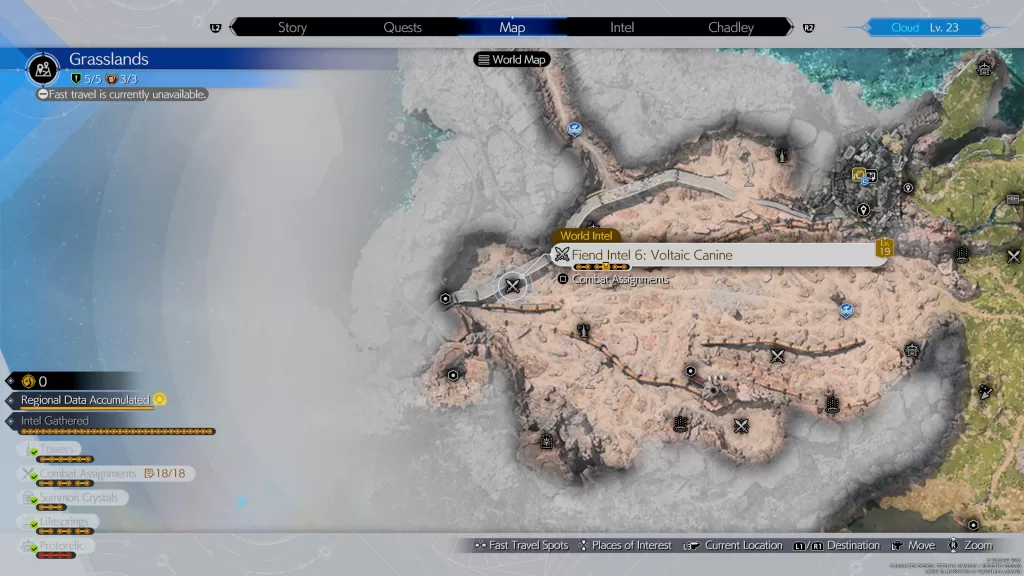
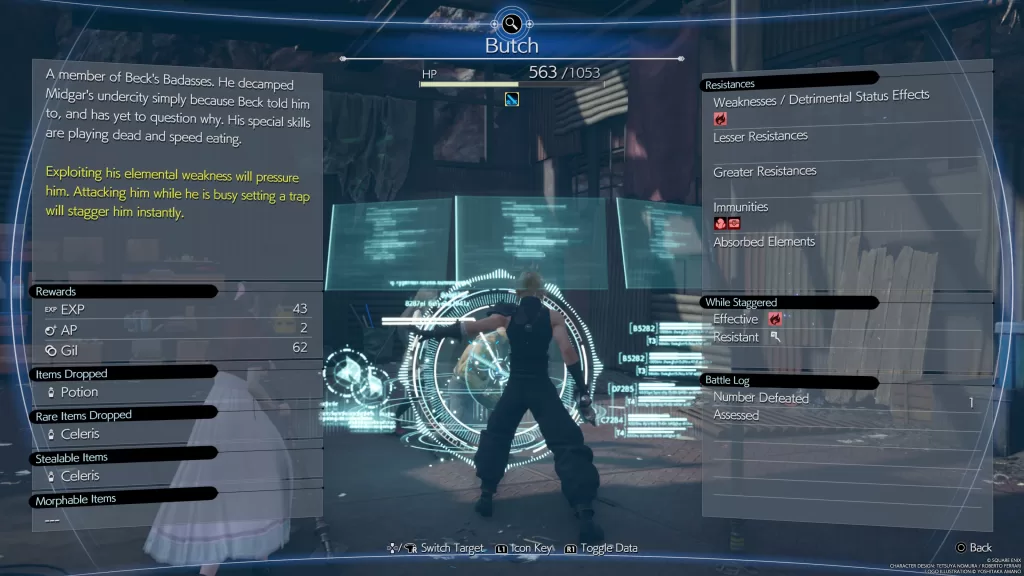
Combat Assignments
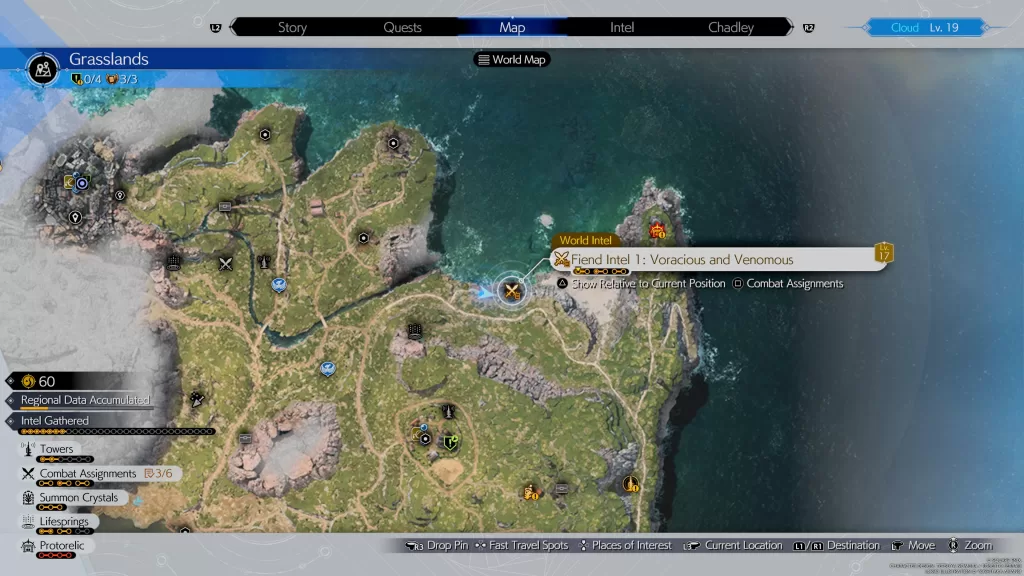
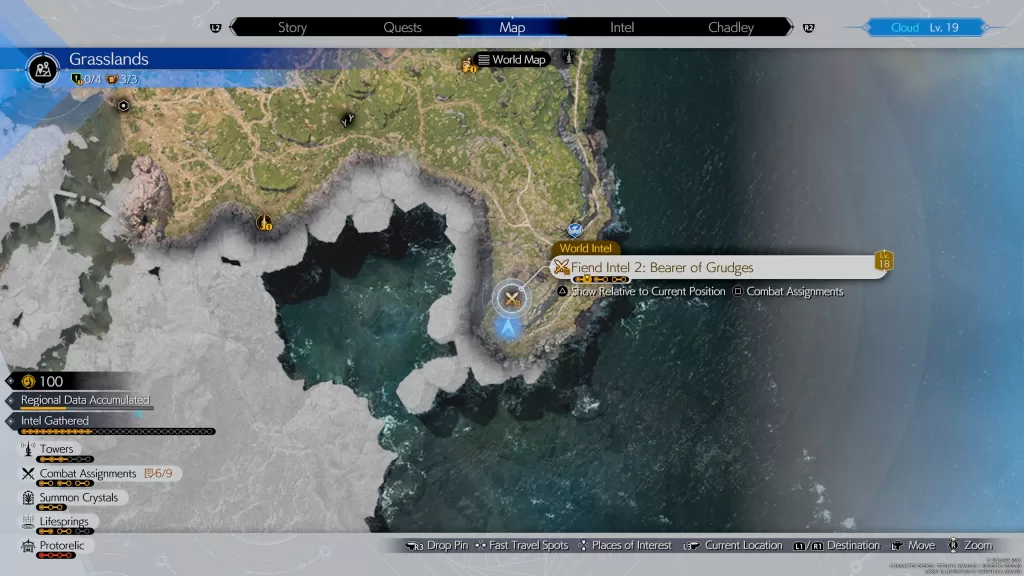
For Combat Assignments in Final Fantasy VII Rebirth, you’ll need to defeat a group of enemies while completing the stated combat objectives! These guys won’t show up on the map by default. You’ll need to approach their location to get a notification about them.
Fiend Intel 1: Cacophonic Corvid
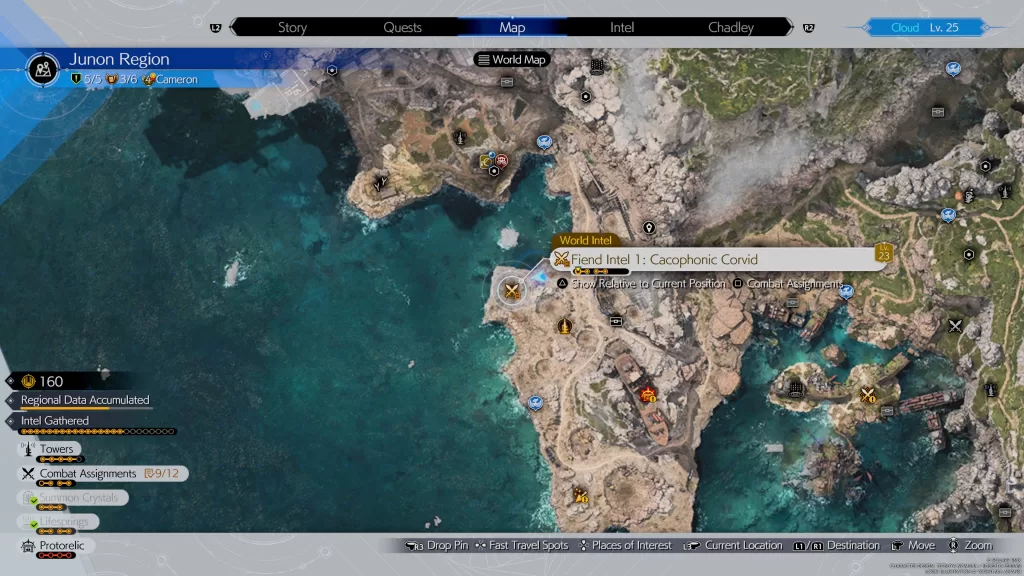
- Combat Objectives:
- Pressure an enemy
- Stagger an enemy
- Defeat the enemy within the time limit
Fiend Intel 2: Zemze Breaks
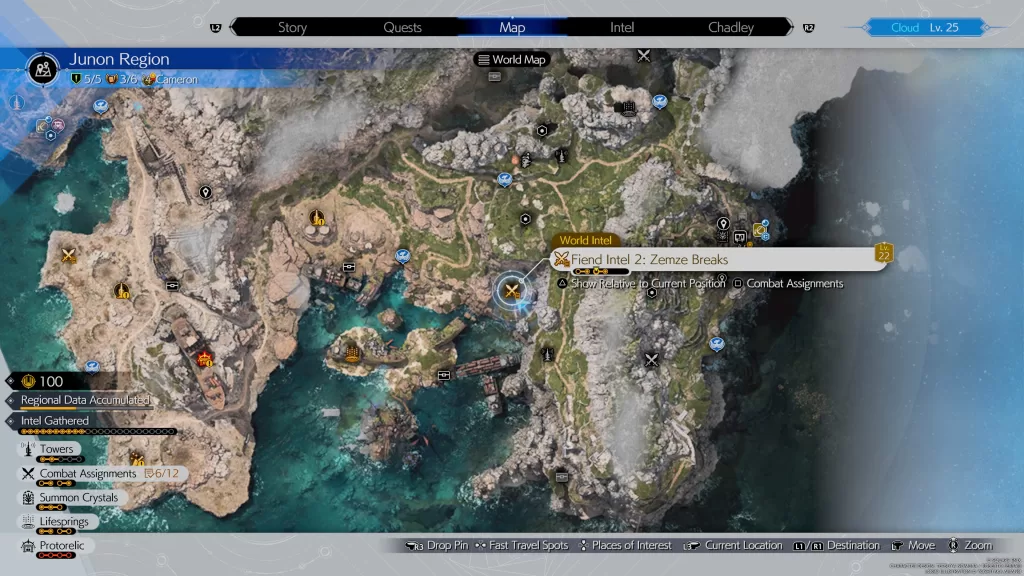
- Combat Objectives:
- Stagger an enemy
- Prevent enemies from taking flight when using Soothing Breeze
- Defeat all enemies within the time limit
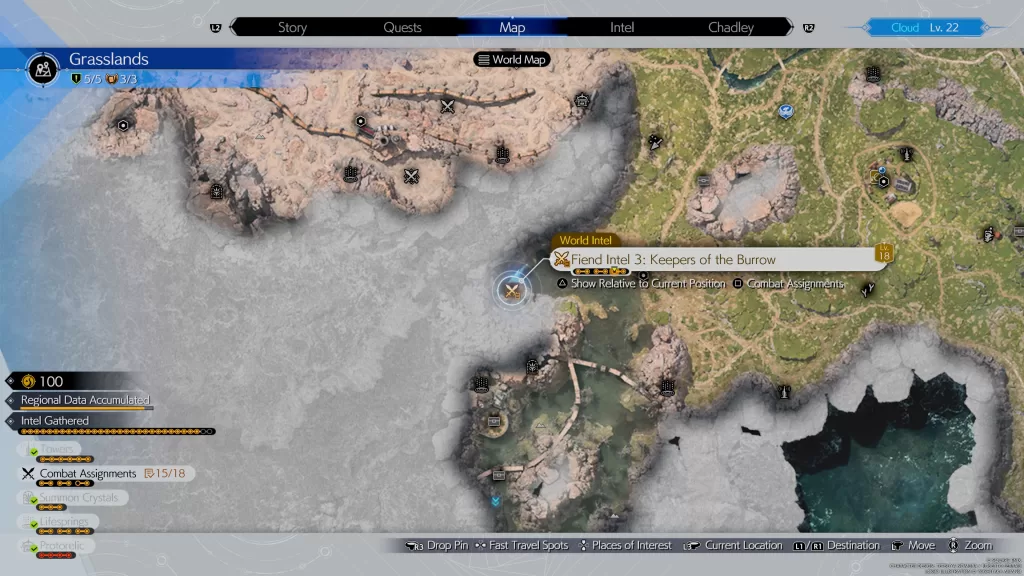
Fiend Intel 3: Scorched Earth

- Combat Objectives:
- Pressure an enemy
- Stagger an enemy
- Defeat all enemies within the time limit
Fiend Intel 4: Weather the Storm
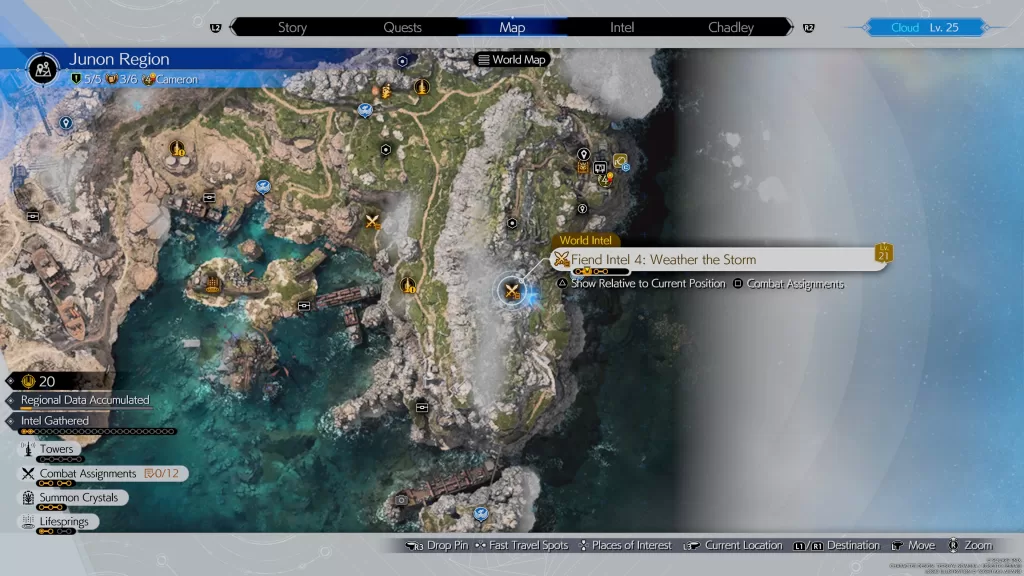
- Combat Objectives:
- Pressure an enemy
- Stagger an enemy
- Defeat all enemies within the time limit
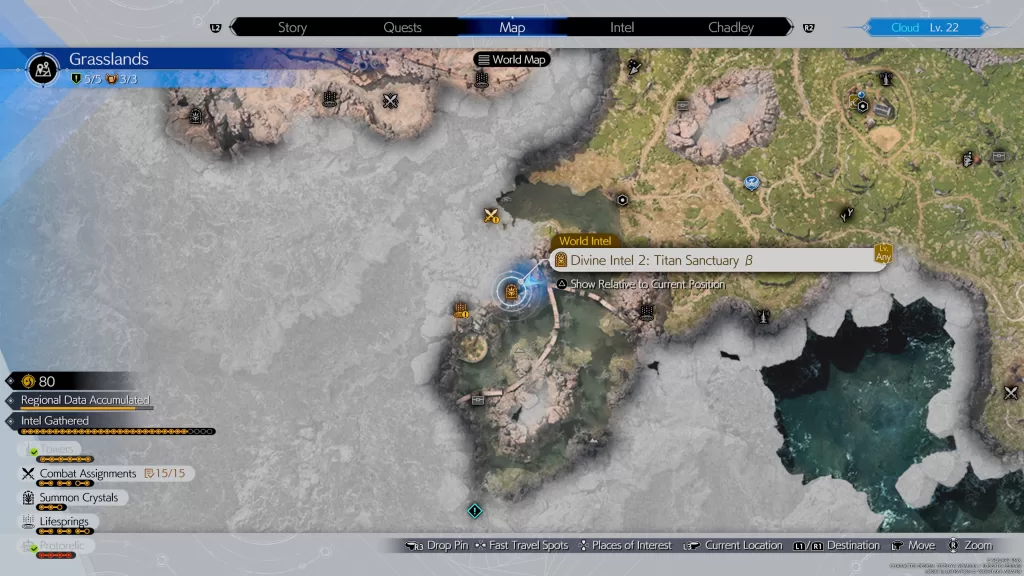
Summon Crystals
To complete the Summon Crystals, you’ll need to memorize the position and necessary timing for a series of points. When the points disappear, you’ll need to make inputs at the correct times to replicate the memory matrix. If you succeed, you’ll weaken the summon in its combat trial and strengthen its corresponding materia.
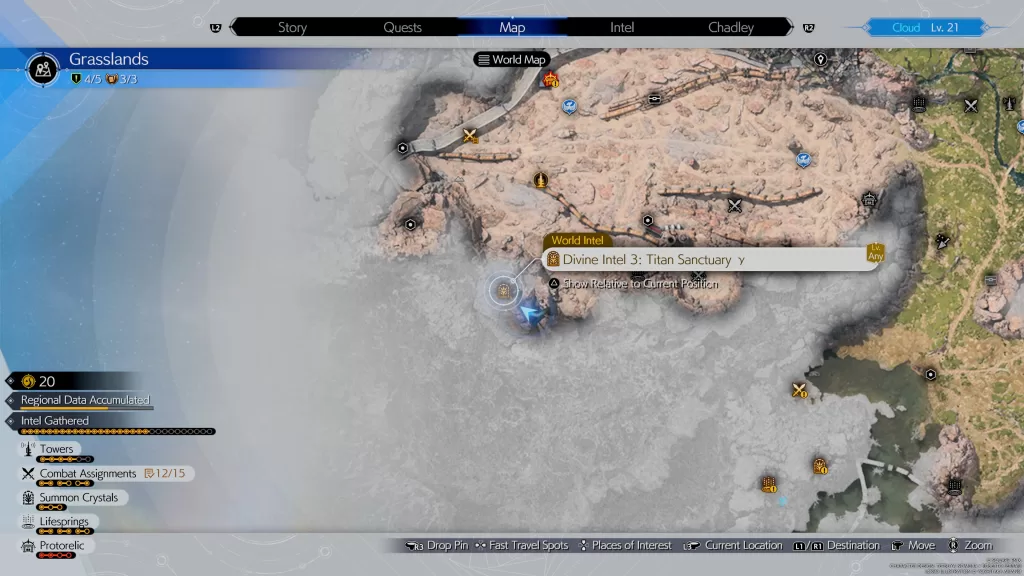
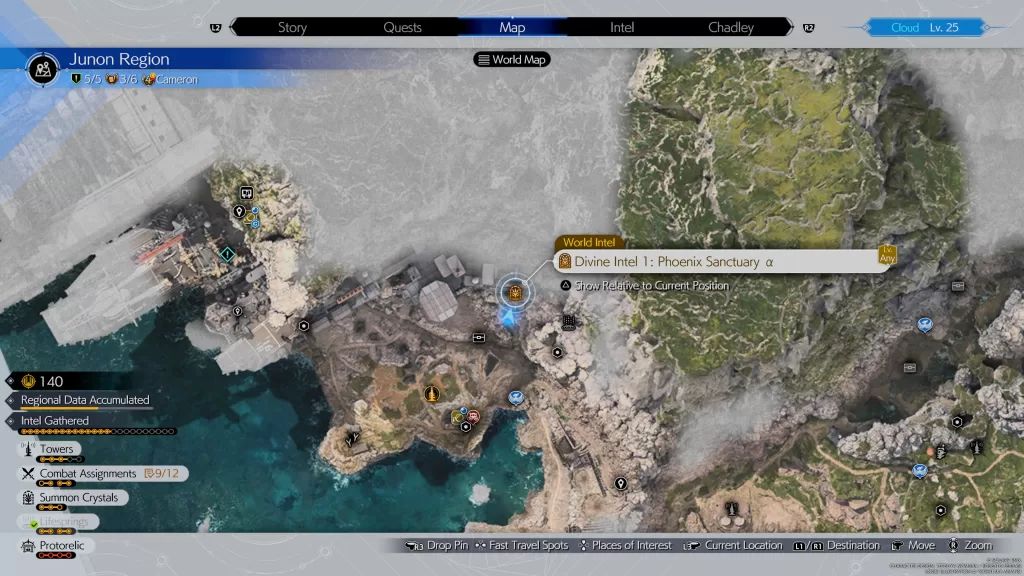
Divine Intel 1: Phoenix Sanctuary a
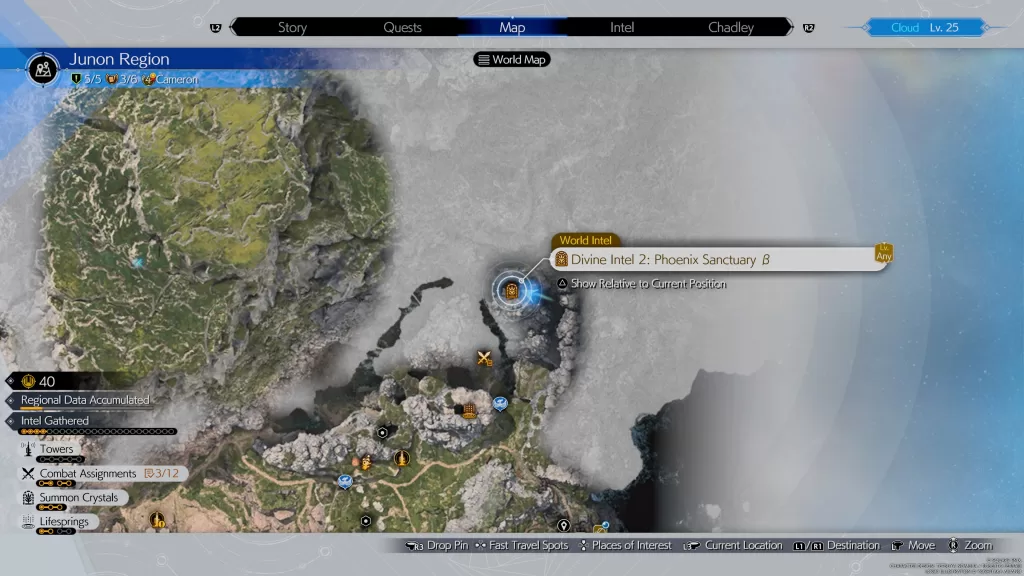
Divine Intel 2: Phoenix Sanctuary B
Divine Intel 3: Phoenix Sanctuary Y
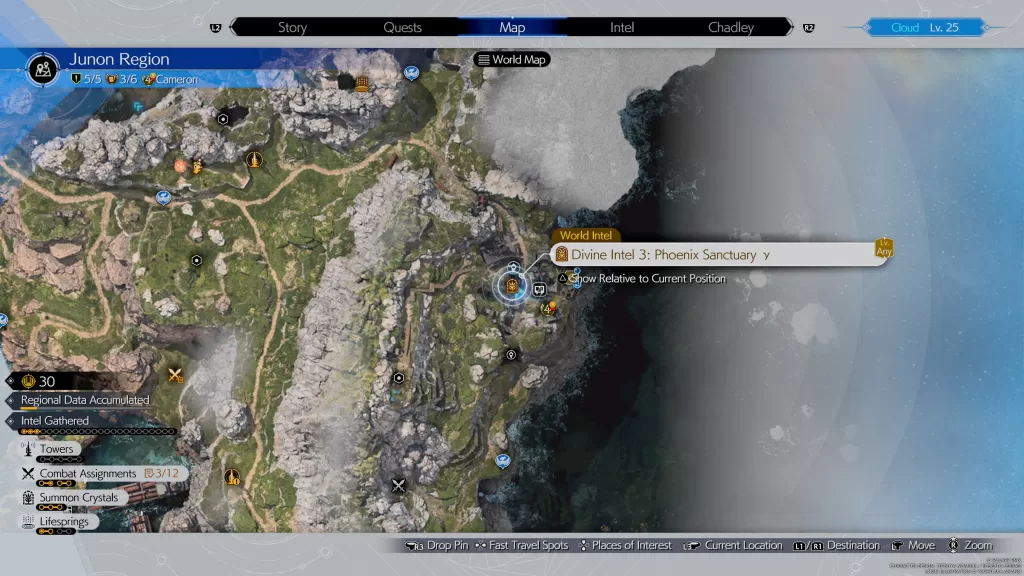
Head to the Crow’s Nest – South Gate. Facing south look to the left to find a path that leads you under the Crow’s Nest. Take this path to reach the sanctuary.
Lifesprings
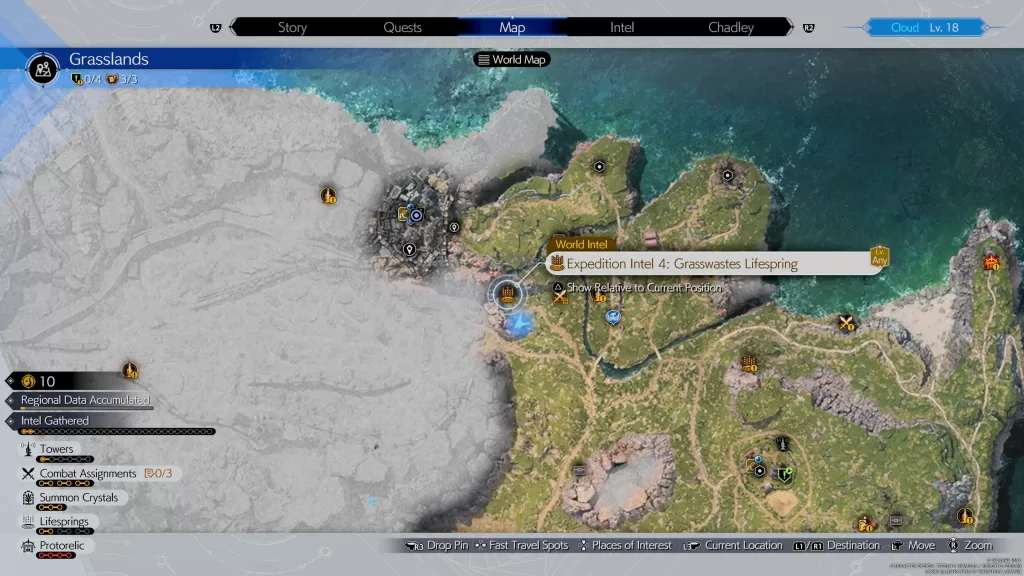
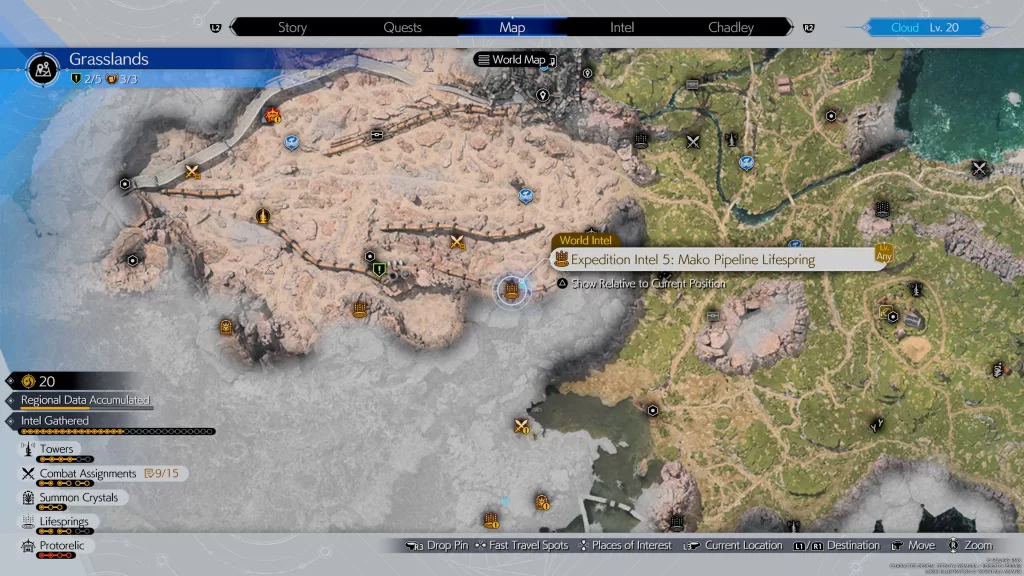
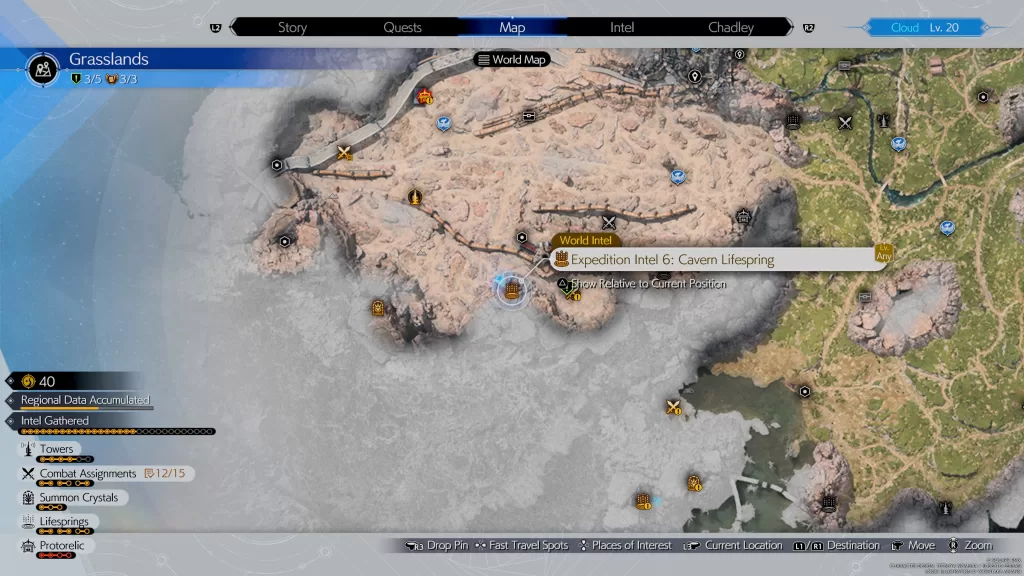
Interact with the giant crystals and press the button when prompted to complete the Lifesprings. While at each Lifespring, be sure to also collect the cache of materials around the crystal!! Every two Lifesprings will unlock a new intel on the map for you to investigate.
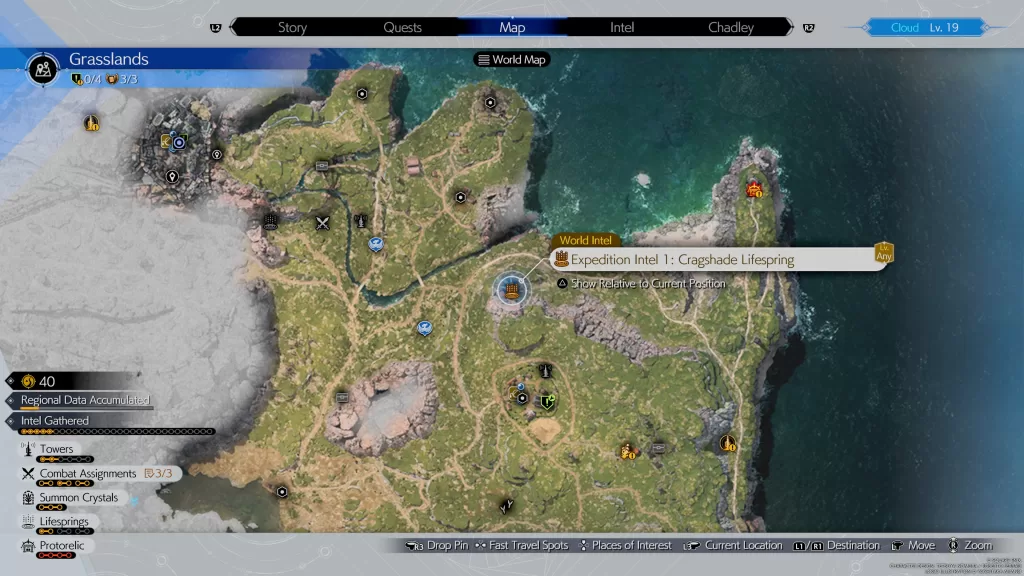
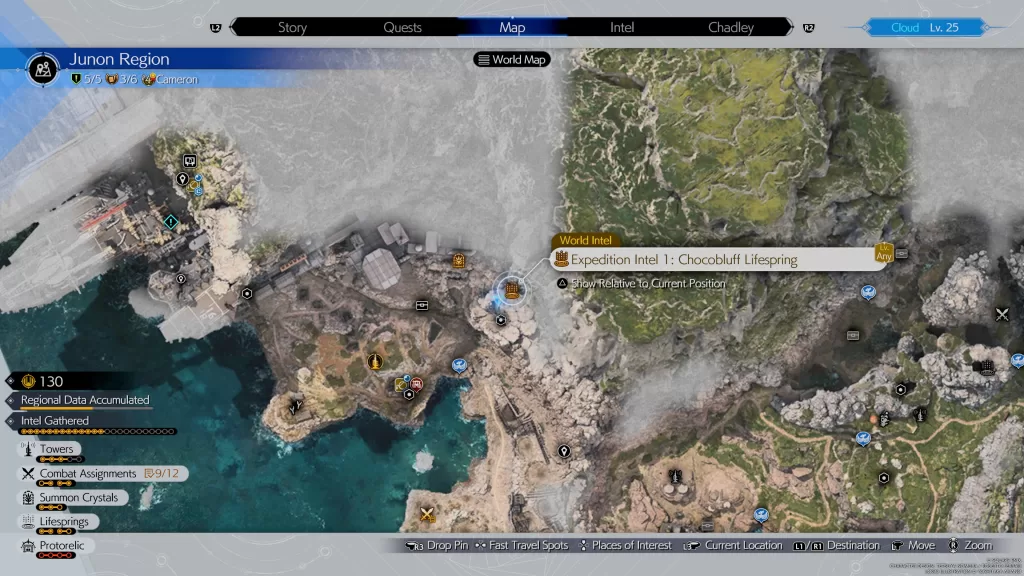
Expedition Intel 1: Chocobluff Lifespring
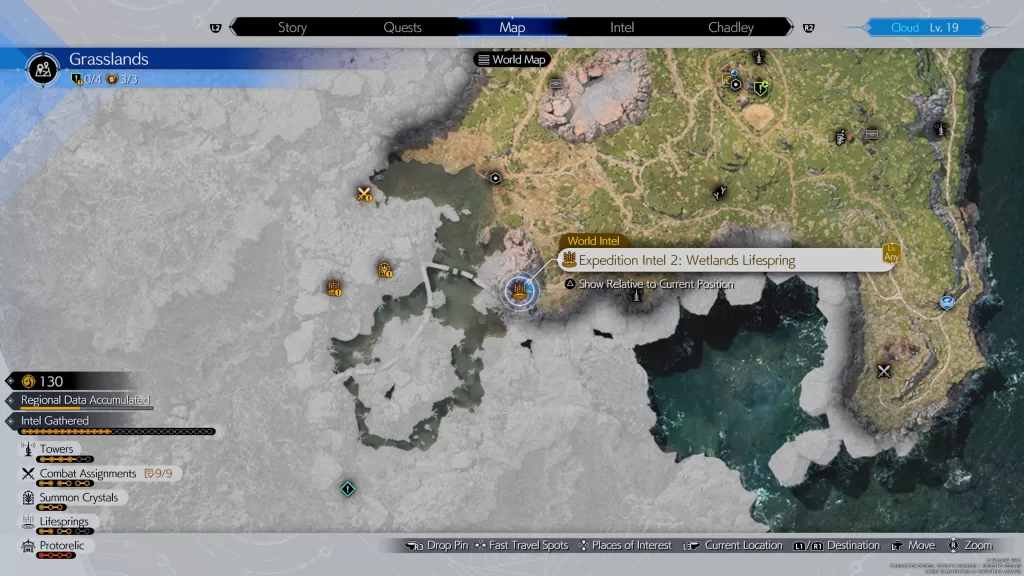
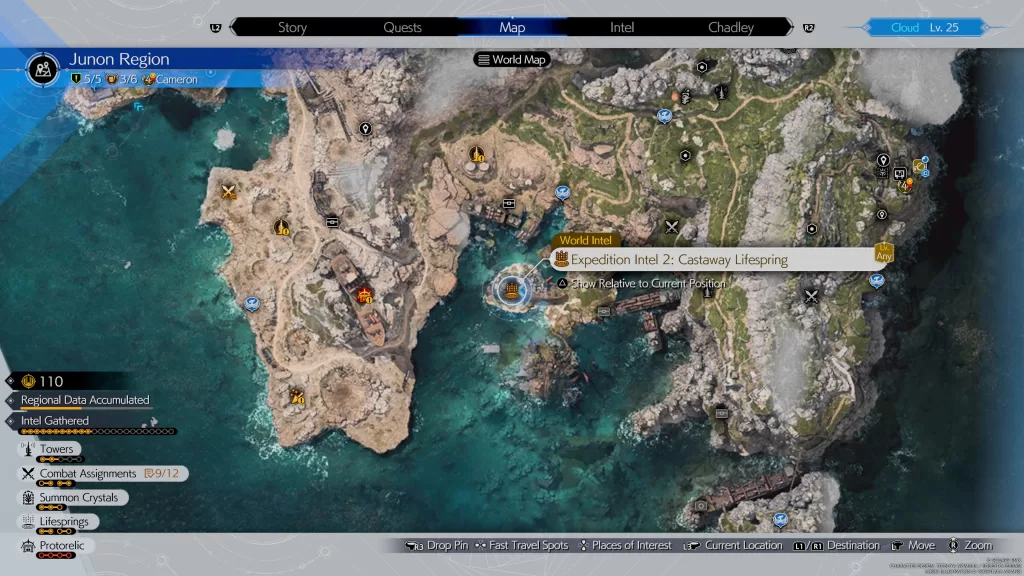
Expedition Intel 2: Castaway Lifespring
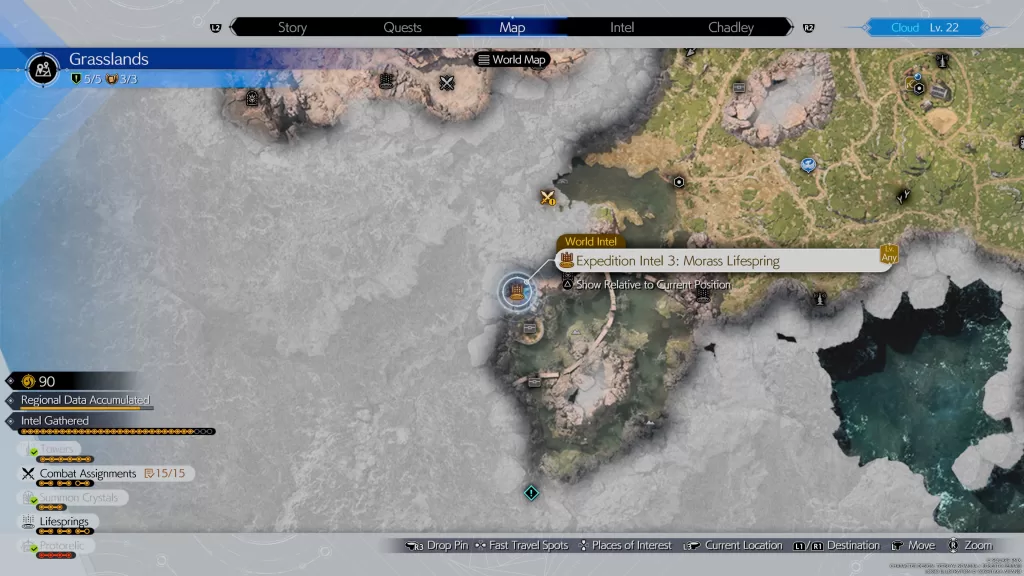
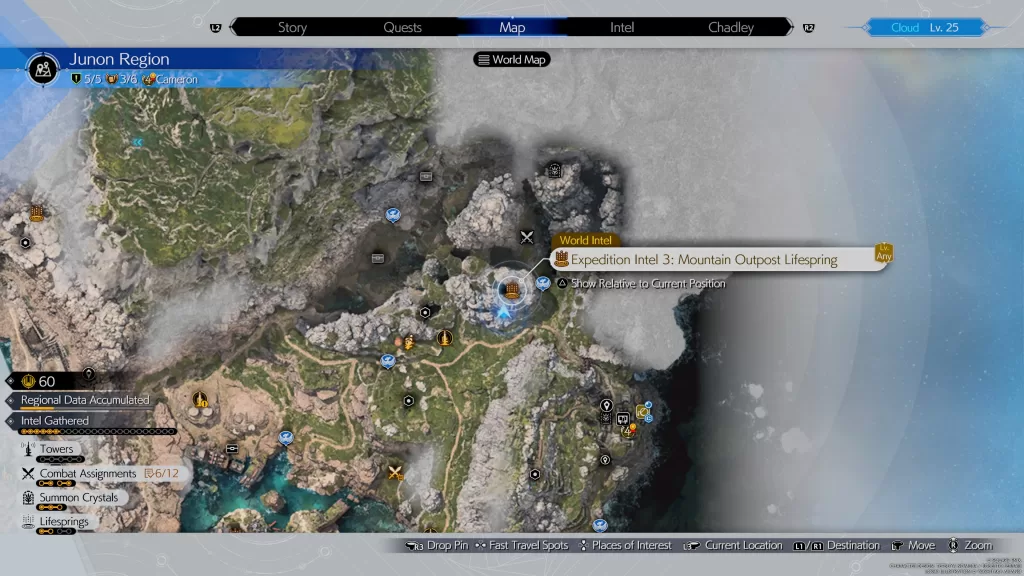
Expedition Intel 3: Mountain Outpost Lifespring
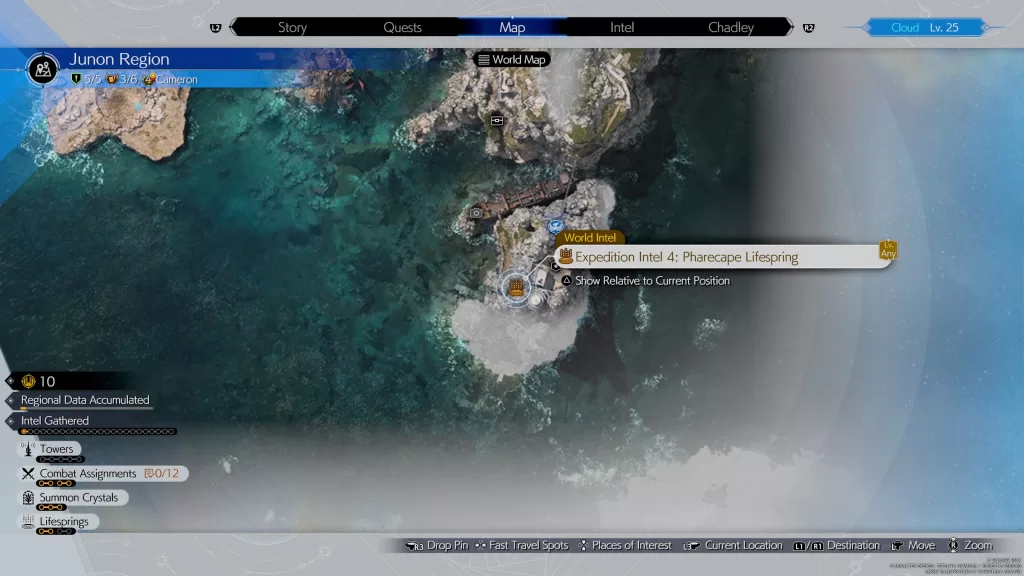
Expedition Intel 4: Pharecape Lifespring
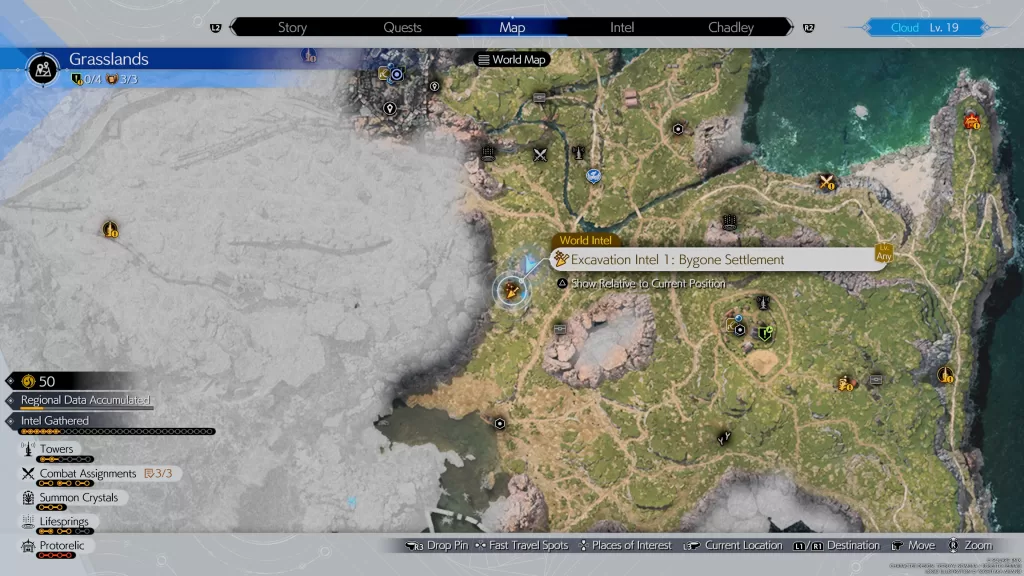
Intel
The below intel will appear on your world map after you’ve completed a couple of Lifesprings. Every 2 Lifesprings will give you new intel. Once you arrive at a location, you’ll need to use your chocobo to dig up artifacts!
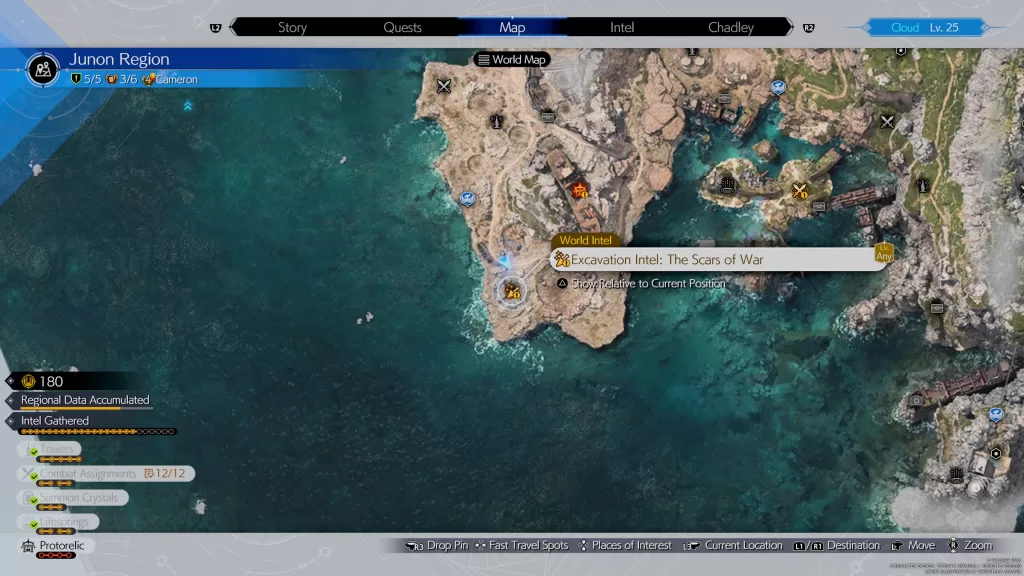
Excavation Intel: The Scars of War
Classified Intel: The Whisperer in the Darkness
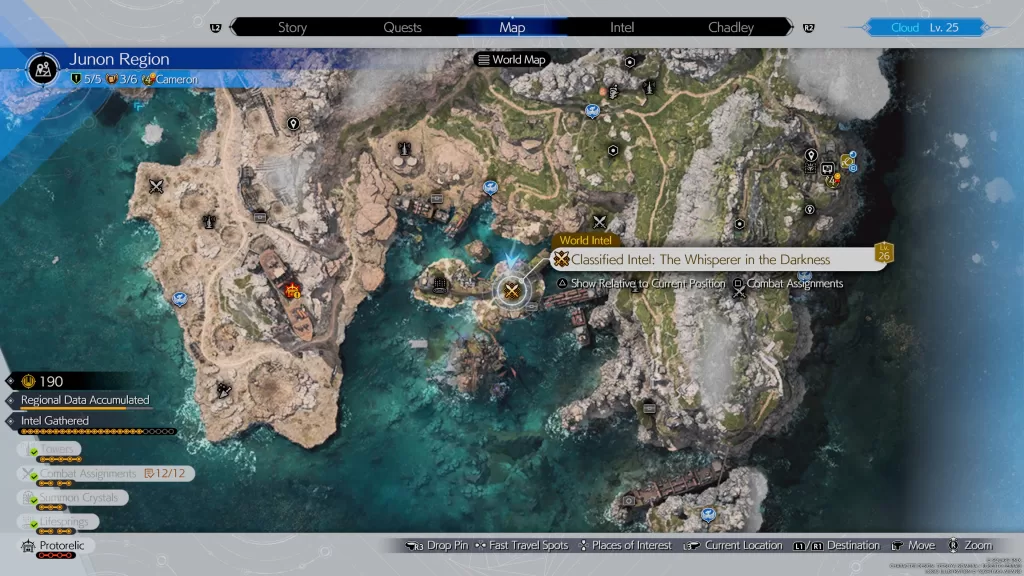
When you arrive on site, you’ll need to defeat the Mindflayer to complete this intel.
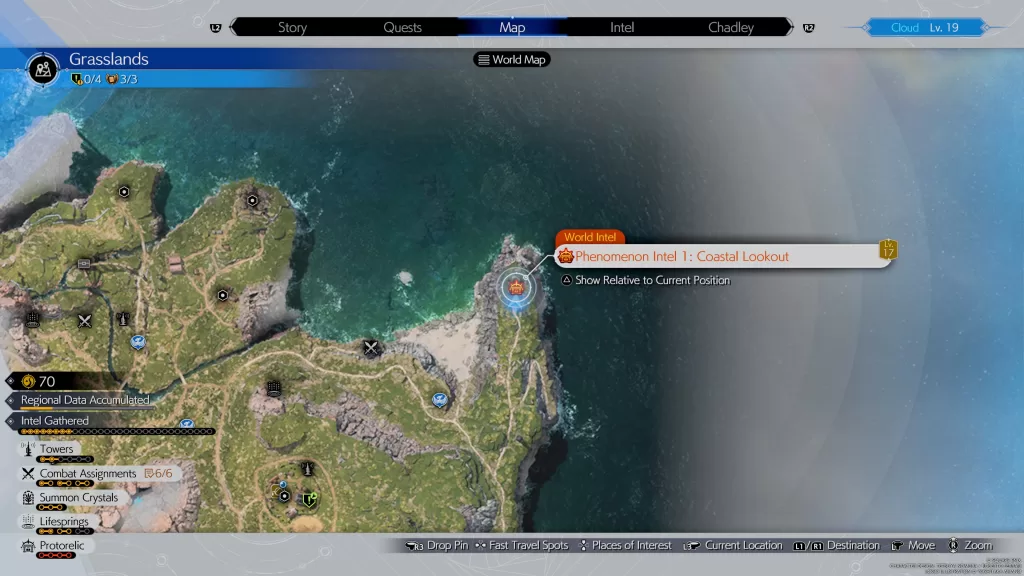
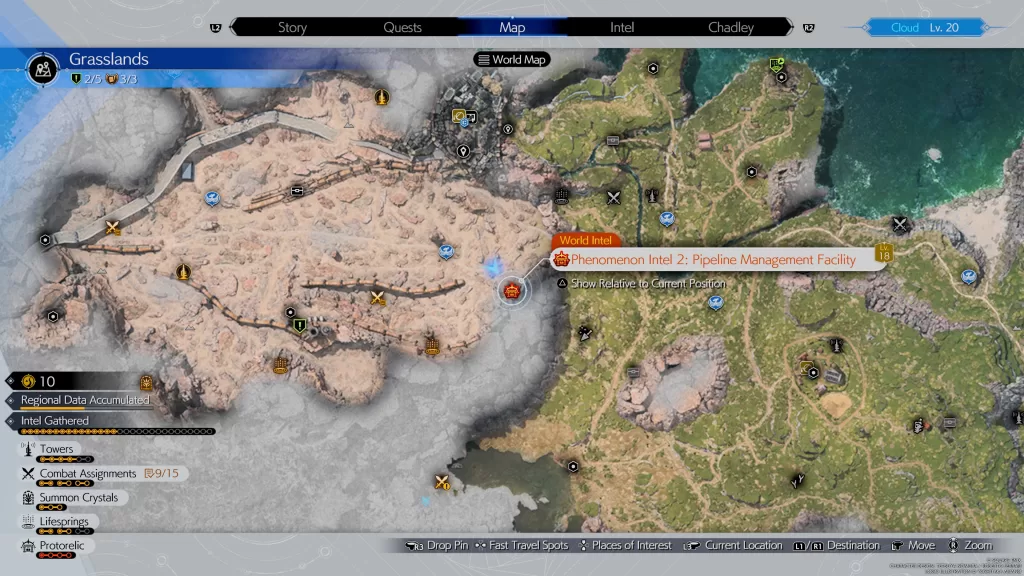
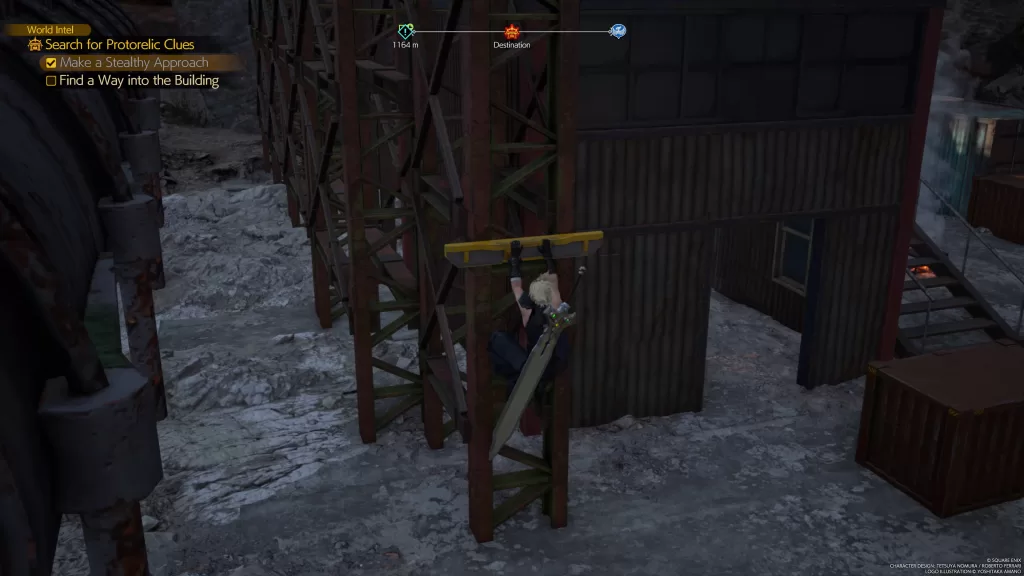
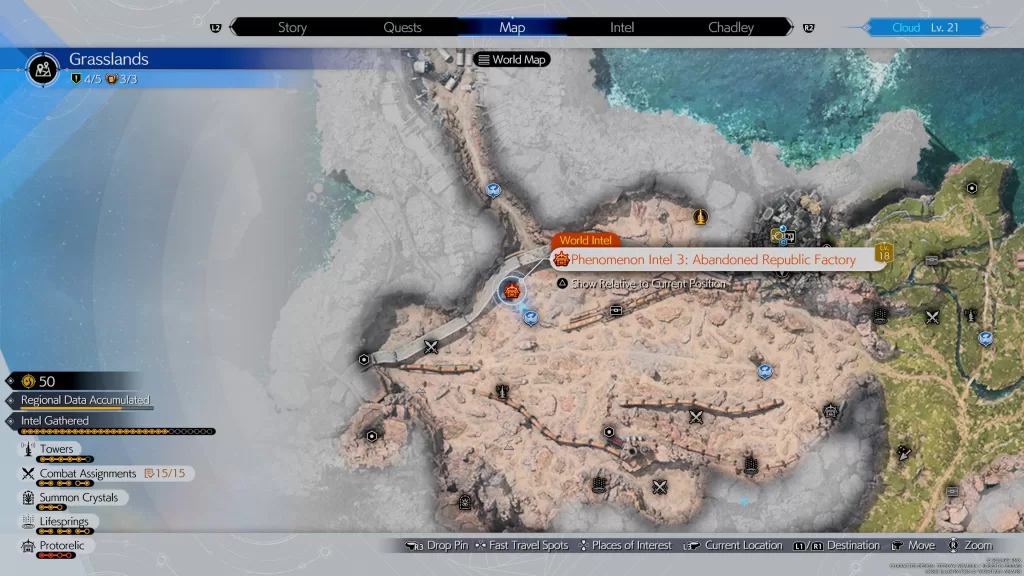
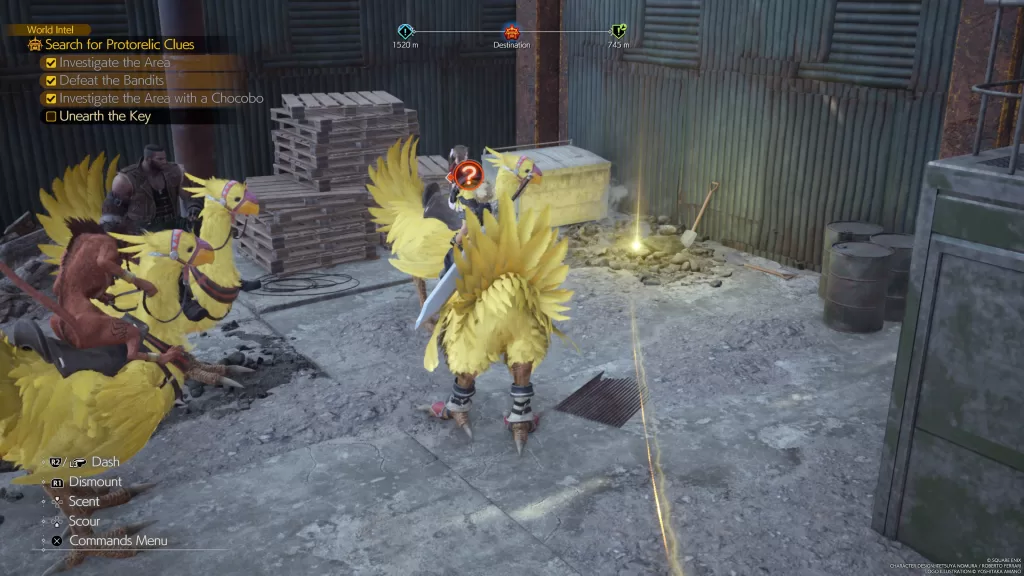
Protorelic
The Protorelic can be obtained after completing the questline which will begin after completing 1 tower! To complete these Phenomenon Intel, you’ll need to play Fort Condor and win.
These battles can be annoying with the fact that you can’t really control the pieces once you put them down. The best thing that worked for us was to build up one giant push and using the momentum to take the tower. We focused on attack from one side while defending the other lane as needed. Our standard strategy was to build up your ATB to max then summon 2 Enforcers and 2 Clerics at one of your points. Then you can drop other units with them to hit enemy weaknesses. This will start your initial push then you’ll be able to drop additional units as needed.
Phenomenon Intel 1: Wrack and Ruin
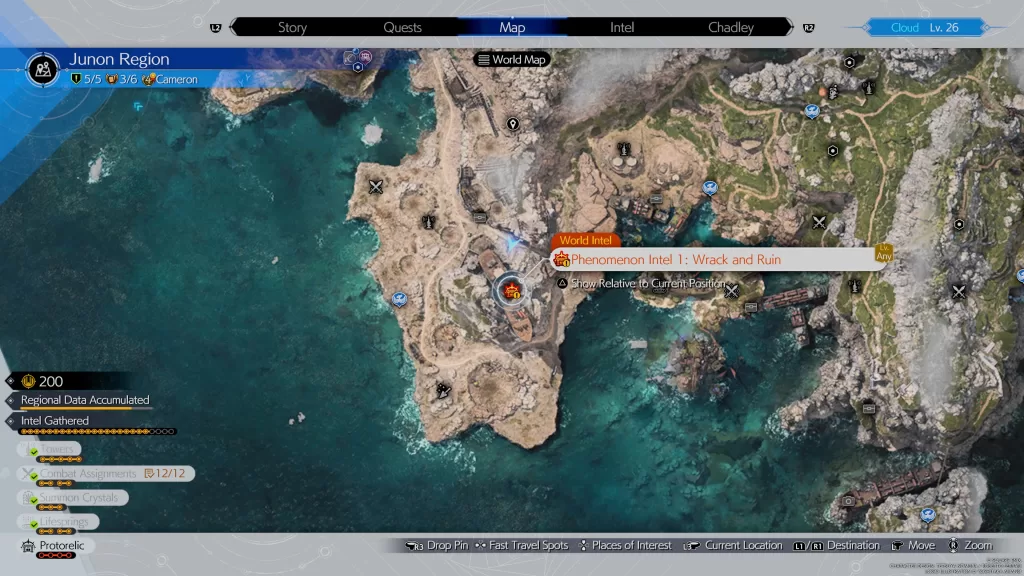
You’ll acquire this intel after completing 1 tower! As you approach the site, you’ll be instructed to investigate the area. In the center of the boat near where the map icon is, you’ll find a stool with a Fort Condor board on it near a green tent.
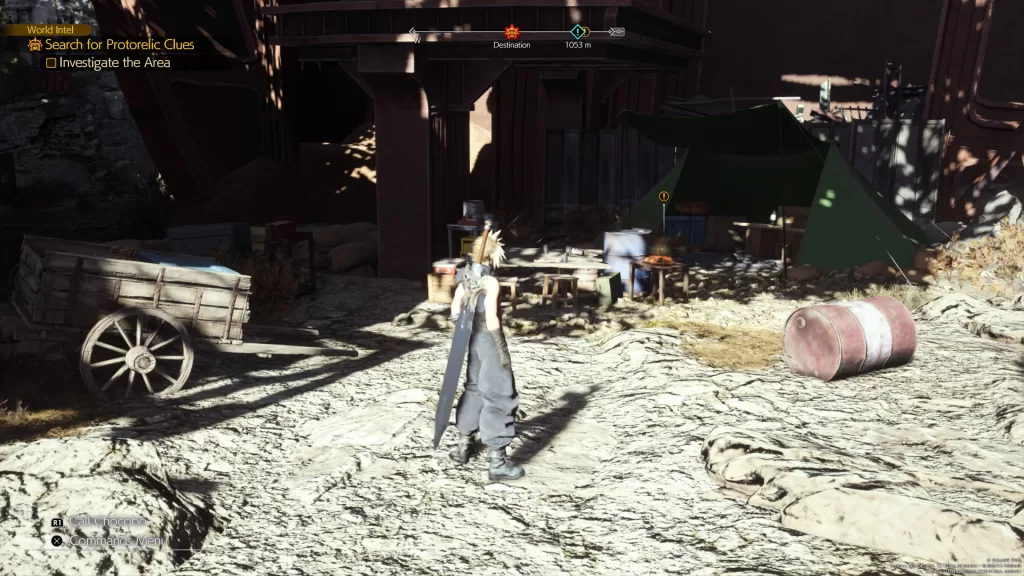
Interact with this object to trigger a cutscene after which you’ll engage in a game of Fort Condor. Complete the game to finish this intel.
Phenomenon Intel 2: Flotsam and Jetsam
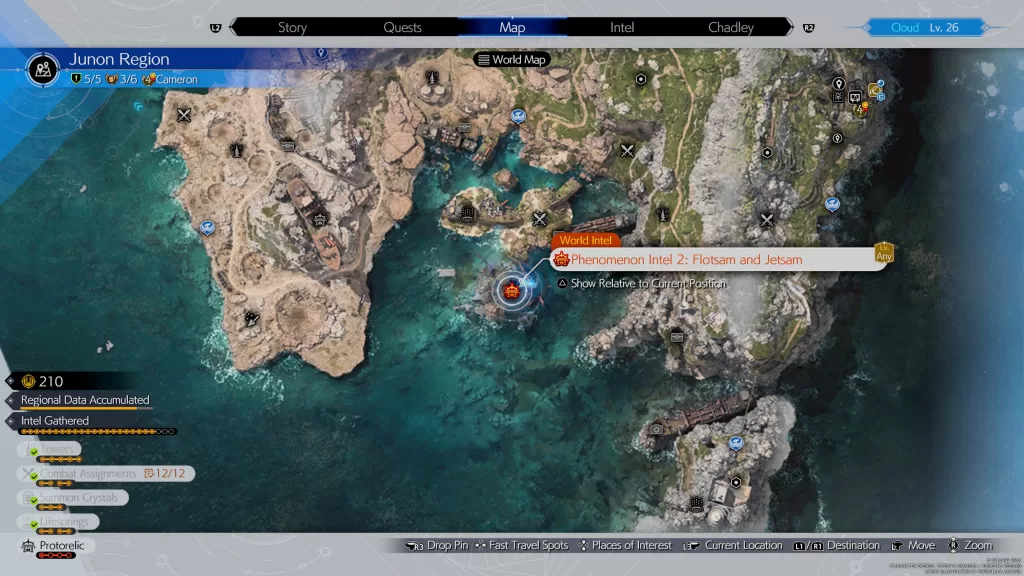
Head to the location of this intel on the map then interact with the gameboard to enter the Fort Condor game. Once again, win the game!
Phenomenon Intel 3: Crumbling Fastness

Head to the location of this intel on the map then interact with the gameboard to enter the Fort Condor game and win!
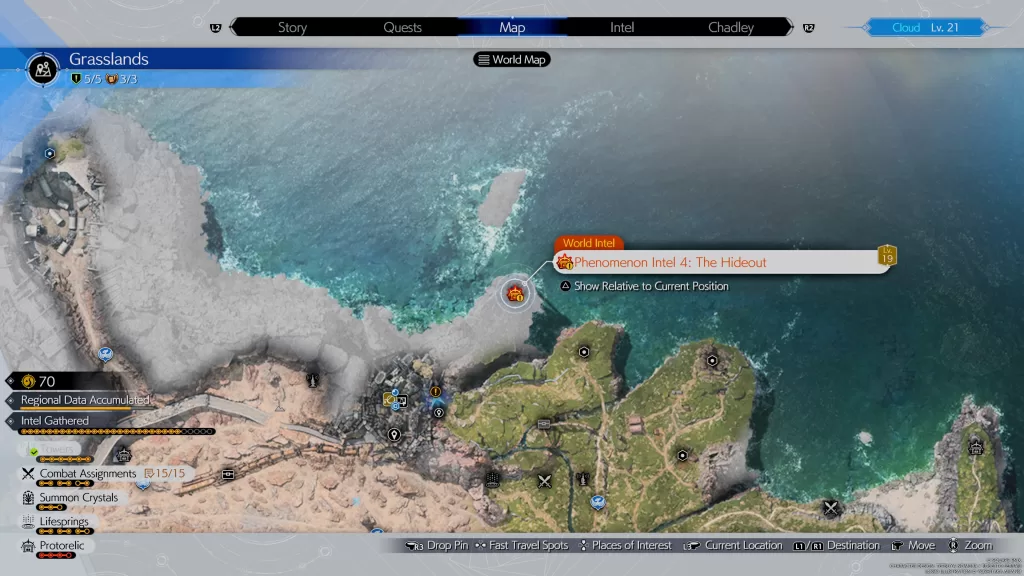
Phenomenon Intel 4: Encampment Vestiges
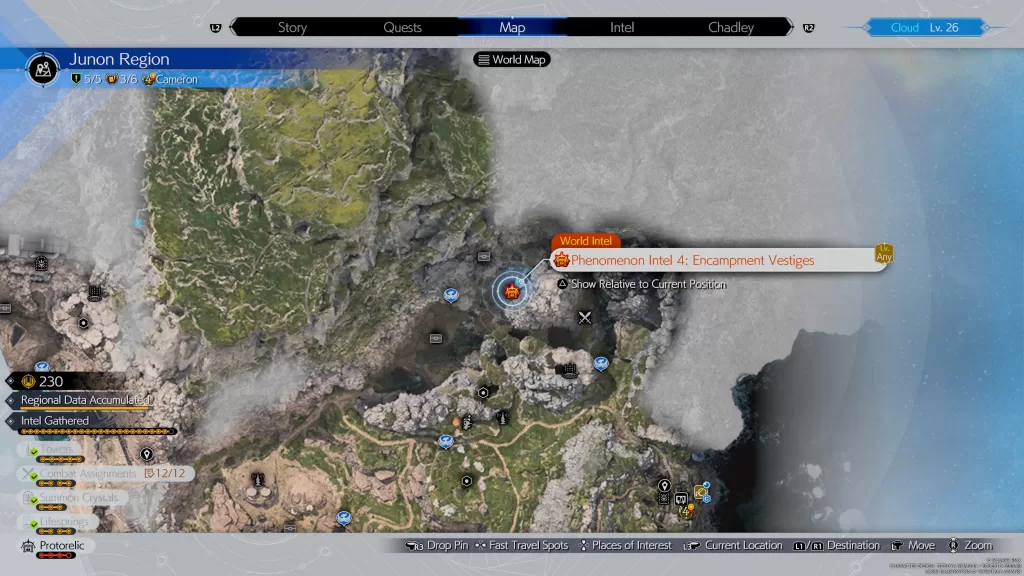
Head to the location of this intel on the map then interact with the gameboard to enter the Fort Condor game. Yet again, you’ll need to win the game!
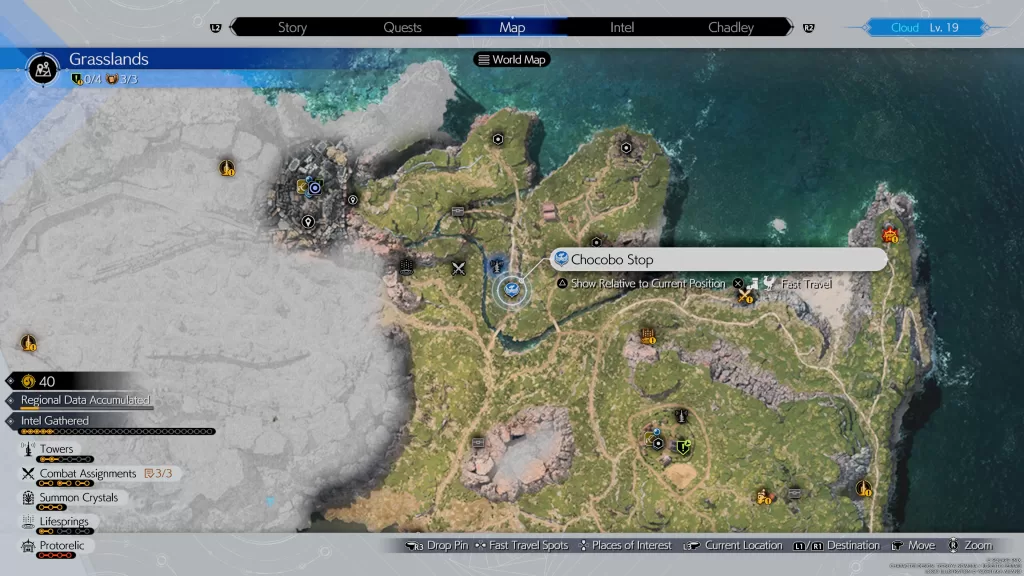
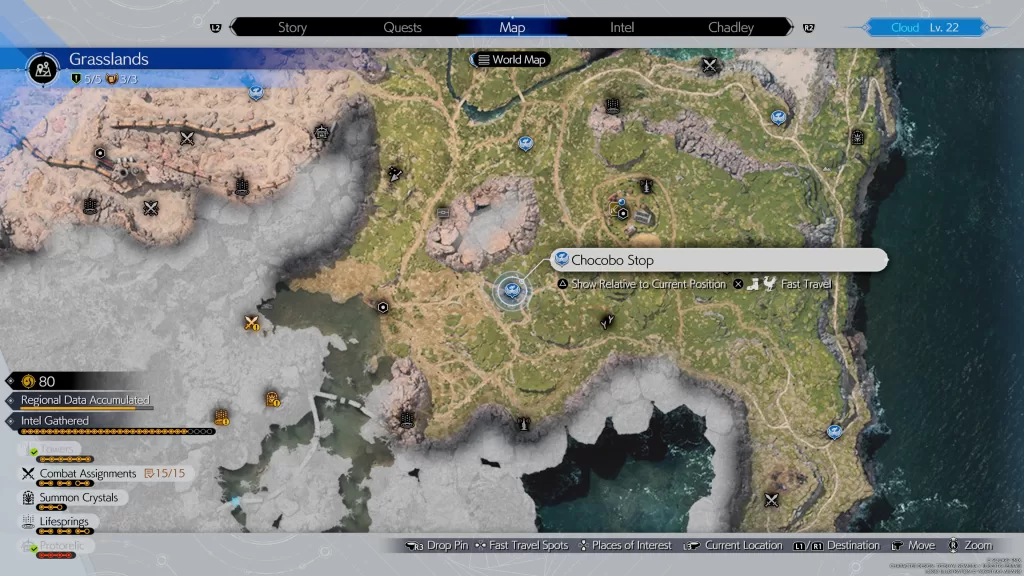
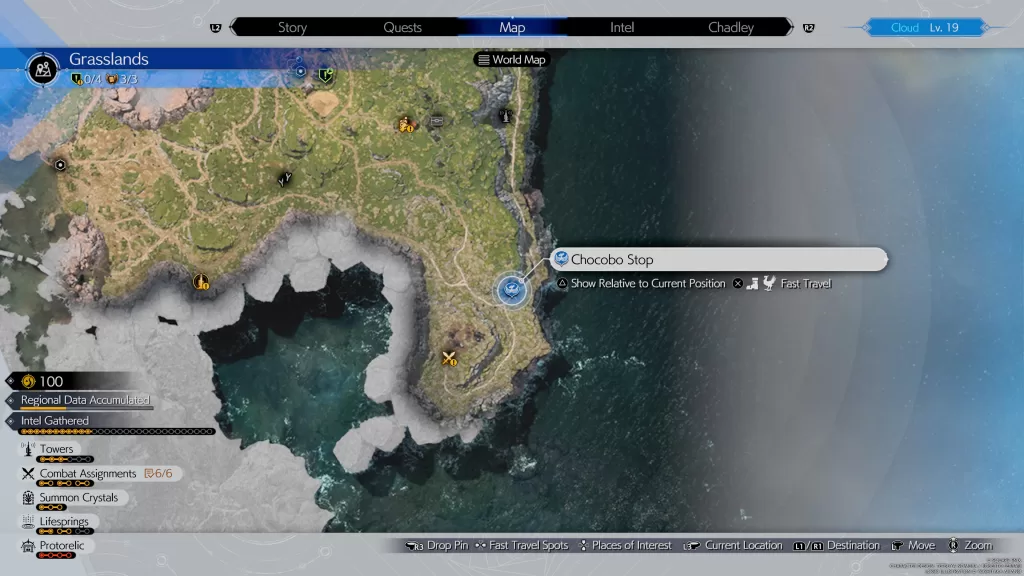
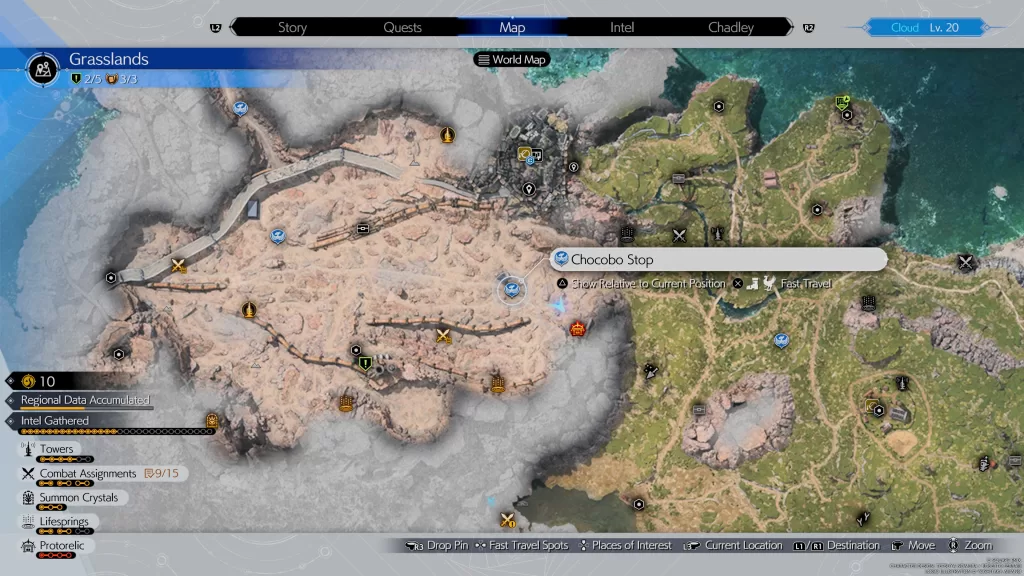
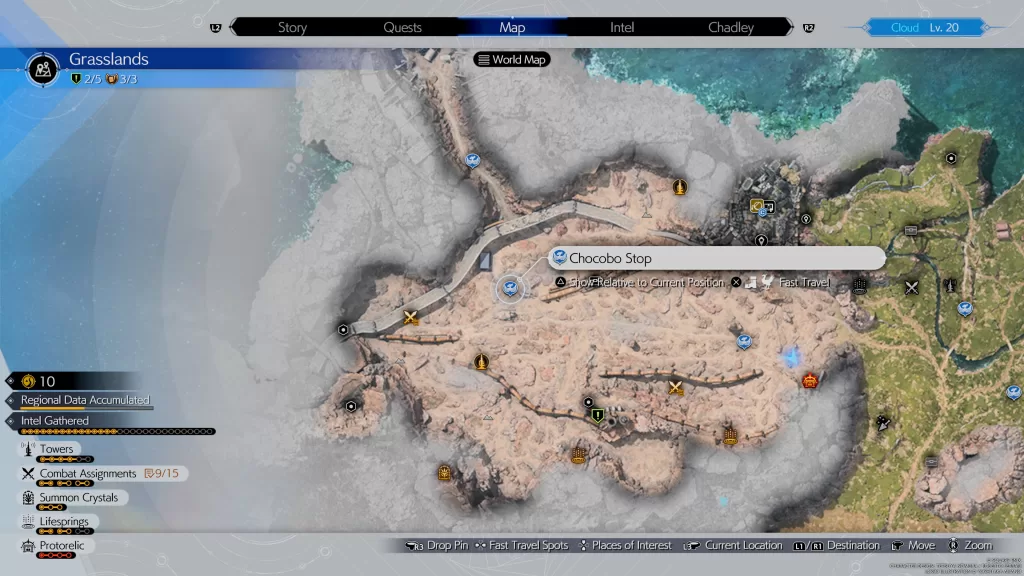
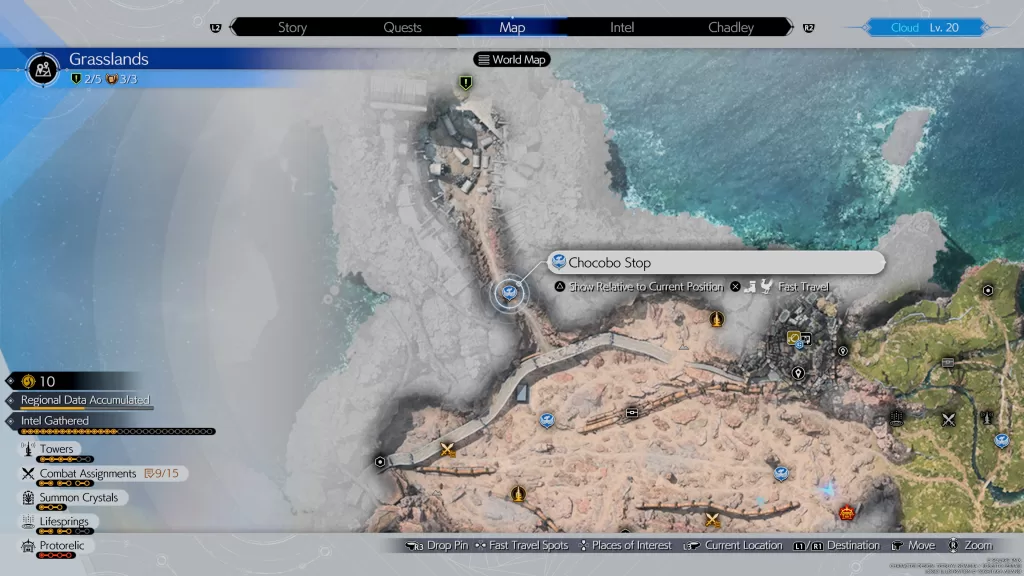
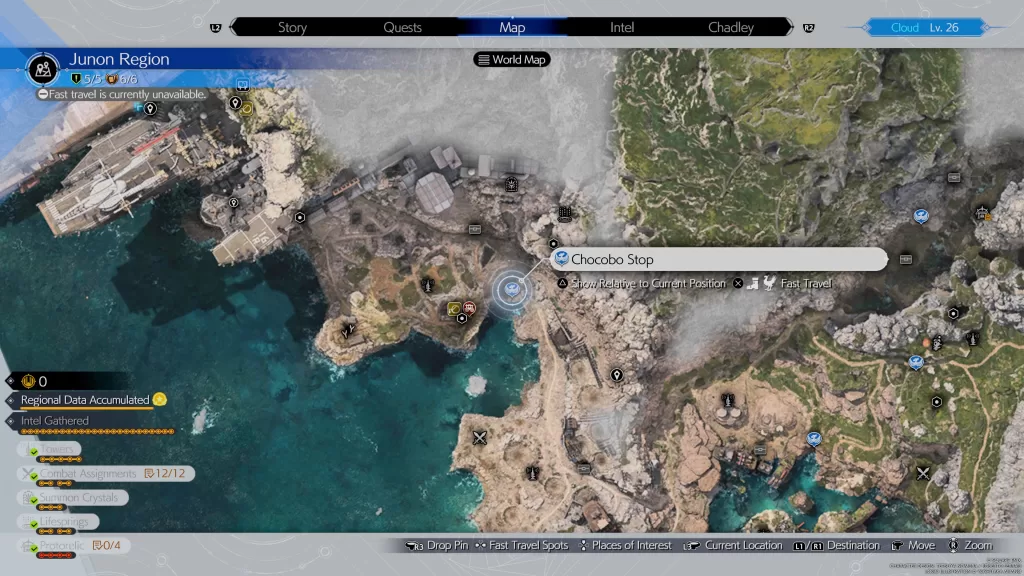
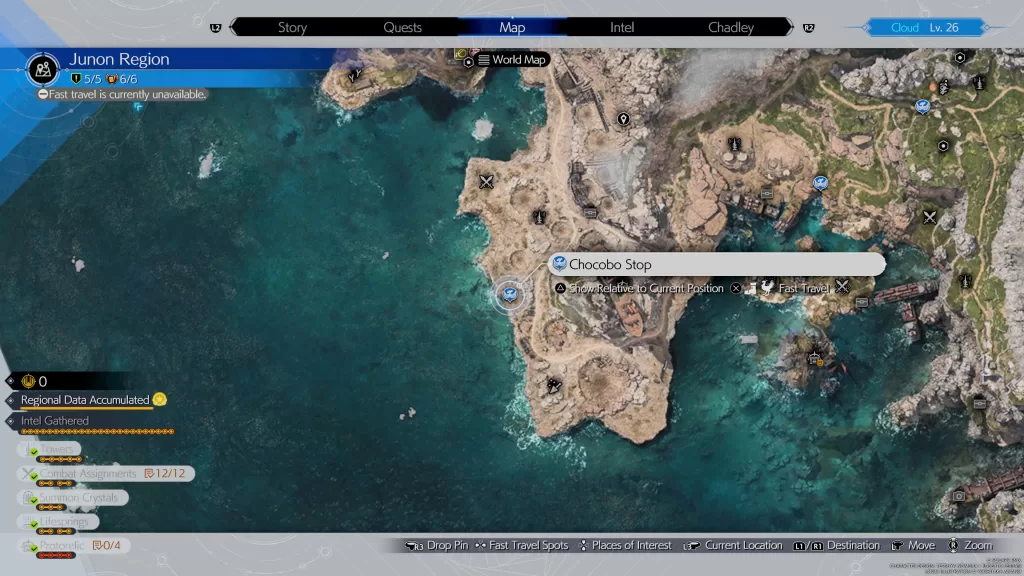
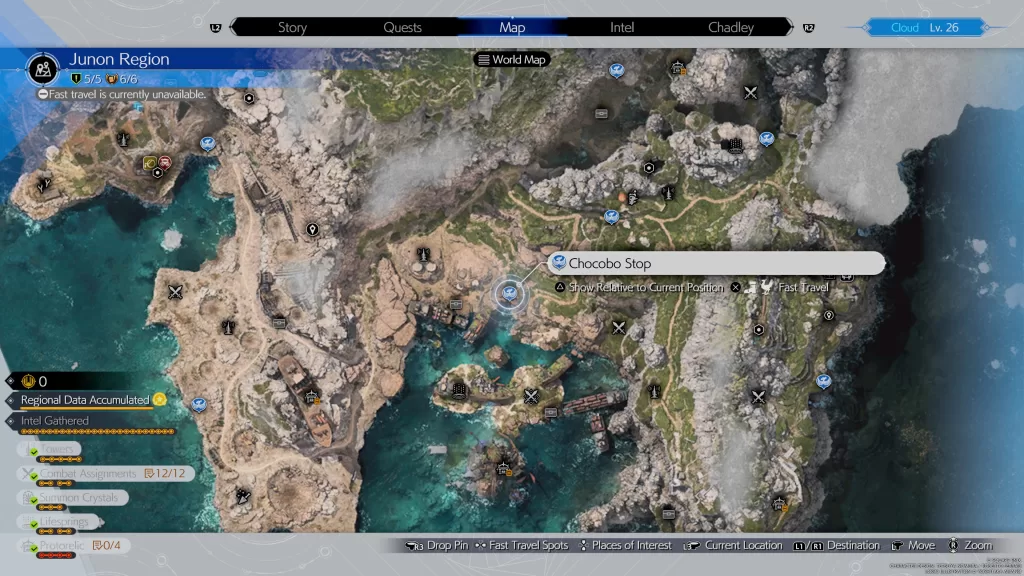
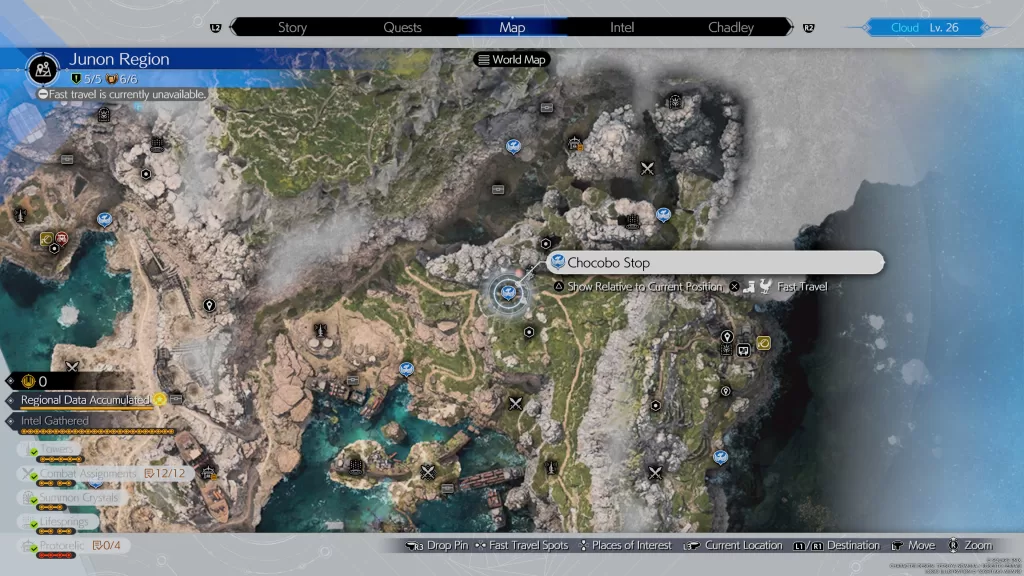
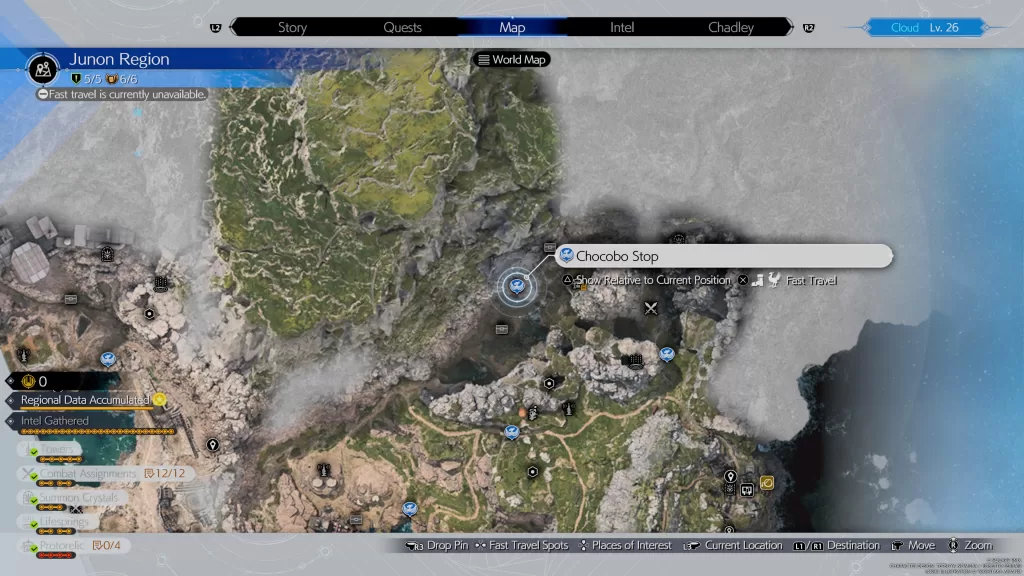
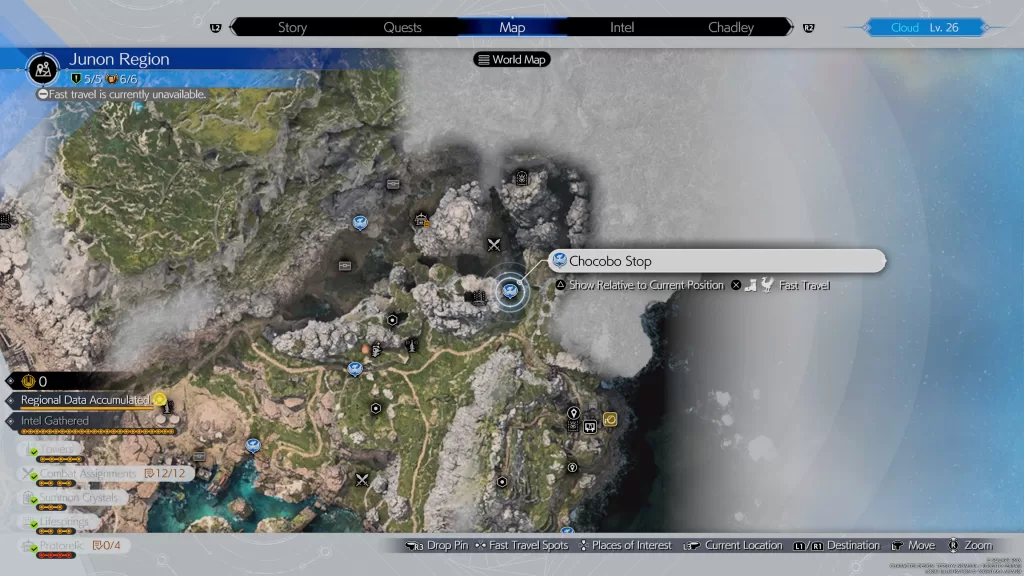
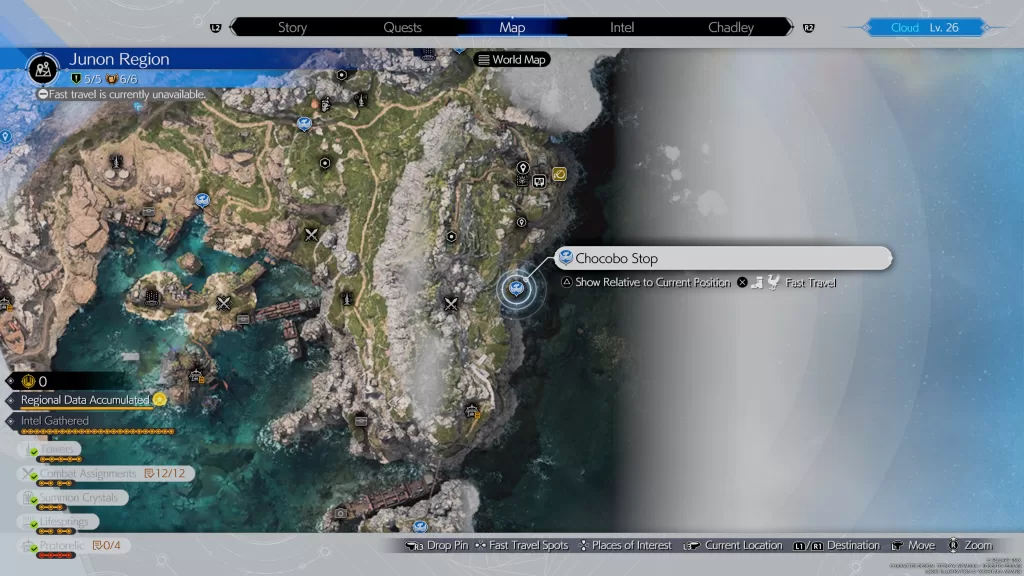
Chocobo Stops
The Chocobo Stops are convenient fast travel locations! To fix a stop, interact with the sign to pick it up! By fixing a Chocobo Stop, you’ll receive a Golden Plume, which you can trade at Gabe’s Ranch or Bill’s Ranch for Chocobo armor.

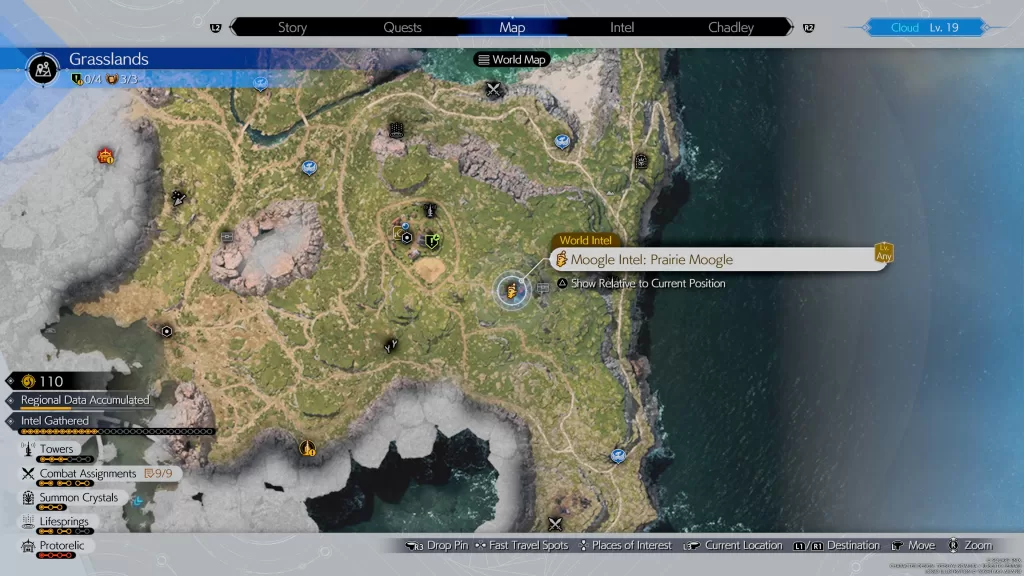
Moogle Intel
Moogle Intel: Mariner Moogle
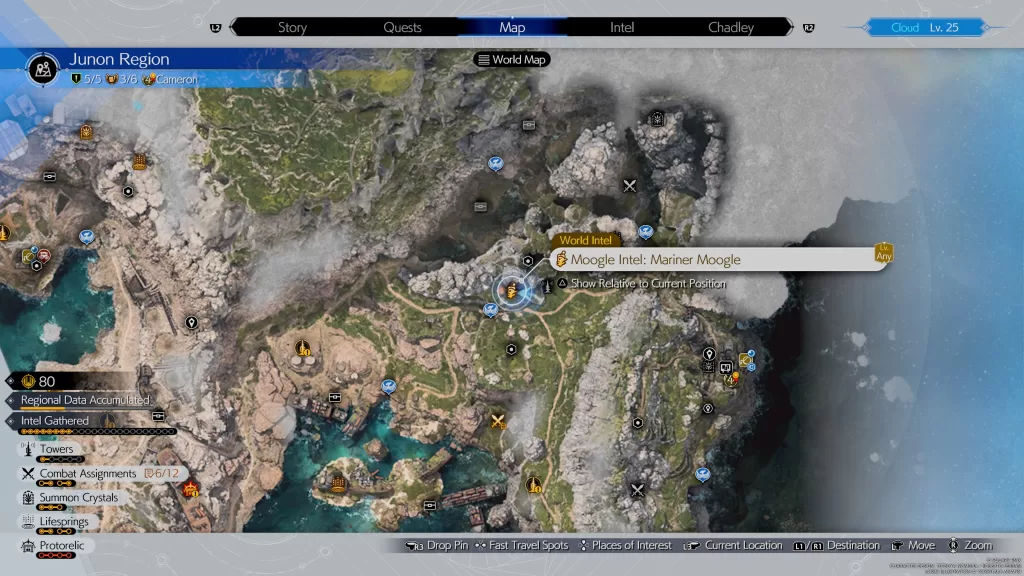
Head inside the Mog and assist the Moogle Merchant who will need your help wrangling the 5 Mooglets. Once you’ve successfully rounded up all the Mooglets, you’ll be able to exchange Moogle Medals for items at the Moogle Emporium and will increase your Moogle Emporium Merchant Rank to 2.
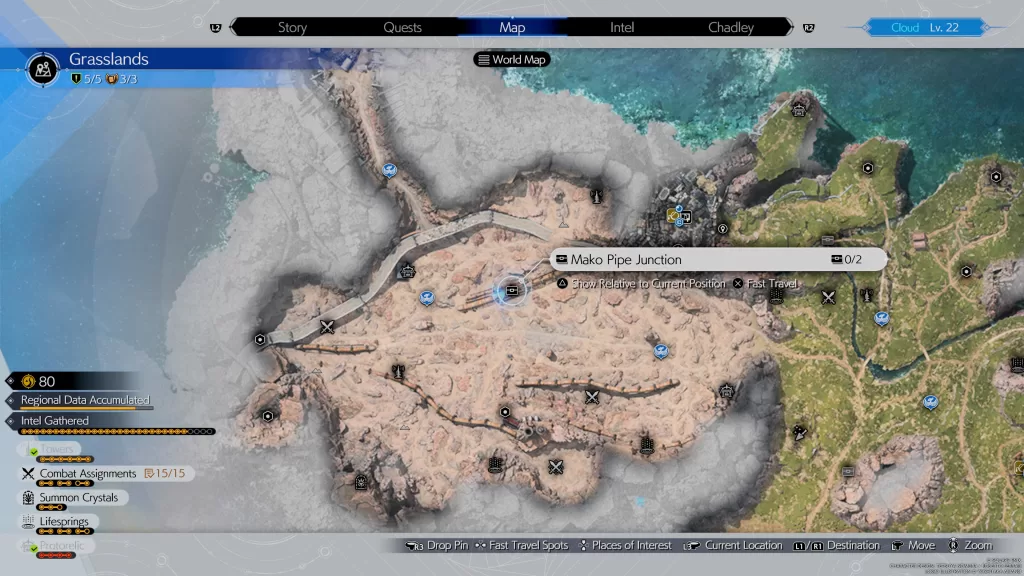
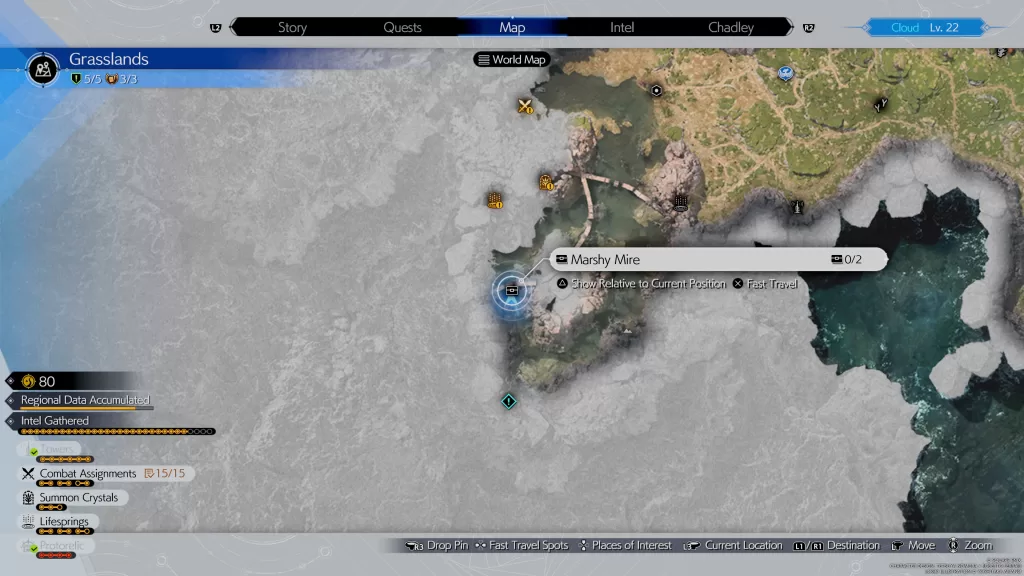
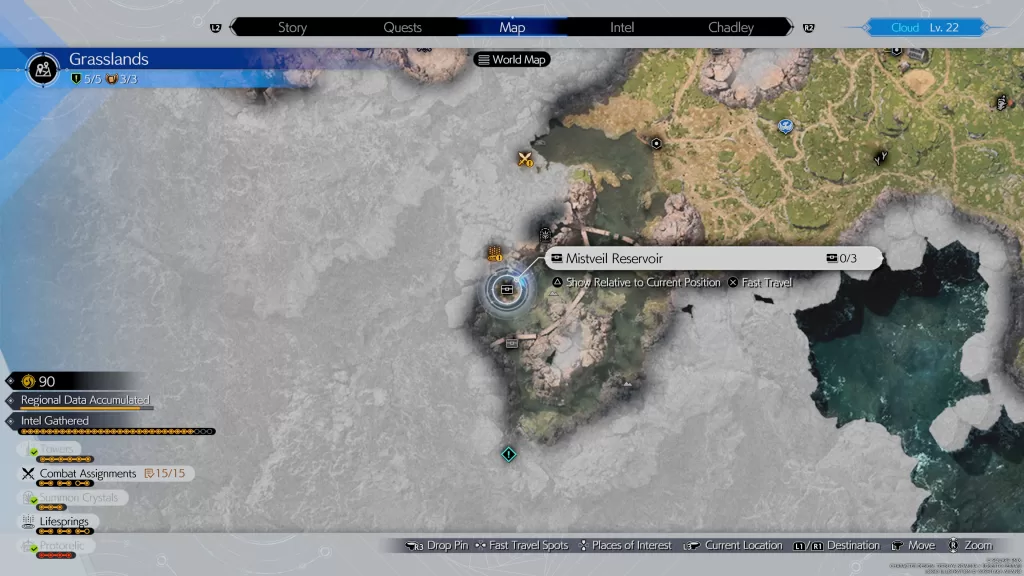
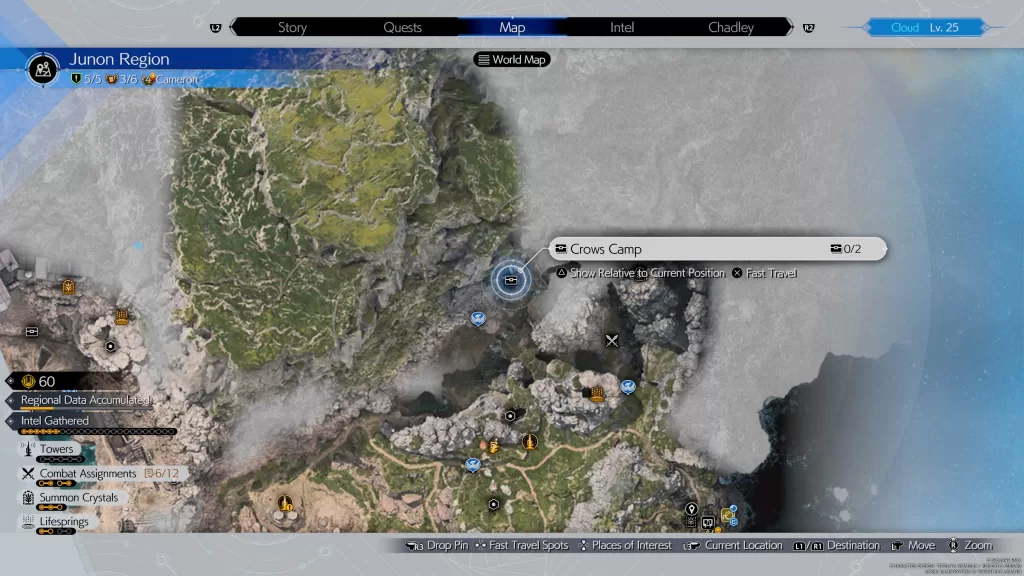
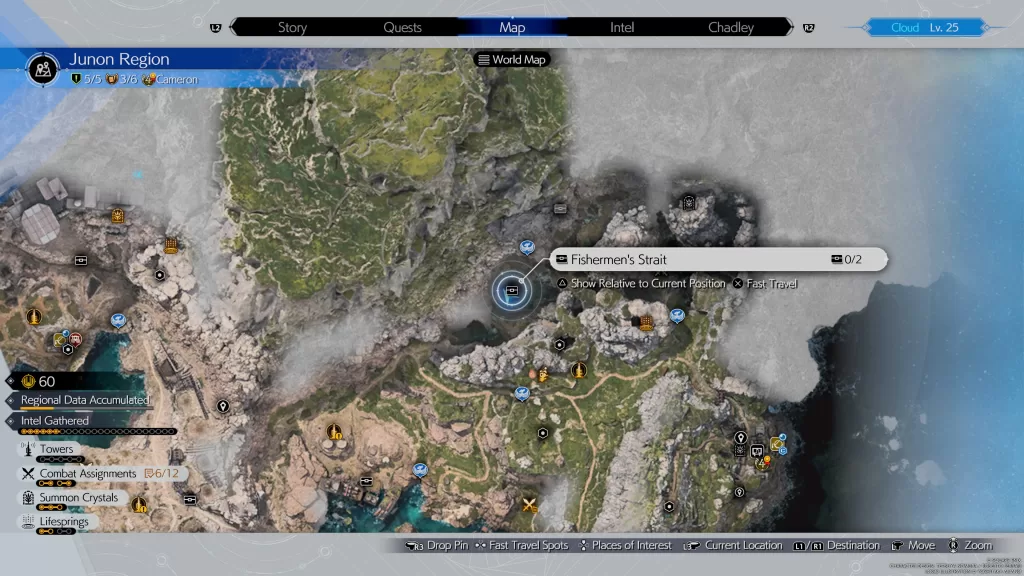
Cache Locations
Cache locations can be found throughout the Grasslands. When you encounter one, you’ll need to find all the chests there to have it marked as complete.
Crows Camp
- 2 chests
Fishermen’s Strait
- 2 chests
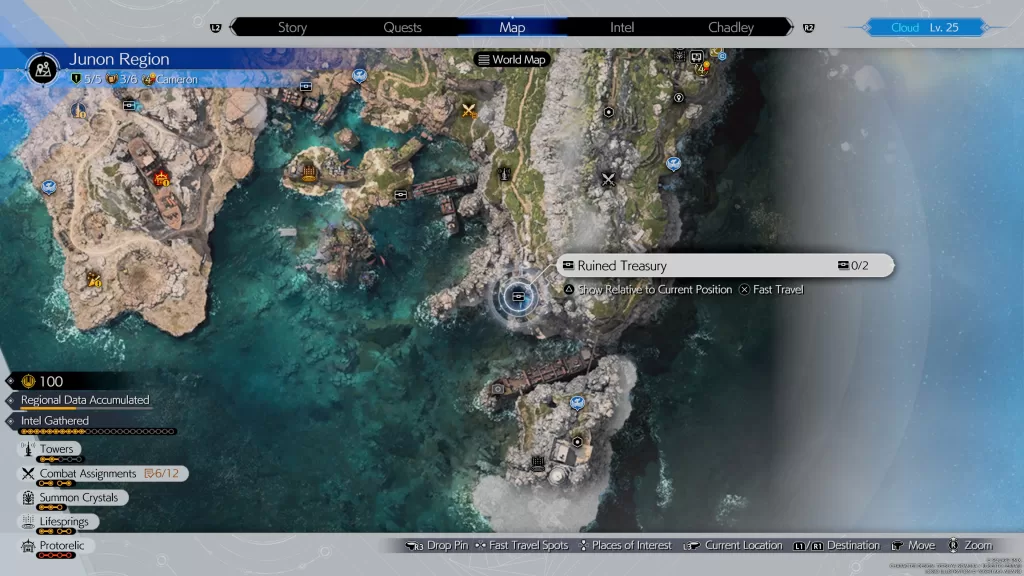
Ruined Treasury
- 2 chests
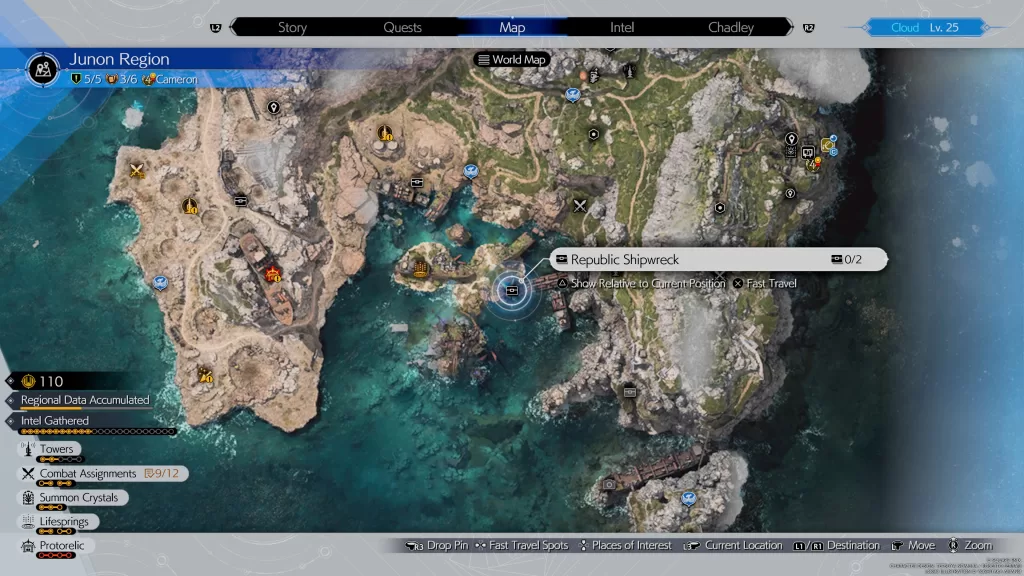
Republic Shipwreck
- 2 chests
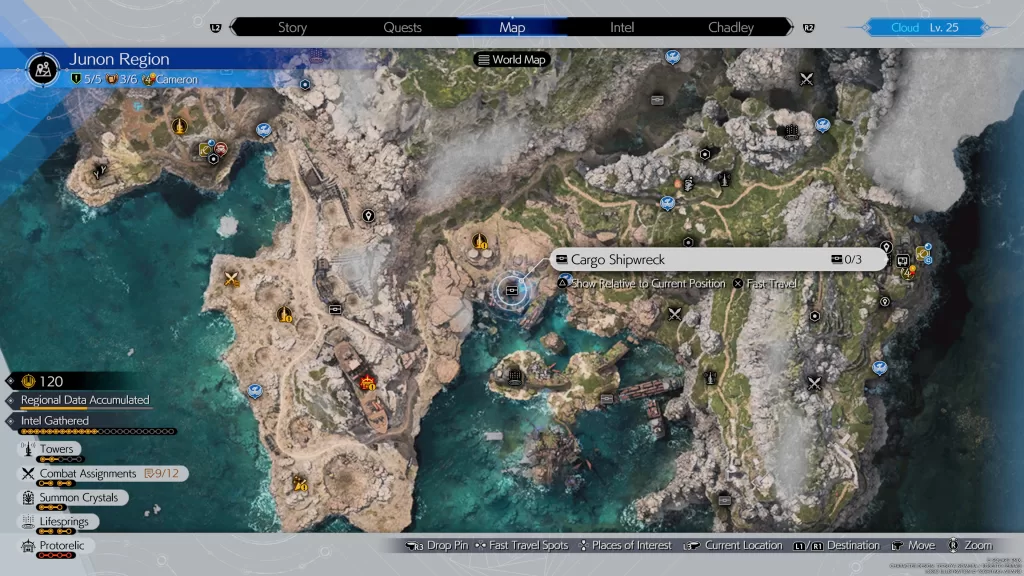
Cargo Shipwreck
- 3 chests
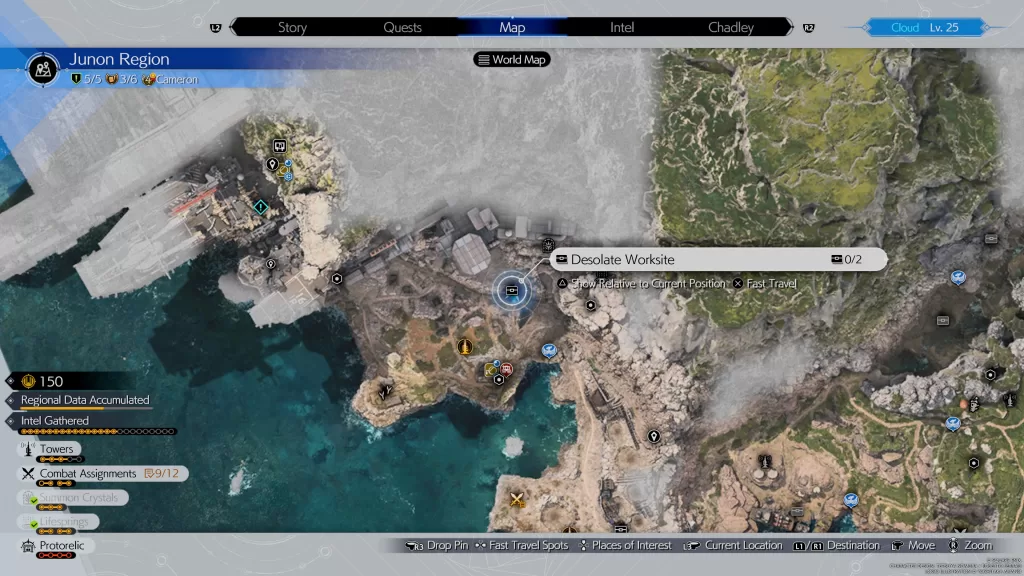
Desolate Worksite
- 2 chests
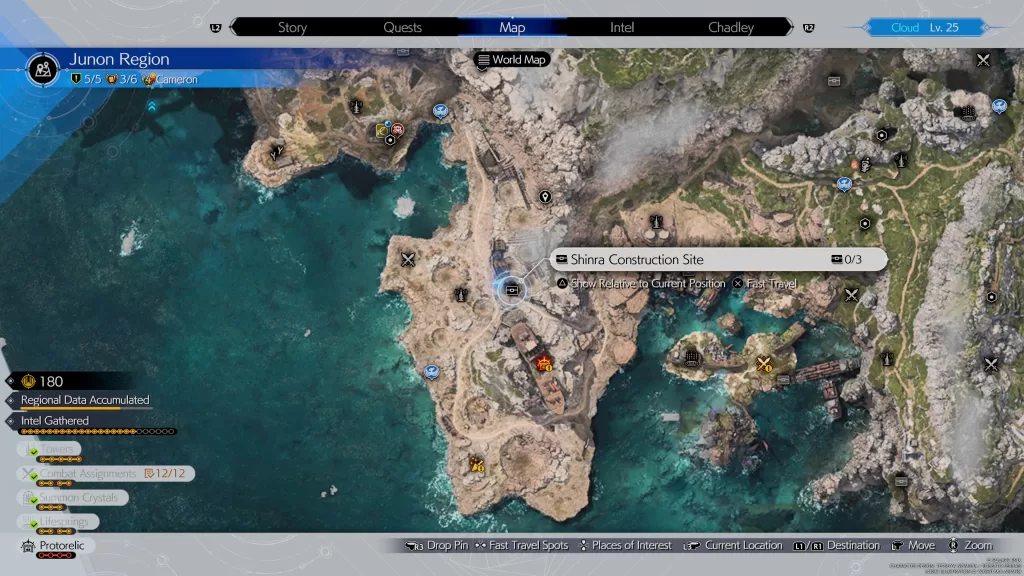
Shinra Construction Site
- 3 chests
FF7 Rebirth Guides and Walkthroughs
For more Final Fantasy VII Rebirth guides and walkthroughs, click here!