Below is a walkthrough for The Forbidden Land Chapter 1 quest in Eastward.
Head to open house at the school
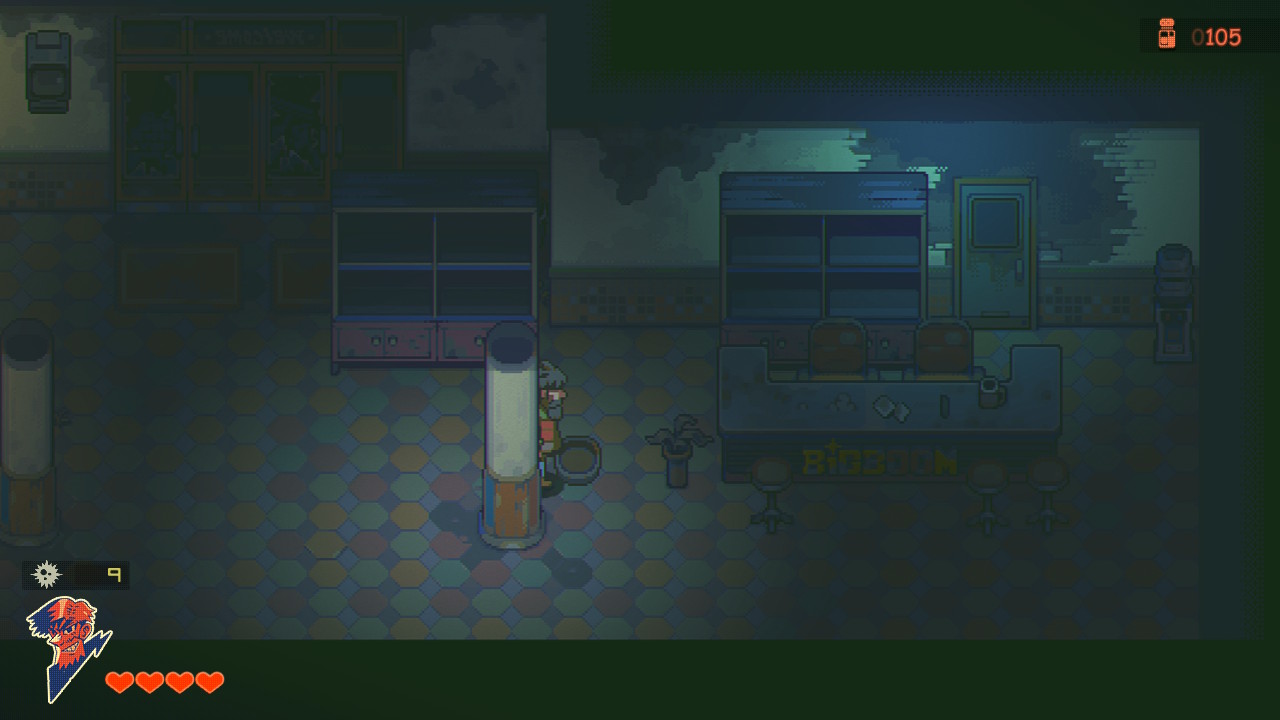
Leave John’s House and head to the school. Make your way to the playground across from classroom b3 to trigger a dialog event. Then head into classroom b2 to trigger another dialog event.
Find Sam!
Leave the school and head straight for the dig site. After a quick chat with the guys, head through the northern path then go east. Once you reach the elevator, board it. At the top, head west then drop a bomb to destroy the crates just before the hole in the ground. You’ll then need to drop a bomb and hit it across the hole to blow up the slug slurping the power from the cables on the other side. From here, head north following the way forward to reach the next area.

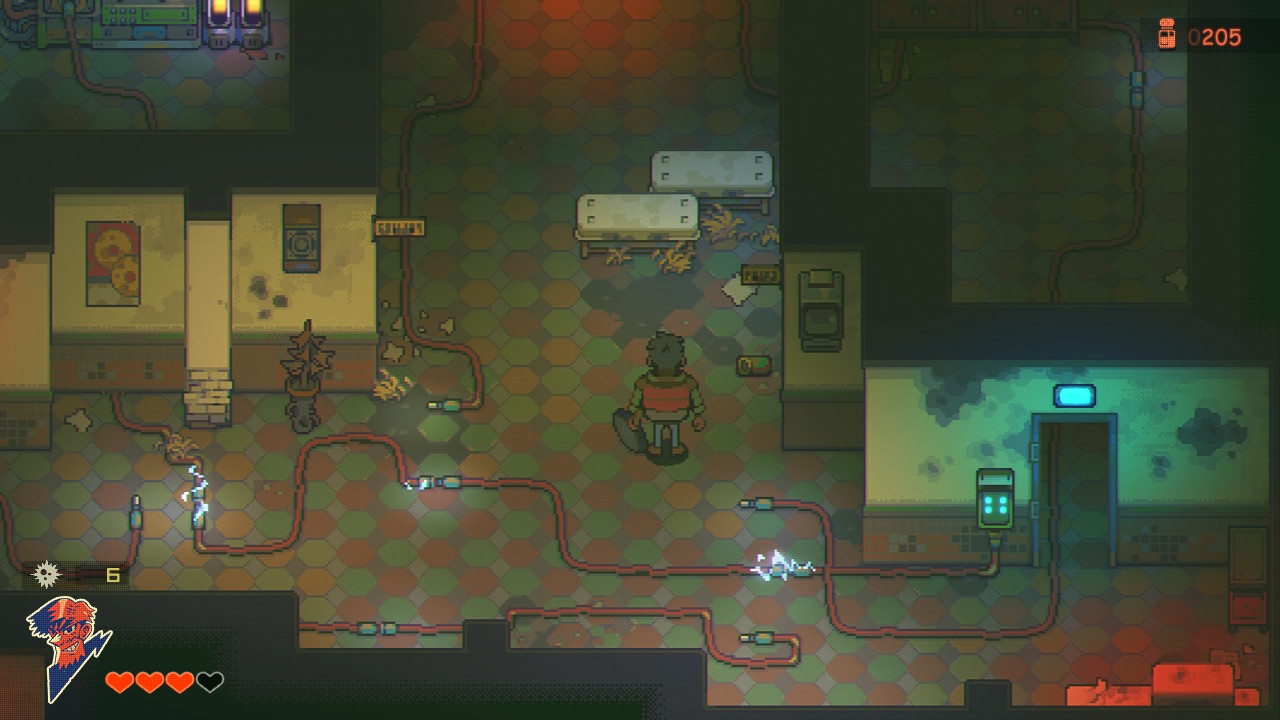
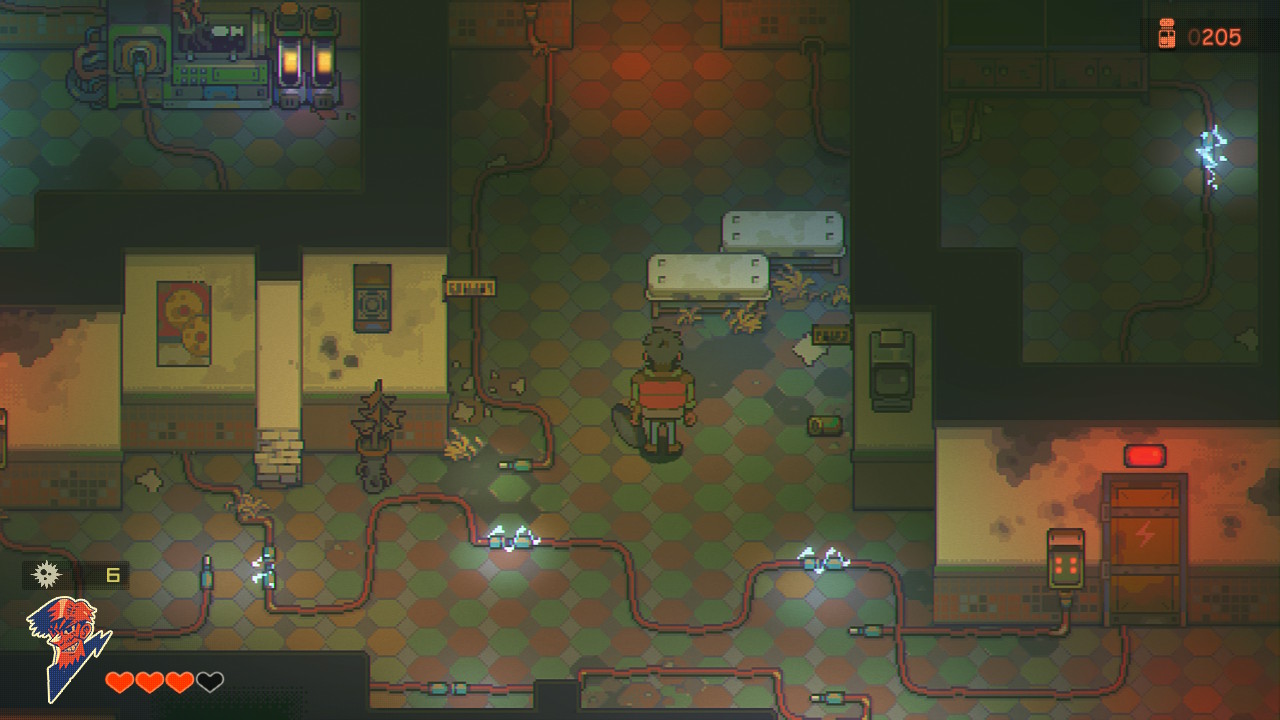
Take care of the fly enemy in this room then use a bomb to blow up the crates blocking your path. Continue chasing after Sam by heading through the doorway at the other end of the room. Once inside, break all of the creates with your trusty frying pan and connect all of the power cables. Turn on the power at the power box to open the door. Head through it following the hallway to reach a bathroom blocked by a bookshelf. Push it out of the way then proceed through the bathroom. On the other side of the area, you can use the door to enter the other bathroom where you’ll pull out a chest from the garbage. Open it to receive 50 salt. Head back through the door and take a right to continue pursuing Sam.

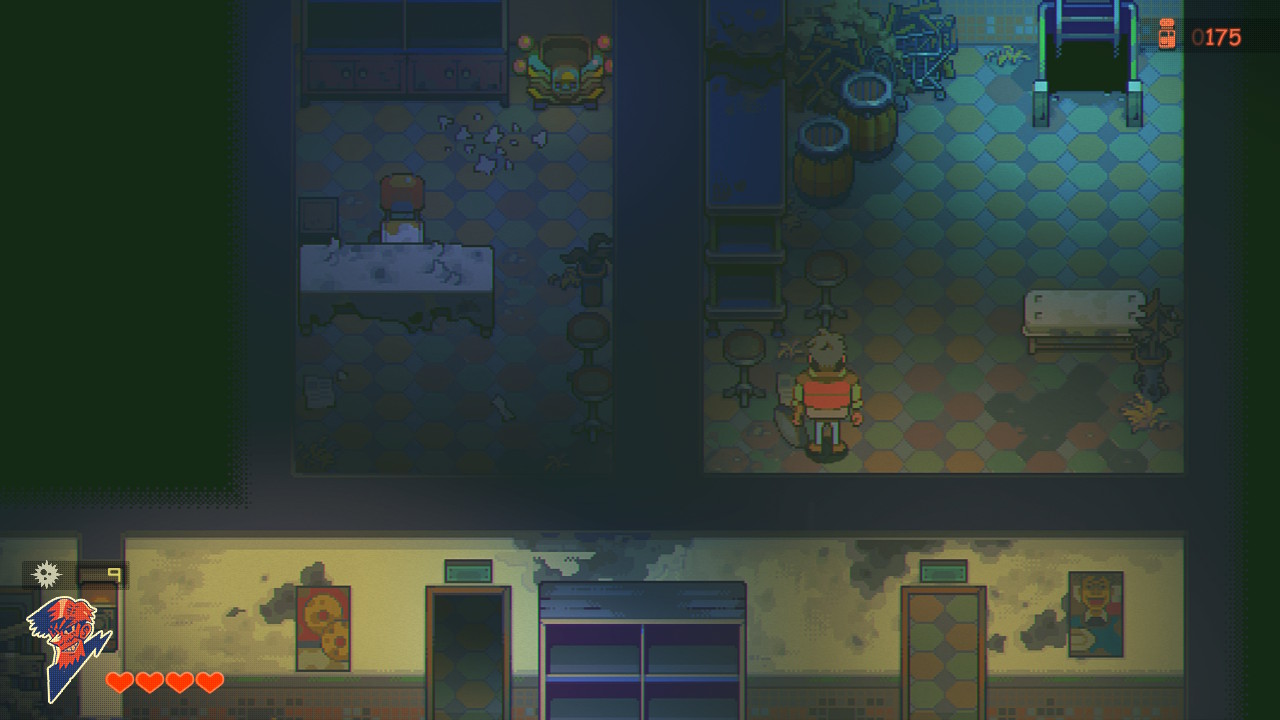
In the next area, take the stairs down then follow the hallway east. This will bring you to another hallway you’ll want to follow, fighting the slugs and vine snakes along the way. At the end of the hallway, you’ll find a room with some bookshelves. Grab the Earth Born Manga from the bottom shelf then head back to the room with the stairs. Take the stairs down then go to the right side of the room. Behind the large desk with two chairs, you’ll see two bookshelves. Move them to the left to reveal a door behind them then head through the door. Open the chest in this room to receive 50 salt. Return to the room with the stairs and head to the northwestern side.
Head east down the hallway then head through the doorway at the end to find a chest with 3 Sandrupe. Return to the entrance of this area then go west destroying the crates in the way and defeating the fly enemy on the other side. Work your way north through this ruined store to find a cabinet containing a key. Take the key then return to the room with the stairs. Head to the southwestern part of the room to find a path leading to a locked door. Unlock the door with your key and pass through it. Move the bookshelf straight ahead out of the way to reveal a hidden door leading to a chest with a Heart Orb. Next enter the room on the right and climb down the stairs in the back of the room.
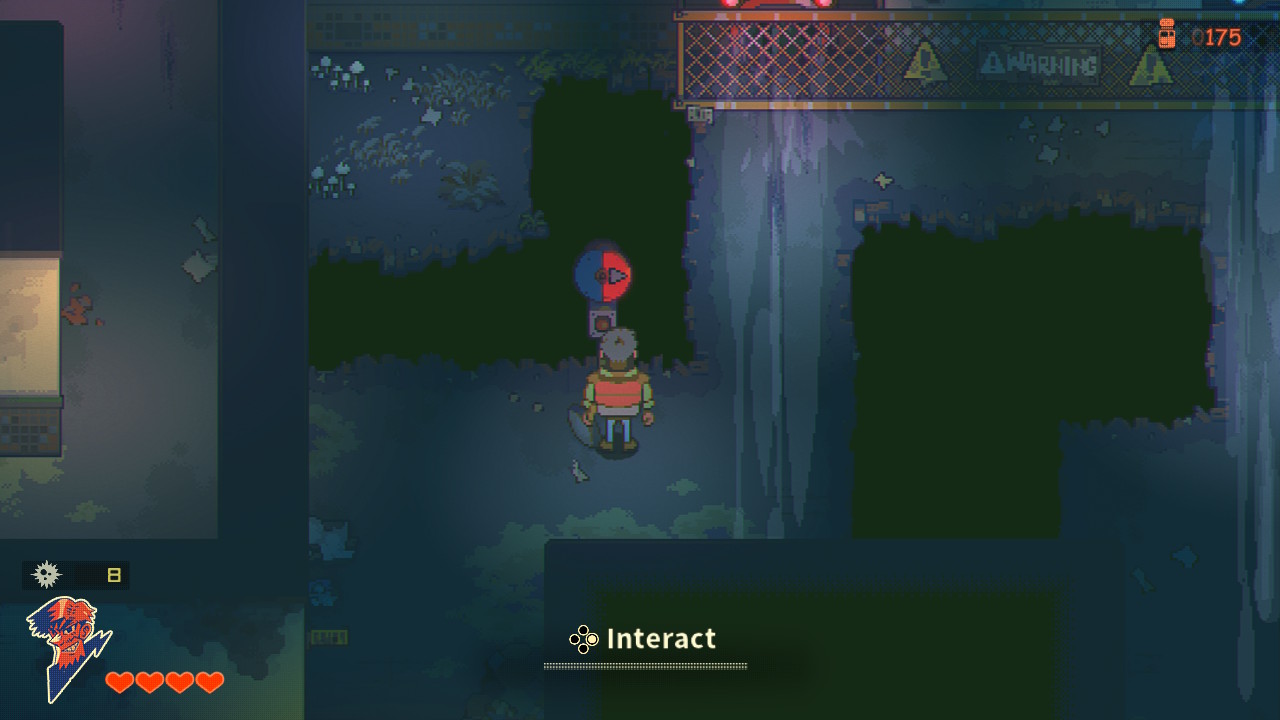
Head south through an air current to arrive at a second air current with a red tube. Drop a bomb to disable the current then use another bomb to destroy the crates blocking the path forward. Follow the hallway destroying another air current bringing you to an open room with multiple air currents and two enemies that attack from a range. Hit a bomb to destroy them then press the button on the switch to change the airflow. Keep heading forward, and you’ll pass through a door that locks behind you. Defeat all of the enemies to open the door then press forward to reach the next area.
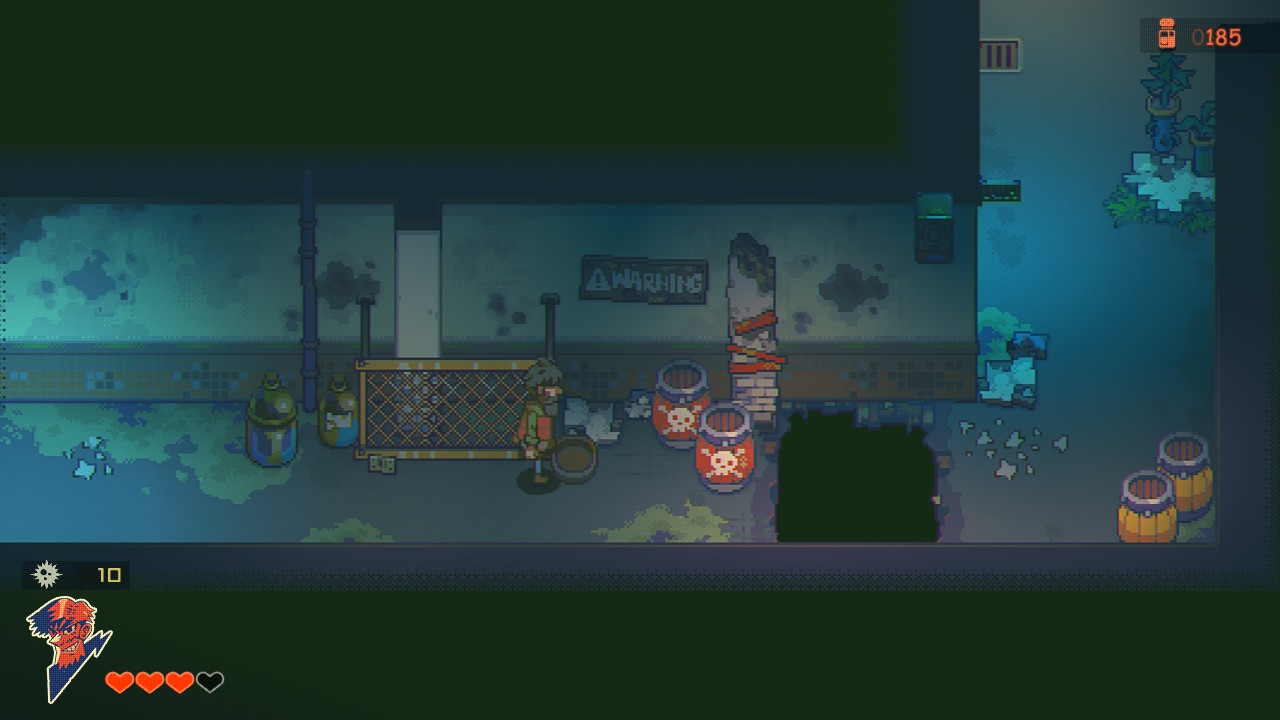
Drop a bomb near the explosive barrels to knock down a pillar allowing you to pass over the hole in the floor. This will bring you to another air current blocking your path. Head through the doorway on the other side of the room then hit a bomb over the hole near a pillar. This will cause it to drop allowing you to reach the control for the air current. Activate the switch then exit the room and follow the hallway past the air current. Destroy the crates blocking your path with a bomb then do the same thing to the nearby pillar. Climb up the rubble and move the bookshelf out of the way. Climb the ladder in the back of the room.
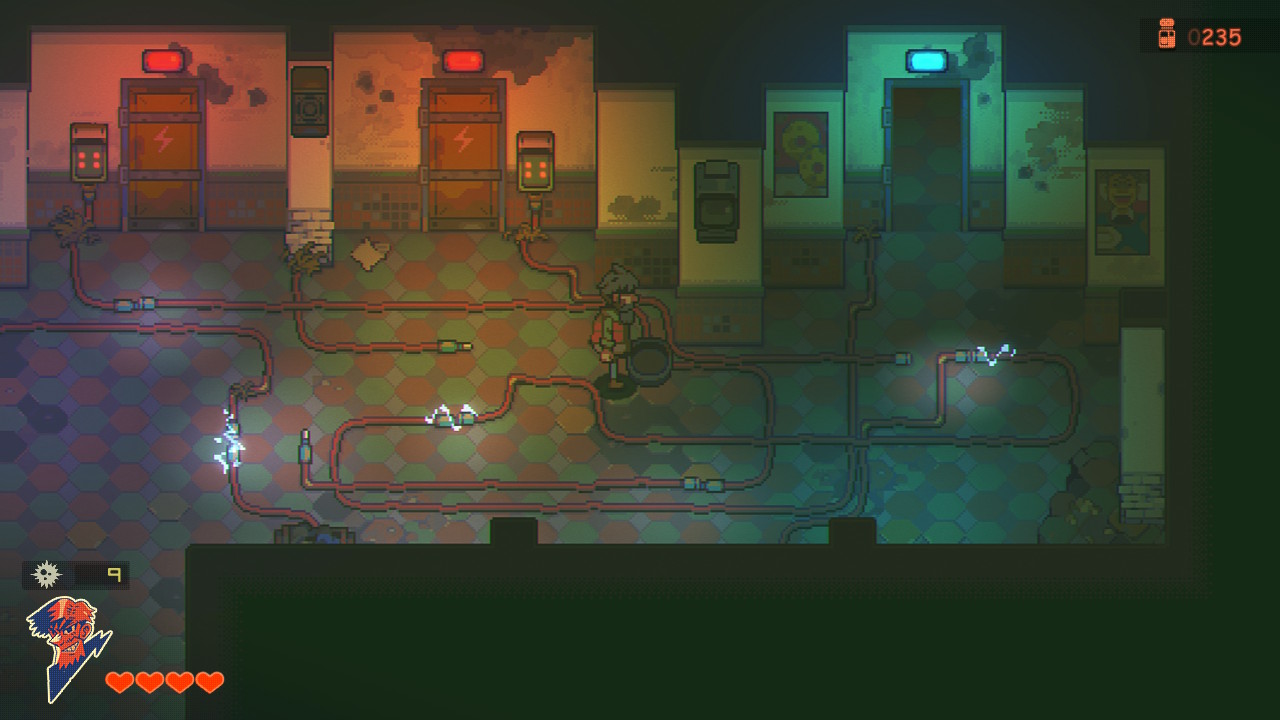
In this area, flip the switch on the wall to turn on the generator and open the door. Head through the door and connect the switches leading to the northern door to open it. Head through and connect the cables there. Return to the previous room and connect the cables so that they open the door on the right. Head through that door and connect the cables by the bookshelf. Exit the room and connect the cables so that they power the bomb behind the exit clearing the way.

In the next area, work your way through to the end. When you get to the last fork, take the left path (blocked by crates you’ll need to blow up) to find a chest at the end with a gear part. Take the right path to arrive at another room filled with power cables. Flip the lever on the left side of the room to turn on the generator. The first locked door on the left contains some bombs, the middle some jars to smash and the third is the way forward. Head through the third door and climb down the ladder. Open the chest to receive 3 eggs.
Climb down the other ladder in this room to reach another room with three air currents. Head down the southern path and use a bomb to destroy the crates blocking your way. Enter the room and flip the air current switch then head to the northern path and hit a bomb into the air current. This will destroy a pillar near the southern path allowing you to move forward. Cross over the pillar then keep heading east to find a ladder. Climb up the ladder.
You’ll now be in a breakroom with a save point so you know what that means… boss time! When you’re ready, head to the next area to trigger a dialog event leading to the boss fight against a giant robot with a vacuum arm. The boss will chase you down a long hallway and hit you if it gets too close. When you see the blue light drop a bomb, this means it’s about to try and suck you closer with its vacuum. If it gets the bomb, it will explode inside of the boss allowing you a window to deal some damage with your trusty frying pan. After the first time, the boss gets more aggressive. If it emits red light, that means it’s about to shoot a rock at you, so make sure to dodge it. You’ll need to stun the boss about 4 times with a bomb to get off enough damage to defeat it. After taking the machine down, a dialog event will trigger.
Find the exit
Head south through the darkness then hit the mushrooms with the newly acquired Energy Bubble to illuminate the room. Head to the next area to reach a big open room that looks like a store caped in darkness. If you follow the path directly east of the entrance, you’ll come across a chest with a Heart Orb. If you follow the path in the southern part of the room, you’ll be able to find the way out of this room. After the dialog event, follow the train tracks east to trigger another dialog event.
Get some gel
Now that we’ve made it back home, head to the bar and speak with Cooking Terminal then head to the dig site. If you head through the northern exit then take a left, you can use Sammy’s Energy Bubble to reach a chest with 3 tokens. If you go right toward the elevator, you’ll find Boguta there. Speak with him to receive some gel.
Take the gel to John
With the gel now in your possession, return to John’s Home to trigger a dialog event. When it ends, exit the house to trigger another one.
Click here for the Prison Break quest guide!