Starfield Logo
Guides

Starfield | Red Tape Blues Mission Guide

by NightlyGamingBinge in

Welcome to NGB and our guide for the Red Tape Blues mission in Starfield! This guide will walk you through starting the mission and detail the necessary steps for its completion. If you need help with a specific mission objective, check the quick links section to find the information needed easily.

Some of the planets referenced in our guides and walkthroughs may not match yours due to how Starfield was created. In these situations, what you do and the places you visit on those planets should remain the same.

How to Start the Red Tape Blues Mission

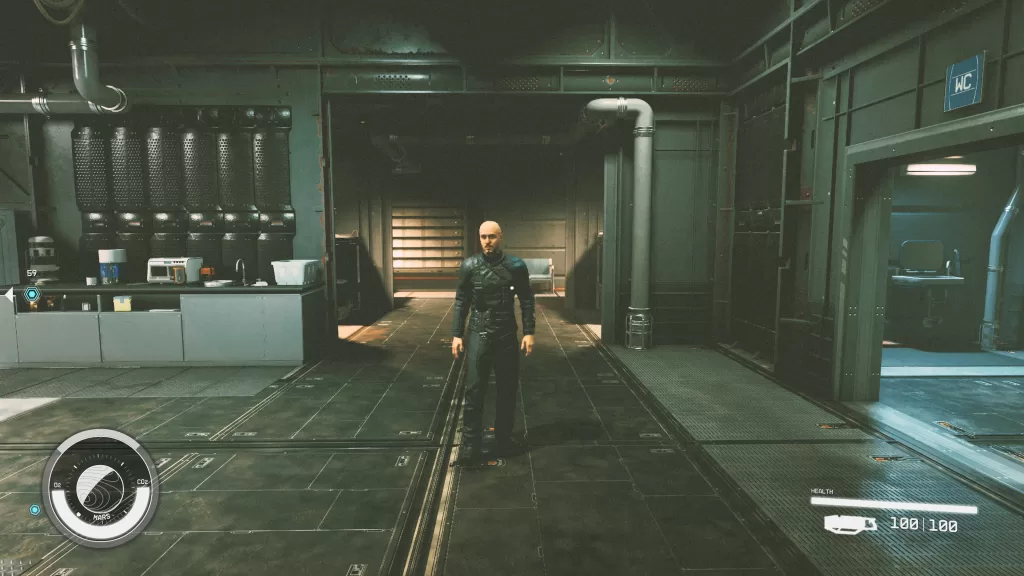
Red Tape Blues is one of the missions you can pick up in Cydonia. To start it, speak with Trevor Petyarre, who we found just after entering Cydonia. He might also be located in the mining section of the Central Hub area. He’ll need you to collect 10 units of Iron.

Red Tape Blues Walkthrough

Deposit 10 Units of Iron

Starfield Red Tape Blues

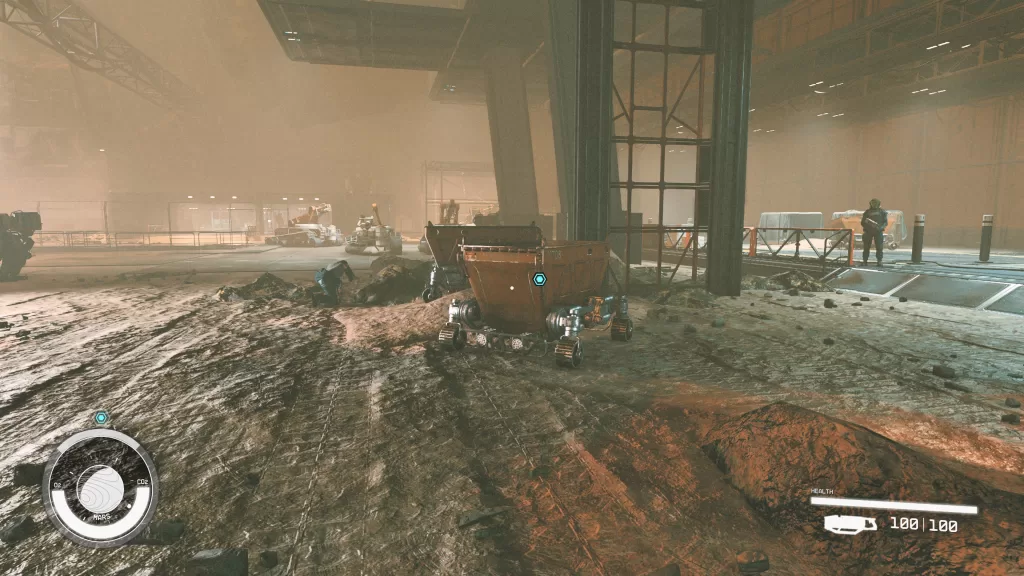
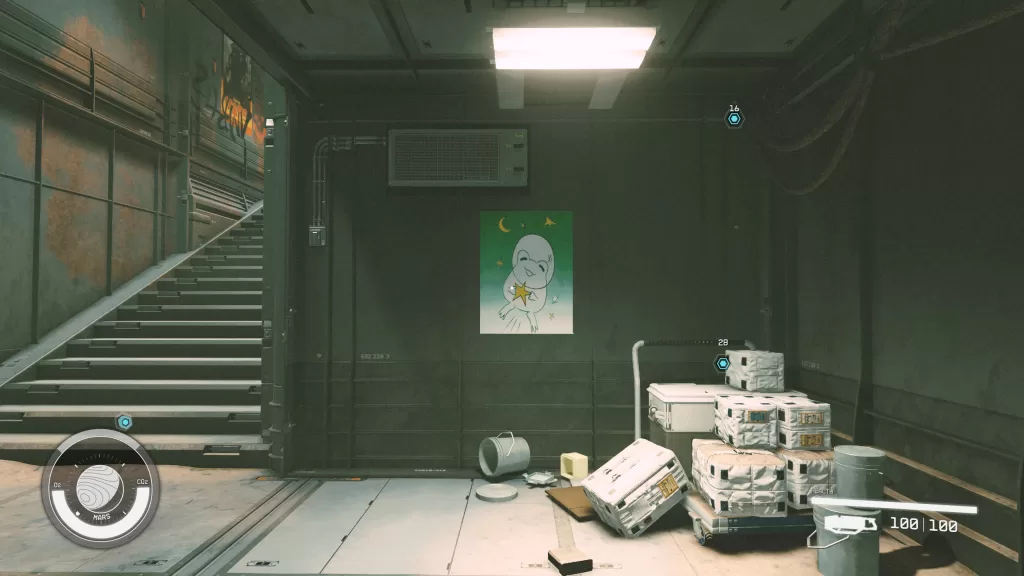
Make your way down to the mining area in the Central Hub and search for a red Deposit Bin. Once you’ve found it, place the Iron inside. If you don’t have any Iron, you can mine it in the immediate area.

Speak with Trevor

Return to Trevor and tell him that you dropped off the ore as requested.

Apply for the Assistant to the Director Job

Red Tape Blues Starfield apply for the assistant to the director job objective

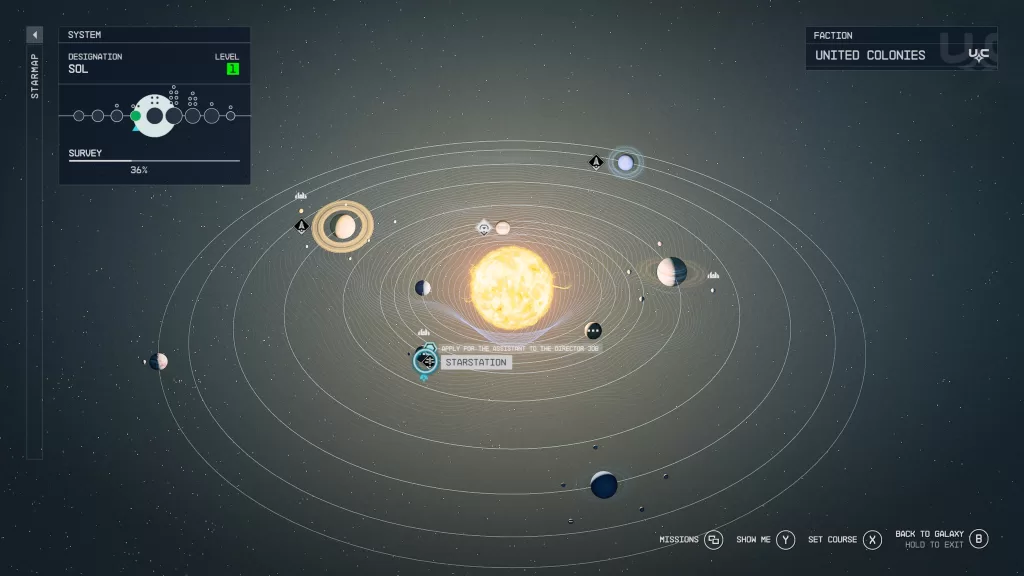
Head back to your ship and leave the planet. Back out to the solar system view and travel to the Deimos Starstation, which is right next to Mars. Fly your ship towards the objective. When you get close, scan the station, then press A (making sure the station’s info is the one on screen and not the surrounding ship’s). After pressing A, hold X to land.

Red Tape Blues apply for assistant to the director objective

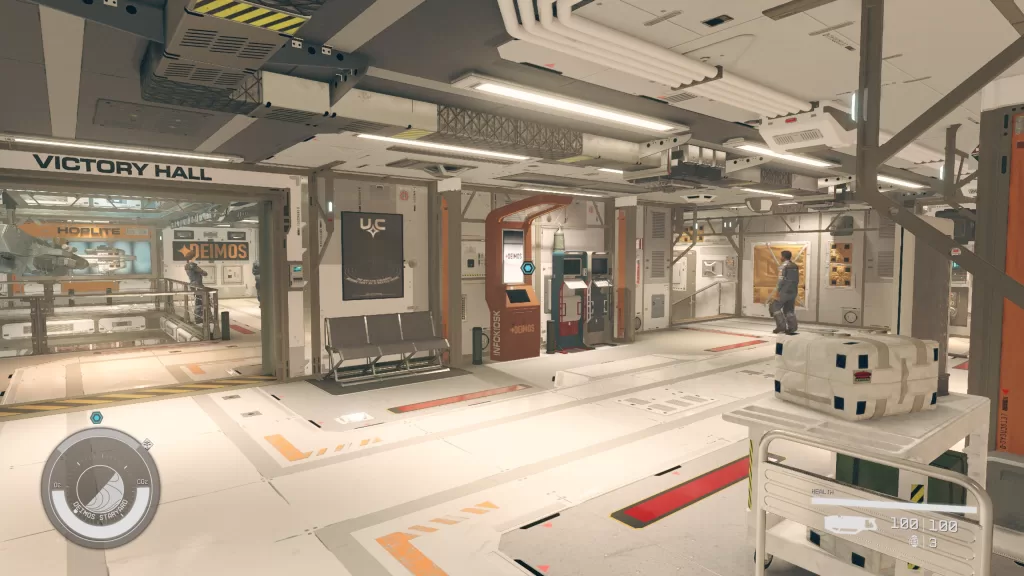
Once you’ve officially docked, board the Starstation, then interact with the kiosk in the room. Select “Job Posting: Executive Assistant” and apply for the job. Your responses do not matter!

Speak with Trevor

Return to Cydonia and speak with Trevor.

Delete the Other Candidates’ Applications

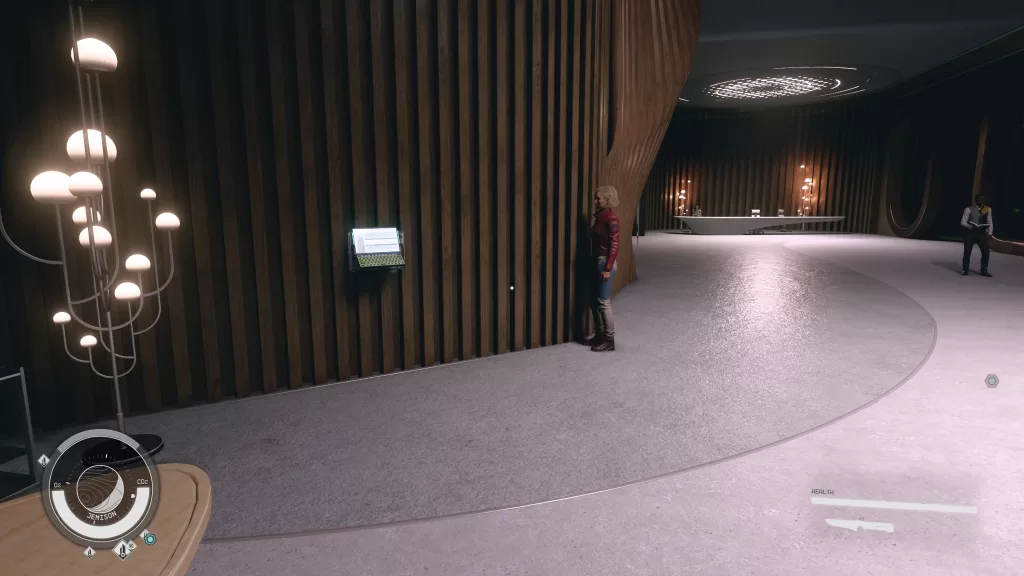
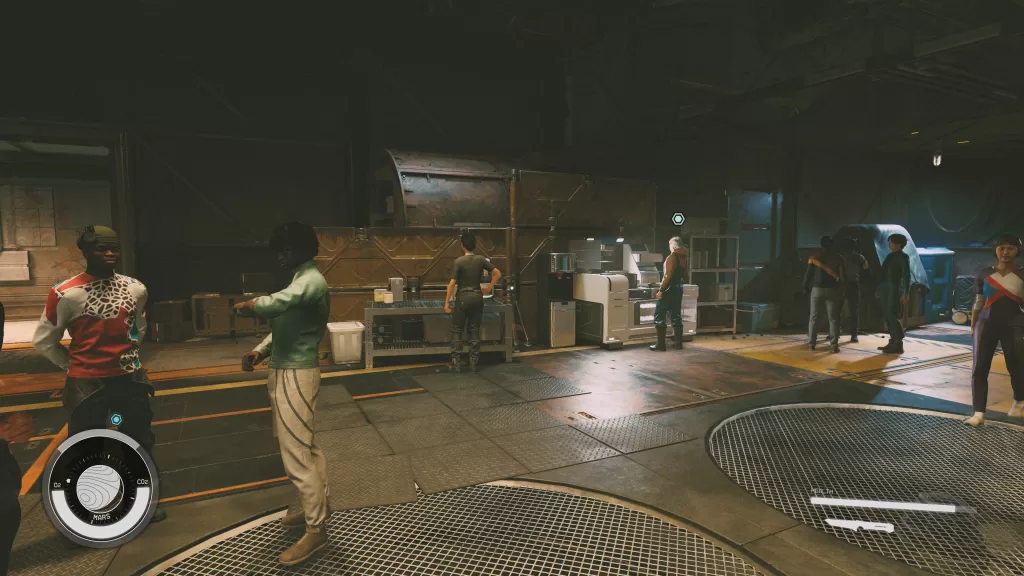
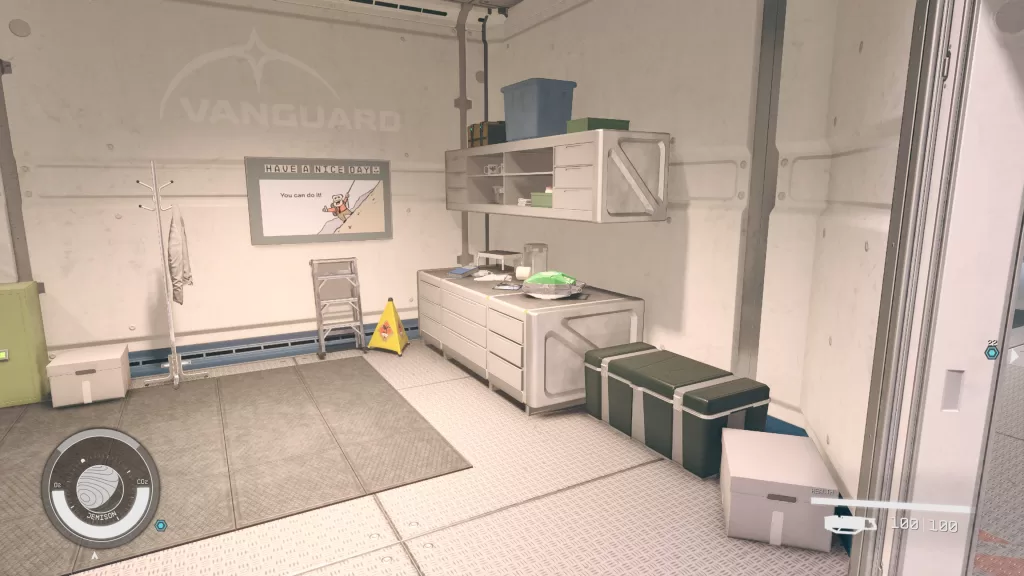
Head upstairs to the Main Level and enter the Deimos Staryard Corporate Quarters. If Tia is at her computer in one of the cubicles, you must wait until she leaves. To pass the time easily, sit in the receptionist’s empty chair and wait (they left for us at 17:22 local time). Log into her computer and delete all the other job applicants when possible. Make sure not to delete your own!

Speak with Trevor

With your task complete, return to Trevor to hear the good news. As a reward for a job well done, you’ll receive 100 EXP and some credits. You’ll also automatically receive the next mission called Red Tape Runaround.

Additional Starfield Guides and Walkthroughs

Be sure to check our main Starfield Guides and Walkthroughs page for additional content on Starfield, such as additional guides to assist you during your adventures in the Settled Systems!

Starfield Logo
Guides

Starfield | Late Bloomer Mission Guide

by NightlyGamingBinge in

Welcome to NGB and our guide for the Starfield Late Bloomer mission! This guide will walk you through starting the mission and detail the necessary steps for its completion. If you need help with a specific mission objective, please check out the quick links section to easily find the most relevant information to your search.

How to Start the Starfield Late Bloomer Mission

Late Bloomer is one of the misc missions you can pick up in New Atlantis. To start it, you’ll first need to complete the A Tree Grows In New Atlantis and Out On A Limb missions. After that, wait a day or so in-game time then return to Kelton Frush near the giant tree in the MAST District and ask how his work is going. He’ll tell us that the tree is trying to reproduce and will ask you to go off-world to retrieve an olive branch to help remedy the situation.

Starfield Late Bloomer Mission Guide

Speak with Leah Casler

Akila City during the Starfield Late Bloomer mission

To reach Leah, you’ll need to travel to Akila in the Cheyenne system. If you’re still early on in the game, this might be too far for you to jump straight to. Instead, you’ll first need to travel to Olympus then from there you can jump to Cheyenne. Land in Akila City then head for the northeastern part of town to locate the Coe Heritage Museum. Go inside then speak with Leah Casler standing behind the welcome desk and ask about the tree branch. She will immediately tell you to get lost in the nicest way possible.

Coe Heritage Museum during the Starfield Late Bloomer mission

Convince Leah to Hand over the Branch OR Steal It

You’ll have two options if you want to leave with the branch. Either convince Leah to let you have it or swipe it when she’s not looking.

If you want to try your luck at persuading her, speak with her again and select the Persuade option. You’ll then need to choose the right options to fill up her persuation meter. Once full, she will loan you the branch with the condition that you’ll return it in one piece.

If you try the stealing route, the safe is located behind the desk in the wall and is an expert level lock! Even though she’s sitting right there and there is a camera surveilling the area, we crouched behind her and were able to grab it without being detected!

Deliver the Branch to Kelton Frush

With the branch in hand, take it back to Kelton in New Atlantis. Speak with him to hand it over then wait for him to do his thing. Speak with him again afterward and he’ll ask you to upload the sound through a SSNN kiosk.

Upload Audio to an SSNN Terminal

Head over to the SSNN building in the Commercial District then go inside. On the left side of the room, there will be a terminal you can access.

SSNN Terminal during the Starfield Late Bloomer mission

Interact with it and choose the Broadcast Diagnostics directory then select Upload File Diagnostic to upload the audio file. When that’s done select Run Diagnostic to play the file.

Return to the Tree

Return to Kelton and speak with him once more to complete the mission. You’ll be rewarded with 100 EXP and 4300 credits.

Additional Starfield Guides and Walkthroughs

Be sure to check our main Starfield Guides and Walkthroughs page for additional content on Starfield!

Starfield Logo
Guides

Starfield | Job Gone Wrong Mission Guide

by NightlyGamingBinge in

Welcome to NGB and our guide for the Starfield Job Gone Wrong mission! In this guide, we’ll cover how to start the mission and what steps you’ll need to take to complete it. If you’re here looking for help with a specific mission objective, please check out the quick links section which should point you to the right section!

How to Start the Starfield Job Gone Wrong Mission

Job Gone Wrong is one of the faction missions for the Freestar Collective you can pick up in Akila City on Akila in the Cheyenne System. To start it, simply head into town for the first time an Akila City Security Guard will inform you of an incident at the bank. This typically occurs during the Starfield The Empty Nest main mission.

Starfield Job Gone Wrong Guide

Talk to Daniel Blake

Make your way to the bank near the center of town and speak with Marshal Daniel Blake out front. Tell him you’re there to help to get a response that he doesn’t know you. If you have Sam Coe in your party, he will convince the Marshal to let you help. If not then you’ll just have to go through a couple more lines of dialog.

Starfield Job Gone Wrong mission Marshal Daniel Blake

Persuade the Bank Robbers to Surrender

After Marshal Blake announces you’re coming to speak with them, head to the door of the bank and interact with the intercom to its left. The robber will ask how he can trust you giving you a set of options.

Starfield Job Gone Wrong mission intercom linked to the Bank Robber Leader

One of them is to persuade the robber you are just here to help. If you pass the skill check, you can try to convince them to surrender and let the hostages go. If that is successful, then the robbers will end the standoff peacefully.

Ask to See the Hostages or Sneak Into the Bank

If the negotiations fail, speak with Marshal Blake and you’ll be able to suggest that you just take out the bandits. He’ll then have you ask to see the hostages to get in via the front door or sneak into the bank via the back door. If you sneak around the back, you’ll need to fight all the bandits inside.

Talk to Daniel Blake

Return to the Marshal and tell him the situation has been resolved. No matter how you resolve this mission (either peacefully or by using violence), you’ll be rewarded with 150 EXP and some credits.

Starfield Job Gone Wrong mission Daniel Blake impressed with your work

Additional Starfield Guides and Walkthroughs

Be sure to check our main Starfield Guides and Walkthroughs page for additional content on Starfield!

Starfield Logo
Guides

Starfield | Special Delivery Mission Guide

by NightlyGamingBinge in

Welcome to NGB and our walkthrough for the Special Delivery mission in Starfield! This guide will walk you through starting the mission and detail the necessary steps for its completion. If you need help with a specific mission objective, check the quick links section to find the information needed easily.

Some planets referenced in our guides and walkthroughs may not match yours due to how Starfield was created. In these situations, what you do and the places you visit on those planets should remain the same.

How to Start the Special Delivery Mission

Special Delivery is one of the misc missions you can pick up in Cydonia. To start, I will speak with Chris Cullen, who can be found in the UC Marine Barracks in the Residential section of Cydonia. (We had previously spoken with his sister, Logan Cullen, in New Atlantis!) He’ll say it’s his sister’s birthday and ask for our help delivering her a present. Agree!

Starfield Special Delivery

Special Delivery Walkthrough

Deliver the Presents to Logan Cullen

Make your way to New Atlantis on Jemison in the Alpha Centauri System. Make this quest active so you can easily locate her in the city as she moves around. As a reward, you’ll receive some credits and 100 EXP.

Additional Starfield Guides and Walkthroughs

Check our main Starfield Guides and Walkthroughs page for additional content on Starfield, such as additional guides to assist you during your adventures in the Settled Systems!

Starfield Logo
Guides

Starfield | Space Frog from Outer Space Mission Guide

by NightlyGamingBinge in

Welcome to our walkthrough for the Space Frog from Outer Space mission in Starfield! This guide will walk you through starting the mission and detail the necessary steps for its completion. If you need help with a specific mission objective, check the quick links section to easily find the information needed.

Some of the planets referenced in our guides and walkthroughs may not match yours due to how Starfield was created. In these situations, what you do and the places you visit on those planets should remain the same.

How to Start the Space Frog from Outer Space Mission

Space Frog from Outer Space is one of the misc missions you can pick up at Cydonia. To start it, speak with Renee in the Residential section. We found her in the Luxe Condominium.

Space Frog from Outer Space Walkthrough

Post Space Frog Drawings

Make sure this quest is active then follow the objectives to the six locations where the drawings should be hung.

Starfield Space Frog from Outer Space

Return to Renee

Once you put all 6 up, return to Renee and speak with her to complete the quest. As a reward, you’ll receive some credits and 120 EXP.

Additional Starfield Guides and Walkthroughs

Be sure to check our main Starfield Guides and Walkthroughs page for additional content on Starfield, such as additional guides to assist you during your adventures in the Settled Systems!

Starfield Logo
Guides

Starfield | A Parting Gift Mission Guide

by NightlyGamingBinge in

Welcome to our walkthrough for the A Parting Gift mission in Starfield! This guide will walk you through starting the mission and detail the necessary steps for its completion. If you need help with a specific mission objective, check the quick links section to easily find the information needed.

Some of the planets referenced in our guides and walkthroughs may not match yours due to how Starfield was created. In these situations, what you do and the places you visit on those planets should remain the same.

How to Start the A Parting Gift Mission

A Parting Gift is one of the misc missions you can pick up at New Atlantis. To start it, make your way to the Residential District and speak with Zawadi Wade who can be found sitting on a picnic table at the park in front of Chucky’s.

Starfield A Parting Gift

Agree to help her deliver a letter to her pen pal. Just for accepting the quest, you’ll receive 1000 Credits!

A Parting Gift Walkthrough

Deliver the Letter to Haddie in Cydonia

To reach Cydonia, travel to the Sol system and land at Cydonia on Mars. Disembark from your ship then enter the colony. Once there, head forward going down a long ramp then take a left through an orange/yellow door leading to Cydonia – Residential. Climb down the stairs to reach a big open room. You’ll find Haddie.

A Parting Gift Starfield

Speak with her to hand over the letter. This will complete the mission and you’ll receive 100 EXP and 1300 credits.

Additional Starfield Guides and Walkthroughs

Be sure to check our main Starfield Guides and Walkthroughs page for additional content on Starfield, such as additional guides to assist you during your adventures in the Settled Systems!

Starfield Logo
Guides

Starfield | Out On A Limb Mission Guide

by NightlyGamingBinge in

Welcome to NGB and our guide on the Starfield Out On A Limb mission. This guide will walk you through starting the mission and detail the necessary steps for its completion. If you need help with a specific mission objective, check the quick links section to easily find the most relevant information for you.

How to Start the Starfield Out On A Limb Mission

Out On A Limb is one of the misc missions you can pick up at New Atlantis. To start it, you’ll first need to have completed the A Tree Grows In New Atlantis mission. After that, wait until some time passes (like a day or two in-game) then check up on Kelton Frush near the big tree in the MAST District (we received an activity to go speak with him). Kelton will tell you that he needs to do more analysis on the tree, but his co-worker who has the data he requires won’t play ball and will then ask if you can help.

Out On A Limb Mission Guide

Talk to Emilio Hadek

To reach Emilio, head east from where Kelton was to find him inspecting a tree right next to the Lodge. Speak with him asking about the data and he’ll know right away you’re helping Kelton. The only way he will agree to hand over the data is if you do him a favor by erasing some data from his MAST file. After you agree to help him, you’ll be given the option to Persuade him to give you the data without deleting the files. If you pass that, he’ll then offer you credits in addition to the data if you delete the data. You can still tell him no and you’ll get his data. If you persuade him and delete his files, you’ll receive some credits for your efforts.

Delete Files From the Terminal

So Emilio wants us to break into the Chief Engineer’s apartment to delete some data from his file…super. Head south from his location to reach the Orion Tower near the Residential District. Use the elevator to arrive on the floor of the apartment and take a right. It will be the first door on the left and you’ll need to use a digipick to break in. Go inside and locate the Chief Engineer’s Terminal on the desk and interact with it. Select the Personnel Files folder where you’ll see files for both Emilio and Kelton. You can read them both if want but make sure you select Purge All Files for Emilio (he will check that the files were deleted on your way back). Return to Emilio and tell him you did what he asked. He’ll then hand over his data.

Deliver Data to Kelton Frush

With the data finally in your hand, head back to Kelton and hand it over to him to complete the mission. You’ll be rewarded with 100 EXP and some credits.

Additional Starfield Guides and Walkthroughs

Be sure to check our main Starfield Guides and Walkthroughs page for additional content on Starfield!

Starfield Logo
Guides

Starfield | Spreading the News Mission Guide

by NightlyGamingBinge in

Welcome to our walkthrough for the Spreading the News mission in Starfield! This guide will walk you through starting the mission and detail the necessary steps for its completion. If you need help with a specific mission objective, check the quick links section to easily find the information needed.

Some of the planets referenced in our guides and walkthroughs may not match yours due to how Starfield was created. In these situations, what you do and the places you visit on those planets should remain the same.

How to Start the Spreading the News Mission

Spreading the News is one of the misc missions you can pick up at New Atlantis. To start it, speak with Tommy Bitlow near the launch pad in the Spaceport after some time passes from completing A Light in the Darkness mission and agree to help him deliver his slates.

Spreading the News Walkthrough

Deliver Slates

You’l need to deliver a slate to Catherine Alvarez, Royce Elgin and George Saint-George. Since they all walk around New Atlantis, it’s best to track this mission then follow the objective to the person. We found George Saint-George in the Jemison Mercantile at the Spaceport. Catherine Alvarez was near the Sanctum Universum in the MAST District. Royce Elgin was found behind the bar in the Pioneer Tower in the Residential District.

Return to Tommy

After delivering all the slates, return to Tommy in the Spaceport to deliver the feedback. You can lie and tell him that they loved it. He’ll be super happy they loved his unique writing voice. If you tell him the truth, he’ll say his writing isn’t for everyone and decides not to let it get him down.

The rewards of 1300 credits and 100 XP will be the same no matter what you decide to tell him.

Additional Starfield Guides and Walkthroughs

Be sure to check our main Starfield Guides and Walkthroughs page for additional content on Starfield, such as additional guides to assist you during your adventures in the Settled Systems!

Starfield Logo
Guides

Starfield | Supra Et Ultra Mission Guide

by NightlyGamingBinge in

Welcome to NGB and our guide for the Starfield Supra Et Ultra mission! This guide will walk you through starting the mission and detail the necessary steps for its completion. If you need help with a specific mission objective, please check out the quick links section to easily find the most relevant information to your search.

How to Start the Starfield Supra Et Ultra Mission

Supra Et Ultra is one of the faction missions you can pick up at New Atlantis. To start it, speak with Commander John Tuala in the MAST building in the MAST District. Please note that this quest will require you to pay any outstanding bounties so be prepared for that!

Starfield Supra Et Ultra Mission Guide

Register for the Vanguard

When you’re ready to sign up, enter the elevator and select the “Vanguard Orientation Hall”. After exiting the elevator, you’ll be in the Recruit Registration section. Interact with a terminal there and select “Enlistment Agreement”. This is where you’ll need to pay any outstanding UC bounties before proceeding. Once you agree with the contract you’ll officially be a probationary member of the Vanguard! Congrats!!

Proceed to the Vanguard Exam

Enter the Orientation Hall where there is a lot of interesting history. Make sure to interact with all the buttons to learn more if you’re interested. Otherwise, blow through the hallway to reach the end where an elevator awaits you. Take it to the piloting simulator.

Enter the Piloting Simulator

Before entering the simulator, check out the bathroom by Simulator 2 (on the right side) to find the Vanguard Space Tactics 01 on the counter next to a first aid pack. This will allow your ship missiles to permanently deal 5% more damage.

Magazine during the Starfield Supra Et Ultra mission

When you’re ready, speak with Exam Proctor Samuelson standing near Simulator 1. He’ll tell you a bit about what to expect from the exam and that you can take it as many times as you’d like before speaking with Commander Tuala. To pass and move on to the probationary mission, you’ll only need to defeat 3 Tiers of simulated opponents. If you defeat more, your required enlistment time for citizenship will be reduced and your enlistment bonus will be increased.

To officially begin the simulator, act with the giant machine near Exam Proctor Samuelson. When you’re ready to begin, take a seat in the pilot’s chair. The simulator will verbally tell you when you reach each Tier. After Tier 3, you can remain in the chair to continue on for the additional rewards or leave. The choice is yours. We made it up to Tier V where you had to defeat 4 enemy ships. Please note that there are a total of 6 Tiers. If you get defeated, exit the pilot’s chair and use the terminal in the simulator to restart the Tier (if you wish). When you’re done, exit the simulator!

Speak to Commander Tuala

Return to Commander Tuala in the lobby and speak with him then agree to join. Afterward, follow him outside and speak with him again when he stops. Say “I do” when taking the pledge then agree to help out to begin your probationary mission. You’ll receive 5,800 Credits plus EX as a reward (if you reached Tier 4 in the simulator!). The Supra Et Ultra faction mission will then complete and the Grunt Work mission will automatically begin!

Additional Starfield Guides and Walkthroughs

Be sure to check our main Starfield Guides and Walkthroughs page for additional content on Starfield!

Starfield Logo
Guides

Starfield | An Invitation Mission Guide

by NightlyGamingBinge in

Welcome to NGB and our guide for the Starfield An Invitation mission! In this guide, we’ll cover how to start the mission along with the steps you’ll need to take to complete it. If you’re here looking for help with a specific mission objective, please check out the quick links section which should point you to the right section!

How to Start the Starfield An Invitation Mission

Marcus during the Starfield An Invitation mission

An Invitation is one of the misc missions you can pick up at New Atlantis. To start, travel to the MAST District and head for the Sanctum Universum (the western side of the area). Once there, speak with Marcus Lestari who will invite you to join the church. He will then ask if you can extend an invitation to three prospects and then come back (regardless if you join or not).

Starfield An Invitation Mission Guide

Check in with Johann / Evie / Tony

To find Johann, Evie, and Tony you’ll want to make sure this quest is active and follow the objectives to them. We say this because they like to wander around. We’ve run into Evie in the Commercial and MAST Districts, Johann in the MAST District near the big tree, and Tony at the Spaceport and in the Residential District. When you speak with them, choose whatever options you like. All three of them seem on the fence about returning and will need a little push one way or another.

Return to Marcus

After you’ve delivered the invitations to Johann, Evie, and Tony, head back to Marcus at the Sanctum Universum to find him wandering around outside. Speak with him to let him know the outcome. The mission will complete and you’ll be rewarded with 100 EXP and some credits.

Additional Starfield Guides and Walkthroughs

Be sure to check our main Starfield Guides and Walkthroughs page for additional content on Starfield!