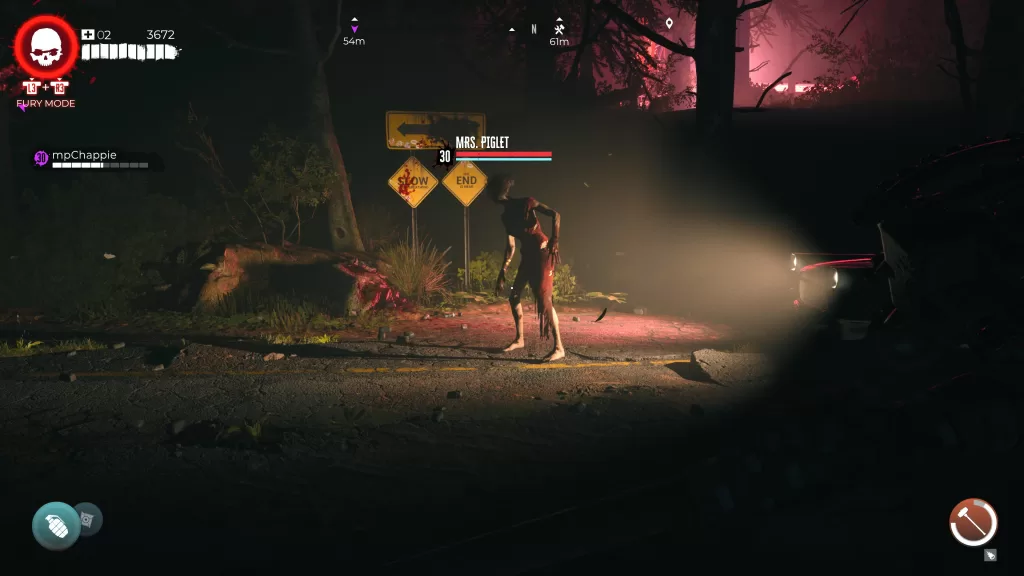
In the Haus DLC of Dead Island 2, you’ll need to find the A Gift for My Piggy Key to unlock the Piggy’s Bank lockbox. To find A Gift for My Piggy Key, finish the Haus DLC. Afterwards, make your way to the diner just past the forest.
Once there, take out Mrs. Piglet who will drop the A Gift for My Piggy Key.
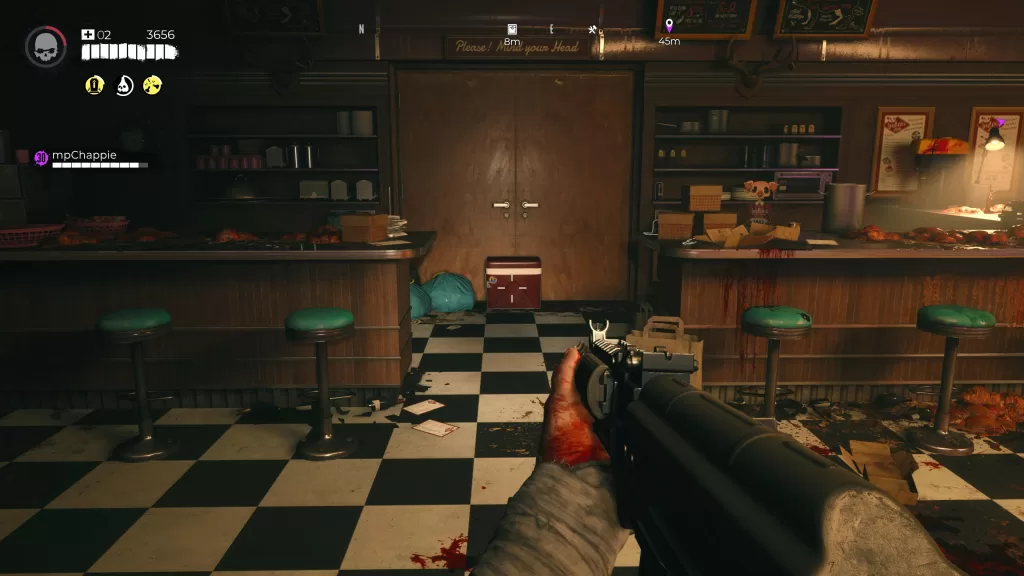
Now that you have the A Gift for My Piggy Key, head into the diner and use the key to open Piggy’s Bank.
As a reward, you’ll receive the Sizzler blueprints!
For more Dead Island 2 Haus DLC guides, click here!
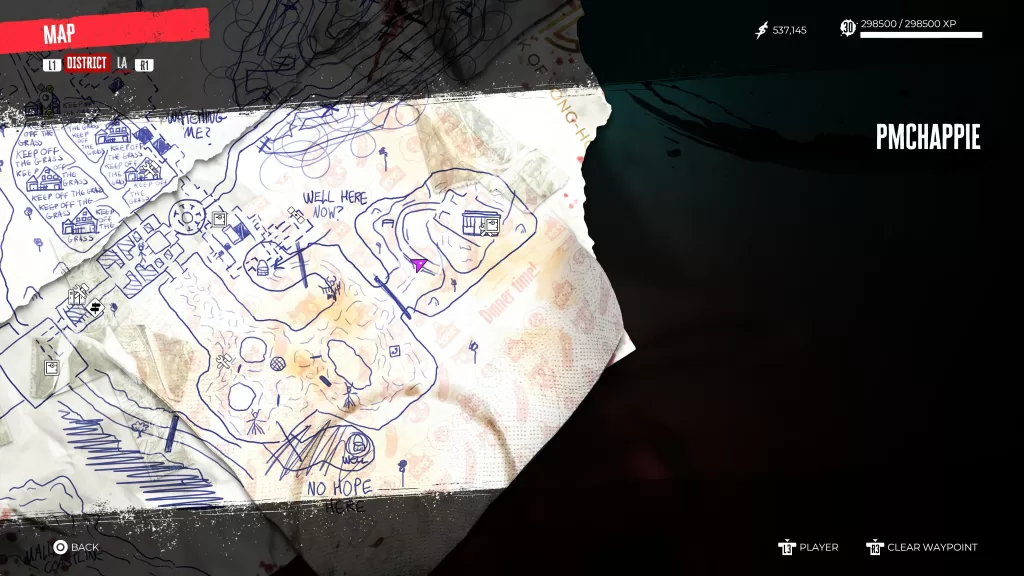
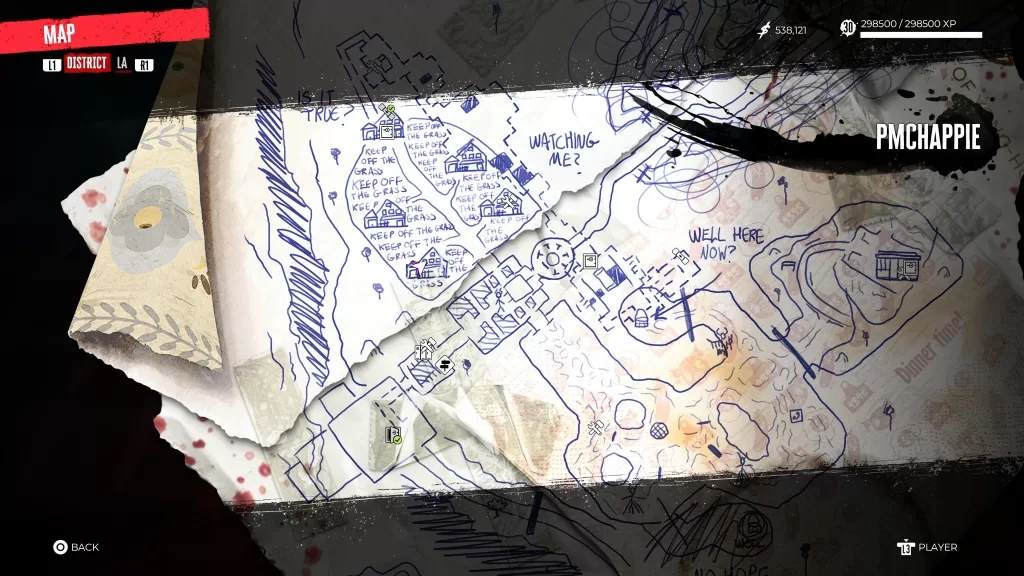
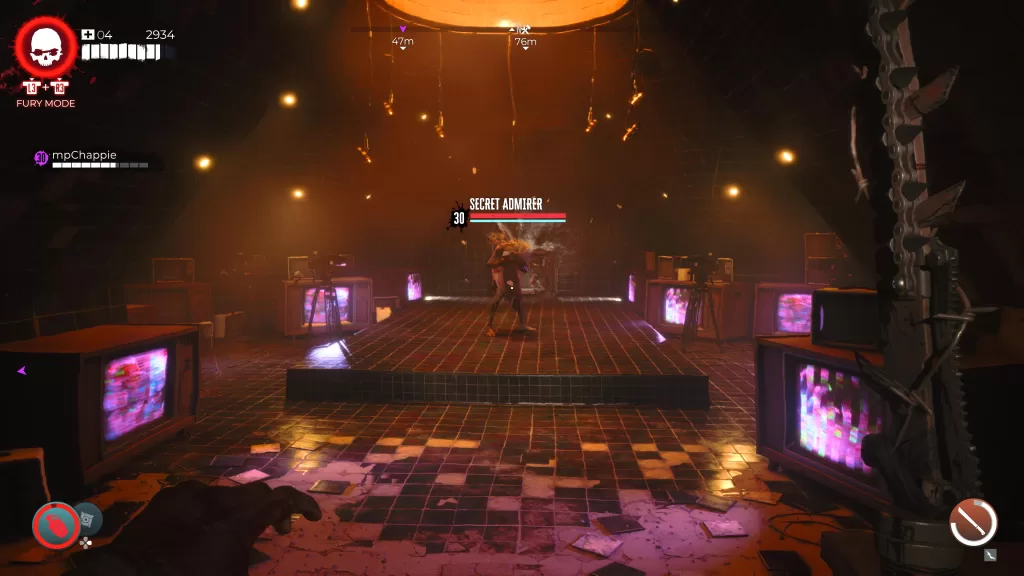
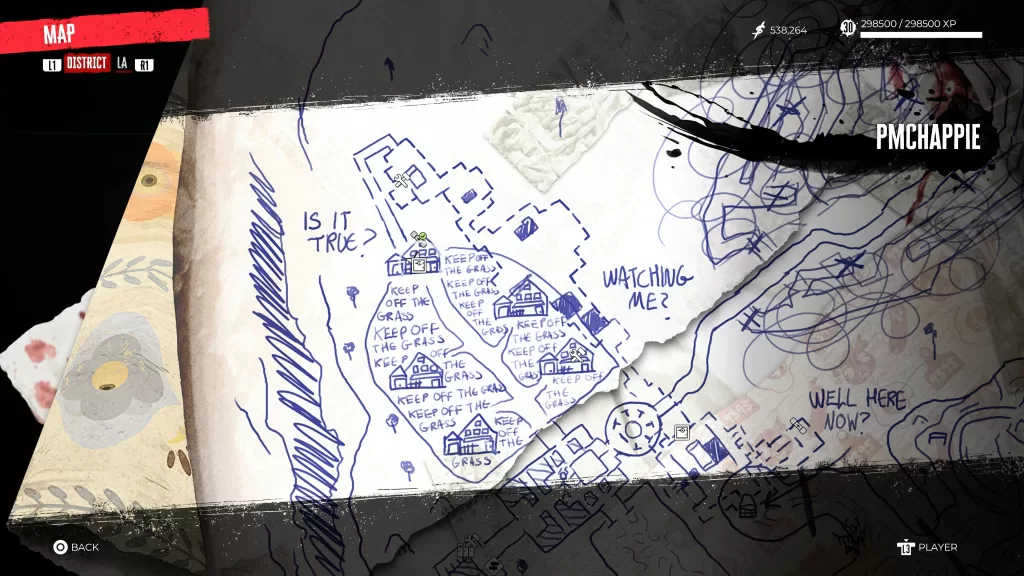
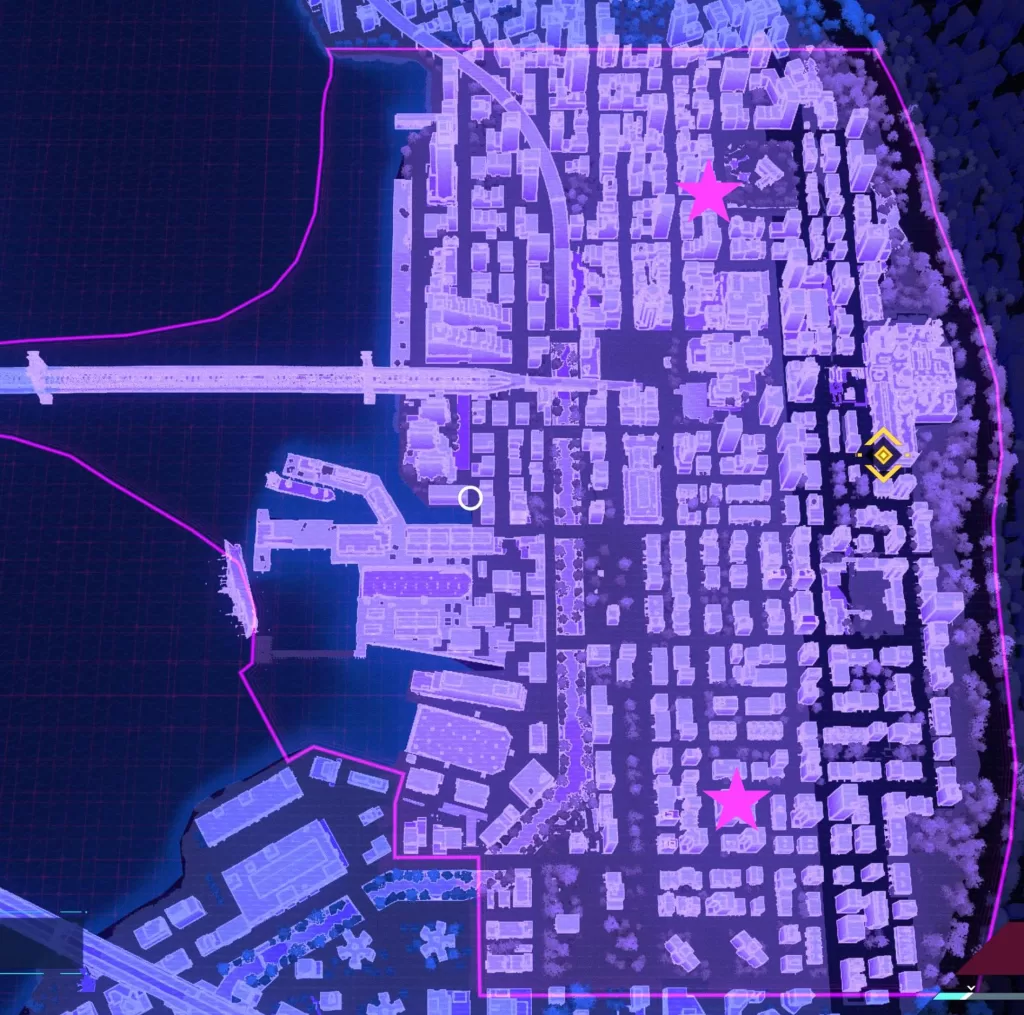
The Forget Me Not Key in the Haus DLC of Dead Island 2 is used to open the Little Box of Secrets lockbox. To find the Forget Me Not Key, beat the Haus DLC then return to the Keep Off the Grass area. Enter the first house on the left as shown on the map below.
Upstairs you’ll find the Secret Admirer.
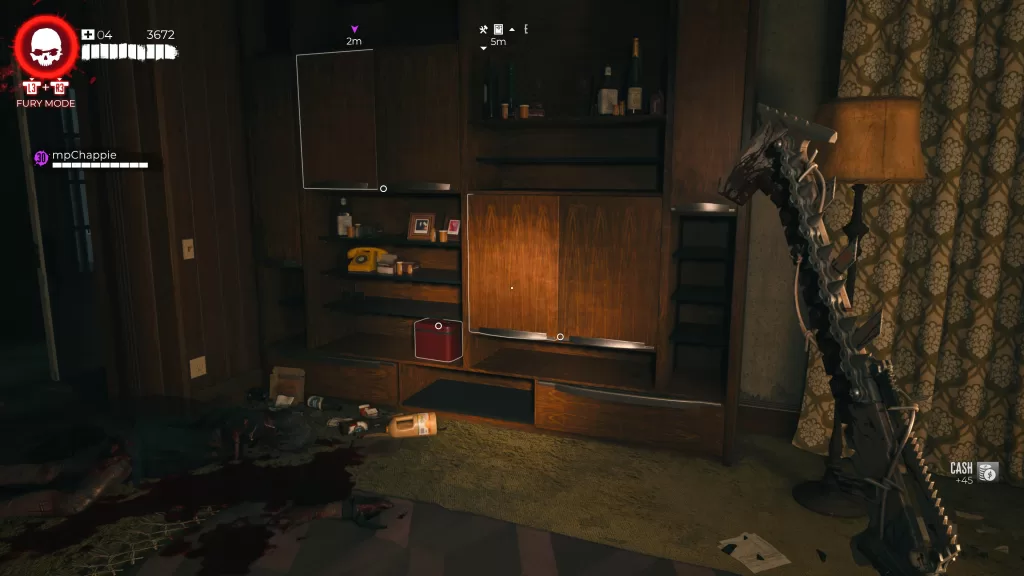
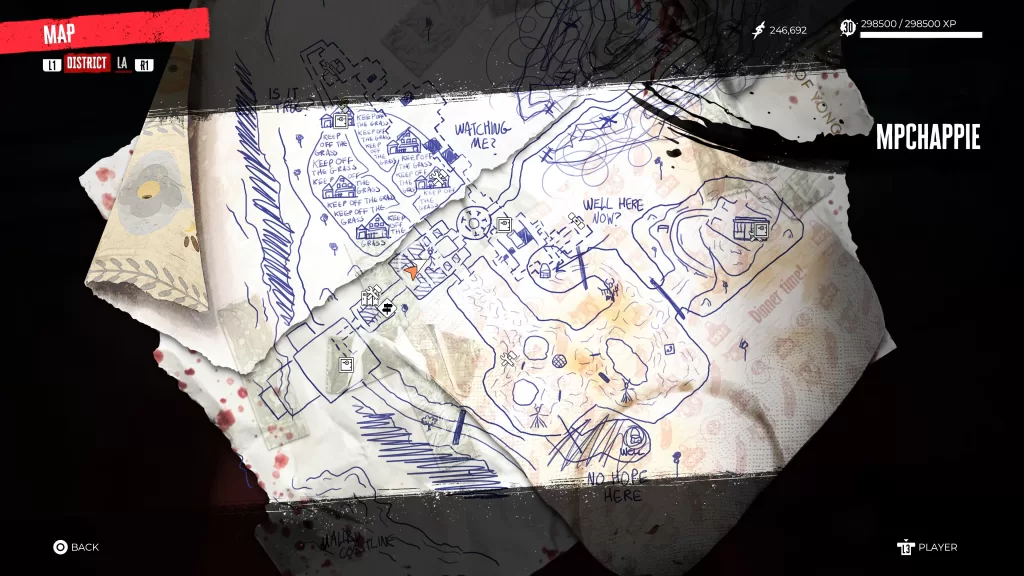
Now that you have the Forget Me Not Key, travel to the house shown on the map below.
Inside you’ll find the Little Box of Secrets.
Open it to receive the Vigilant Crossbow (rare crossbow). For more Dead Island 2 guides, click here!
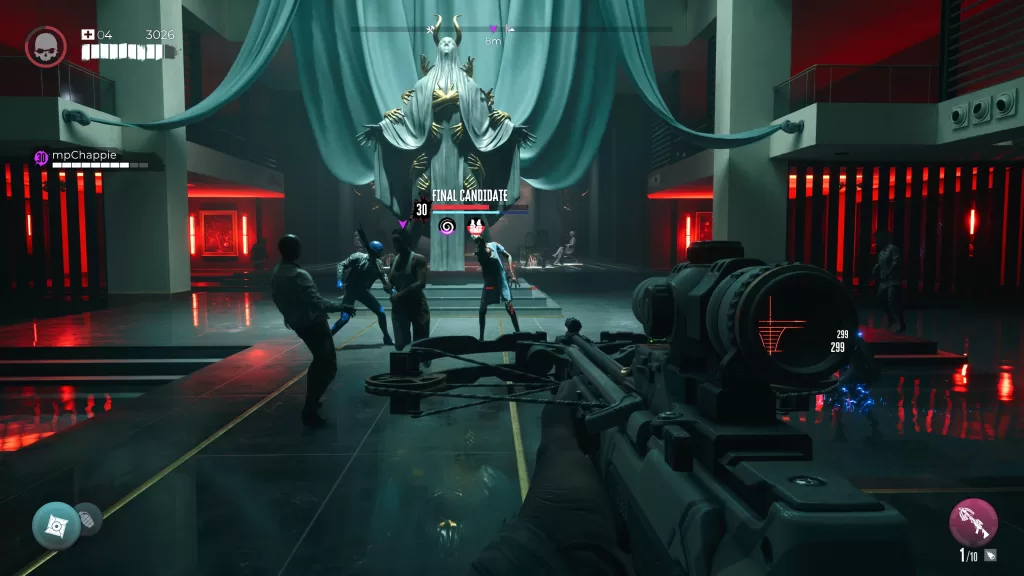
To find the White Latex Car Key in Dead Island 2 Haus DLC, beat the DLC then return to the room with Vincent and Veronique.
There you’ll find the Final Candidate, a Screamer!
Take them out then make sure to loot the White Latex Car Key. Now that you have the key, exit the Haus to reach the area where all the black vehicles are parked.
Use the key to unlock one of the trunks!
You’ll receive the Kill-O-Wait Kick Slayer Card and some cash. For more guides on the Haus DLC for Dead Island 2, click here!
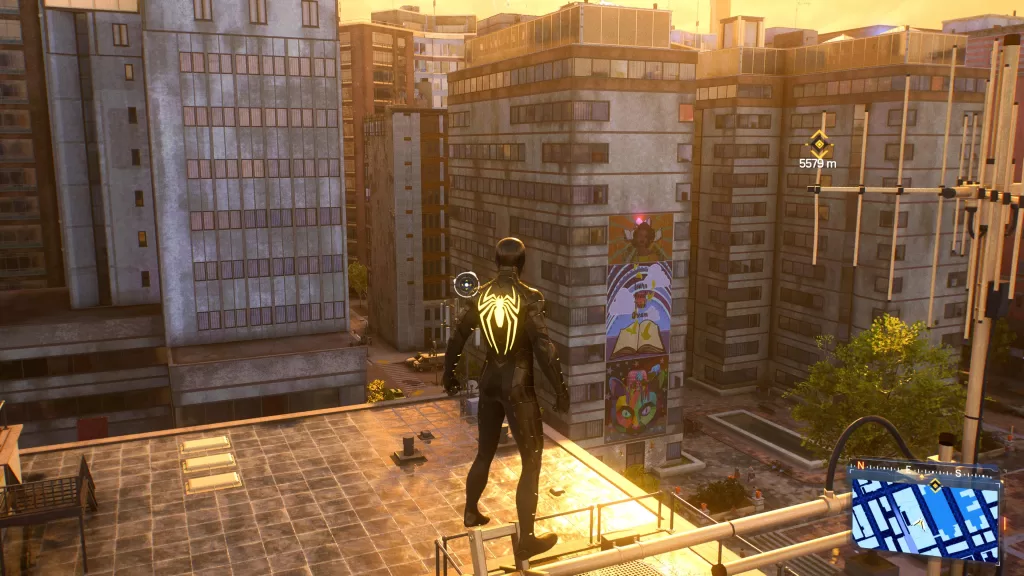
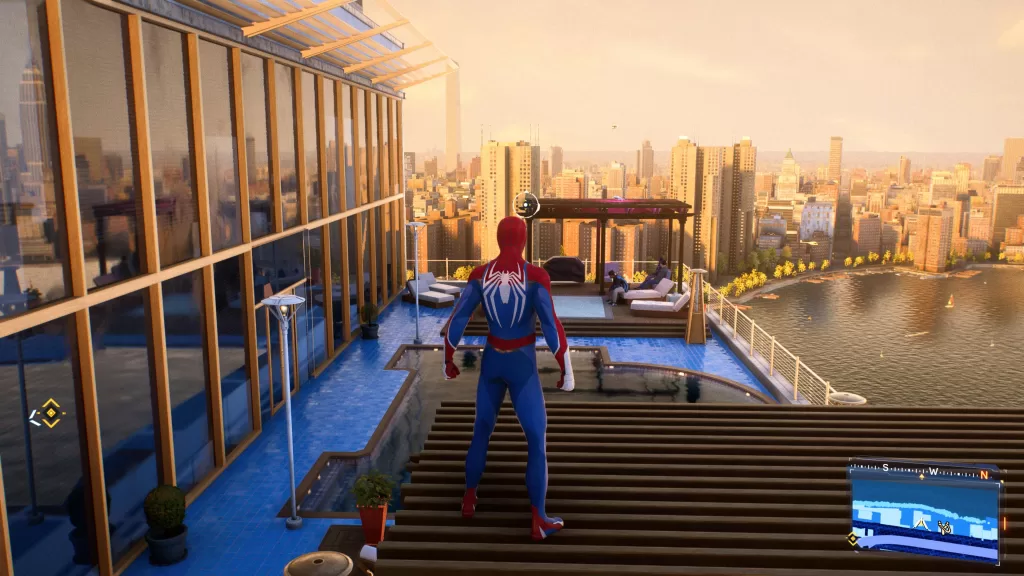
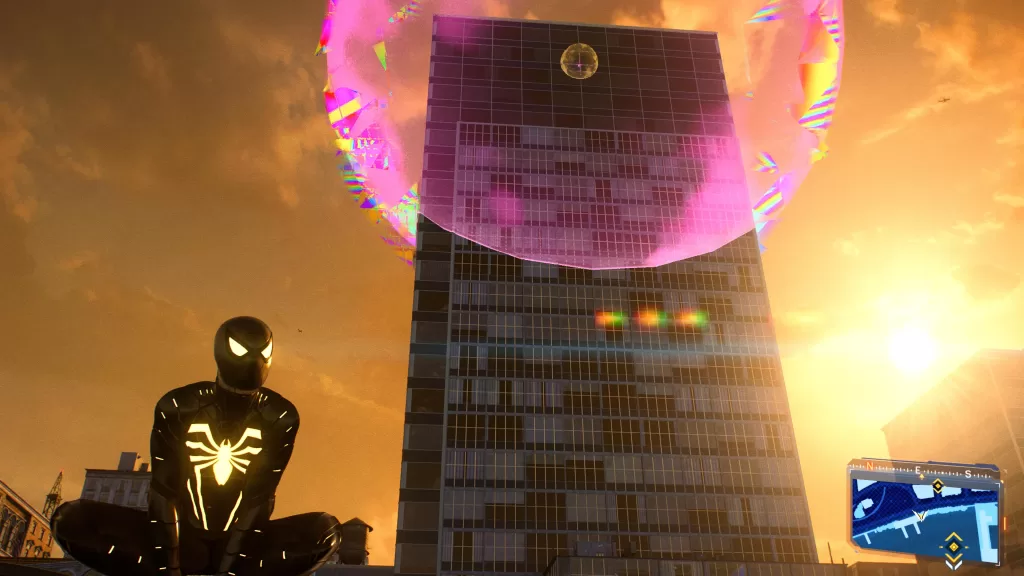
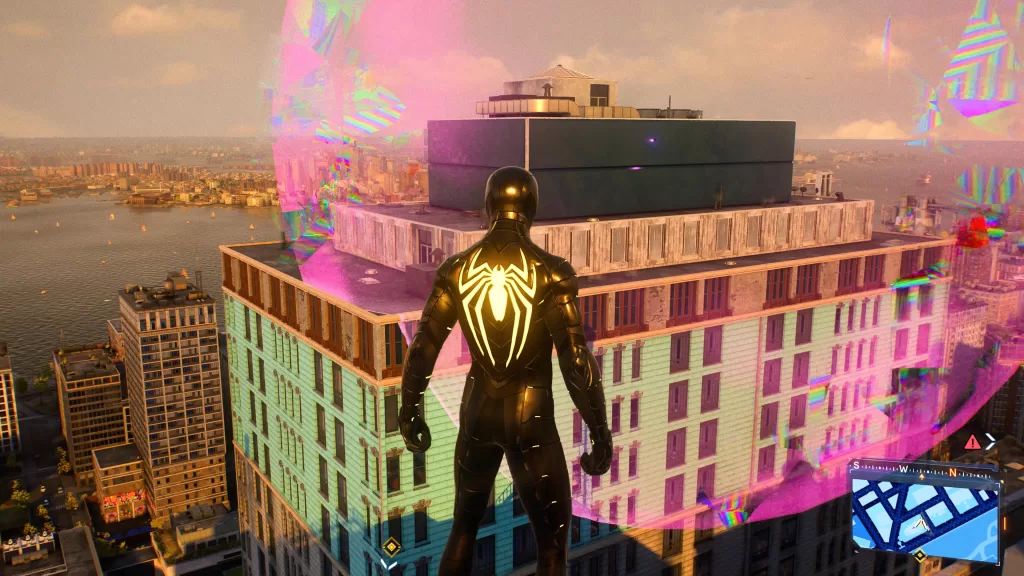
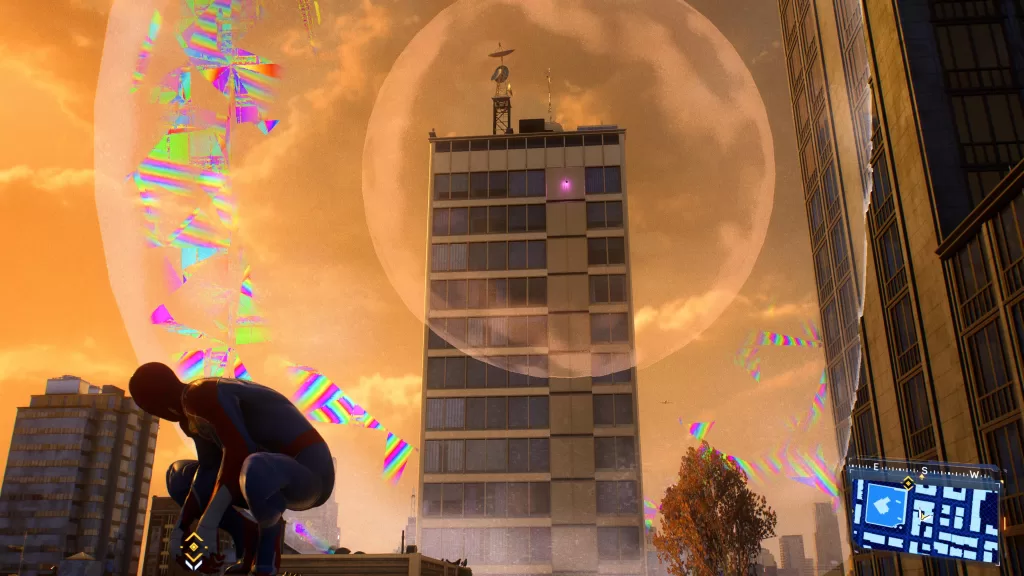
Welcome to our guide for Marvel’s Spiderman 2 Cultural Museum missions!
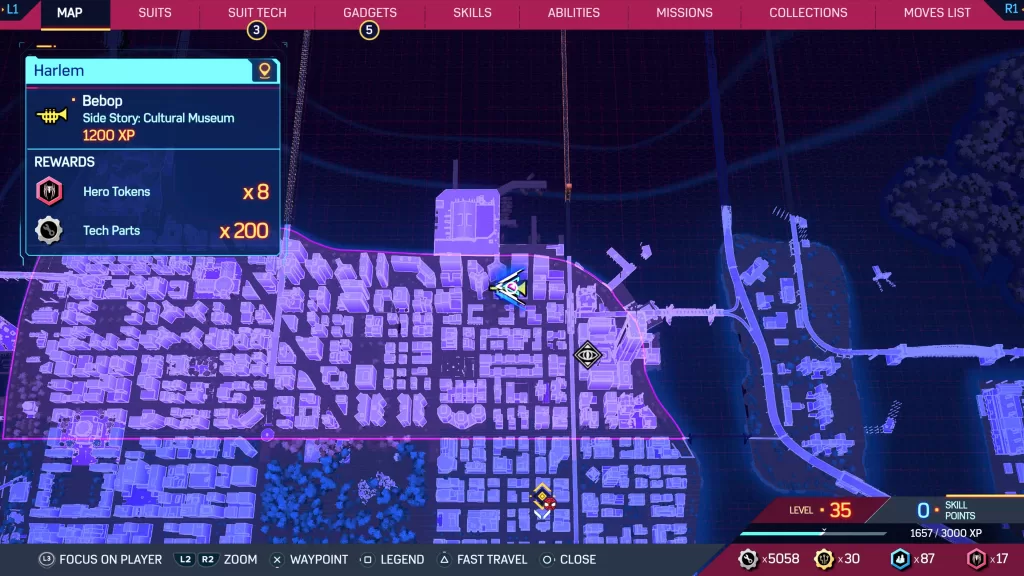
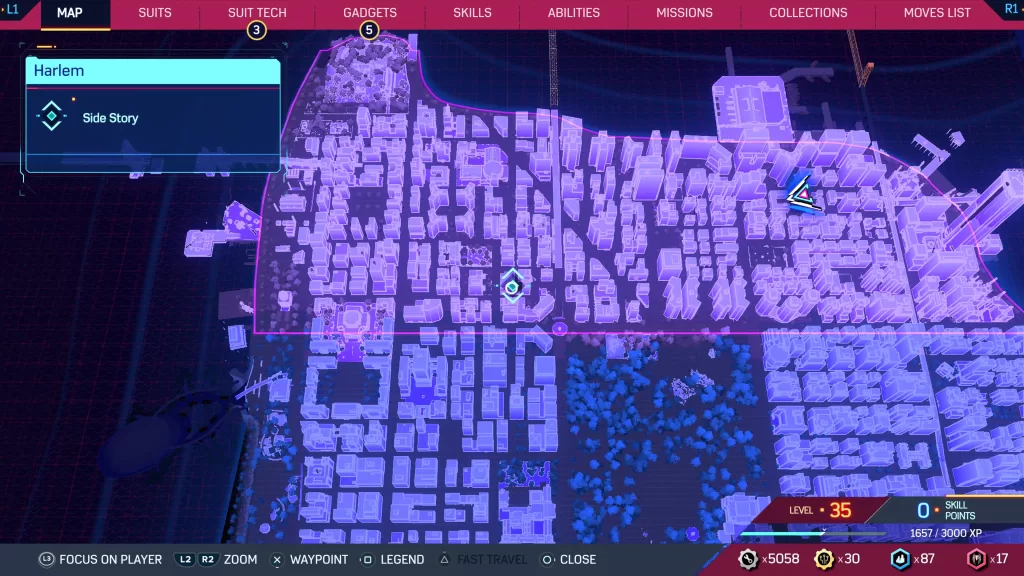
Bebop
Location: Harlem
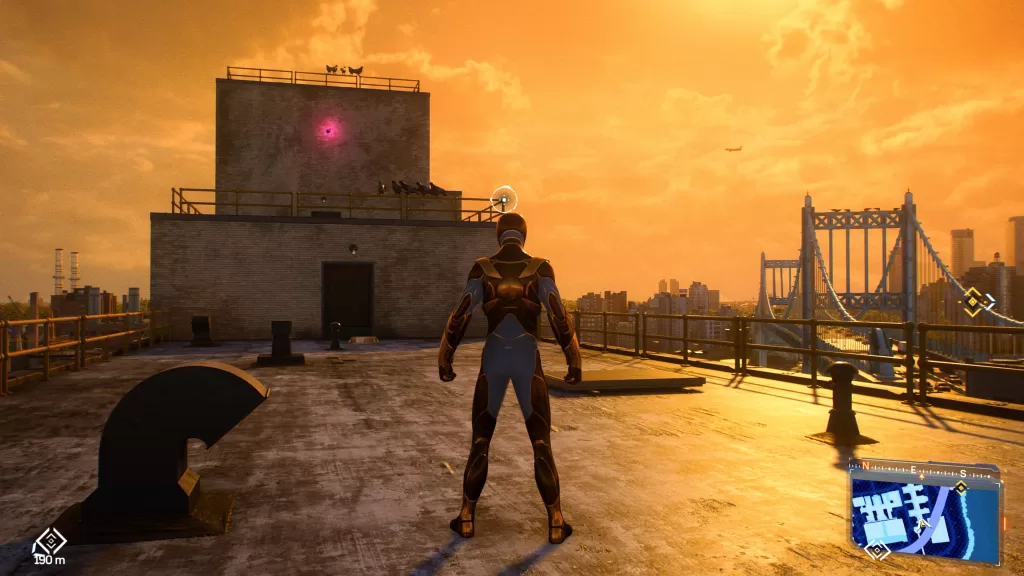
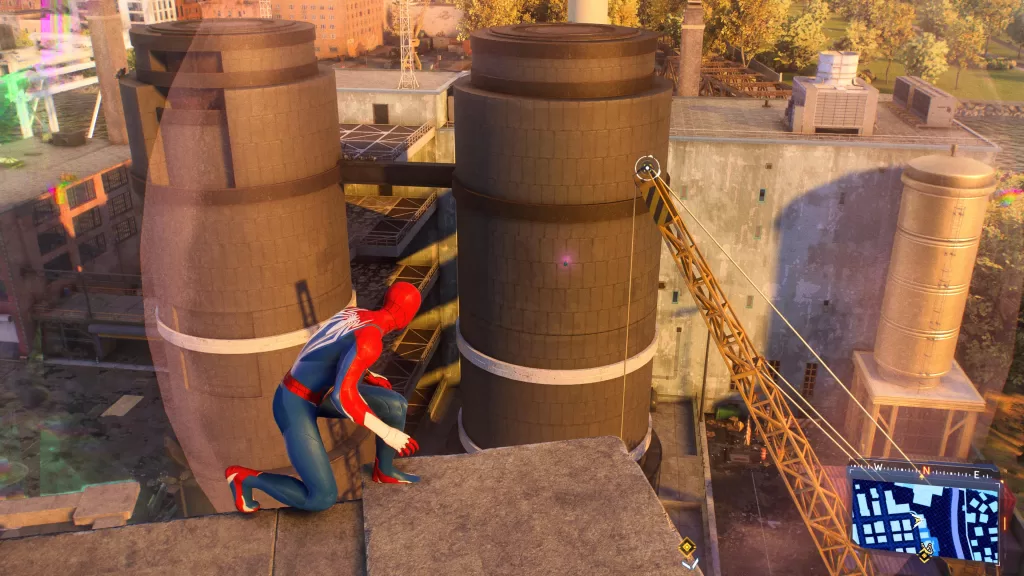
Once at the objective, head to the top of the building and enter via the door on the roof. Next, you’ll need to track down the lost musical instruments from the Harlem museum heist! Once you reach the next objective, a quick cutscene will trigger.
Afterwards, you’ll need to investigate the residue on the pavement. After you analyze it, you’ll then need to play the mini-game to destroy the corrupted atoms. Follow the trail to the goons. Once you take them out, open the back of the truck to find out that it’s empty. You’ll then need to answer the ringing phone to discover that a piece was lost.
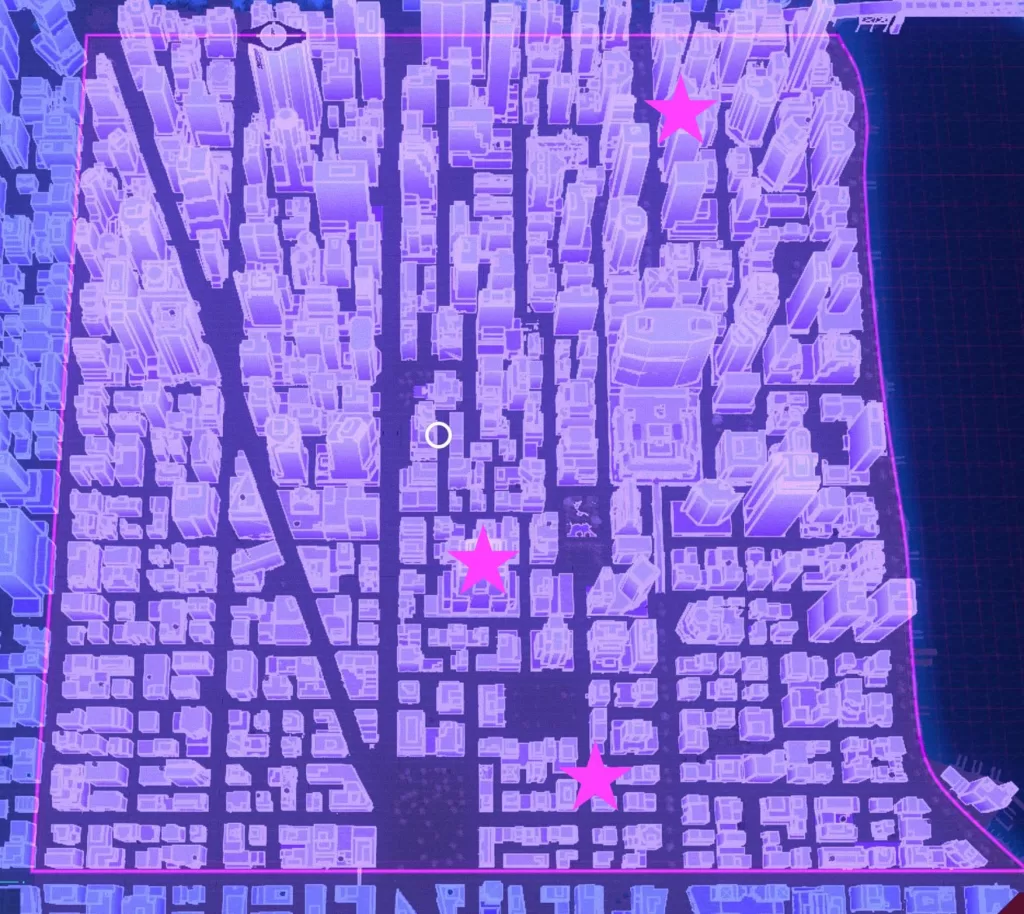
Next, swing your way over to CJ Walker Park on the eastern side of Harlem. Once at the objective, enter the room on the roof of the building to change clothes. At the festival, approach the trumpet player, Teo, who will give you your next clue.
Now that you know where the saxophone is, travel to the next objective to find Keynote Music. Scan the scuff marks on the sidewalk to the right of the store (when facing the store). You’ll find some goons so beat them up! With Eugene saved, the mission will complete.
Rewards: XP x1200, Hero Tokens x8, Tech Parts x200
Hard Bob
Location: Harlem
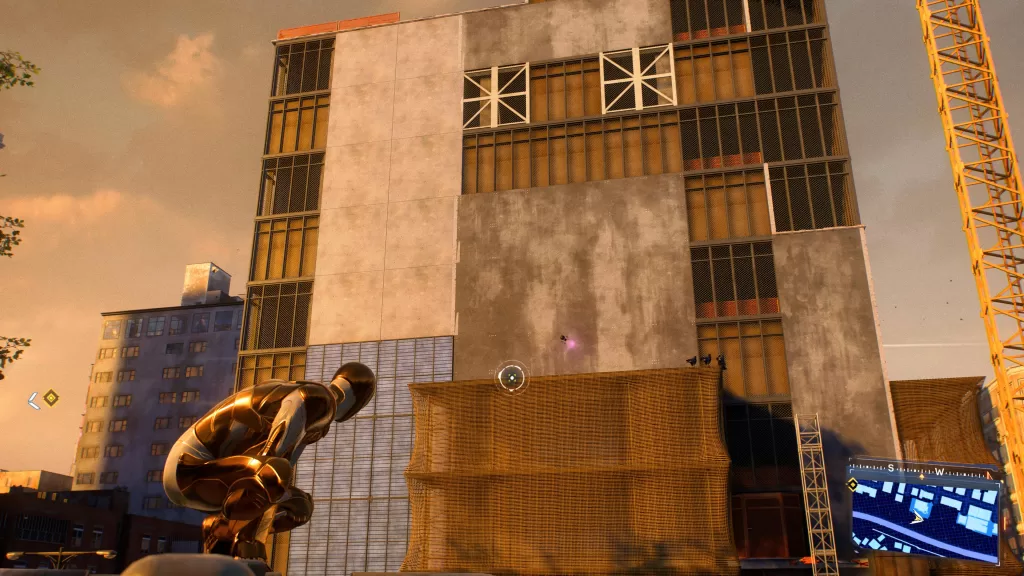
Once at the objective in the northwestern part of Harlem, interact with the door on the roof of Phoebus Theater. Crash the party then speak with Darren.
Unfortunately, more heavy packing guys show up before you can hear an explanation. Take them out, too. In the meantime, Darren slips away so you’ll need to pursue him. Once he’s caught, you’ll learn the ugly truth and Miles will school him.
At the event, speak with Rio near the stage to complete the mission. You’ll receive the My Community Trophy!
Rewards: XP x1200, City Sounds Suit, Hero Tokens x10, Tech Parts x200
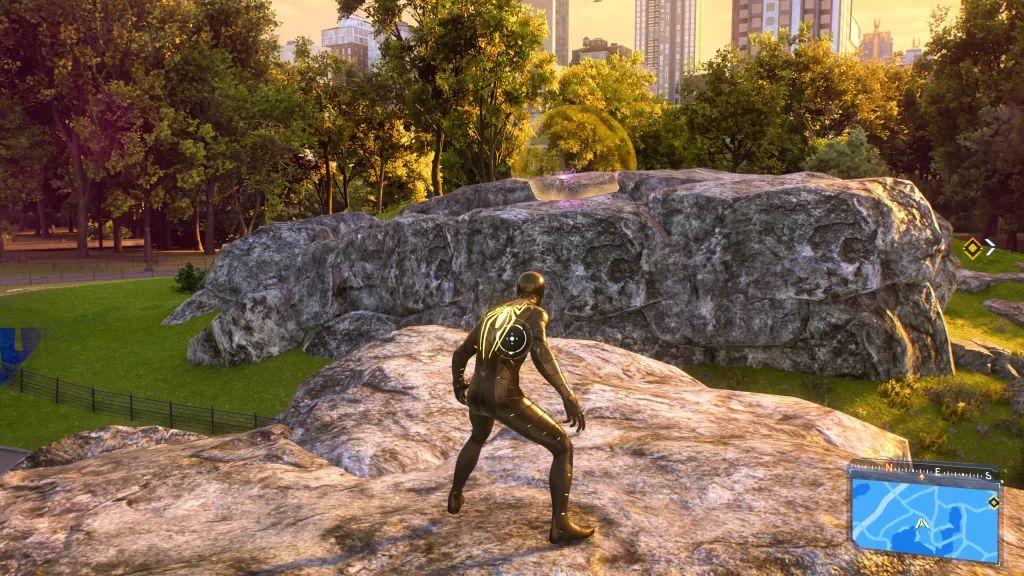
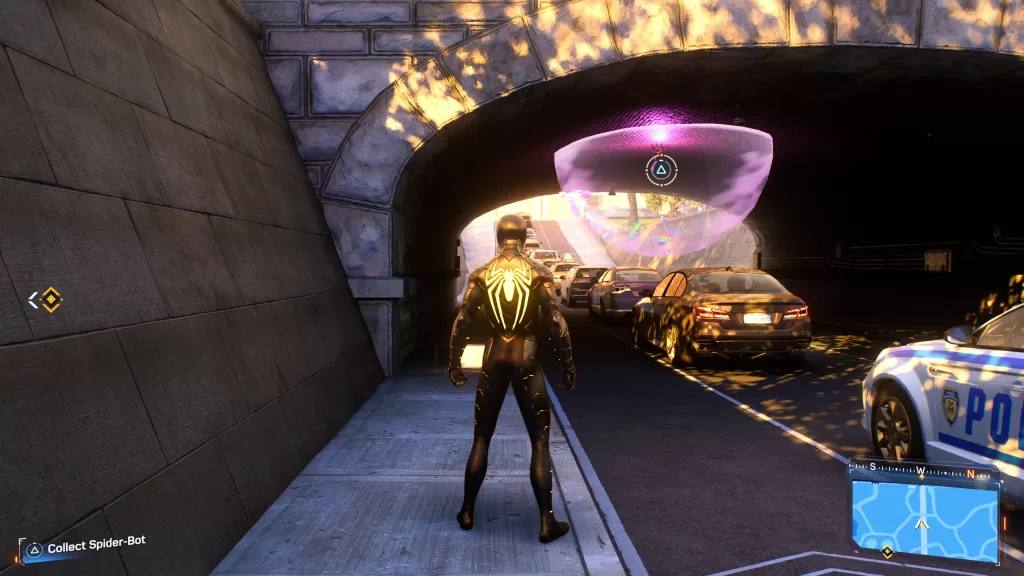
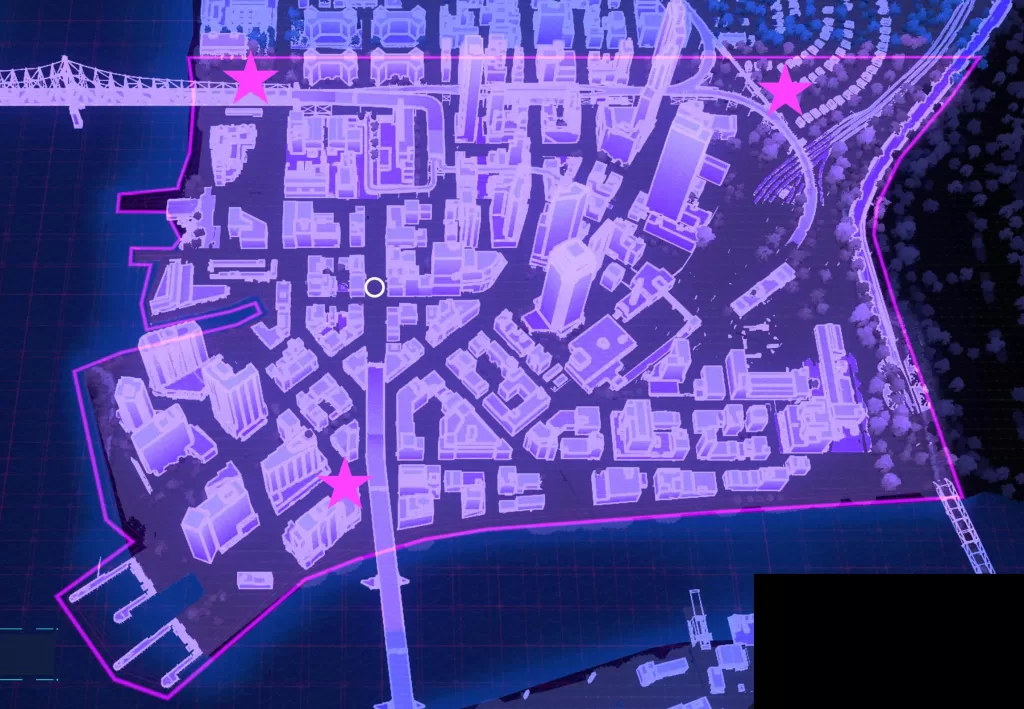
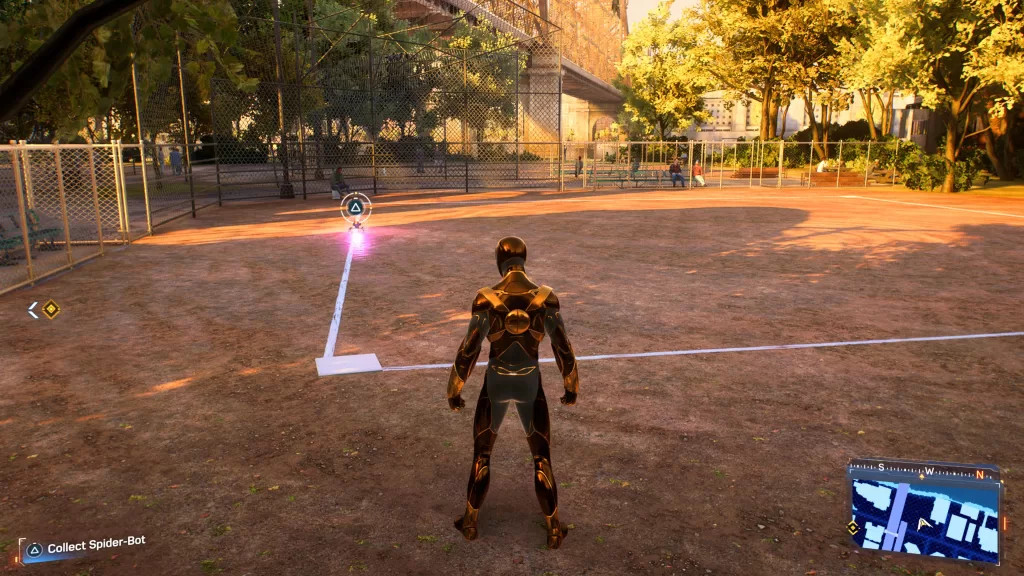
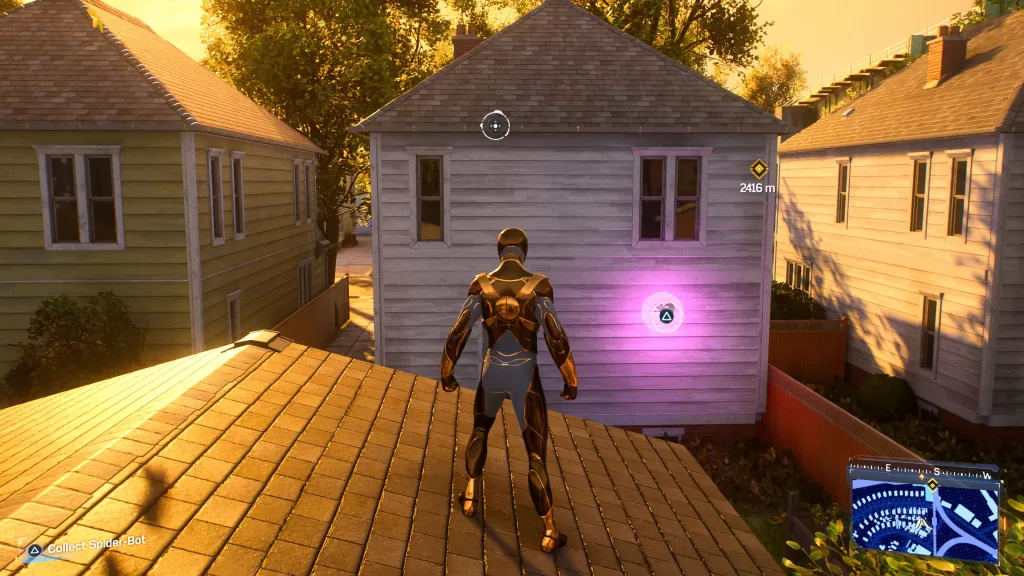
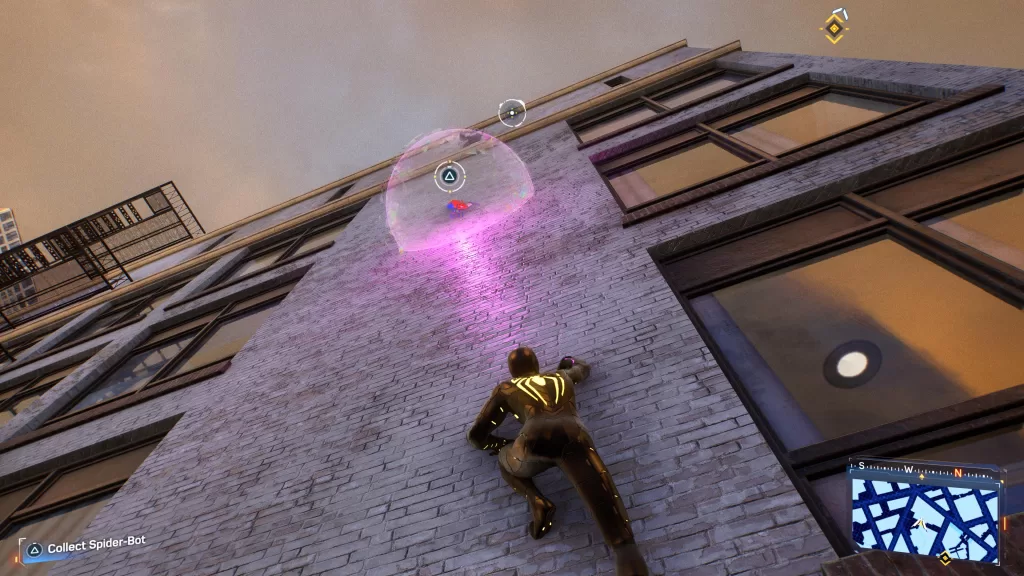
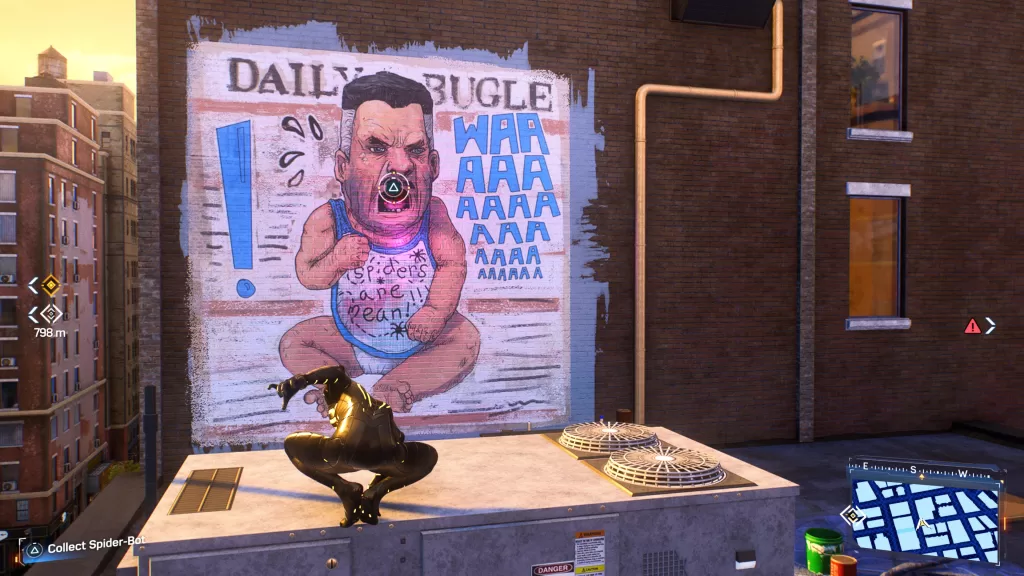
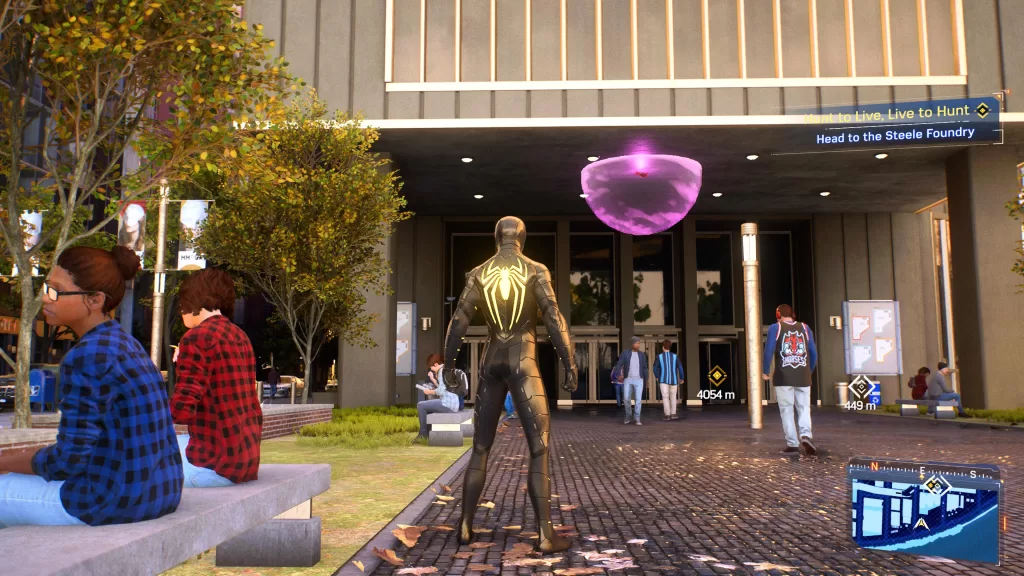
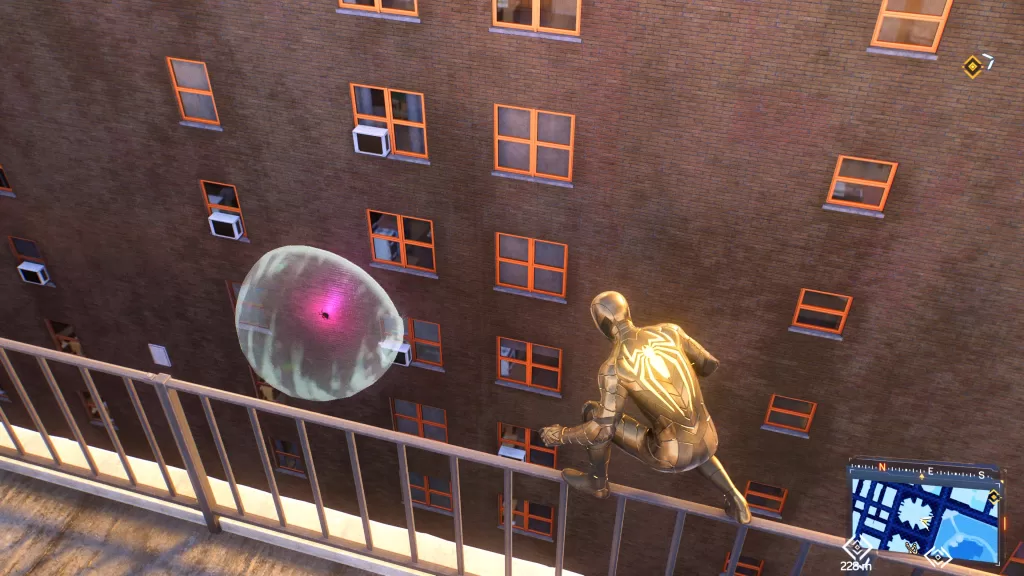
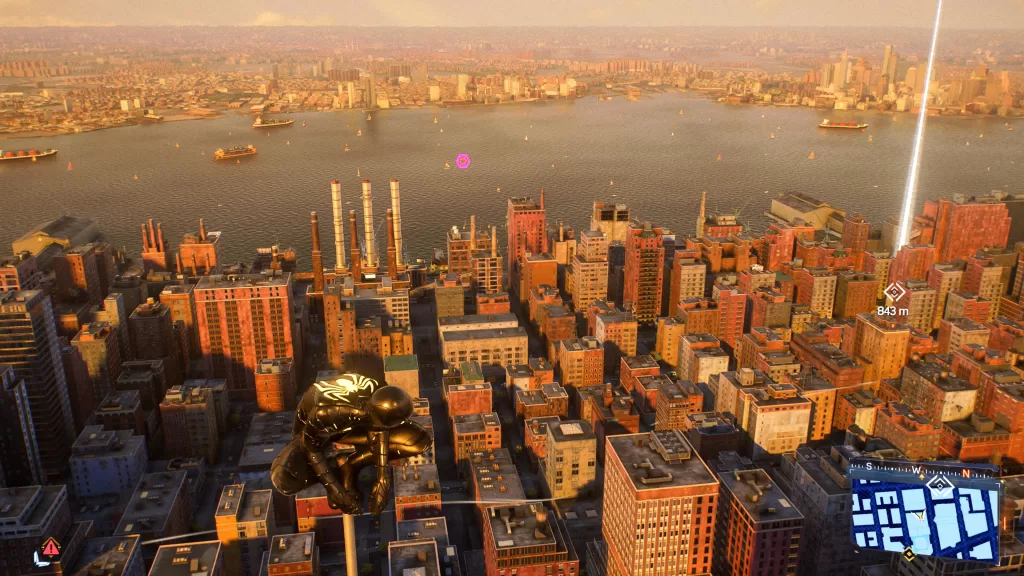
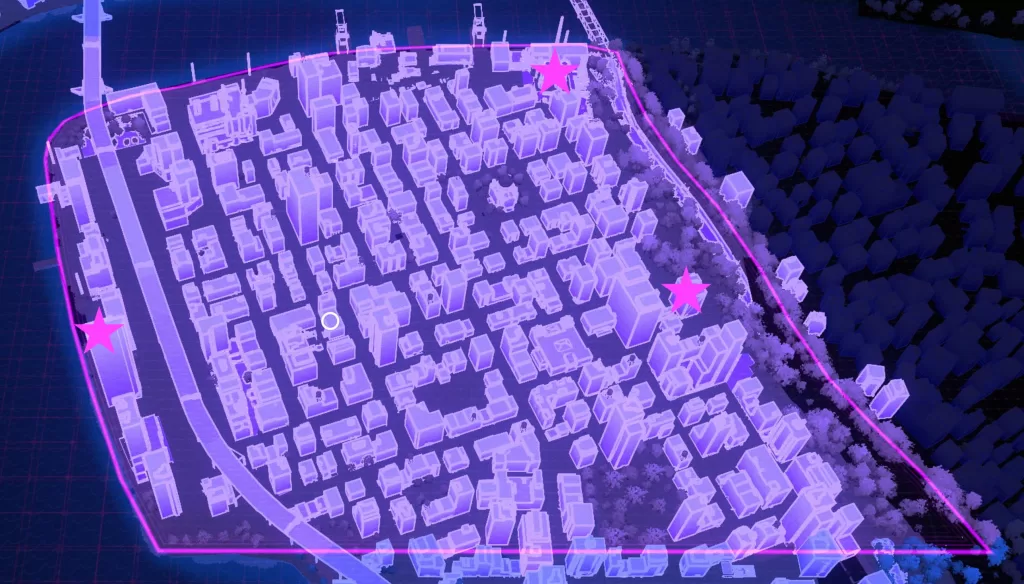
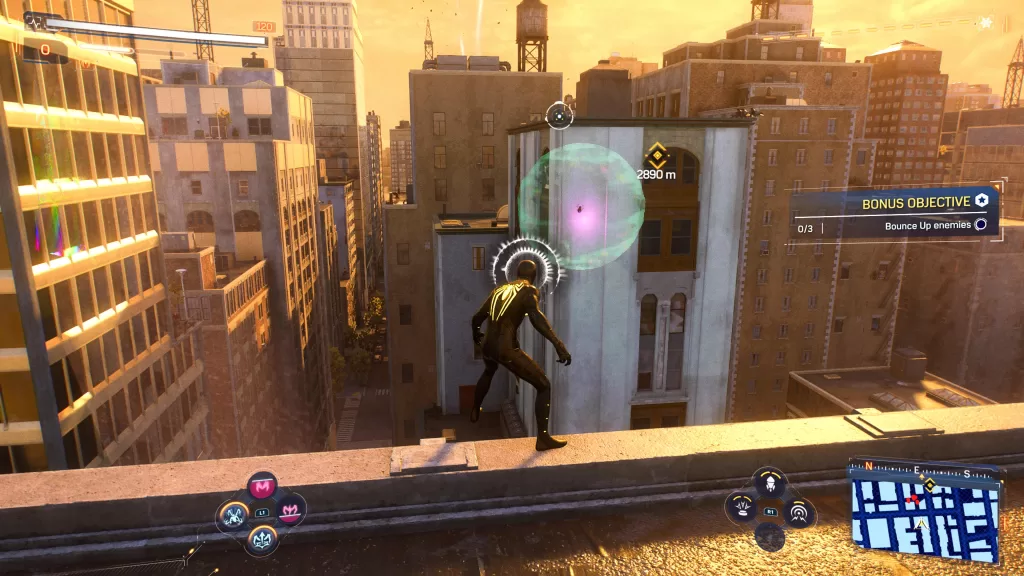
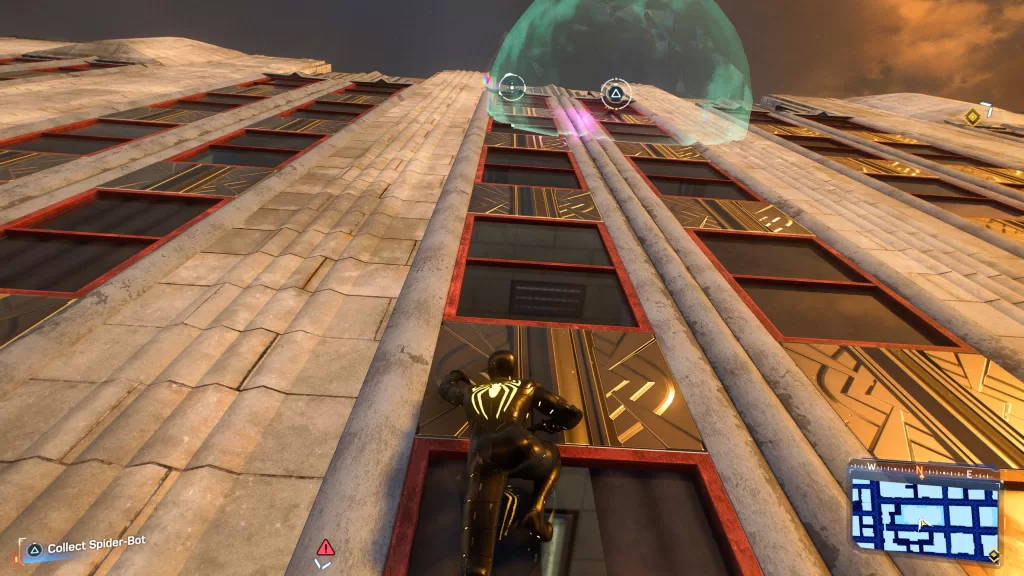
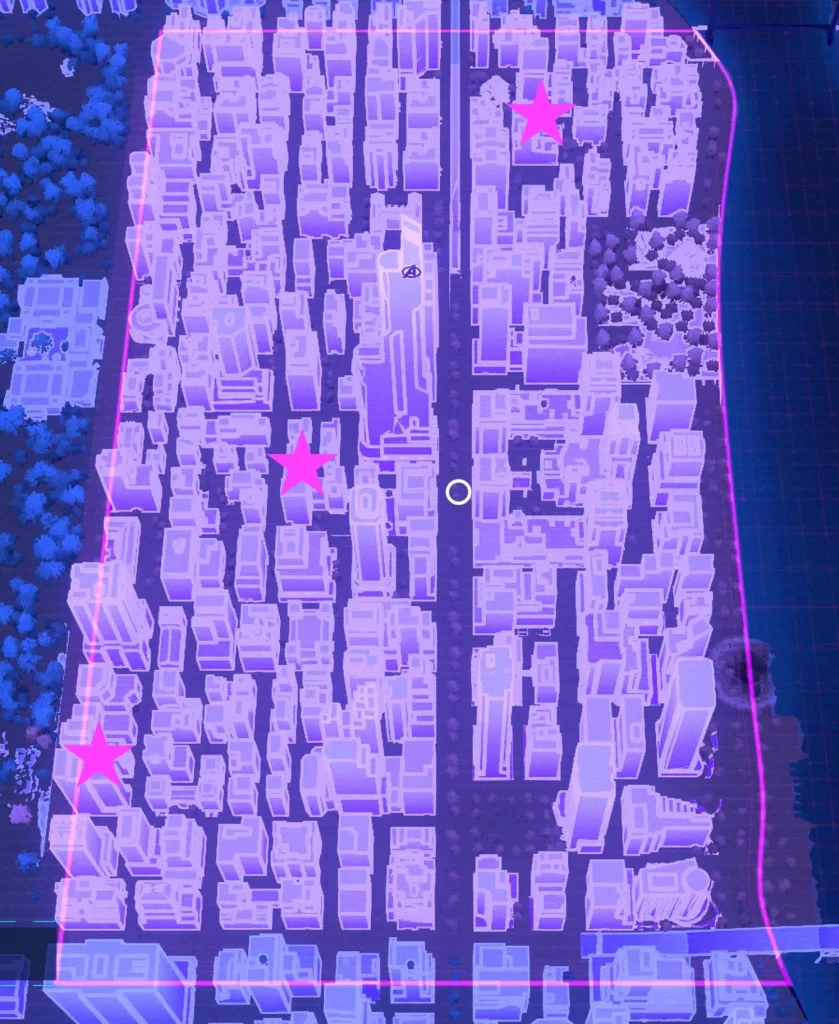
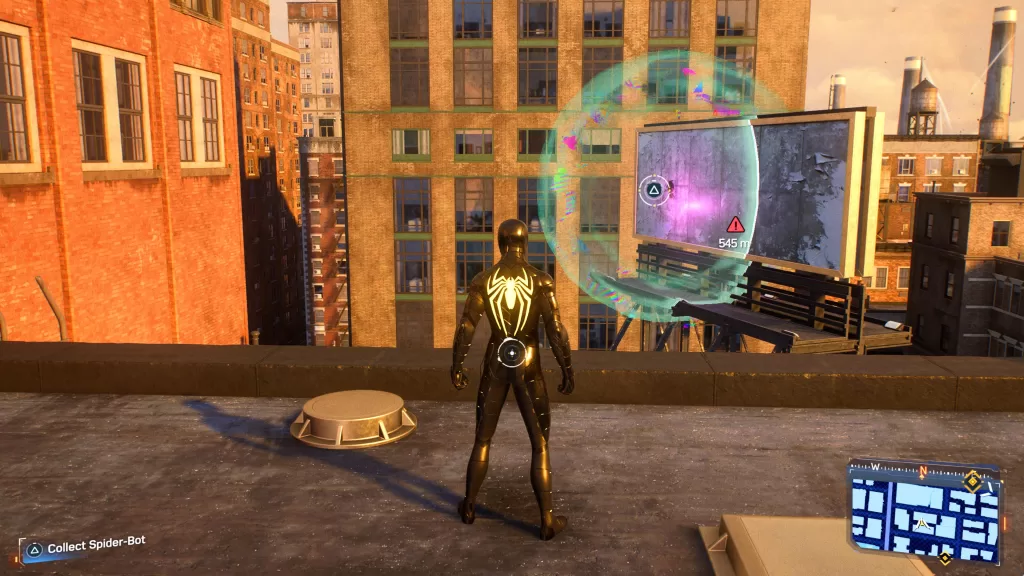
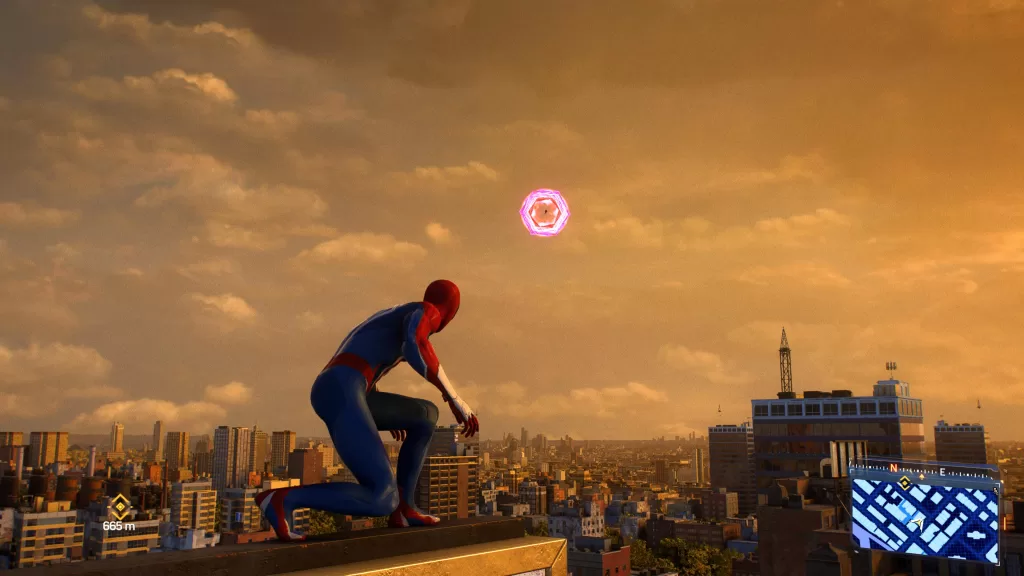
Welcome to our guide for the locations of all the Spider Bots in Marvel’s Spider-Man 2!!
Astoria
Central Park
Chinatown
Downtown Brooklyn
Downtown Queens
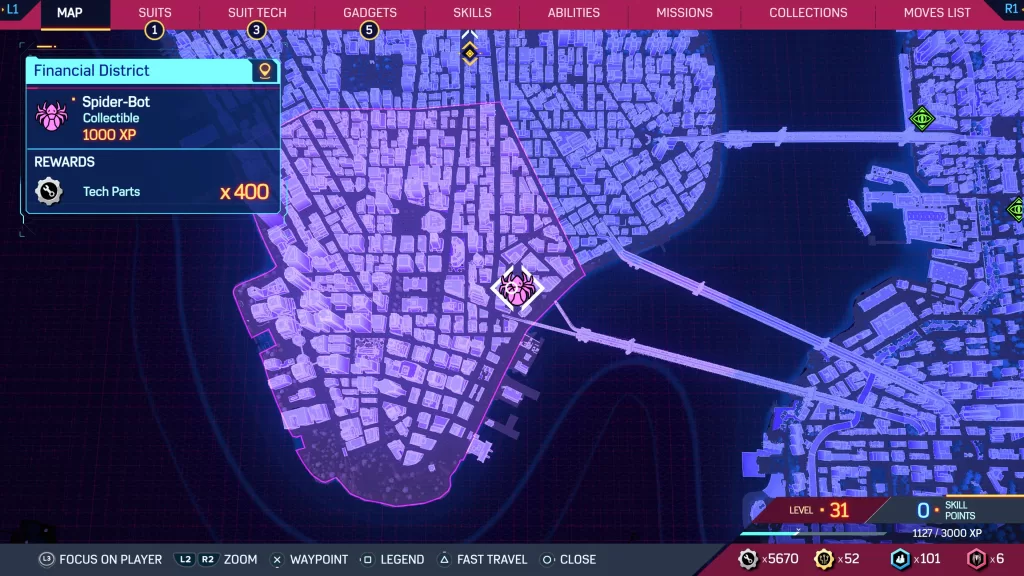
Financial District
Greenwich
Harlem
Hell’s Kitchen
Little Odessa
Midtown
Upper East Side
Upper West Side
Williamsburg
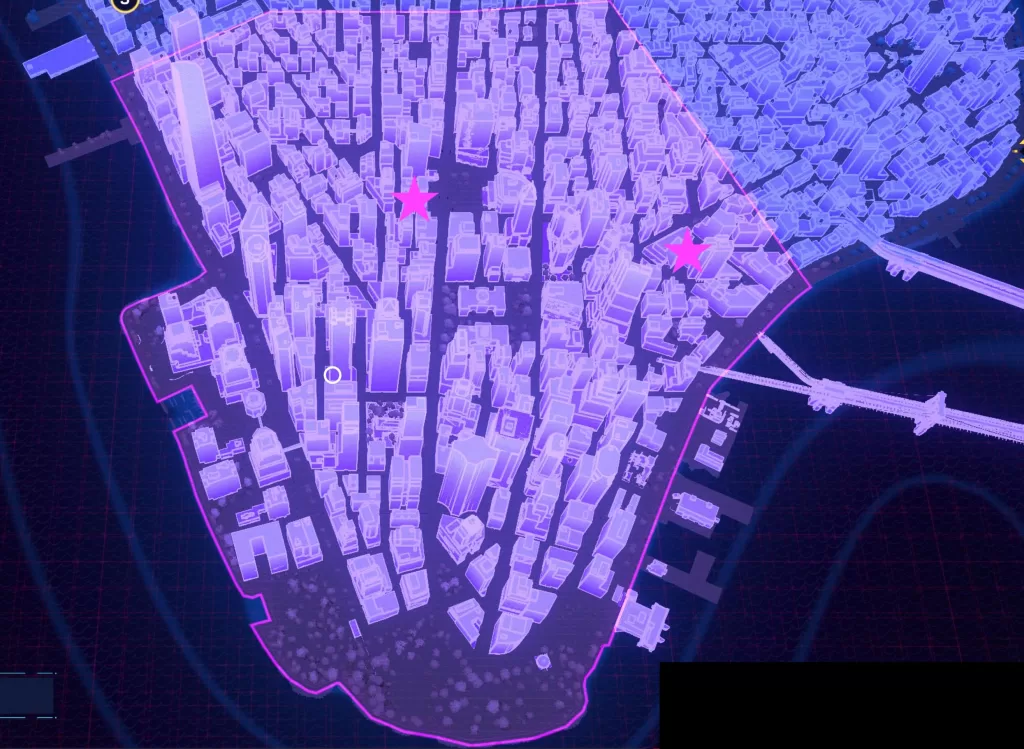
After Collecting All Spider Bots
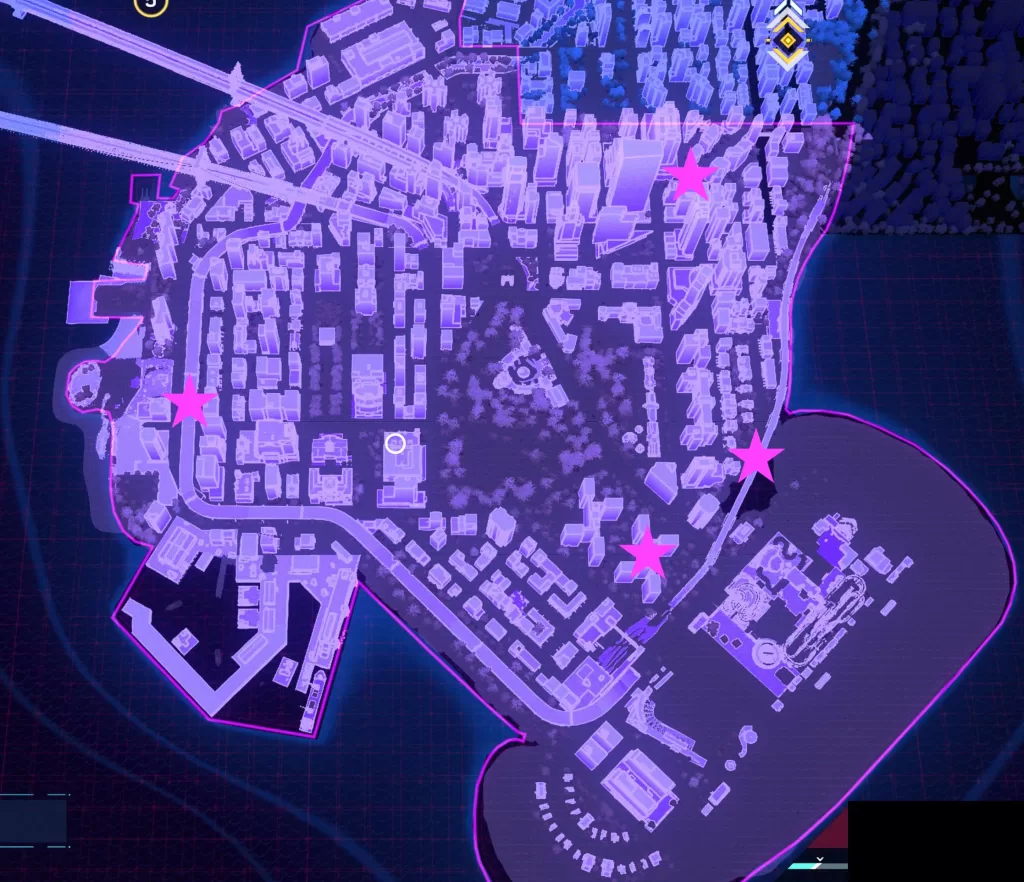
After you collect all the Spider Bots, Ganke will give you the coordinates of the signal. Approach the objective marker in the Financial District to trigger a cutscene.
After it completes, you’ll receive the Funky Wireless Protocols Trophy!
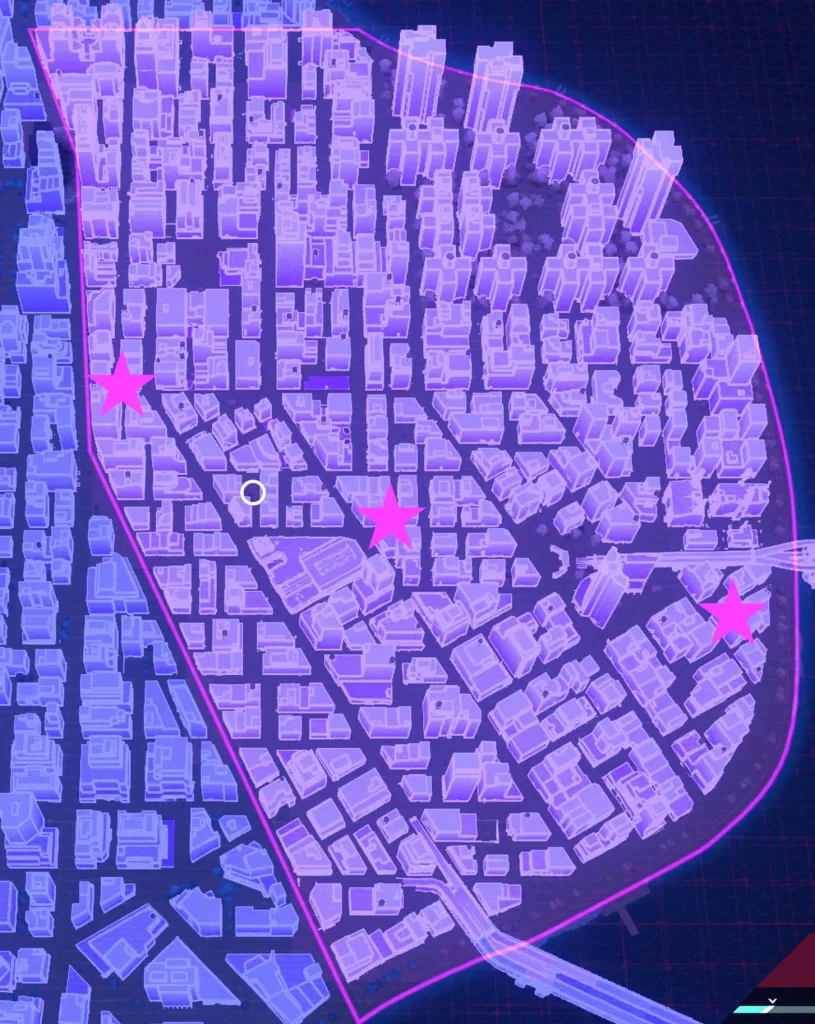
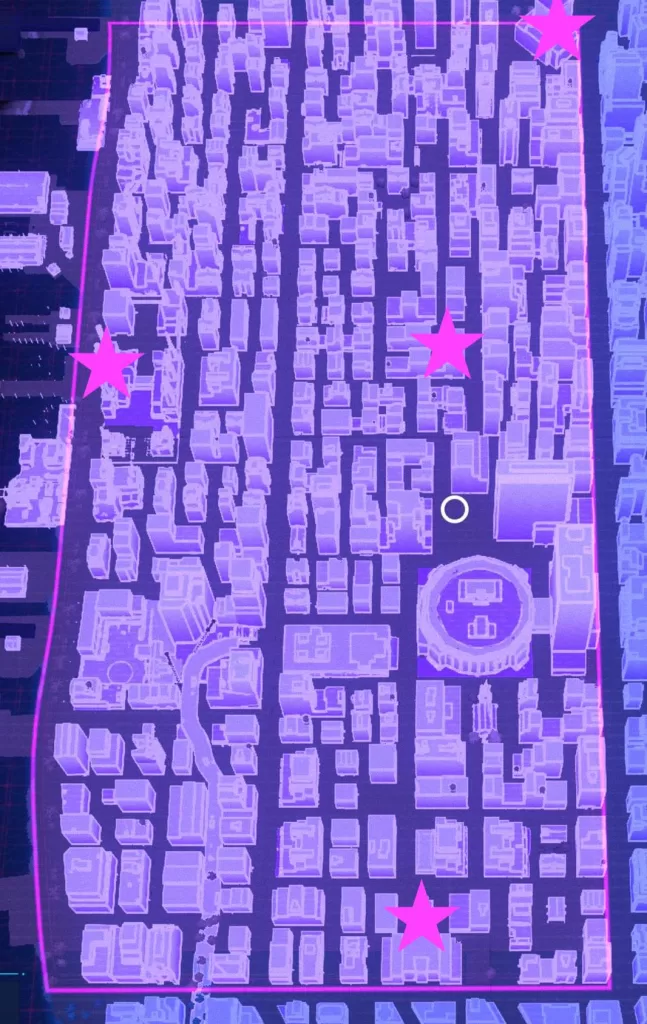
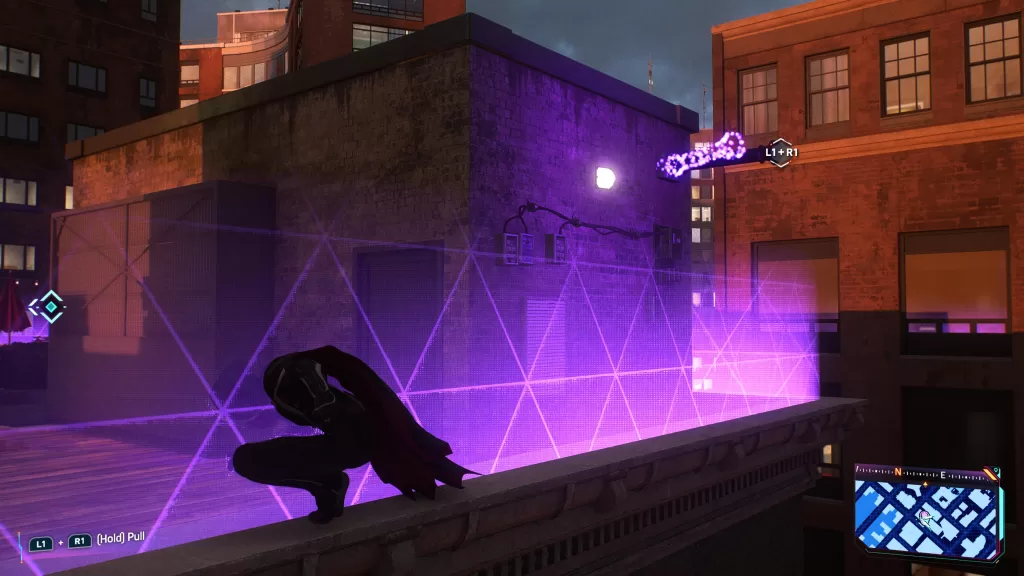
Welcome to our guide on all the Marvel’s Spider-Man 2 Hunter Blinds and Hunter Bases! For the Hunter Blinds, defeat all the enemies then interact with the mechanical bird on the table. Immediately after completing all the Hunter Blinds in an area, the Hunter Base for that area will unlock.
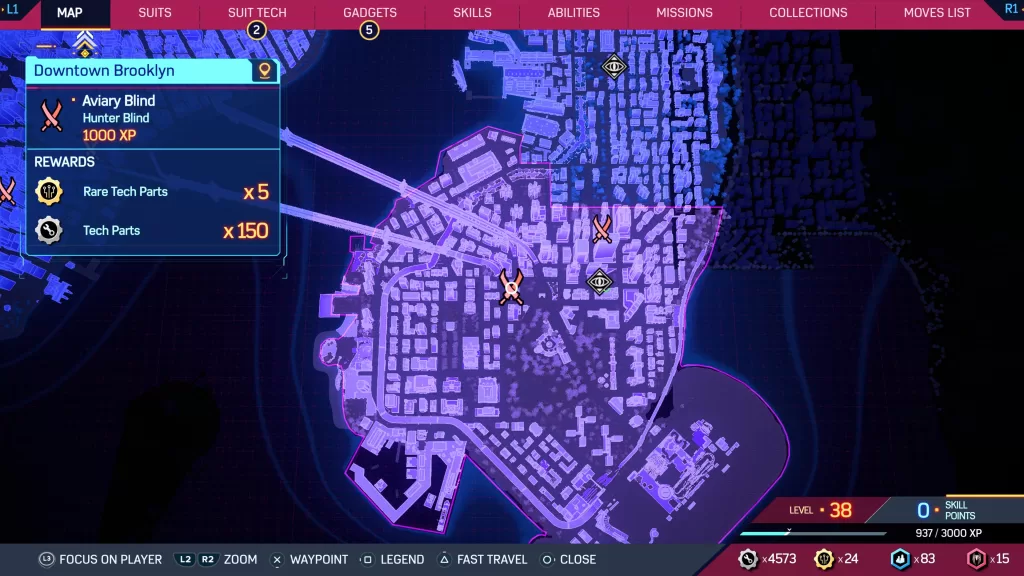
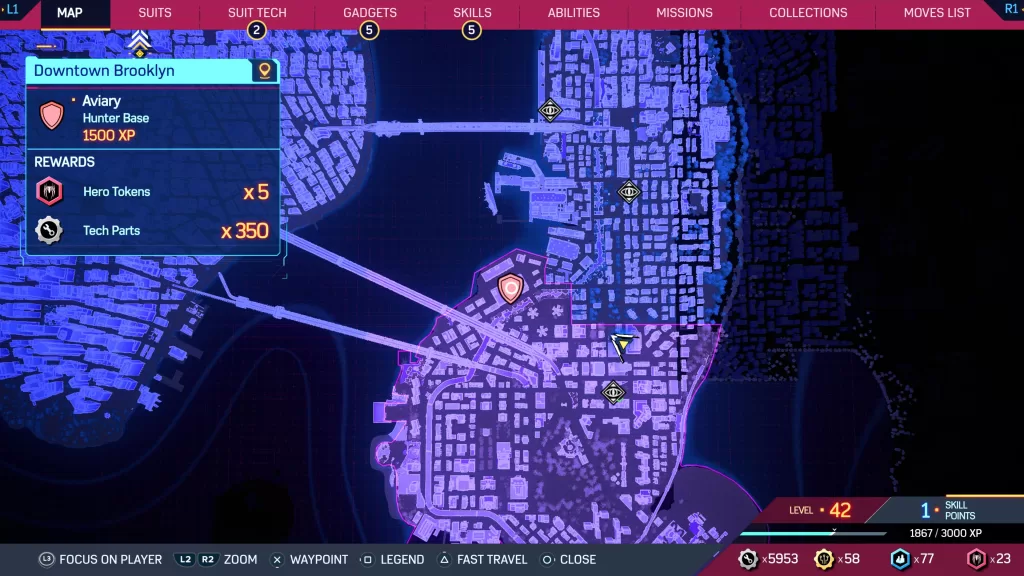
Downtown Brooklyn
Aviary Blinds
Available: After unlocking Stay Positive main story mission
Rewards for Each Blind: Rare Tech Parts x5, Tech Parts x150
Aviary Hunter Base
Rewards: 1500 XP, Hero Tokens x5, Tech Parts x350
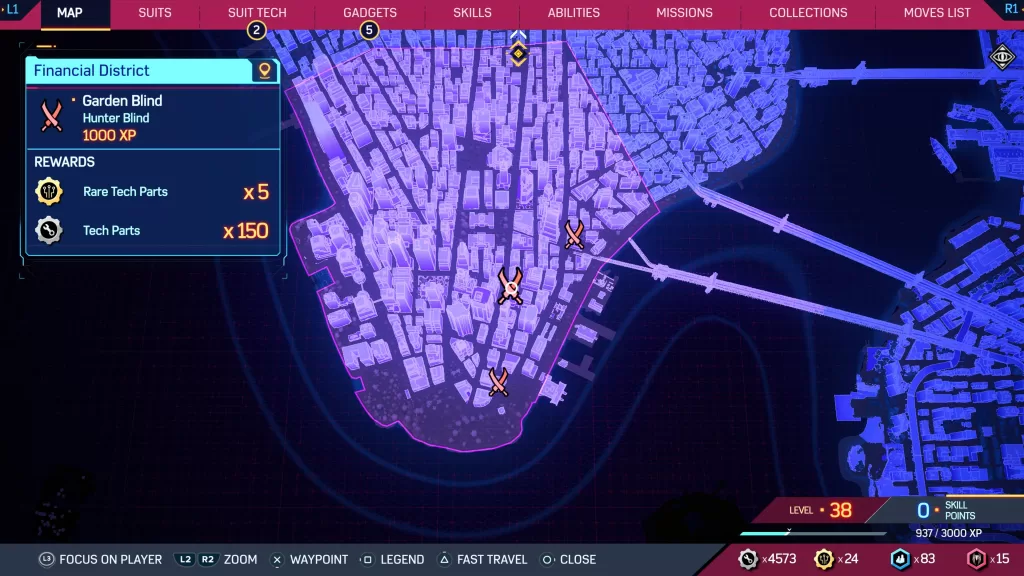
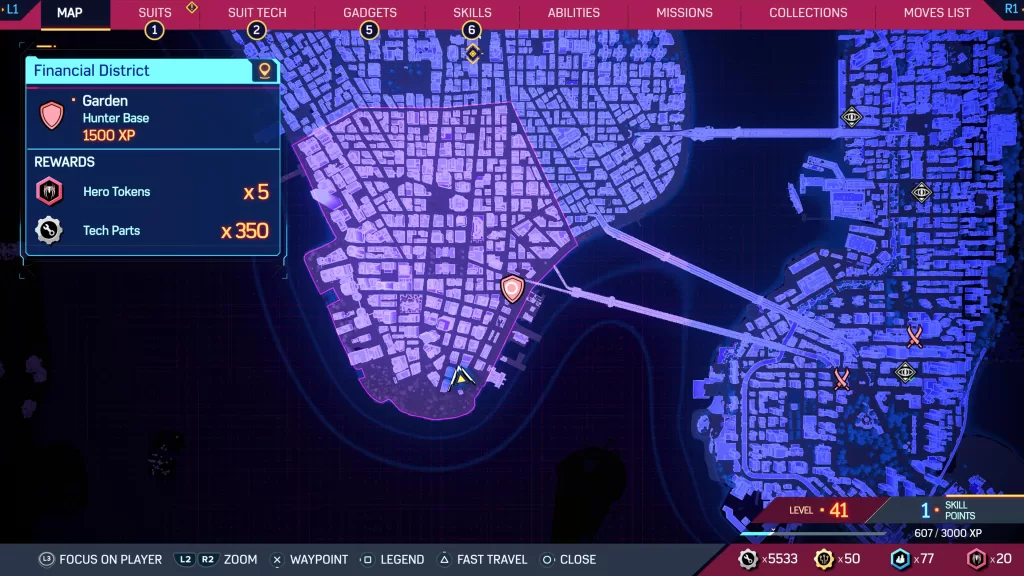
Financial District
Garden Blinds
Available: After unlocking Stay Positive main story mission
Rewards for Each Blind: Rare Tech Parts x5, Tech Parts x150
Garden Hunter Base
Rewards: Hero Tokens x5, Tech Parts x350
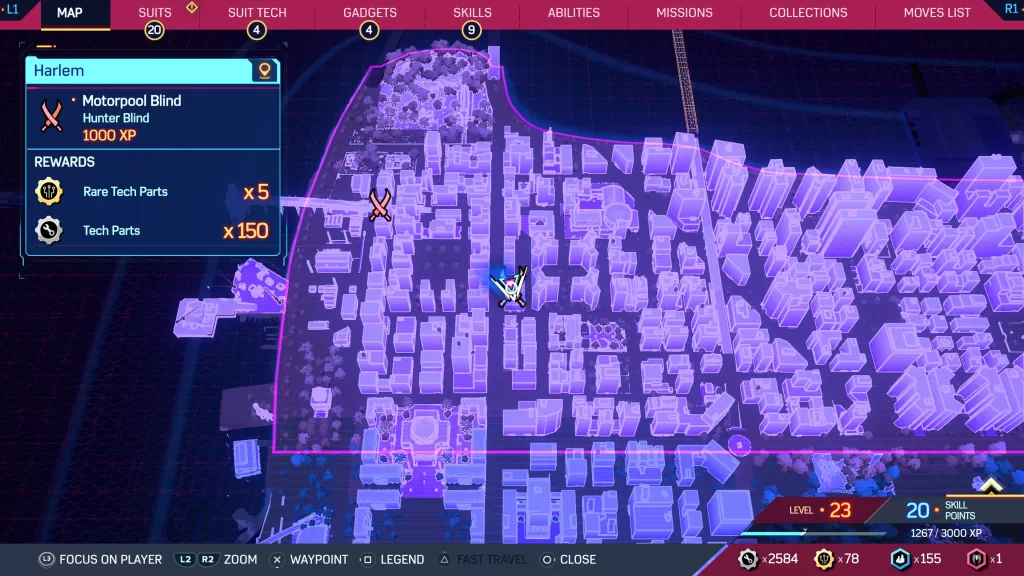
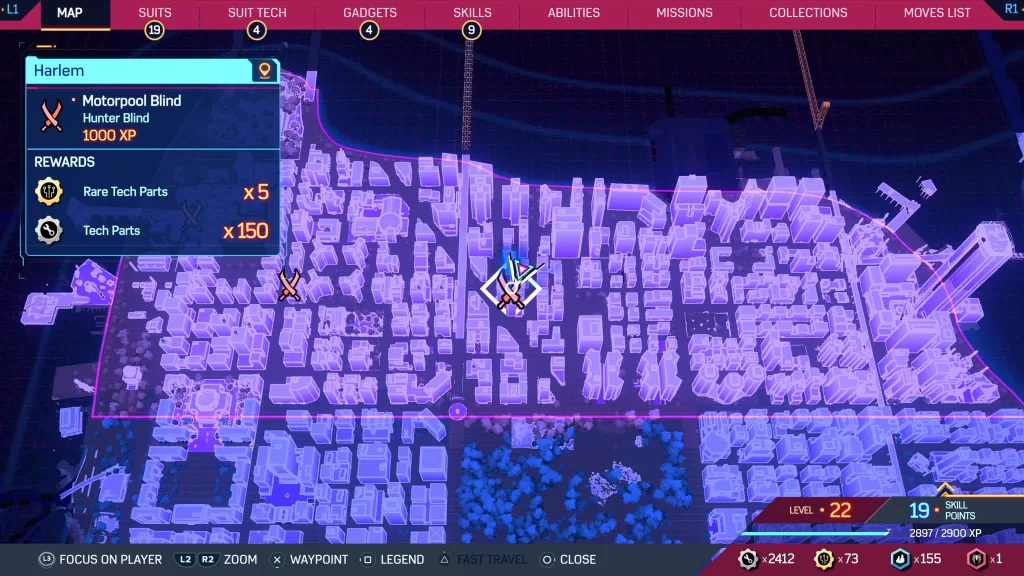
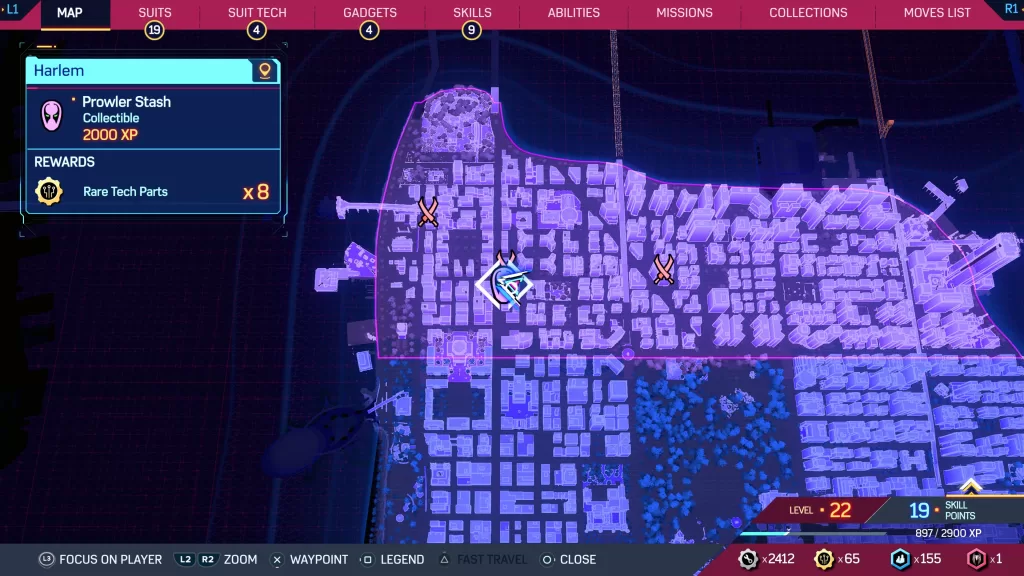
Harlem
Motorpool Blind
Rewards: 1000 XP, Rare Tech Parts x5, Tech Parts x150
Motorpool Blind
Rewards: 1000 XP, Rare Tech Parts x5, Tech Parts x150
Motorpool Blind
Rewards: 1000 XP, Rare Tech Parts x5, Tech Parts x150
Motorpool Hunter Base
Rewards: 1500 XP, Hero Tokens x5, Tech Parts x350
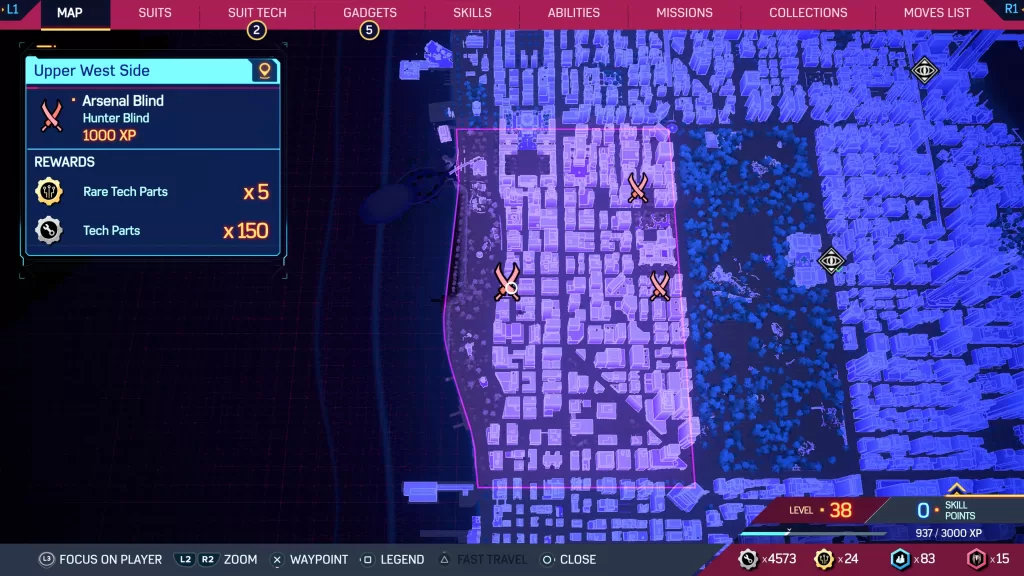
Upper West Side
Arsenal Blinds
Available: After unlocking Stay Positive main story mission
Rewards for Each Blind: Rare Tech Parts x5, Tech Parts x150
Welcome to our guide on all the Marvel’s Spider-Man 2 Side Story missions! These missions become available after completing all of the Prowler Stashes missions.
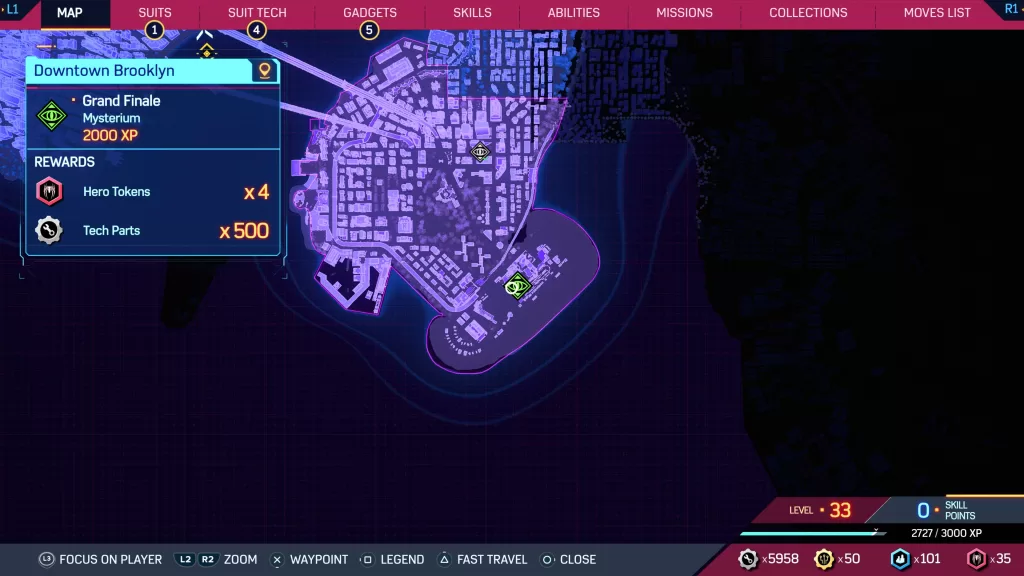
Grand Finale
Available: During the Funky main story mission after completing all of the Mysteriums
Location: Downtown Brooklyn
Travel to Coney Island and enter the Mysterium at the fair. Follow along the hallway and enter the door at the end to trigger a cutscene. When you regain control of Spider-Man, you’ll be in a snowglobe and will need to fight a horde of enemies. Towards the end, Mysterio will appear and you’ll need to fight him.
After you’ve done enough damage, he’ll open a tear and flee through it. Chase after him! When you catch him, you’ll enter a boss fight. When you reduce his health to 0, you’ll be able to then escape the Mysterium.
If you follow the hallway to the exit, you’ll notice that it keeps going. Turn around and head down the stairs then through the door to learn that you’re still in the illusion. You’ll then have to fight Mysterio again! This time he’ll be accompanied by several goons. When you beat him this time, you’ll be able to leave the Mysterium and the Grand Finale mission will complete.
Rewards: XP 2000, Smoke and Mirrors Suit, Hero Tokens x4, Tech Parts x500
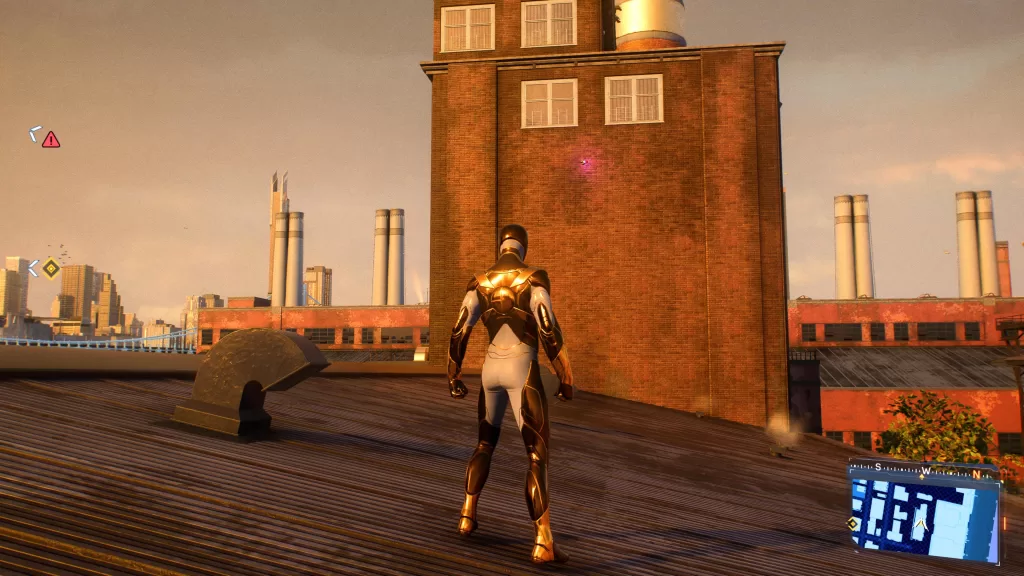
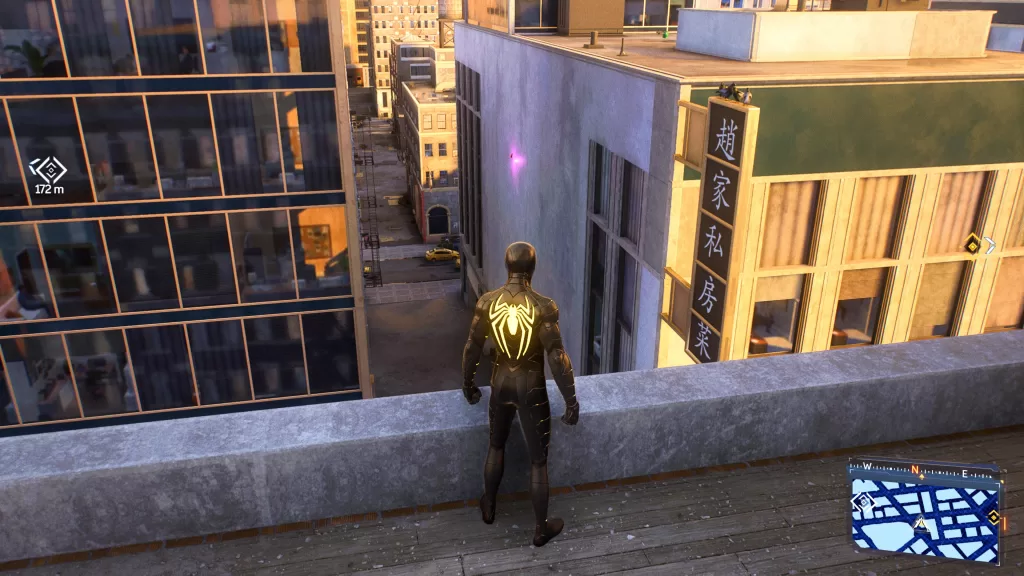
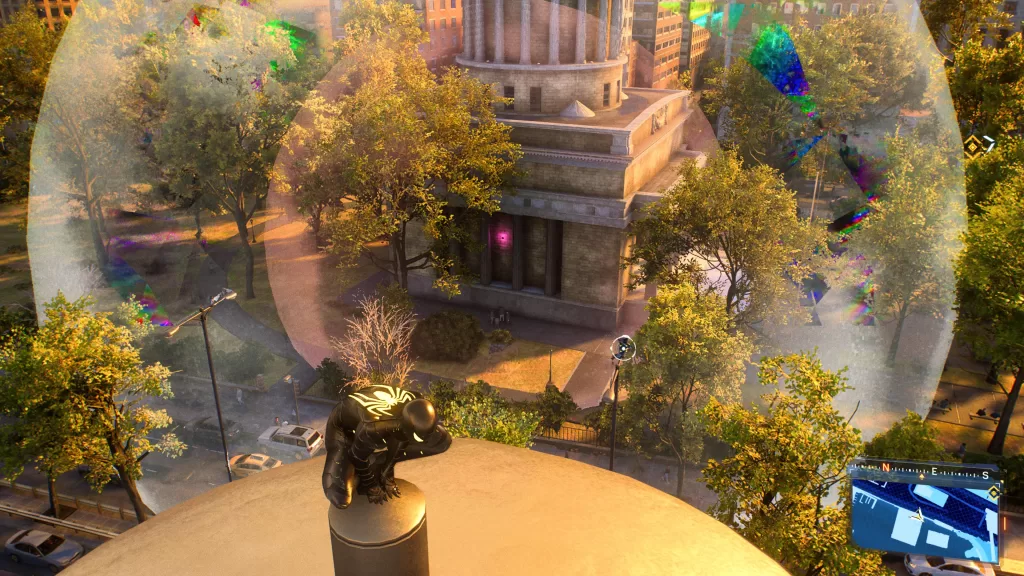
Room for the Future
Location: Harlem
Once at the objective, scan the pipe on the side of the uppermost part of the building then pull it down to open the door.
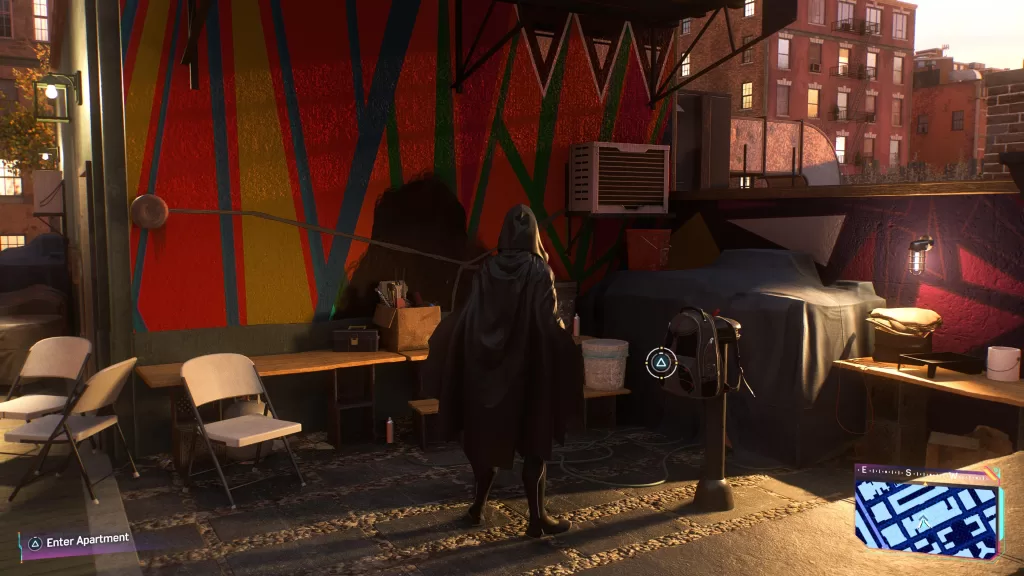
Once you got the blueprint, head to Miles’ apartment and interact with the backpack on the roof to change clothes.
Once inside Miles’ apartment, examine the photo in the kitchen and the end table next to the TV. Exit via the door and climb the stairs to the top to witness a touching scene. Afterwards, the Room for the Future mission will complete and you’ll receive new tech plus the Co-Signing Trophy!
Welcome to our guide on all the Marvel’s Spider-Man 2 EMF Experiments missions! You’ll unlock these missions when starting the Bad Guys on the Block main story mission. In this guide, you’ll be able to find information on where to complete the EMF Experiments, along with their rewards. Please note that only Peter can complete these missions!
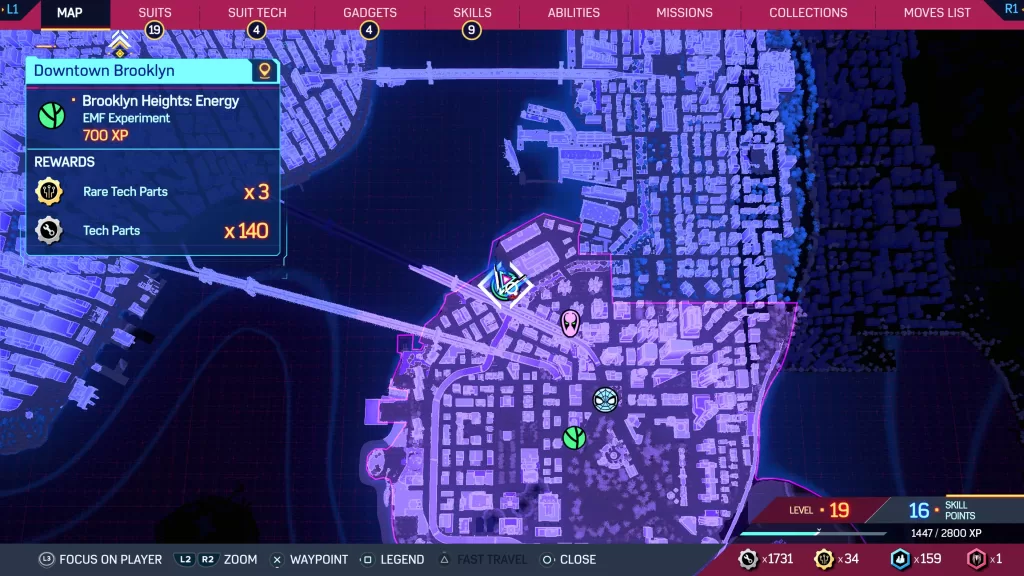
Brooklyn Heights: Energy
Location: Downtown Brooklyn
Rewards: XP x700, Rare Tech Parts x3, Tech Parts x140
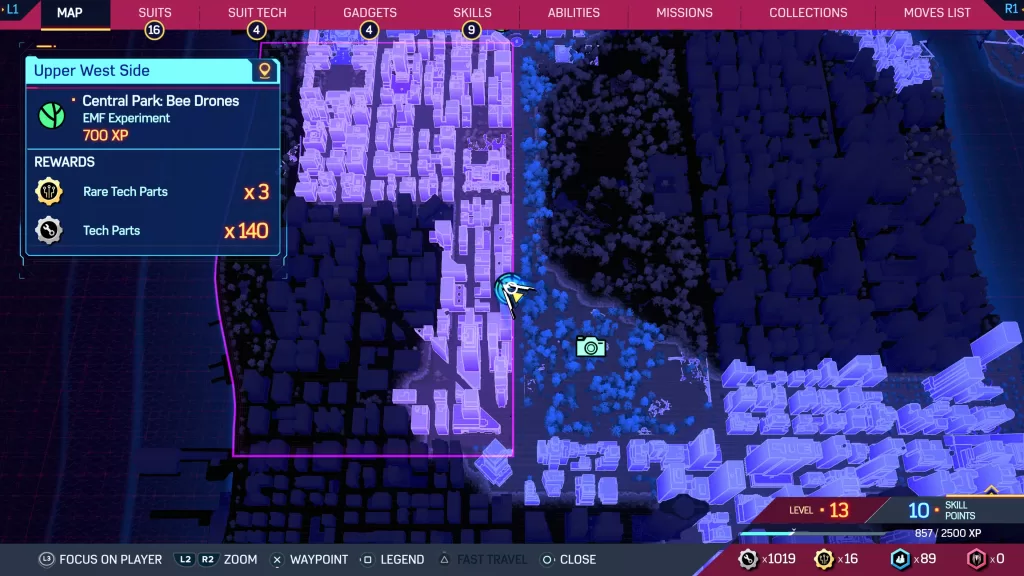
Central Park: Bee Drones
Location: Upper West Side
Rewards: XP x700, Rare Tech Parts x3, Tech Parts x140
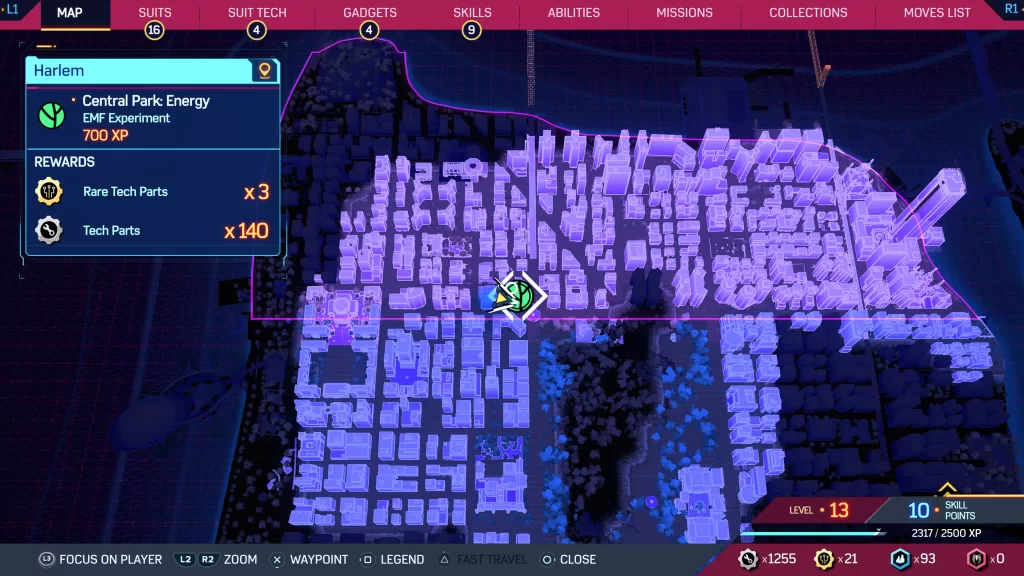
Central Park: Energy
Location: Harlem
Rewards: XP x700, Rare Tech Parts x3, Tech Parts x140
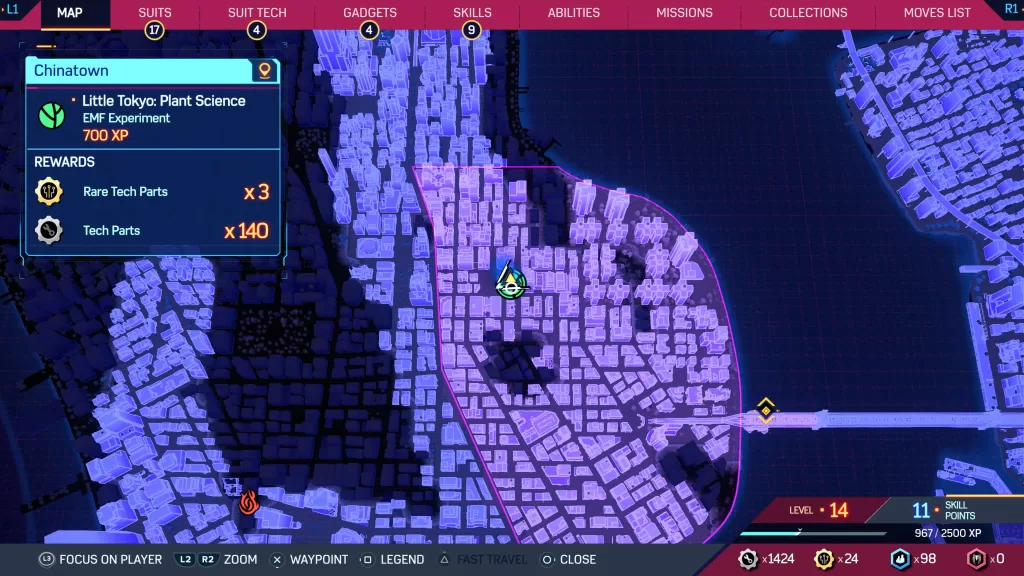
Little Tokyo: Plant Science
Location: Chinatown
Rewards: XP x700, Rare Tech Parts x3, Tech Parts x140
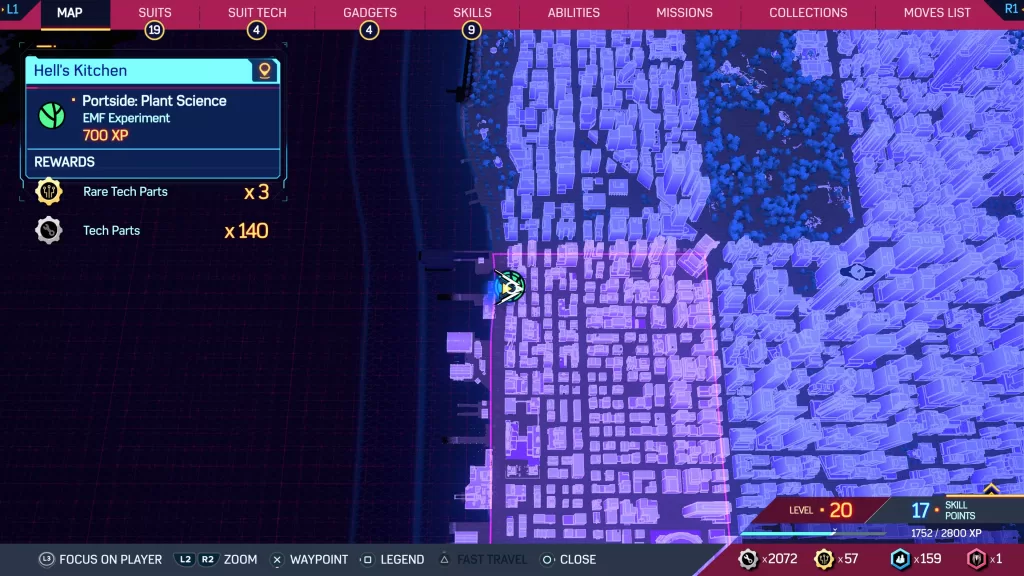
Portside: Plant Science
Location: Hell’s Kitchen
Rewards: XP x700, Rare Tech Parts x3, Tech Parts x140
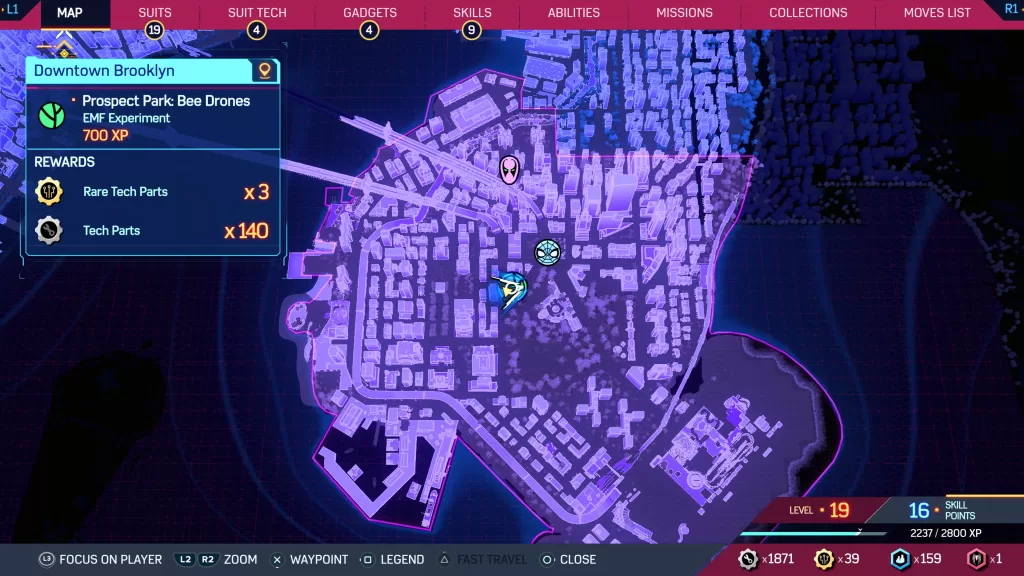
Prospect Park: Bee Drones
Location: Downtown Brooklyn
Rewards: XP x700, Rare Tech Parts x3, Tech Parts x140
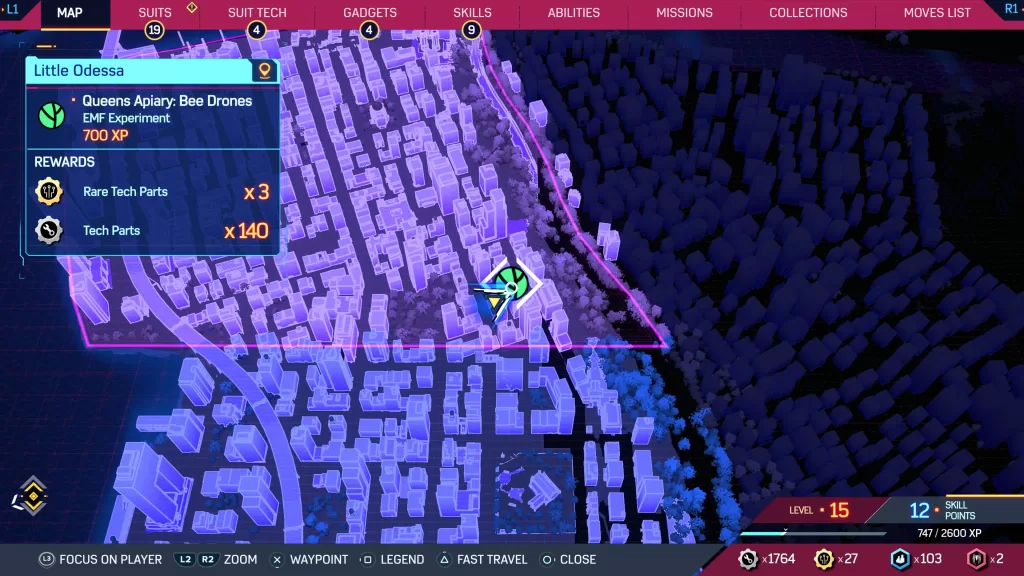
Queens Apiary: Bee Drones
Location: Little Odessa
Rewards: XP x700, Rare Tech Parts x3, Tech Parts x140
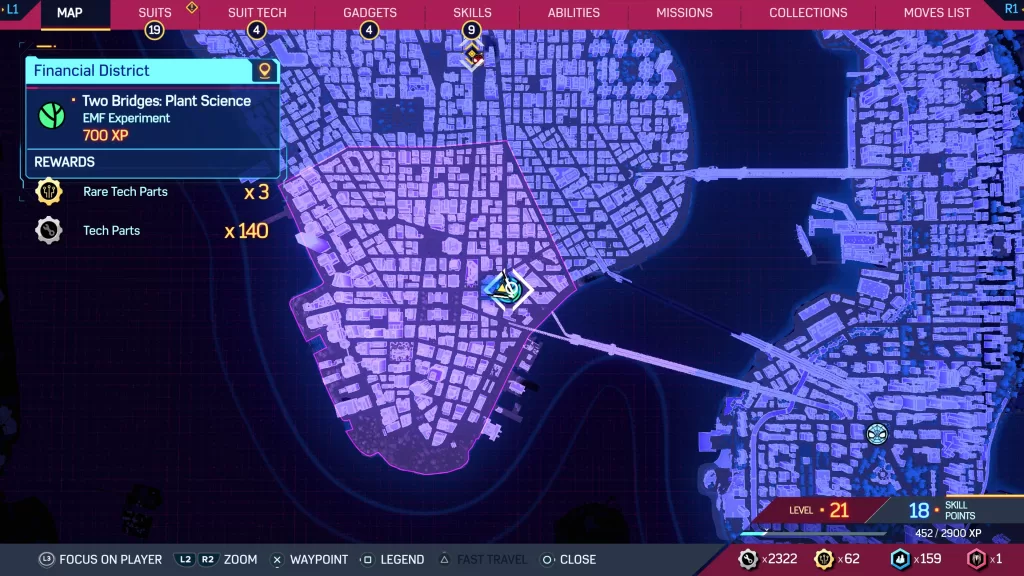
Two Bridges: Plant Science
Location: Financial District
Rewards: XP x700, Rare Tech Parts x3, Tech Parts x140
Emily-May Foundation
Available: After beating the game
Location: Astoria
Travel to Peter’s garage and interact with the box on the counter then the high-tech table thing to insert the flash drive. Splice the two objects together by solving the puzzle. Afterwards, the mission will complete!
Rewards: XP x1000, Life Story Suit, Tech Parts x200
Welcome to our guide on all the Marvel’s Spider-Man 2 The Flame missions! In this guide, you’ll be able to find information on how to complete The Flame missions, along with their rewards.
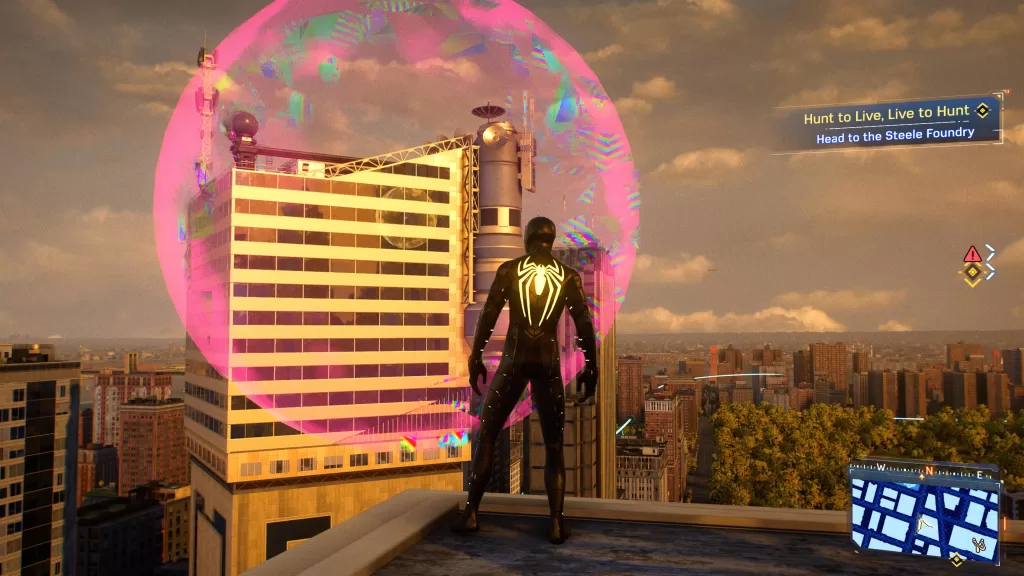
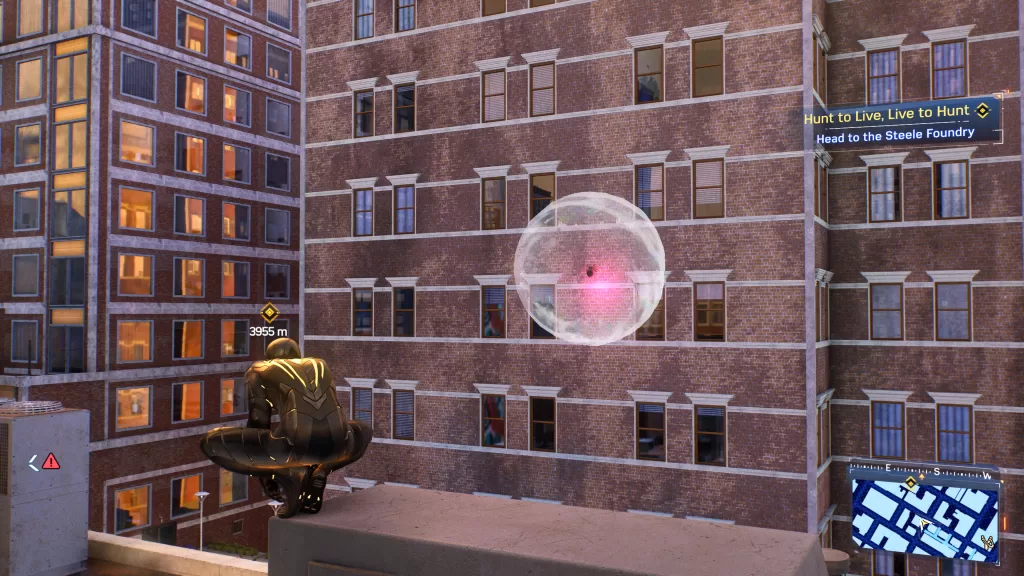
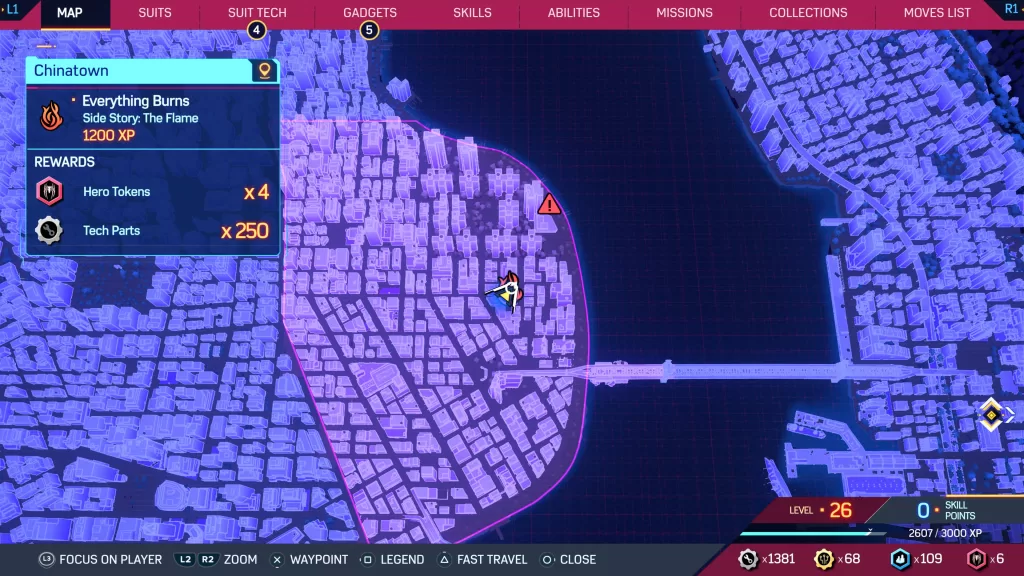
Everything Burns
Available: At the start of the Hunt to Live, Live to Hunt main story mission
Location: Chinatown
Once at the objective, head to the rooftop and interact with the fire symbol on the door. This will trigger an event starting the mission. You can kick things off by initiating a double takedown with Wraith. Head into the next room and zip into the vent in the wall. In the next room, take out all of the enemies. Attempt to pass through the door with the flame symbol to discover that it’s locked. Scan the following items:
White Board
Board with 4 posters of flame symbols
Mural
After scanning the tattoo murals, interact with the Cultist until you find the symbol that you need. Carry his body to the door to unlock it. Drop into the elevator shaft for another cutscene. When it concludes, speak with the Cult Deserters in the cell rooms. To enter the next room, head through the hole in the wall. Inside you’ll find more enemies to take out. Do so then scan the door controls on the stage. Next, interact with them to open the prison cells.
After learning who the Flame is, you’ll need to fight some more enemies. Once you take them down, head into the Quarantine Wing and continue fighting your way through the building until you finally reach the exit. When you emerge outside, the Everything Burns mission will complete!
Rewards: XP x1200, Hero Tokens x4, Tech Parts x250
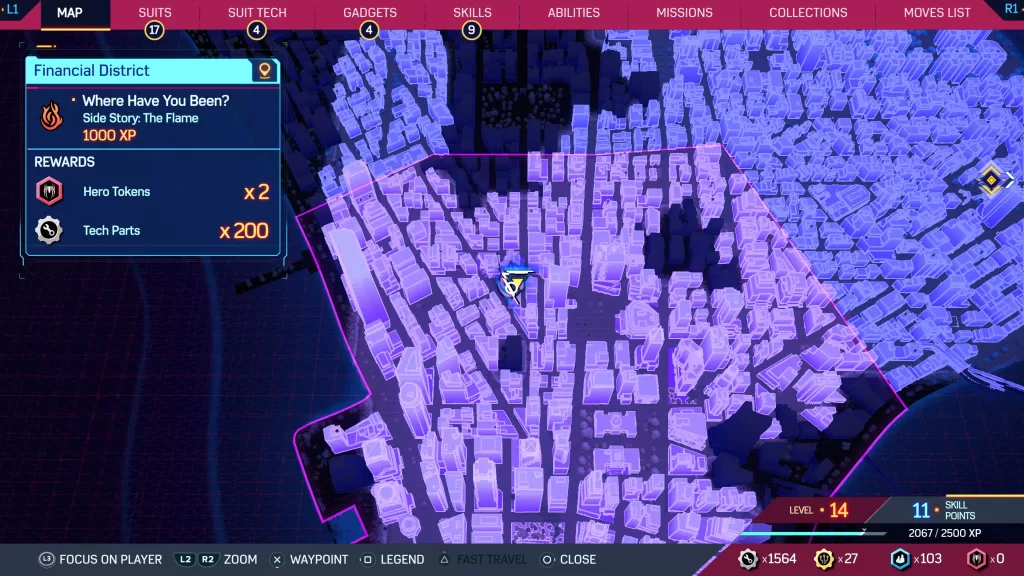
Where Have You Been?
Location: Financial District
Follow the objective to reach the building about ready to be demolished. Speak with the fire chief who will ask for your help getting the 4 people trapped inside out. For the first part of the mission, you’ll control Spider-Bot. Work your way through the collapsing building to mark the locations of the 4 people still trapped inside.
When you reach the last guy, he’ll mention that he heard voices signaling that someone else might be trapped. Proceed forward to run across a group of Flame Cultists. Take all the waves out to meet an old friend and complete the Where Have You Been? mission.
Rewards: XP x1000, Hero Tokens x2, Tech Parts x200
I Knew You Had It In You
Available: During the Stay Positive main story mission
Location: Astoria
Once you arrive at the objective, interact with the “Hurry Up” etched into the wall on the roof. Next, head to the northeastern corner of the building to find a hole in the side of the wall. It will be guarded by some enemies. Take them out then follow the linear path in the building.
When you reach the room with the guy talking on the phone, take him out then scan the whiteboard in the corner and listen to the recording on a nearby table. You’ll also need to scan a blueprint to the right of the billboard, a map above the table from where the guy was talking and the open book on a pedestal. Afterwards, jump through the hole in the wall and continue.
When you reach the big room filled with Cultists, take them all out then clear the rubble from the wall. Climb through the hole to find Yuri! You’ll then have a two phase boss fight. Once you take down the enemy, the mission will complete.
Rewards: Hero Tokens x6, Tech Parts x300
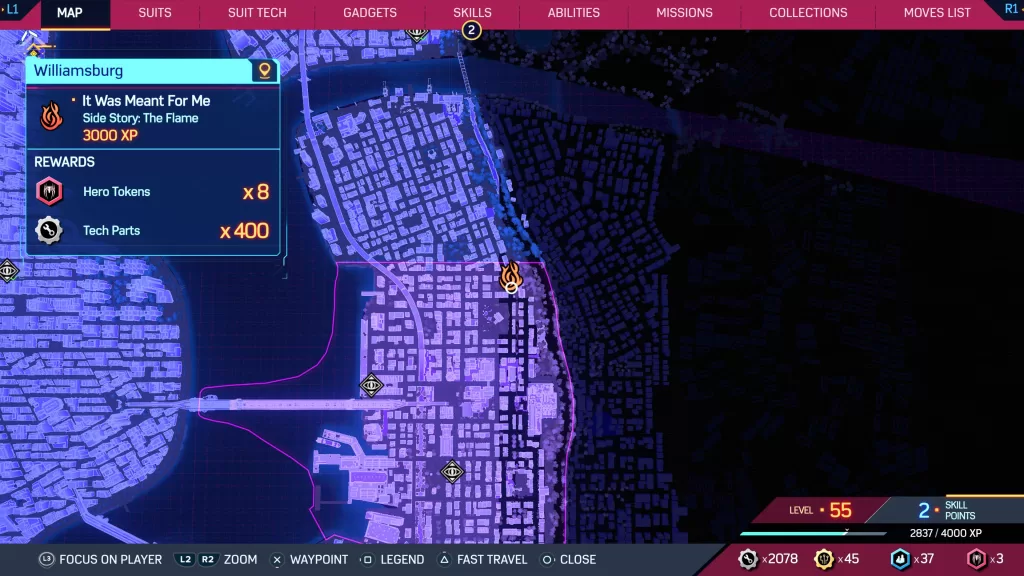
It Was Meant For Me
Available: After completing Trouble with Harry main story mission
Location: Little Odessa
Once at the objective, interact with the map on the table. Next, you’ll need to disarm the bombs. When you’ve accomplished this, you’ll need to fend off the waves of enemies. After the cutscene, the mission will complete!
Rewards: XP x3000, Saving Lives Suit, Hero Tokens x8, Tech Parts x400
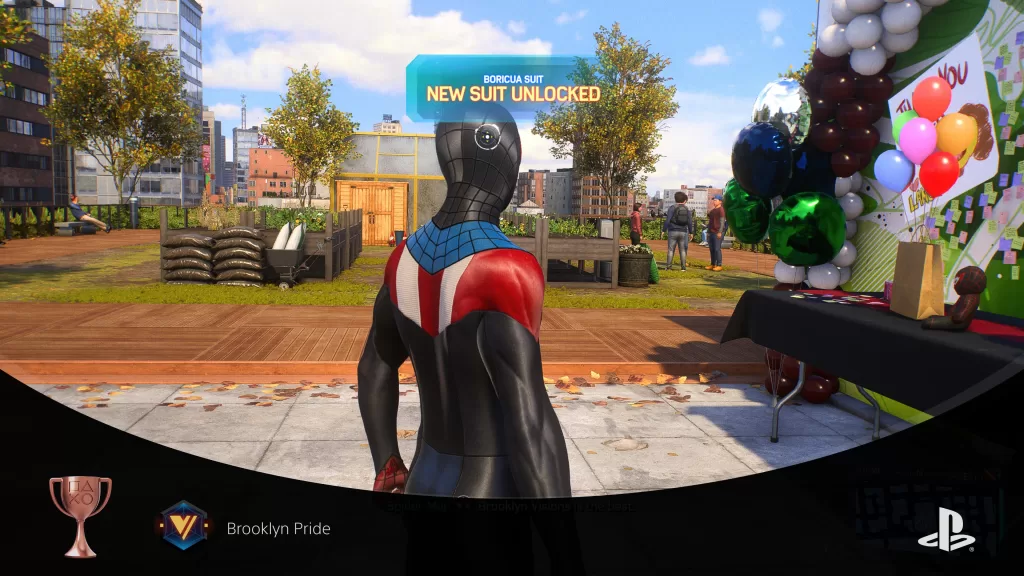
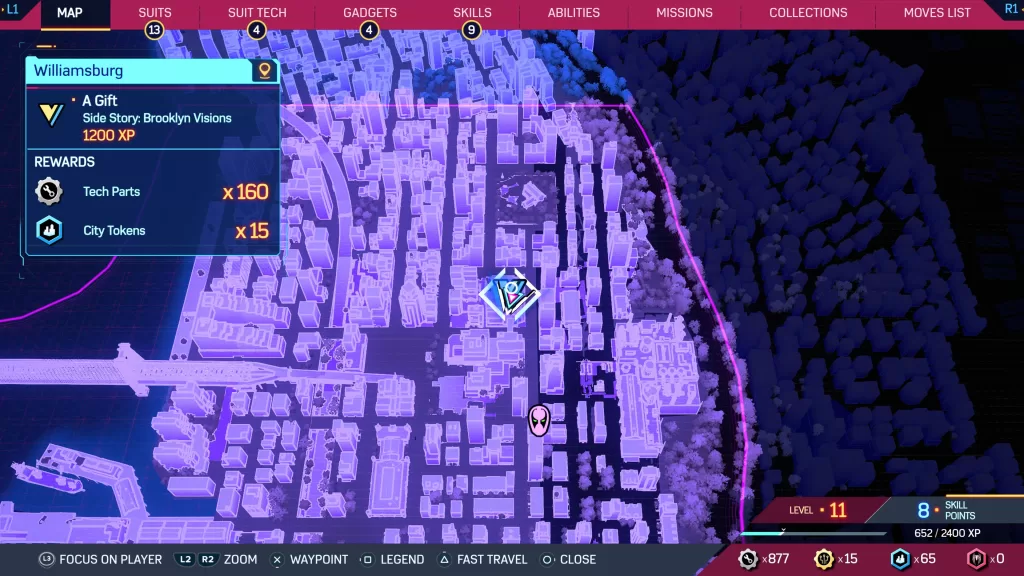
Welcome to our guide on all the Marvel’s Spider-Man 2 Brooklyn Visions missions! In this guide, you’ll be able to find information on how to obtain and complete the Brooklyn Visions missions, along with their rewards. Once you complete all the below missions, you’ll receive the Brooklyn Pride trophy!
A Gift
Available: After completing the Senior Prank, Homecoming and Lights, Camera, Action missions.
Location: Williamsburg
In order to start this quest, you might need to go to the mission menu and activate it manually. This will cause Miles to call Hailey who will tell you that the students pitched together to get Spider-Man a gift. Travel to the rooftop garden near the greenhouse to collect your gift of a new suit (Boricua Suit)!!
Rewards: XP x1200, City Tokens x15, Tech Parts x160
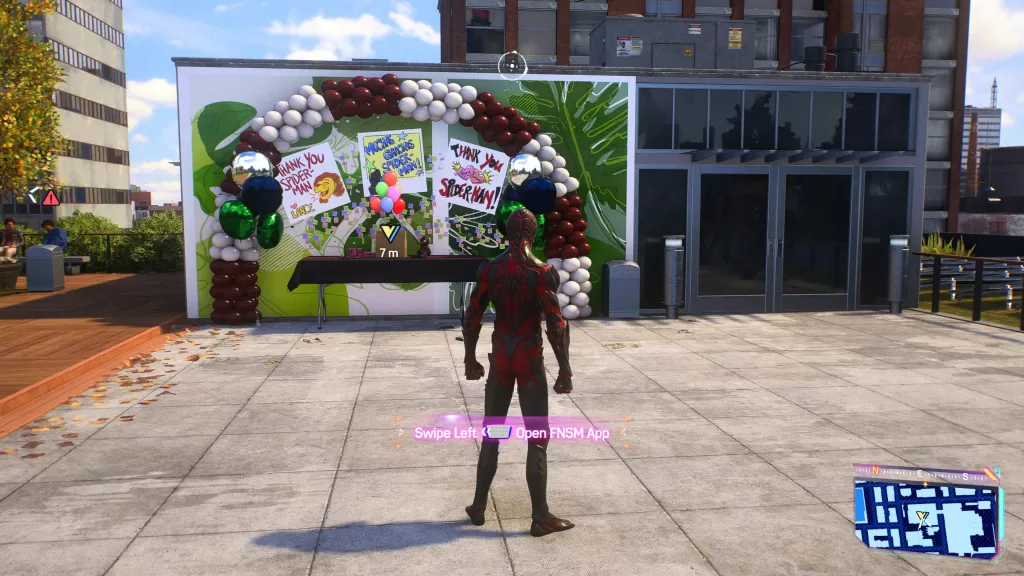
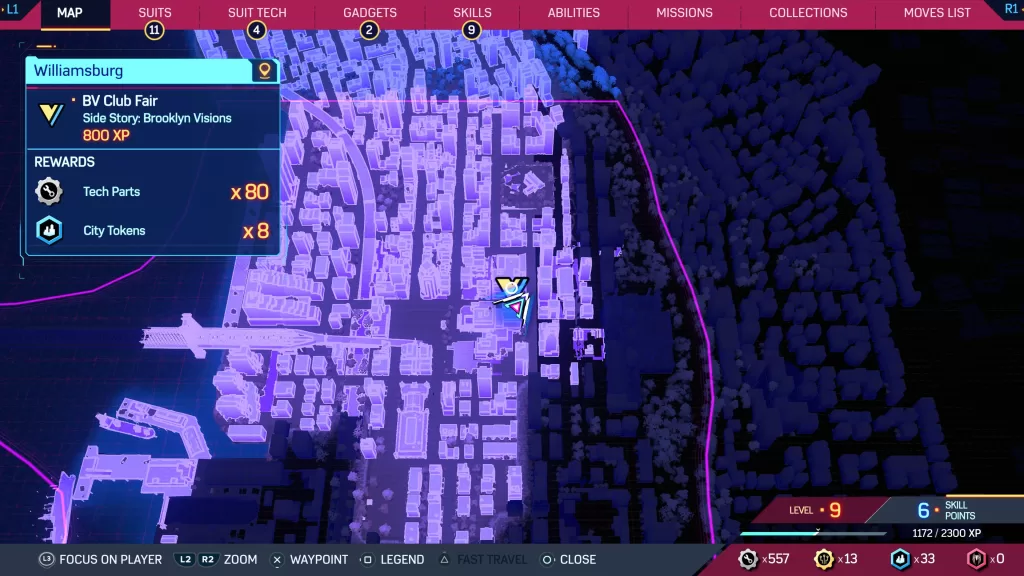
BV Club Fair
Available: After completing the Amends main story mission with Miles.
Location: Williamsburg
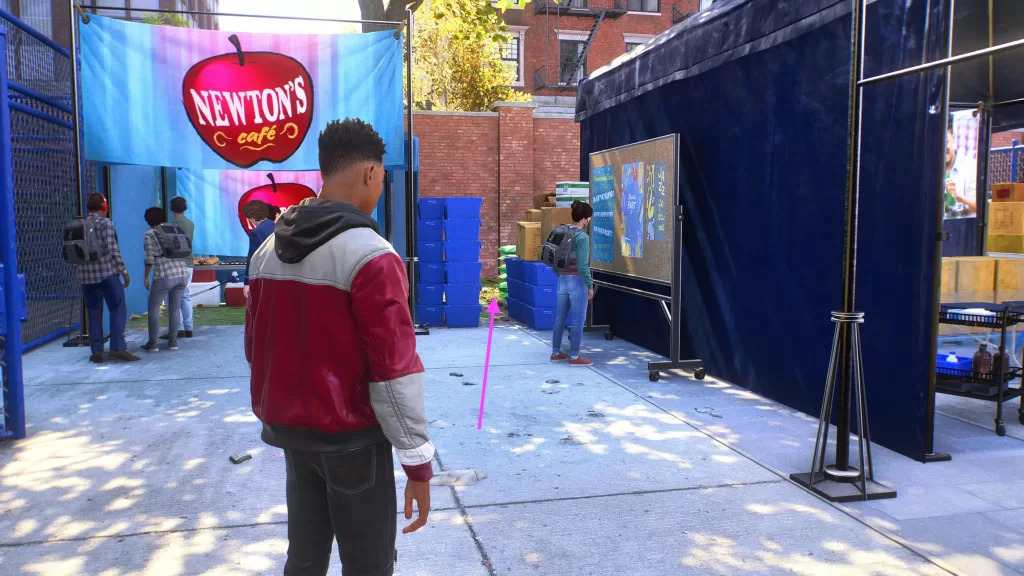
Head to Miles’ backpack on the roof of Vision Academy and interact with it to start the mission. After Miles changes clothes, wonder around the fair, visiting the different booths. To progress the mission, speak with Gankey and Hailey in front of the Empire State University booth. Afterwards, squeeze through the gap between Newton’s Cafe and the Information Center.
Crawl through the hole in the fence to listen to the conversation between the principal and police officer. Once Miles puts on the suit, use Spider-Man’s scanner to track the signal to reach a warehouse swarming with enemies. Take them out then head to the roof of the warehouse where you’ll find a skylight. Use the prompt to smash through it and rescue Ms. Ferguson. Afterwards, you’ll need to fight more enemies. Speak with her afterwards then carry her back to the school.
Rewards: XP x800, City Tokens x8, Tech Parts x80
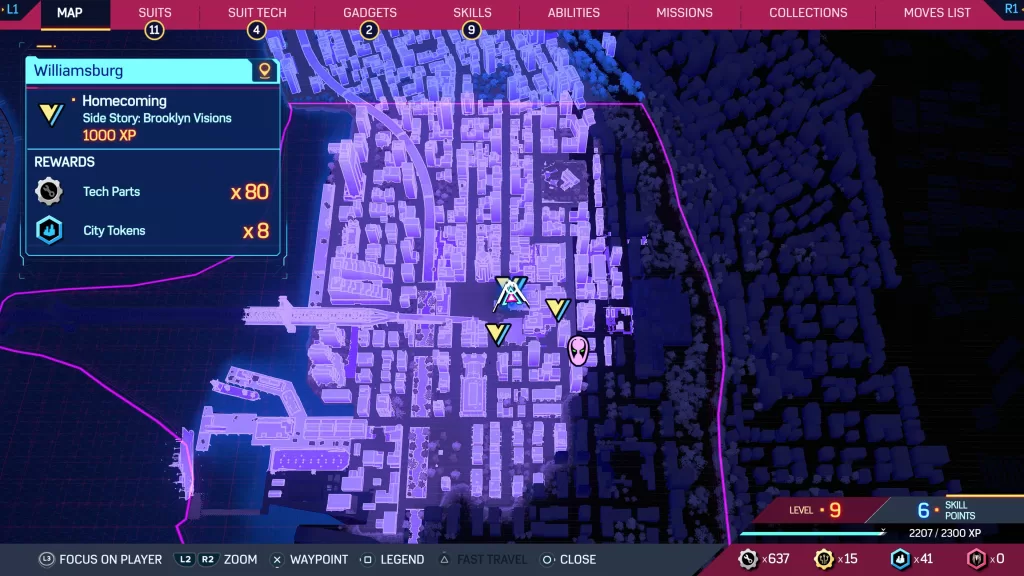
Homecoming
Available: After completing the BV Club Fair
Location: Williamsburg
For the Homecoming mission, follow the objective to the generator, which is currently surrounded by some bad guys. Take the criminals out then speak with the Vendor near the van. Afterwards, return to Vijay at the school. Since hope is not lost, make your way up to the roof and scan the generator.
Next, strike it with an electrical attack then use your web to connect the coils. There will be two on the roof and two on the quad where Vijay is waiting. Swing to the high light post overlooking Vijay then watch the scene play out as you listen to Vijay’s commands. When the screen fails, hit the box under the faulty monitor with the chain lightning skill. Afterwards, the Homecoming mission will complete!
Rewards: XP x1000, City Tokens x8, Tech Parts x80
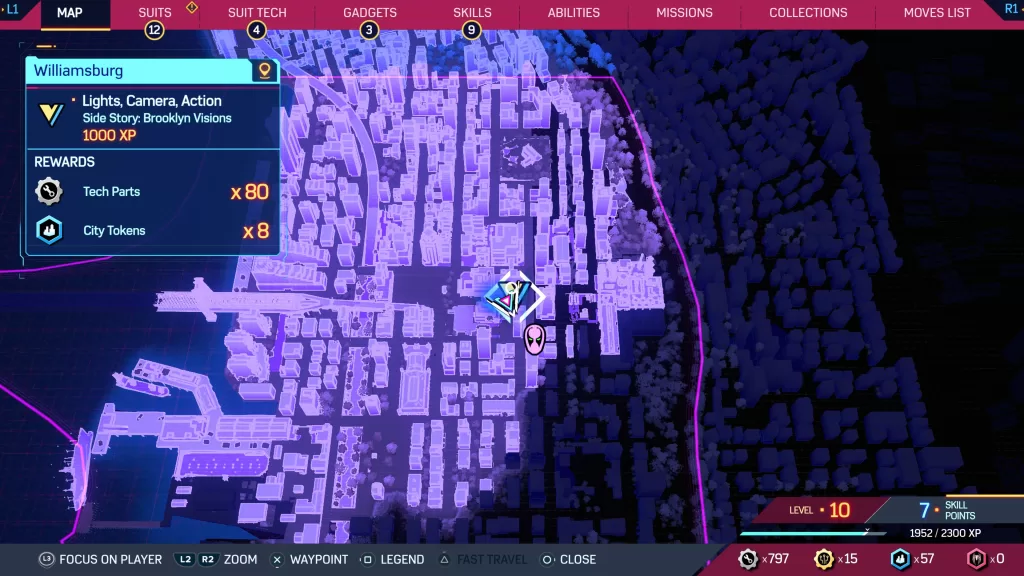
Lights, Camera, Action
Available: After completing the BV Club Fair
Location: Williamsburg
Speak with Odyssey then head to the top of the tall building on the northeast side of campus. Once at the top, interact with the crashed drone. To help Odyssey out take a picture of campus then they’ll request 2 more high shots. Make your way to the two spots marked by the objectives and take the shots.
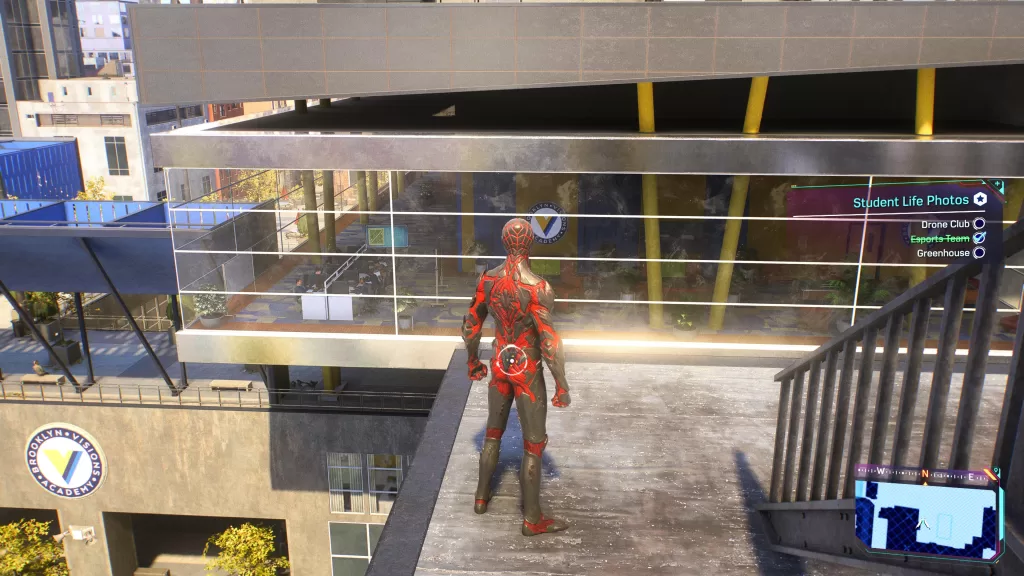
Afterwards, head on down to the school and take a picture of the Esports Team through the window from on top of the building next to the single basketball court.
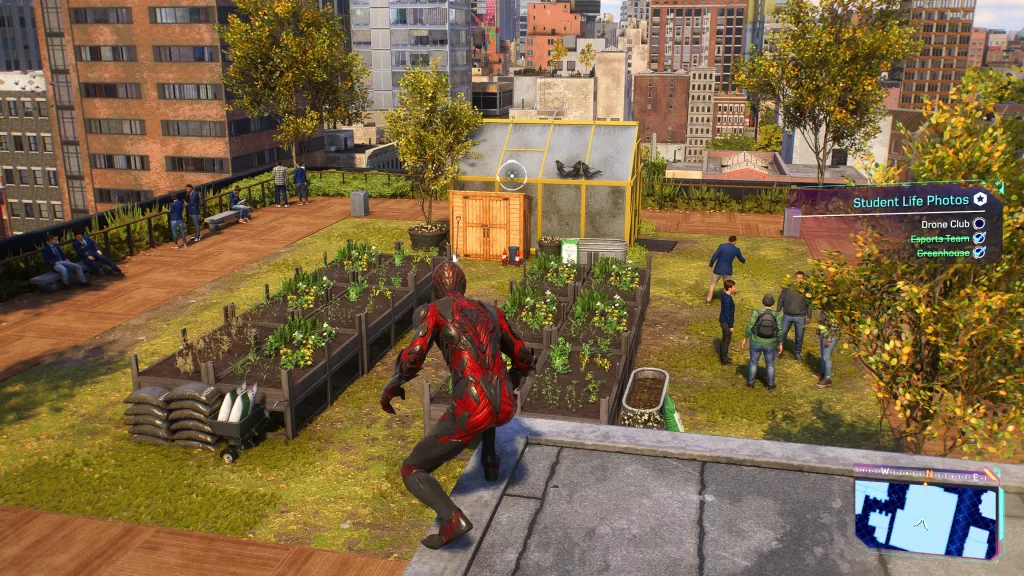
The greenhouse picture can be taken on the building on the north side of campus.
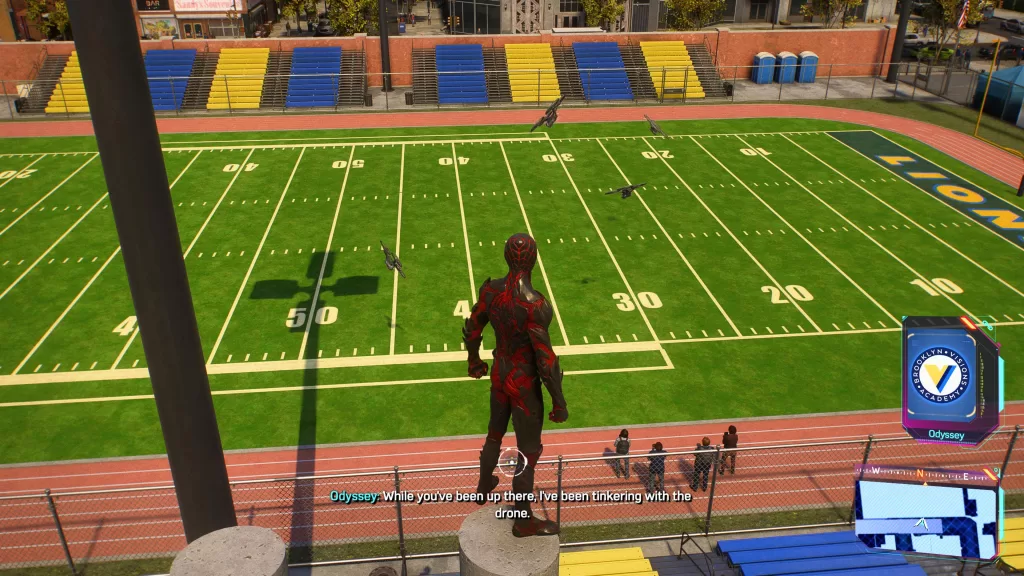
For the Drone Club, take the shot of the club flying drones on the football field.
For this next objective, head up to the roof with yellow and blue smoke. You’ll need to follow that drone until it reaches the next set of yellow and blue flares. When you reach it, the Light, Camera, Action mission will complete!
Rewards: XP x1000, City Tokens x8, Tech Parts x80
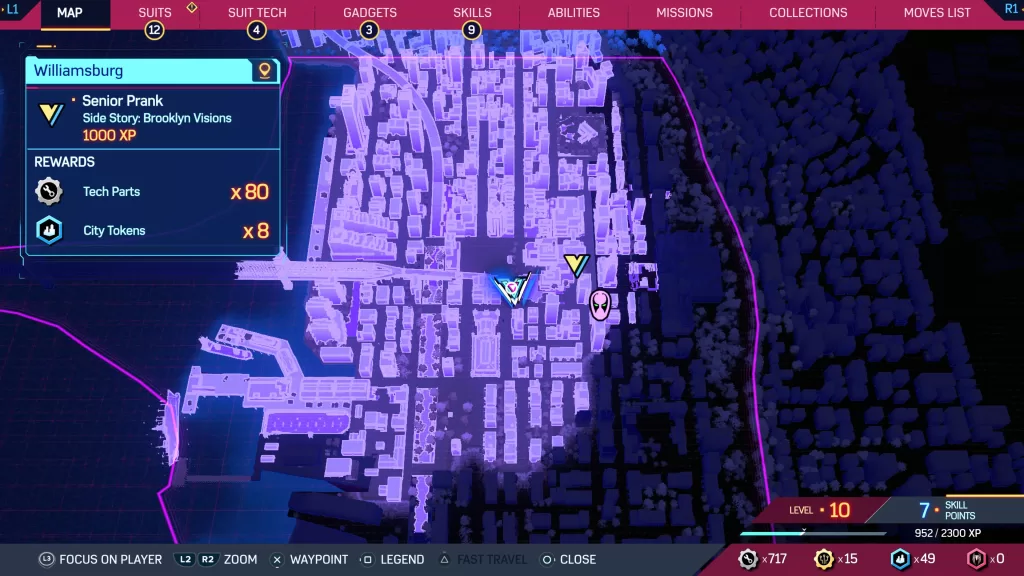
Senior Prank
Available: After completing the BV Club Fair
Location: Williamsburg
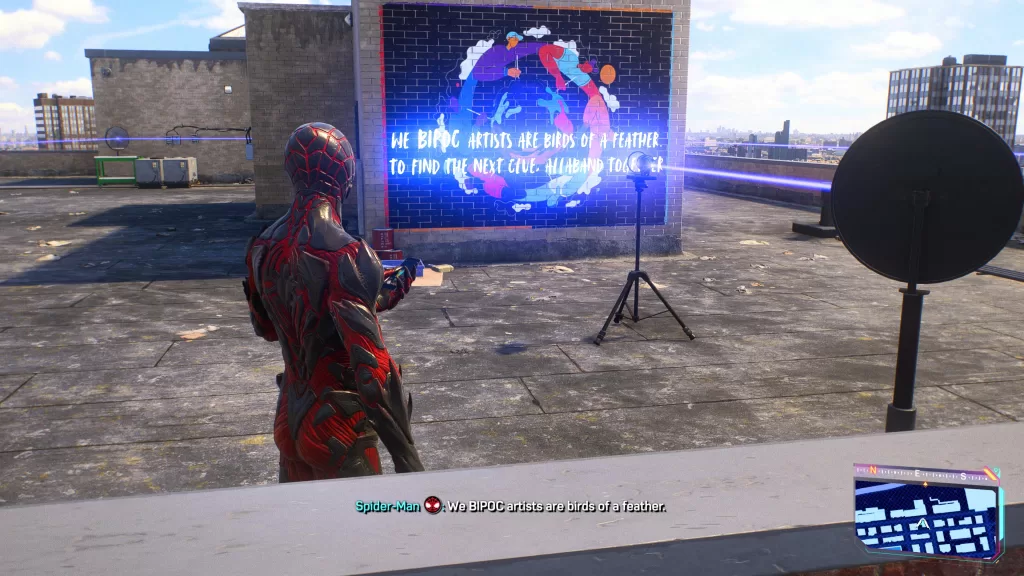
For the Senior Prank mission, speak with Travis in the basketball court then read the note. To find Lance, you’ll first need to make your way to the rooftop where you’ll find a table with the second clue. To solve this puzzle, you’ll need to turn the mirrors using your web slingers so that the mural on the building is lit. You’ll also need to destroy a crate in the way!
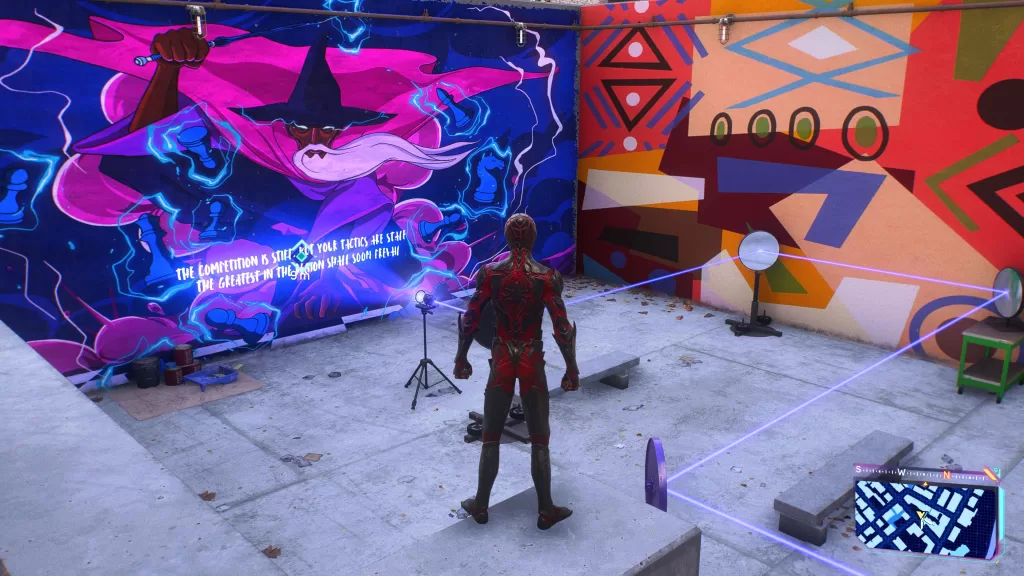
Make your way to the next objective to find another mural where you’ll need to again move the mirrors to reveal the message on the mural with the wizard.
Once you’re ready, travel to the third location. This time there will be two puzzles to solve. You’ll need to use the laser to hit all the blue and red mirrors to get the next clue. Please note the blue set of mirrors do not have to be lit at the same time as the red set of mirrors!
Travel to the last location where you’ll find a circular lever to the right of the garage door to open it. Nab the lion then return to the basketball court and place it on the throne to complete the Senior Prank mission.
This site uses cookies. By continuing to use this website, you are giving consent to cookies being used. For more information on cookies, view our Privacy Policy.OkPrivacy Policy