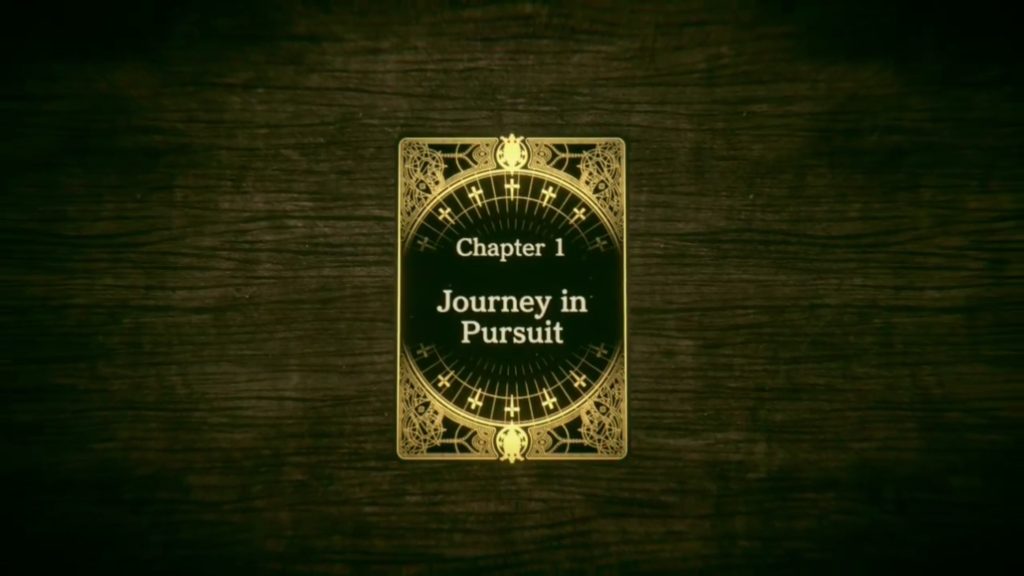
Below is a walkthrough on Chapter 1: Journey in Pursuit in Voice of Cards: The Isle Dragon Roars.
Advent
Make your way through the room up to the guard to the left of the queen. Talk to the people in the hall if you wish as you make your way to the guard. When you speak with him, you’ll need to pick a name for your character. Ash is the default name. Next, you’ll be tasked with speaking with the others gathered in the hall to form a fellowship for the journey ahead. Don’t bother as no one wants to be your friend. Instead, exit the room via the southern point. If you do choose to speak with everyone, you’ll be shooed out of the castle when you speak with the last person.
If you’d like, you can purchase a Bomb for 40G from the Item Shop. Speak with the person (Suspicious Weapons Merchant) directly under the Item Shop, to be given the opportunity to purchase the Phoenixflame, a supposedly legendary weapon, for 20,000 G. You won’t have enough money on you quite yet so decline the offer.
Next, speak with the Cautionary Elder and Local Boy. You can also interact with the Gilded Door, however, you’ll need a key to open it. While you’re at it, check out the Carriage Shop which you won’t be able to use yet.
Approach the Sign in the southern part of the map to receive a new party member named Melanie. She’ll become a member no matter what options you select when speaking with her.
Continue south to leave the area. Head directly south and enter Nexton.
Nexton
Once you arrive in Nexton, you’ll be tasked with gathering information from the townsfolk about the Dragon. The Greeter to the right is unhelpful. On the left, stop in at the Armorer to peruse his goods. You can purchase the following items:
- Iron Sword for 200G
- Iron Claws for 200G
- Sacred Staff for 100G
- Iron Armor for 300G
- Simple Breastplate for 200G
- Shadowcloth for 100G
- Ring of Protection for 500G
The only item worth considering is the Ring of Protection as you already have all the other items equipped!
Exit the Armorer and speak with the Lovely Lady next to the shop. The Town Guide is next as you make your way south. He’s not of much help so continue to the card blocking the path forward. Here you’ll find the Hobbled Woman who needs you to take her to the nearby Apothecary. It doesn’t matter what you select as the outcome will be the same. Follow the instructions in the Jumping tutorial to make your way to the Apothecary. As a reward for helping her, the woman will give you Mysterious Card 1. You’ll also be able to take a look at the Mature Woman’s flipside story via the Collection tab in the Main Menu. This will be the first Special Story you unlock!
If you’d like, you can purchase the following items from the Item Shop:
- Bomb for 40G
- Soothstone for 1000G
- Bellwether for 400G
Speak with the Budding Geographer next to the Item Shop and the Well-Like Man near the Inn to progress with the story. You can speak with the other optional townsfolk if you’d wish. Resting at the Inn is free and will heal all your party members!
When you’re ready, approach the southern point of town to barrel into the Ivory Order Trio. No matter what option you select, you’ll end up in a fight against them. Of course you don’t stand a chance so just watch as your teams gets annihilated!
After your battle, the trio will heal you so continue south to leave the area.
Isle of Bliss
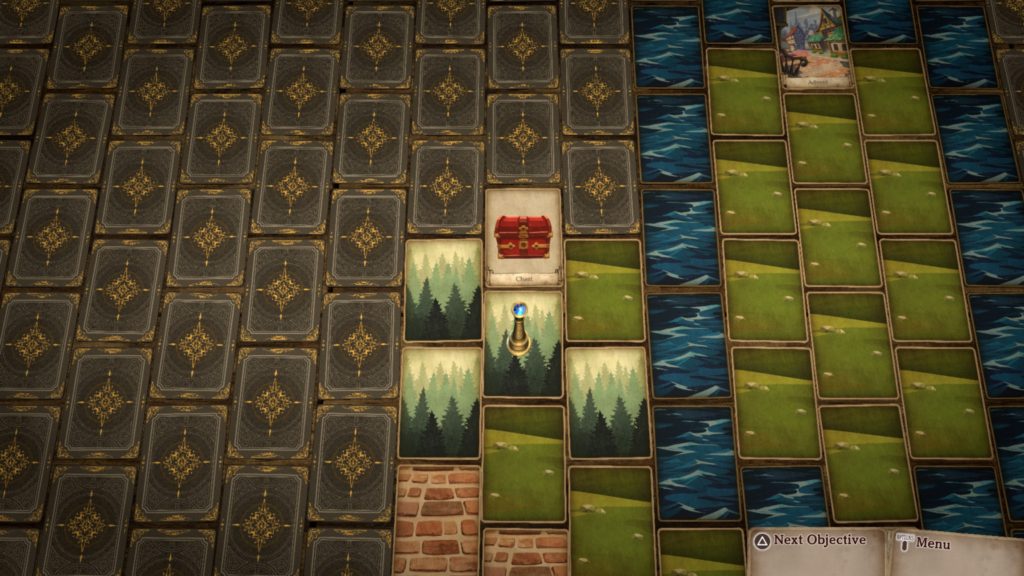
The next objective is to follow the path to Thriceton. You can of course just follow the brick path straight there or you can do a bit of exploring.
The following chests can be found in this area:
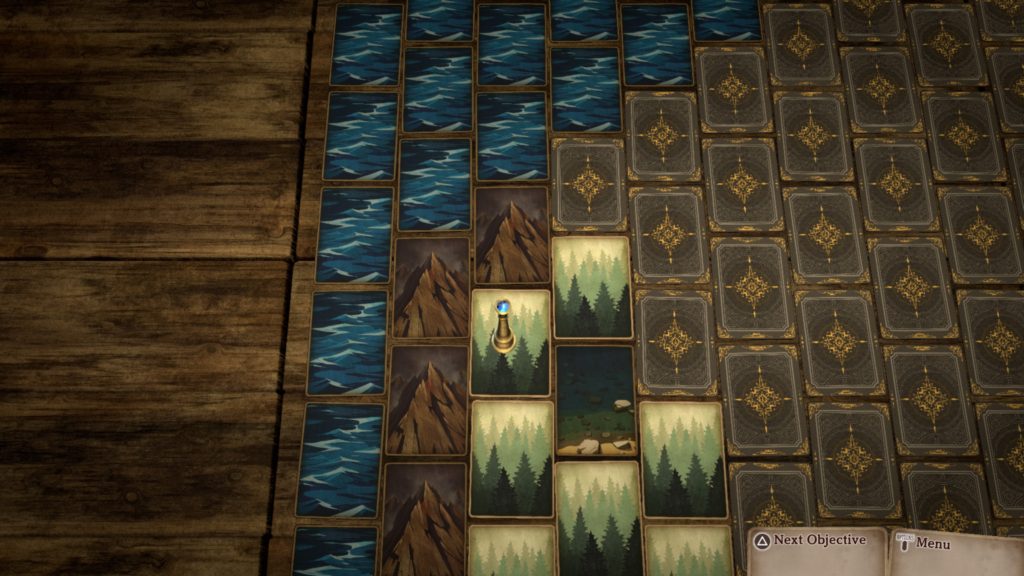
- Inspirilixir – Revive target
- From the southern path leading out of Nexton, follow the river north. After some tree cards, you’ll find the chest!
- Soothstone – Generate 3 gems
- This chest can be found along the southern coast, southwest of Nexton.
- 500G
- This chest can be found on the southeastern tip of the area, southwest of Nexton.

- 400G
- This chest can be found northeast of Thriceton.

In this area, you can also stumble across the below events. Please note that these events appear to spawn randomly!
- Wealthy Old Man stuck in a hole
- Agree to give him safe passage back to Nexton. Head back to Nexton to receive 1500G.
- Suspicious Senior
- If you agree to drink his bottle, you’ll receive 10 damage!
- Something shoots past you
- When you’re asked what shot past you, you’ll have to choose between a Bottle of Medicine or Monster. If you select Monster you’ll be told that it was actually the medicine. If you select Bottle of Medicine, you’ll glance over a see a monster. After either option, a fight will ensue!
- The Two Men
- Upon listening to the thieves conversation, you’ll receive the Stolen Goods Cache #1 key item. We stumbled upon this event on a sandy card northeast of Thriceton.

-
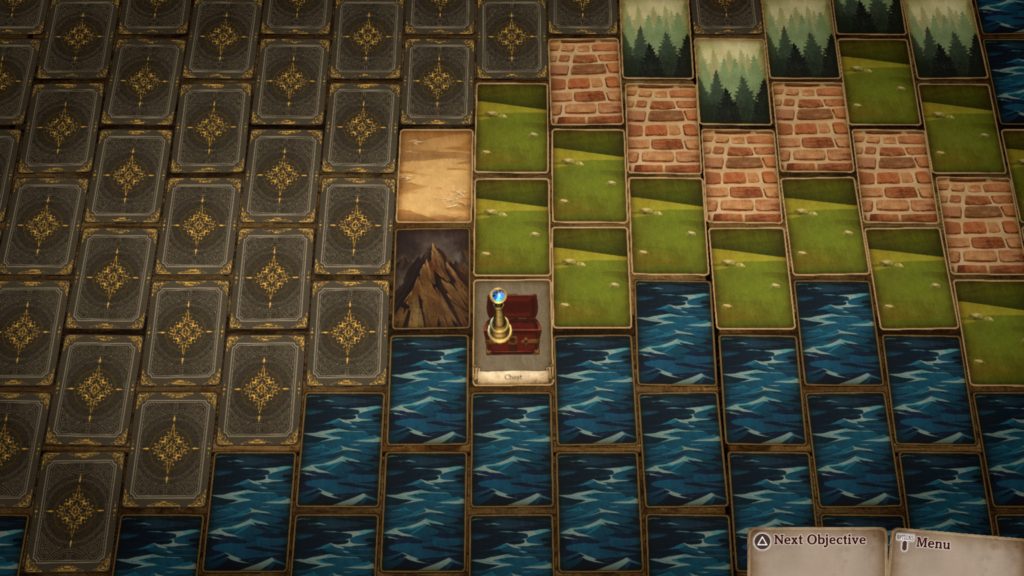
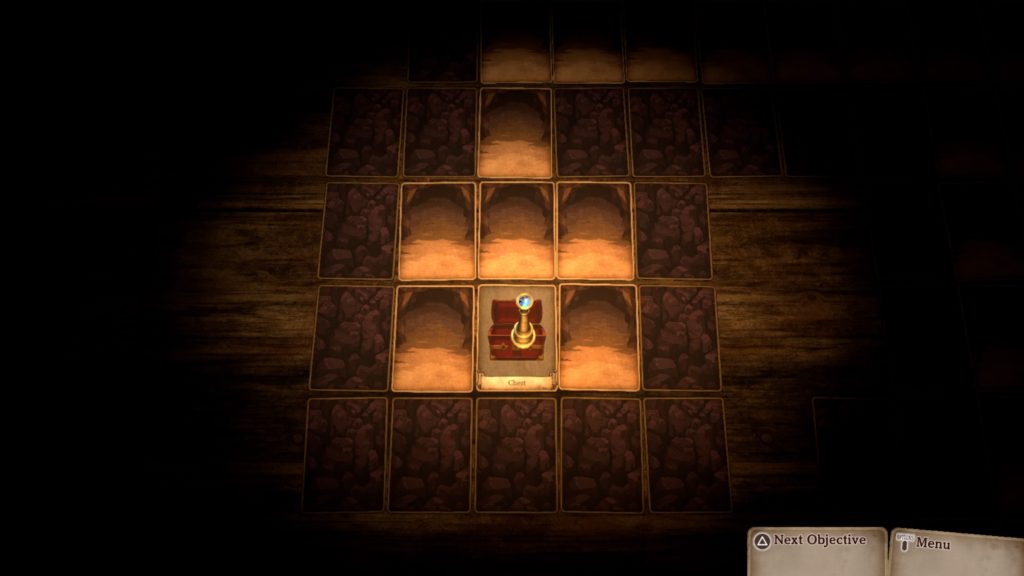
- Head slightly southeast and go south down the single column of cards to the east of Castle Ardent.

-
- On this card, you’ll stumble across an event where you’ll open the chest to find a Steel Breastplate!
- Monster Notes
- You’ll pick up a scrap of paper dropped by a monster and receive the Monster Memo #1. We stumbled upon this event on a sandy card northeast of Thriceton.

-
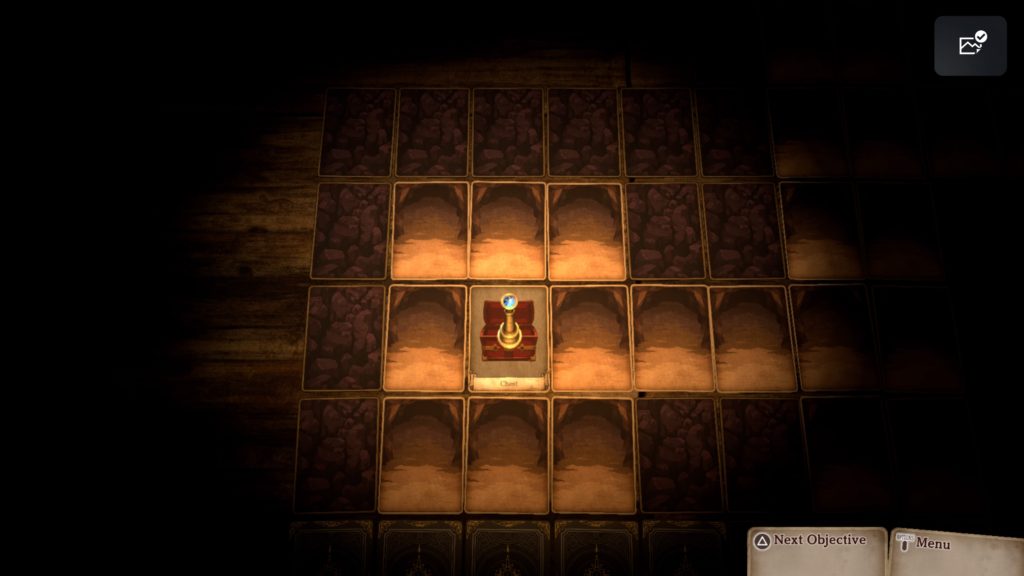
- The treasure can be found on the far northwestern side of the area near a small pond.
-
- When you step on the event card, you’ll receive 1000G!
The Western Cave can be found west of Thriceton along the mountain ridge. You won’t be able to explore this dungeon until you get a Torch from Thriceton so just leave it alone for now!
When you flip over the card for Thriceton, a battle will occur. The creature has 27 Defense! Defeat it then enter the town.
Thriceton
When you enter Thriceton, you can rest up at the Inn for free if you need to.
From the Item Shop you can purchase the following wares:
- Bomb for 40G
- Soothstone for 1000G
- Oil Pot for 200G
- Torch for 100G
- Bellwether for 400G
I’d highly recommend picking up a Torch or two to explore the cave outside of town later!
Speak with the Bathing Man directly west of the Well and hand him an Antidote. As a reward, you’ll receive the Mysterious Card 2!
From the Armorer, you can purchase the following items:
- Mercenary’s Sword for 400G
- Iron Claws for 200G
- Magic Staff for 400G
- Iron Armor for 300G
- Steel Breastplate for 500G
- Adventurer’s Attire for 600G
- Ring of Protection for 500G
- Poisonstay Ring for 2000G
Stop in at the Game Parlor and play a game. If you win, you’ll receive a trophy and Marble Dice. New Add Skill (skill effects) will also be added to the card game. If you win a round of Add Skills, you’ll receive the Seasoned Gambler trophy and the Queenly Cards Reverse Design appearance. New Add Events will also be added to the card game. If you win a round of Add Events, you’ll earn the Passionate Gambler trophy and an Ebony Table. The Include All rules will now be added to the card game. If you win a round of Include All, you’ll receive the Master Gambler trophy and Parquet Board!
From the Apothecary, you can purchase the below items:
- Salve for 20G
- Antidote for 40G
- Curative for 40G
- Pepper-Upper for 60G
- Inspirilixir for 800G
The Bewitching Woman in the very northern part of town is being harangued by some man who keeps asking her out. The lady next to the Apothecary was mugged. A creature stole her medicine!
Finally, make your way to the Doctor’s House and ask Doctor Cyprie about the Dragon. In exchange for the information, he’ll want you to retrive his treasure from the monster in Western Cave. Make sure to pick up a Torch from the Item Shop if you have not done so already then set out for Western Cave. To reach the cave, exit the town via the southern entrance then make your way west.
Western Cave
The recommended level for this cave is at least level 3! Once inside, use the Torch to light your way.
You can find the following chests in Level 1 of the cave:
- Oil Pot – Add 5 to fire damage target takes for 3 turns
- This chest can be found in the far southeastern corner of the area.
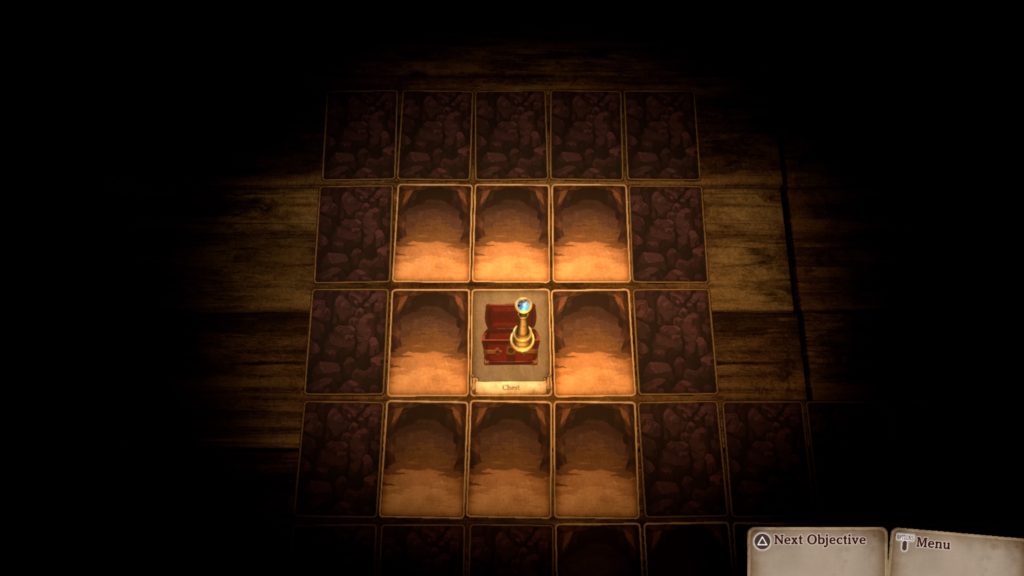
- Magic Sphere
- This chest can be found in the far northwestern corner of the area.
- 400G
- This chest can be found in the central western part of the area.
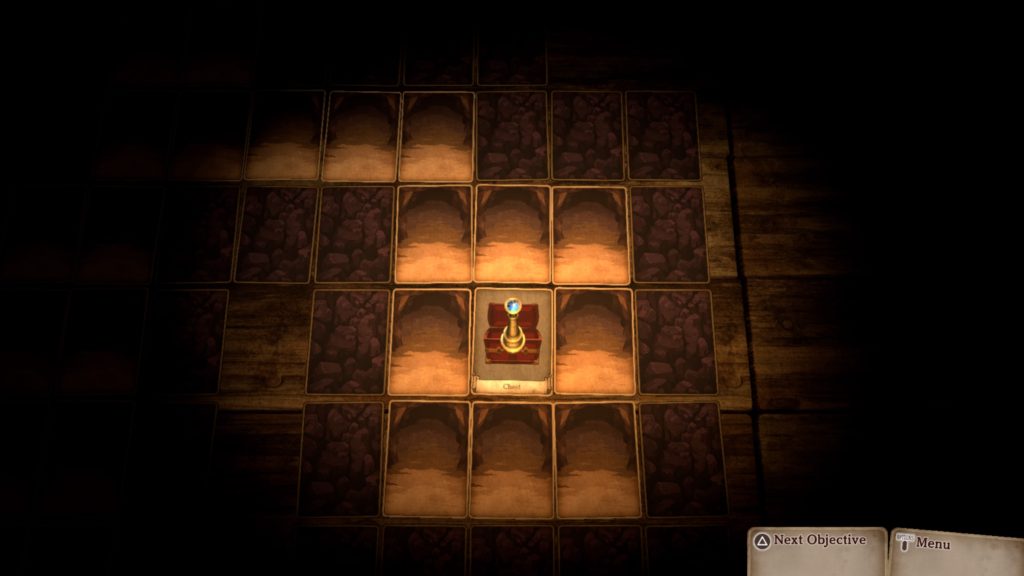
- Inspirilixir
- This chest can be found just past the locked door.
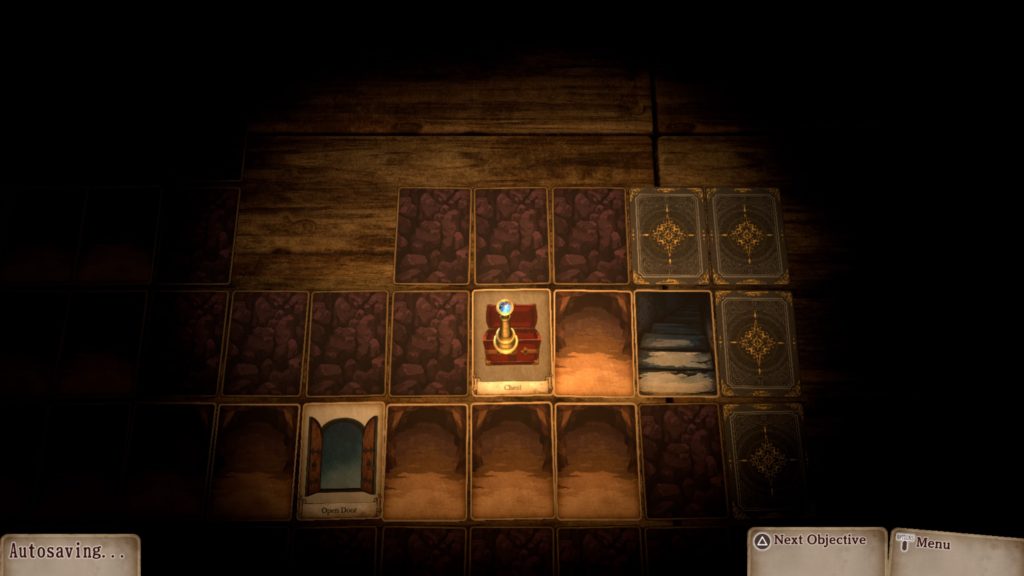
In the middle of the area, you’ll notice a locked door. To unlock this door, you must retrieve the Magic Sphere from the chest shown above in the northwestern corner of the area. Continue east to find a set of stairs. Proceed to the Western Cave Level 2!
Make your way through this area. Hug the western side of the path leading south to find a path leading west. Take this path find a chest containing a Numbstay Ring (protects against paralysis).
This ring will be helpful in the upcoming fight! Backtrack east and continue following the path south. In the southwestern part of the area, you’ll find another chest.

Interact with it to trigger a fight with an enemy that has 60 HP! This enemy can heal itself and has a move that can potentially cause paralysis on a party member. Defeat it to trigger a dialog event. Afterwards, you’ll receive a Ragged Doll. There is nothing else of interest in the cave so choose to leave!
Thriceton
Upon your arrival to Thriceton, speak with Doctor Cyprie. We selected the option “Now Tell Us about the Dragon”. Whatever your selection, the doctor will inform you of a place east of town called Unionville where monsters and humans live together in harmony. It’s past the Bewildering Wood. Furthermore, he’ll give you the Woodland Flute! Leave Thriceton to trigger a scene.
Click here for the next walkthrough on Chapter 2: Bewildering Wood!