Below is our walkthrough for Chapter 5 of The Gunk! Objects that you can scan for the encyclopedia are in the pinky purple font color! Remember that if you scan all the available items in The Gunk, you’ll earn the Space Archeologists achievement! Please also pick up all the materials that you find as you explore the area. You’ll need these materials to unlock upgrades for Pumpkin (your hand device). If you obtain all the upgrades, you’ll receive the All In achievement!
As you begin the Chapter, you’ll need to make your way down the tower, collecting any materials you see as you go. At the bottom, head through the dark tunnel to reach Canyon Passage. Make your way through the area. There will be a place to set another beacon. Make sure to scan it as you’ll get the Signal Beacon entry!
![]()
![]()
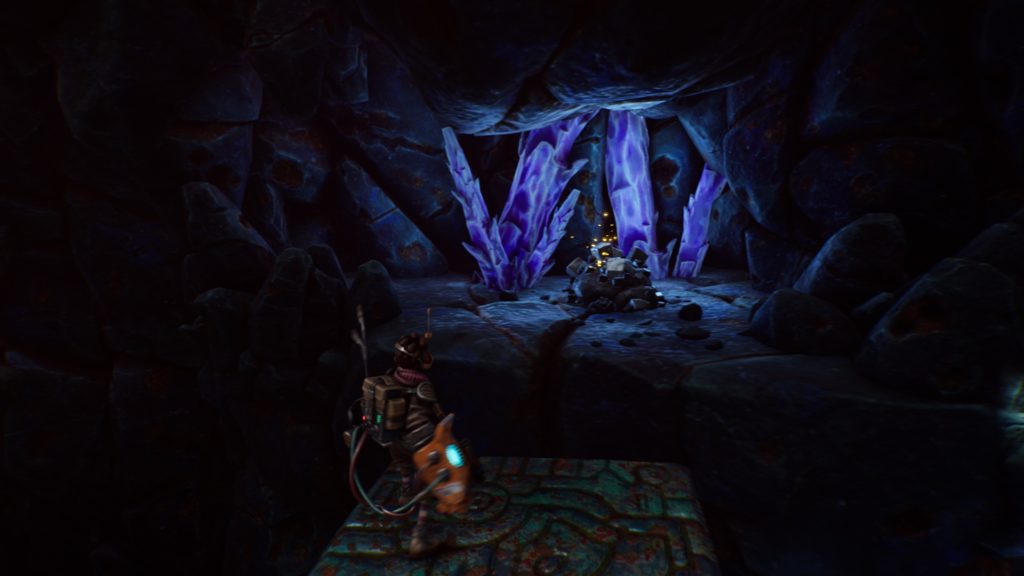
By the beacon look for some rubble. Turn around and climb up the twine on the large rock then jump across to the other rock containing a melon. Pluck the melon then throw it at the rubble to clear the way. Jump back down then proceed forward. In the cave, you’ll reach more rubble blocking the way. Shoot down the melon hanging on the ceiling above a narrow gap then chuck it at the rubble. Once the way is clear, continue forward. Eventually, you’ll climb up Rhiza Twine. To clear this rubble, look on the ceiling for the melon. Shoot it down then quickly suck it up with Pumpkin. Next, chuck it at the rubble then squeeze through the tight space. Continue heading forward until you reach a door. Shoot the trigger above it to continue forward. Clean up all the gunk around the pipe. On either side of the bridge scan the moveable platforms to unlock the Ruin Swing Bridge entry!

Head to the middle of the central bridge near the pipe and pull the switch. Next, continue forward and shoot the trigger above the door with the plasma pulse. Head through the newly opened door and scan the wall directly in front of you to receive the Inscription entry!

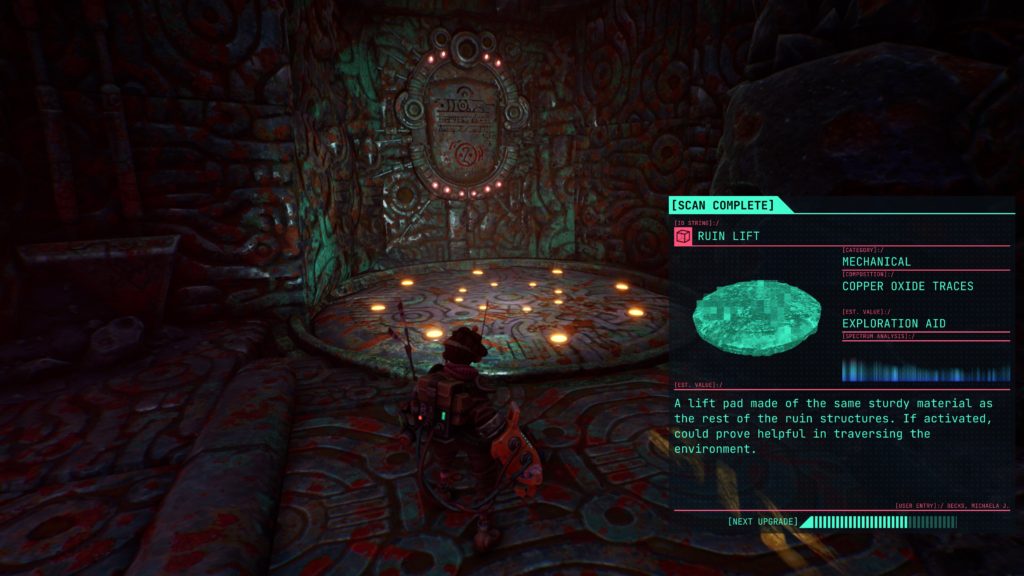
On the ground just in front of the Inscription on the wall, scan the middle of the circle to obtain the Ruin Lift entry.
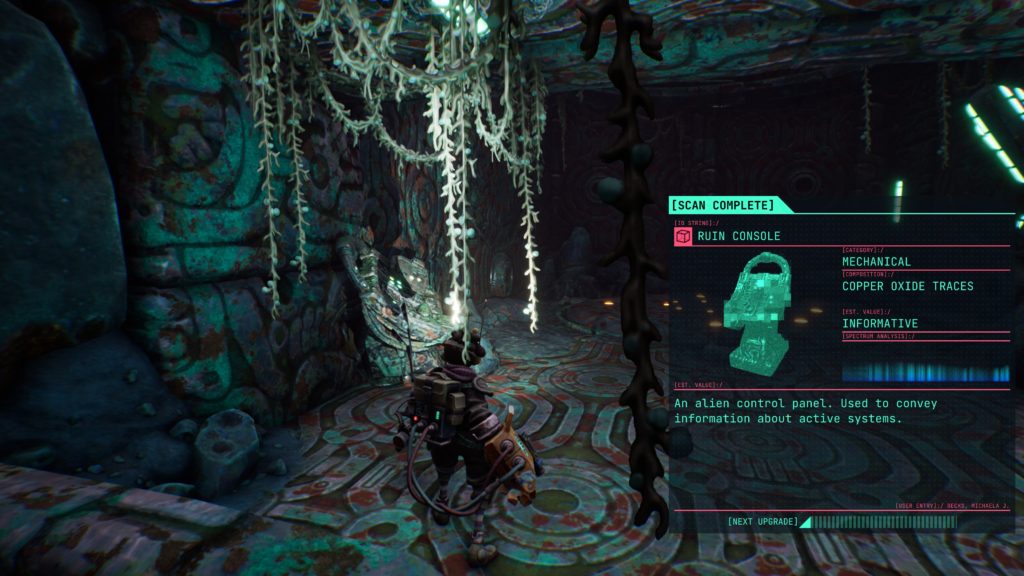
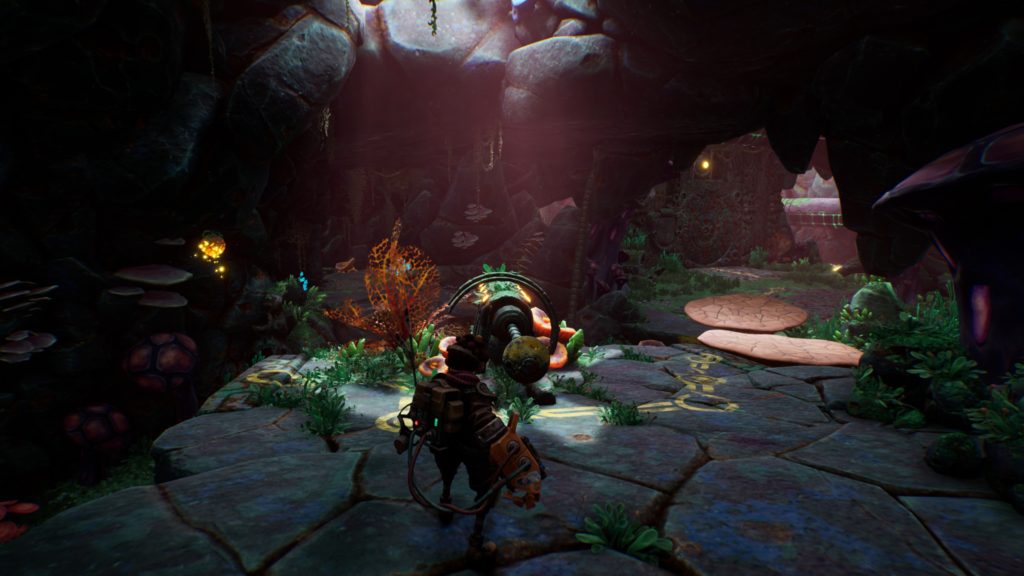
Stand on the lift then turn around away from the Inscription to spot a trigger on the wall. Shoot it with the plasma pulse to whisk yourself upwards! Head across the room to find 3 switches all in a row and pull them. Jump down between the blades of the spinning fan in the floor. Squeeze through the little opening then make your way across all the moving platforms. Eventually, you’ll reach a lift that has a new scannable object next to it as shown in the image below. Scan it to receive the Ruin Console entry.
Once you enter the next room after taking the lift up, you’ll notice more spinning platforms. Continue forward across the platforms until you see the melon. Grab it then throw it across the way to clear the rubble.
Jump to where the rubble was to find some material! Jump onto the column with 2 spinning platforms in the middle of the room to find a coil. Retrieve the coil while spinning around and throw it into the Energy Fissure. Jump to the newly sprung mushroom and continue forward into the next room. Clear the gunk then pull the switch. To the right of the switch, look for a mushroom that you can jump onto to collect some material.

Shoot the yellow trigger above the door to open it allowing you to continue further. Before you continue on, head through the door under where you pulled the switch. You’ll be able to collect the Sperrylite Analogue that you saw earlier but were unable to reach it.
When you’re ready, press forward. Clean up all the gunk in the next room. Loot the materials then continue on. After you drop down, you’ll need to clean up all the gunk again. This time be sure to scan the new enemy to receive an entry for the Gunk Spitter!

After the gunk has been cleared up, shoot the melon from the ceiling and toss it onto the rubble. Enter the cave to collect the material. Look for the spot to place the beacon and do so. Head back to the ship the check out your available upgrades. Once you’re ready, head back to the Deserted Mines and hug the left wall to find the path forward. After you crouch through the narrow opening, clean up the gunk. Keep working your way forward, cleaning up the gunk and collecting materials. When you reach the room with the 3 Gunk Spitters, you’ll have to defeat two of them with the melon on top of the large rock. Afterwards, throw the coil in the 2 Energy Fissures to collect all the materials. Press forward into the next area. Pull the switch to release the gate blocking the trigger above the door near the beacon.
When you’re ready to proceed, shoot the trigger above the door then head through it. Follow along the path to reach the Alien Quarry! Shoot the trigger while standing on the lift to head on up. When it stops, clear out the gunk then shoot the trigger again. Repeat until you reach the top. At the top, head towards the beautiful lookout spot then swing around to reach a really long tunnel. When you emerge from the tunnel, pull the 2 switches then swing around to the other side and proceed through the door. Climb down the Rhiza Twine and pull the switch. Make your way to the right side then jump down onto the moving platforms.
Clean up the gunk then pull the switch. Again jump down onto the moving platforms. Do this once more. With the alien on the ground, head on down to the bottom to trigger a cutscene followed immediately by a fight with the Gunk Beast. Be sure to scan it to enter it into the encyclopedia.
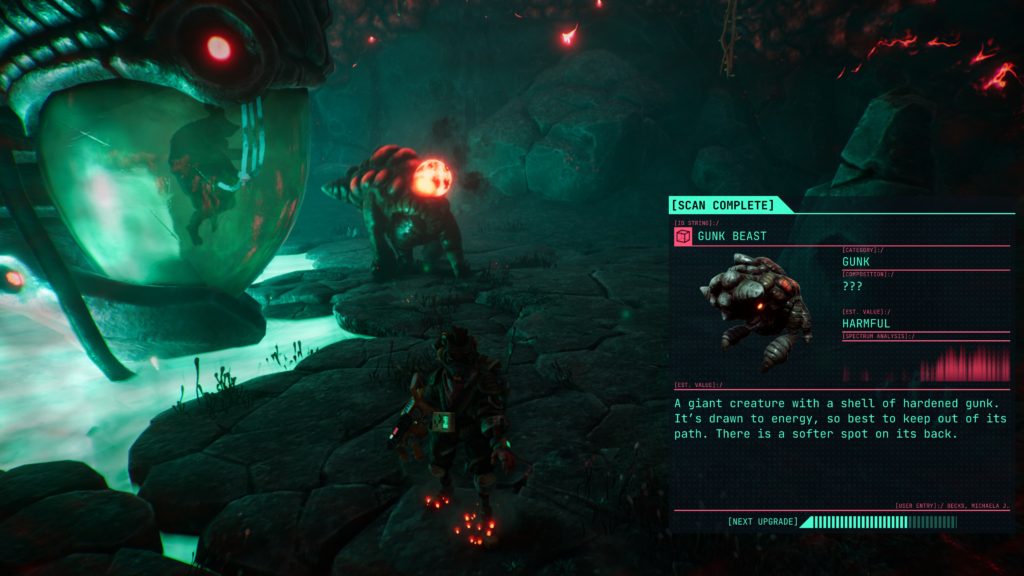
To defeat this beast, wait for it to emit a red circle. This signals that it is going to charge at you! Hide behind a rock to have it ram into it. This will cause it to be stunned. Once it’s stunned, quickly get behind it and suck up the red dot on its back. You’ll have to do this 3 times in order to defeat it. When the creature has been defeated, approach the pod and select to open it by pressing Y. A cutscene will trigger and Chapter 5 will conclude.
Click here for the next walkthrough on Chapter 6 in The Gunk!