After you complete the quests for The Ancient Lever and The Mechanism in Baldo The Guardian Owls, you’ll then be able to continue in The Underground.
The Underground
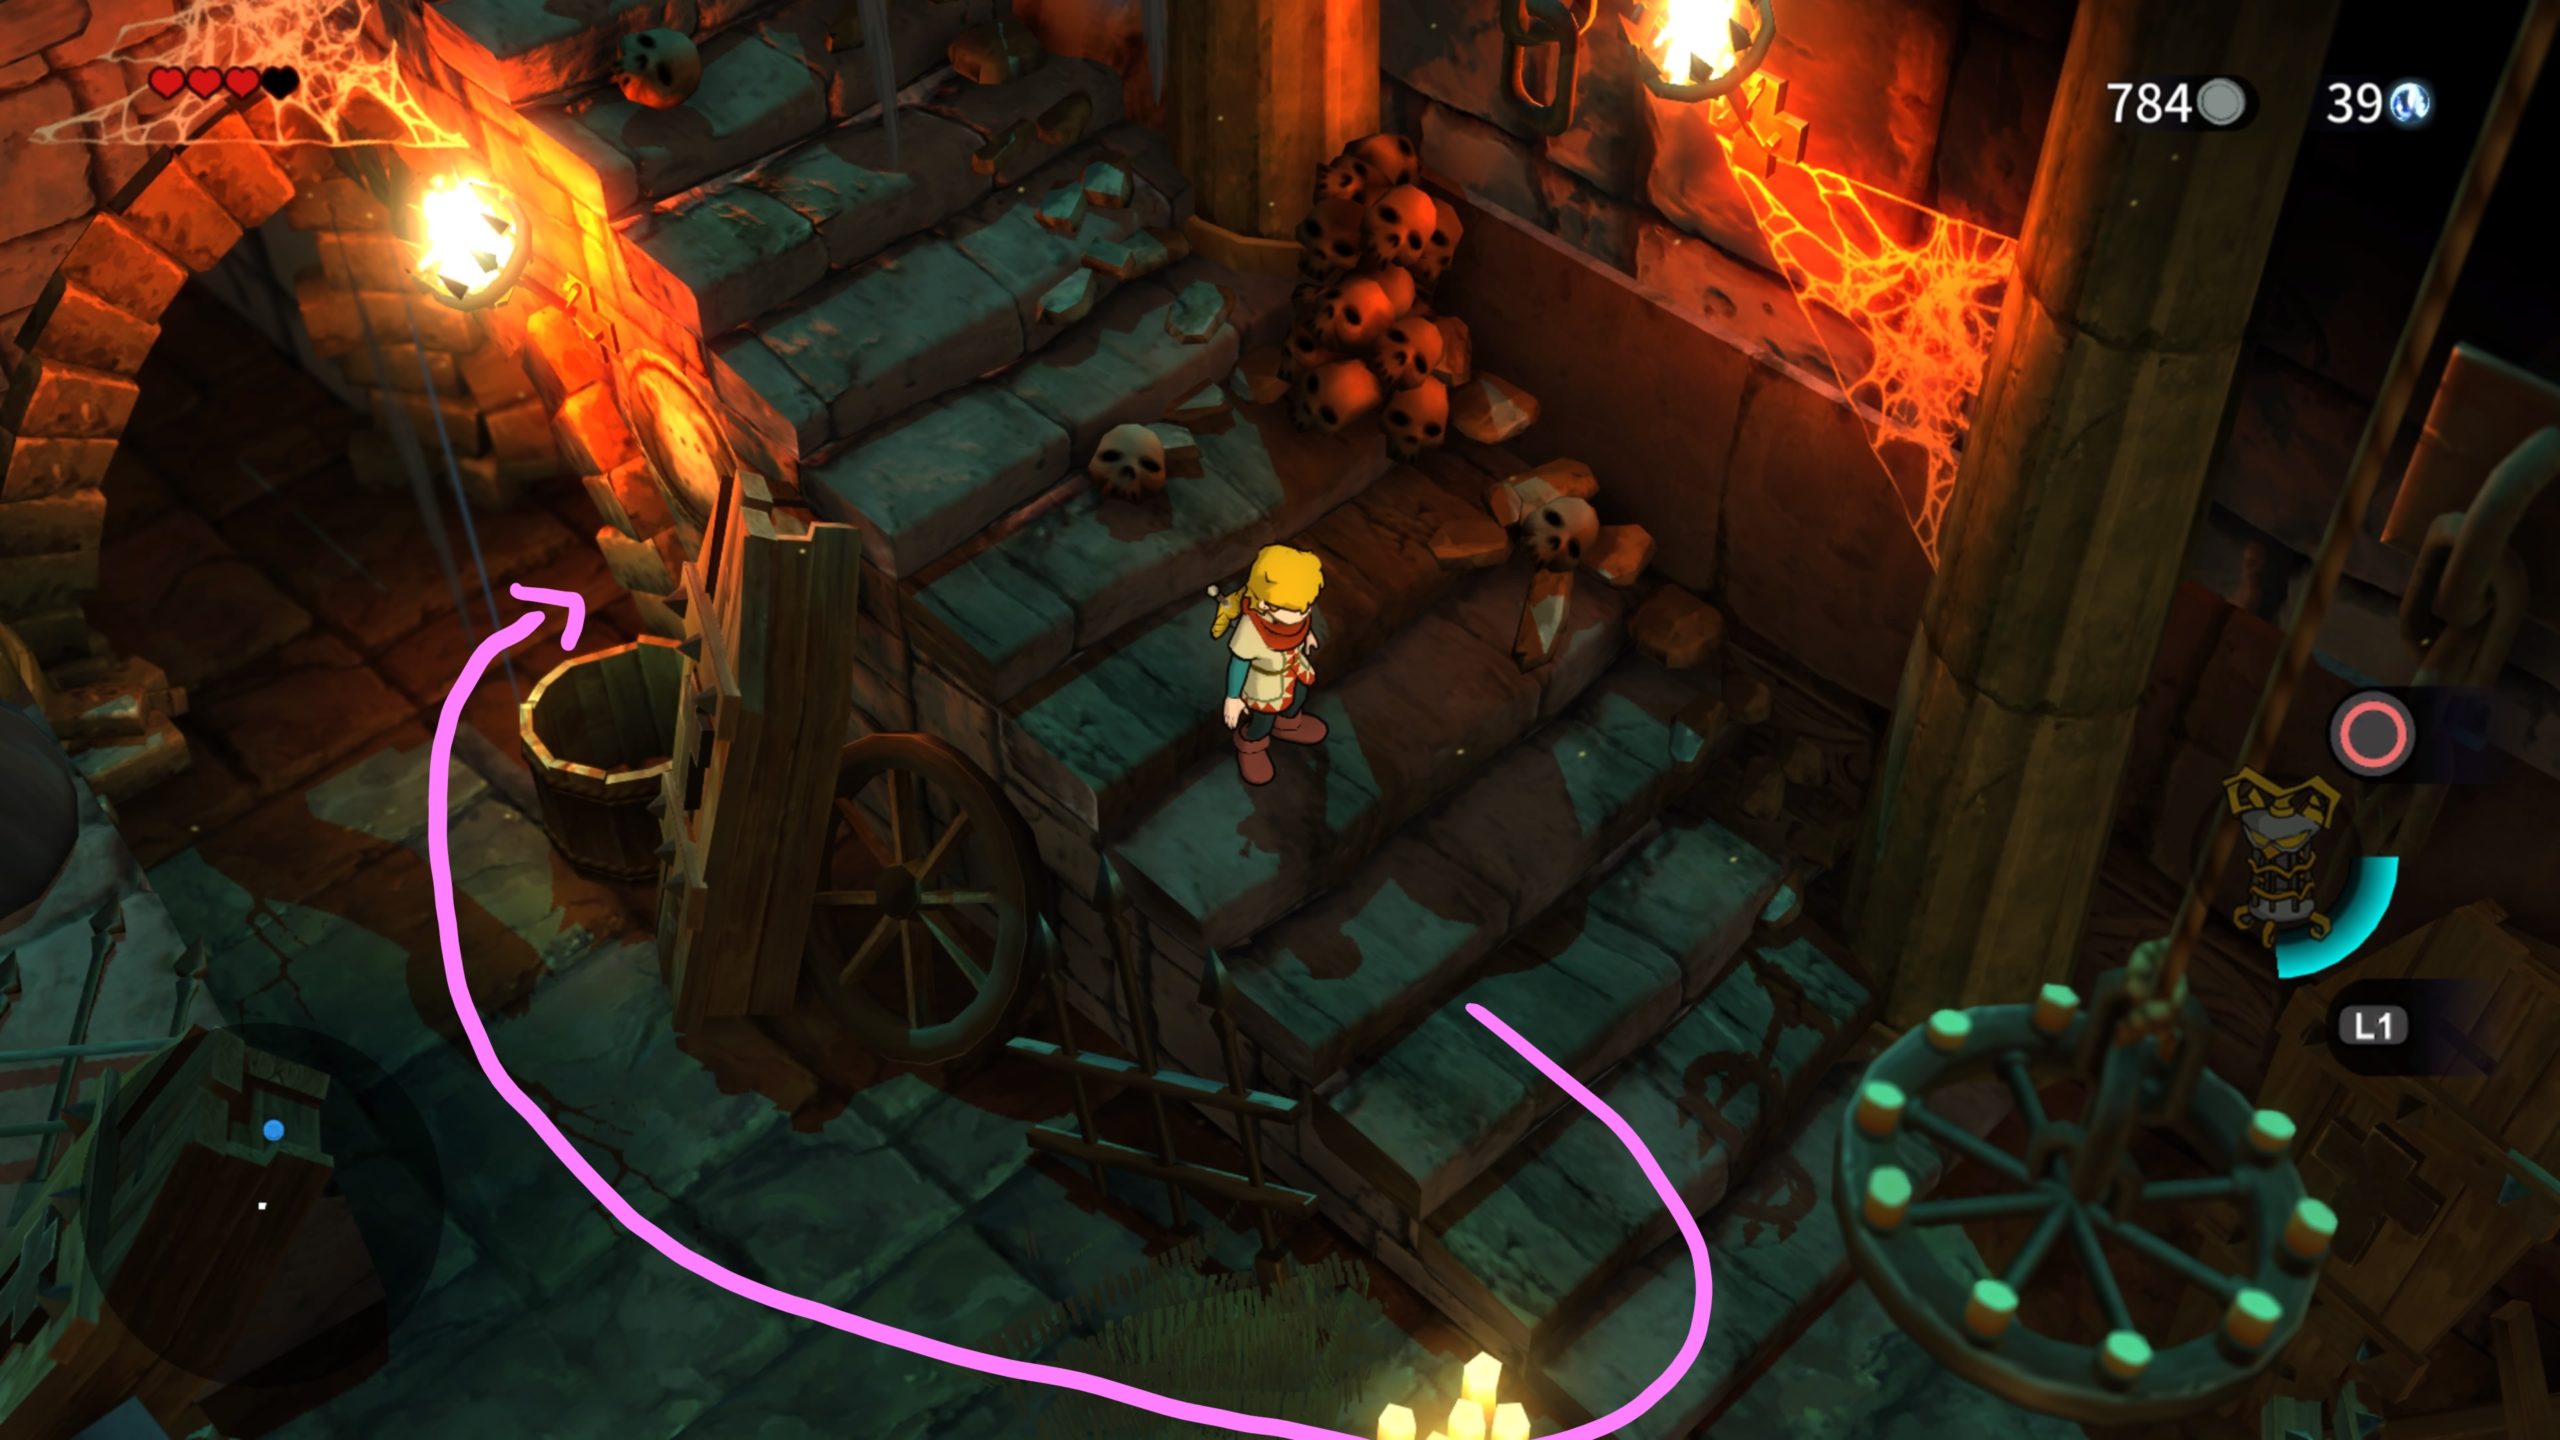
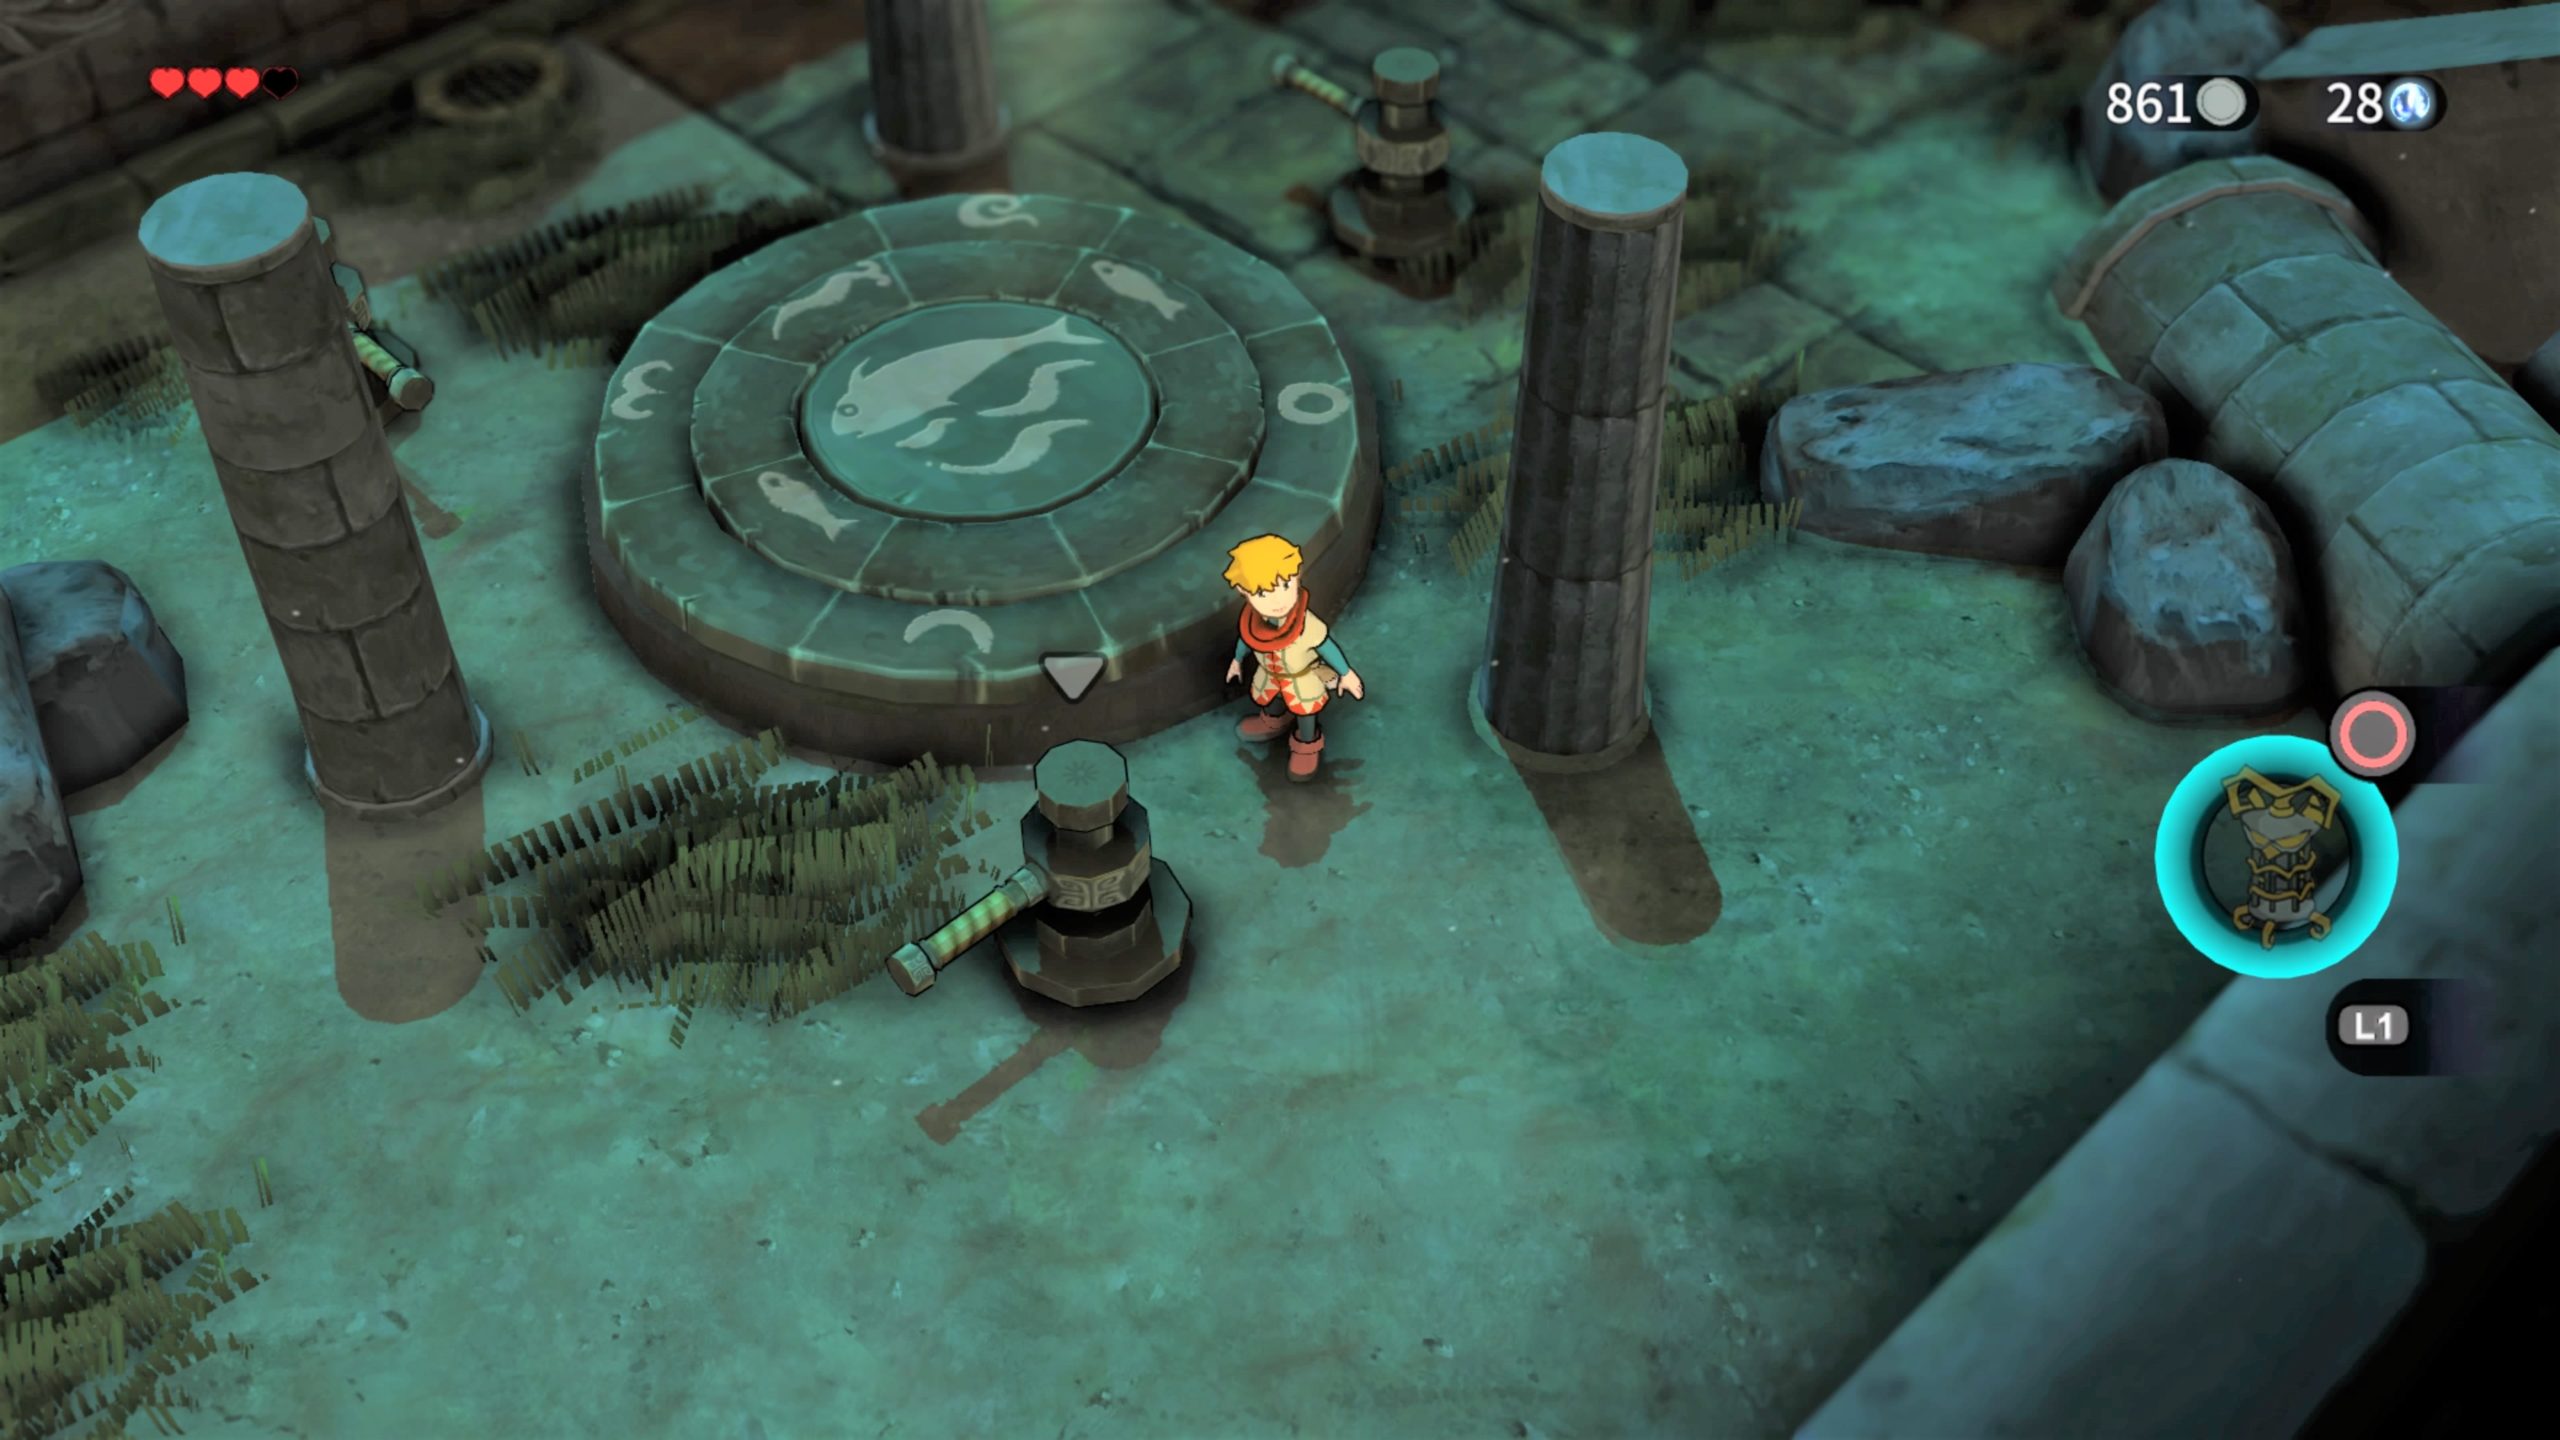
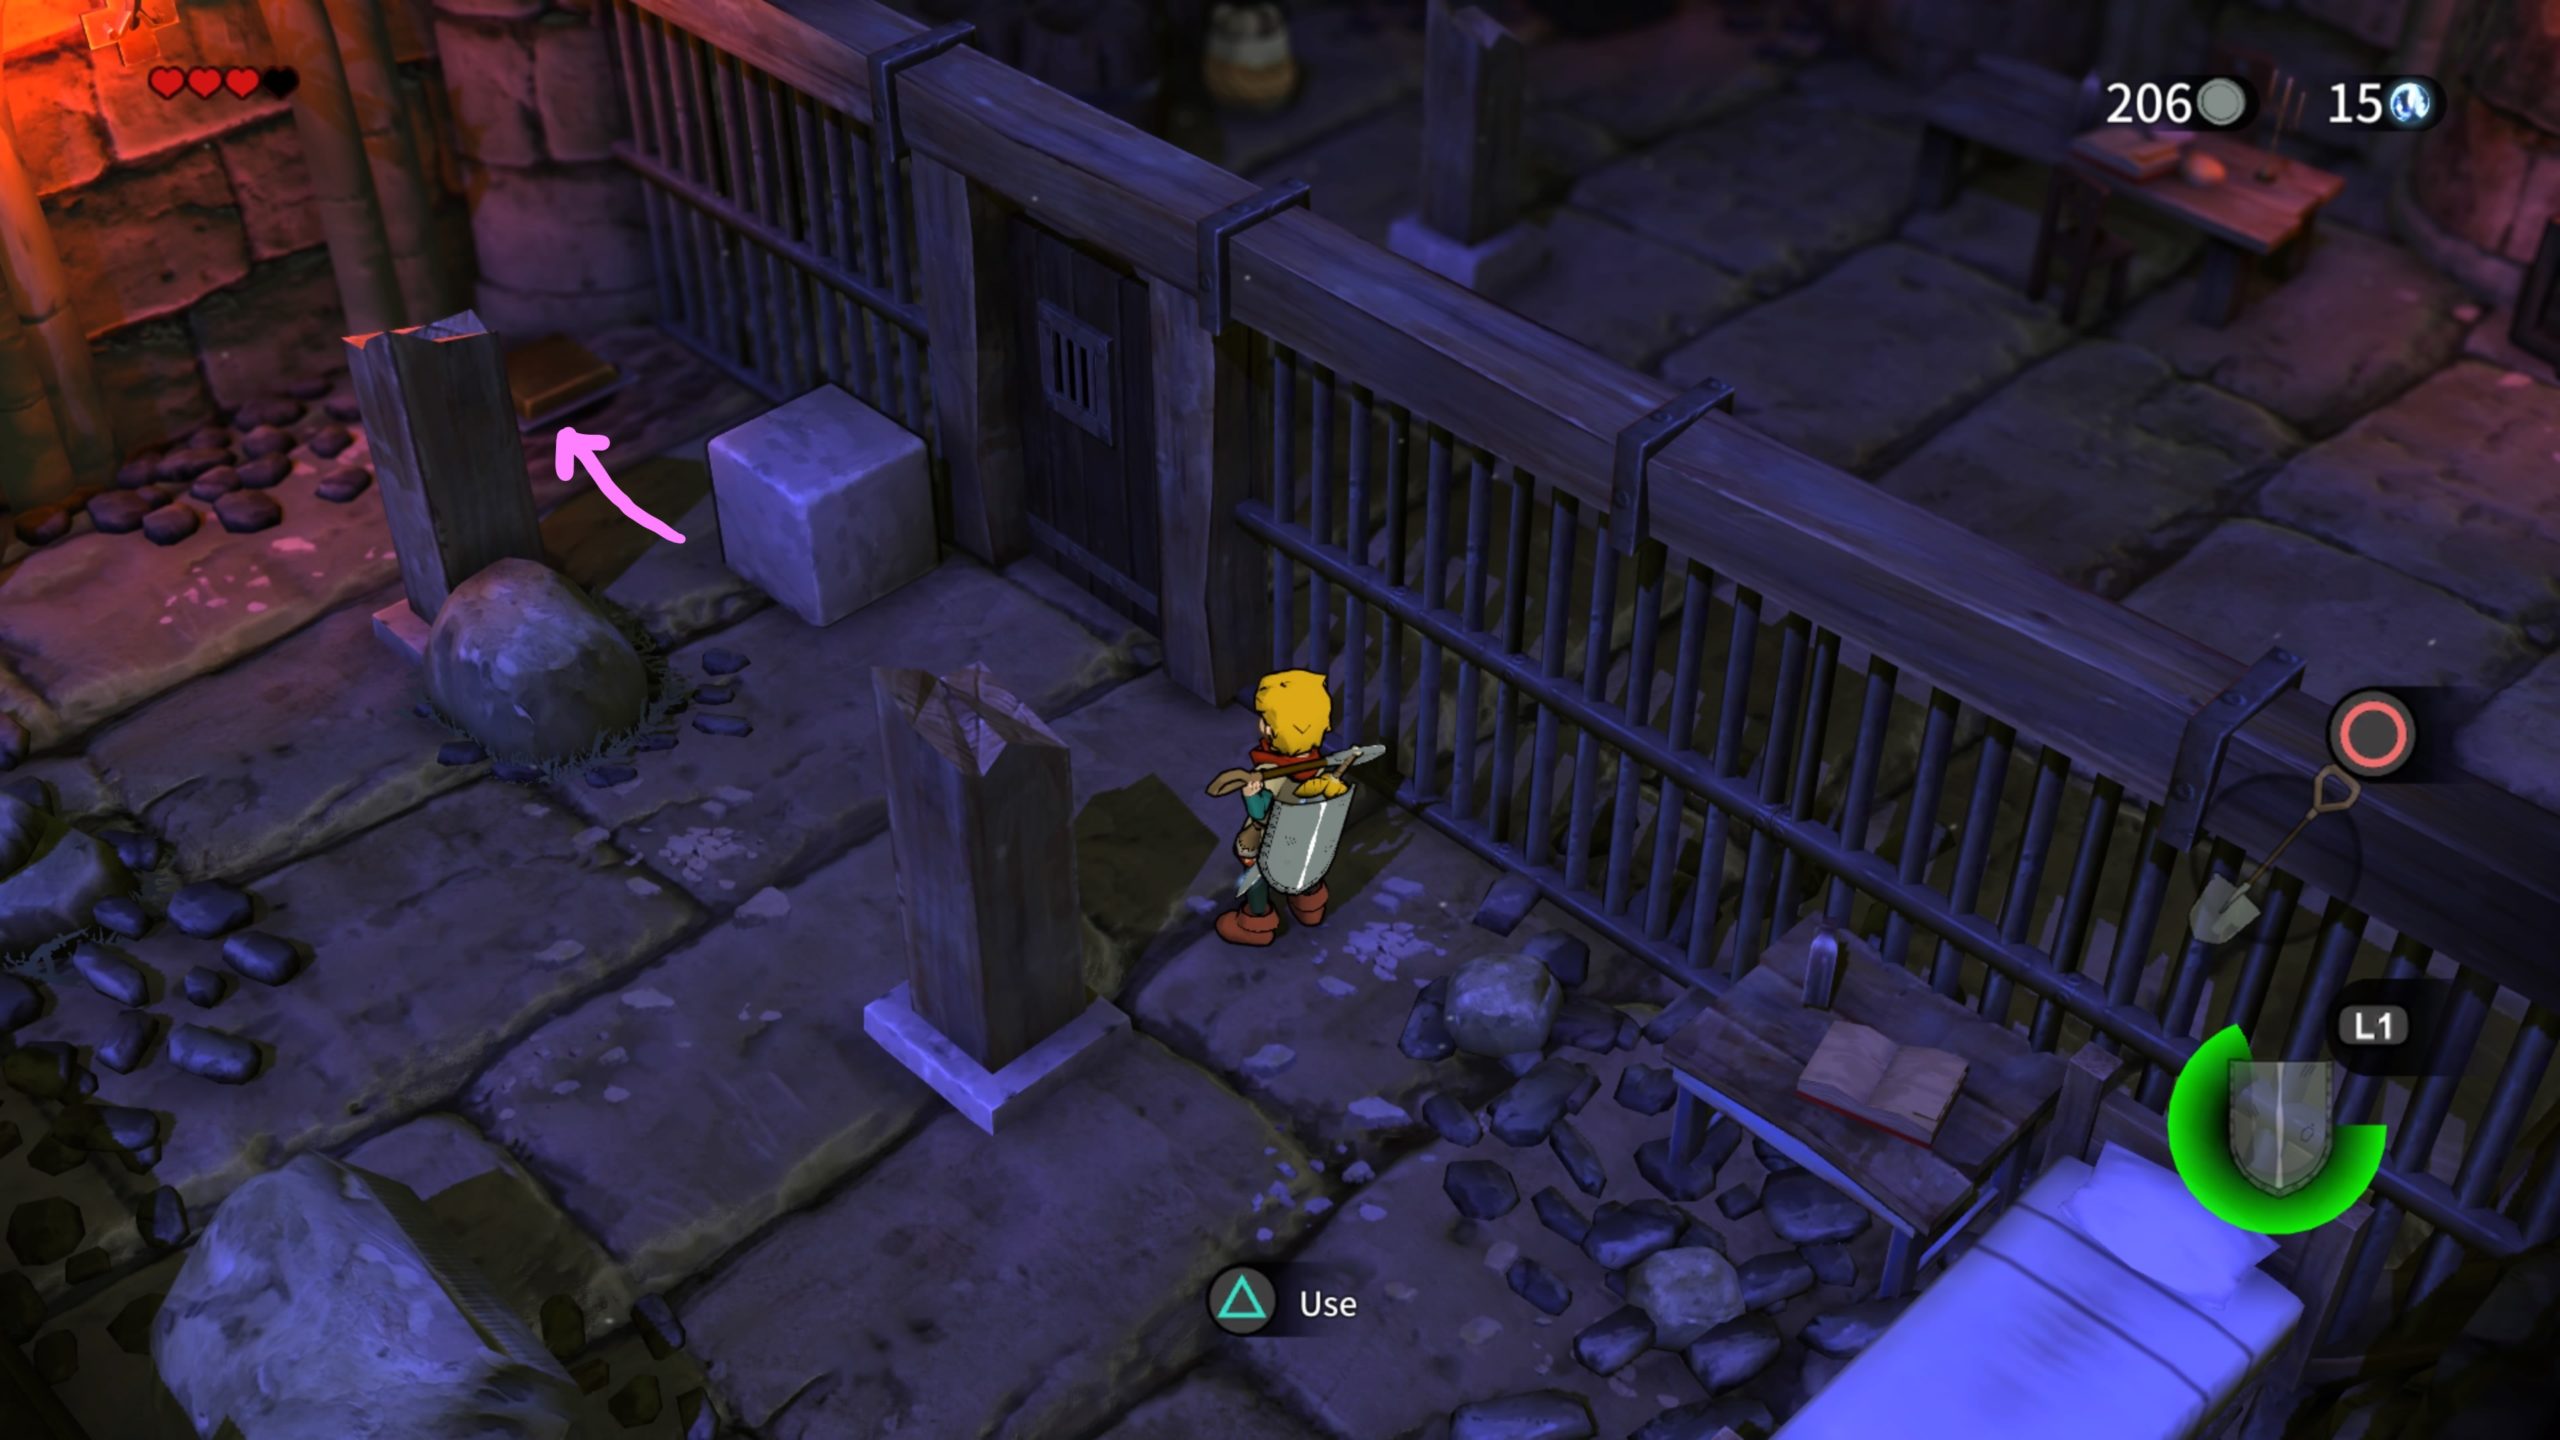
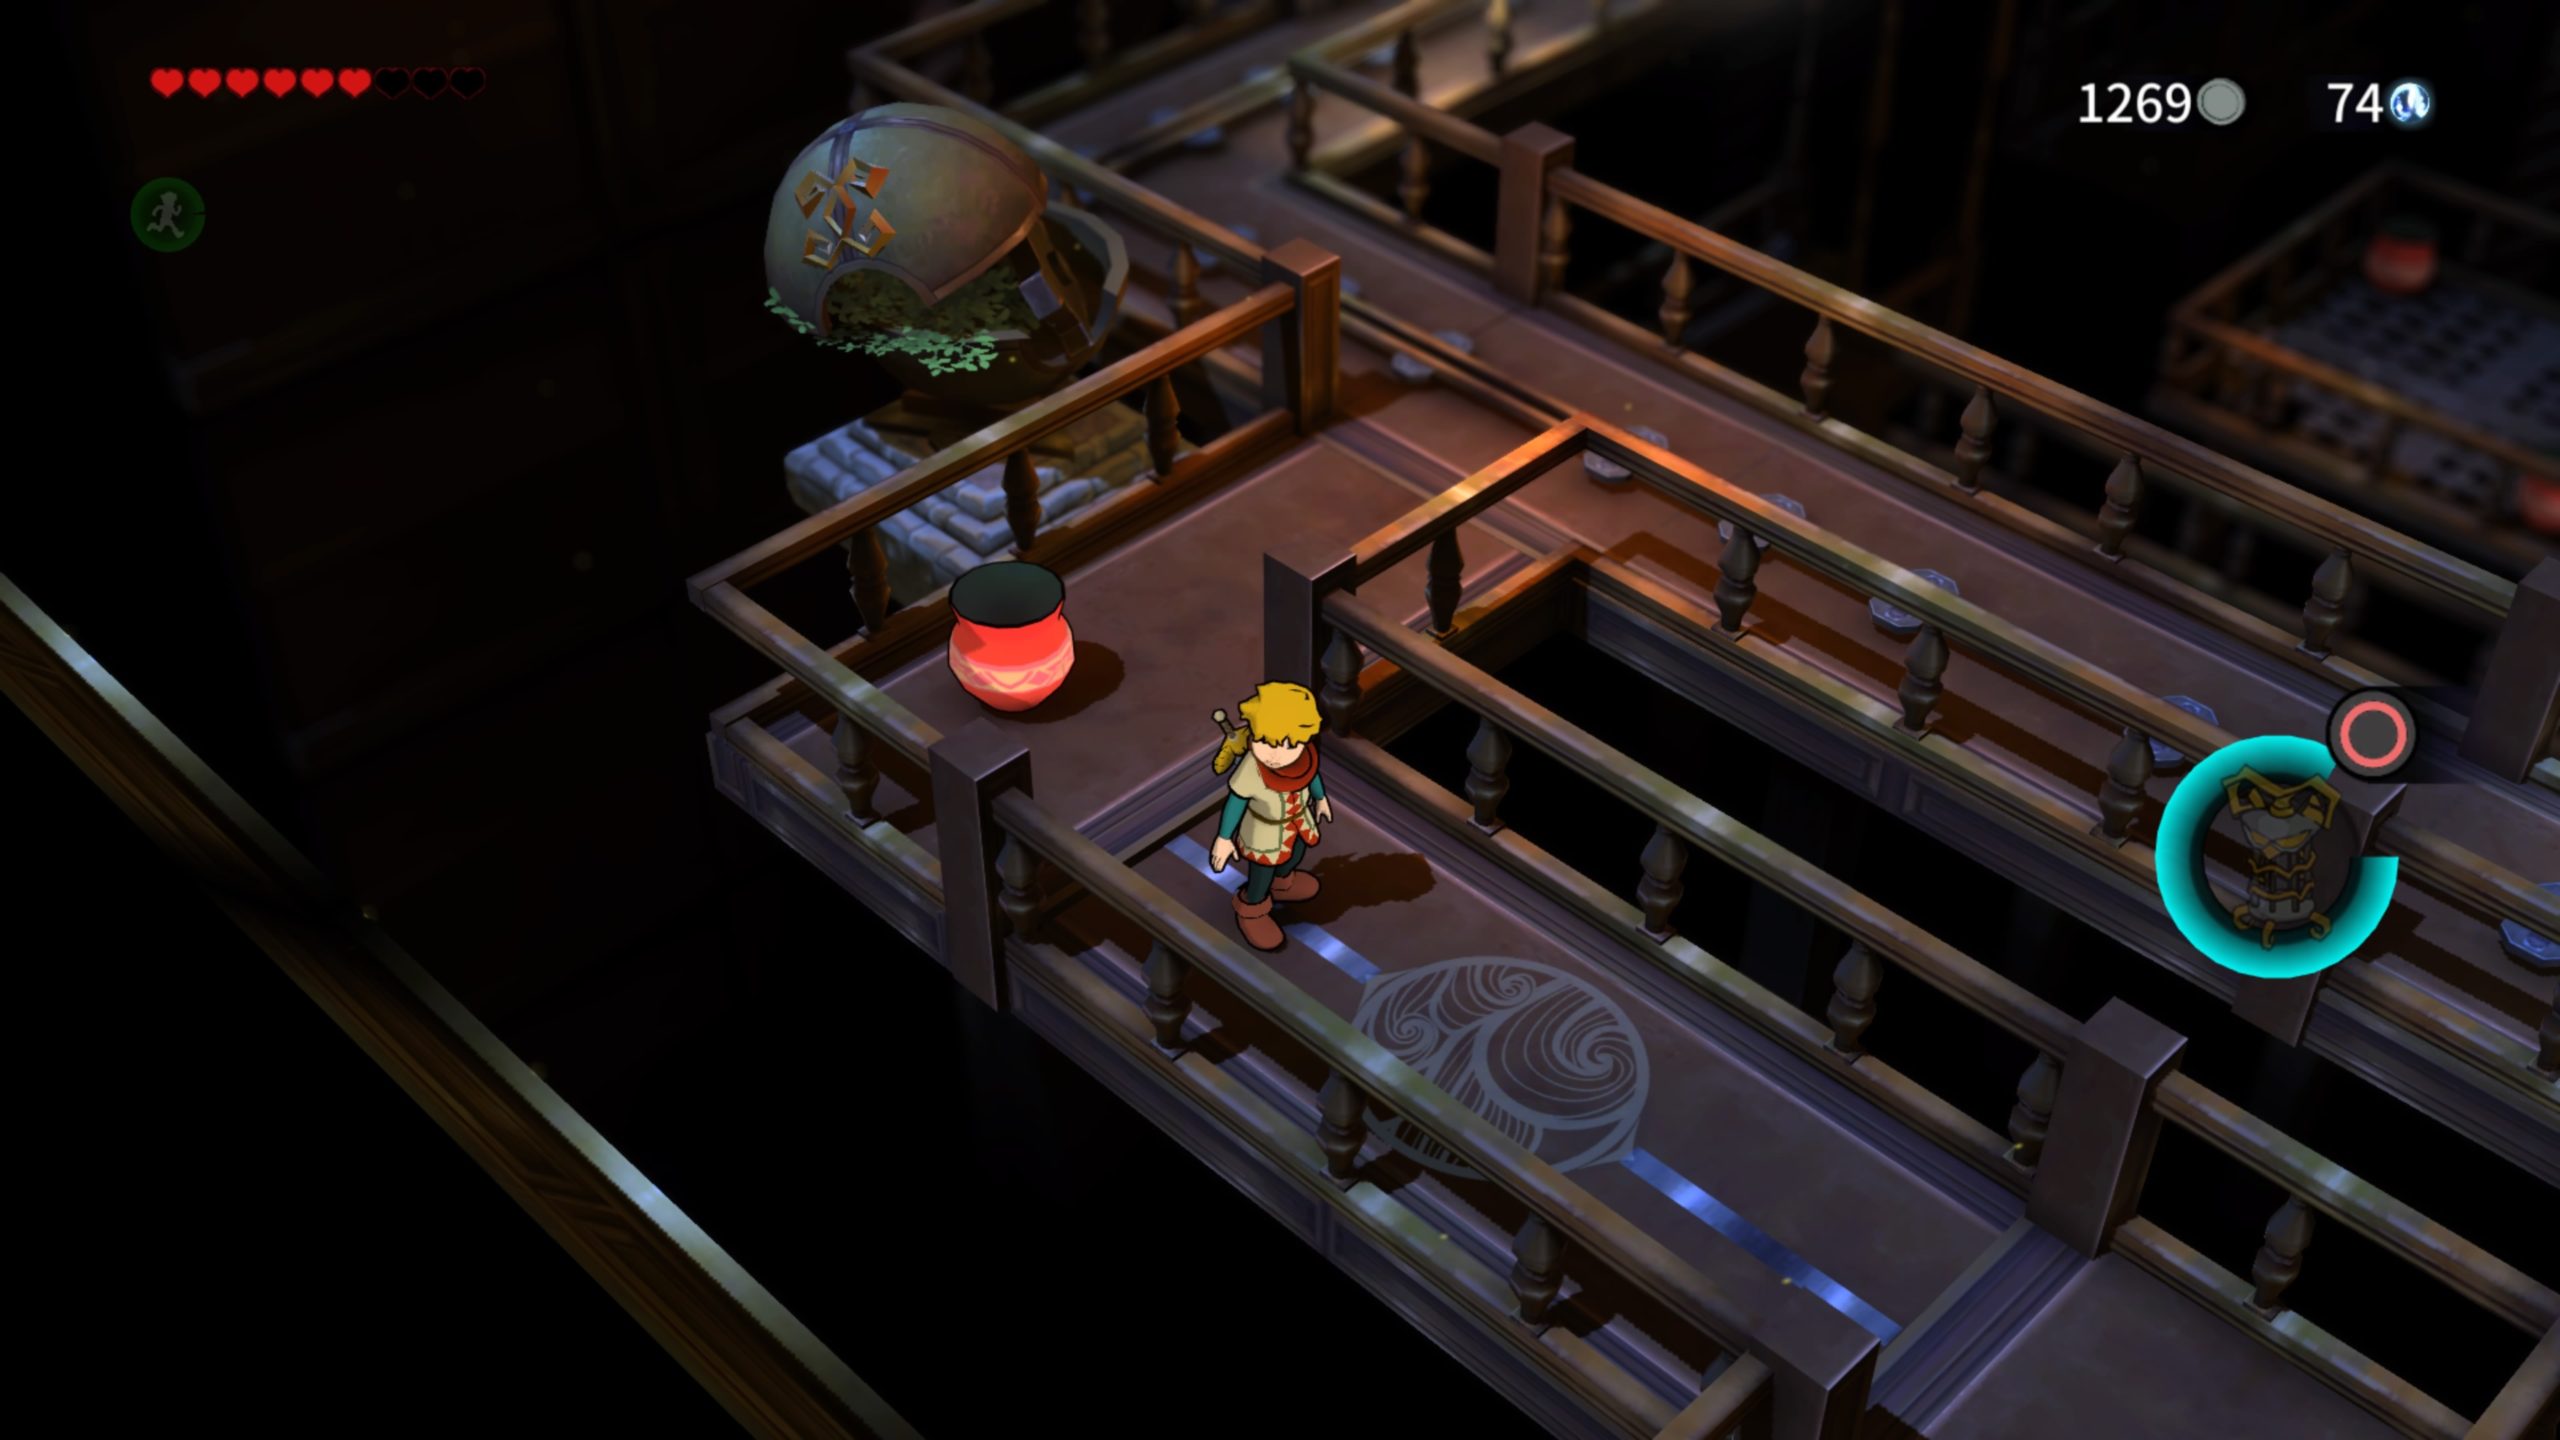
Head to the entrance to the sewers down the stairs next to the inn in Rodia. Once you’re in The Underground, burn the web and take the first available right, going through 2 owl statues guarding a doorway. Continue down the long hall and interact with the post missing a lever. Push the levers as shown in the image below.

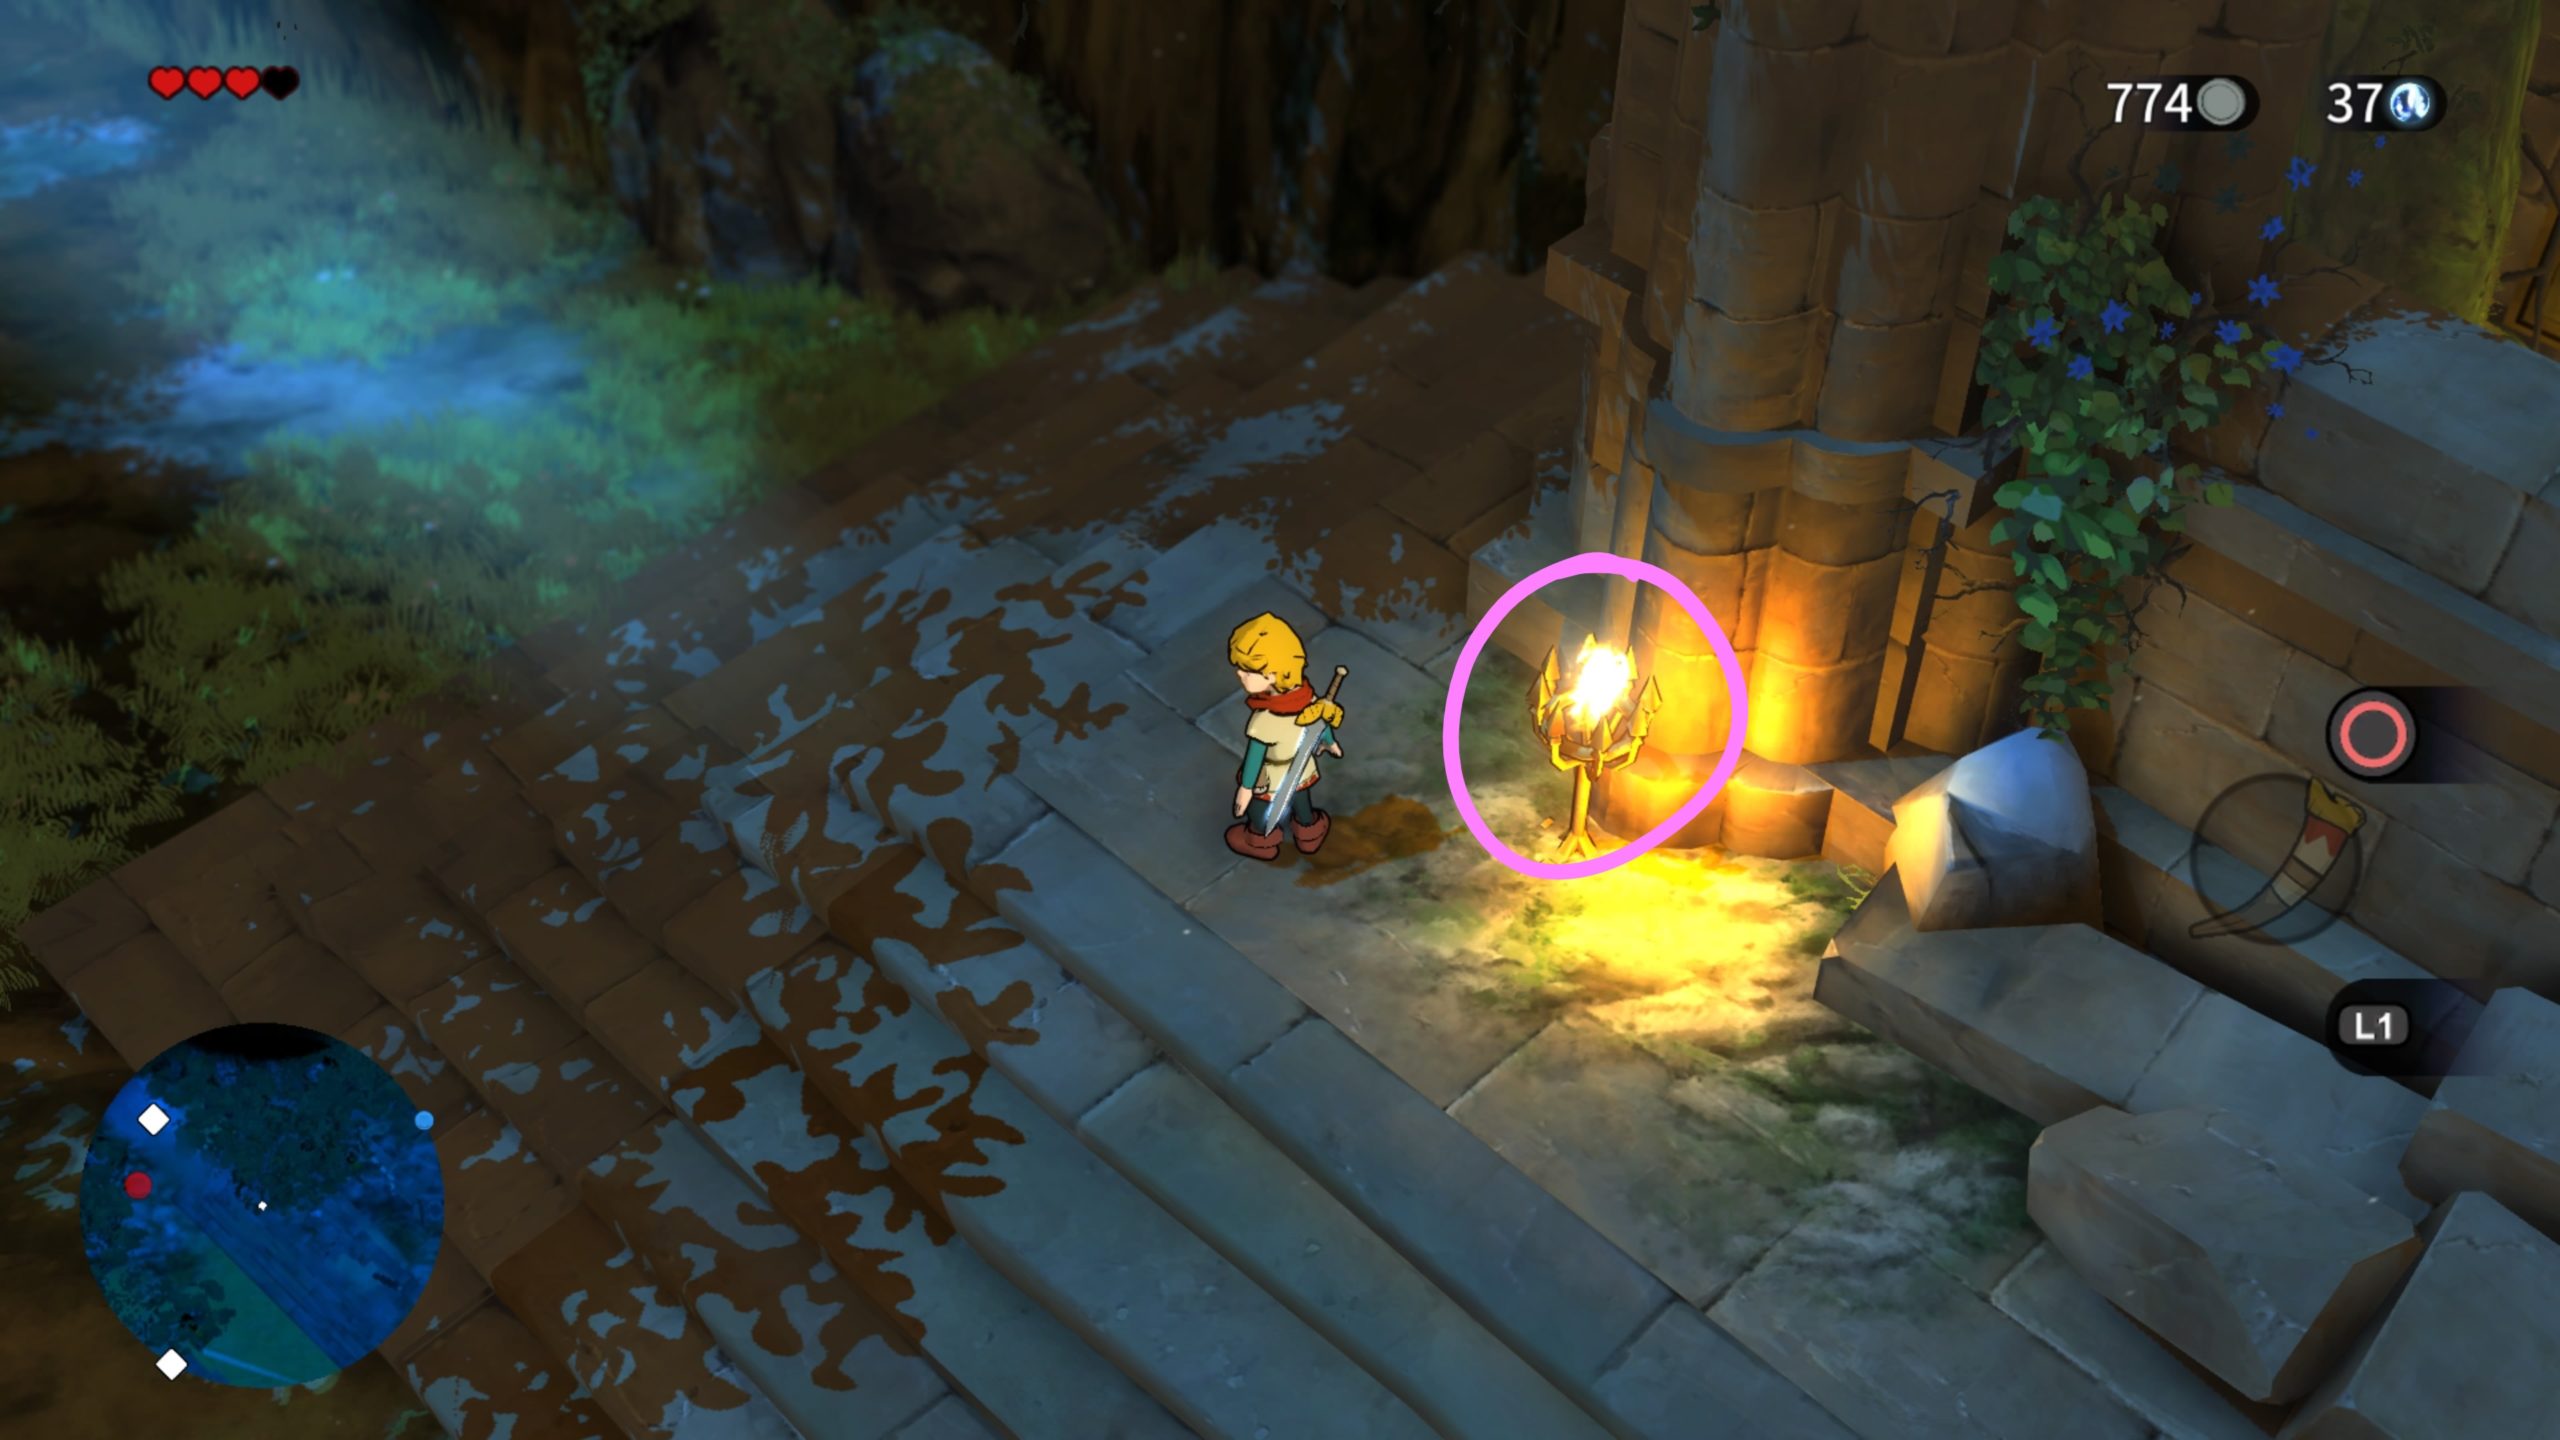
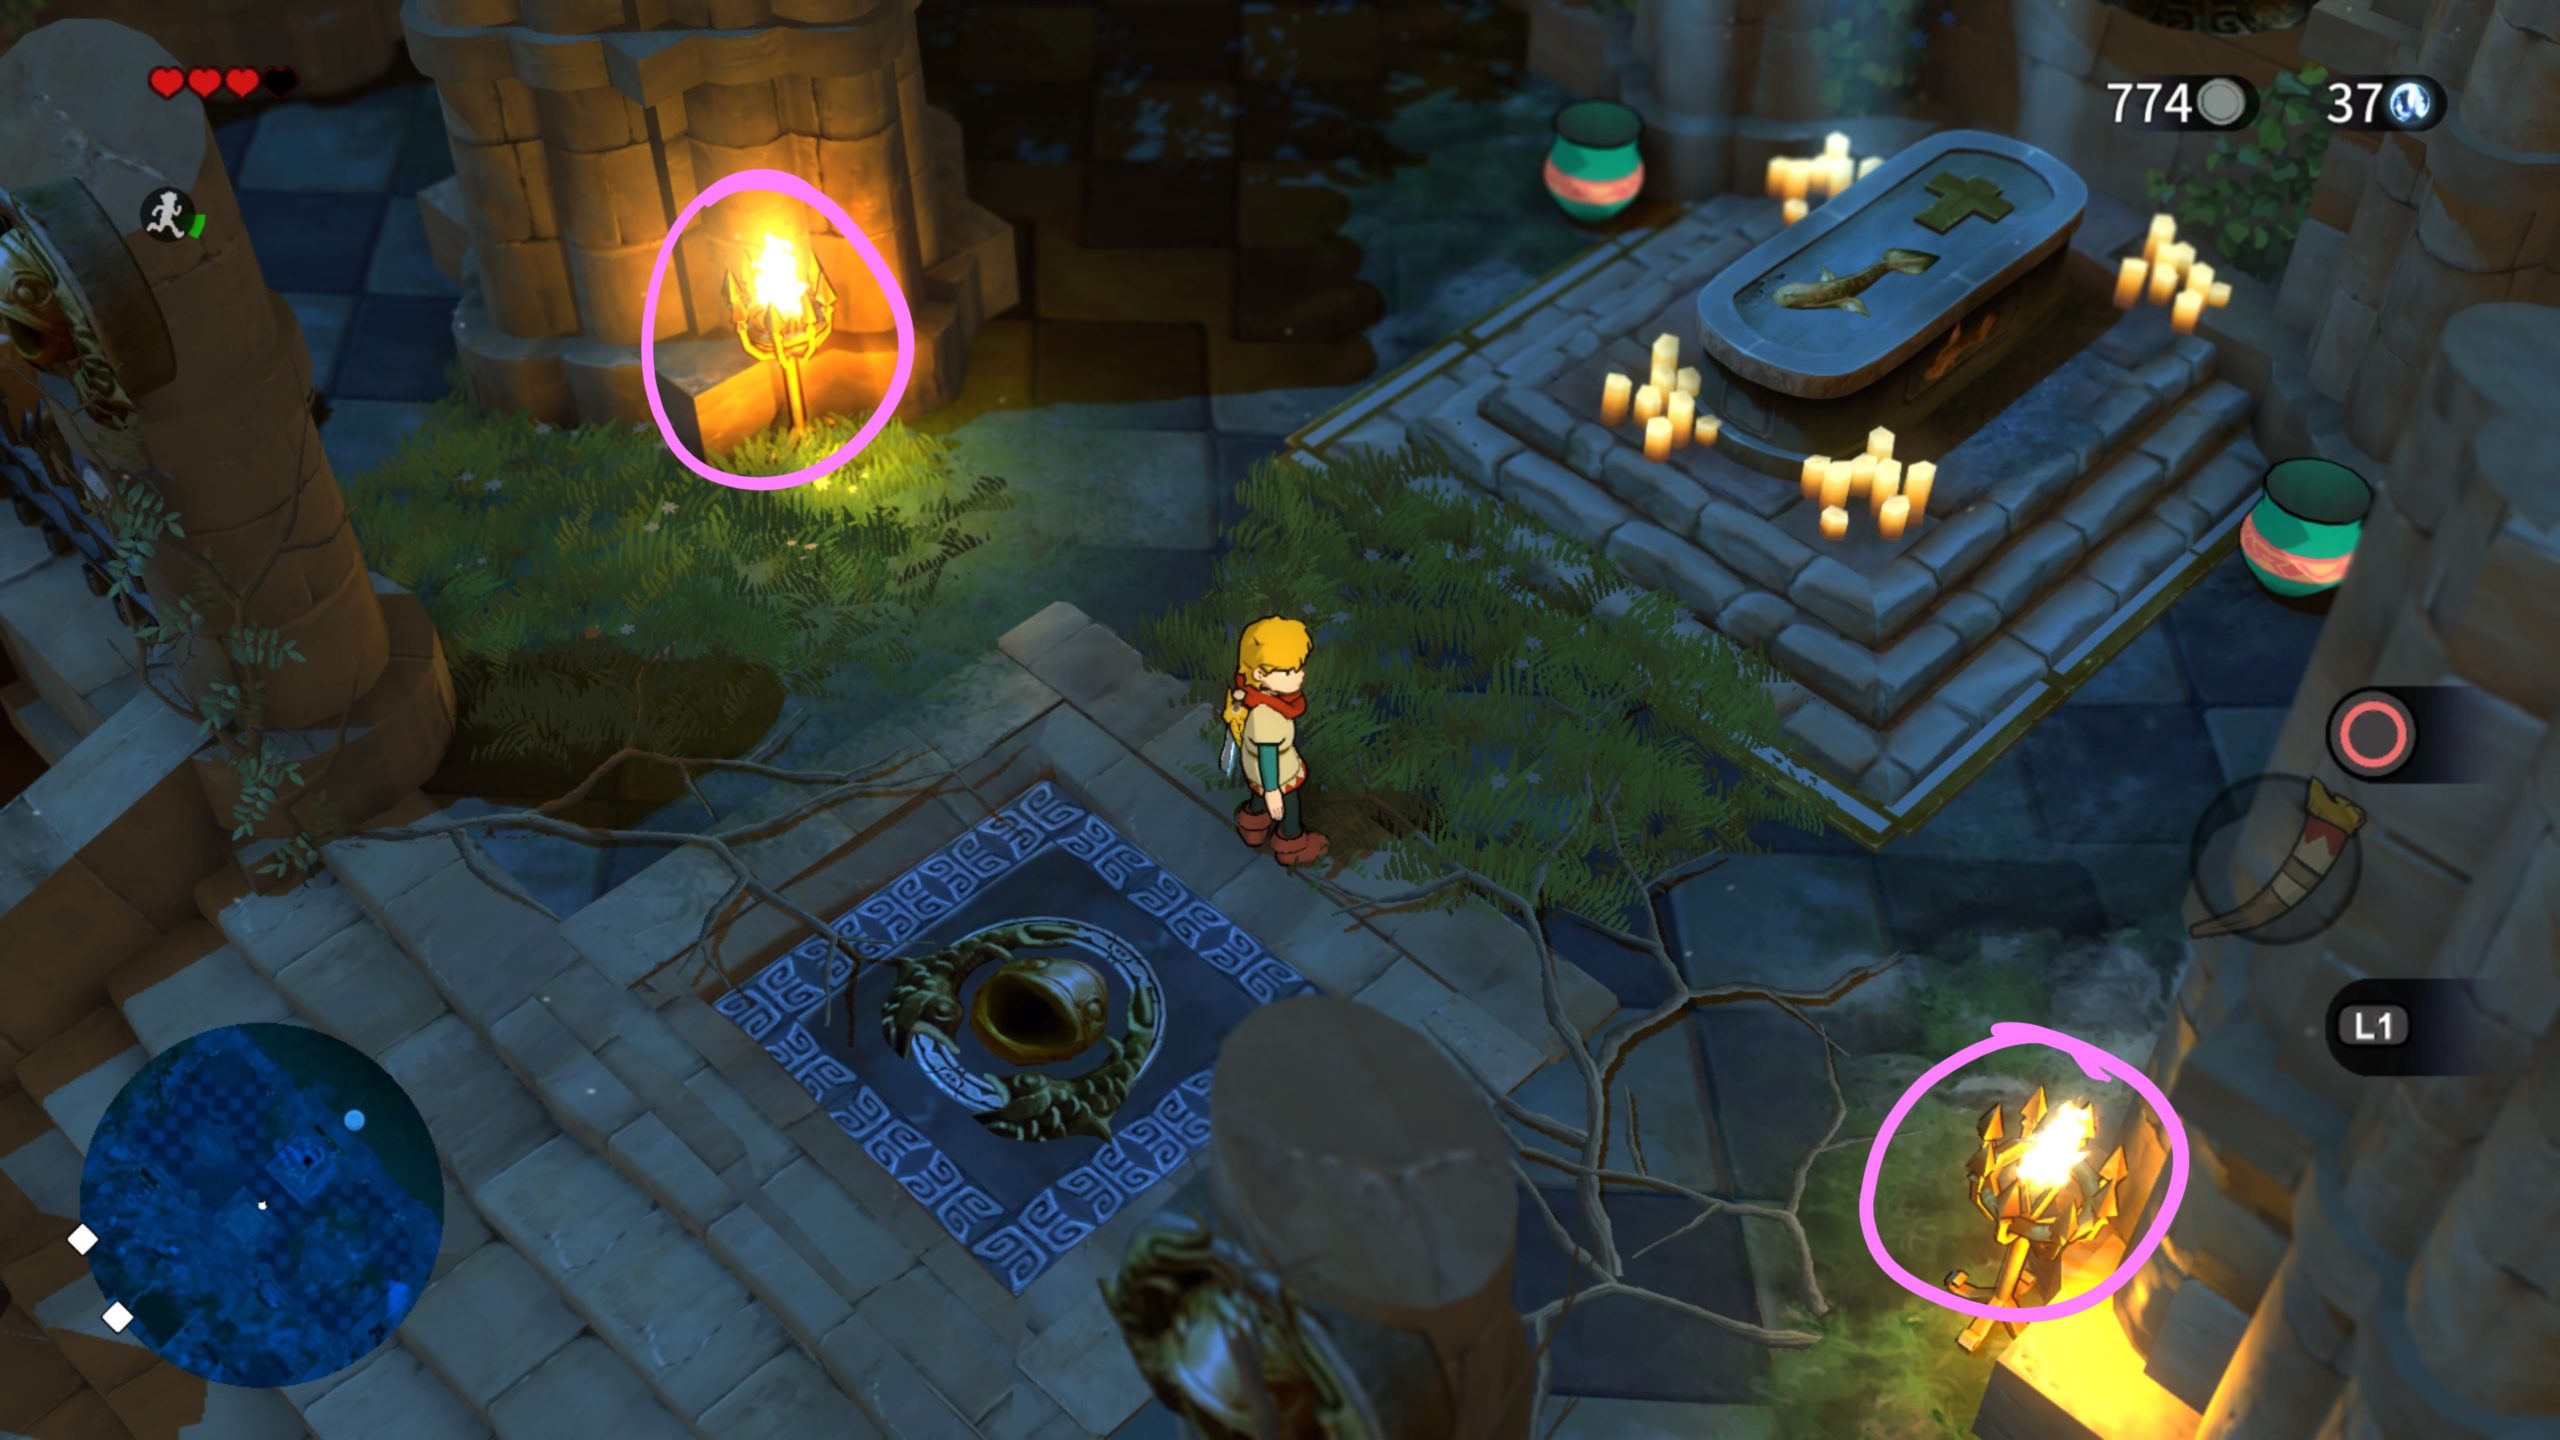
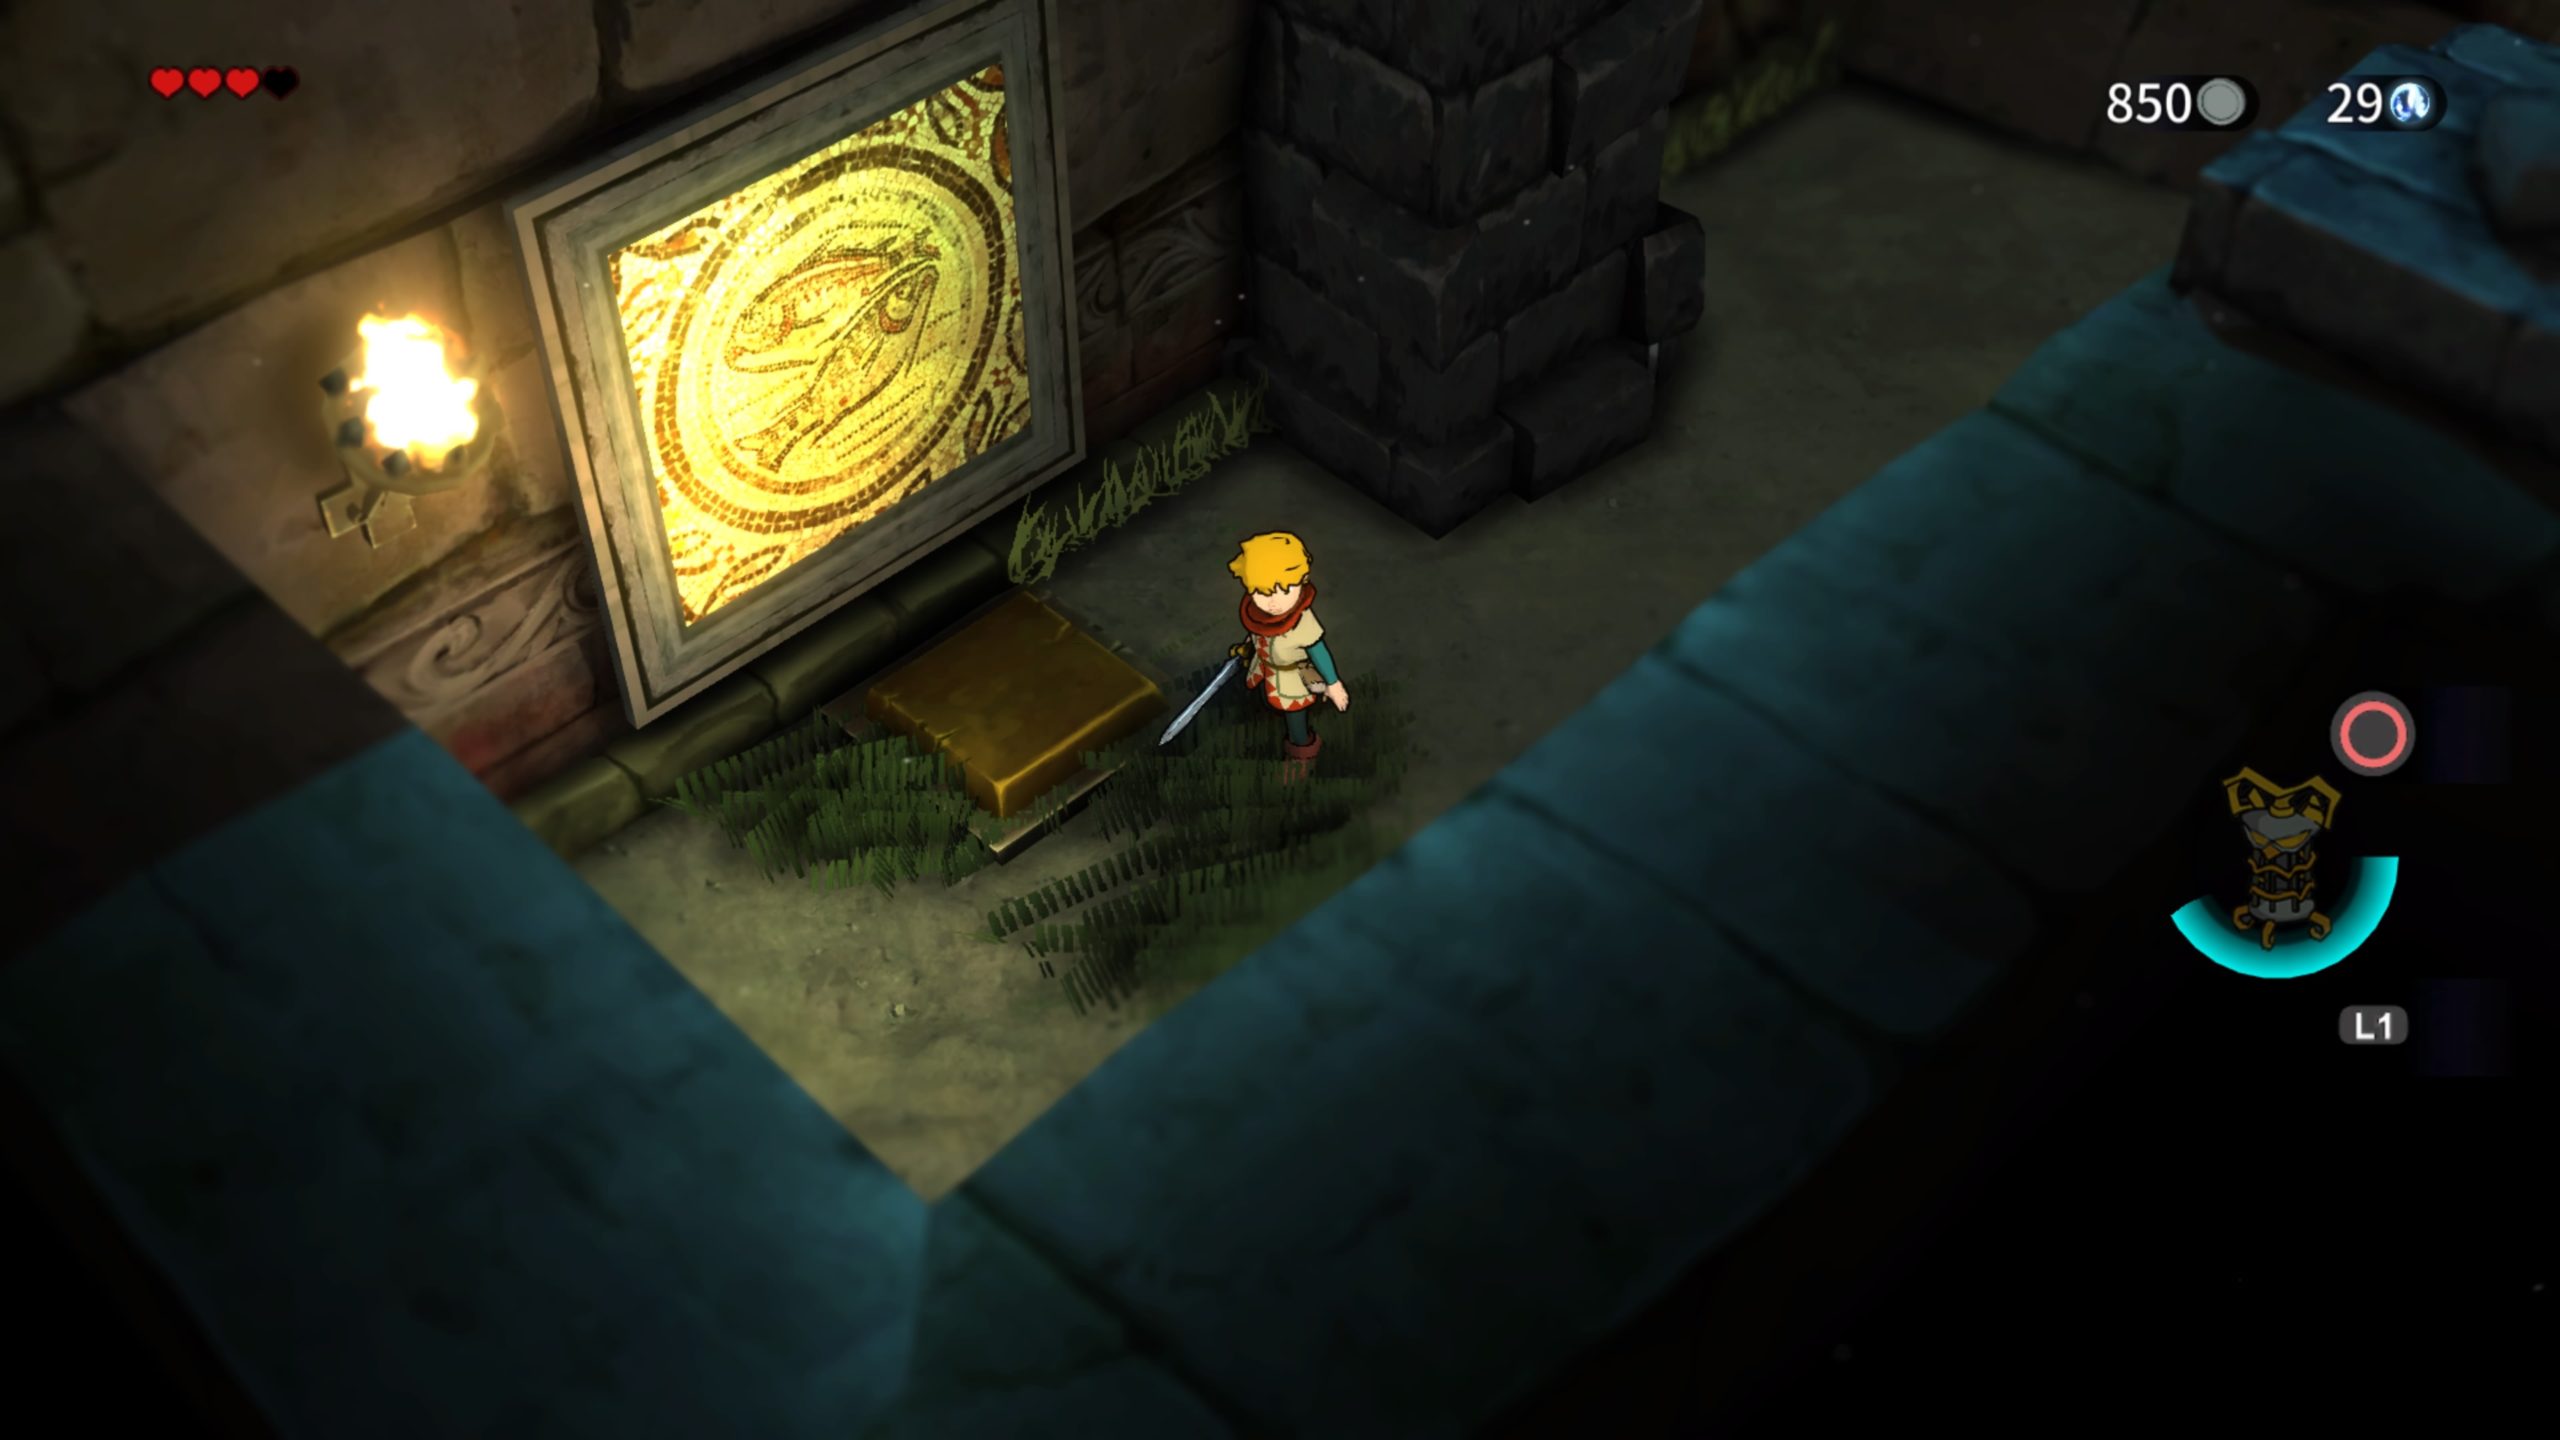
Head through the door and continue left over the first wooden bridge to find a brazier at the dead end.
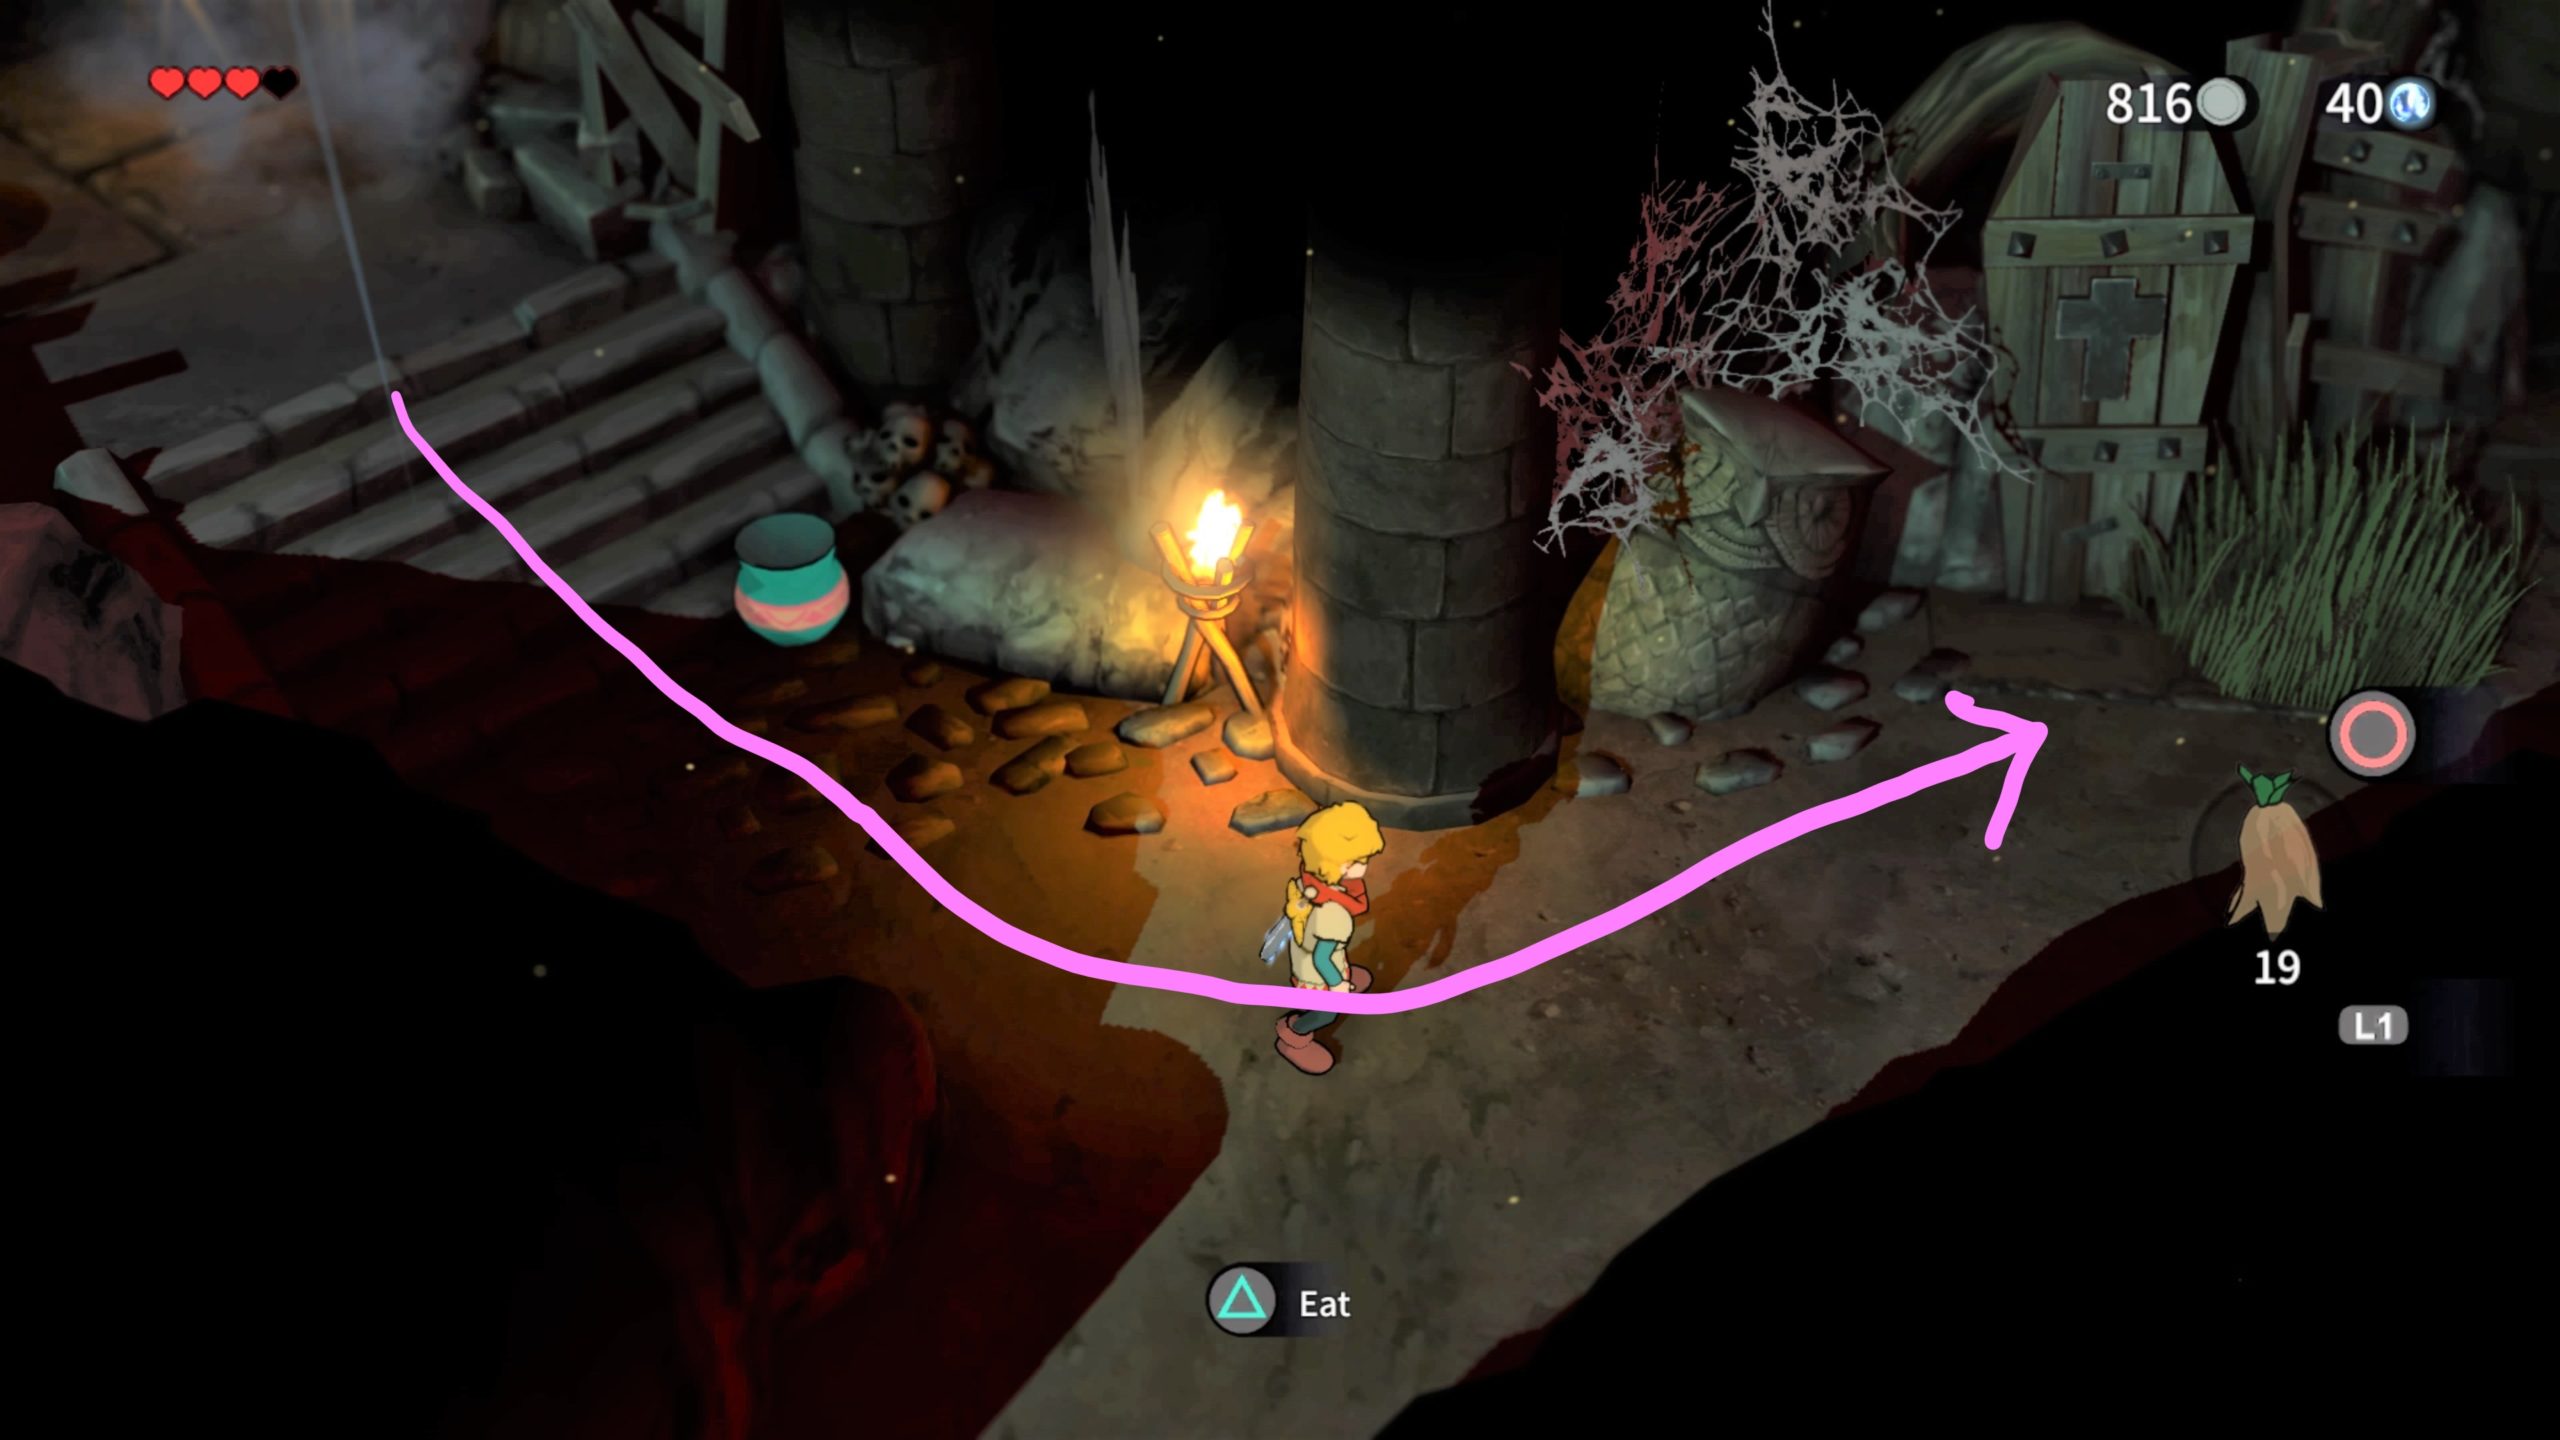
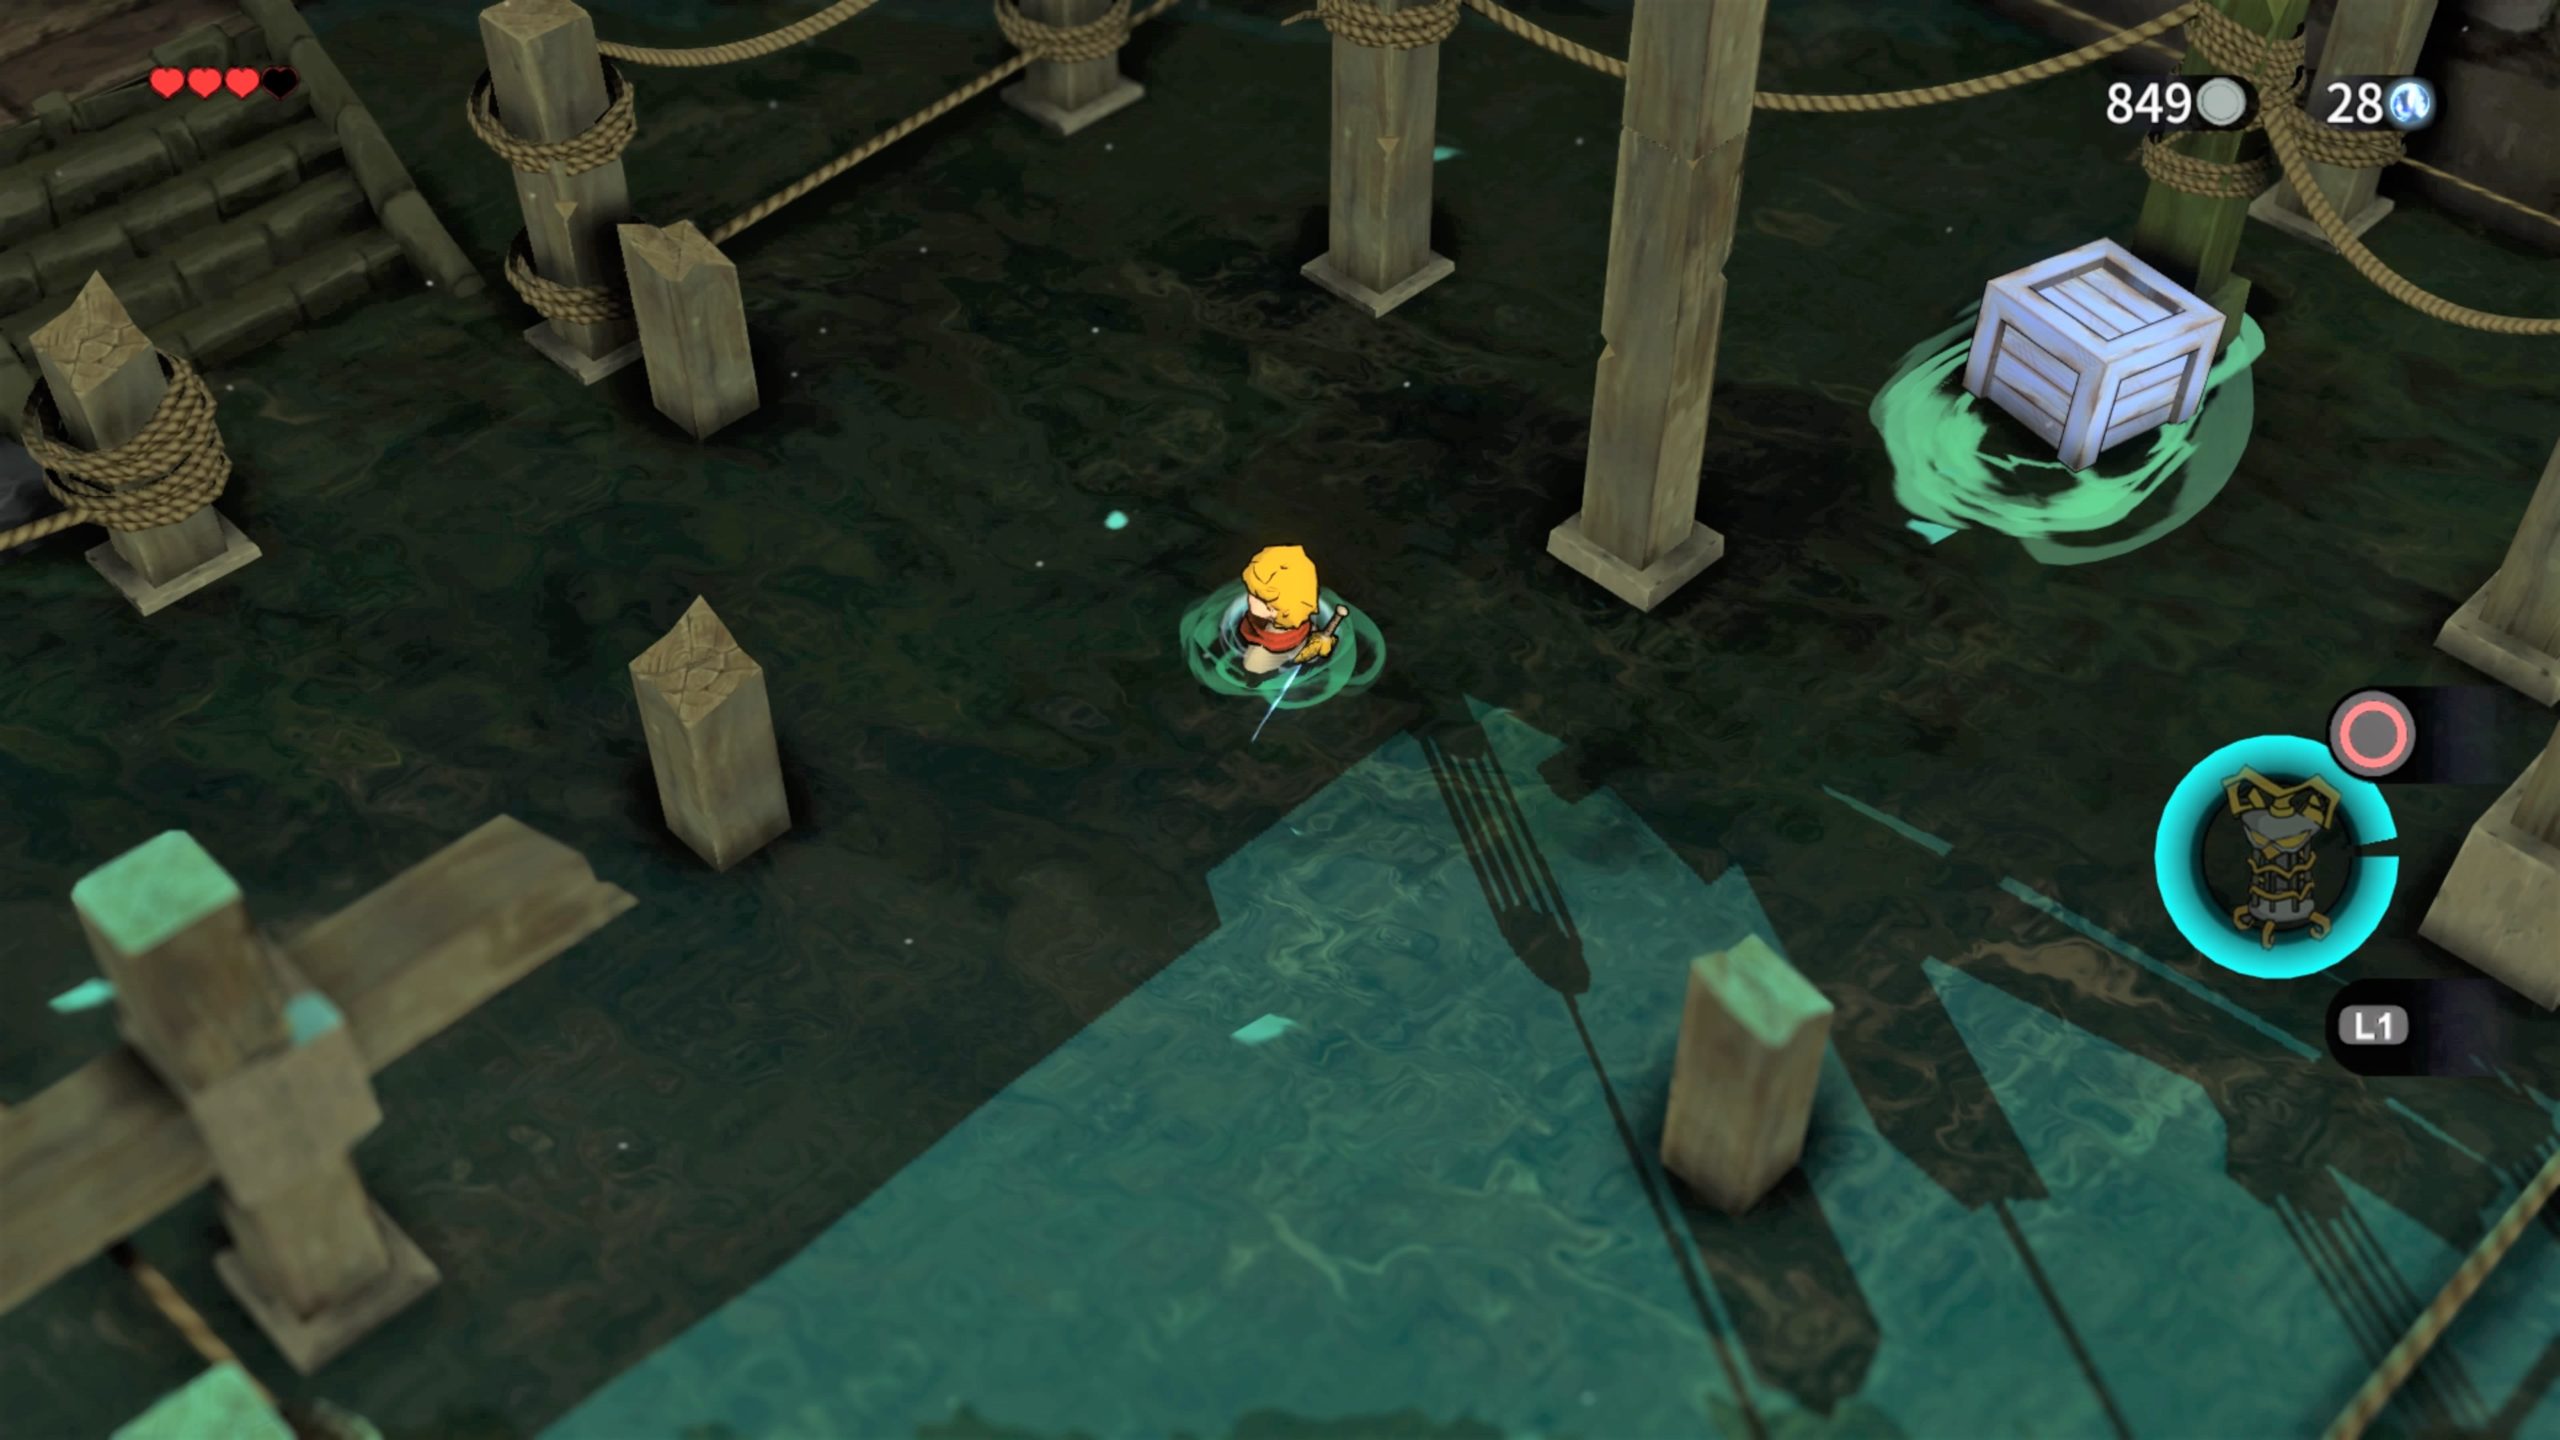
Before you light it, know that there are a total of 5 braziers that must be lit in the correct order to proceed. Once you light each brazier, pay attention to the quick cutscene that appears, showing you where the next brazier is. It’ll not only show you the location, but also a symbol above the fish head. Just make sure you’re at the right brazier before you light it! When the braziers are lit correctly, the water will rescind. Head to the northwestern side of the room (next to brazier #2) to head down then up a set of stairs. Exit the room via the door. In the next room, you’ll need to cross the wooden platform in the center and dig up a space in the northwestern side to reveal a pressure point. Step on it for the other pressure point to be accessible. Head across the wooden platform in the center and step on it. This will cause the middle platform to spin. Now this next task is going to suck! You’re going to have to light the brazier just before the spinning platform then jump onto the platform and light the 4 braziers while spinning. Your timing must be perfect as this is of course timed. Once all braziers are lit, a ladder will drop down. Climb up it to reach Maluna’s Castle.
Second Castle Gardens
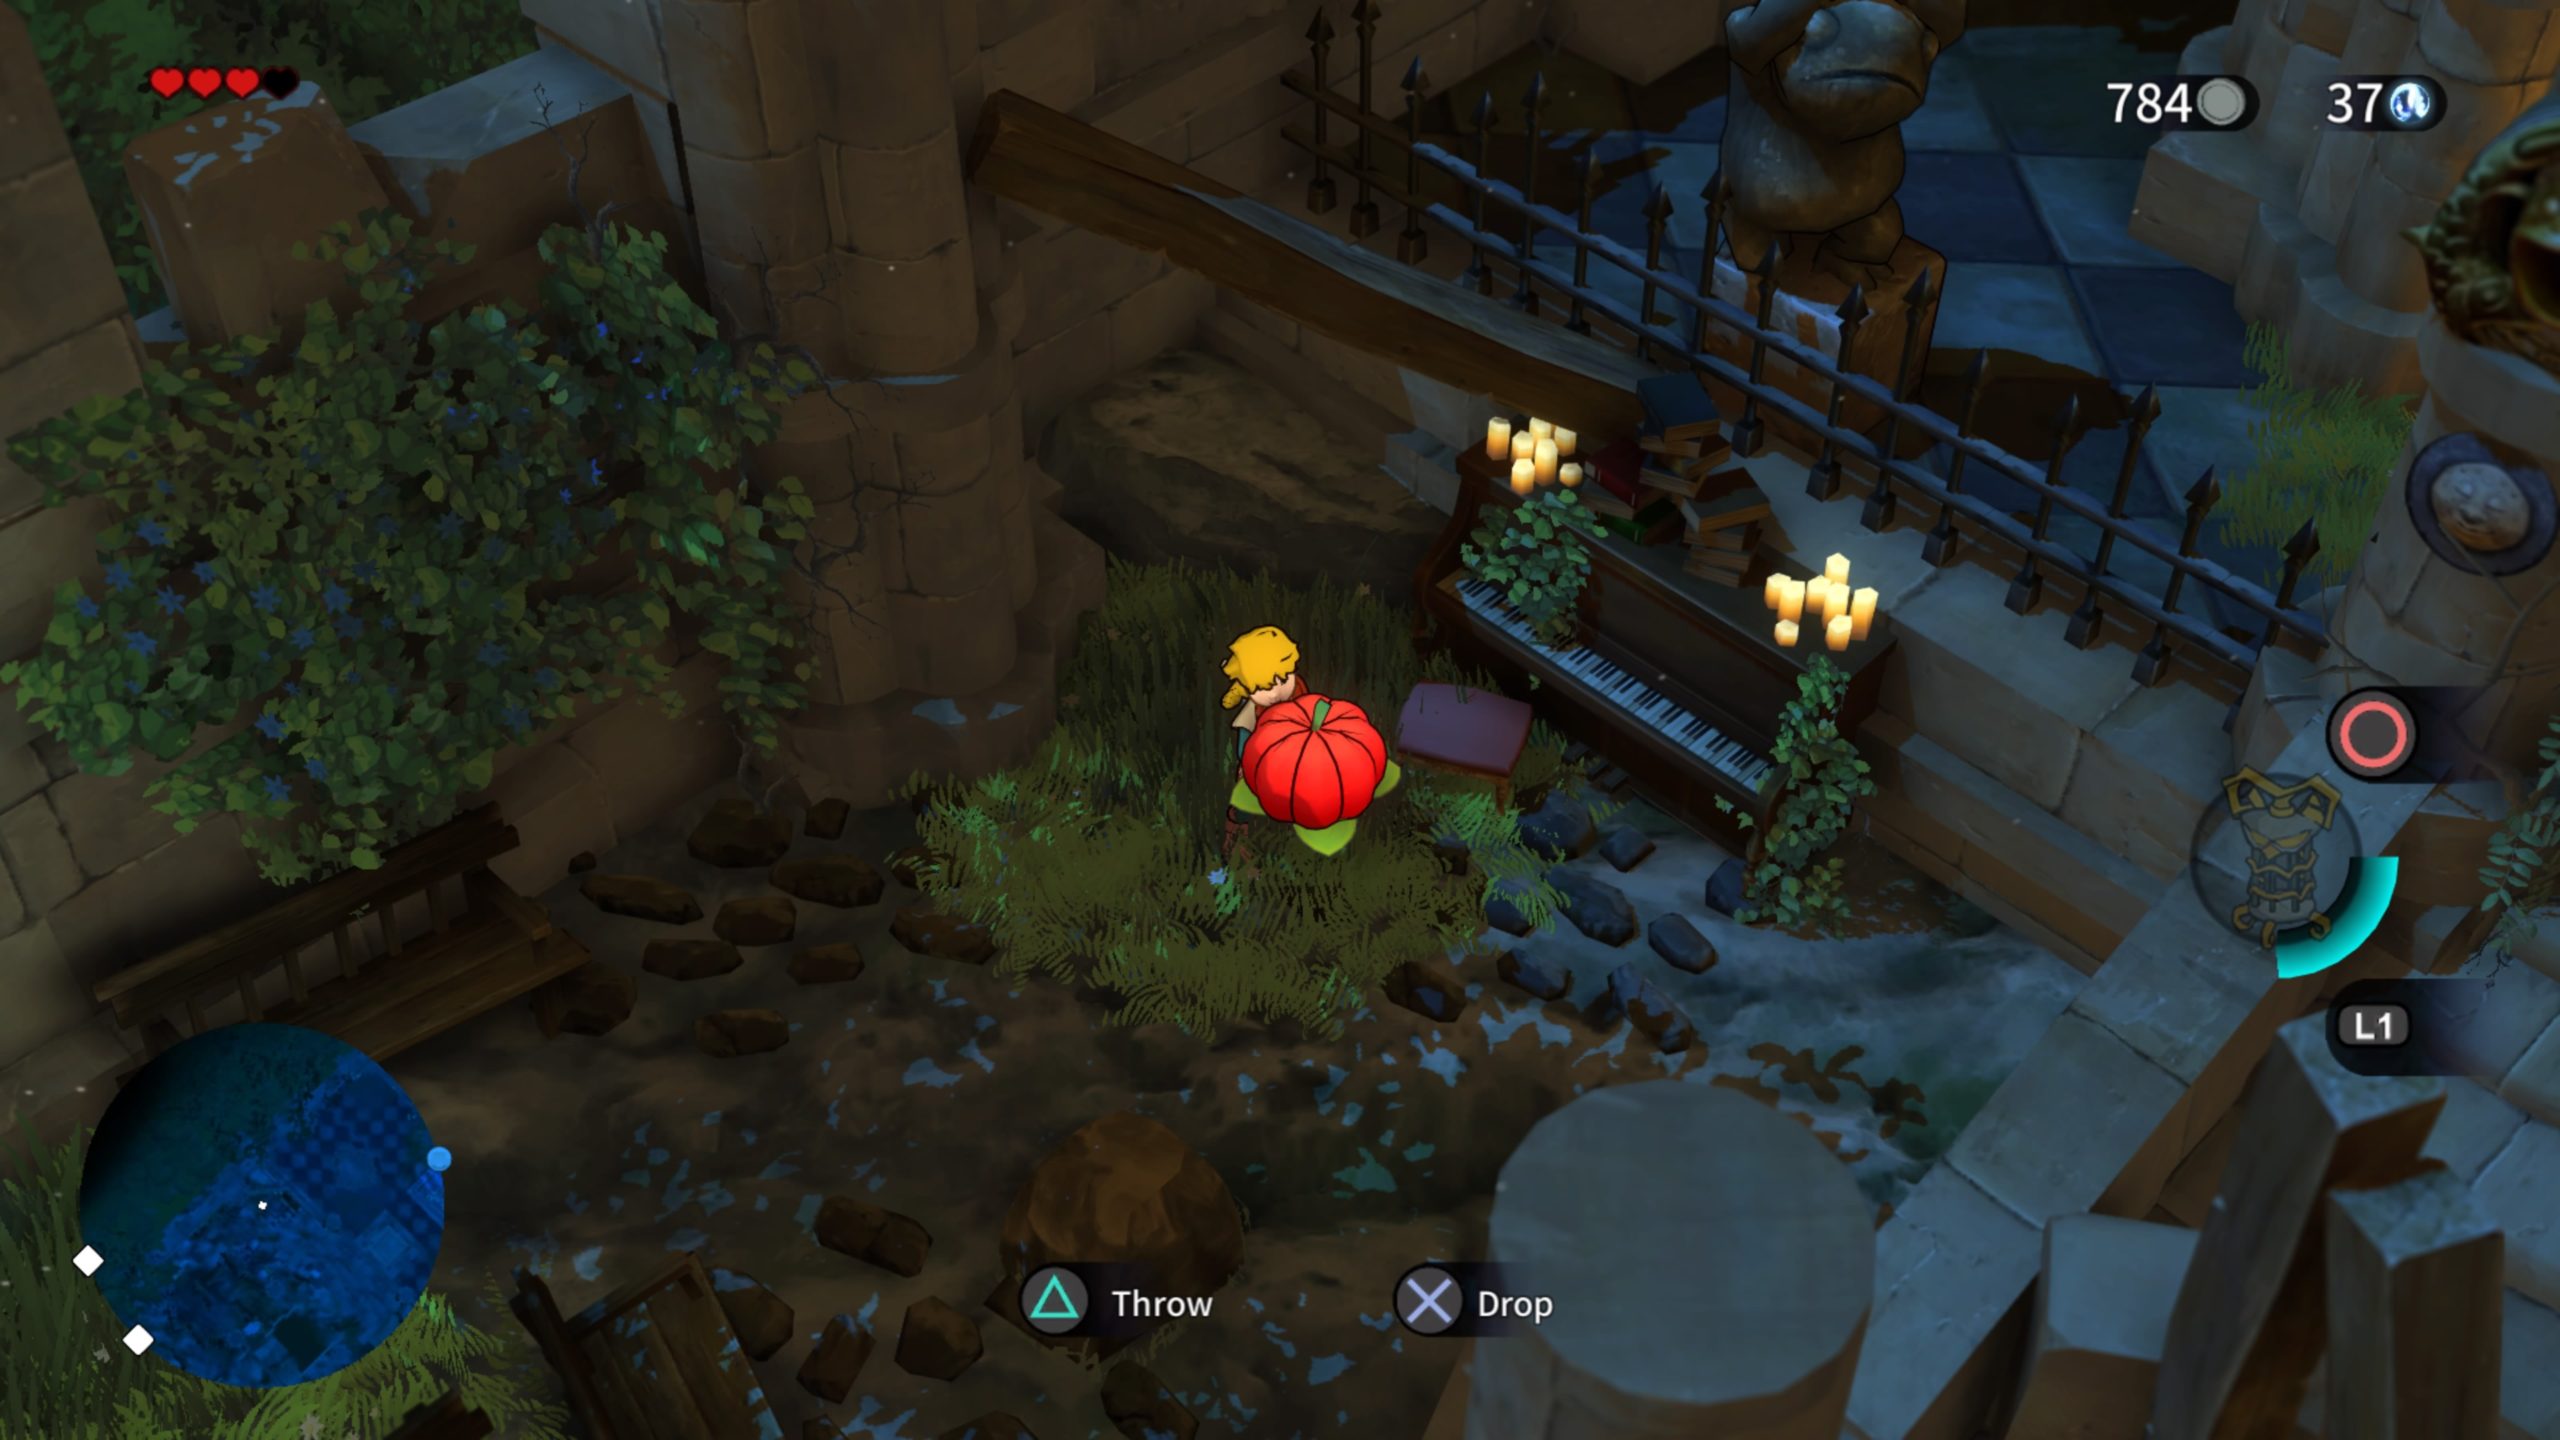
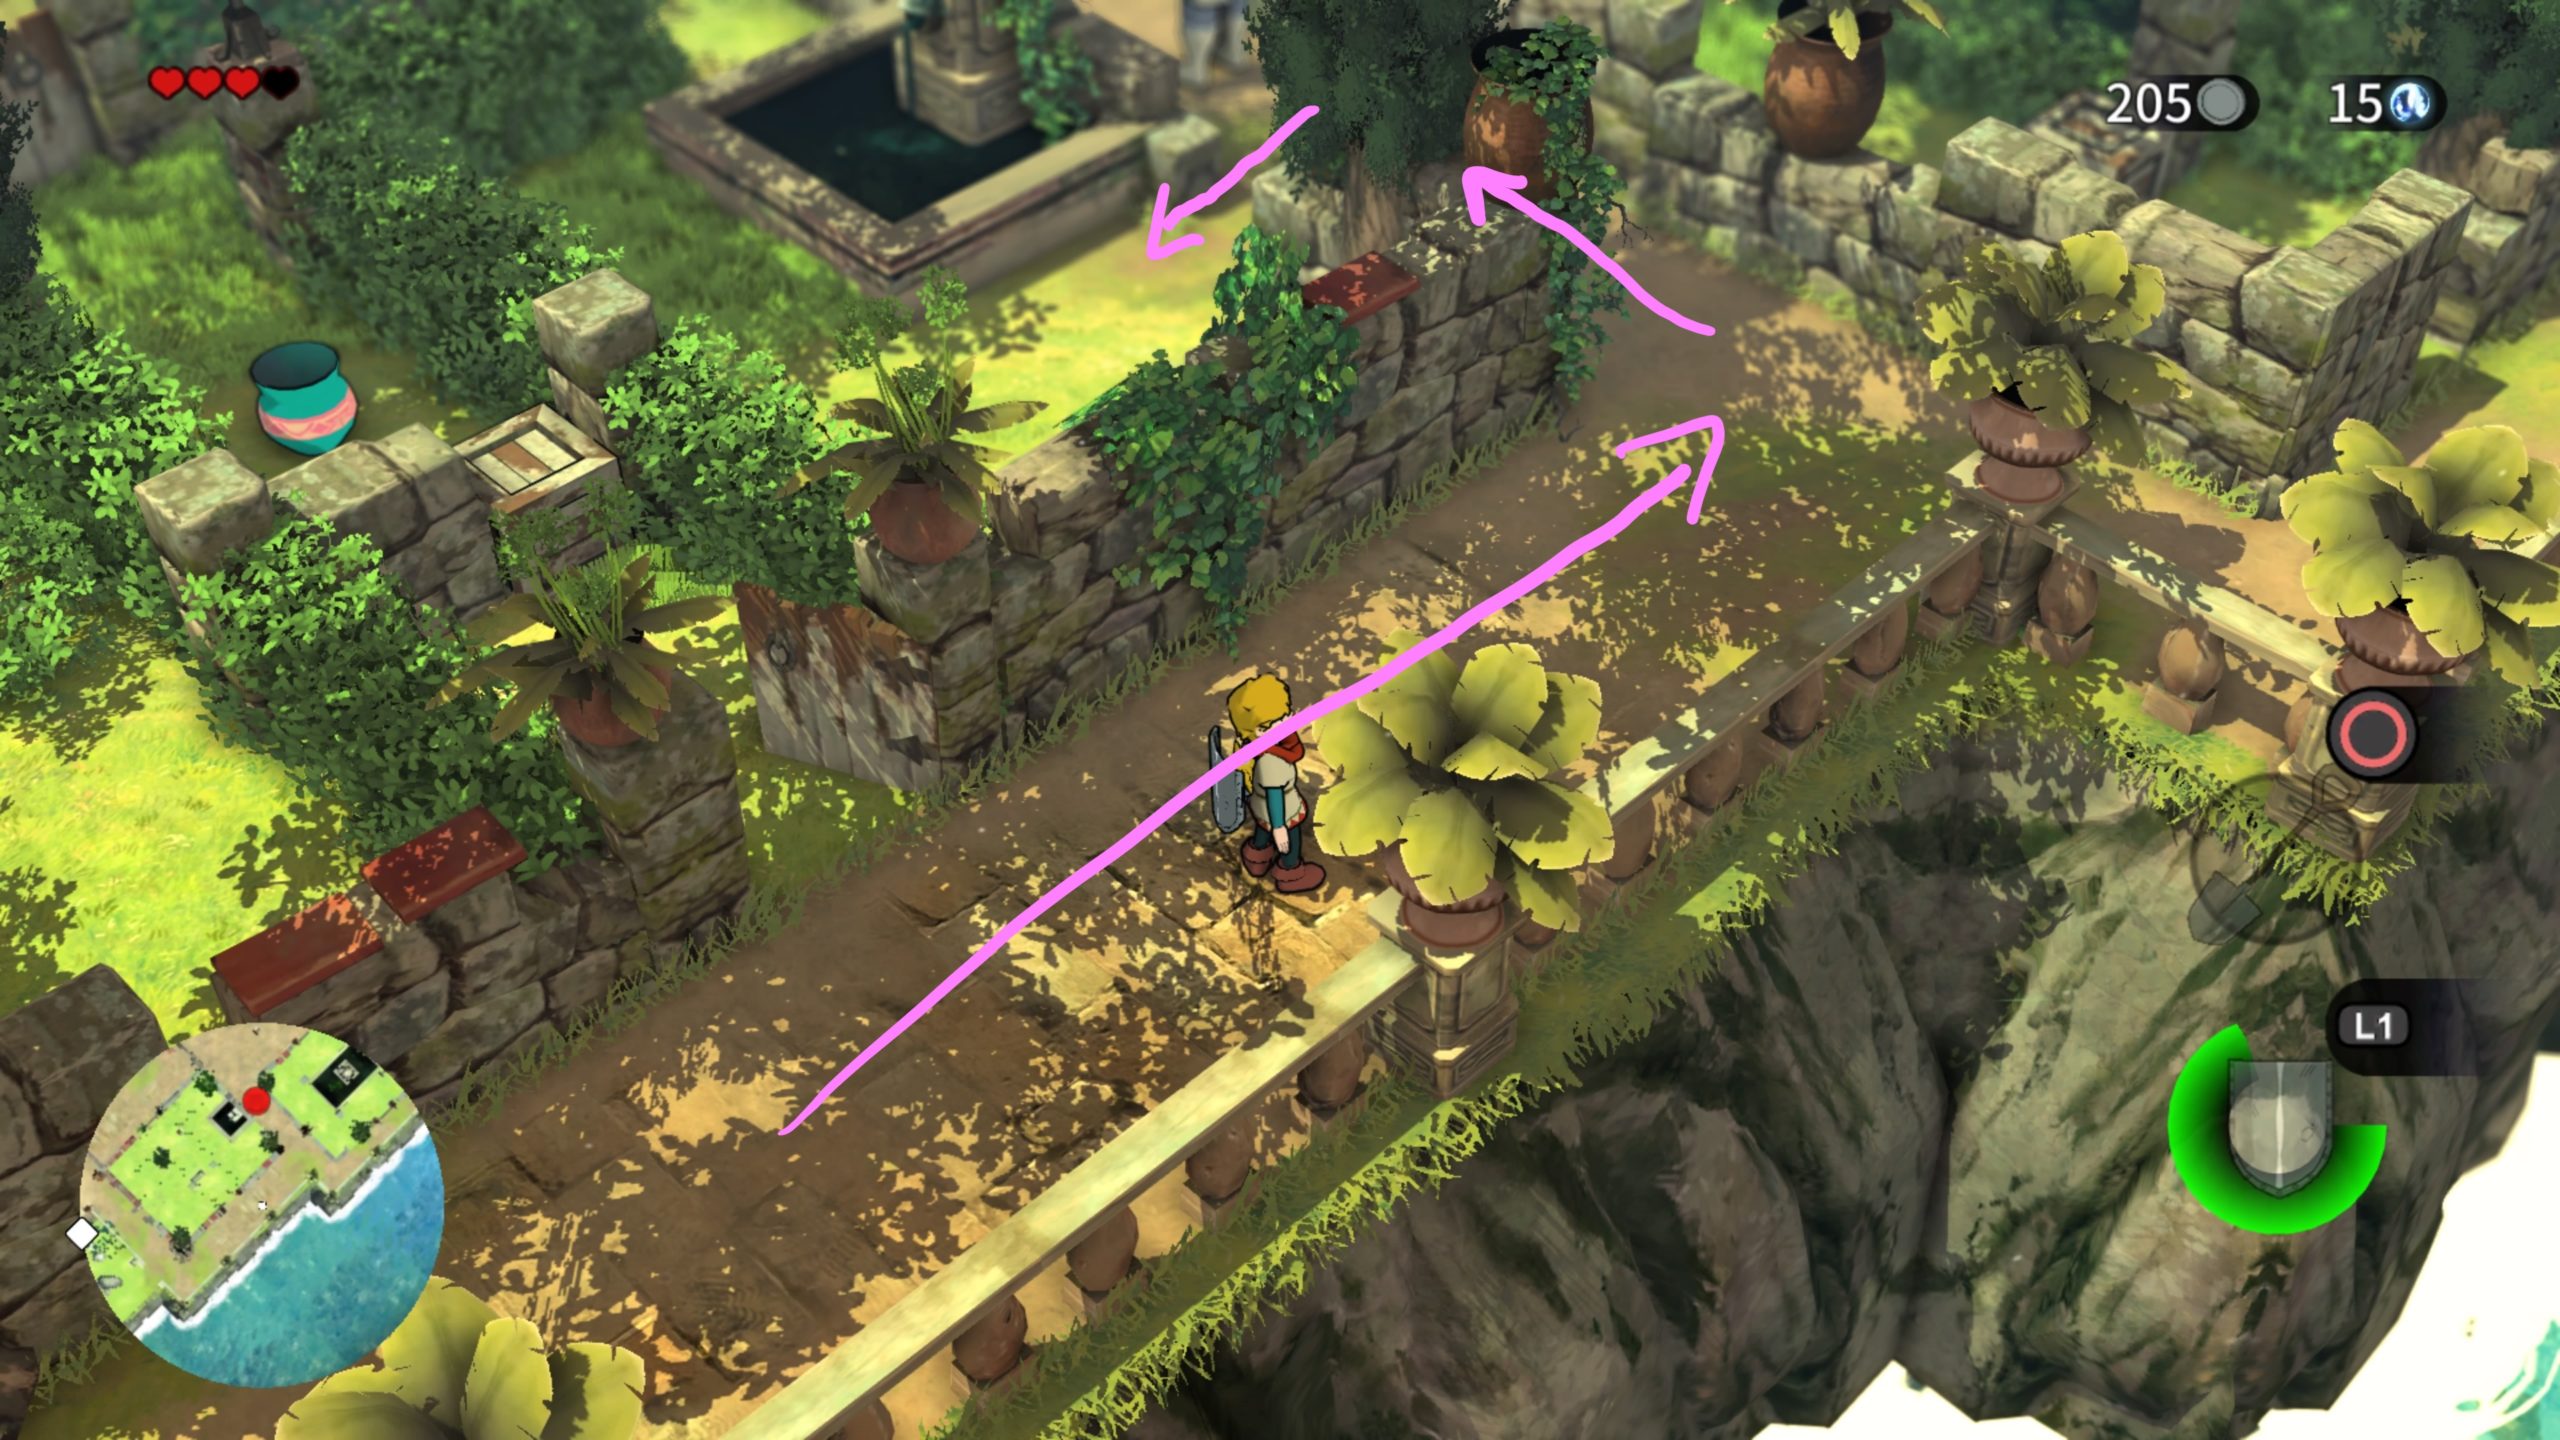
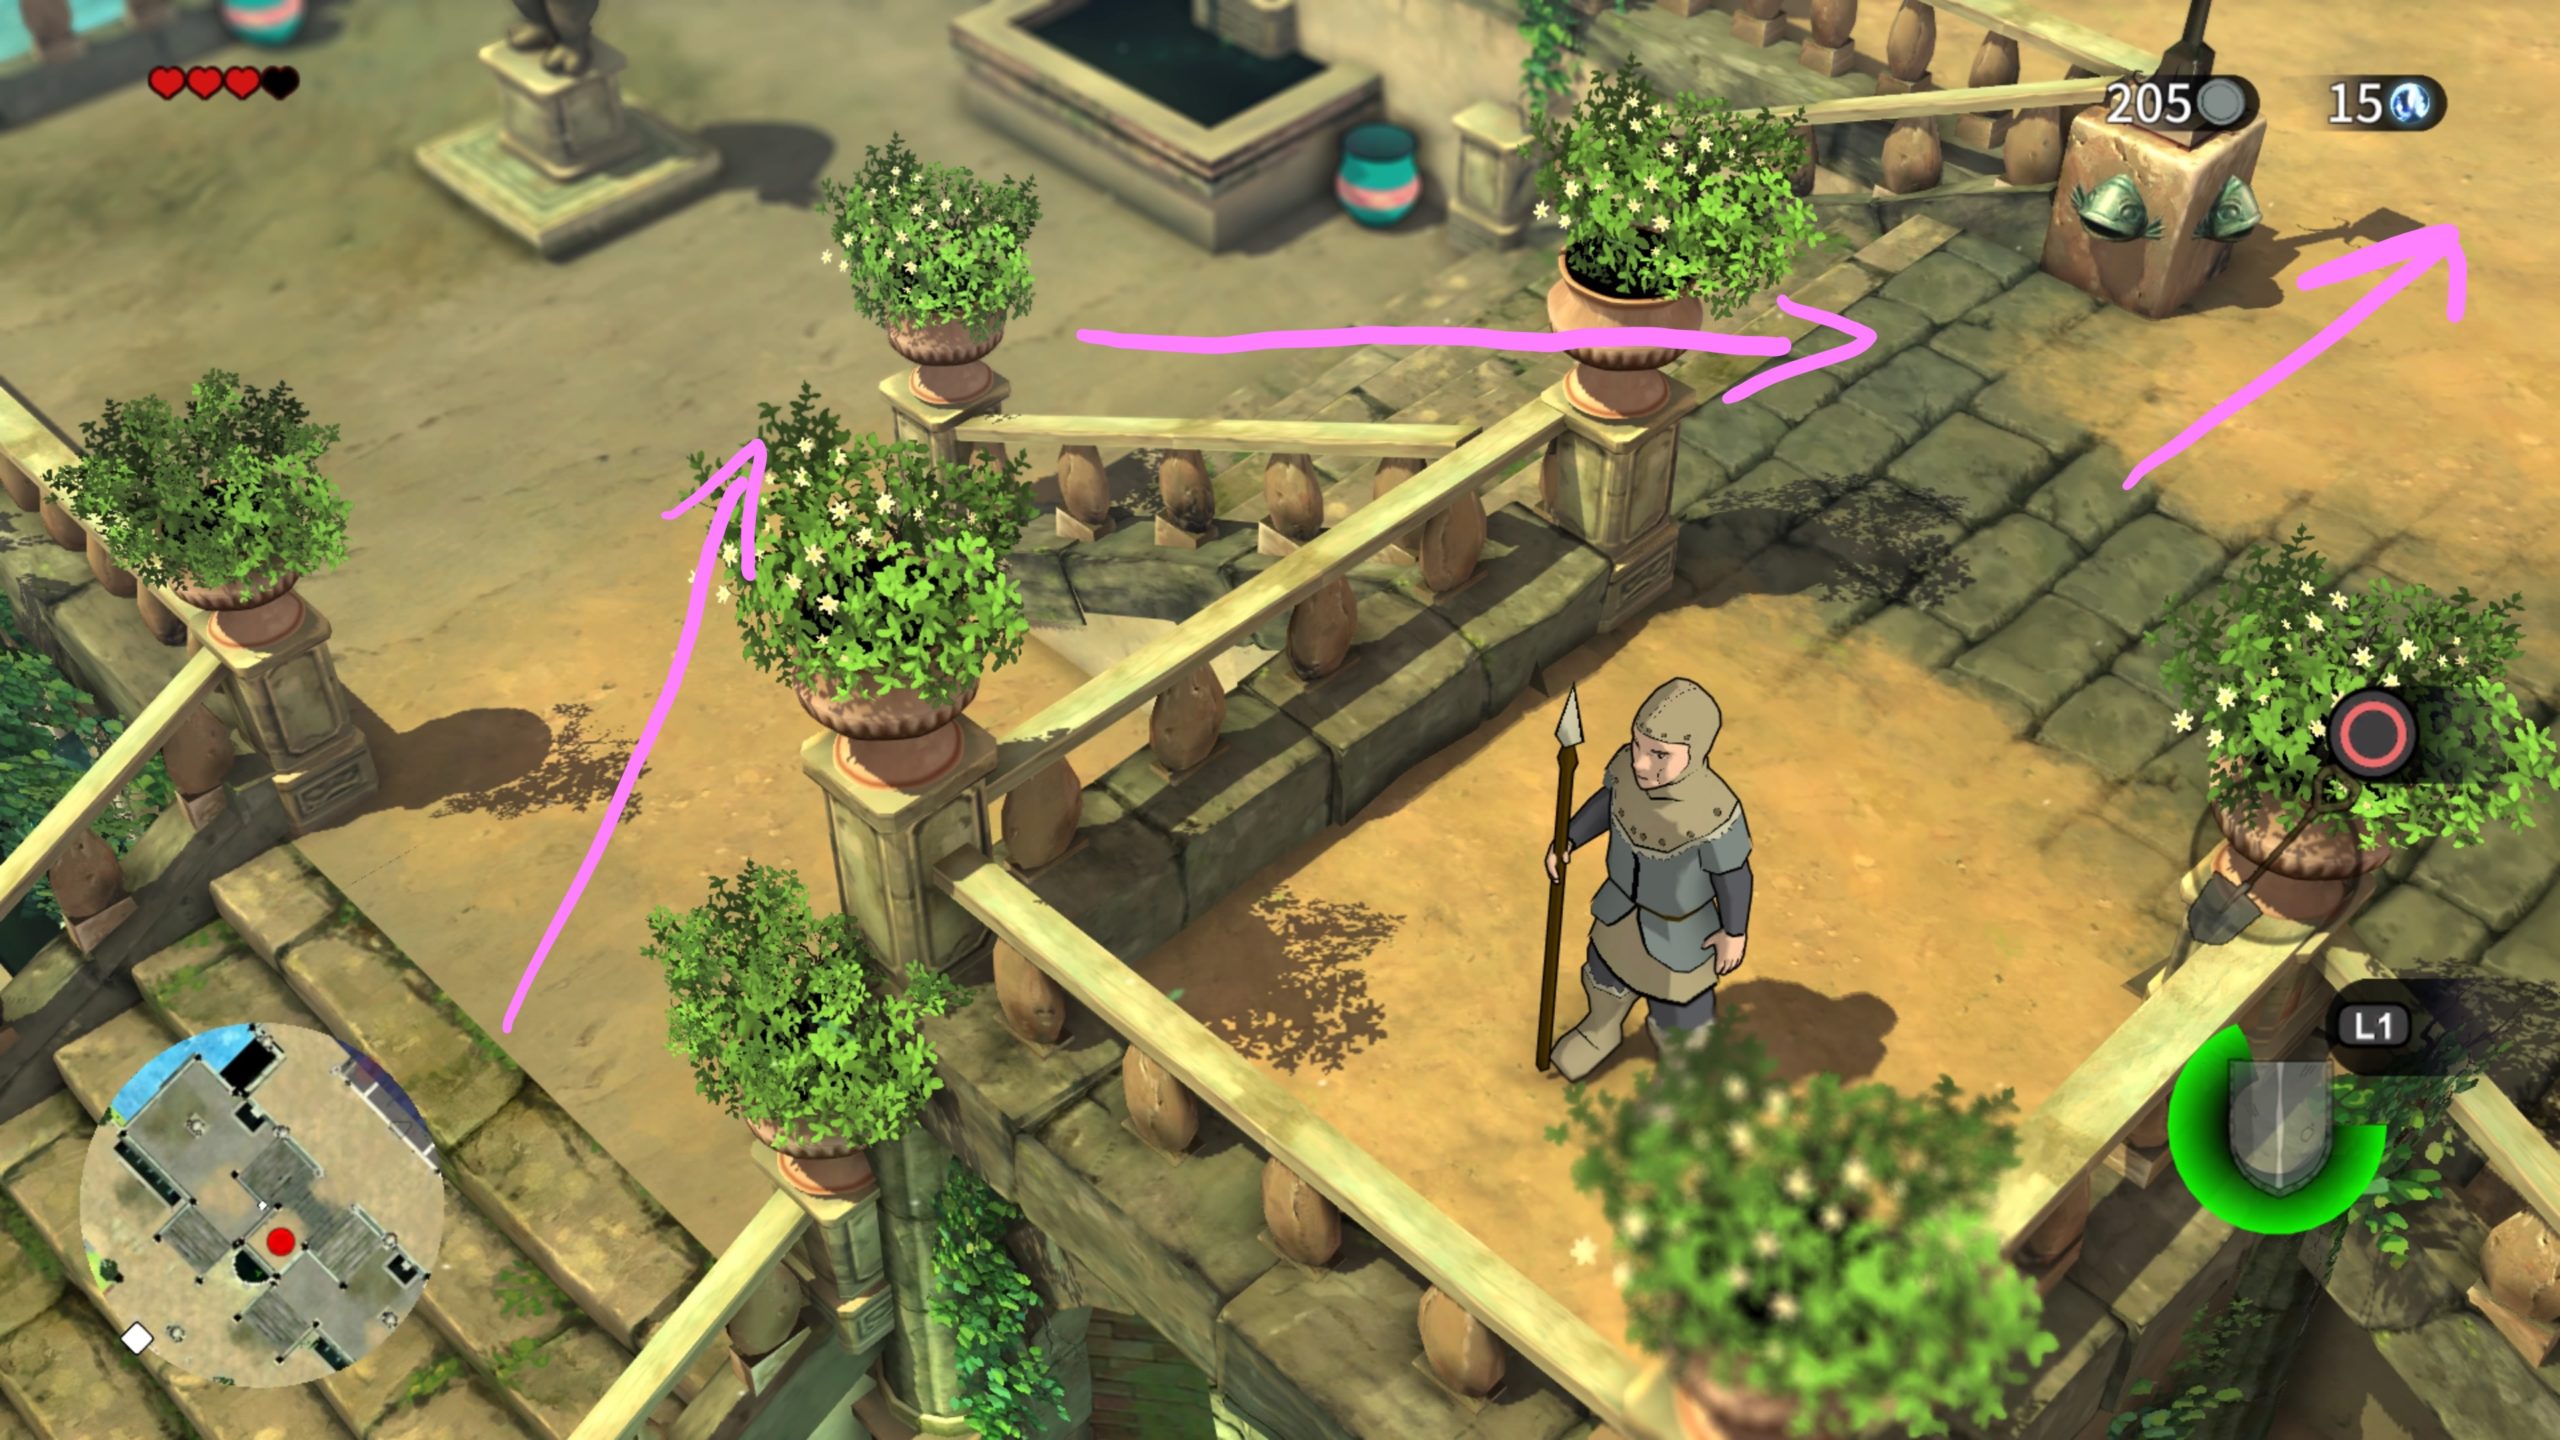
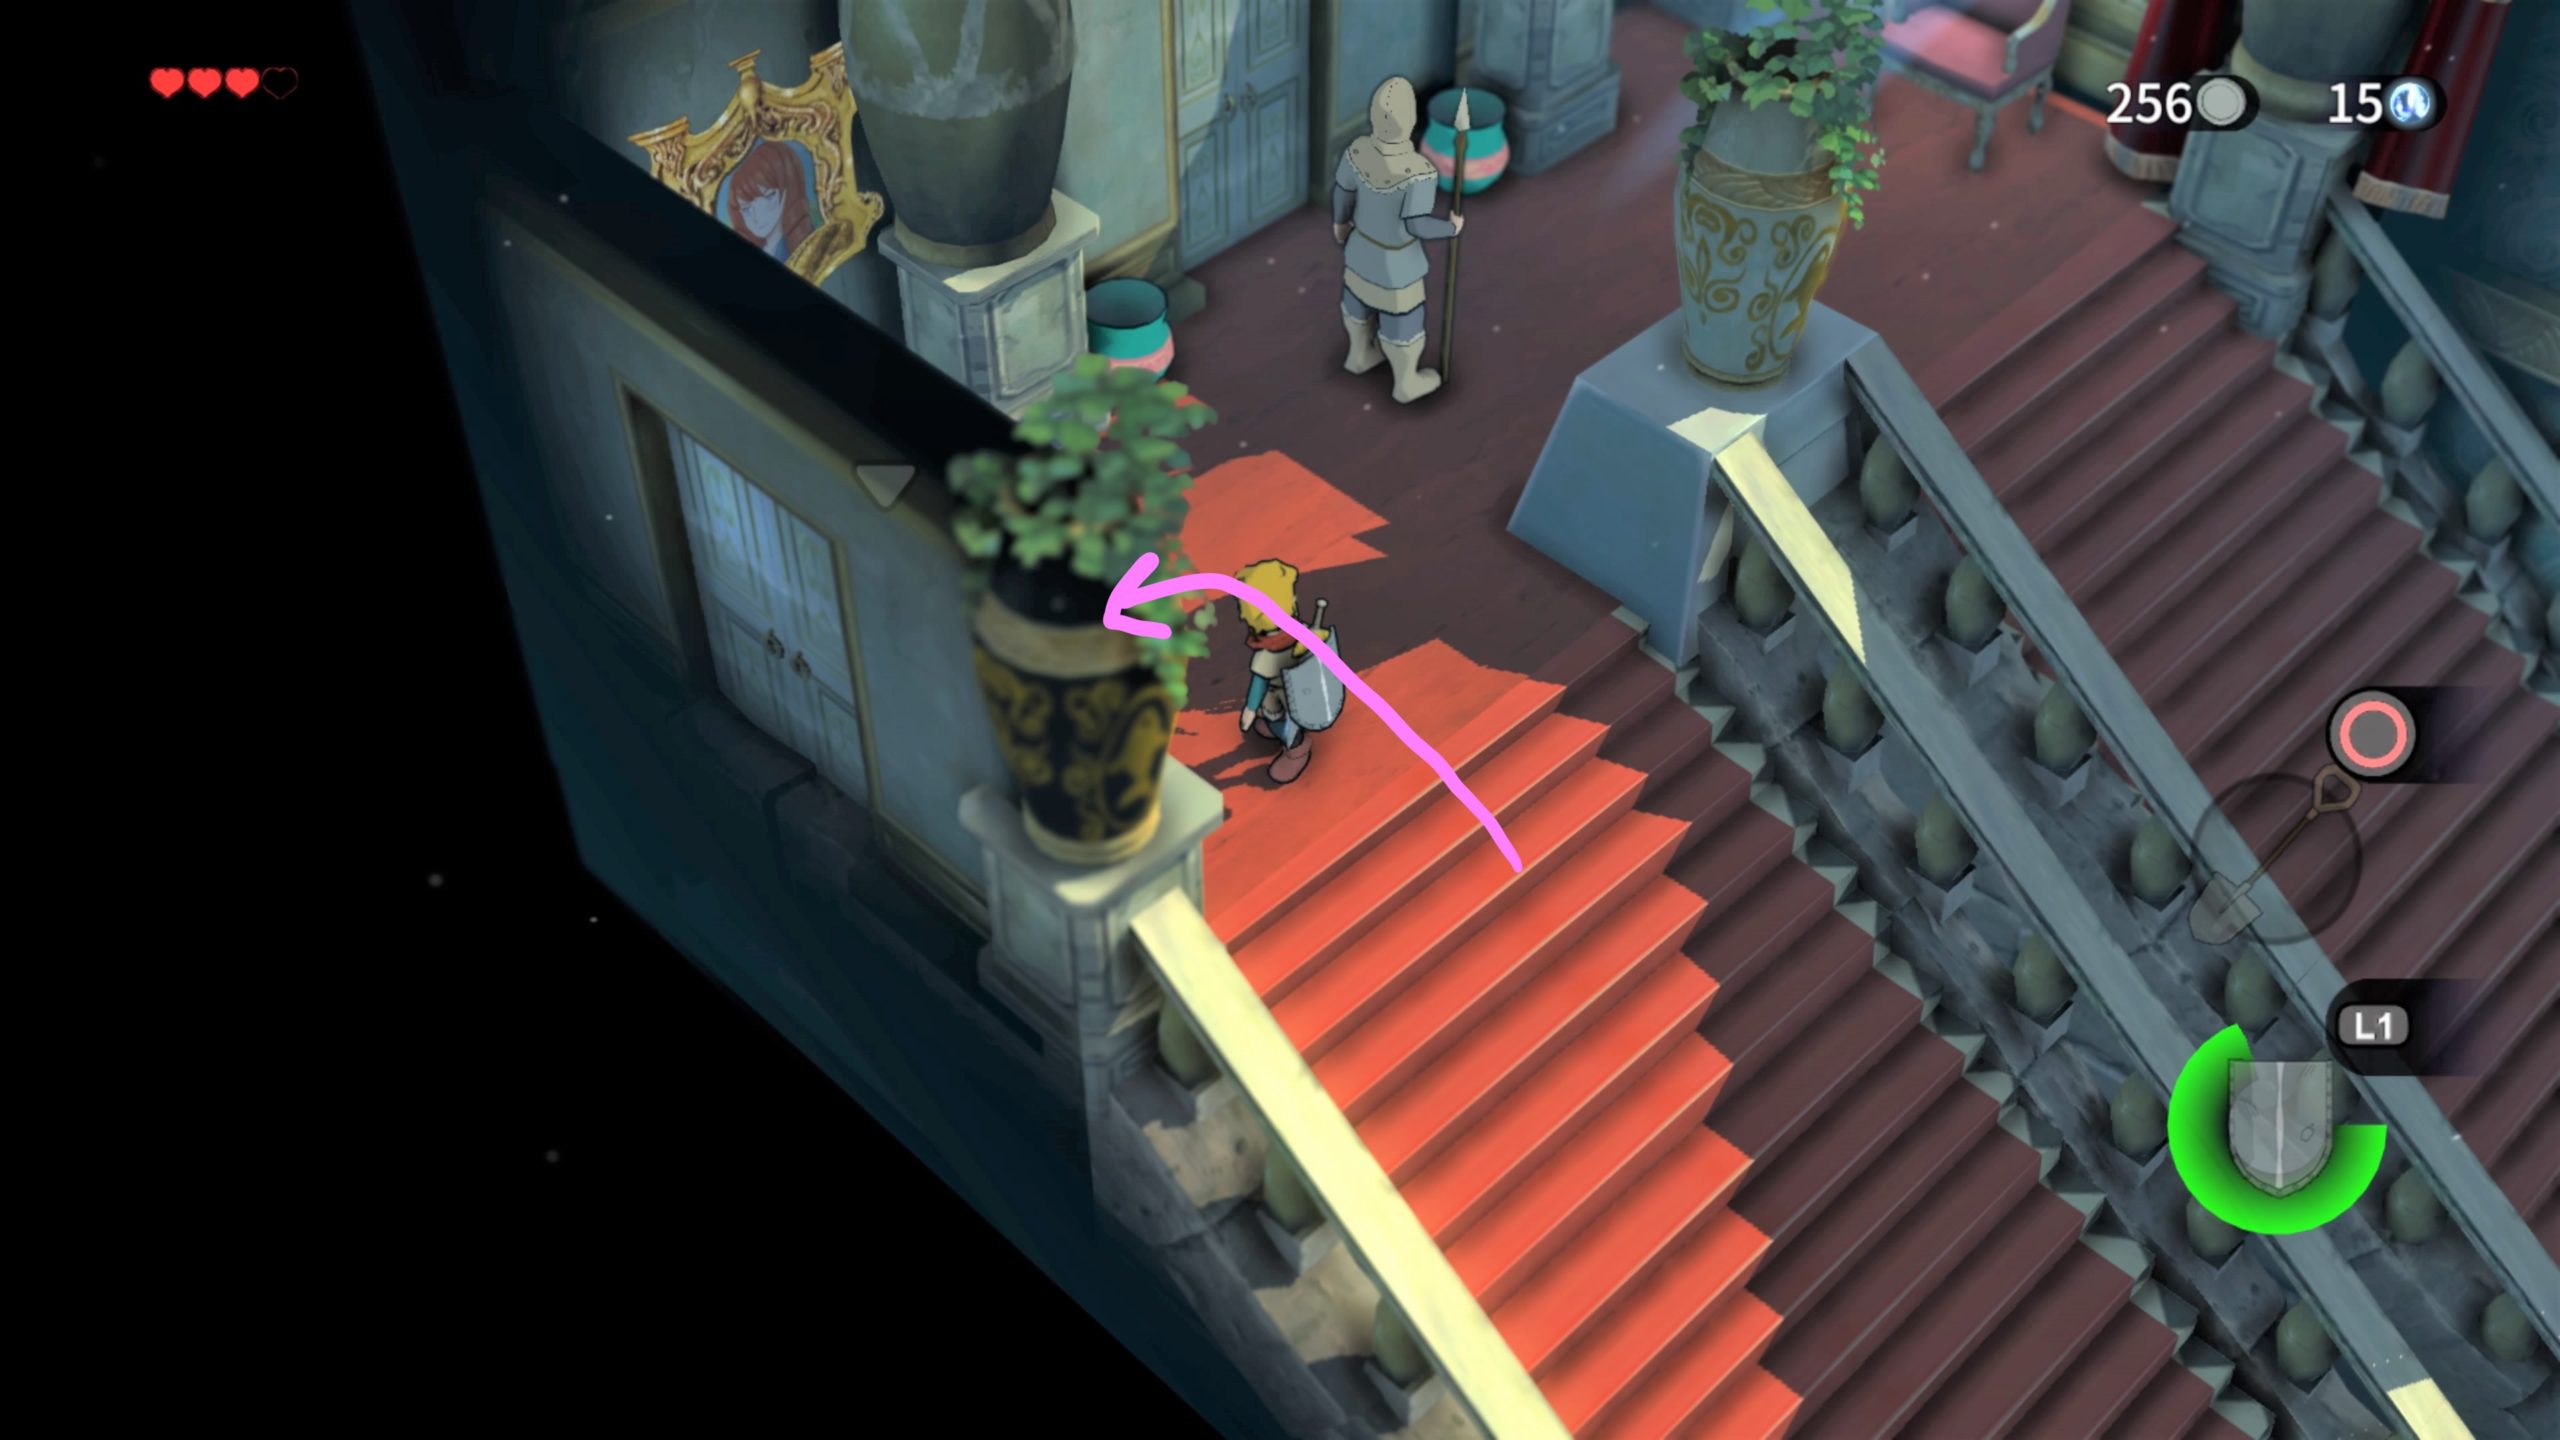
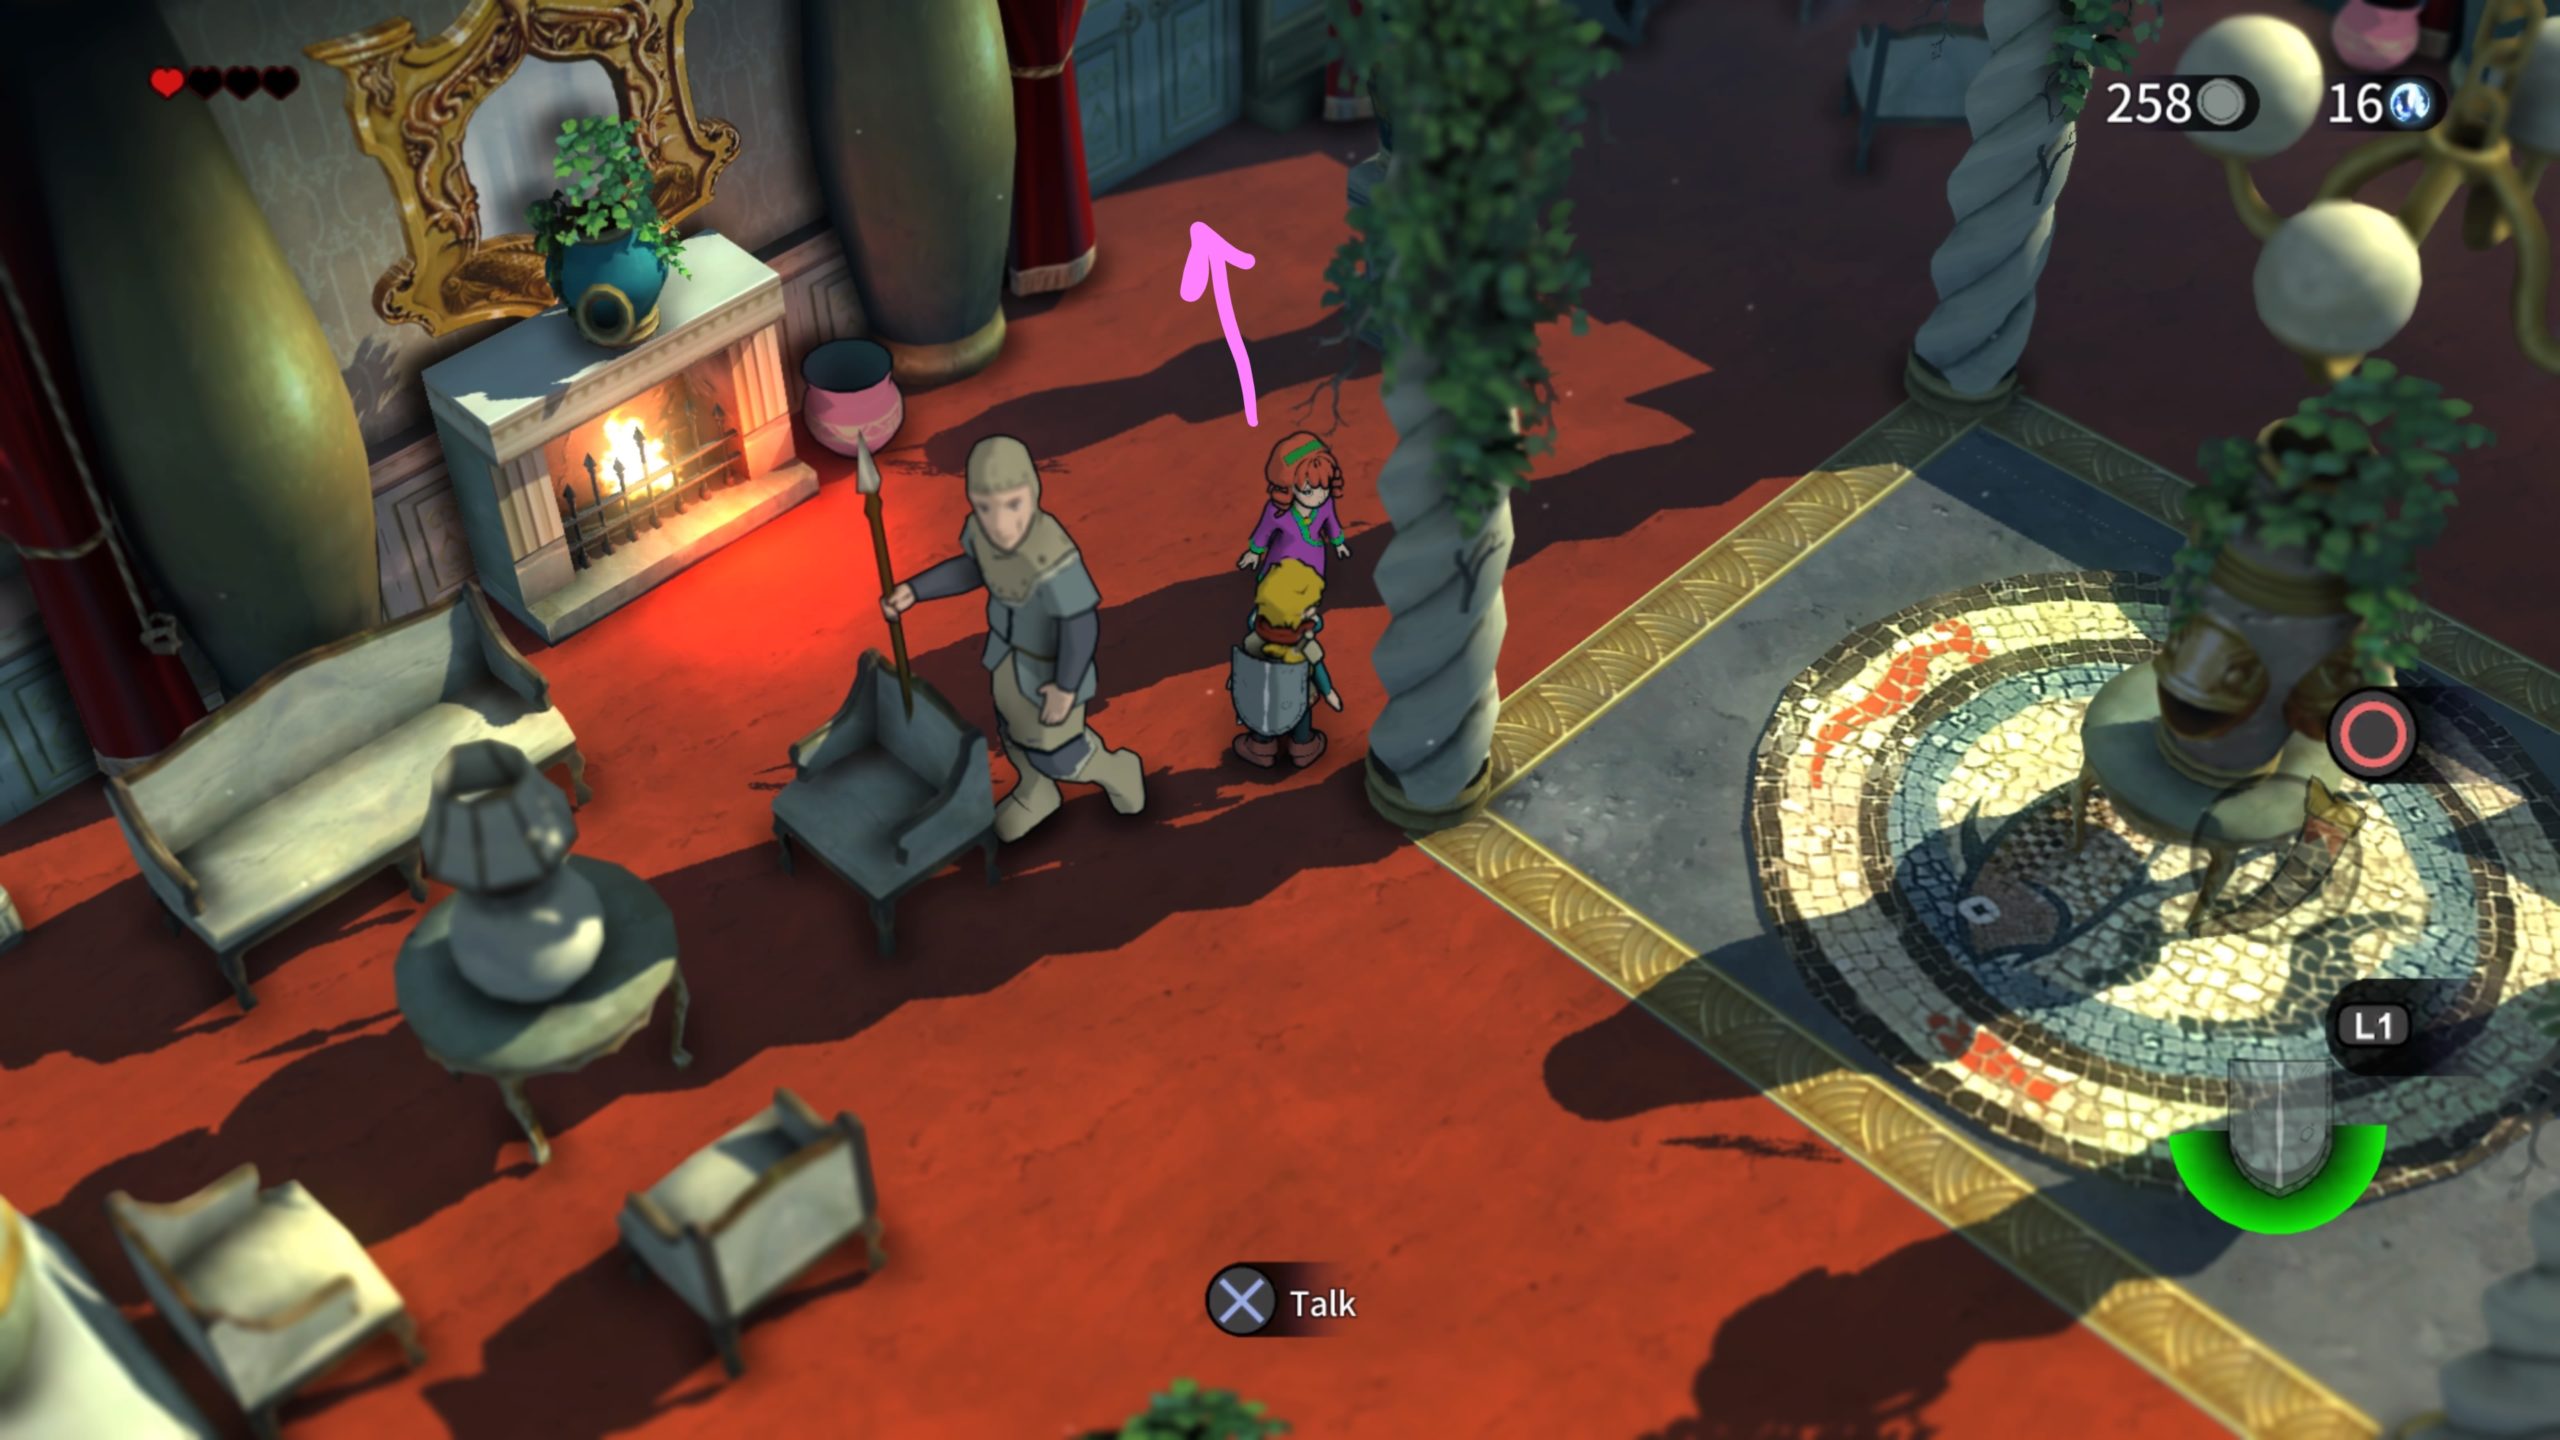
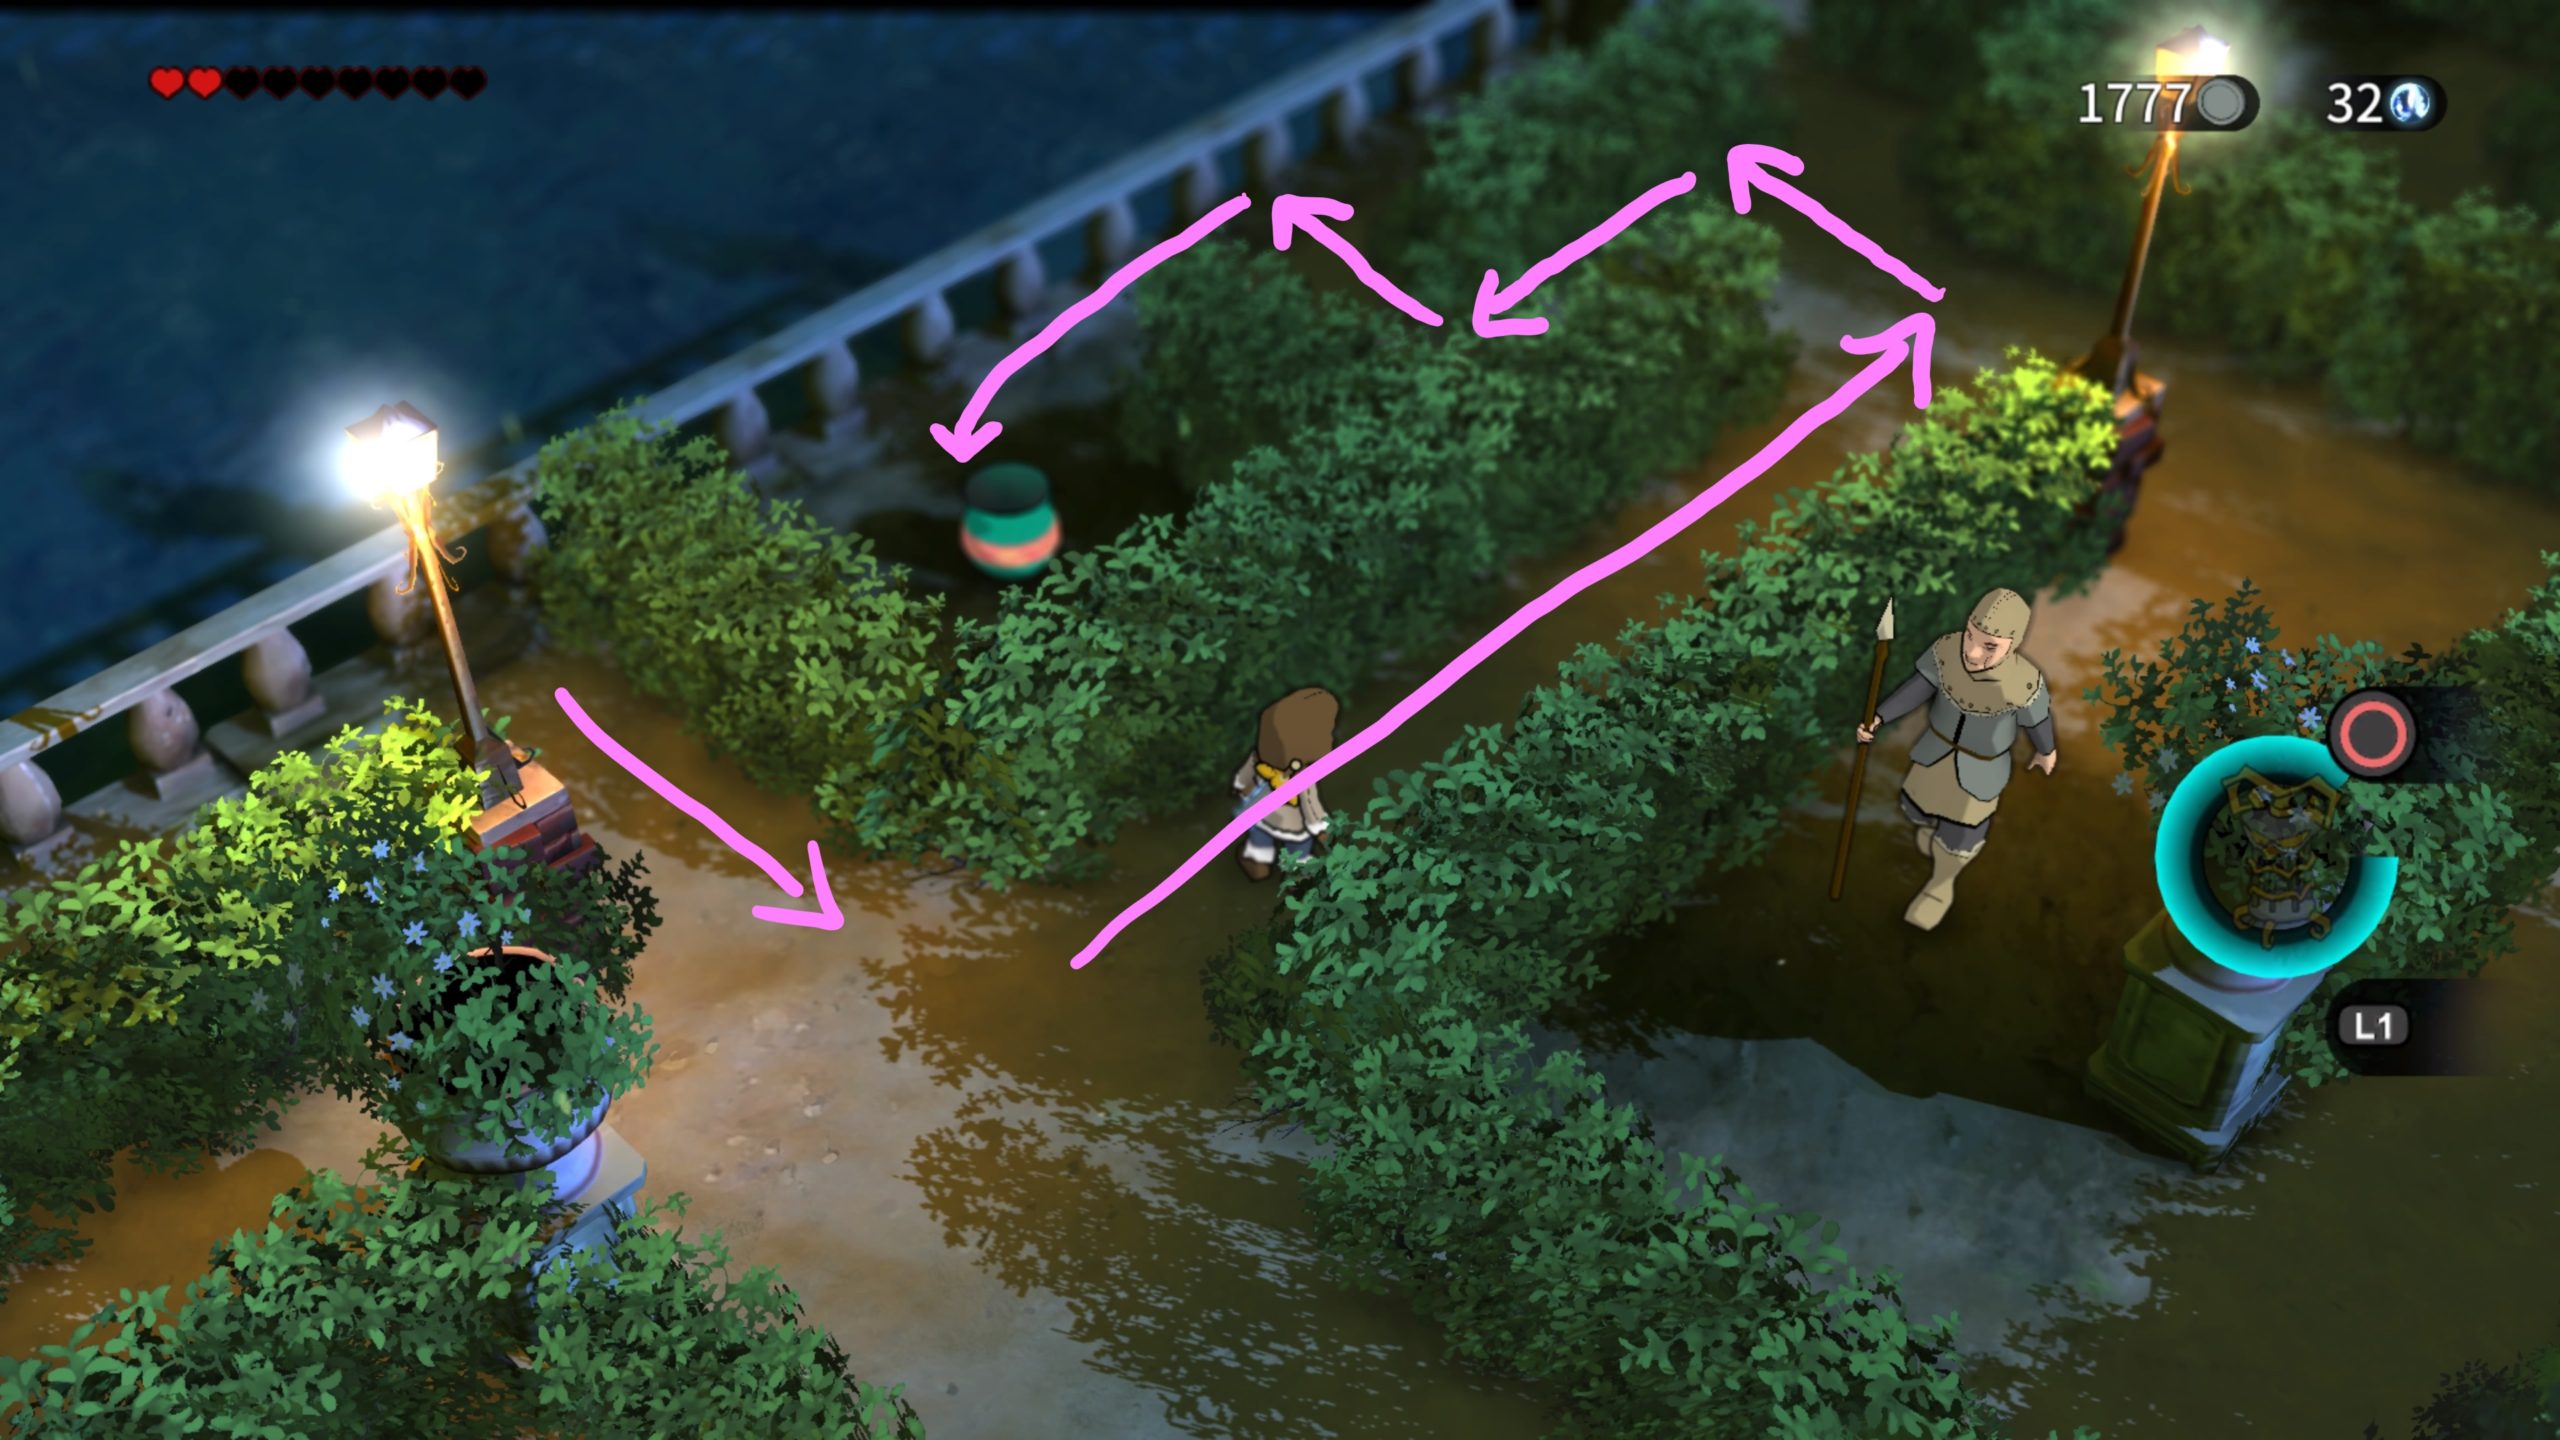
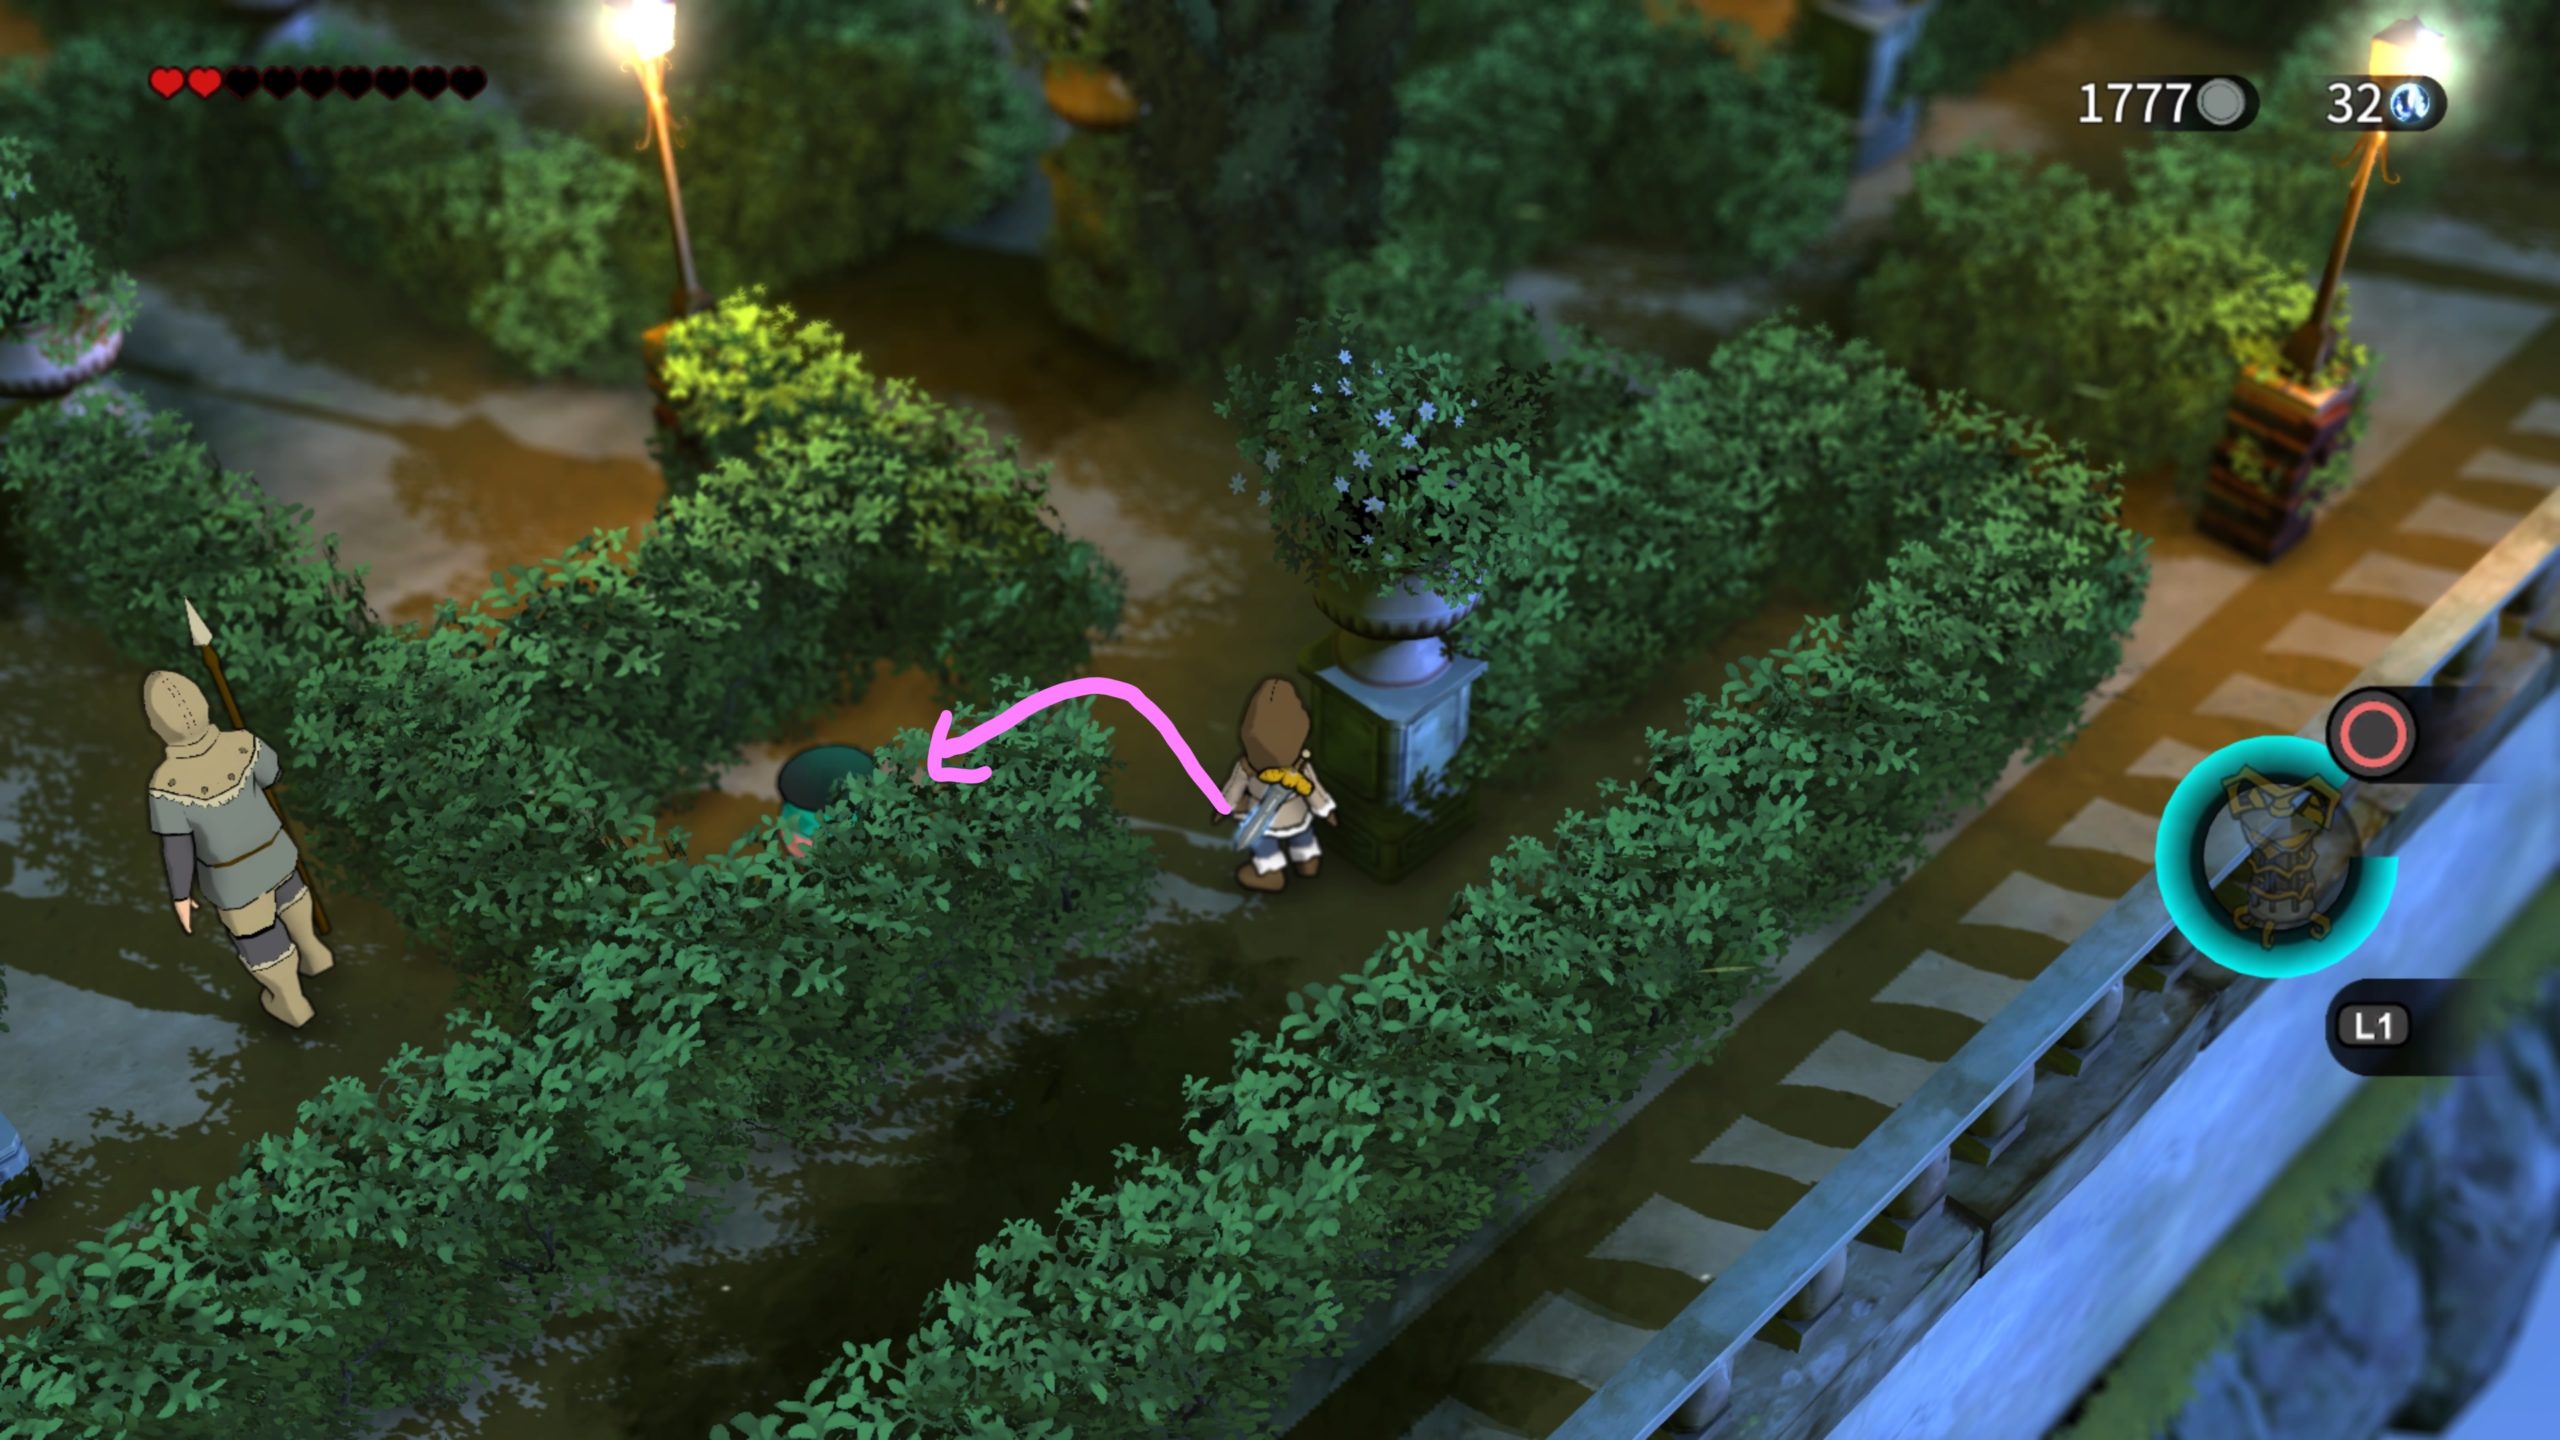
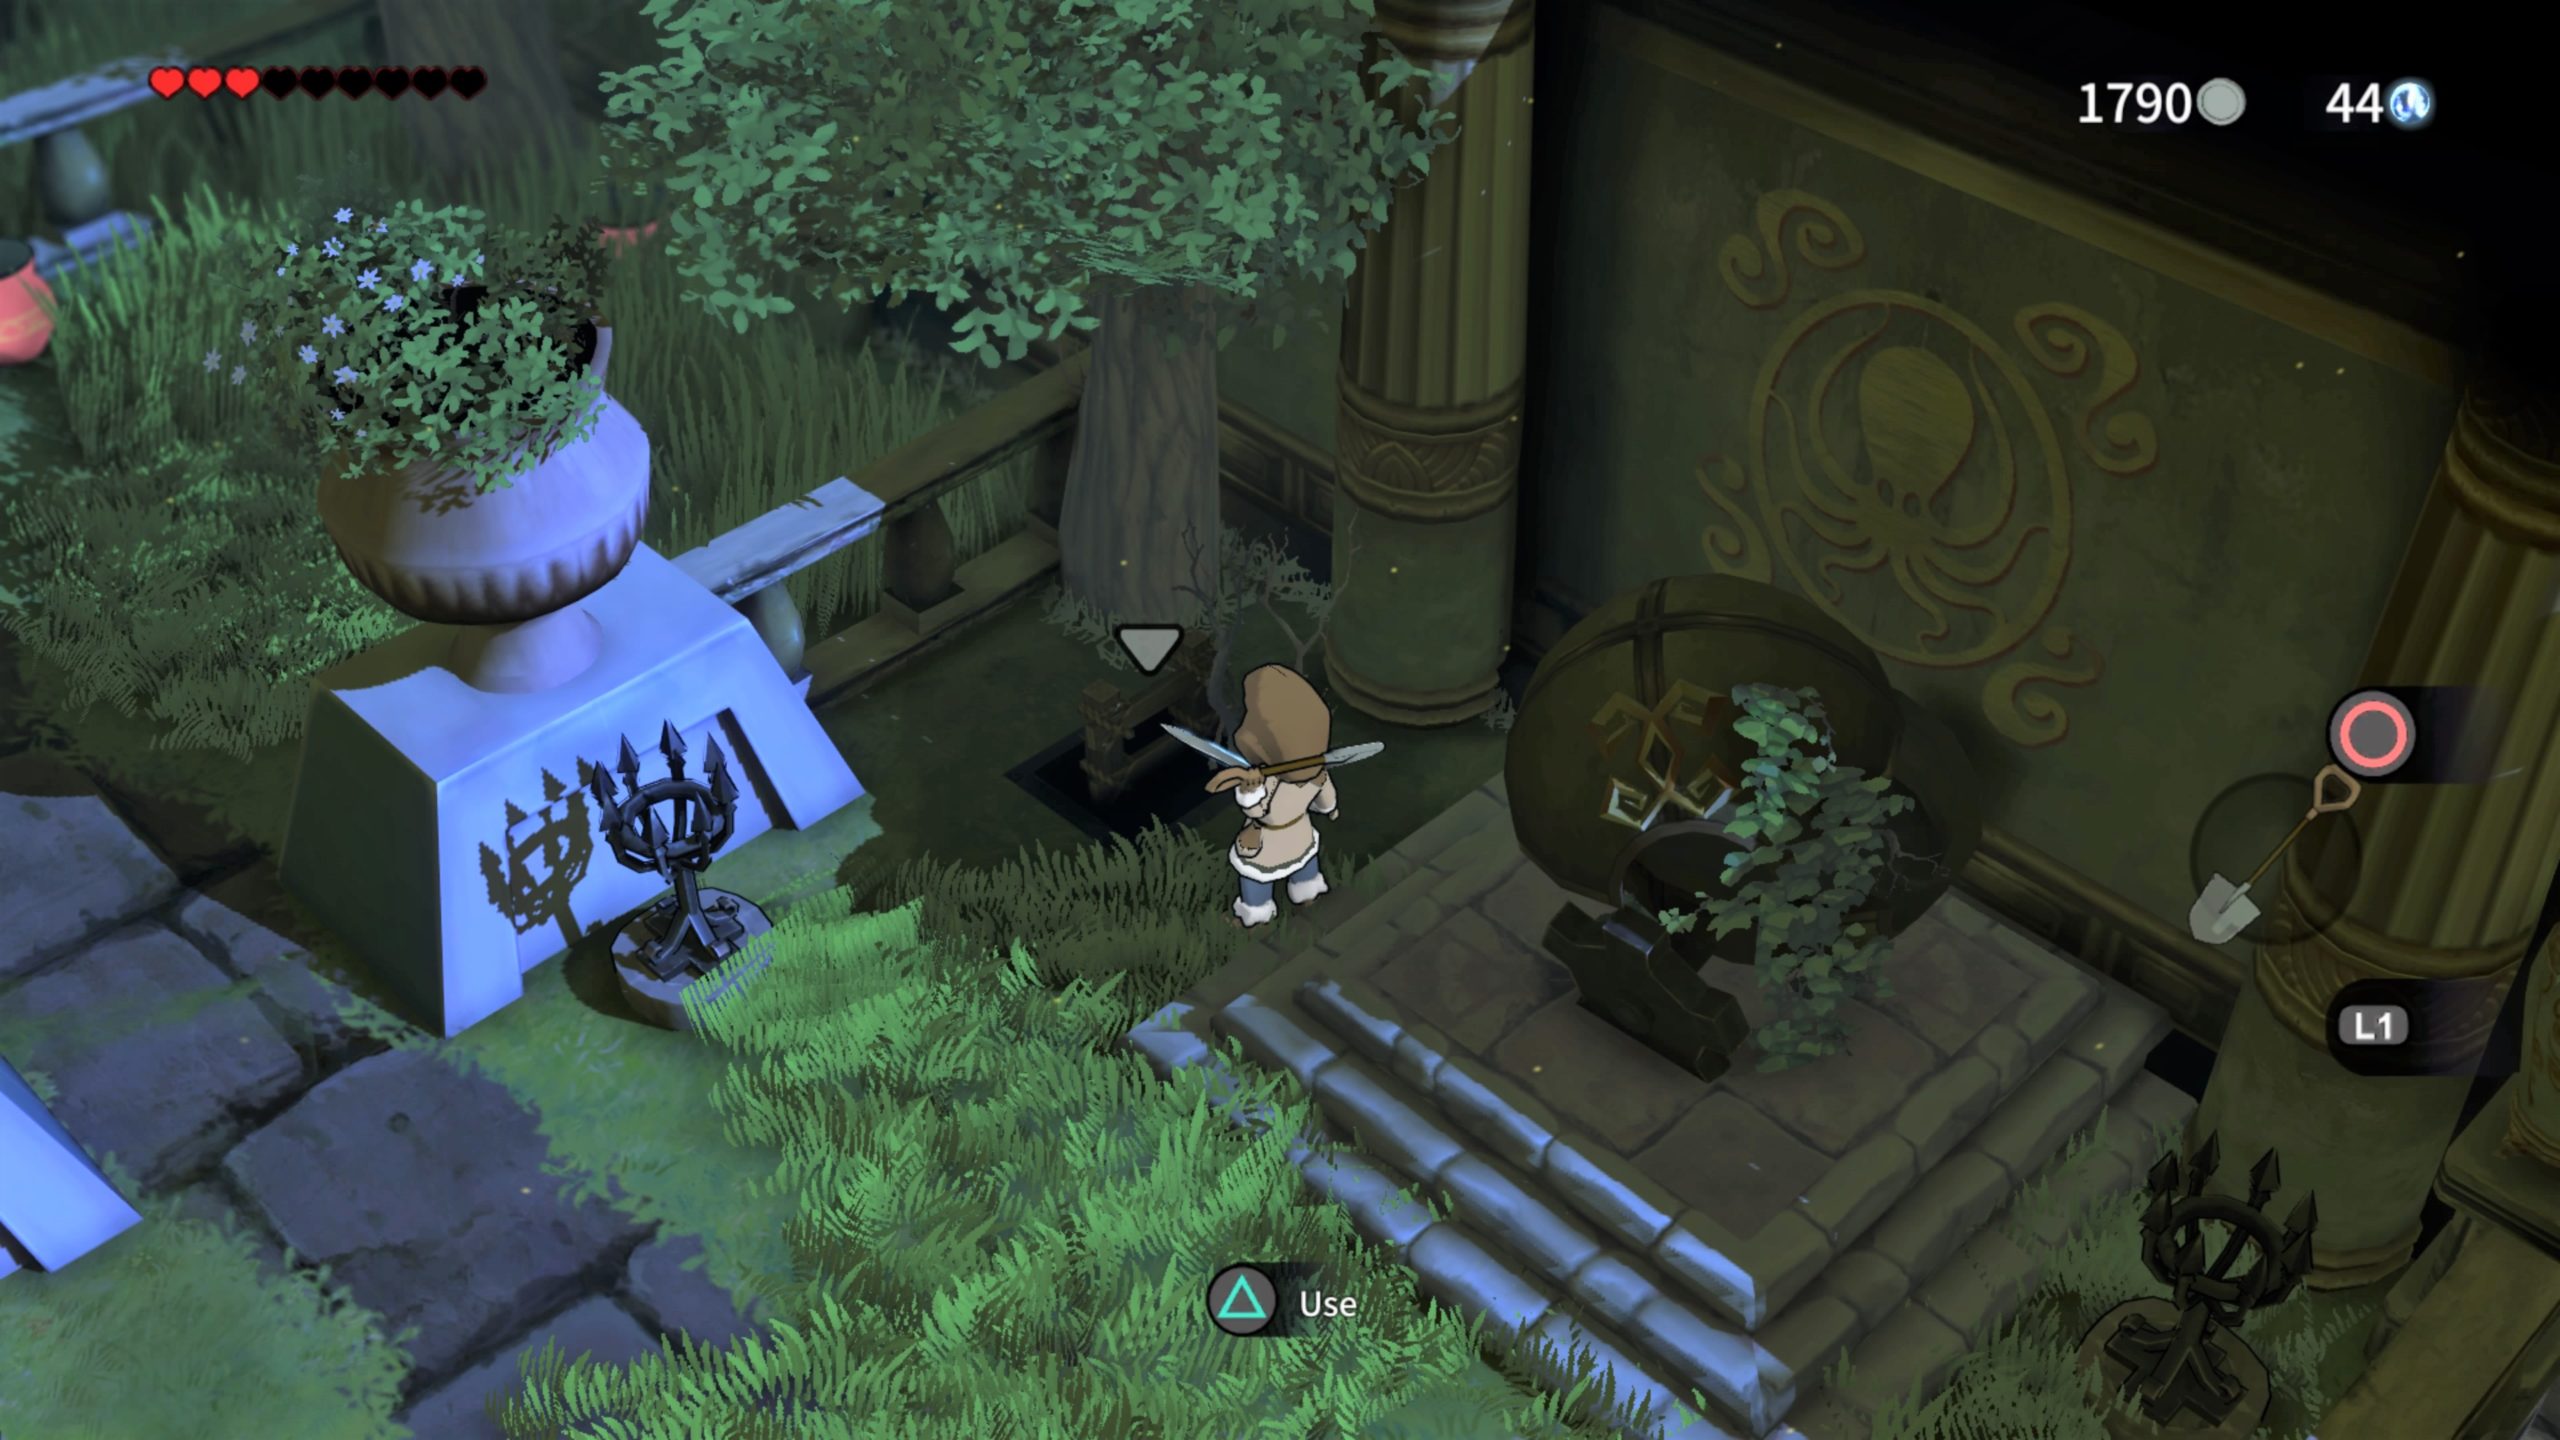
This area will look similar to the previous castle gardens. Much like the same, you’ll need to make your way through the garden without being caught! From the starting point turn north. Take a right at the pot on a pedestal then turn left at the dead end.

Wait for the guard to head back down after he does a quick survey. When he does, go to where he was standing and turn left followed by an immediate right.

Turn left again to reach the white railing. Head straight down, taking the first and only left. Follow the path where you’ll eventually go past tables to reach a chest containing a Princess Doll for The Rare Doll side quest.

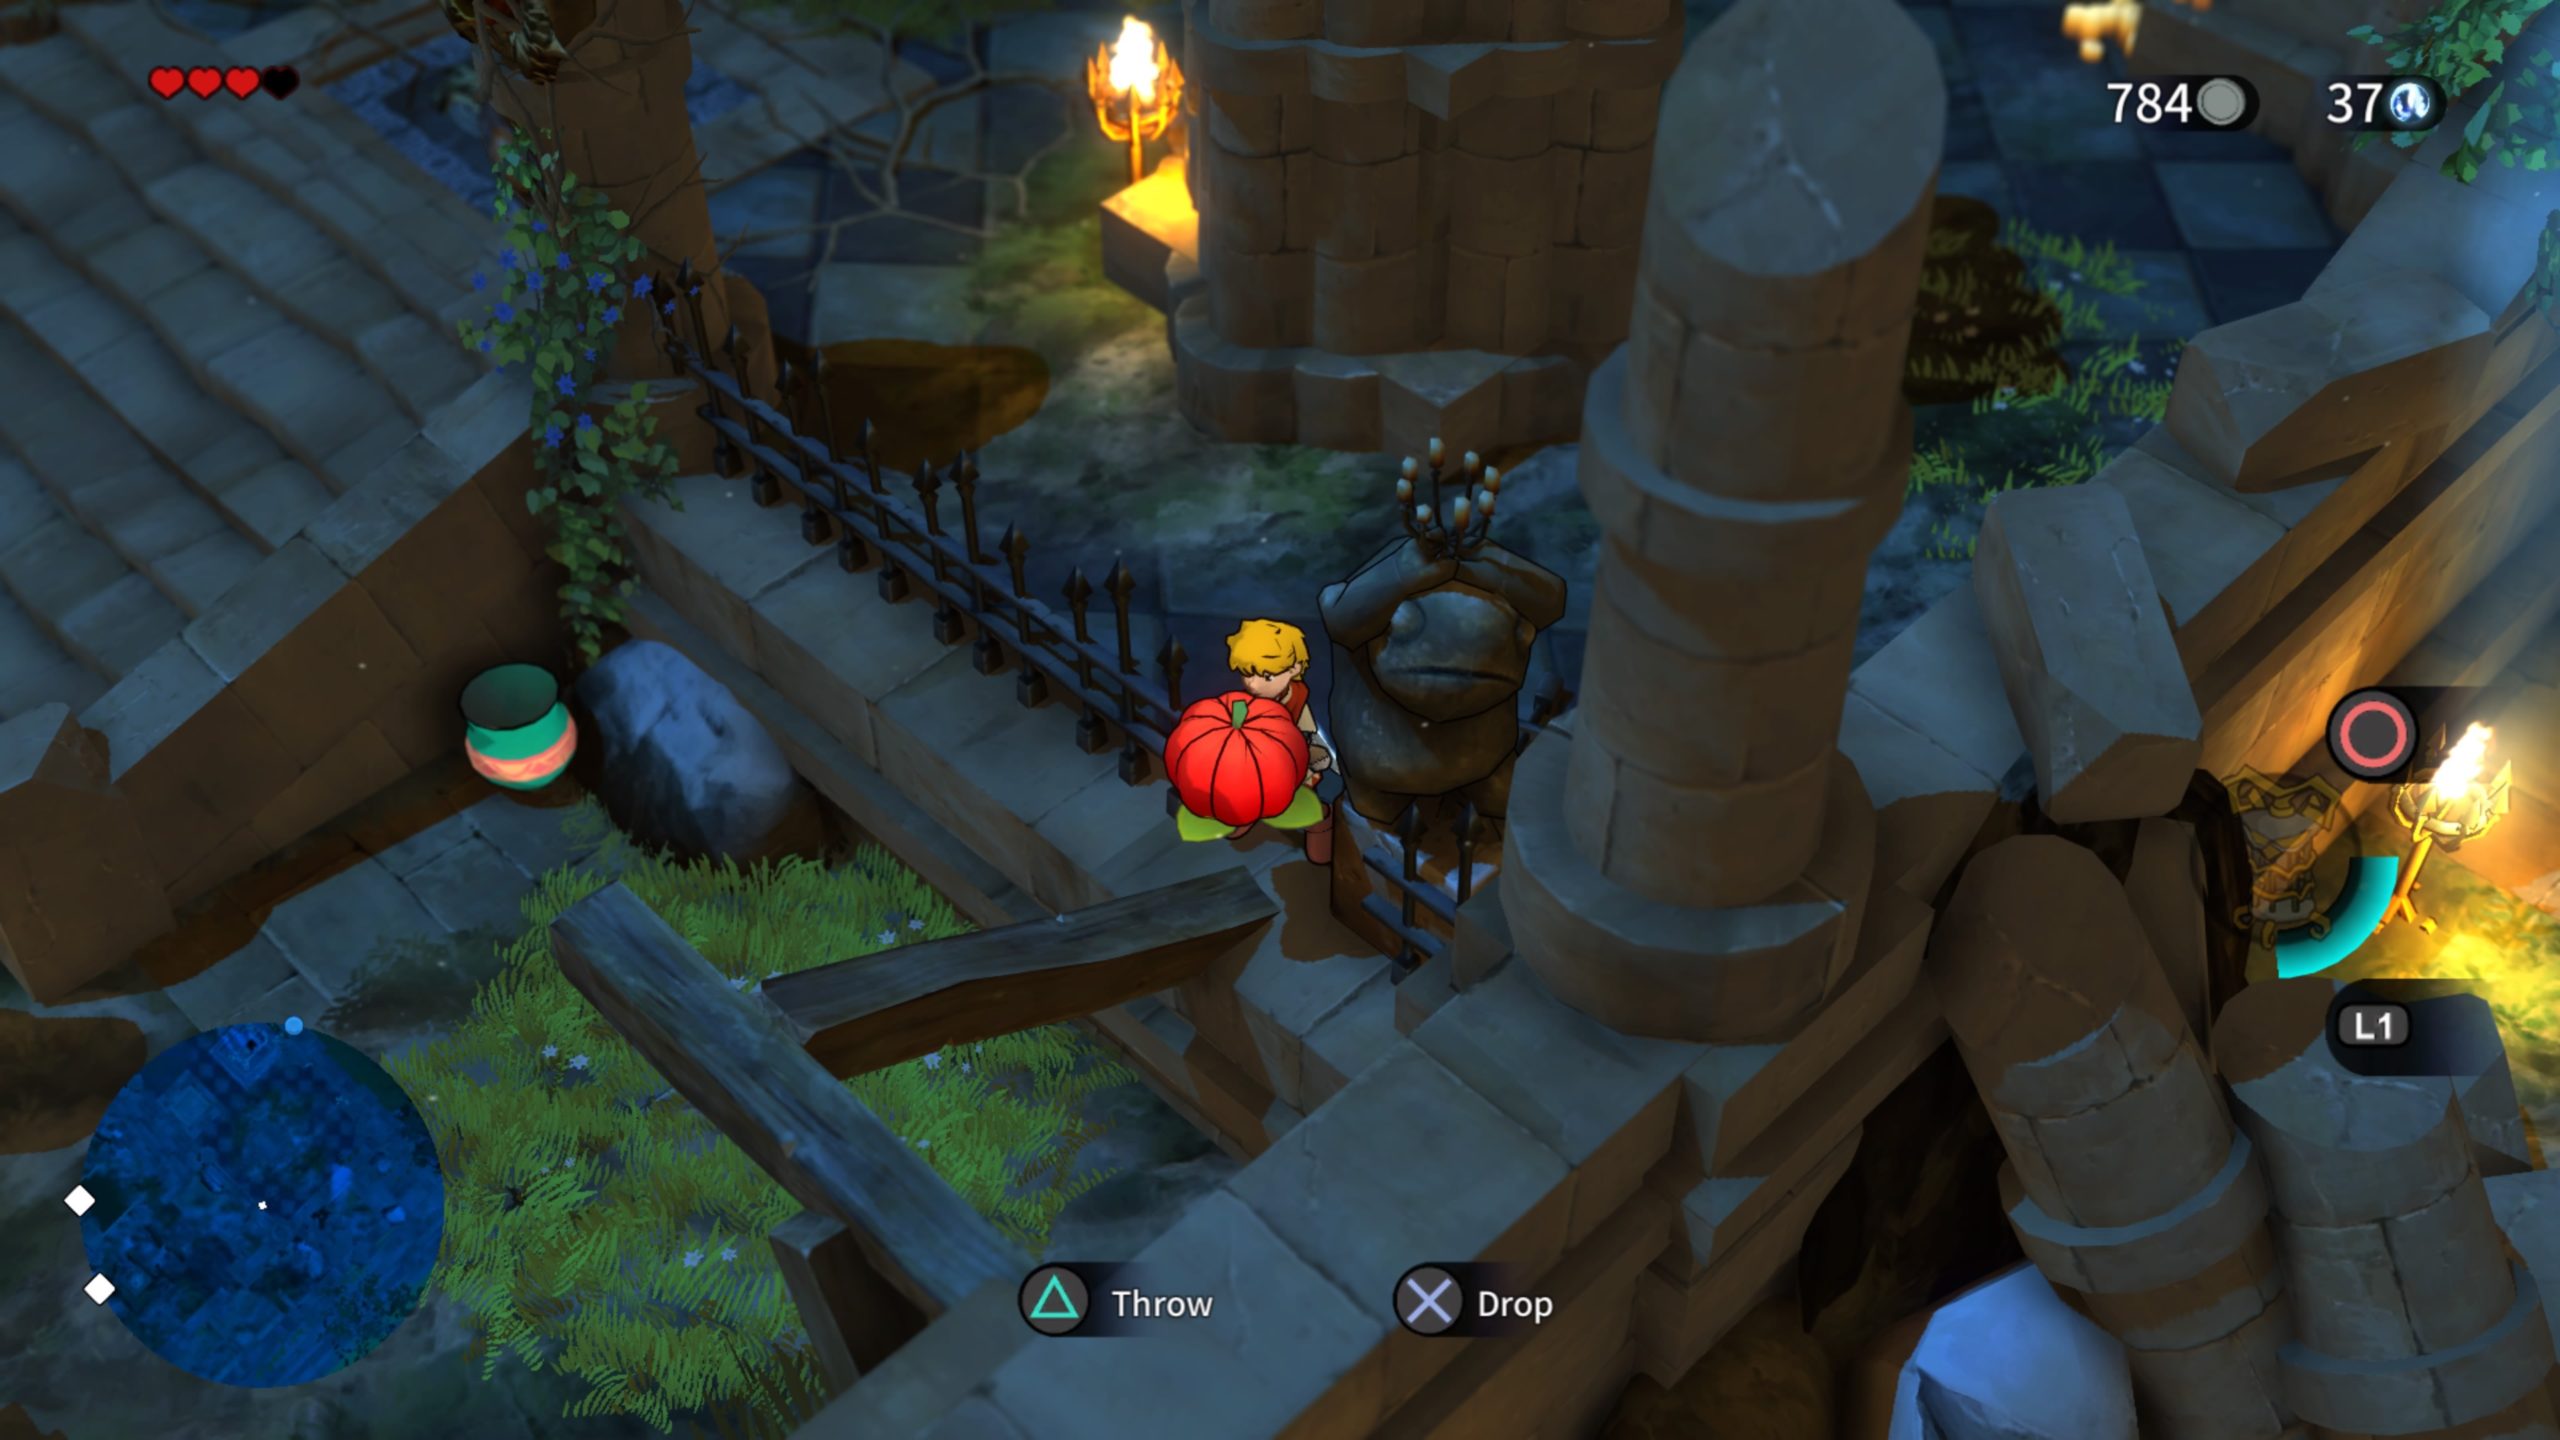
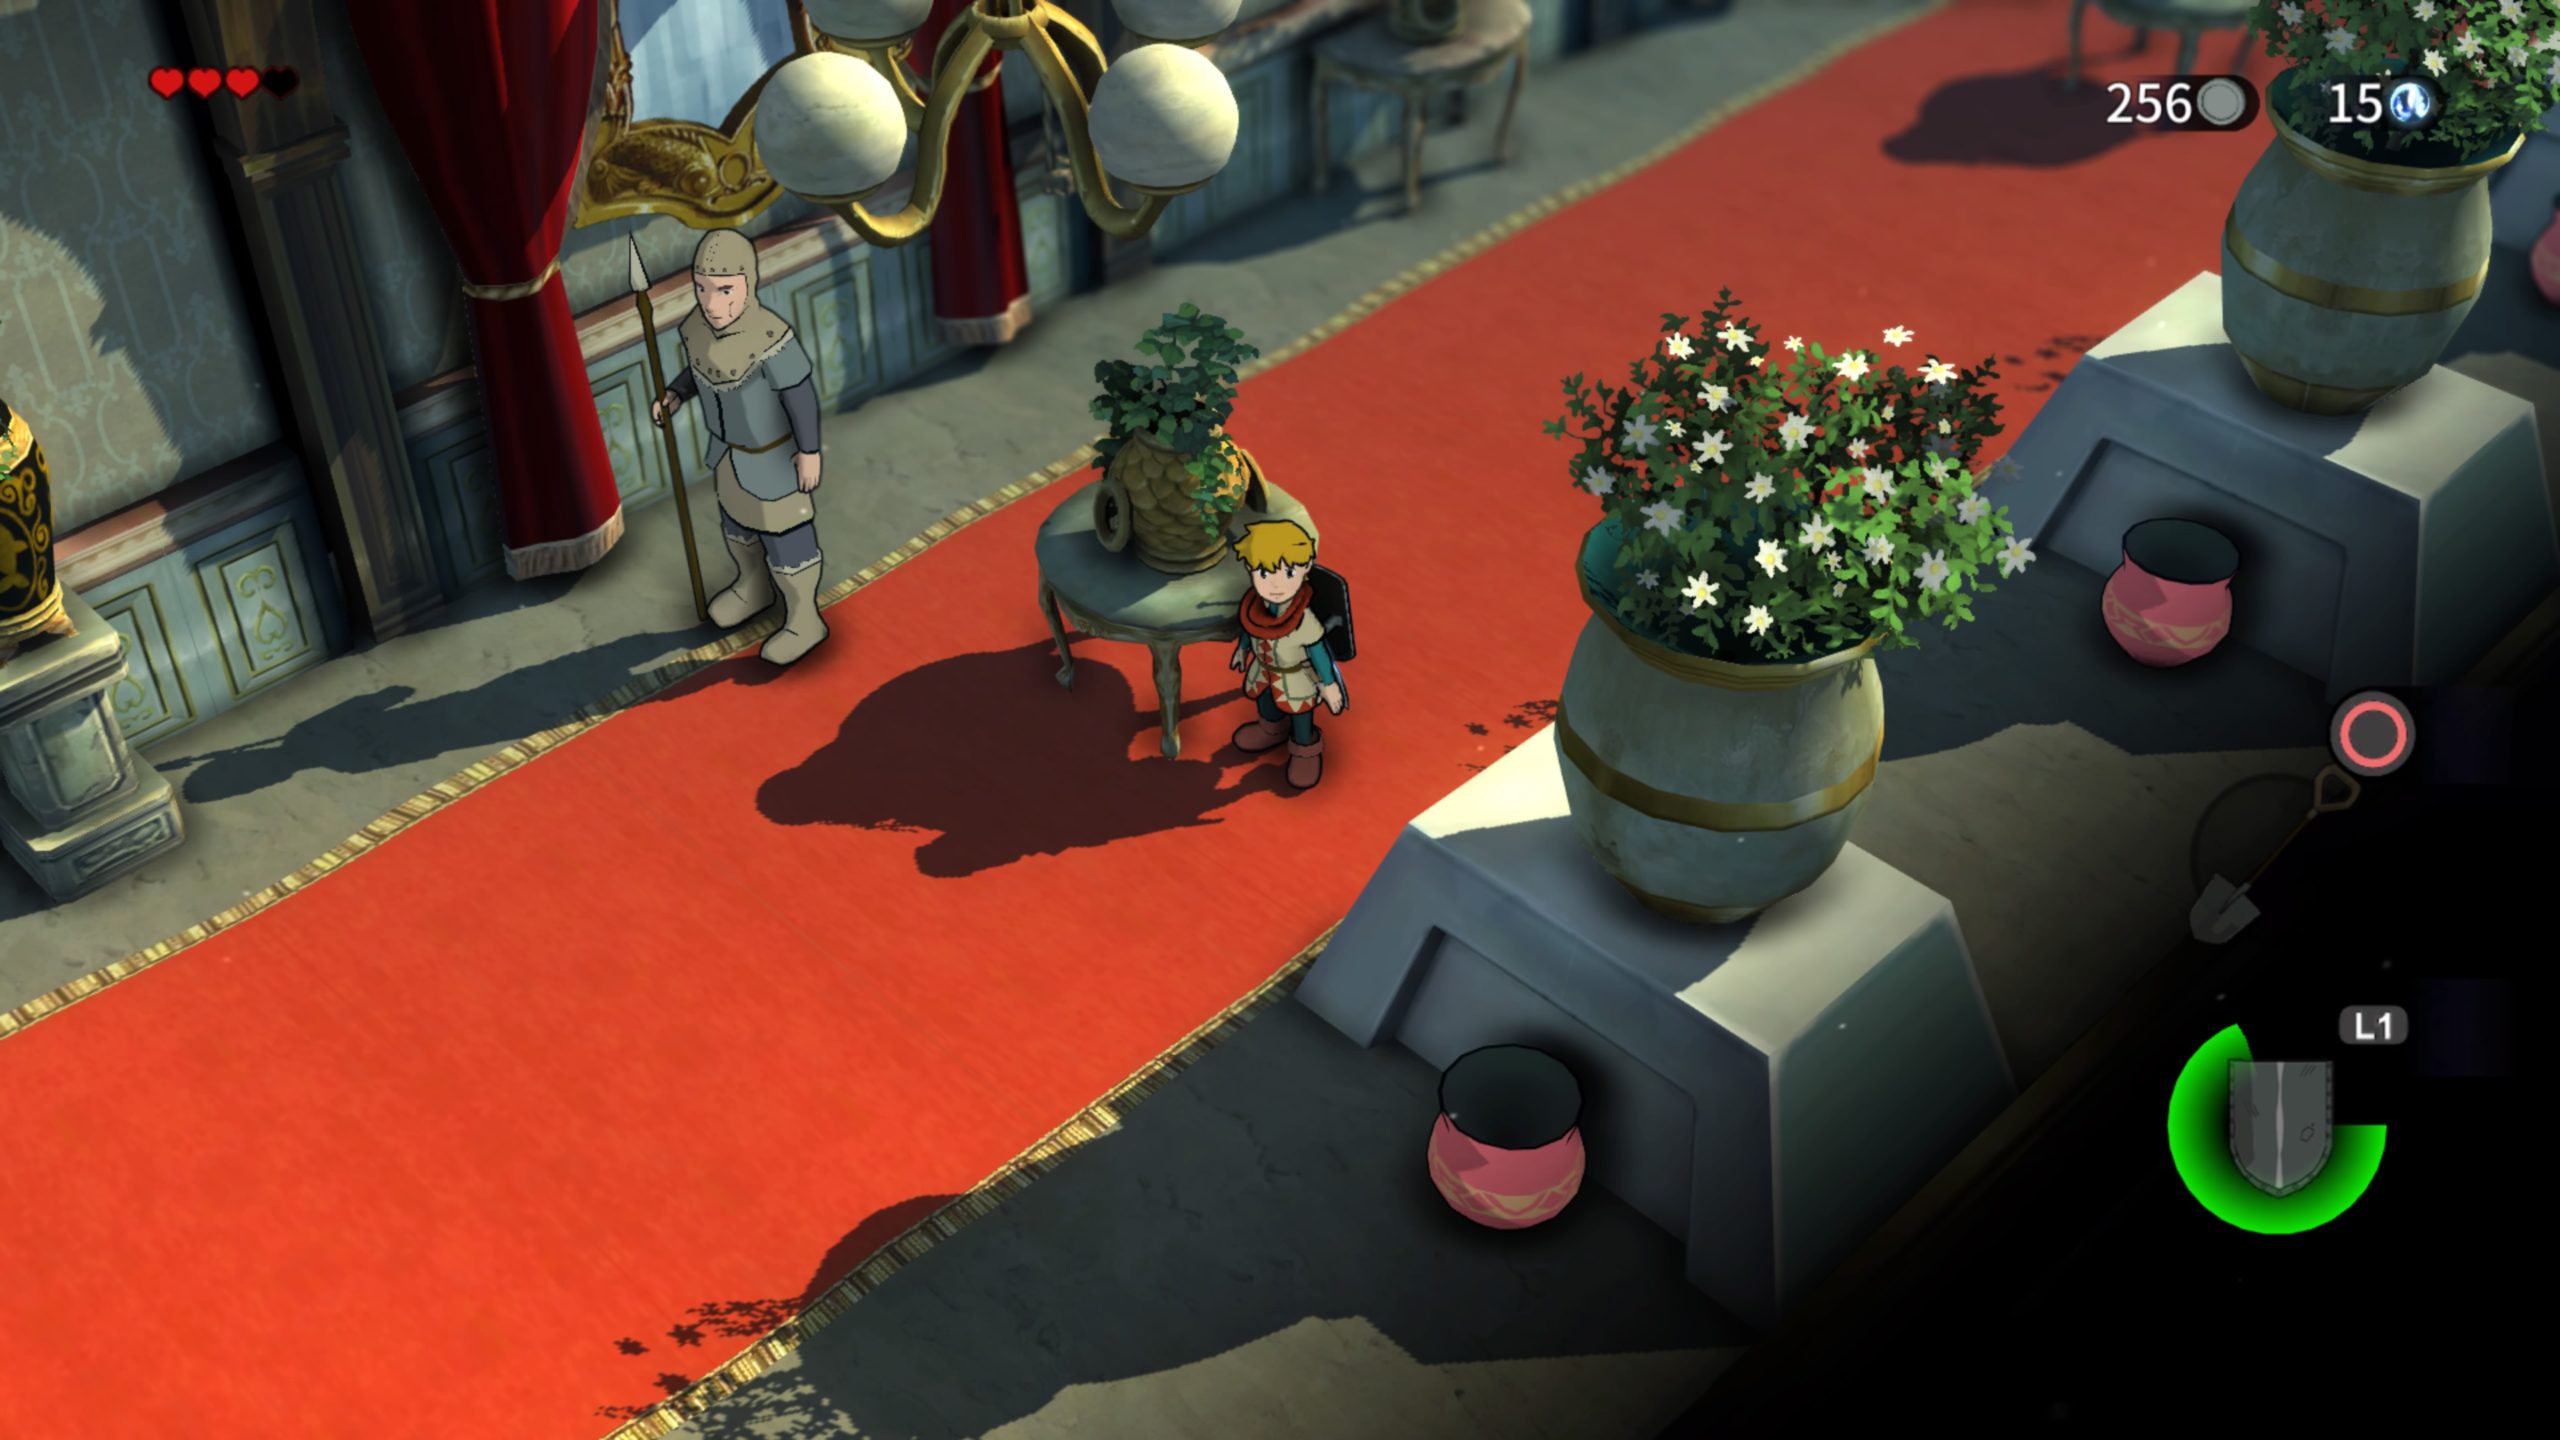
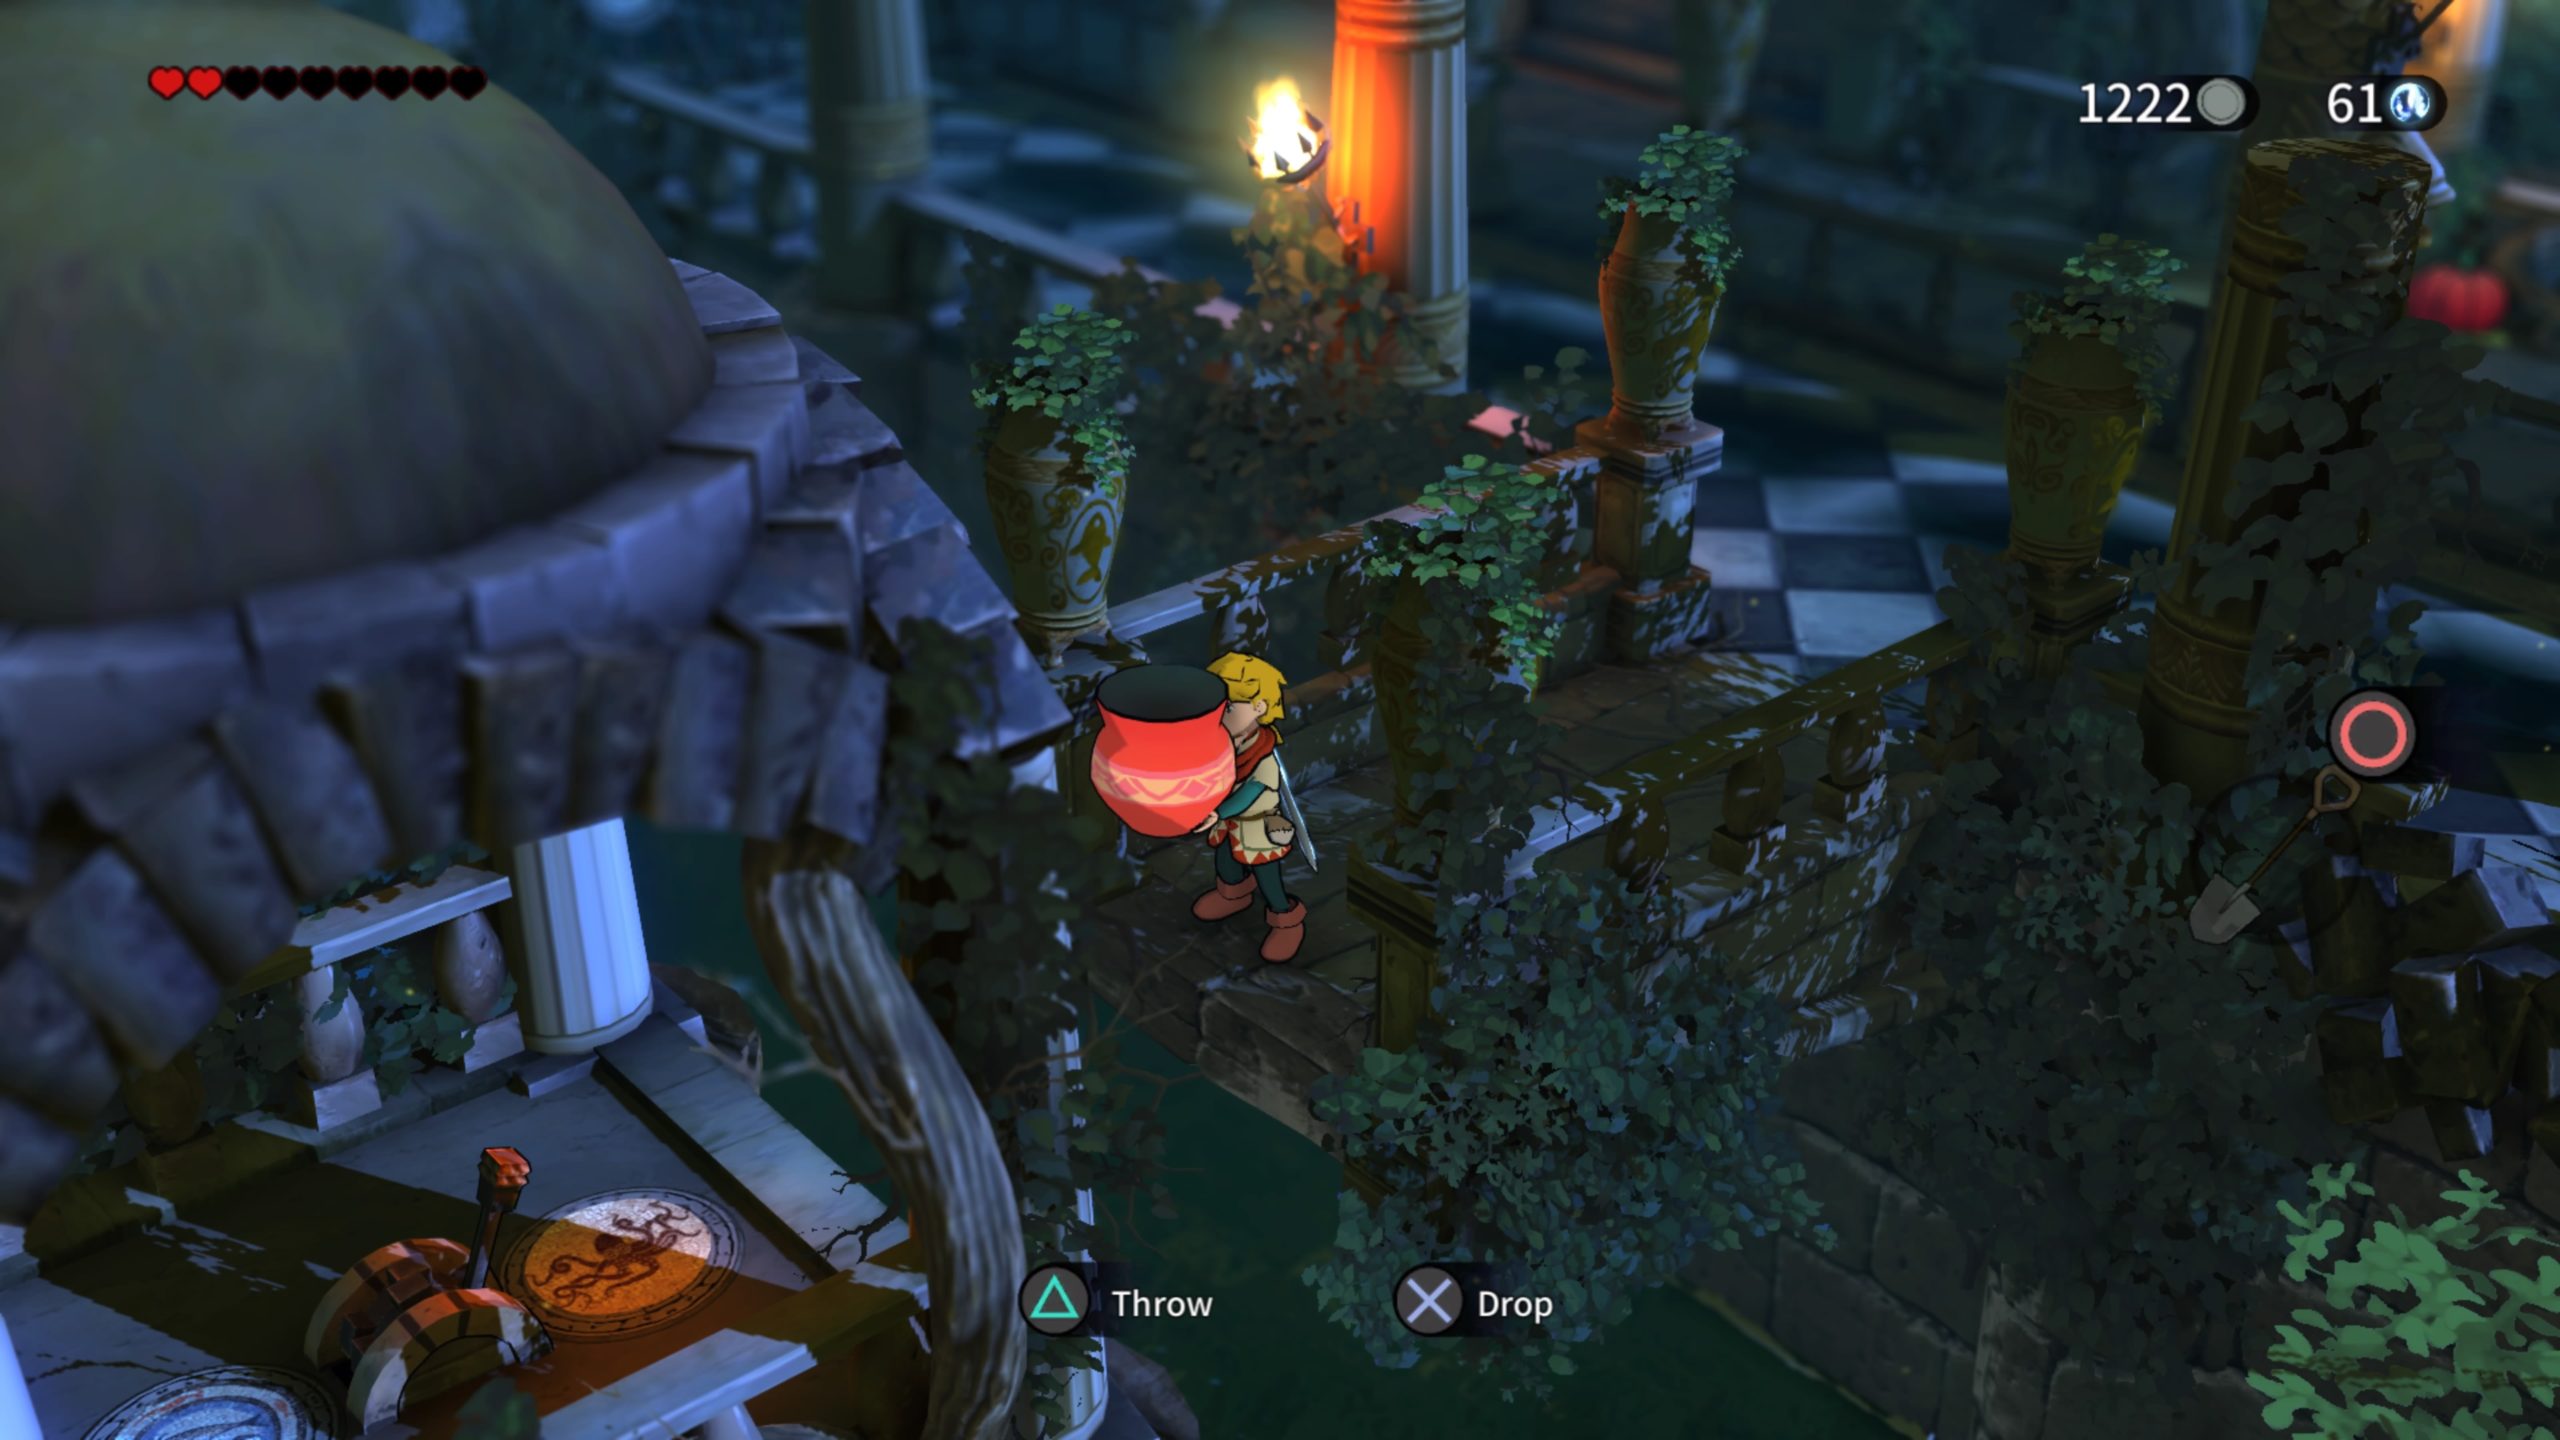
Backtrack to the railing. At the dead end along the railing, take a right followed by an immediate left. Grab the pot on your left.
Carry it along the railing until you spot an unmoving guard.
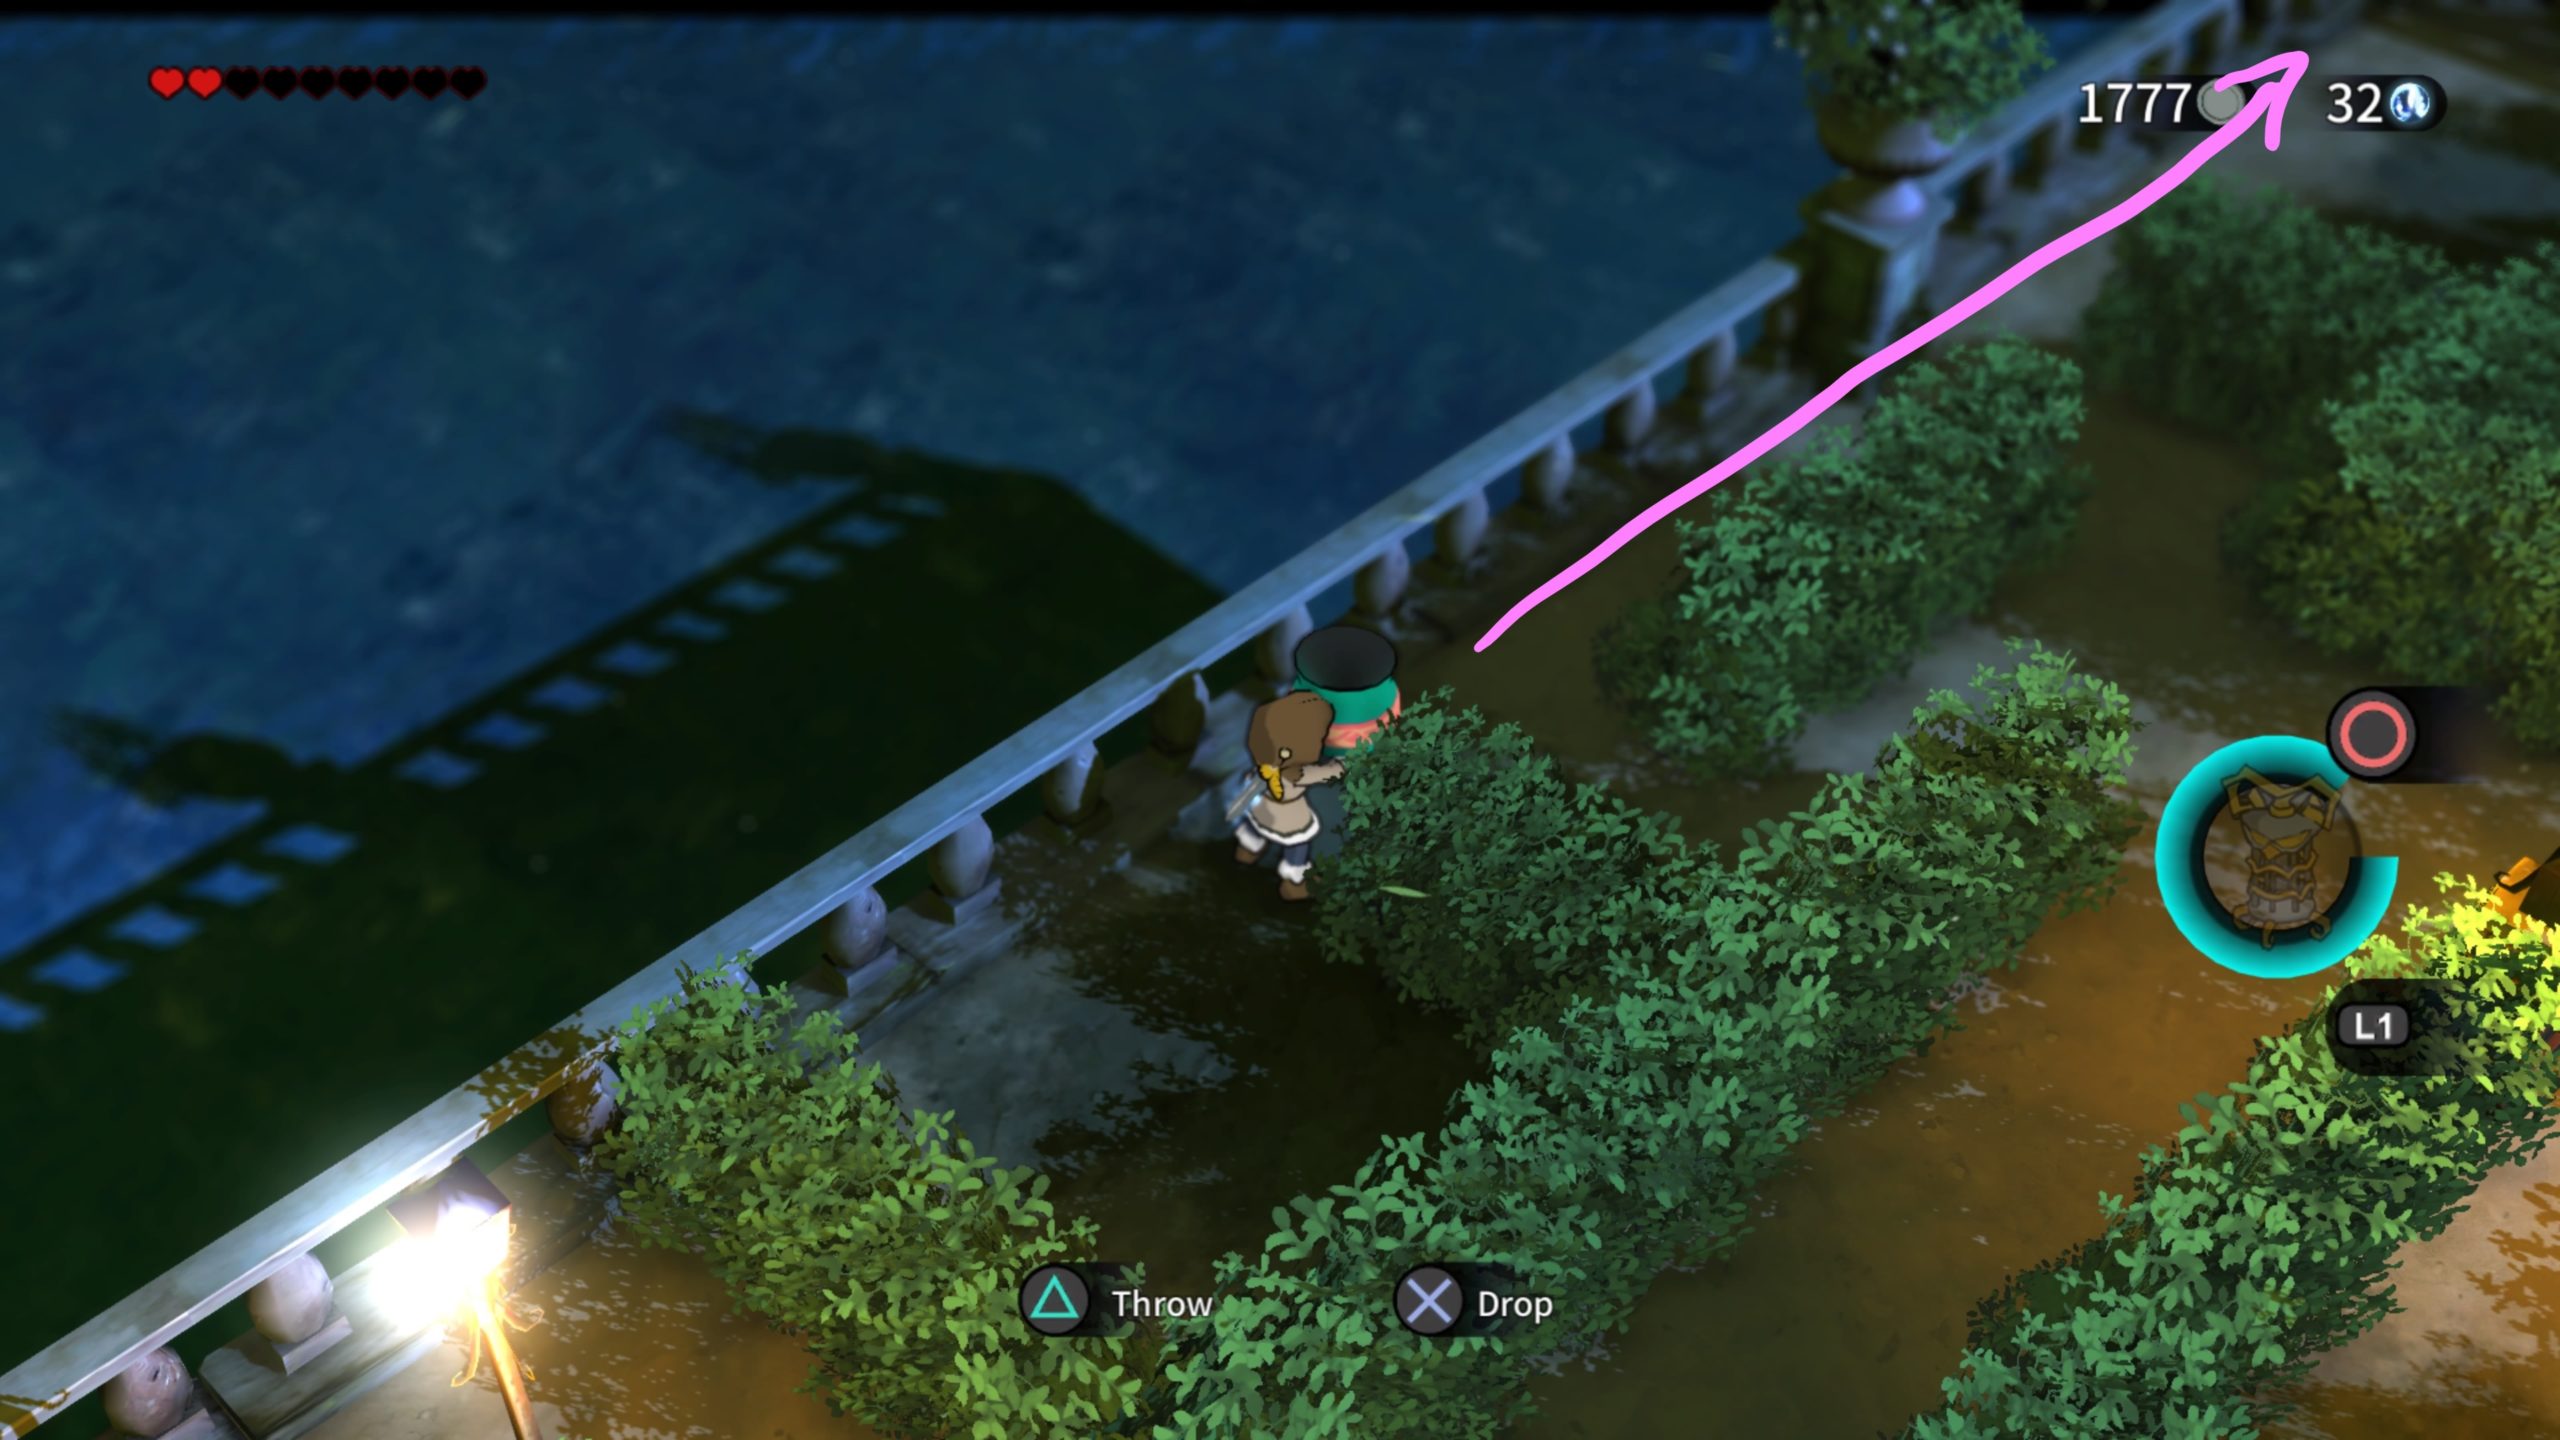
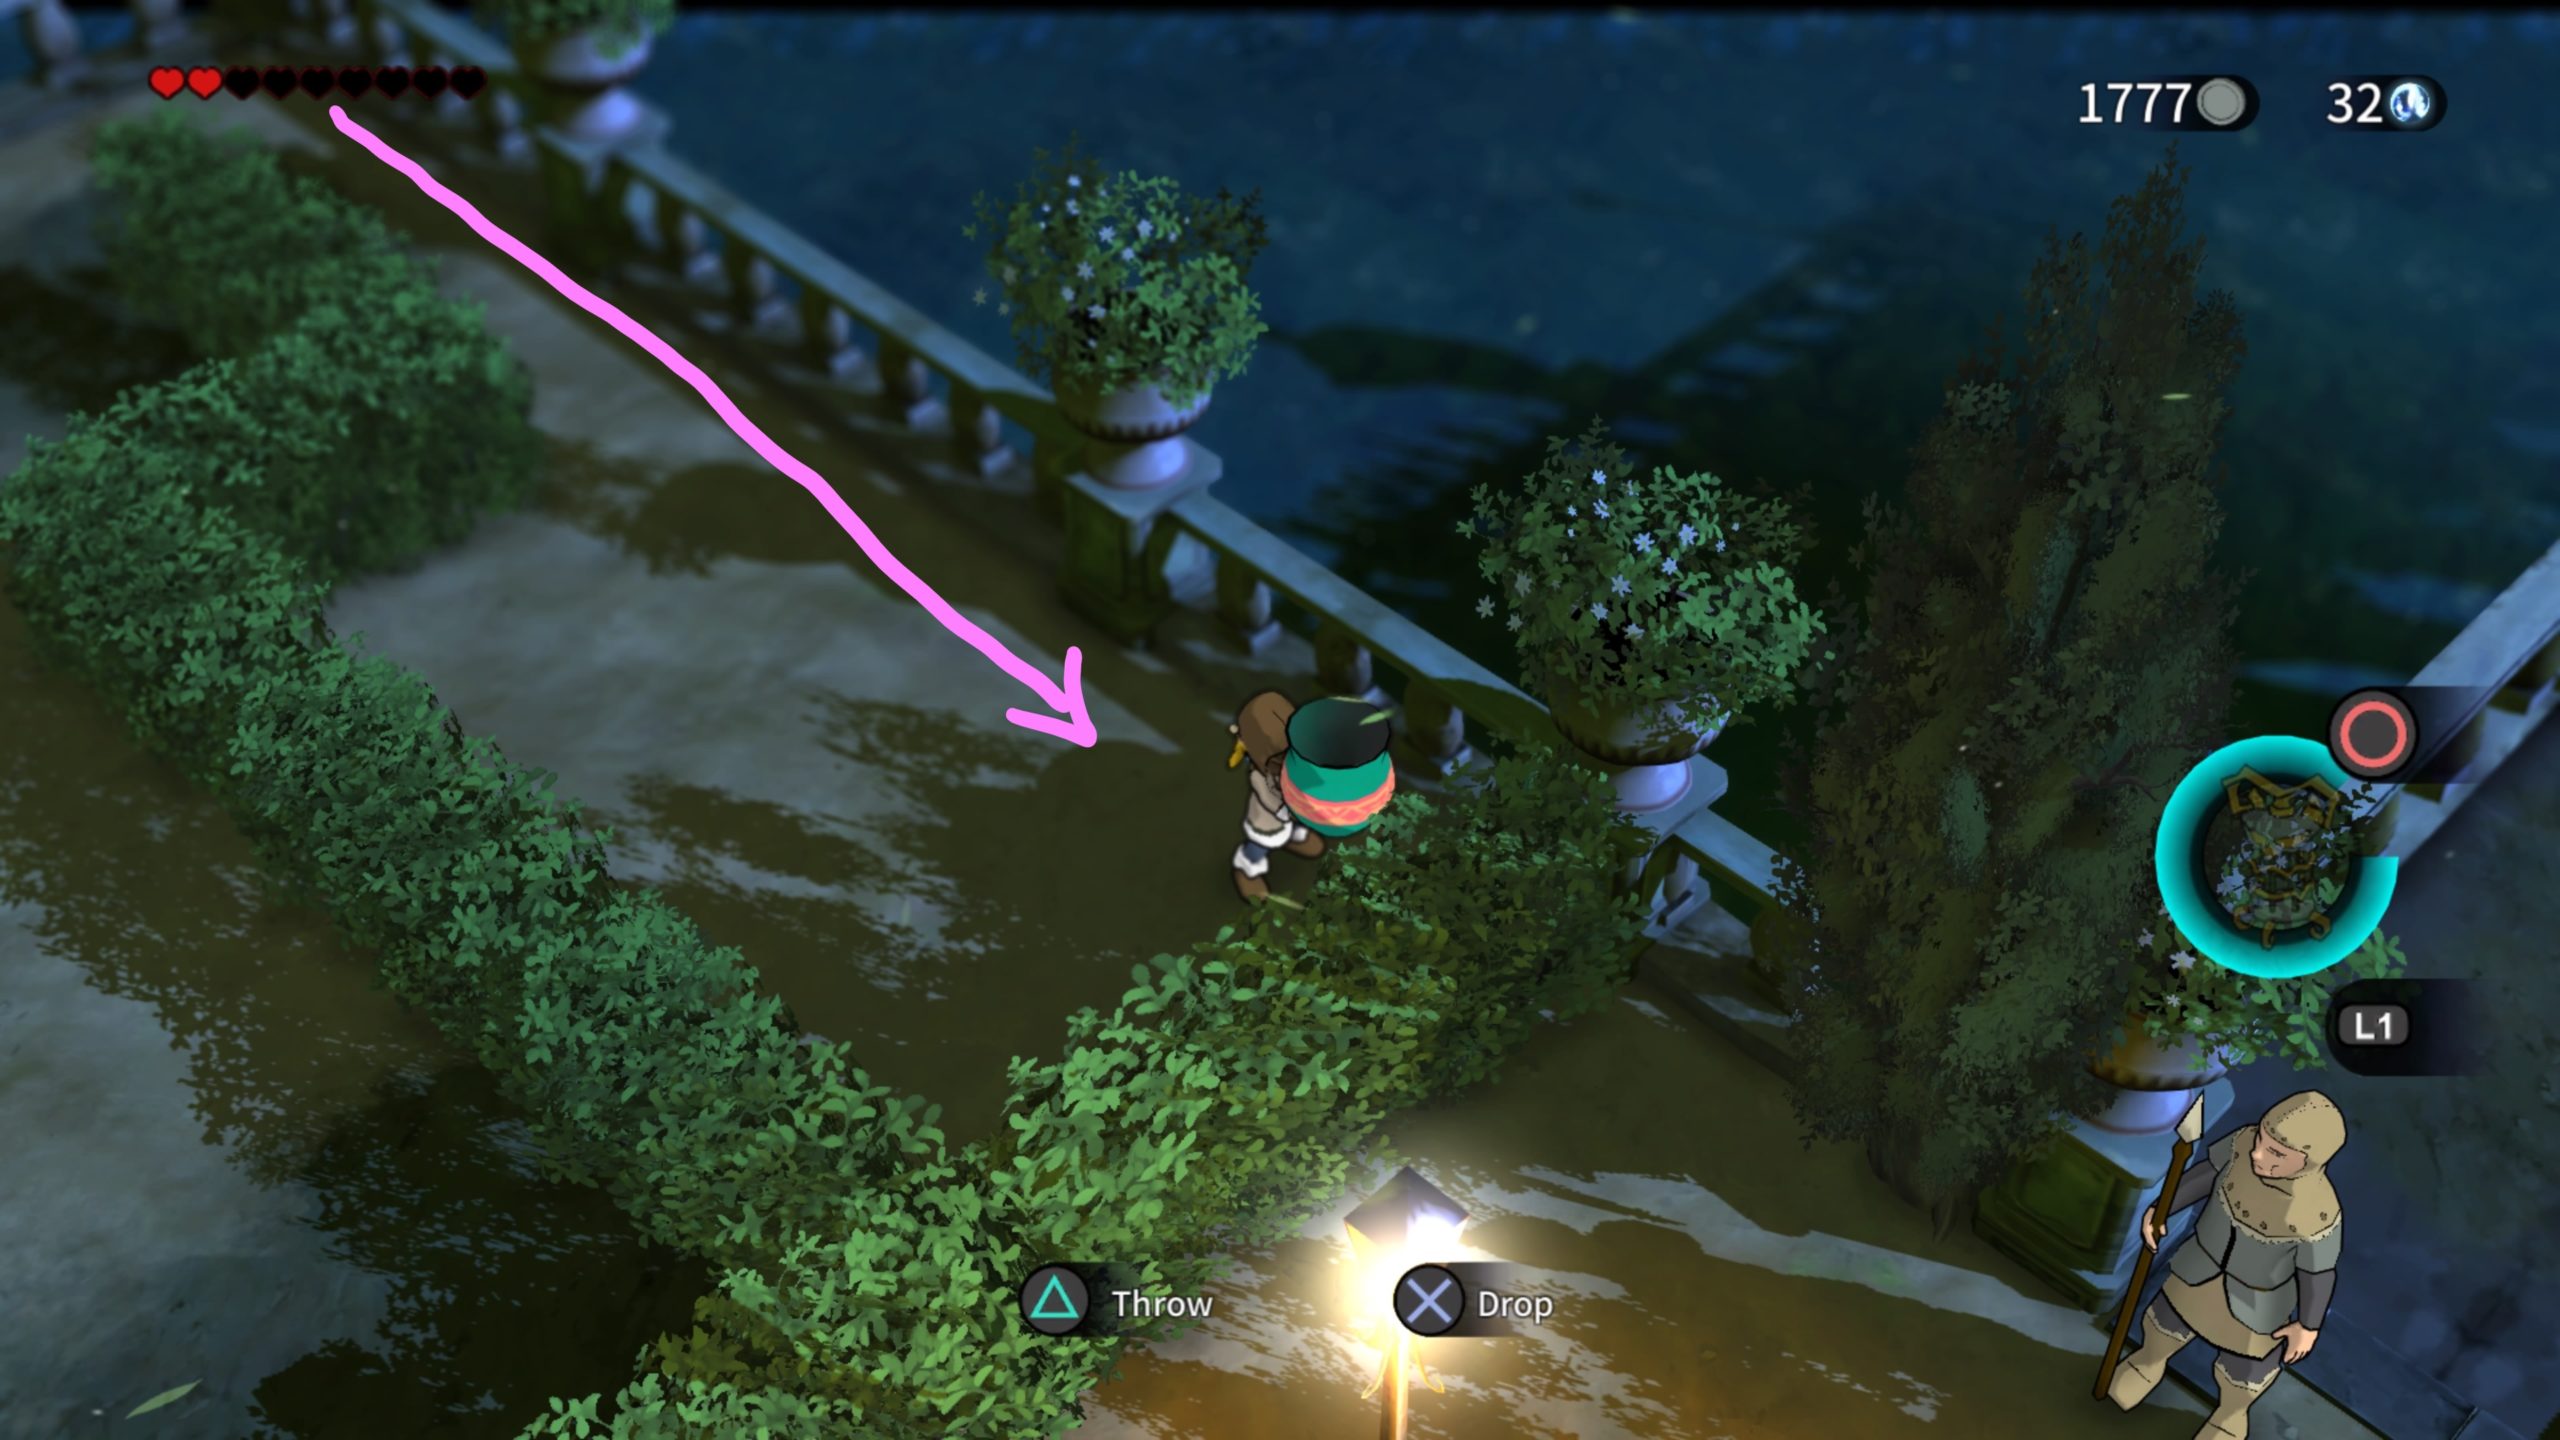
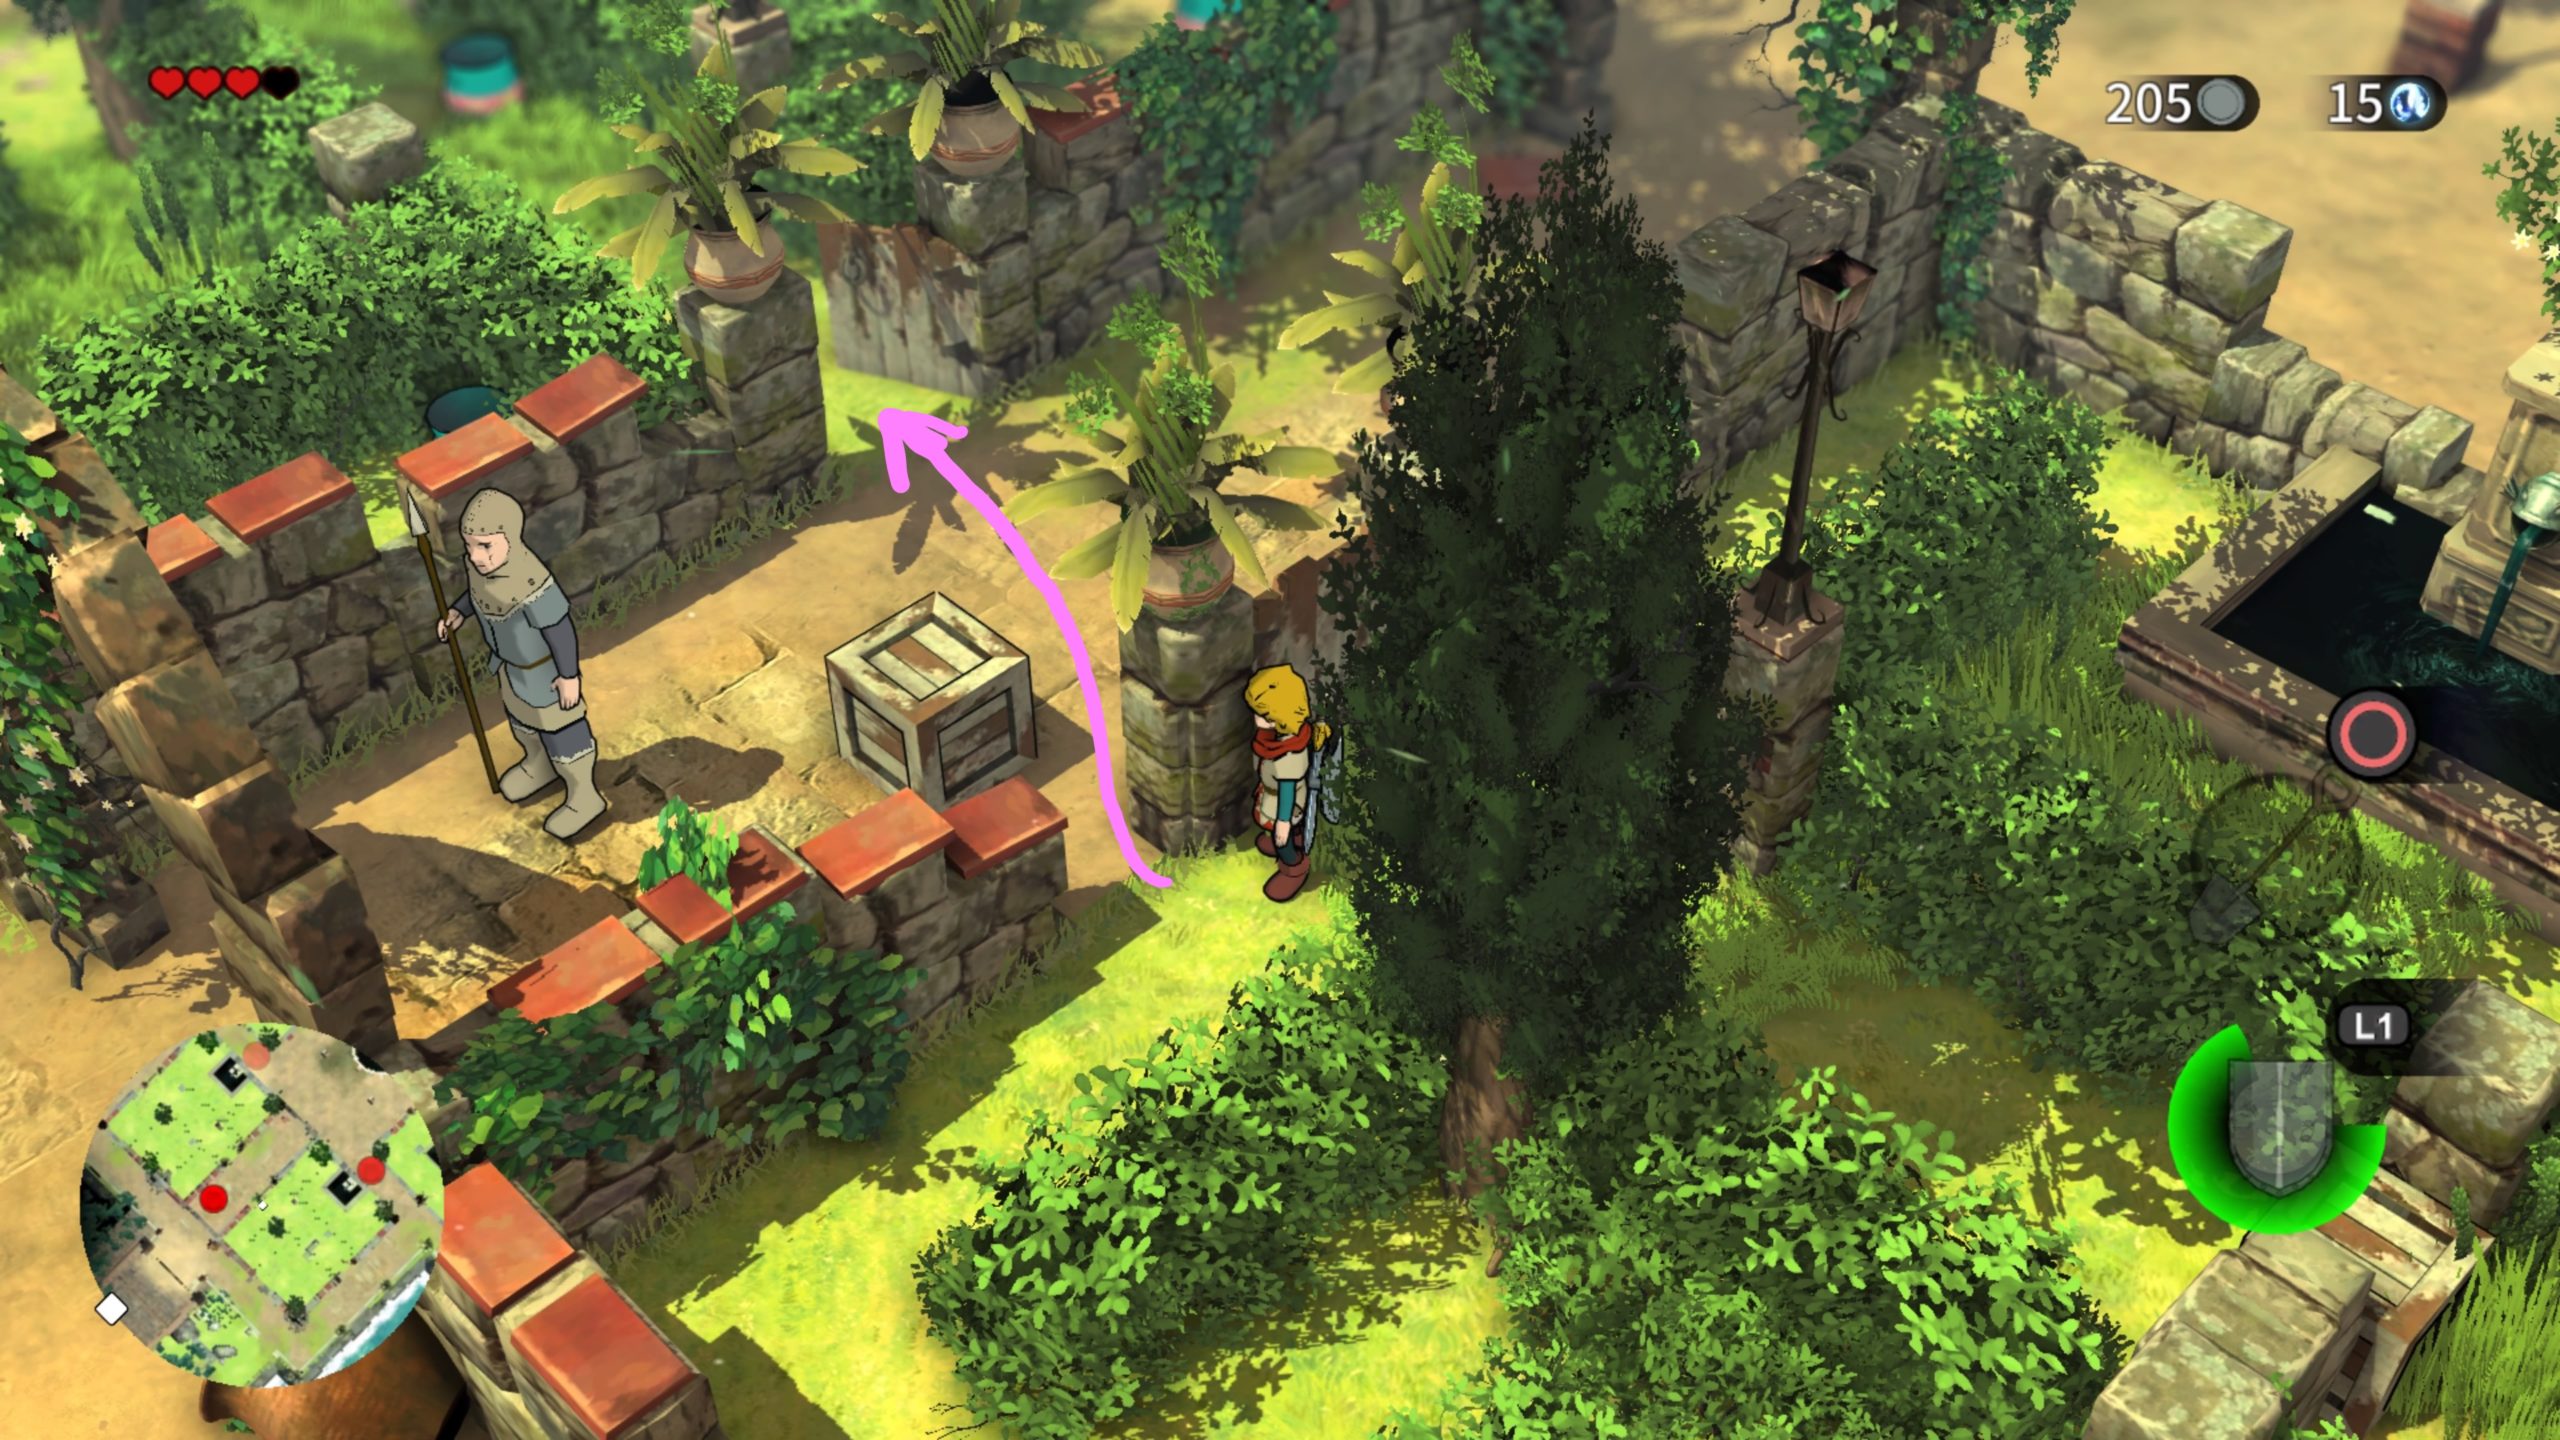
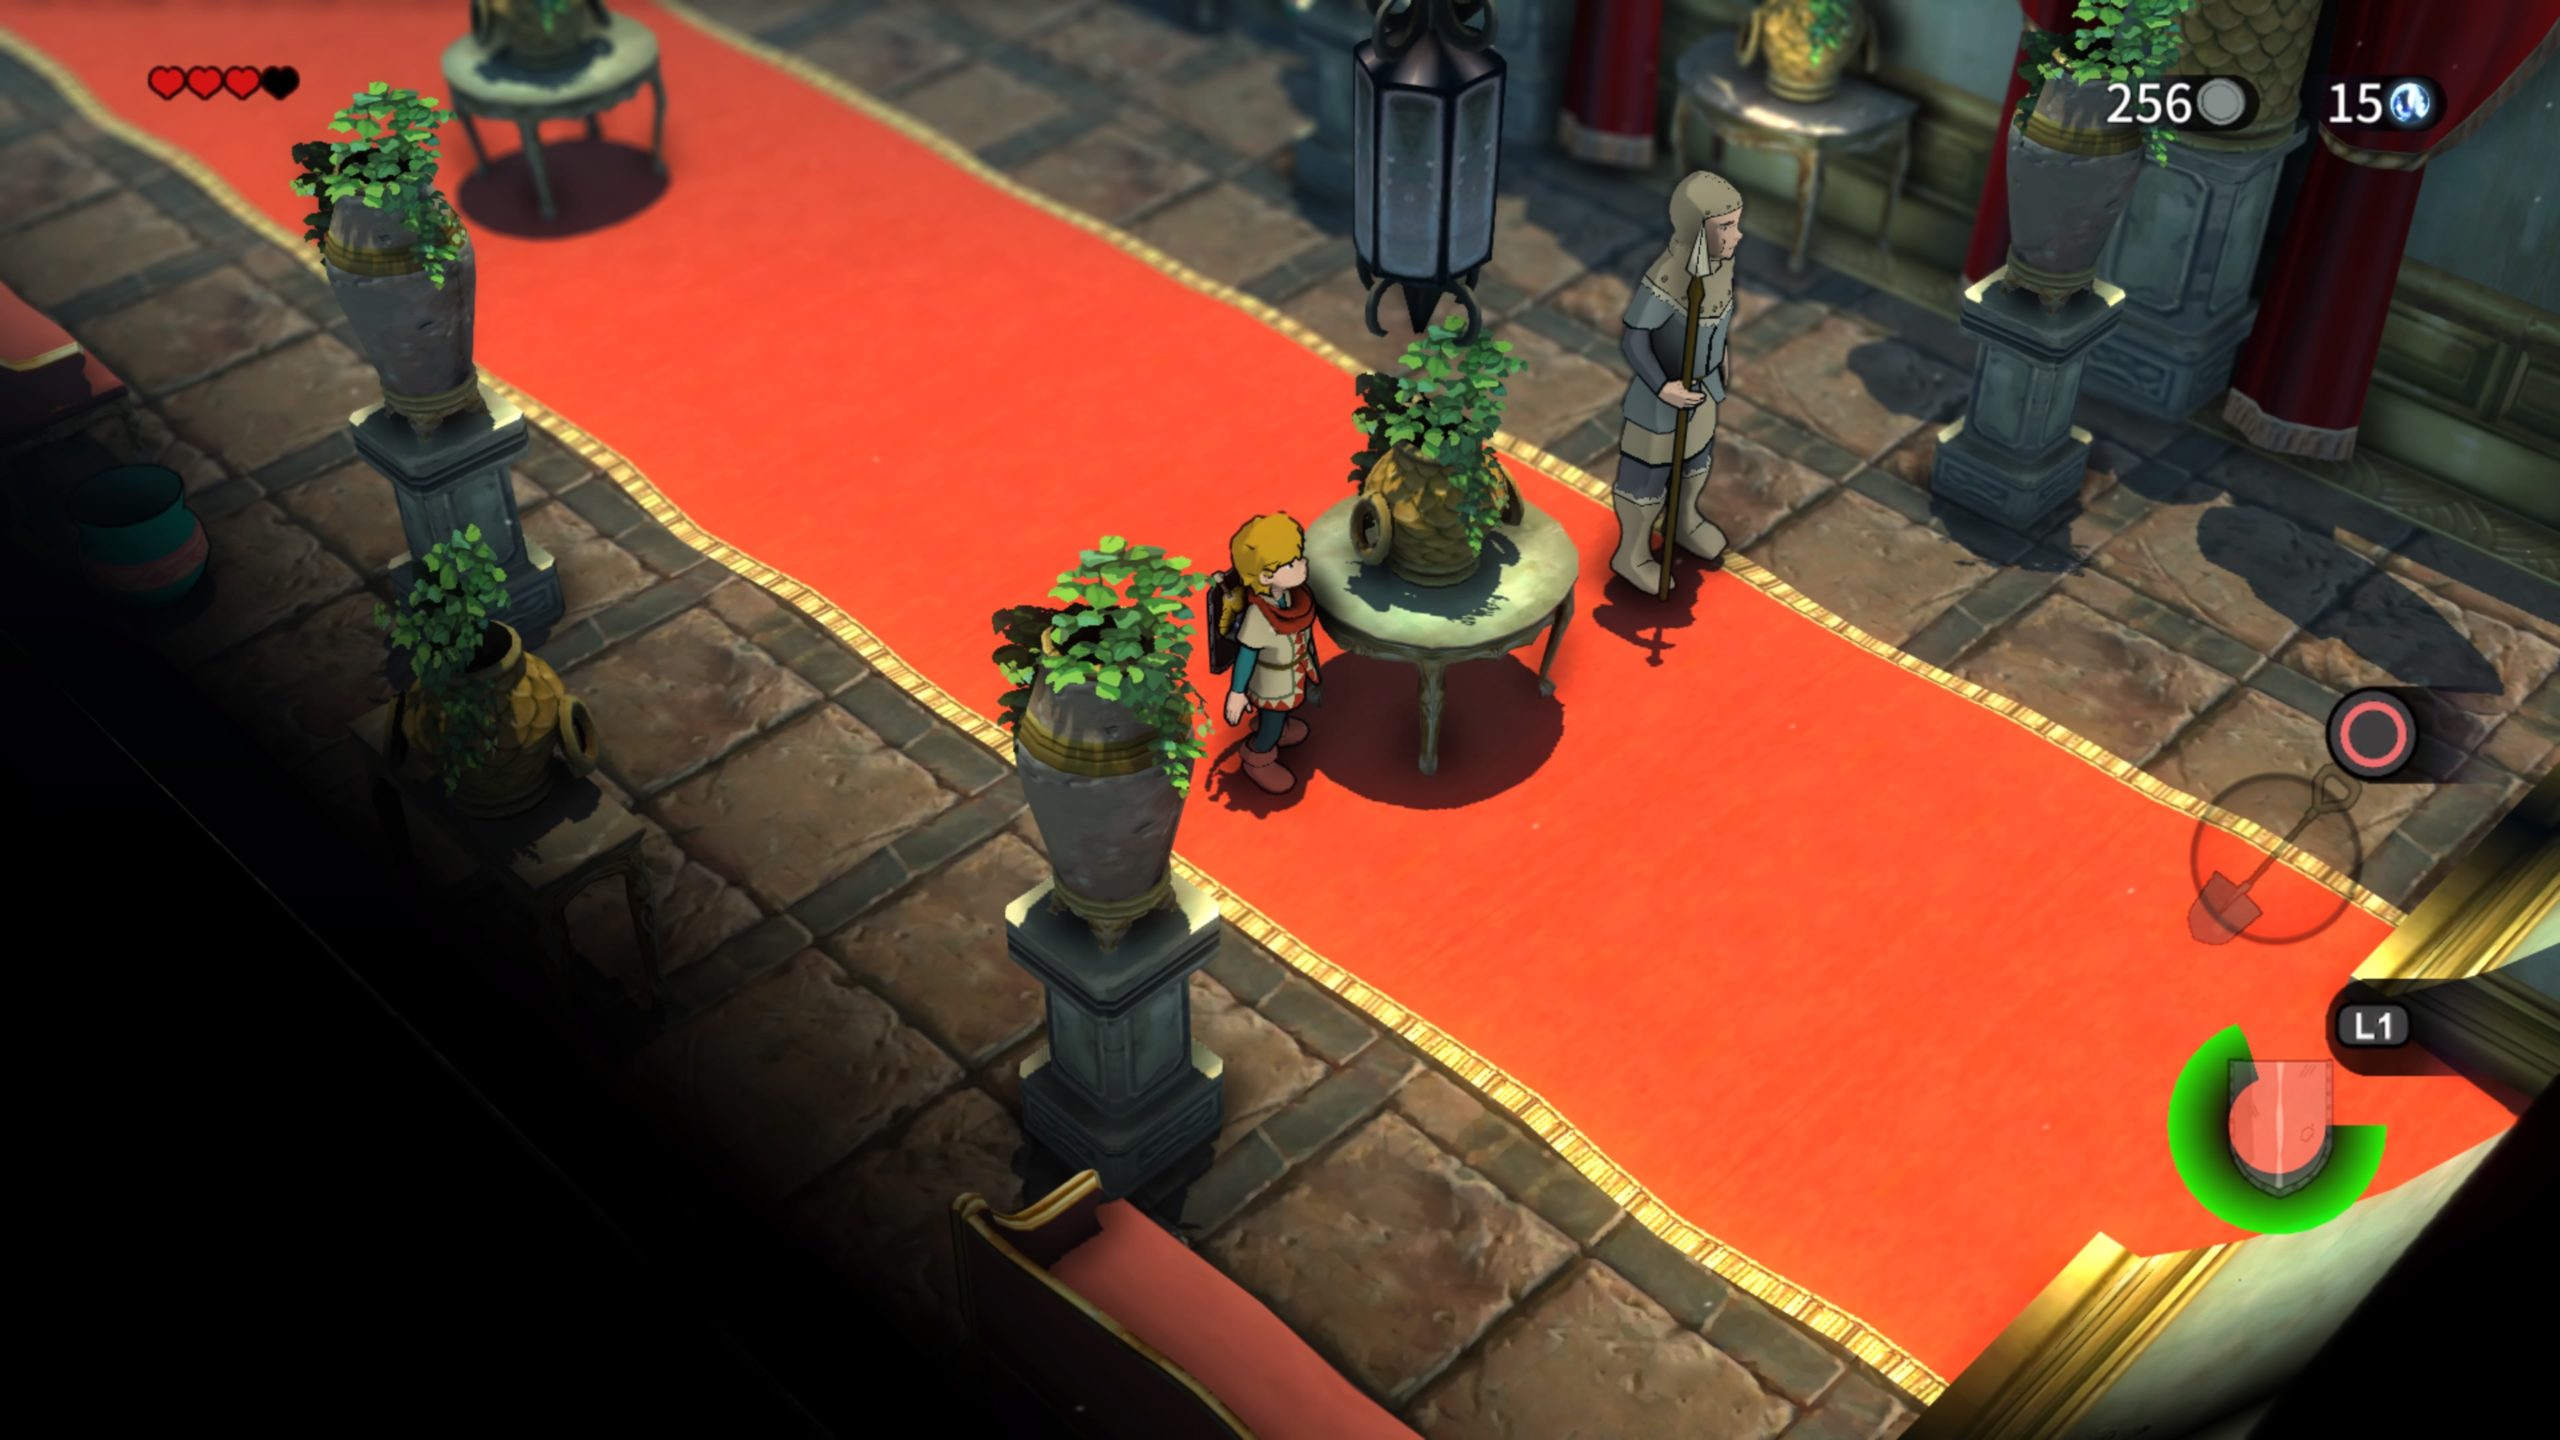
Throw the pot at him to cause him to turn towards you. Backtrack to the starting area. This time, head through the opening on the southern side of the well. Swing right around the potted plant on a pedestal and watch out for the guard as you quickly run behind him to take the first left followed by another left. Take yet another left.
Head forward and just before the dead end take a left turn.
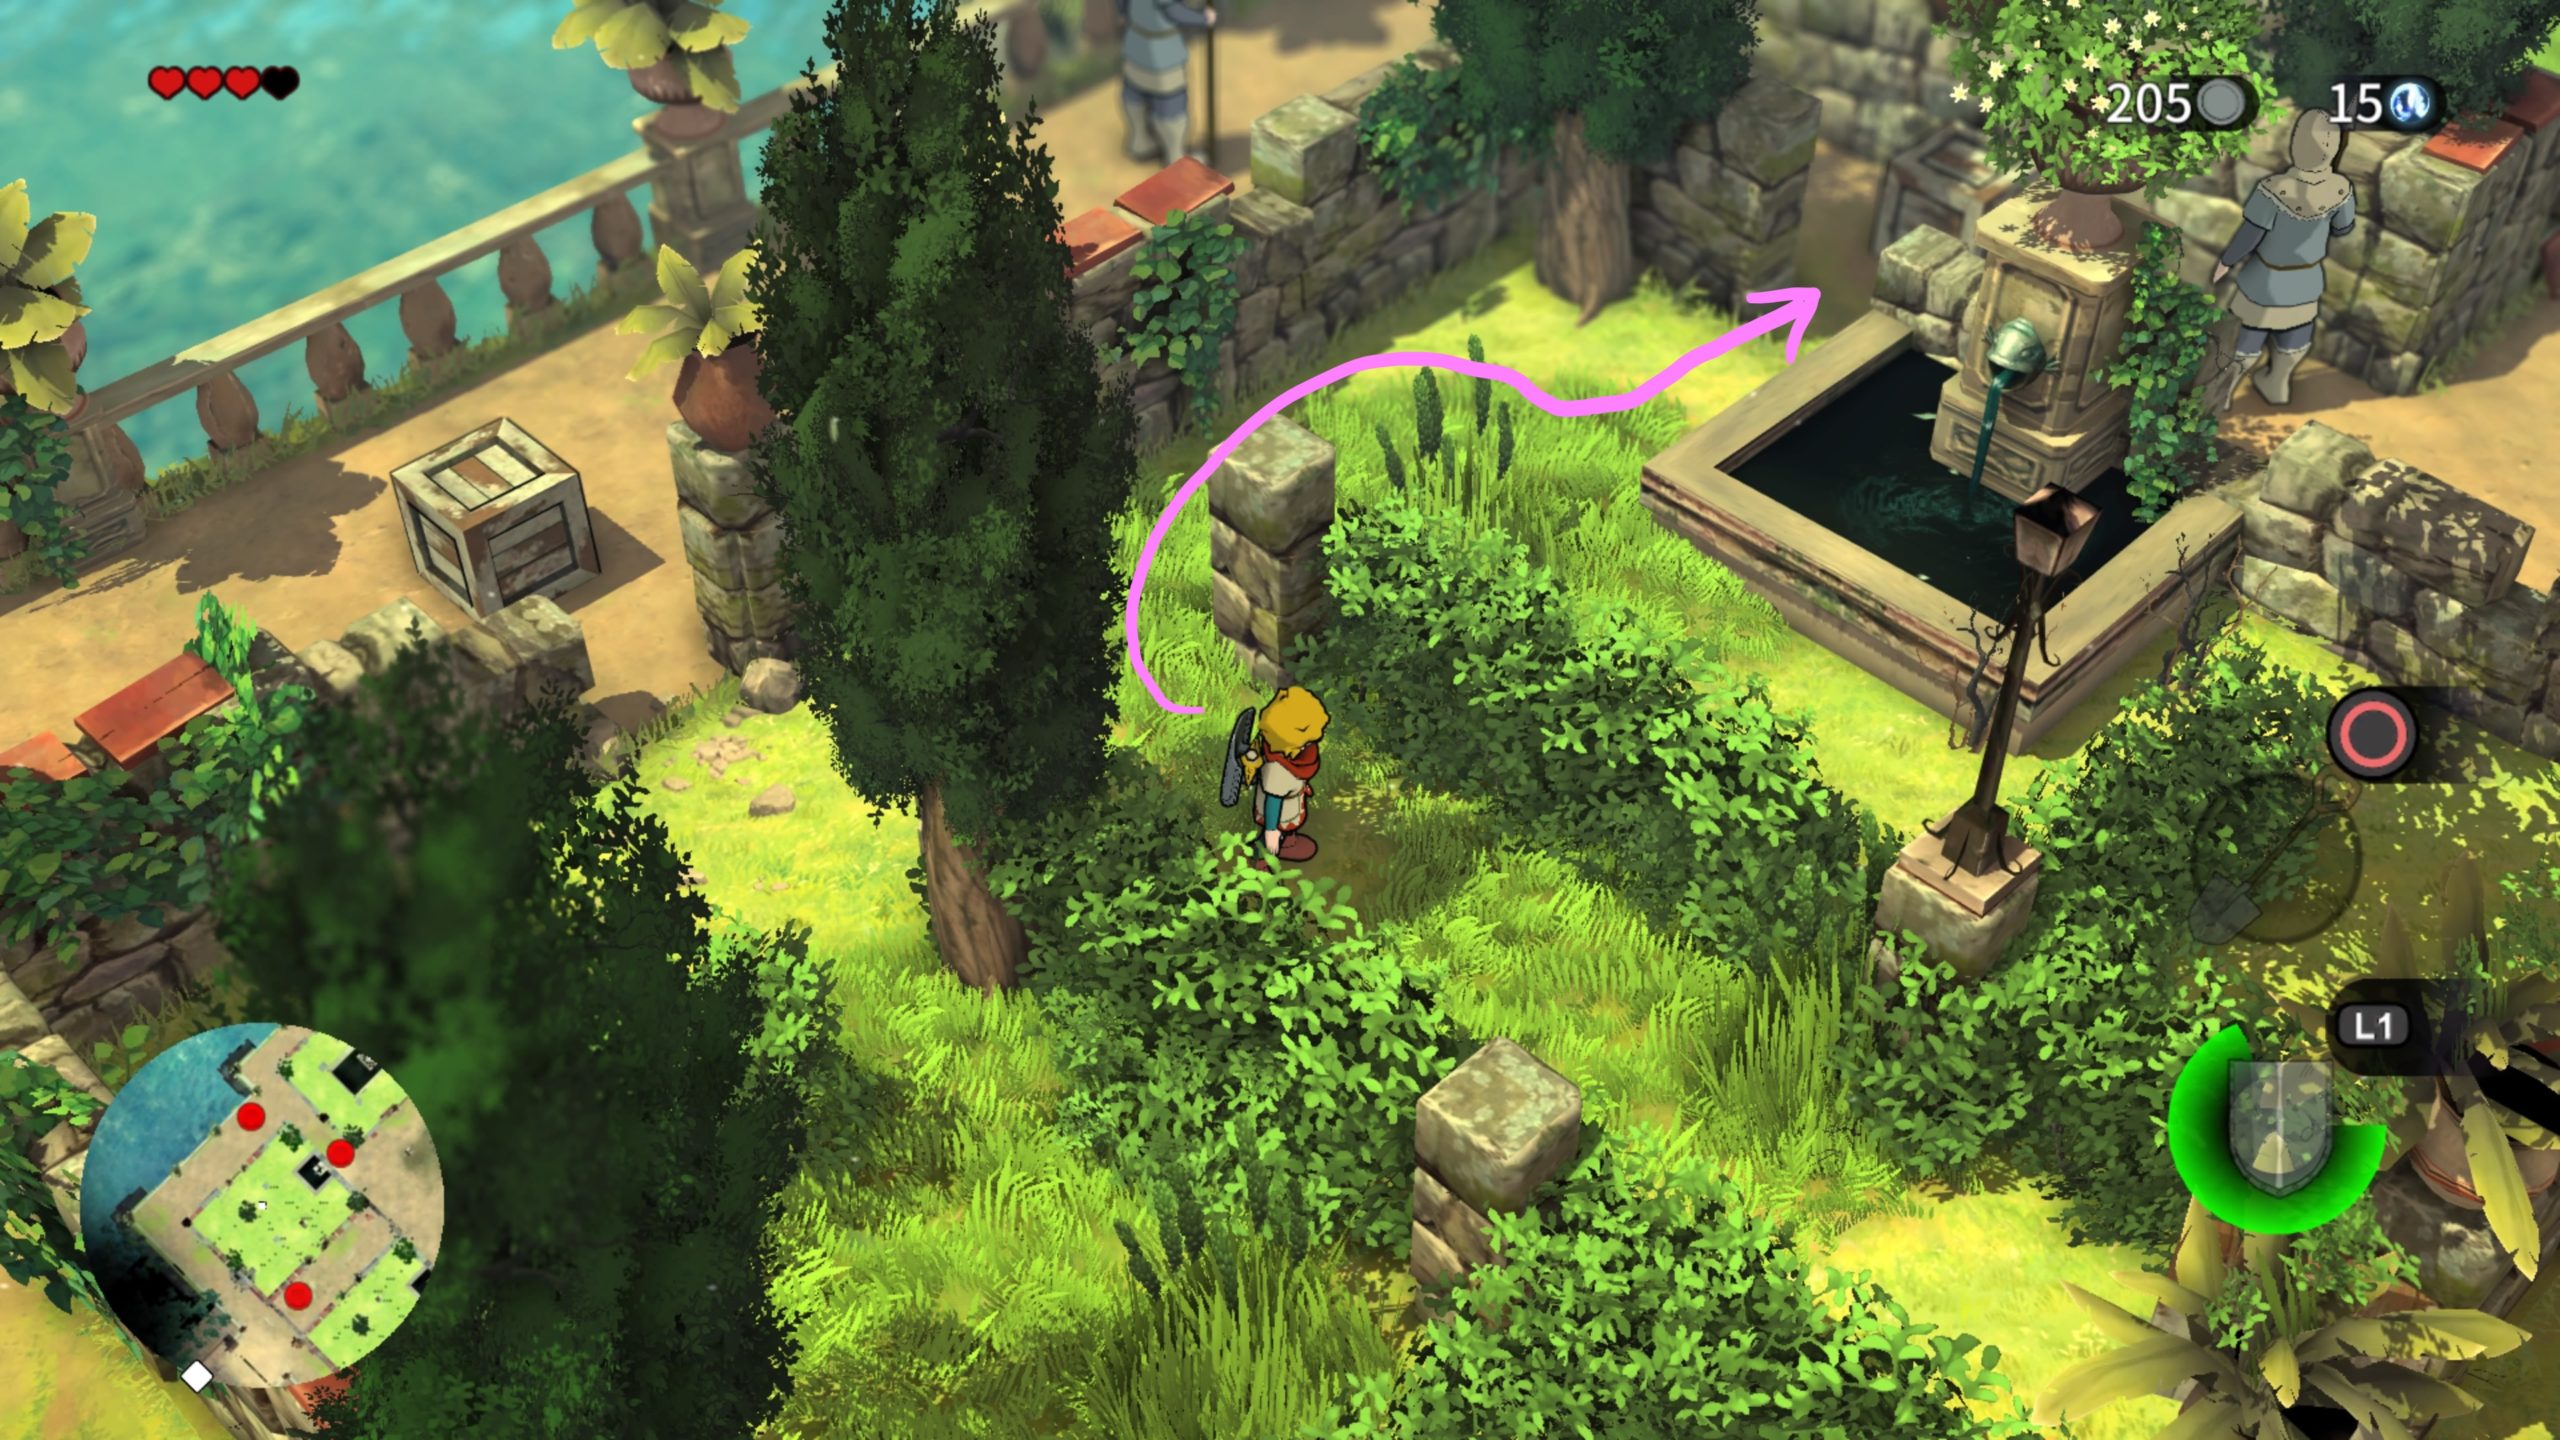
Pick up the pot here and make your way to the guard on the right side that is standing guard and not moving.

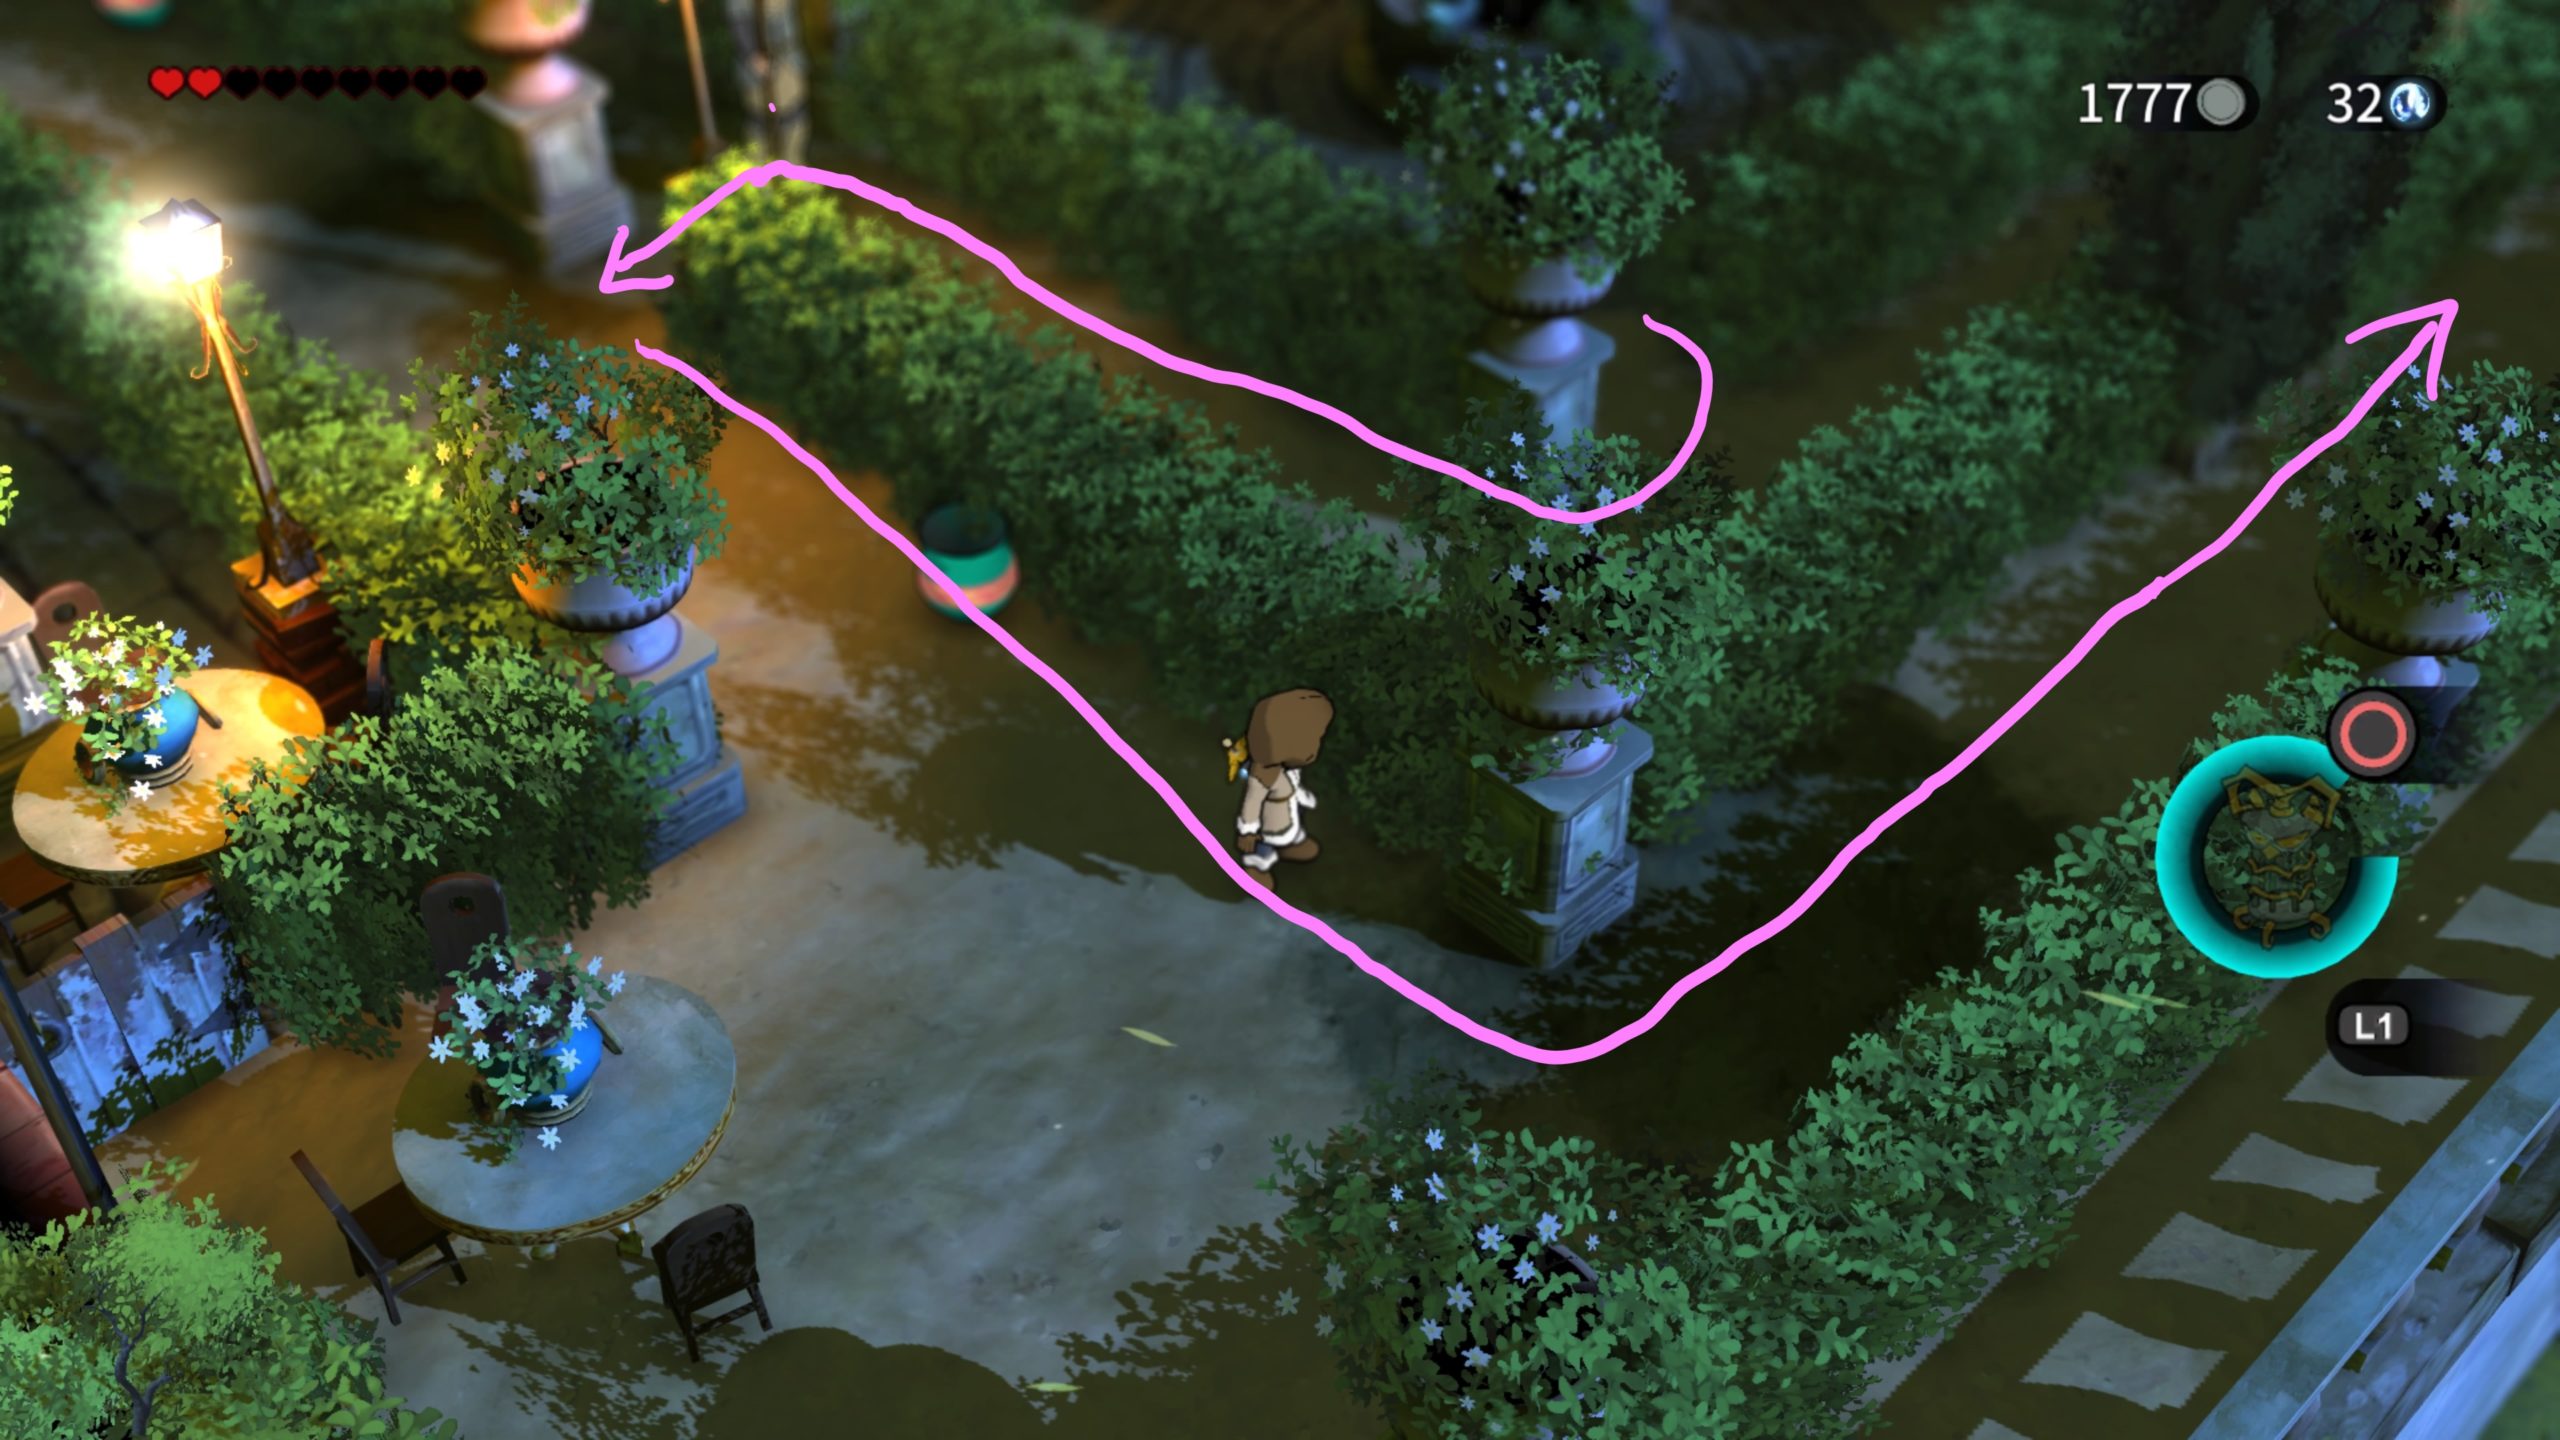
Throw the pot behind him to cause him to turn around. Back track all the way to the table in the southwestern side of the area and take a left to follow along the railing.

Be mindful of the guard here and take the first available left.

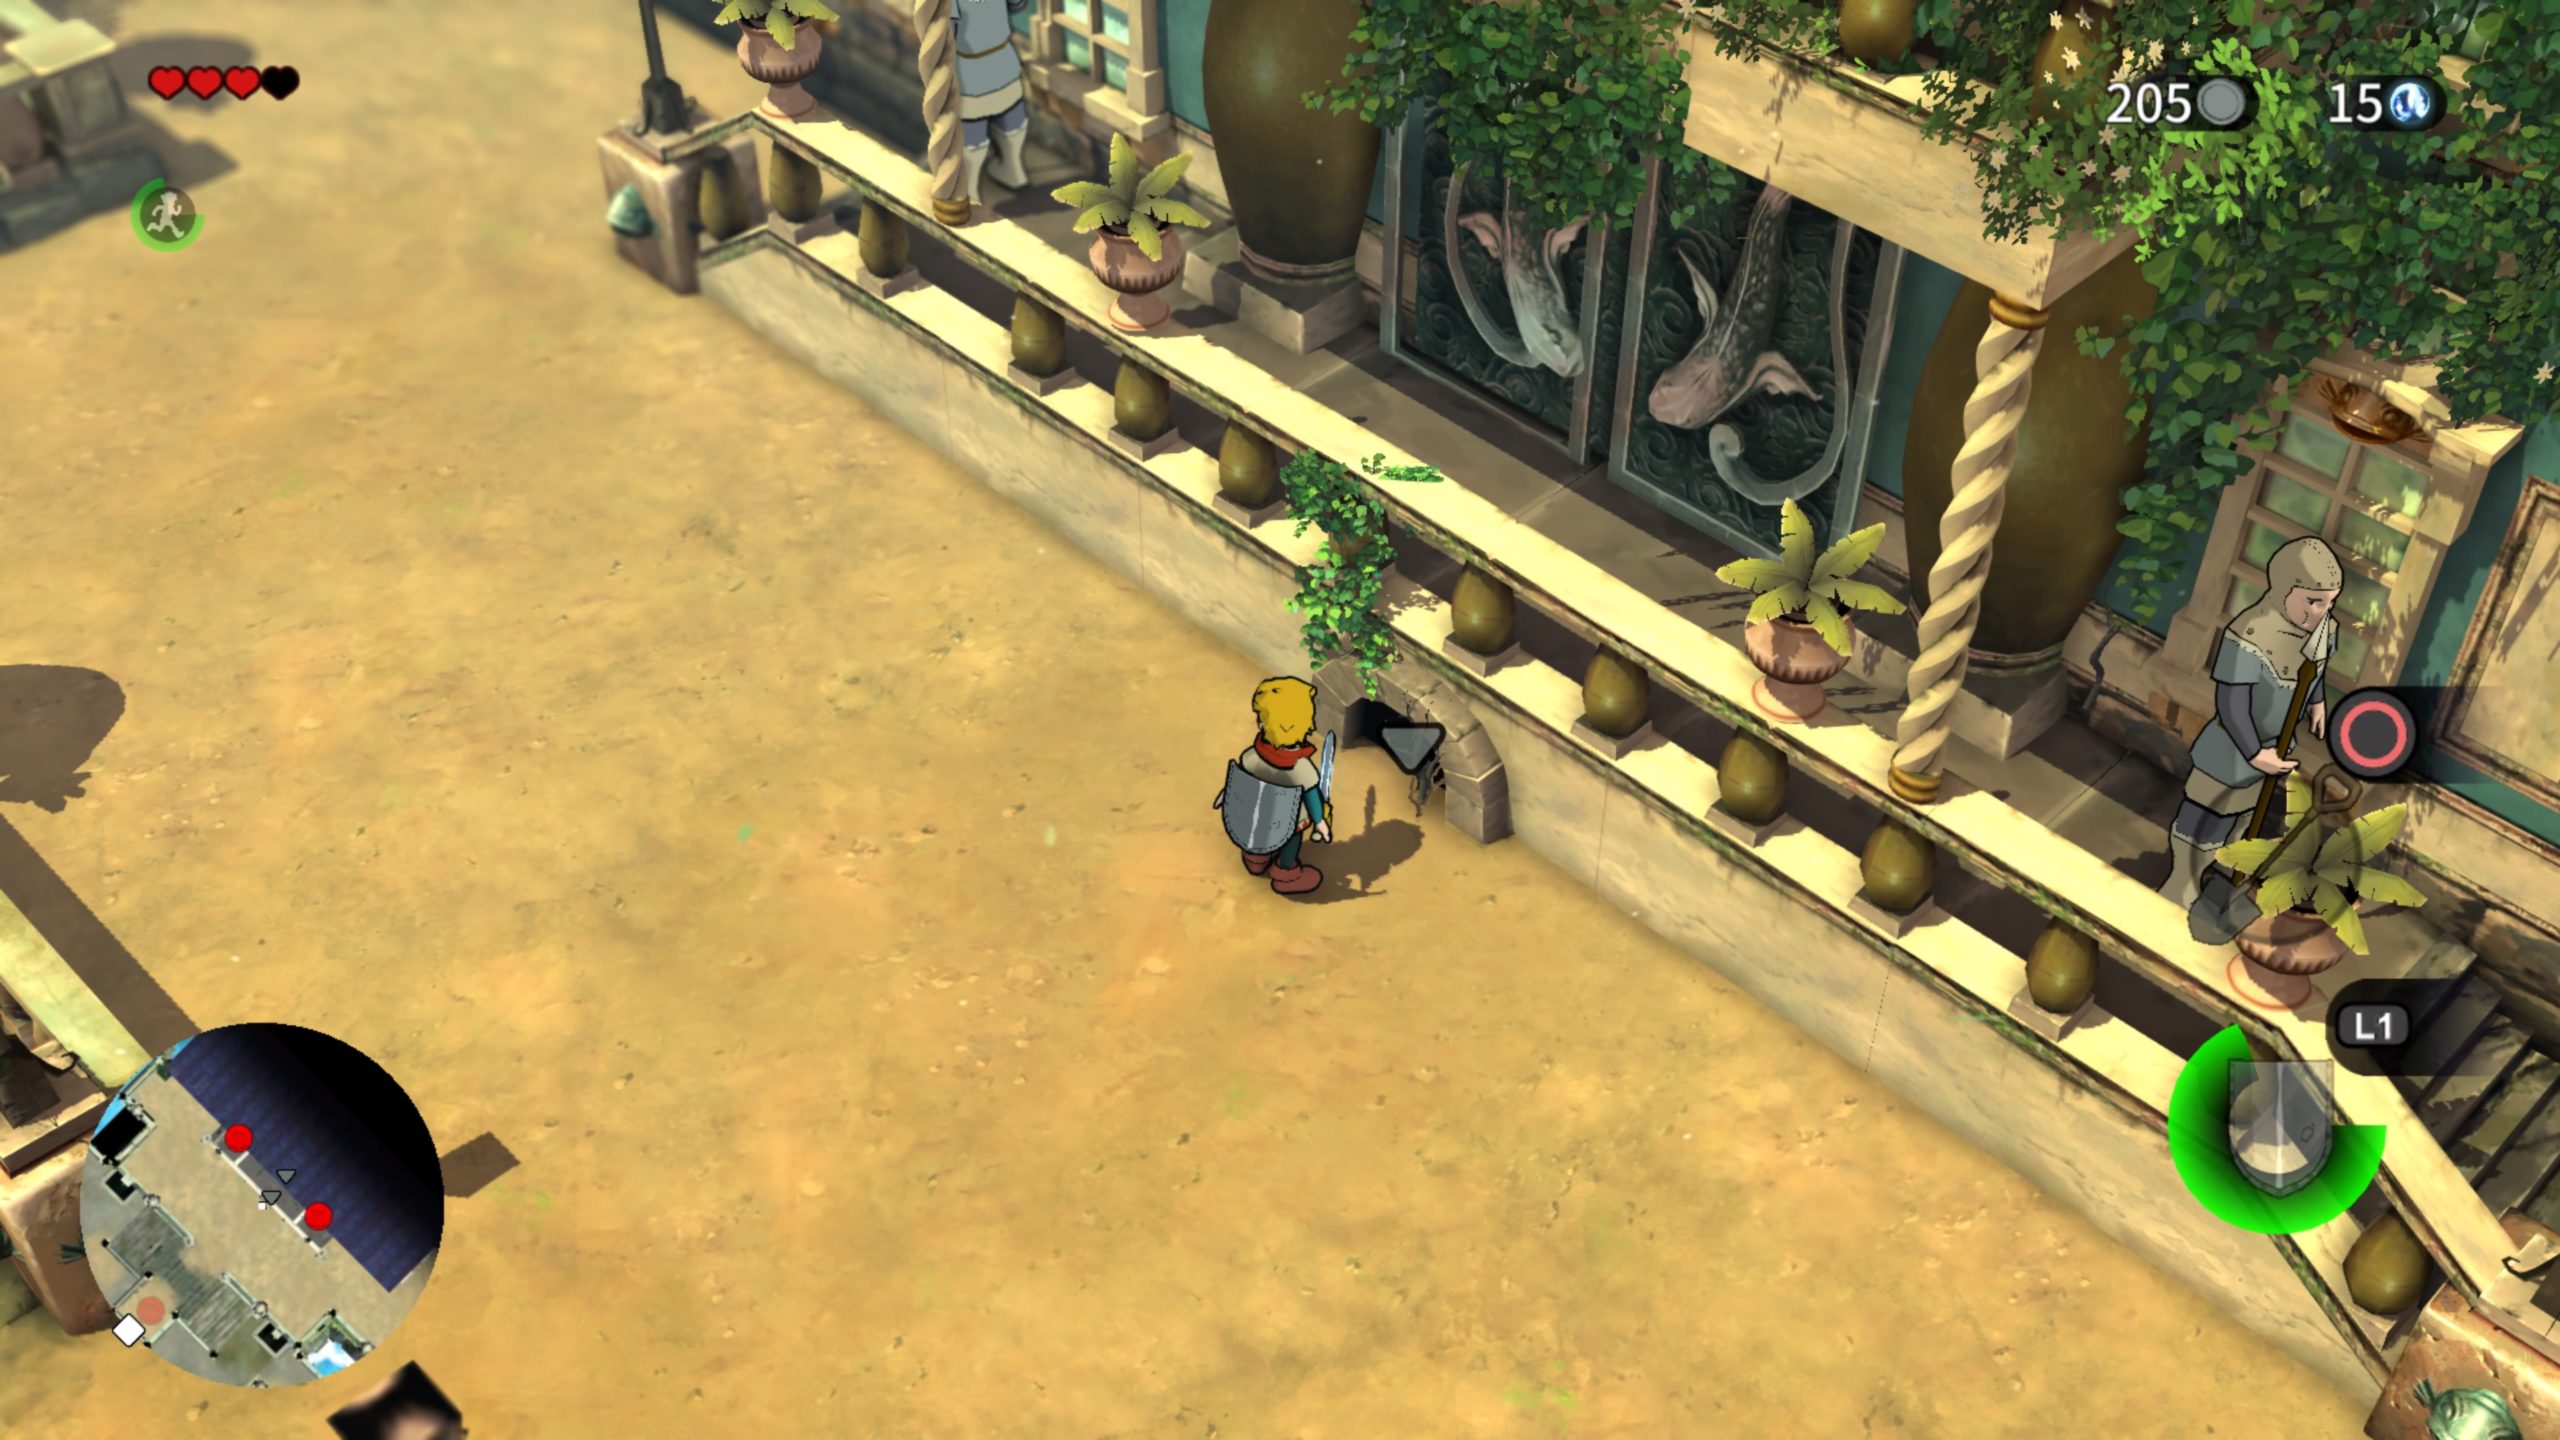
Sneak behind the two guards and cross the long bridge to reach the Abandoned Royal Mansion!

Abandoned Royal Mansion
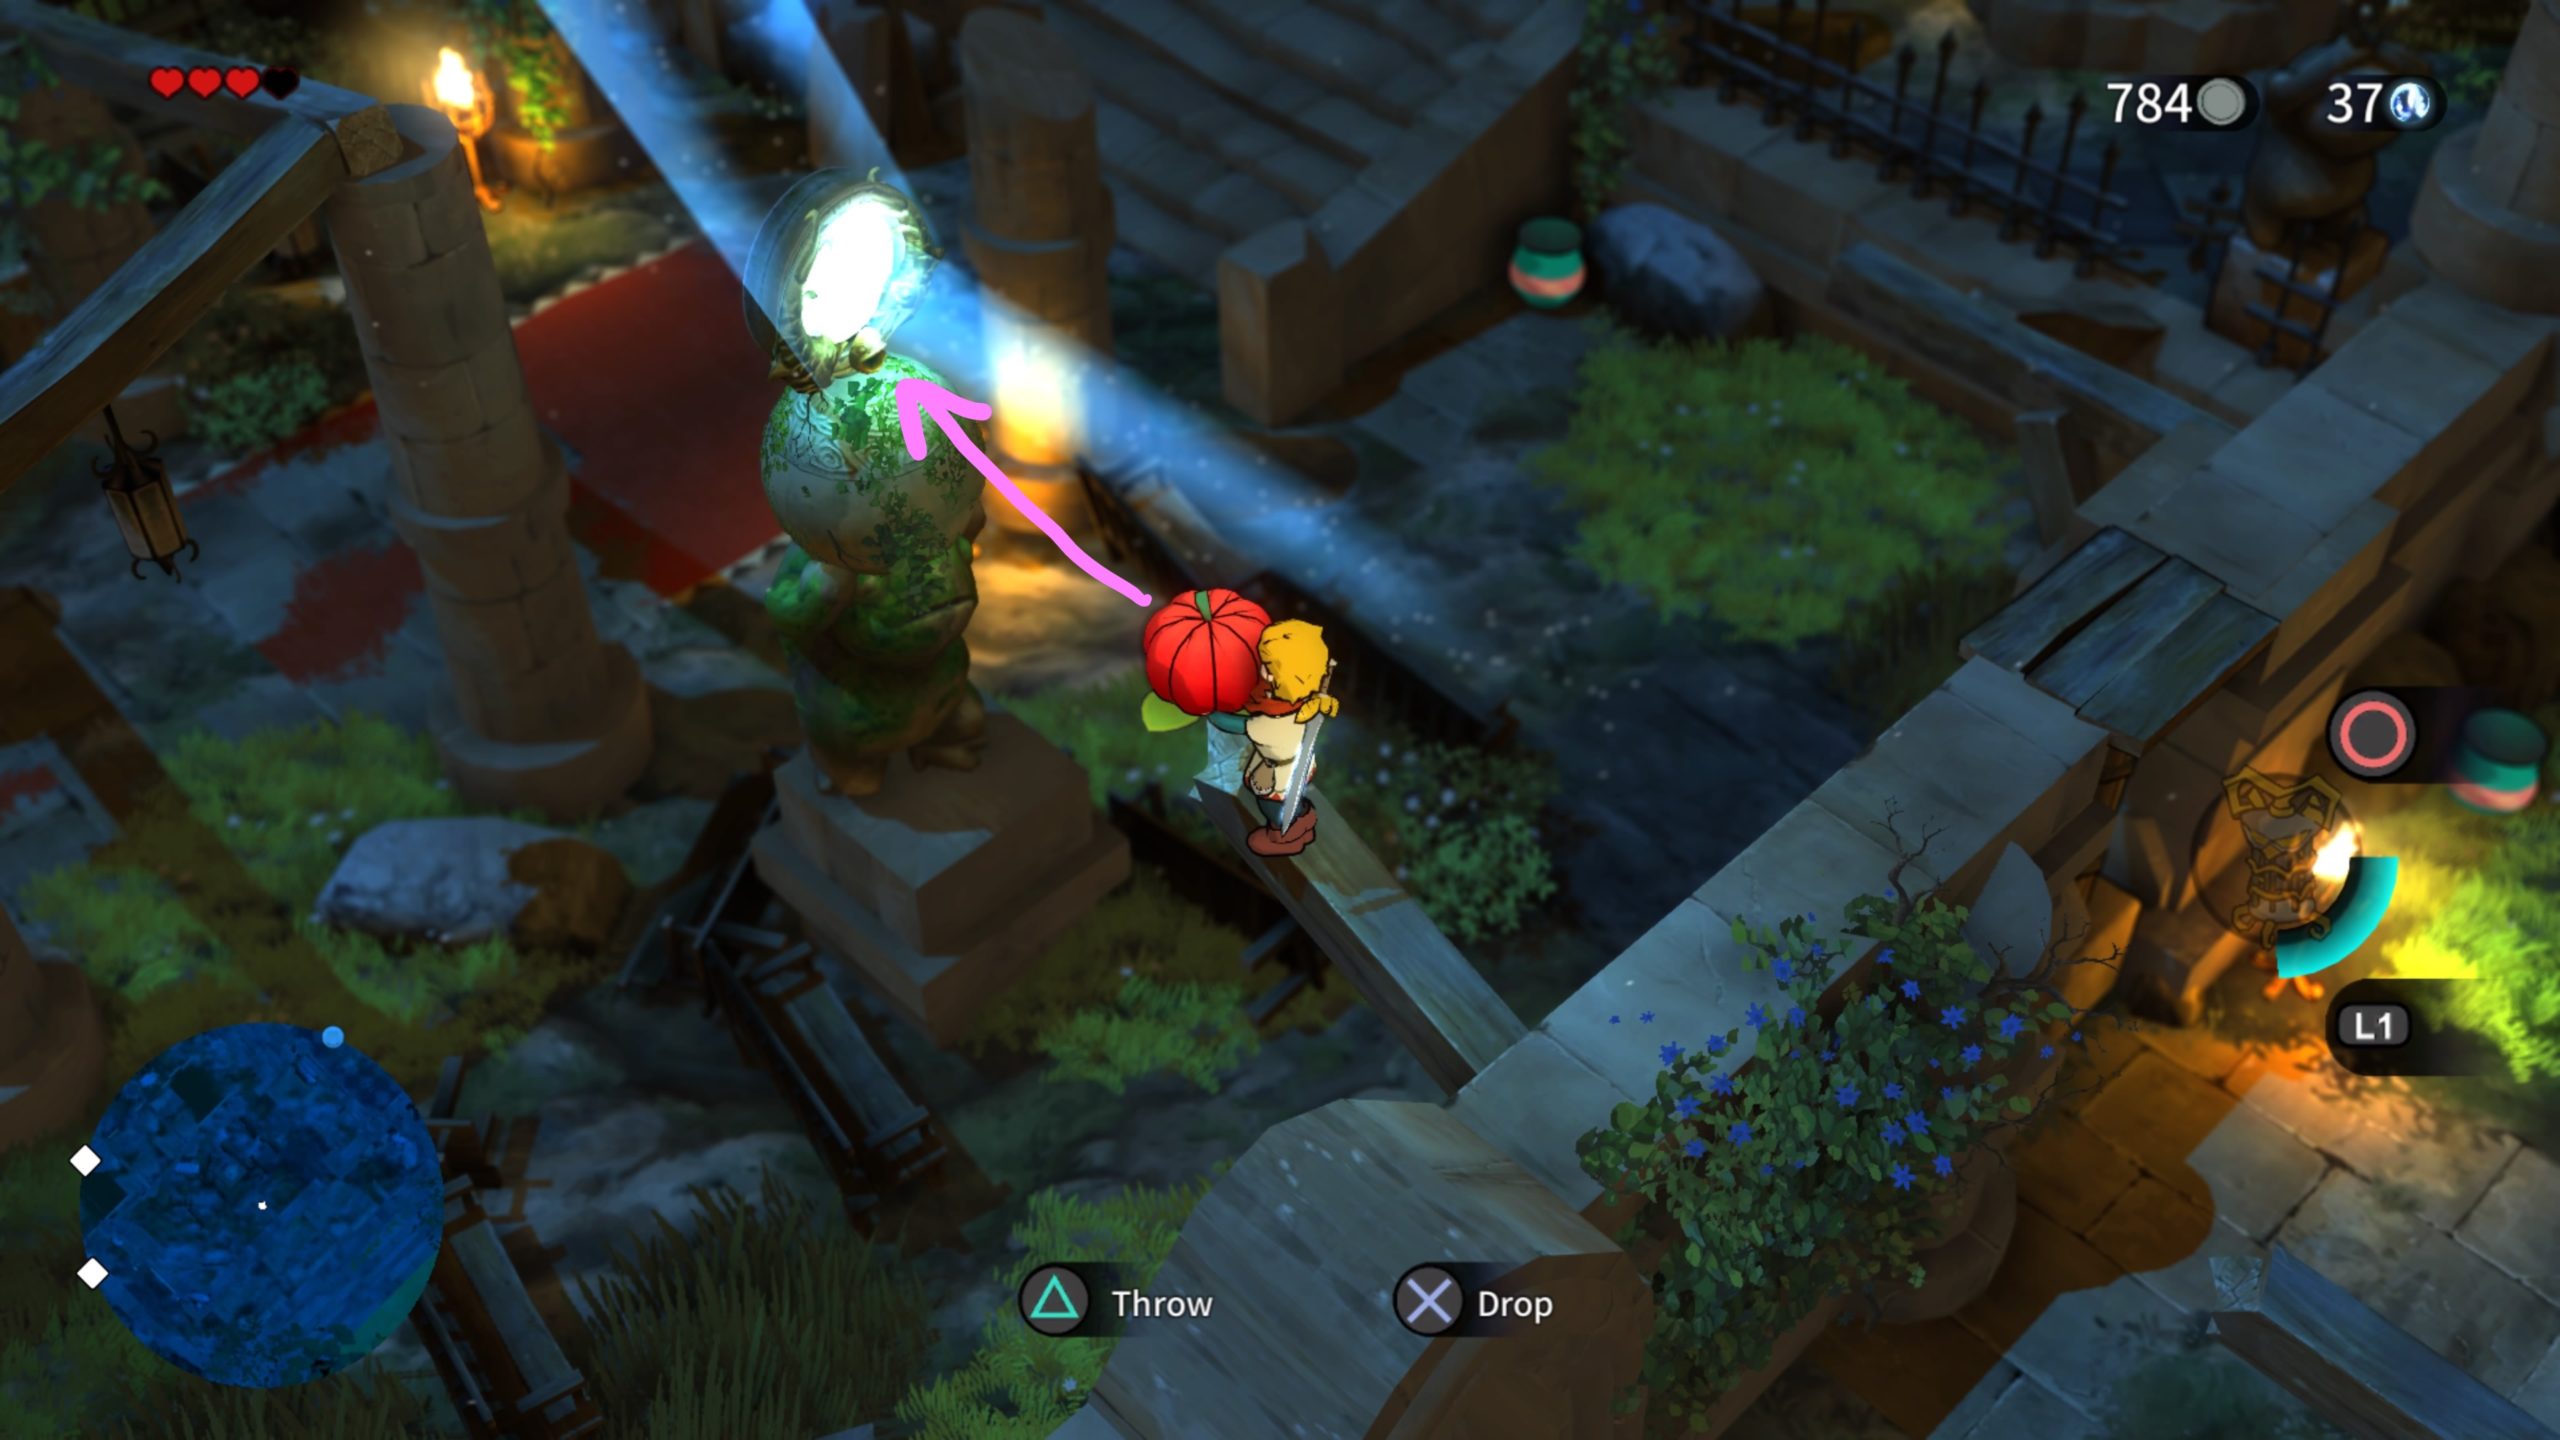
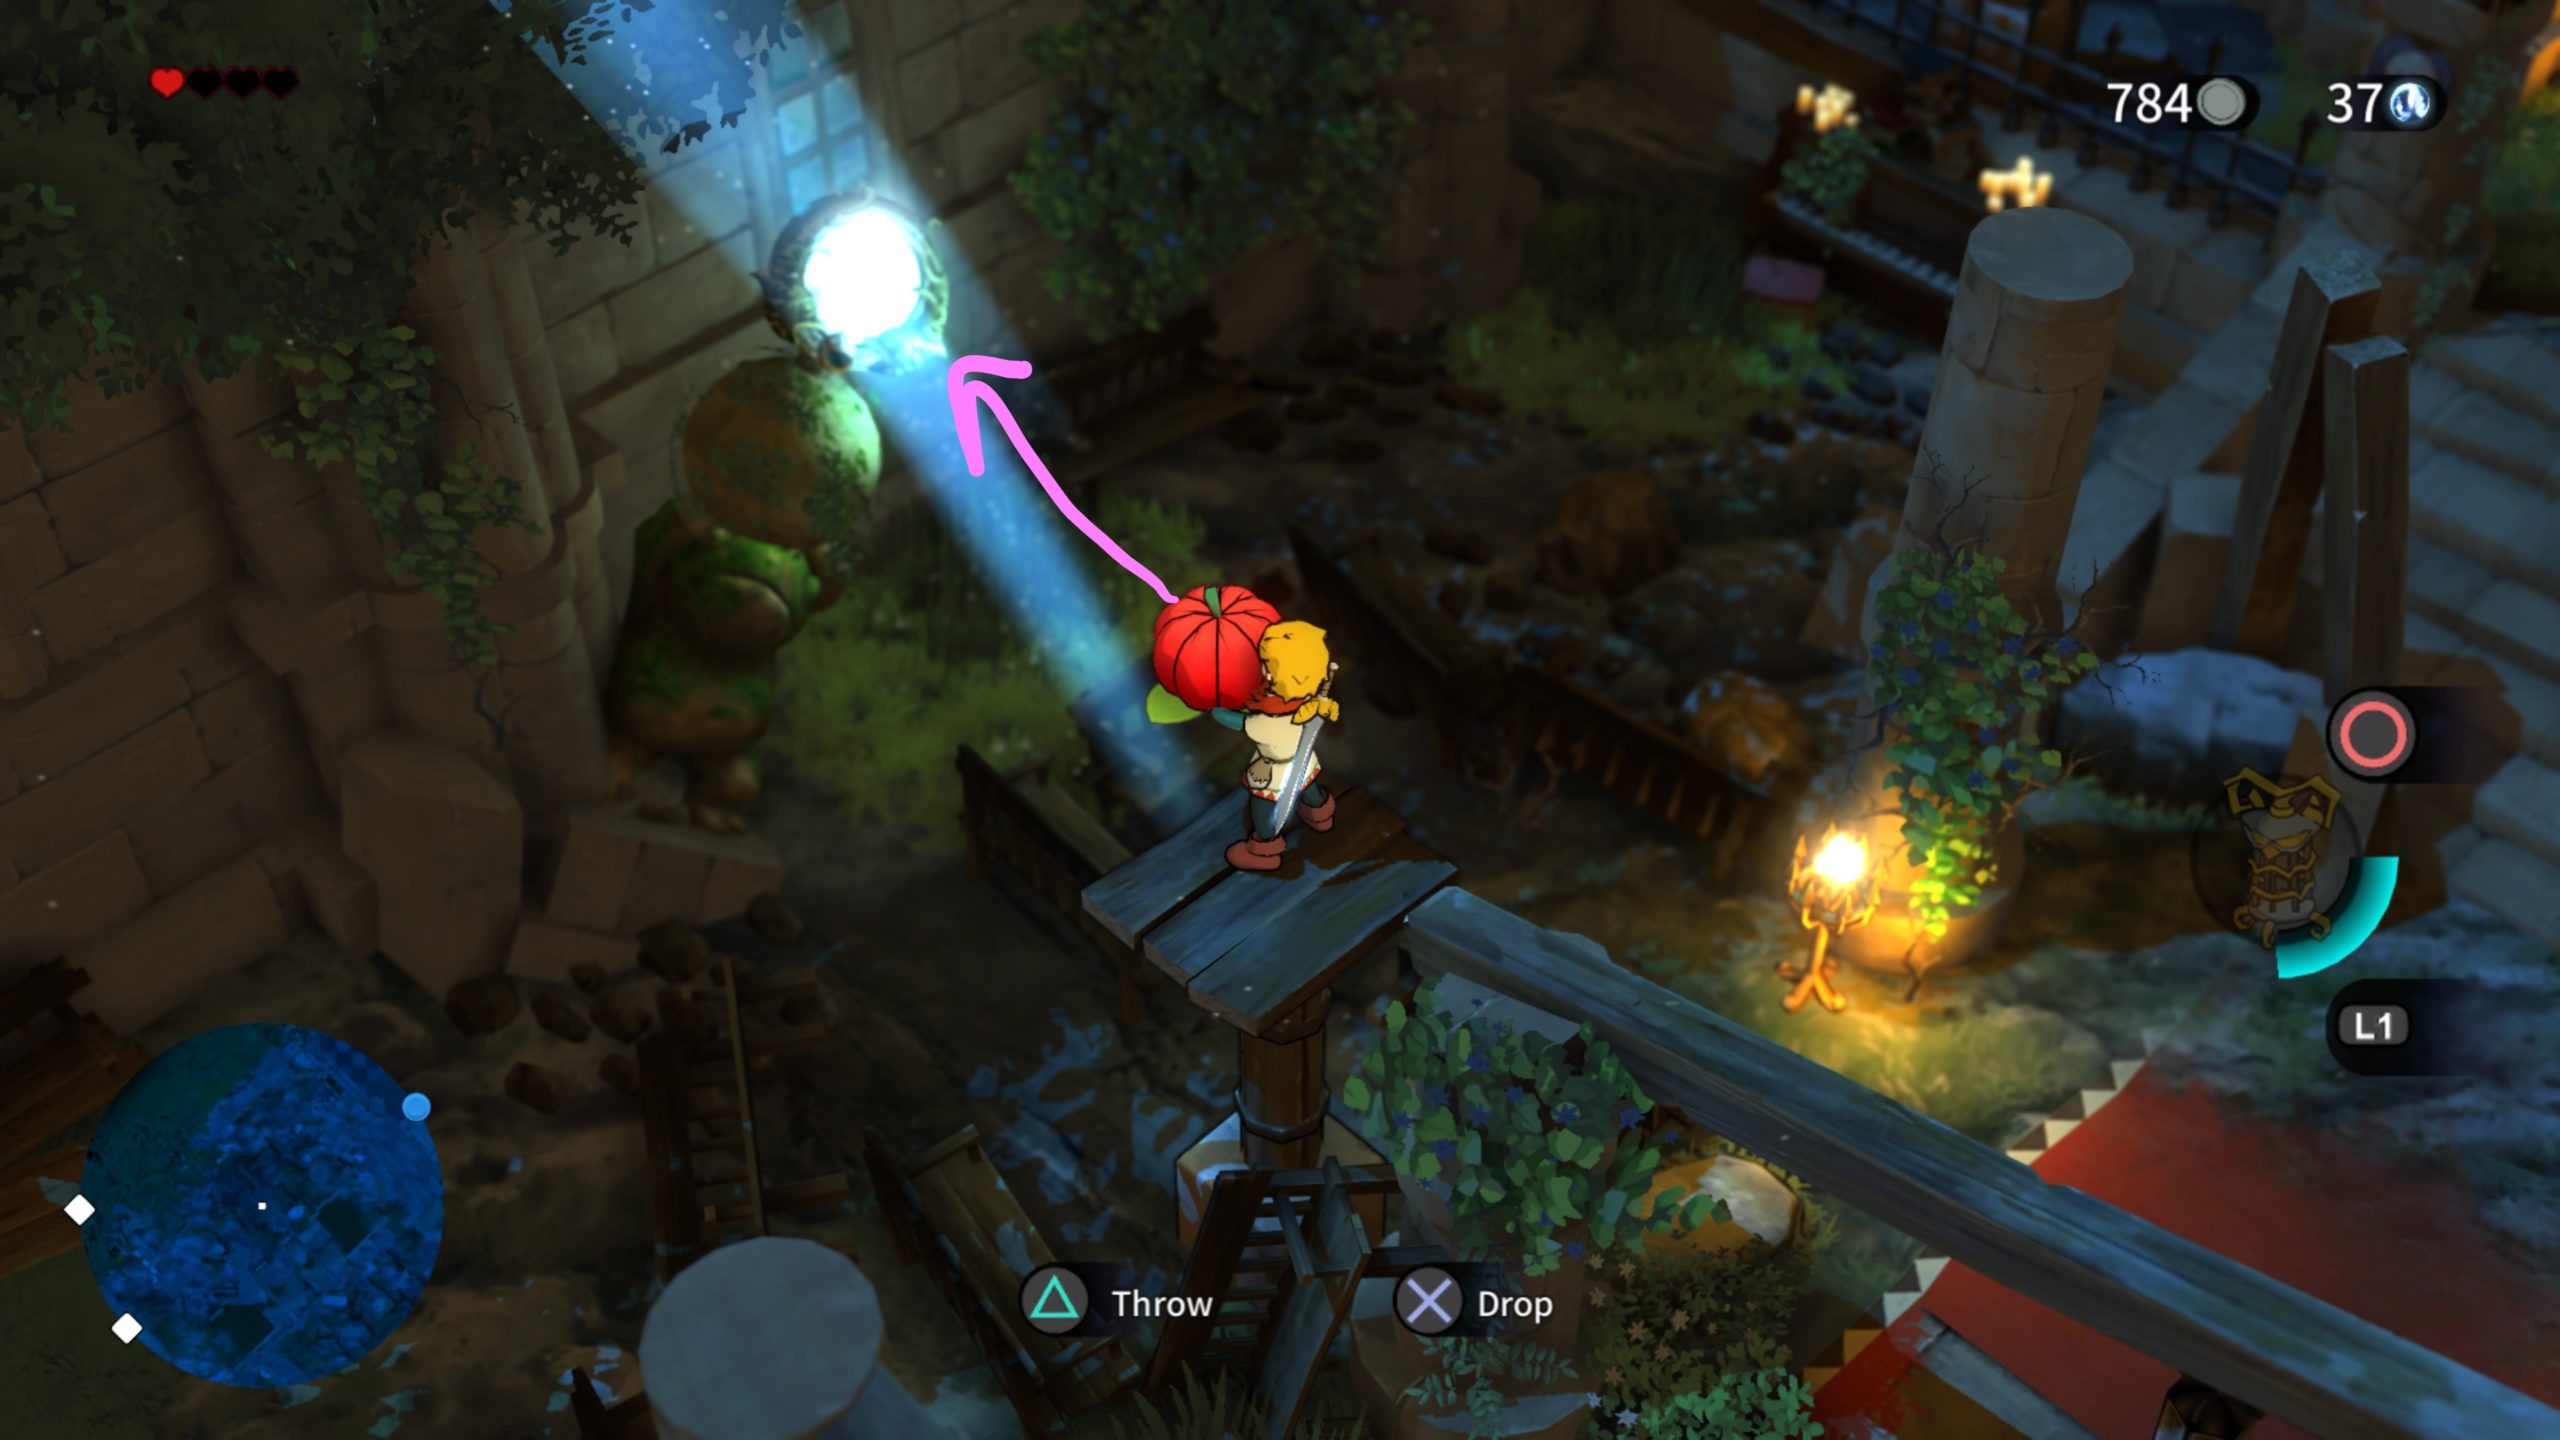
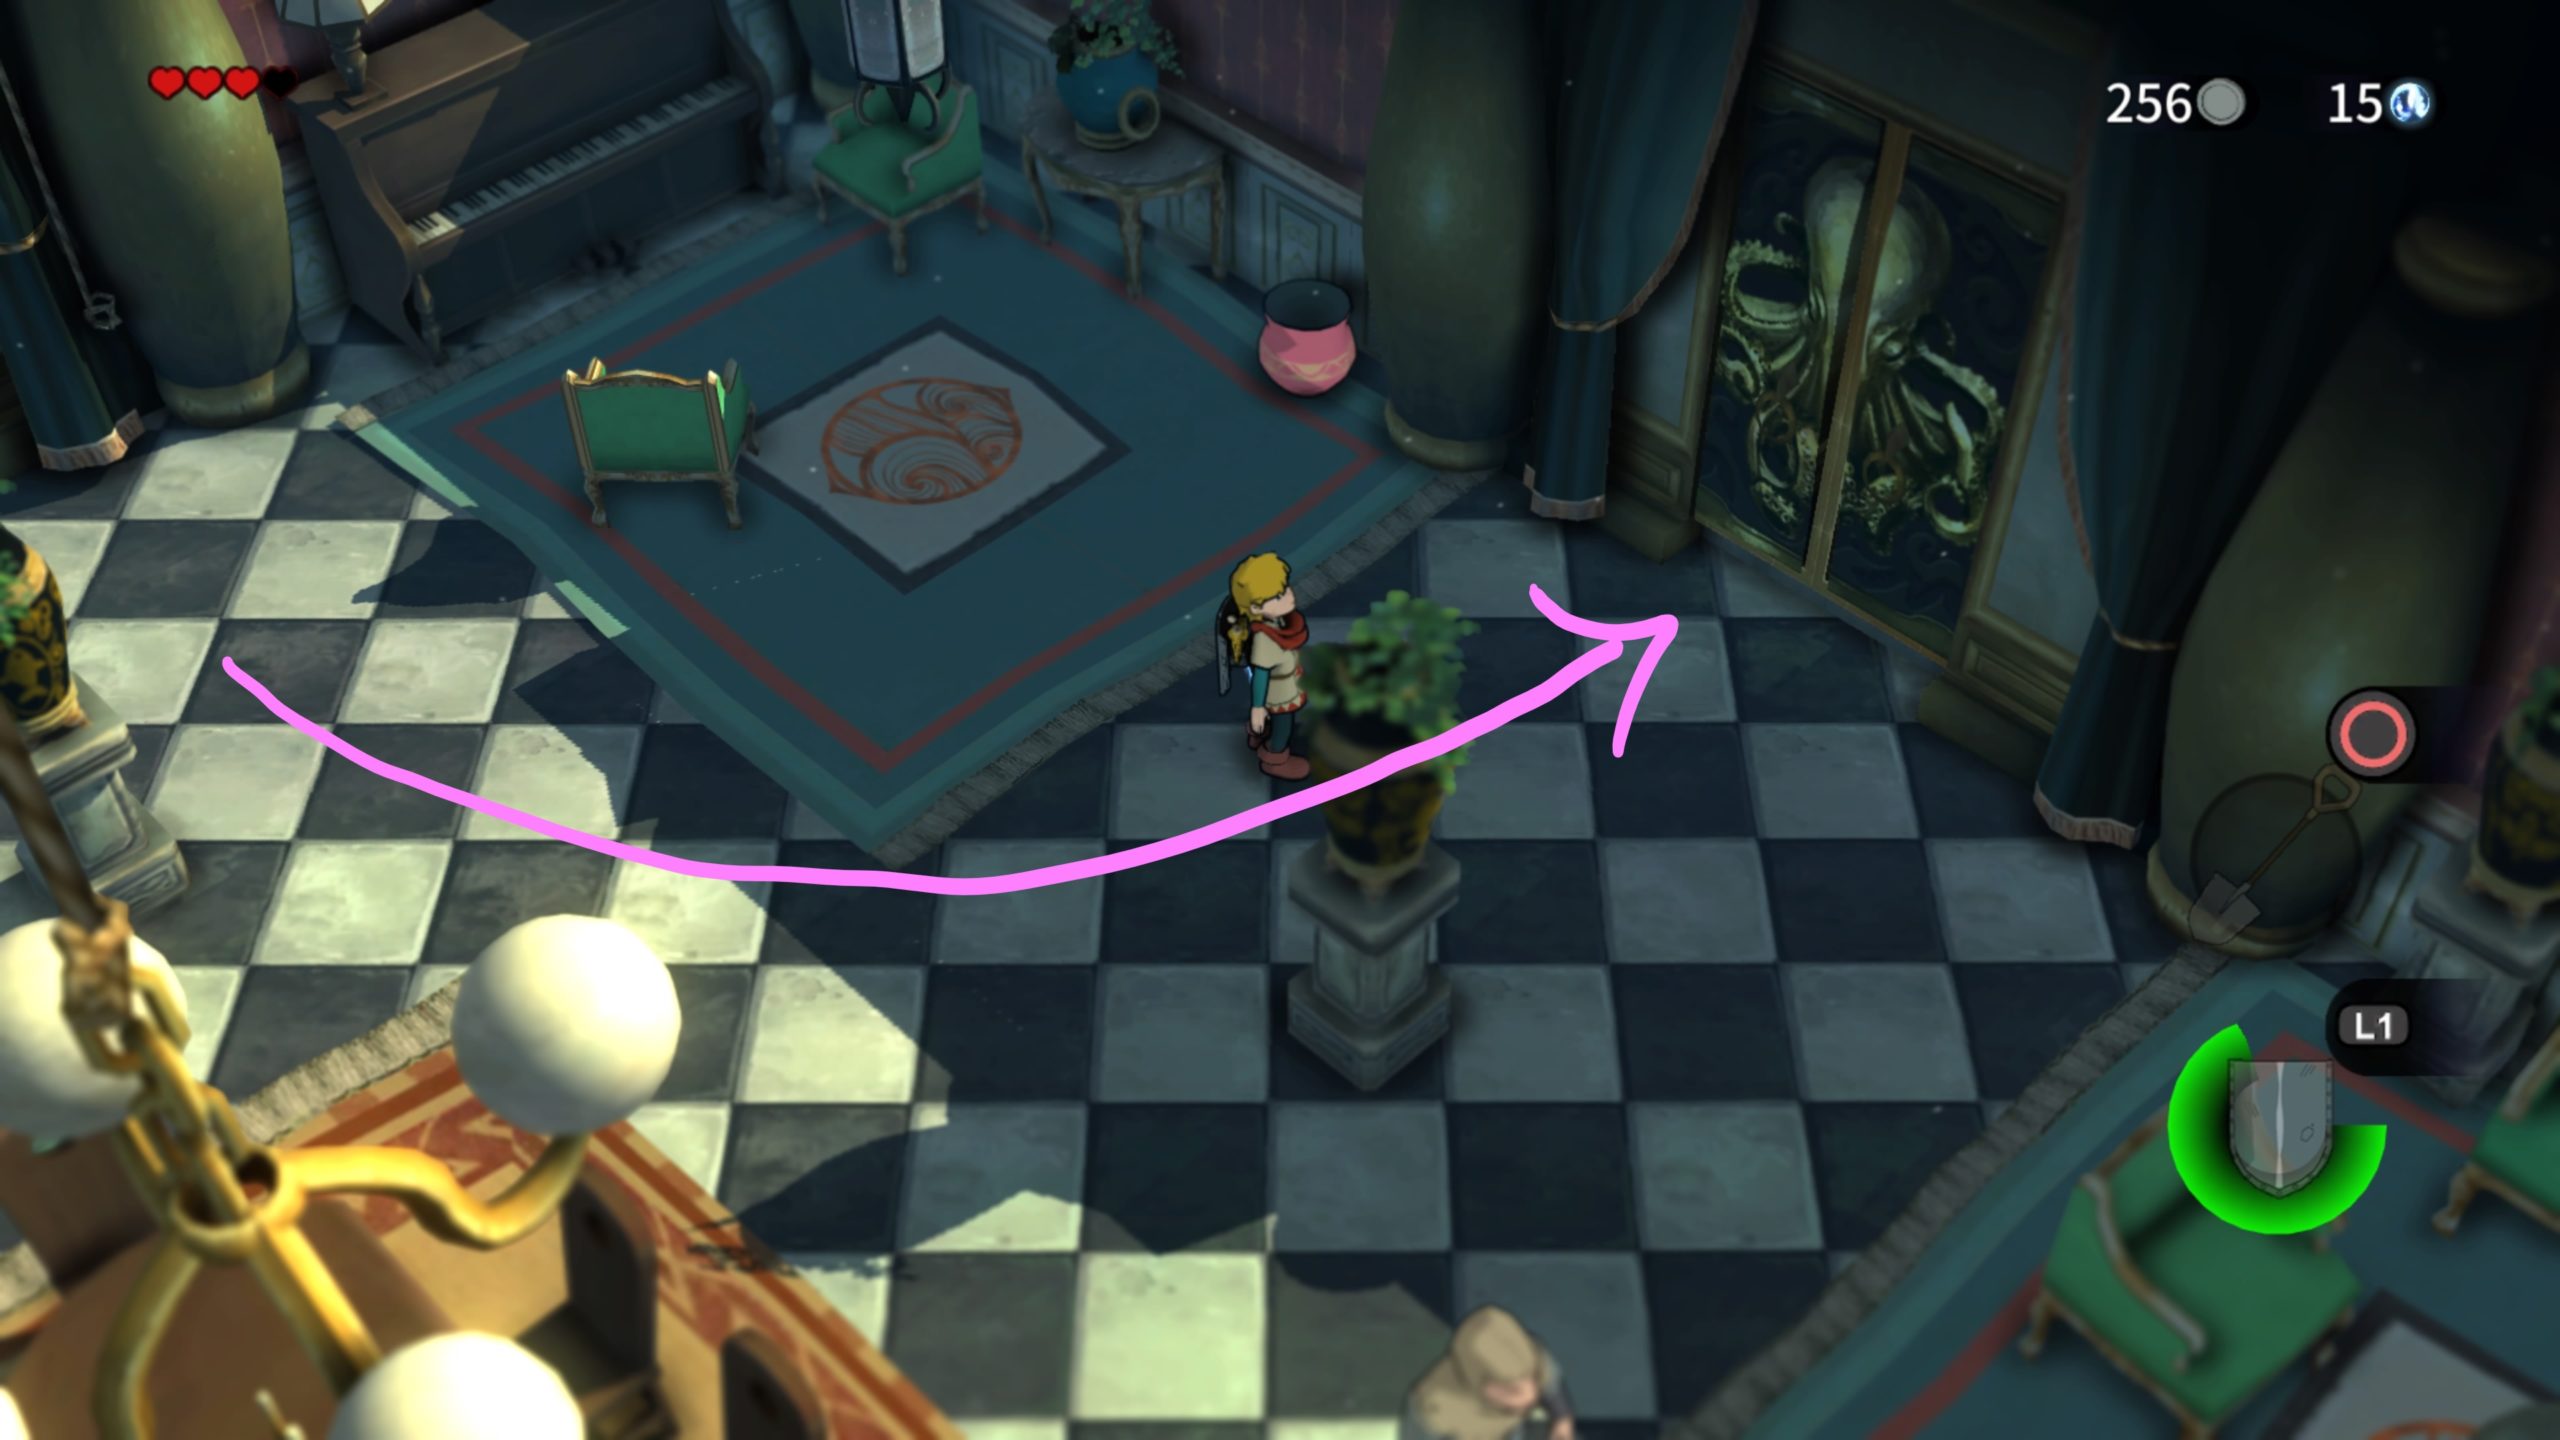
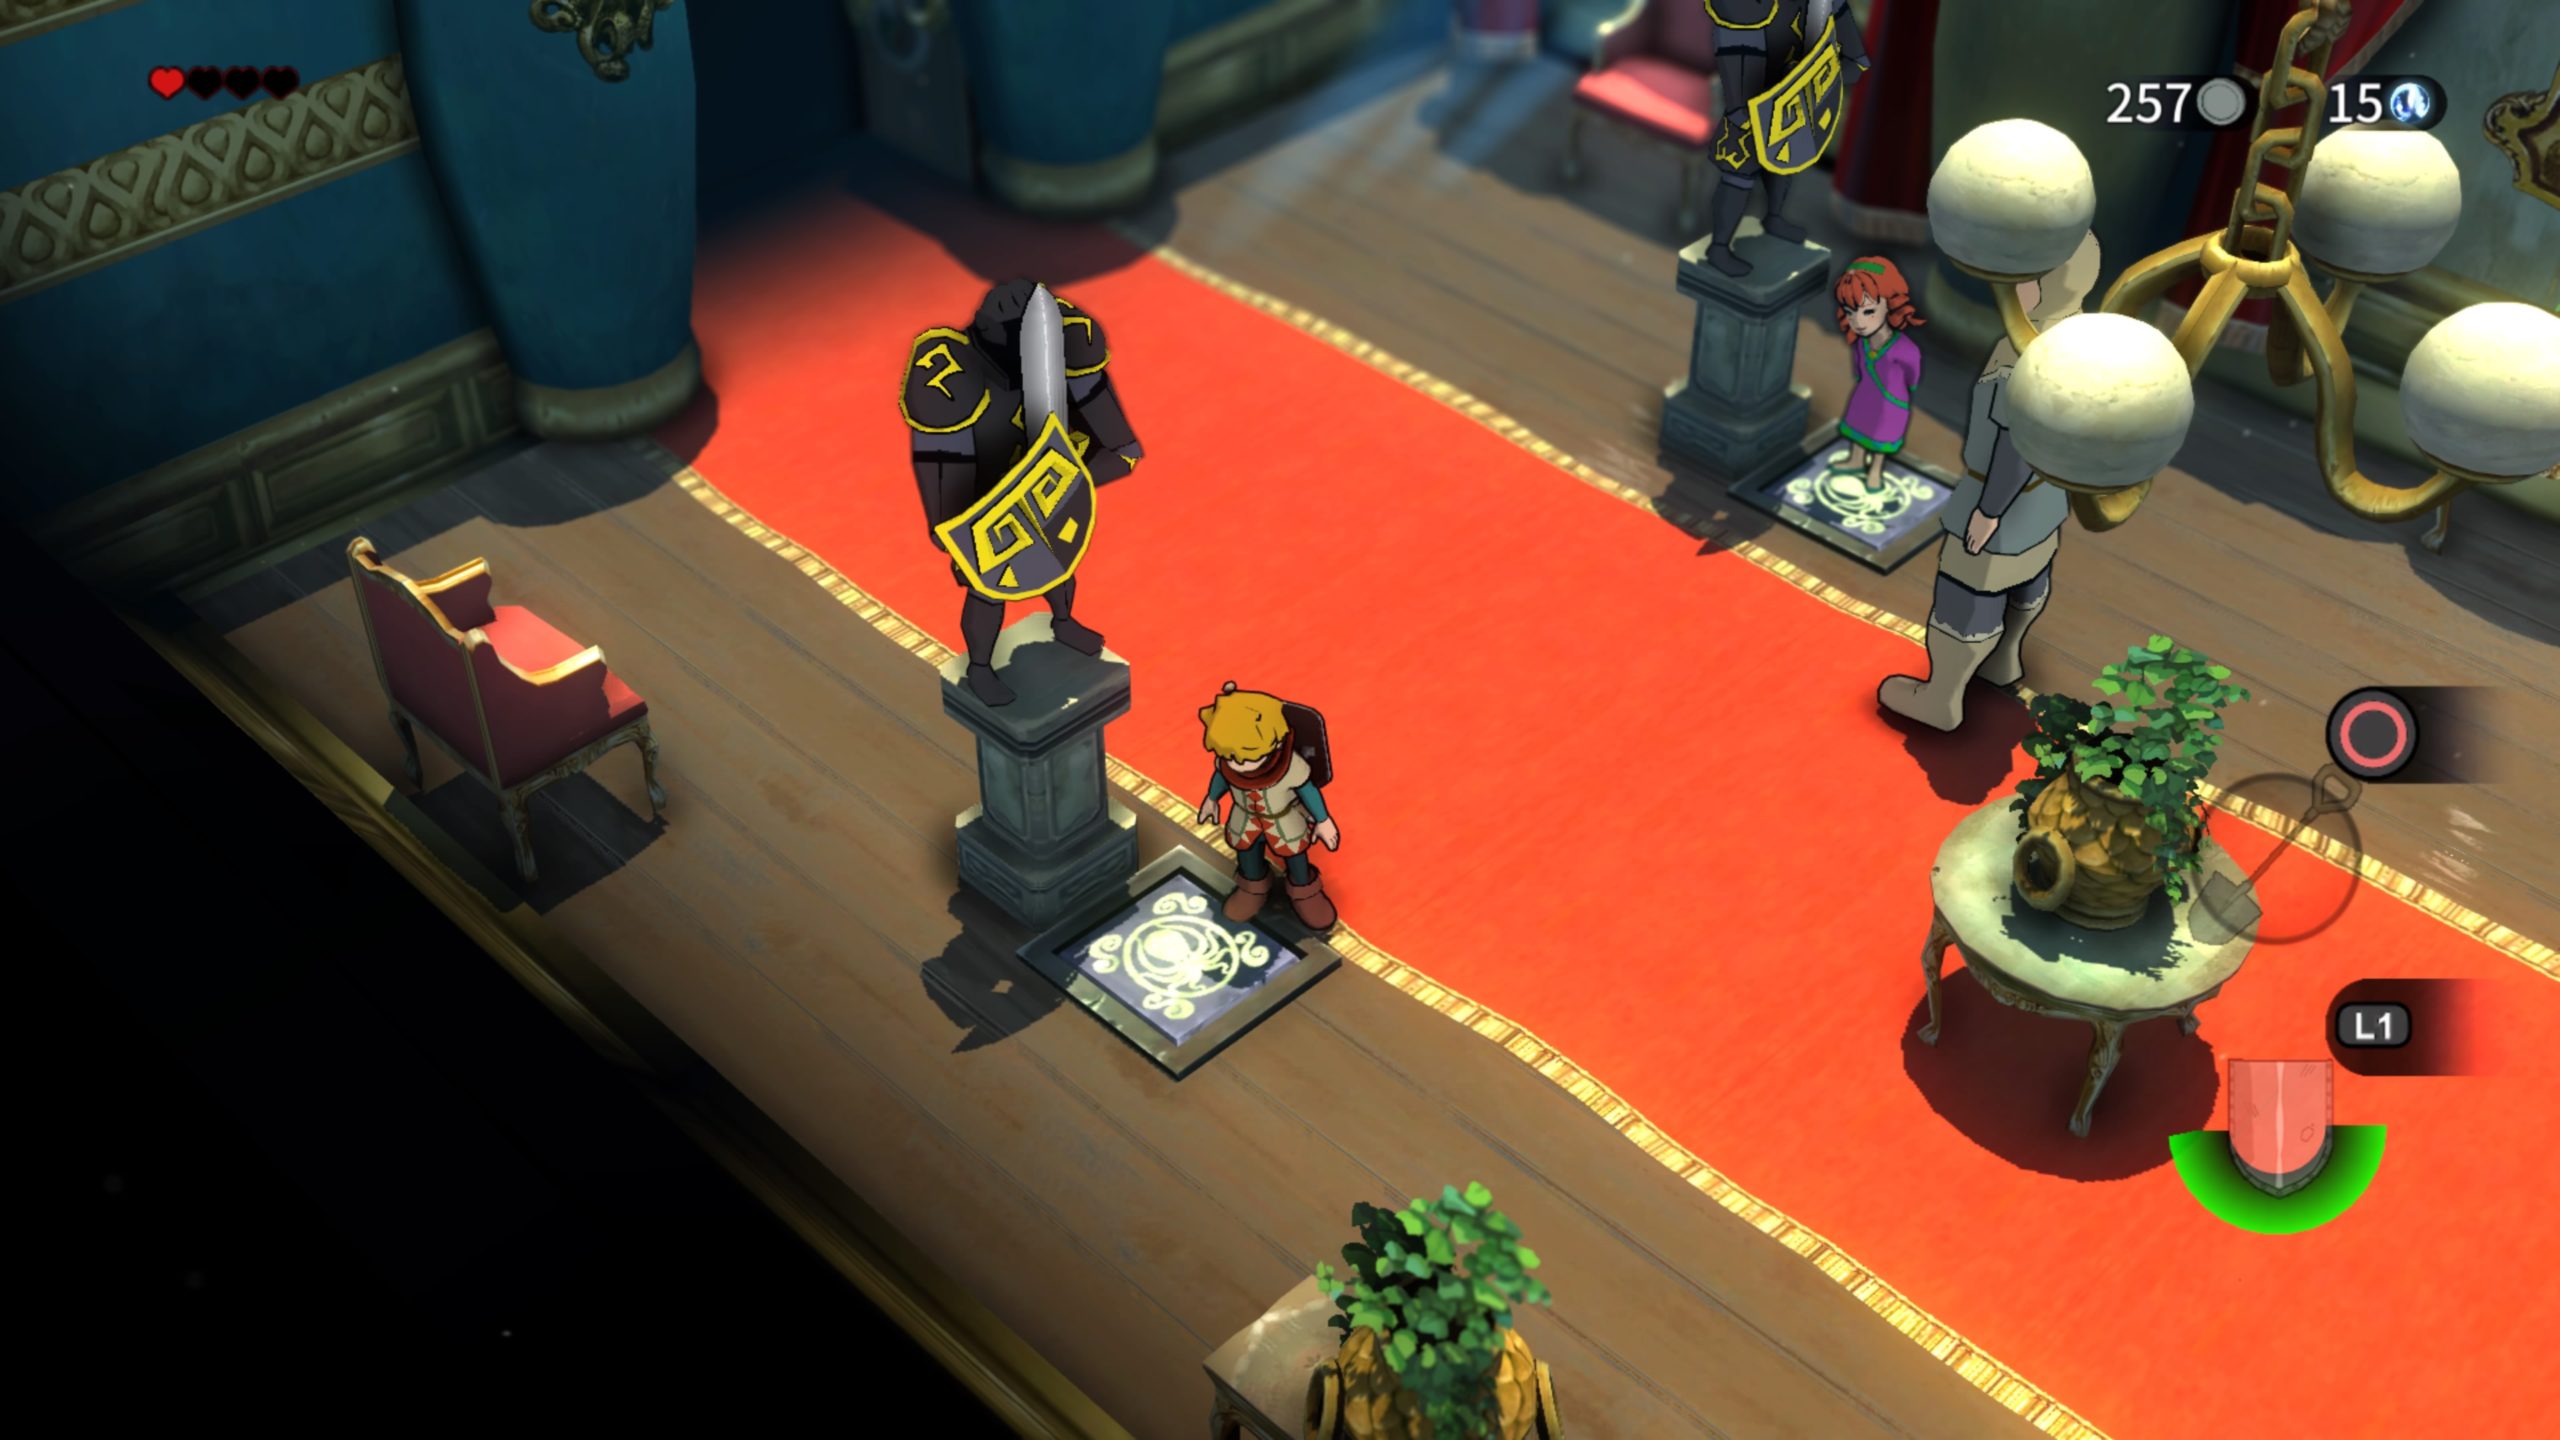
Head inside via the front door and stand on the guardian symbol and blow your horn. Push the 4 statues around the guardian symbol to the corresponding color of the flowers (west is blue, north is yellow, east is green and south is red).
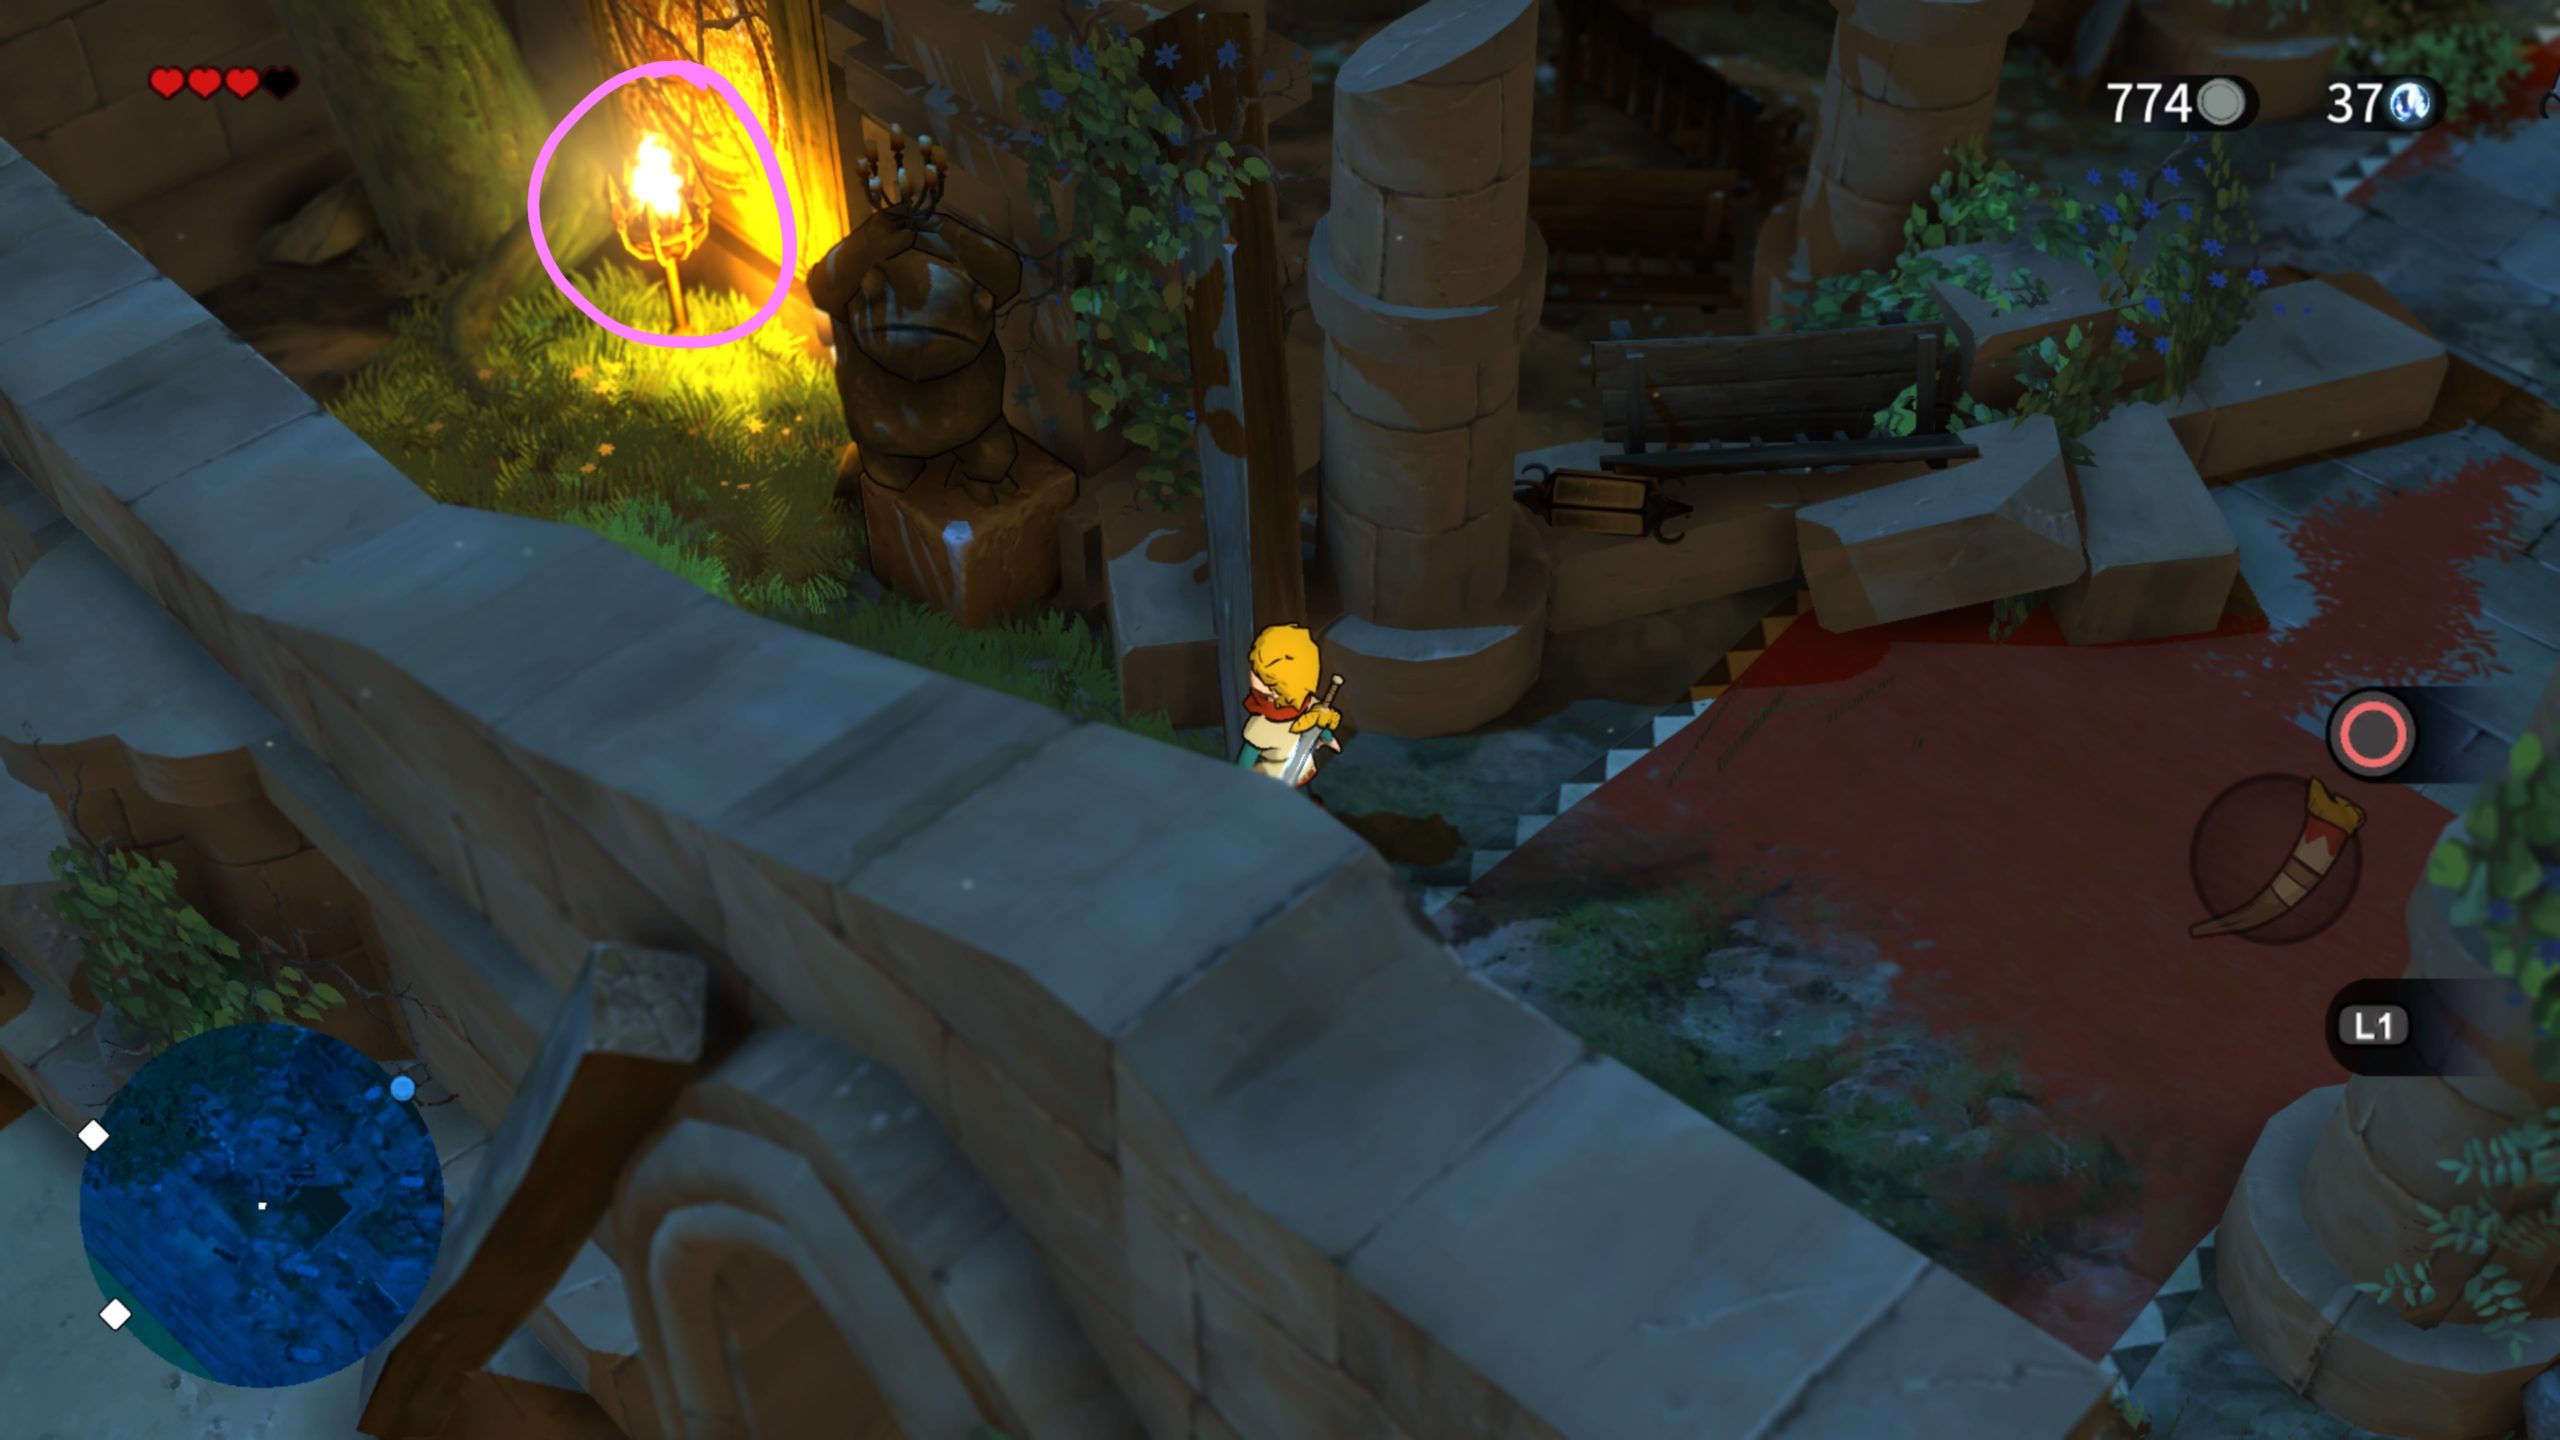
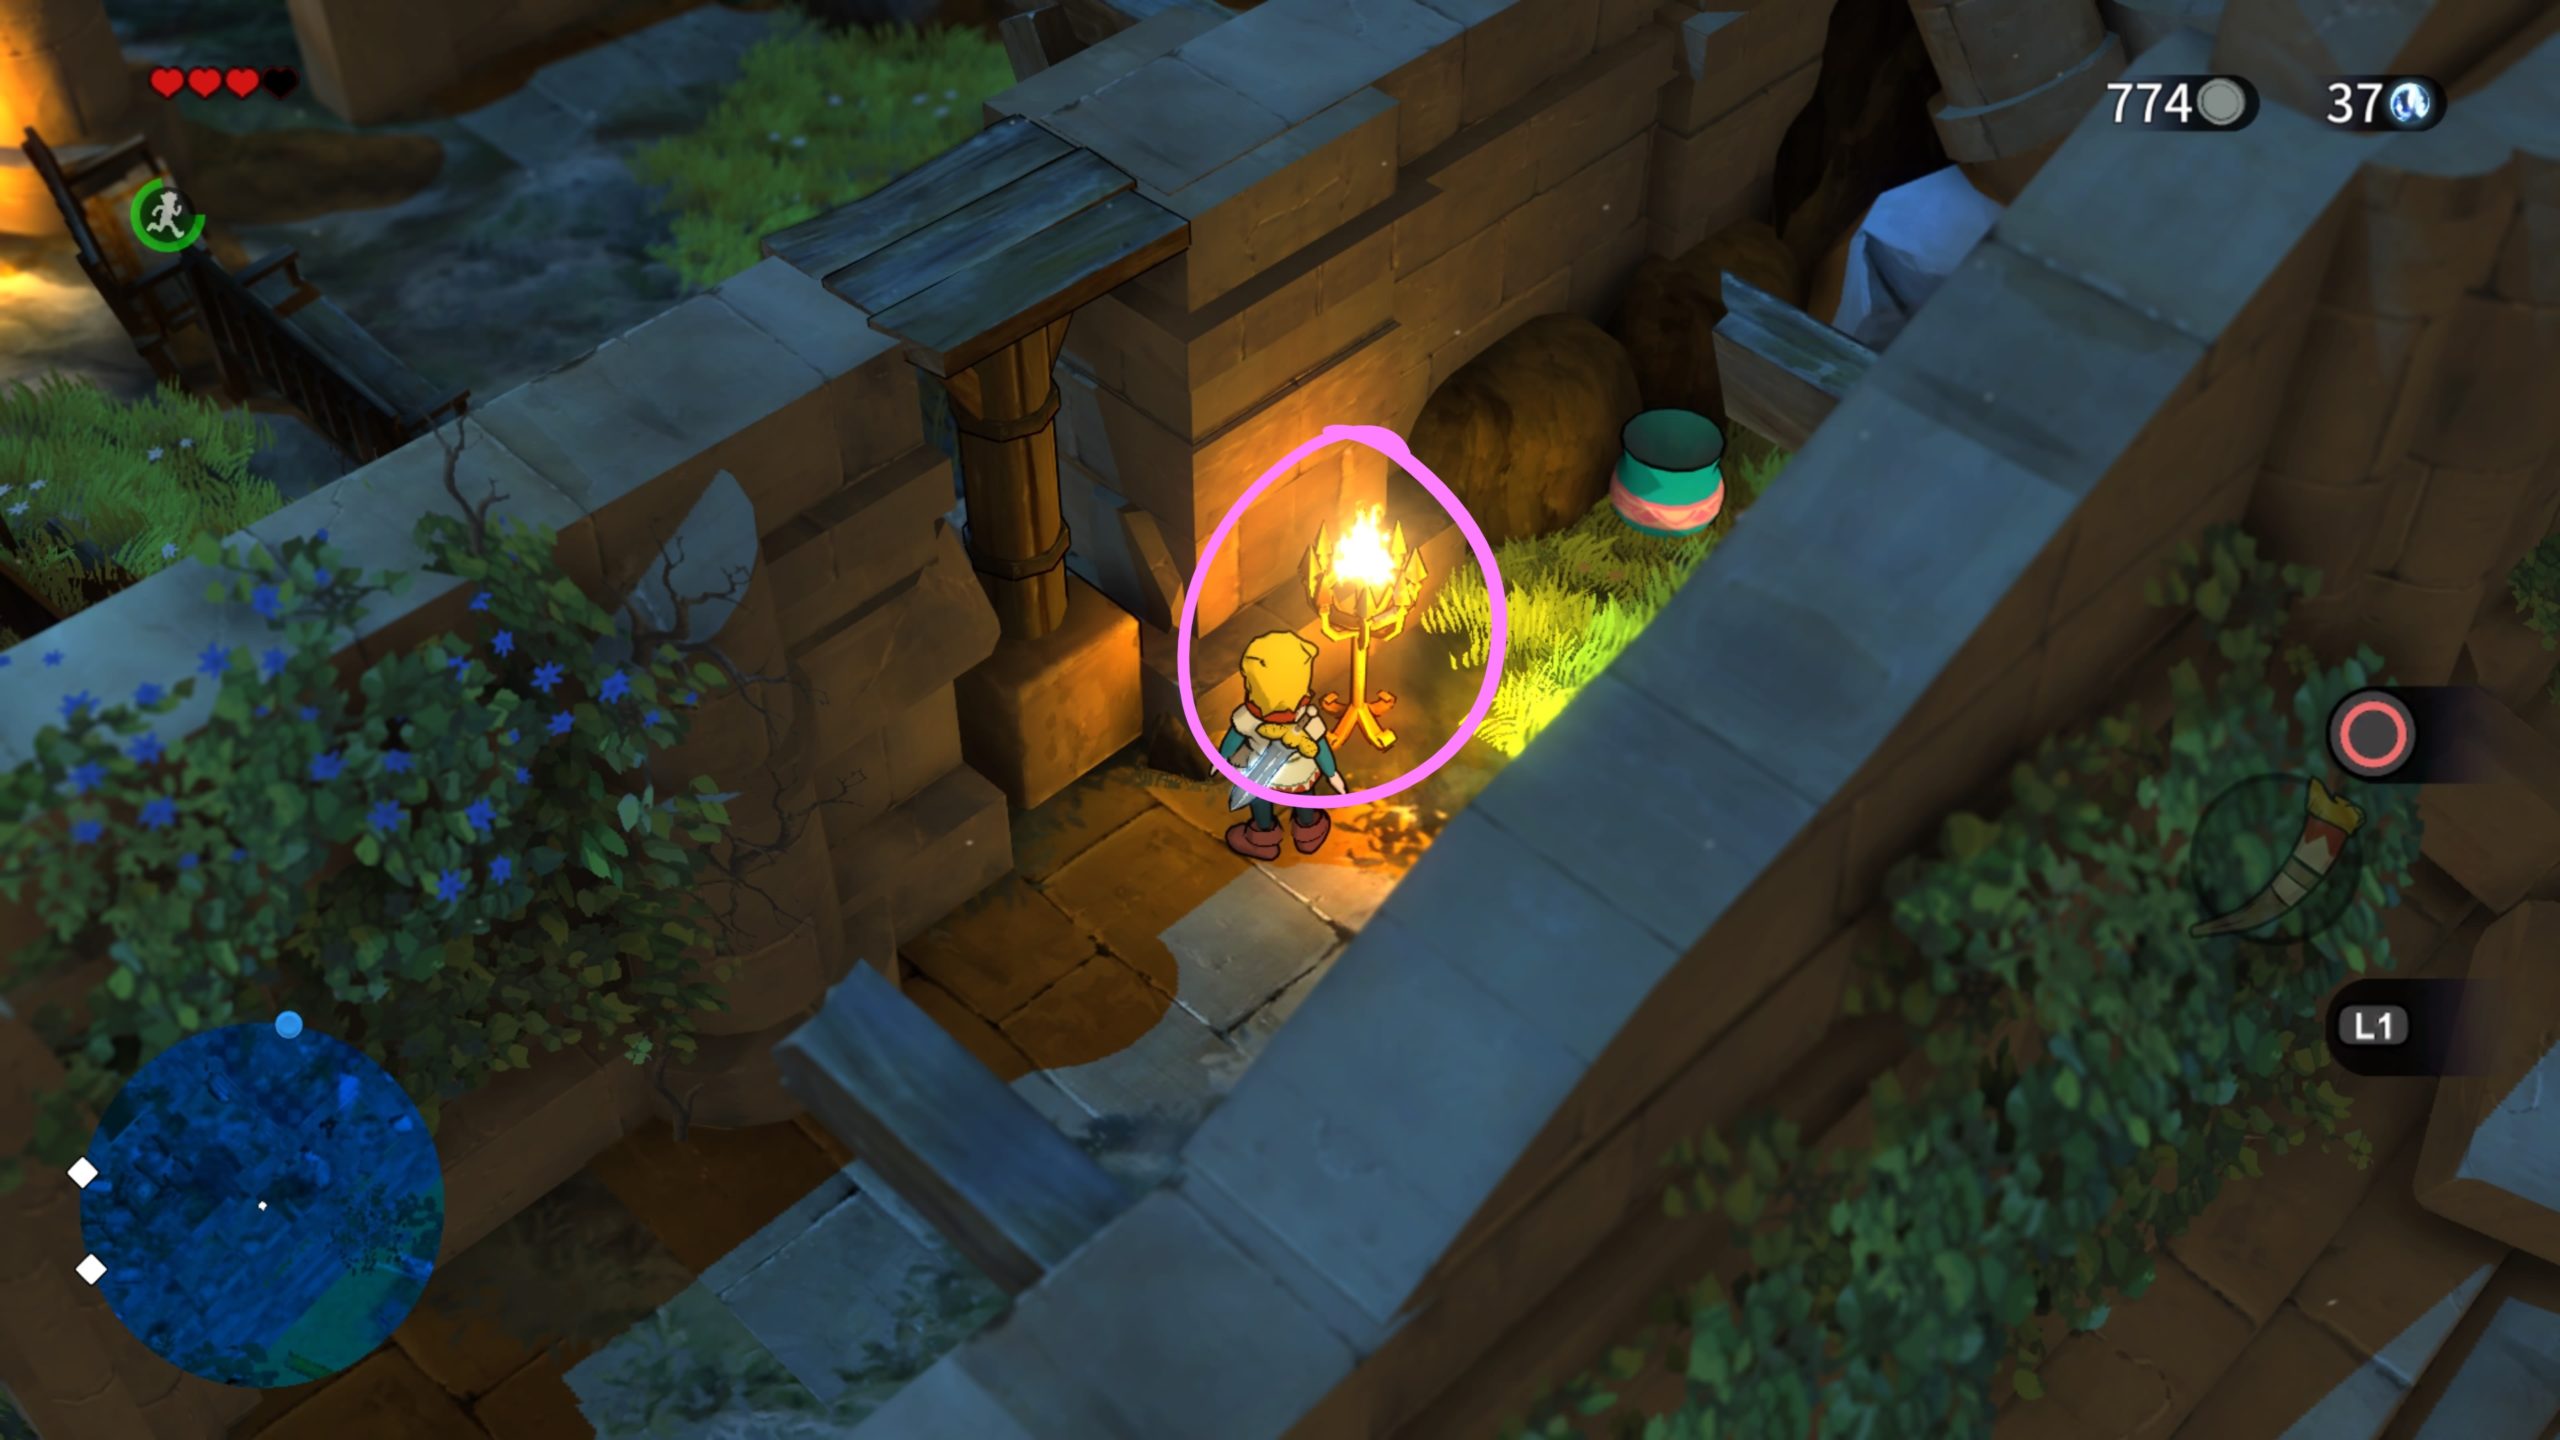
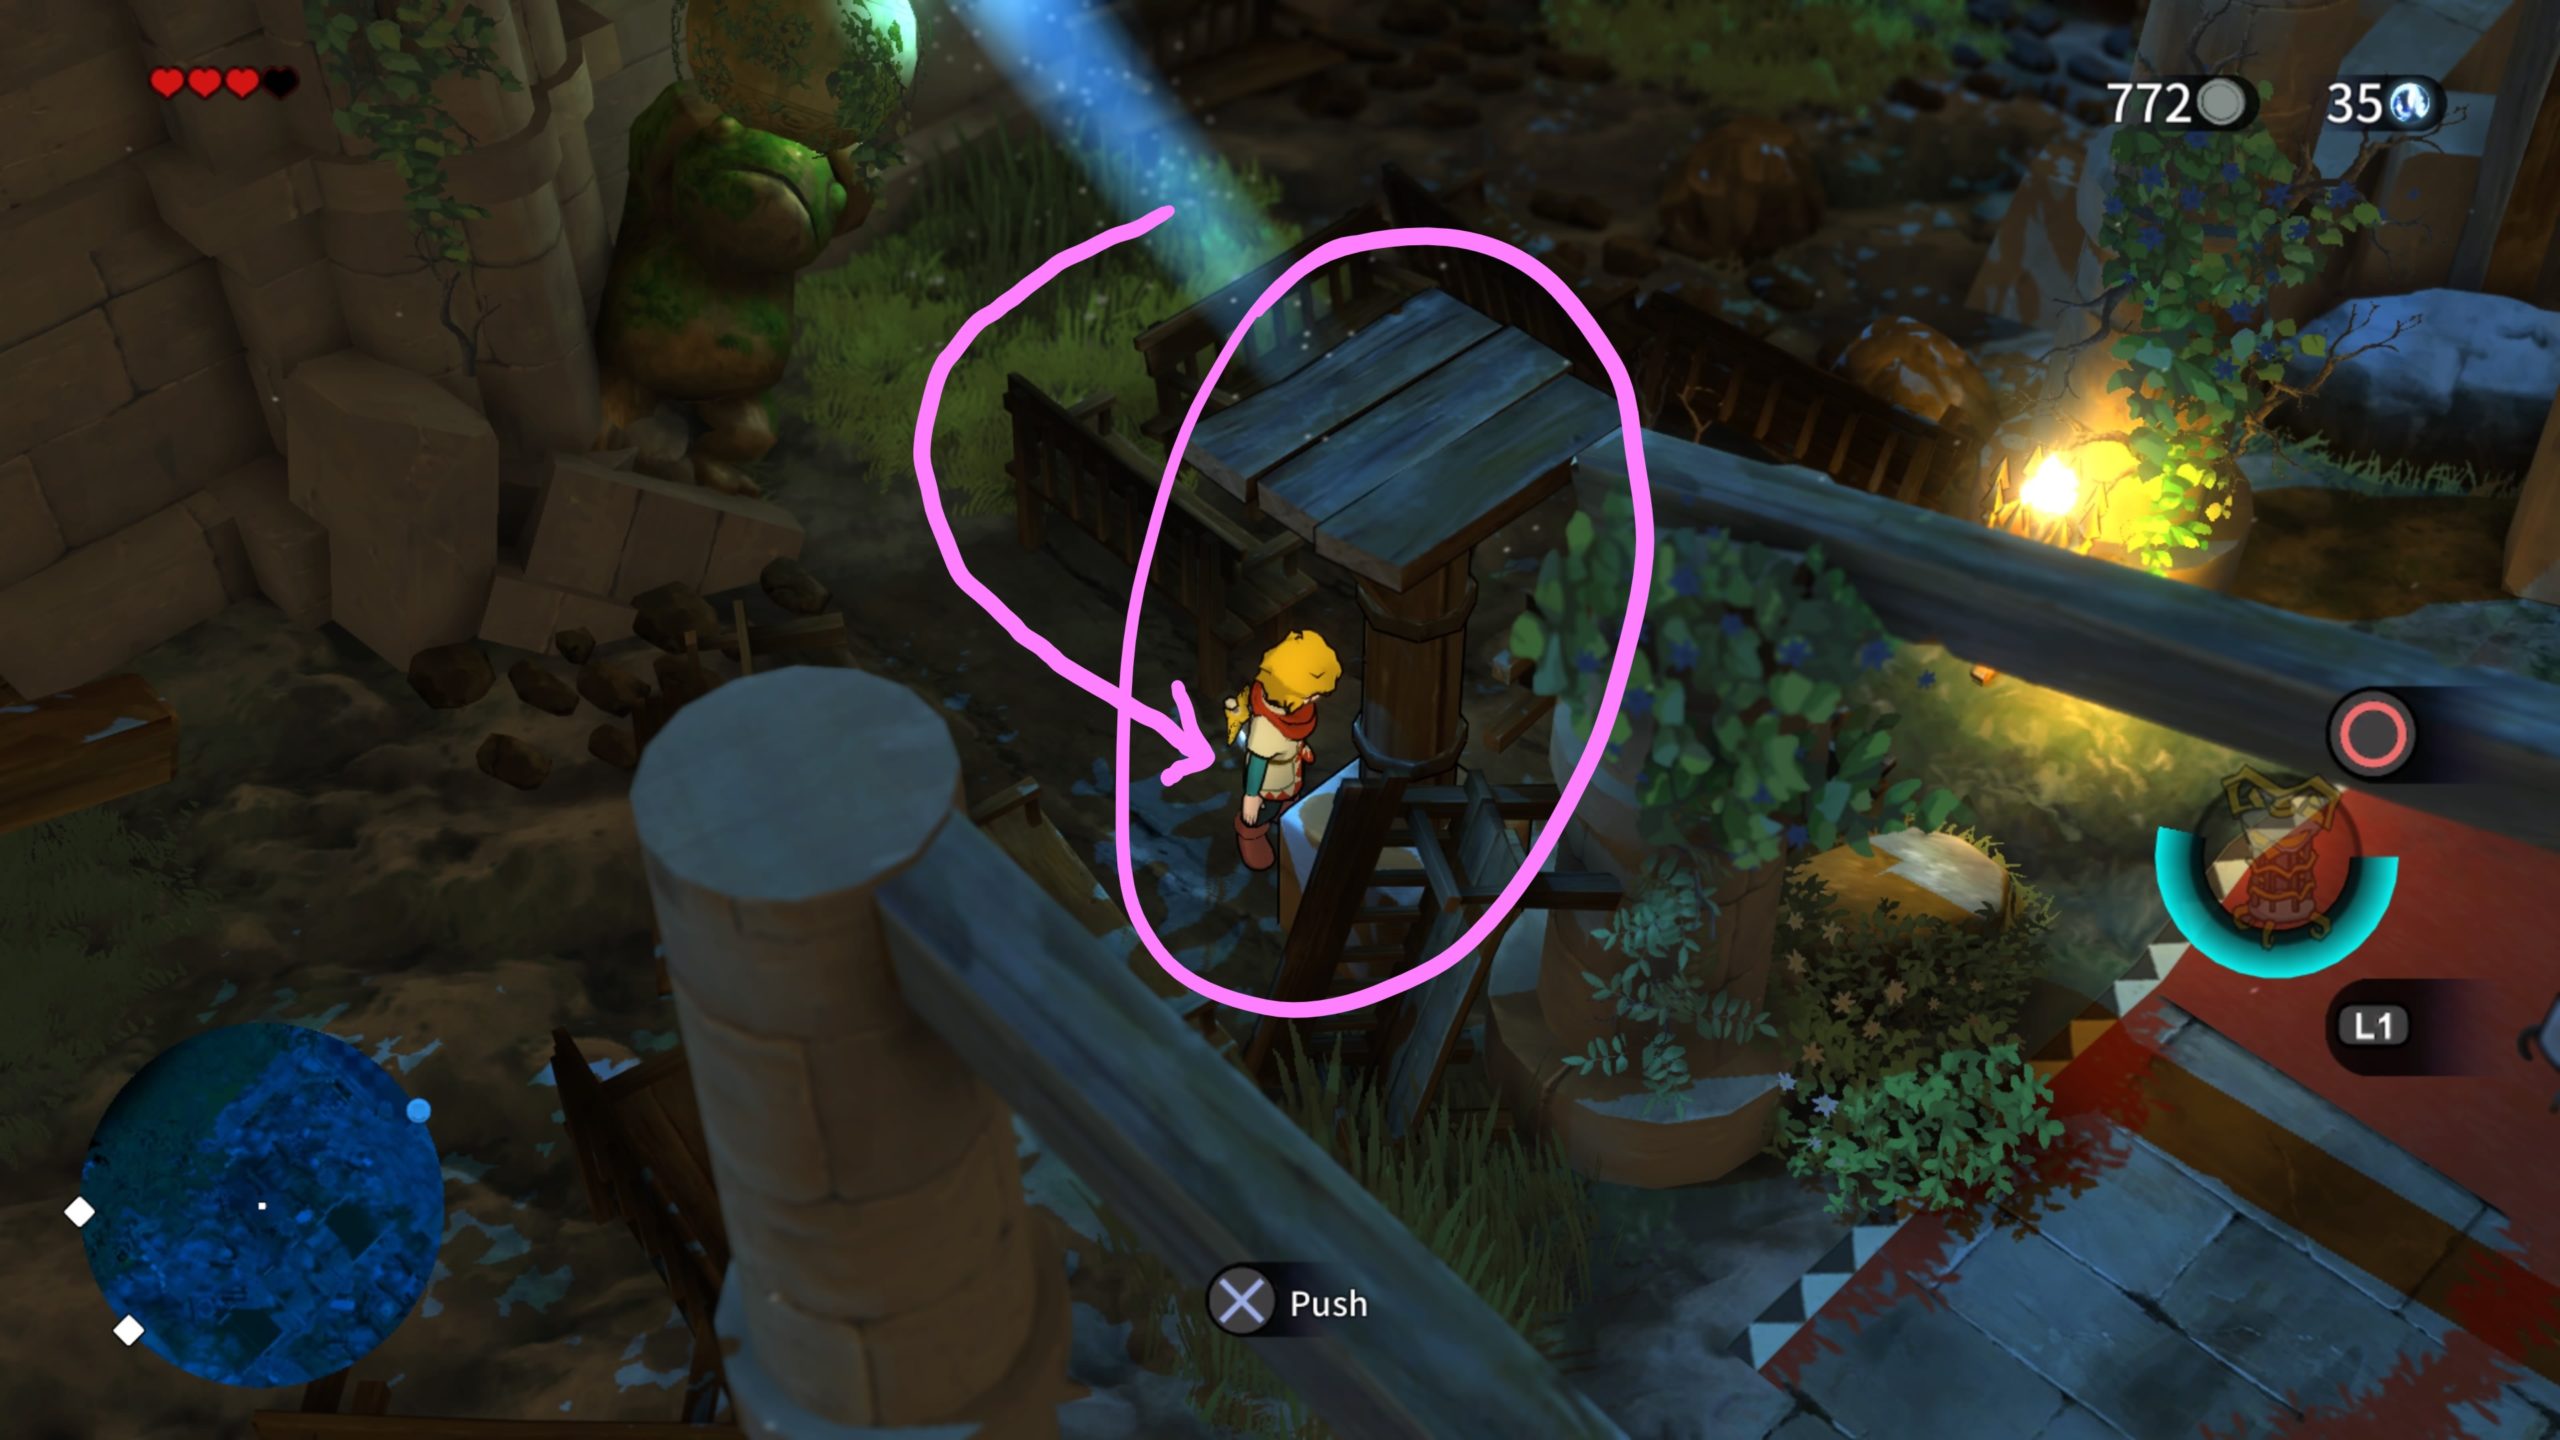
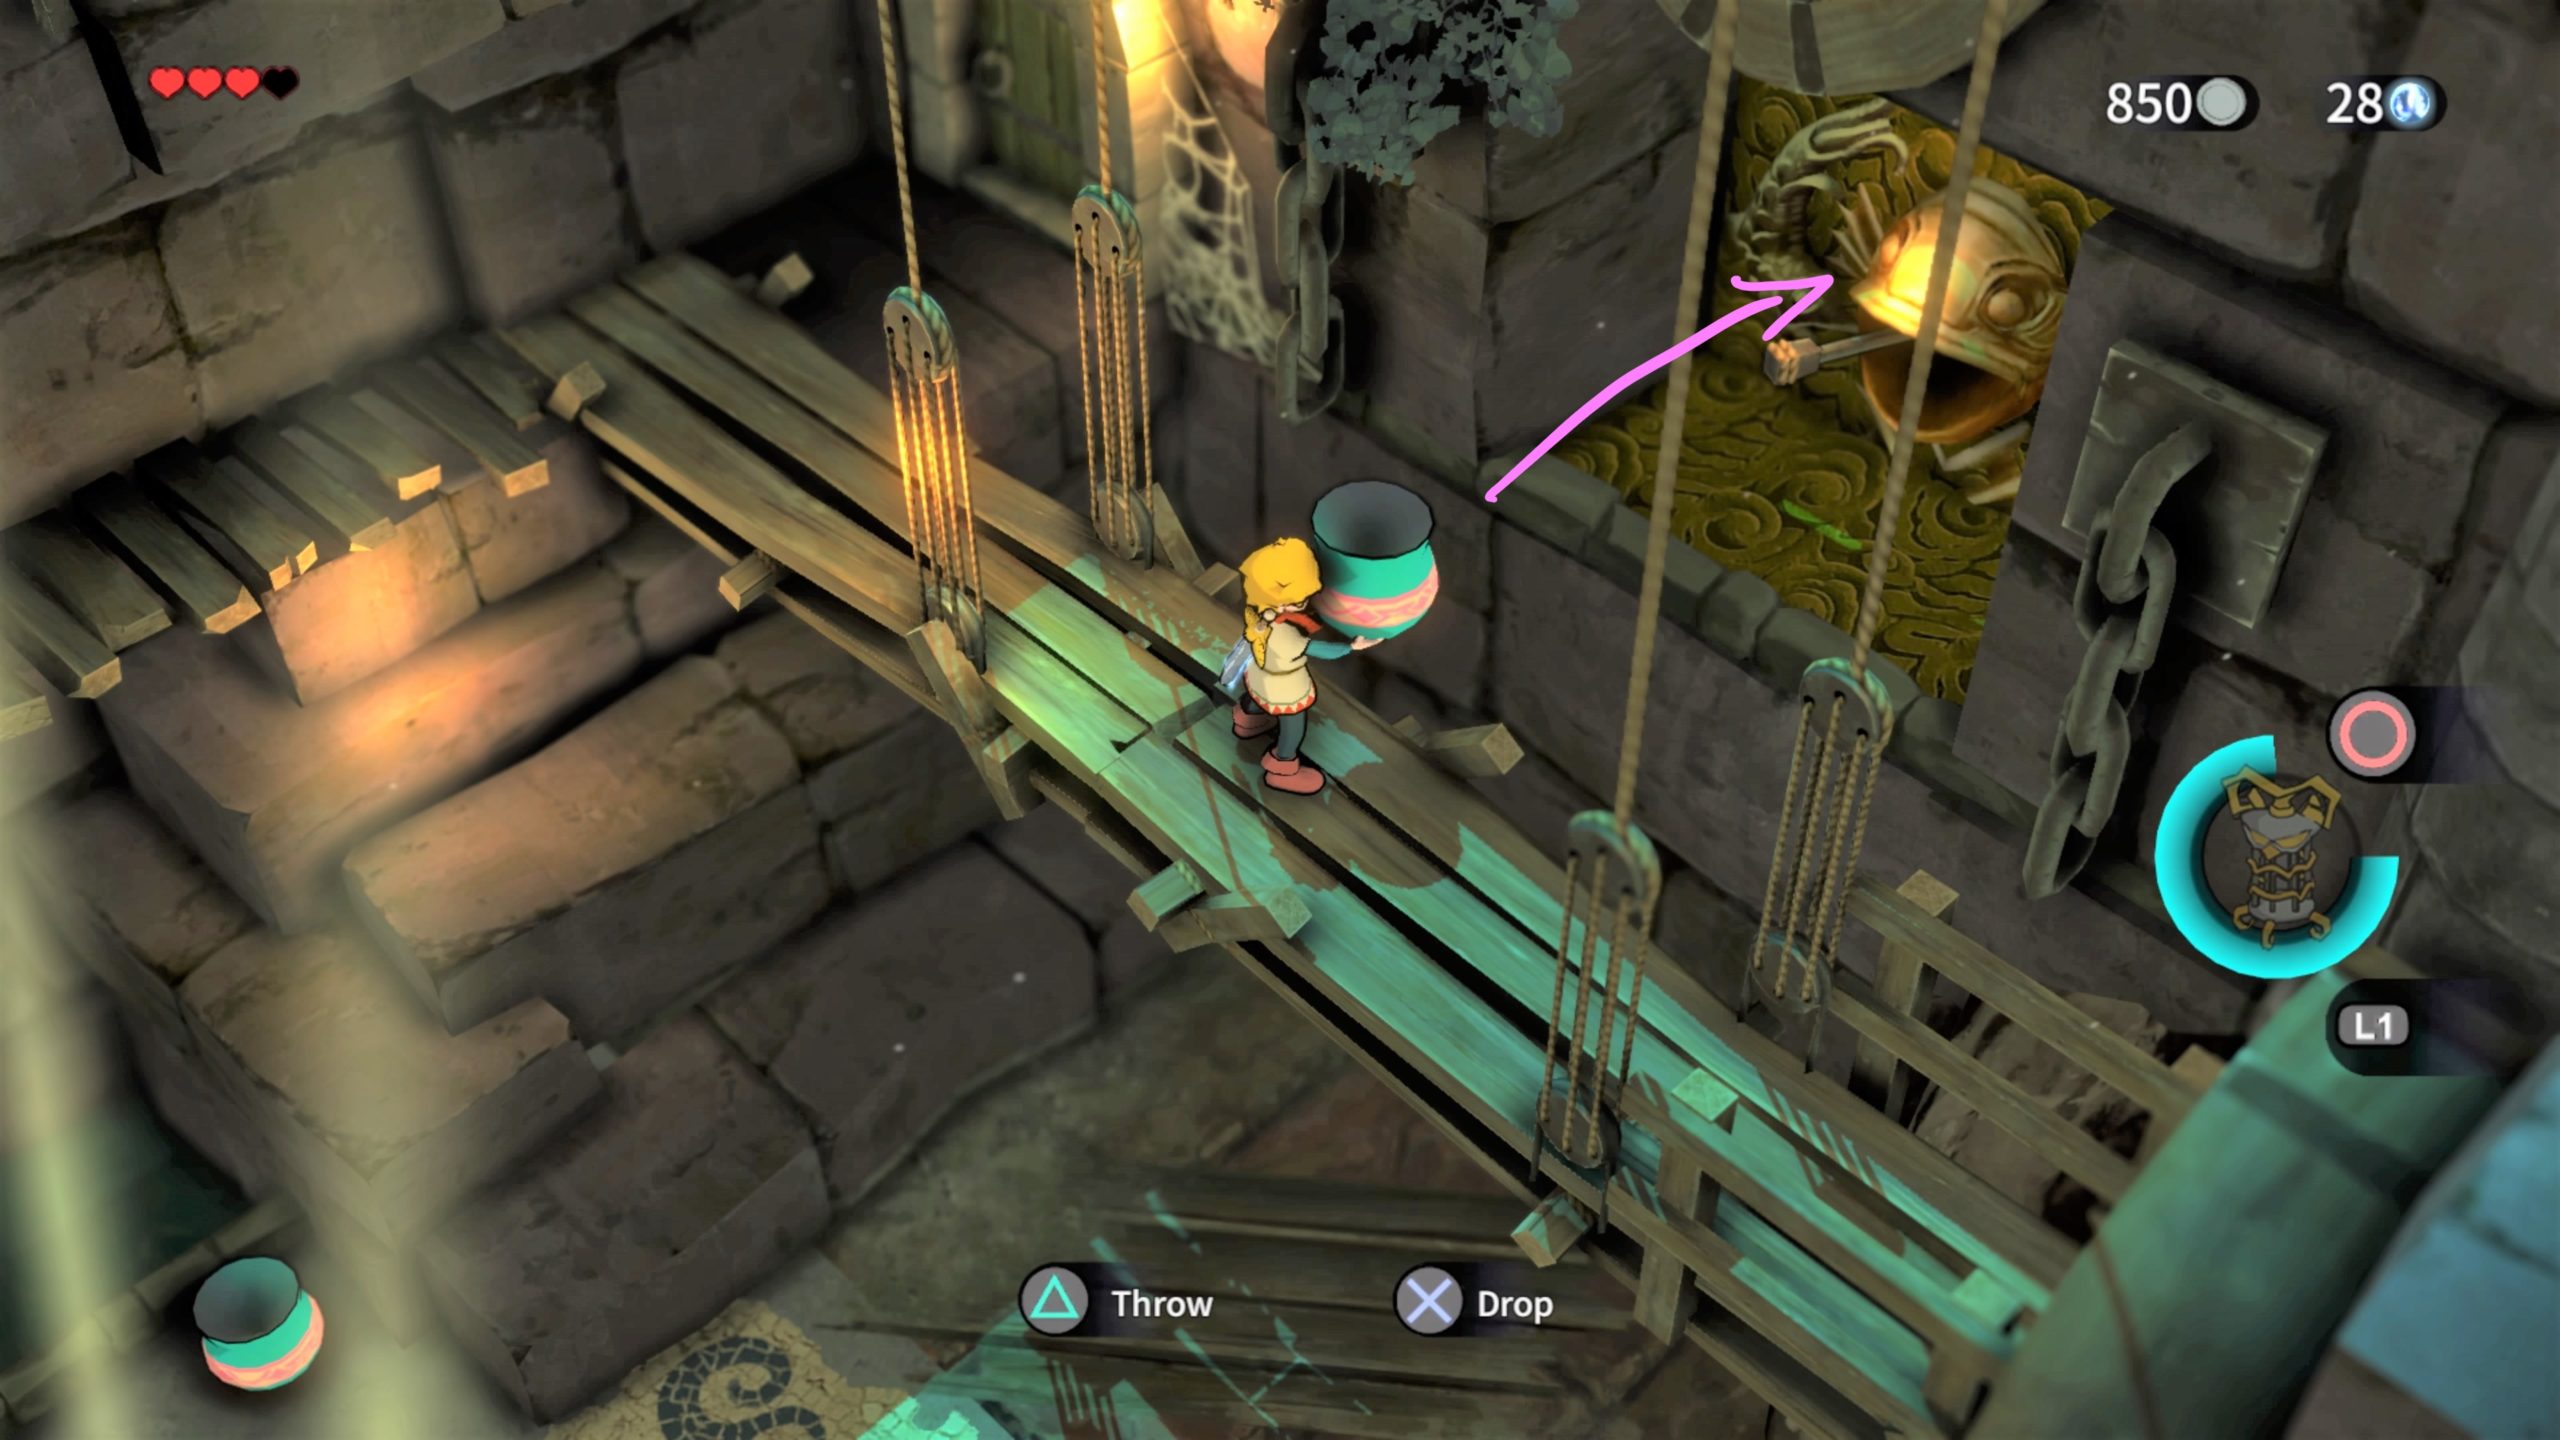
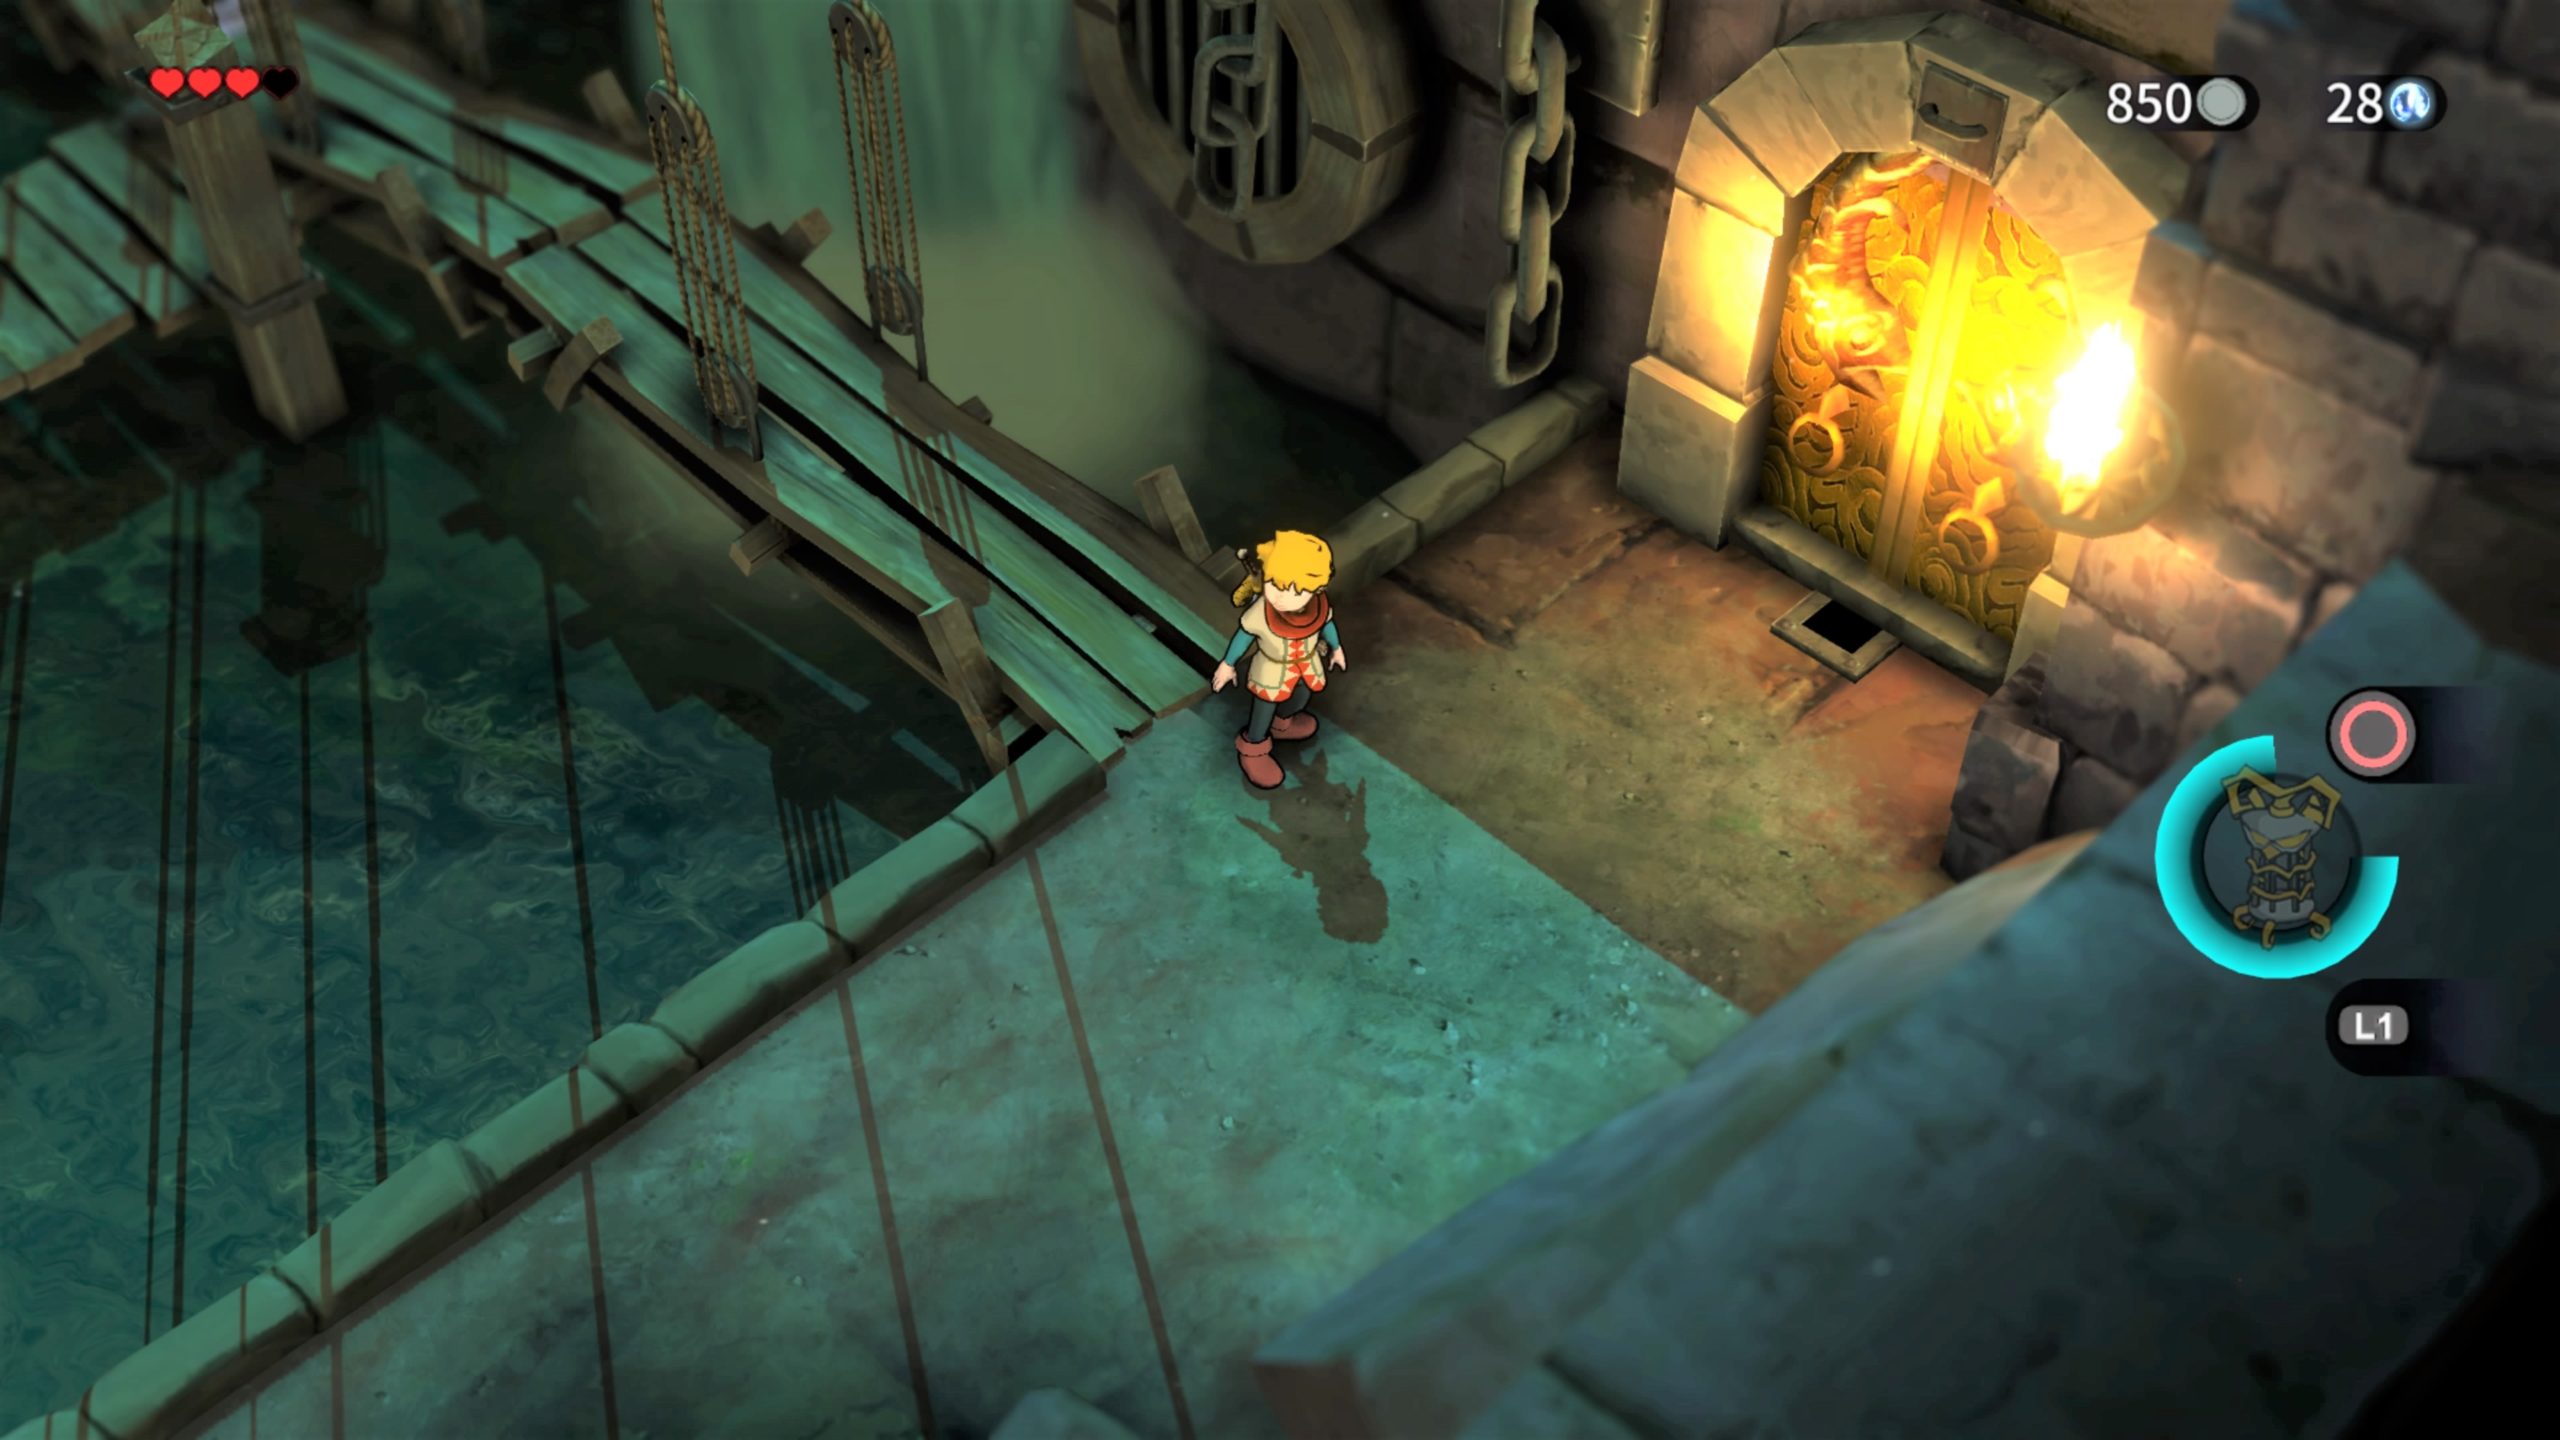
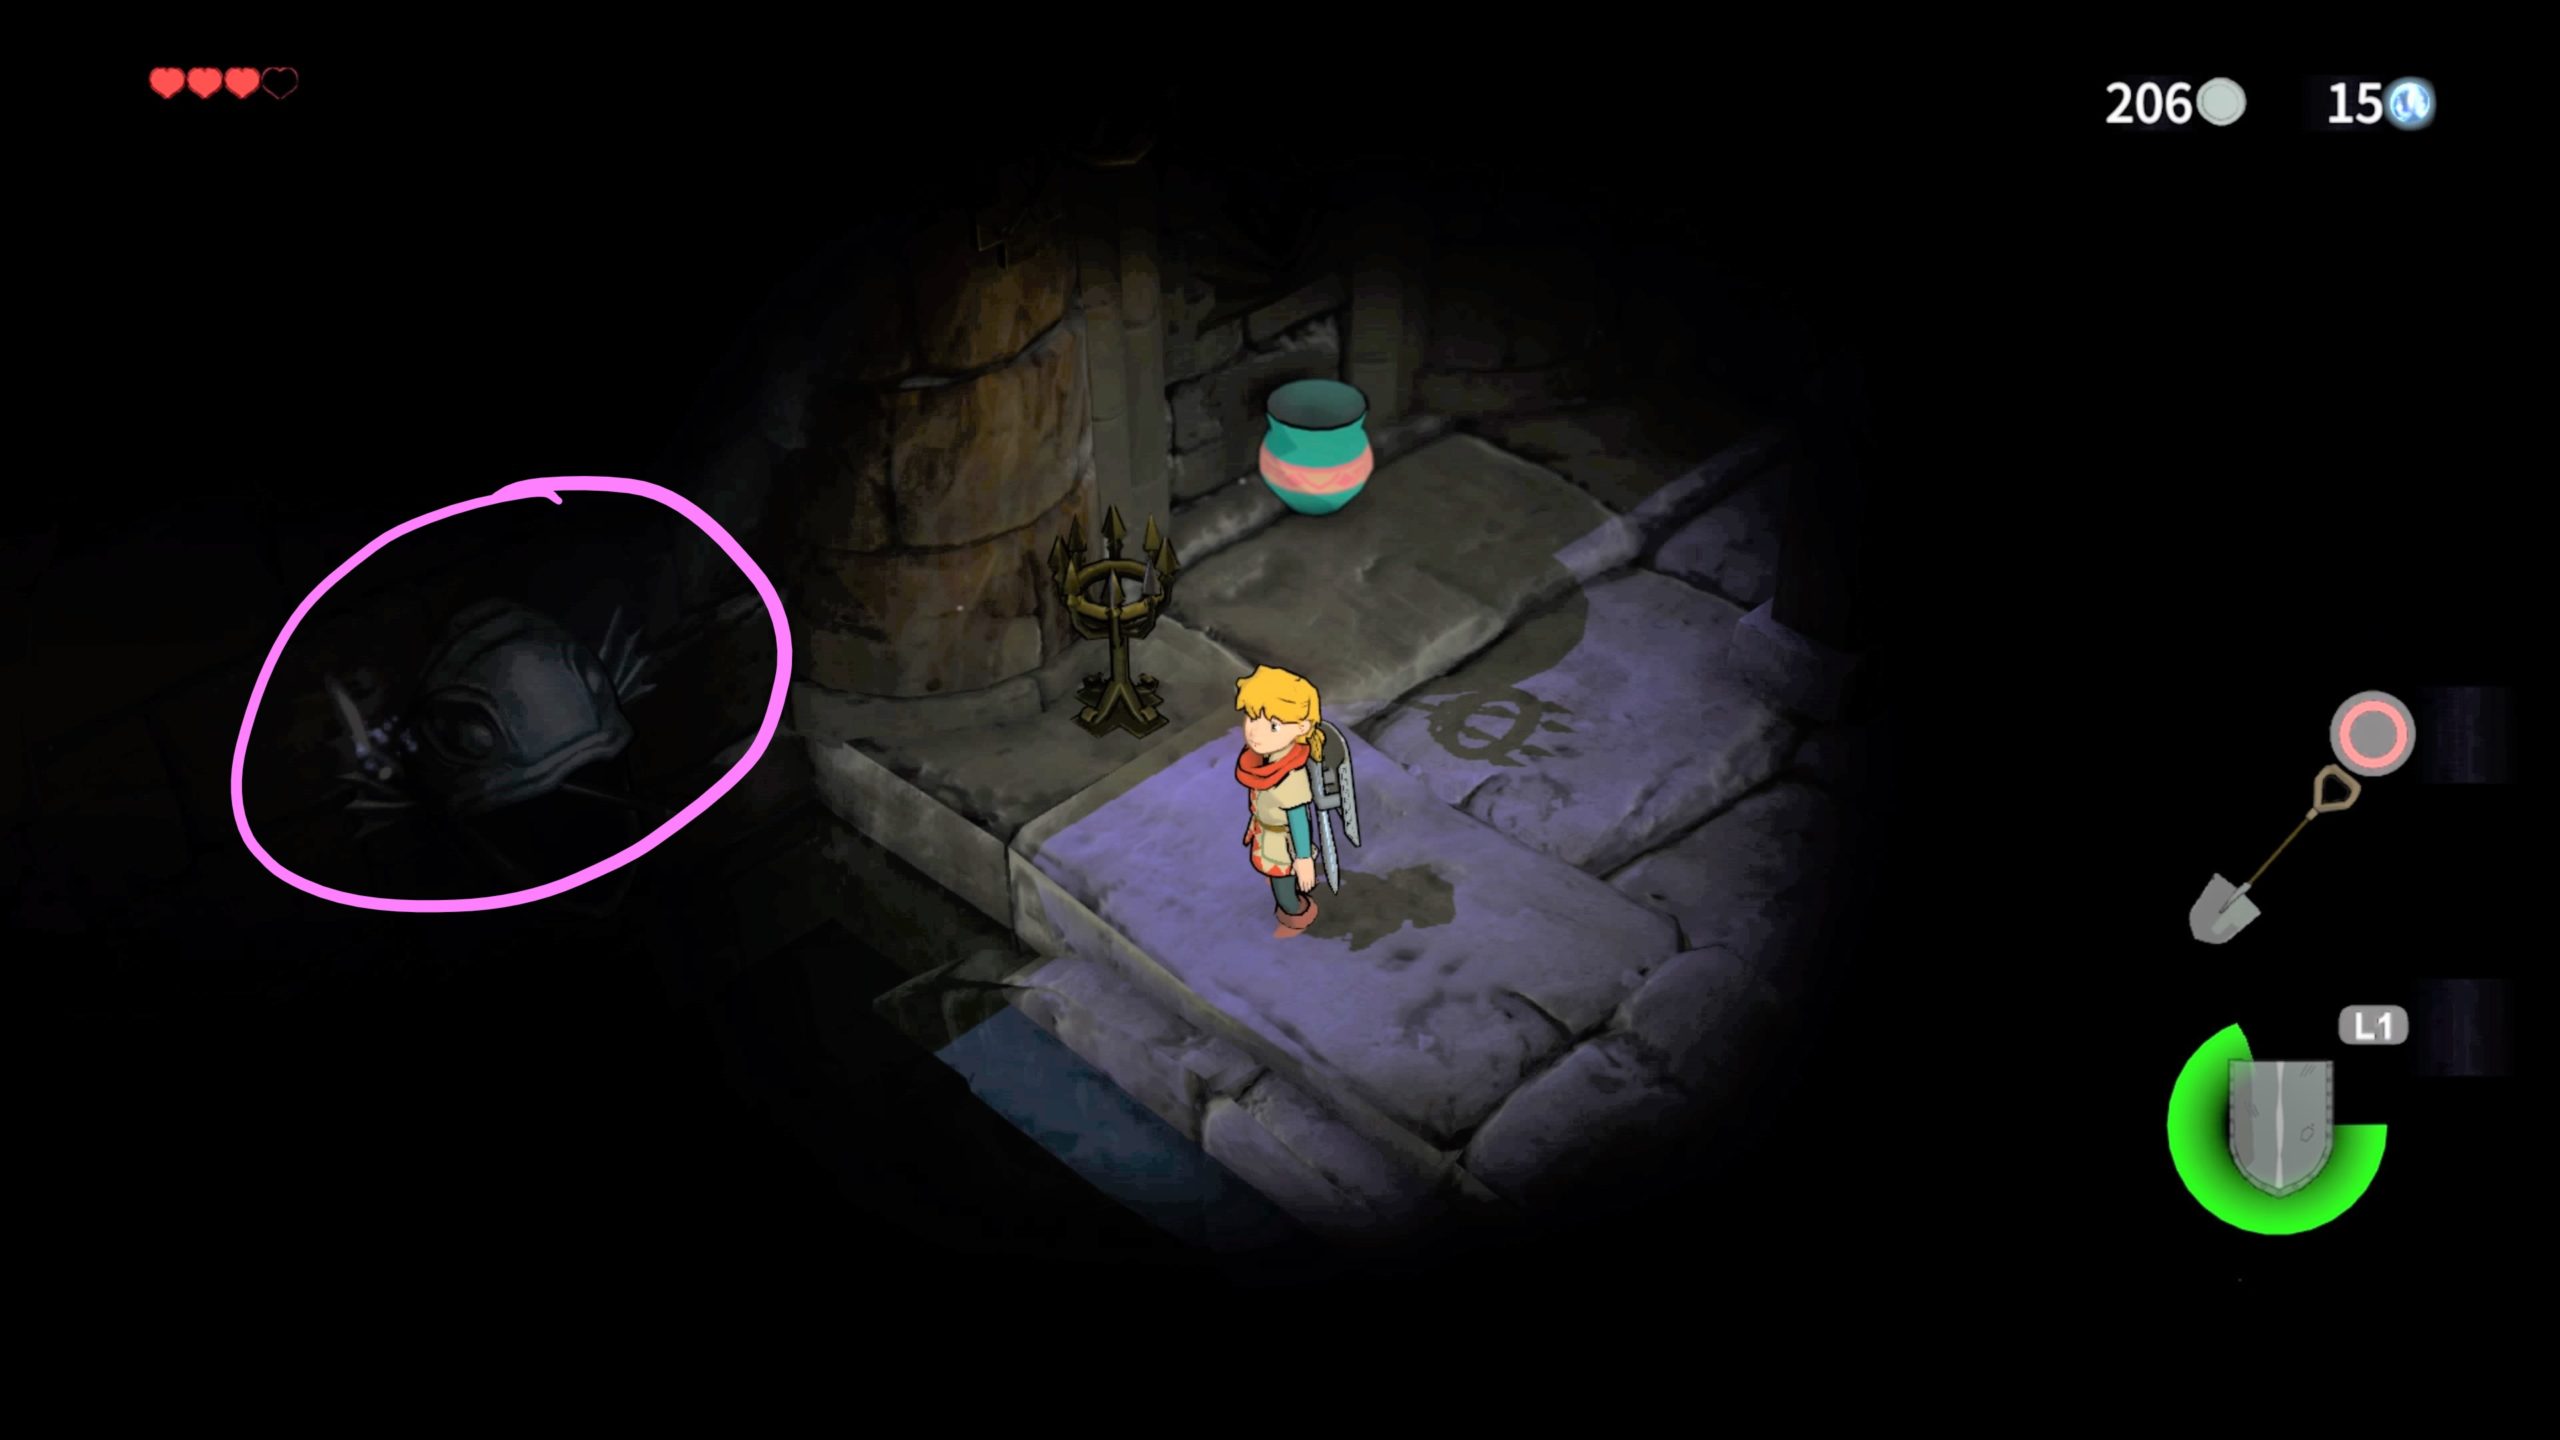
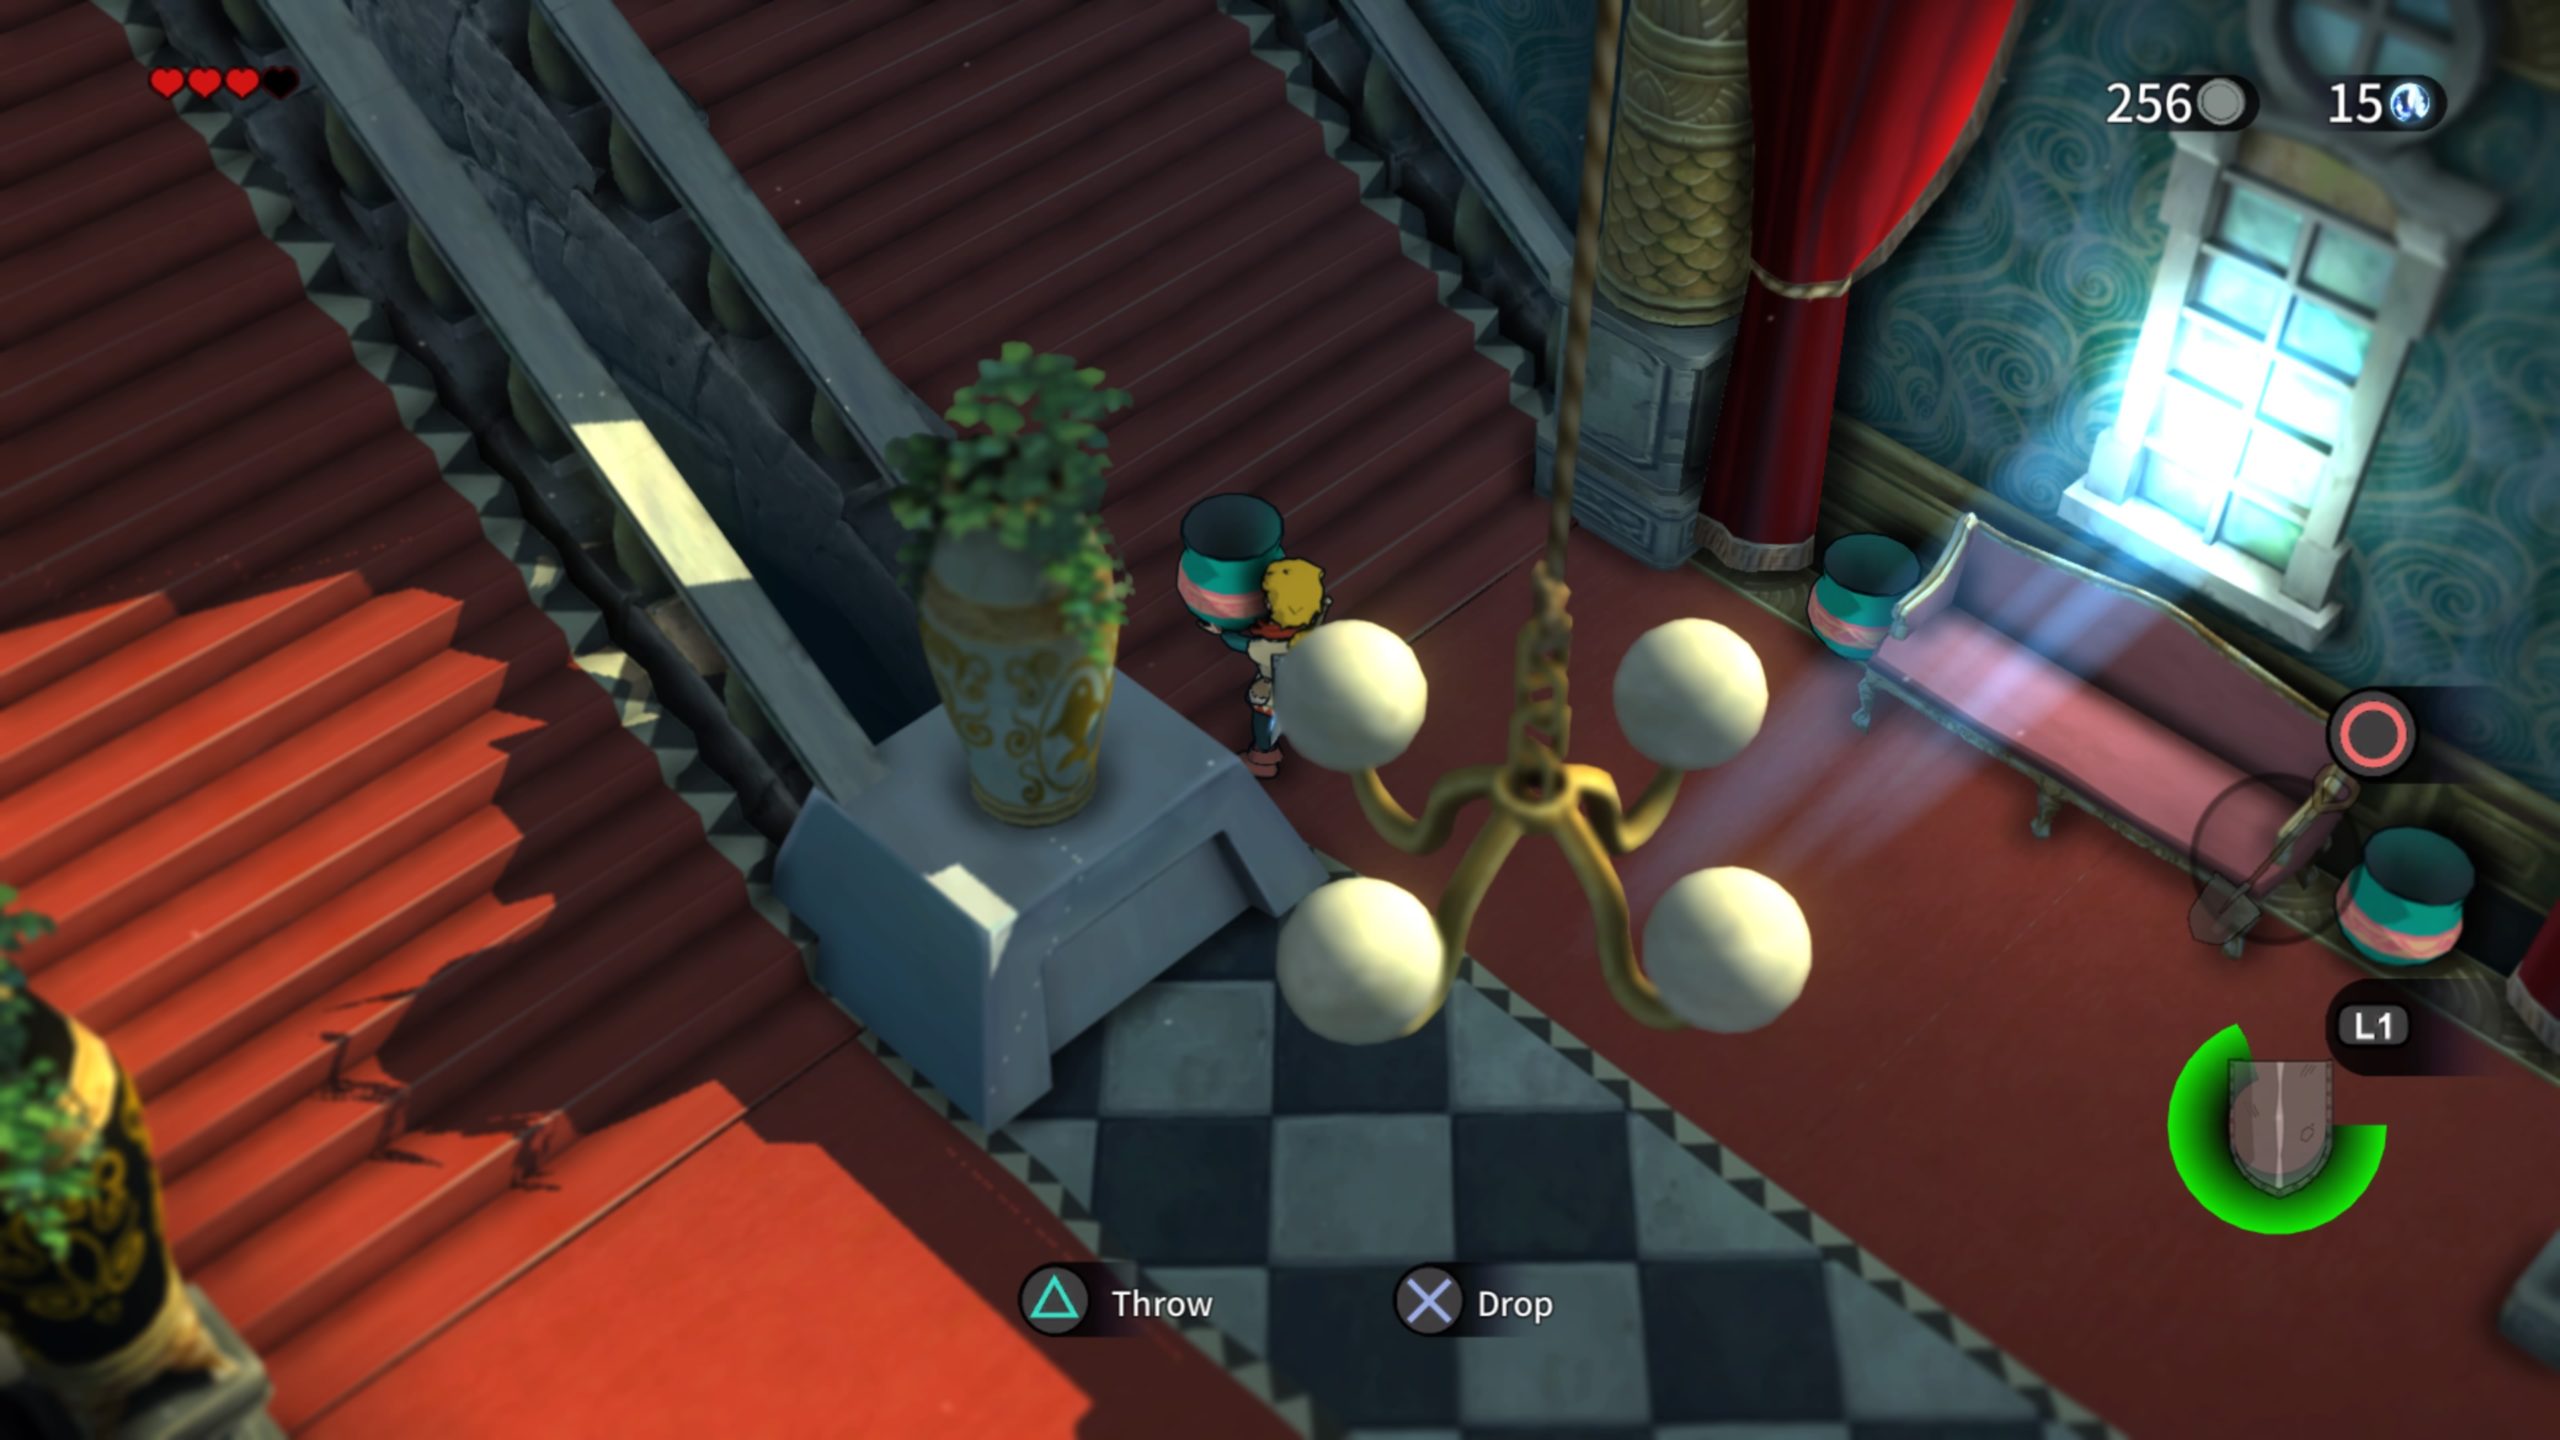
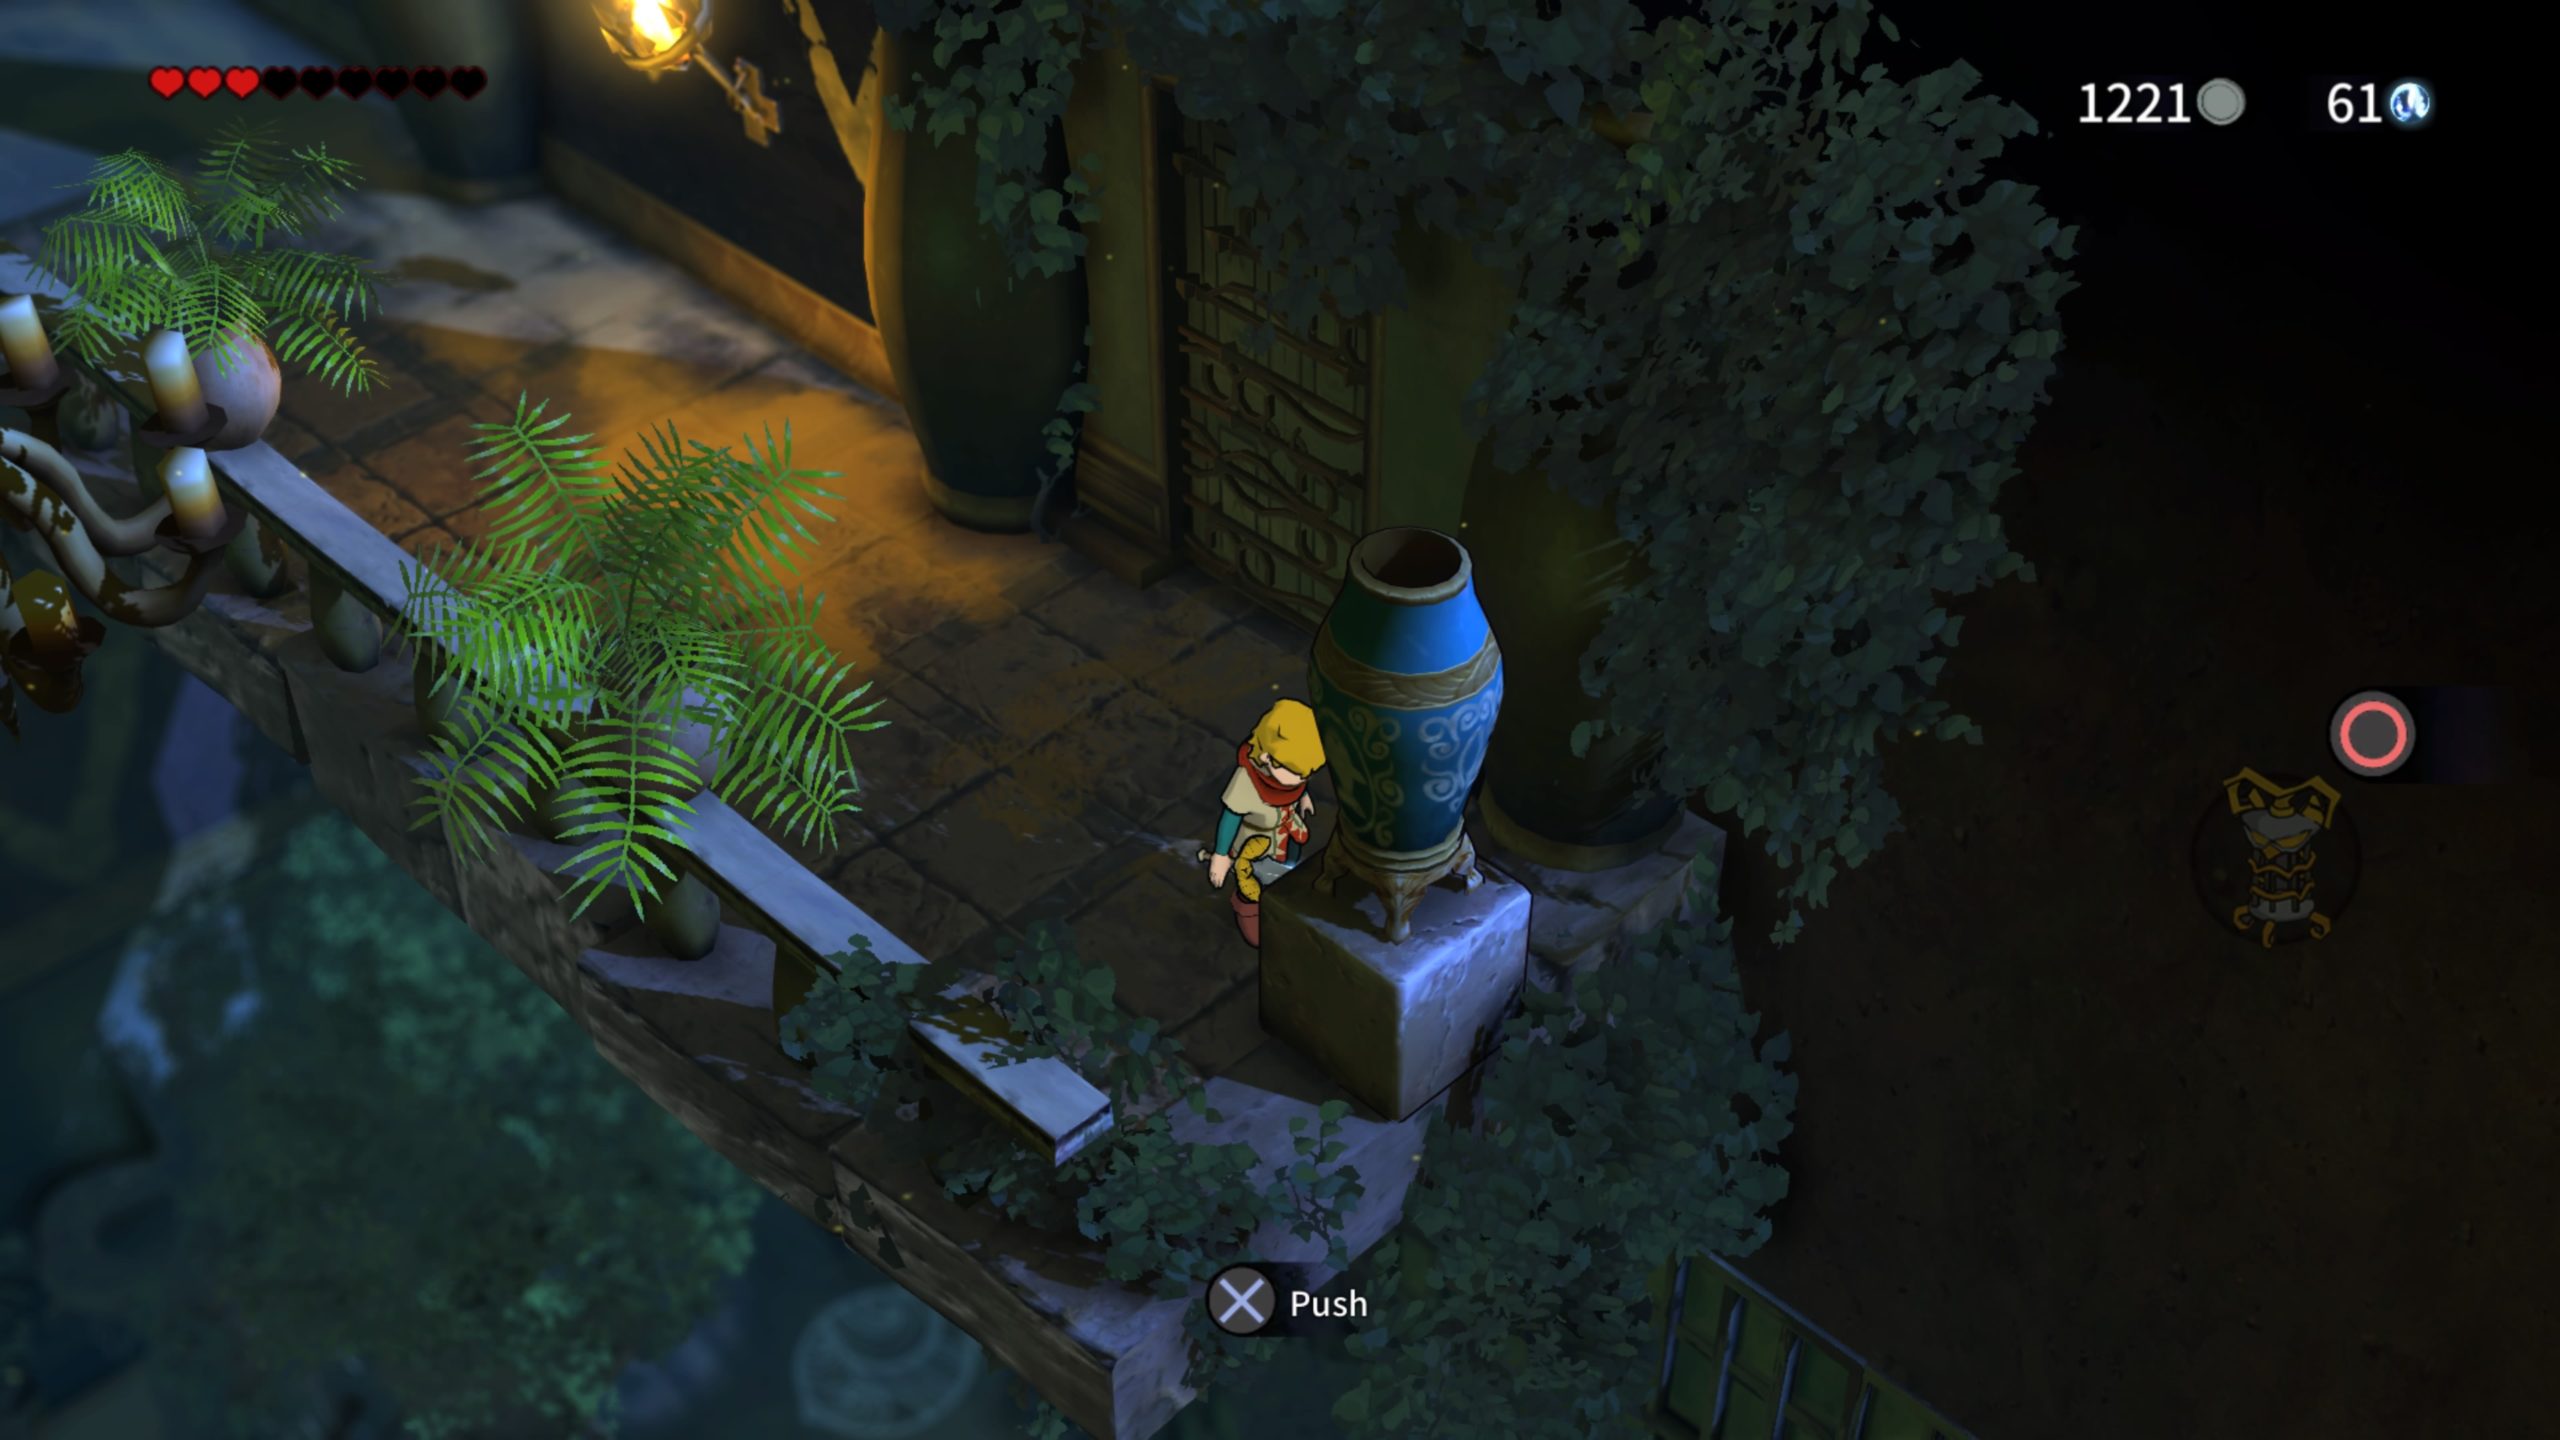
Hit the fish’s mouth then head up the stairs and burn the web to reveal a portal. Step through the mirror. Use the mirror to guide yourself through this room. Remember that in a mirror you’re looking at your mirror image! Left and right turns are reversed! Avoid the ghosts, too. After you exit the room, light all the braziers you see then look on the left for a gap in the railing. Head down and push the rolling statue out of the way. Push the tall red vase northwest to reveal a Dungeon Key! Grab a pot and throw it at the lever across the way.
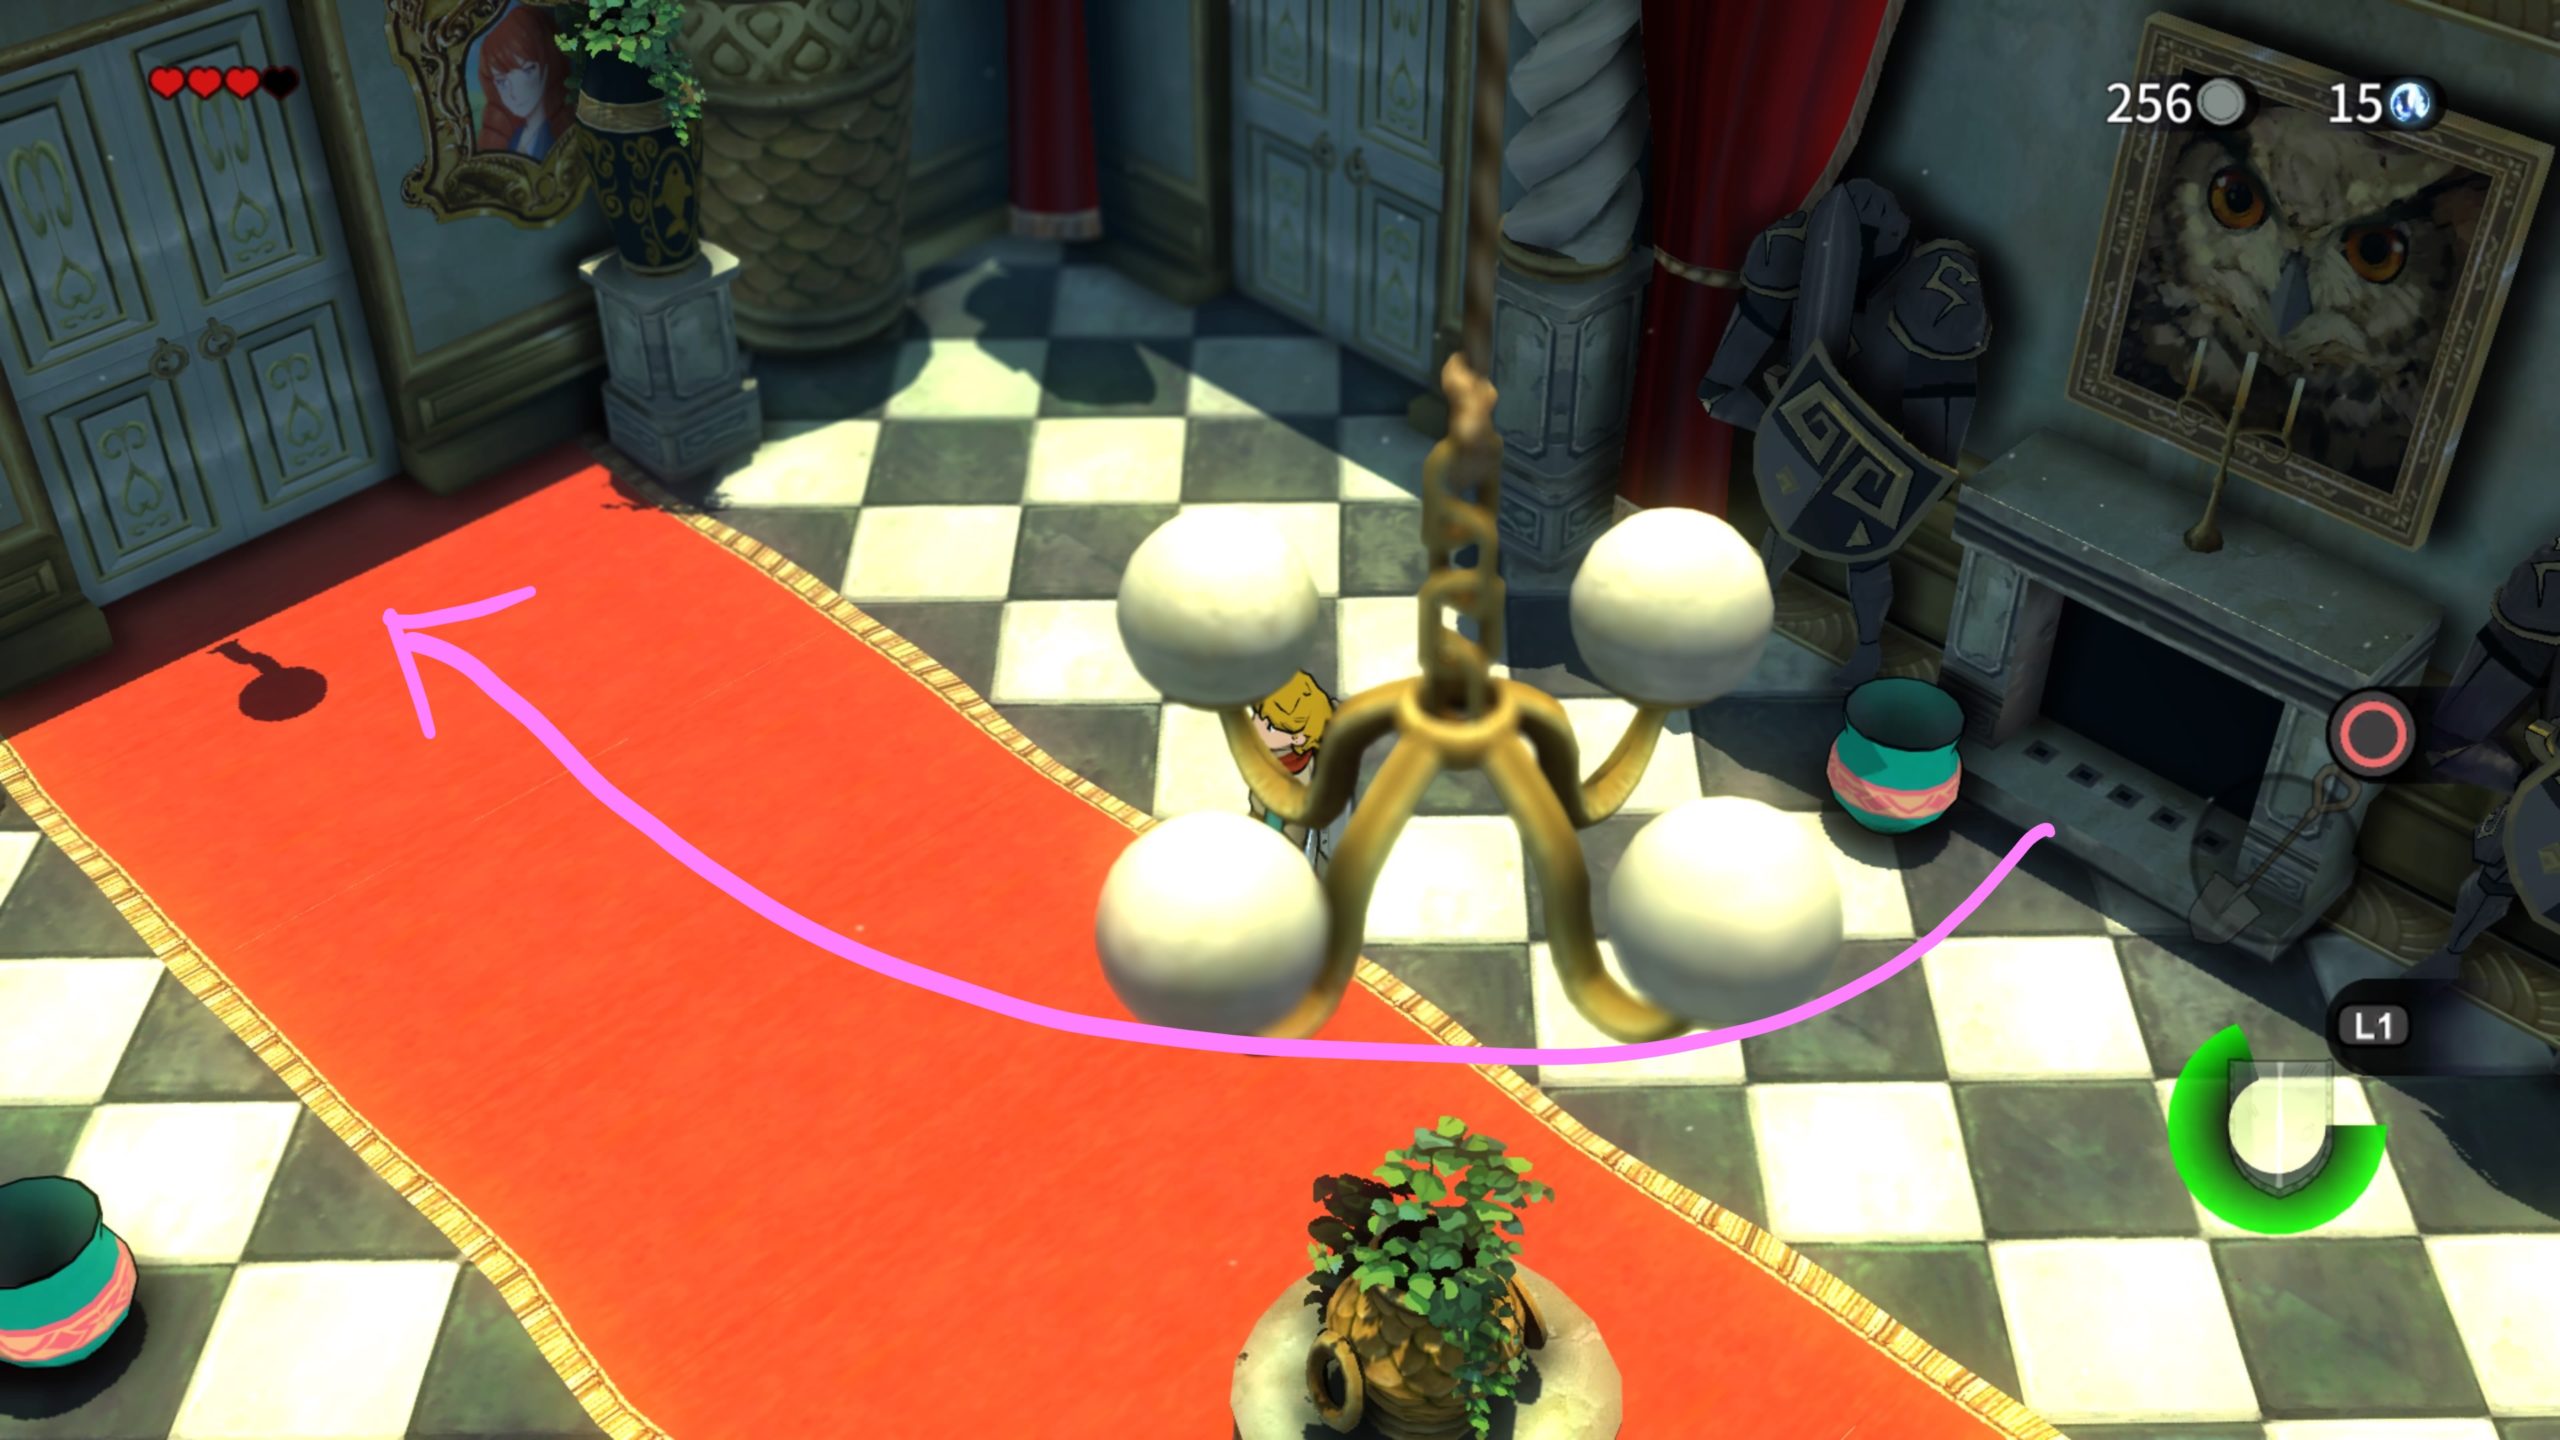
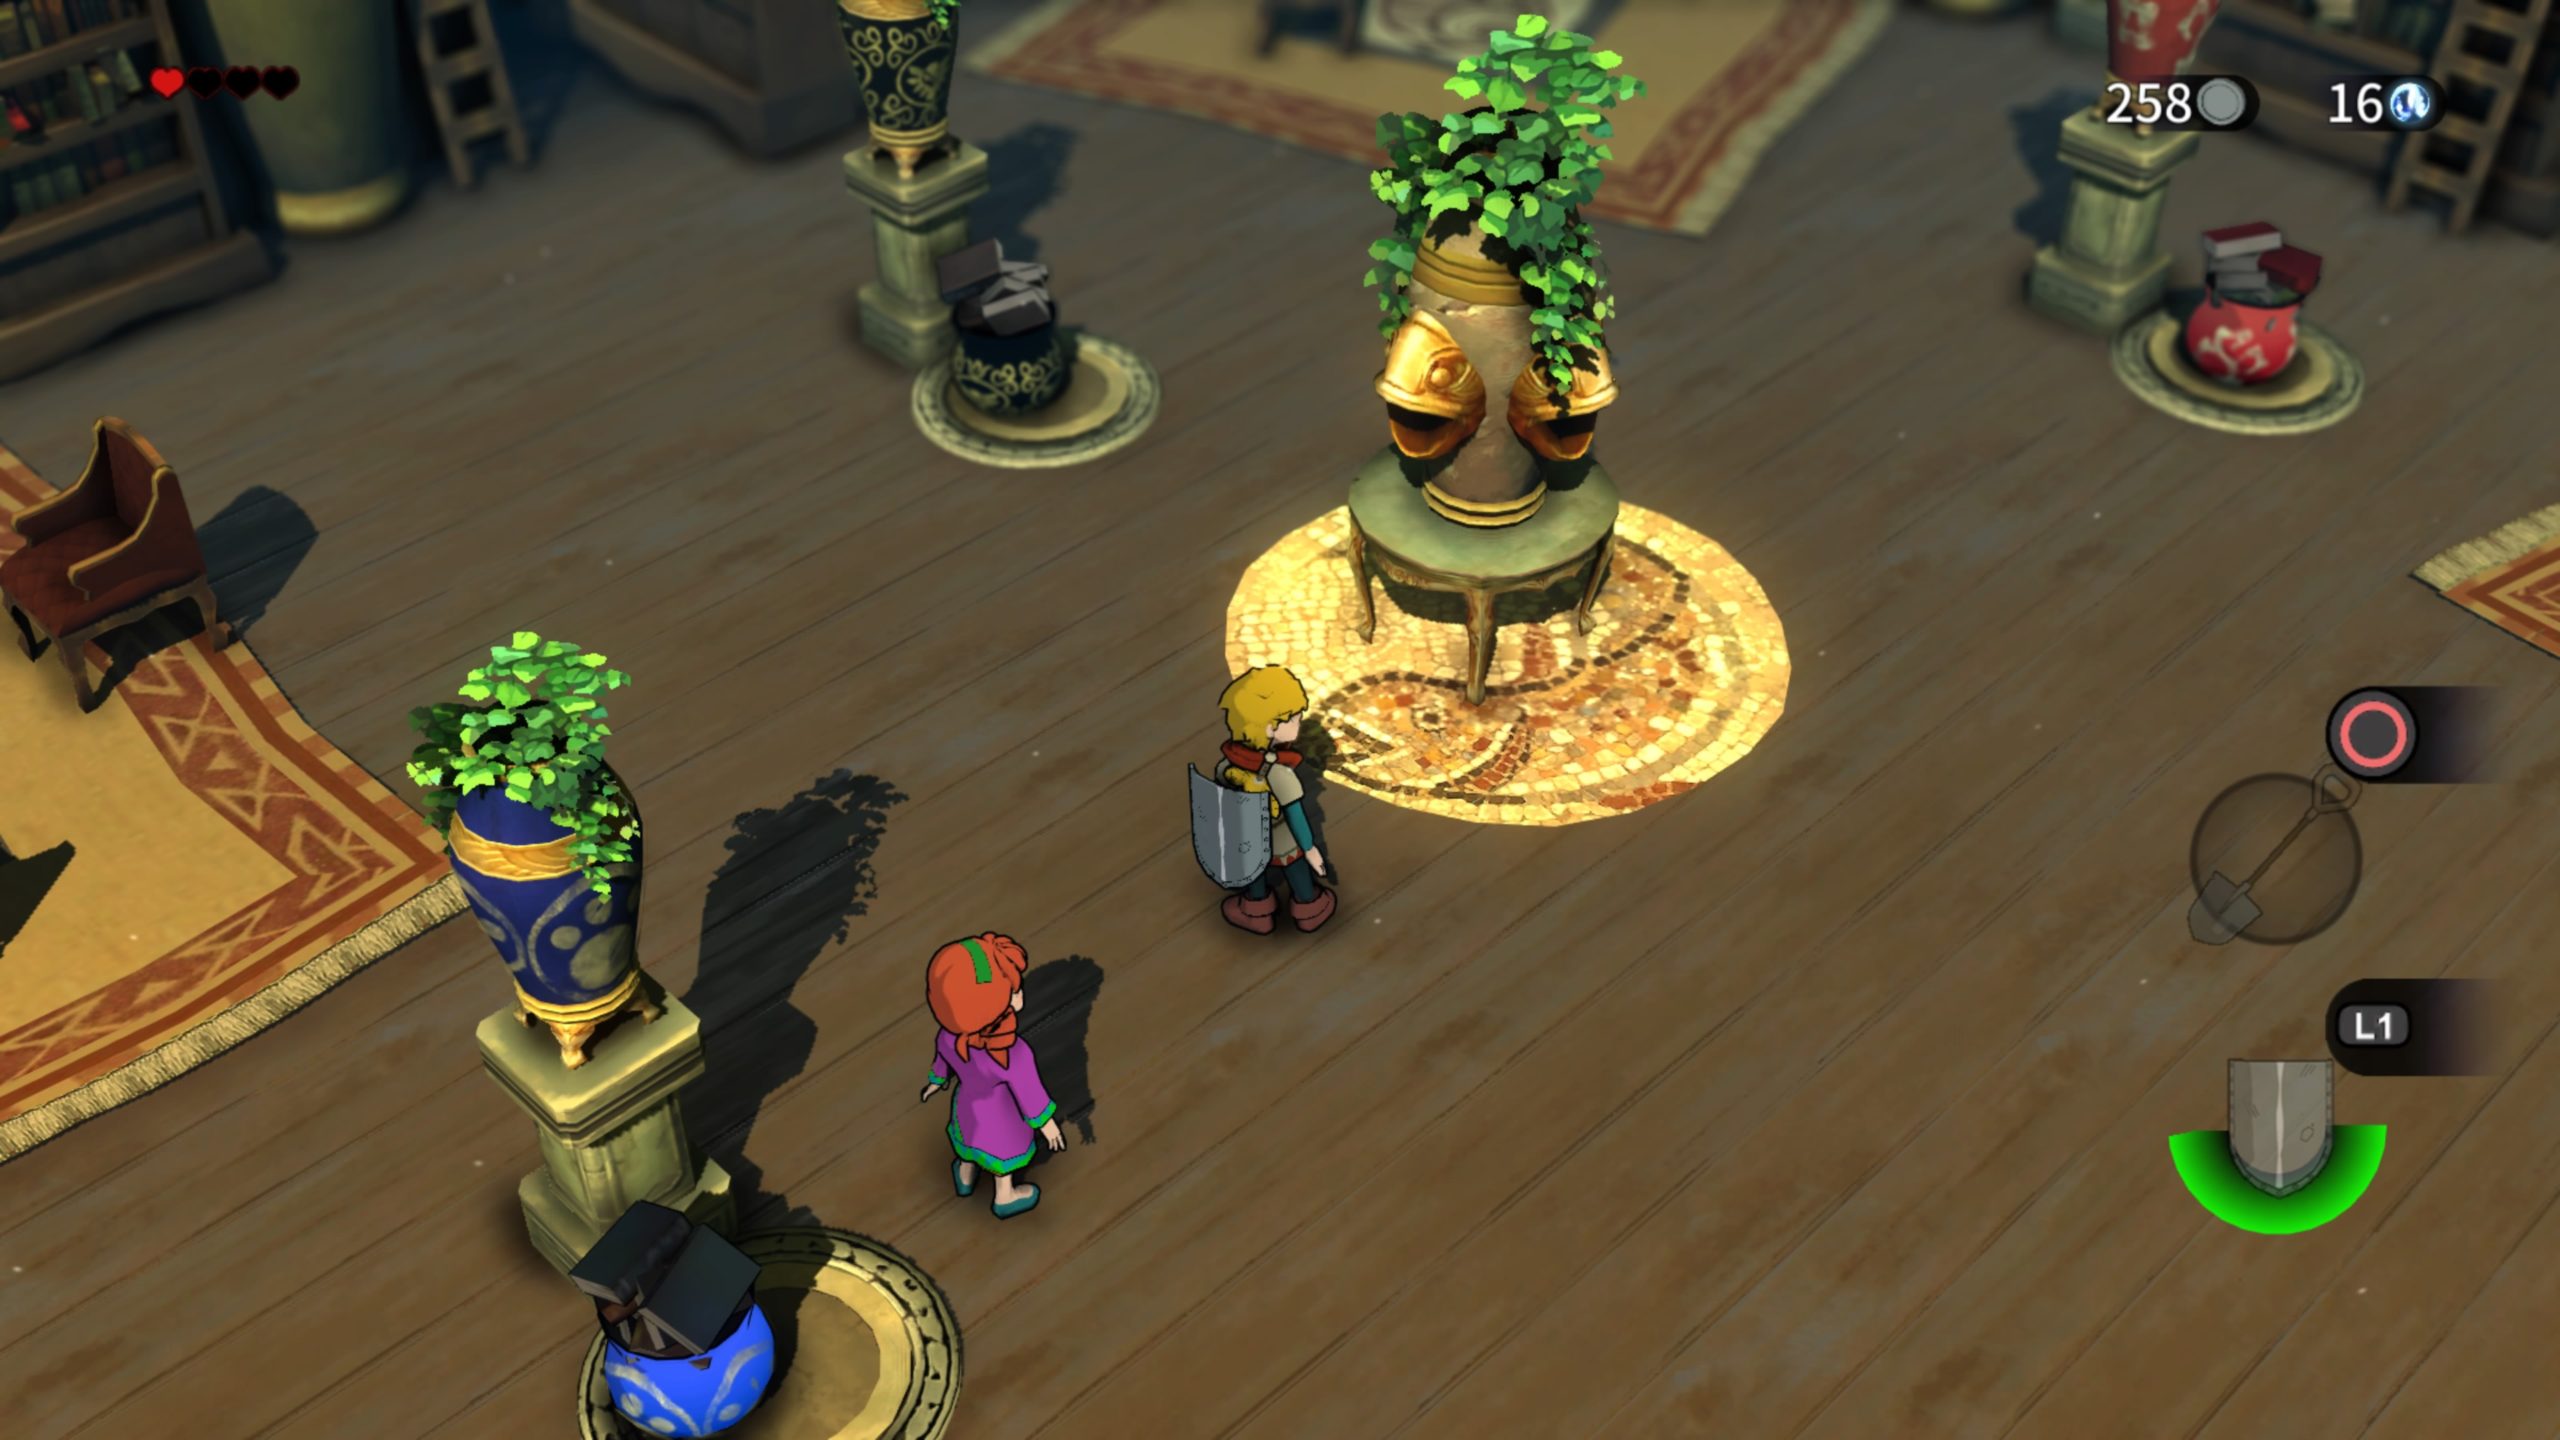
Head to the northwestern side and push the tall blue vase out of the railing. Circle around the railing to the other side and push the vase again to open a path. Grab a pot and return to the lever to throw it at it. Exit the enclosed area and head through the space where the blue vase was to light the last brazier. Once all the braziers in this room have been lit, a chest containing 10 Dindi will drop! Move the rolling statue as shown below to open a red mirror.
Head through the red mirror to open an area for later. Step on the pressure point and avoid the 2 spinning towers of death as you quickly run to the other side of the room and exit via the mirror. In this room you’ll see a long dining room table. Burn the webs off the paintings on the wall. You’ll notice 2 paintings of ghosts. Throw a pot at each painting to cause a ghost boss to spawn.

The trick to beating this ghost is to strike the eye on its back. The ghost will throw plates at you and do a spinning attack. Avoid these. When it does its move where it flies at you and ground shoots up underneath it, this will be your opportunity. Either block its attack or get hit by it to strike the eye. Keep repeating this process until it dies. When it does, a new entrance will be revealed. Unfortunately you cannot do anything now, but the opportunity will come later after you get the Owl Bomb! Exit this room and the next. Go through the mirror next to the red one. Stand on the pressure point. Avoid the 2 spinning towers of death as you quickly run to the other side of the room and exit via the mirror. In this room watch out for the flying pots! Head through the door at the top of the stairs. Hit the large object on the right side to cause the turntable in the middle to turn. Head across the turntable and defeat the spitting enemy by throwing a pot at it. Cut the grass to the right of it to find a hidden ladder leading down.
Climb down and follow the path until you arrive at a tall blue vase. Push this vase northeast to the pressure point to unlock a door. Exit this area by climbing back up the stairs. Proceed forward towards the spinning thing. Make sure you stay at its back as it spits out damage dealing darts! Head through the newly unlocked white doors and defeat all the enemies inside to obtain a Dungeon Key from a chest. Exit this room and head west. Follow along the railing, cutting grass as you go. At the dead end, dig up a Dungeon Key!

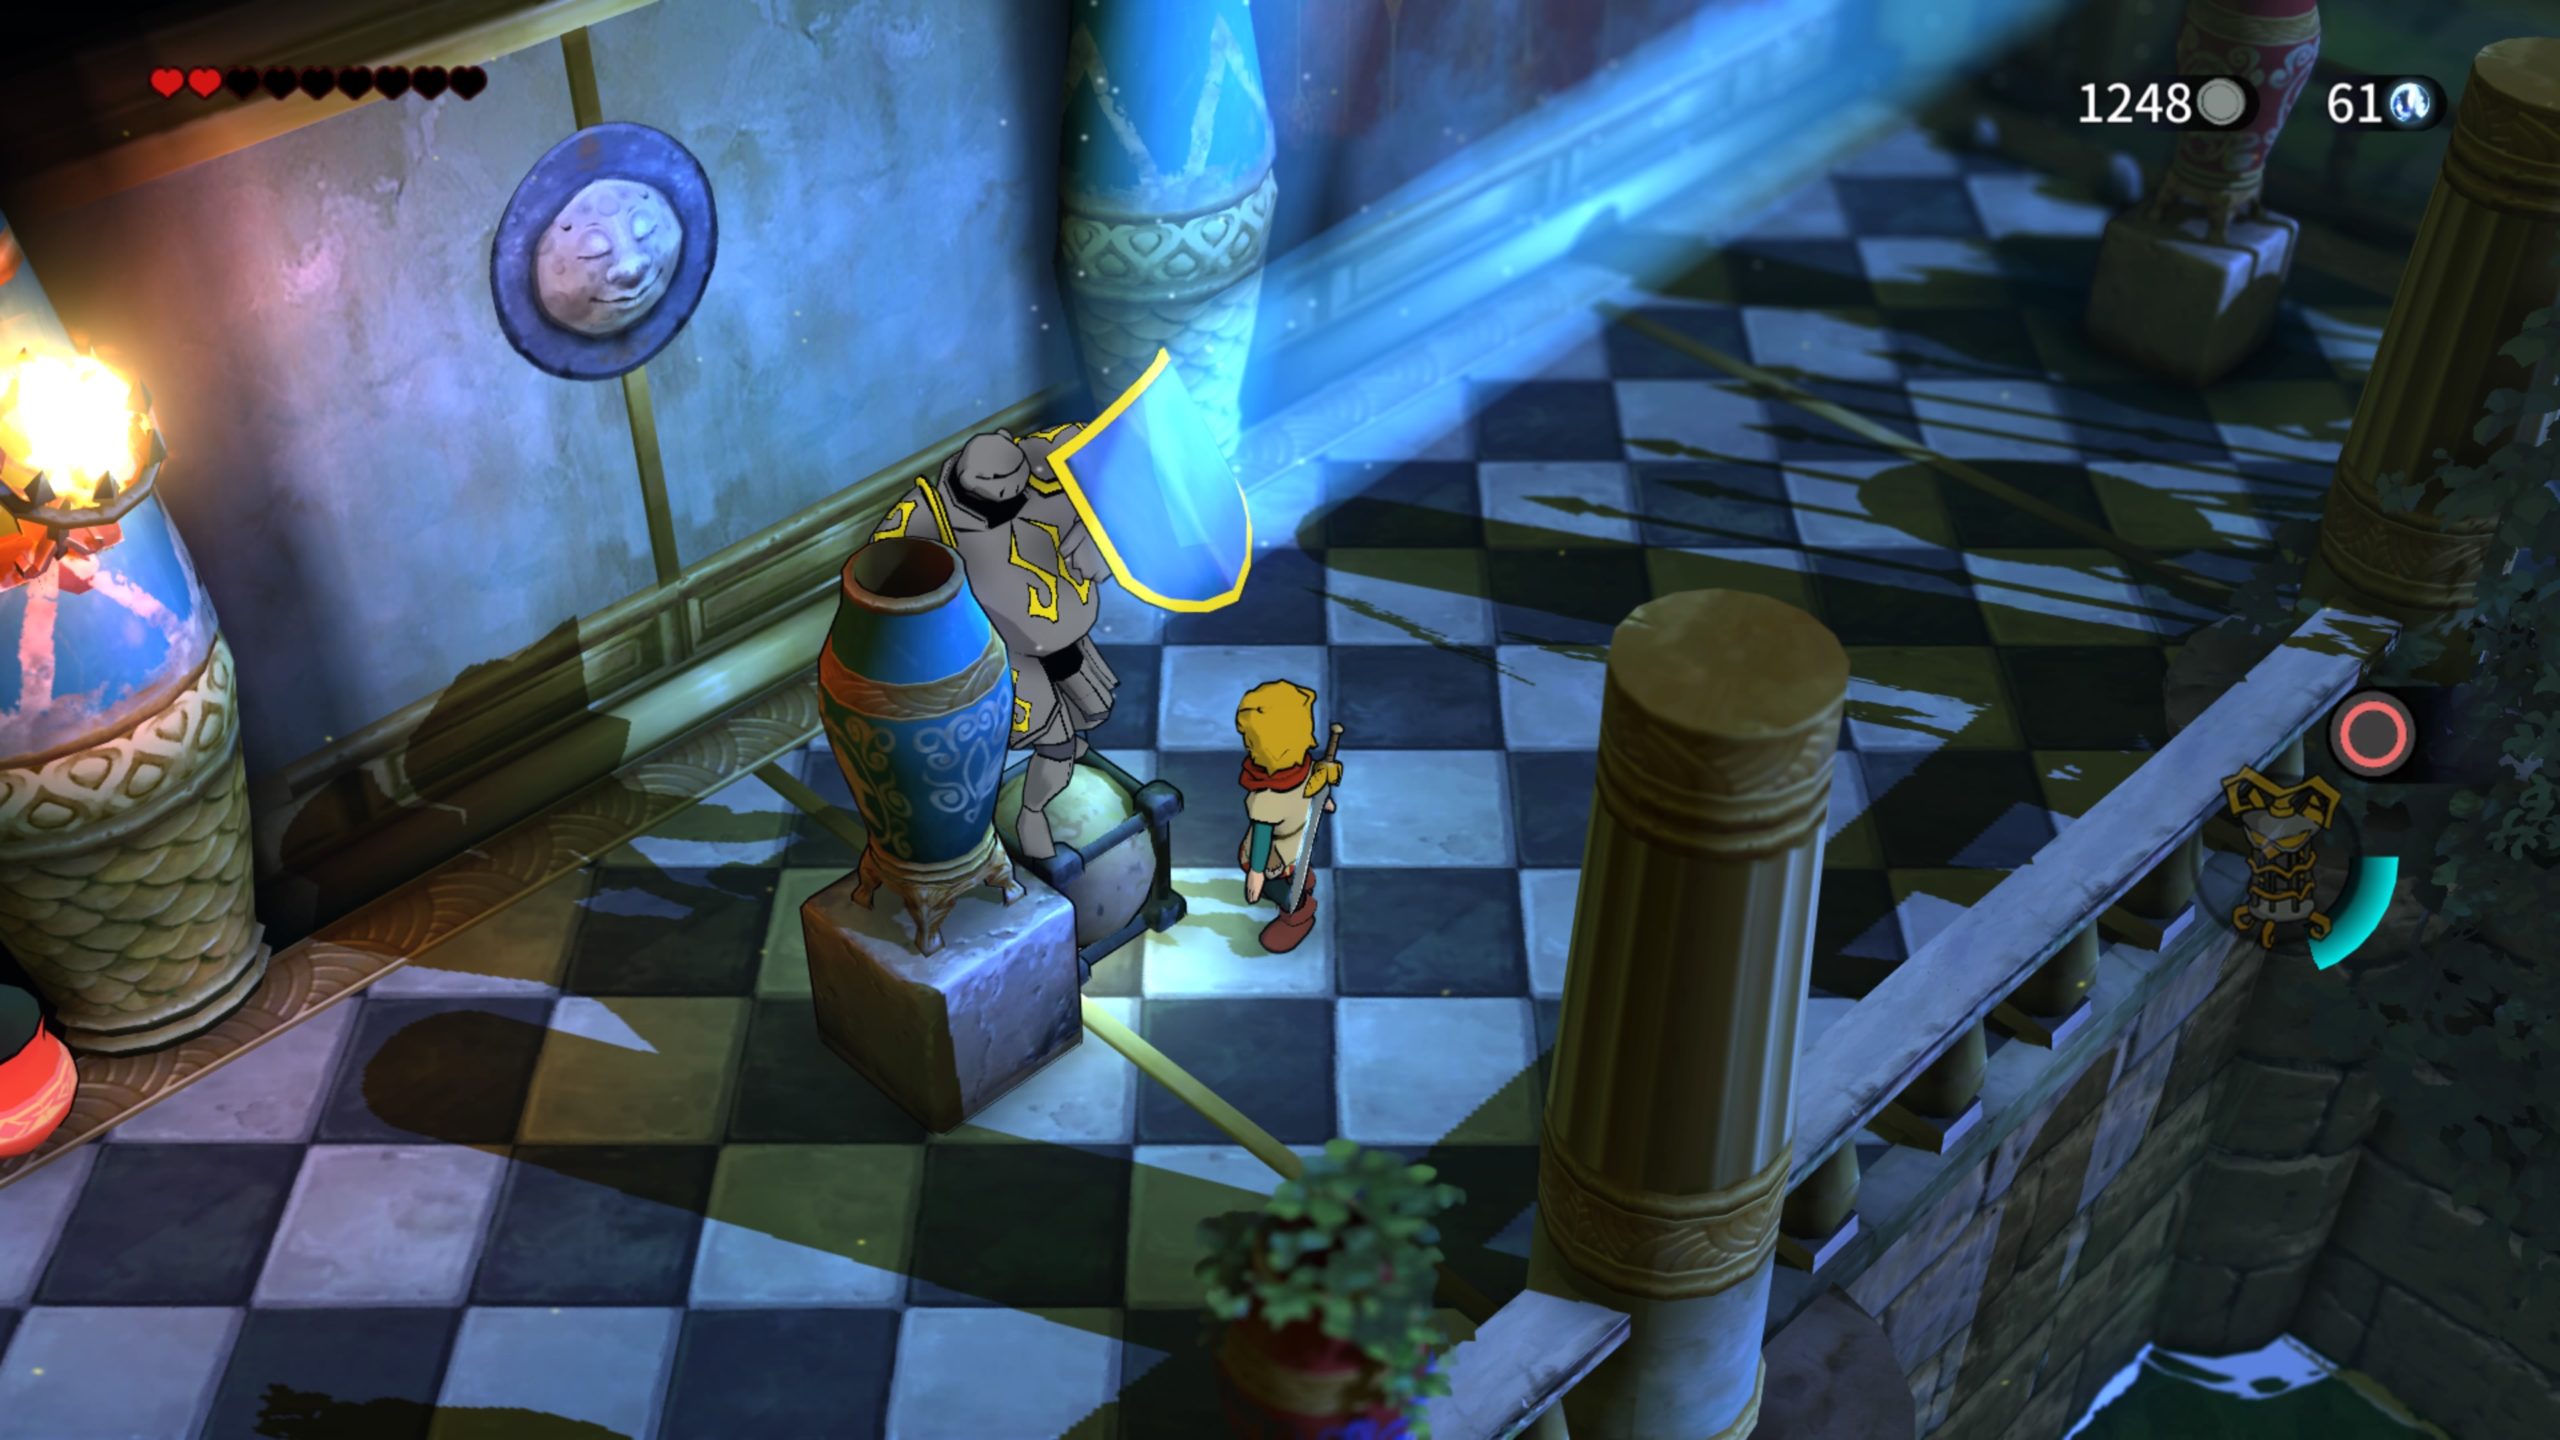
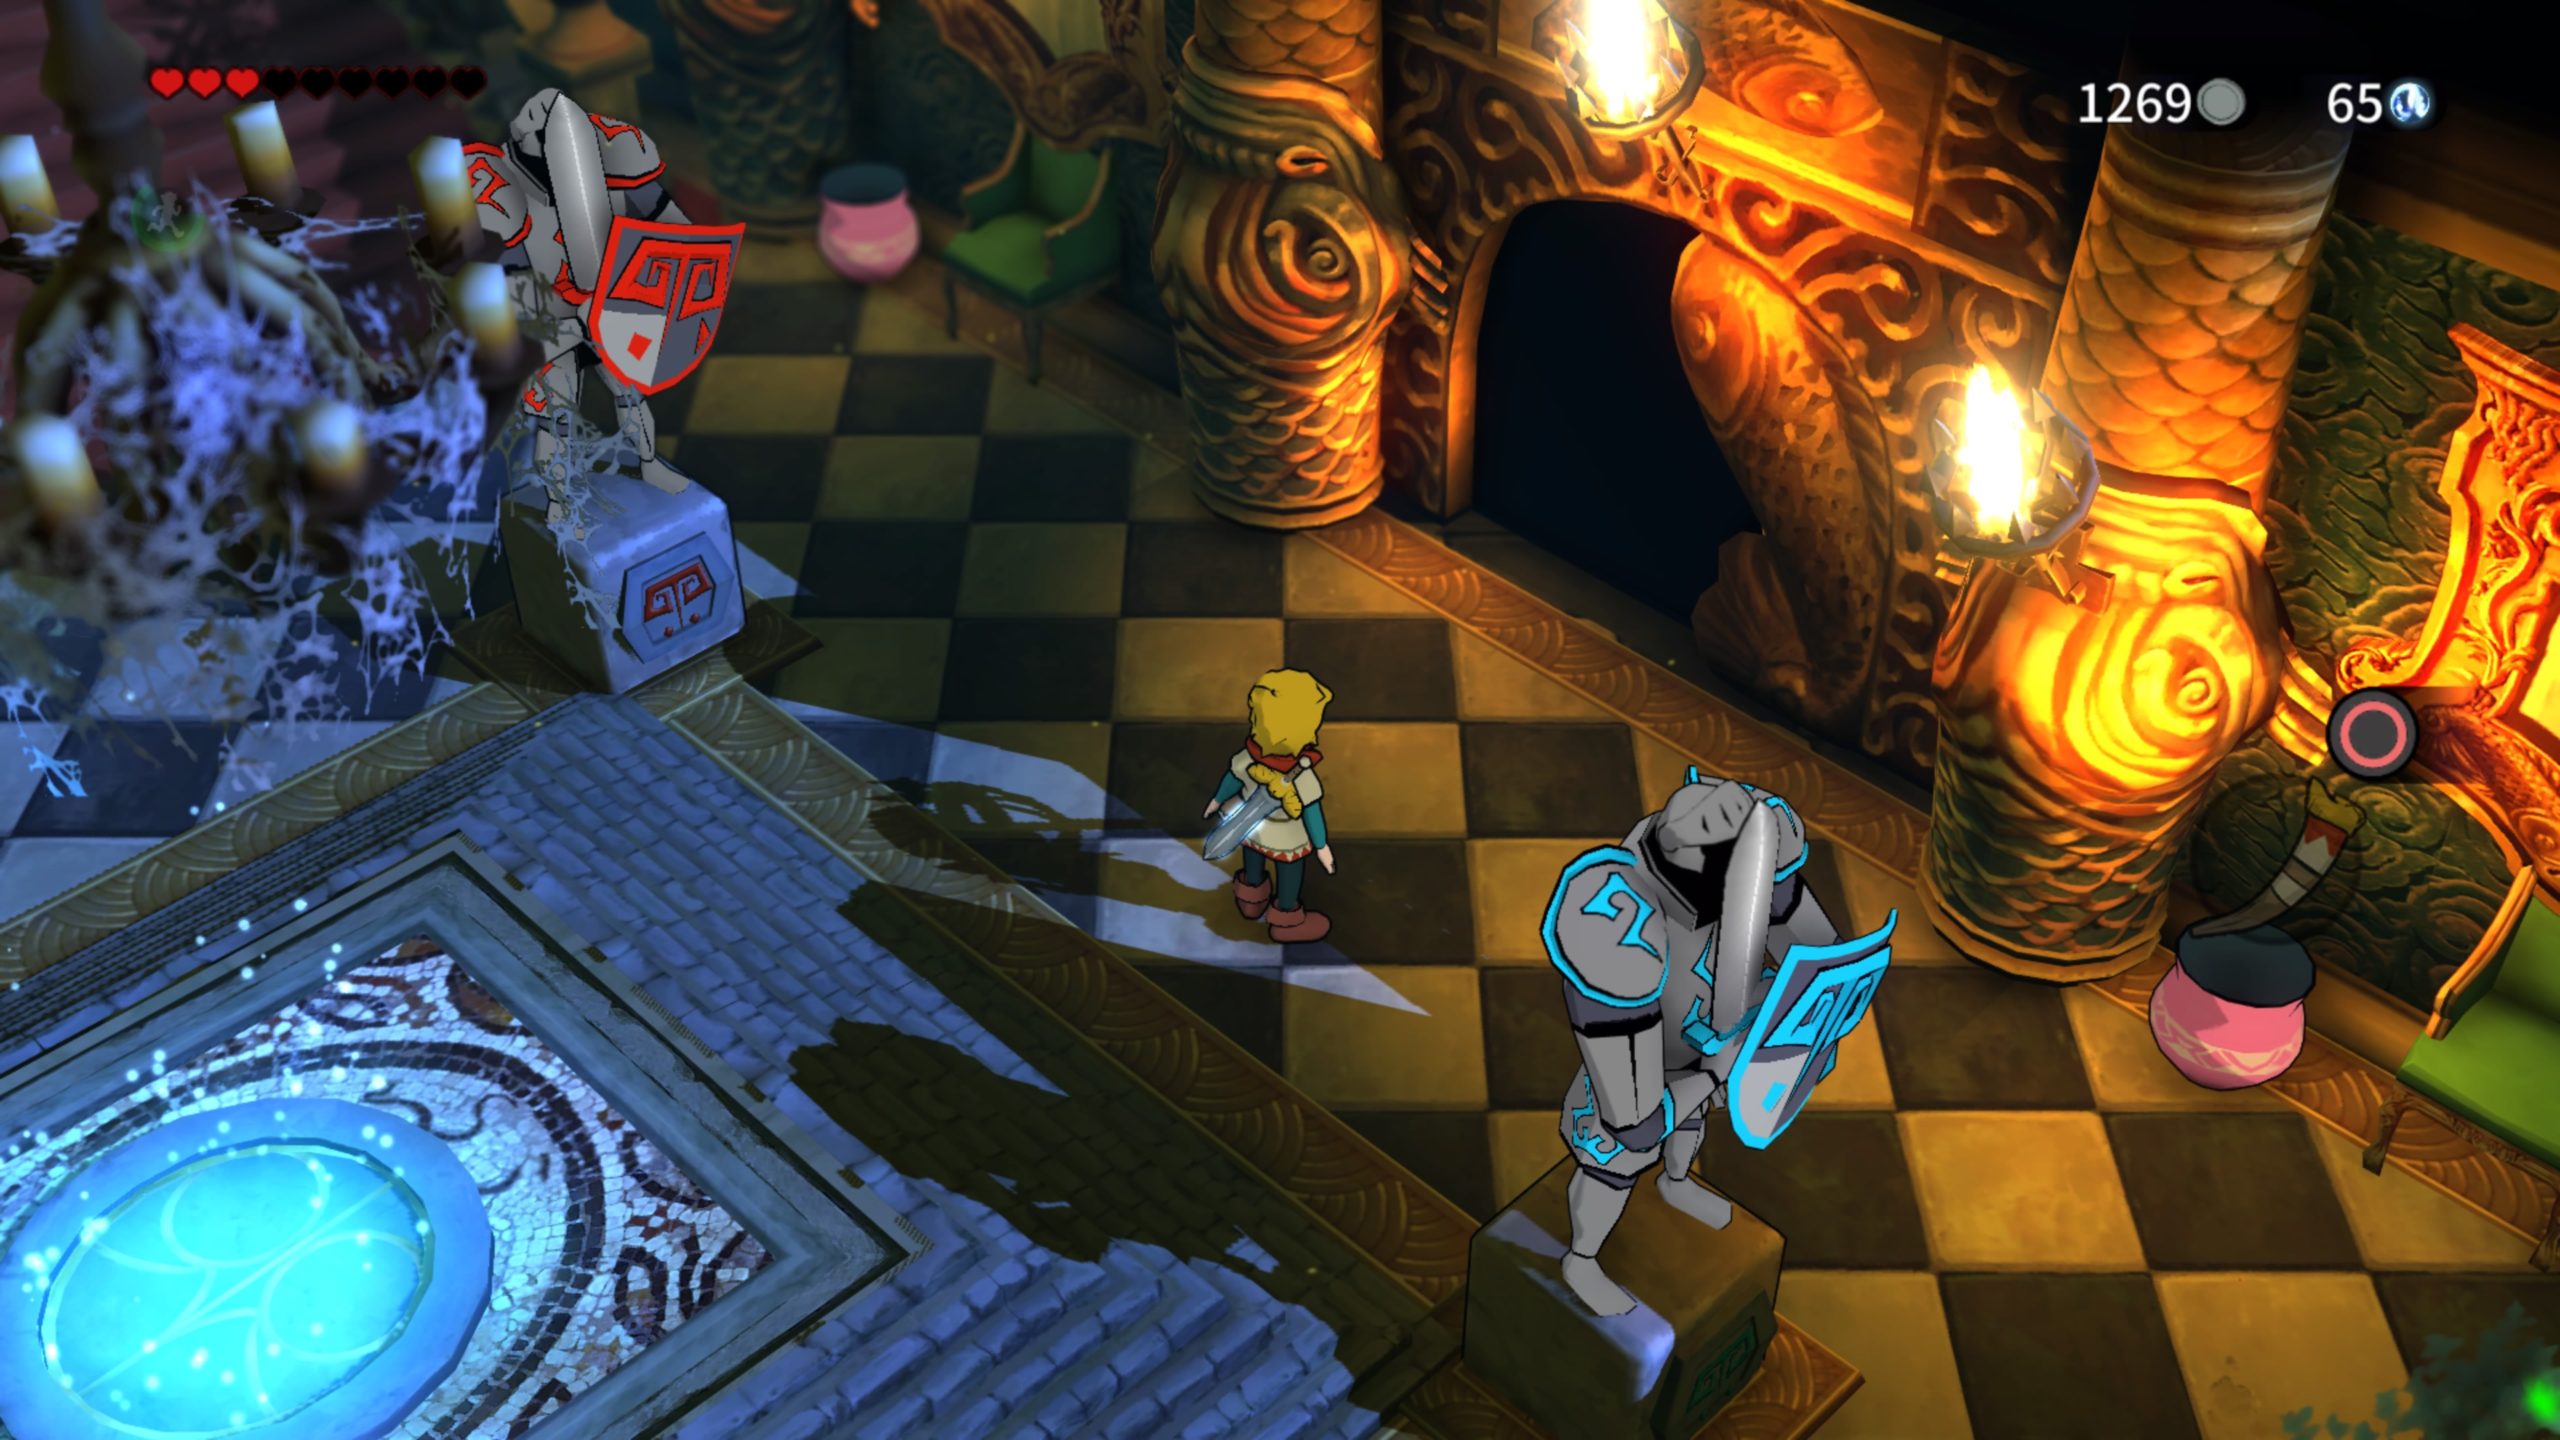
Use it to open the door on the other side of the spinning thing. Head through this door and burn the web blocking the yellow knight. Defeat it by striking the red button under the flap on its back. To expose the button, you’ll need to throw pots at its front to get it moving then wait for it to strike at you. When it does, dodge quickly behind it, strike its back then quickly roll away to avoid the fire it shoots out! After you defeat him, the gate will drop and you’ll be able to proceed forward. In the next room, push aside the statue on the left to reveal an unlit brazier on the floor. Light it then proceed forward to find another one. Do the same and a ghost wearing a red cape will spawn in the floor. Defeat it with one good whack then continue. In the next room, be wary of 2 statues as they drop their axes down when you walk nearby. Use the key at the end of this room to unlock the door. In the next room there will be a red statue in the middle of the room. As you approach it, it will come to life. Avoid doing so for the moment and move all the pots away from the 4 frog statues. With that out of the way, you’re going to need to use the knight to destroy the 4 frog statues before you can kill it. Hide behind a statue to draw it towards the statue and prevent you from getting hit by its ground move.
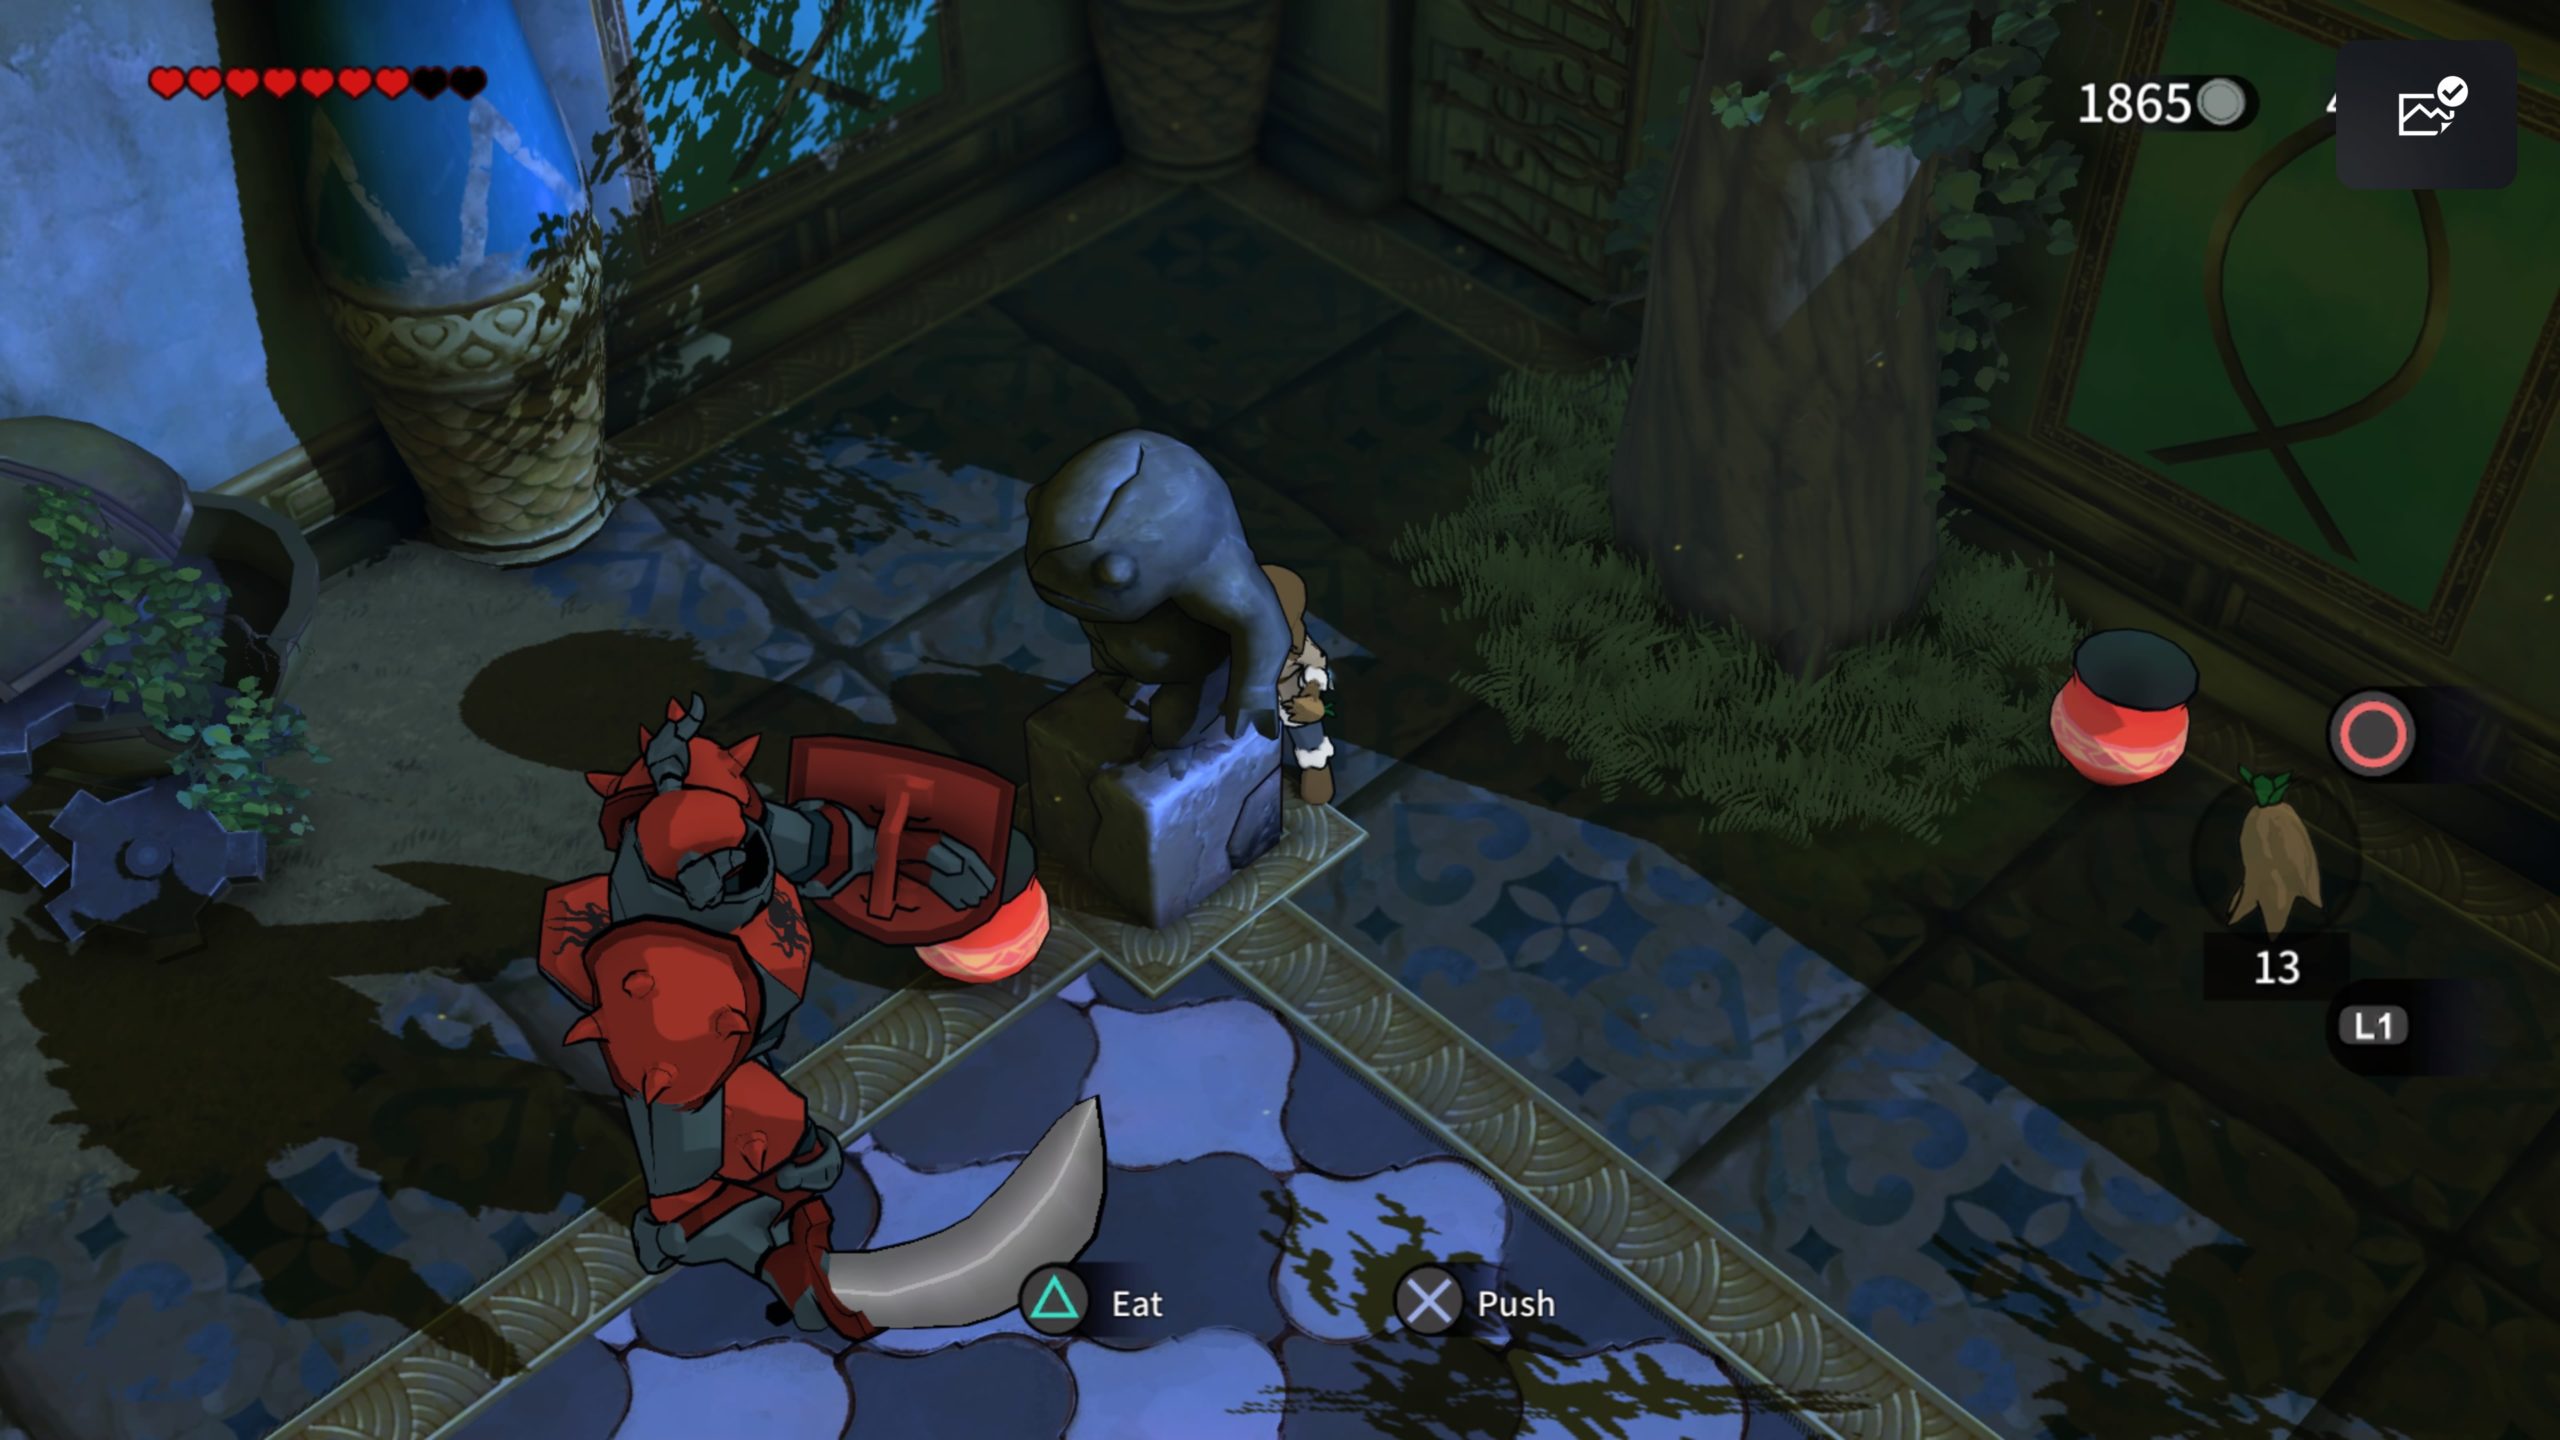
After it swings at you and destroys the statue move to the next one until they are all taken care of. Once this is done, get in the knight’s face so it will swing at you. Quickly dodge behind it and give its red button a strike then quickly dodge out of the way before it shoots you with fire. Repeat this process until you kill it! Next, move the pots onto the pressure points revealed by destroying the 4 statues to unlock the door with a fish symbol on the floor before it. Instead of heading through this door next, look for the door with a fish above it and enter that room. Defeat the 3 knights in there to reveal a chest containing 10 Dindi. Exit this room and head through the door on the southeast side. Either defeat the tentacle or run past it to the next door. Step on the pressure point to lower the gate. Backtrack to the large room where you had to place the pots on the pressure points after the statues were destroyed. Head through the door with a fish symbol on the floor and wait for the spinning tower to pass to the left. Follow the path right to arrive at a mirror. Throw the pot near this mirror at the lever across the way to raise a platform.
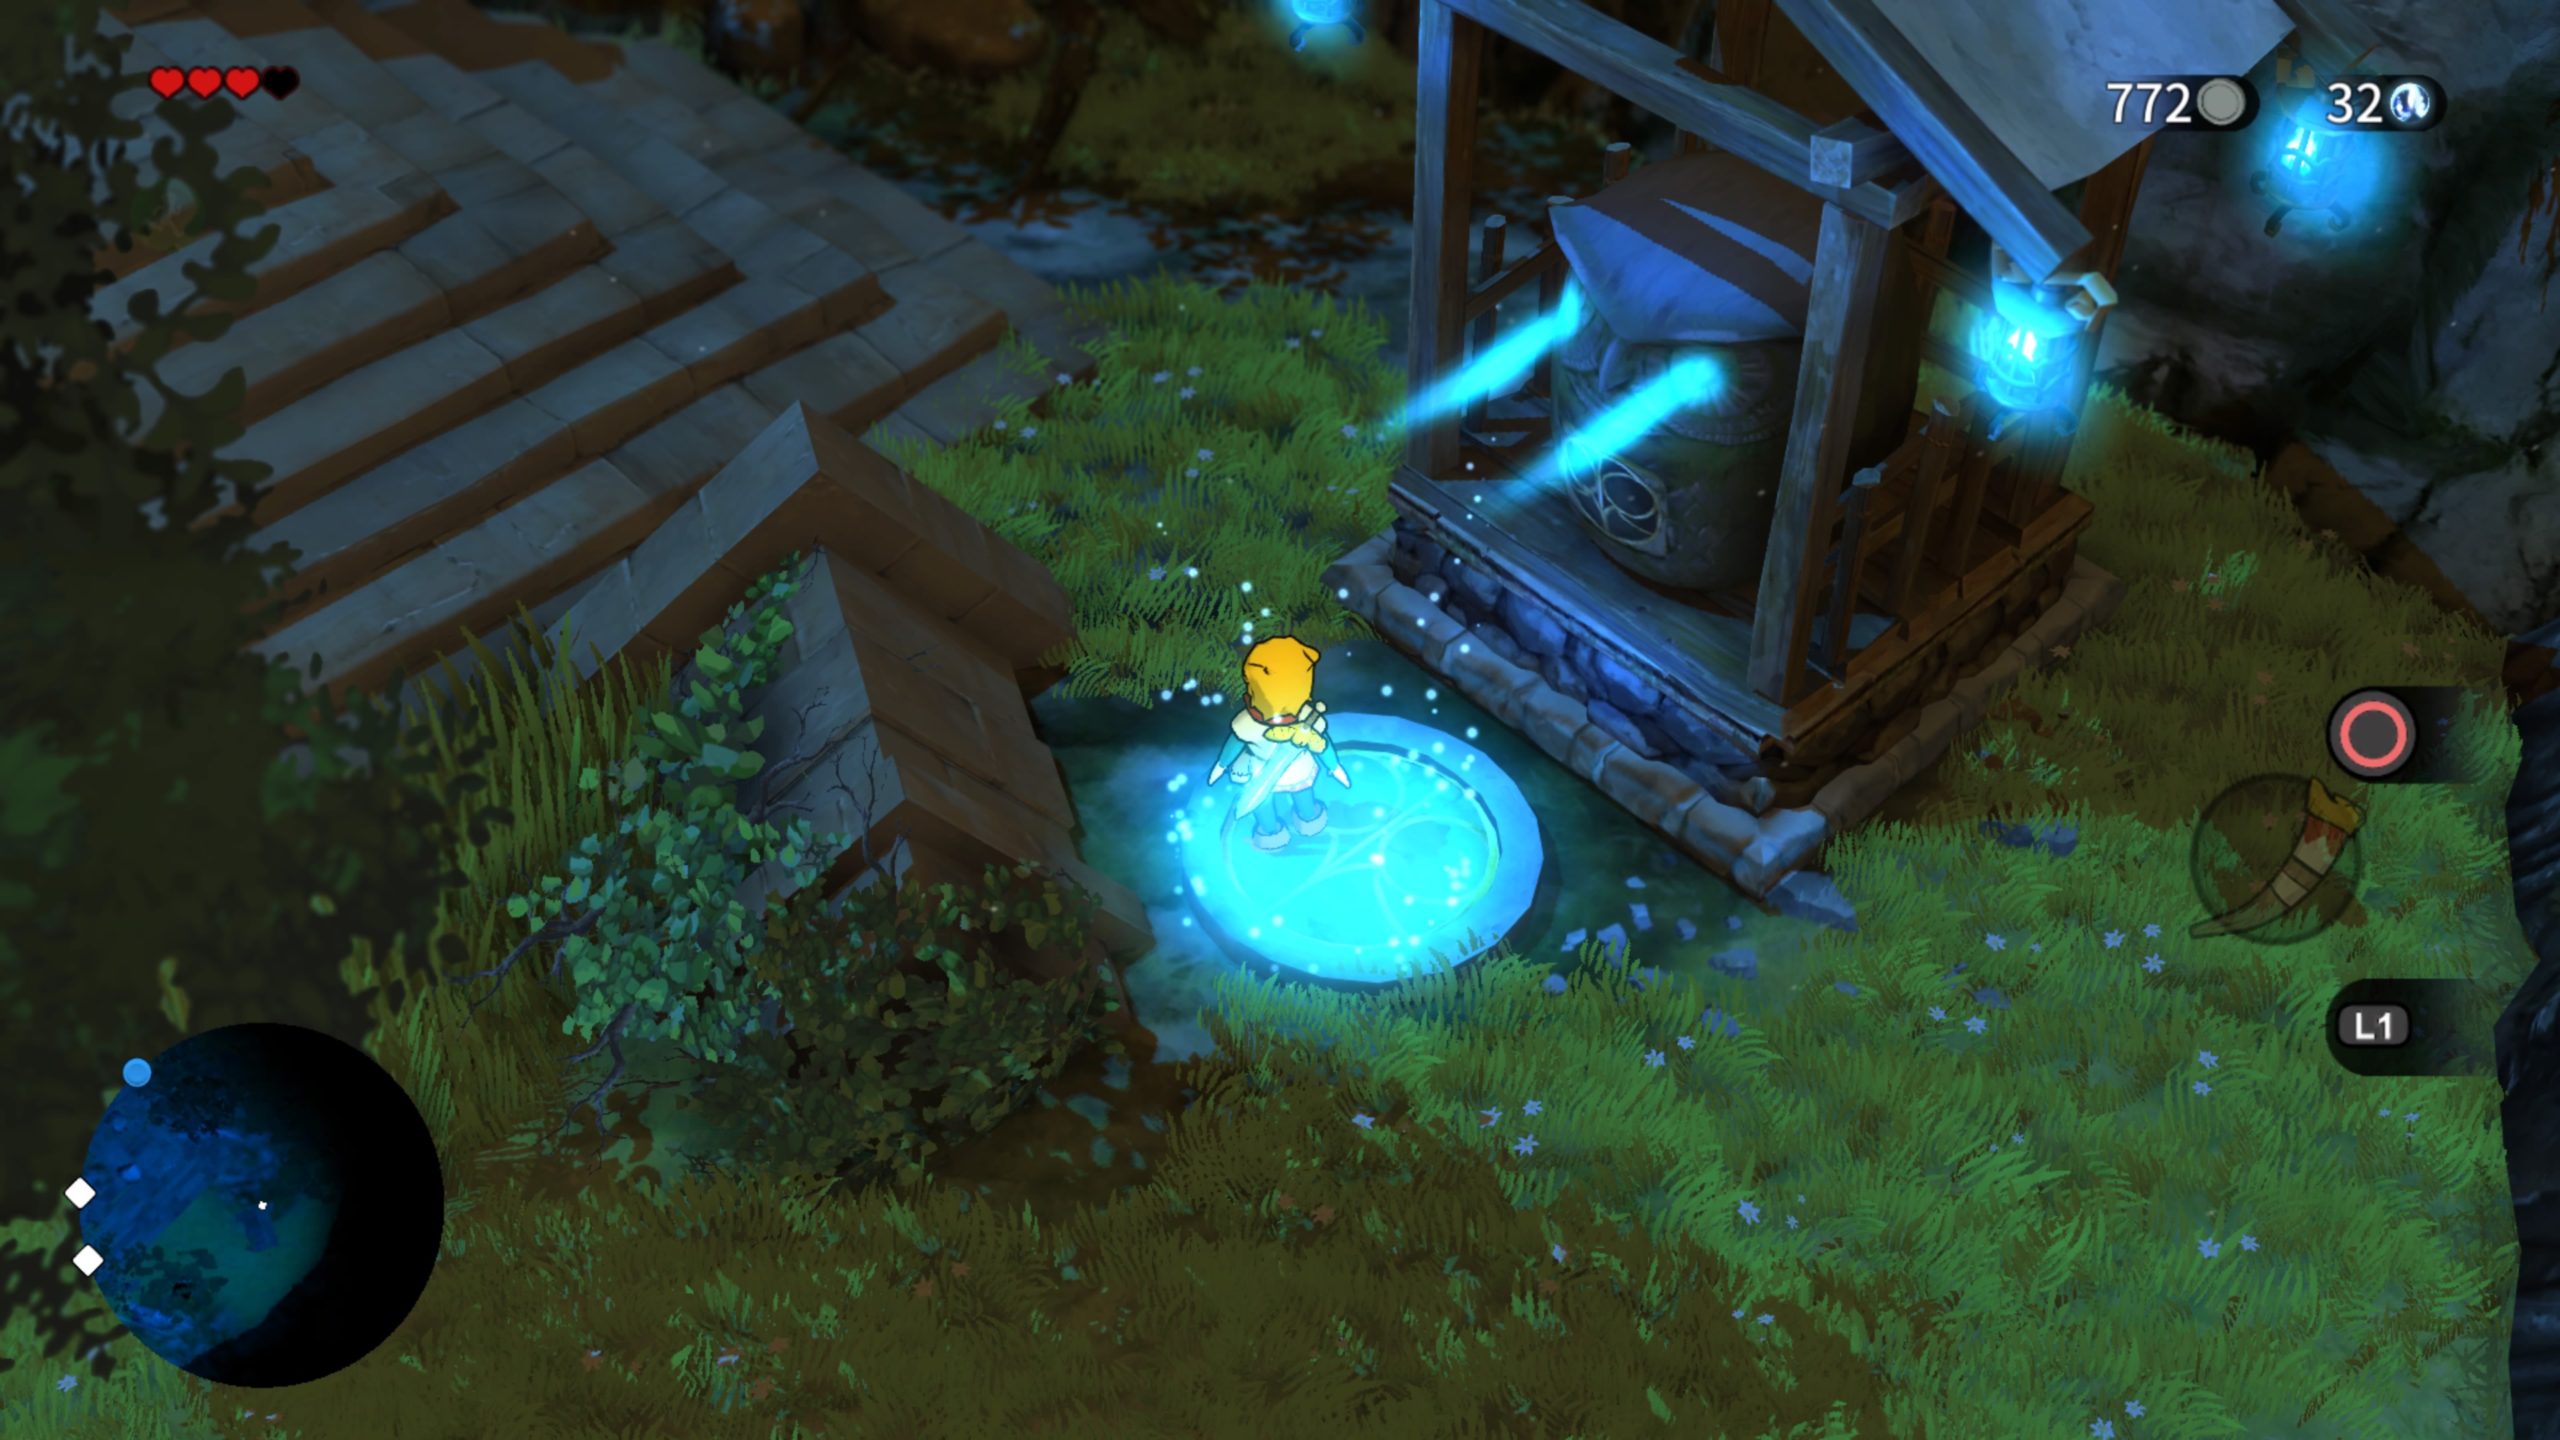
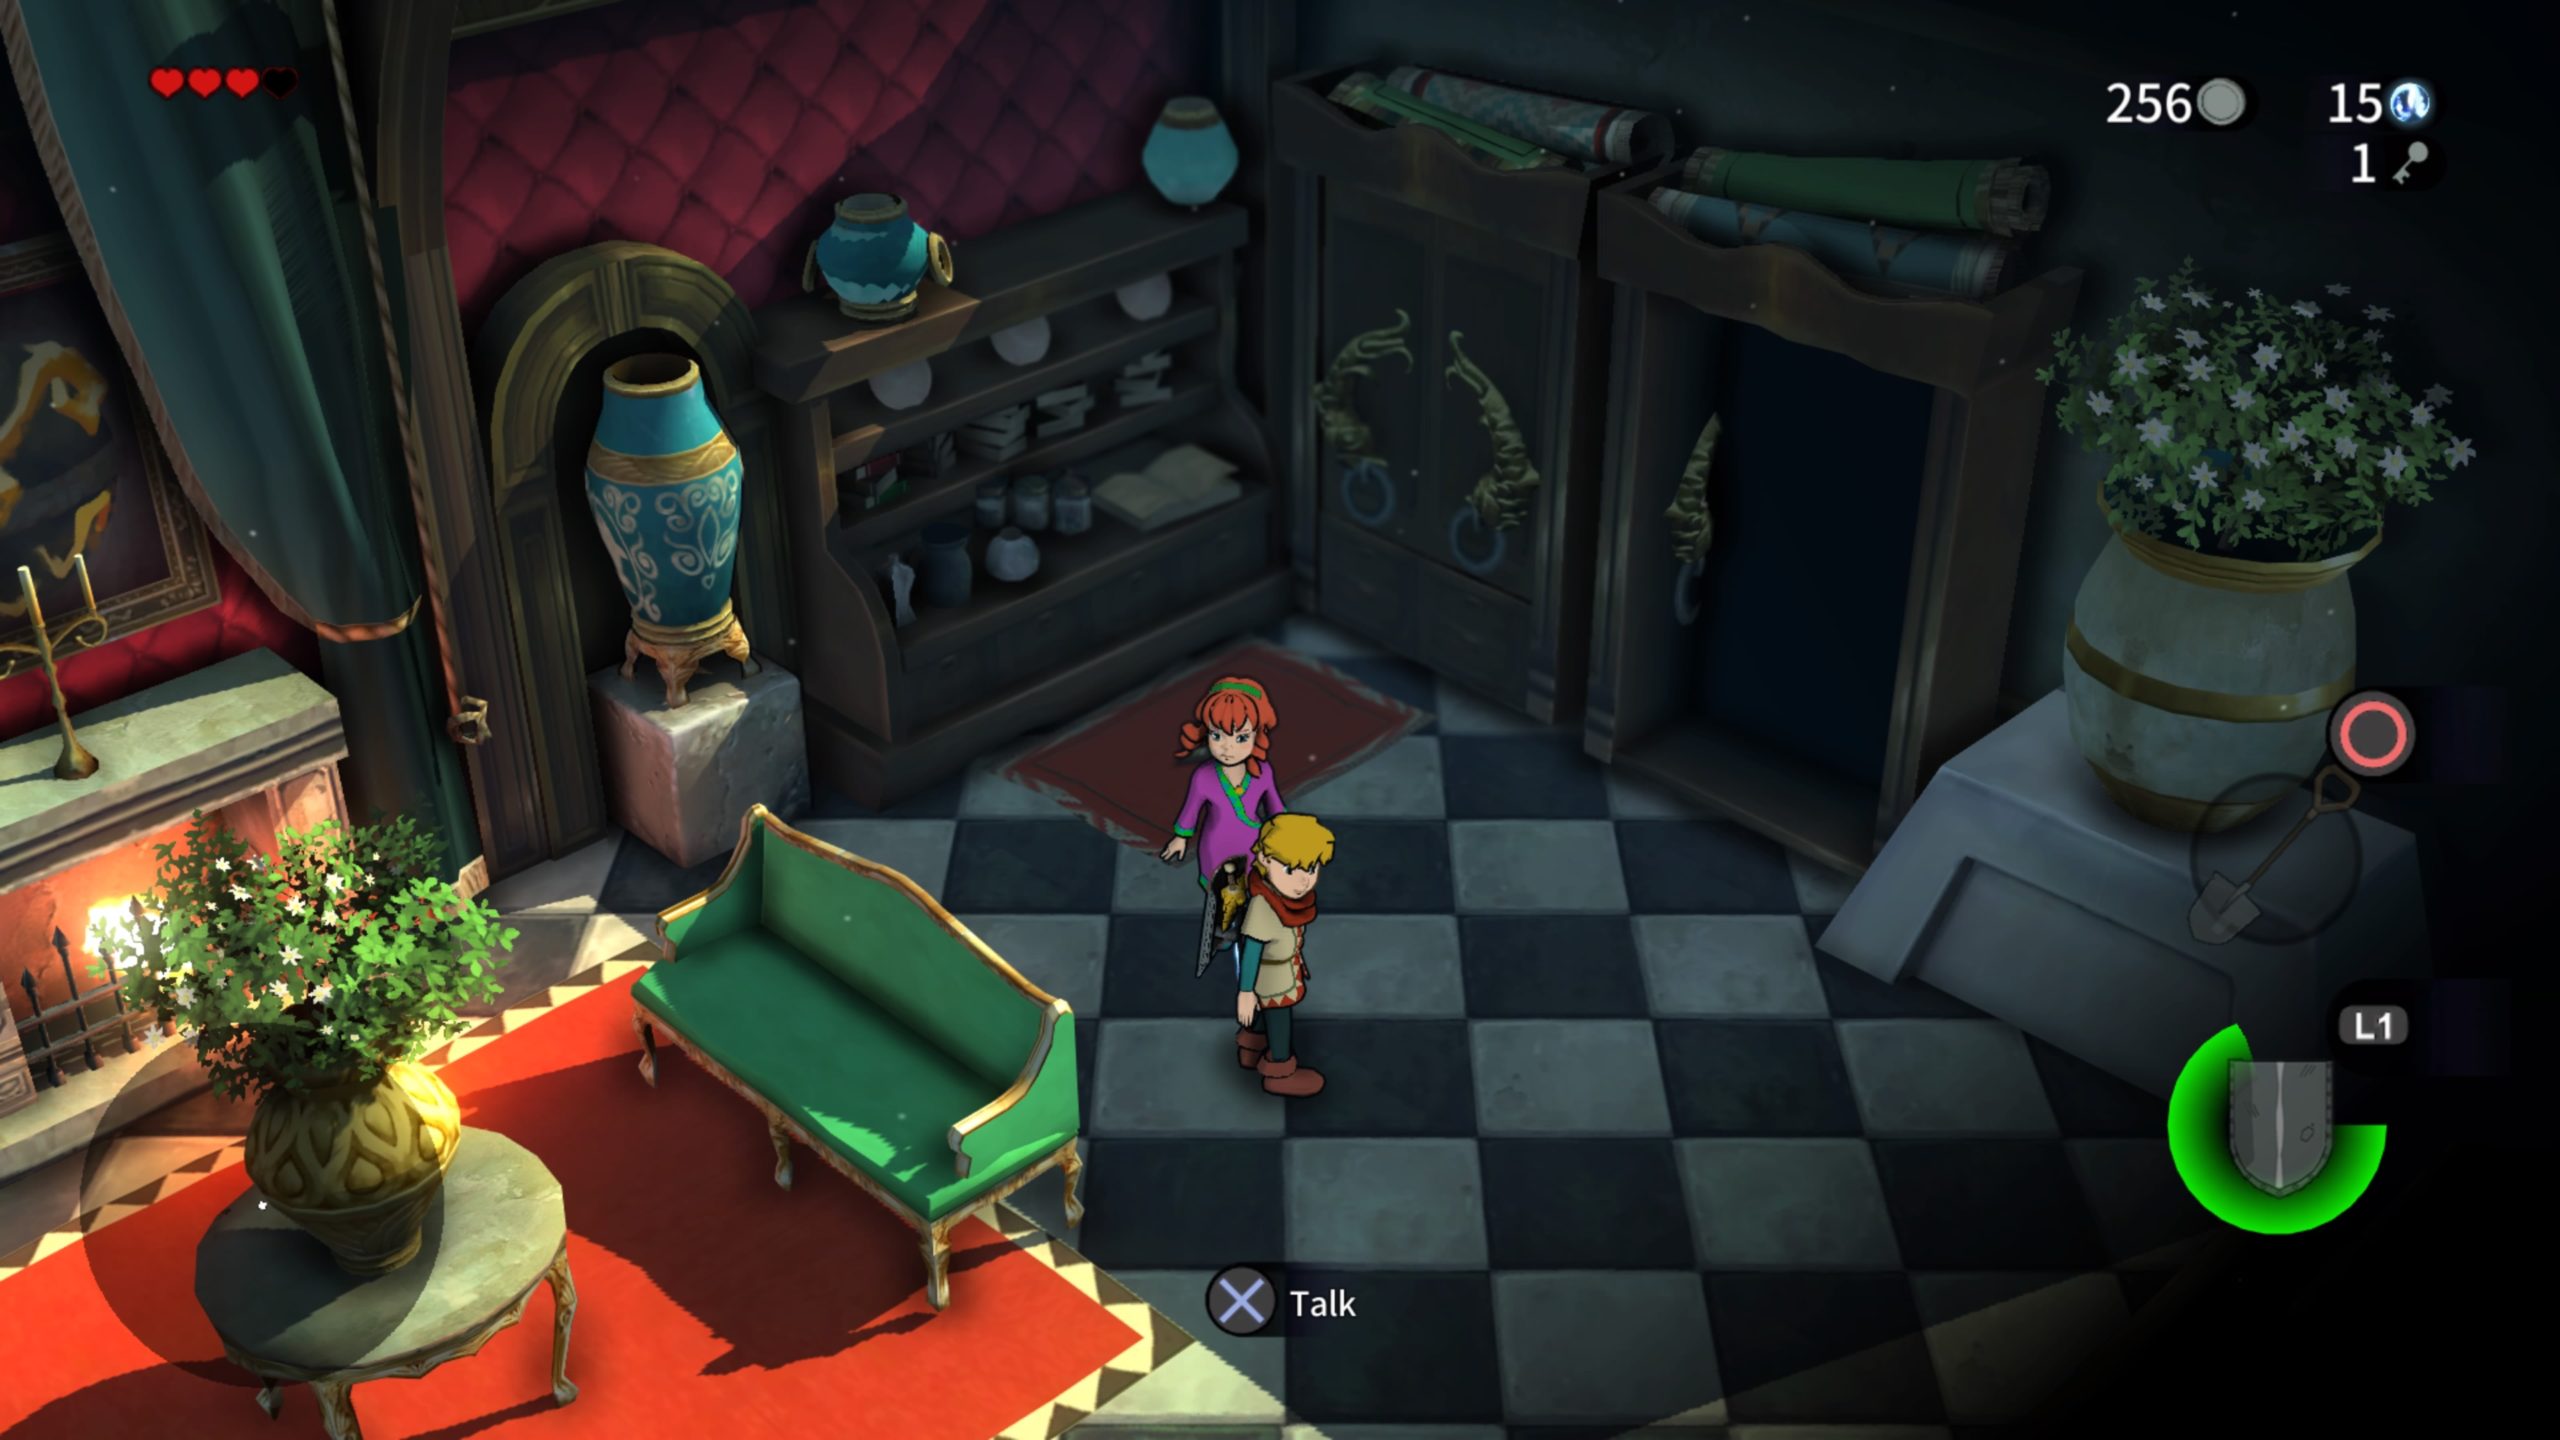
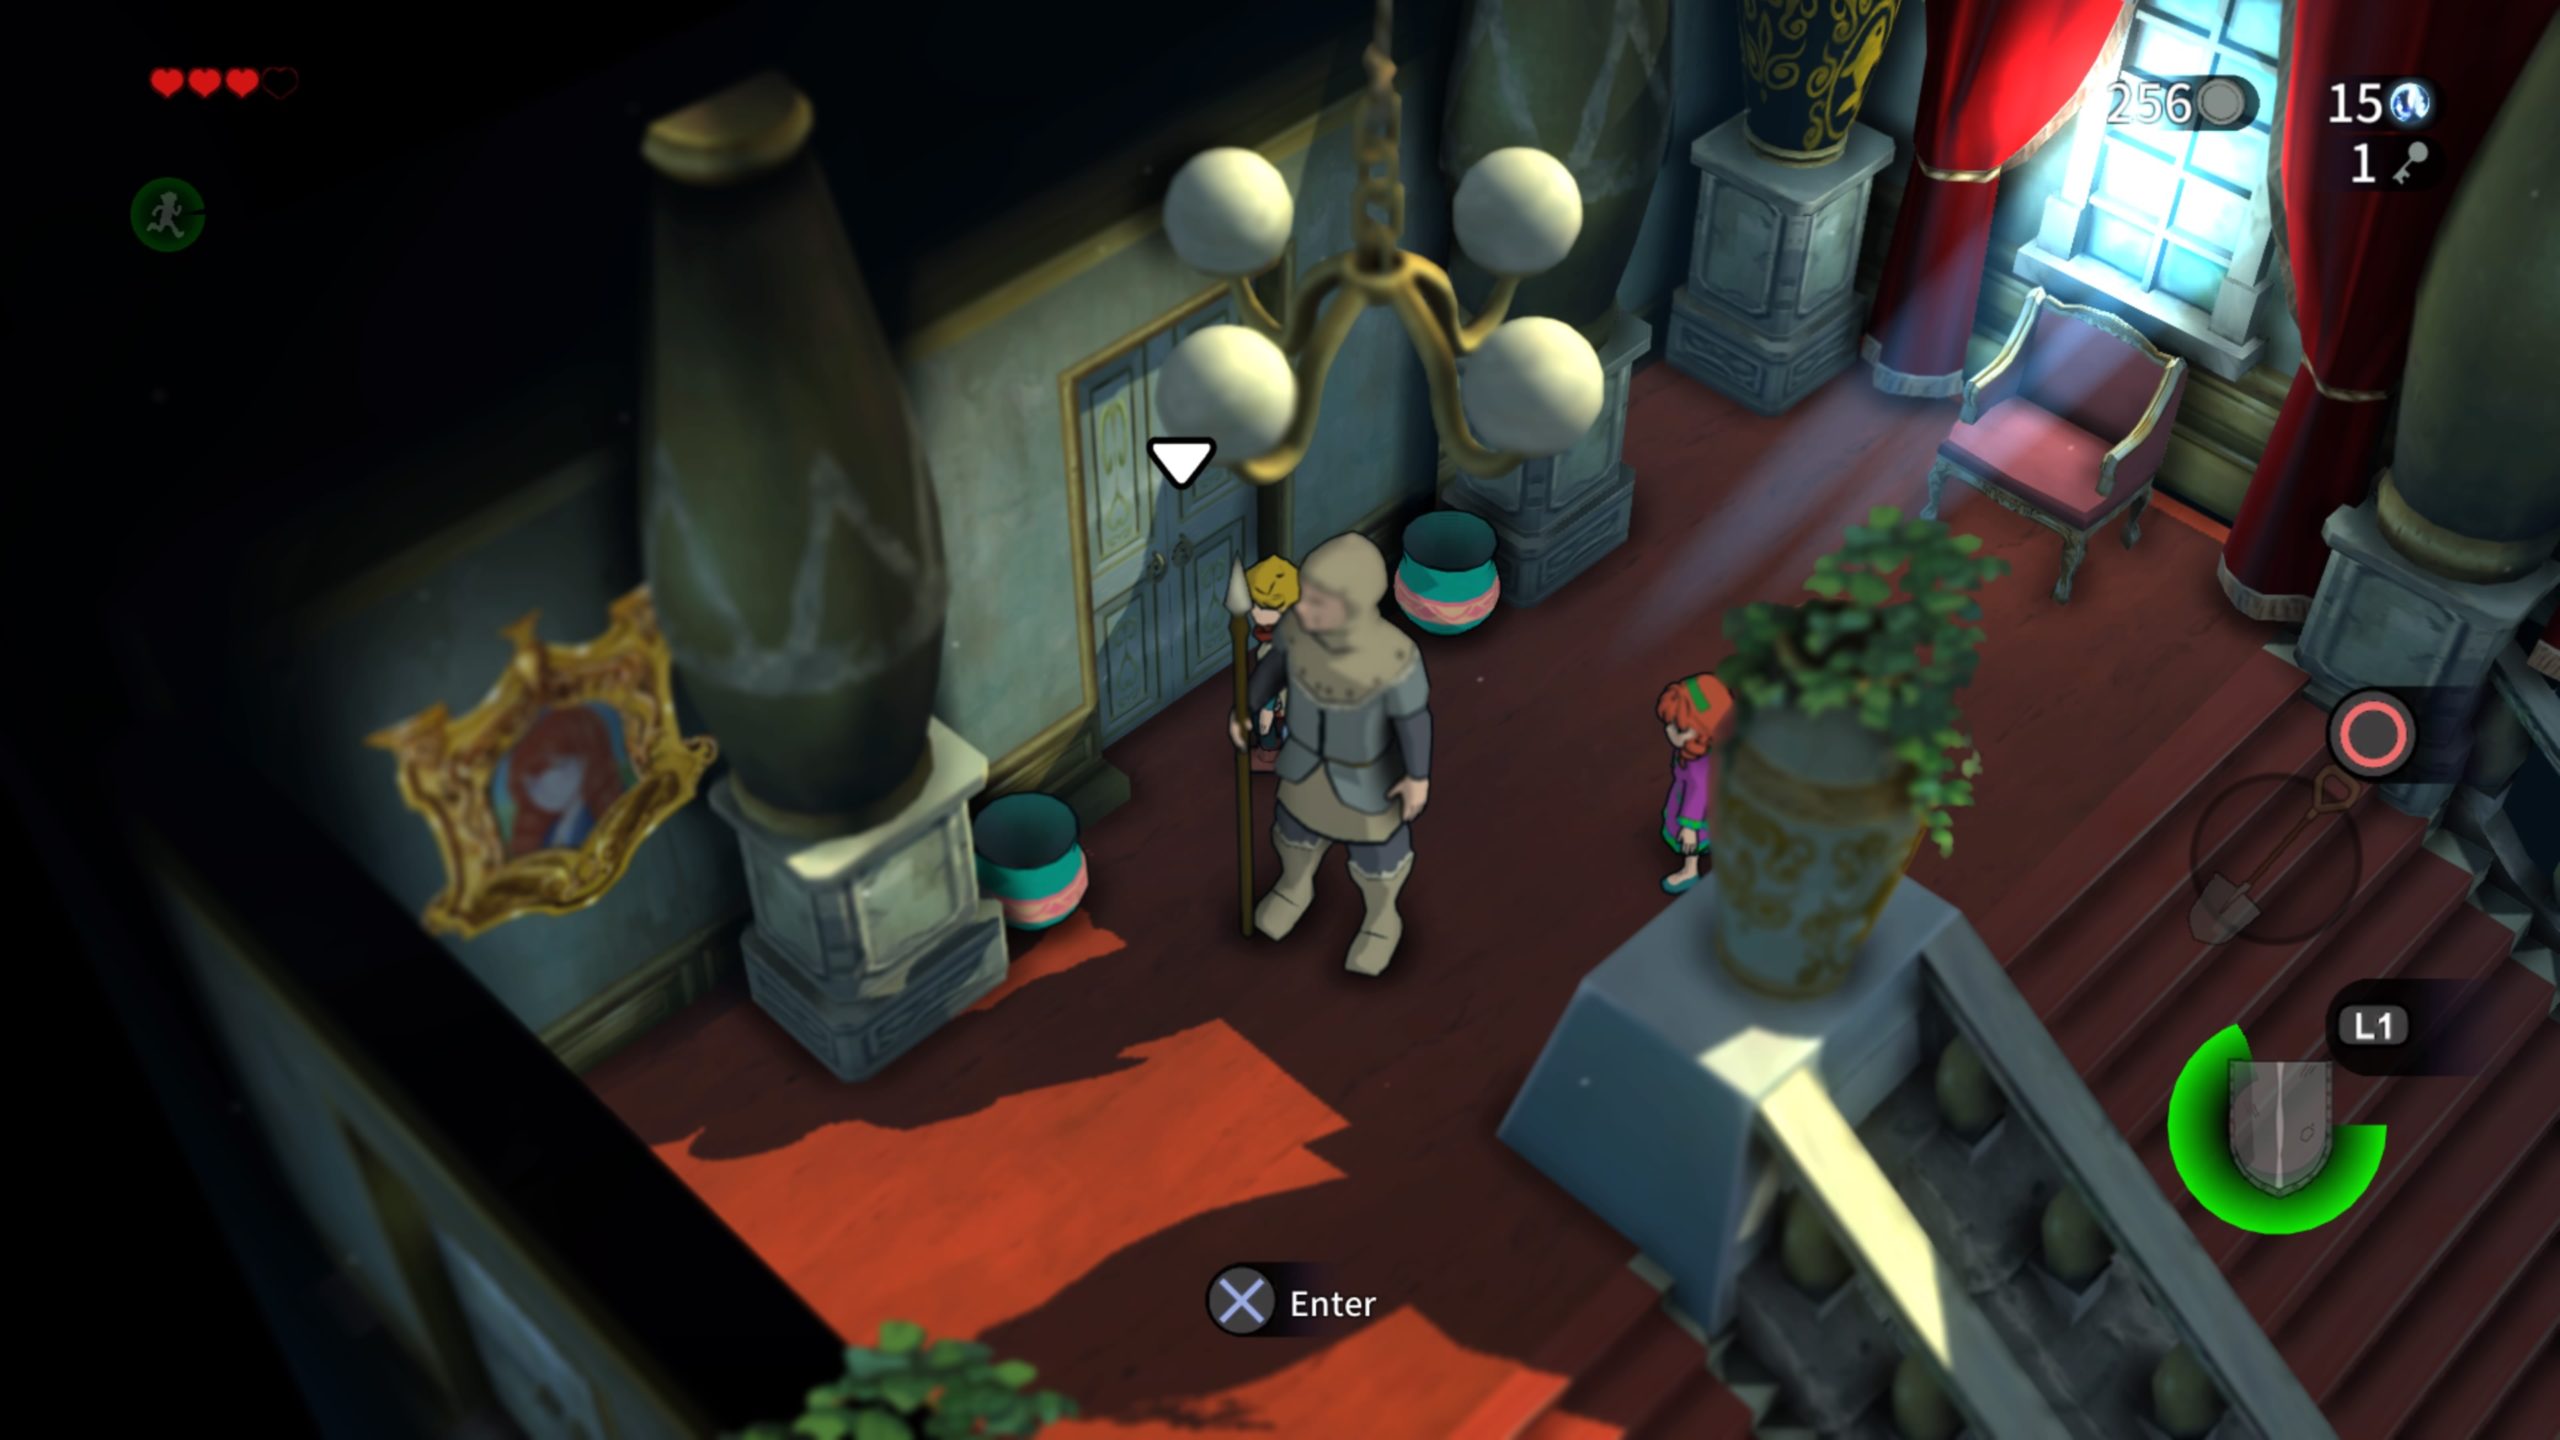
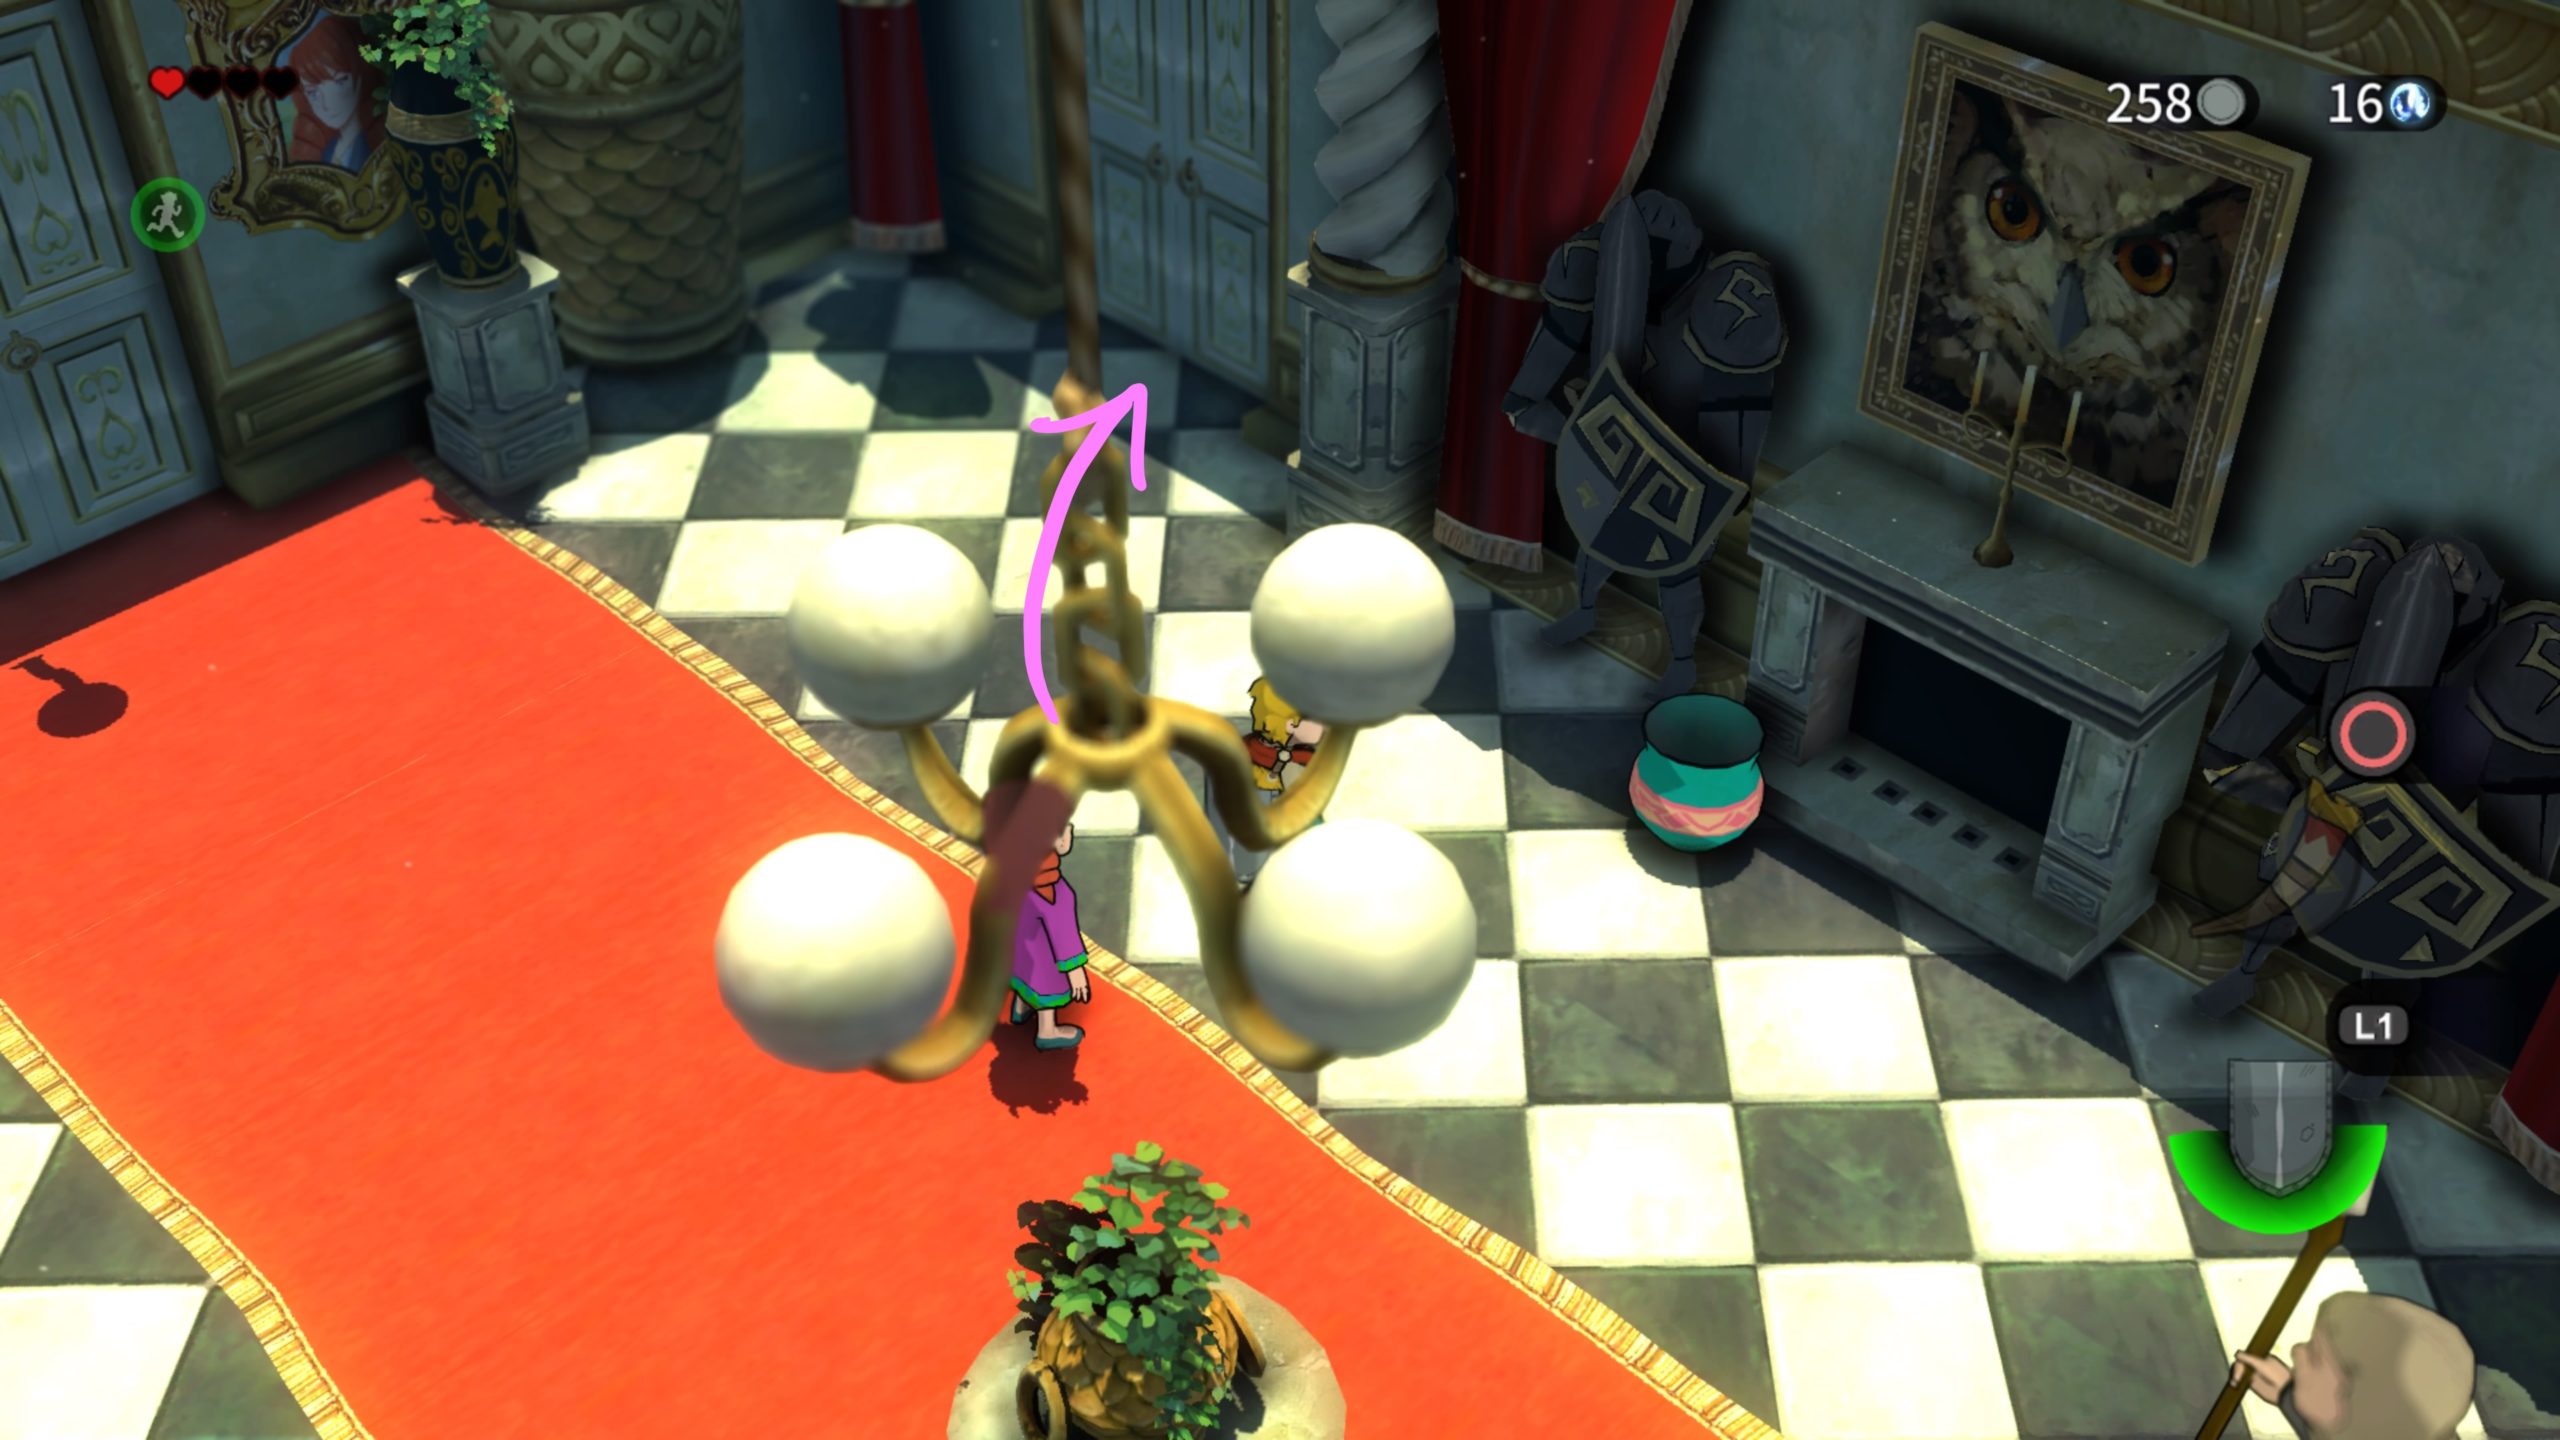
Enter through the mirror and run past the spinning towers of death. On the other side, enter the mirror to find a room with 2 yellow knights. Defeat the knights then push the statue of the knight on the east side of the room to the right yellow symbol on the floor. Look along the wall to find another yellow knight blocked by a web. Burn the web then draw the knight to the other yellow symbol on the floor. When it steps on it, the white door will unlock. Defeat the knight then continue through that door. Use the key to head through the door on the right where you’ll find Luna. Exit this room and light the brazier so you can better see the area.

Drink a stamina potion as you’re going to have to run to make it to the other side as the platforms drop! There is also a specific path you’ll need to follow. When the path forks the first time, head along the southern path. When it forks again, head along the northern path. Light the brazier at the end to solidify the path. Enter through the mirror. Defeat the 3 ghosts inside to unlock the next mirror then head through it. Approach the gate to unlock it. Head through the door on the southern side to return to the room where you previously hit the lever to cause a path to raise. The spinning tower of death will be in this room as well. Grab a pot and place it on the platform. Grab another one and stand on the platform.
Throw a pot at the lever to lower the platform with you on it. Grab the pot you brought with you and follow along the path until you see a large circular thing on the southwest side.

Throw the pot at it to cause the path further down to turn. Continue down the path and climb down the ladder. Grab a pot and throw it at the circle thing to turn the path. Do it again to turn the next one. Enter through the wooden door. Defeat the enemies inside and push the blocks out of your way as need be to reach a chest at the end of the path. Open it to find 10 Dindi! Exit this room and head down the stairs. Throw a pot at the spitting enemy near the wooden boards to destroy them revealing a contraption under the stairs. Unfortunately, you won’t be able to proceed yet so backtrack up the stairs and across the platforms. Before you climb up the stairs, hit the lever to turn the path. Proceed forward along the path and hit the lever to go back up. Head to the southwestern side, avoiding the spinning tower, to reach a newly turned path.
Enter the door to reach an area with water in the middle. Head straight forward along the water, cutting grass as you go, to find a pressure point.
Step on it to lower the water in the room. Quickly head on down, defeating the tentacles as you go, grab the pot with coals at the end and bring it to the surface before time runs out and the water refills. Defeat the tentacle blocking the southern bridge and carry the pot to the northern corner. Cut the grass to find a pressure point that unlocks the white door across the way.
Place the pot on this pressure point then make your way to the door! The 3 frog statues must be destroyed. To do this, push one in front of a red knight then give the knight a good whack to cause him to strike the statue with his axe.

When this task is complete, the fish head mounted to the wall will open revealing a tongue. Strike it to reveal a red mirror then enter through it. Step on the pressure point then run through the spinning towers trying to avoid them. Enter the mirror on the other side. You’ll need to place a pot on the pressure point shown in the mirror. Once it’s placed, the mirror will reveal the next pressure point. Again, carry a pot to it. Do this one more time for the chest to appear. Open it to receive a Dungeon Key! Back track all the way to the room with the spinning tower making its rounds. Enter through the door near the lever.

Use the key on the gate then hit the lever to lower another gate. Hit the circular thing to cause the path on the left to turn to where you can walk across it. Do so then head through the door at the end of the path. When you burn the web a Bobo will notice you. Throw a pot at it then strike it to defeat it. With that task accomplished, there is going to be a spitting enemy. Now the trick with this area is to bring a pot to where the enemy spawns right in front of the door. Grab another pot and throw it at the enemy that will wander off and blow up (make sure you’re not in the blast zone!). Quickly head back to where it spawns and throw the pot you placed there at it so it blows up there and breaks the barrier on the door. Head through the door. In this room head up the stairs on the left and grab the pot. Wait for the spitting enemy below to approach the wooden barricade then throw the pot at it.
This will cause it to explode, breaking the barrier. Head back down and enter the newly opened area. Dig near the spot the tentacle was to find an emblem with a pawprint on it. Proceed up the stairs to find a Bobo waiting for you at the top. Defeat it then push the tall blue vase off the edge.
Head back downstairs and push the vase onto the pawprint. Make your way back up the stairs and enter through the door at the top. Make your way to the other end, avoiding the 3 machines shooting projectile! Enter through the mirror and step on the pressure point. Cross the moving tiles to reach the other side. Retrieve the pot and carry it back across the moving tiles. Place it on the symbol on the ground northwest of the pressure point.
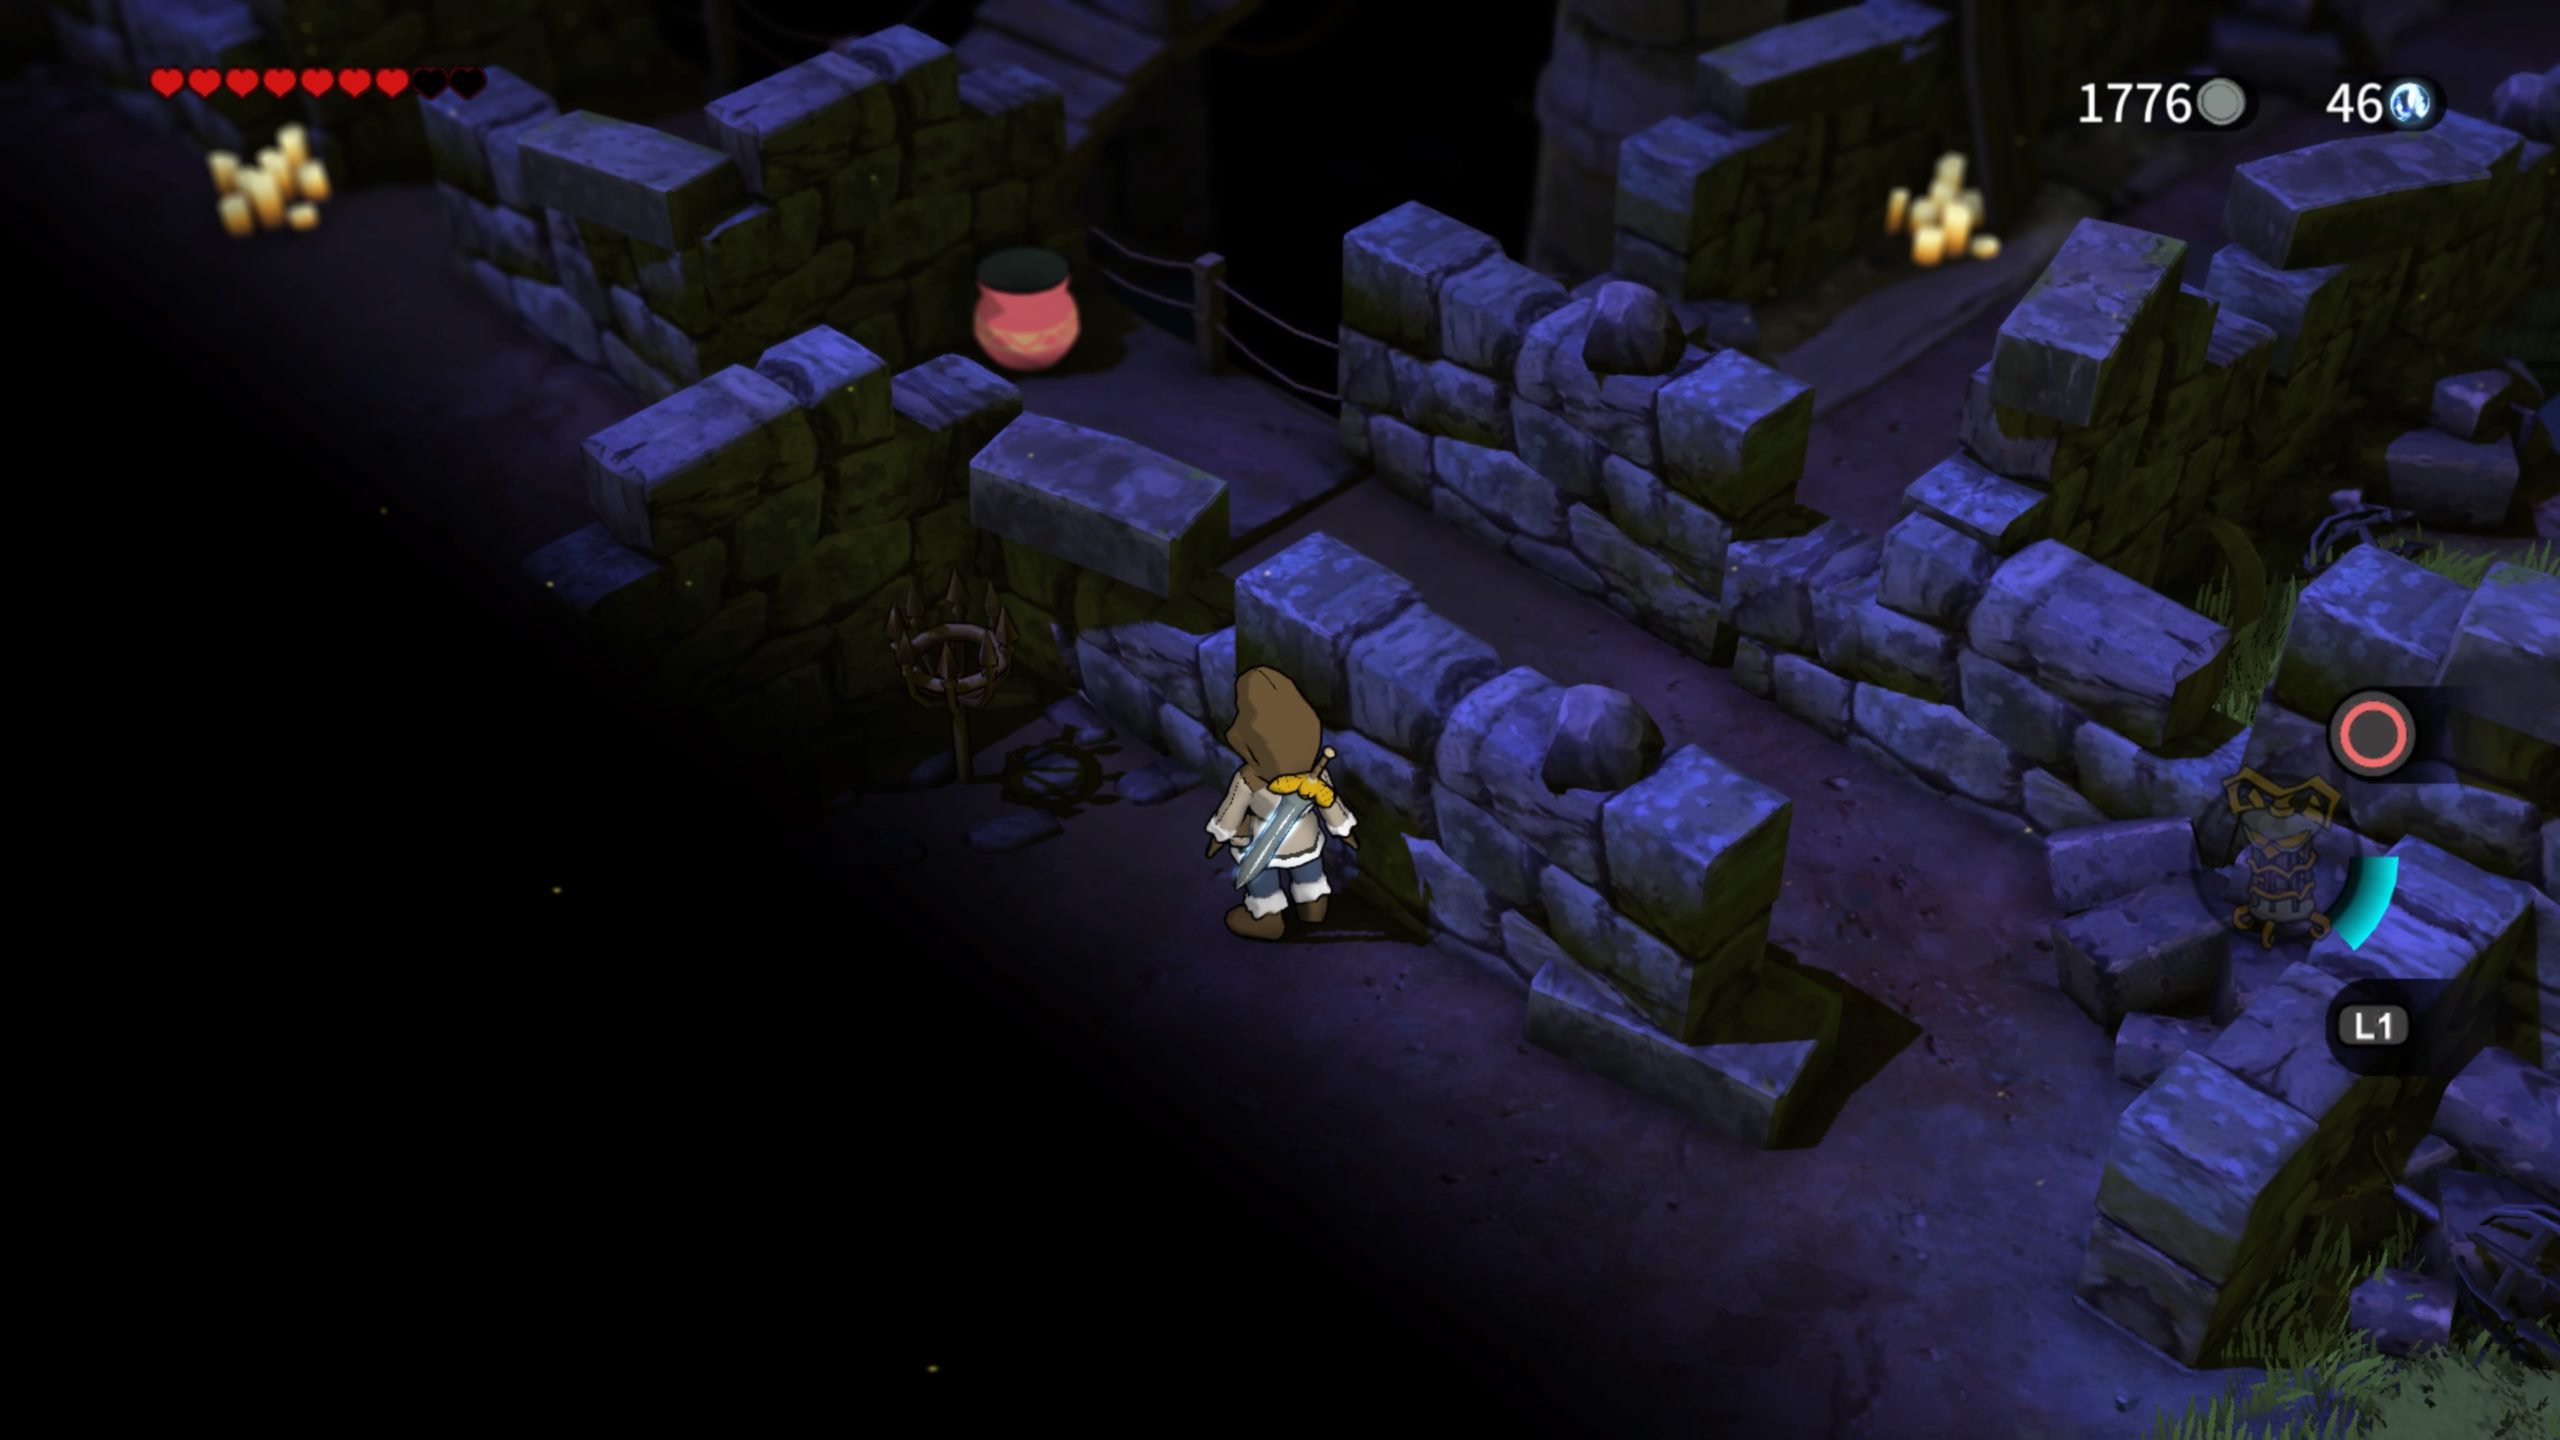
Cross to the other side and enter through the mirror. Head across the railed path but be wary of the open area as the tiles fall if you stand on an incorrect one. Good thing a book in the Rodia Library entitled The Abandoned Royal Mansion: the Hidden Path of the Tiles shows the below solution to this!

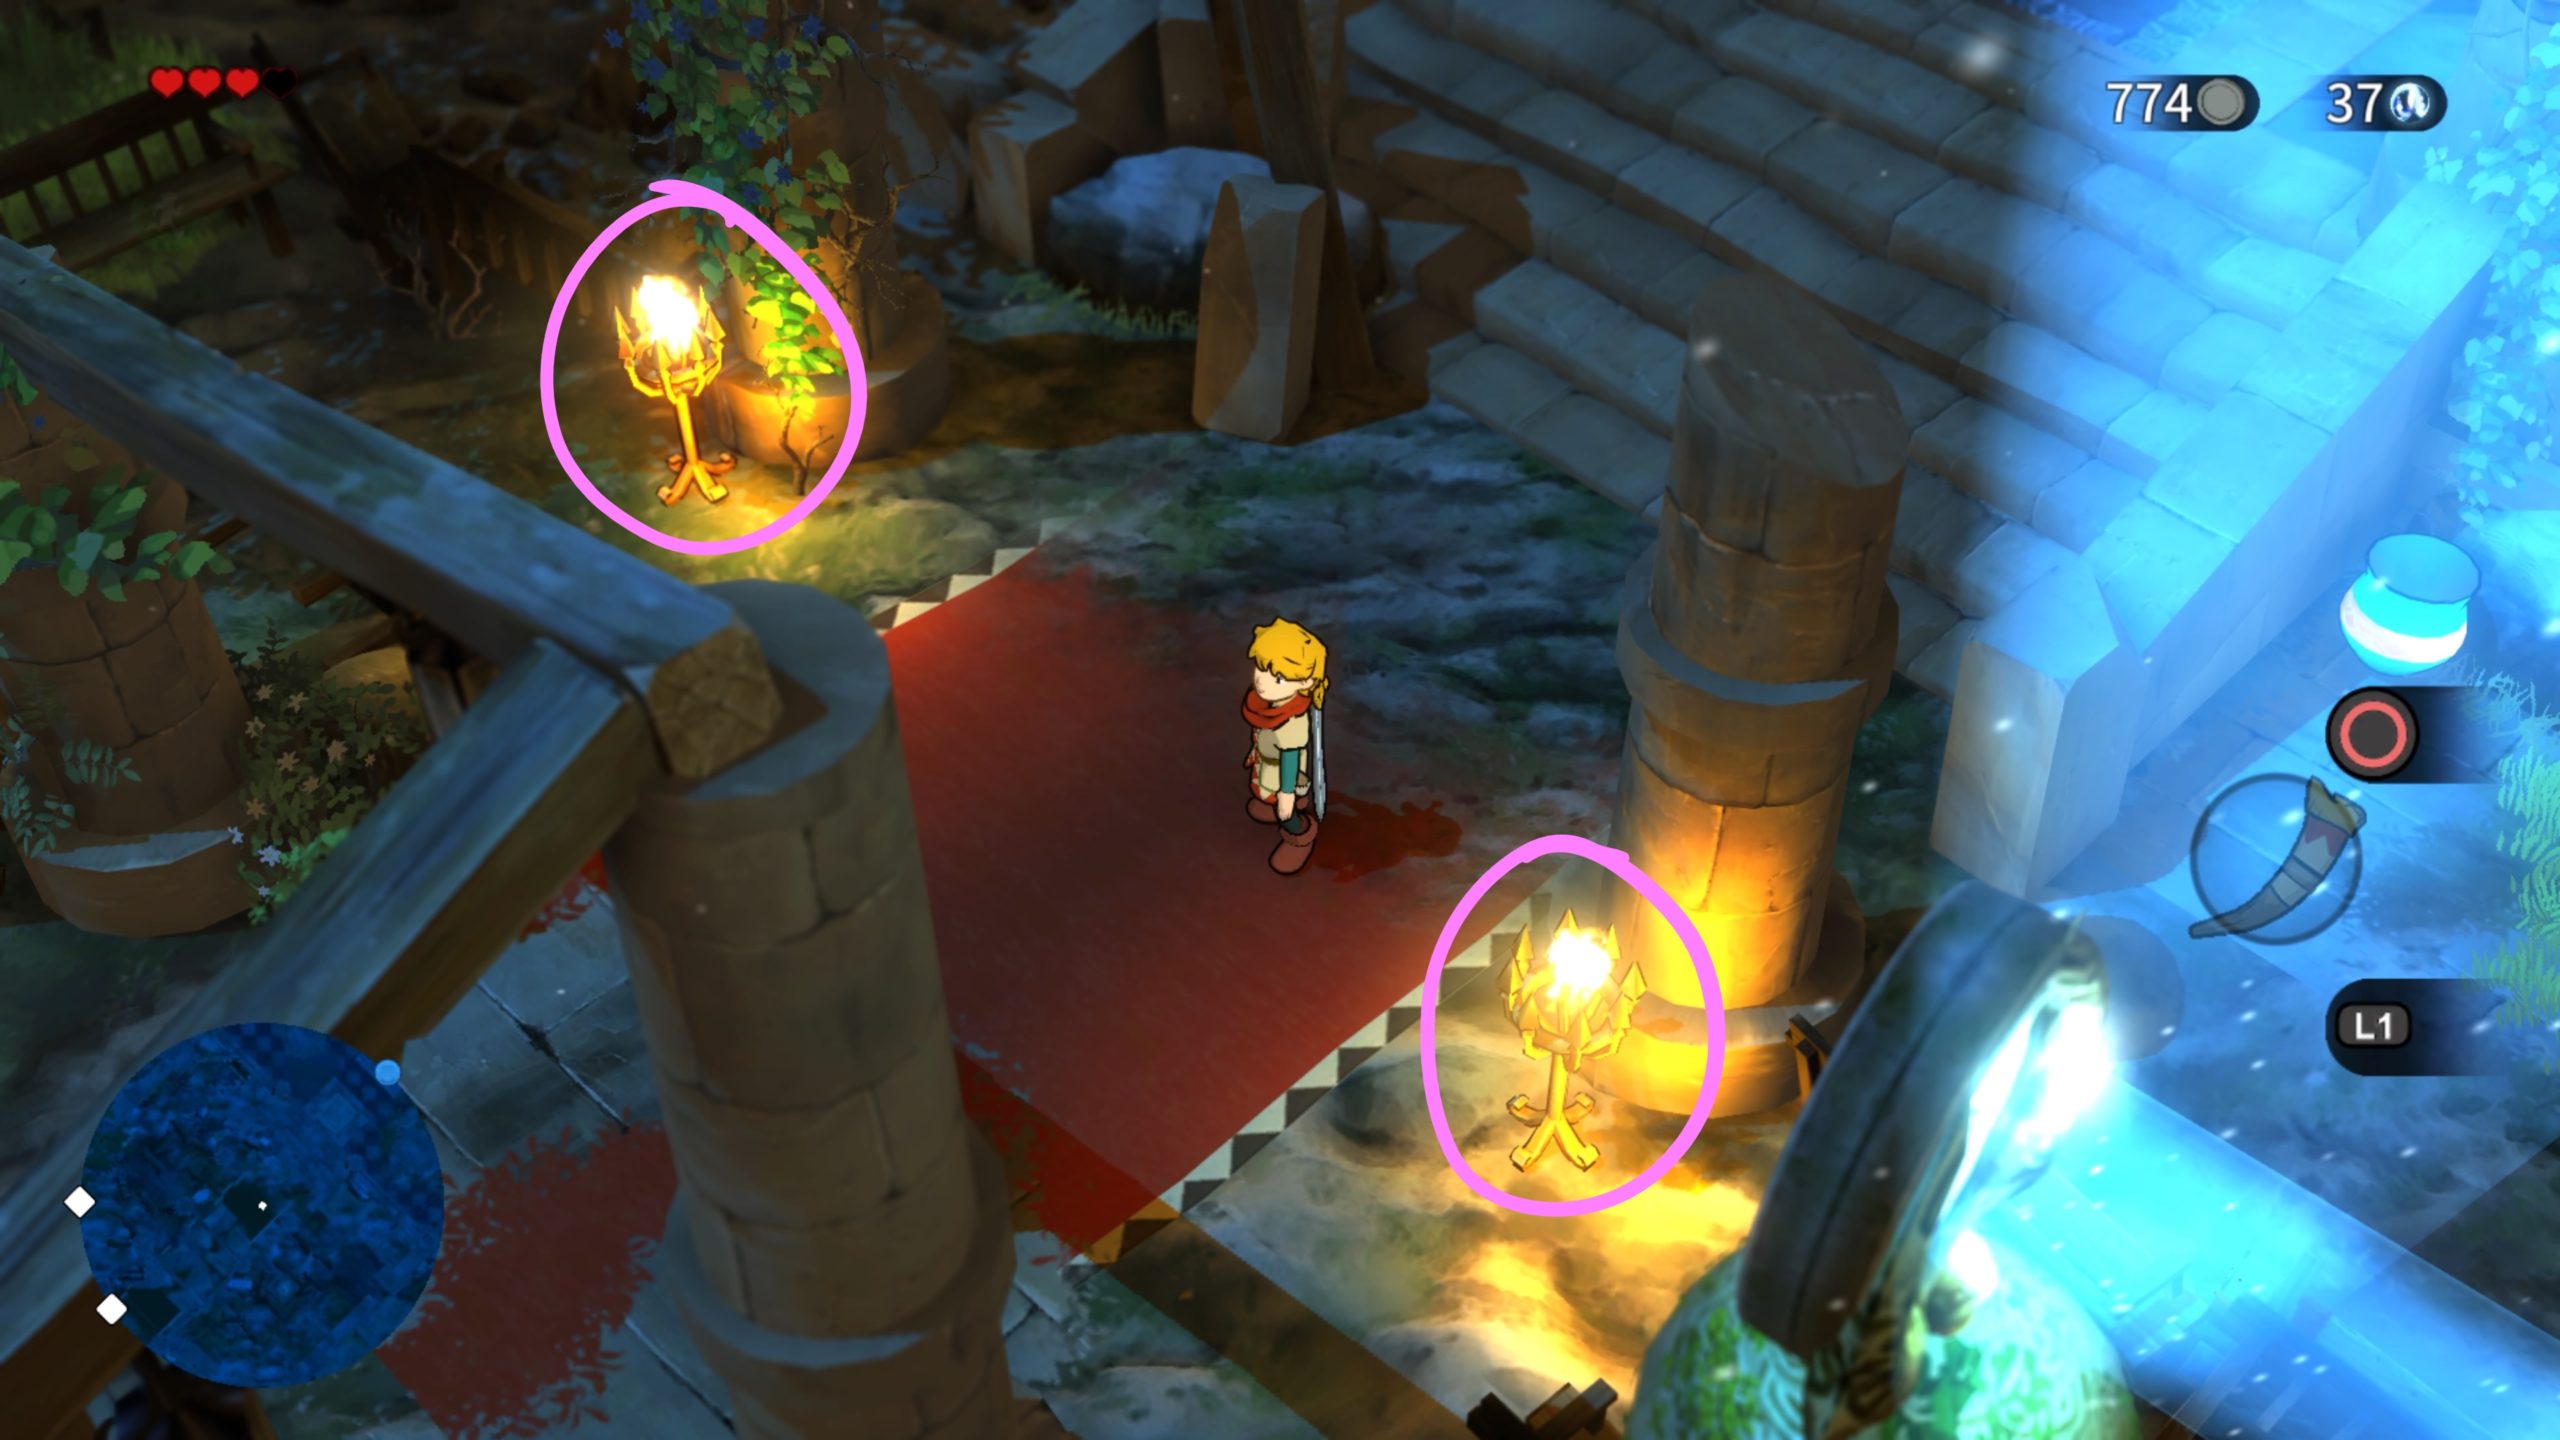
Start by going to the southeastern corner. Head through the door there and light the braziers to reveal a pressure point on the floor in the middle of all the statues. Stand on it to cause the 4 statues to come to life! You must defeat them in the following order: blue, yellow, green then red. Push in the long rod sticking out of the fish’s mouth.
Before heading through the newly opened passage, go through the door on the southwestern side of the room and make your way down the stairs. Light the webs and braziers as you go to unlock a shortcut at the end. Watch out for the spider lurking at the bottom of the stairs, too. With that done, head back up the stairs and go through the passage. There will be purple ghosts flying around in this room. Ignore them as they don’t cause much trouble. Grab one of the pots and place it on a pressure point then stand on the other to reveal a chest containing 10 Dindi. Exit this room and return to the area where the floor drops out. Make your way to the next door on the western side. Defeat the 3 knights inside to spawn a chest containing 10 Dindi. Exit this room and make your way to the northern door. In the next room, defeat the knights stationed in the center of the room then push the northeastern block to the southeast to gain access to the pressure point.

Step on it to cause the platform in the corner to raise, revealing a ladder. Climb on down. In this room, take out the enemies then quickly light all the brazier to cause a chest to spawn. Leave the room then reenter it to cause the spitting enemy to respawn. Push the chest towards the spitting enemy. Next, throw a pot at it, causing it to blow up, which demolishes the barrier surrounding the chest. Loot the chest to receive a Triangle Owl Key! Continue to the next room via the door on the southern side. Make your way all the way to the platform you can lower by standing on it and throwing a pot at it in the room with the spinning tower that makes its rounds along the track.
Lower the platform down and make your way along the path heading down the stairs at the end. Continue pushing forward down the stairs and strike the circular thing under the stairs.
Head through the fish doors on the right. Place the Triangle Owl Key to unlock the chest in the middle of the room. Loot it to receive an Owl Bomb, which completes The Owl Bomb quest!
Backtrack all the way to the place where you had to push the 4 statues into place in accordance with the colored flowers at the very beginning of this dungeon.
Enter through the fish door and defeat the 2 knights inside to drop a chest containing 10 Dindi. Next, head to the dining room where you fought the ghost boss through the red mirror.

Enter the room revealed when the boss was defeated and head down the stairs. At the bottom, go through the door. Throw bombs into the open fishes’ mouths until a chest spawns. Loot the chest to find a special key! Now, return to the room where you found Luna and use the key to open the door. A cutscene will spawn followed by a boss fight. To defeat this guy, dodge the fireballs while moving close to it. When he runs out of fireballs, strike him as he “reloads”. After you defeat him, a cutscene will trigger and Encore will speak with you. He’ll tell you to go to the Gokuro Tower in Rodia and will give you the Rodia Owl Tower Key.