Obtained: Speak to Samuel Huttes at the Purpleberry Hedges in the Purpleberry Orchards
Claim the Spectrum Original
Head into the maze a short ways and you’ll come across Salina who is also after the Spectrum Original. Speak to her if you want then head to the crawlspace just past her along the right hedge wall. This will bring you to an open area with a giant Rizzo’s logo on the ground. Take the path straight ahead and follow it around the left side of the maze. You’ll pass a couple of trash cans leading to an area filled with trees guarded by drones. Deal with them then head through the crawlspace on the far side of the area. After emerging from the crawlspace, turn left then head straight ahead. Take the second right the follow the path to reach your destination.
Claim the Spectrum Original
Grab the item under the purple gazebo then use the Discrepancy Amplifier to analyze the bottle on the ground.
Search the Conservatory
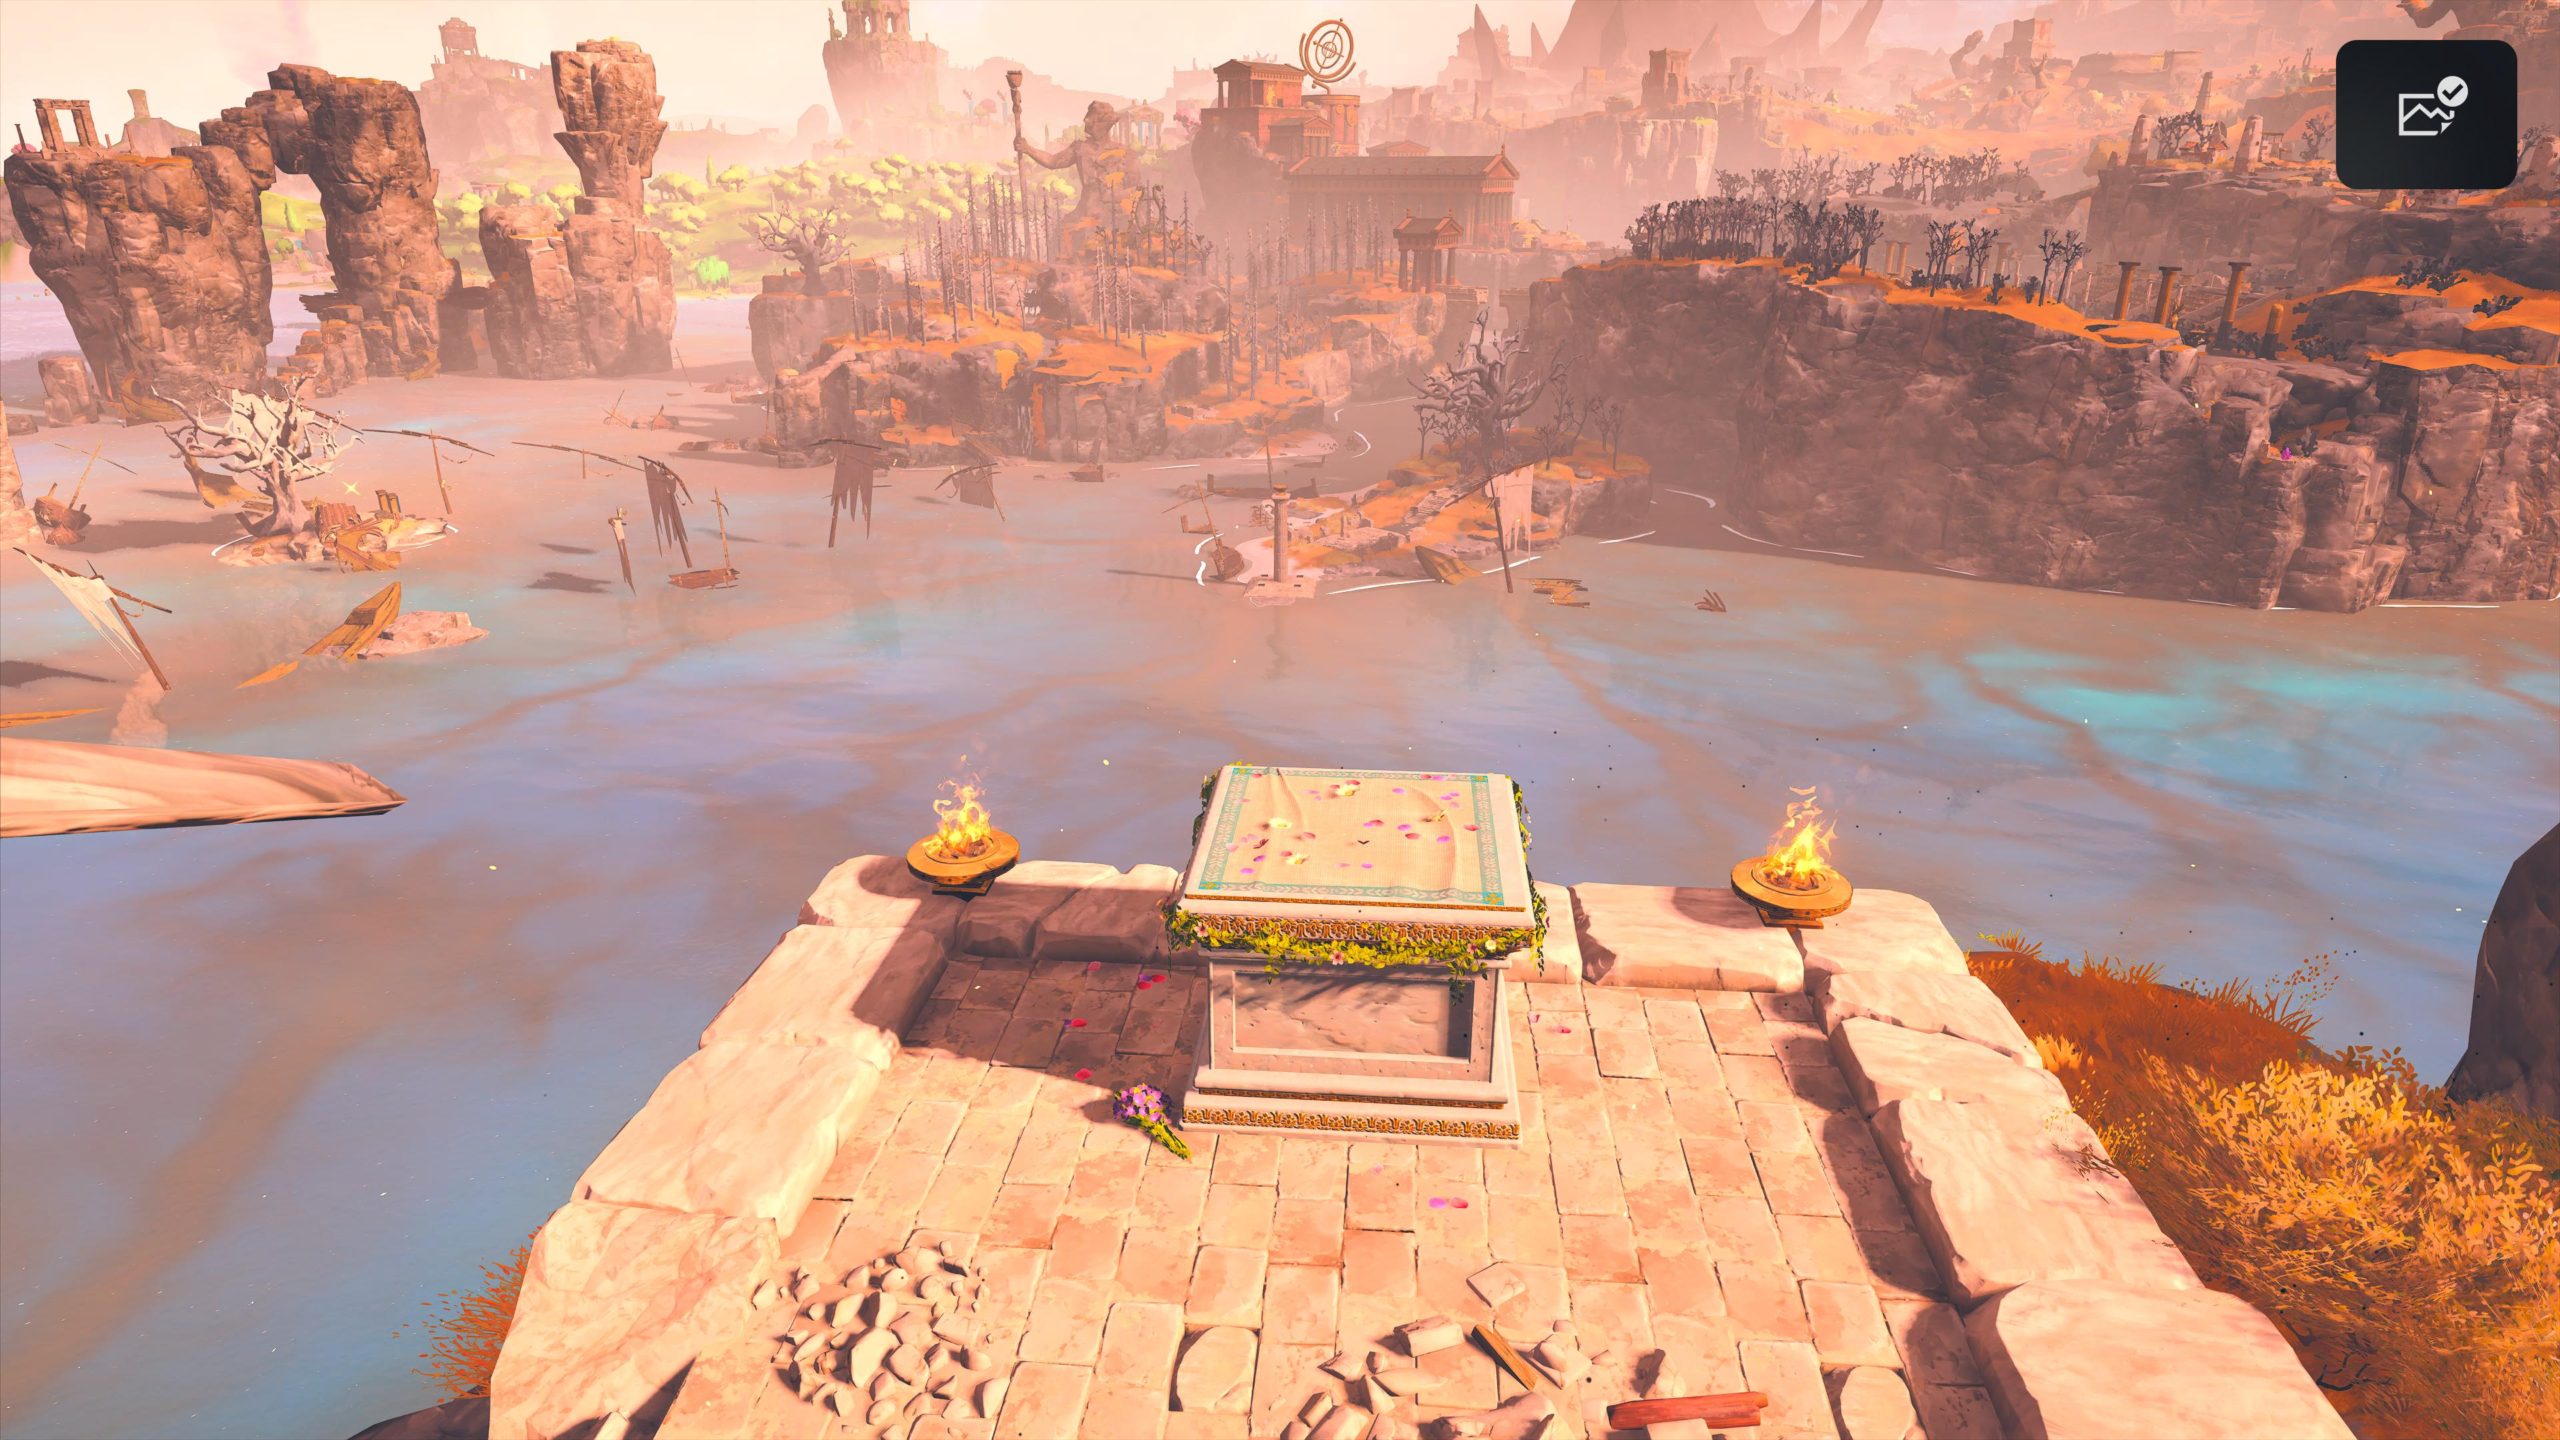
Exit the maze then travel west to find Carter Reynolds in the Conservatory. Speak with him to be presented with some options. If you choose to let him keep the Original, the quest completes.
Convince him to give it to you (65 Persuade / Intimidate / Lie)
He’ll hand over the Original.
Let Carter keep the Original
You get paid in bits.
Return the Formula
Return to the maze and choose who to give the formula too. All three reward you with the same amount of bits so pick who you like the most. The quest completes after you make your choice.
Obtained: Speak with Lillie Vargas near the bridge leading from the Hotel to Orchards
Investigate the Wilderness Checkpoint
Travel to the Wilderness Checkpoint northwest of the Colonial and climb on the roof of the building there. Drop down through the hole and inspect the journal on the desk.
Investigate Botanical Operations
Next head east to reach the Botanical Operations building. Head inside then take the stairs down. Use the Discrepancy Amplifier on the card table. Next inspect the note on the nearby bulletin board.
Investigate the Complex between the Hotel and the Orchards
Travel to the area between the Colonial and the Orchards. Enter the building to the left of the bridge leading to the Orchards then grab the object on the floor.
Search Room A2
Head to the Colonial Hotel. Go down to the basement and make your way to Room A2 past the employee area. Use the Discrepancy Amplifier in front of the door then look down on the ground to the left to find an hidden compartment housing the keycard. Take it then open the door. Take care of the parasite inside then use the Discrepancy Amplifier on Evan.
Question Amelia Stillwell
Exit the hotel then head to the storage area left of the dock to find Amelia. Speak with her to learn what happened then deal with her how you see fit.
Report to Lillie Vargas
Head to Lillie at the ship dock and fill her in on what happened to complete the quest.
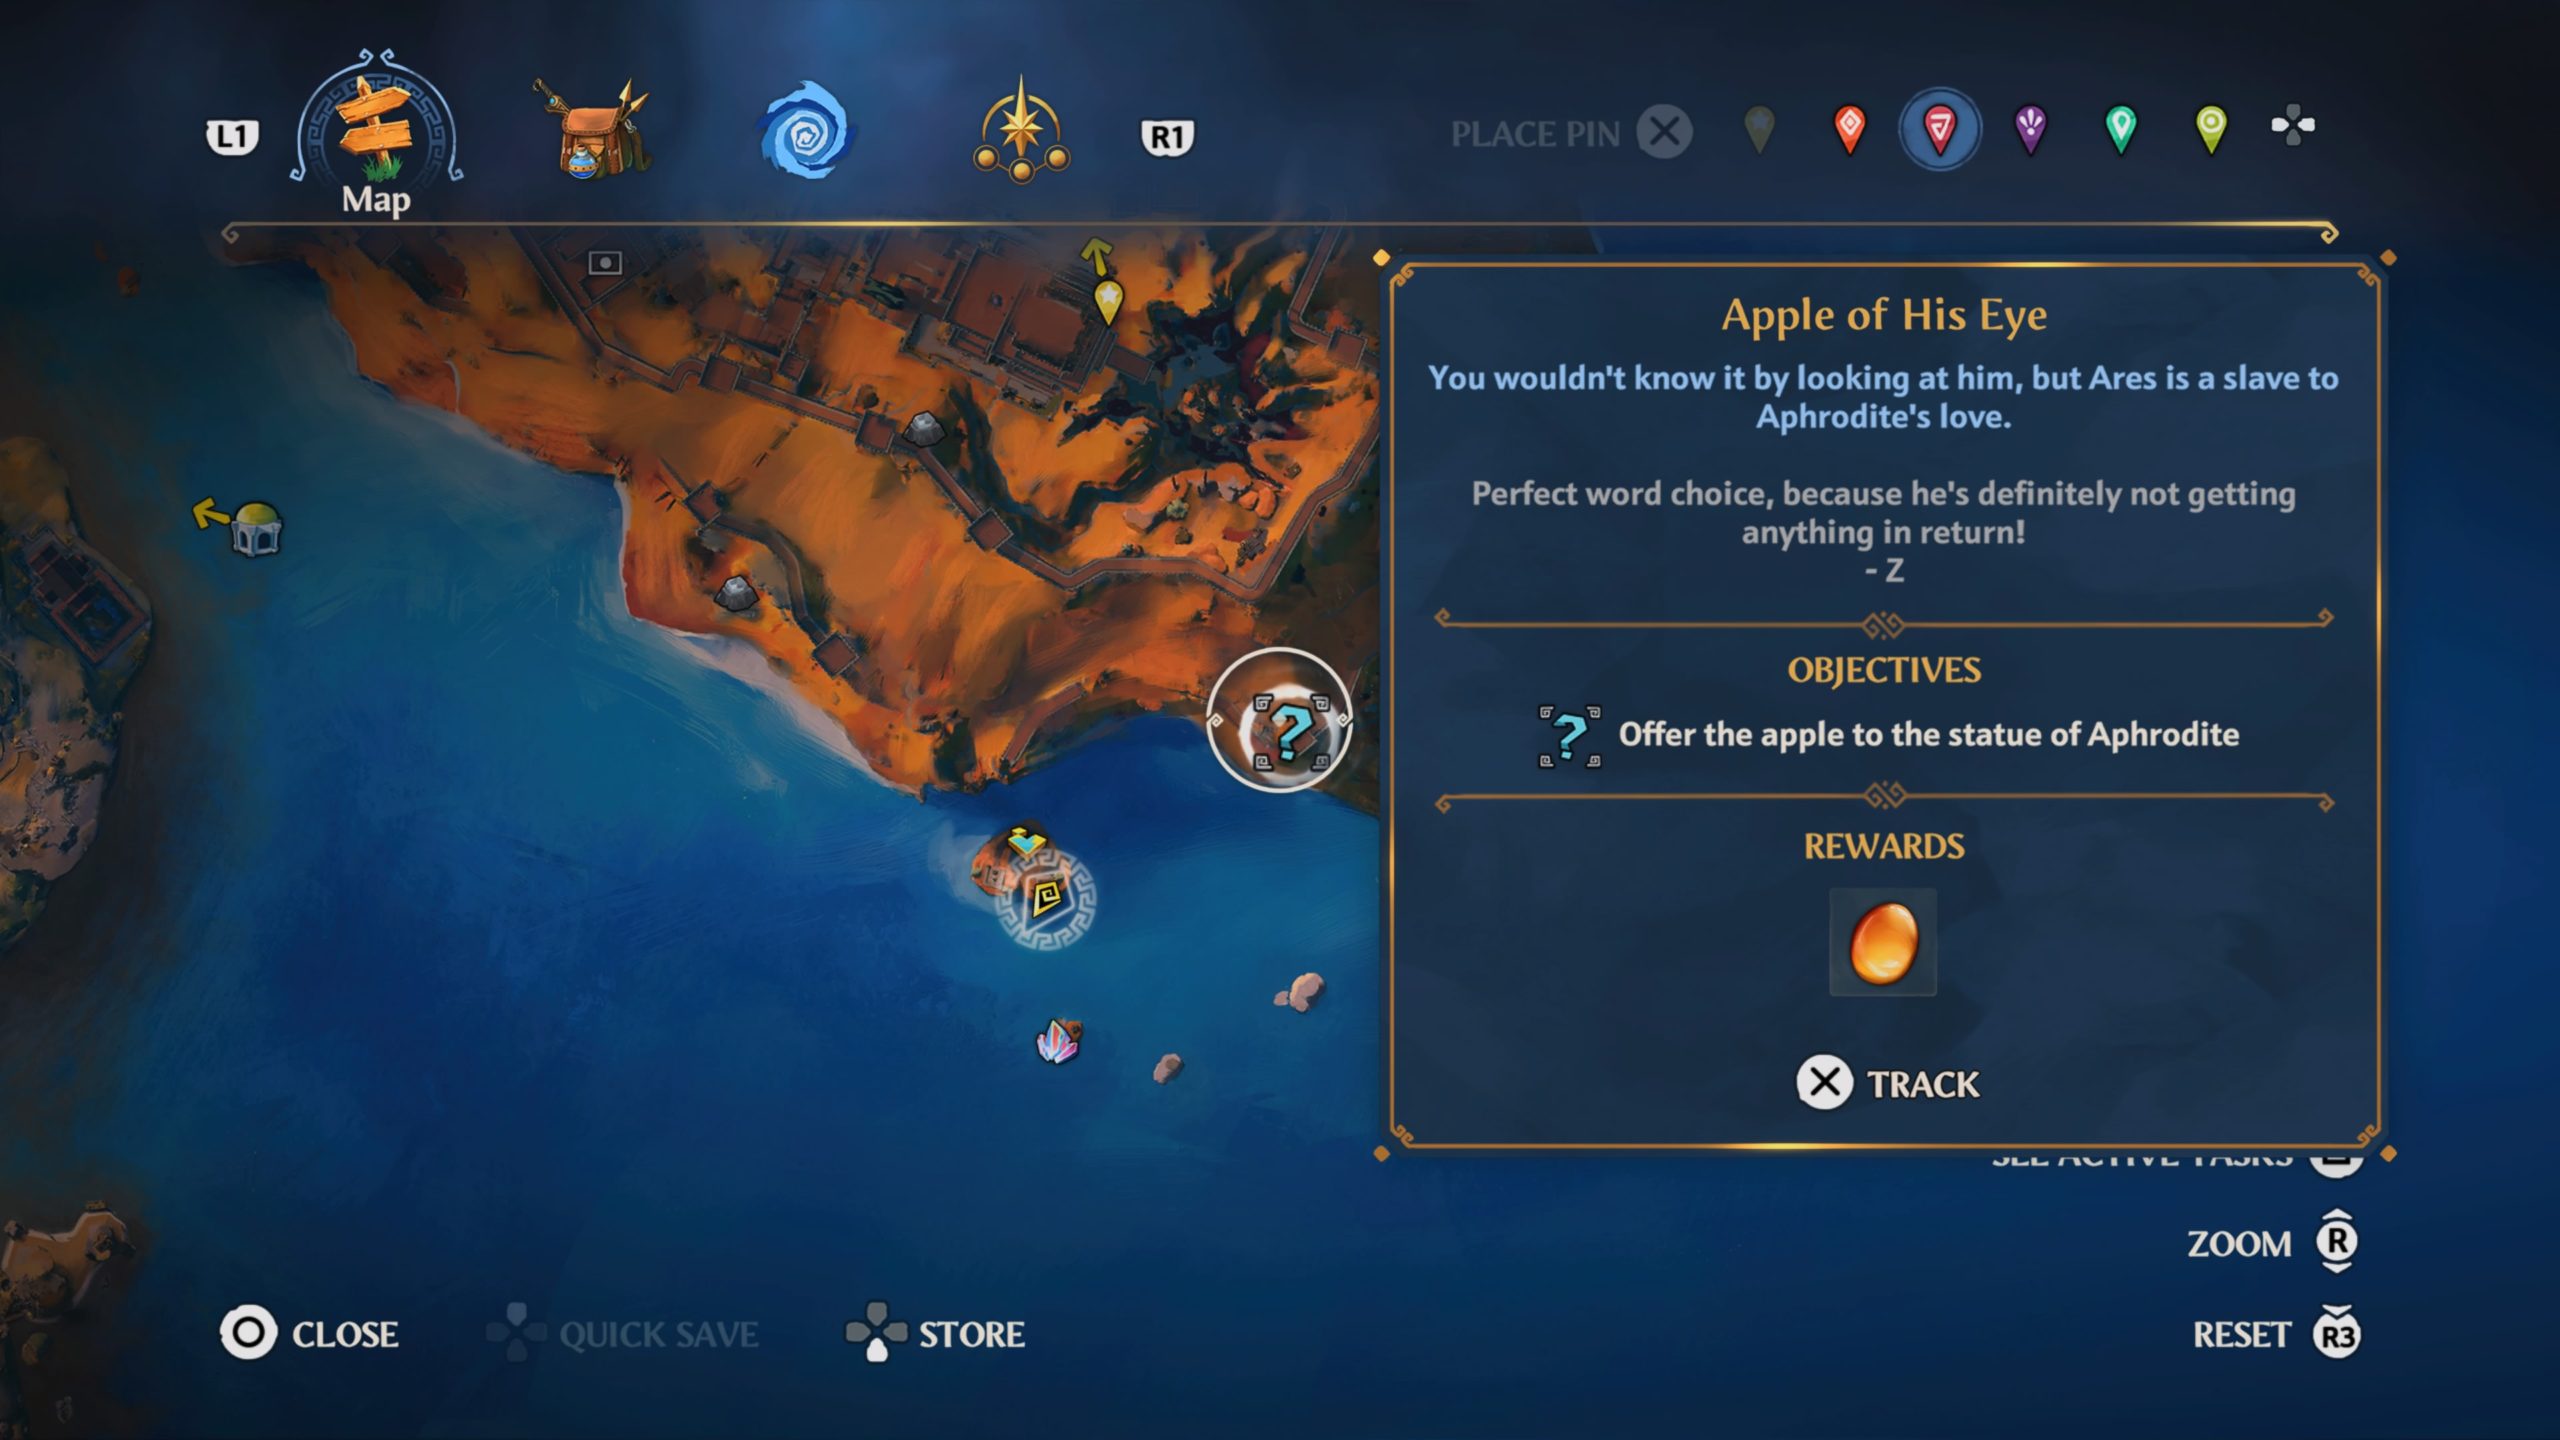
This quest will trigger by approaching the island with the Fresco Myth Challenge to the south of Ajax’s Fort in War’s Den.
Follow the objective north to find an apple near the fort then bring it southwest. Once you reach the cliff overlooking the island, throw it to the island and place it in front of Aphrodite’s statue to complete the quest.
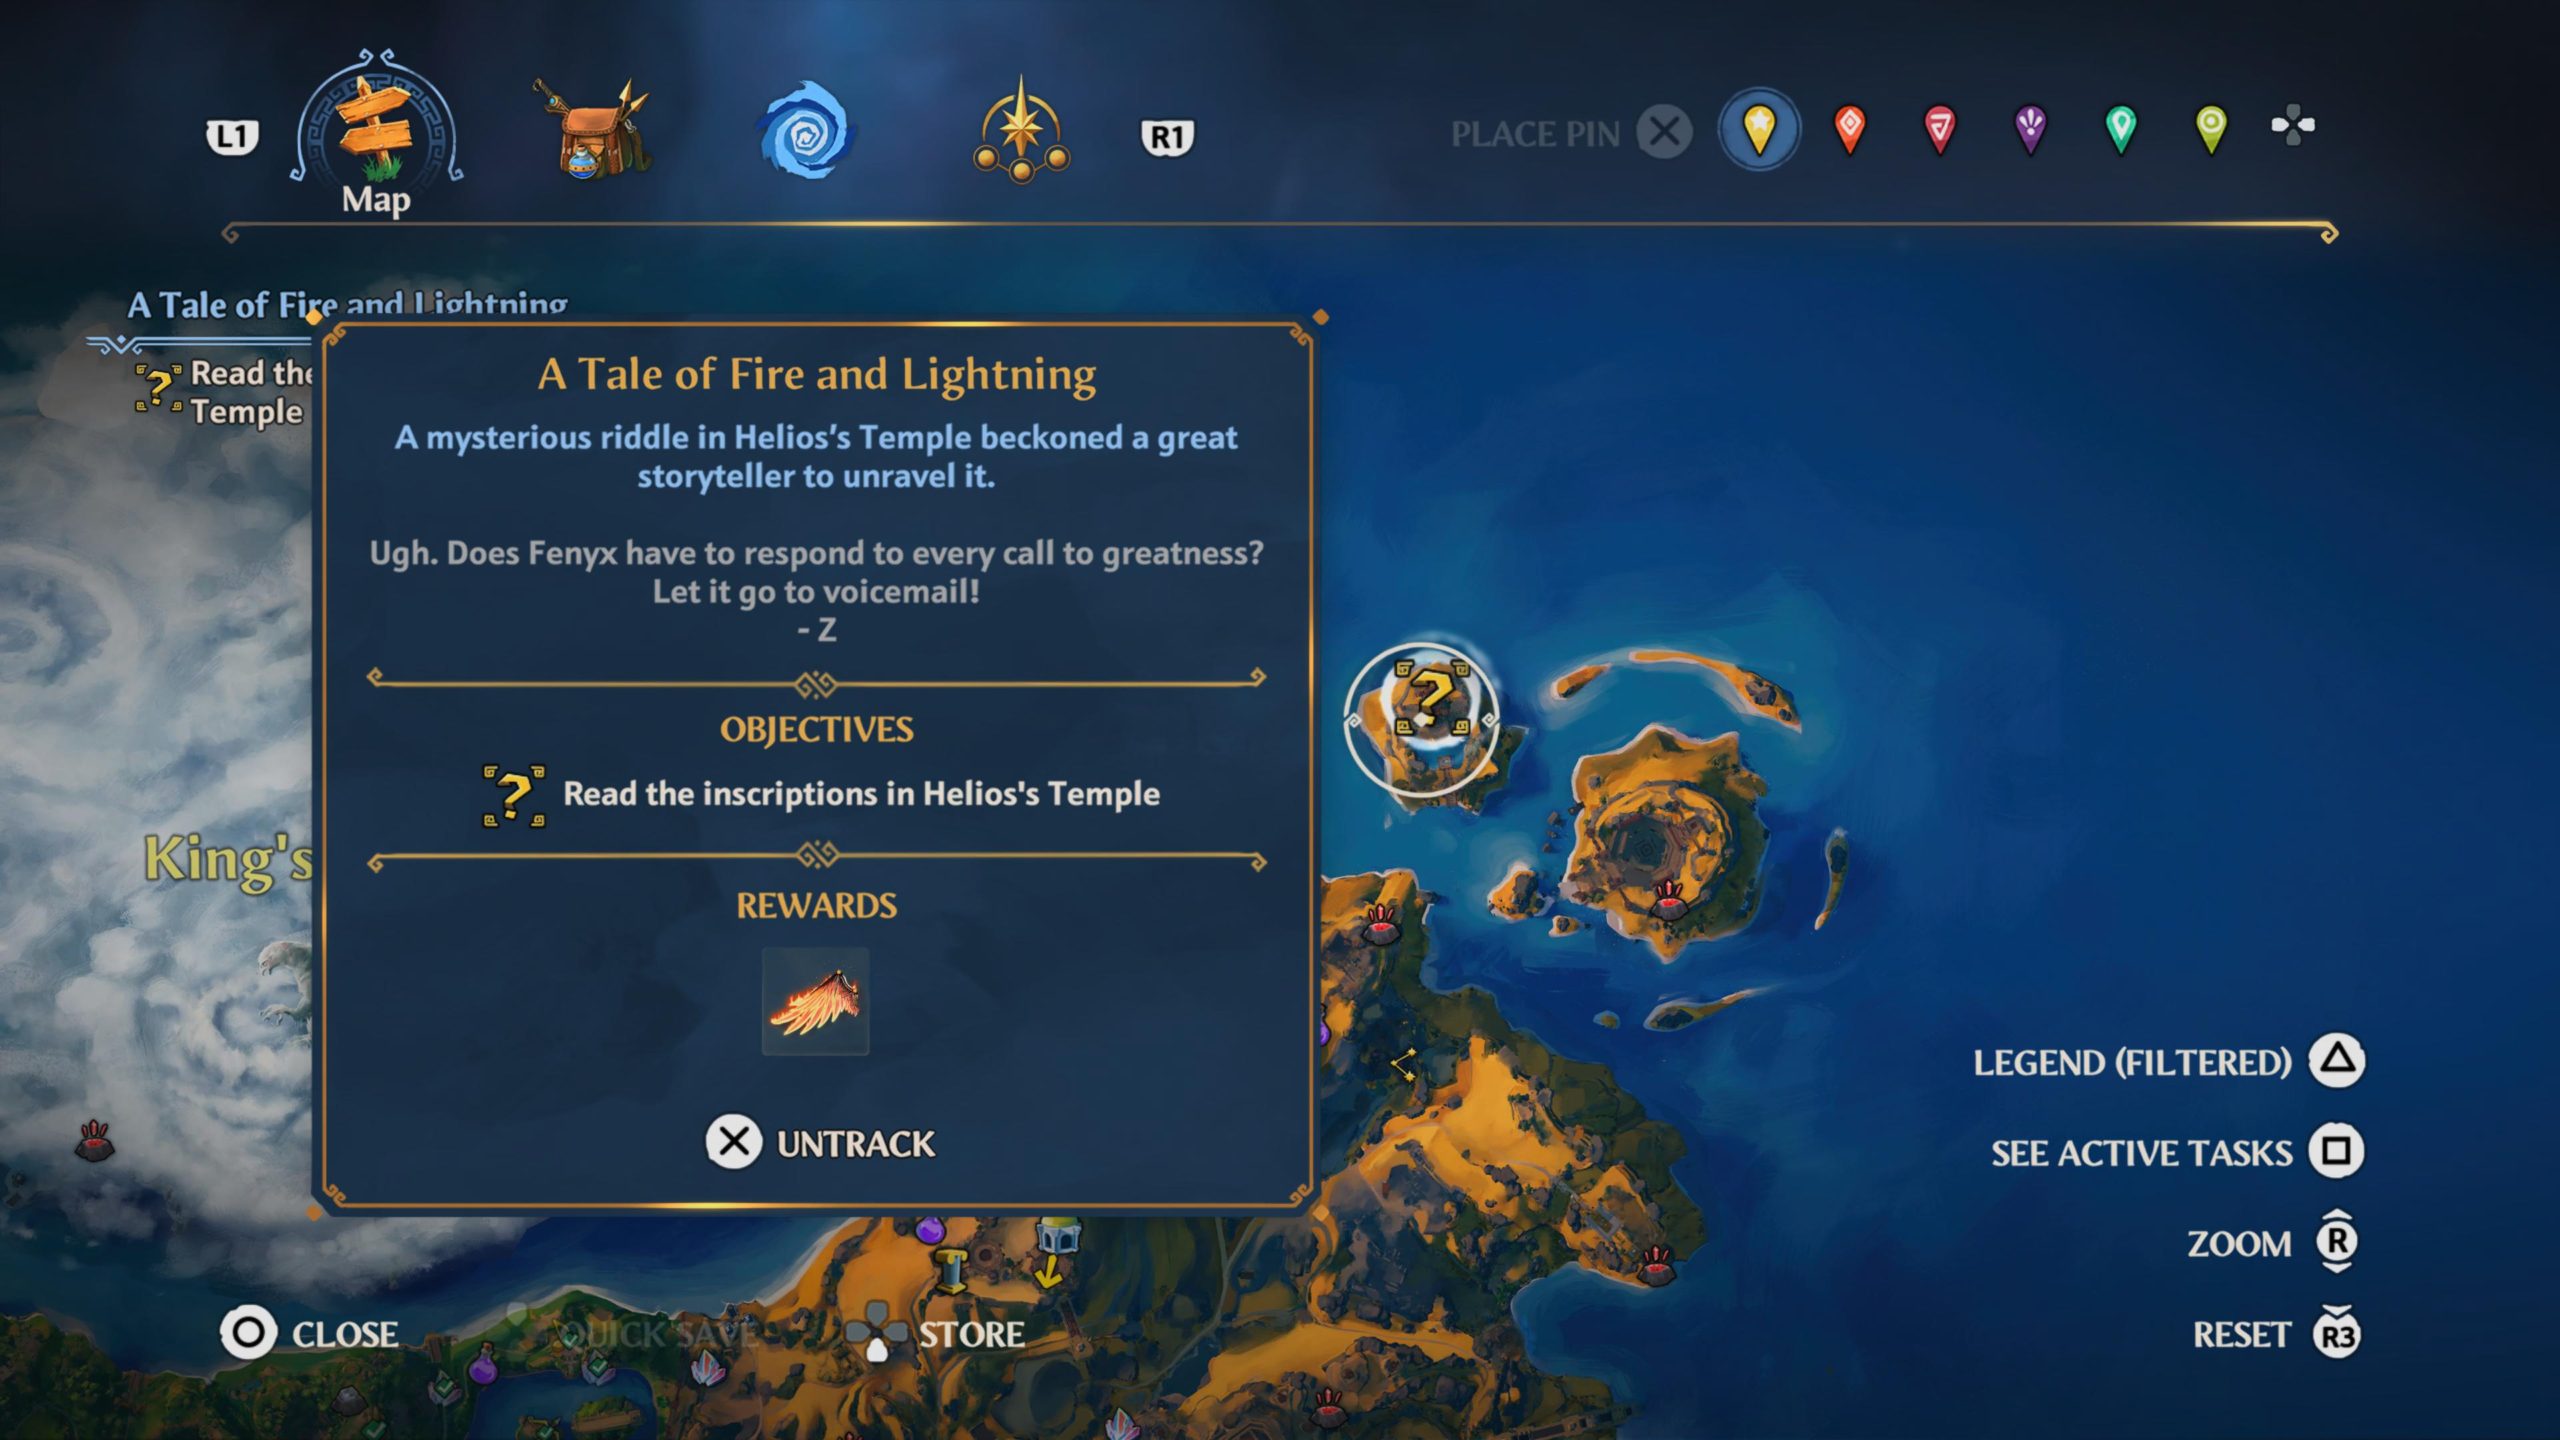
Objective: Read the inscriptions in Helios’s Temple
In order to access the building, you’ll need to first tame then mount the horses and deliver them to the stable to the right of the entrance. Enter the building and inspect the center of the floor to trigger a cutscene. Afterwards, head to the objective in the eastern part of The Forgelands to arrive at the base of the giant scorpion statue. Head inside the vault to retrieve the Chariot Wheel. Afterwards, head to the objective in the north. Defeat the enemies at Zeus’s Shrine then place the Chariot Wheel on the altar to cleanse it. Next, head to the objective in the east and complete the Auriga Constellation Myth Challenge. The orbs can be found at the following locations:
1. The first orb can be found right next to the puzzle in a little nook covered in corruption. R2 the corruption then retrieve the orb.
2. Jump to the room above the sealed orb then grab the metal cube and place it in front of the lasers. After you pass through the lasers, grab the metal cube and continue to the next set. Place this cube and a nearby cube in front of the lasers so you can pass through unharmed. Do this again for the crisscrossed lasers. After you pass through the lasers, grab the orb!
3. Follow the path north of the puzzle to the middle level. Enter a building about halfway up. Head to the back room and flip the lever then quickly head into the next room before the barrier reactivates. Place the metal cube on the platform. Jump up to a higher lever with a lever. Pull the lever then jump through the hole across from you. Smash a breakable wall then jump down. This will put you at the first barrier of the puzzle. Smash the breakable wall next to the barrier and enter the room to find another metal cube. Grab the cube then throw it into the hole above. Flip the lever then head back through the barrier. Activate the lever in the next room. This will allow you to pull the cube through and drop it onto the platform. You will then be able to grab the cube.
4. Follow the path north of the puzzle to arrive at the next building. Break the corruption and enter the building. Defeat the 2 lions inside then retrieve the orb.
5. Head north of the puzzle to find a building on a ledge further along the path from the previous building then head inside. Break the corruption to retrieve a metal cube. Throw the cube through the lasers. Activate the platform on the other side then pull the cube onto the platform to release the orb.
6. A little further up from the previous orb, you’ll come across an orb trapped inside a small stand alone room. Smash the breakable wall then grab the orb!
Once you complete the constellation, follow the objective into the nearby cave to trigger a cutscene and complete the quest.
This quest triggers when you approach a lone house near the cliff overlooking the ocean to the west of Gaia’s Soul.
Follow the objective east to the village on top of the mountain. Once there, destroy all the columns in the village. When you’ve destroyed all the columns, visit Baukis and Philemon’s new home to the east by interacting with the stone arch to complete the quest.
Location: Valley of Eternal Spring – Palace of Aphrodite
Objective: Cause Helen of Troy to fall in love with Paris
To trigger this quest, head west of the Palace of Aphrodite fast travel point to the Fresco Myth Challenge then head to the statue with angel wings. Near this statue there will be a platform. Place something on the platform to activate an air current. Ride the current up to the top of the circular structure. Once inside shoot the target with an arrow to complete the quest.
Location: Clashing Rocks near Myth Challenge Odysseus
Objective: Retrieve 3 offerings of the soldier’s tomb
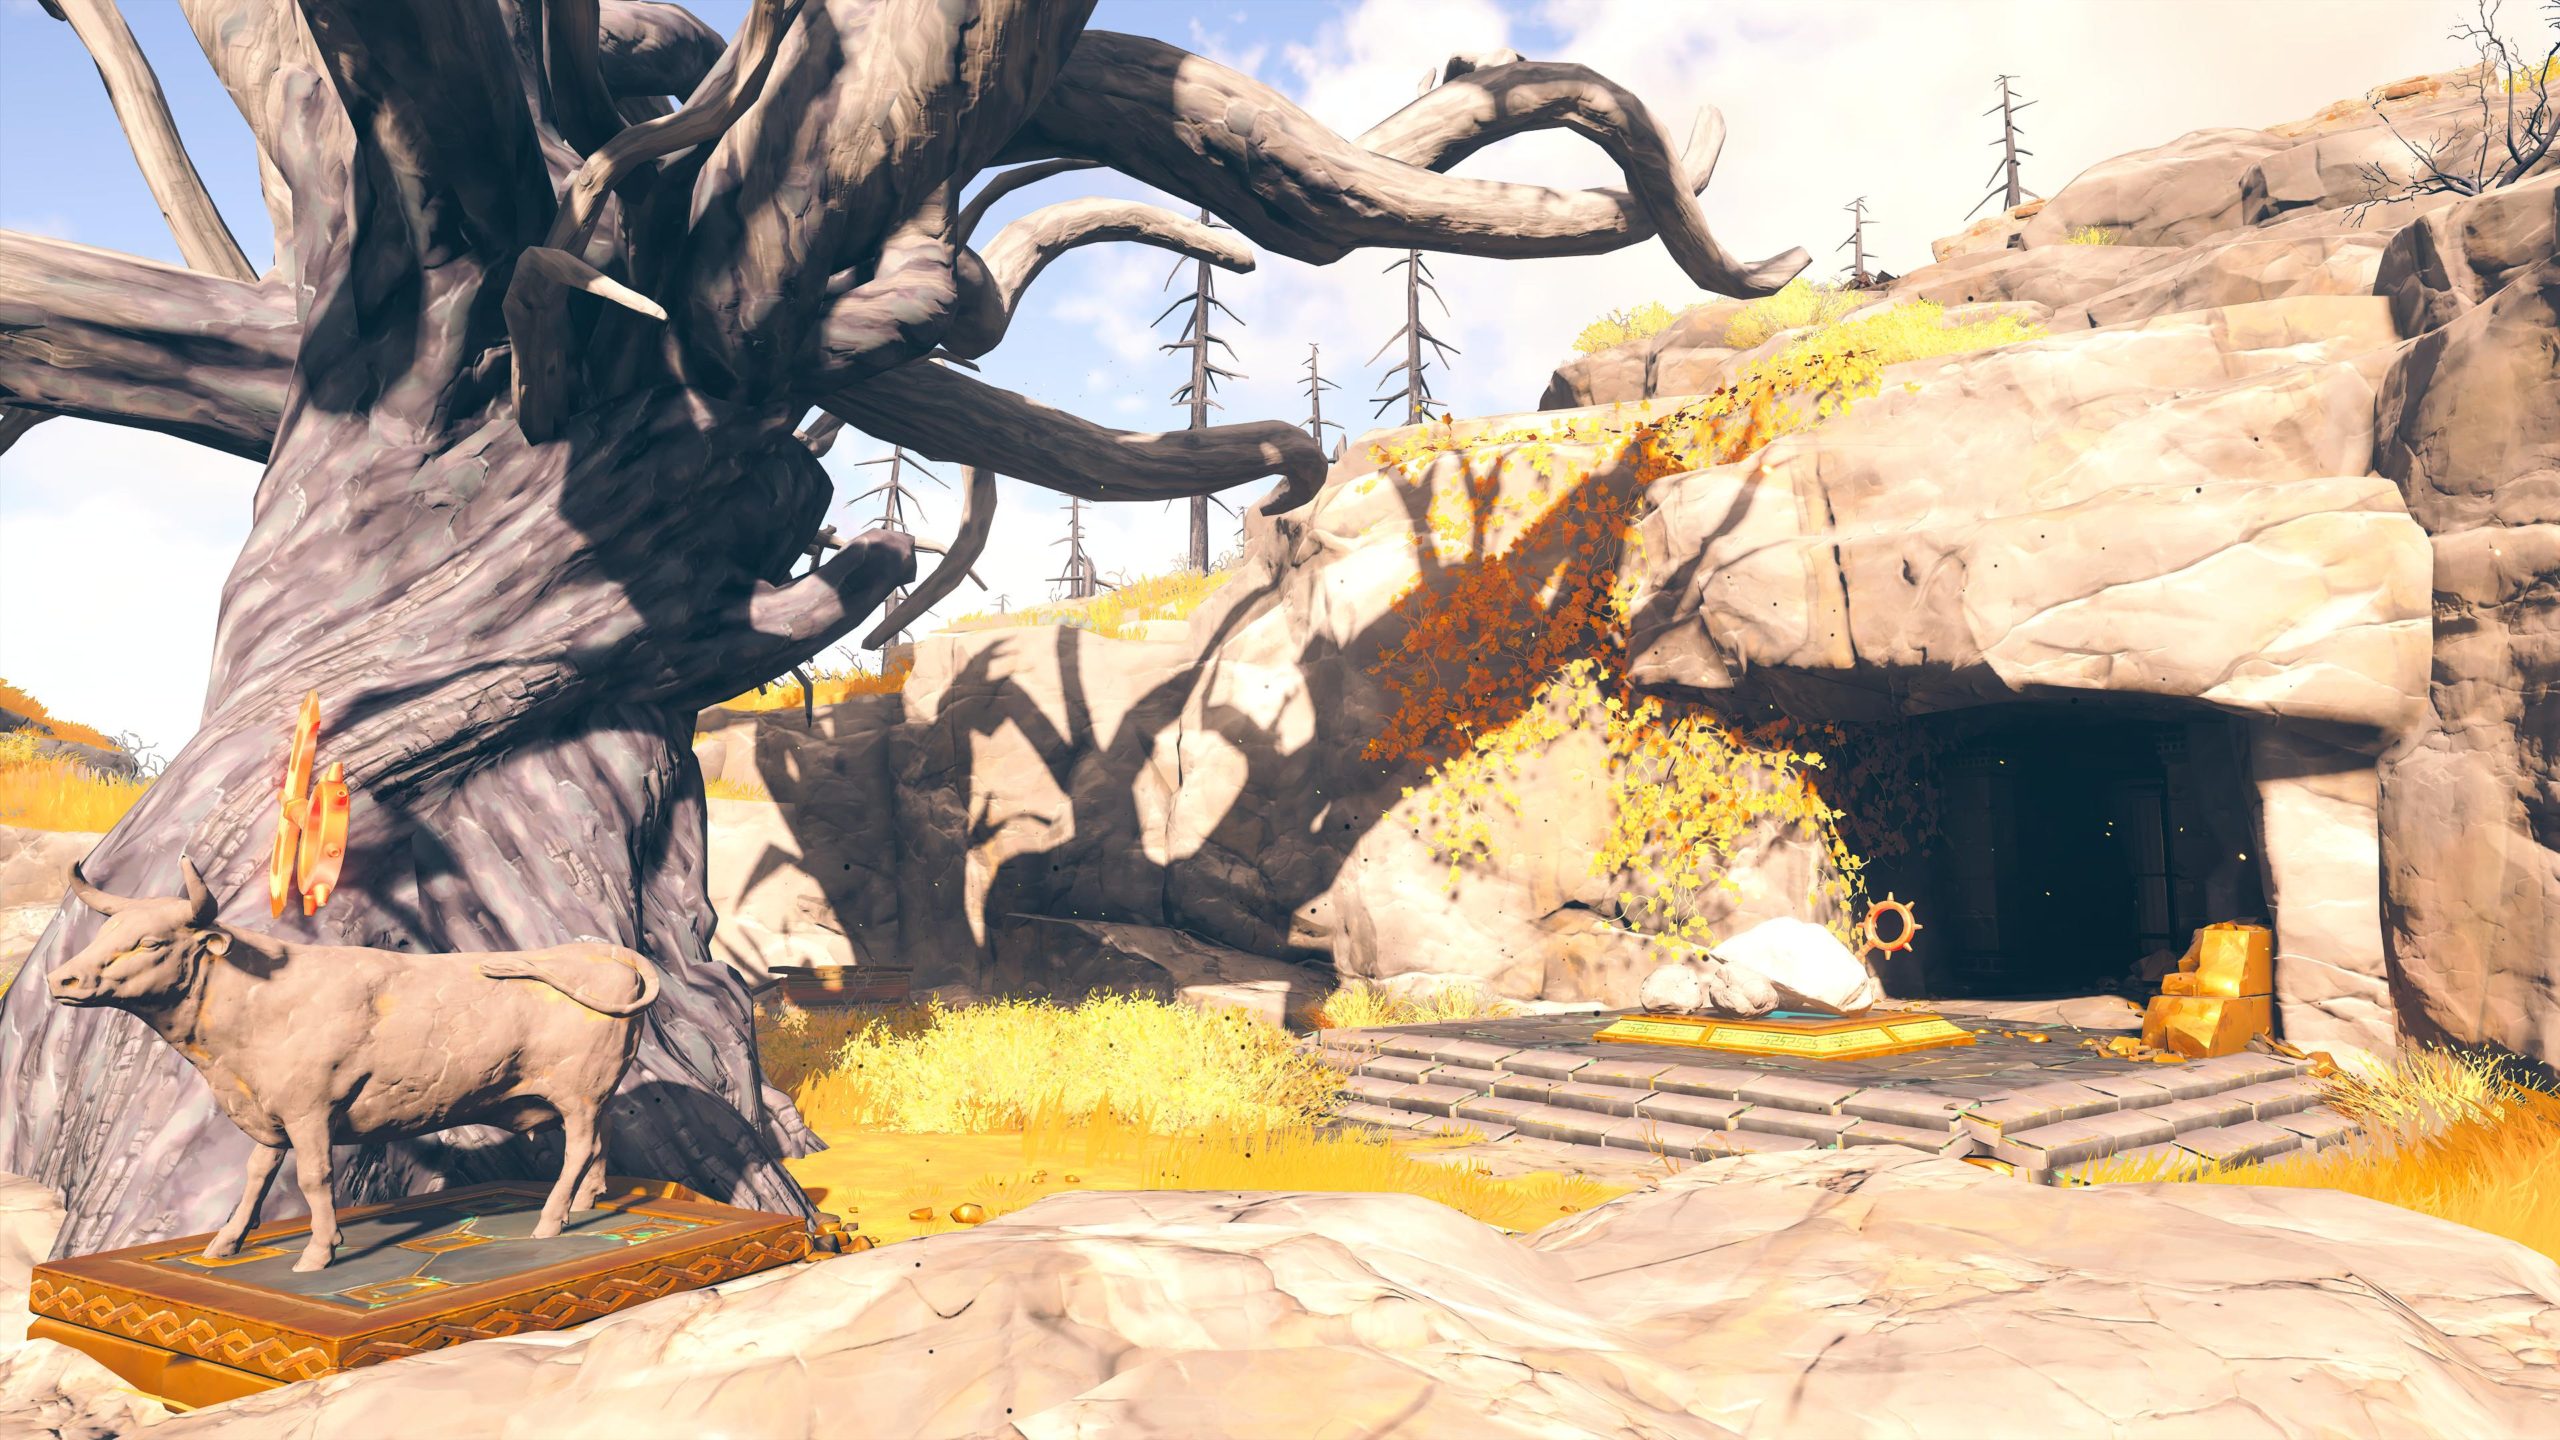
For the first offering, head to the top of the island directly south and defeat the enemies waiting near a beached boat. Once they have been defeated, collect the Offering of Wine from the boat.
The second offering, Burial Ribbons, can be found on an altar in the northeastern tip of the southernmost island in Clashing Rocks.
The third offering can be found in a cave on the southernmost island of Clashing Rocks.
To remove the red barrier from the cave’s entrance, you will need to move 4 of the small rocks underneath the nearby cow statue onto the platform in front of the cave. Once inside, collect A Soldier’s Shield.
When all 3 offering have been collected, return to the main altar and place the items. You will then need to light the incense. To do this, you’ll need to guide Apollo’s Arrow through the circle of red axes surrounding the area. For this task, you’ll need a lot of stamina! Once the incense has been lit, the quest will complete.
When we retrieved the Ambrosia from the head of the giant Goddess of Love statue, this quest became available. To begin your search for the fallen bird, head towards the objective in the east. It’ll be located on top of a mountain. As you approach the bird, a cutscene will trigger. You’ll then need to head north into the Gates of Tartaros area to find the Seed of the Dead. When you reach the objective, grab the seed then return to the fallen bird. When you complete this quest after listening to the cutscene, you’ll receive the From the Ashes trophy!
Search
This site uses cookies. By continuing to use this website, you are giving consent to cookies being used. For more information on cookies, view our Privacy Policy.OkPrivacy Policy